Around this time every year, I draw a bit of a blank when it comes to this blog. I mean, I have plenty of ideas, but they are all autumn-related right now and I am a stickler for seasons. I know it’s getting cooler and the light is changing and all that, but it is technically still summer.
 We still have some berries and decent tomatoes left, but my desire to work with them has waned considerably—the pumpkin tunnel-vision is real, y’all. It doesn’t help that my social media feeds have been loaded with autumnal treats since August 15th. Regardless, I’m holding out on pumpkin and apples until September 21st. Nine more days.
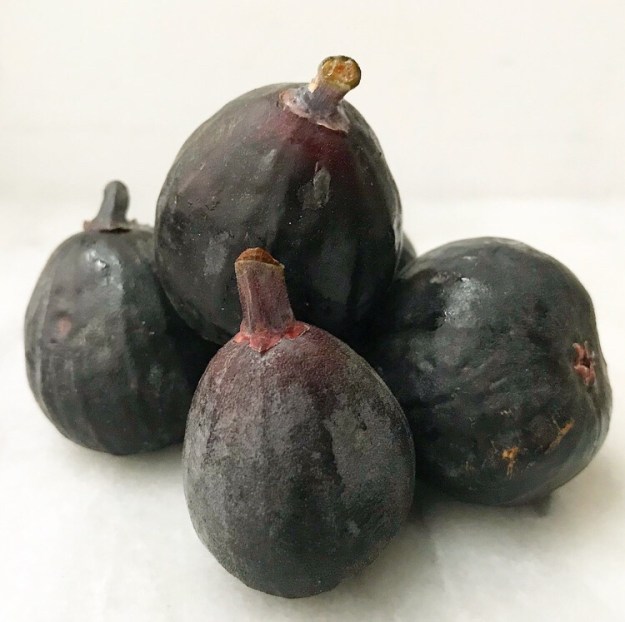 So, if I’m done with most summer produce and am not ready for fall, what’s left? Figs. So many figs. They are everywhere right now!
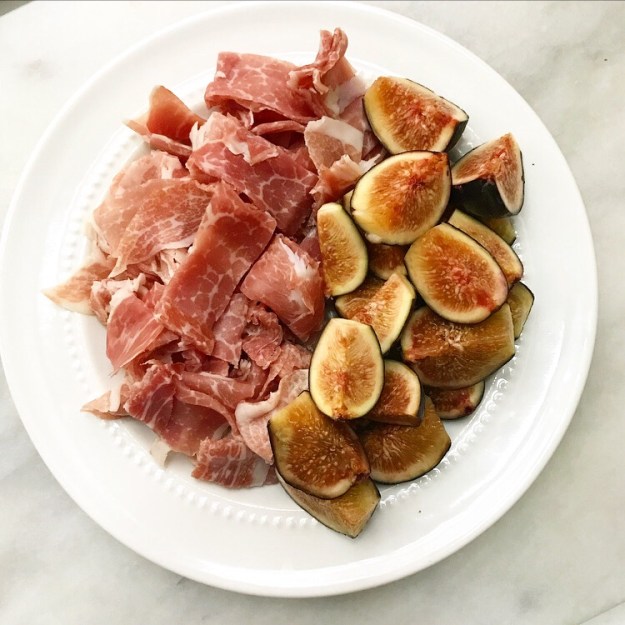 You know what goes great with fresh figs? Salty prosciutto. And arugula. And gorgonzola. And balsamic vinegar.
 I could have taken all of these things and made a salad or something, but instead I threw them all on a pizza and you should, too.
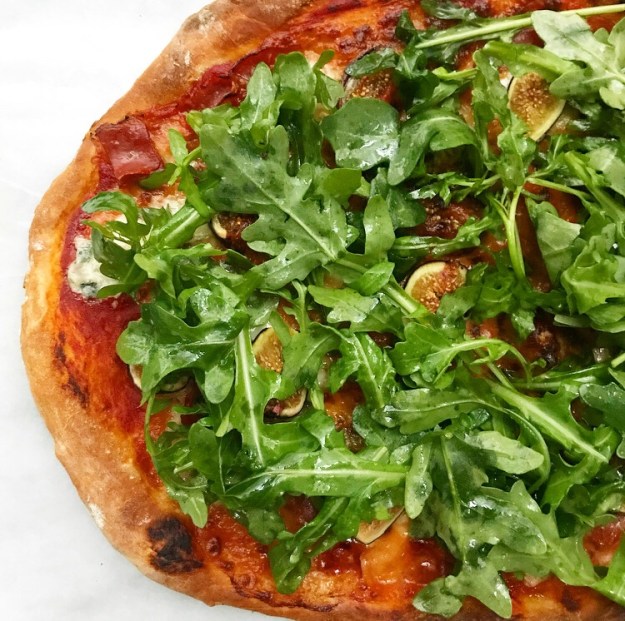
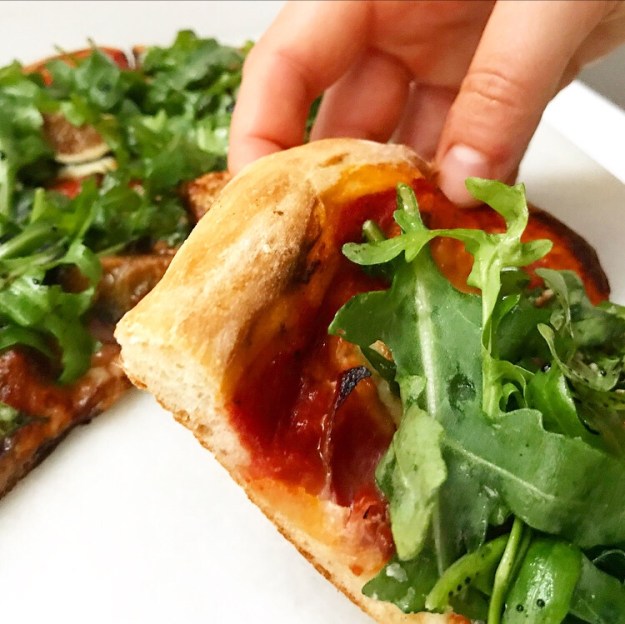 I take great pride in the quality of pizza I make at home. So many homemade pizzas come out on the bready side of things, which is great if that’s what you’re into, but it simply does not appeal to me. Instead, I go for a dough that is simple and stretchy, baking up paper thin in the center and puffy and chewy at the edges. Here it’s covered with a thin layer of tomato sauce and a few ounces of fresh mozzarella, along with prosciutto and some quartered figs.
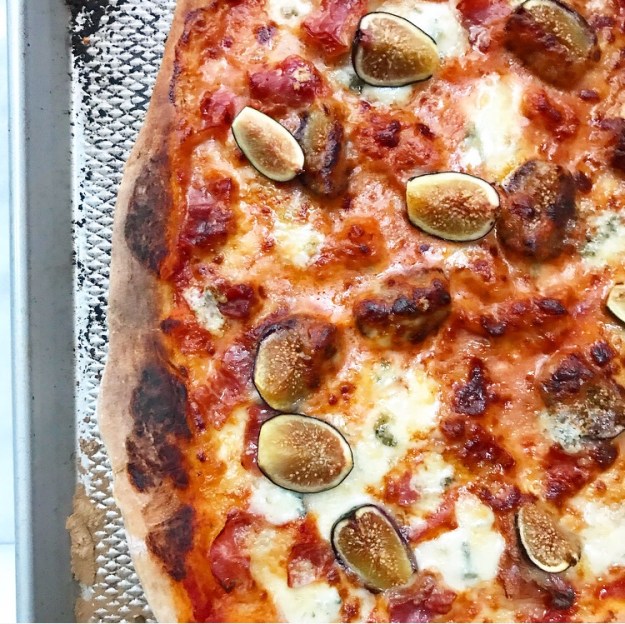
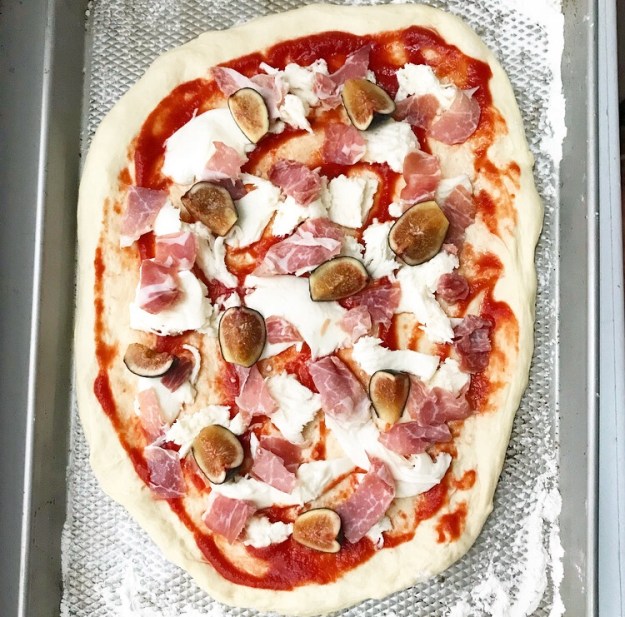 I let it start in a 500F oven before pulling it out, scattering some crumbled gorgonzola and a few more figs over the top (for variance in texture), and then throwing it under the broiler. I like to let it get a little crispy for a coal-oven-esque flavor.
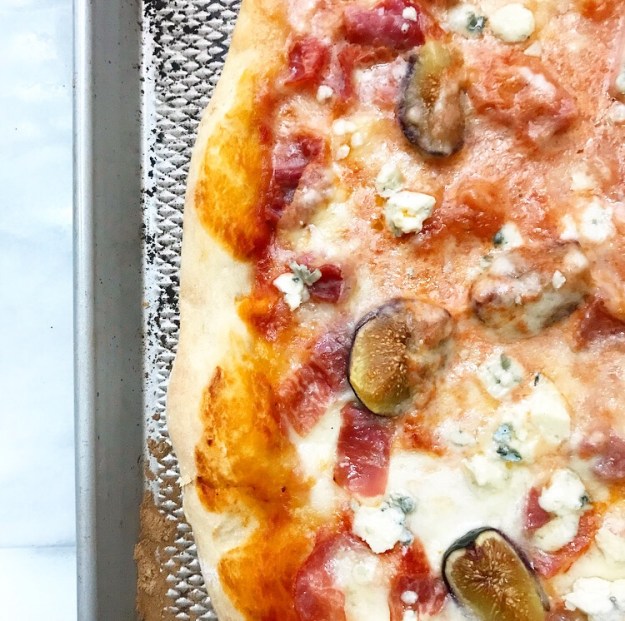
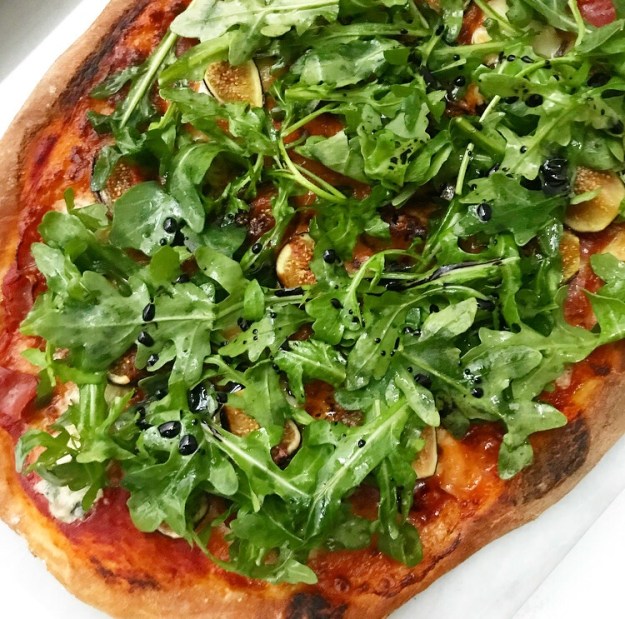
 Next comes a bed of arugula that’s been tossed with olive oil. I love the contrast of these peppery greens with the saltiness of the prosciutto and the jammy figs.
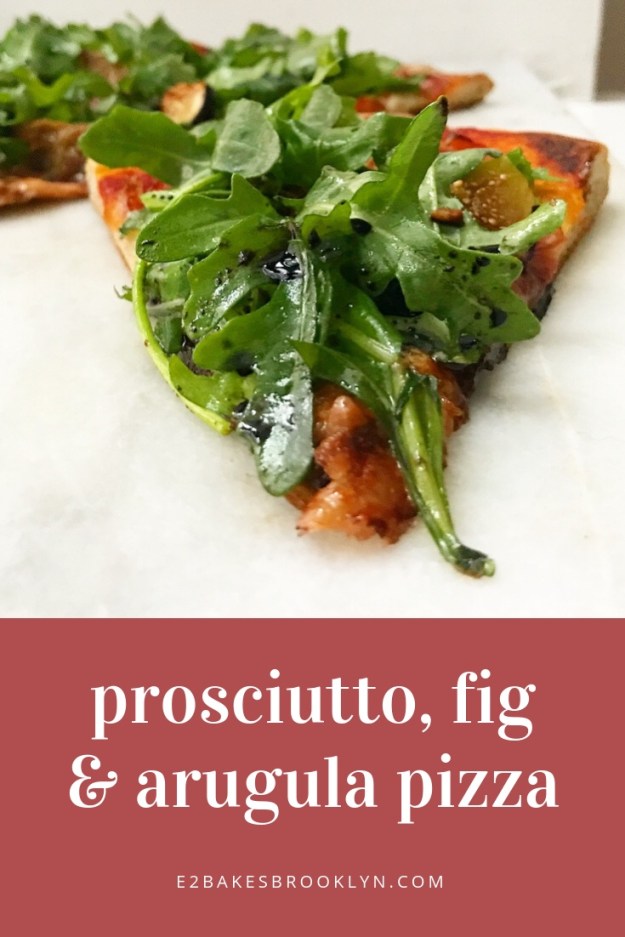
 This pizza gets finished off with a drizzle of balsamic vinegar that’s been reduced to a thick, sweet syrup. Mmhmm.
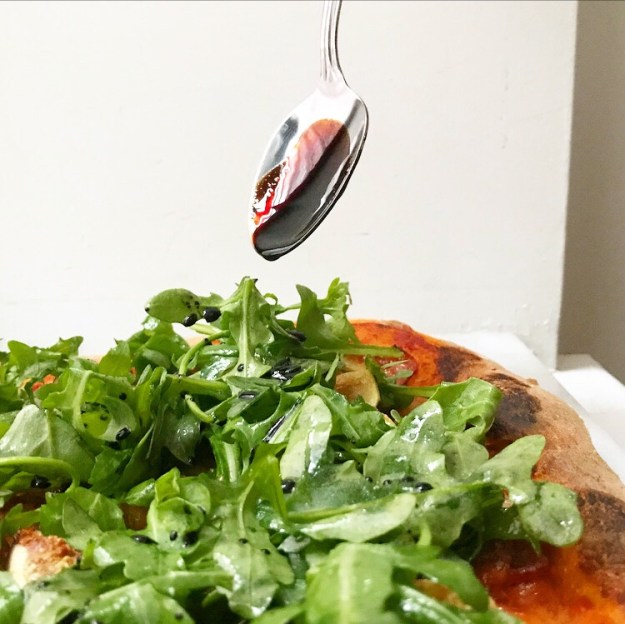
 Oh, y’all. This is really good. Like I-ate-half-a-pizza-and-feel-absolutely-no-remorse good.
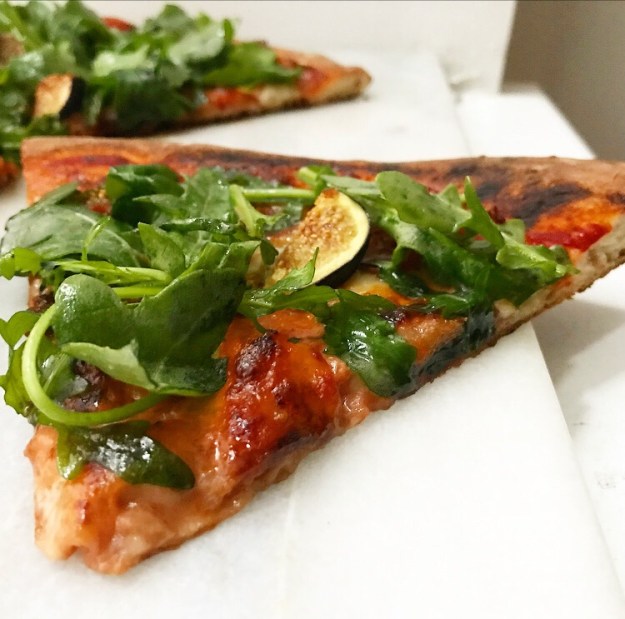 It’s a good thing the recipe makes two pizzas. That’s one for you and one for me, okay?!
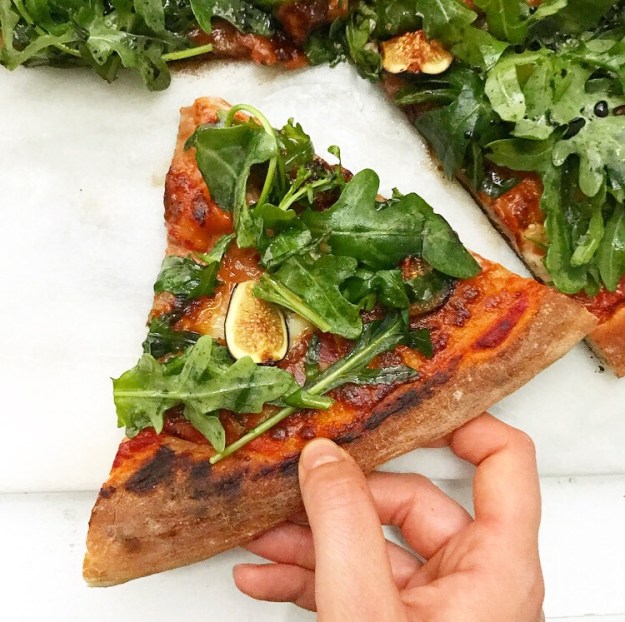
Prosciutto, Fig & Arugula Pizza
makes 2 pizzas
1/2 cup balsamic vinegar
1 batch Pizza Dough (2 dough balls)
4-6 tablespoons strained tomatoes, tomato purée, or other sauce, divided
6-8 ounces fresh mozzarella, torn into pieces, divided
4 ounces prosciutto, sliced into bite-sized pieces, divided
8-10 fresh black figs, trimmed and quartered, divided
1/4 cup gorgonzola crumbles, divided (optional)
2 cups baby arugula, packed
2 teaspoons extra virgin olive oil
If you have an in-oven broiler, place one rack about 6 inches from the heating element. Preheat oven to 500F for at least one hour–the entire oven needs to be very hot.
While the oven is heating, reduce the balsamic vinegar. Pour it into a small saucepan and place over medium heat. Simmer 8-10 minutes, or until thickened and reduced to 1/4 cup. Transfer to a small bowl. Aside.
When oven has heated for one hour, flour 2 rimmed baking sheets, tapping out any excess.
Flour your hands. Working with one ball of risen pizza dough at a time, place your hands (palms down underneath the dough, lifting it from the pan it rose on. Moving your hands slowly, let dough stretch with gravity, moving your hands slowly in a circular motion to allow for even stretching. Gently place dough on one of the prepared pans. Stretch further with your fingertips until the desire shape is reached. Pinch the edges to form a crust. Set aside while you stretch and shape the other ball of dough.
Working with one pizza at a time, pour 2-3 tablespoons of sauce in the center. Use a spoon or ladle to spread the sauce in a circular motion, leaving blank space at the crust. Scatter torn mozzarella over the top, followed by 2 ounces of prosciutto and 3 quartered figs (12 quarters). Set aside while you top the other pizza.
Working with one pizza at a time, bake pizza (in the lightly-floured pan) for 6-8 minutes on the floor of your oven. Remove from oven. Lift edges with a spatula to ensure bottom crust is browned. If it isn’t, bake for an additional 1-2 minutes, checking bottom crust after each minute. Repeat process with other pizza.
If you do not have an in-oven broiler, turn off oven and heat broiler for 5-10 minutes, until very hot. If you do have an in-oven broiler, turn it on and proceed immediately.
Scatter 2 tablespoons gorgonzola crumbles and 1-2 more quartered figs (4-8 quarters) over each pizza.
Broil each pizza 1-4 minutes, until crust and cheese are bubbly and a bit charred. Check pizzas after each minute, and every 30-45 seconds after the 2 minute mark. My pizzas broil in 2 1/2-3 minutes. I like to rotate the pans after 1 1/2 minutes for even browning. Let pizzas cool for five minutes in their pans.
In a medium mixing bowl, toss together arugula and olive oil.
Remove pizzas to cutting board(s). Top with arugula and a drizzle of balsamic reduction (you will have leftover reduction). Slice pizzas with a sharp chef’s knife (or pizza cutter) and serve immediately. Wrap any leftovers in foil and refrigerate for up to 2 days. Arugula will wilt over time.
 Seeing all my friends’ kids’ back-to-school photos these last few weeks, I’ve been reminiscing about my own school days. I don’t know that we took First Day photos (my parents rarely remembered a camera), but that’s okay because all my first days were pretty similar. I mean, I went to the same school K-12 and wore the same uniform for all but one semester of that time.
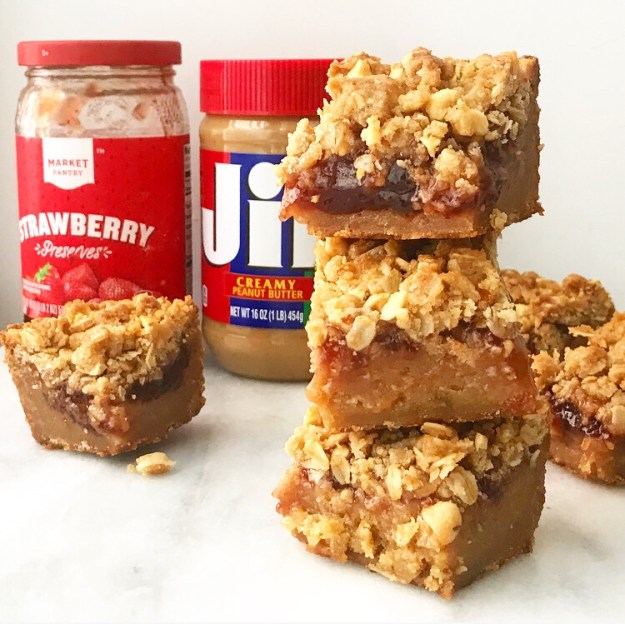 One of my childhood chores was to pack my own lunch. I was/am skeeved out by lunch meat and was not yet allowed to cook with any regularity, so I packed a peanut butter & jelly sandwich damn near every single day.
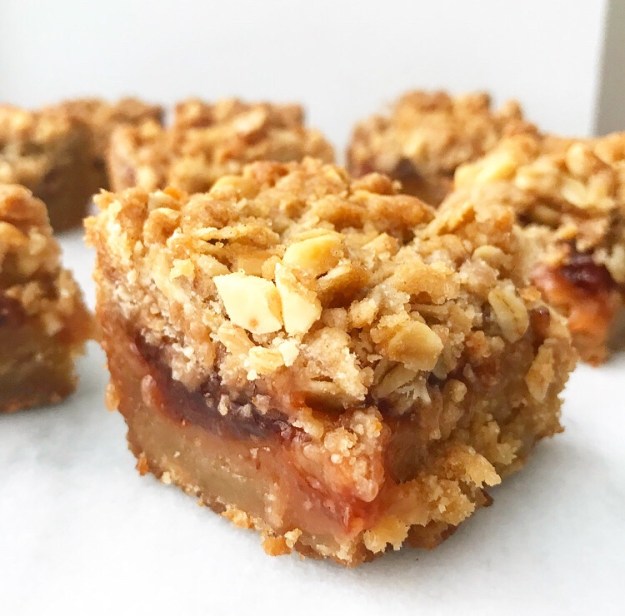 You don’t need me to explain the magic of a PB & J to you. It’s the perfect combination of sweet, salty, gooey, and satisfying. After thirteen years of eating them five days a week, I don’t eat many peanut butter & jelly sandwiches these days, but when I do, I fall in love all over again.
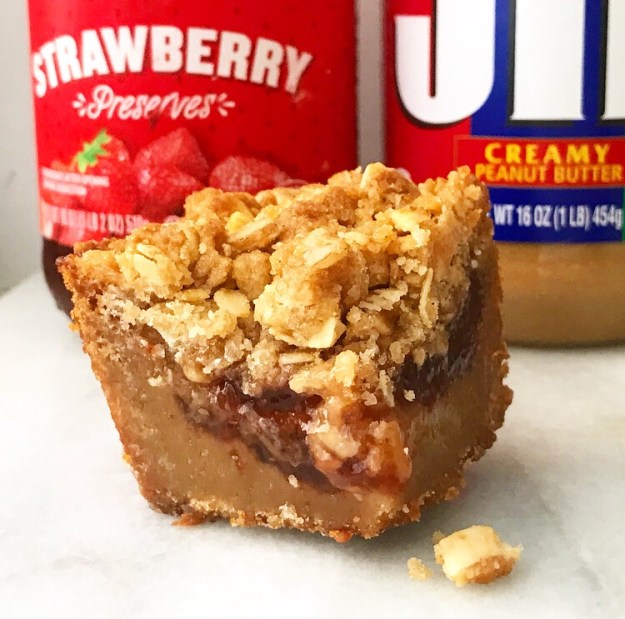
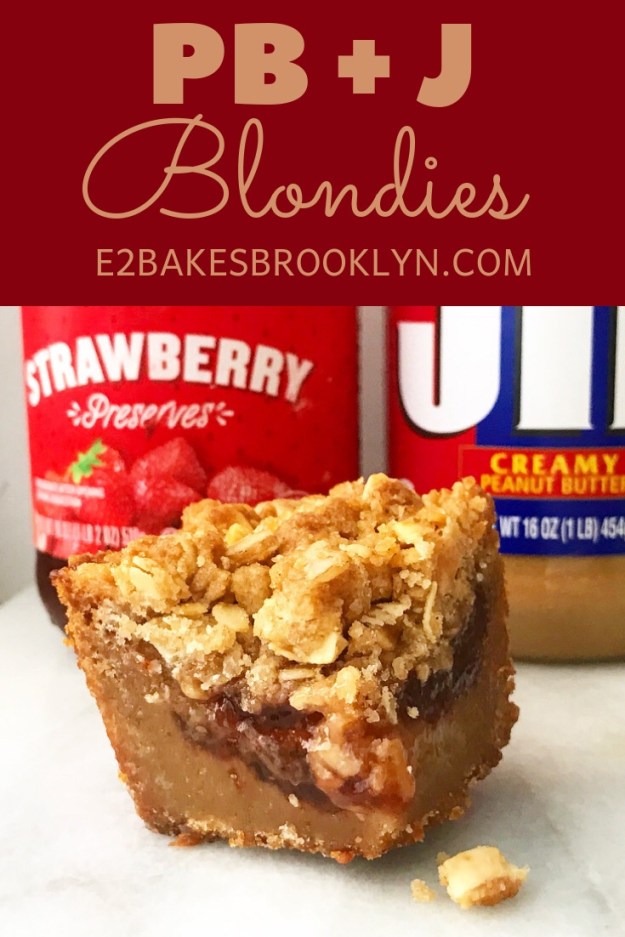
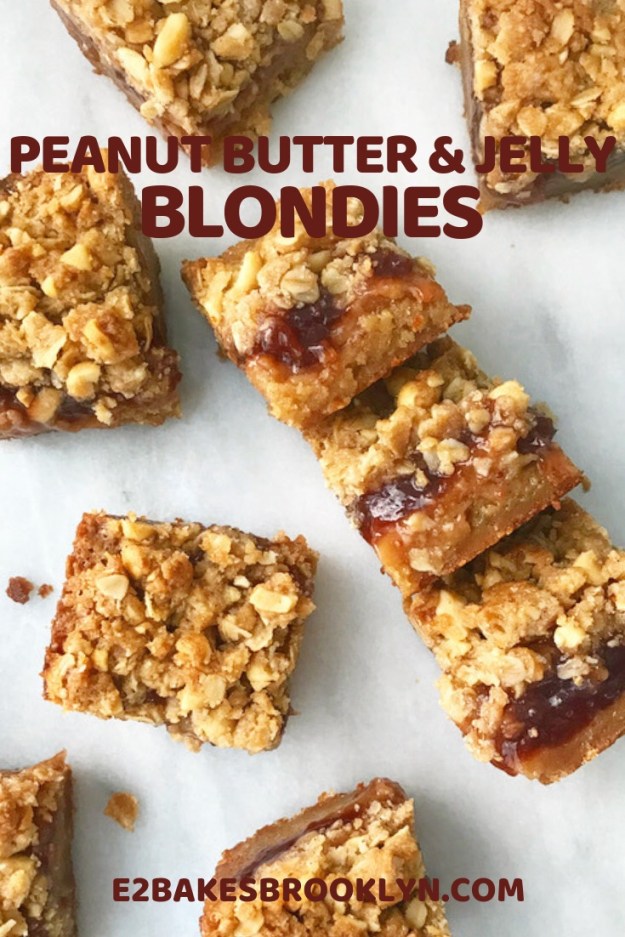
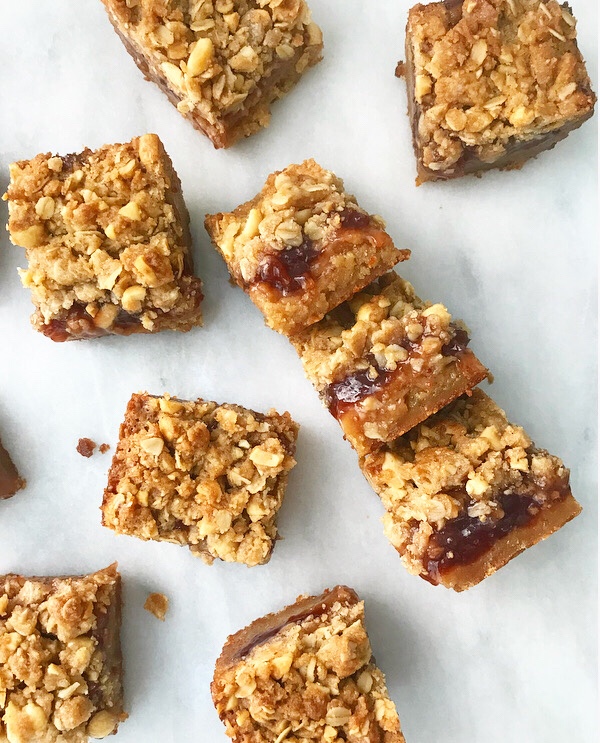 Today’s recipe, Peanut Butter & Jelly Blondies, is a sweet little ode to that school lunch classic ❤ These fabulous layered bars begin with my tried-and-true
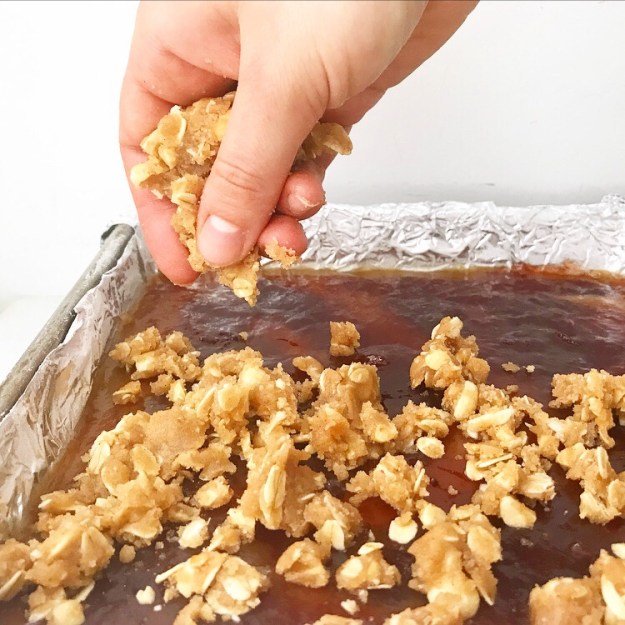
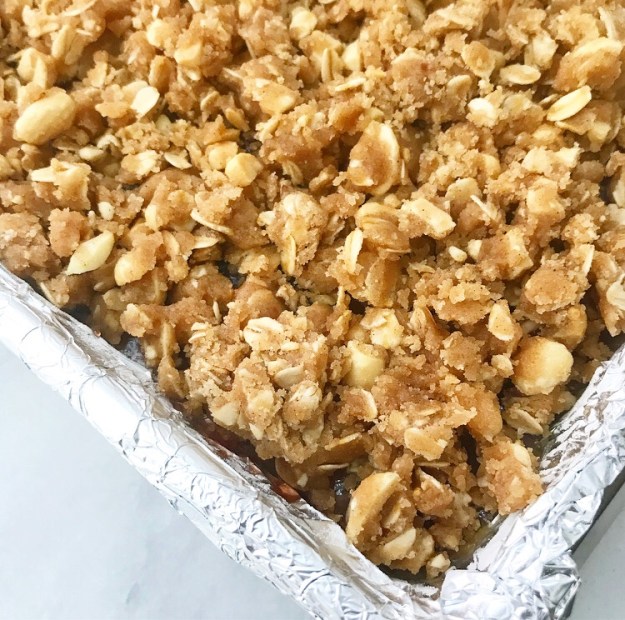
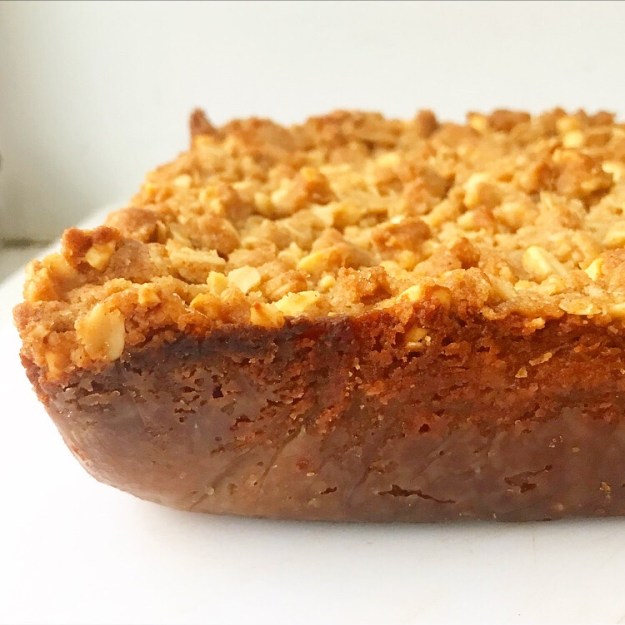 The blondies are baked for 35-40 minutes before being cooled and sliced. I like mine a little on the underdone side, but you can bake them a few minutes longer if that’s not your thing. Either way, you’ll be rewarded with a pan of rich, dense, peanut butter & jelly deliciousness.
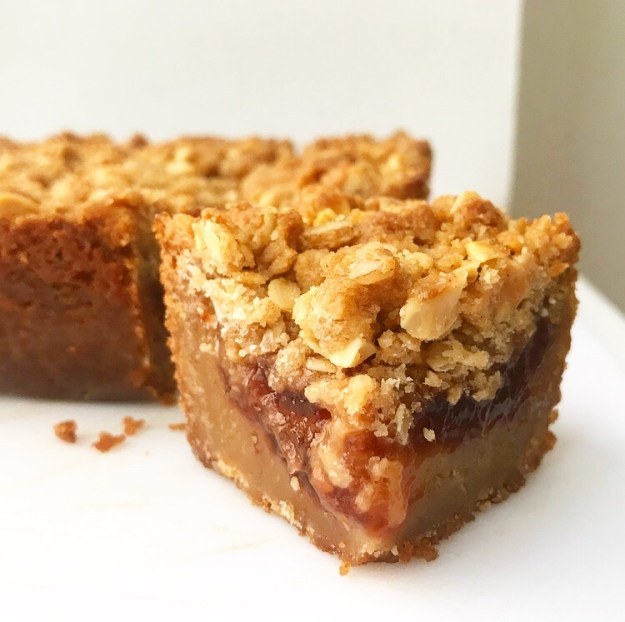 I find that chilling these bars in the fridge (or even the freezer) makes them easier to slice. The jelly layer will never be completely firm, but it shouldn’t be too messy to work with. And even if it is, who cares? It’s peanut butter & jelly—getting a little on your fingers is all part of the fun.
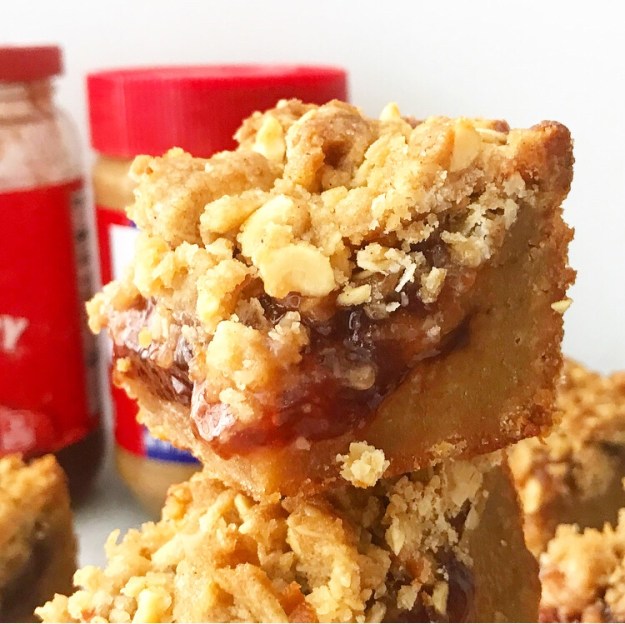
 It’s never fun to come home from


 Like wading into the fuh-reezing Atlantic Ocean with three of the most fabulous women I know.
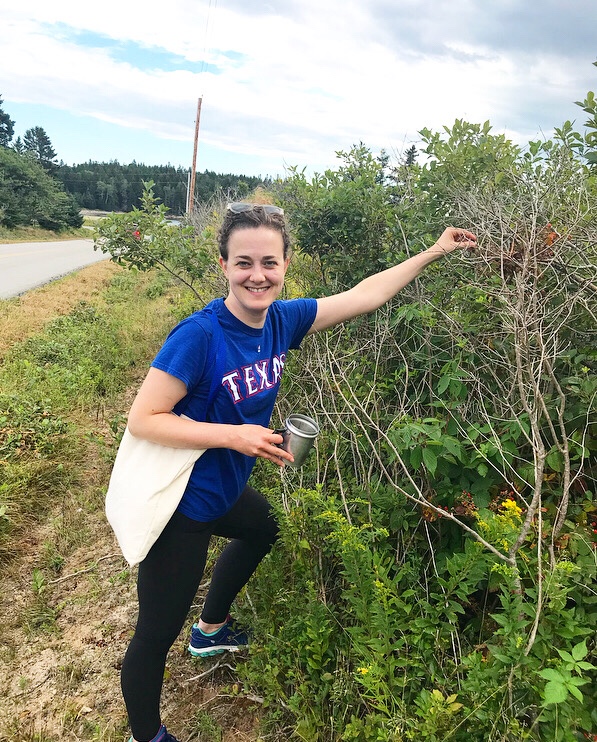
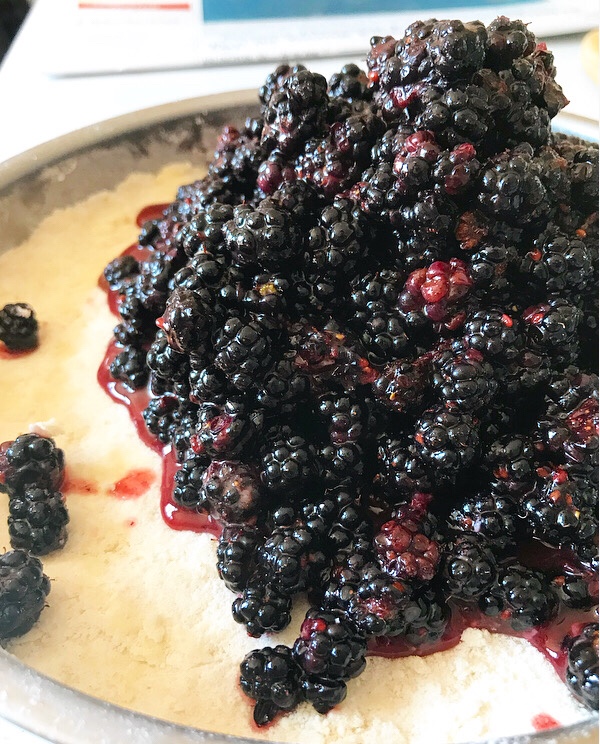
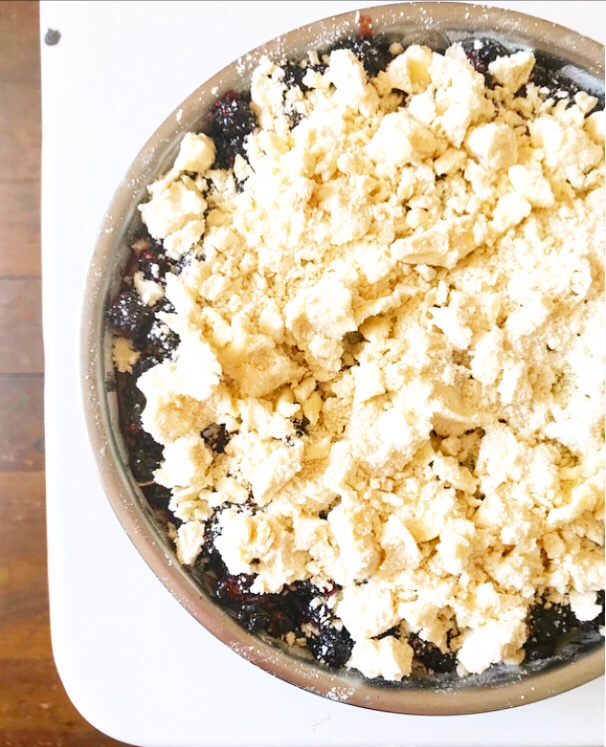
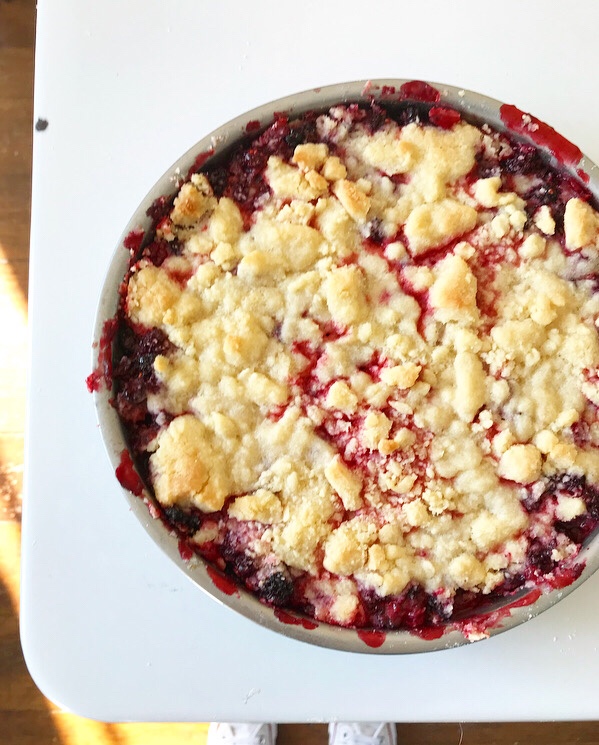
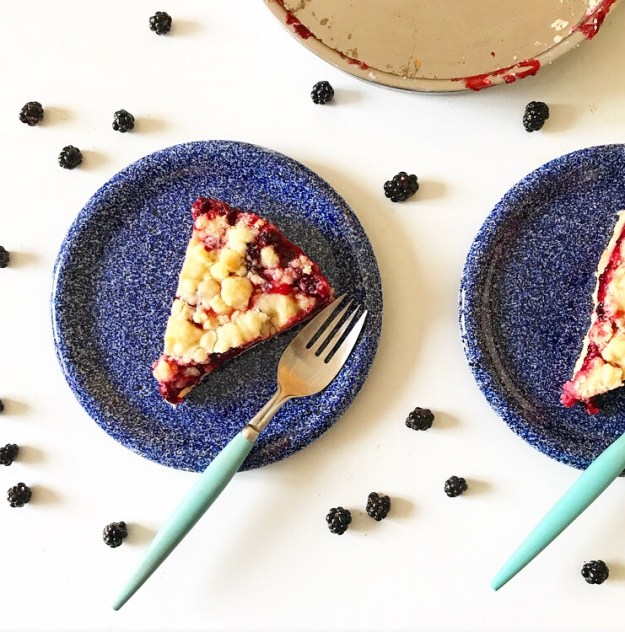
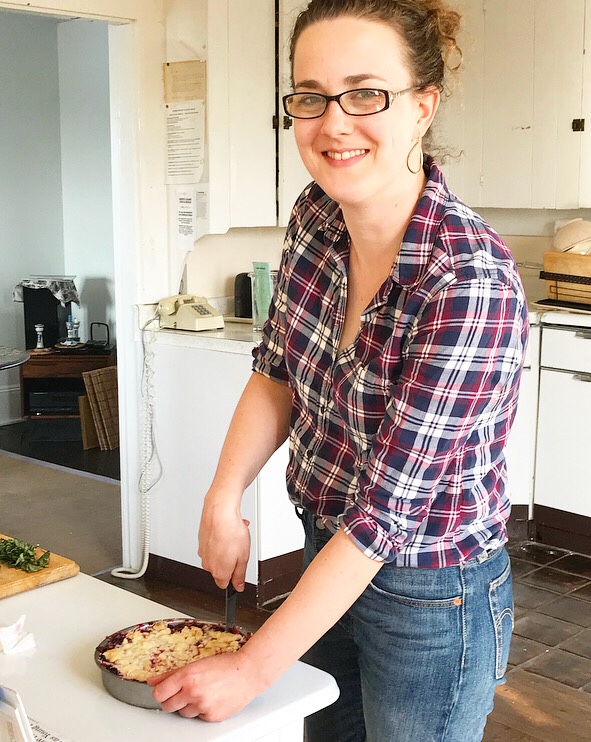
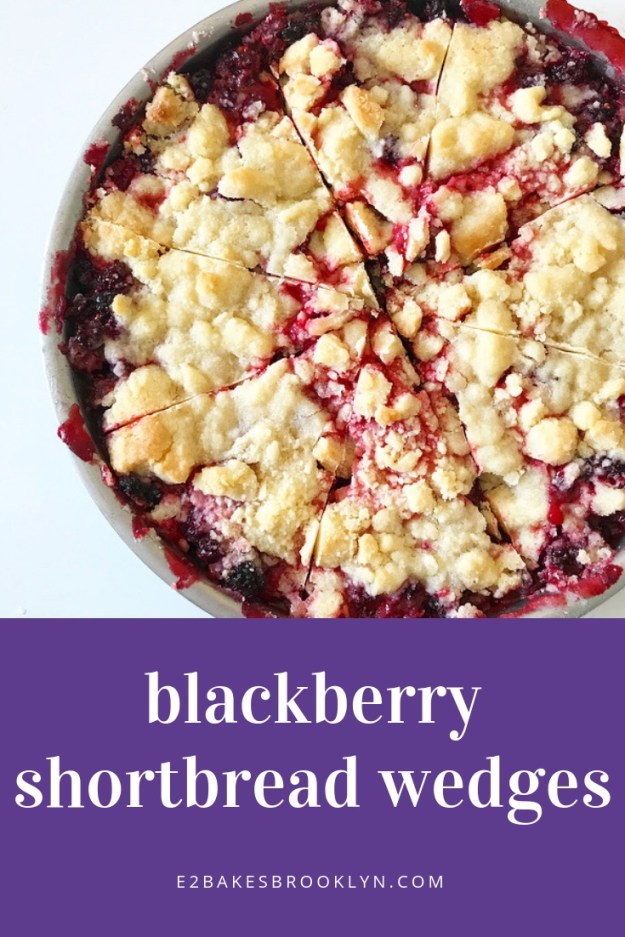
 And picking blackberries with my sister.
 But, I mean, we still have to eat. We might as well do it in style.
 Meals here on Swan’s Island are meticulously planned. Four years in though, we sort of know what we’re doing.
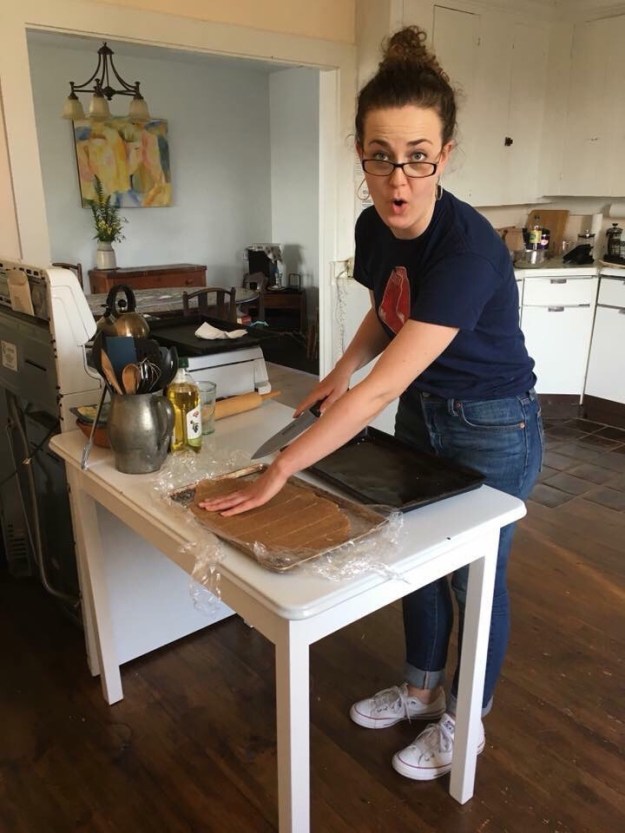 If it sounds like work to vacation here, that’s because it is. Fortunately for me, it’s the sort of work I love most. I mean, what’s to complain about when there’s daily
 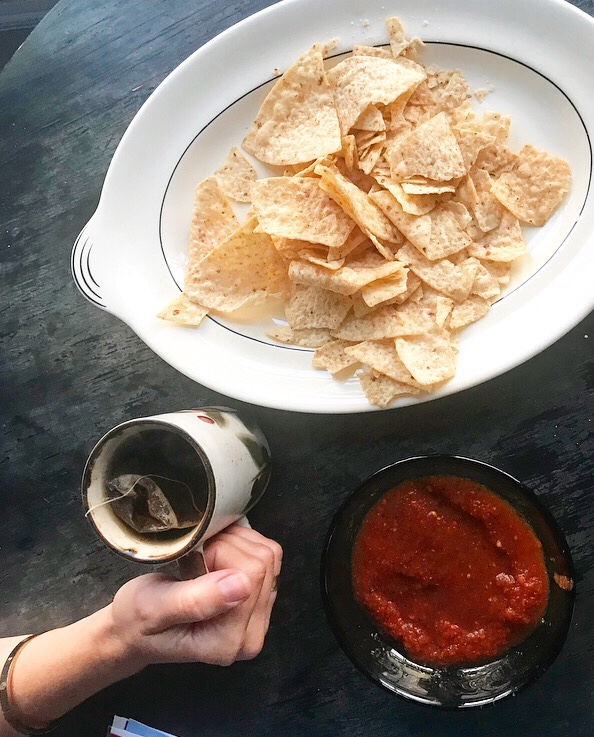 And don’t forget
 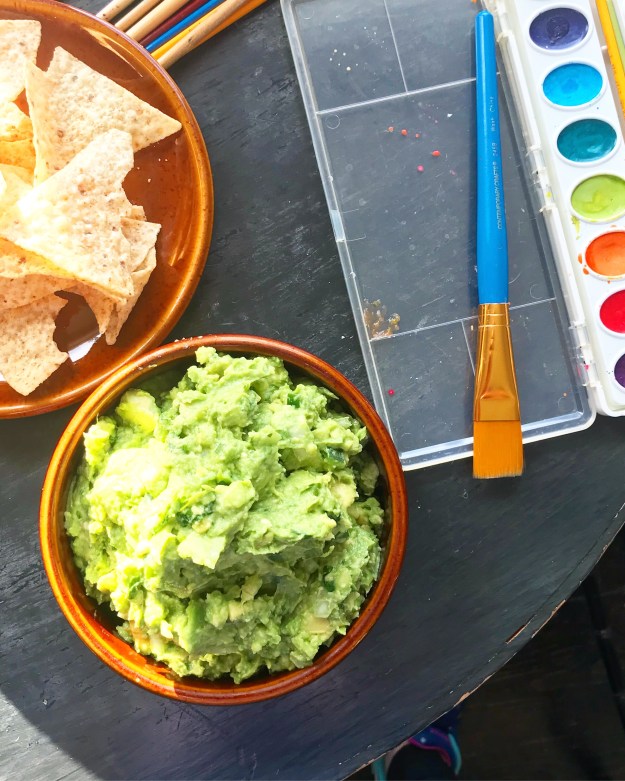 It’s impossible to be grouchy in the morning when VJ makes you gluten-free vegan waffles…
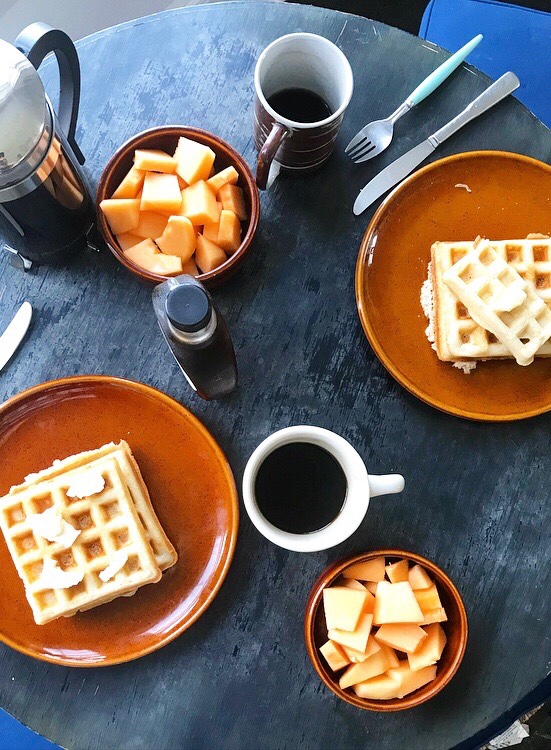 …and blueberry muffins. The bacon was my contribution.
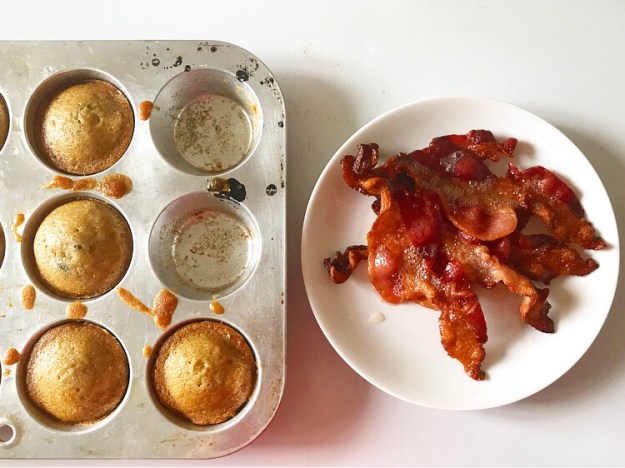 There were Migas, too…
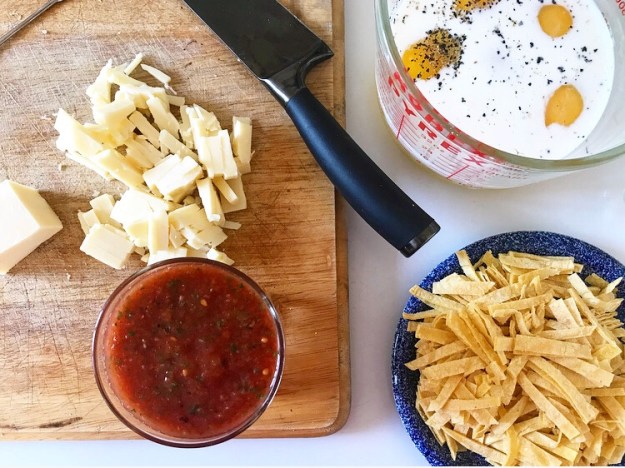
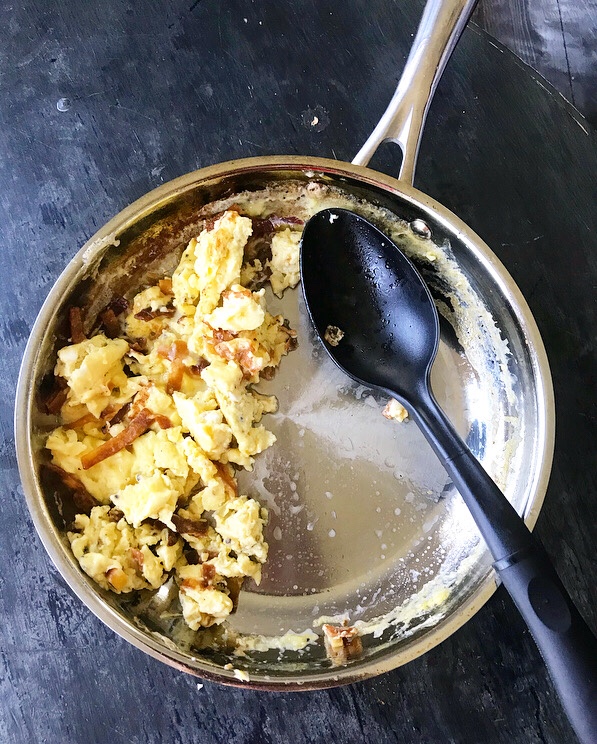
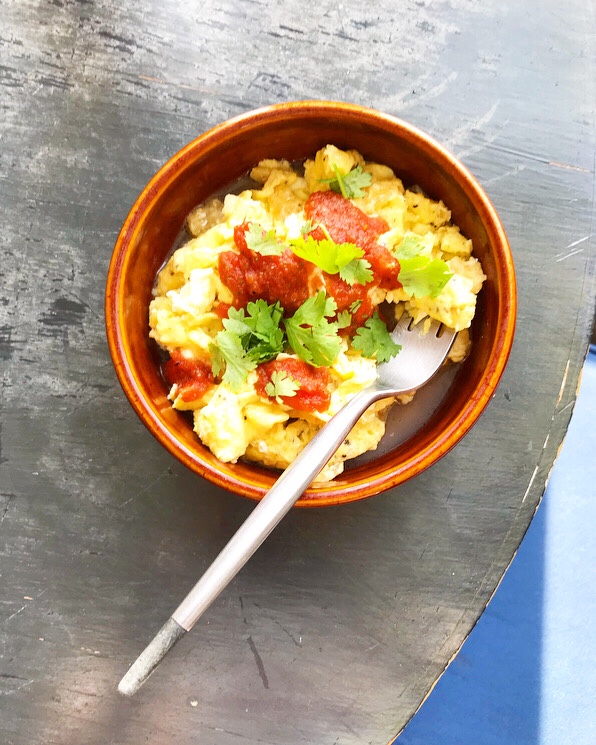
 …and the
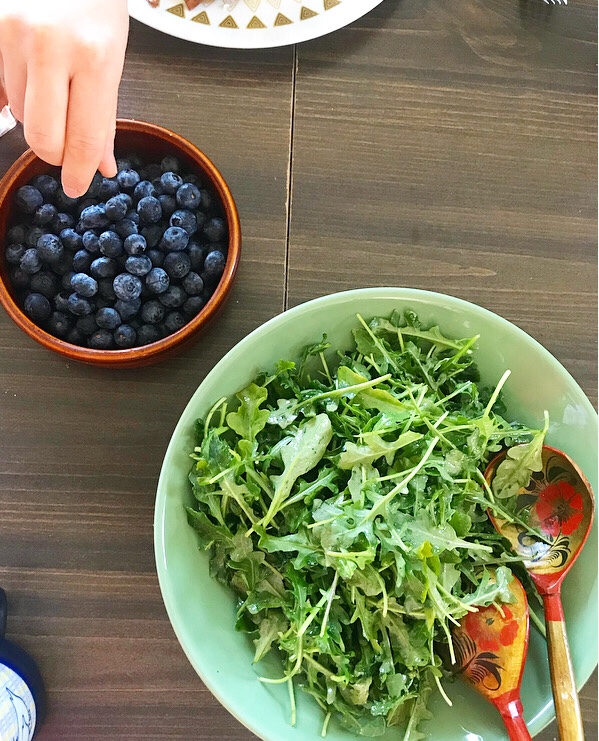
  And cantaloupe. (Can you tell I am in love with the white prep table?)
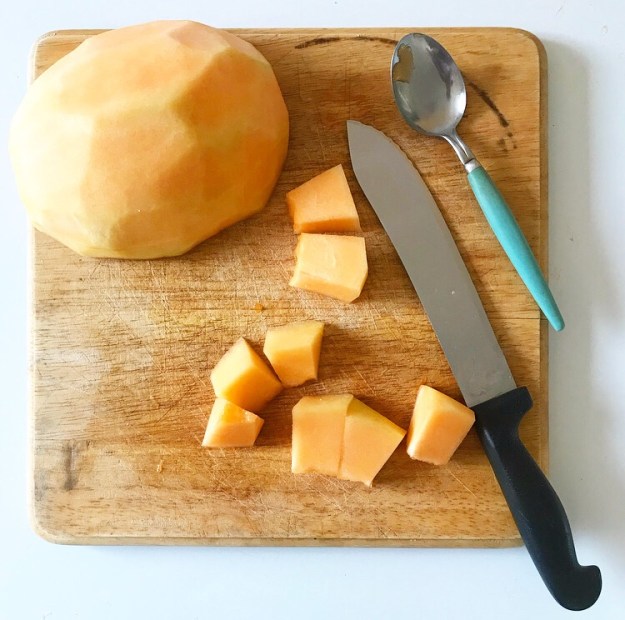 Lunches have been less curated, but this chickpea-centric spin on my favorite Jacques Pepin
 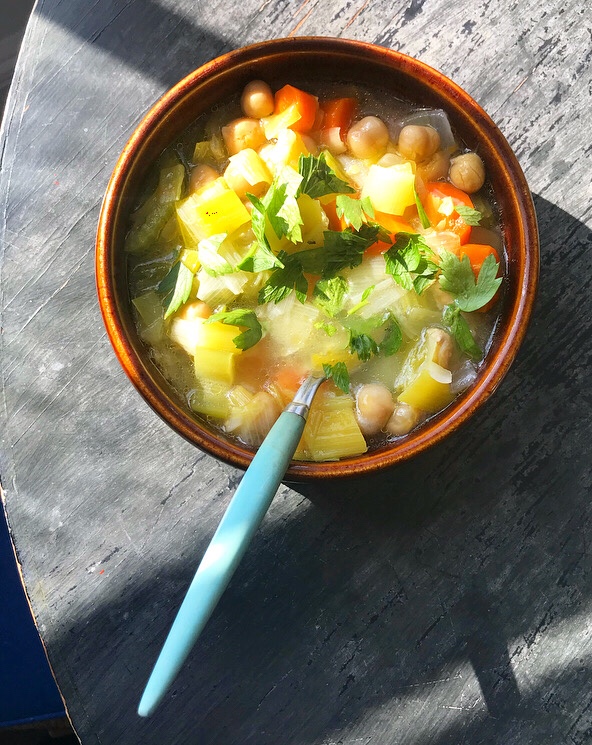 And don’t forget extra-toasty grilled cheeses.
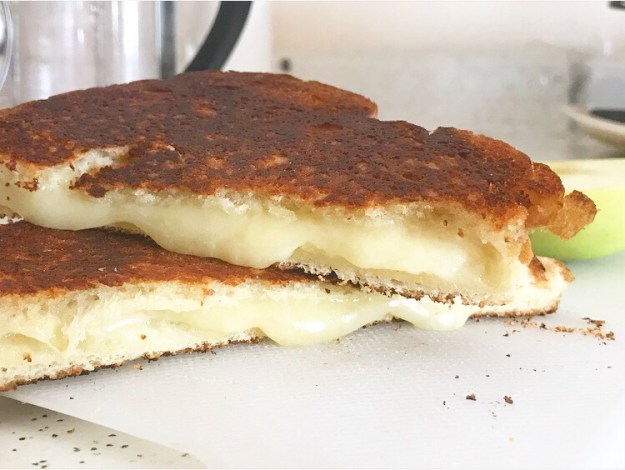 Dinner is an event though. We’ve had a
 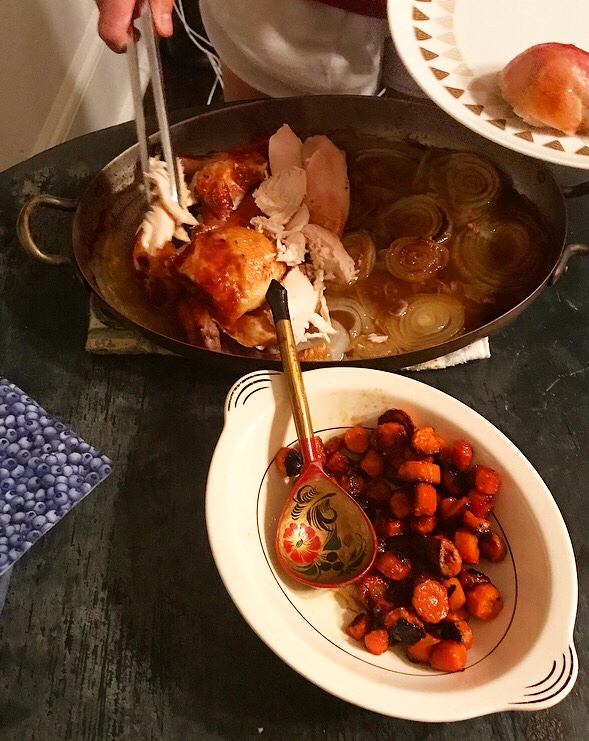 There was vegan
  And Eliot made my crowd-favorite
  Last night was taco night. Hooray for using up leftovers!
 Dessert has been plentiful. I mean, I’m here.
 I made a batch of
 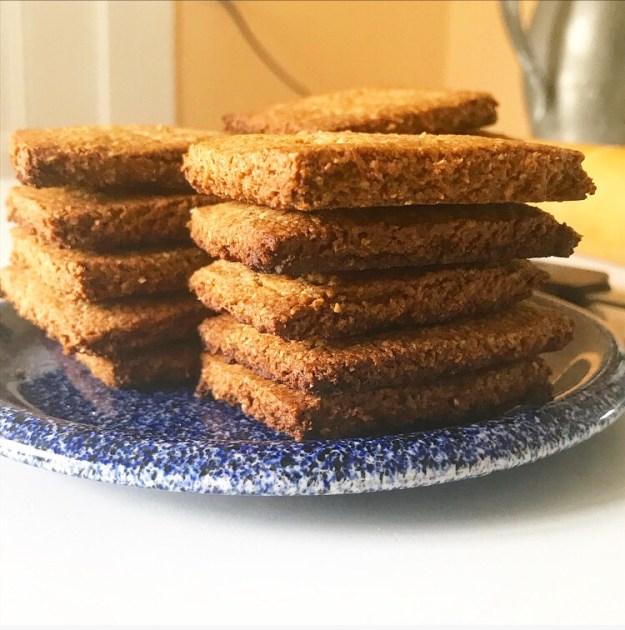 so naturally, there were s’mores.
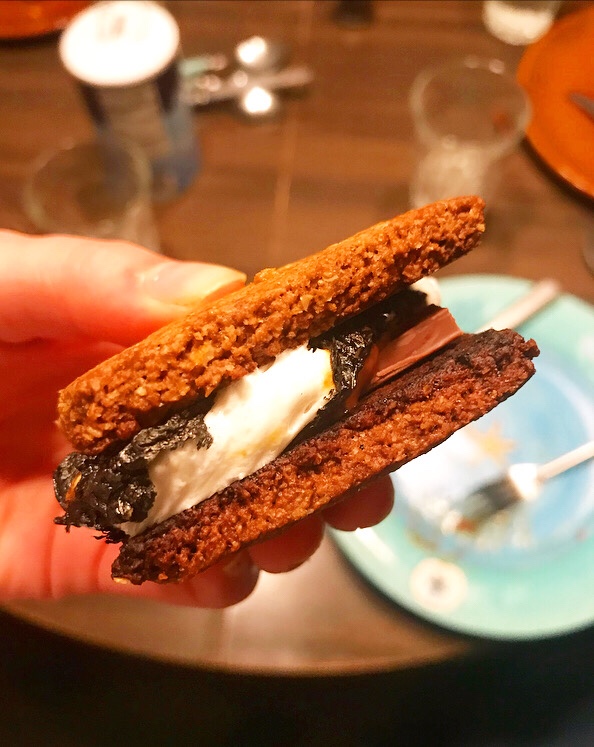 There have also been also S’moreos.
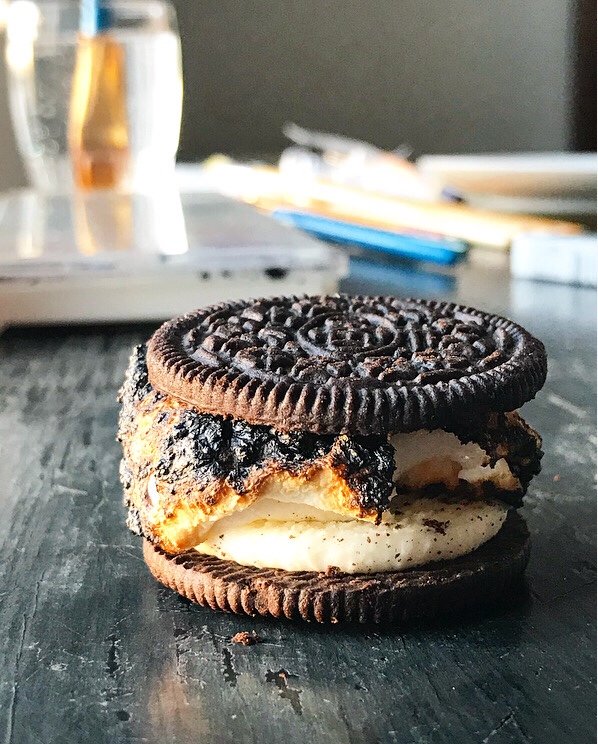 And just straight-up toasted marshmallows.
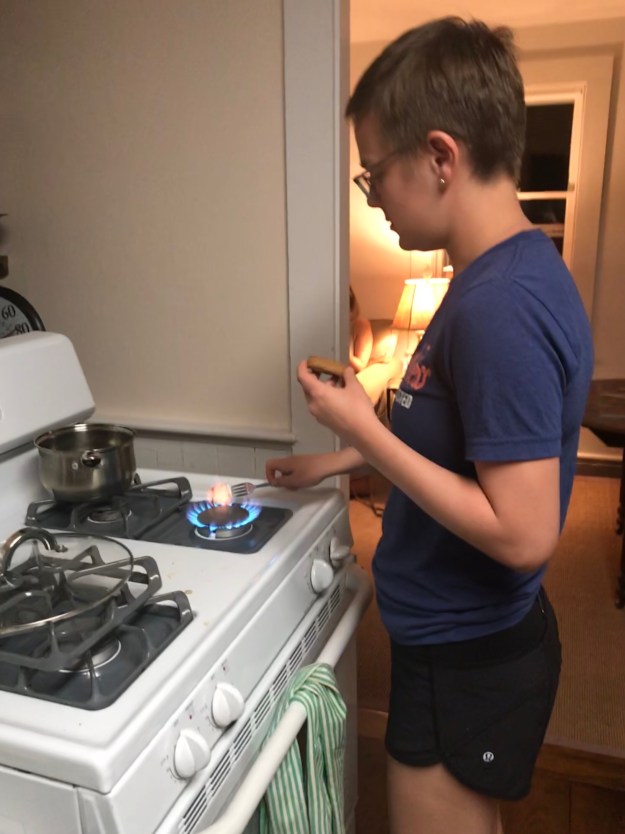 Also, lots and lots and lots of coffee. Arnab finally learned how to use the French press we bought him for Christmas. #adulting
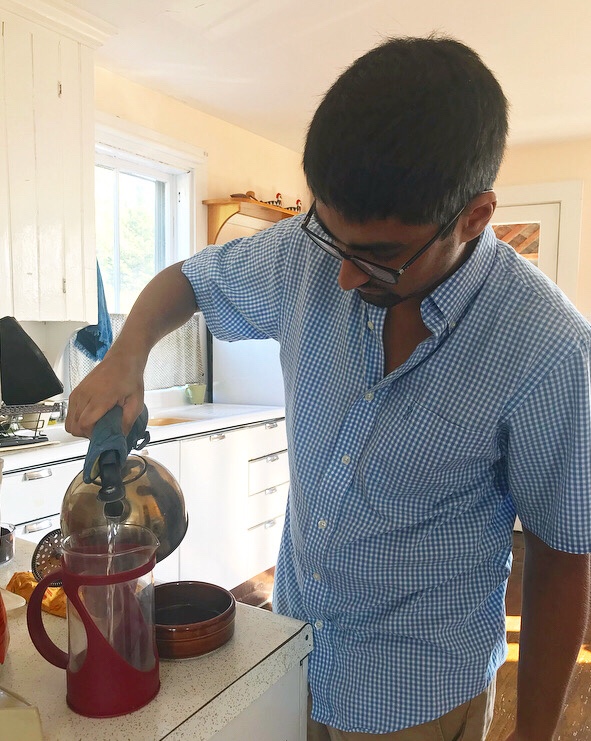 So, as you can see, we have not starved. We have some produce to finish and a few things we’ll divvy up on our way back to New York, but we have, by and large, used everything we brought.
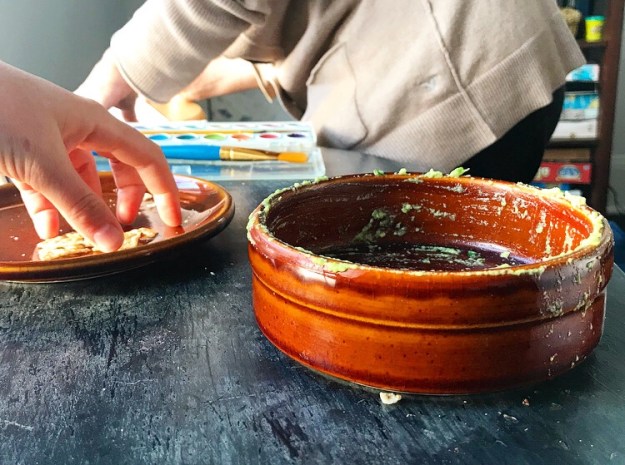 I’m planning to do some last day of vacation baking today (all those
  The day is young.
 Hello from
  VJ and I got here Saturday afternoon. It was supposed to be us and two more that day, but due to a work snafu, they didn’t join us until yesterday. Thank goodness for our other guest, my sister,
 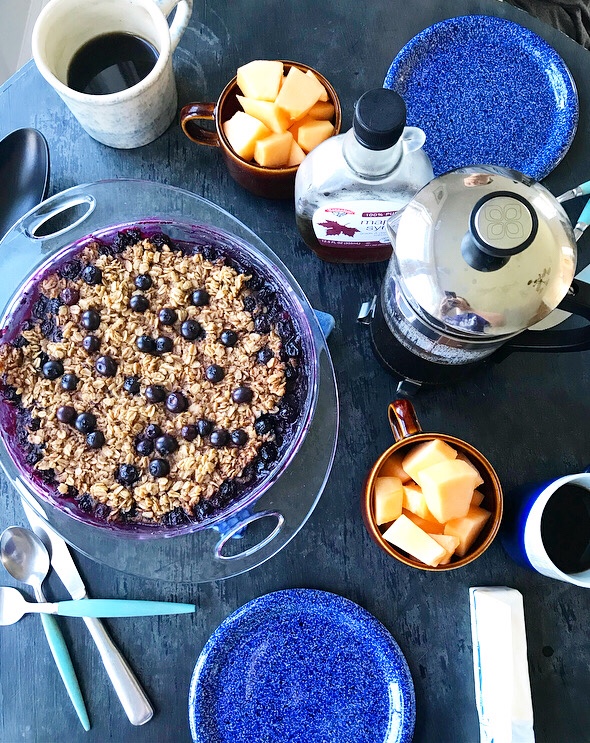 Since it’s just been the two of us these last few days, meals have been simple. As I’ve mentioned
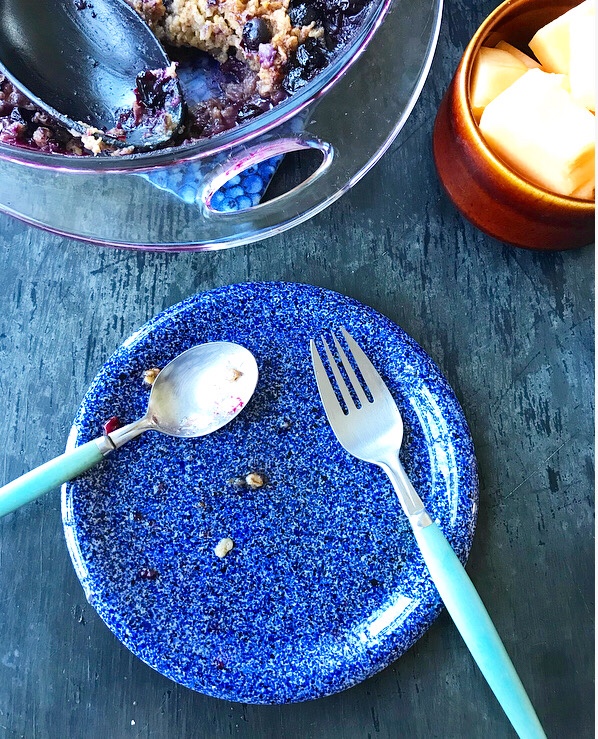
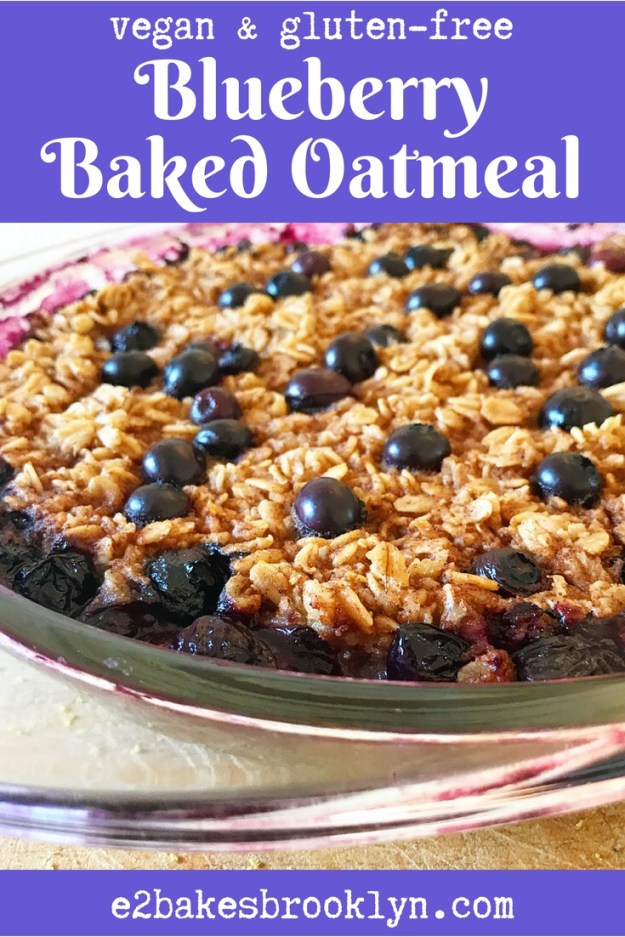
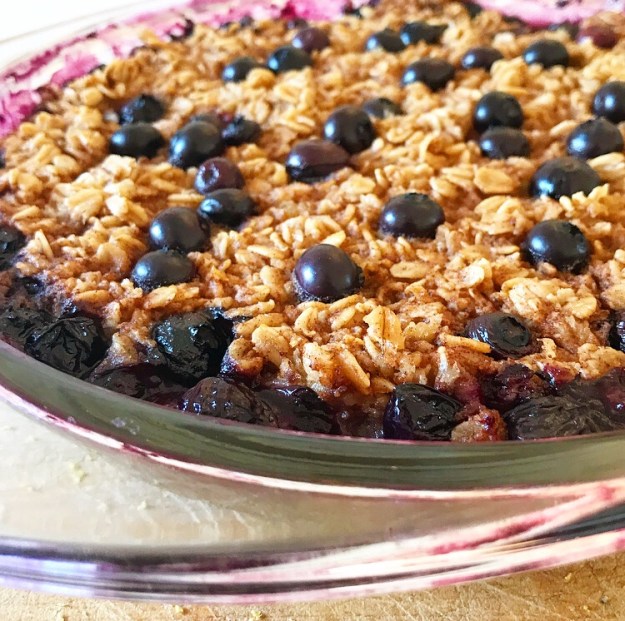
 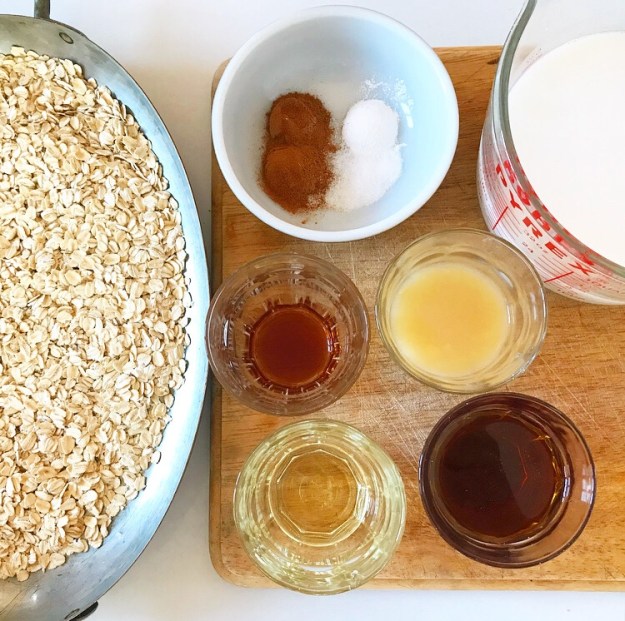 While everyone else I know was going to work Monday morning, I made this Blueberry Baked Oatmeal for us. Made with gluten-free old-fashioned oats, rice milk,* and
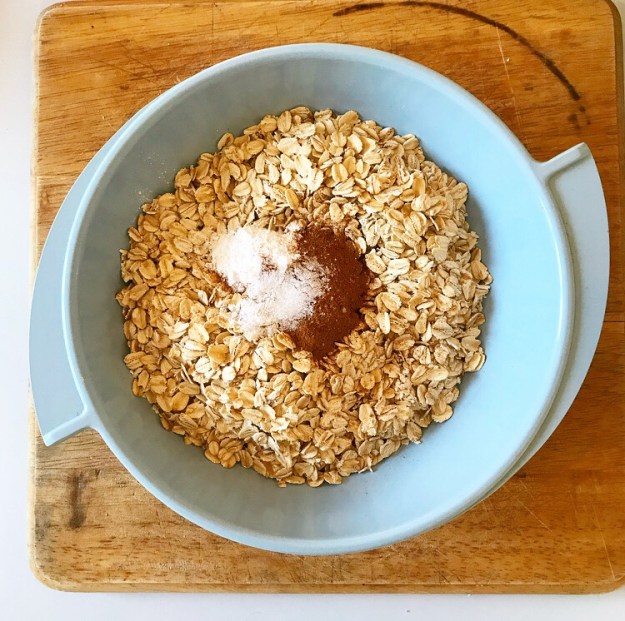
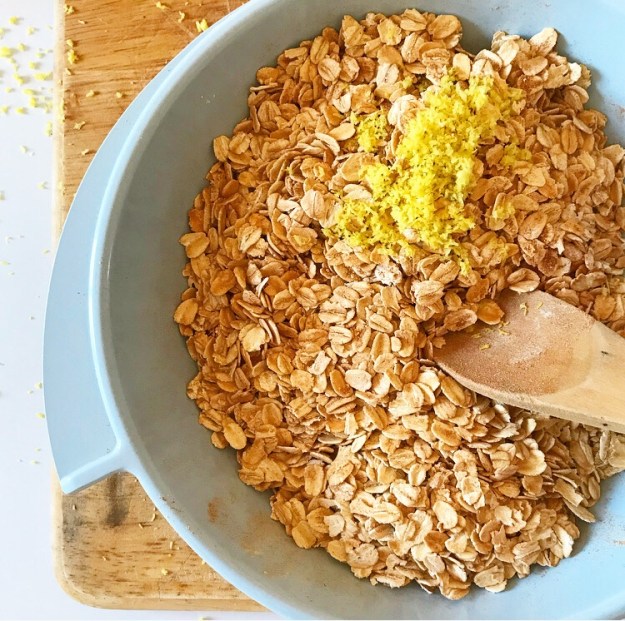 This oatmeal is super simple to make. With just a few minutes of prep-work and 40 minutes of bake time, you’ll be rewarded with a rich, cinnamon-spiked oatmeal that is positively bursting with blueberries.
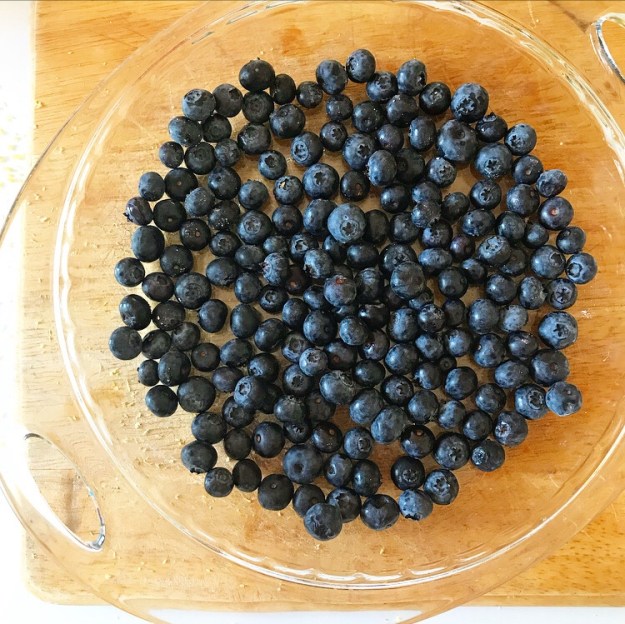
 You just need two bowls and a stirring implement to put it together, and you probably have all the ingredients already (with the possible exception of blueberries).
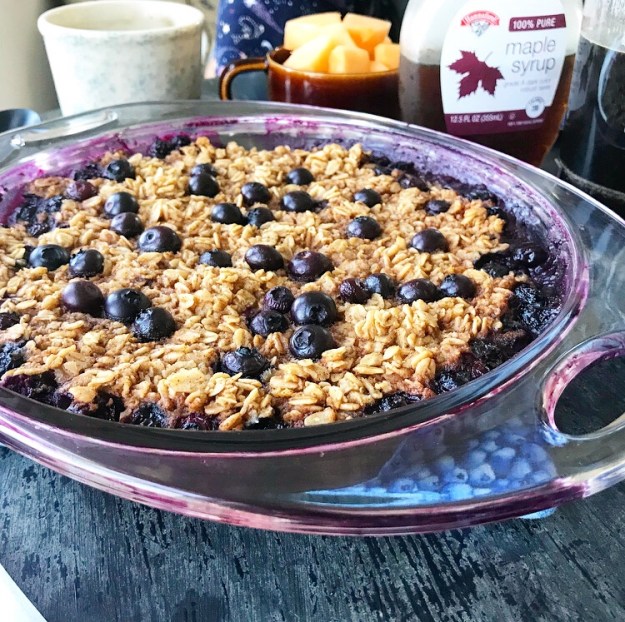
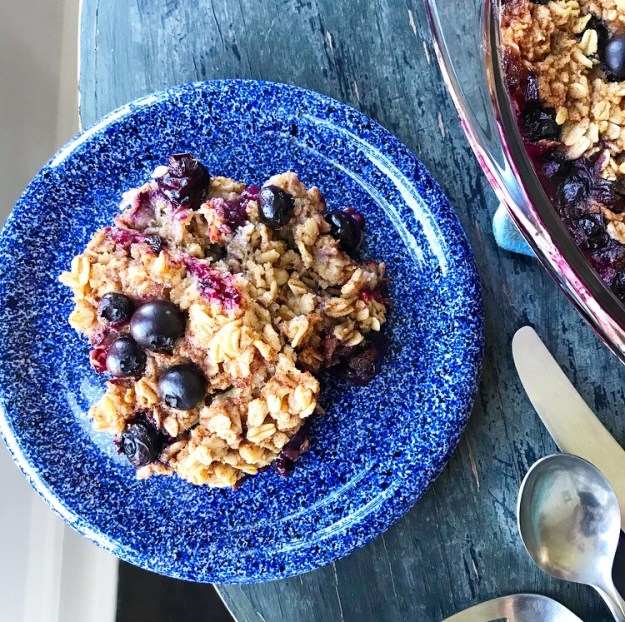
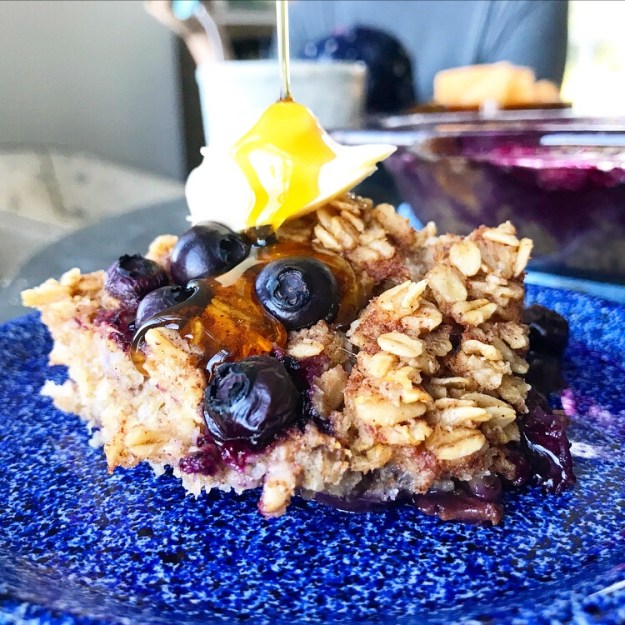 VJ and I prefer our oatmeal on the sweet side, so I used 1/2 cup maple syrup here. If you’d like a less-sweet breakfast, you can reduce it to 1/4 cup.
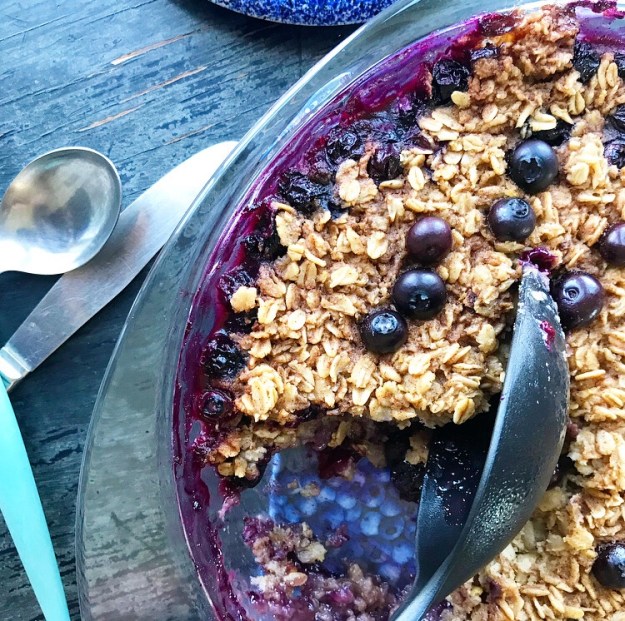 Feel free to add nuts or seeds (toast them with the oats!), or stir in coconut flakes or mashed banana. Everything we eat on Swan’s Island comes from one pre-ferry grocery trip on the mainland, so meals are paired down and simple. I like this oatmeal as-is with an additional drizzle of maple and a pat of butter, but that’s just me.
 As with many of the recipes on this site, this recipe can be made with many variations. Feel free to take my favorite and make it yours.