When I posted Flourless Chocolate Cookies a couple months ago, my first thought was “these would be perfect for ice cream sandwiches.” Short story shorter, I was right.
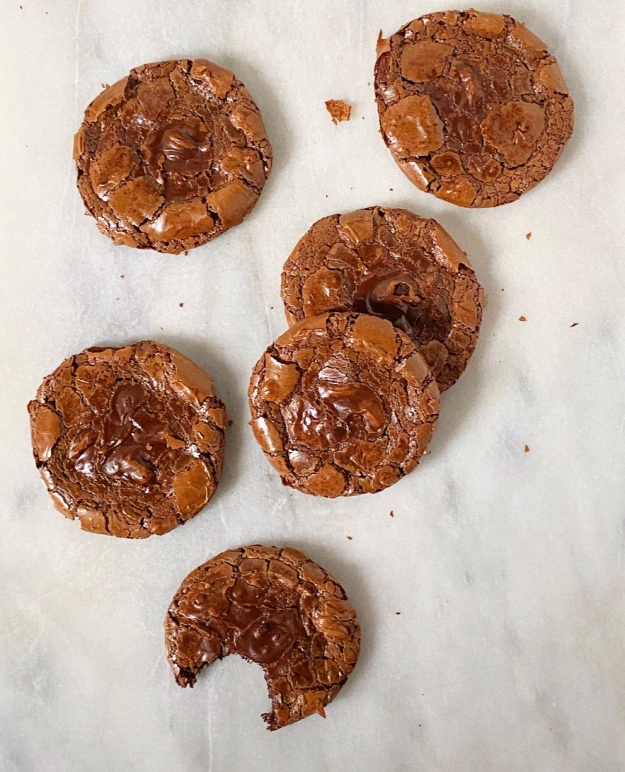
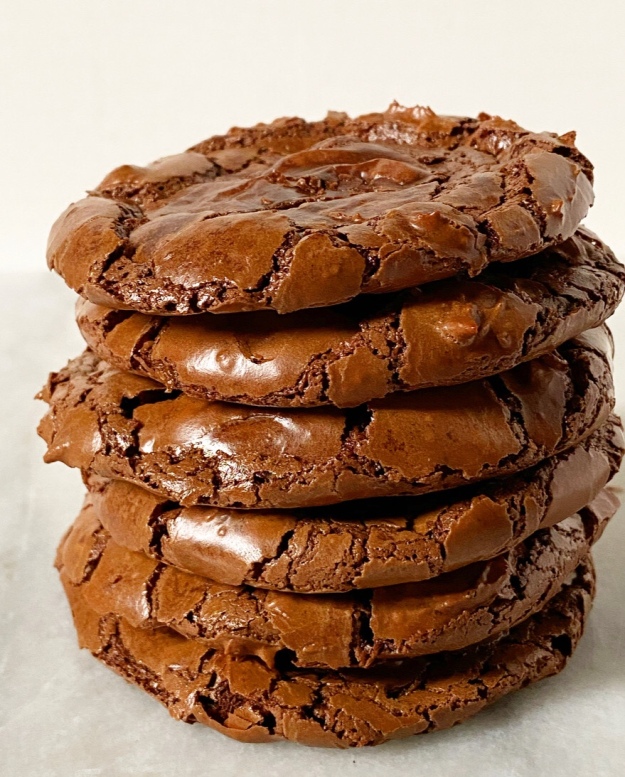
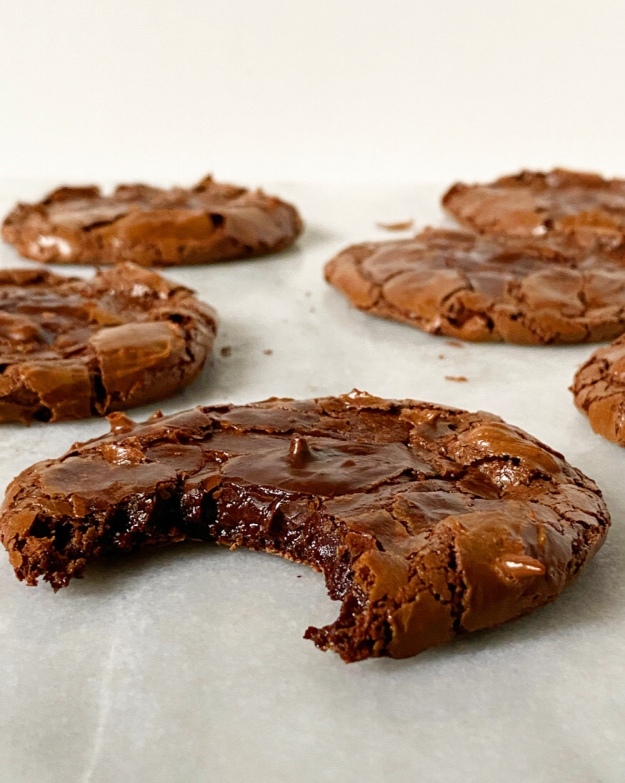
Like all the best ice cream sandwich cookies, Flourless Chocolate Cookies are fairly flat and aren’t too hard or too soft. They also have this lovely, crinkly brownie-like quality, and are super easy to make and naturally gluten-free. Like I said, perfect.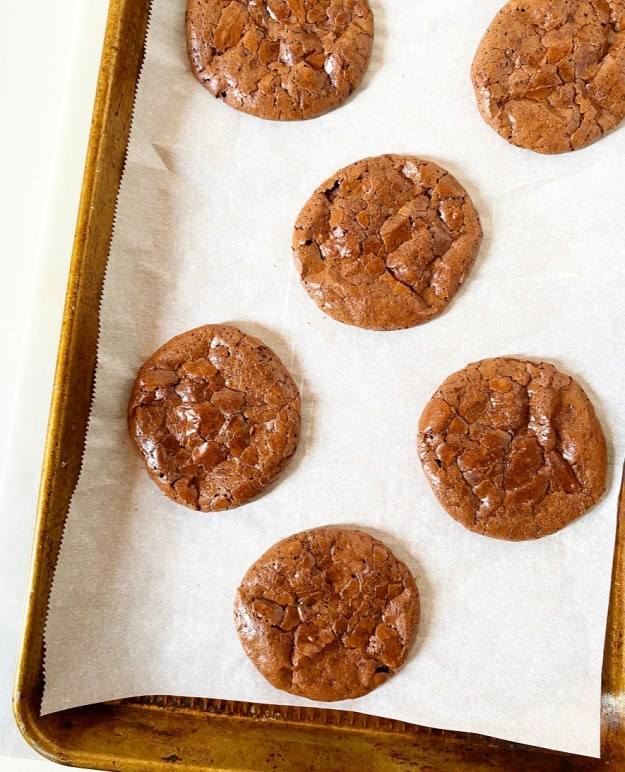 These cookies are on the sweeter side (confectioner’s sugar provides a lot of the structure), so I added a teaspoon of granulated espresso to the recipe to keep them from being cloying with ice cream. I also cut the size of the cookies in half for a dozen medium cookies instead of six large ones.
The assembly process begins by matching cookies, meaning determining which are the most compatible shapes. Mine all turned out fairly round, but there are always a couple that are a little oblong.  Next up, you’ll need to freeze the cookies for about 30 minutes. This helps the ice cream to stay on the solid side and the cookies from getting too soft during assembly. This step is not strictly necessary, but it is good insurance against ice cream sandwich frustration.
 Regarding ice cream, use whatever flavor you want. I went with a mid-level nationwide brand’s vanilla here and it was fine—good, even—but I will go higher quality next time. Oh, and I’ll probably go with mint chocolate chip because it’s my favorite. The point is to use what you love and not settle for less. Cookies are an important part of ice cream sandwiches, but ice cream is the *most* important part.
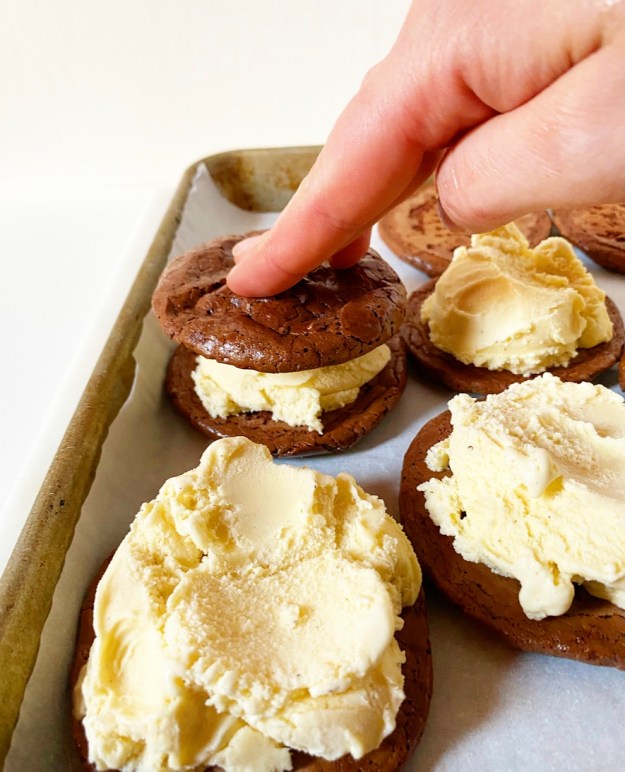
There are many ways of getting ice cream into ice cream sandwiches—slicing it, pressing it into molds, etc.—but I like to use the very easy and imprecise method of measuring out roughly 1/4 cup (1 small scoop) and lightly smashing it on a cookie.
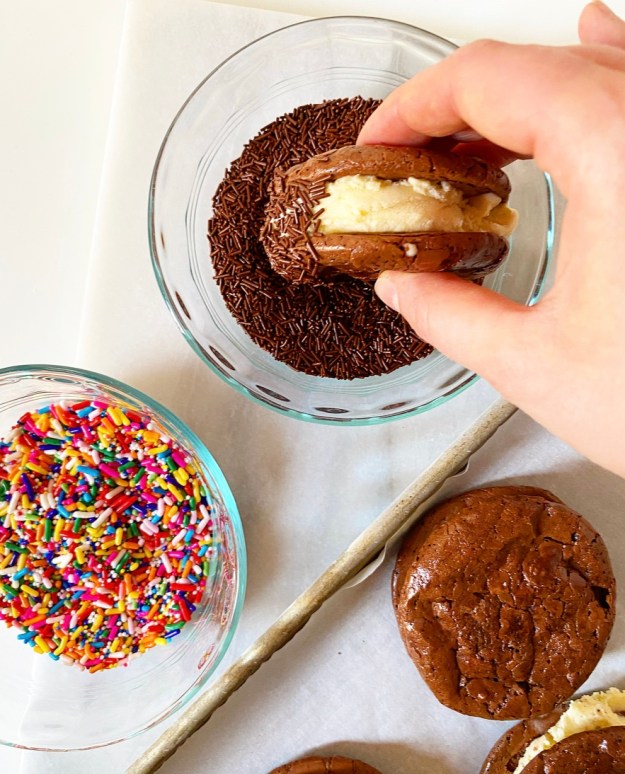 Freeze the sandwiches before rolling them in your sprinkles of choice or chopped nuts or mini chocolate chips or candy bar pieces or crushed Oreos. Again, use what you love and don’t settle for less. <—good life advice?
 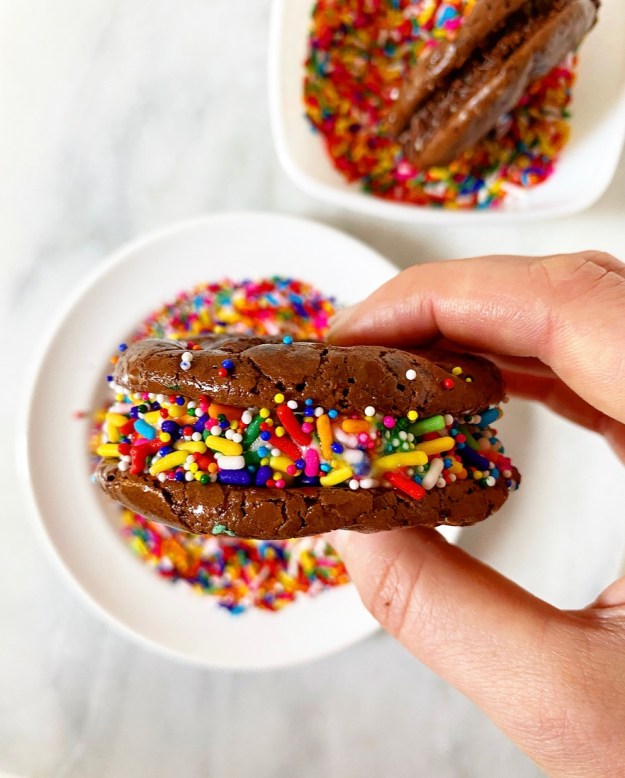 The last step is to freeze your ice cream sandwiches again for several hours or up to a day before digging in. Yes, you can eat them right after assembly, but the ice cream squidges out the sides and then you’re just eating two cookies with a translucent smear of ice cream and a weird smattering of sprinkles and then licking ice cream off a salad plate like a wild animal.
Maybe that’s just me.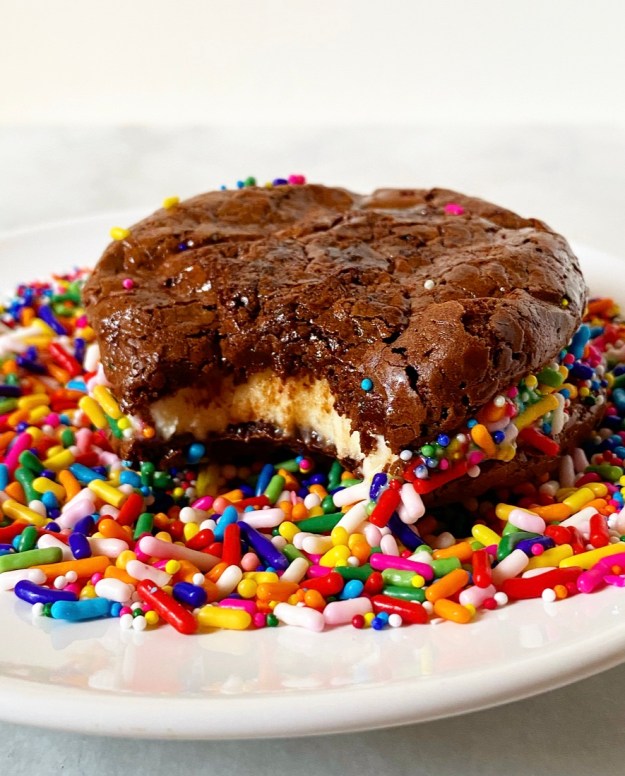 Anyway, freezing the completed ice cream sandwiches for a few hours allows the ice cream to adhere to the cookies so that the sandwiches become single entities. That’s something I really care about with my ice cream sandwiches. Considering how much I loathe the patriarchy, I sure do love to be able to eat things in a ladylike manner.
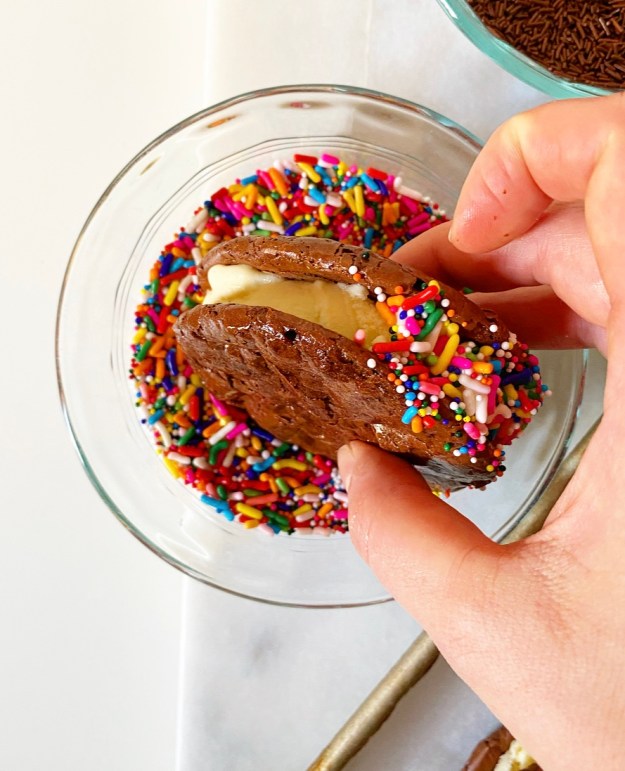
 I assure you, they’re worth the lengthy freezer time. The cookies never fully freeze, instead softening a tiny bit and getting extra chewy. And then there’s the ice cream and crunchy sprinkles. Like I said, perfect.
Easy Gluten-Free Ice Cream Sandwiches
makes 6 medium-large ice cream sandwiches
For cookies:
1 1/4 cups confectioners sugar
6 tablespoons cocoa powder (natural or dutch processed)
1 teaspoon granulated espresso
1/2 teaspoon Kosher or sea salt
2 large egg whites, room temperature
For assembly:
1 1/2-2 cups (about a pint) ice cream of choice
sprinkles of choice, optional
chopped nuts, optional
chopped candy bars, optional
crushed cookies, optional
miniature chocolate chips, optional
Preheat oven to 325F. Line a rimmed baking sheet with parchment. Set aside.
In a medium mixing bowl, whisk together confectioners sugar, cocoa powder, espresso granules and salt. Add egg whites and whisk until smooth, glossy and a bit thick. If it seems dry during mixing, just keep going—it will get smooth. Let batter rest for 10 minutes–it will thicken slightly.
Drop batter in 1 tablespoon increments on the prepared baking sheet, making sure to leave them at least 3 inches apart. Bake 11-12 minutes, until puffed and crackly.
Let cool completely on their pan on a rack. Carefully peel parchment away from each cookie to release.
Line a rimmed baking sheet with parchment. Place cooled cookies on the prepared pan and freeze for 30 minutes.
Assemble the ice cream sandwiches. Match cookies by shape and size so that you have six pairs. Turn 6 cookies upside down. Place 1/4-1/3 cup ice cream (roughly 1 small scoop) on each upside down cookie and use the back of the scoop to lightly smash it so that there’s a small perimeter (1/4-1/2 inch) of bare cookie all the way around. Top with one of the bare cookies. Smash down lightly with the heel of your hand to adhere. Freeze for 1 hour.
Place sprinkles (or other toppings of choice) in a shallow bowl(s). Working with one ice cream sandwich at a time, dip the edge into the sprinkles and carefully rotate the sandwich until the entire perimeter is covered. Use a clean finger to brush off any toppings stuck to the cookies. Repeat with remaining sandwiches.
Ice cream sandwiches may be enjoyed immediately, but will not stay intact. For the most “stable” results, freeze for 4 hours before serving. For longer storage, double-wrap each ice cream sandwich in plastic wrap and store in the freezer for up to a month.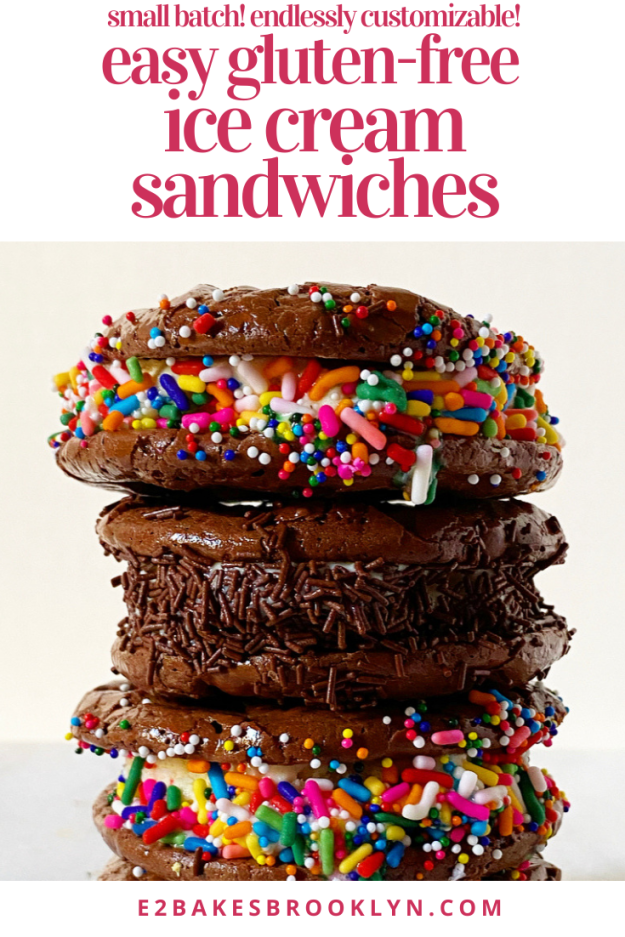


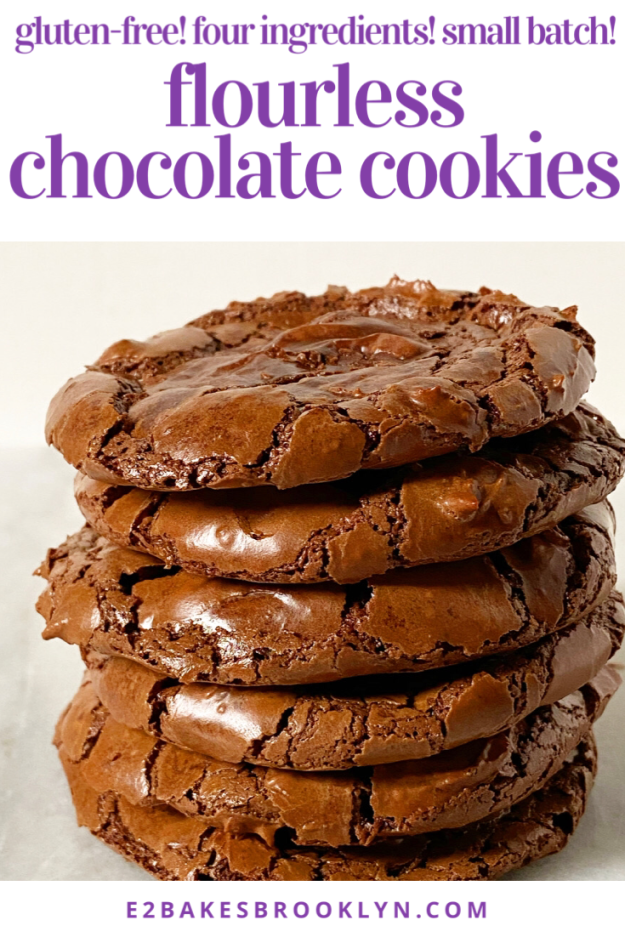
 I feel like everyone is posting variations on these Flourless Chocolate Cookies. They’re all over social media right now, and can be found on long defunct food blogs and a zillion other places, I’m sure. What I’m saying is that you probably don’t need me to tell you about them, but here I am, doing it anyway, because they’re effing miraculous.
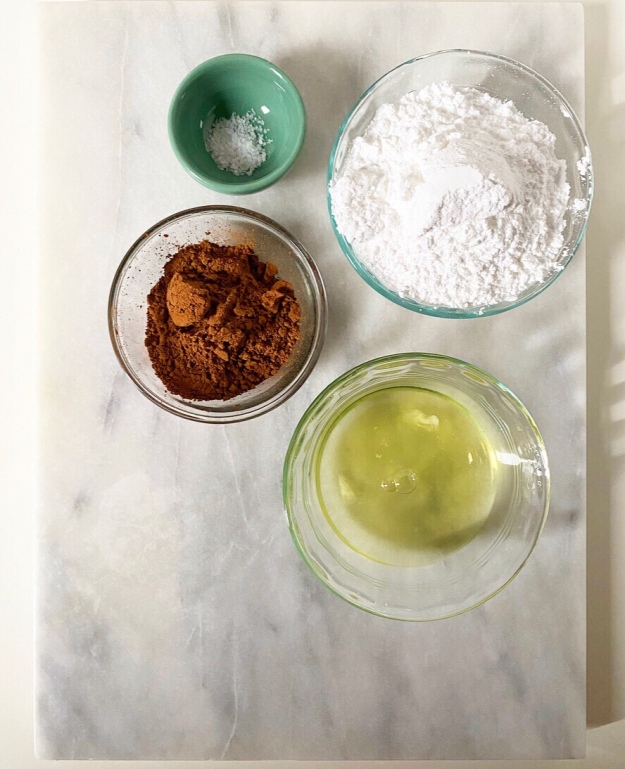
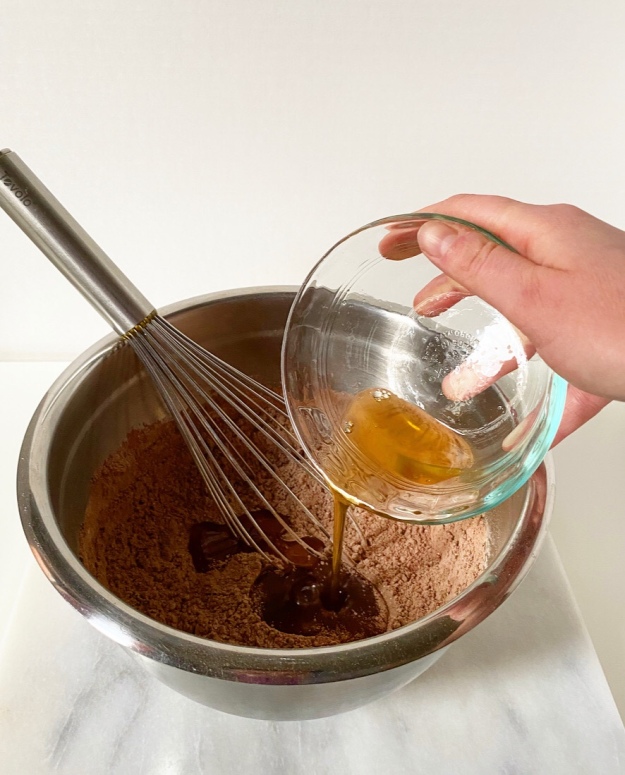 At their most basic, these gluten-free cookies are made with just four ingredients: confectioners sugar, cocoa powder, salt and a couple of egg whites. Whisk them all together until a thick, glossy batter forms. There will come a moment during mixing where it seems too dry, but persist—it will pass.
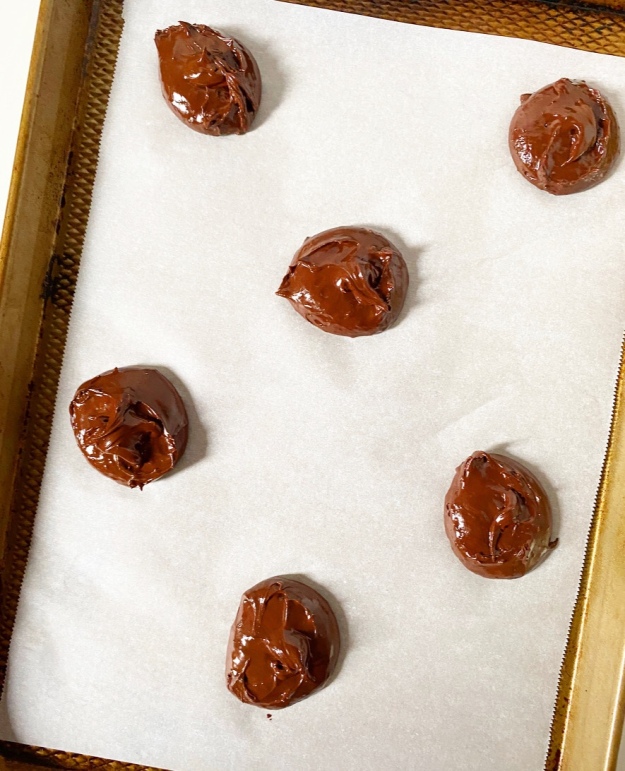
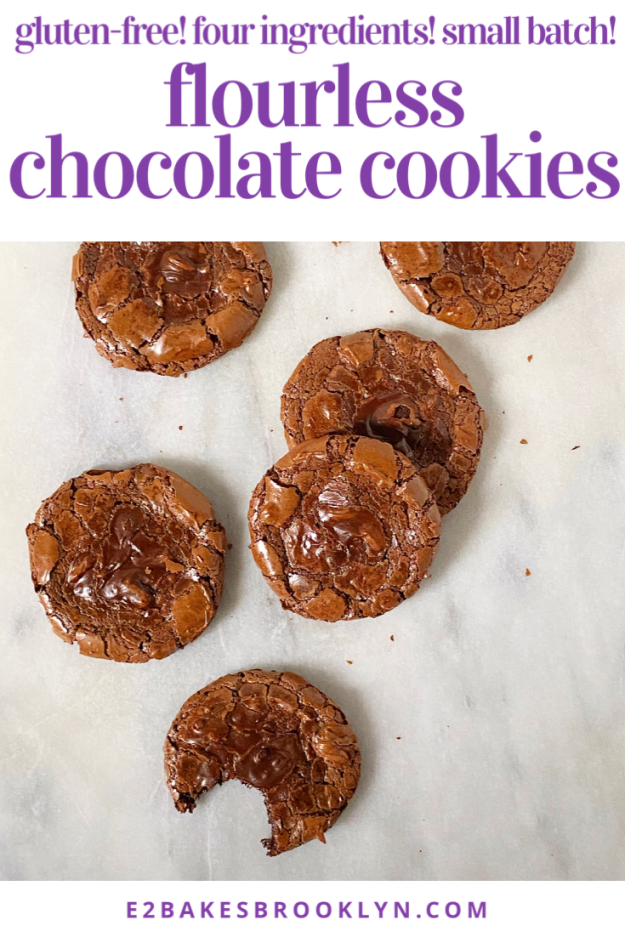
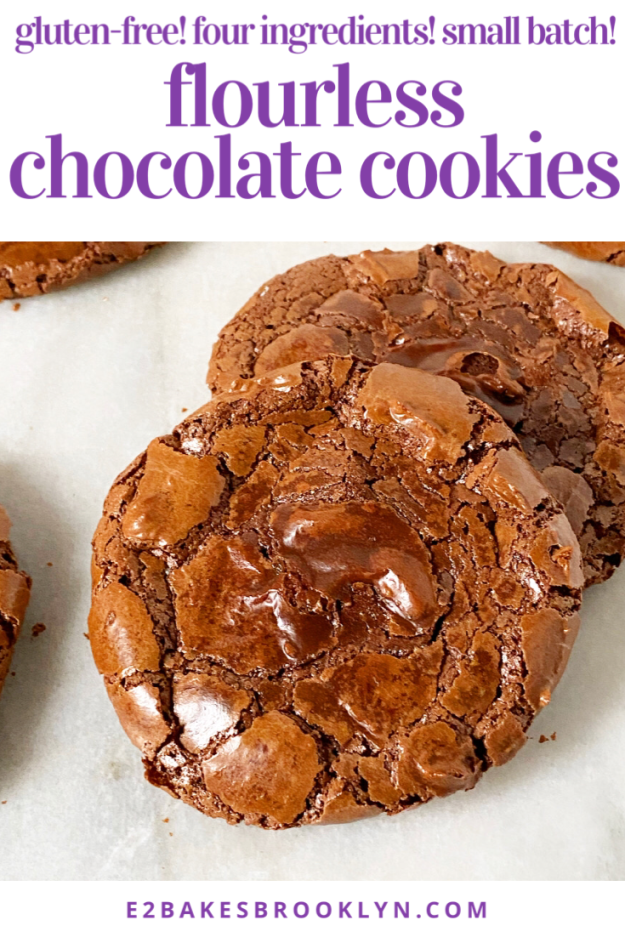
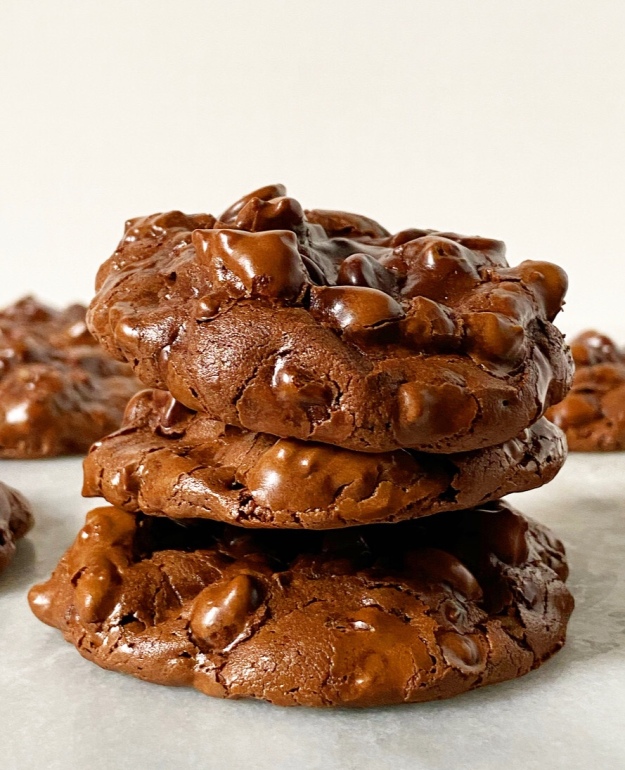
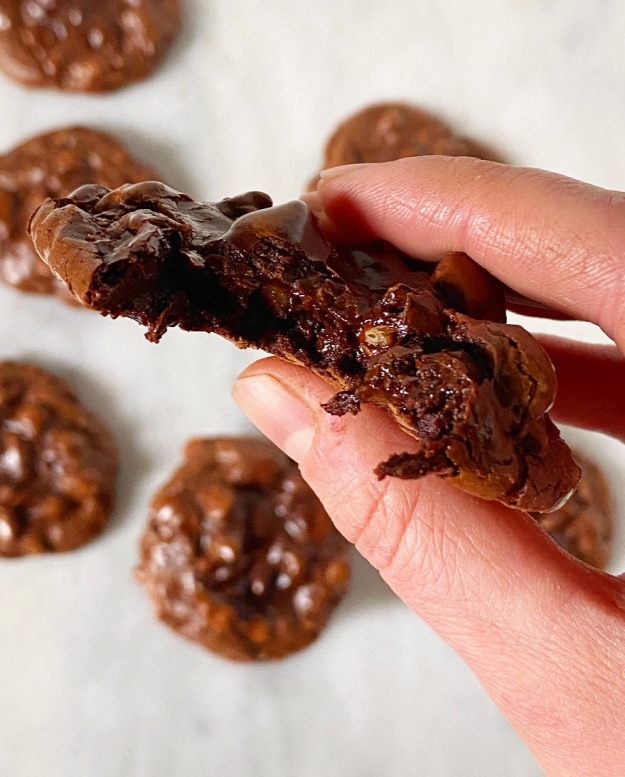
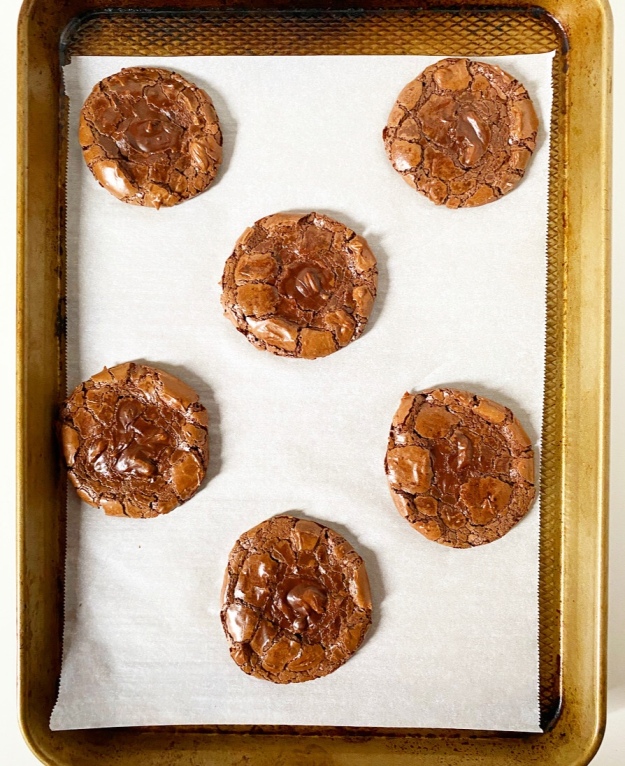 Dole the batter out on a baking sheet in heaping tablespoons and then bake until puffy. This is where the magic happens—the egg whites make everything expand to the point where the shiny cookie exteriors crack, and then, when everything begins to cool, they collapse on themselves to reveal crisp-chewy meringue edges and fudgy brownie centers. Told you they were miraculous.
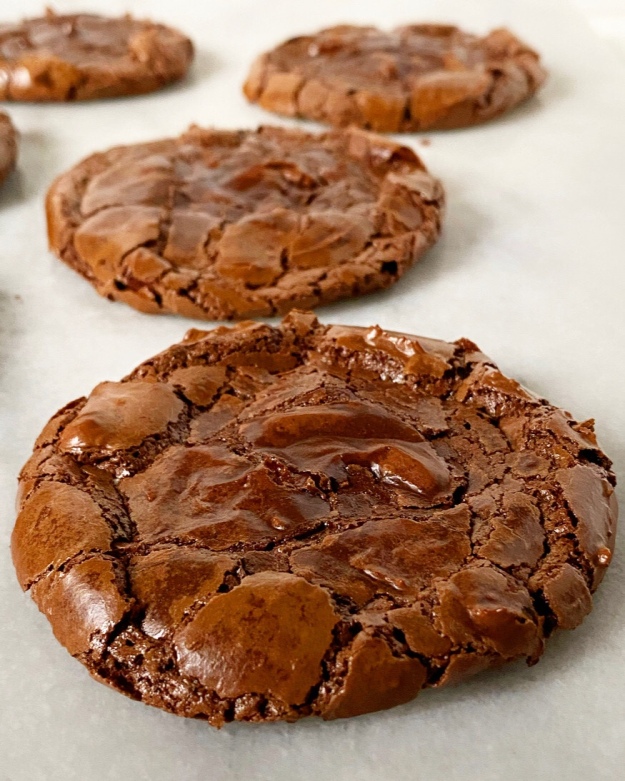
 As far as substitutions go, this recipe is so simple that there isn’t much room for change. You can use whatever cocoa powder you want, but to the person who will ask: please don’t try hot chocolate mix—it’s not the same thing.
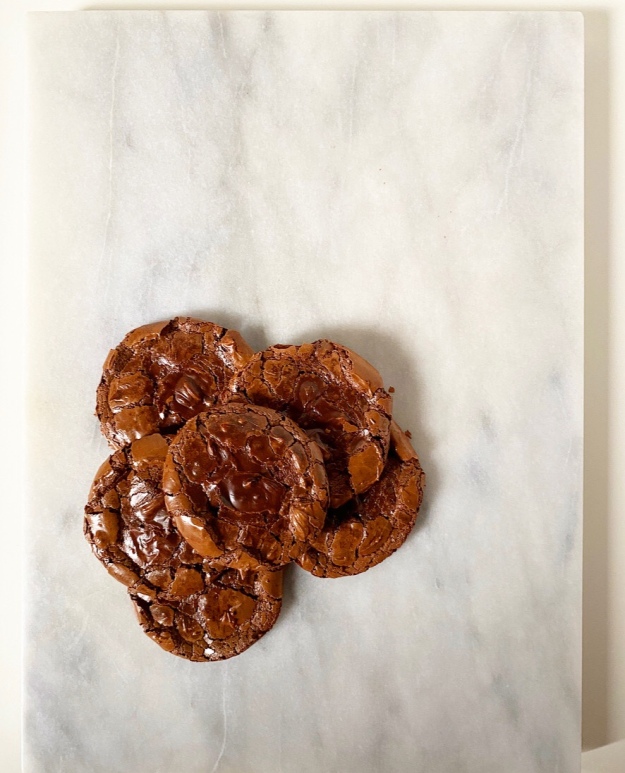 Regarding the egg whites, please know that I tried everything I could imagine to use whole eggs, but it just didn’t work—the cookies were cookies, but they were chewy in an unpleasant way. Hard pass. Throw those extra yolks in with your
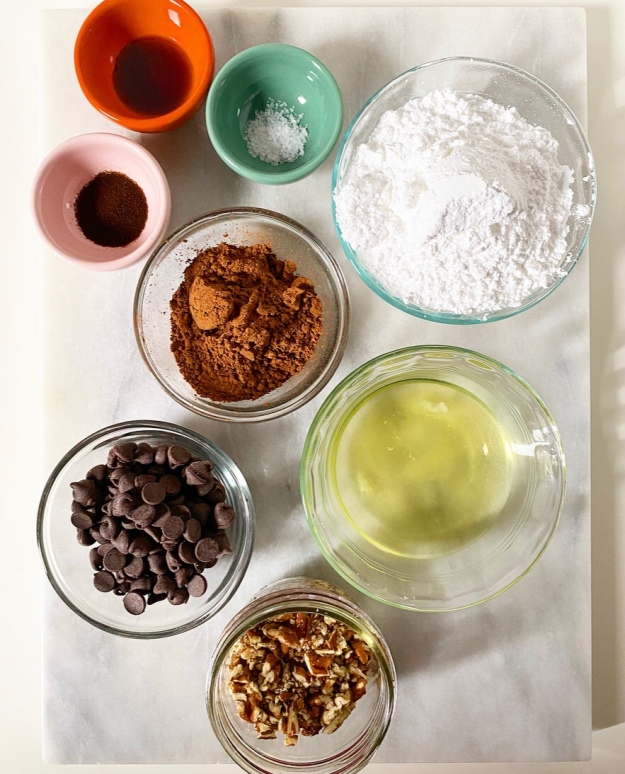
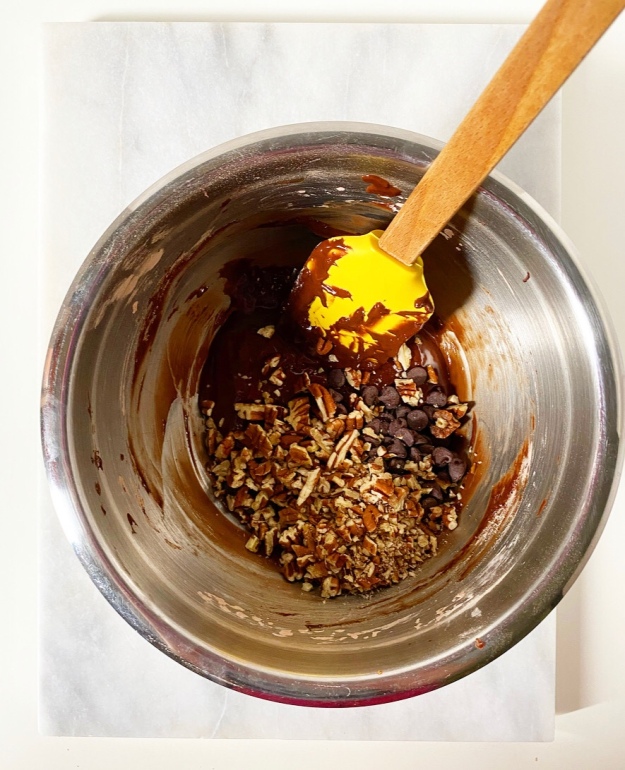

 Now that I’ve addressed the simplest way to make these cookies, let me tell you what, in my opinion, is the best. Start with the original four ingredients and then add 1/2 teaspoon instant espresso granules, 1 1/2 teaspoons vanilla, and 1/2 cup each chocolate chips and toasted nuts. Scoop and bake as written, until glossy and puffy and lumpy-in-a-good-way. Wait for them to cool before you peel off the parchment and…um, you’re welcome for the best brownie cookie I’ve ever had.
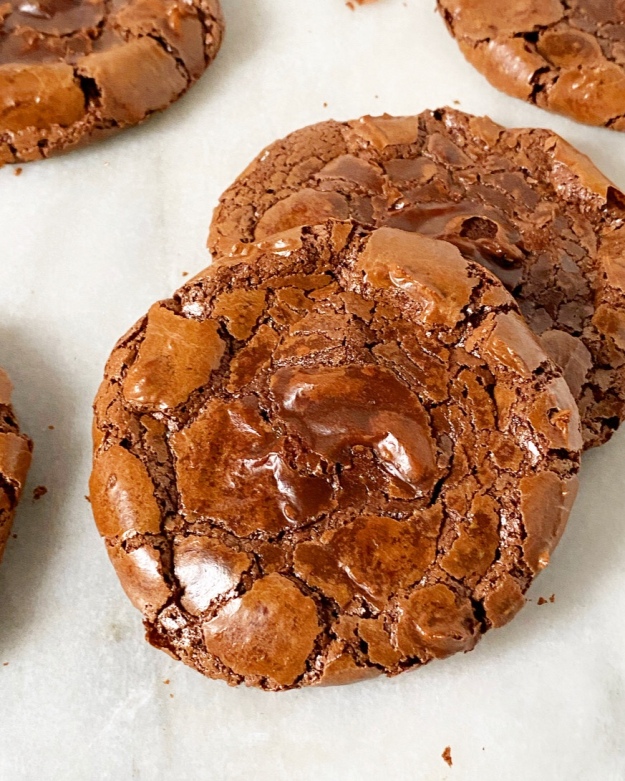 But that’s enough about me. Would you leave these plain or fill them with mix-ins? Let me know in the comments or on