 I feel like everyone is posting variations on these Flourless Chocolate Cookies. They’re all over social media right now, and can be found on long defunct food blogs and a zillion other places, I’m sure. What I’m saying is that you probably don’t need me to tell you about them, but here I am, doing it anyway, because they’re effing miraculous.
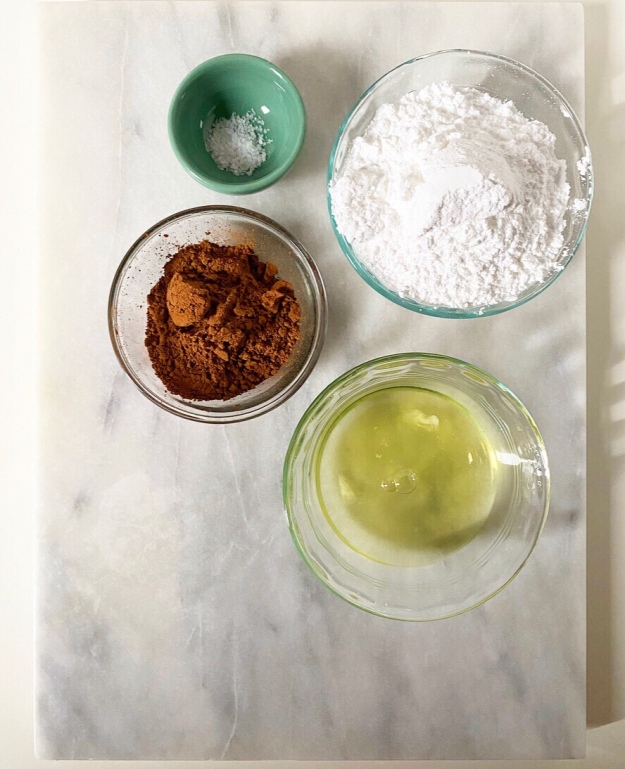
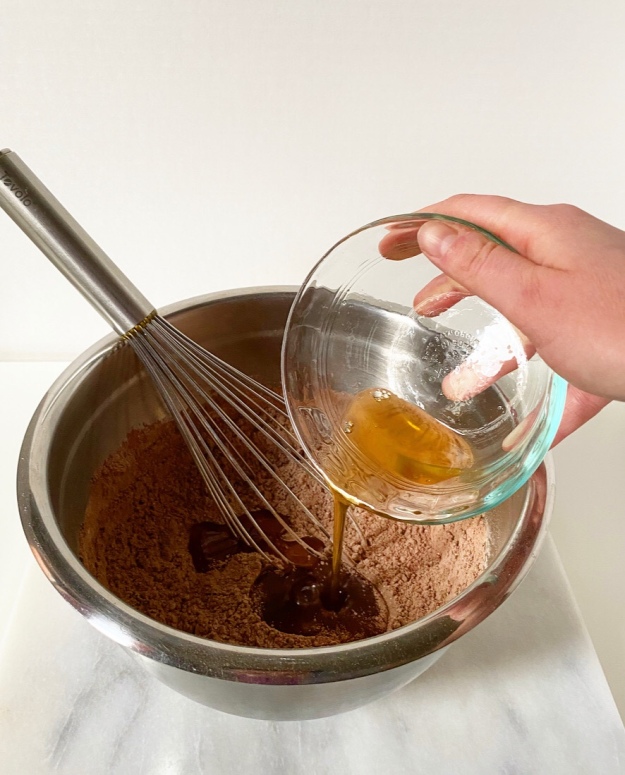 At their most basic, these gluten-free cookies are made with just four ingredients: confectioners sugar, cocoa powder, salt and a couple of egg whites. Whisk them all together until a thick, glossy batter forms. There will come a moment during mixing where it seems too dry, but persist—it will pass.
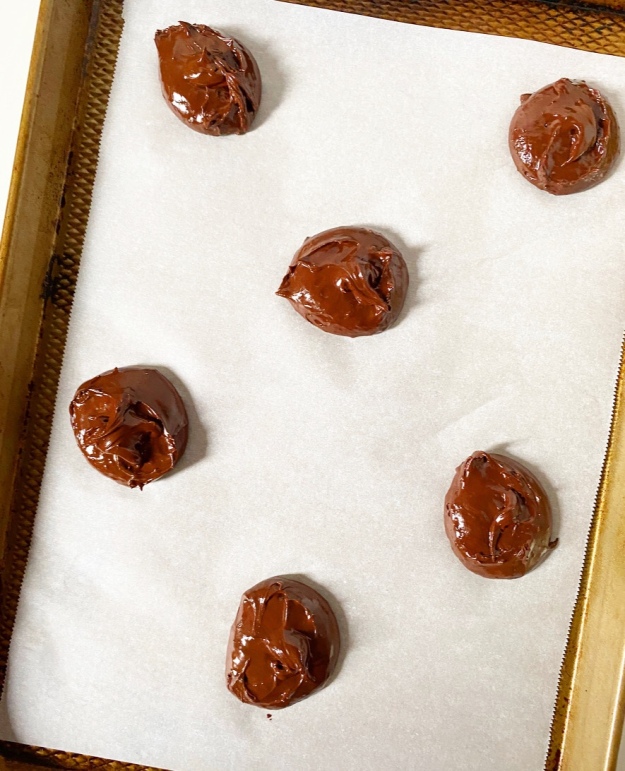
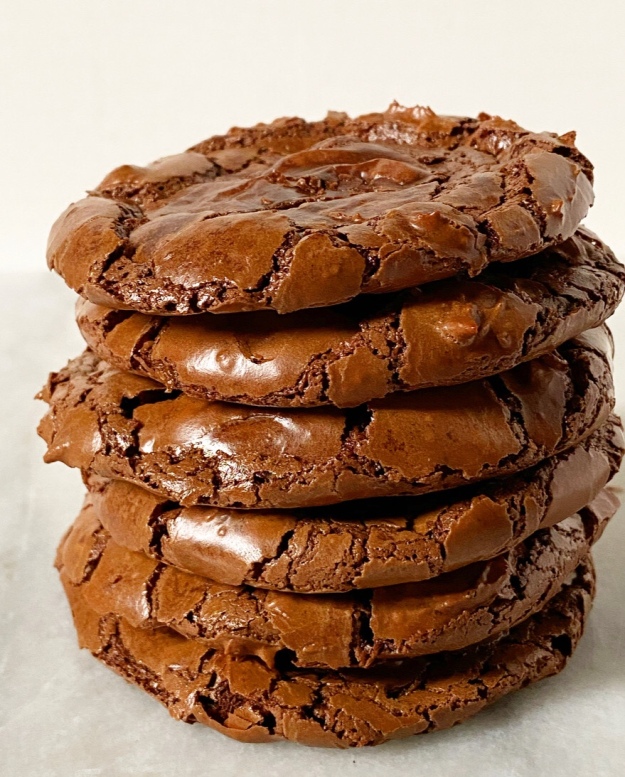
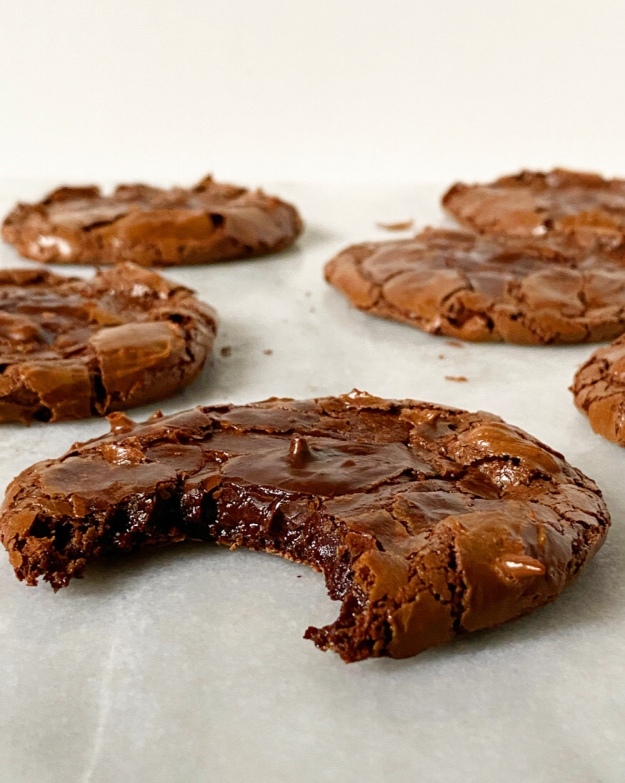
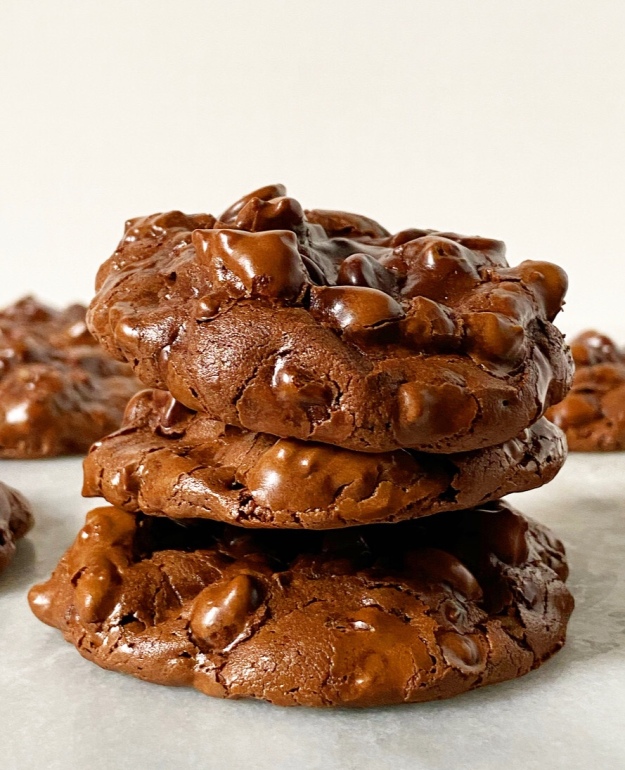
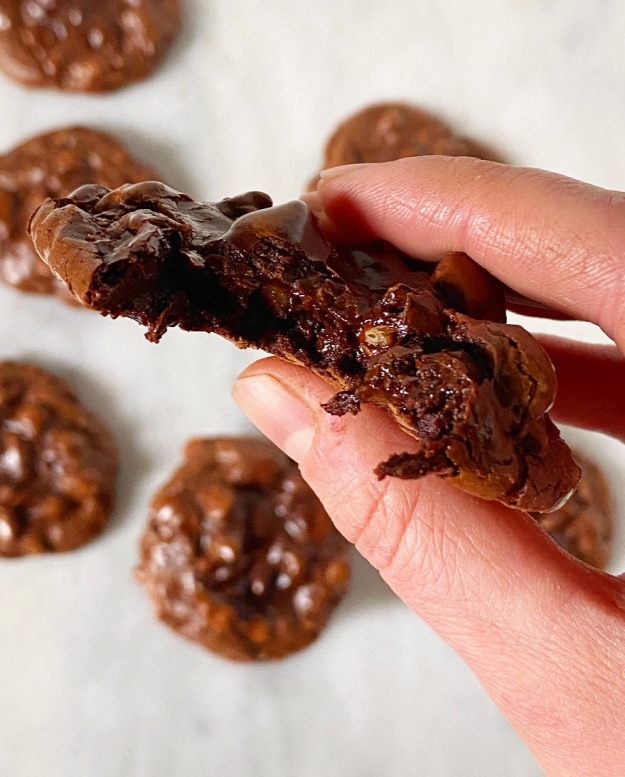
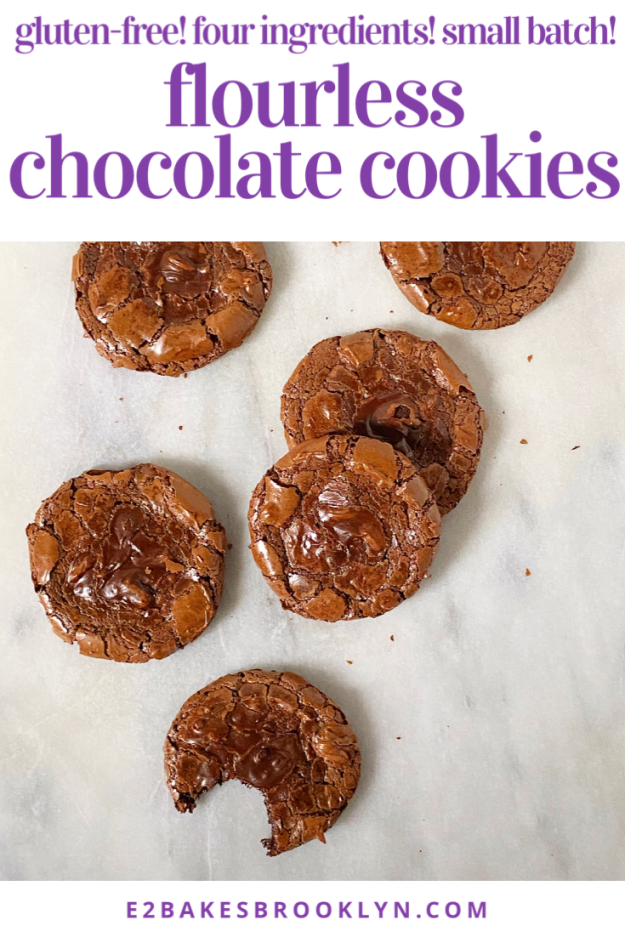
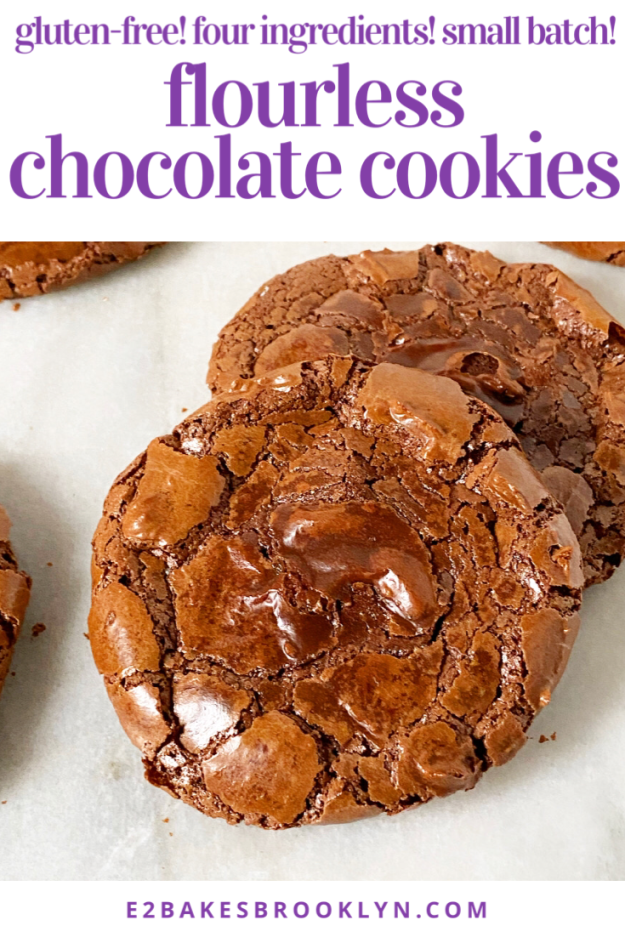
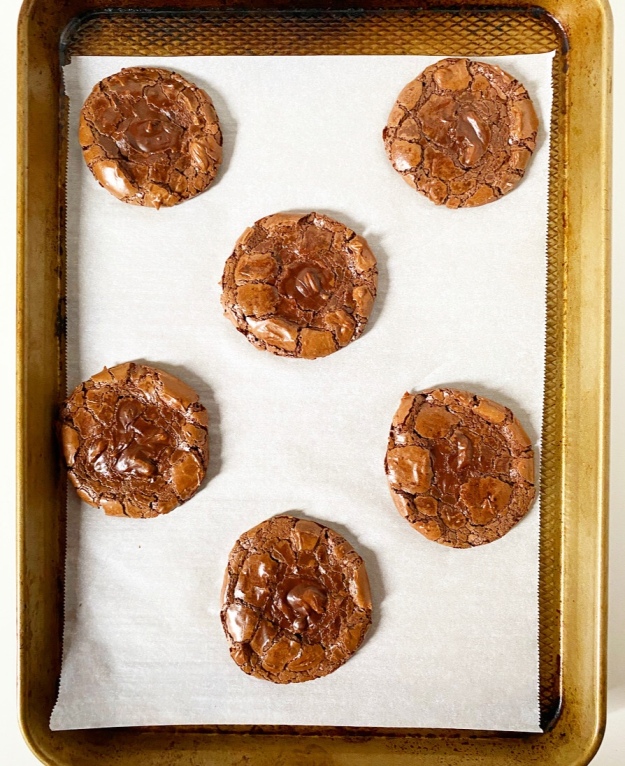 Dole the batter out on a baking sheet in heaping tablespoons and then bake until puffy. This is where the magic happens—the egg whites make everything expand to the point where the shiny cookie exteriors crack, and then, when everything begins to cool, they collapse on themselves to reveal crisp-chewy meringue edges and fudgy brownie centers. Told you they were miraculous.
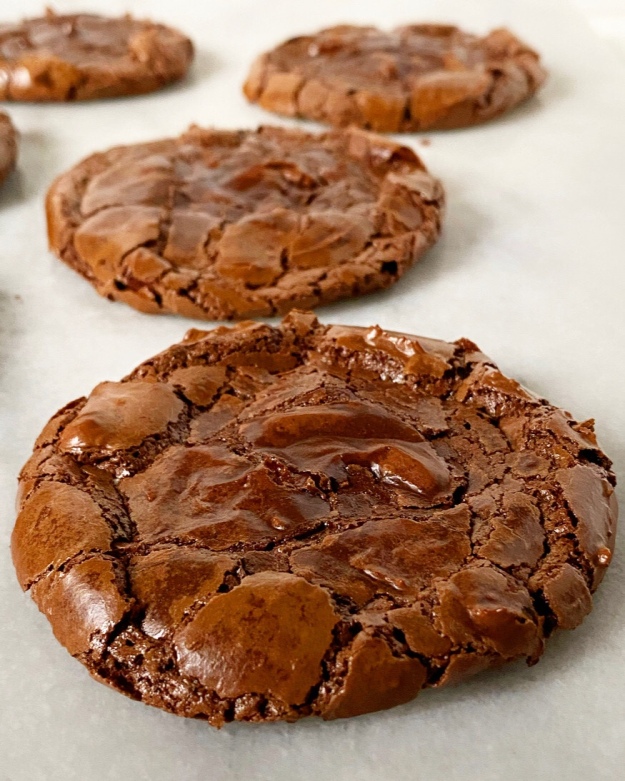
 As far as substitutions go, this recipe is so simple that there isn’t much room for change. You can use whatever cocoa powder you want, but to the person who will ask: please don’t try hot chocolate mix—it’s not the same thing.
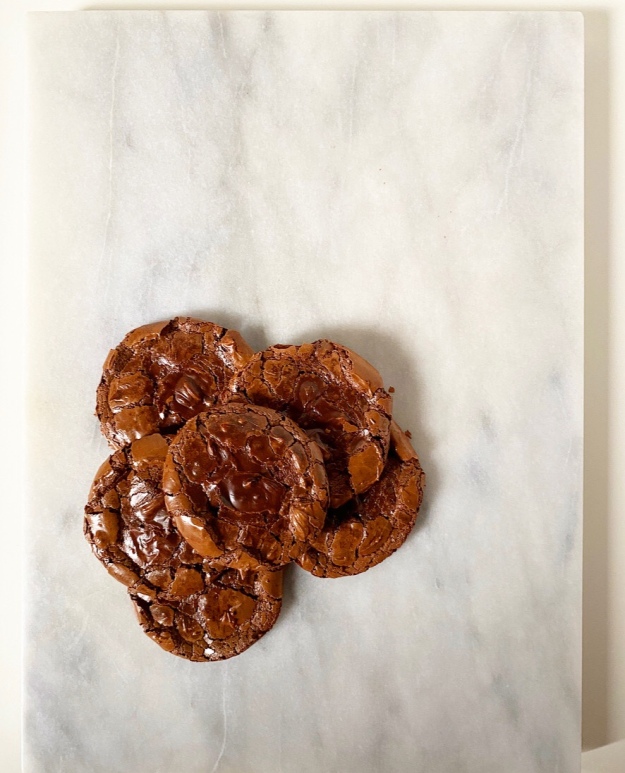 Regarding the egg whites, please know that I tried everything I could imagine to use whole eggs, but it just didn’t work—the cookies were cookies, but they were chewy in an unpleasant way. Hard pass. Throw those extra yolks in with your scrambled eggs or make some Lazy Lemon Curd. Just don’t put them in these cookies.
Only have one egg white to spare? You can halve this recipe for 3 cookies. It can also be doubled.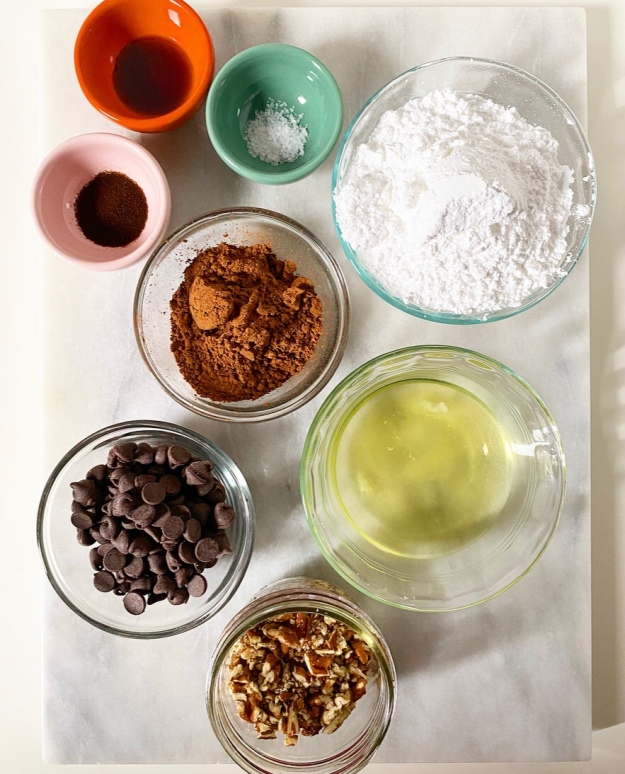
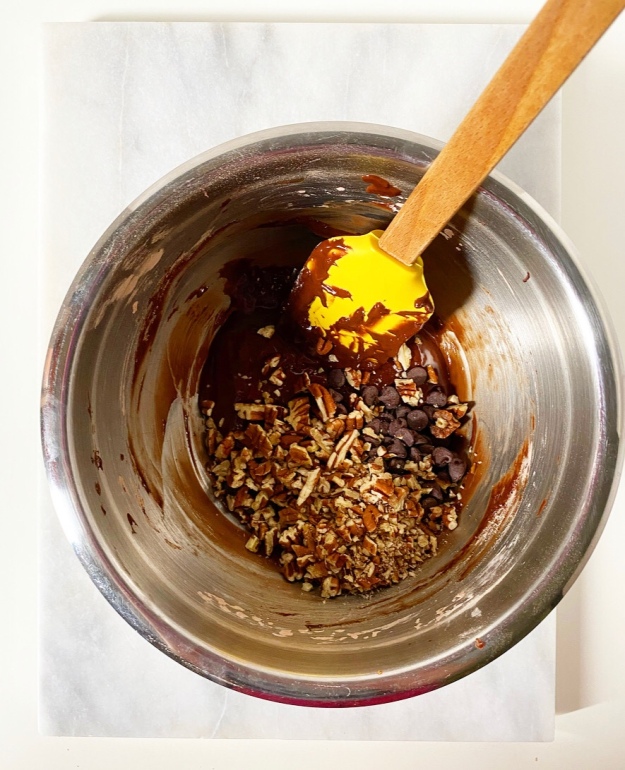

 Now that I’ve addressed the simplest way to make these cookies, let me tell you what, in my opinion, is the best. Start with the original four ingredients and then add 1/2 teaspoon instant espresso granules, 1 1/2 teaspoons vanilla, and 1/2 cup each chocolate chips and toasted nuts. Scoop and bake as written, until glossy and puffy and lumpy-in-a-good-way. Wait for them to cool before you peel off the parchment and…um, you’re welcome for the best brownie cookie I’ve ever had.
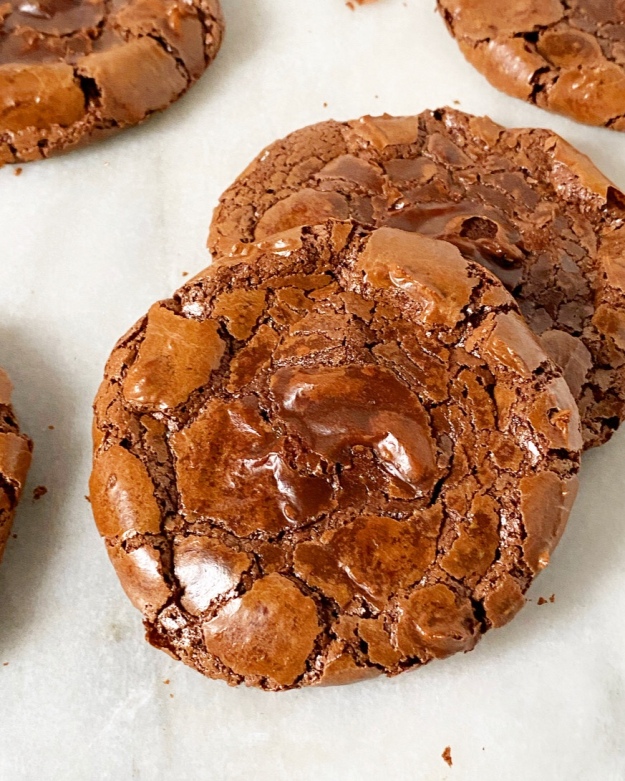 But that’s enough about me. Would you leave these plain or fill them with mix-ins? Let me know in the comments or on social media!
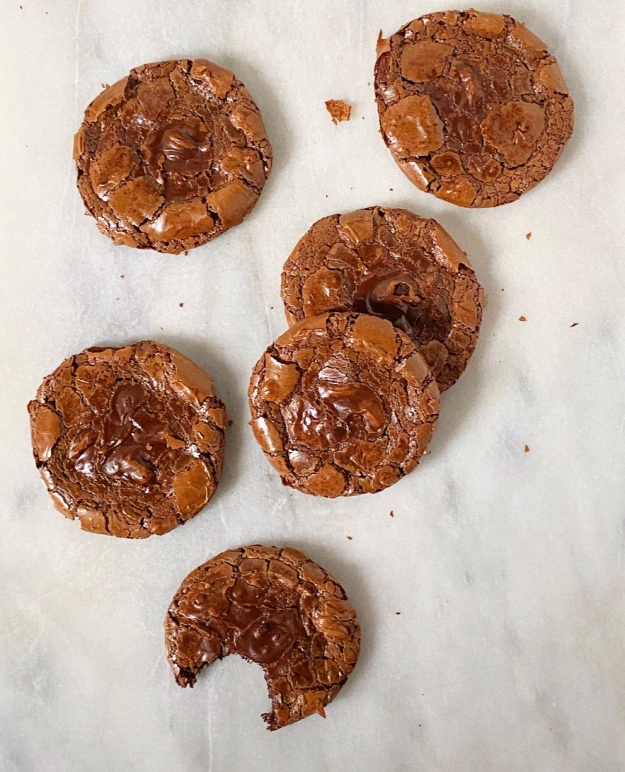
Flourless Chocolate Cookies
makes 6 large cookies
1 1/4 cups confectioners sugar
6 tablespoons cocoa powder (natural or dutch processed)
1/2 teaspoon Kosher or sea salt
2 large egg whites, room temperature
Preheat oven to 325F. Line a rimmed baking sheet with parchment. Set aside.
In a medium mixing bowl, whisk together confectioners sugar, cocoa powder and salt. Add egg whites and whisk until smooth, glossy and a bit thick (the texture of brownie batter). If it seems dry during mixing, just keep going—it will get smooth.
Drop batter in scant 2 tablespoon increments (mine were 1 tbsp + 2-ish teaspoons) on the prepared baking sheet, making sure to leave them at least 3 inches apart. Bake 12-14 minutes, until puffed and crackly.
Let cool completely on their pan on a rack. Carefully parchment away from each cookie to release. Enjoy.
Leftovers will keep covered at room temperature for a few days.
If you want to add mix-ins, add 1 cup total (chocolate chips, nuts, whatever) after batter is mixed. The cookie yield will be closer to 10.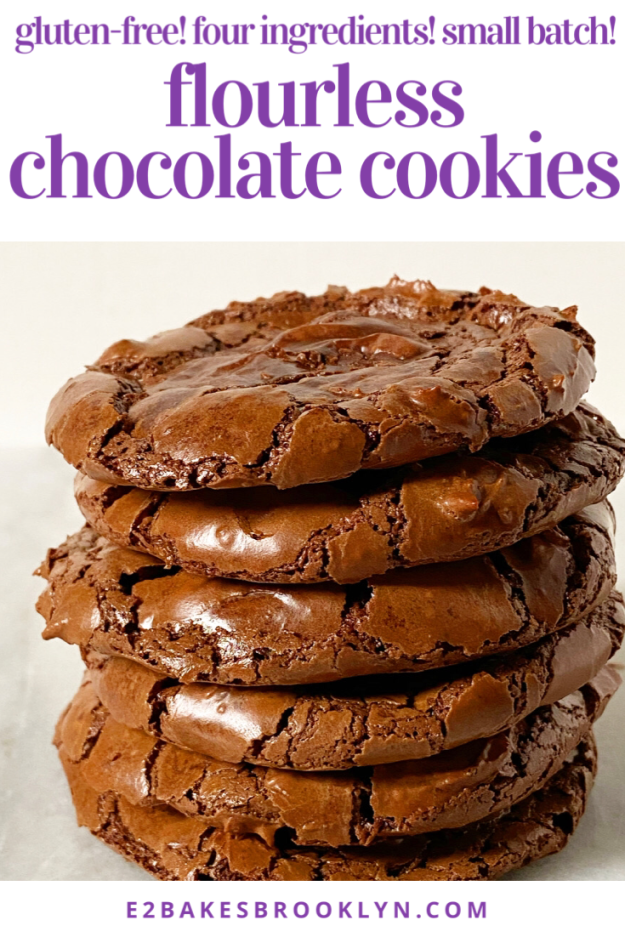

 When thinking up recipes for the week between Christmas and the New Year—a time when I have tons of leftovers, don’t want to take on any intense kitchen projects, and mostly just need a nap—I knew it had to be easy.
 Eeeeeeeaaaaasy. E-A-S-Y. No chill, one bowl, no mixer, limited ingredients—easy!
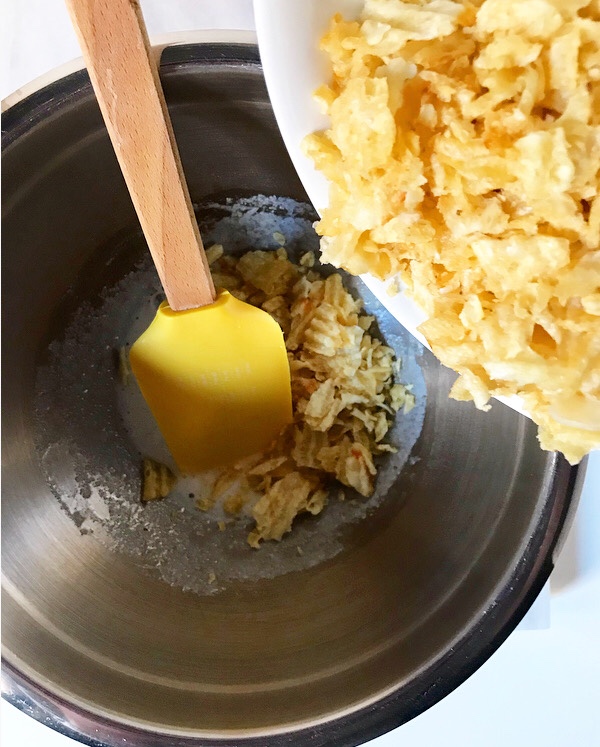

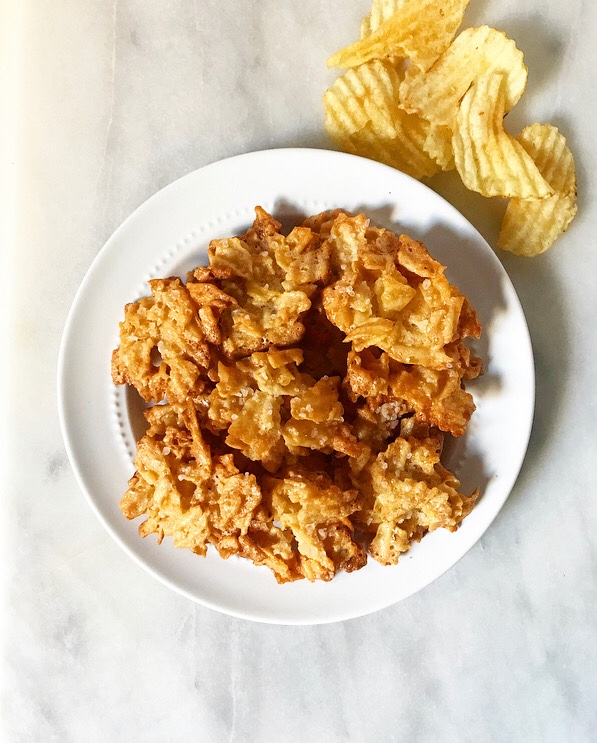
 That’s exactly what these Potato Chip Clusters are: golden, salty-sweet, lightly-candied morsels that require four ingredients, come together in five minutes and bake in seventeen.
 They’re brown at the edges and crispy throughout, and stay that way for days. You won’t have to worry too much about softening since their primary structural component is a single egg white.
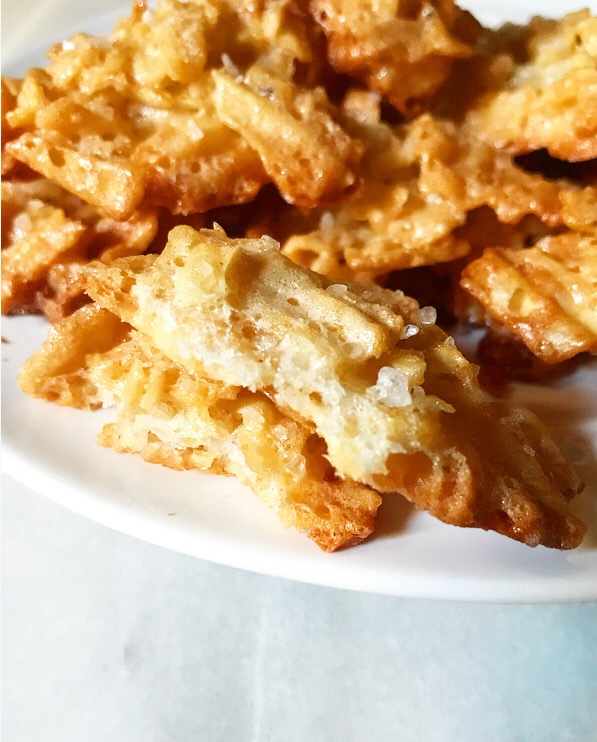 I envision these as the perfect thing to go alongside a cocktail, mocktail or glass of champagne on New Year’s Eve, but I also think they’d be great for Super Bowl Sunday, drizzled with chocolate and tucked into a cookie tin next Christmas, or whipped together any old time you need to knock out the last of a bag of potato chips.


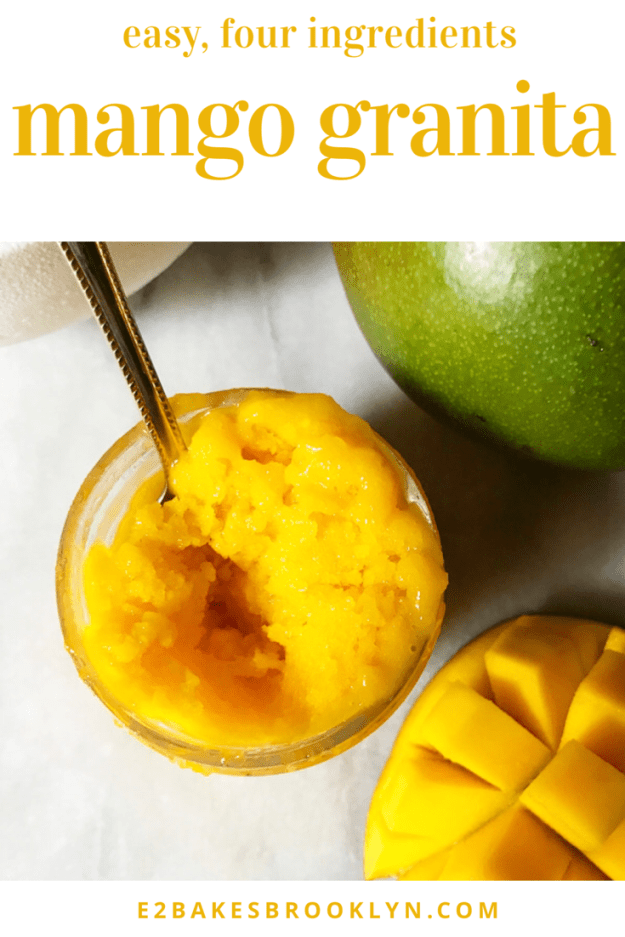
 I first came across a granita recipe in the summer of 2009 and thought “That looks easy and delicious. I’m going to make that.” And then ten years passed.
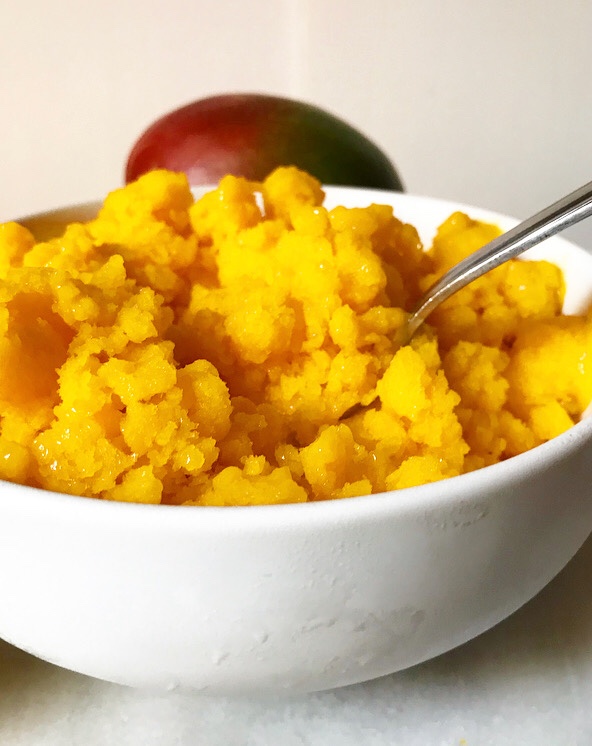
 If you are wondering what the heck I’m talking about, granita is a
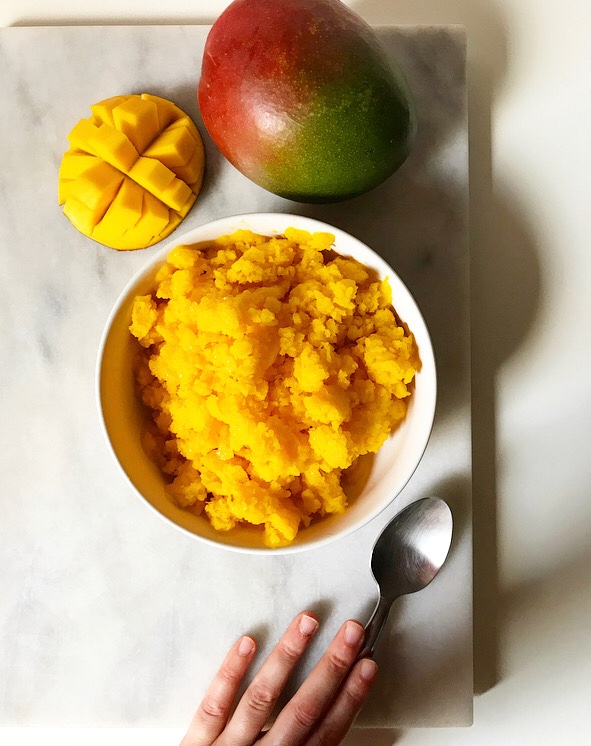
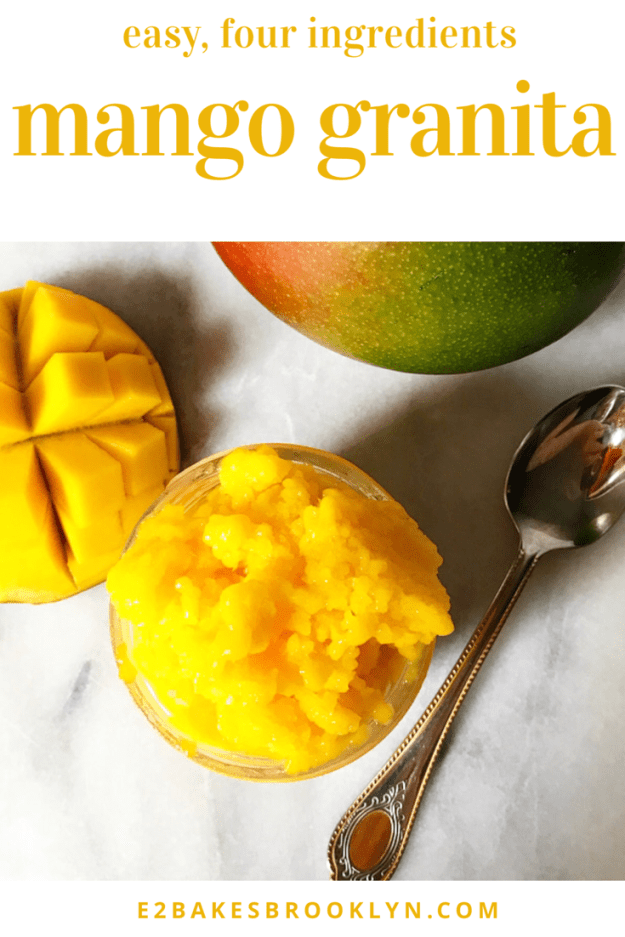
 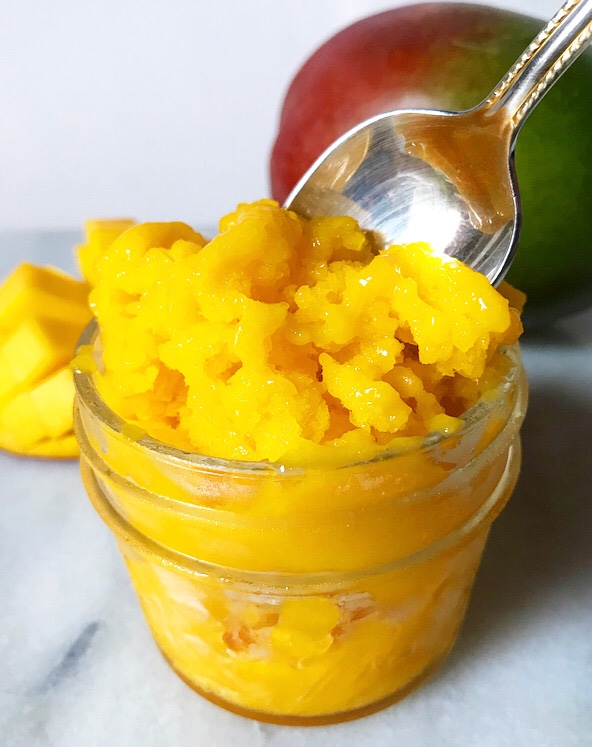 To make this Mango Granita, you’ll need:
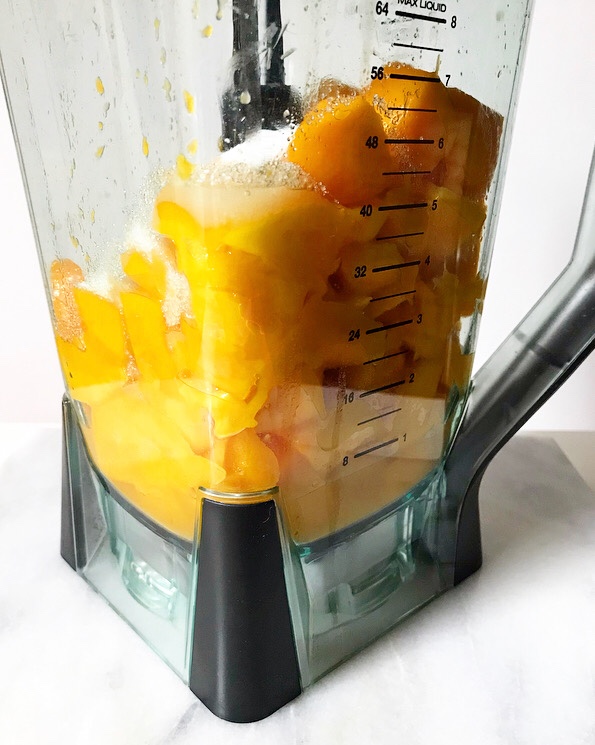
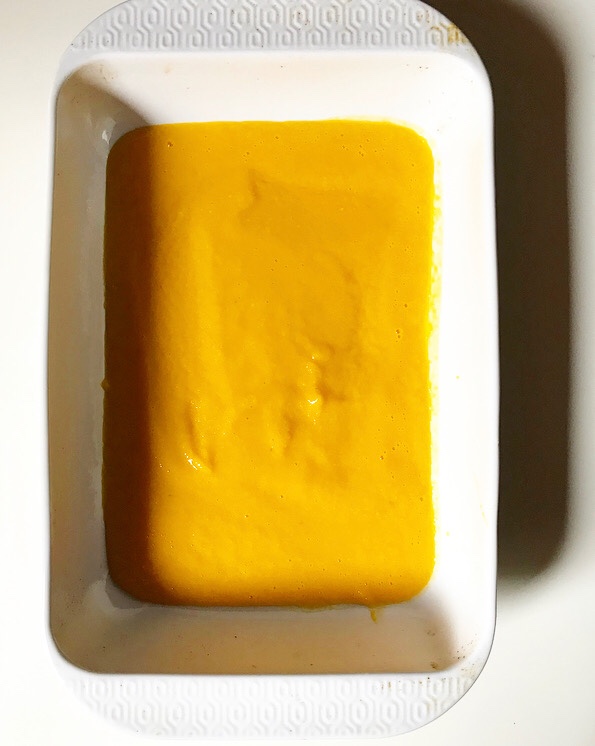 The process is simple. Blitz all the ingredients in a blender until smooth, then pour the purée into a large dish and put it in the freezer for an hour.
 When that time is up, remove the dish from the freezer. Starting at the outer edge, use a fork to drag the frozen purée into the looser center. This will begin the process of making fluffy, snowy ice crystals. At first, you may feel like you’re dragging a fork through soup, but an hour later, it’ll be a different story.
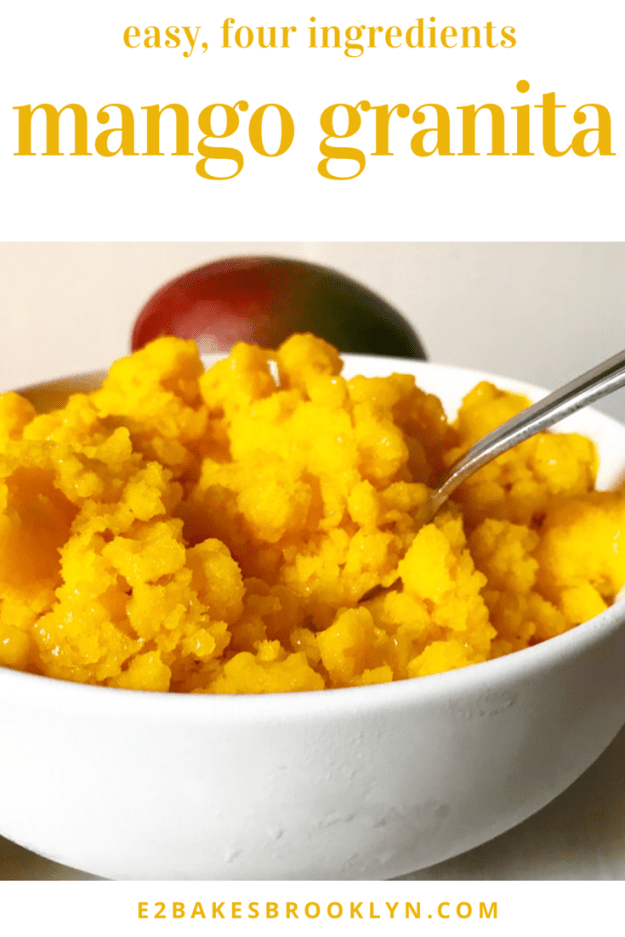
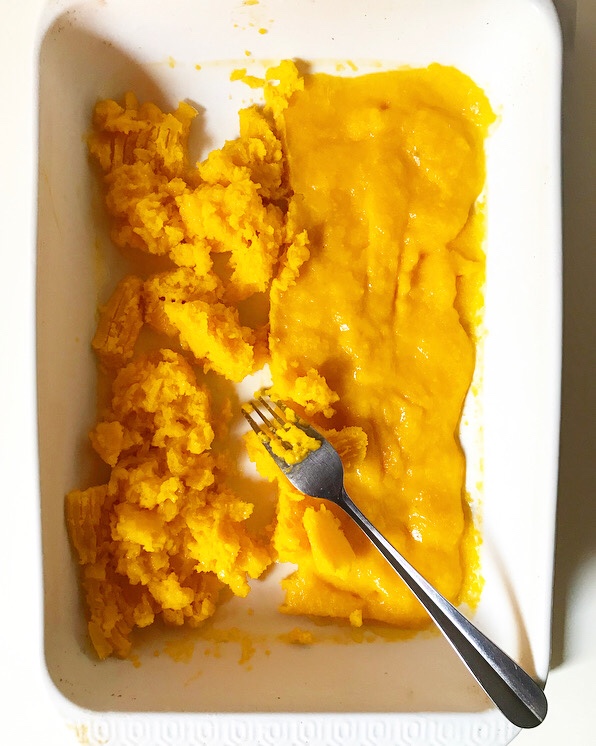 And then, thirty more minutes will go by and crystals will really begin to form! The grainy texture is the “gran-” in granita.
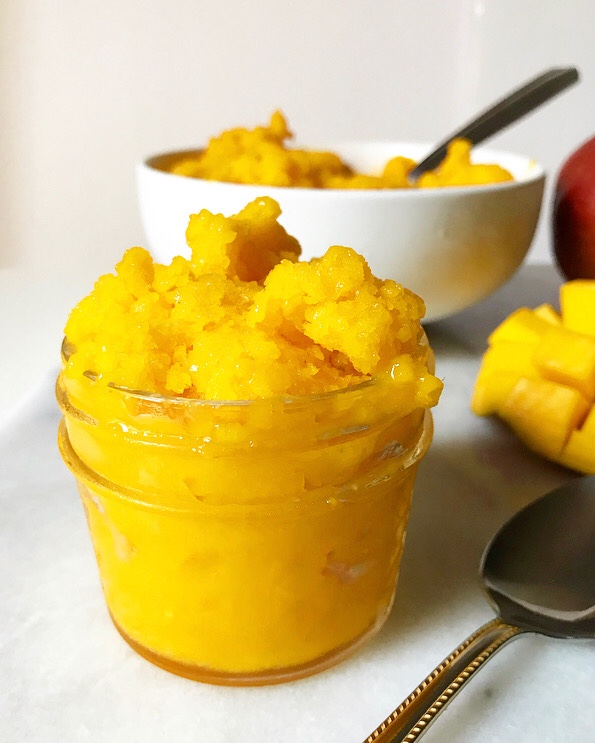
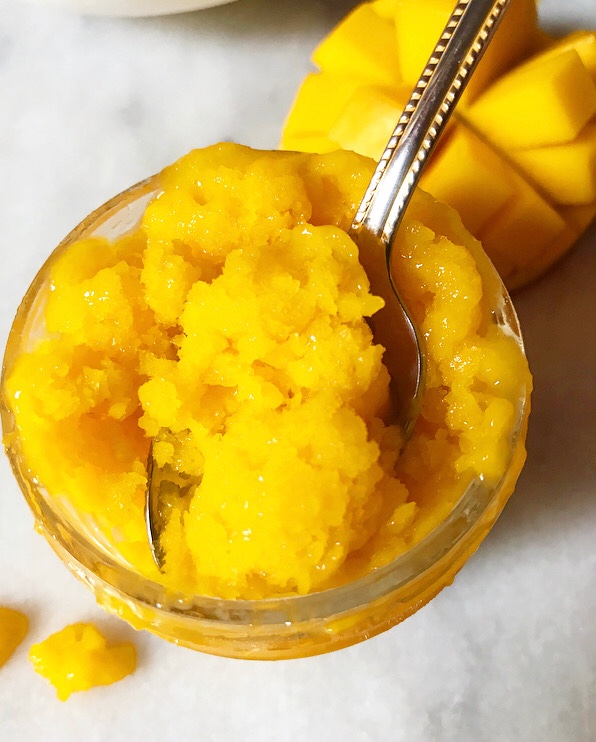
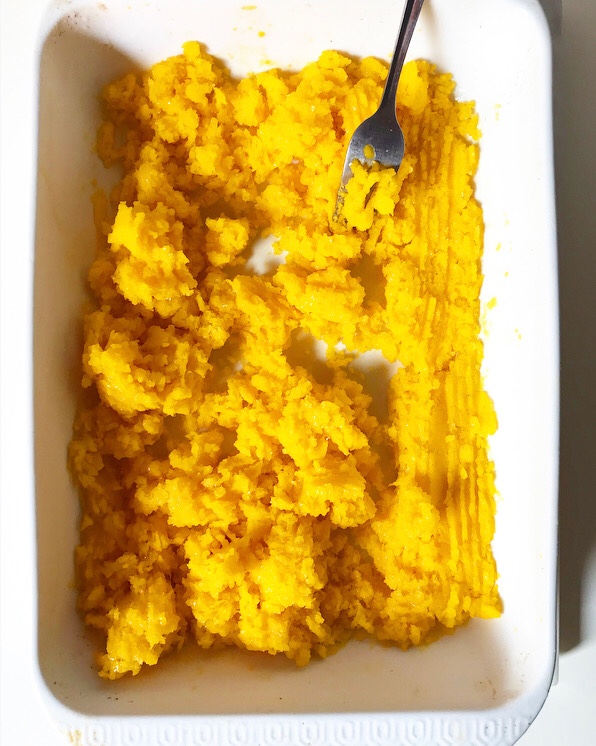 You’ll know it’s ready when it looks like this:
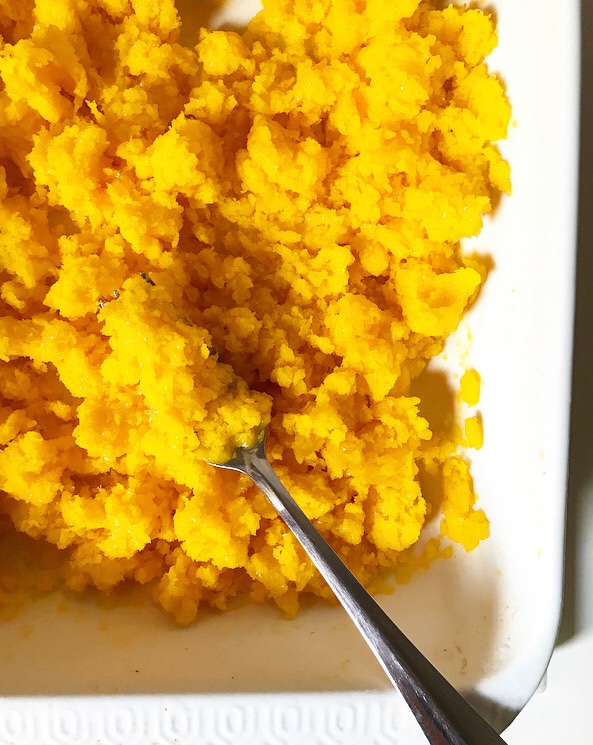
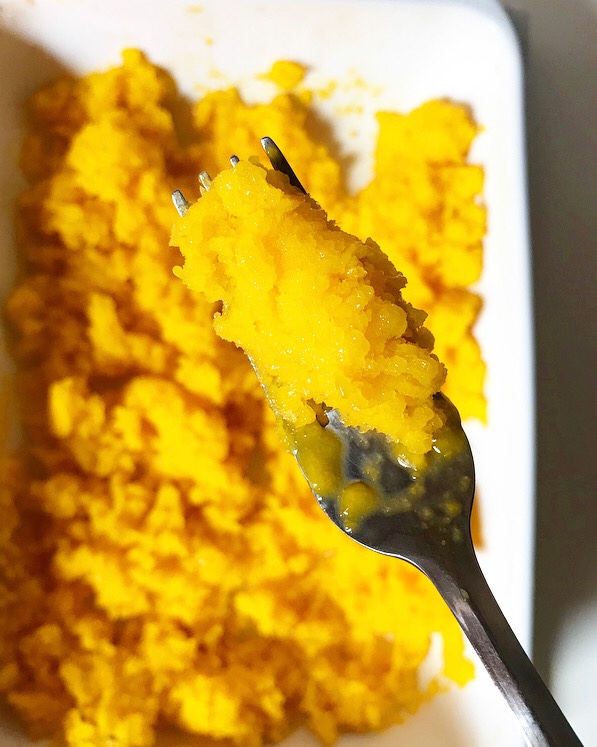
 Mango Granita is as delicious as it is beautiful—light and refreshing and perfect for these sweltering last few weeks of summer! The texture is somewhere between a snow cone and a sorbet. Where you might think this would be icy, it’s super smooth and surprisingly creamy. This is the sort of dessert that is great for any occasion from watching Netflix in your PJs to a cookout to a dinner party. It’s vegan, nut-free, low calorie and low sugar–a wonderful option for a crowd!
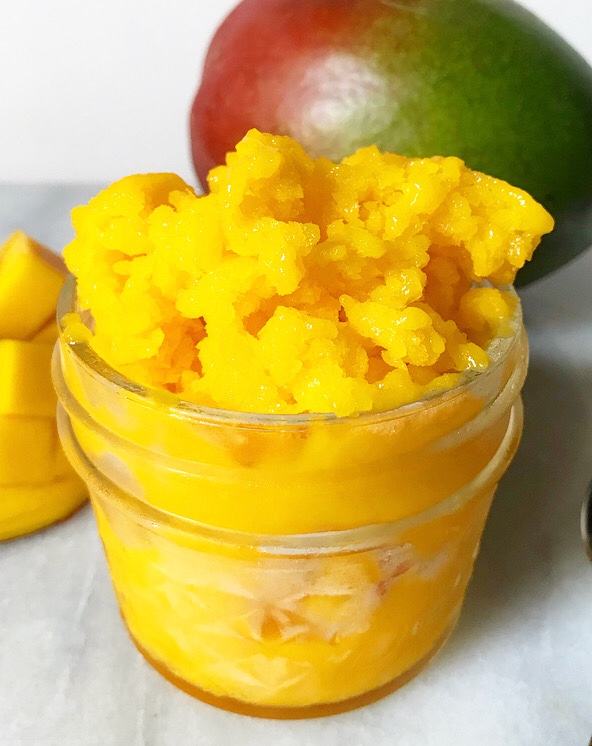
 Before I get to the recipe, here are a few more tips for granita success:
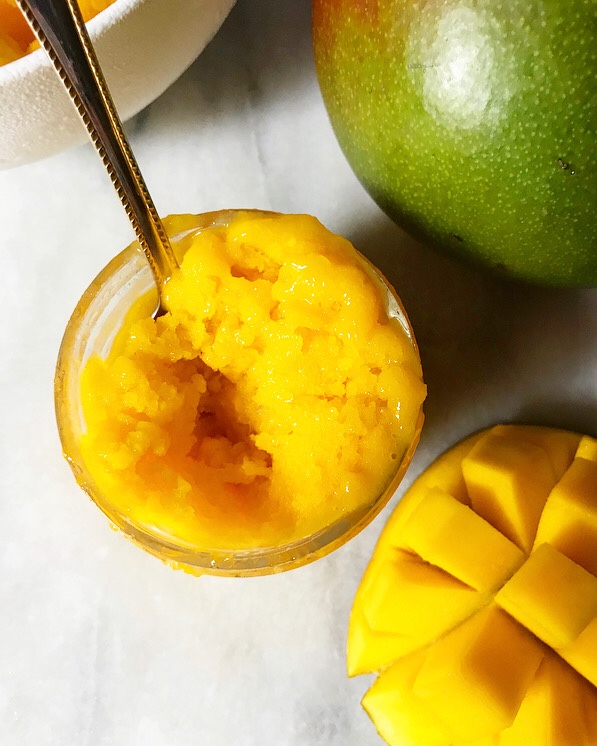
 Hi there! Long time, no blog.
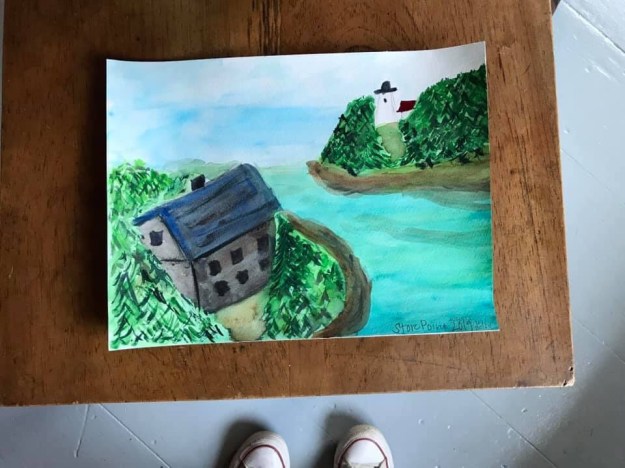 That doesn’t mean I didn’t cook though. Vacationing on a remote island means spending time in the kitchen is a necessity, and for me,
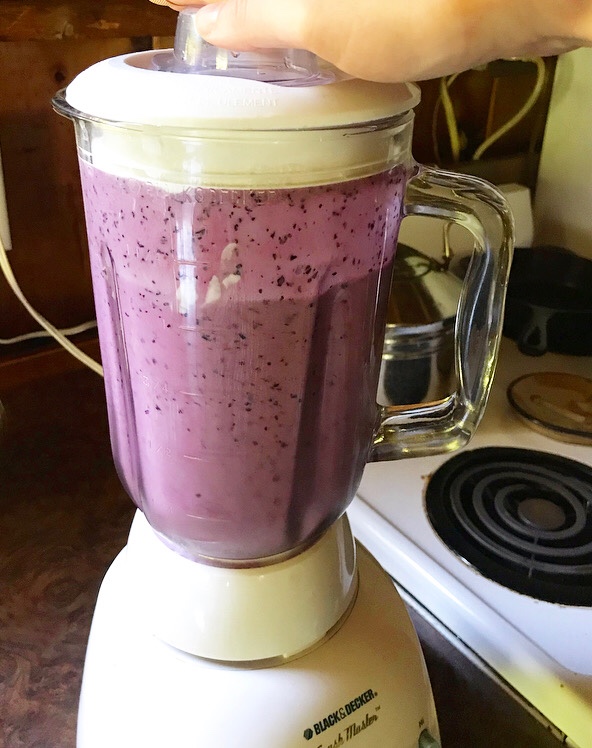
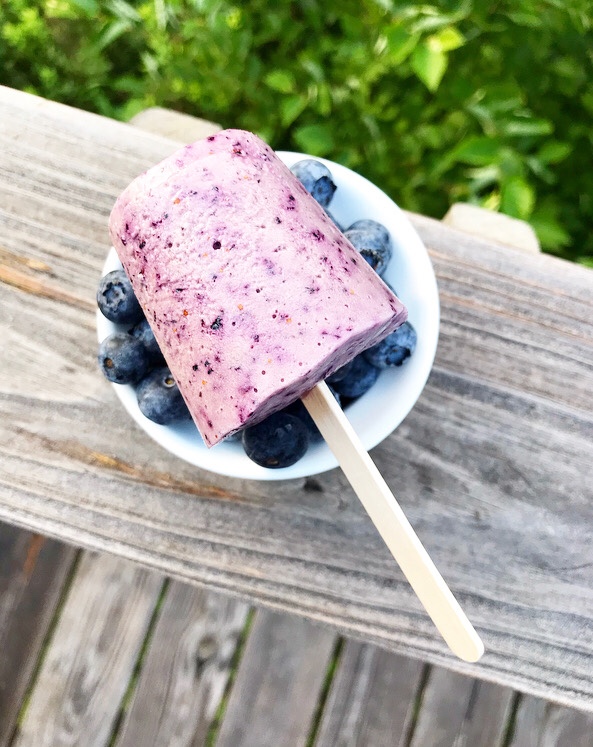
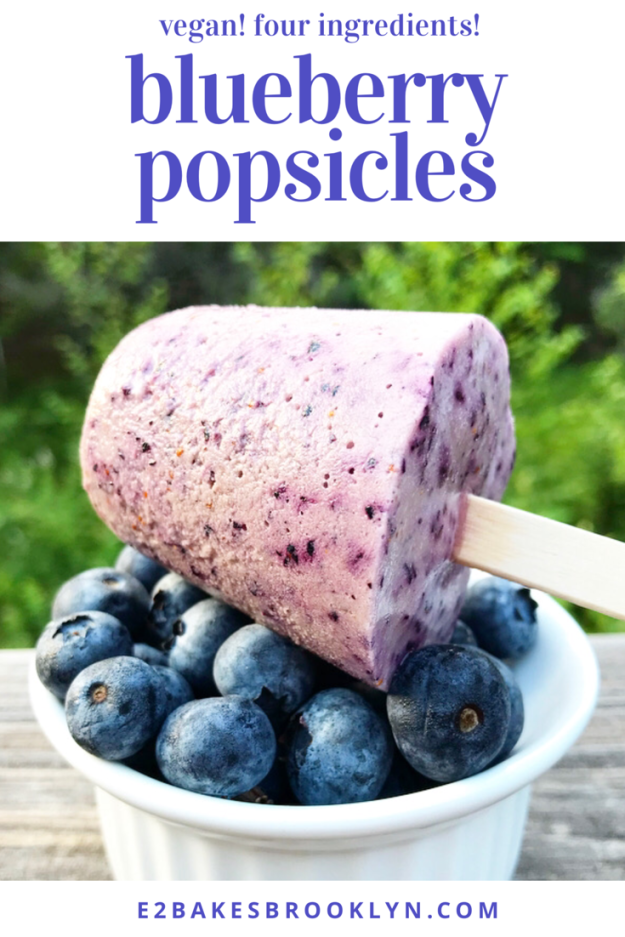
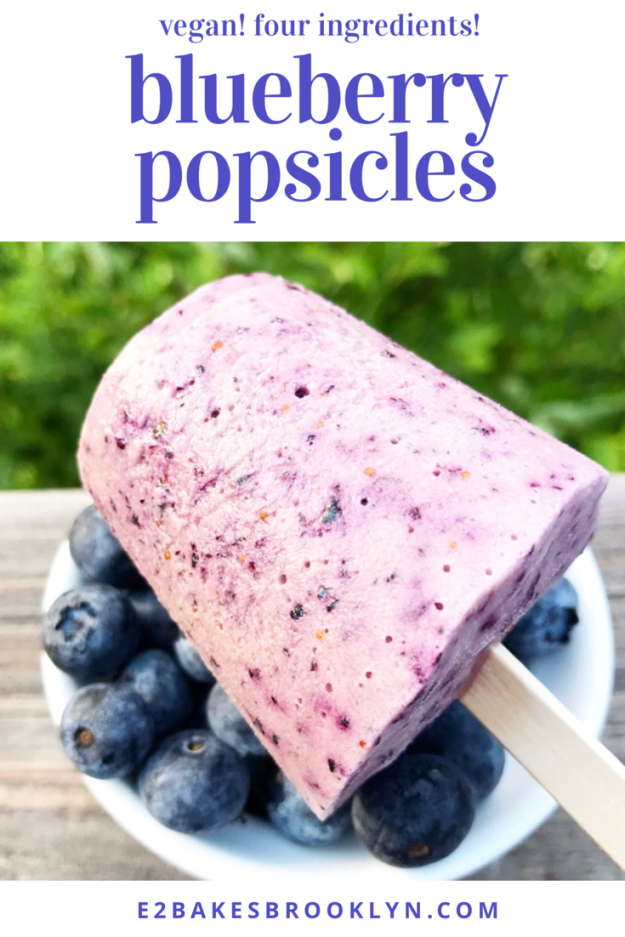
 This time around, we already had blueberries (because Maine), maple syrup (because waffles), and vanilla (because I’m a baker) on the list, and I had packed a blender (because
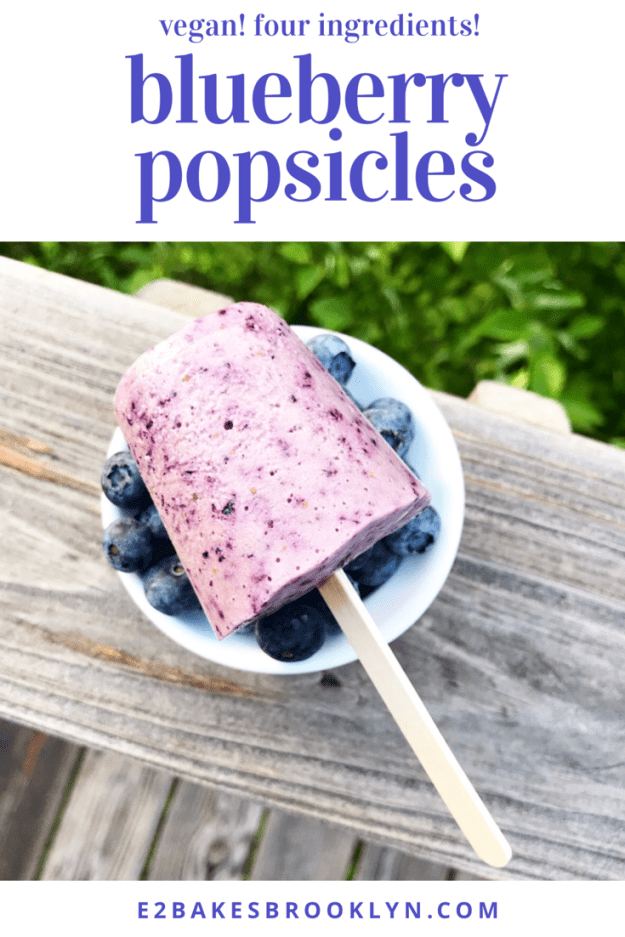
 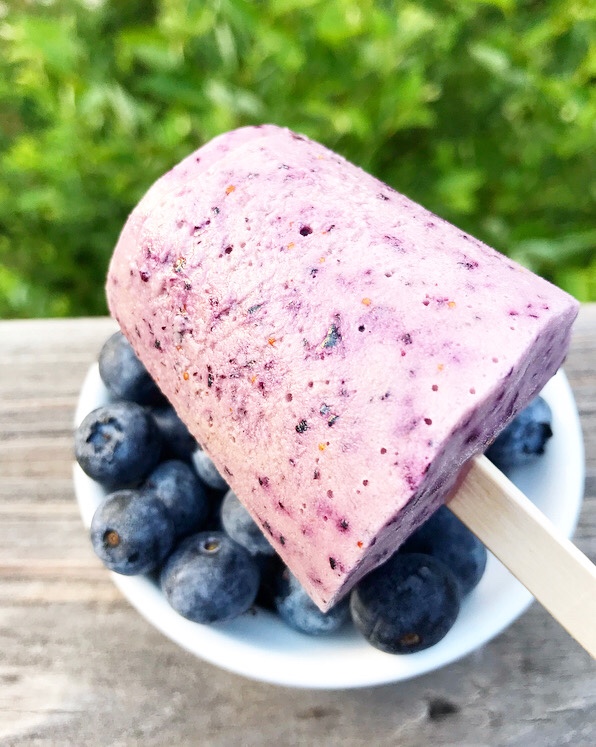 These are the perfect easy summer dessert! They require the bare minimum of effort and ingredients, but deliver big-time on icy texture and creamy blueberry flavor. Oh, and they’re vegan, so your gluten-free vegan co-traveler can enjoy them too.
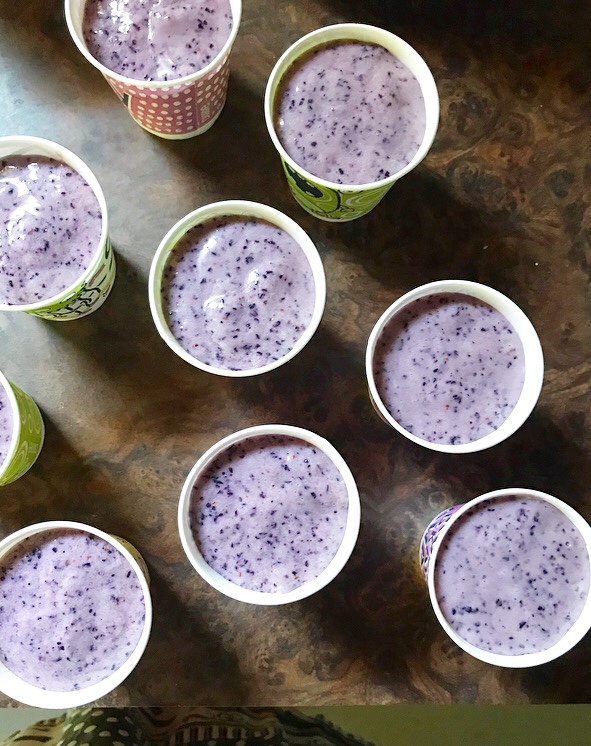
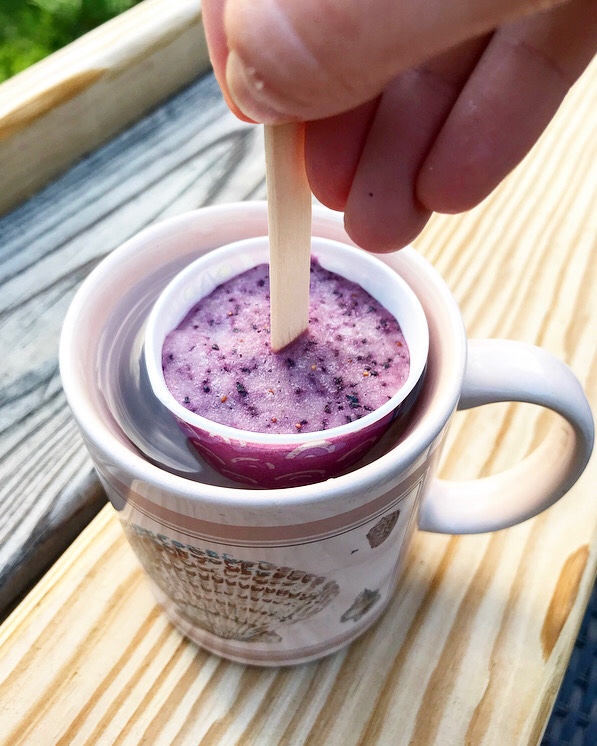
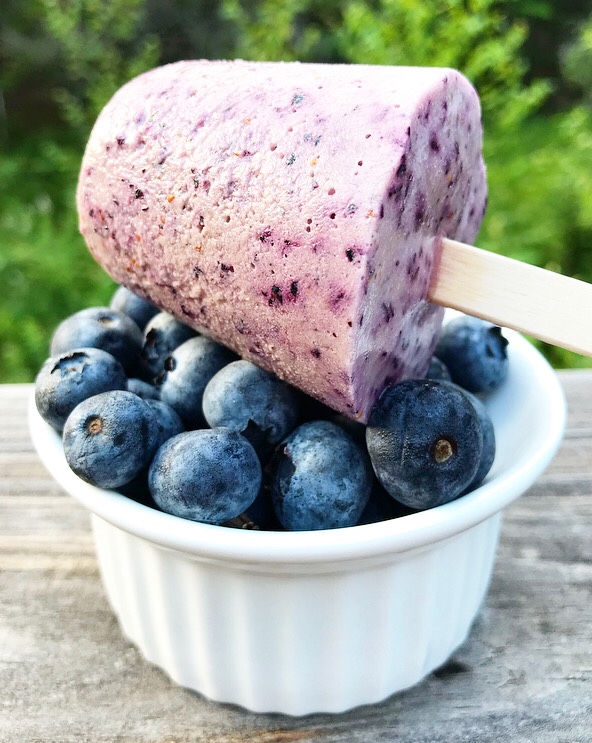 There are four steps to making Blueberry Popsicles:
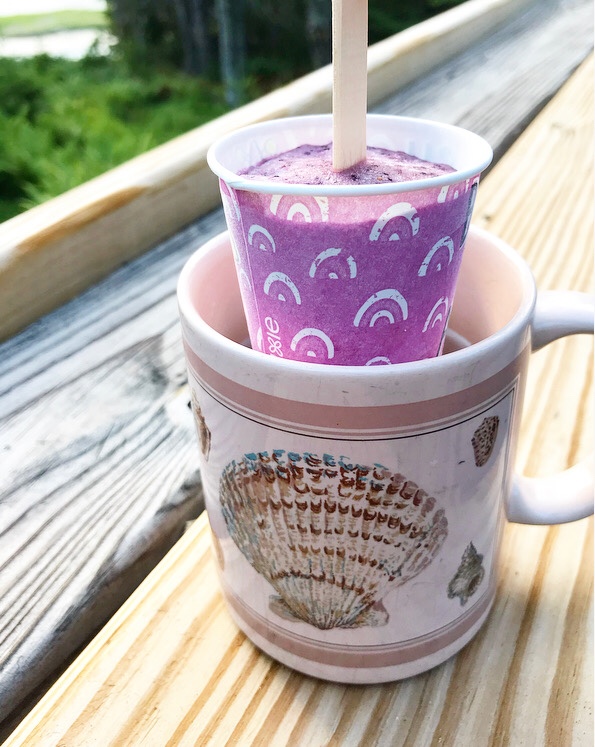
 All that’s left to do is unmold and enjoy them on a patio in
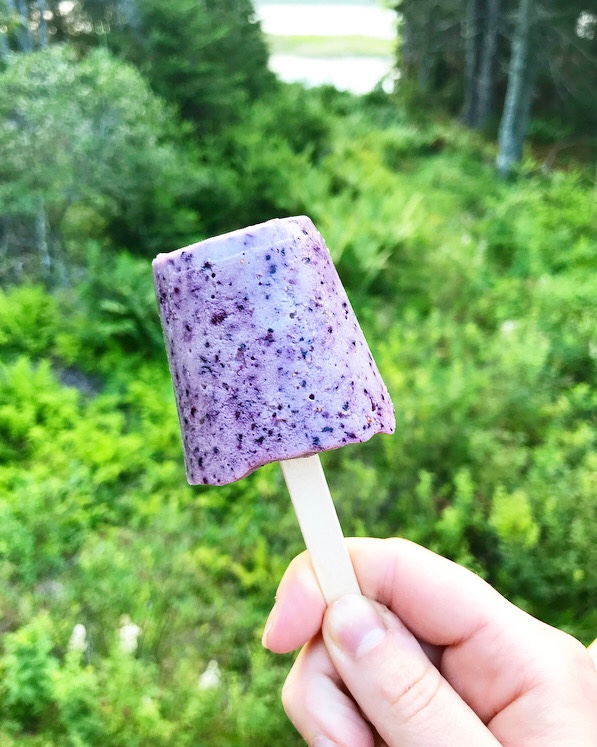
 Let me take this moment to express gratitude for the 1998 remake of
 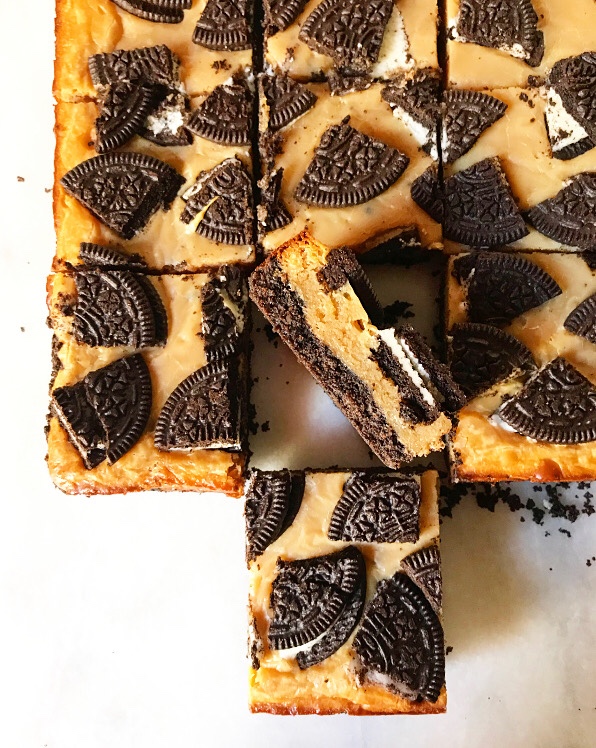 Besides the obvious dipping of Oreos directly into peanut butter, I’ve paired the two in
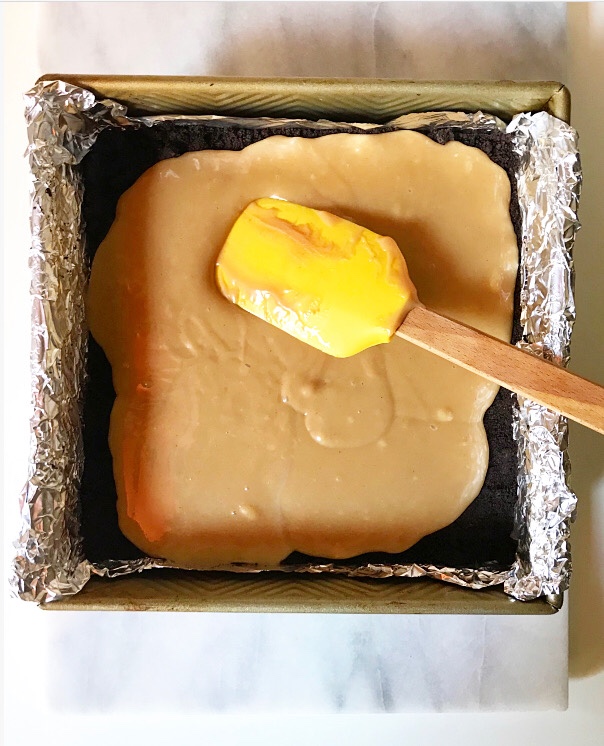

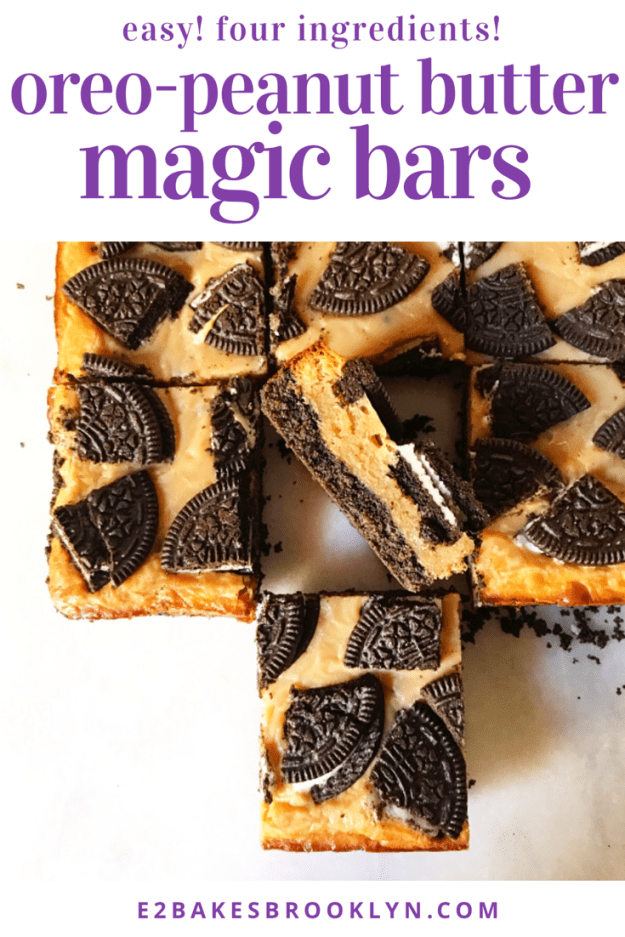
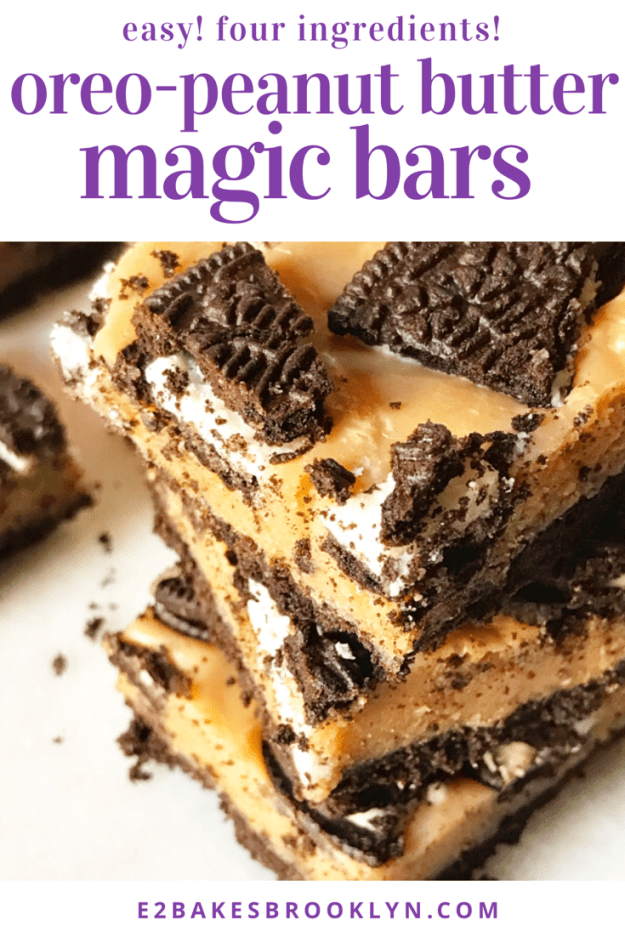
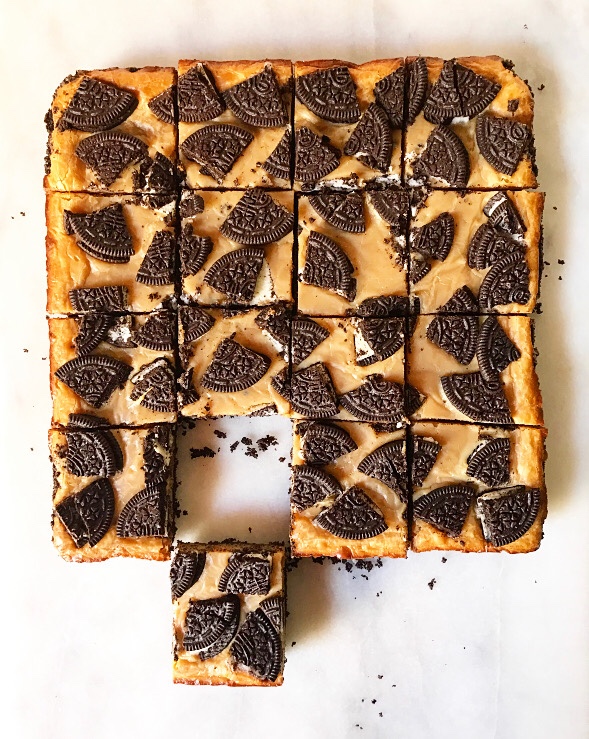
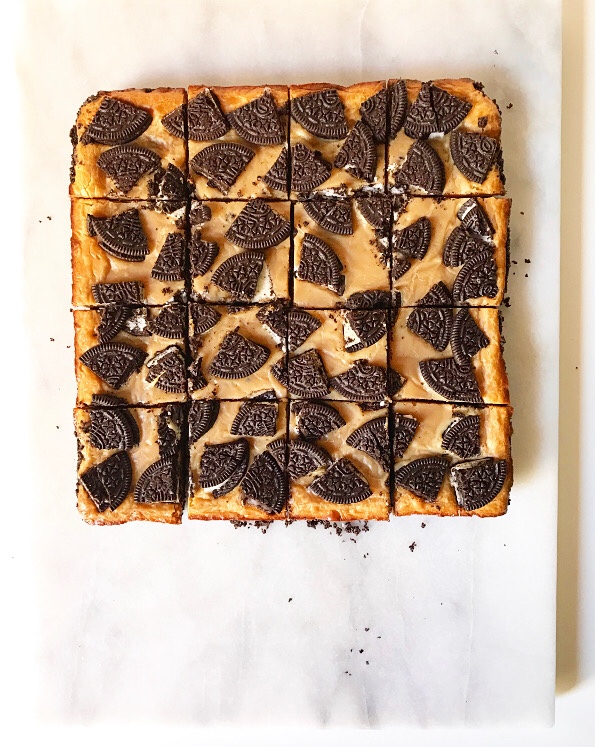 They have just four ingredients–Oreos, peanut butter, butter & sweetened condensed milk–and come together in less than 45 minutes. Oh, and they’re ridiculously easy and far more delicious than any baked good with four (!) ingredients should be.
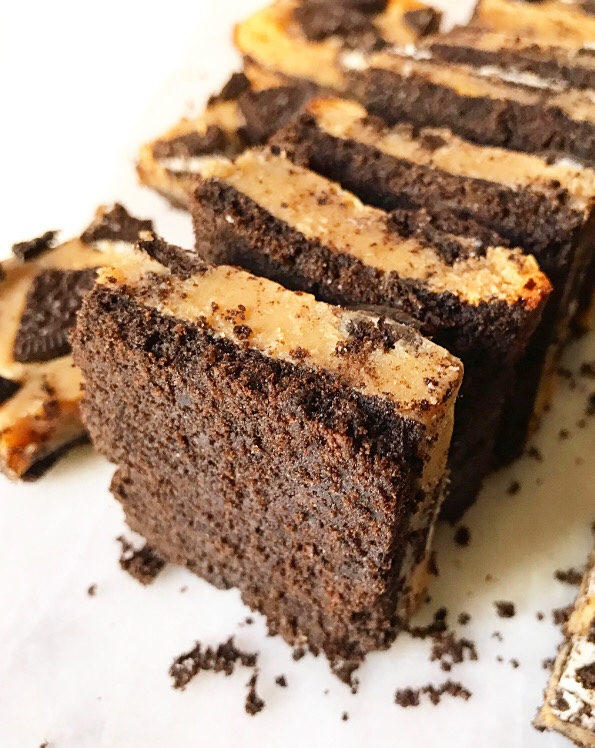 We’re talking soft, chewy peanut butter filling and buttery Oreo crust here, people!
 Those are two of my very favorite things. One of the great duos, if you will.