I saw a two-ingredient sherbet recipe on Pinterest a few weeks ago and it rocked my world. Did you know that sherbet could be made by blending a couple of frozen fresh mangoes with a can of sweetened condensed milk and freezing it? Because I did not. I had no idea! But indeed it can and you should make some immediately, if not sooner.
 Sherbet is a frozen dessert made of fruit and dairy. It’s the best parts of ice cream and sorbet (no-dairy) blitzed into one cold, creamy, vibrant treat! Traditionally, you need an ice cream maker for sherbet, but this no-churn method works incredibly well if you (like me) don’t have one.
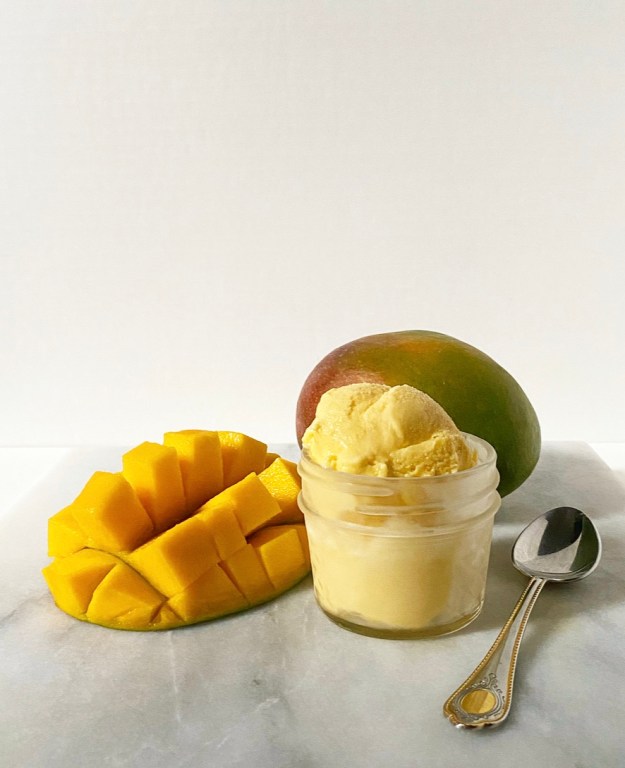 Yes, this really is as simple as it sounds—two ingredients, no-churn, easy easy easy. And you can make it with any fruit you want! Peaches, cherries, berries, pineapple, whatever. I went for mango because that’s what my little heart desired on the day I made this batch.
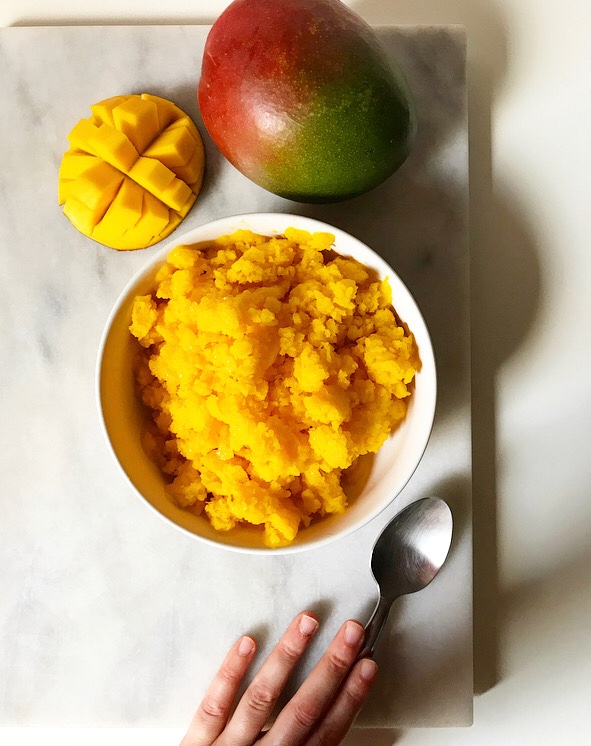
If you want to use fresh fruit, you’ll need to freeze it first. I’ve included a painstaking tutorial on how to slice a mango in the recipe, but the general gist is to cut whatever fruit you’re using (berries excepted) in 3/4”-ish pieces and freeze them until they’re…frozen. You can also just use bagged unsweetened frozen fruit (20-24 ounces), but there’s so much great fresh fruit right now that you may as well take advantage. With an ingredient list this short, quality is key. 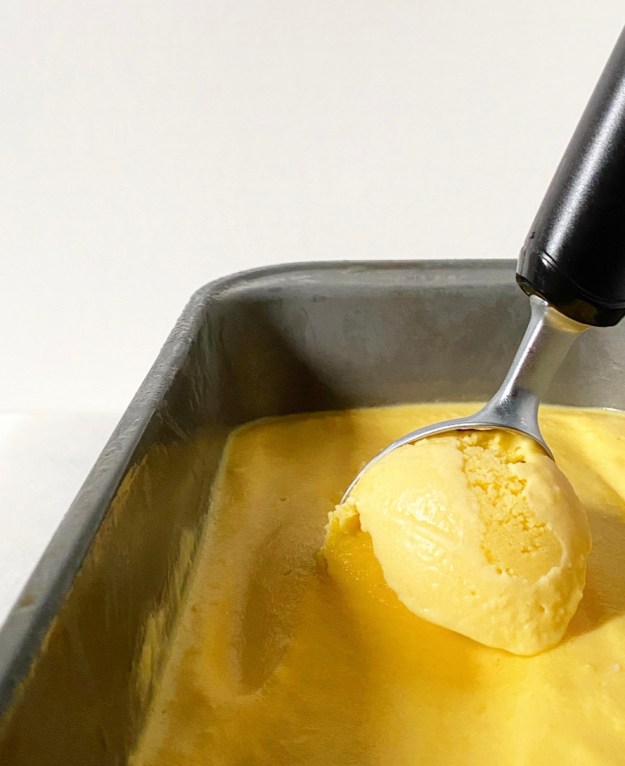

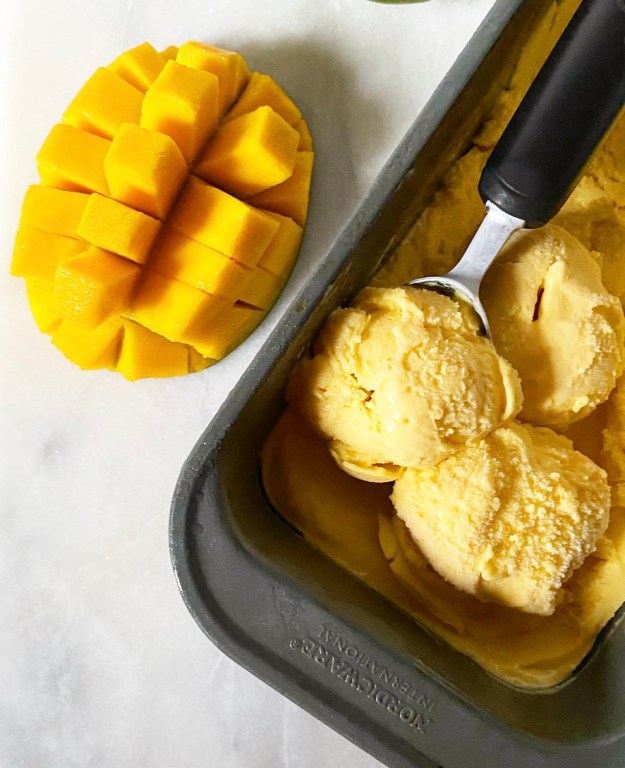 As far as actually making the sherbet, it’s as simple as blending the frozen mango with a can of sweetened condensed milk. You can eat it immediately, but I prefer to freeze it so that it’s scoopable.
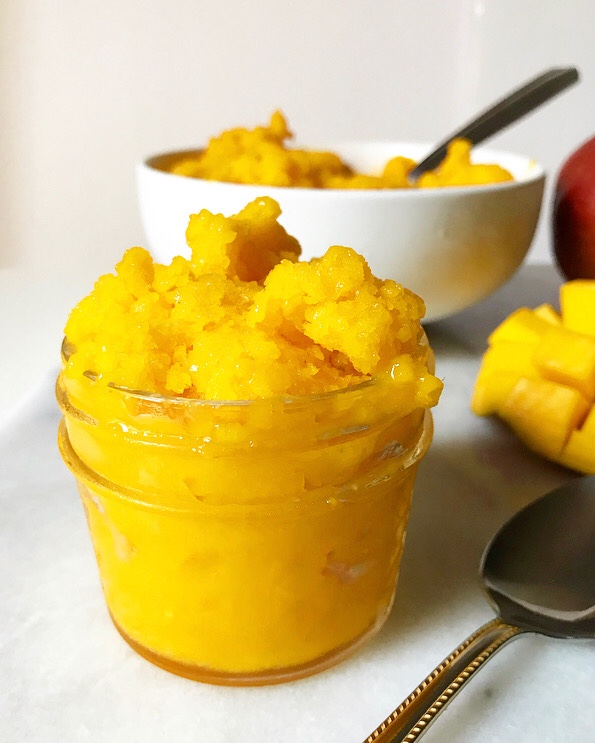
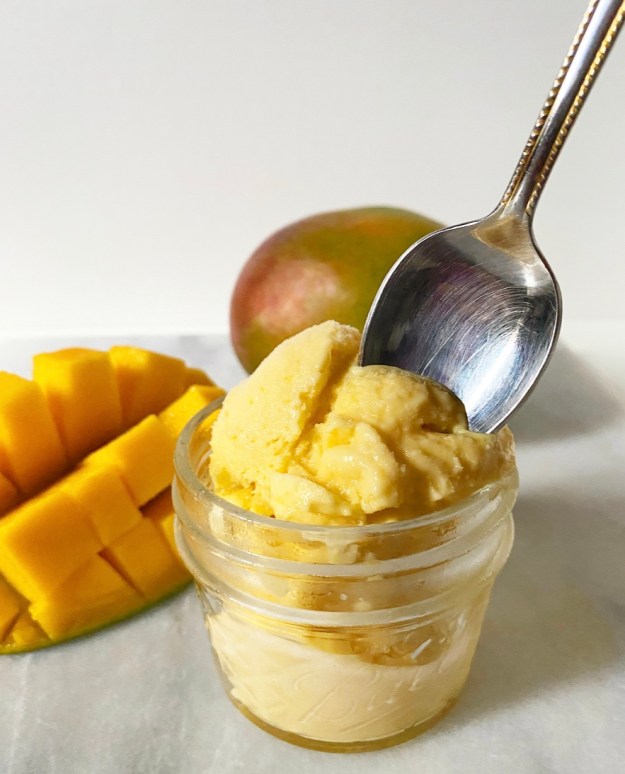 Regarding flavor, it’s exactly as you’d expect. The mango is super prominent and the sweetened condensed milk gives it a smooth, sweet finish. I was initially concerned that the natural water in the fruit would cause the sherbet to be icy, but sweetened condensed milk continues to be the no-churn MVP, always producing perfect creamy results. And I do mean perfect.
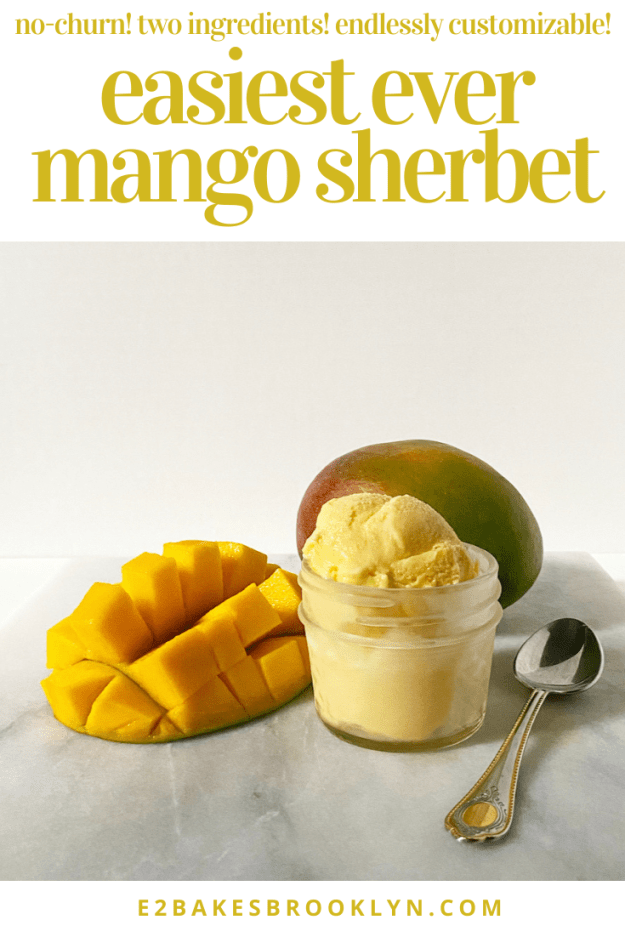
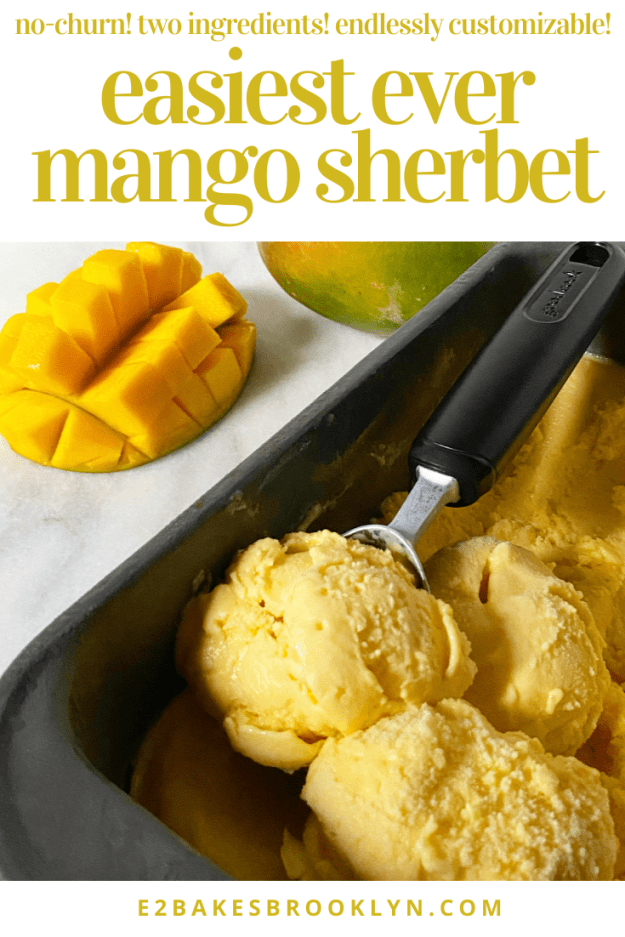
Easiest Ever Mango Sherbet
makes about 1 quart
2 lbs fresh ripe whole mangos* (about 2 large mangos)
1 14-ounce can sweetened condensed milk
Line a rimmed baking sheet with parchment.
Stand one mango, stem end-down, on a cutting board, Use a large, sharp chef’s knife to slice down one side of the long, wide center pit. Slice down the other side of the pit. You should now have 2 halves and the center pit section.
Take one half and lay it flesh-side-up on the cutting board. Carefully (!!!) slice it in 3/4-1-inch intervals lengthwise, being sure not to slice through the skin. Then slice it in 3/4-1-inch intervals widthwise, again not slicing through the skin. Repeat with remaining mango half.
Use a spoon to scoop mango flesh onto the prepared baking sheet. Use your fingers to separate the pieces. Repeat process with remaining mango. Freeze mango on the baking sheet for 3-4 hours, or until frozen.
(Trim skin from pit pieces and eat the fruit off of them as a snack/cook’s treat.)
Combine frozen mango and sweetened condensed milk in a high-powered blender. Blend on high for about 1 minute, or until smooth and thick. Use a silicone spatula to scrape down the sides of the carafe as necessary. You may eat the sherbet mixture immediately, but it will be soft.
For the scoopable texture pictured above, transfer sherbet mixture to a loaf pan or other vessel. Press a sheet of plastic wrap to the top and cover with aluminum foil. Freeze 4-6 hours before scooping and enjoying.
Mango Sherbet will keep covered in the freezer for up to a month.
Note:
You may make this with store-bought frozen mango. Use 20-24 ounces frozen mango chunks, and start the recipe at the paragraphs beginning “combine frozen mango and sweetened condensed milk.”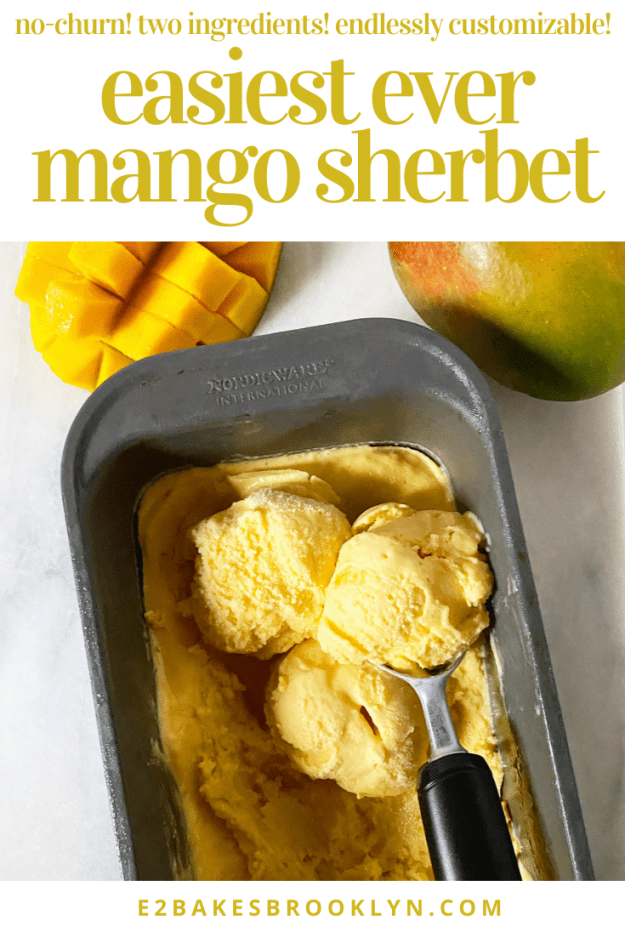
 I first came across a granita recipe in the summer of 2009 and thought “That looks easy and delicious. I’m going to make that.” And then ten years passed.
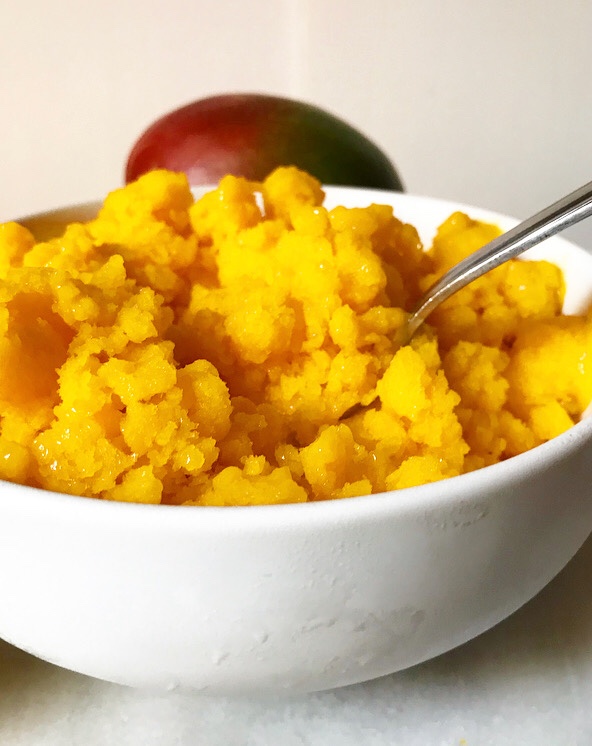
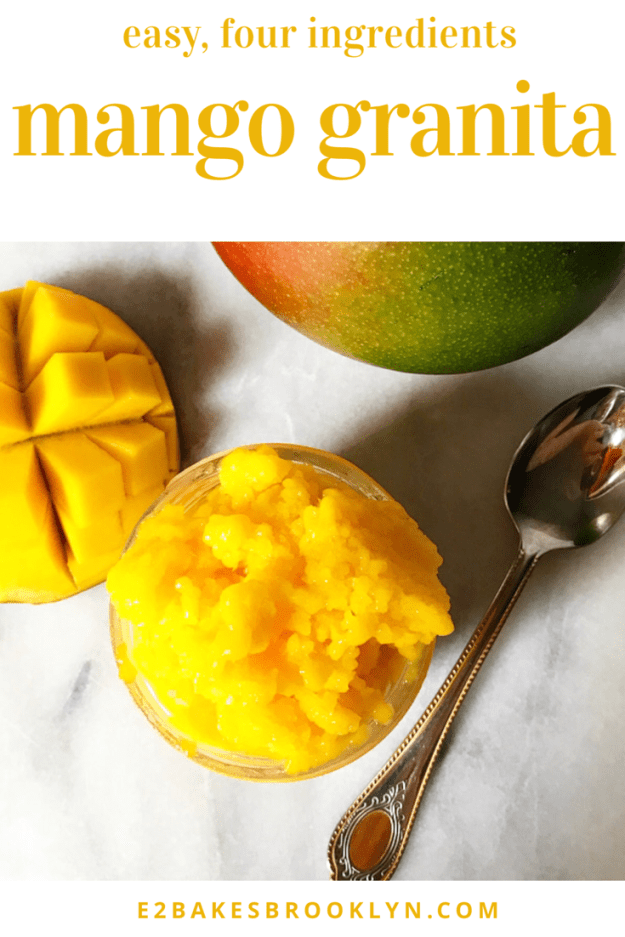
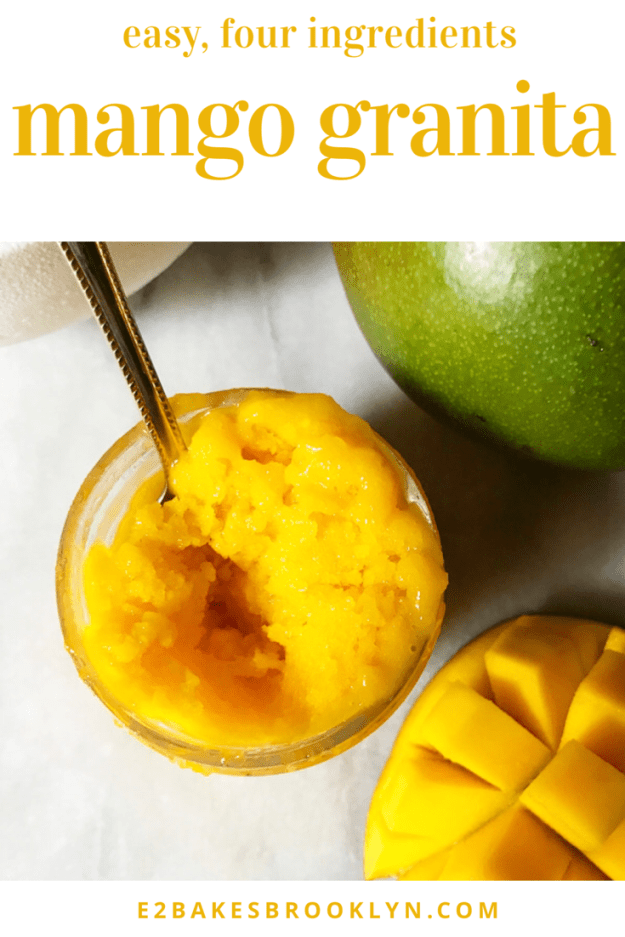
 If you are wondering what the heck I’m talking about, granita is a
 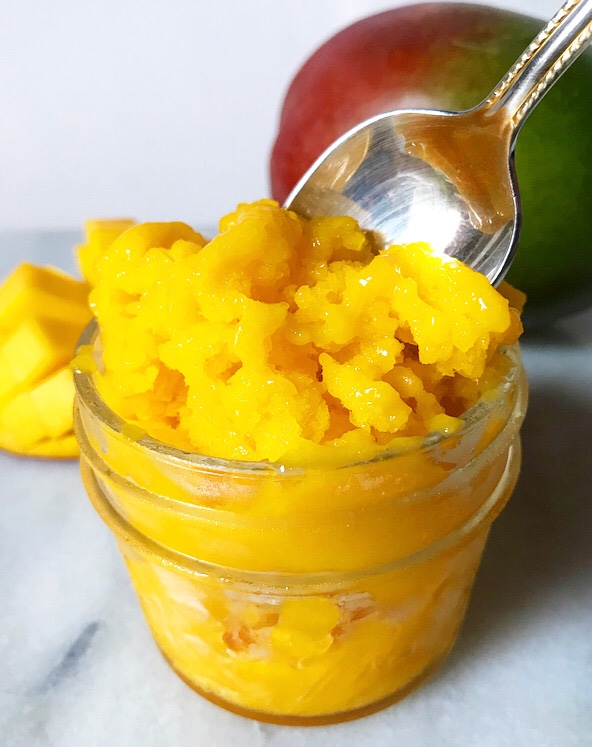 To make this Mango Granita, you’ll need:
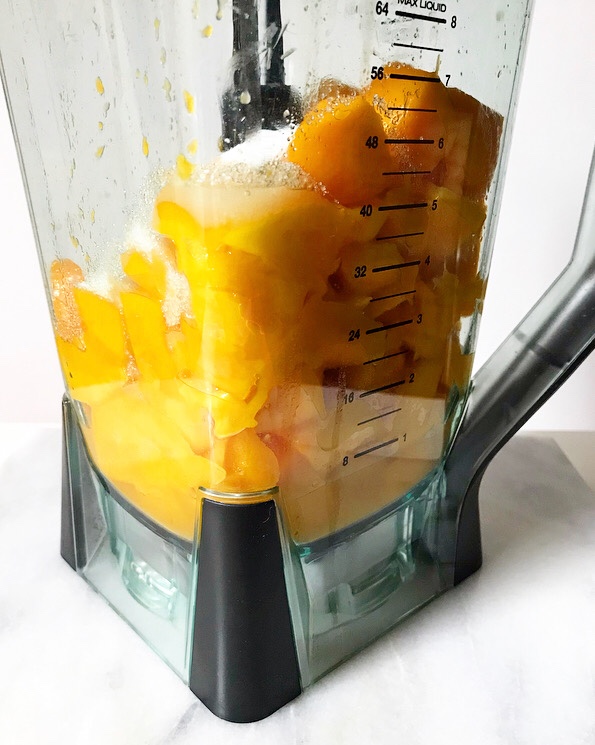
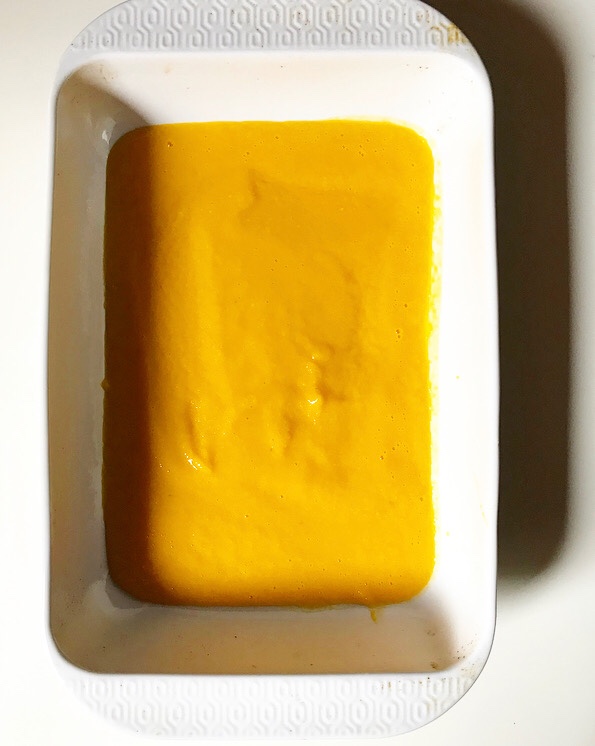 The process is simple. Blitz all the ingredients in a blender until smooth, then pour the purée into a large dish and put it in the freezer for an hour.
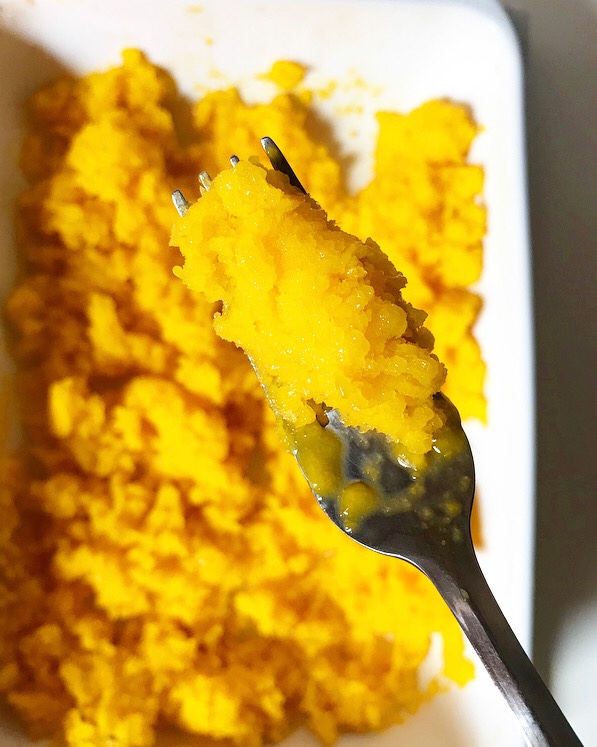
 When that time is up, remove the dish from the freezer. Starting at the outer edge, use a fork to drag the frozen purée into the looser center. This will begin the process of making fluffy, snowy ice crystals. At first, you may feel like you’re dragging a fork through soup, but an hour later, it’ll be a different story.
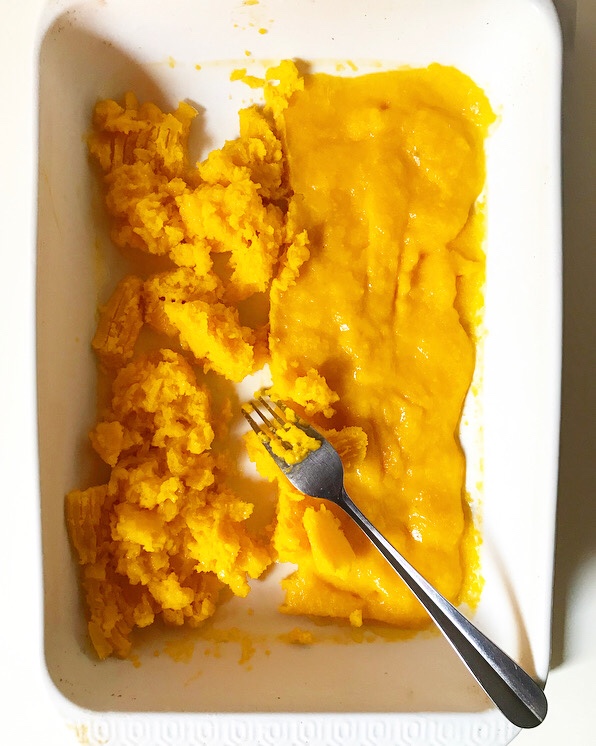 And then, thirty more minutes will go by and crystals will really begin to form! The grainy texture is the “gran-” in granita.
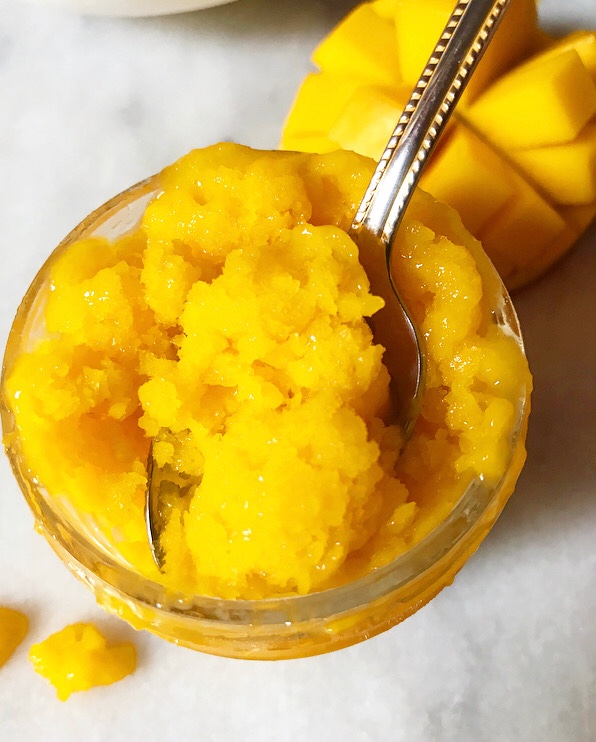
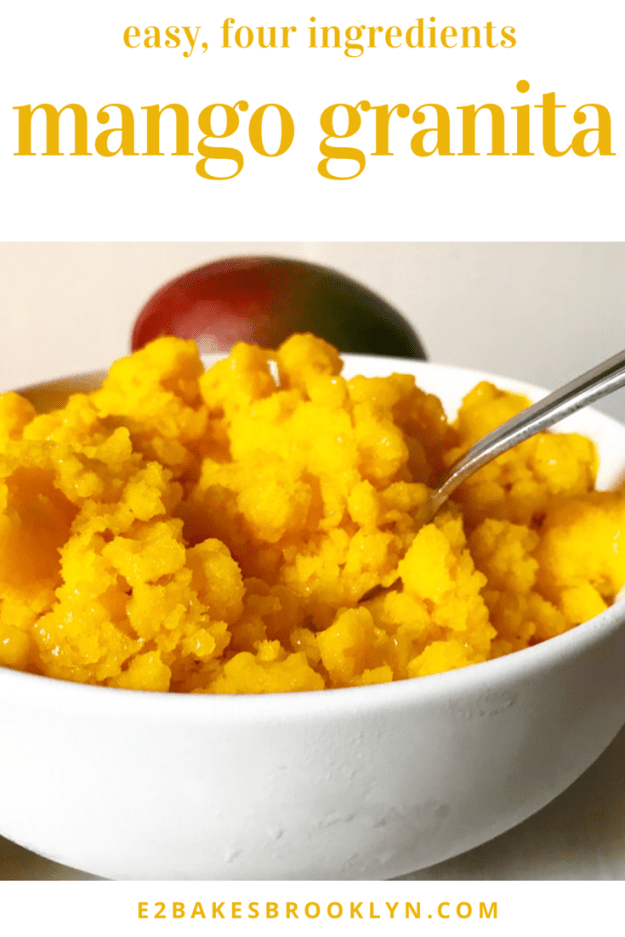
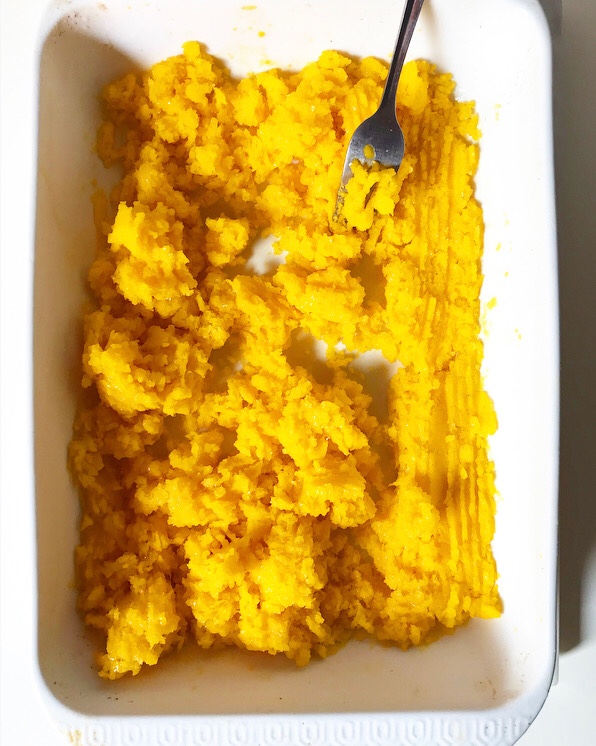 You’ll know it’s ready when it looks like this:
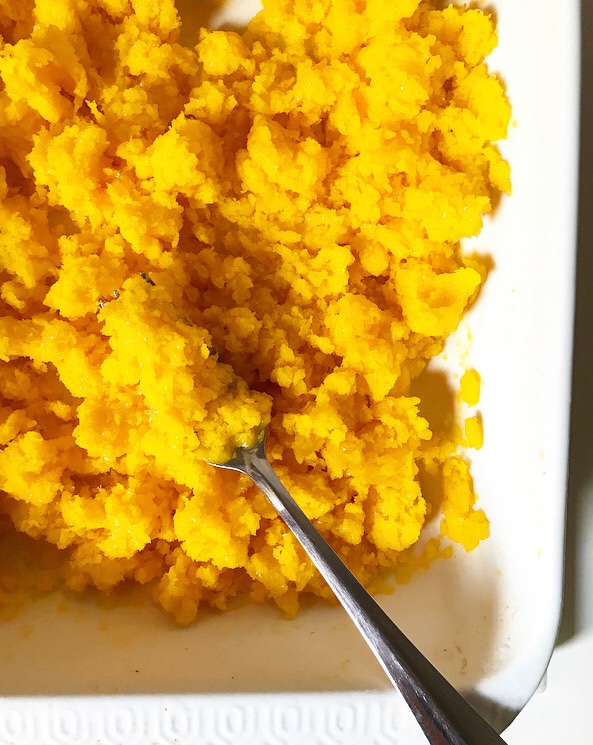
 Mango Granita is as delicious as it is beautiful—light and refreshing and perfect for these sweltering last few weeks of summer! The texture is somewhere between a snow cone and a sorbet. Where you might think this would be icy, it’s super smooth and surprisingly creamy. This is the sort of dessert that is great for any occasion from watching Netflix in your PJs to a cookout to a dinner party. It’s vegan, nut-free, low calorie and low sugar–a wonderful option for a crowd!
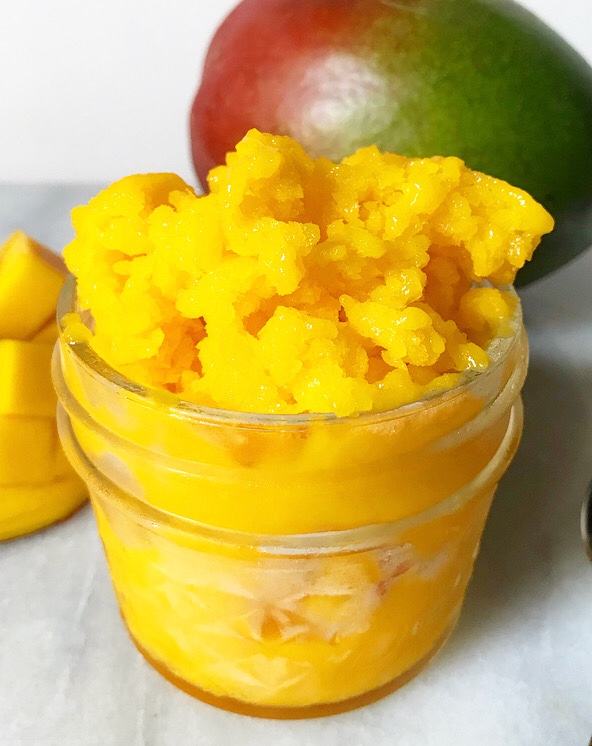
 Before I get to the recipe, here are a few more tips for granita success:
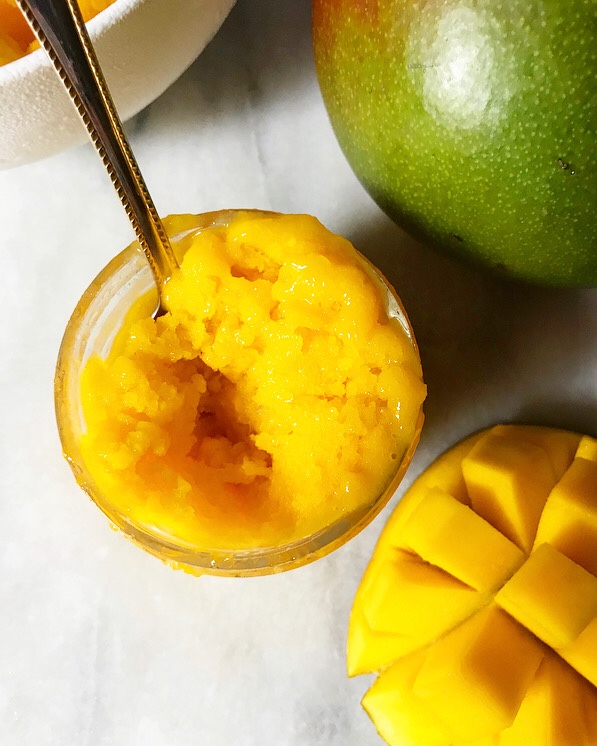
 Hi there! Long time, no blog.
 That doesn’t mean I didn’t cook though. Vacationing on a remote island means spending time in the kitchen is a necessity, and for me,
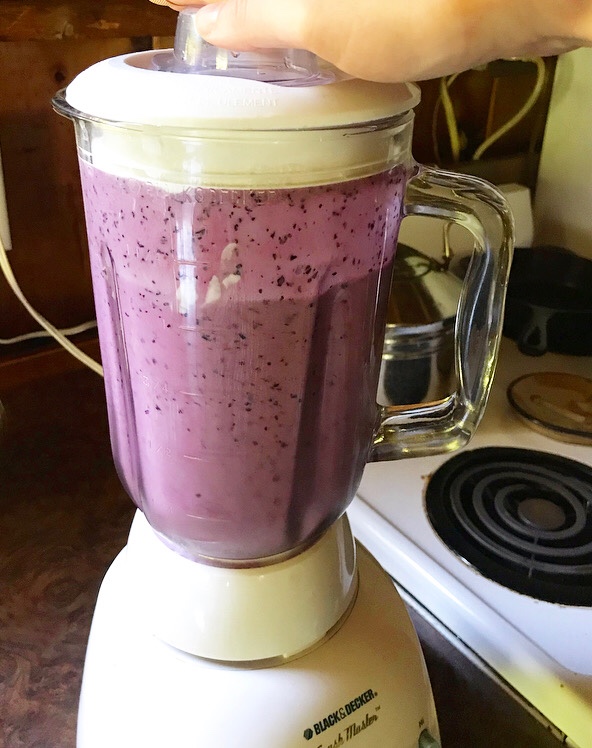
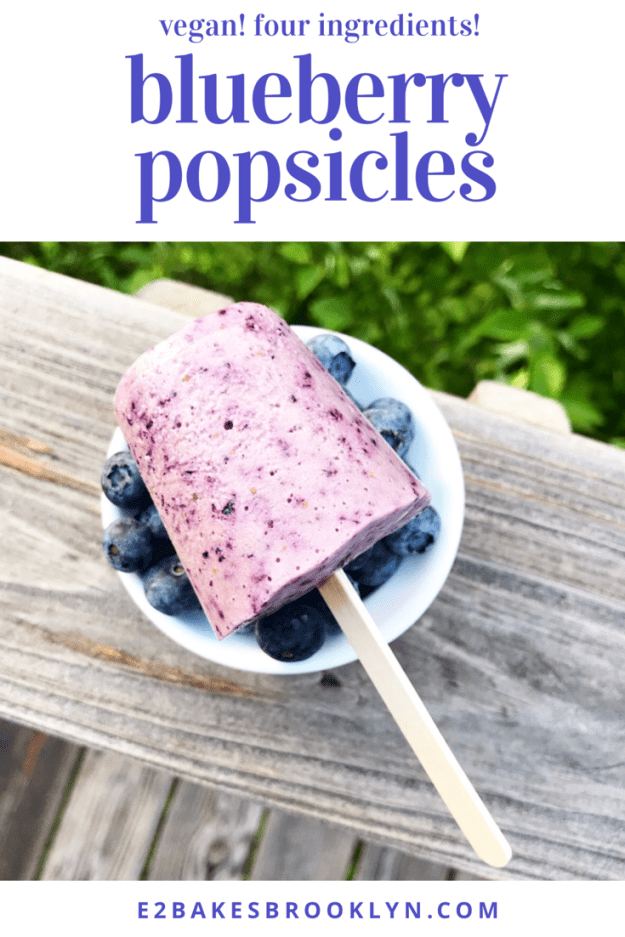
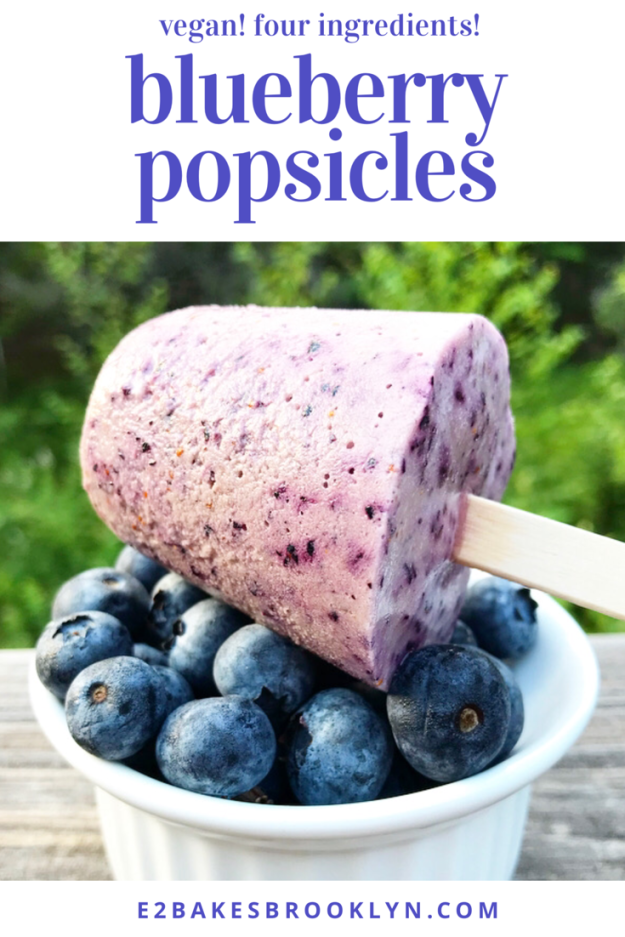
 This time around, we already had blueberries (because Maine), maple syrup (because waffles), and vanilla (because I’m a baker) on the list, and I had packed a blender (because
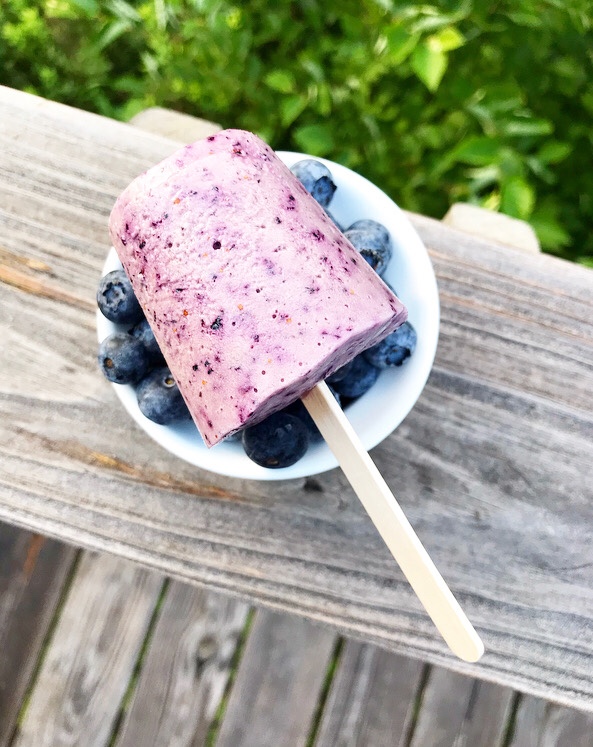
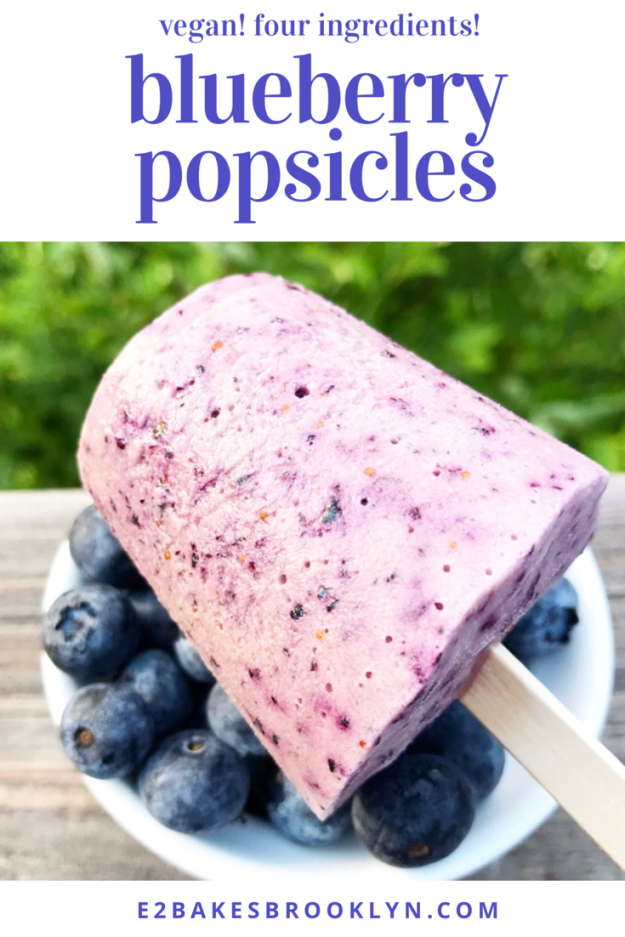
 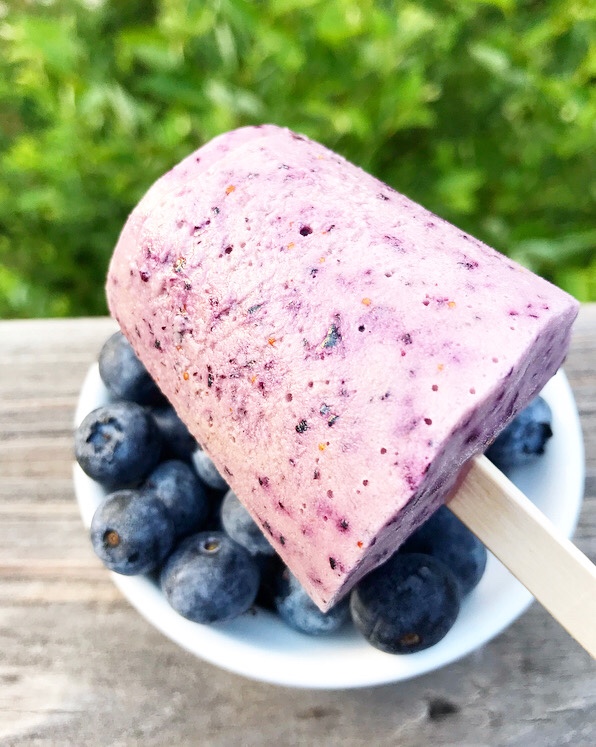 These are the perfect easy summer dessert! They require the bare minimum of effort and ingredients, but deliver big-time on icy texture and creamy blueberry flavor. Oh, and they’re vegan, so your gluten-free vegan co-traveler can enjoy them too.
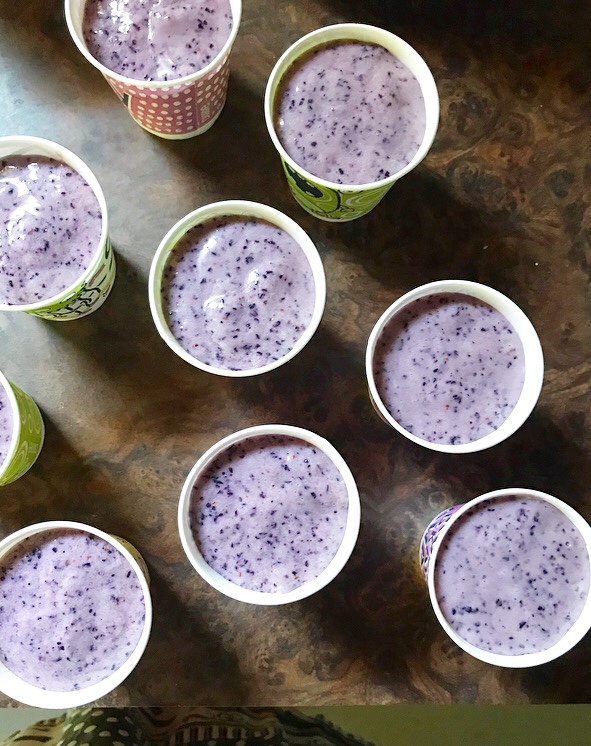
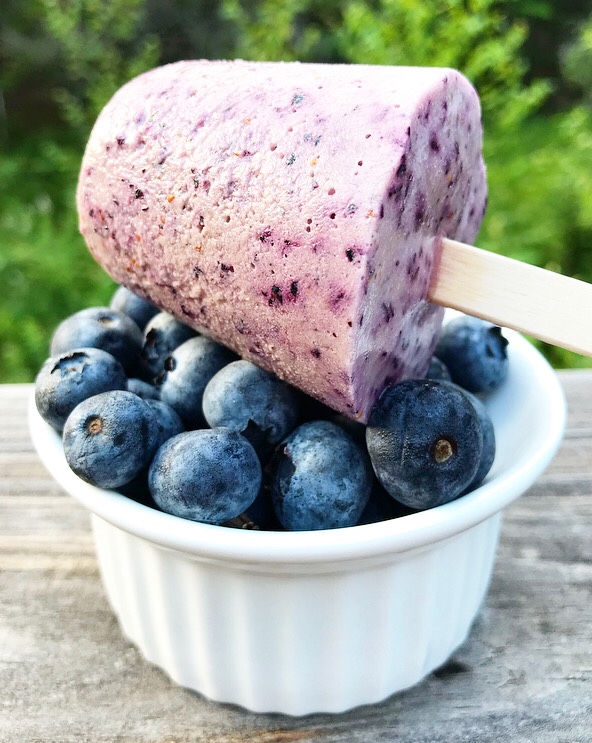 There are four steps to making Blueberry Popsicles:
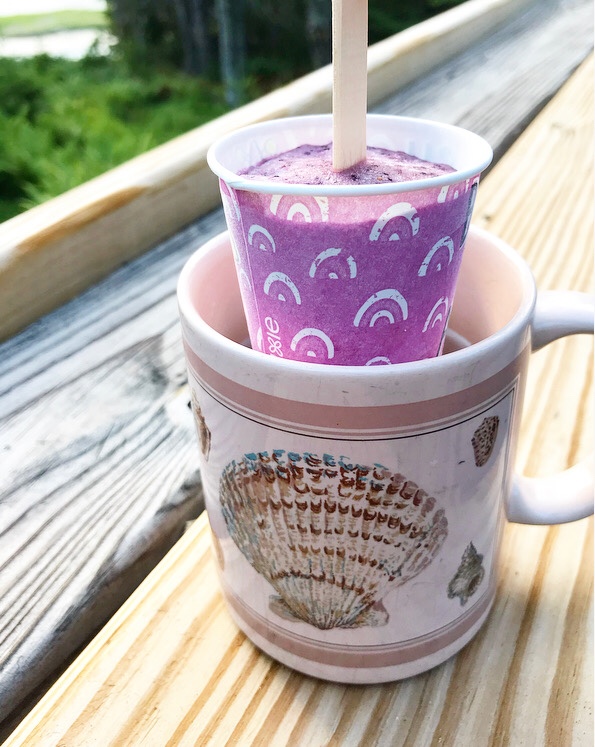
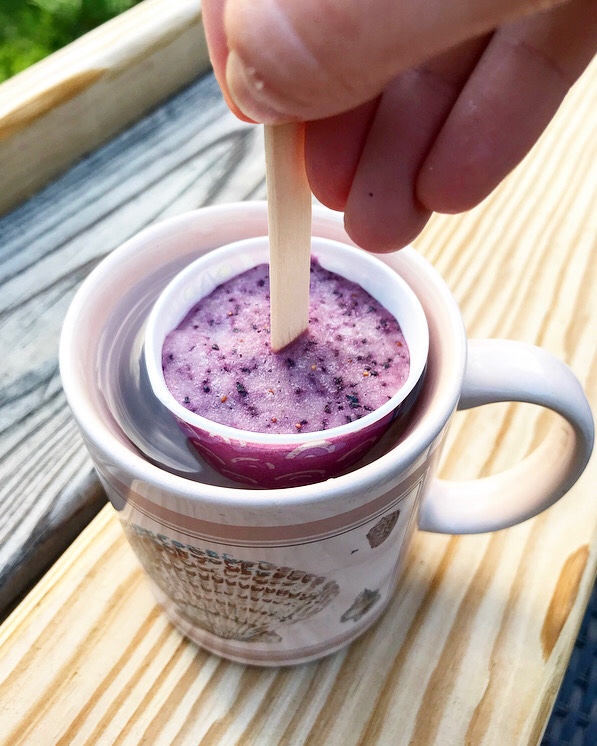 All that’s left to do is unmold and enjoy them on a patio in
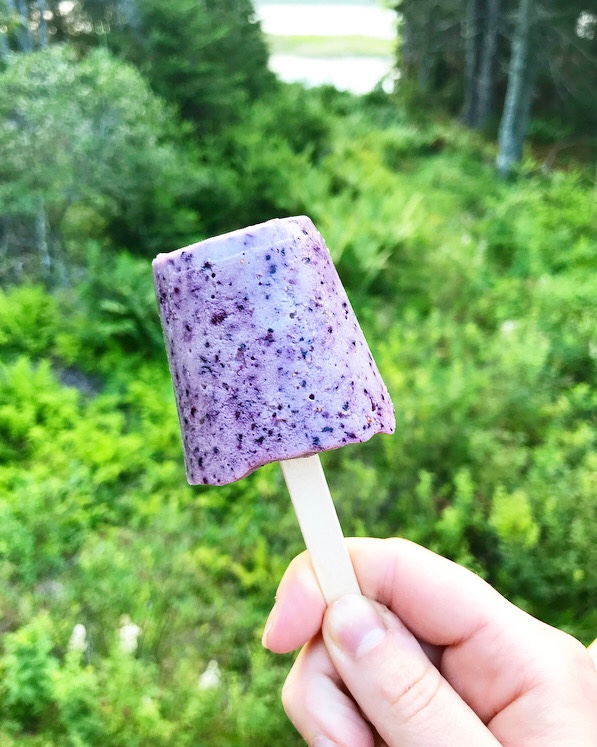
 Until last Wednesday, I had no plans to create a new Fudgsicle recipe. I have some vegan
 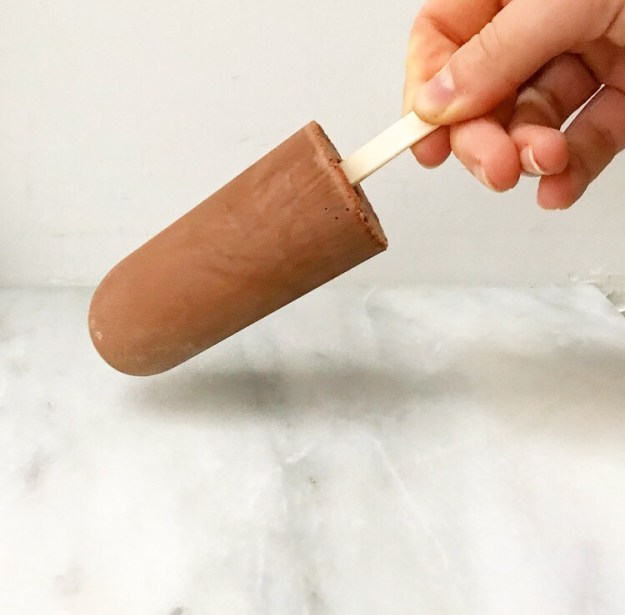 I trekked over to Trader Joe’s to buy the day’s groceries. It was only when I was turning onto the block where I work that I realized I hadn’t bought anything for Fudgsicles. I had been a bit distracted when my boss had requested them, and had forgotten to put the ingredients on my list. It was getting late and I needed to get started on dinner, so instead of going back to TJ’s, I determined that I’d figure out how to make Fudgsicles from things they had on-hand.
 Once I got dinner on, I started to look through the cabinets for ingredients. It went something like this:
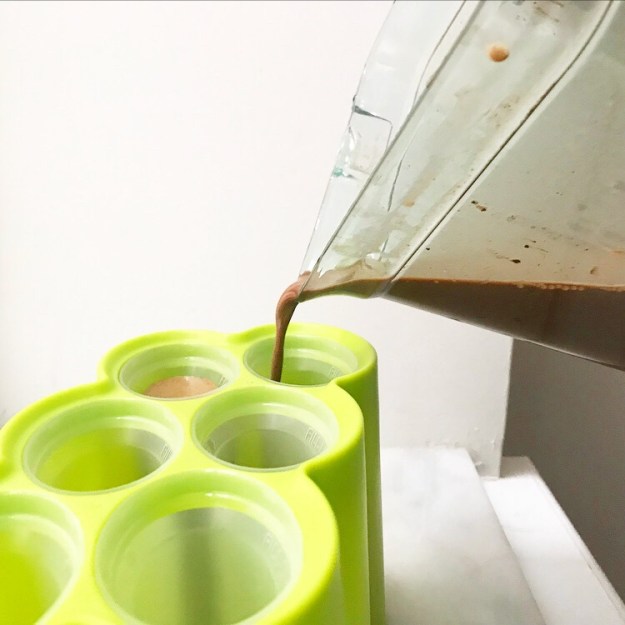

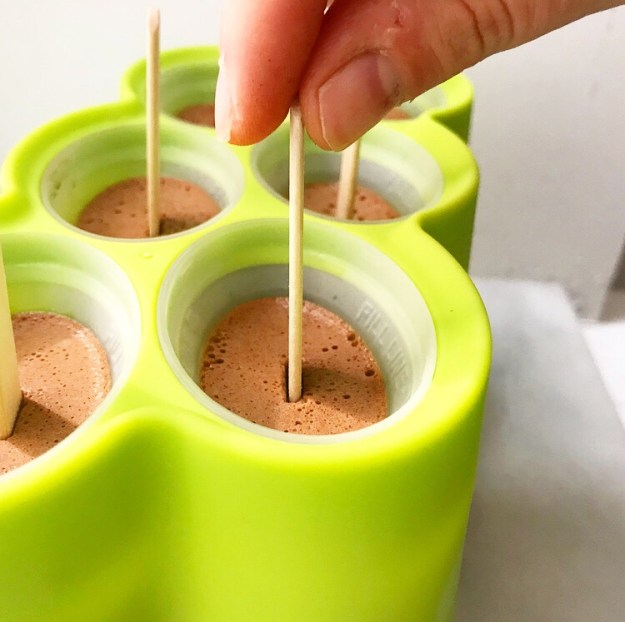 I put all the ingredients in the blender, said a little prayer to Julia Child, and blitzed everything together until it was smooth. I divided the mixture among a set of ice pop molds and put them in the freezer.
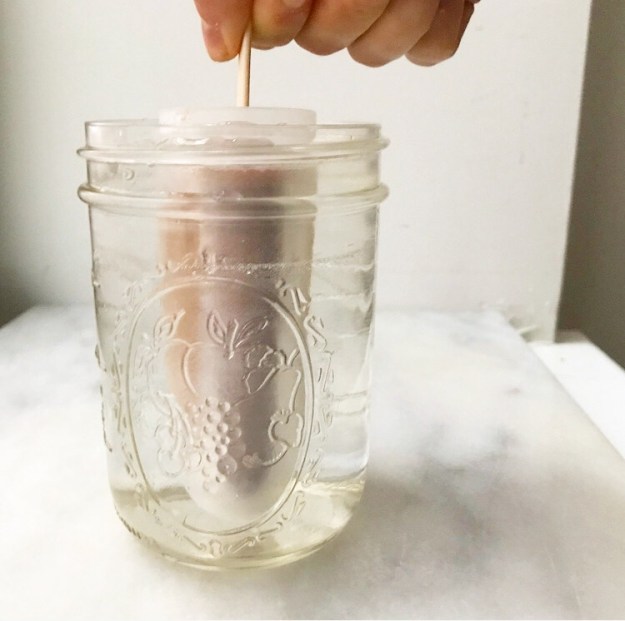
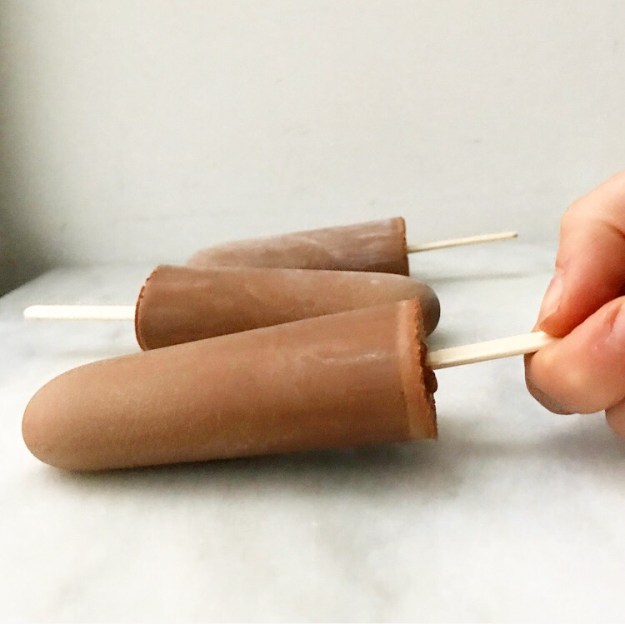
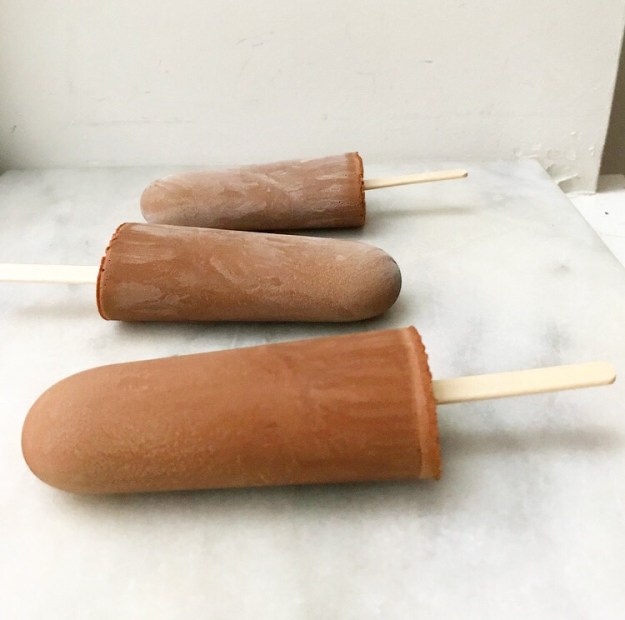
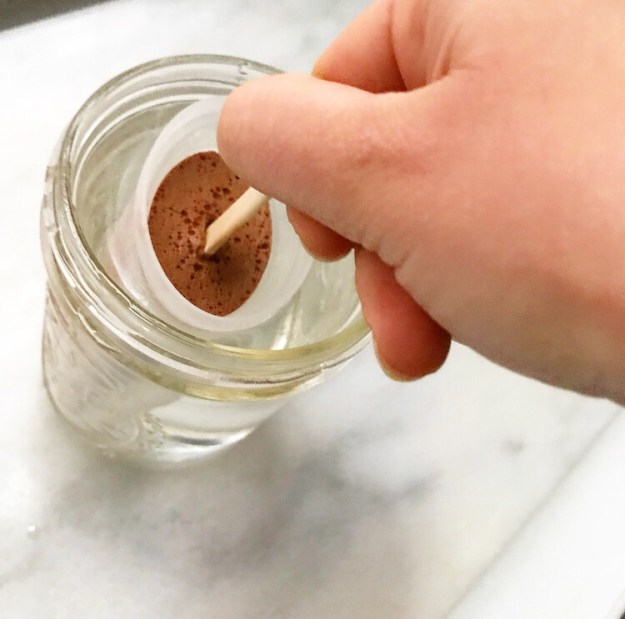 Before the Fudgsicles were completely frozen, it was time for me to go home. As you probably could have guessed, I spent the next 18 or so hours wondering if they were any good compared to my old favorites. Imagine how delighted I was when I got to work the next day to see that the family had already eaten most of them!
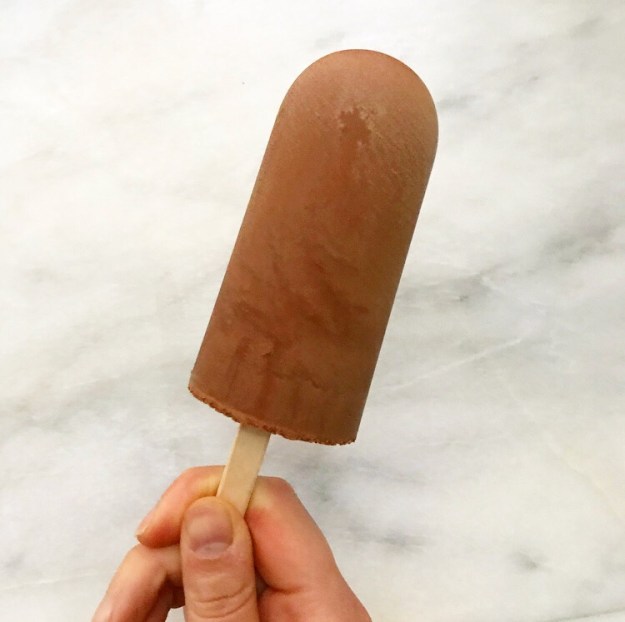 Luckily, there was one left for me to try. It was deeply chocolaty, perfectly sweet, and soft enough that I could bite through it—so basically, exactly what I was going for. I love that a recipe that began as a guessing game worked on the first try. That rarely happens, so I’m calling it a victory.
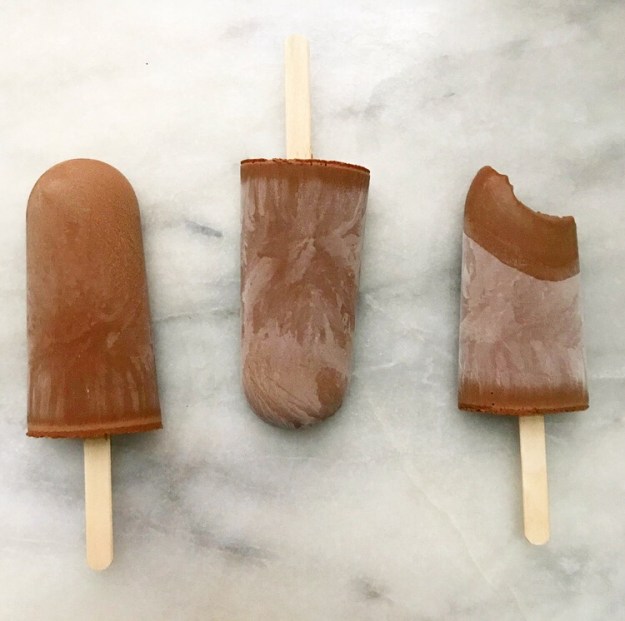 I’ve made three more batches of these Fudgsicles since last week—two for work and one for me. I love how quick and easy they are and that they’re made from the sort of ingredients I always have on hand. And that’s to say nothing of the fact that they’re vegan and fairly low-calorie for an end of the day treat. I don’t follow any sort of diet, but it’s nice to make something on the lighter side every once in a while.
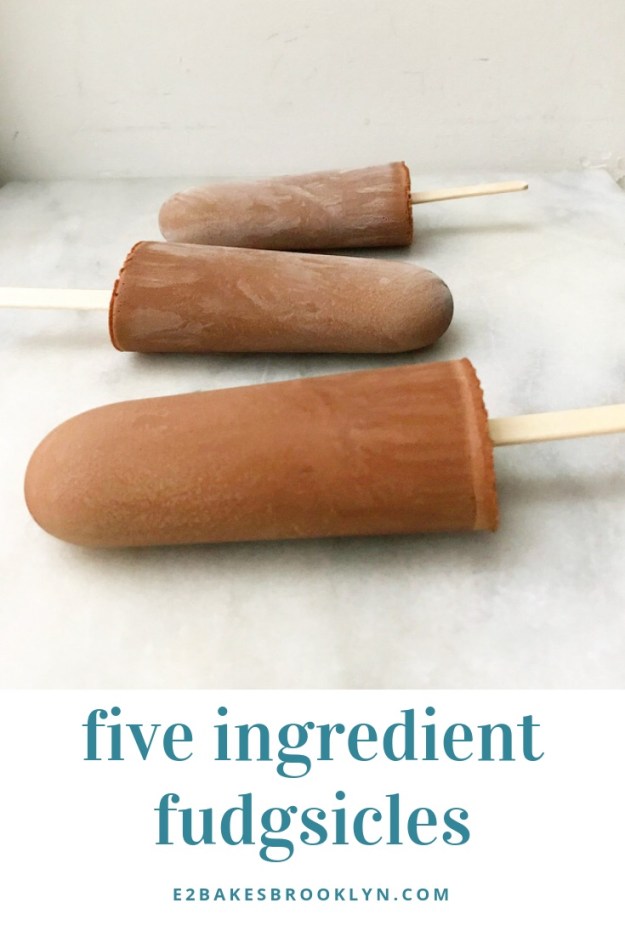
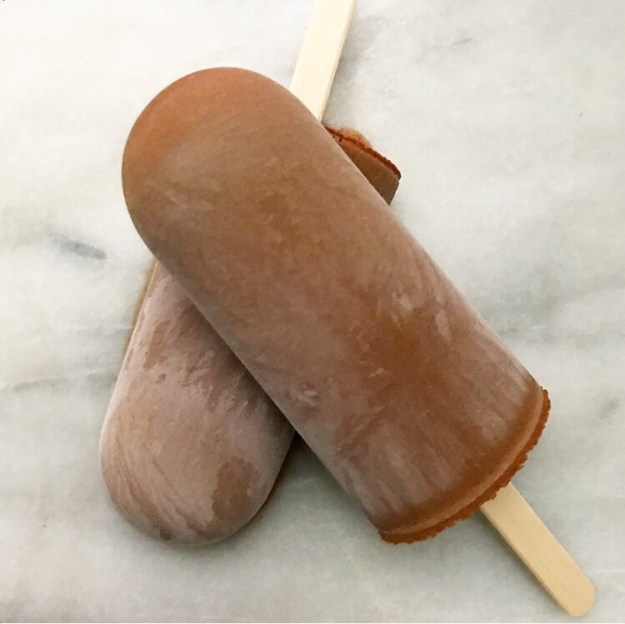 Spend five minutes making a batch of Fudgsicles this weekend! I hope you love them as much as I do.