Every once in a while I mention that I spent a good amount of 2010 making jam, but I’ve never once put a recipe for it on here. Thing is, I don’t even like jam that much. But I do like making it, and I’m always surprised by how delicious it is, especially from scratch.

I had a ton of blueberries on my hands and Maine on my mind a few weeks ago, and figured we could all use a little reminder that homemade jam is easier and more delicious than we all remember. There’s a reason people have been making it for centuries.
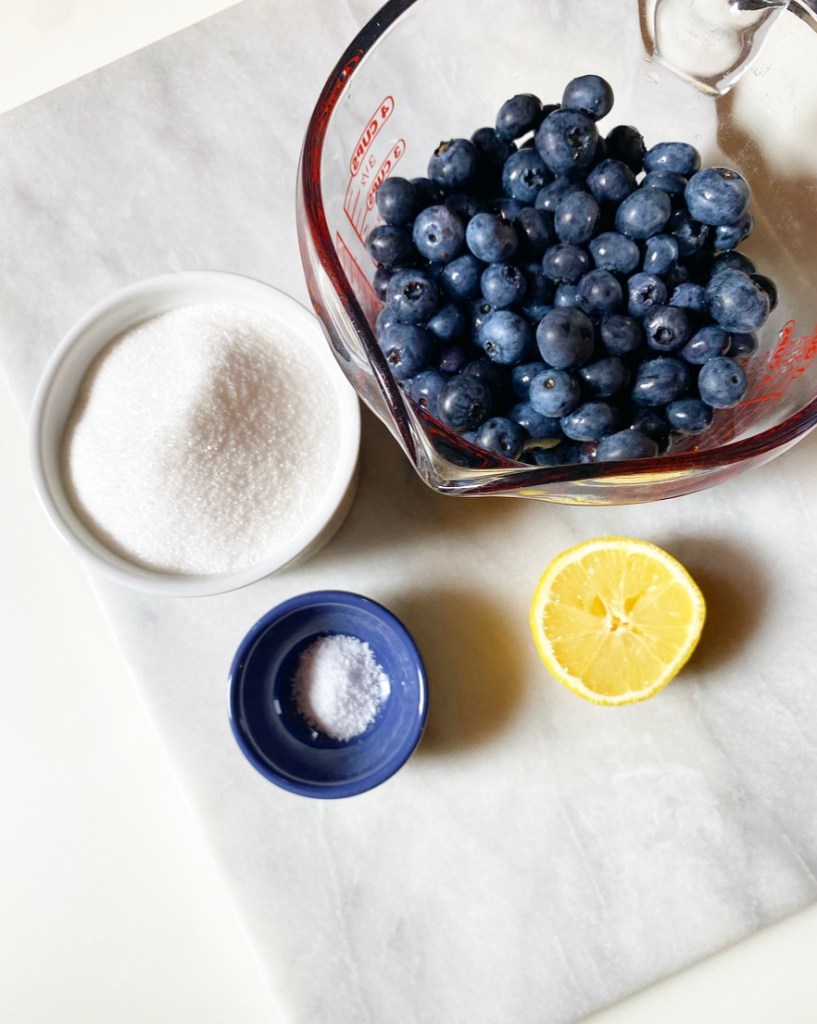
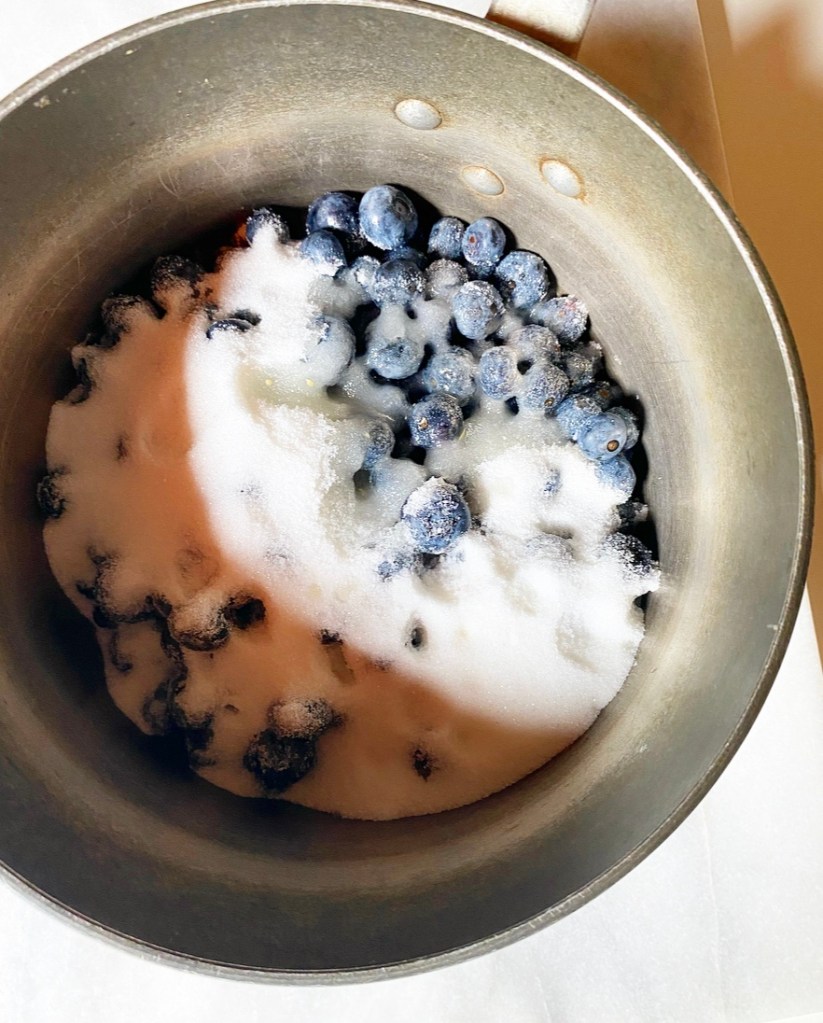
To make the best Blueberry Jam you’ll eat all year, all you really need are fresh ripe blueberries, sugar, salt, lemon juice, a pot, a warm jar, and about 30 minutes. Stir all the ingredients together in the pot and set it over medium heat. Before you know it, the mix will go from sugared fruit to boiling lava to gelling on a frozen plate (“the plate test”).
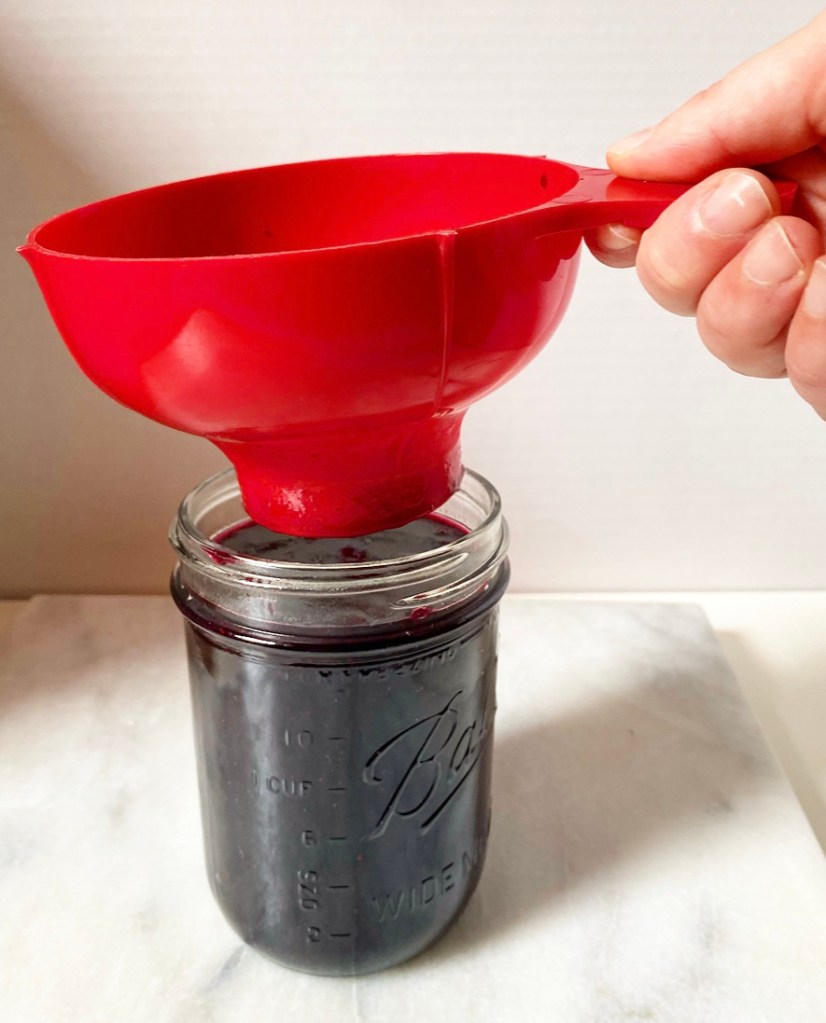
Pour it into the warm glass jar (hot things need hot containers), twist the lid finger-tight and let it cool down before storing it in the refrigerator. If you’d like to make several jars or store at room temperature, I can point you to canning resources. That said, I enjoy jam-making far more than water-bath canning, so I like to make my preserves in small batches.

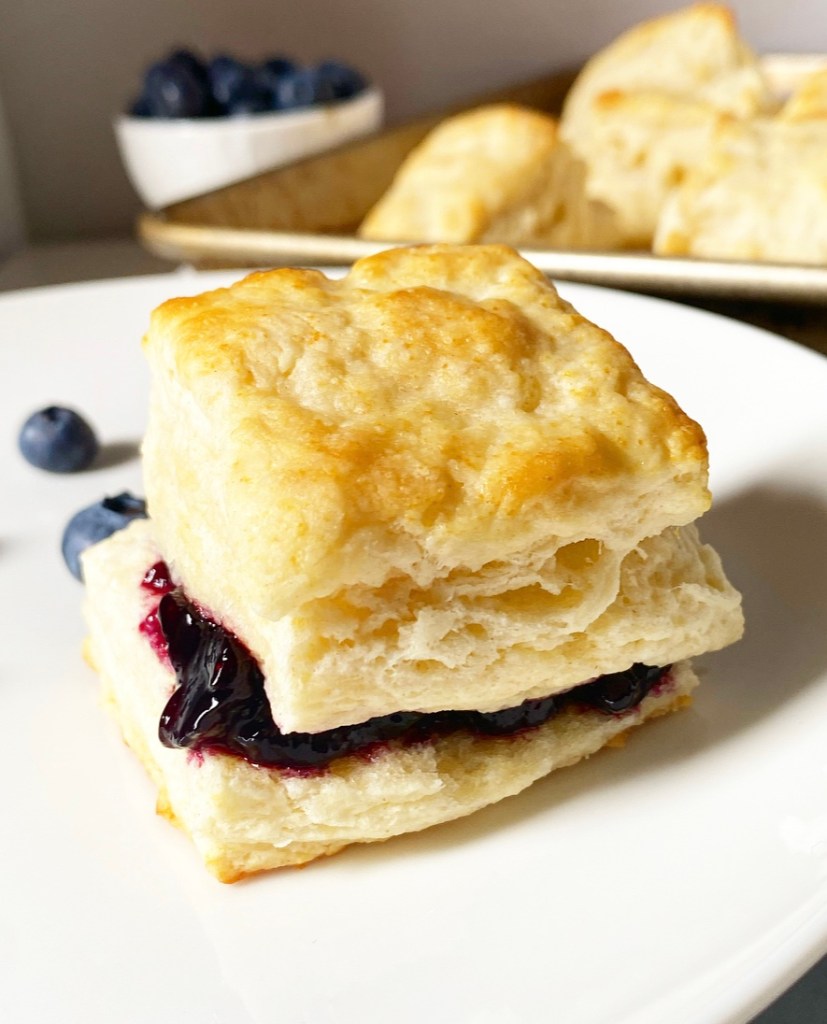
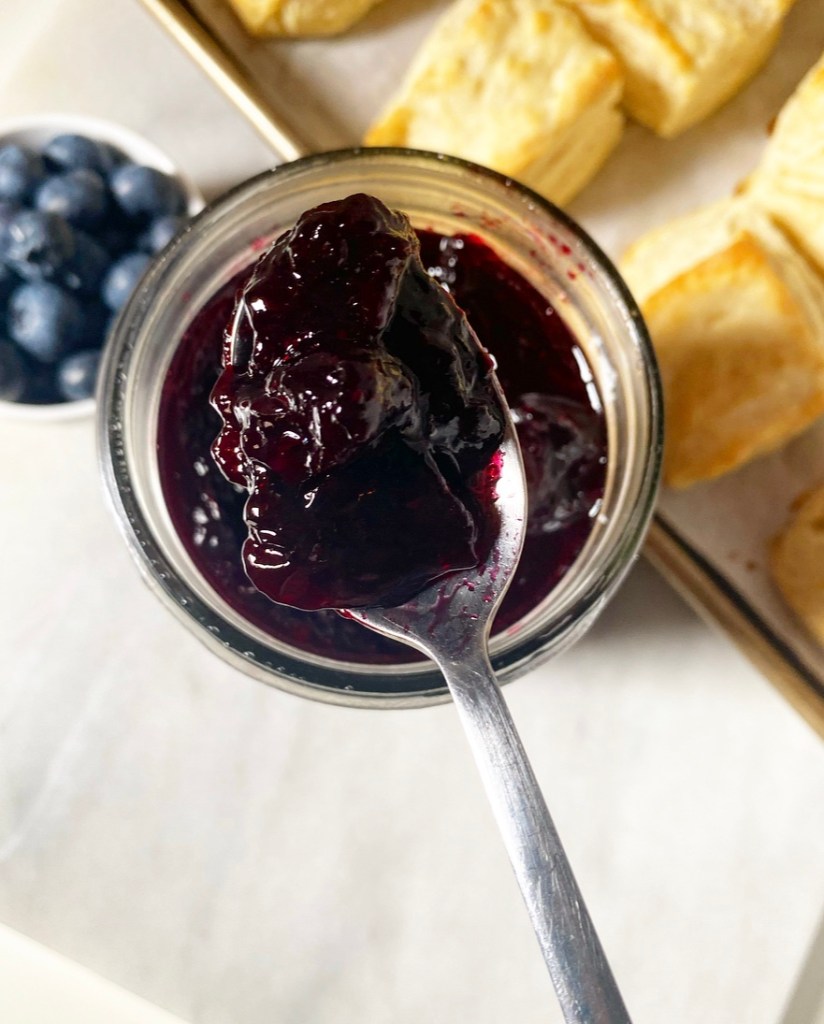
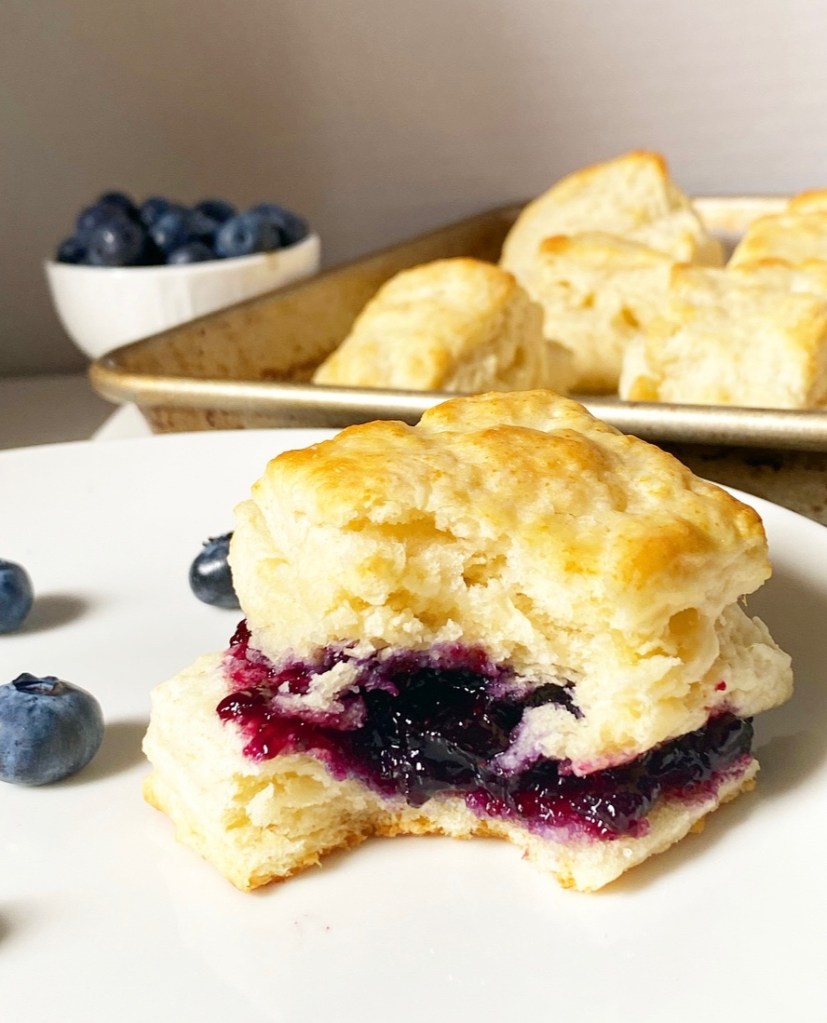
Once your jam cools and settles, slather your dark purple blueberry jam on anything your late summer heart desires—I went for biscuits. Truly though, it will blow your mind on just about anything you put it on. Even if you don’t like jam that much.
Blueberry Jam
makes about 2 cups
3 cups fresh blueberries
1 cup granulated sugar
pinch of Kosher or sea salt
1 tablespoon fresh lemon juice
Place a small plate in the freezer.
Stir/toss all ingredients together in a medium heavy-bottomed pot. Heat over medium heat, stirring frequently, until it comes to a boil. Skim and discard any foam that accumulates on top.
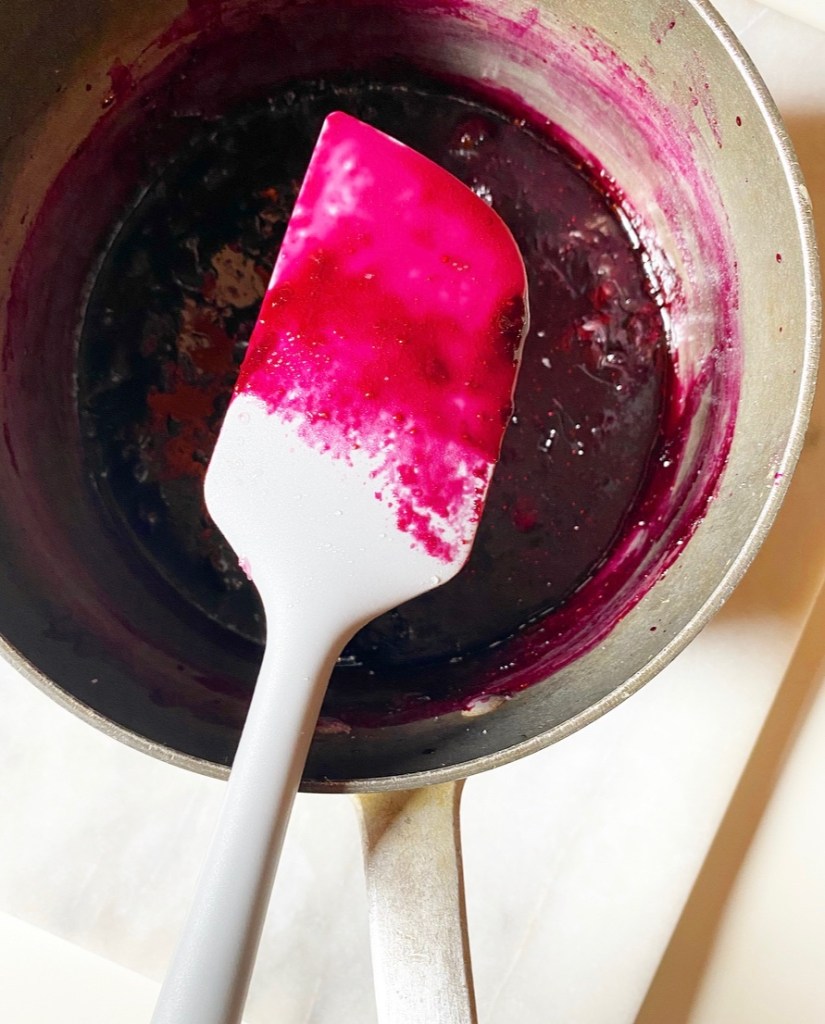
The jam is near-ready when the fruit has softened and burst and the liquid appears to be thickening. To test for doneness, remove the frozen plate from the freezer and dribble a drop jam on it. If, after a few seconds, it wrinkles when nudged with your finger, it’s done. If not, return the plate to the freezer and perform the test after another minute or two of cooking. You can also use a candy thermometer; it’s done when it registers at 220F. When it’s done, remove the jam from the heat.
Use a jar funnel or a spoon to transfer the jam to a warm glass mason jar (I rinse a jar in HOT water as soon as I take the jam off the heat, then dry well). Do not, under any circumstances, put hot jam into a room temperature or cold jar—it can and will shatter. This is not the same as canning and is not meant for long term storage at room temperature.
Place a warm lid on top of the jar, then use the ring to tighten to finger tightness. Let jam cool to room temperature on the counter, then transfer the jar to the refrigerator.
Use jam as desired and store it in the refrigerator.
 Y’all. Y’ALL. Why did I wait so long to make jam squares?
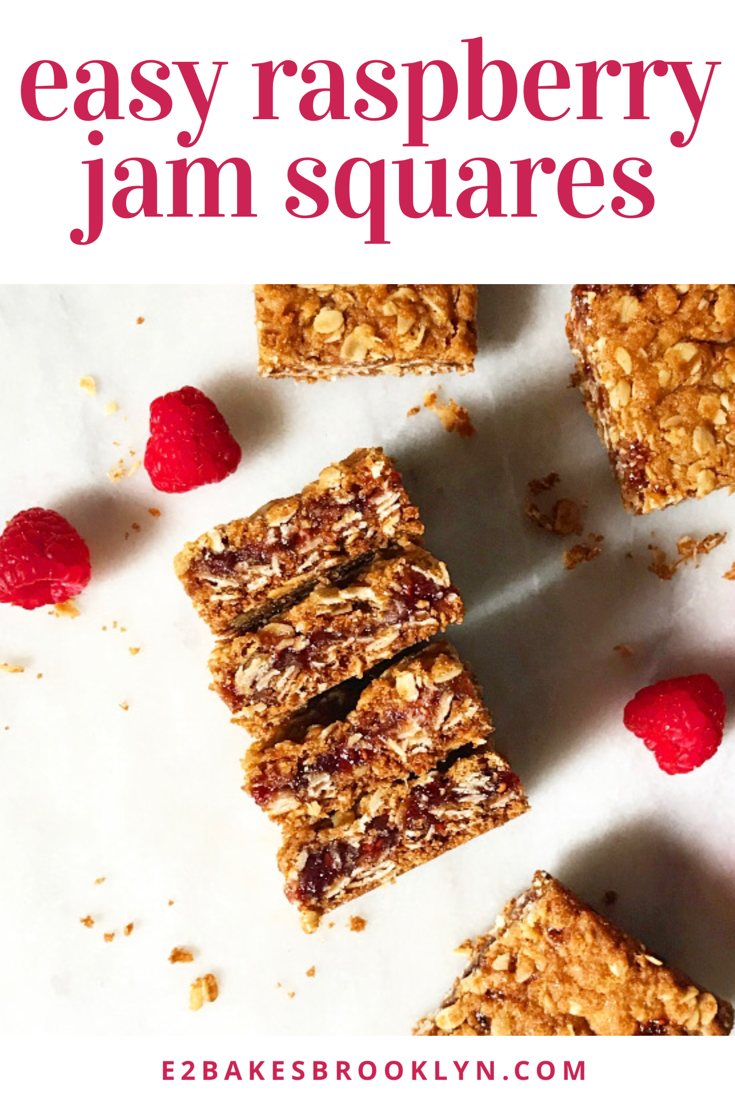
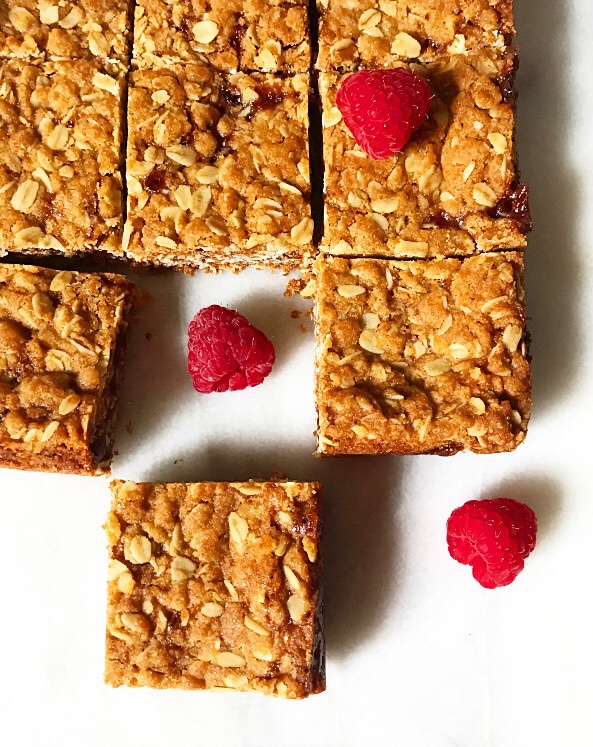 I mean, they’re so…easy. Seven ingredients, one bowl, no mixer—my favorite sort of recipe.
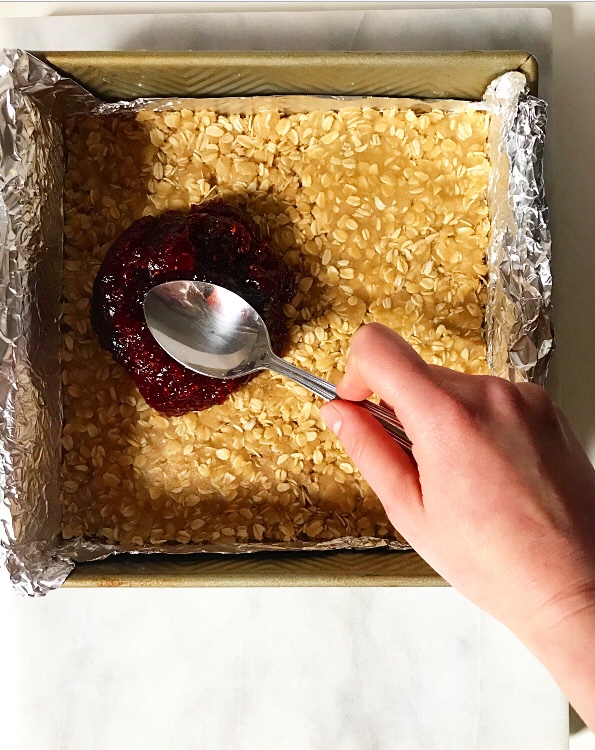
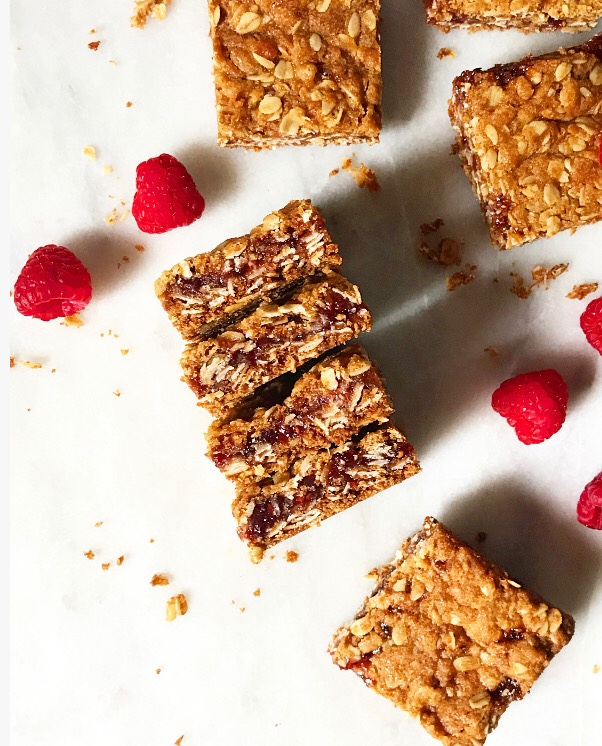
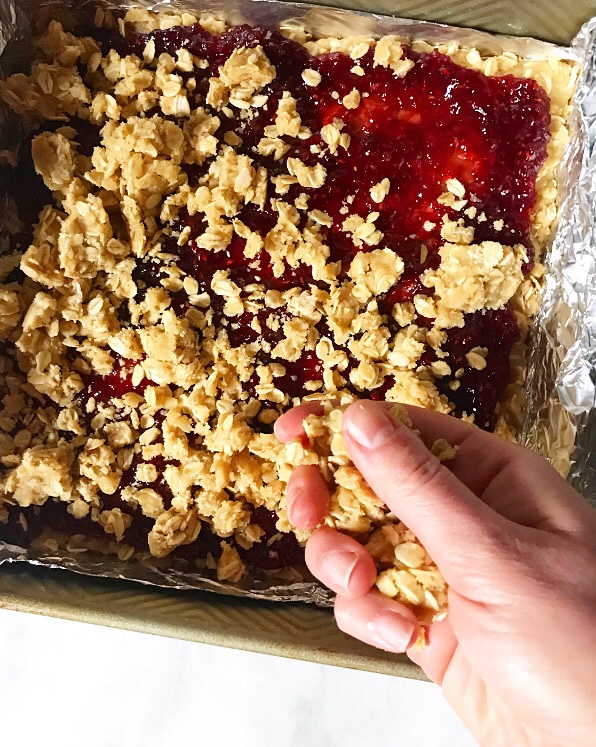 Five minutes for mixing, five more for assembly. Just shy of thirty for them to bake up.
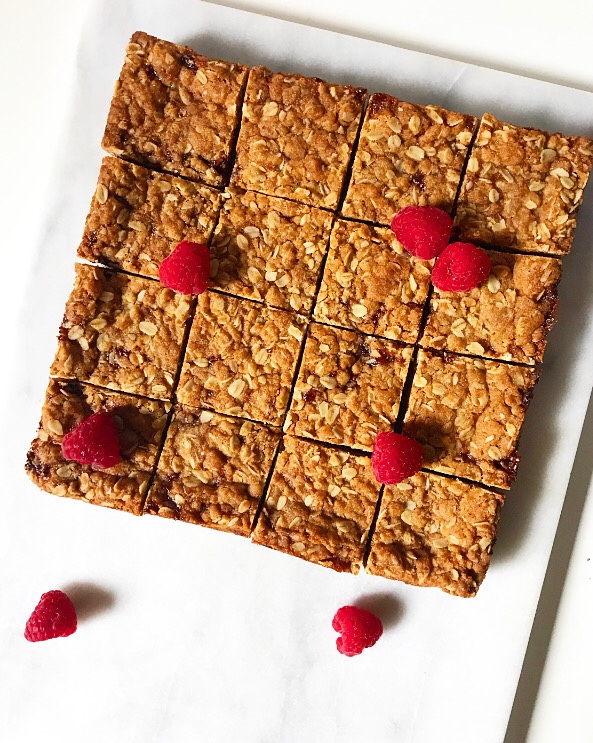 Once they’re cool, they slice like a dream.
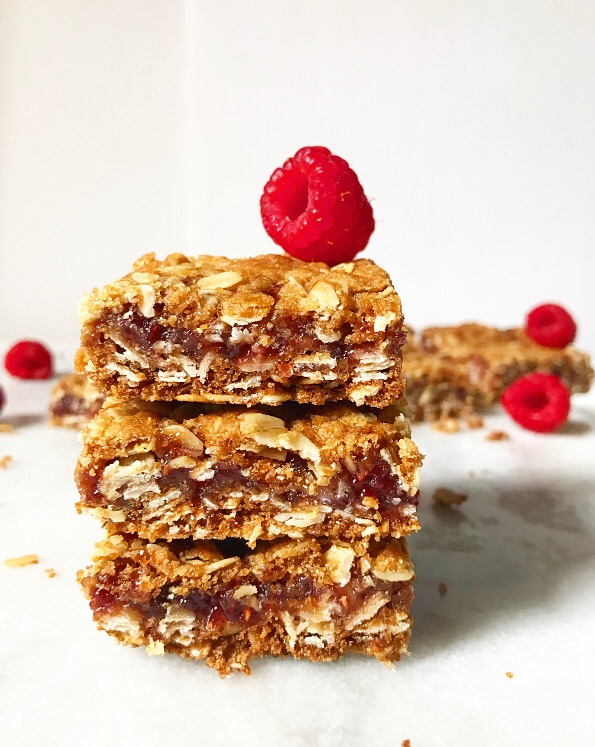
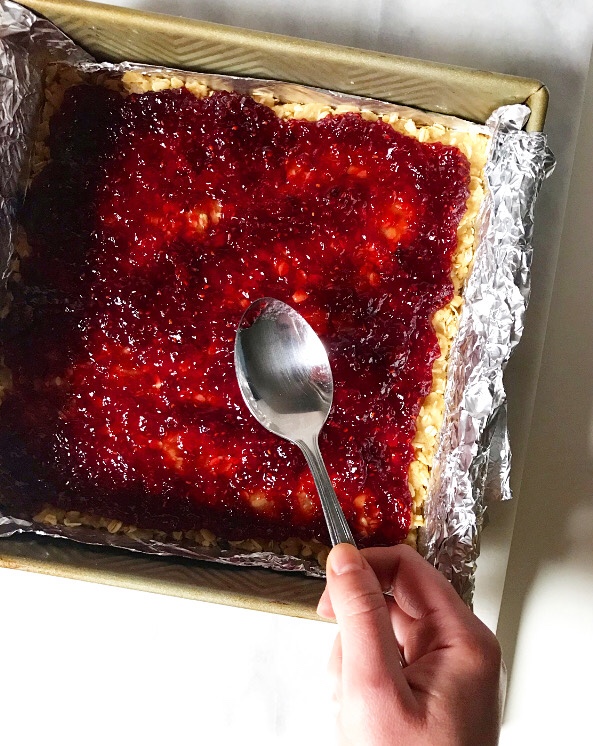
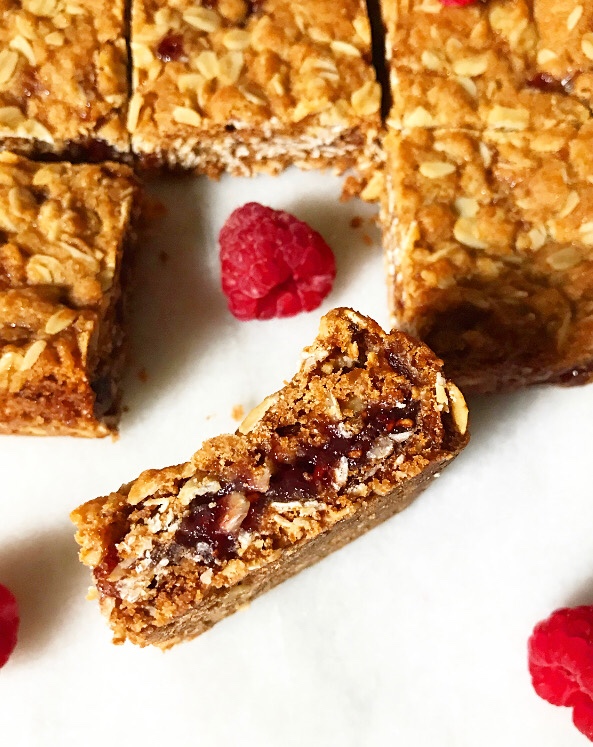 You’ll like the crisp cookie layers, chewy oats, and sweet-tart jam centers on day one, but some magic flavor-melding happens in that first 24 hours and they are eyes-rolling-back-in-your-head good on day two. And they just get better from there.
 Easy Raspberry Jam Squares are far more than the sum of their parts. I went into testing thinking these might need cinnamon or nuts, but I was wrong—simplicity is key for optimal jam flavor.
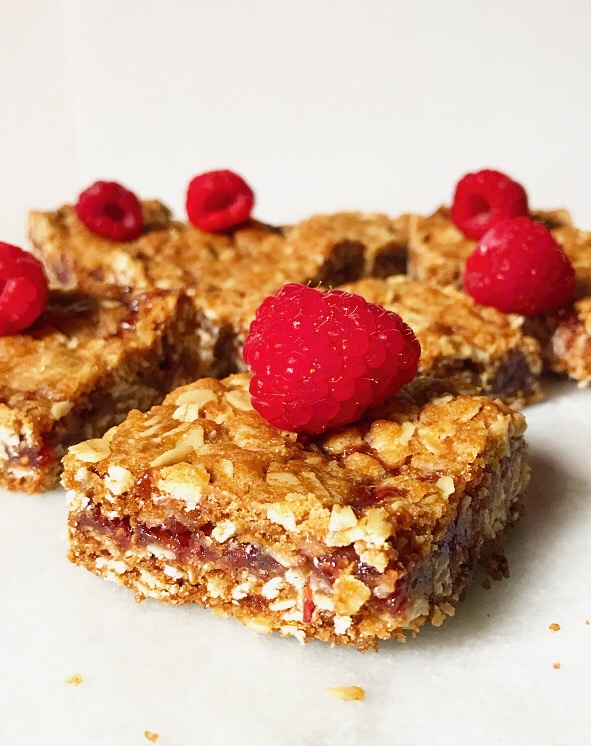 And speaking of jam, I went with raspberry because that’s what I like, but feel free to use any preserves you like. I think blueberry sounds particularly good right now, but that may only be because we just booked our
 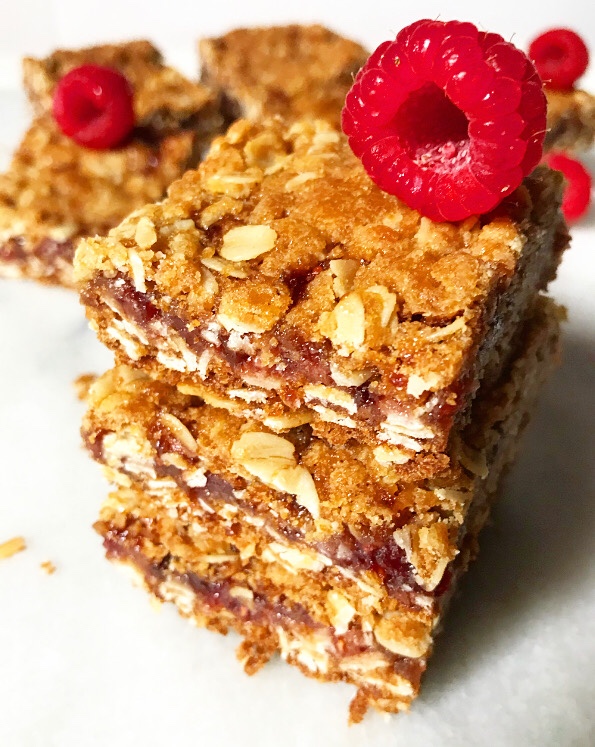 Like I said, my favorite sort of recipe.