 Maple Scones are one of my favorite things. They’re so simple and good, and every time I have one, I get nostalgic for the days when I was learning beginner baking basics in a studio apartment I shared with an ex-boyfriend.
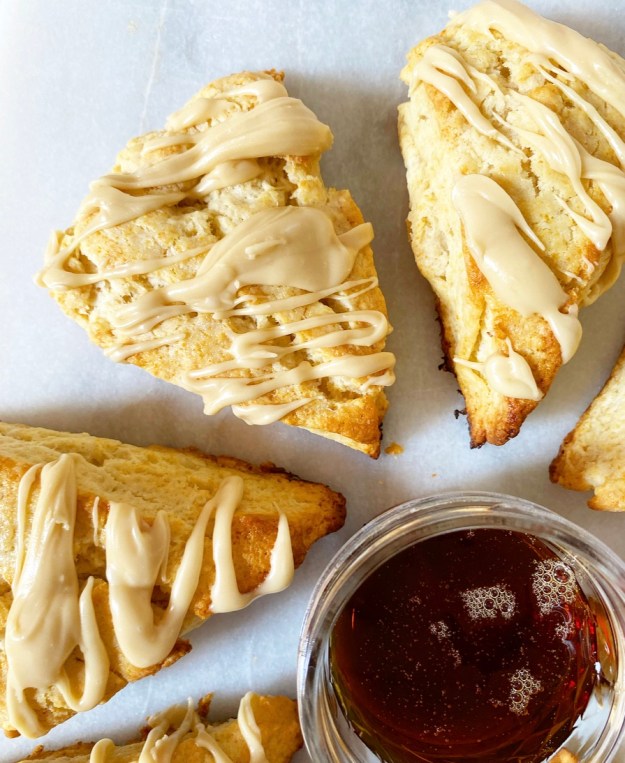 A lot has changed in seven years, and also very little. I moved into a larger apartment. I got over the boyfriend (finally, and to my great relief). I have a much larger kitchen now. In fact, it’s so big that my work station is in the living room/dining area, and my (second) pantry and a dedicated dairy fridge are in my bedroom. I have a great roommate, who more-than-tolerates my kitchen time and is one of my dearest friends. I’ve taken all those baking basics and built them into more complex things, the way people do when they’re really excited about something.
On that note, I’m still really excited about home baking. I still bake everyday while listening to The Brian Lehrer Show on WNYC—I never miss it. And in the fall, I still get nostalgic for Maple Scones which, in turn, make me nostalgic for that terrible, tiny, dark kitchen where I learned how to properly measure flour by volume.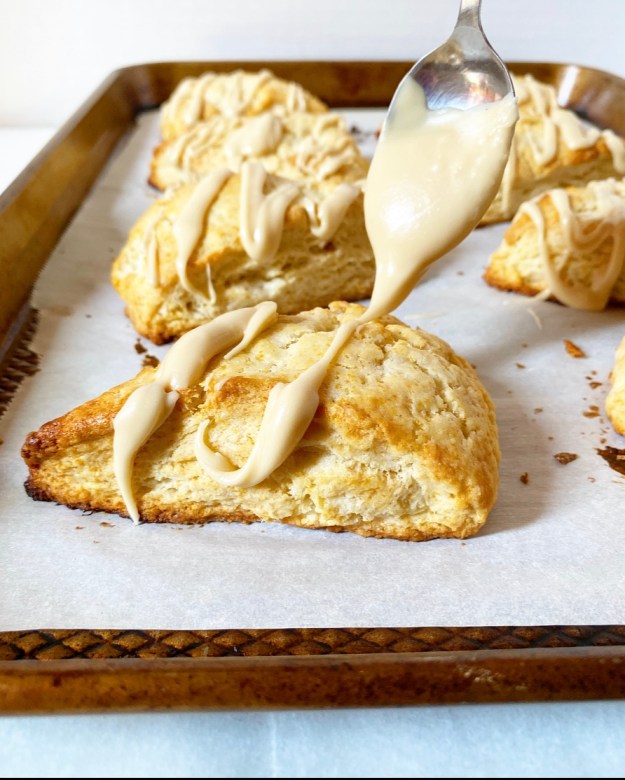
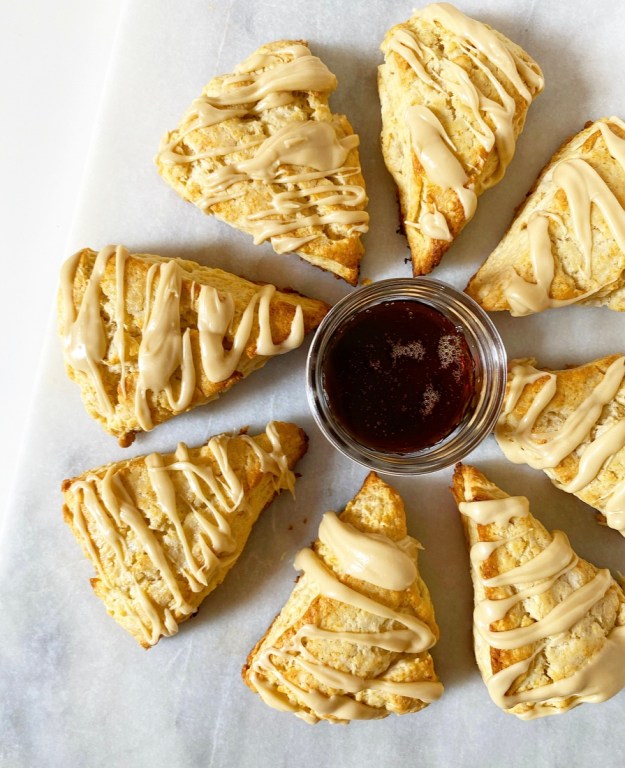
 The first scones I ever made were the very good Maple Scones from Dinner with Julie. I made them over and over as-written, but ever so slowly, I’ve experimented with different scone methods and transformed what was once her recipe into mine. Half-and-half has become heavy cream, I’ve reduced the butter and upped the baking powder, I’ve added butter to the glaze. I kept the brown sugar and maple syrup, obviously. The results are mapley, fluffy and flaky with edges that are somehow both nubbly and tender.
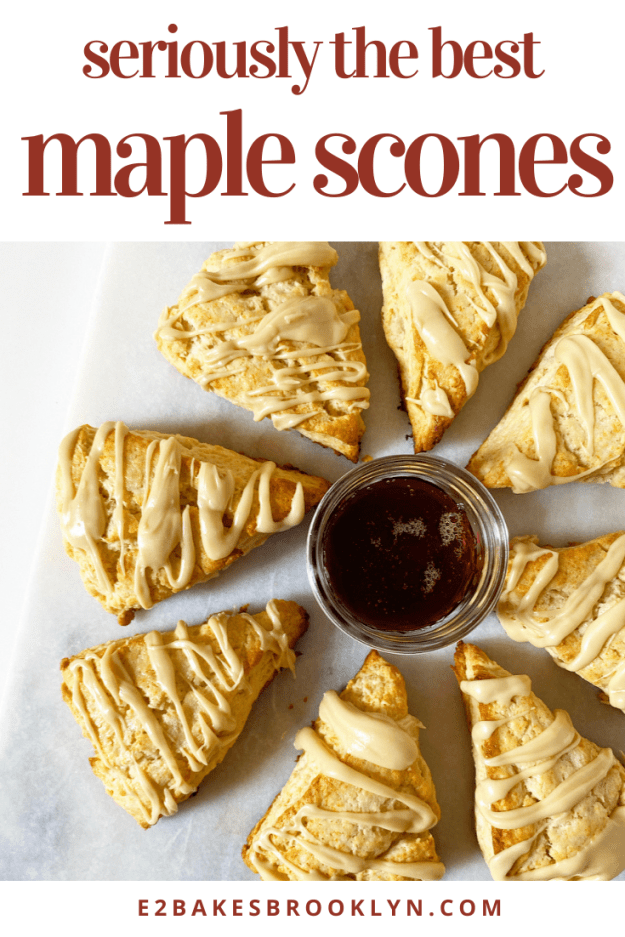
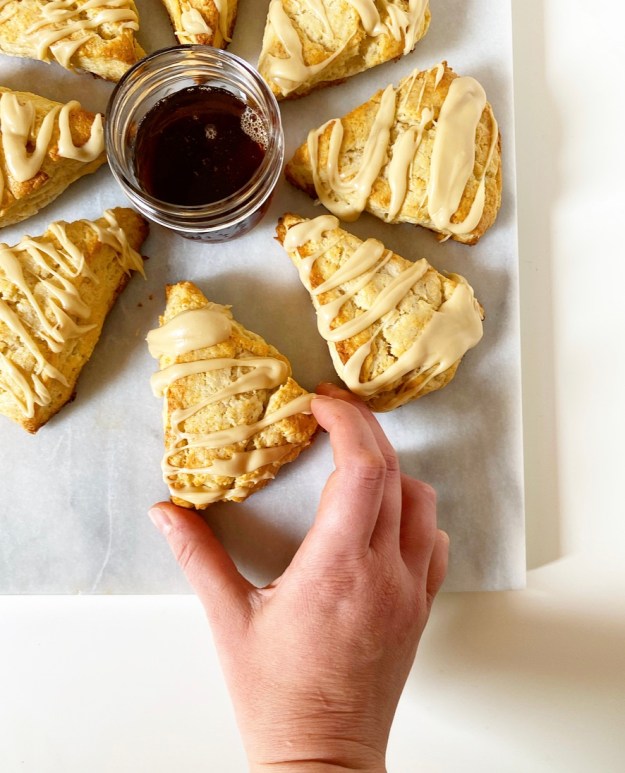 What I’m saying is that I make a hell of a maple scone. And now, seven years into baking and almost five into this blog, you can too. And maybe one day, when this post is seven years old, you’ll look back and realize that my recipe has ever so slowly become yours.
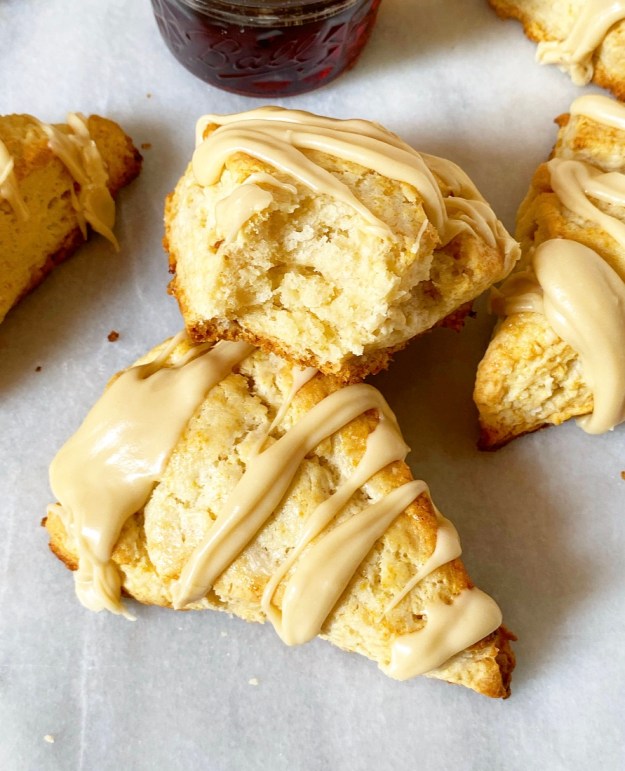
Maple Scones
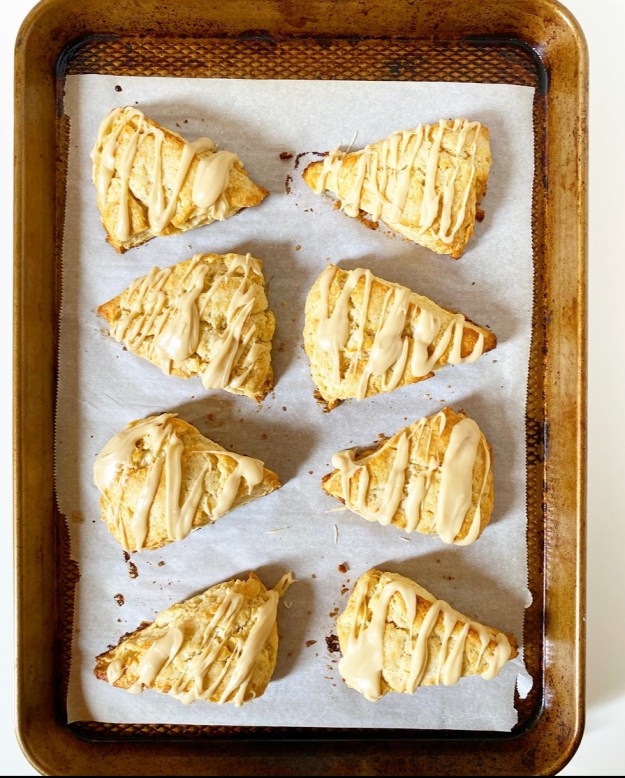
makes 8 scones
3/4 cup heavy cream + more for brushing, very cold
2 tablespoons maple syrup (I use Grade A dark amber, robust taste)
2 cups all-purpose flour
1 tablespoon baking powder
2 tablespoons light or dark brown sugar, packed
1/2 teaspoon Kosher or sea salt
6 tablespoons unsalted butter, very cold, cut into cubes
Glaze:
2 tablespoons maple syrup + more to preference
1 tablespoon unsalted butter
1/2 cup confectioner’s sugar
pinch of Kosher or sea salt
Make the scones. Place an oven rack in the center position. Preheat oven to 400F. Line a baking sheet with parchment. Set aside.
In a liquid measuring cup, use a fork to whisk together heavy cream and maple syrup. Refrigerate.
In a large mixing bowl, whisk together flour, baking powder, brown sugar, and salt. Add cold butter. Use a pastry blender or clean fingertips to cut the butter into the flour until the largest pieces are the size of small peas. Stir in heavy cream mixture until a shaggy dough forms.
Turn dough out onto a floured surface. Pat it to 3/4-inch thick circle. Use a large, sharp chef’s knife to slice circle into 8 wedges. Place scones at least 2 inches apart on prepared pan. Brush with more heavy cream. Bake 15-16 minutes, until puffed and golden at the edges. Let scones cool on the pan on a rack for 10 minutes, or until they can be handled.
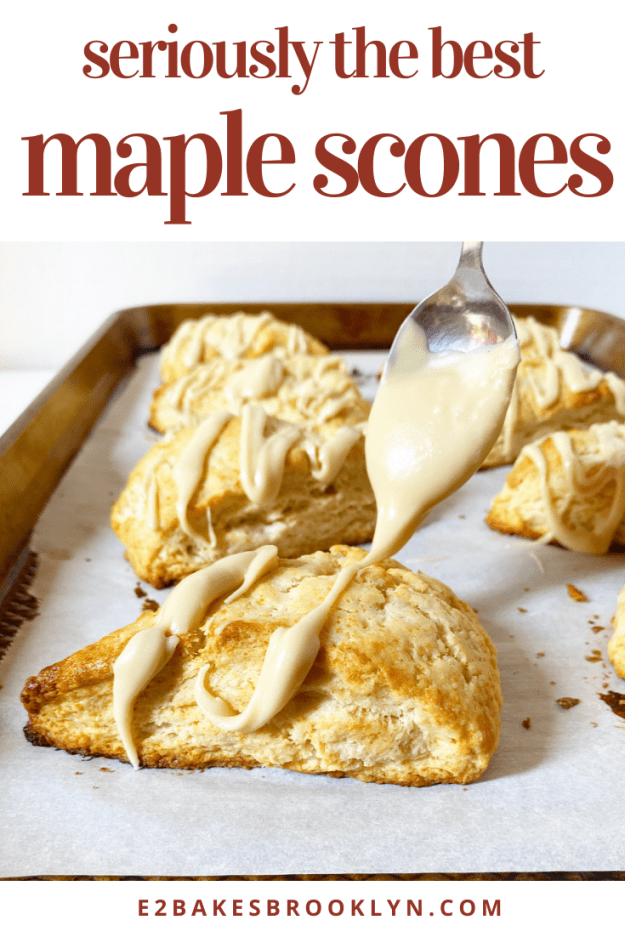
Make the glaze. Combine maple syrup and butter in a microwave safe bowl. Heat in 20 second increments, stirring between, until butter is melted. Whisk in confectioner’s sugar and salt. Glaze should be very thick, but drizzlable. Add more maple syrup by the teaspoon until your desired consistency is reached. Drizzle glaze over scones.
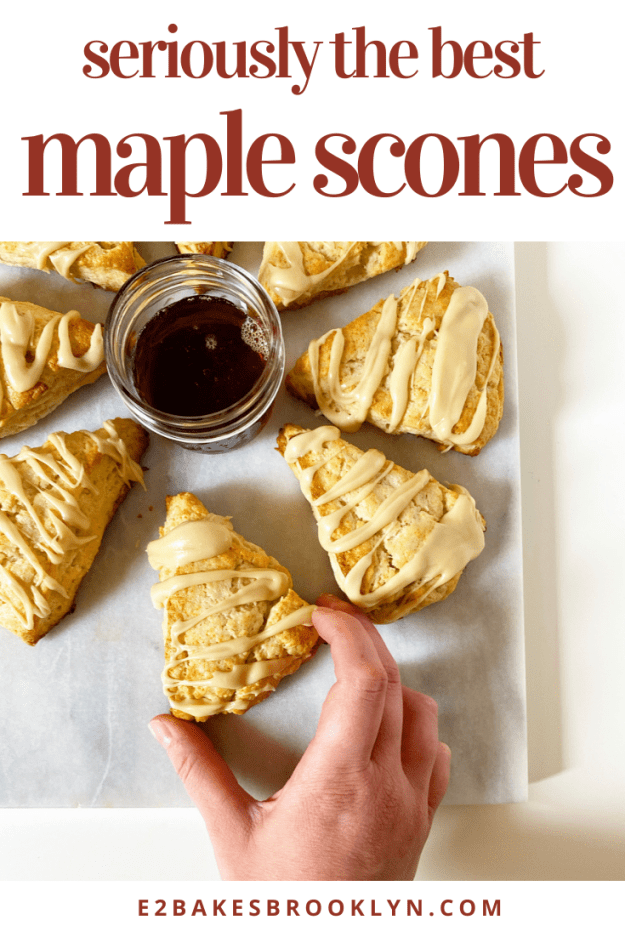
Scones may be served warm or at room temperature. They are best the day they are made, but will keep in an airtight container at room temperature for up to 2 days.
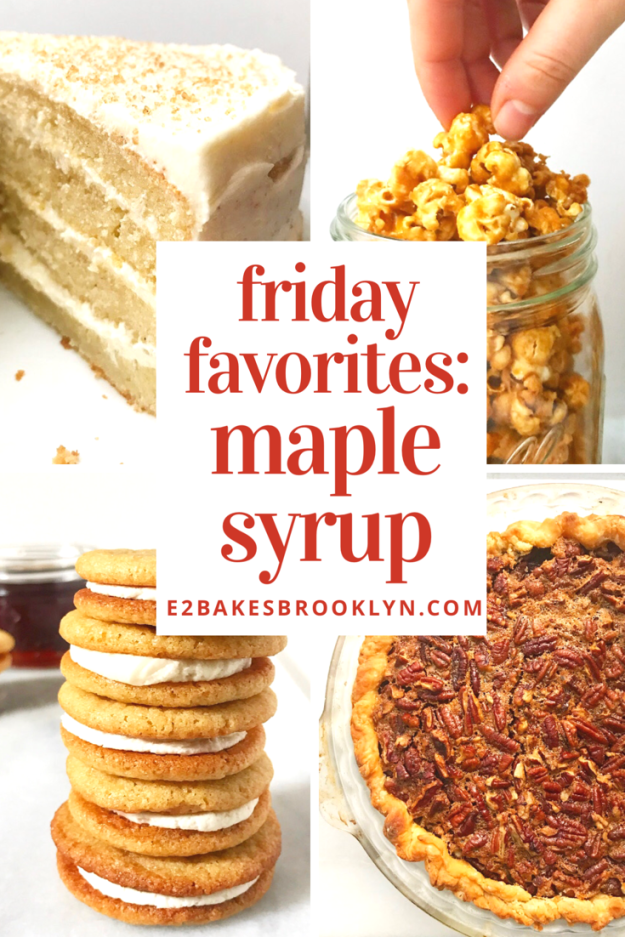
 I feel like this fall is all about maple syrup. But based on
 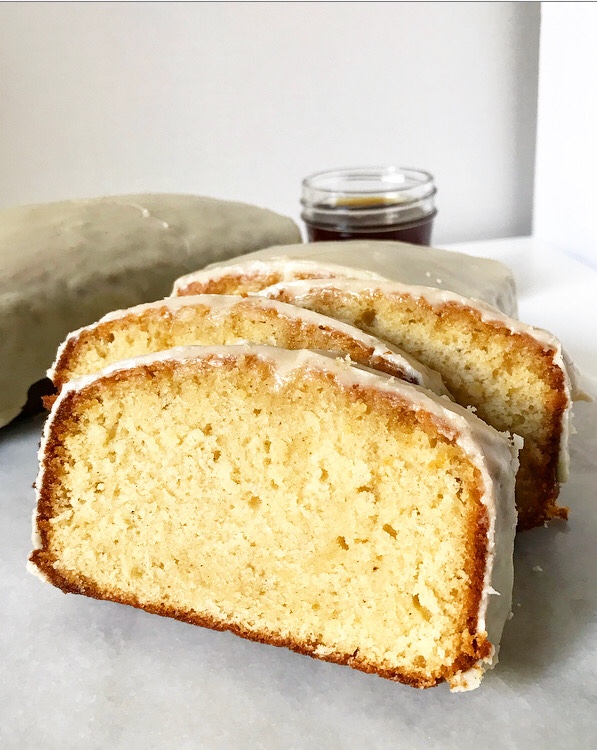 I mean, have you tried my
 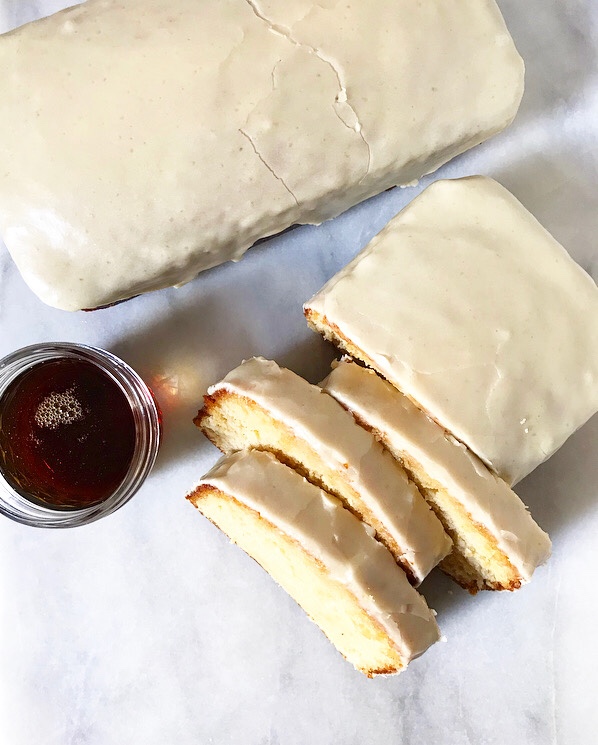 As you may have guessed, these are an autumnal take on classic
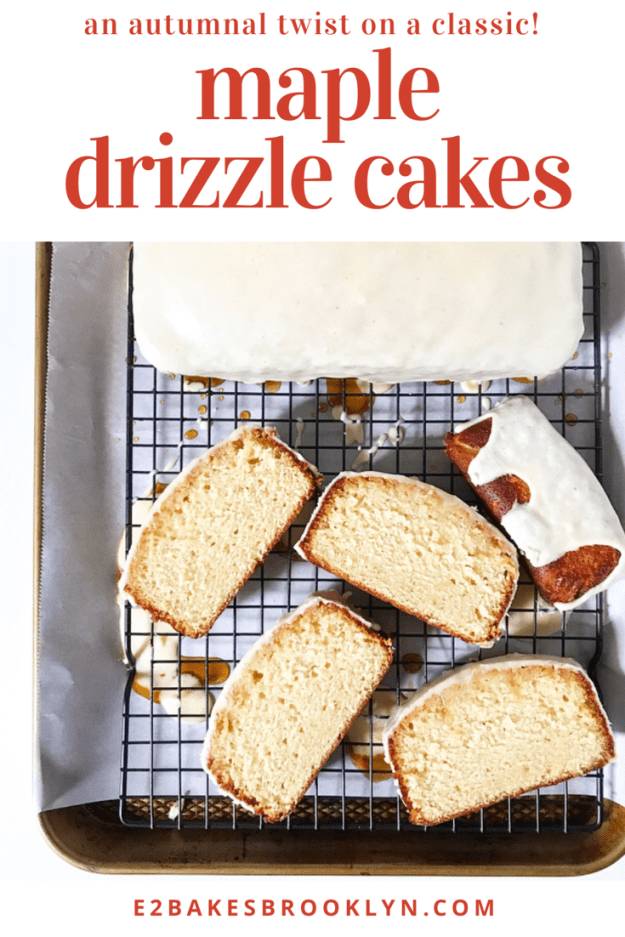
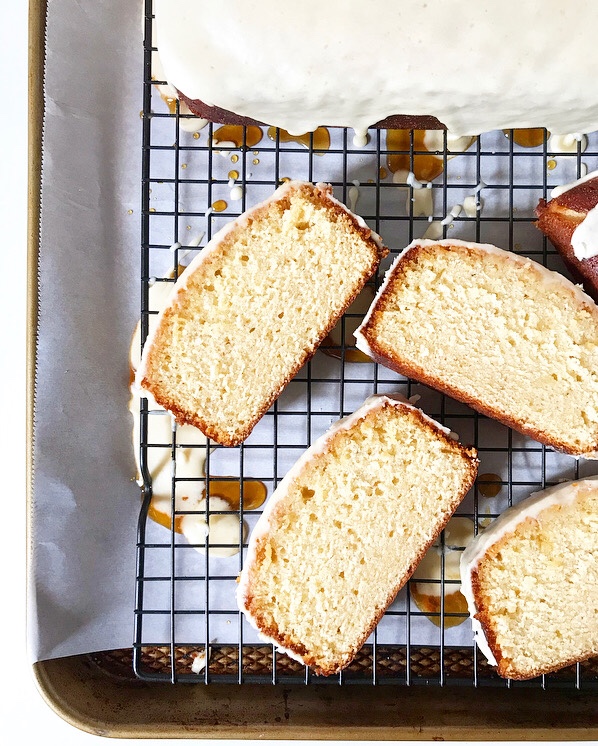
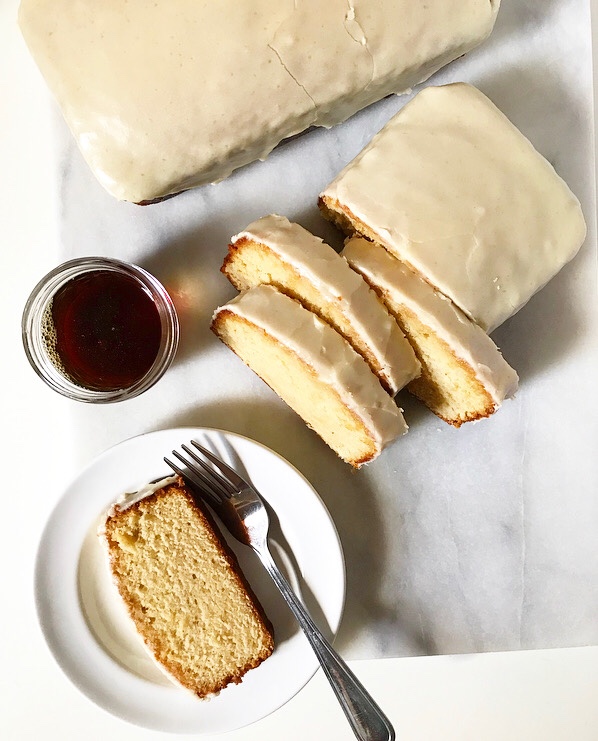
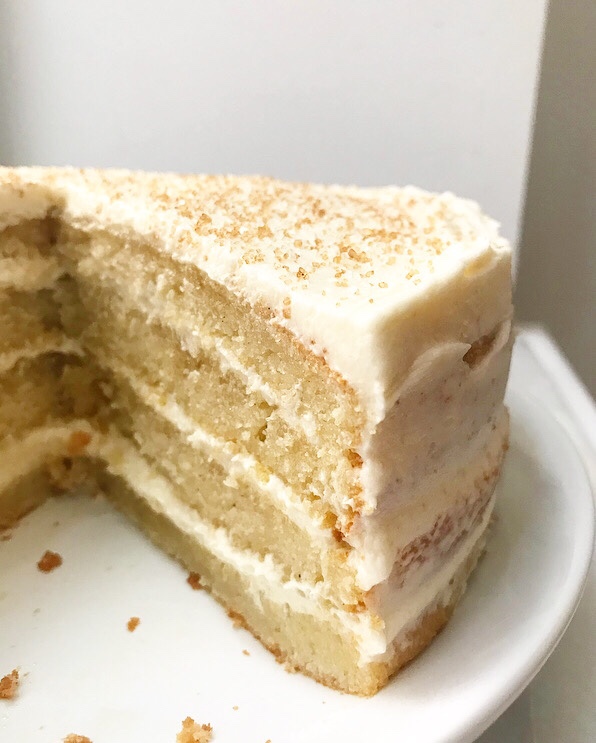
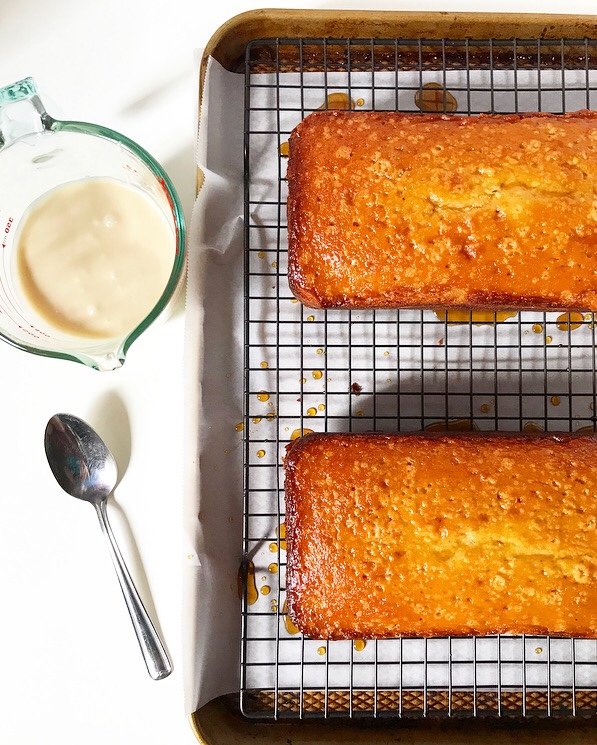 After baking, tiny holes are poked in the warm cakes and maple syrup is brushed over the tops and allowed to soak in. Alternatively, you can cool the cakes and then brush on warmed maple syrup. No matter which method you choose, this will add extra moisture and flavor, and make your cakes extra delicious.
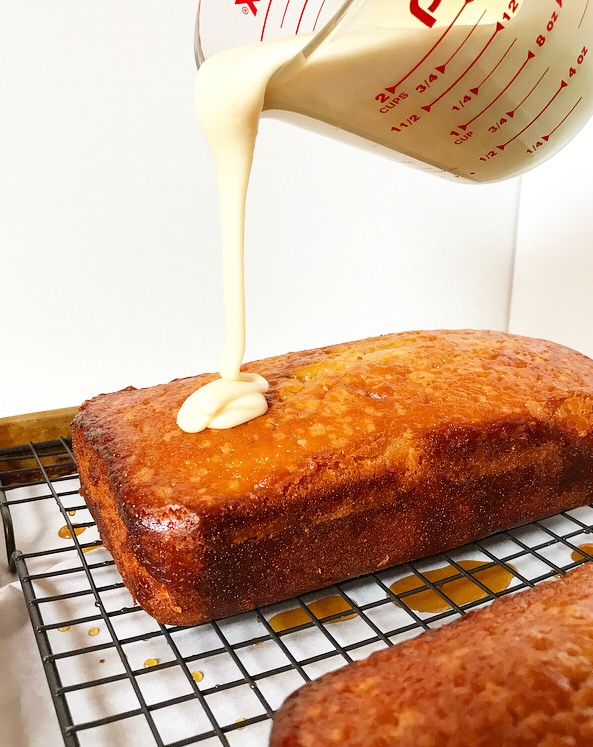
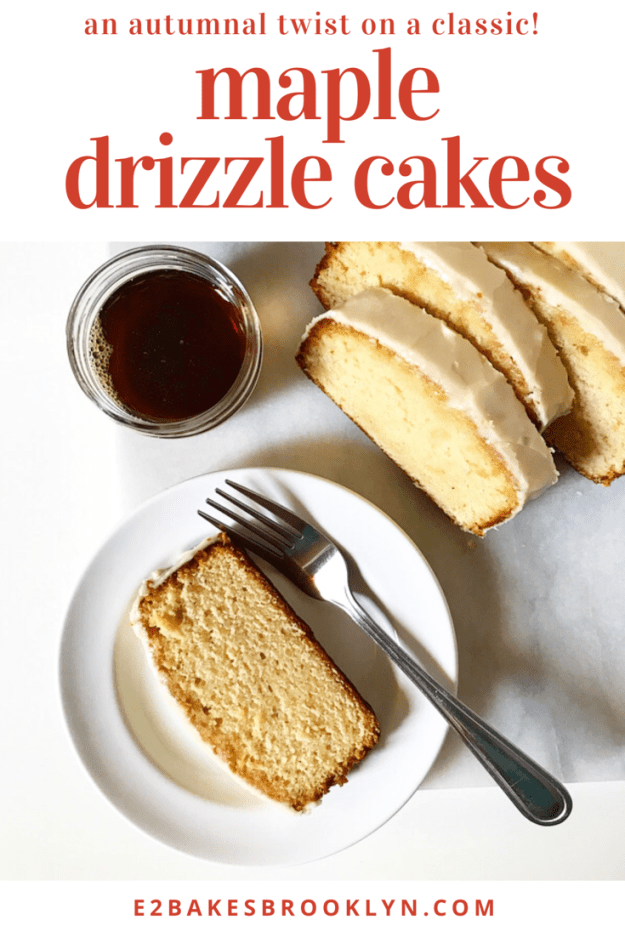
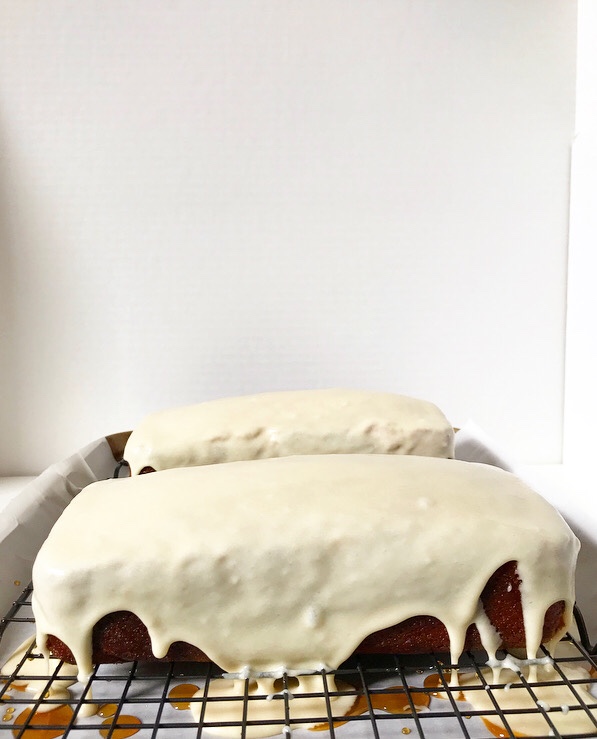 The icing is made primarily of maple syrup, confectioner’s sugar, melted butter and water. It goes on as a liquid, cascading down the sides of the cake before drying to a set finish. I like the icing recipe as written, but you could add another layer of flavor by browning the butter. You know, if you’re into things like that.
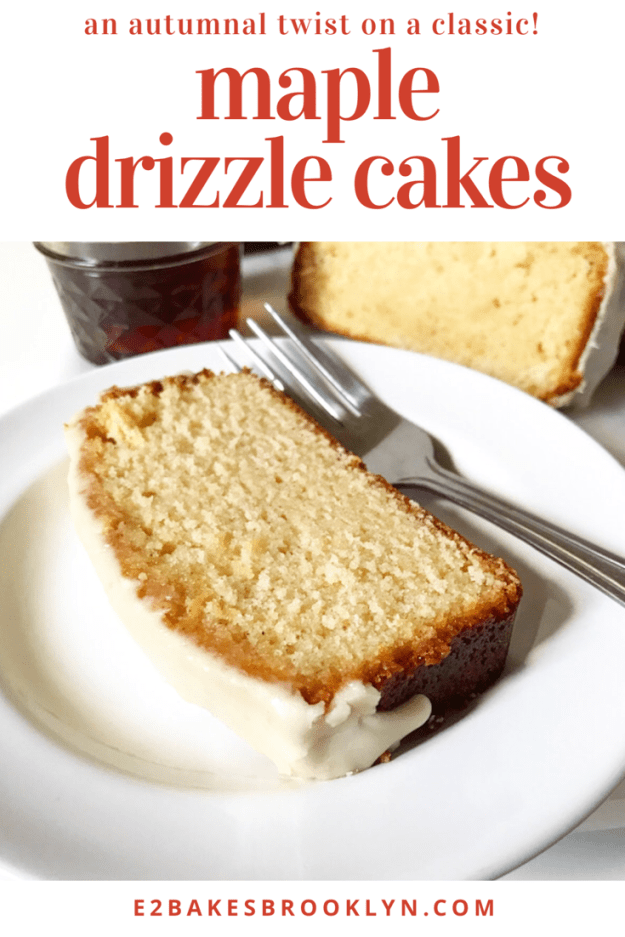
 Maple Drizzle Cakes are great for any occasion. You could use them as hostess gifts, pack them carefully and mail them overnight to someone you love, leave one in the office break room, or even serve one as a non-pie Thanksgiving dessert (we all know a pie hater).
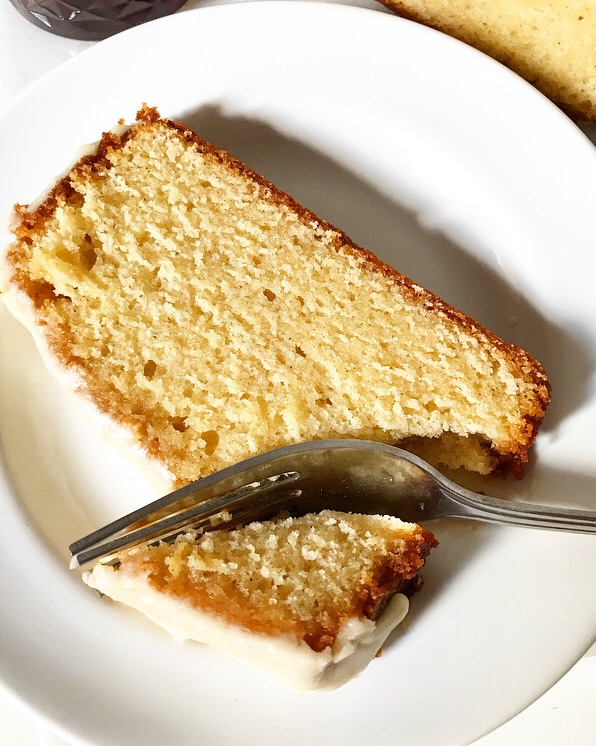

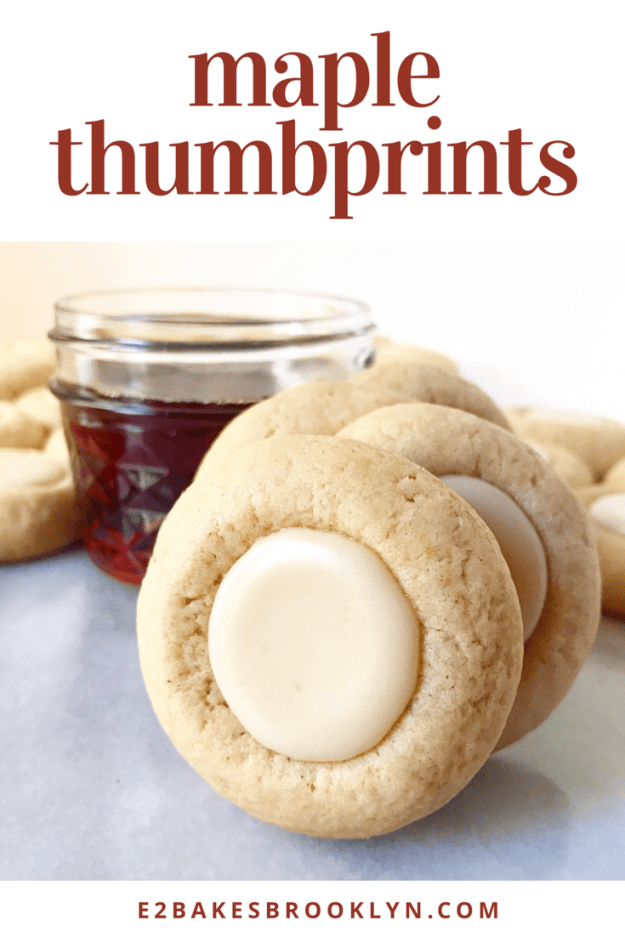
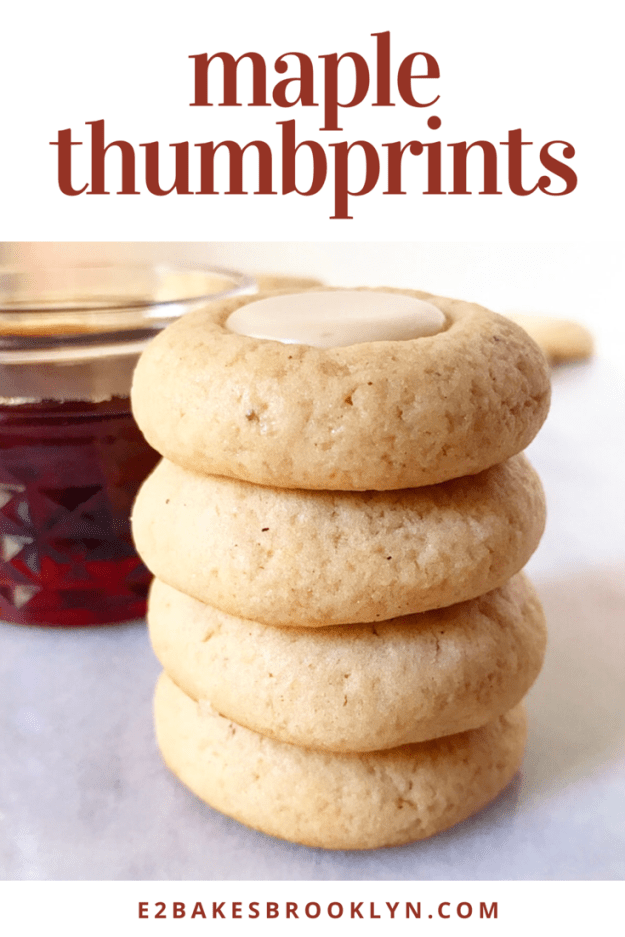
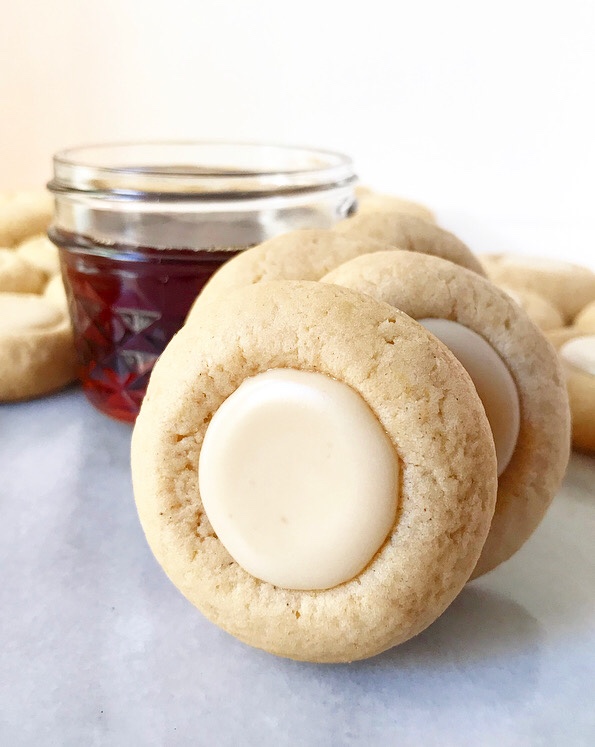 It may have been 90 degrees in NYC this past Monday, but nobody is happier than I am that fall is finally here, not least because it means I have an excuse to make these Maple Thumbprints.
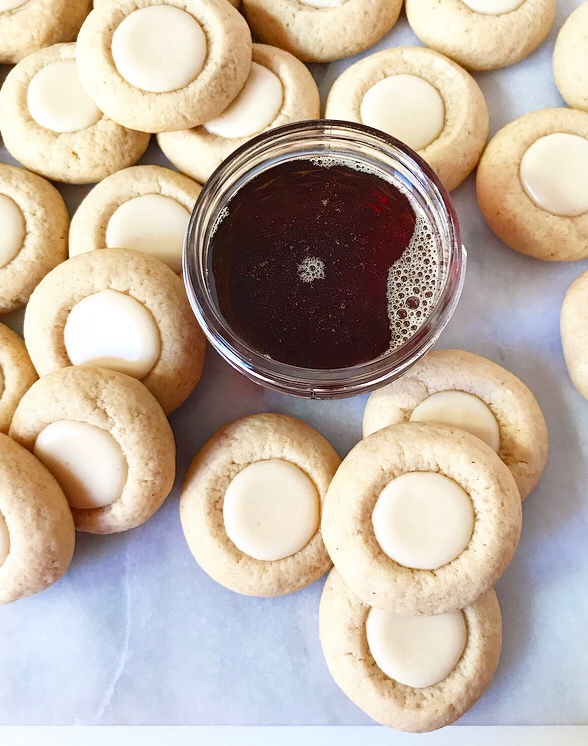 And make them, I have—five test batches before getting them just right. I used the dough from my
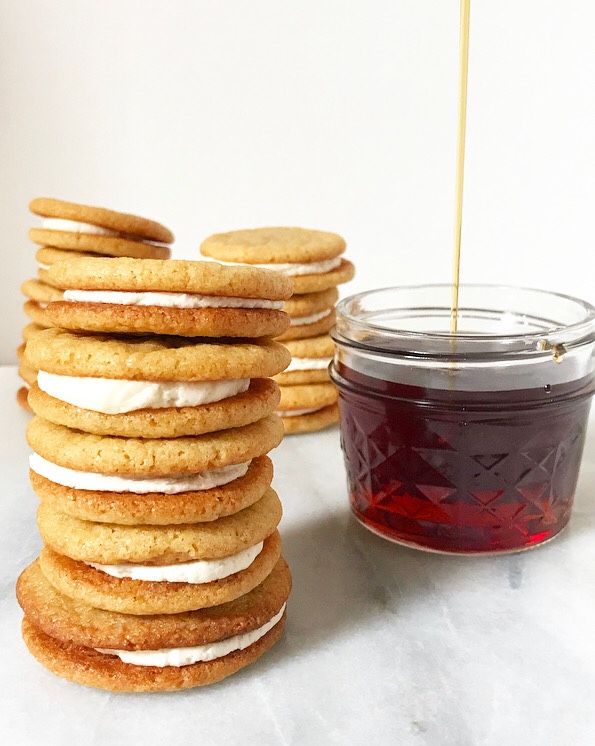
 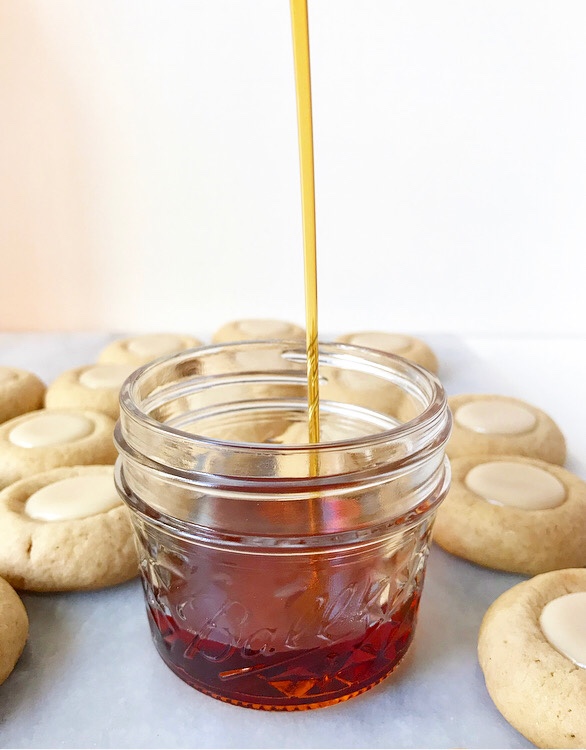 If you love maple syrup like I do, these cookies are for you. The dough contains 2/3 cup and the icing has another 1/4 cup! I vastly prefer Grade A Dark Amber & Robust Taste (formerly known as Grade B) for its deep flavor, but any pure maple syrup you have will do the trick.
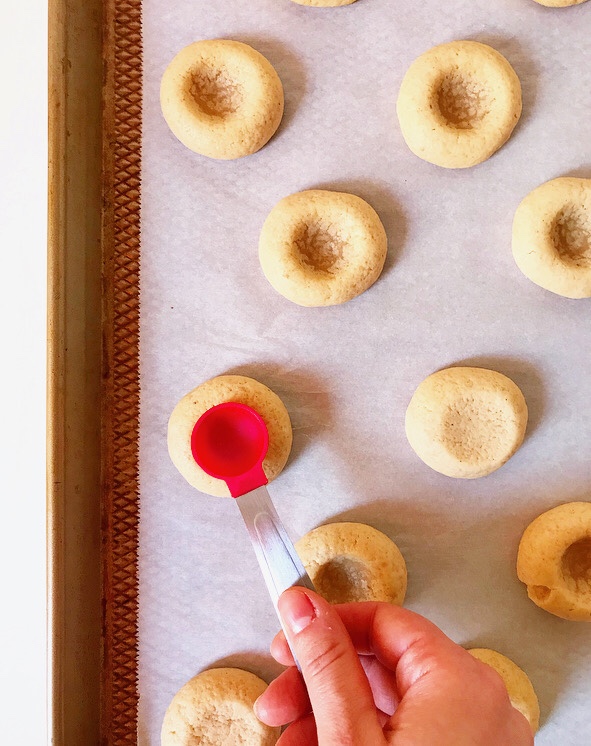
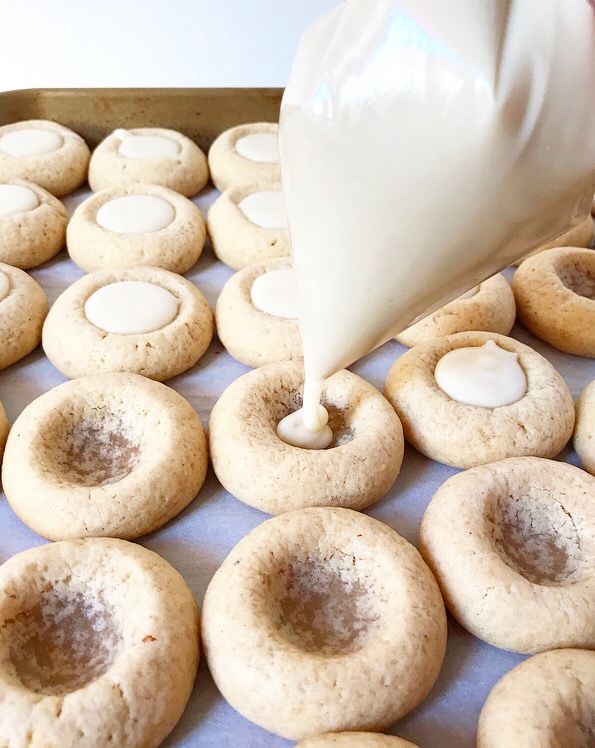
 Maple, like pumpkin, is a flavor that improves over time. Though these cookies will taste good immediately after they’re baked and filled, they won’t taste particularly maple-y until a few hours later. By the next day, you’ll have no problem finding the sweet nuances of maple syrup in both the cookies and the icing.
 You’ll notice that many of the maple cookie recipes out there (including
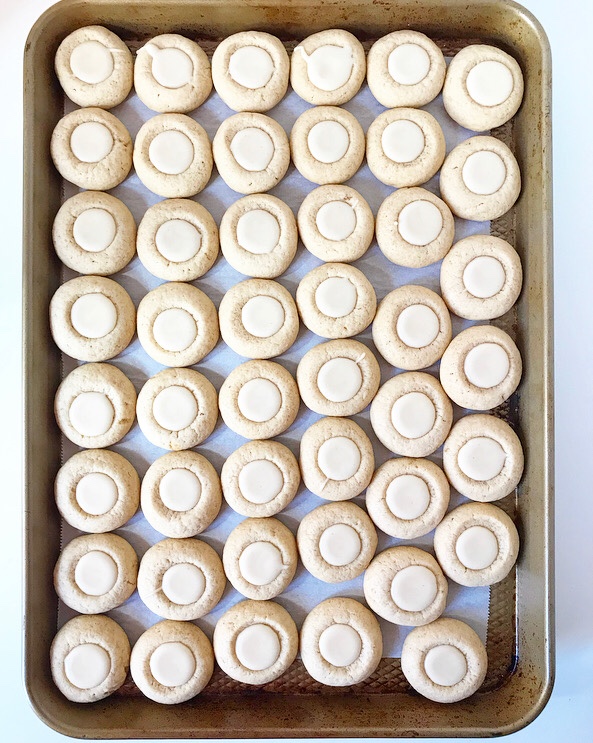
 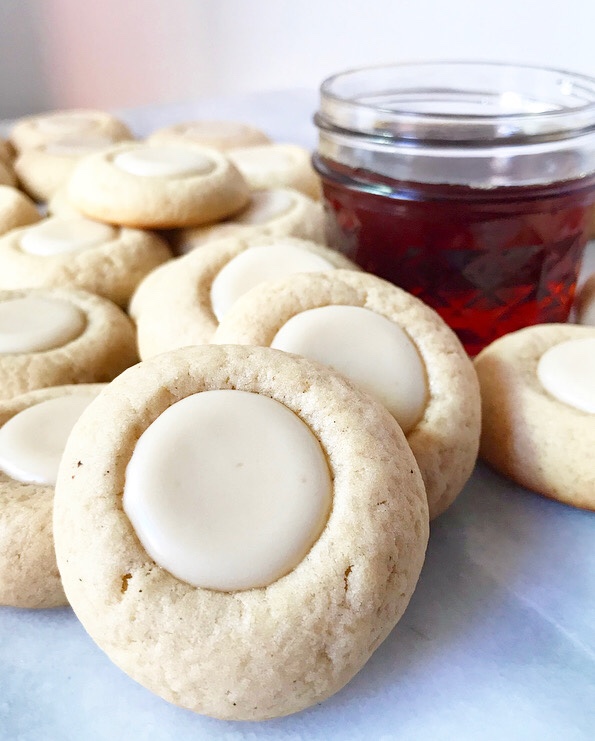 The point, as always, is to bake the cookies you want to eat. And to bake for the weather you want, not the weather you have. At least, that’s what I’m doing. If it means I’m eating autumnal cookies while sitting in front of a blasting air conditioner and praying for some crunchy leaves to step on, so be it.
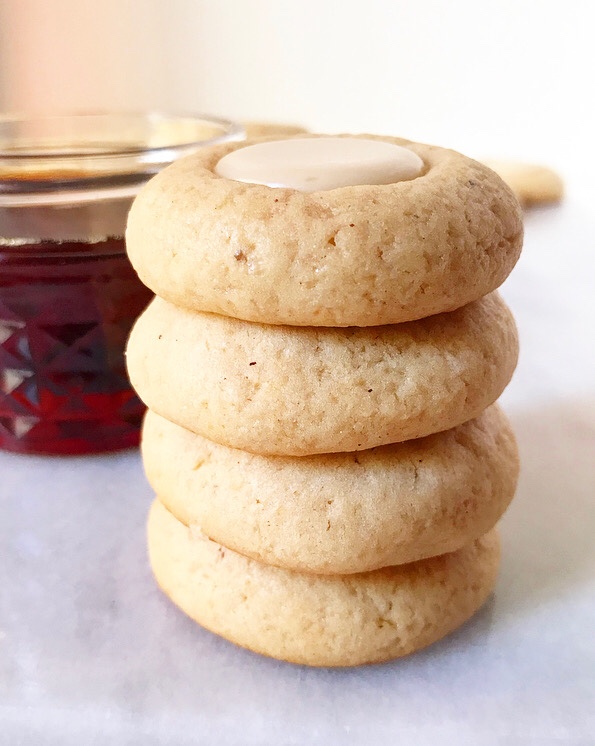
 I’ve got maple syrup on my mind, y’all! Last week, it was in the form of a
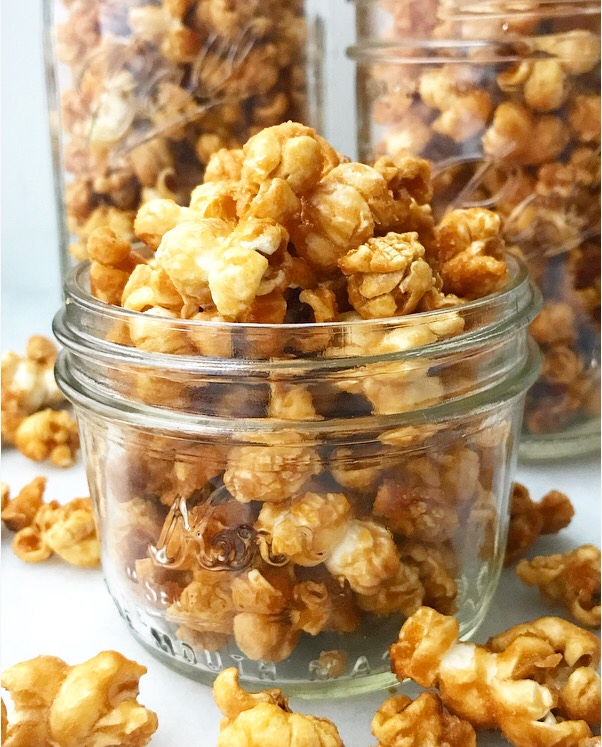
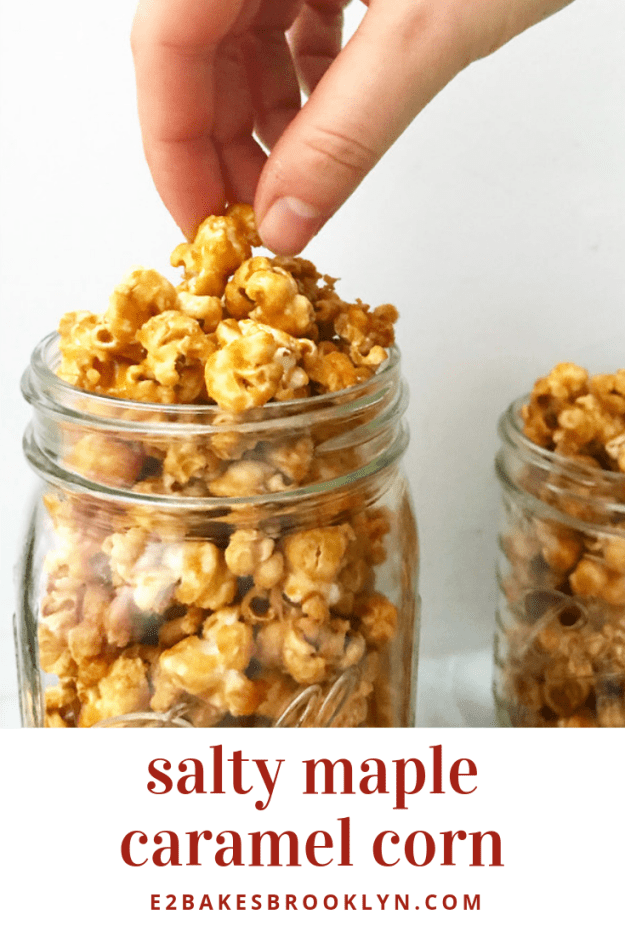
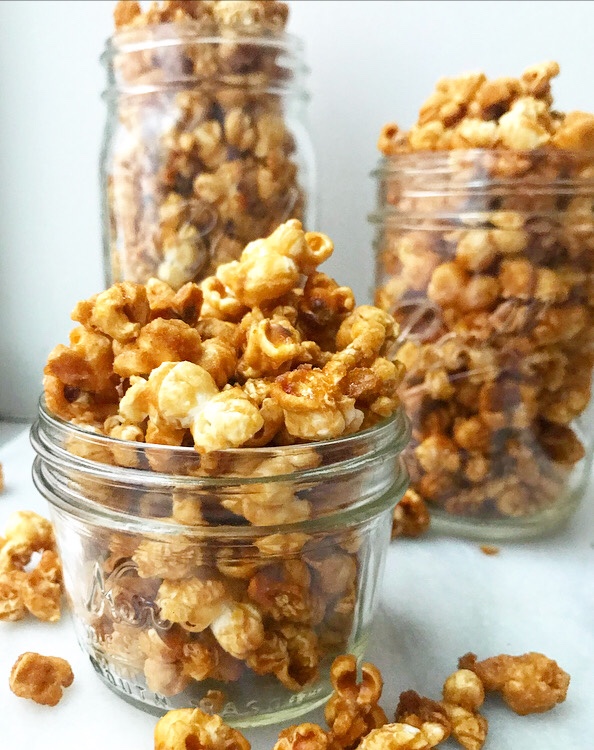
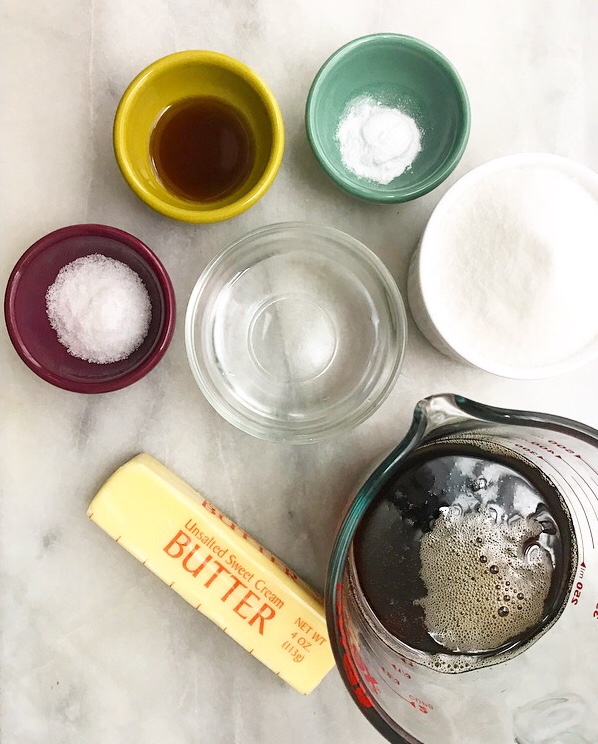
 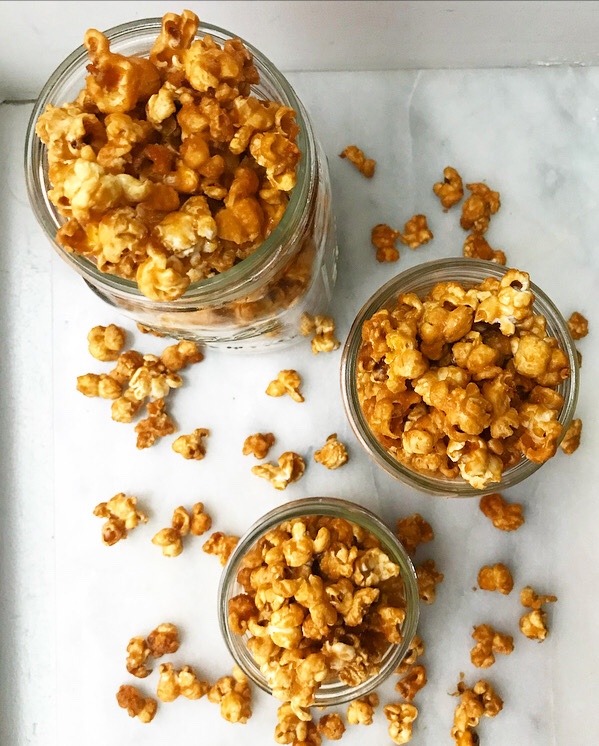 Y’all—this stuff is phenomenal. Phe-nom-e-nal. Crispy, crunchy, sweet and salty. Oh, and easy. Salty Maple Caramel Corn comes together in four simple steps.
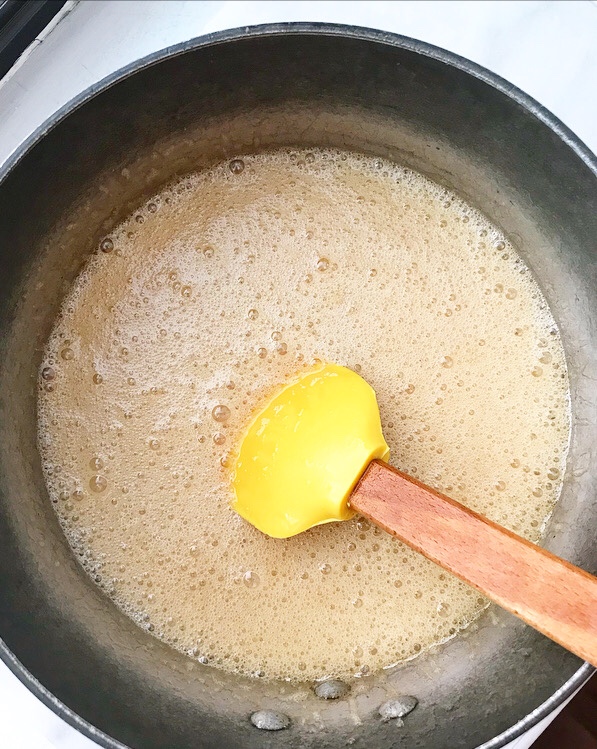
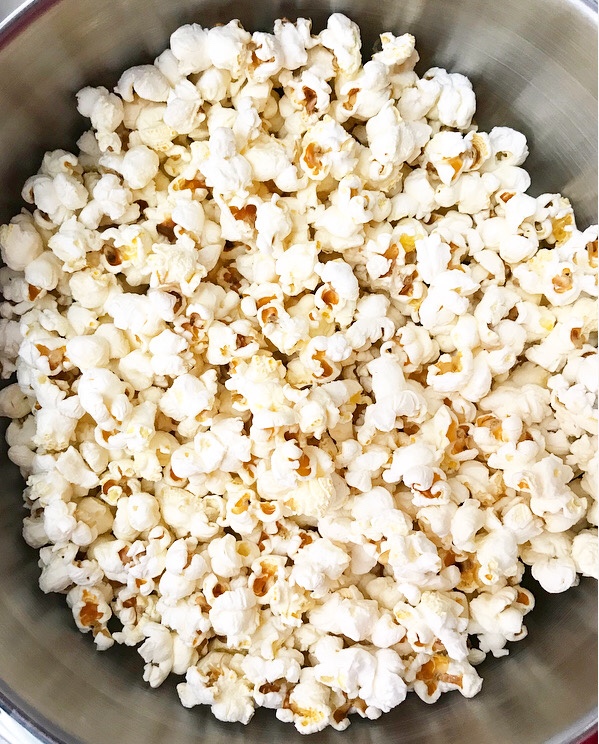

 For the same reasons, don’t touch any pieces of coated popcorn that fly out of the bowl during mixing. Wait until they cool for a few minutes before picking them up.
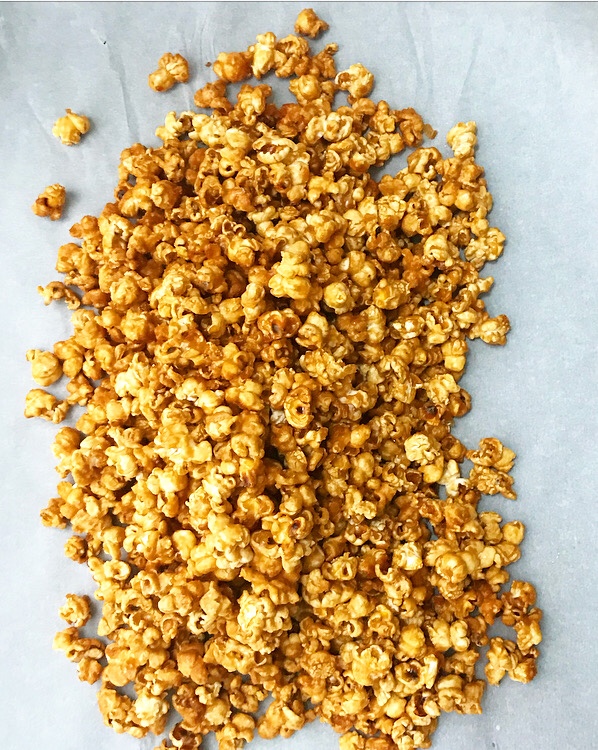
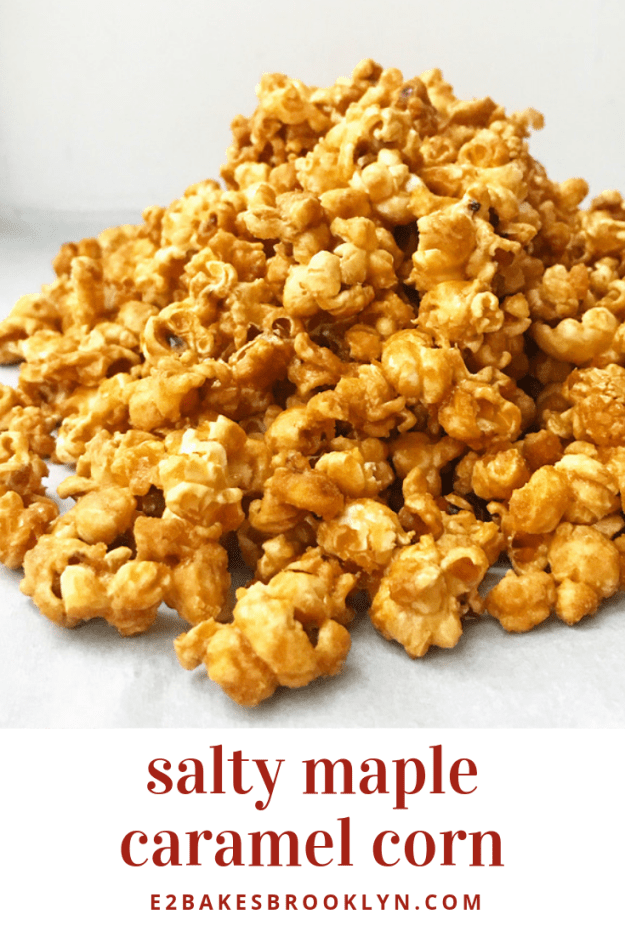
 The caramel corn will seem very wet at first, but will harden to a crispy, glossy finish. Once the hour is up, scatter the caramel corn onto a big piece of parchment and let it cool to room temperature. After that, snack away!
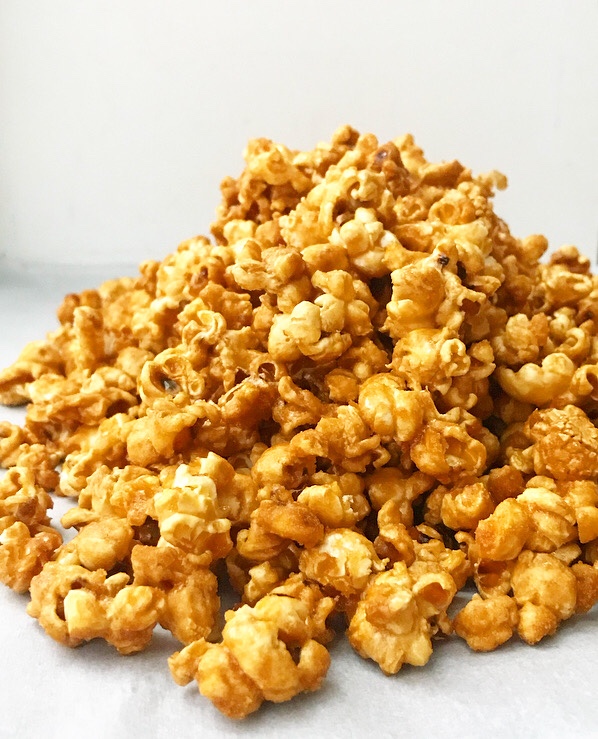
 You’re going to love this Salty Maple Caramel Corn! It’s a great sweet & salty snack or dessert. I think it would make for a wonderful finishing touch on a bowl of ice cream. You could even pile it high as a finishing touch on a
  I highly recommend making a batch over the next couple of days. It’s a guaranteed way to upgrade your weekend ❤