This is the last post-vacation recipe, I promise. After today, I will write about things that are not the most perfect little island off the coast of Maine. I will. But first I’m going to tell you about the easiest, fanciest-sounding (thanks, French name!) savory late summer preserve/condiment/what-have-you: Tomato & Zucchini Confit.
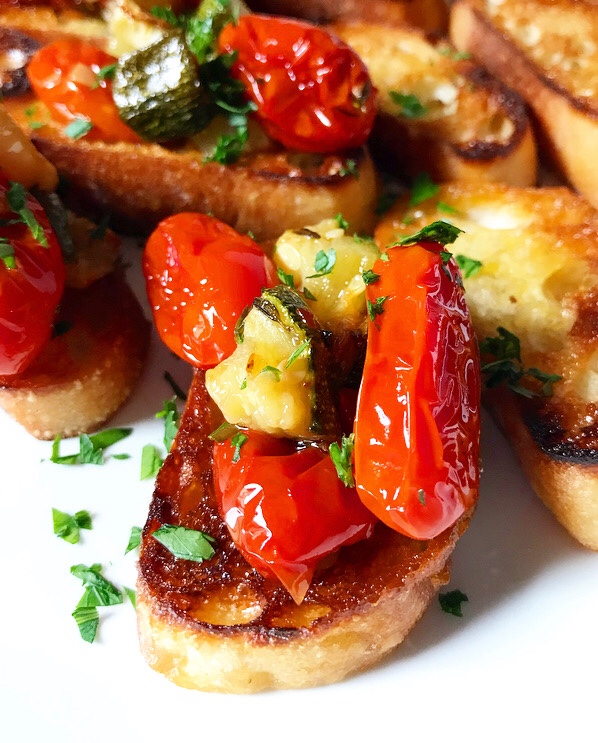 Unlike the other recipes I’ve posted from our trip, this one was not part of the plan. I was sitting on the Swan’s Island Library internet porch on our second-to-last night trying to think up ways to use the last of our produce, when I saw Chanie Apfelbaum* talking about garlic confit in her Instagram Stories. When I got back to the cottage a little later, I proceeded to make confit from some grape tomatoes and zucchini that were languishing in the fridge and toss it with some red lentil pasta. And it was good. So good that we ate it again for lunch the next day. So good that it was the first thing I cooked when I got home to Brooklyn. So good that I’m here writing about it because it’s so good, you should make it.
*I follow a number of Kosher food blogs, as I make many Shabbat dinners and holiday meals throughout the year. Chanie’s is one of the best.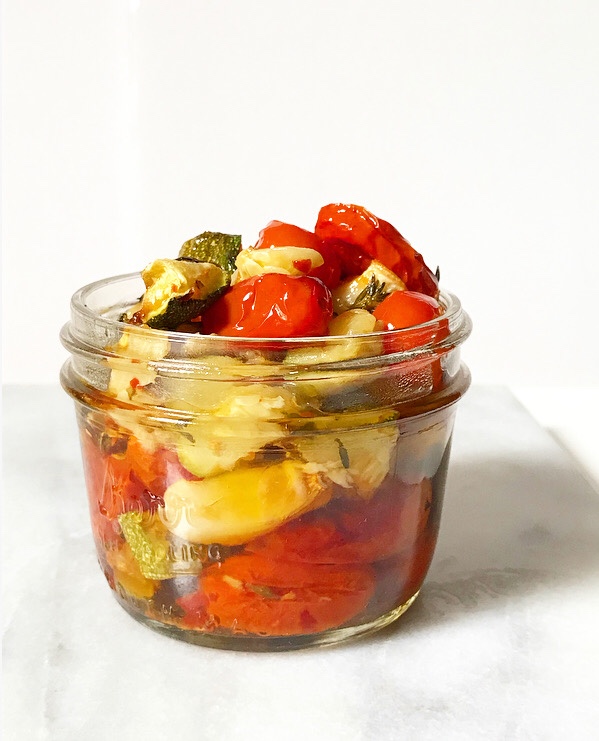 Now, you’ve almost certainly heard of confit, most likely in association with duck. The word itself comes from the French word confire—literally “to preserve.” A confit is a preserve created by slow-cooking a food in fat or sugar. Today, we’re confit-ing tomatoes, zucchini and garlic in olive oil.
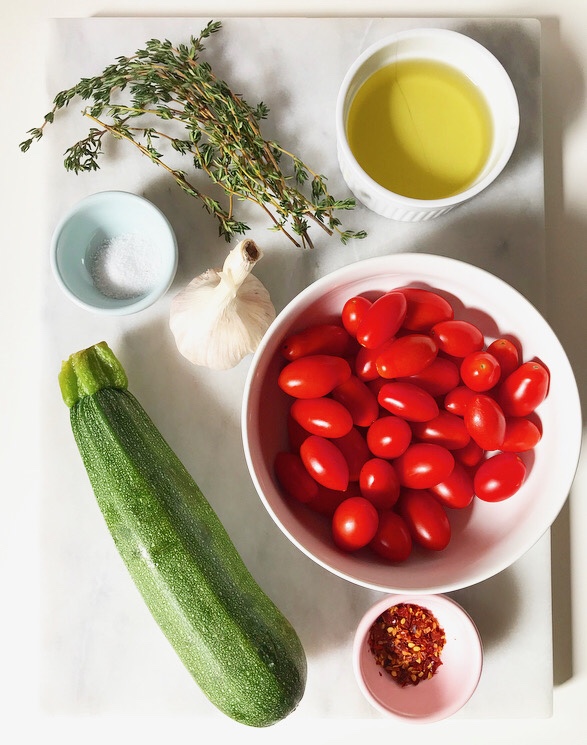
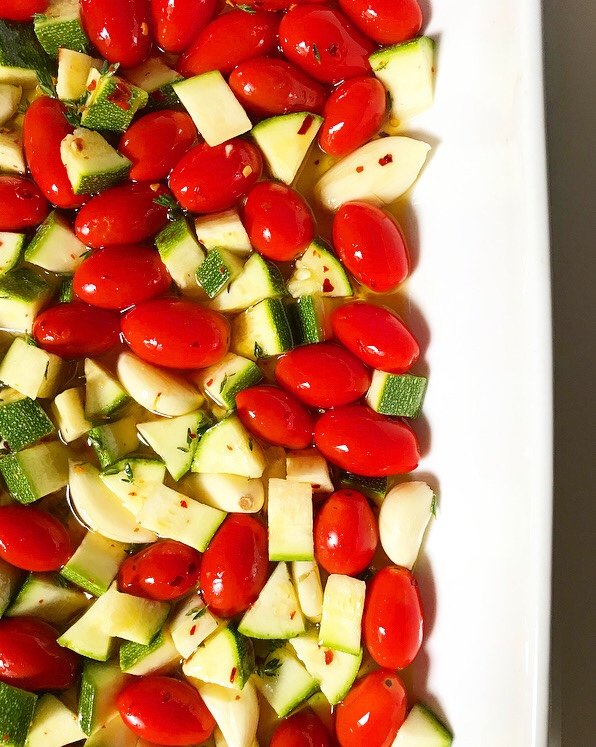
 Making this confit couldn’t be simpler. Start by tipping a pint of grape tomatoes, some diced zucchini and an entire head’s-worth of garlic cloves into a casserole dish. Season them with thyme, red pepper flakes and salt. Stir in 3/4 cup of olive oil and slow-roast until it’s all soft, caramelized, and fragrant. That’s it.
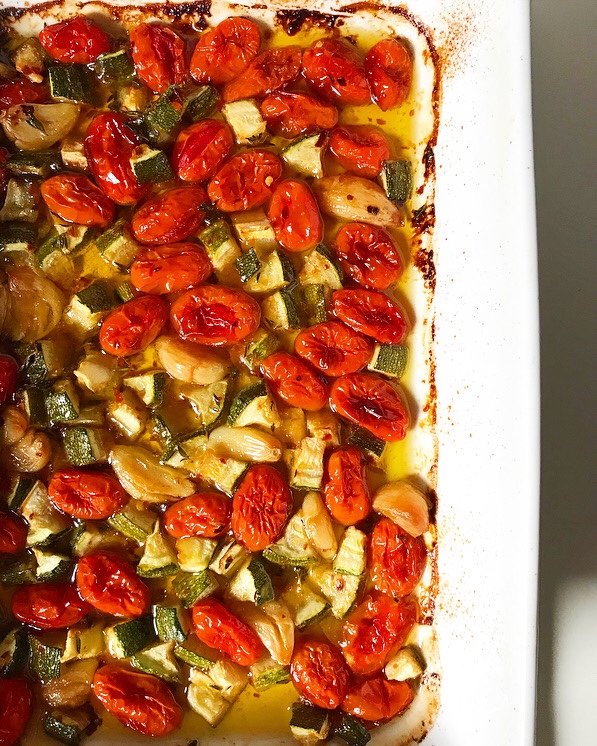
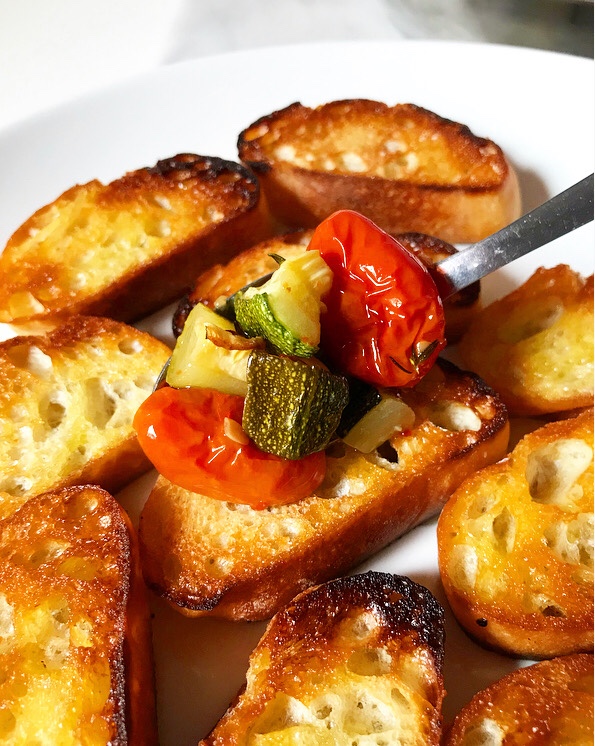 The sky’s the limit on applications. Tomato & Zucchini Confit can be stirred into pasta , grains or beans for a quick meal, or used to garnish chicken or fish. For this post, I just spooned it onto some baguette slices that were toasted in olive oil and called it crostini. Really, put this on anything that could use a touch of herby, savory, garlicky tomato & zucchini. (I think you’ll find that that’s most things.)
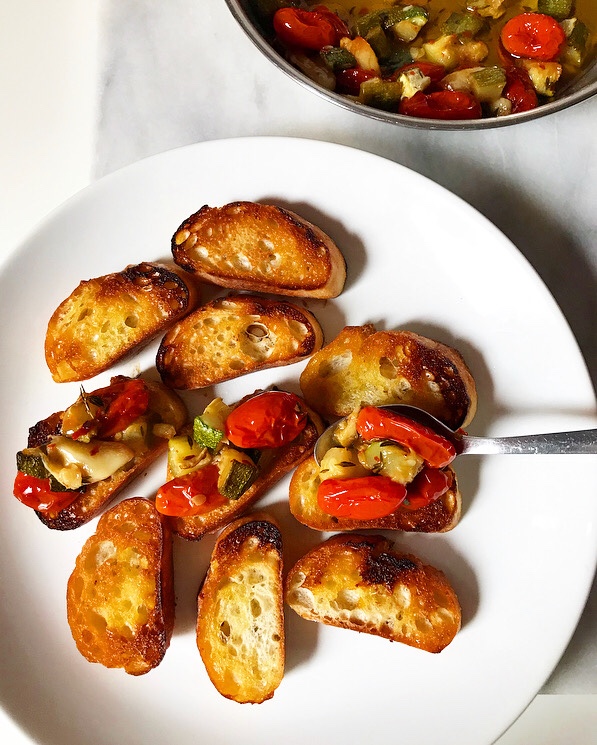 I’ve written this recipe so that the oven is at 300F and the confit cooks for about an hour, but you can go even lower and slower (think 250F for 2 or even 3 hours) for greater depth of flavor. I think it’s pretty wonderful as is though.
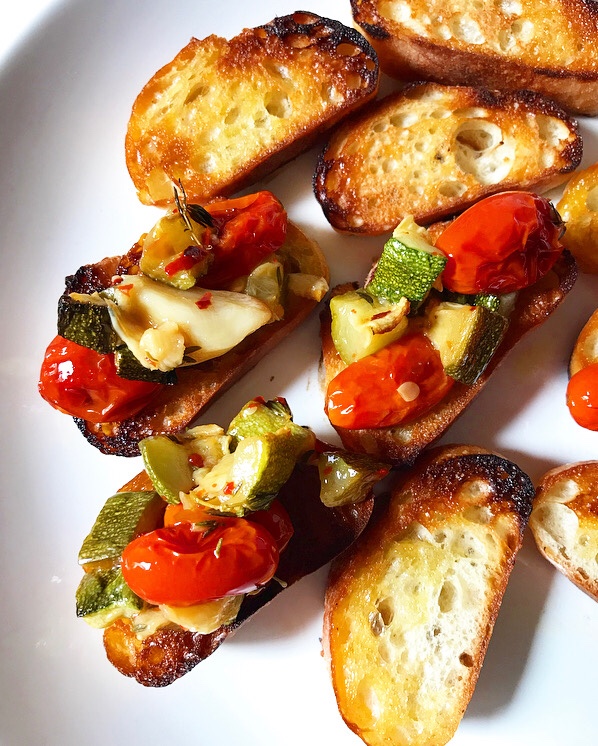 Tomato & Zucchini Confit is great the day it’s made, but since it’s a preserve, one batch can last a while. Once it has cooled, just pile it into a jar, top it off with olive oil so that none of the tomato, zucchini or garlic is exposed, and store it in the fridge. When you’re ready to serve it, bring the confit back to room temperature. When you’ve had your fill, top the leftovers with more oil and refrigerate the jar again for up to two weeks. If you’re anything like me though, it won’t be around longer than a few days.
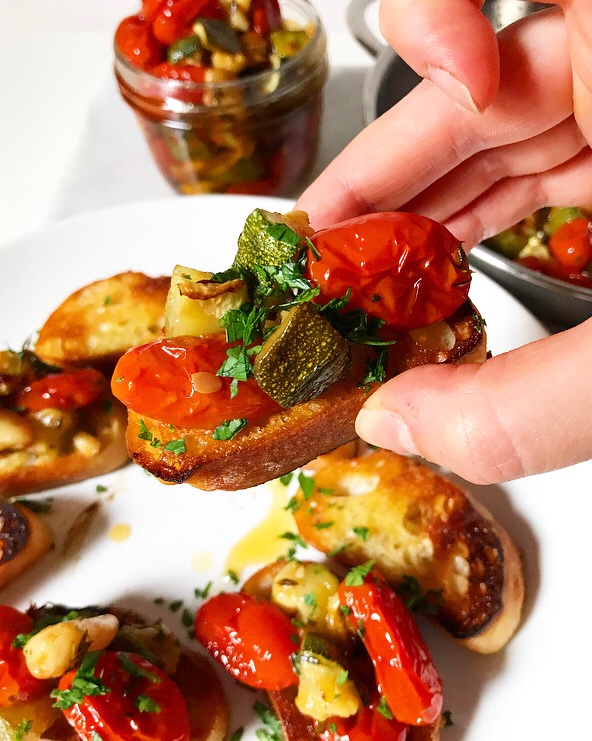
Tomato & Zucchini Confit
makes about 2 cups
1 head garlic
1 dry pint grape tomatoes, whole
1 large zucchini, 1/2-inch dice
1 tablespoon fresh thyme leaves (or 1 teaspoon dried)
1/2-1 teaspoon red pepper flakes
1 teaspoon fine sea salt
3/4 cup olive oil
Serving suggestions:
toasted baguette
pasta
cooked grains
beans
chicken or fish
Preheat the oven to 300F.
Separate all the cloves on a head of garlic and peel them; I like to do this by smashing each one with the flat side of a large chef’s knife and slipping off the skins with my fingers.
Place peeled garlic, tomatoes and zucchini in a large casserole dish. Scatter thyme, red pepper flakes and salt over the top. Pour in olive oil and carefully stir to combine. Bake uncovered for 60-75 minutes, or until tomatoes and garlic have begun to caramelize and everything is fragrant.
Let confit cool at room temperature before transferring to a jar with a tight-fitting lid. Top with extra olive oil if anything is exposed before storing in the refrigerator. Tomato & Zucchini Confit will keep in the refrigerator for up to a couple of weeks.
Bring to room temperature before serving. Continue to top the jar off with more olive oil before storing.


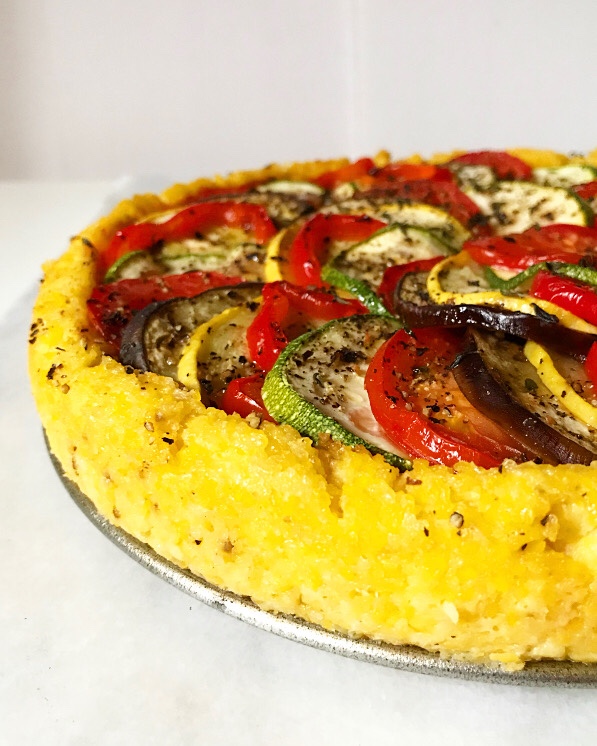
 If you’re searching for a plant-based summer recipe that is as visually striking as it is delicious, look no further. This Ratatouille Tart with Polenta Crust combines two of my favorite things—simply-prepared vegetables and soft corn
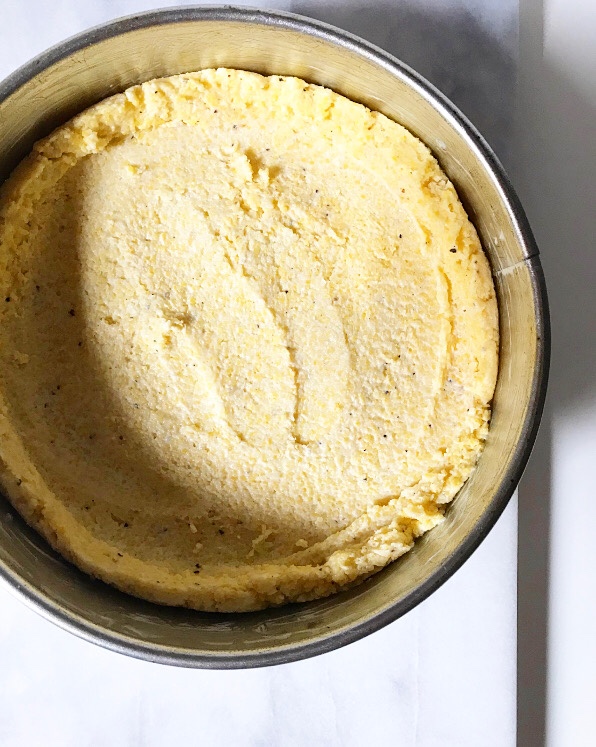 While this recipe takes some time to prepare, none of the steps are difficult and the results are more than worth the effort! You can make things easier for yourself by preparing the polenta and forming the crust a day ahead.
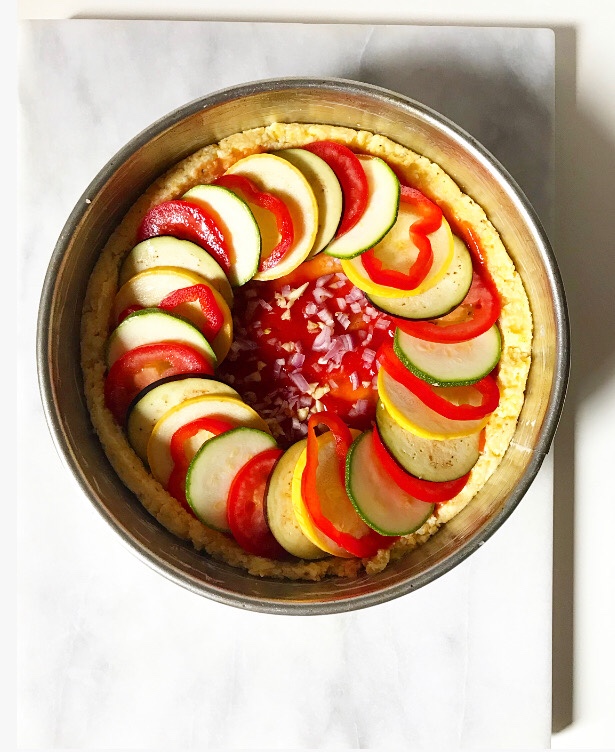
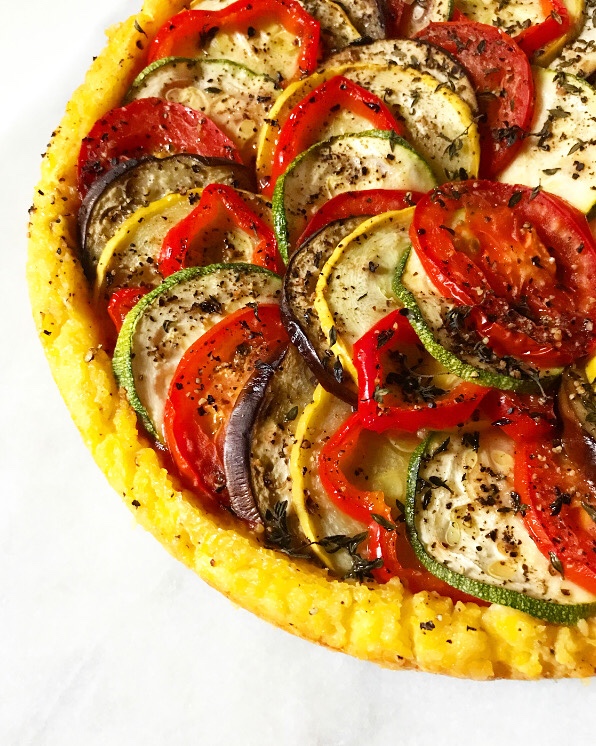
 When you’re ready to bake, spread on some tomato sauce and slice up a bunch of summer produce. If you’re a little fancier than I am and have a mandoline, this would be a great time to use it.
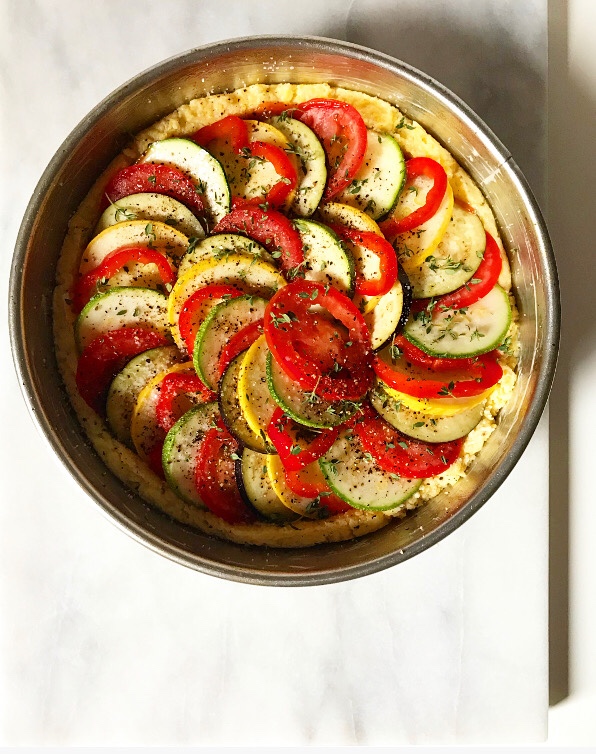
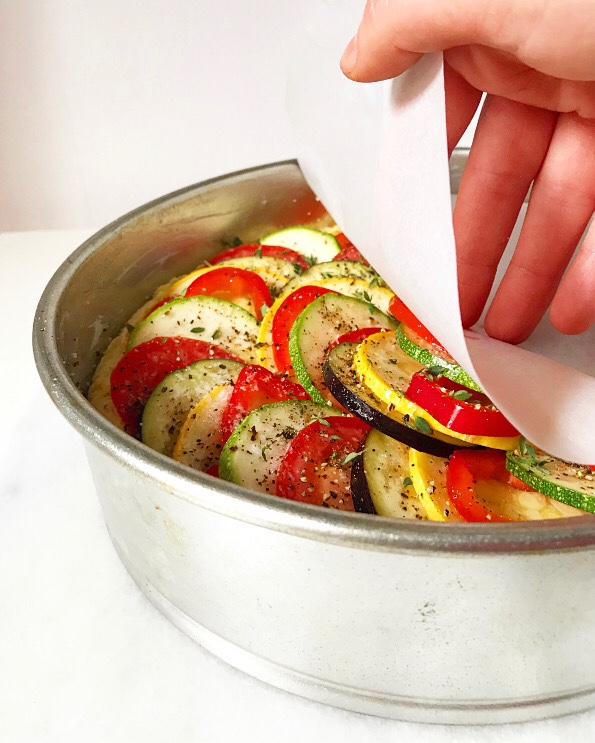 Assemble the tart by arranging the sliced vegetables in concentric circles and finishing them off with olive oil and fresh thyme. Cover the whole thing with a parchment round to ensure that everything cooks evenly. And then…
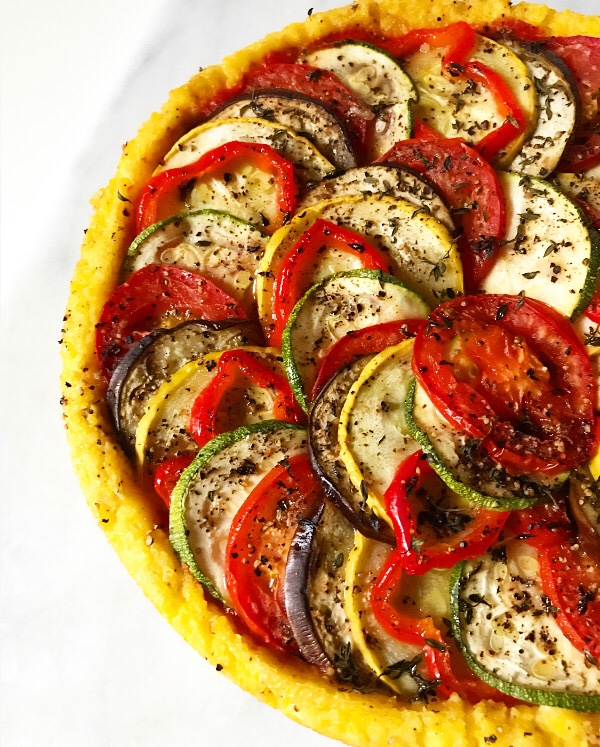
 …well, let’s just say I’ll pray for you during the thirty minutes between baking and slicing. I promise it’ll be worth the wait. I mean, when are polenta and ratatouille not worth the wait?!
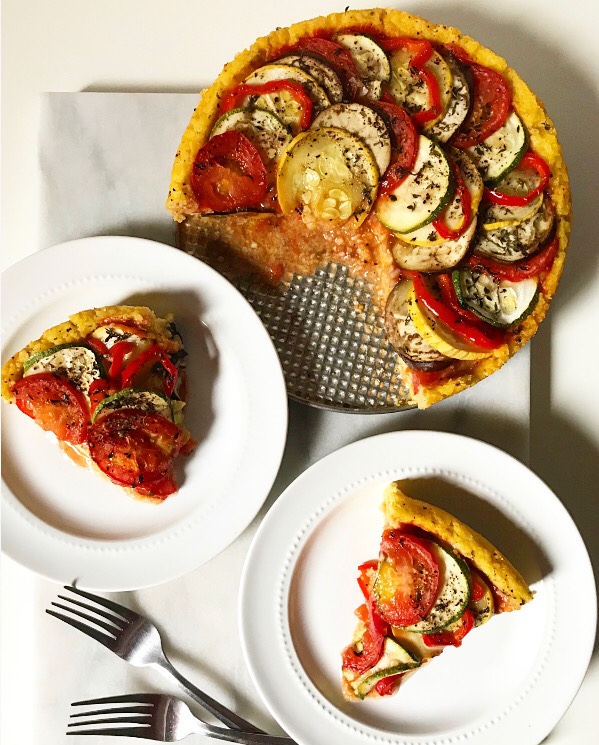
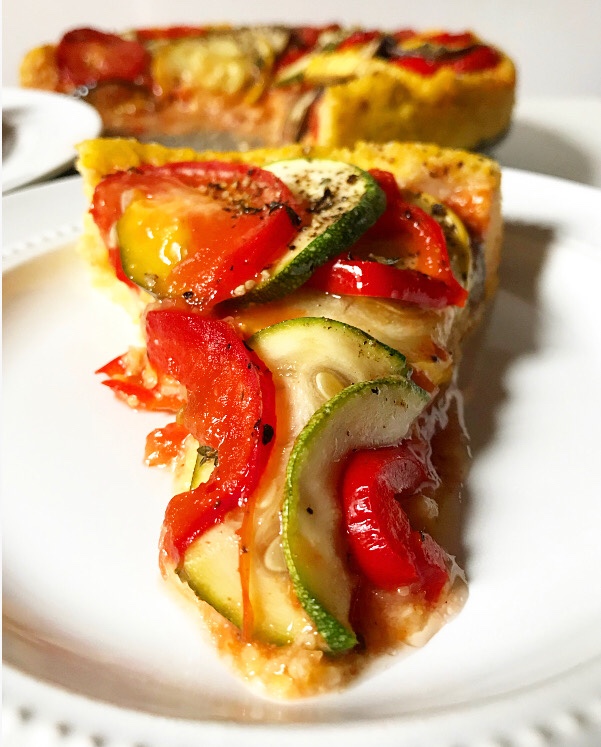 I love this tart when it’s fresh, but you should know that it slices particularly well at room temperature and cold, meaning this is a great make-ahead option. The tart pictured here was made on a Monday and reheated by the slice for lunches all week long.
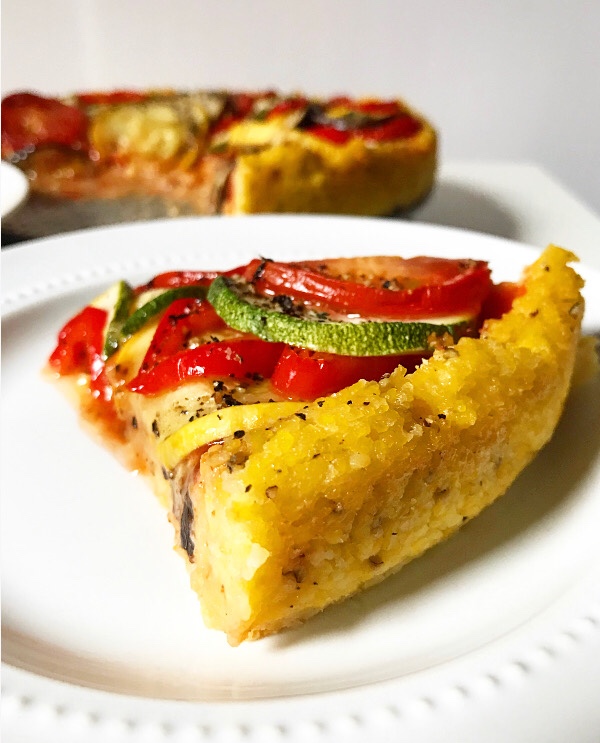 It was exactly as wonderful as it looks.
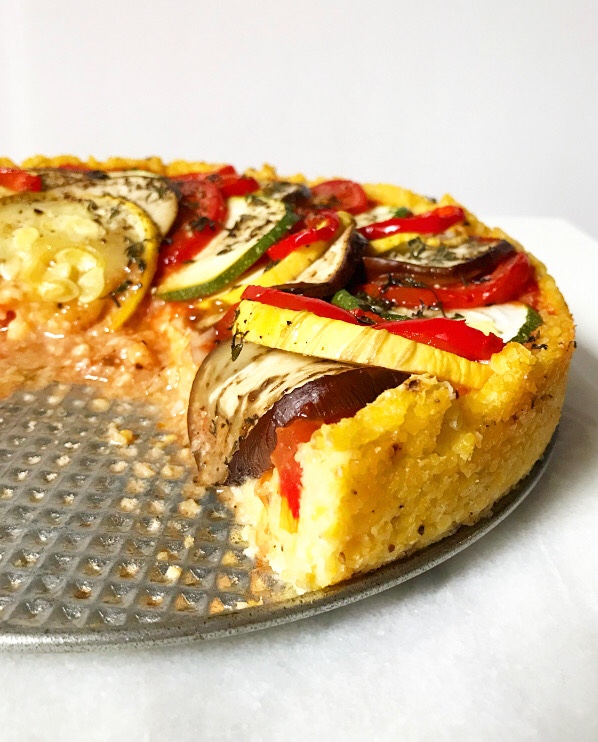


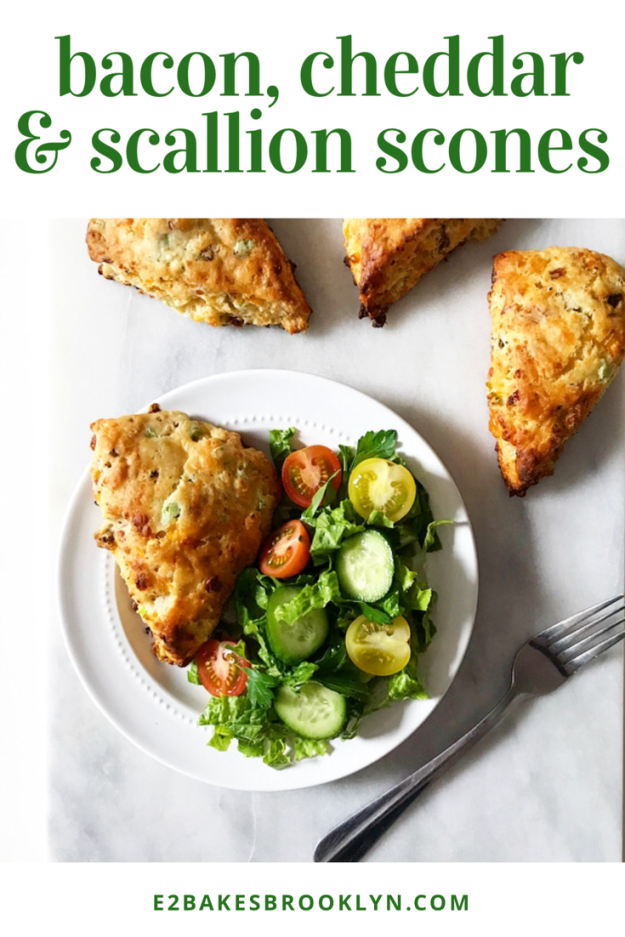
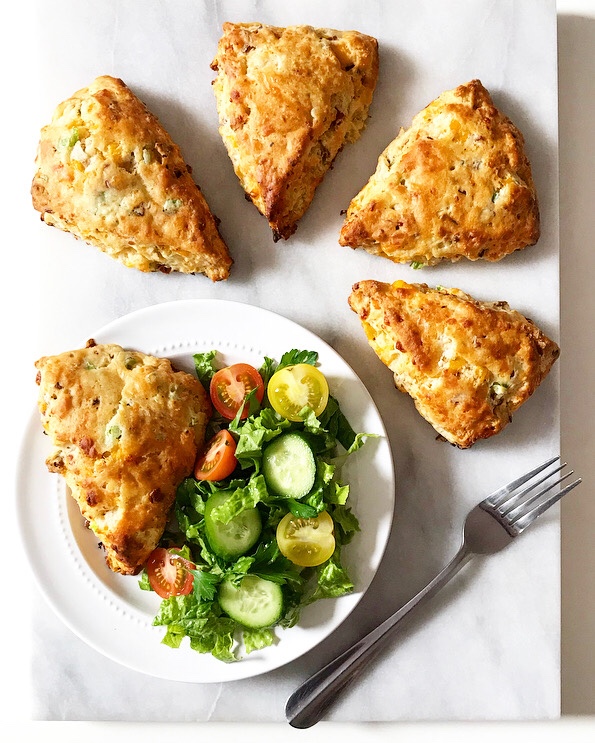 I don’t know how exactly this began, but somewhere along the line, I got it in my mind that there is no combination that says “casual-but-classy spring lunch” quite like a savory scone with a big green salad.


 For weeks, I have been eagerly waiting to share this recipe with you. I’d love to say that I feel this way with every single recipe in my
 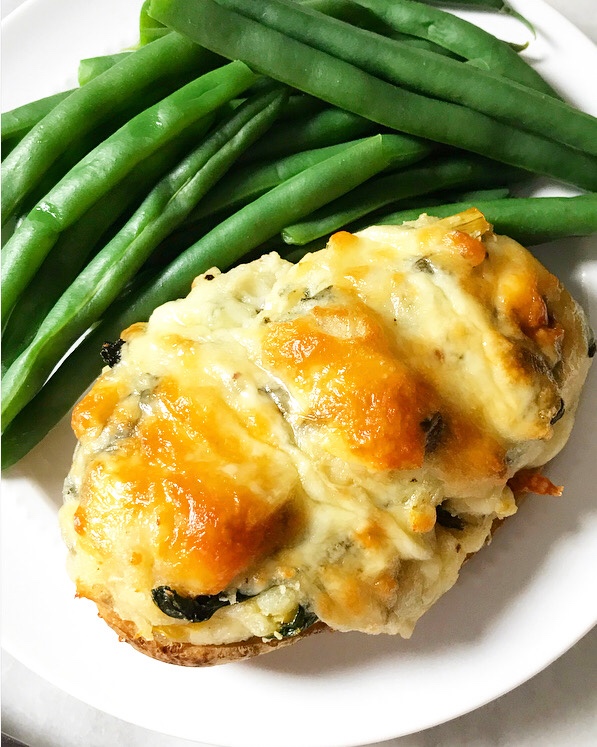 So, what’s so special about this recipe? Well, for one, it’s a
  These Spinach-Artichoke Twice-Baked Potatoes are so delicious, y’all. They’re soft and creamy on the inside and brown and crispy on the outside. Oh, and there’s melted cheese involved. And a serving of vegetables. Yesssss.
 If, by chance, you’ve never heard of or eaten a twice-baked potato…well, I’m sorry that you’ve been deprived for so long. Luckily, you can remedy that today! Let me give you a quick rundown.
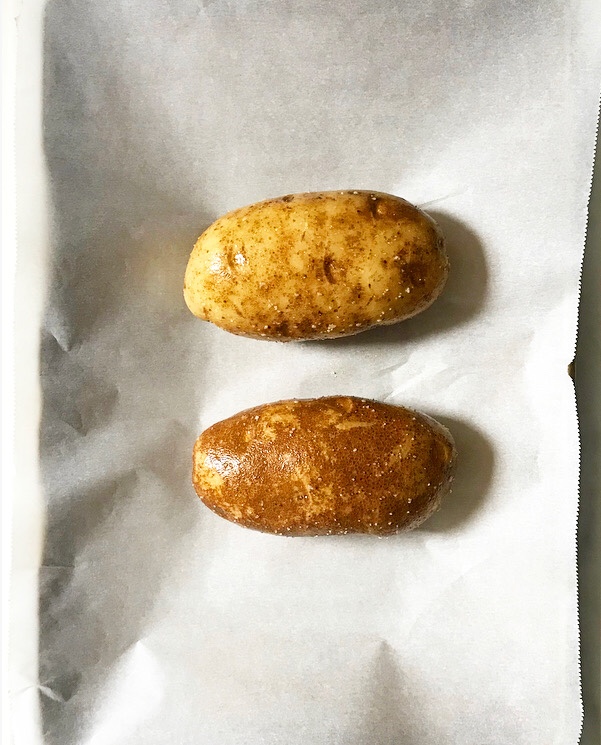

 As their name states, twice-baked potatoes are potatoes that have been baked two times. The first time, they are rubbed down with oil and salt and baked until tender.
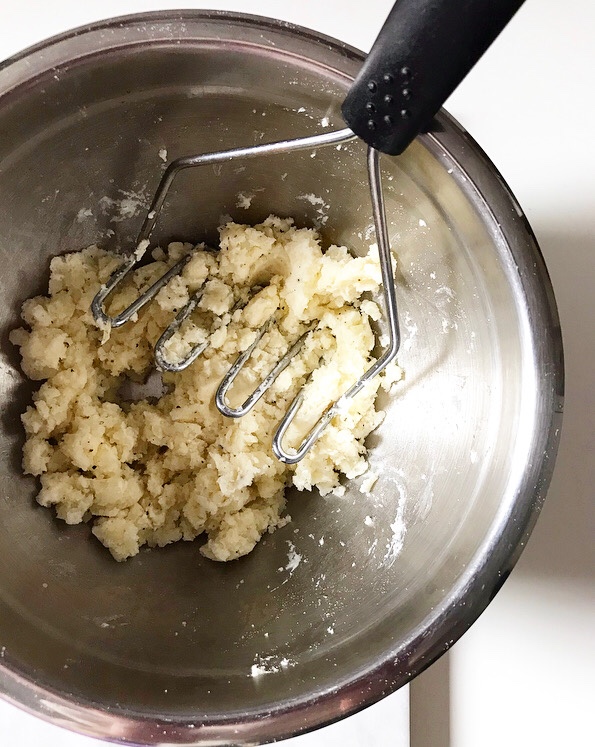 Next the potato innards are scooped out, leaving behind four potato skin “boats.” The potato flesh is mashed with other ingredients to create a filling.
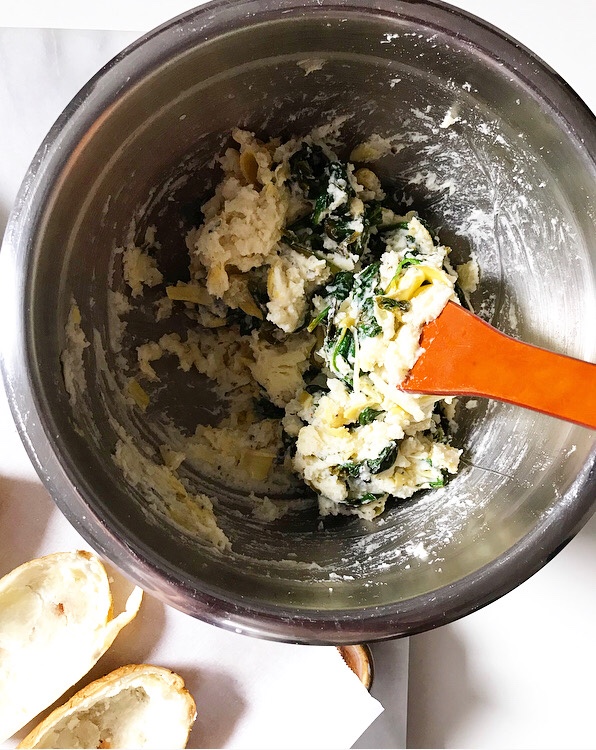 Traditionally, those include sour cream, bacon, cheddar, and scallions, but this recipe deviates from the norm in favor of lemony sautéed spinach, chopped artichoke hearts, butter, cream cheese, and monterey jack cheese. YUM.


 The filling is then spooned back into those potato skins, topped with more cheese, and baked a second time, until golden and a bit crispy ❤
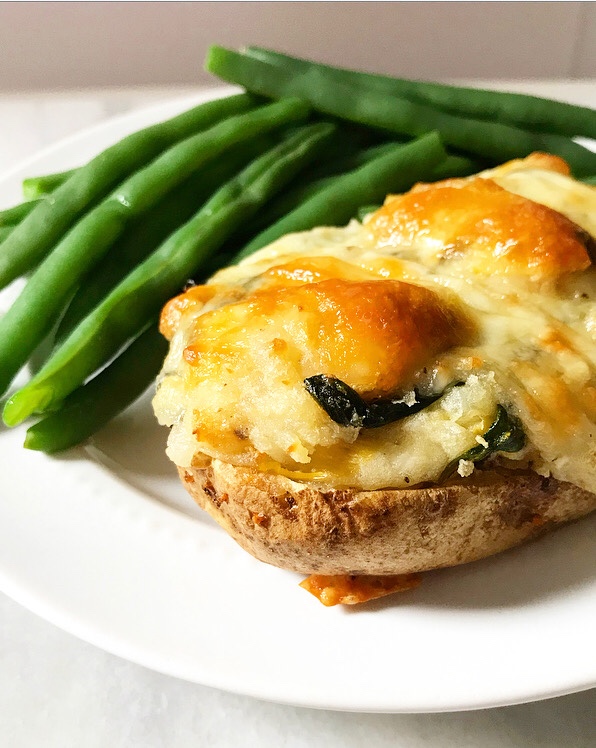
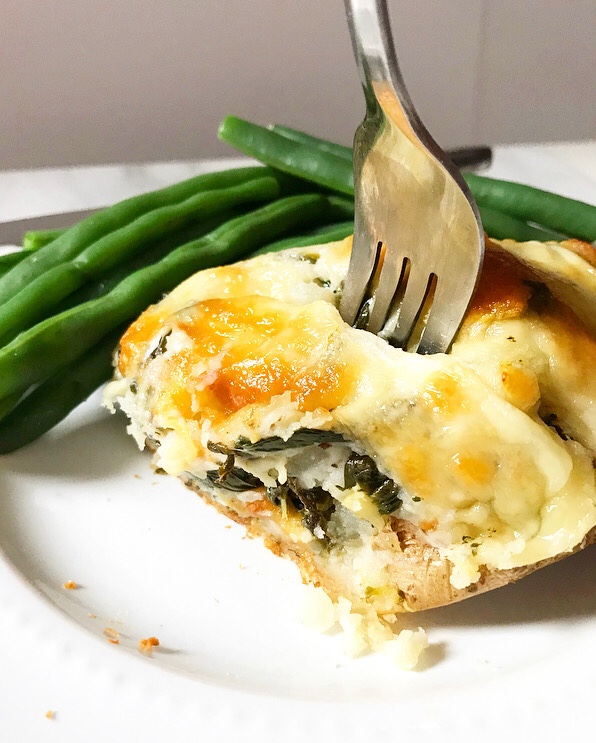 I prefer to serve Spinach-Artichoke Twice-Baked Potatoes as a main, but they also work well alongside chicken or pork. However you serve these potatoes though, they’re guaranteed to leave you wishing you’d doubled the batch.


 I love January on this blog. It’s not that I’m not into making desserts all the time—and you know I can’t quit baking
 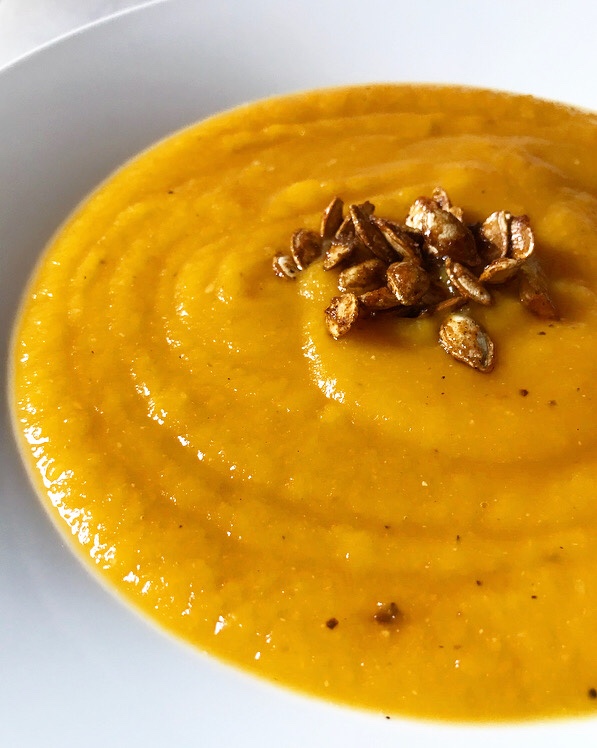 I’ve been making this Roasted Butternut Squash Soup for the last few months and I can’t get enough. It’s super simple to put together and very wholesome and comforting.
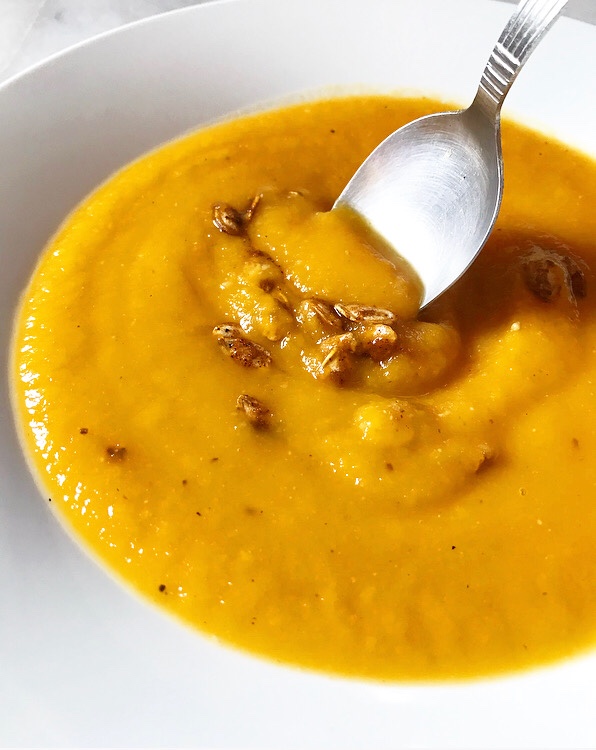
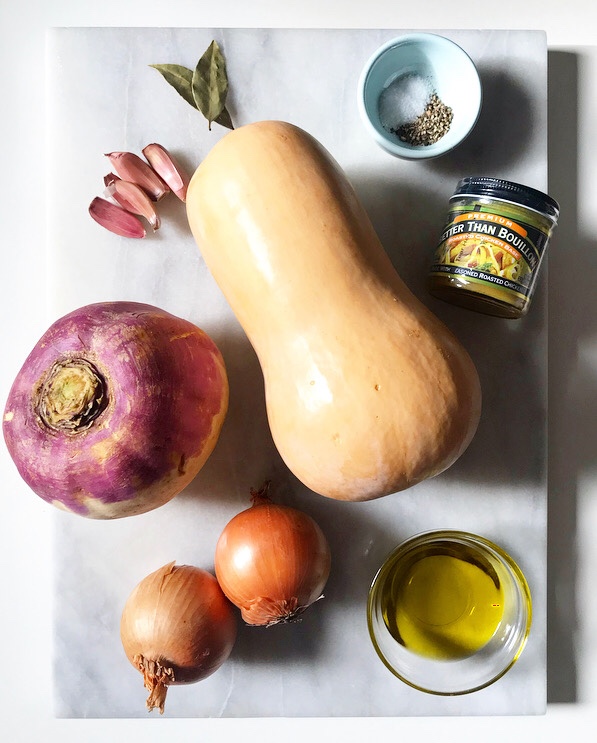 Did I mention that it’s made almost entirely of vegetables and contains zero dairy? This soup’s creamy, velvety texture comes from one unsuspecting secret ingredient: a turnip.* It’s diced up and roasted with the butternut squash until everything is golden and sweet. Yum.
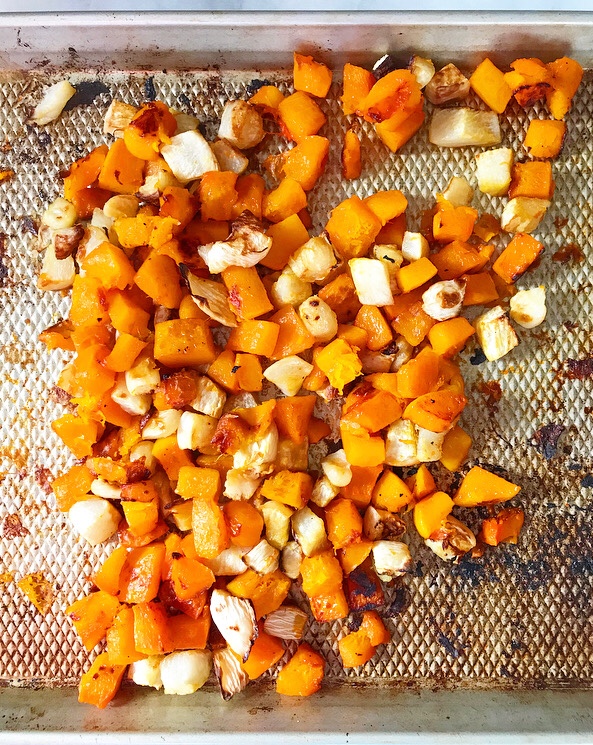
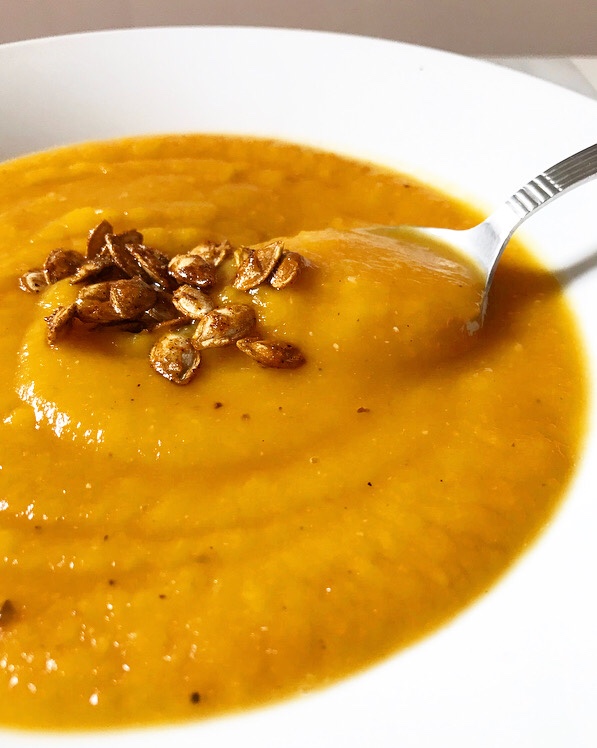
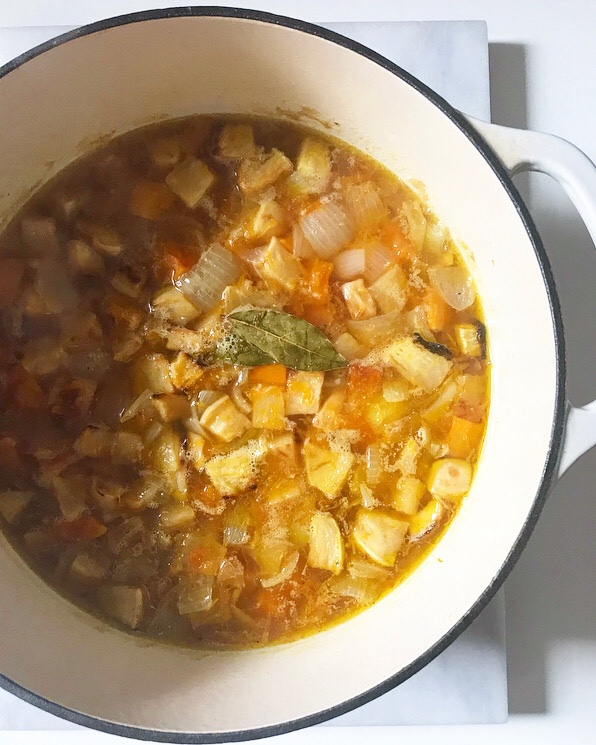 The roasted vegetables are then combined with some softened aromatics and stock (chicken or vegetable, whatever you have on hand), simmered for a few minutes, and puréed into a thick, rich, nutritious soup.
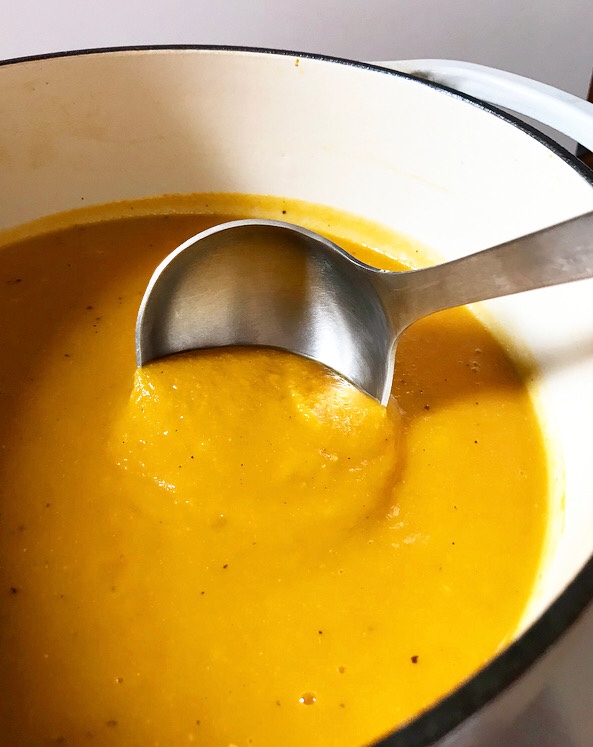
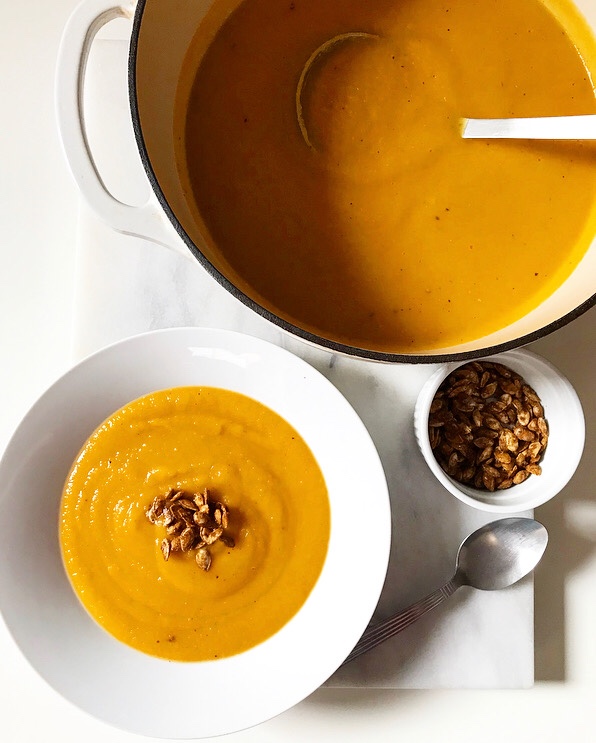
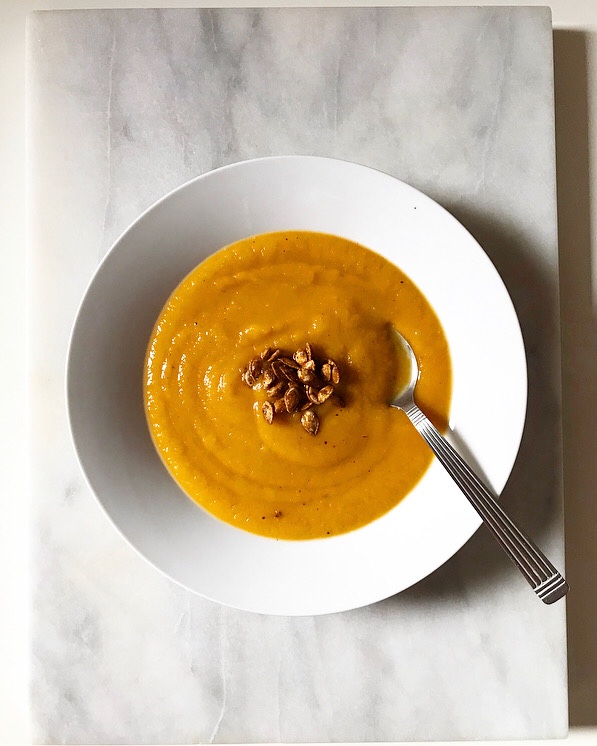 Roasted Butternut Squash Soup provides a great blank slate for any number of garnishes. I was tempted to go with crispy bacon or even a wintry pesto, but decided instead to make something out of the seeds from my butternut squash!
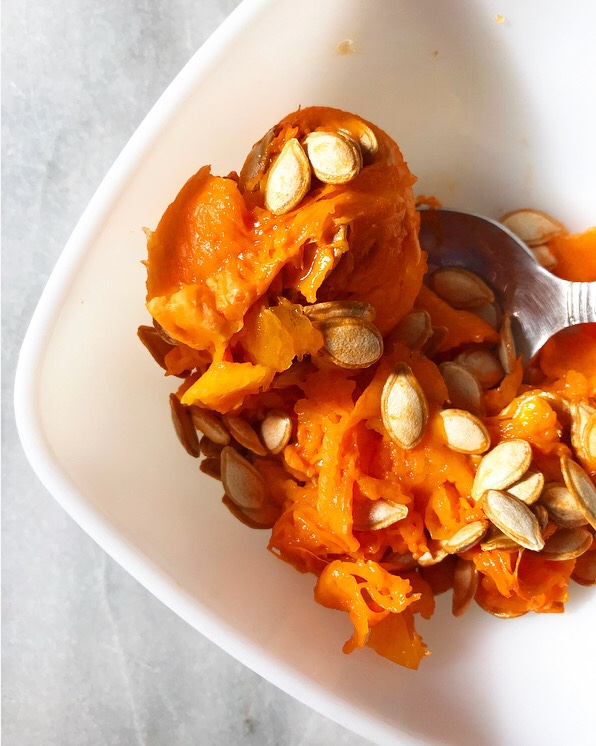
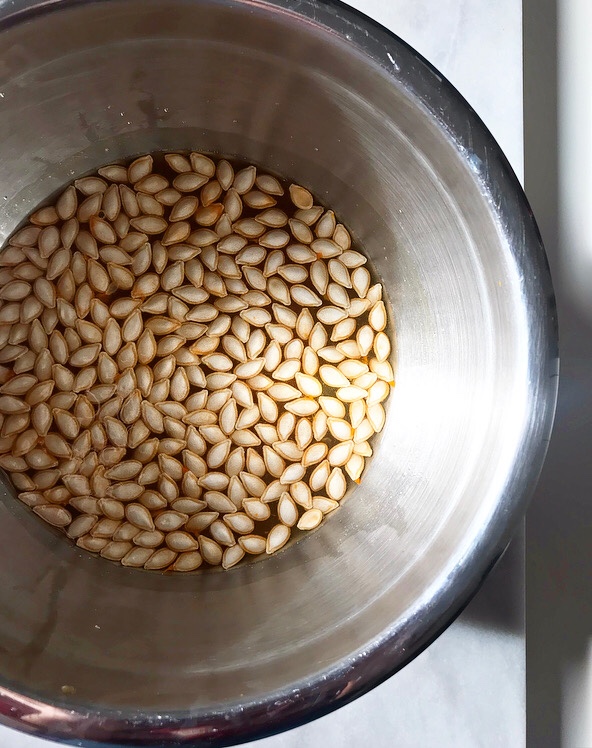
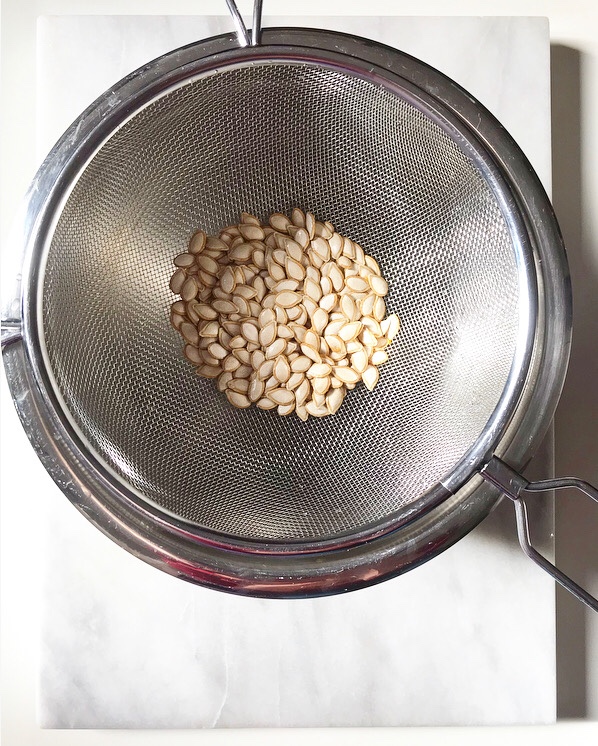
 While the vegetables were roasting, I rinsed the seeds to remove the fibrous squash innards. Then I toasted them in a dry pan just until they started to pop. After that, I added some olive oil, maple syrup, ancho powder, cayenne and salt, and stirred until they were brown and crispy.
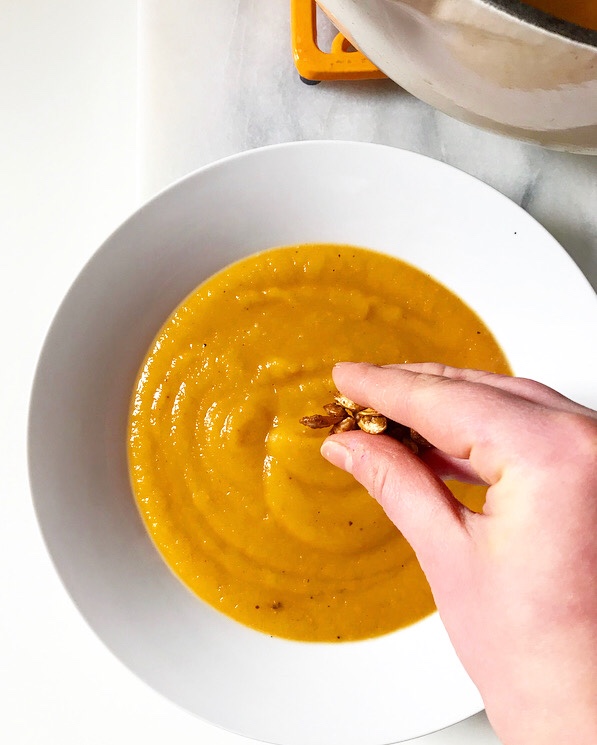
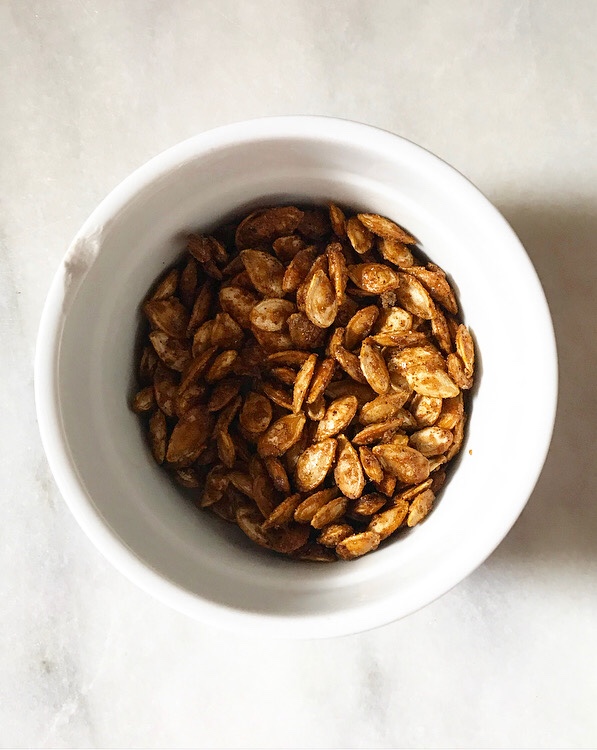
 The results are spicy, salty, sweet Maple-Chile Butternut Seeds, perfect for garnishing soup. Or eating by the tiny handful while you wait for your subpar Chinese takeout to arrive, which is exactly what happened to these. Ah, well.