 Until last Wednesday, I had no plans to create a new Fudgsicle recipe. I have some vegan Raspberry Fudgsicles in my Recipe Index that are kind of a salad masquerading as dessert—they’re made with avocado, dates, and fresh raspberries. They’re super delicious, so it makes sense that my boss had requested them (sans berries) on that hot, miserable day.
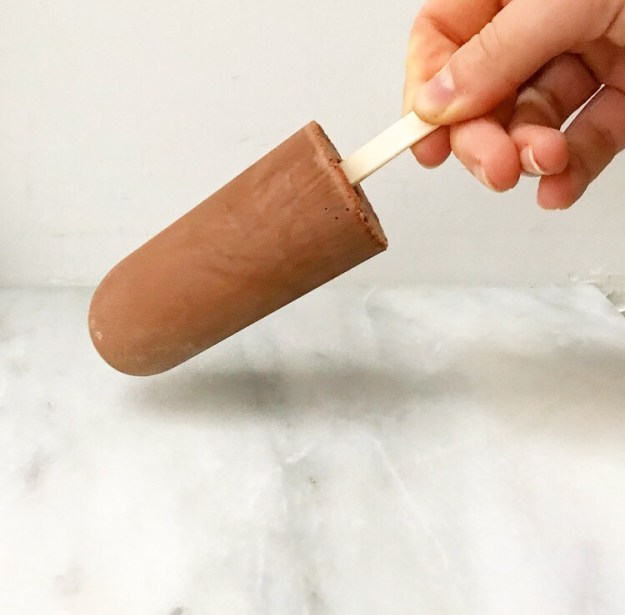 I trekked over to Trader Joe’s to buy the day’s groceries. It was only when I was turning onto the block where I work that I realized I hadn’t bought anything for Fudgsicles. I had been a bit distracted when my boss had requested them, and had forgotten to put the ingredients on my list. It was getting late and I needed to get started on dinner, so instead of going back to TJ’s, I determined that I’d figure out how to make Fudgsicles from things they had on-hand.
 Once I got dinner on, I started to look through the cabinets for ingredients. It went something like this:
- I knew I had most of a container of cocoa powder tucked into the back of the pantry—it only ever gets used for WHAM Cakes—so the chocolate part was covered.
- I found a can of coconut milk leftover from making coconut rice. That would work for creaminess.
- I decided to add the dregs of a jar of coconut oil for richness and to mitigate any iciness from the water in the coconut milk. Fudgsicles are always a little soft (because otherwise they’d just be chocolate popsicles), so a lack of large ice crystals is pretty important.
- For sweetener, I used maple syrup. Honey would have worked too, but they were fresh out.
- Vanilla extract went into the mix because when it comes to desserts, it’s almost always a good idea.
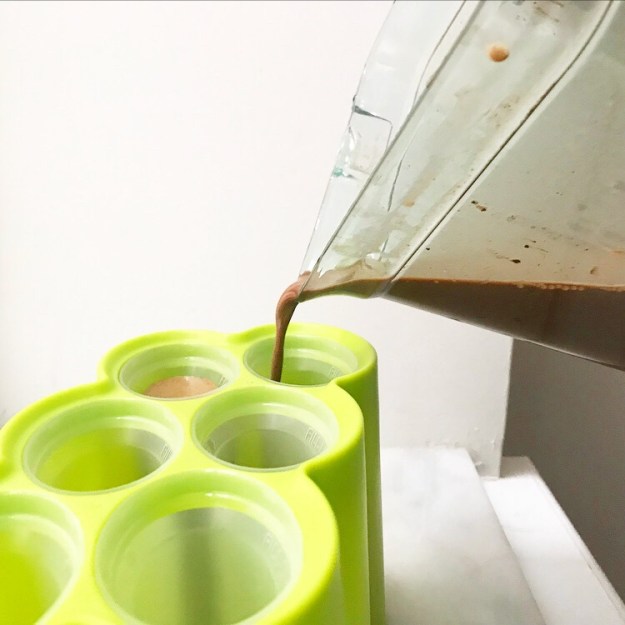

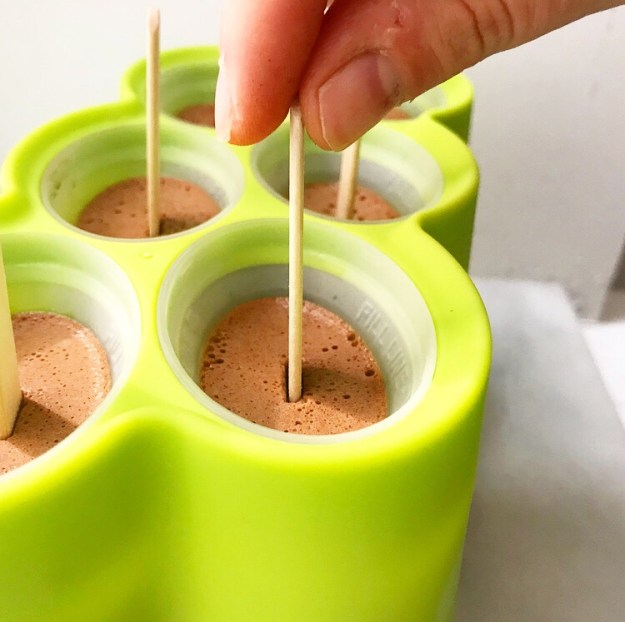 I put all the ingredients in the blender, said a little prayer to Julia Child, and blitzed everything together until it was smooth. I divided the mixture among a set of ice pop molds and put them in the freezer.
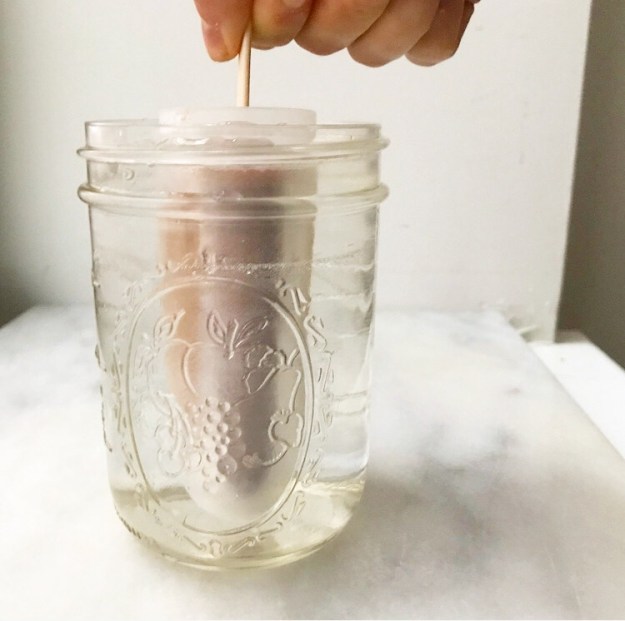
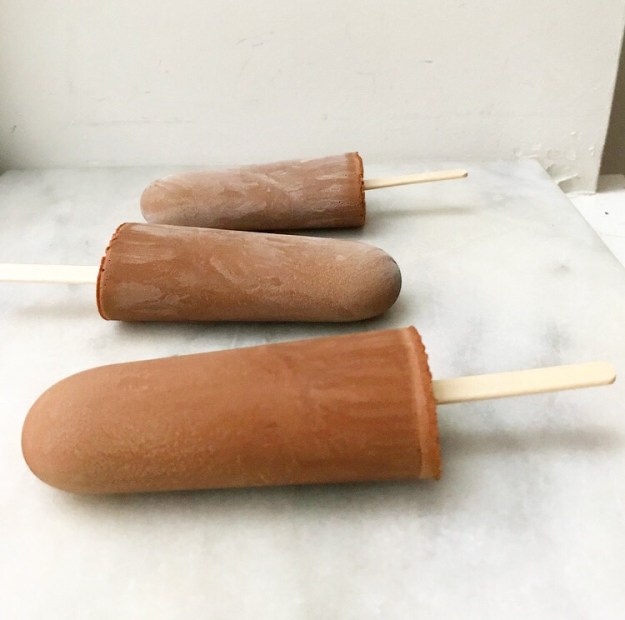
 Before the Fudgsicles were completely frozen, it was time for me to go home. As you probably could have guessed, I spent the next 18 or so hours wondering if they were any good compared to my old favorites. Imagine how delighted I was when I got to work the next day to see that the family had already eaten most of them!
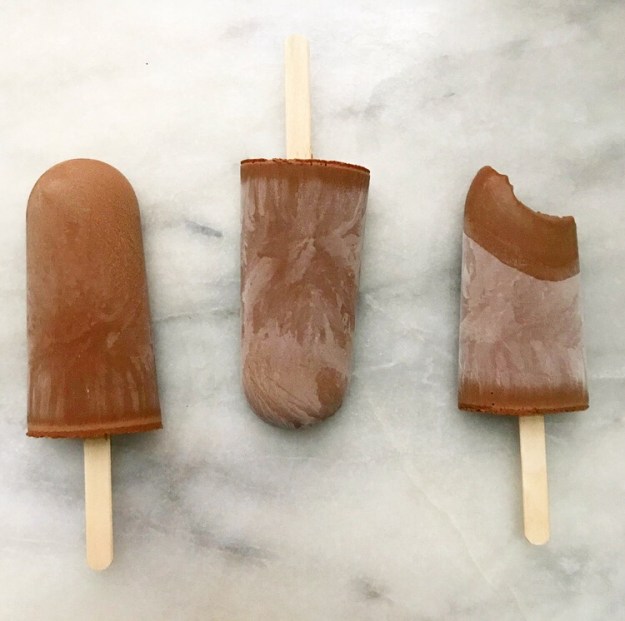
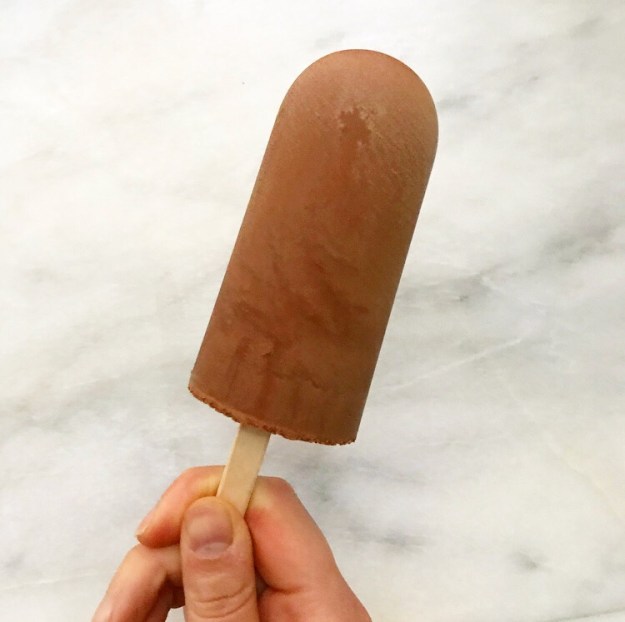 Luckily, there was one left for me to try. It was deeply chocolaty, perfectly sweet, and soft enough that I could bite through it—so basically, exactly what I was going for. I love that a recipe that began as a guessing game worked on the first try. That rarely happens, so I’m calling it a victory.
 I’ve made three more batches of these Fudgsicles since last week—two for work and one for me. I love how quick and easy they are and that they’re made from the sort of ingredients I always have on hand. And that’s to say nothing of the fact that they’re vegan and fairly low-calorie for an end of the day treat. I don’t follow any sort of diet, but it’s nice to make something on the lighter side every once in a while.
 Spend five minutes making a batch of Fudgsicles this weekend! I hope you love them as much as I do.
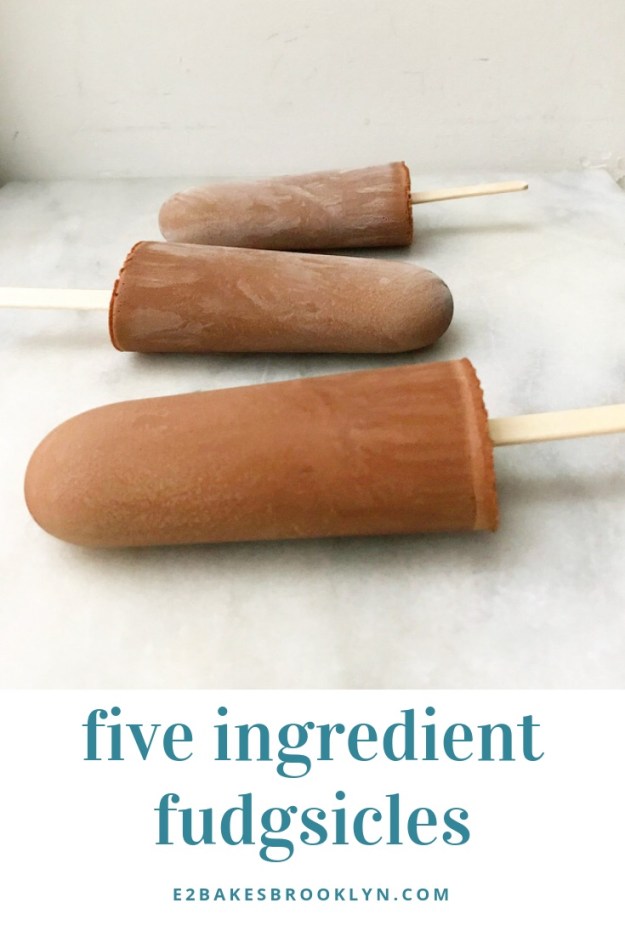
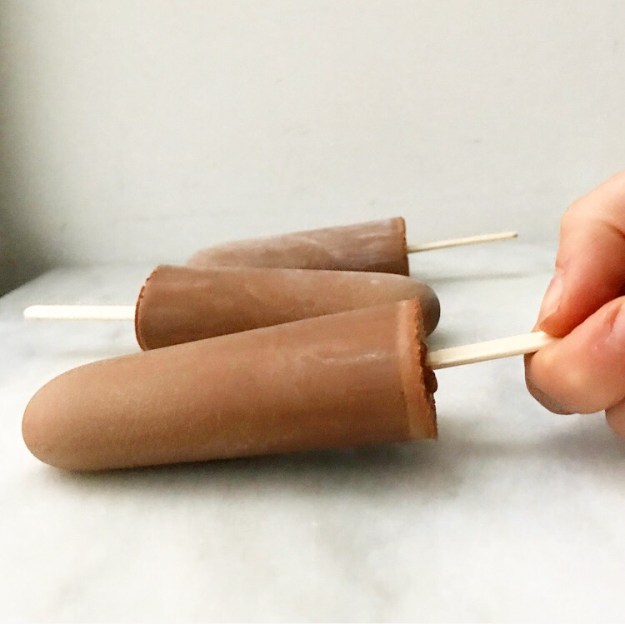
Five Ingredient Fudgsicles
makes about 6 fudgsicles
1 15-ounce can full-fat coconut milk
1/3 cup pure maple syrup
2 tablespoons coconut oil (preferably refined), melted
1 teaspoon pure vanilla extract
2/3 cup natural unsweetened cocoa powder
Combine all ingredients in a high-powered blender. Blend until no lumps remain, scraping down sides as necessary. Divide mixture among ice pop molds. Do not add sticks.
Freeze one hour. Insert sticks. Freeze at least 5 more hours before enjoying.
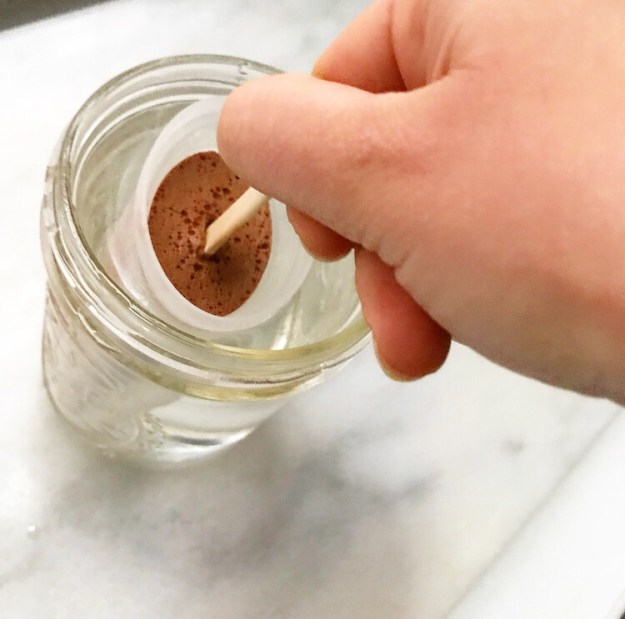
To release from ice pop molds, place mold in a glass of warm tap water for 30-45 seconds. Fudgsicles should release easily. If they don’t, place them back in the warm water for 15 seconds before making another attempt.

 Hello from
  VJ and I got here Saturday afternoon. It was supposed to be us and two more that day, but due to a work snafu, they didn’t join us until yesterday. Thank goodness for our other guest, my sister,
 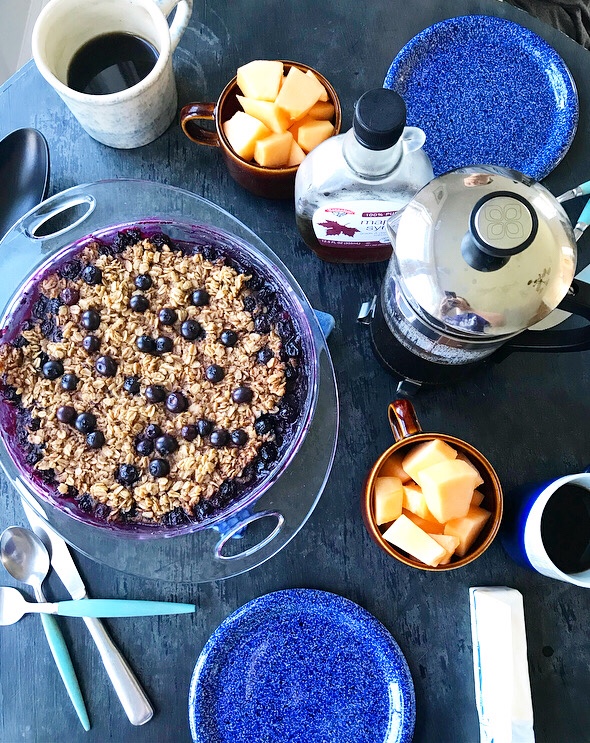 Since it’s just been the two of us these last few days, meals have been simple. As I’ve mentioned
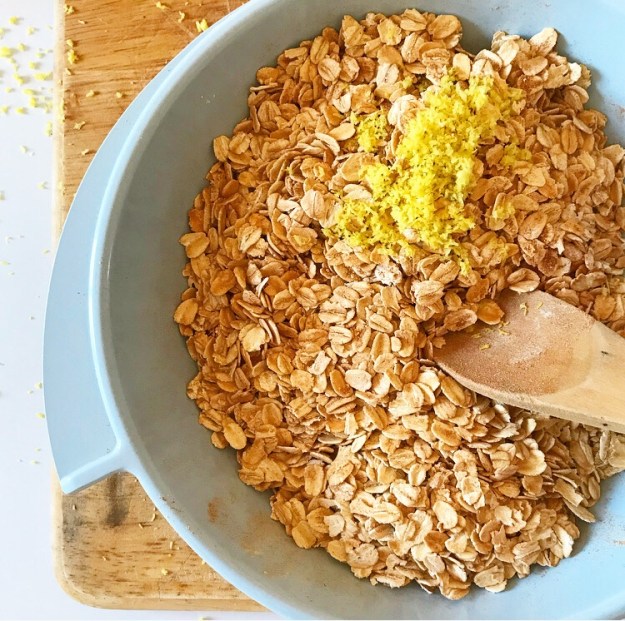
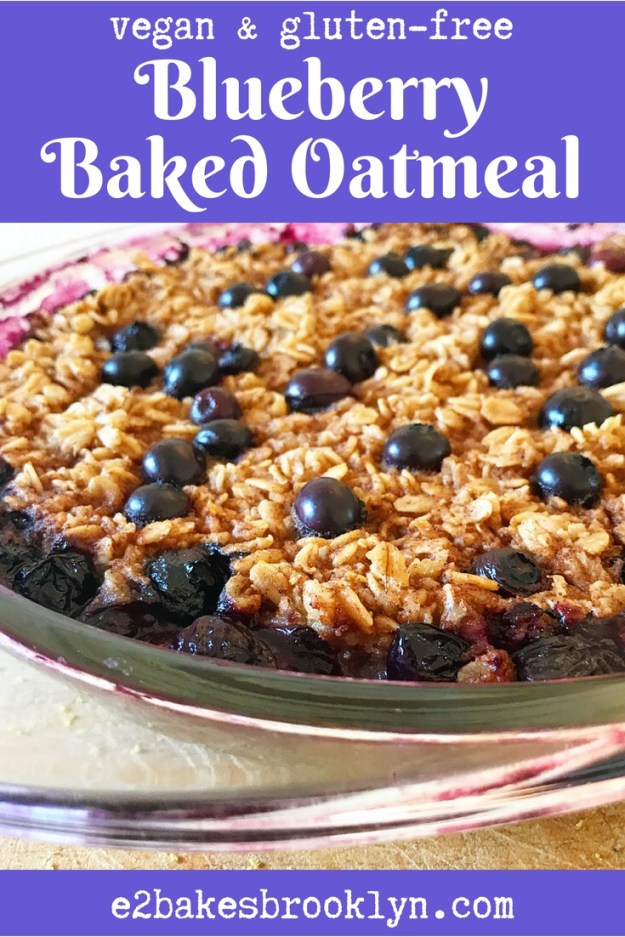
 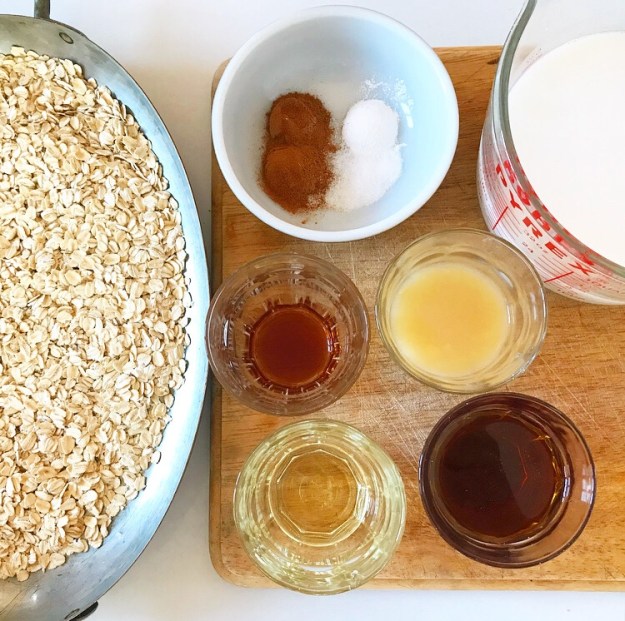 While everyone else I know was going to work Monday morning, I made this Blueberry Baked Oatmeal for us. Made with gluten-free old-fashioned oats, rice milk,* and
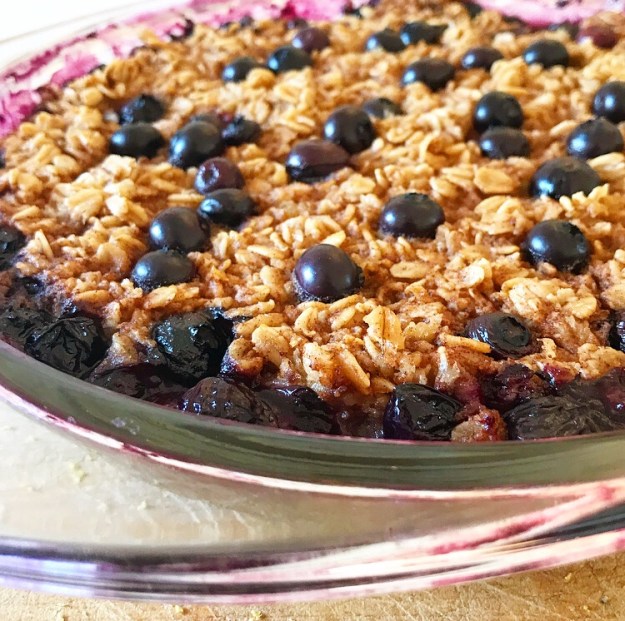
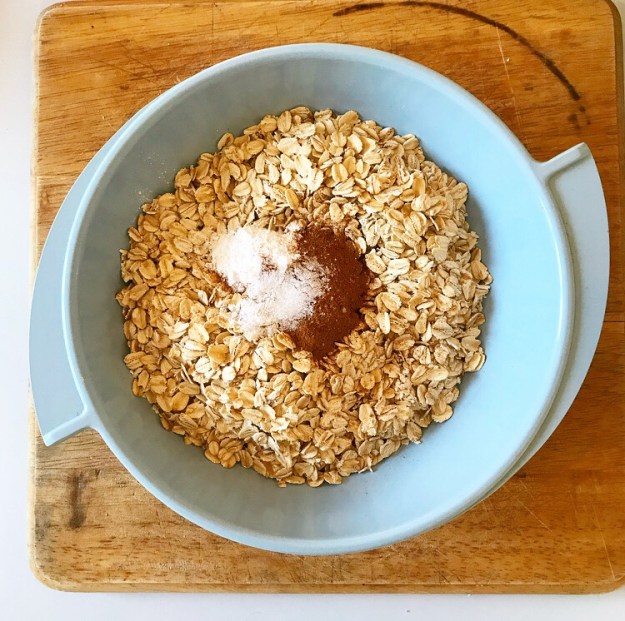
 This oatmeal is super simple to make. With just a few minutes of prep-work and 40 minutes of bake time, you’ll be rewarded with a rich, cinnamon-spiked oatmeal that is positively bursting with blueberries.
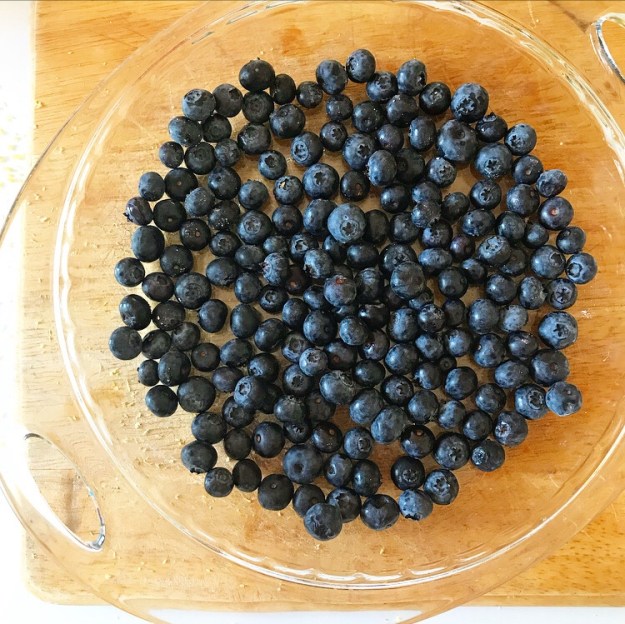
 You just need two bowls and a stirring implement to put it together, and you probably have all the ingredients already (with the possible exception of blueberries).
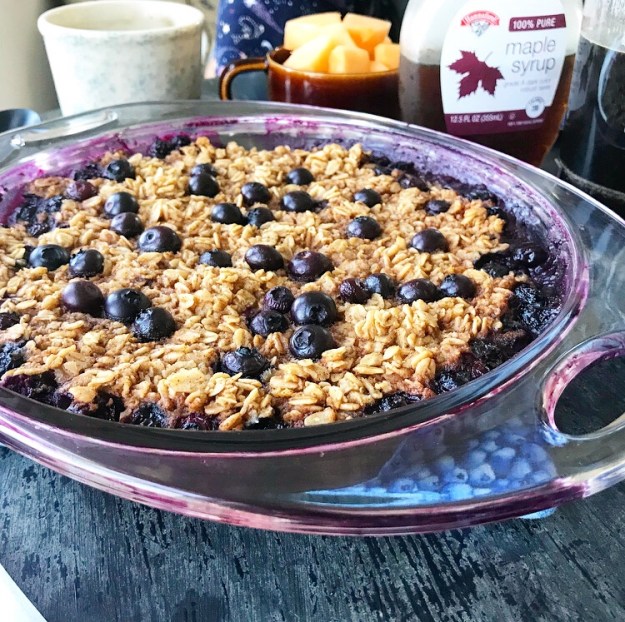
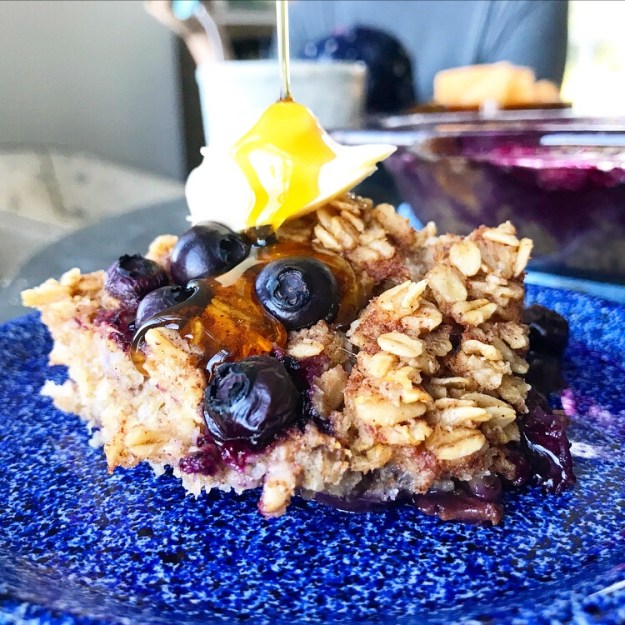 VJ and I prefer our oatmeal on the sweet side, so I used 1/2 cup maple syrup here. If you’d like a less-sweet breakfast, you can reduce it to 1/4 cup.
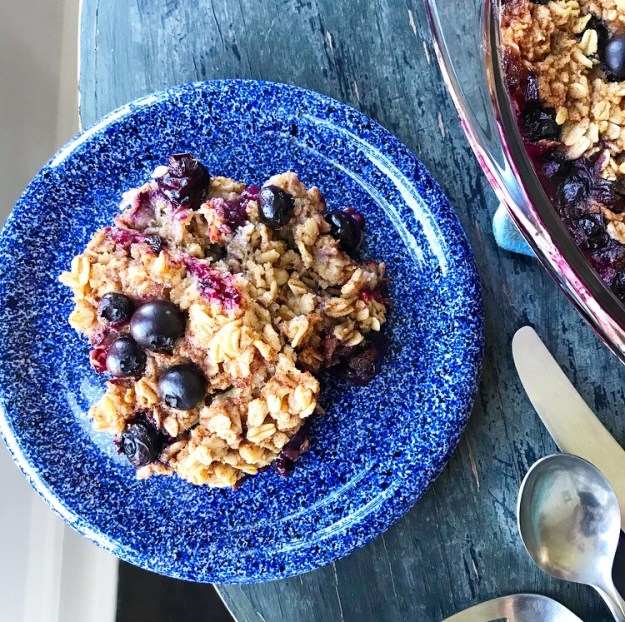
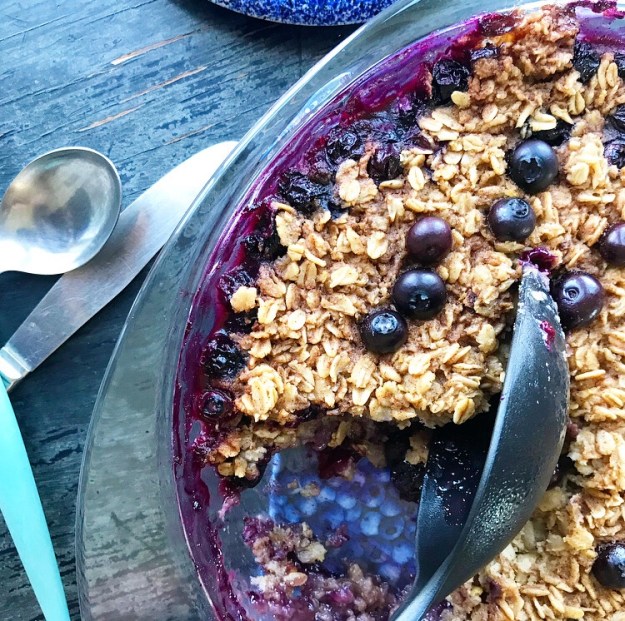 Feel free to add nuts or seeds (toast them with the oats!), or stir in coconut flakes or mashed banana. Everything we eat on Swan’s Island comes from one pre-ferry grocery trip on the mainland, so meals are paired down and simple. I like this oatmeal as-is with an additional drizzle of maple and a pat of butter, but that’s just me.
 As with many of the recipes on this site, this recipe can be made with many variations. Feel free to take my favorite and make it yours.
 After I made
 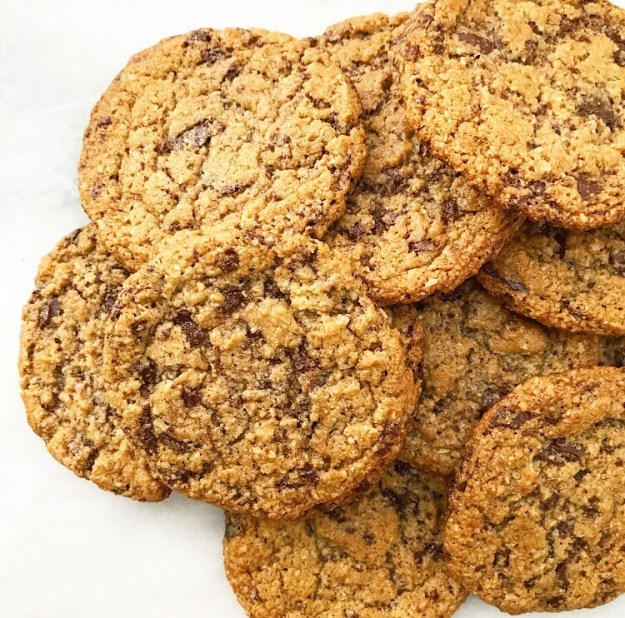 I should acknowledge that I already have four recipes for chocolate chip cookies in my archives (see
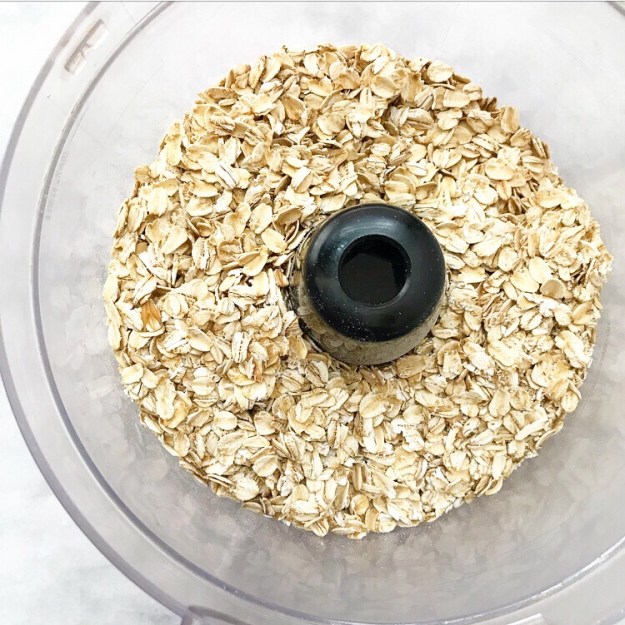
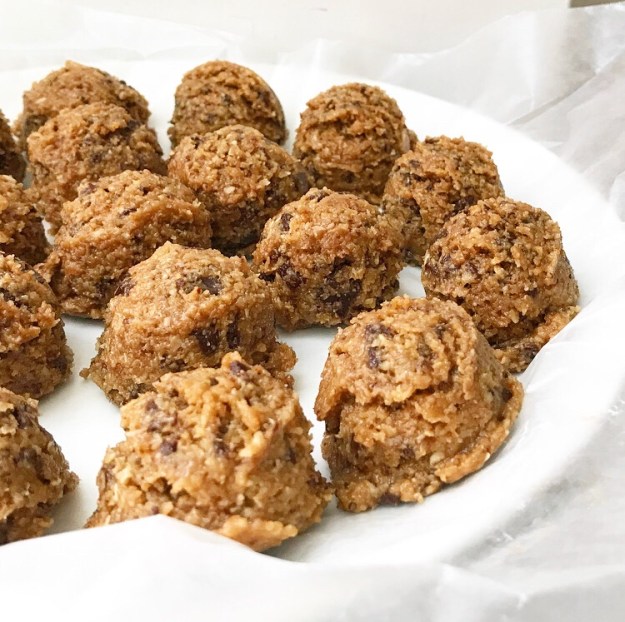
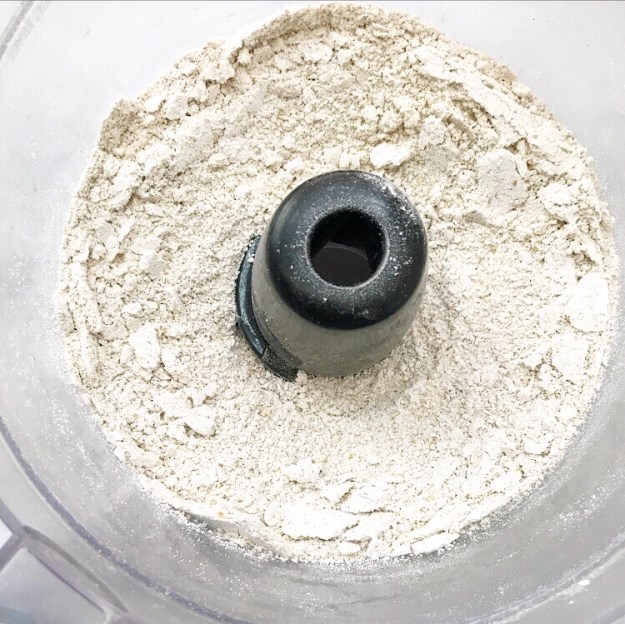 The original recipe calls for all-purpose flour, but as I had plenty of oats leftover from making from my adventures in graham cracker-ing, I figured I’d give it a shot with toasted ground oats. I also swapped out plain granulated sugar for an equal volume of light brown, added some vanilla, switched from chocolate chips to finely chopped dark chocolate, and nixed the extra salt entirely.
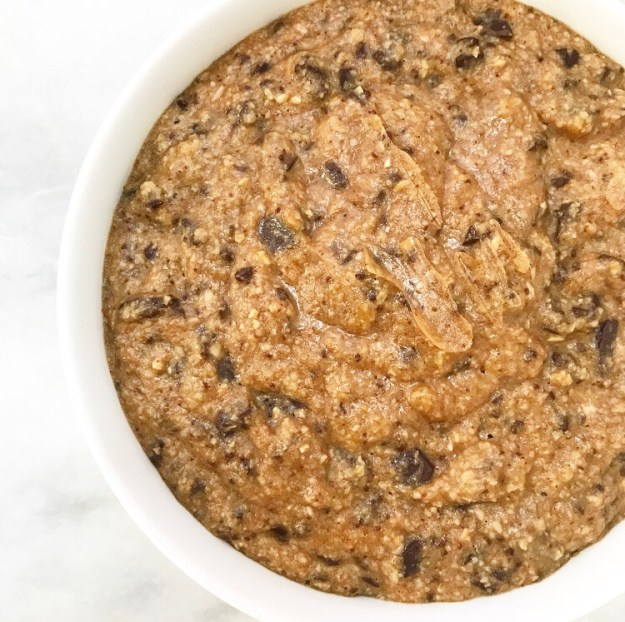
 The Ovenly overlords will tell you that theirs’ is a finicky recipe and to follow it to the T. They are correct—it’s a very precise recipe and works perfectly as-is. But I messed with it anyway because I can’t help myself.
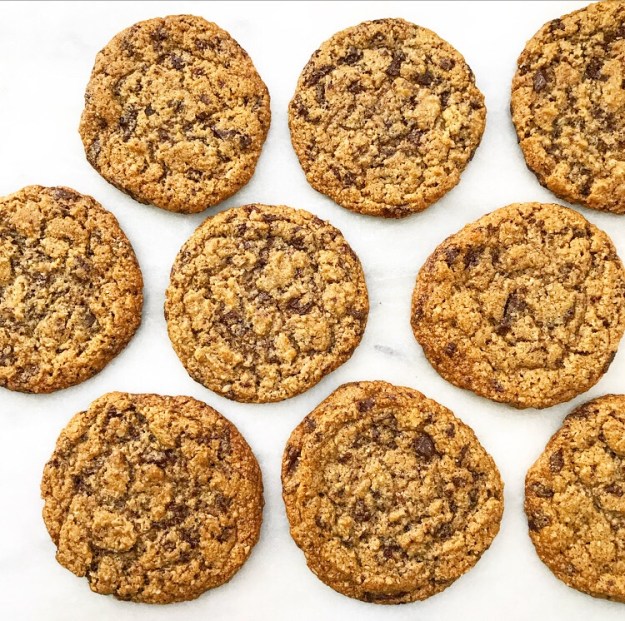 It took me five test rounds to get these cookies to work consistently with toasted ground oats, but I persisted and have been rewarded with super chewy, chocolaty cookies that anyone will love (not just your favorite local
 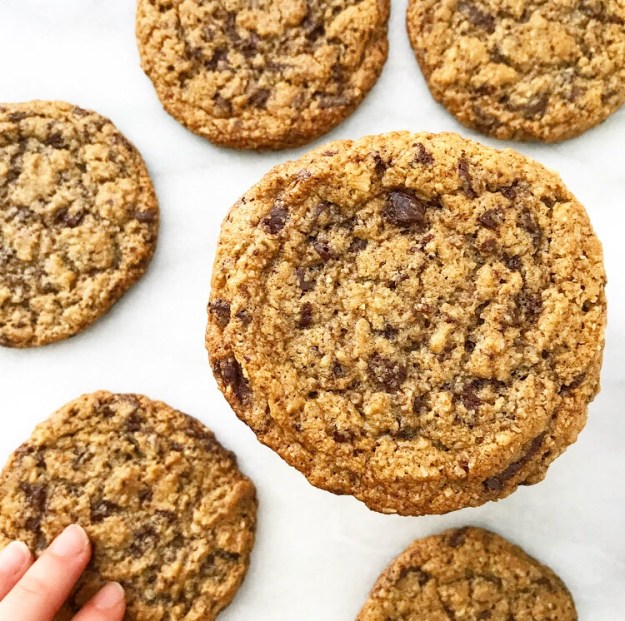 I will, however, jump on Ovenly’s soapbox like a hypocrite and tell you not to mess with this recipe…any further than I have already.
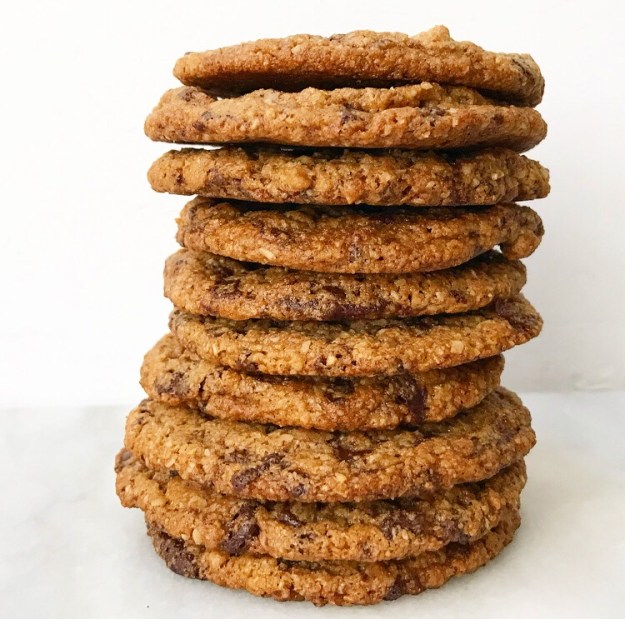 As with most baking recipes, the volumes of ingredients are very specific for a reason. In the case of this recipe, adjusting the liquid ingredients by 1 tablespoon (!) will either yield sad, soupy dough (and lacy cookies) or a chilled rock of inedible dough. Trust me, I know.
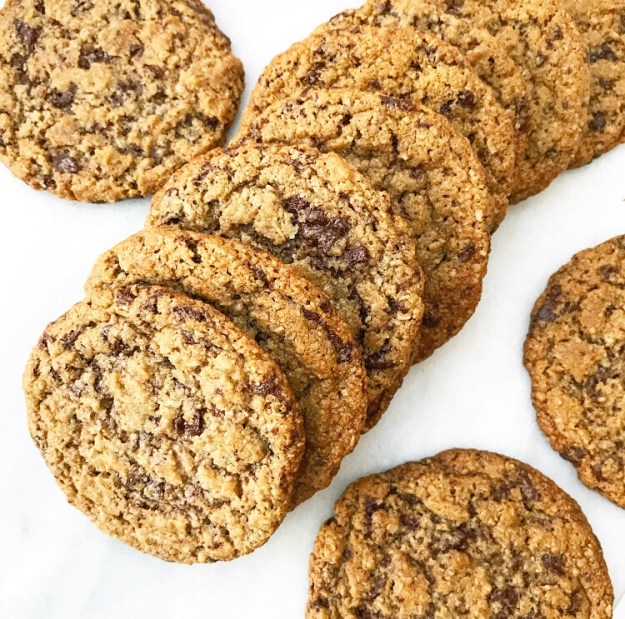 And for the love of everything, don’t shorten the 12-24 hour chill. If you do, I guarantee you will be disappointed. But if you work ahead, as specified in the recipe, you’ll be rewarded with some seriously good Chewy Chocolate Chunk Cookies.
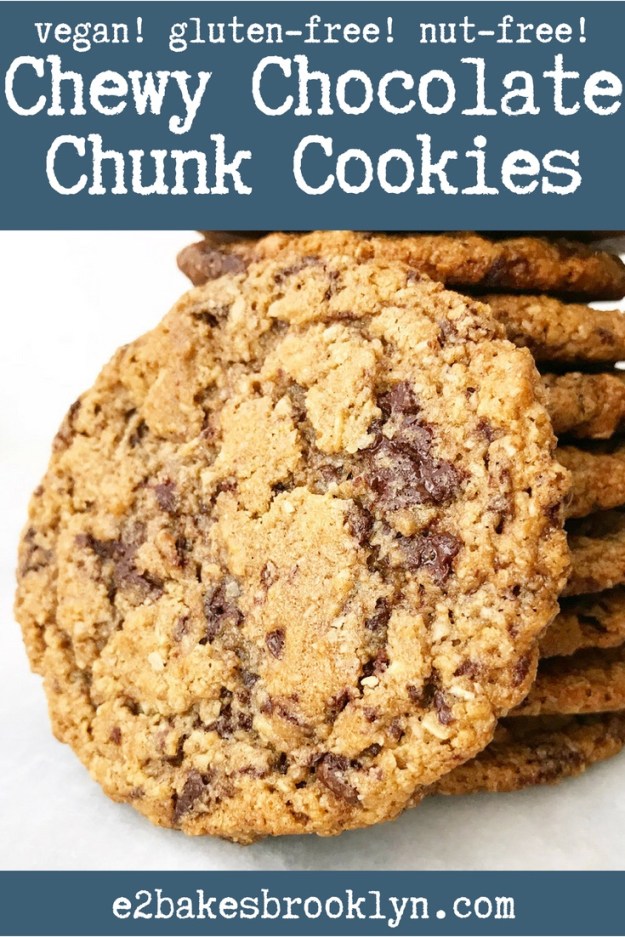
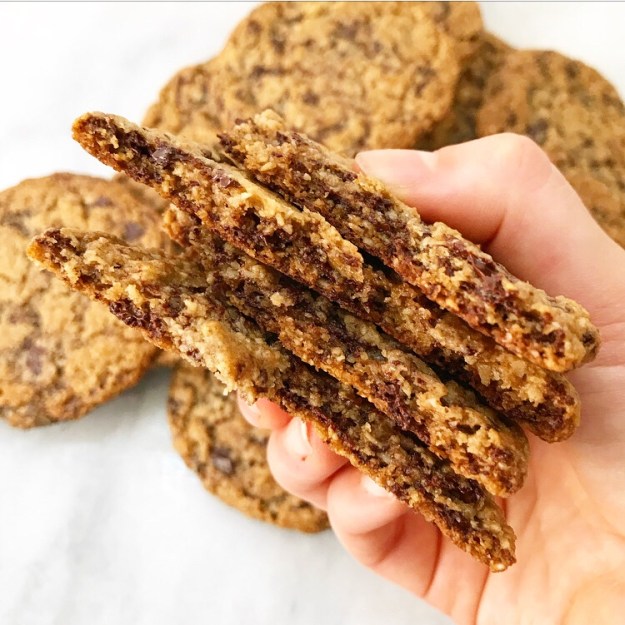 For all my “don’t mess with the recipe” talk, these are remarkably easy and delicious cookies! They’re a guaranteed hit, not only for their chewy texture and perfect amount of dark chocolate, but because they’re vegan, gluten-free, and nut-free, so more people can eat them. Love that ❤
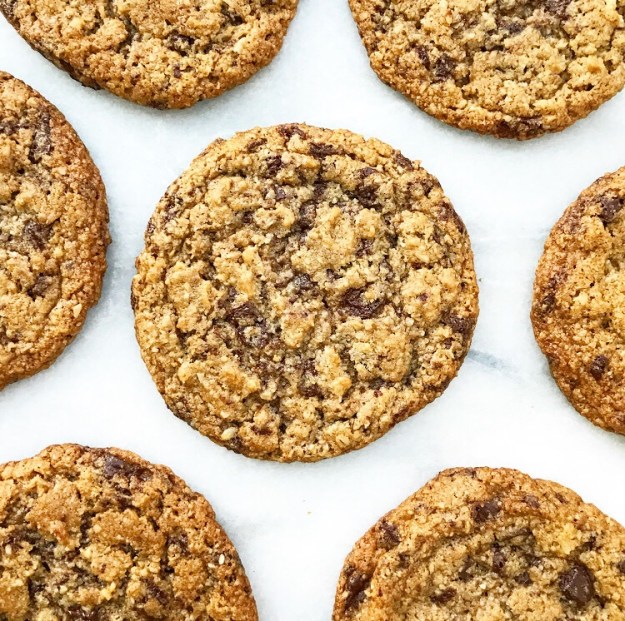
 If you’ve been around here a while, you know that I spend 51 weeks of the year dreaming about my annual trip to
 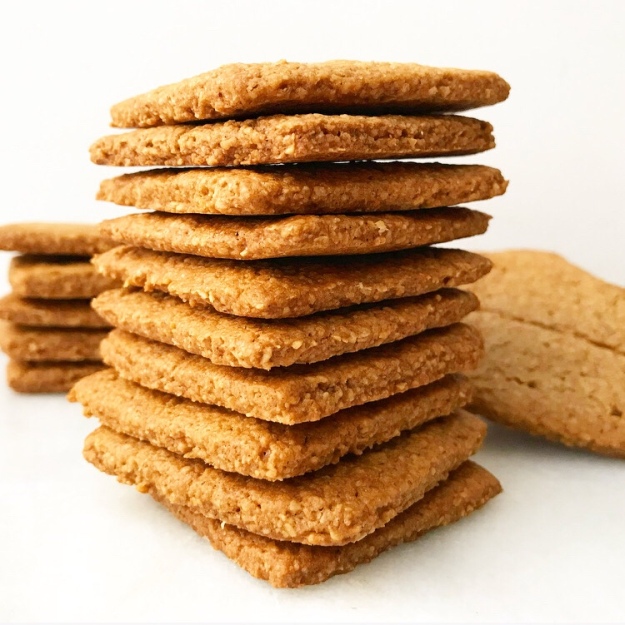 This is my fourth year going up to Swans Island, and my third organizing the trip. There’s something wonderful about the anticipation of it all. From the moment we start looking at vacation dates and rental houses, and then confirming guests, there’s a wonderful familiarity to the whole process.
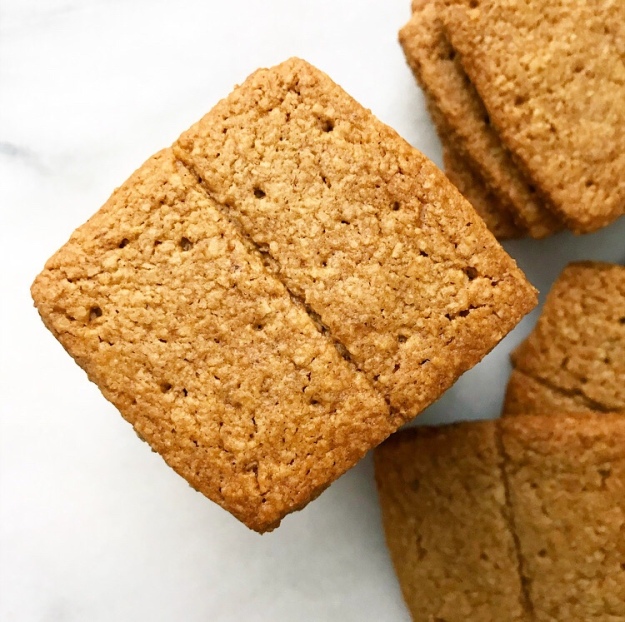 We book the house. We choose a spot to stop overnight on our way up (usually Portland) and VJ books the AirBNB. We rent a car. We create a menu and make a grocery list. Throughout it all, we dream about this incredible place and probably annoy the crap out of the first-timers going with us 😉
 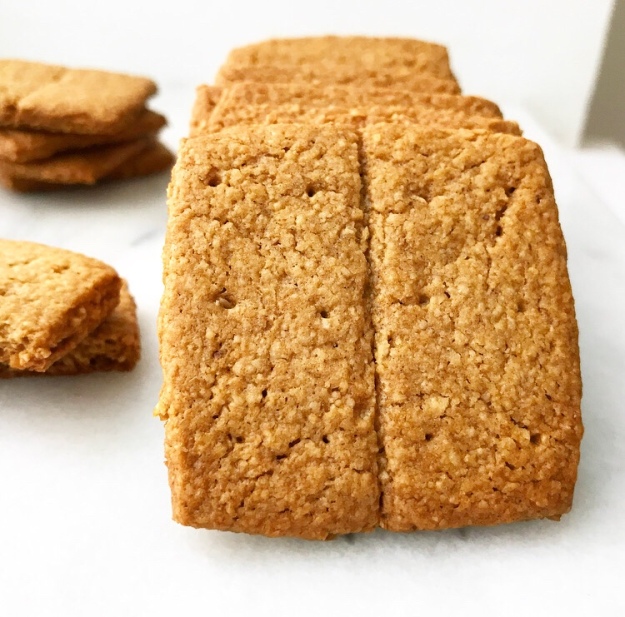 One of my favorite parts of the process is coming up with recipes we can all enjoy. VJ, my Swans Island ride-or-die, is a
 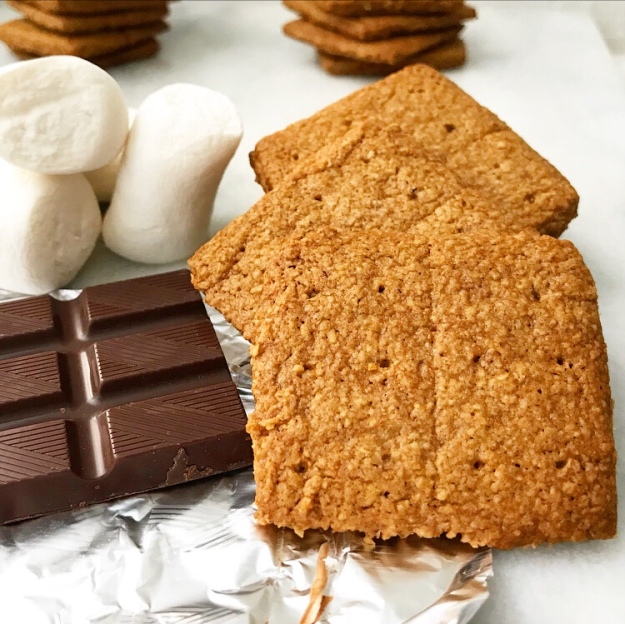 When it comes to my on-island baking adventures, VJ is always willing to help take
  The idea for these sweet little crackers came to me as I was falling asleep one night last week and the inspiration was so strong that I had to get up and type it all down before I forgot! Four test batches later, I’m serving up a delicious and deliciously easy recipe perfect for our vacation 🙂

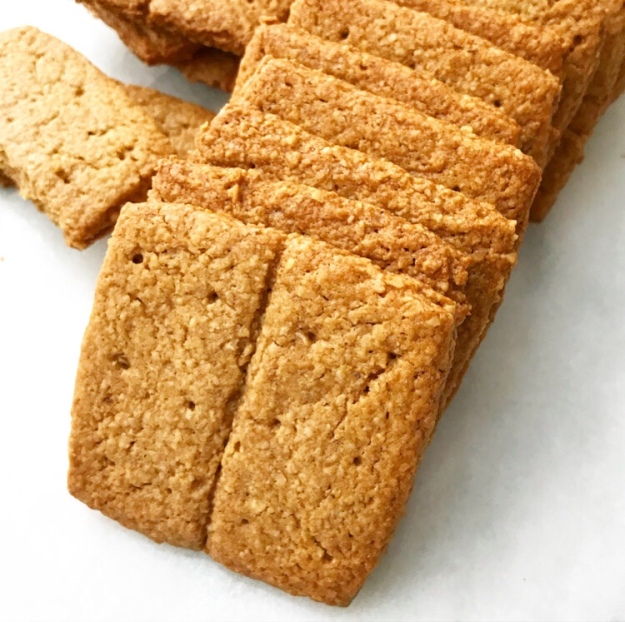
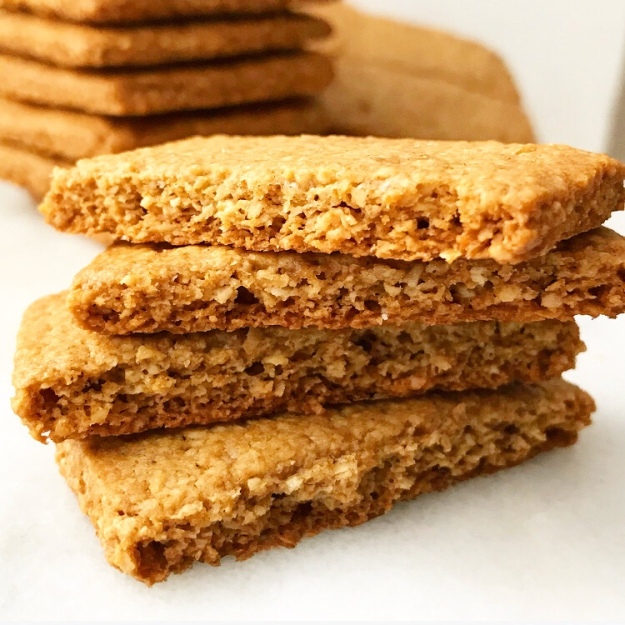
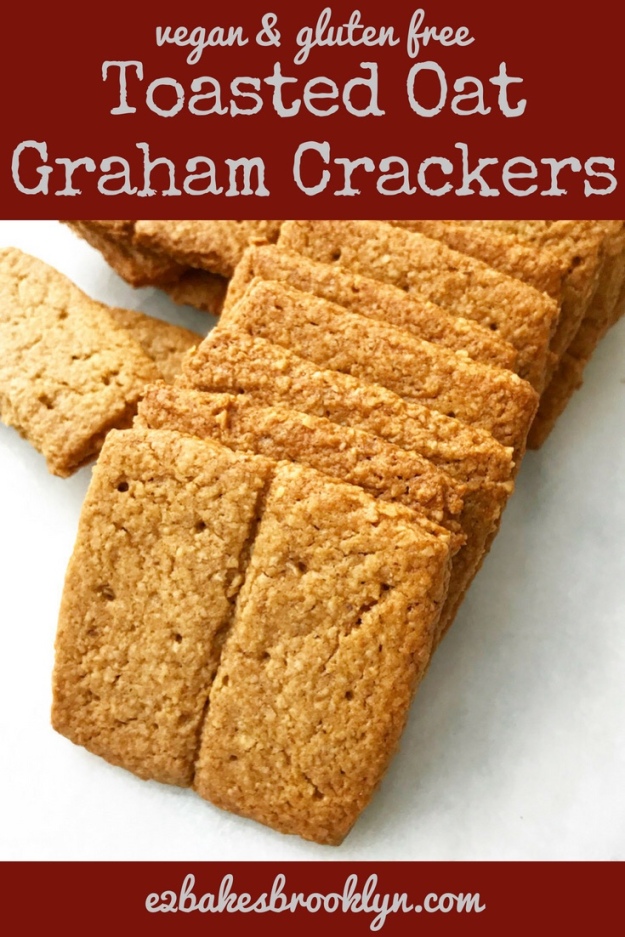
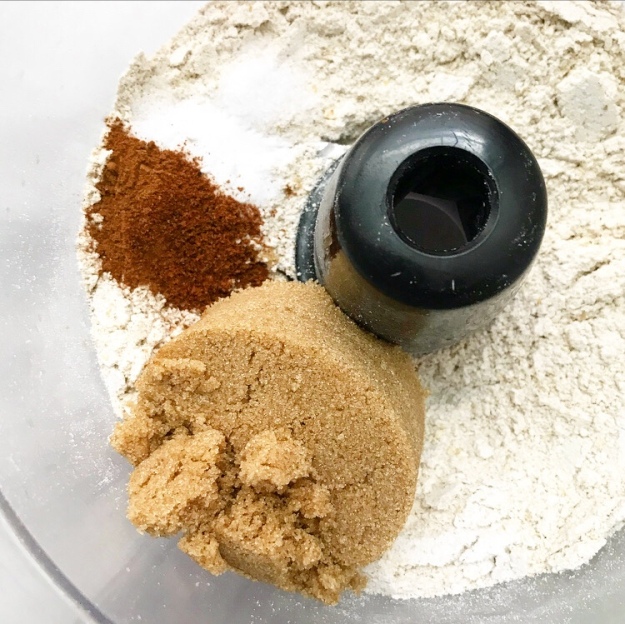 Toasted Oat Graham Crackers are crunchy and nubbly, and have just the right amount of sweetness. They’re everything you could want in a graham cracker, except where the traditional treats start with a specialty coarse wheat flour, these are made with ingredients you likely already have in your pantry, like old-fashioned oats, light brown sugar, cinnamon, coconut oil, and pure maple syrup.
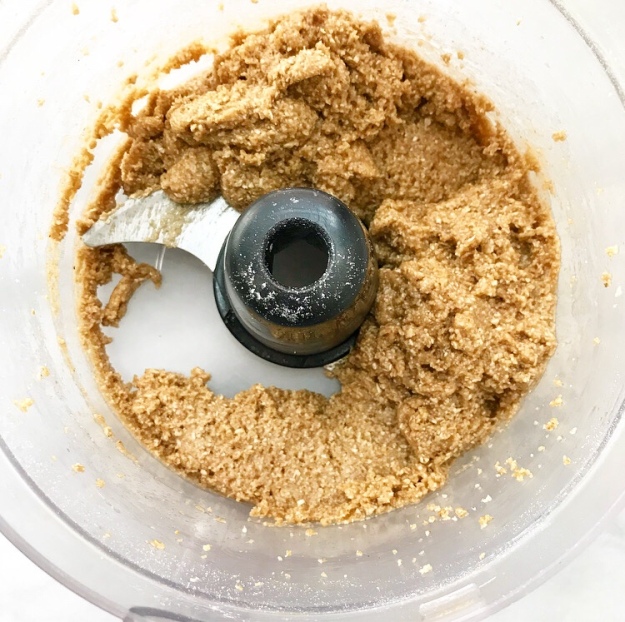 Also, the dough is made entirely in the bowl of a food processor! Easy peasy.
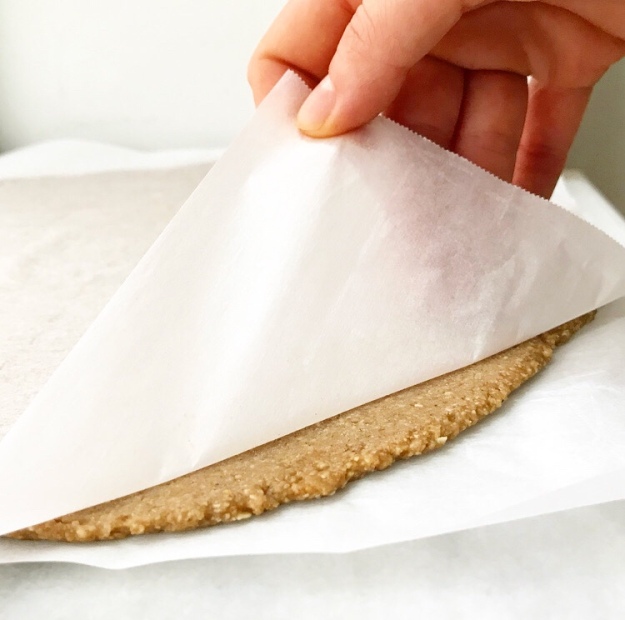 Once the dough is made, roll it out between two sheets of parchment and give it a quick freeze before slicing it into crackers. A chef’s knife works well for this, but I am fond of this expandable pizza wheel.
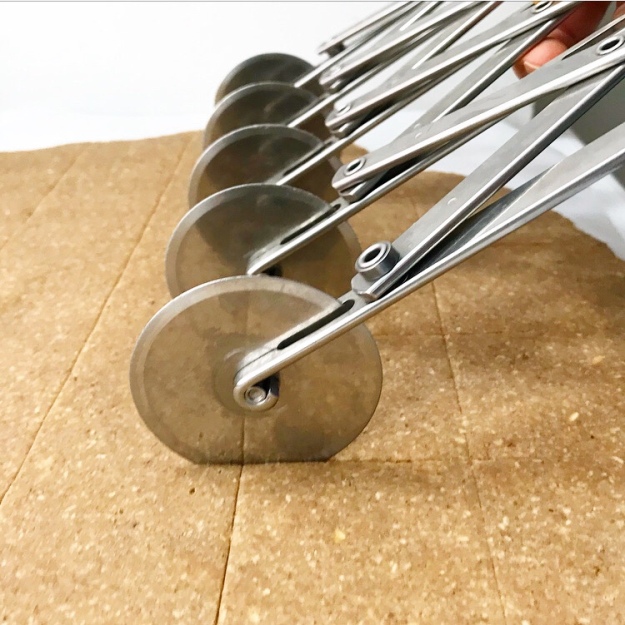 Score each cracker down the center…
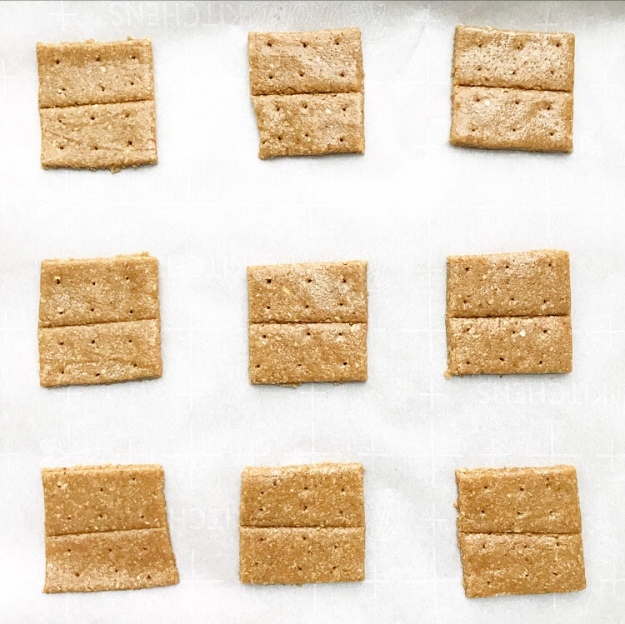 …and pierce it a few times with a toothpick. I use a wire cake tester.
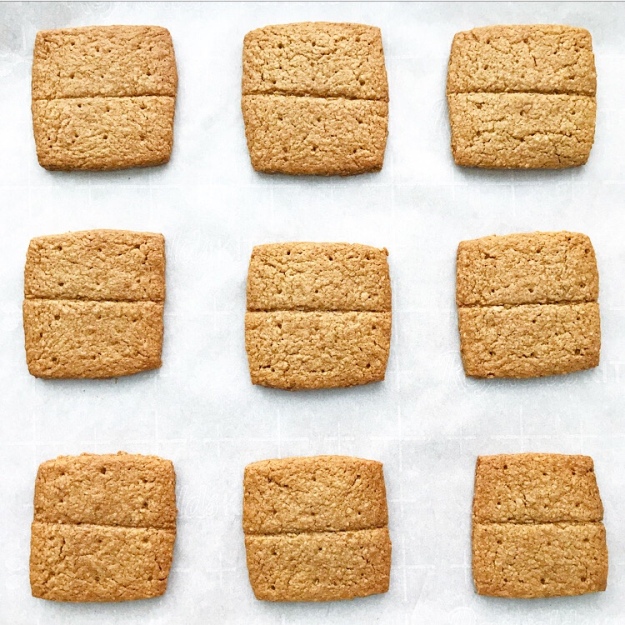 Bake the graham crackers for twenty minutes. Let them cool for a few minutes and then, all bets are off! These crispy, crunchy, cinnamon-spiced Toasted Oat Graham Crackers are great by themselves, or topped with peanut butter. Or cream cheese frosting.
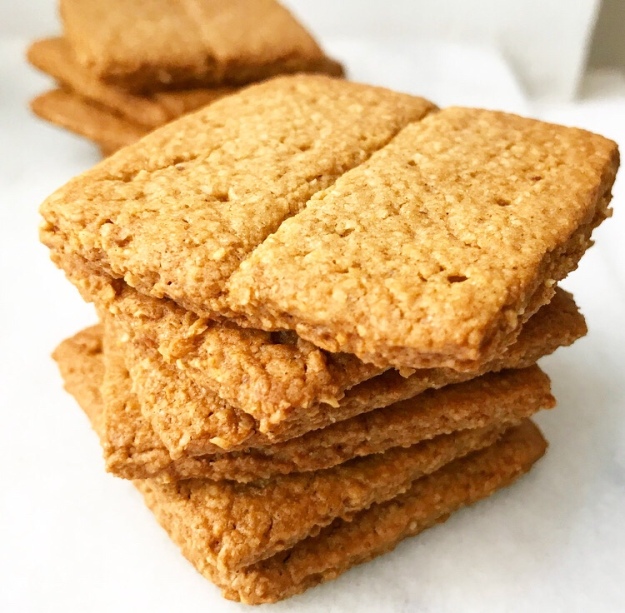
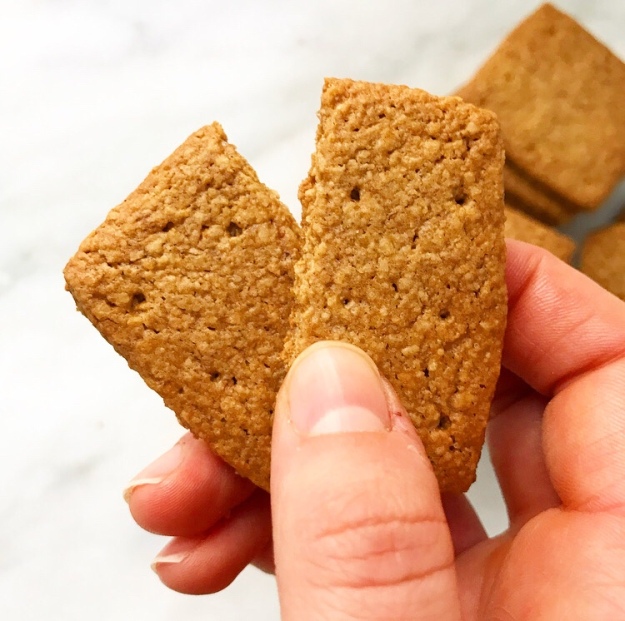
 These crackers can be kept whole or broken neatly in half along that score line. I haven’t tried it yet, but I’m pretty sure these would make an amazing gluten-free vegan graham cracker pie crust!
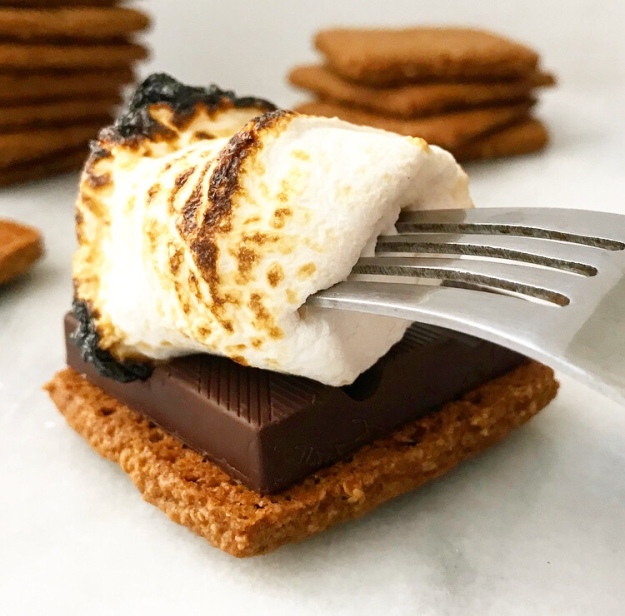
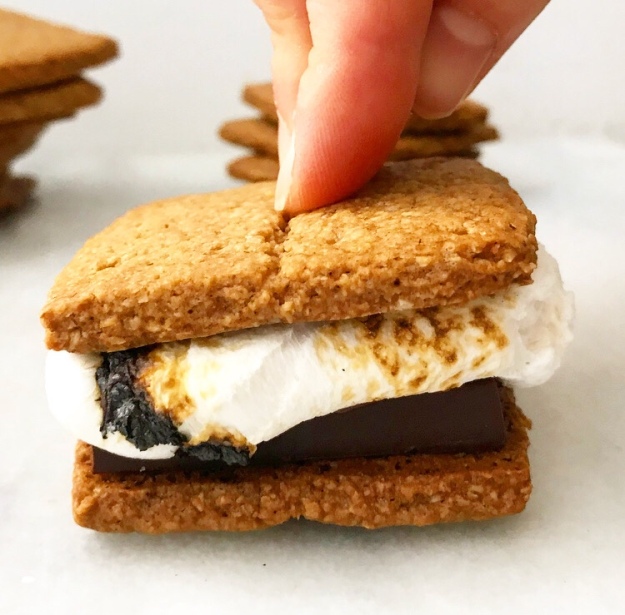
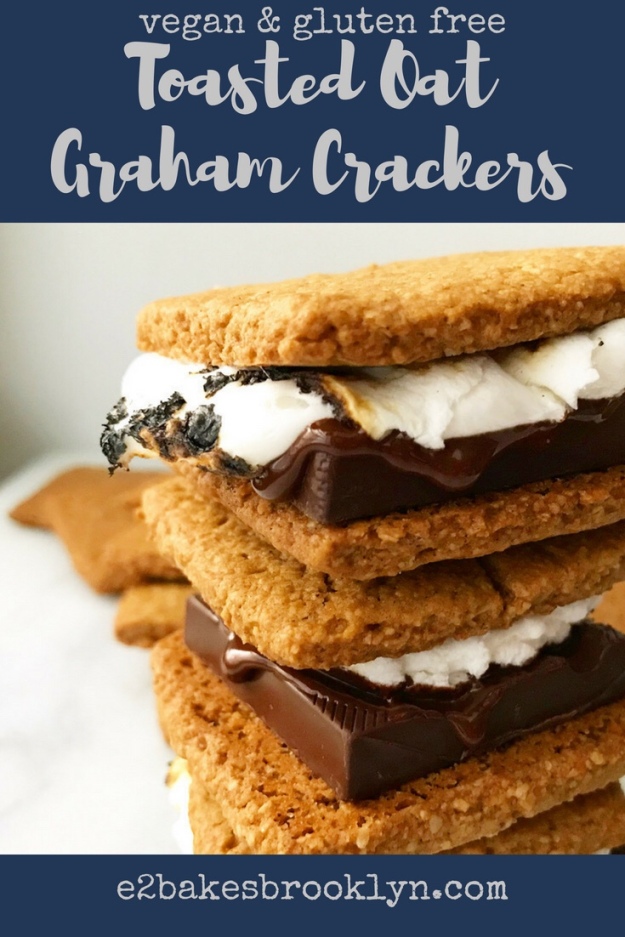
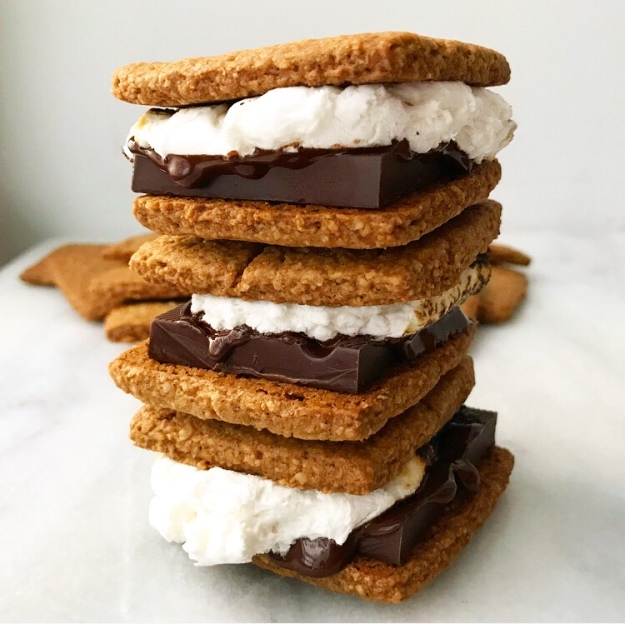 One thing I know for sure is that they’re pretty damn good stacked with dark chocolate and toasted vegan marshmallow. Best vegan s’mores ever.
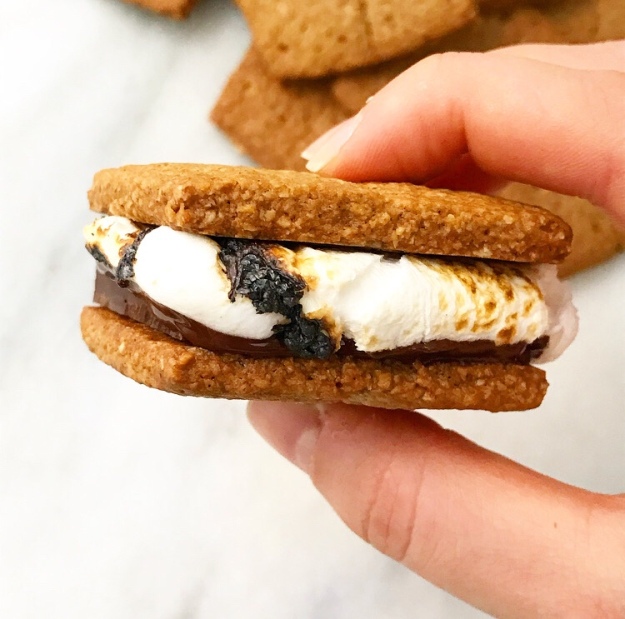 I can’t wait for vacation.
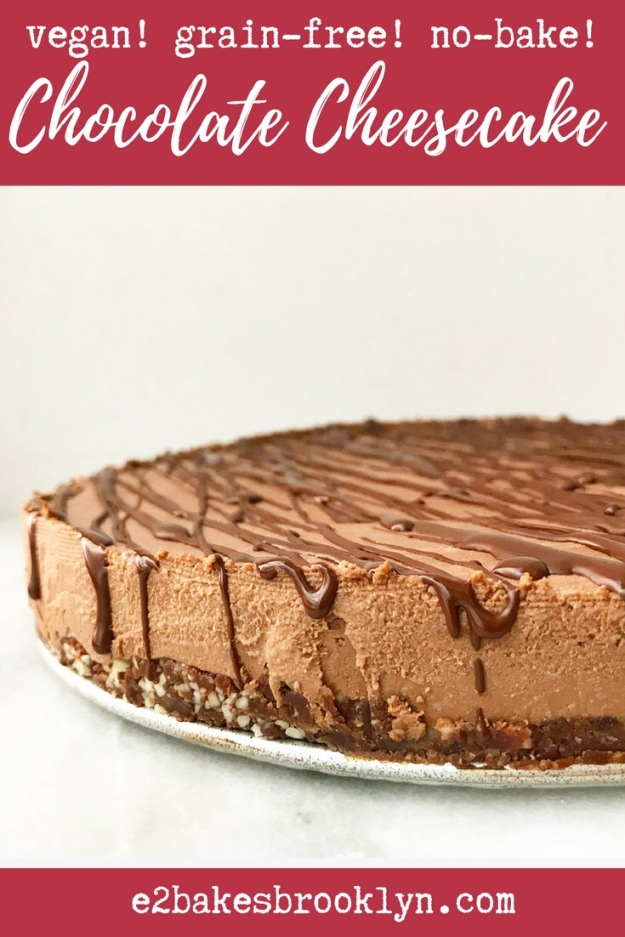
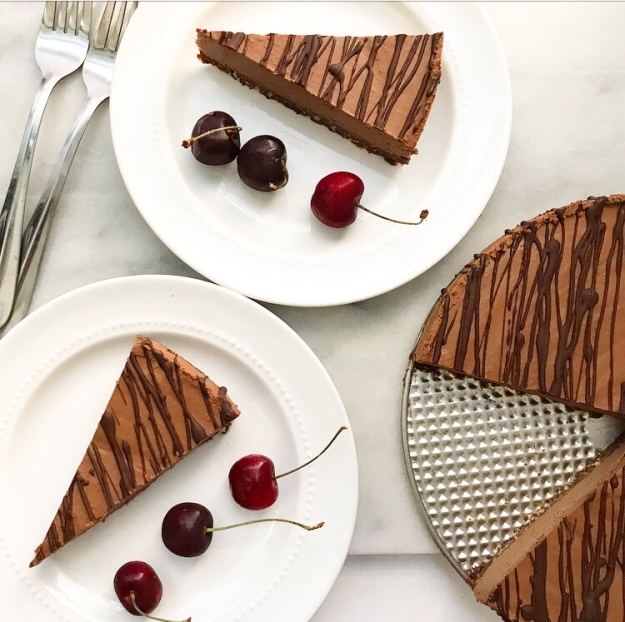 Did you know that you can make a spectacular chocolate cheesecake without ever opening a brick of cream cheese?
 It’s true—this Chocolate Cheesecake is cool, creamy, chocolaty, and completely vegan!
 It’s made primarily of softened cashews and coconut cream…
 …and melted chocolate, of course 🙂

 Both the crust and the filling come together in the bowl of a food processor before being layered into springform pan and chilled until solid. No need to crank the oven for this no-bake cake!
 Once the cake is chilled all the way through, remove it from the springform and give it a drizzle of
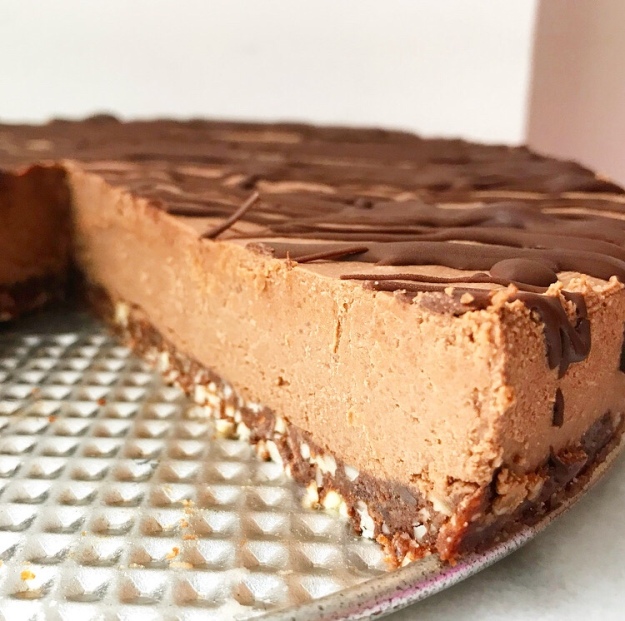 Chocolate Cheesecake slices like a dream. It definitely stands on its own, but I couldn’t resist plating each piece with a few fresh sweet cherries!
 You’ll love this smooth, creamy, chocolaty cheesecake! It’s easy to make, no-bake, vegan and grain-free—perfect for sharing with your favorite