 Over the weekend, I posted a picture of my Meyer Lemon Cream Cheese Scones to my social media. I guess y’all had forgotten about them because I got all sorts of kind responses, the most enthusiastic of which was in-person, hilarious, and completely unprintable (unless I want to change the tone of this entire website).
 And so, I’m bringing you more scones today—my first since that meyer lemon version last year. I can’t believe I’ve gone that long without a new variation!
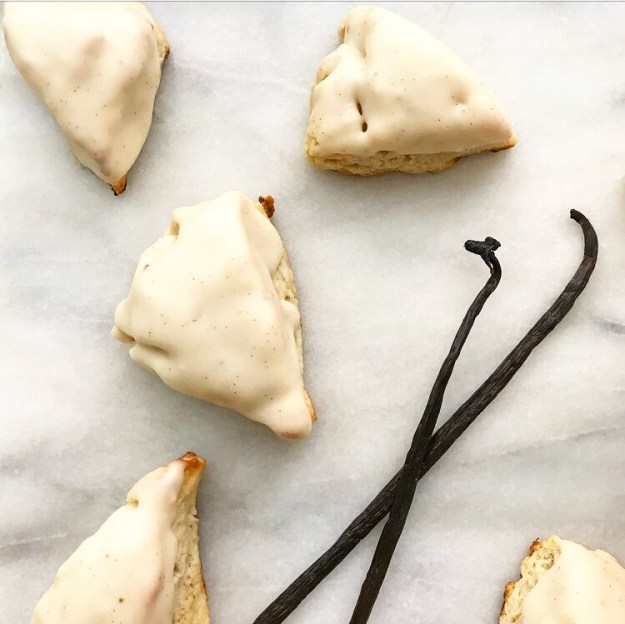
 These are made with cream cheese too, but also vanilla bean. My dear friend, David, *gave* me a package of vanilla beans on New Year’s Day and I’ve been dreaming up uses for them ever since.


 In case you are wondering, giving me a surprise package of vanilla beans is a very good way to become my favorite person 🙂

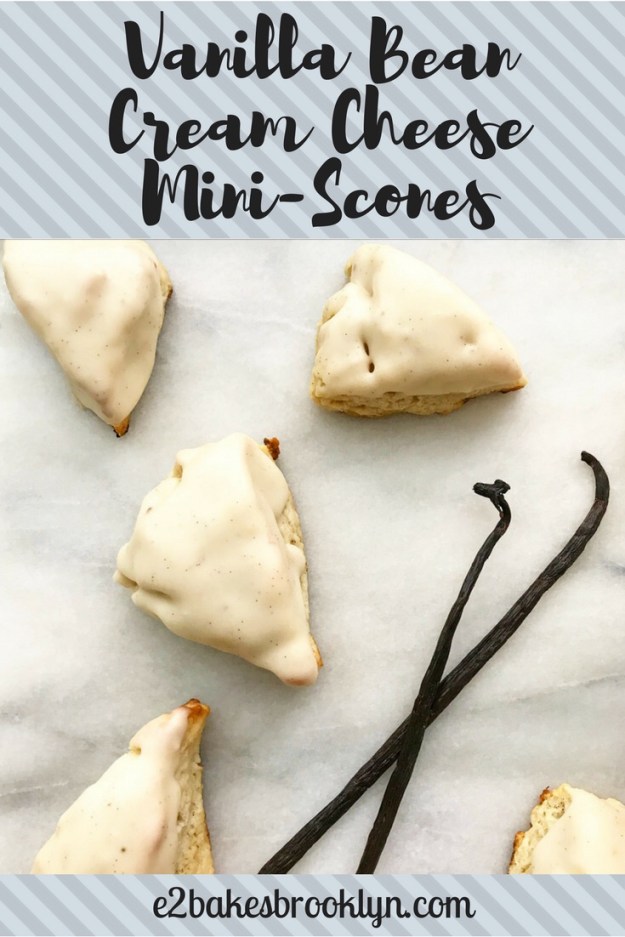
 But back to the scones. I made them miniature—small food just tastes better, amiright?!


 Each mini-scone is about half the size of a traditional scone. That means you can have two, right?


 I’d be lying if I said I have never eyed the Petit Vanilla Bean Scones at Starbucks. They are adorable, but they are sort of dry and spongy and absolutely not worth the calories.

 These Vanilla Bean Cream Cheese Mini-Scones are nothing like that mass-produced version though—they’re worth all the calories. All of them.
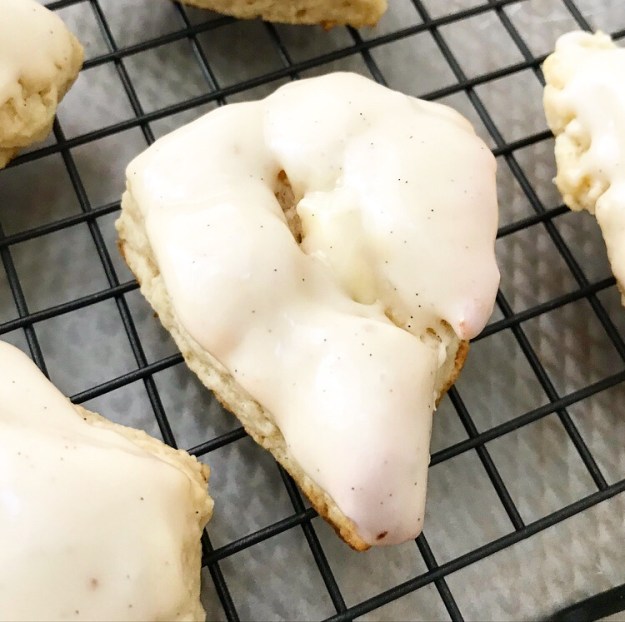
 They’re super tender from the combination of butter, cream cheese, and heavy cream, and the edges are crumbly and nubbly and totally delightful.
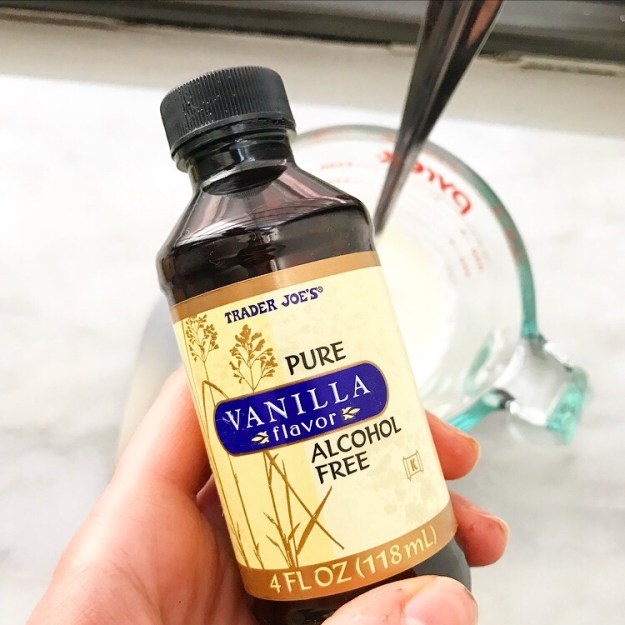
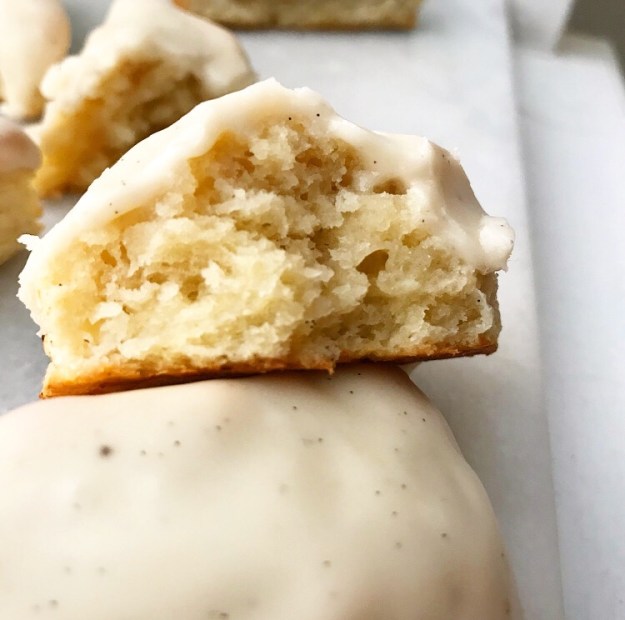 That’s to say nothing of their huge vanilla flavor, which comes from a combination of vanilla bean and vanilla extract. I love the little black flecks of vanilla bean all over the place ❤
 And the thick, luxurious glaze. Be still my vanilla-loving heart.
 Yep. I’d say these were worth the wait.
Vanilla Bean Cream Cheese Mini-Scones
makes 16 mini-scones
3/4 cup heavy cream + more for brushing, very cold
1/2 scraped vanilla bean
2 teaspoons pure vanilla extract
2 cups all-purpose flour
1/4 cup granulated sugar
2 teaspoons baking powder
1/4 teaspoon Kosher or sea salt
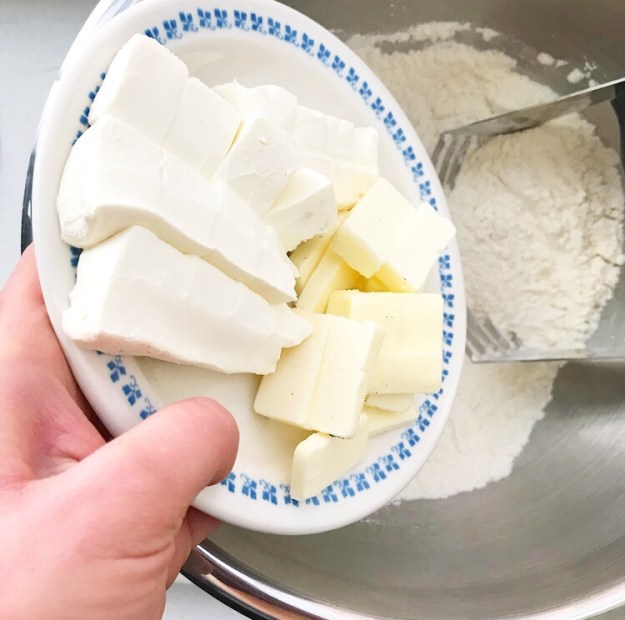
1/4 cup (1/2 stick) unsalted butter, very cold, cut into pieces
4 ounces (1/2 brick) full-fat brick-style cream cheese, very cold, cut into pieces
Glaze:
1 1/2 cups confectioner’s sugar
pinch of Kosher or sea salt
1/2 scraped vanilla bean
1 teaspoon pure vanilla extract
5-6 tablespoons heavy cream
Place oven rack at the center position. Preheat oven to 425F. Line a sheet pan with parchment. Set aside.
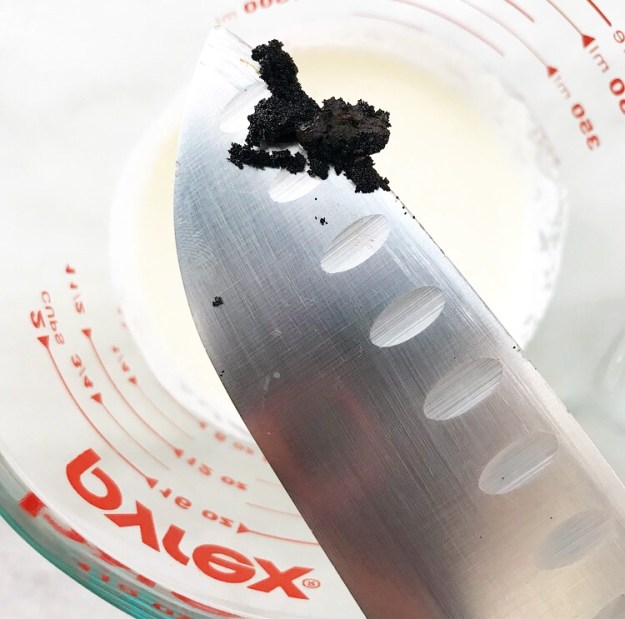
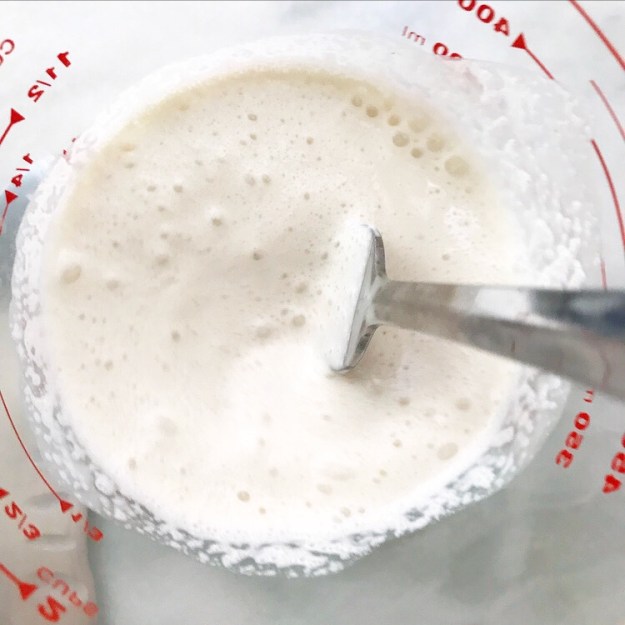
In a liquid measuring cup, use a fork to whisk together heavy cream, vanilla bean, and vanilla extract. Refrigerate while you prepare the rest of the ingredients.
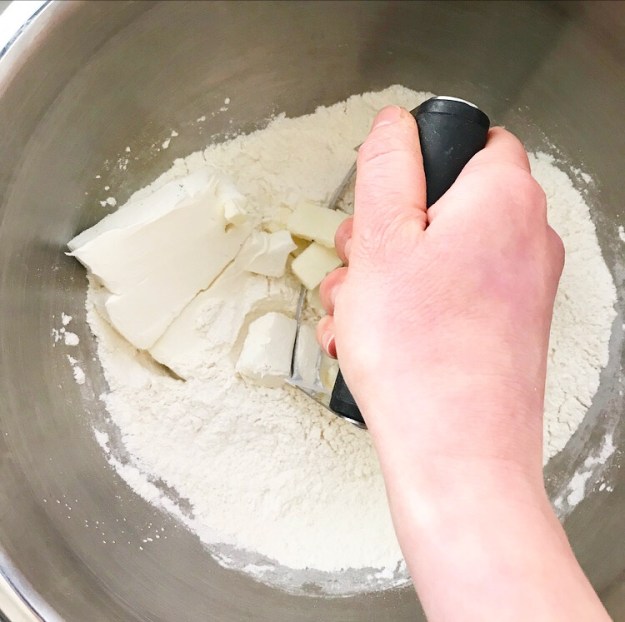
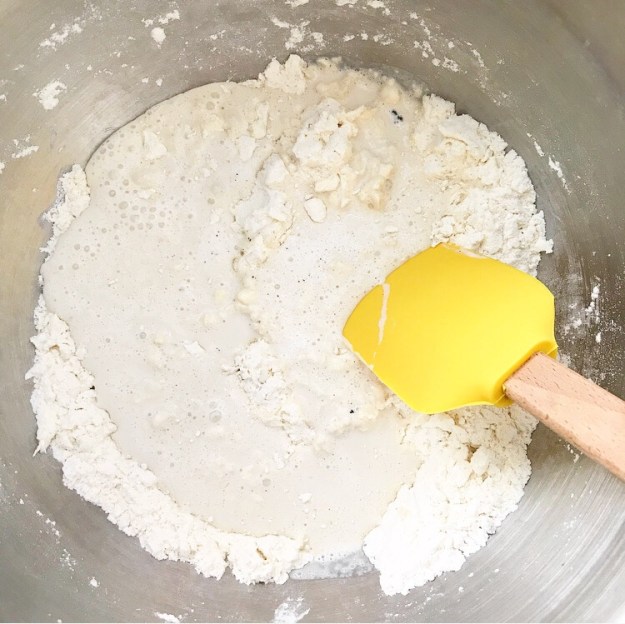
In a large mixing bowl, whisk together flour, sugar, baking powder, and salt. Add cold butter and cream cheese. Use a pastry blender or two forks to cut them into the dry ingredients until the largest pieces are the size of peas. Fold in heavy cream mixture. The dough should clump when pinched together.
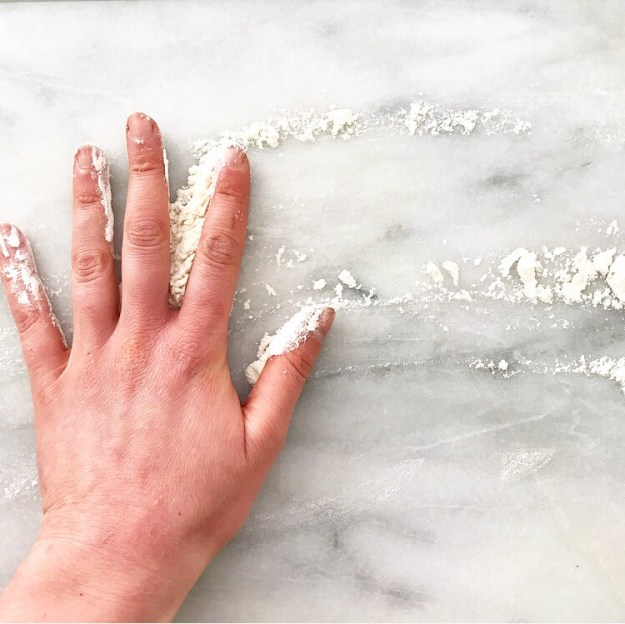
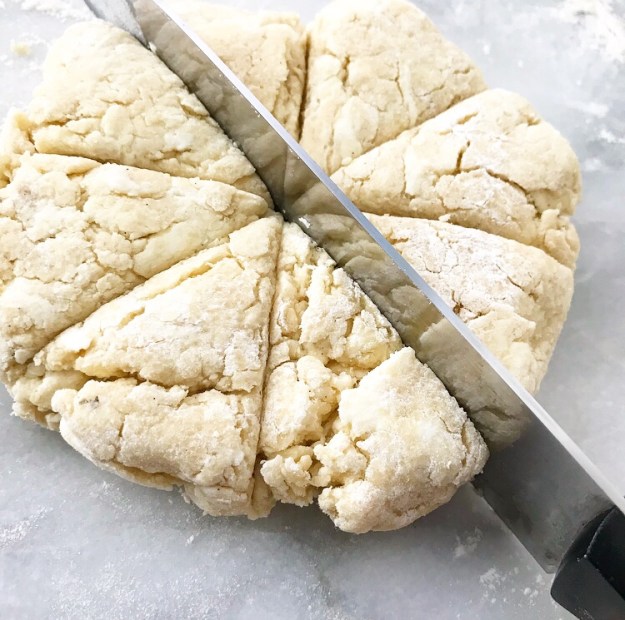
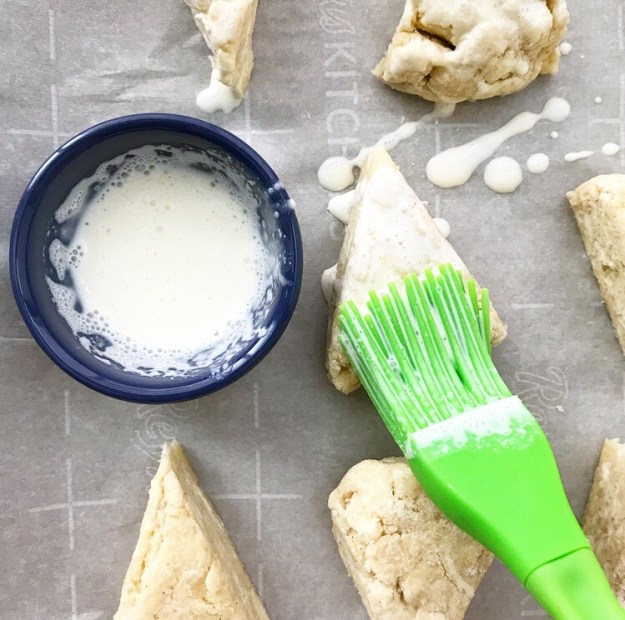
Flour a surface and your fingertips. Turn dough onto the surface and divide it into two equal pieces. Pat each into a 1-inch thick circle. Use a large, sharp chef’s knife to slice each circle into 8 wedges. Place scones at least 1 1/2 inches apart on prepared pan. Brush tops with heavy cream. Bake for 7 minutes. Rotate pan back-to-front and bake an additional 3-4 minutes, until just turning golden at the edges. Let scones cool in the pan on a rack while you make the glaze.
Combine confectioner’s sugar, salt, vanilla bean, vanilla extract, and 5 tablespoons heavy cream. Use a fork to whisk ingredients together until smooth. For a thinner glaze, add 1 tablespoon more cream.
Move cooled scones to a rack set over wax paper. Dip scones in glaze and set back on the rack. Glaze will set after about 20 minutes.
Scones are best served the day they are made, but will keep in an airtight container at room temperature for up to 48 hours.
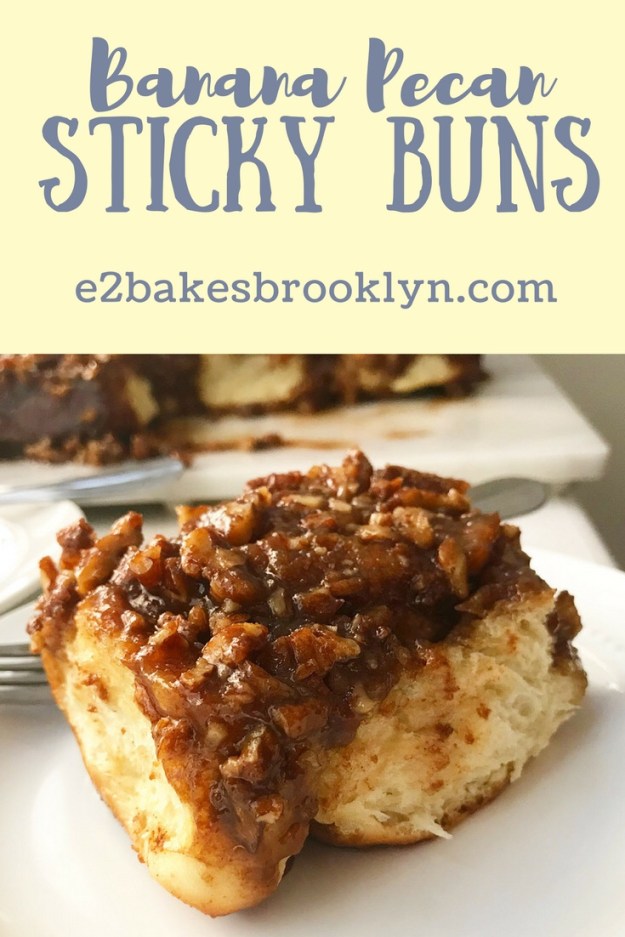
 My only issue with today’s recipe is that I wish it were easier to photograph. I don’t hate these photos, but they just don’t do these Banana Pecan Sticky Buns any sort of justice.
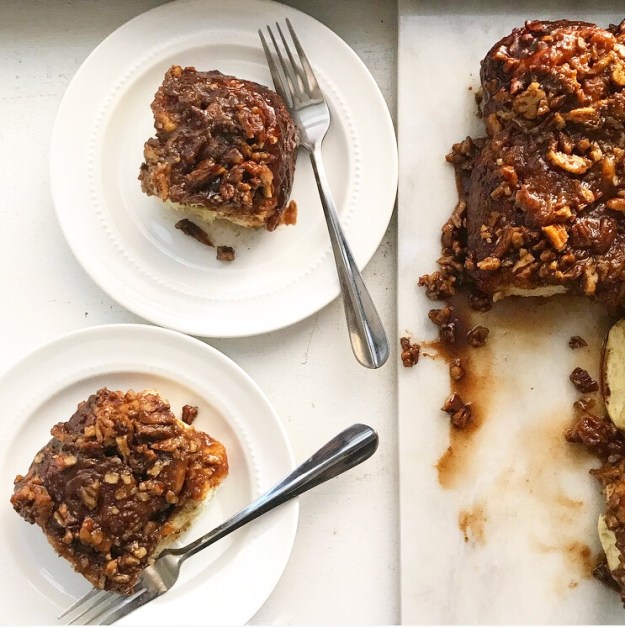 But really, what prop or angle could? Banana Pecan Sticky Buns are everything that’s wonderful about
 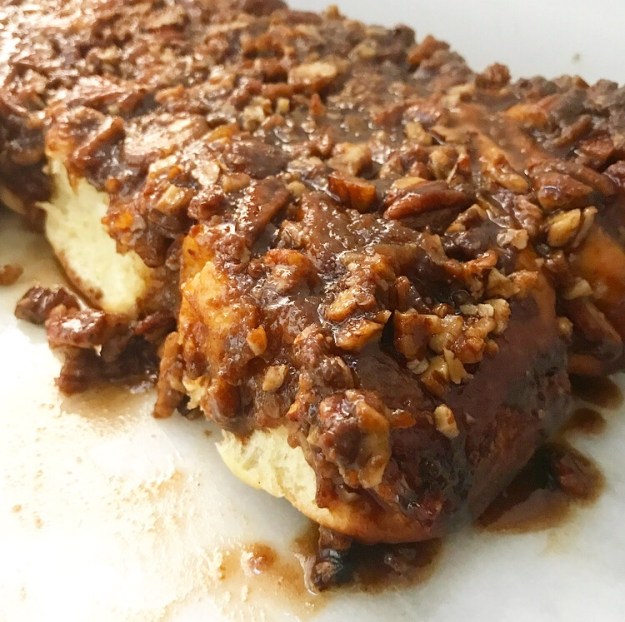 I can wax on and on about the soft pastry (my favorite
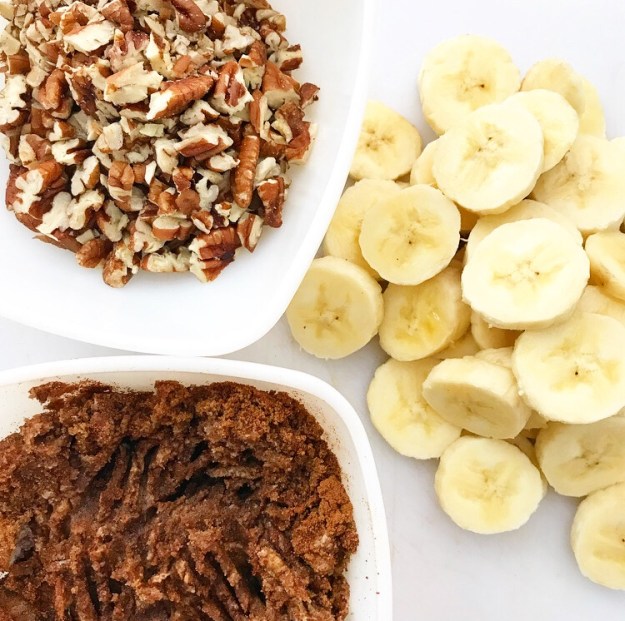
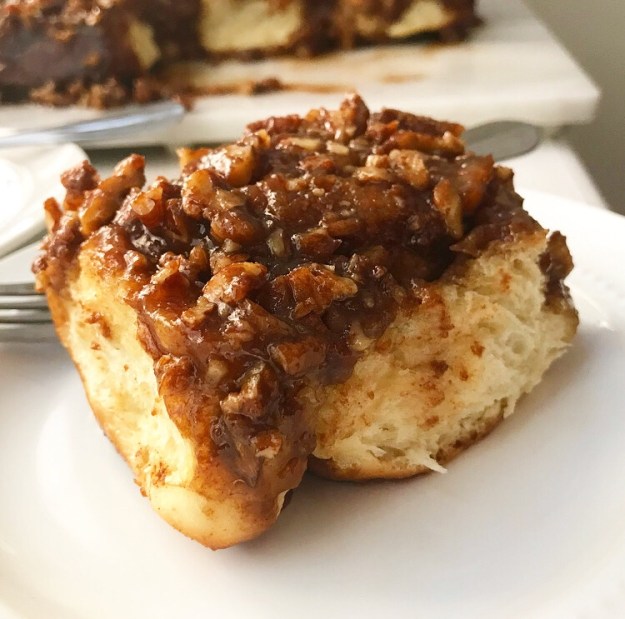
 I could really talk your ear off about the easiest butterscotch ever, flavored with dark brown sugar, honey, and vanilla, and topped with 1 1/2 cups of chopped toasted pecans.
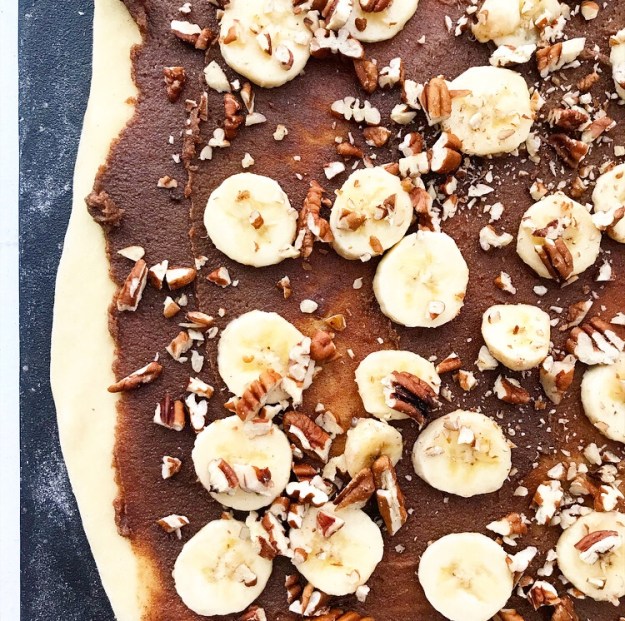
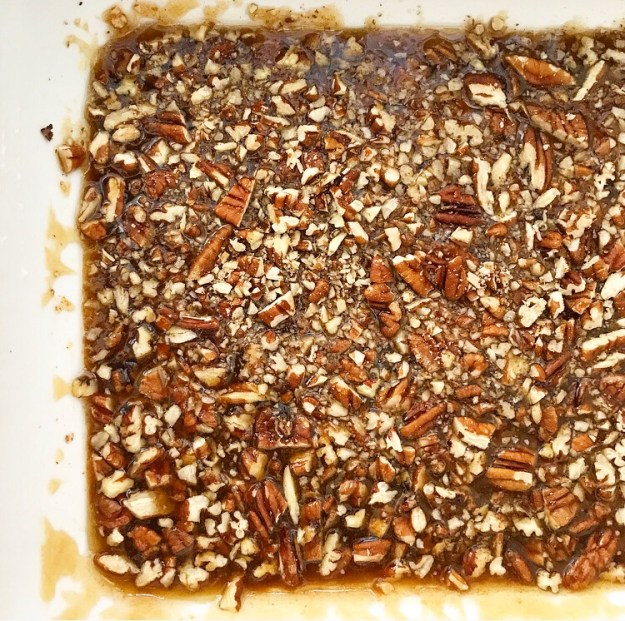 And I can show you all sorts of prep photos, from slicing the rolls…
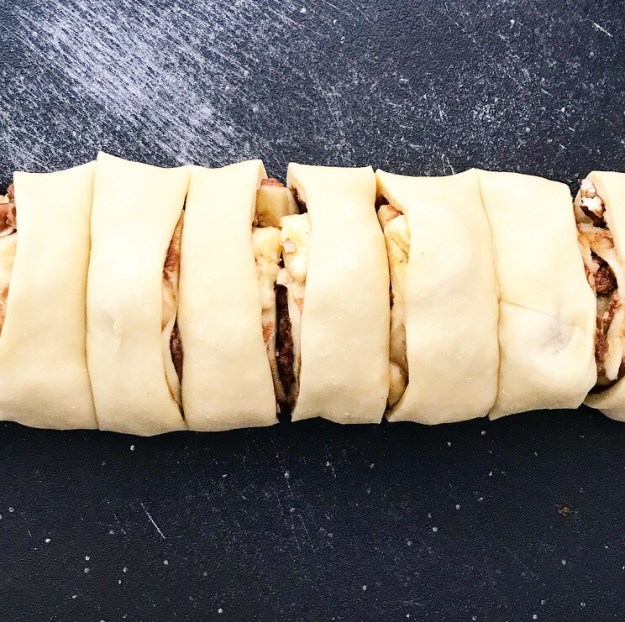 to arranging them over the sticky butterscotch and pecans…
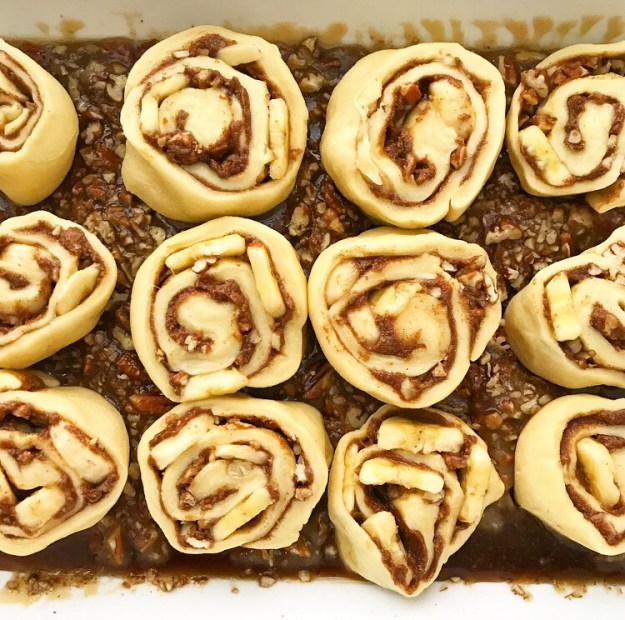 to an hour later, when they’re soft and puffy…
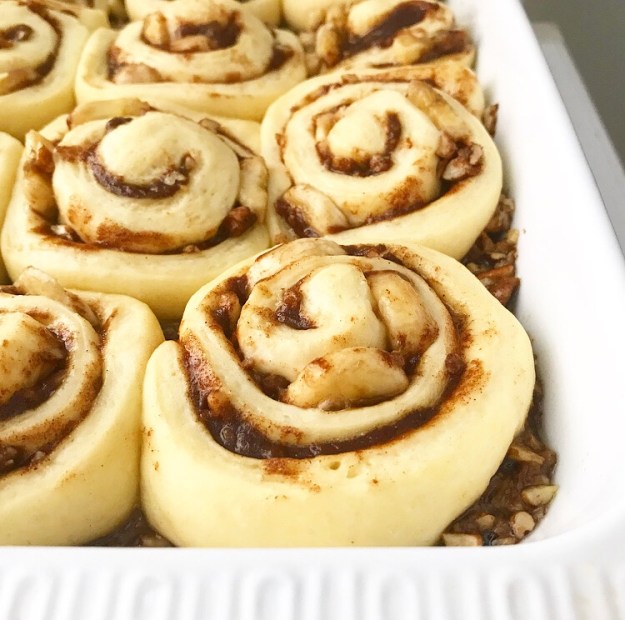 to when they’re golden and bubbly, fresh from the oven.
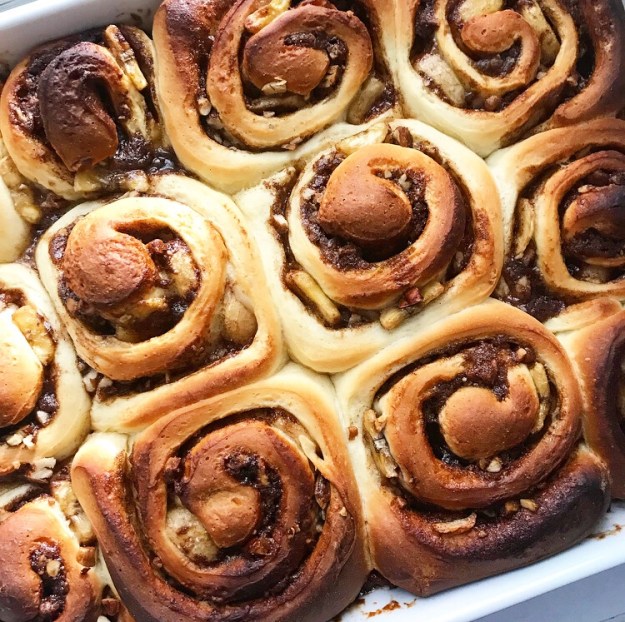 But none of that can do justice to the moment the pan is inverted to reveal a dozen warm Banana Pecan Sticky Buns dripping with butterscotch and clustered pecans.
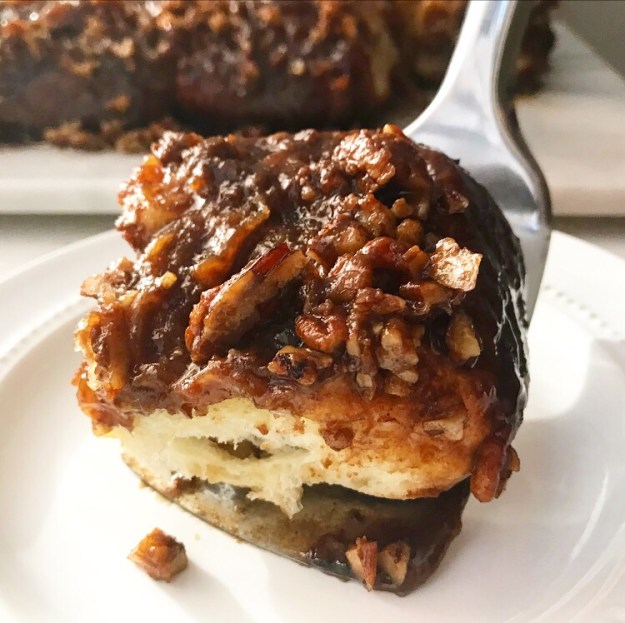
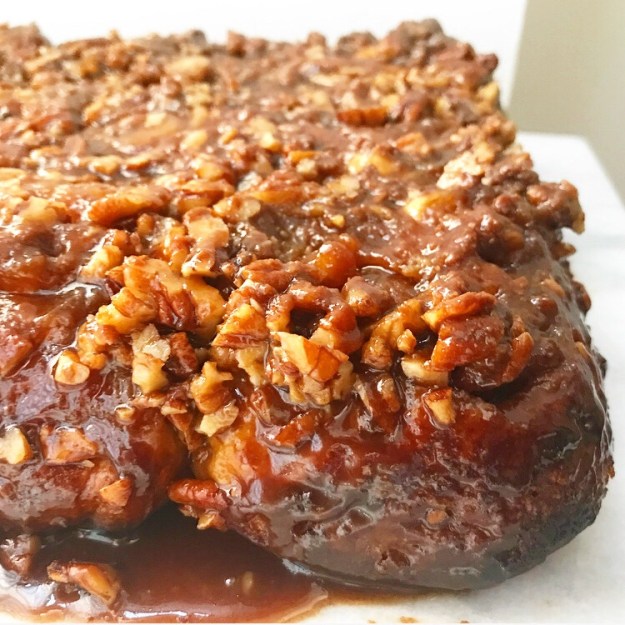 Or that moment when you take a bite and the combination of pastry, cinnamon, banana, pecan, and butterscotch is almost enough to make you cry. But not really.
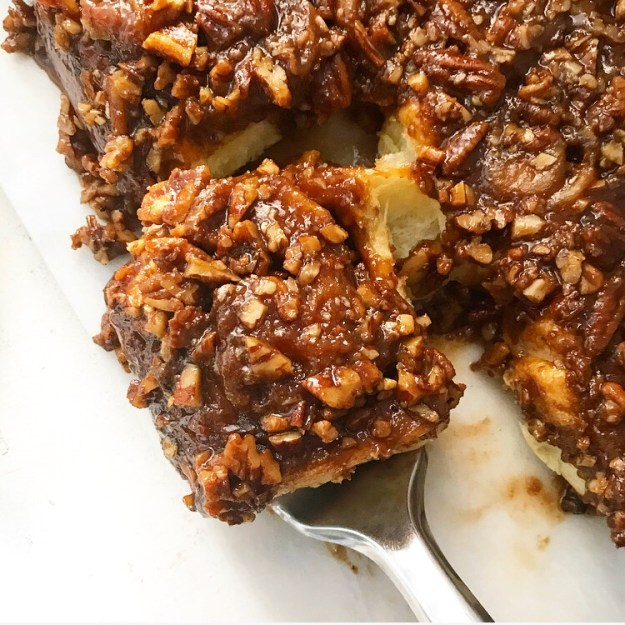

 I guess you’ll just have to make them for yourself. Then you’ll understand.
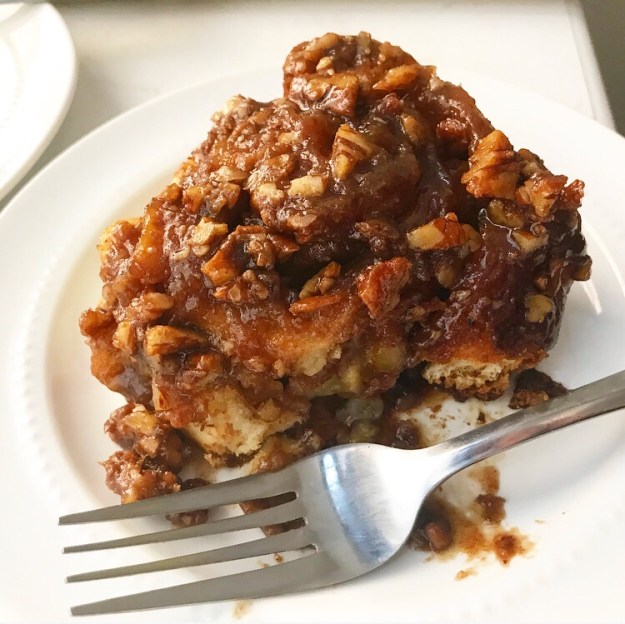
 Sometimes I fall in love with an ingredient or a recipe and I just can’t help but blog about it twice in rapid succession.
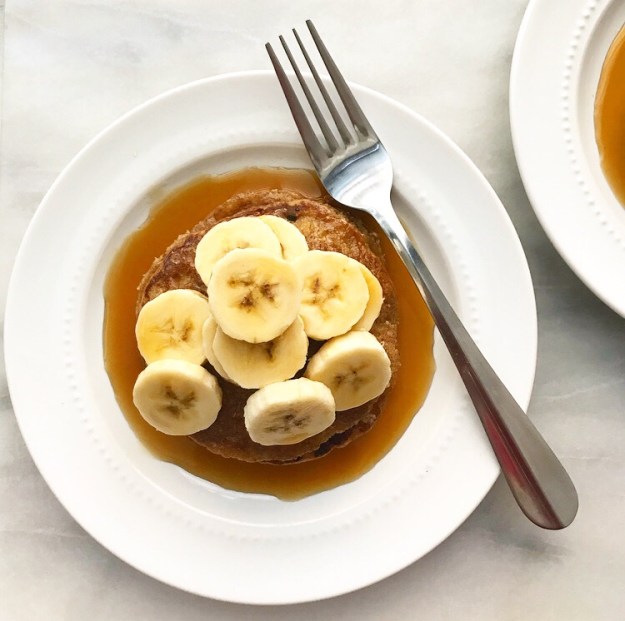 Exhibit A: that time I posted two
 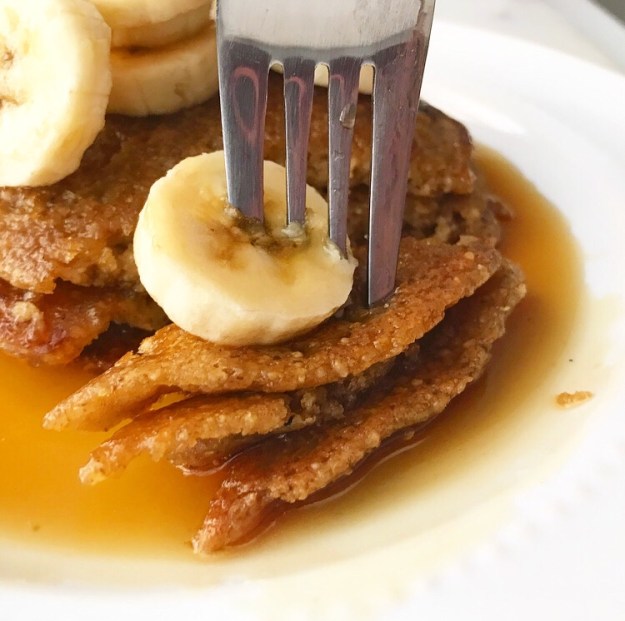 This time (Exhibit C?), I’ve gone a little nuts about old-fashioned oats. I’ve waxed
 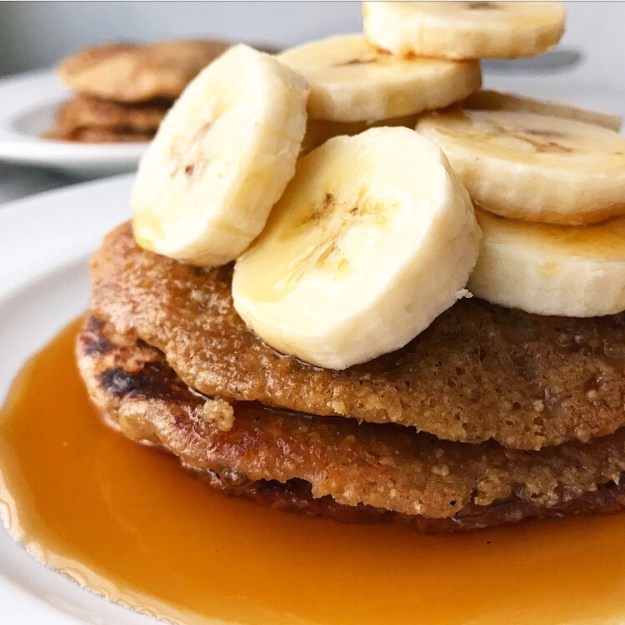 I have lots of weekend breakfasts (or brunches or company breakfasts or
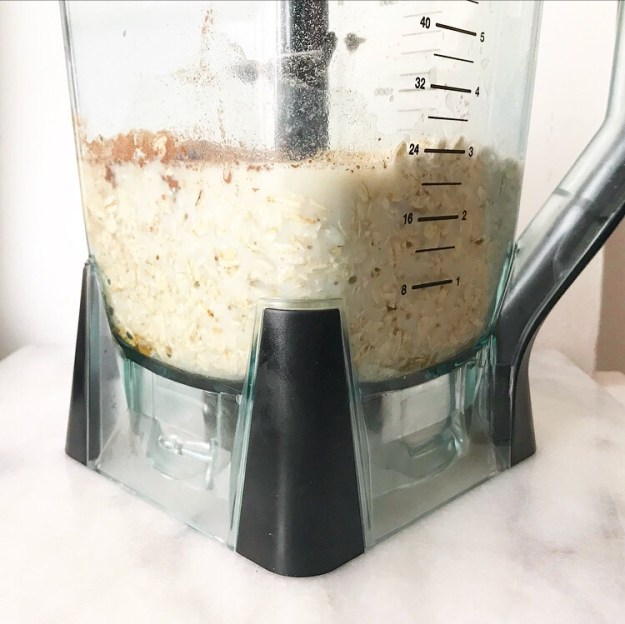

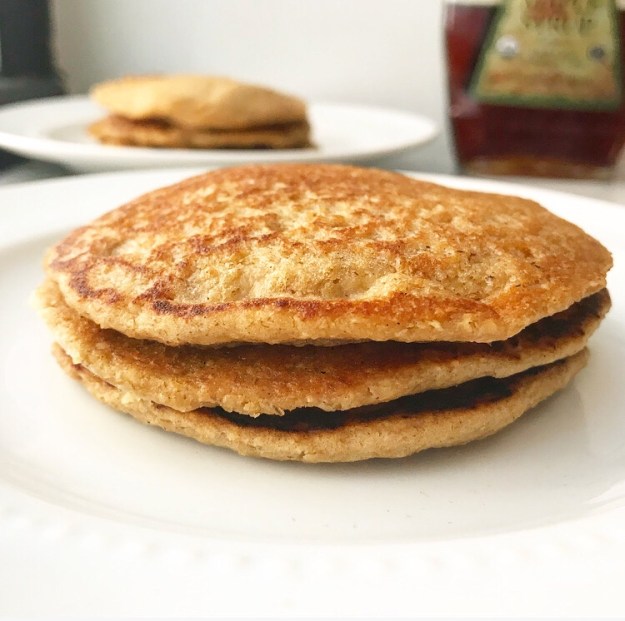
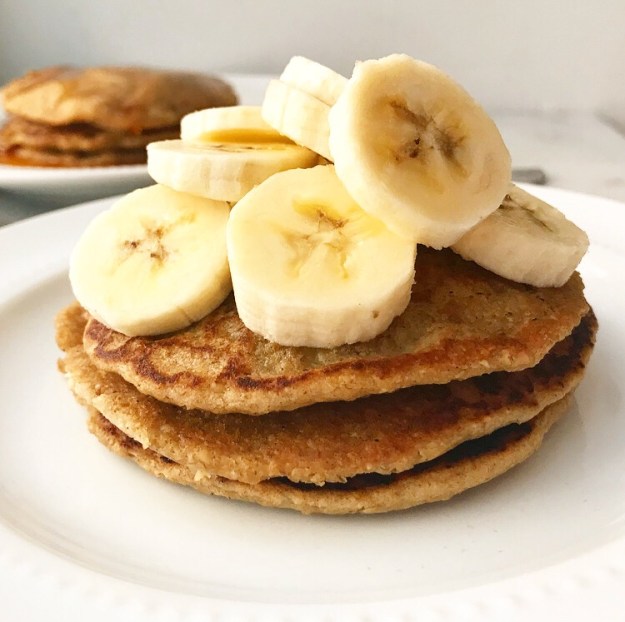
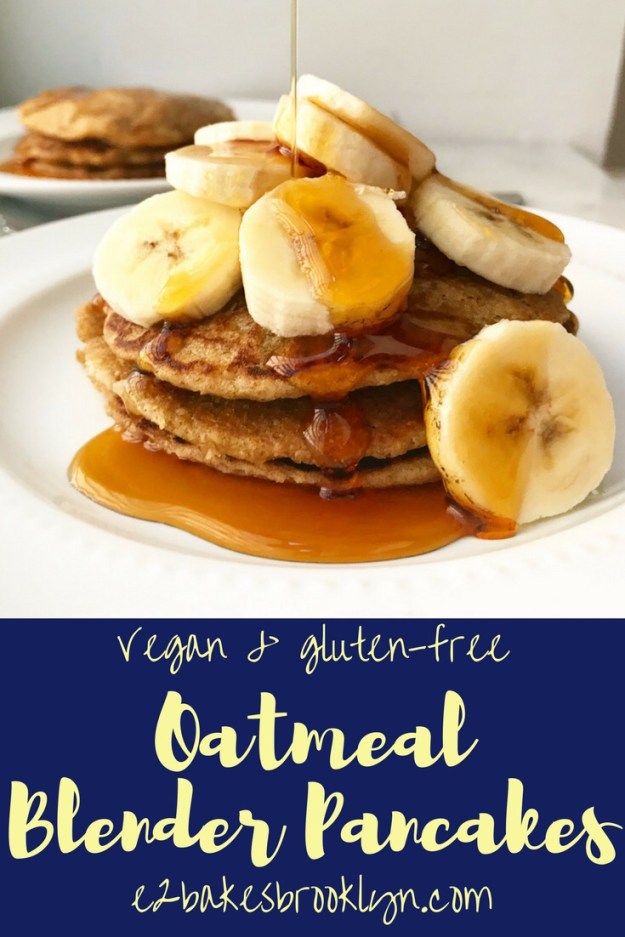
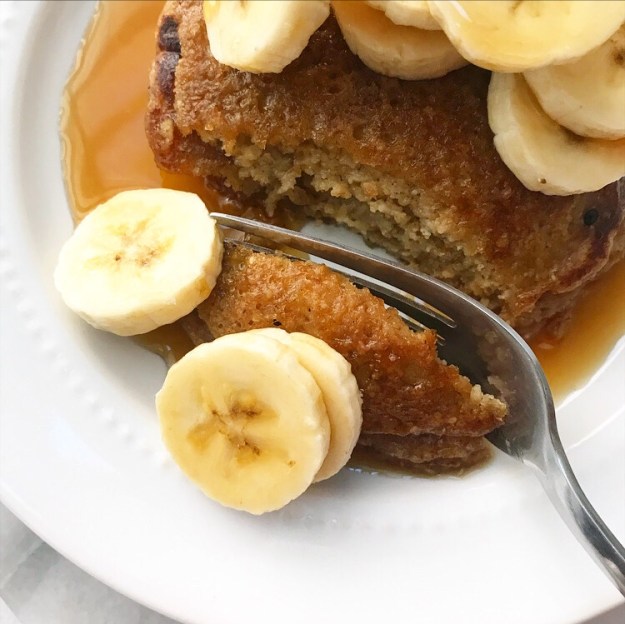 I’ve made these easy-peasy pancakes four times since I got back from Christmas vacation and I don’t see any end in sight. I mean, what’s not to love about a stack of pancakes that’s completely whole grain, comes together in the blender, uses ingredients you probably already have, is vegan and gluten-free, and is still soft and fluffy?!
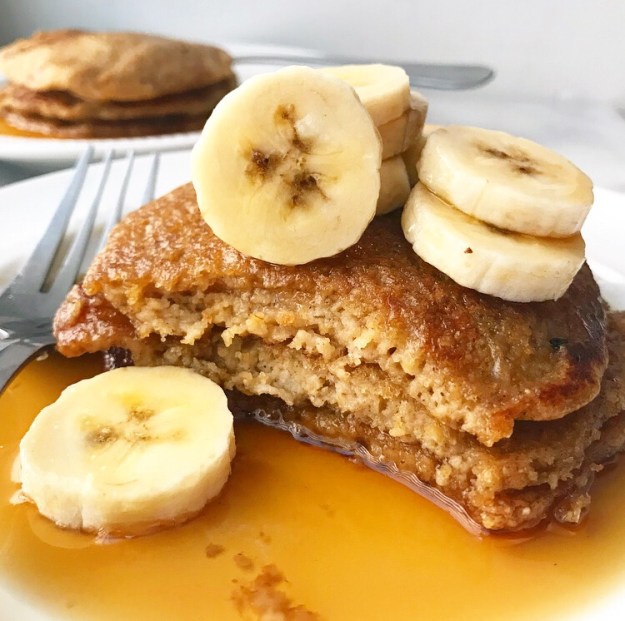
 If you’ve been around here awhile, you know I’m a bit of a granola junkie. I eat the stuff almost everyday. I have five
 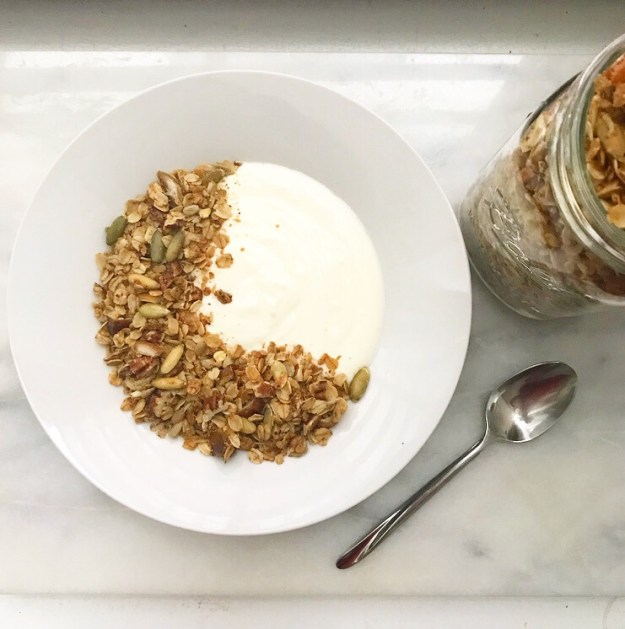 All the
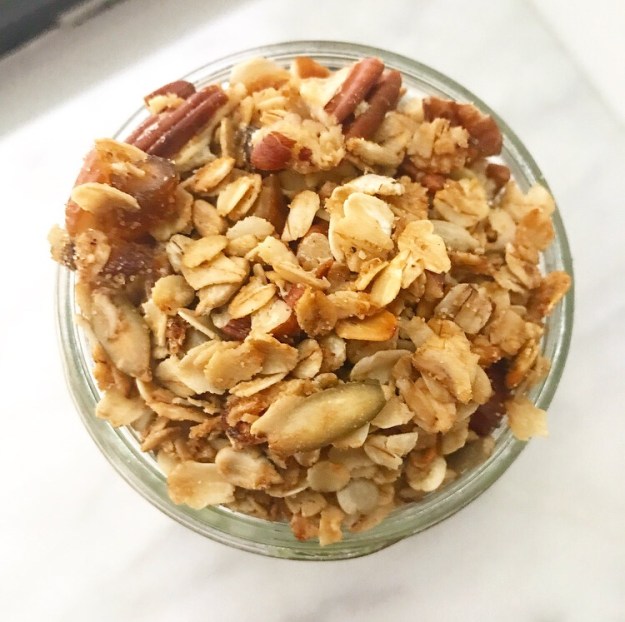
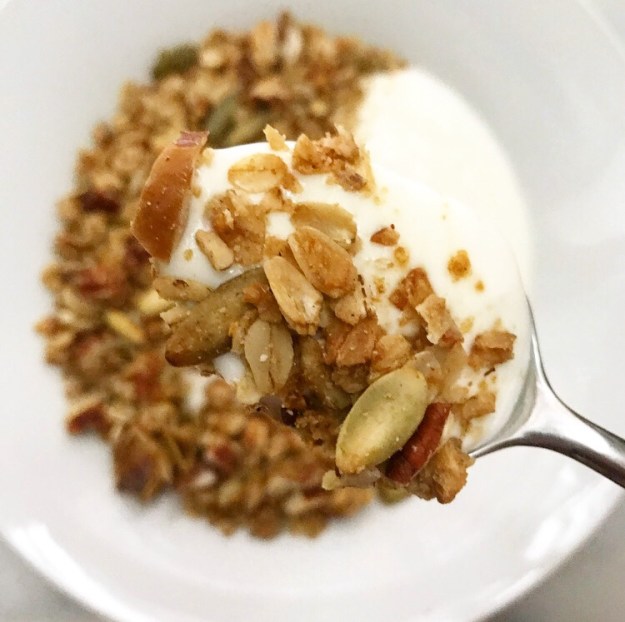
 I started making granola on the stovetop this past October and I totally love it. Not only does it take just a quarter of the usual cook time, but it makes a smaller batch! This means that I don’t have to worry about it turning stale in a few weeks or just growing tired of the flavor combination—it’s gone long before that happens.
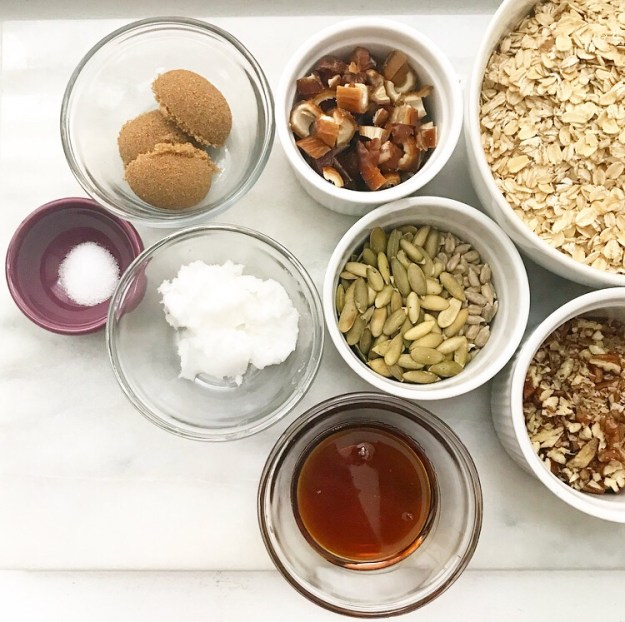 Today’s granola recipe was made as most of mine are: as a way to use up odds and ends from my mix-in cabinets. There are oats of course, but the rest is just based on ratios.
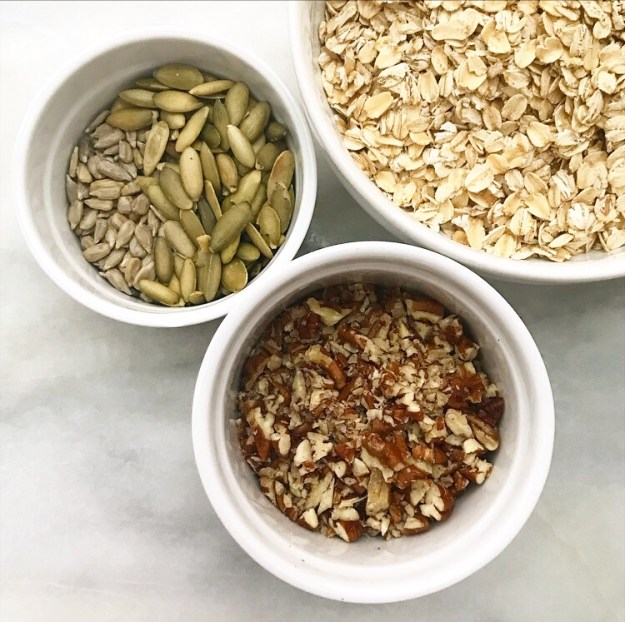 For two cups of oats, I add in one cup of chopped nuts and seeds (pecans, pepitas and sunflower seeds, in this case). Those get toasted in a dry skillet until they are fragrant and the seeds are starting to pop.
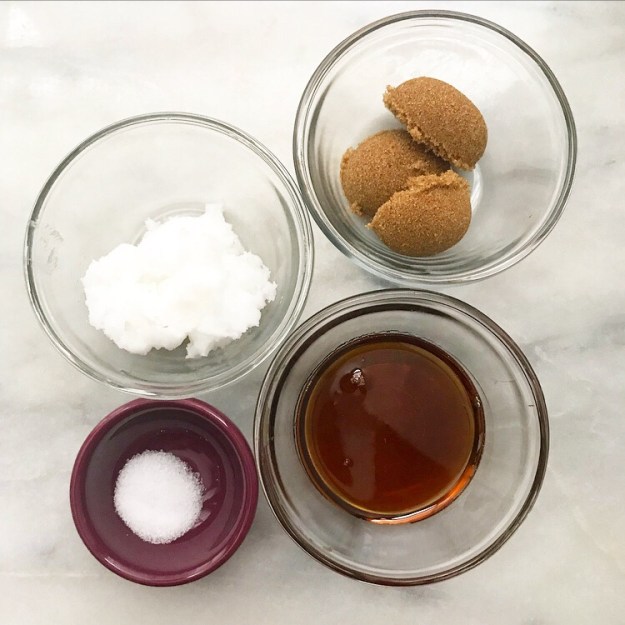 Next come three tablespoons of oil (I used coconut) and six tablespoons of sweetener. I went for maple syrup and dark brown sugar for this batch, but if you don’t like the idea of straight-up sugar in your breakfast, you may sub coconut sugar or use all maple. Don’t forget to add some salt for balance.
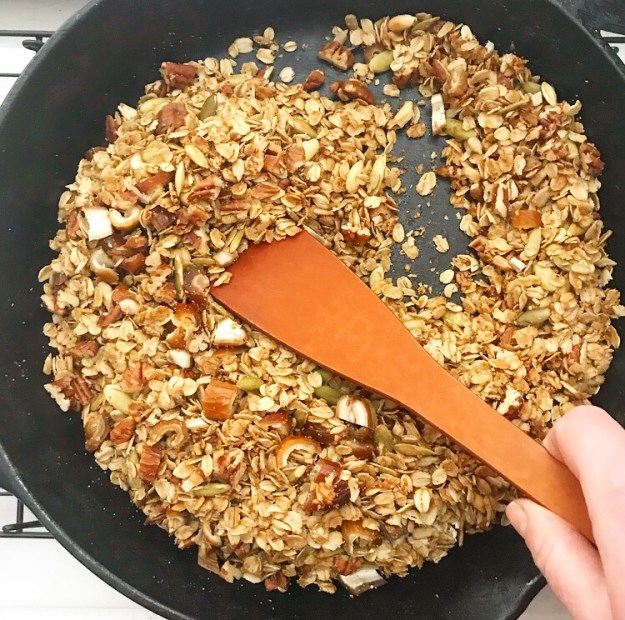
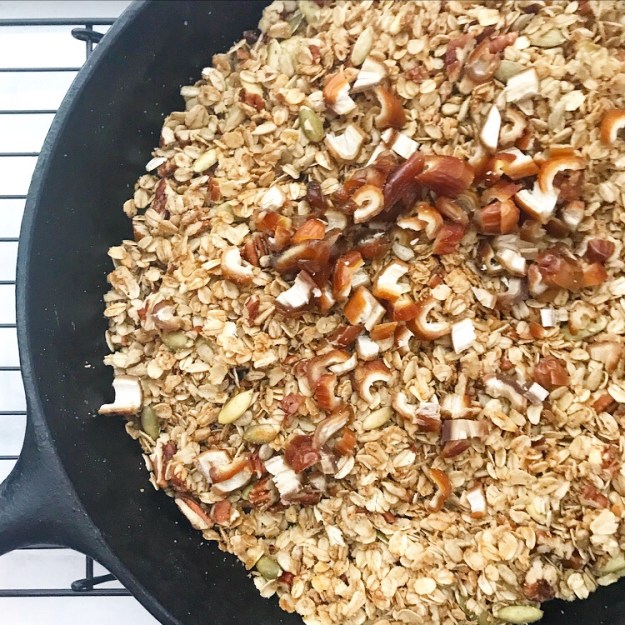 Cook the granola a few minutes more before removing it from the heat and adding in some dried fruit. I went with dates—I impulse-bought a huge bag of them on a recent trip to Costco and now I’m throwing them in everything. If dried fruit isn’t for you, leave the granola as-is.
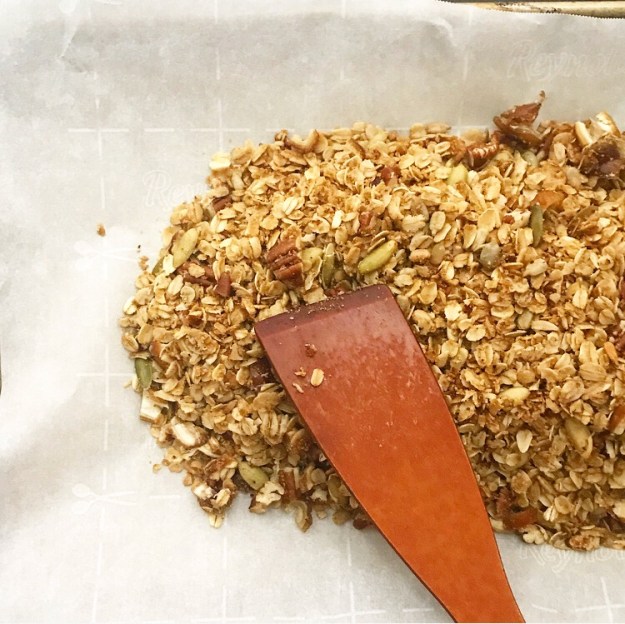
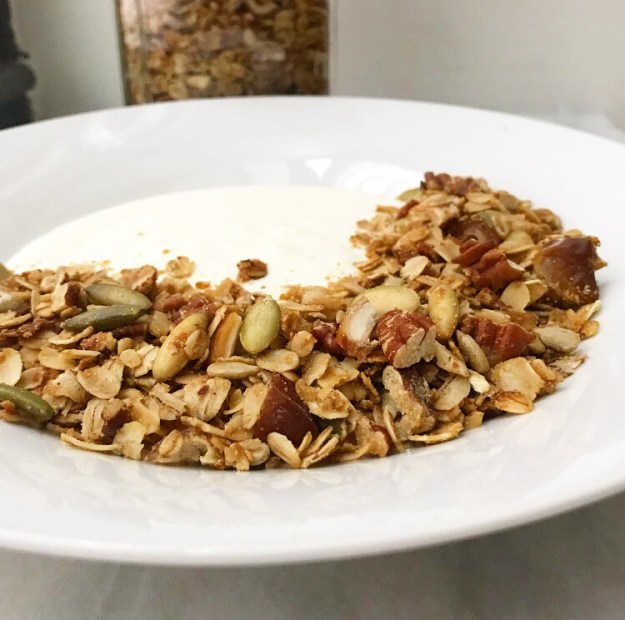
 Spread the granola out on a parchment-lined baking sheet and let it cool. If you’re the type of person who adds chocolate chips to granola, this is the time.
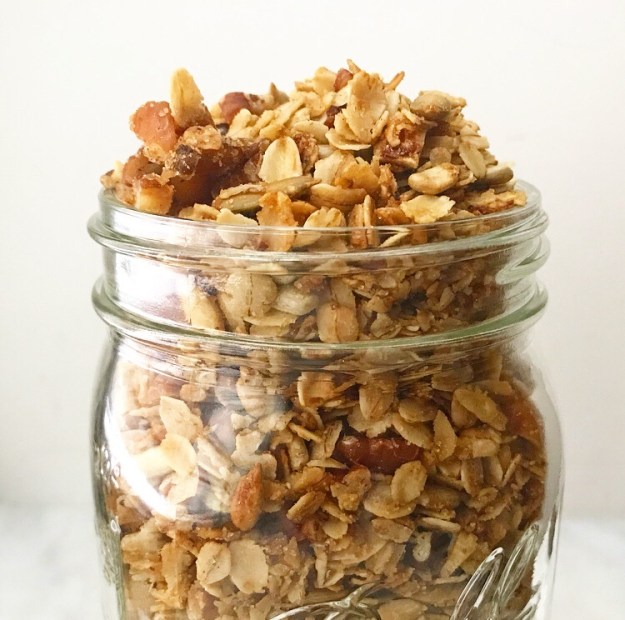 Pile your finished granola into a jar. Who knew oats, nuts, and seeds could look so pretty?!
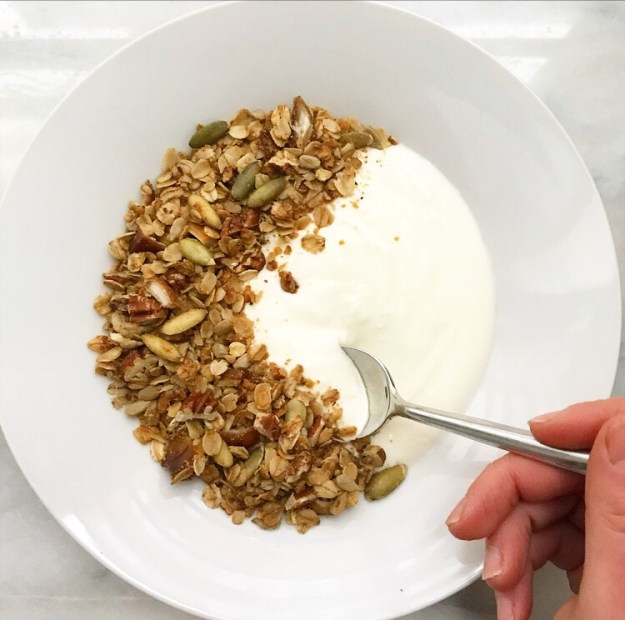 This Stovetop Granola doesn’t cluster much, but that can be remedied by using a thicker sweetener like honey or brown rice syrup. Real cluster enthusiasts might want to add an extra tablespoon or two, just in case.