 There’s just something about Pineapple Upside-Down Cake.
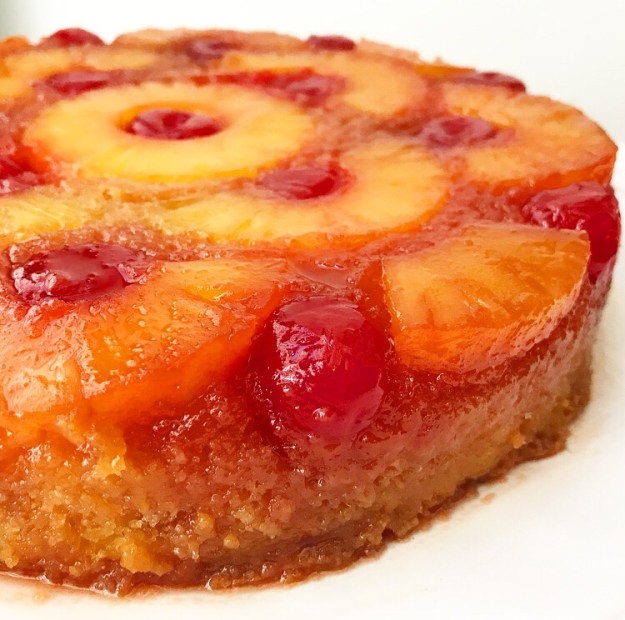
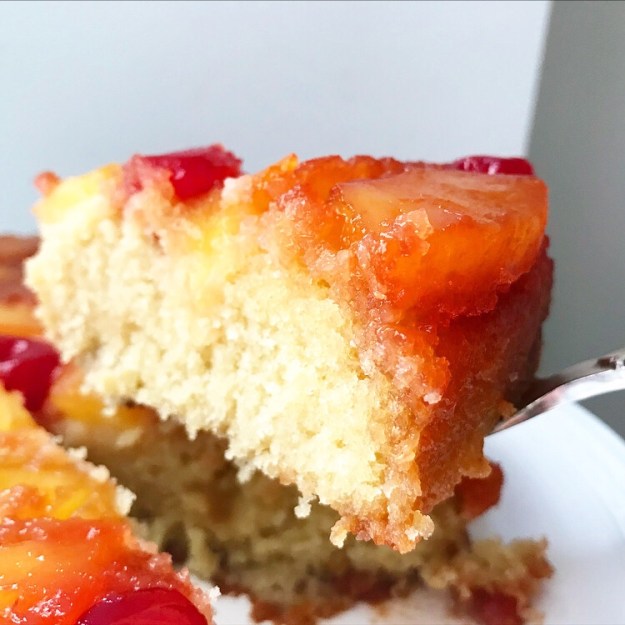
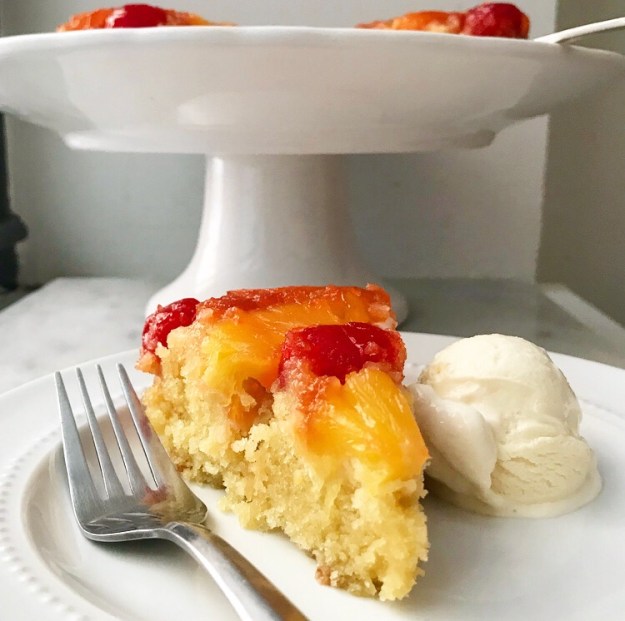 I don’t know if it’s the buttery cake or the mosaic of canned fruit that I would otherwise never eat or the way the brown sugar glaze caramelizes perfectly during the 50 minute bake time.
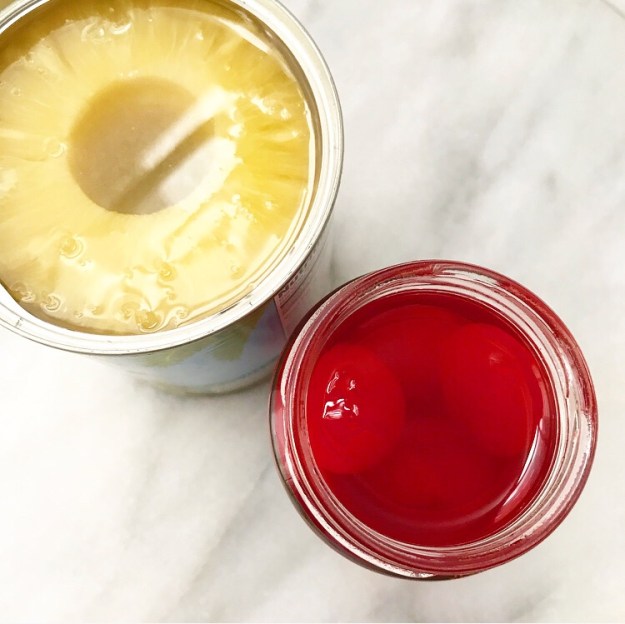
 Perhaps it’s the way that it somehow straddles the line between Everyday Cake and Celebration Cake.
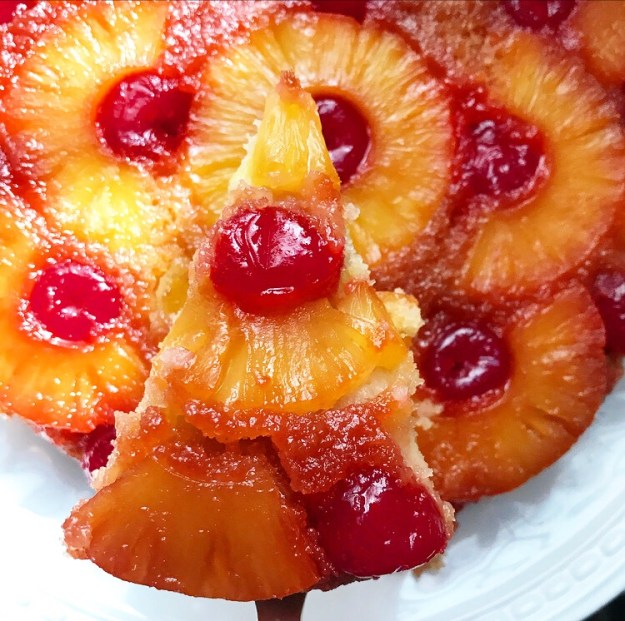
 Or that it doesn’t need to cool much after baking and doesn’t need any sort of adornment to make it complete. A scoop of ice cream doesn’t hurt though.
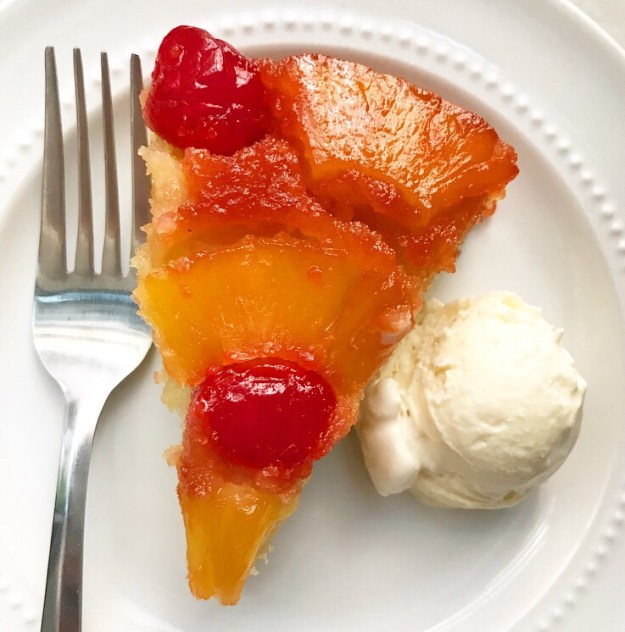 Maybe it’s that making one of these beauties lets me channel the TV ghost of June Cleaver. The undeniable retro-ness of this cake nearly has me reaching for my string of pearls.
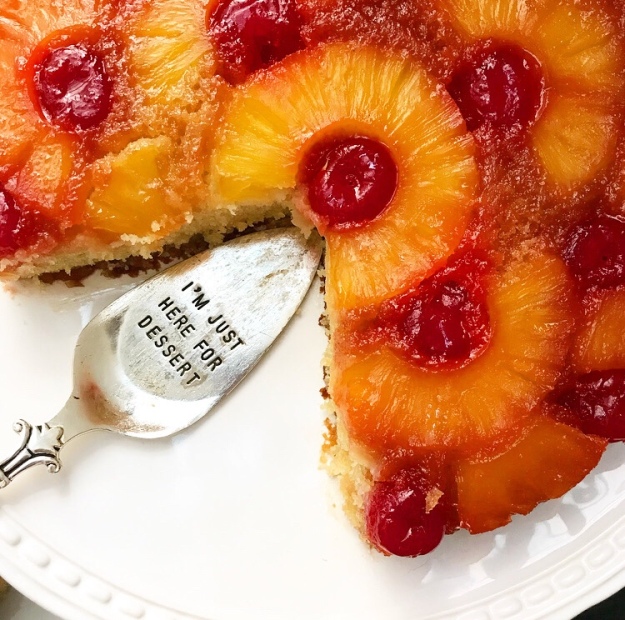 (That’s really something, considering that this blog could easily be sponsored by Lululemon, Birkenstock, and ten year old college t-shirts.)
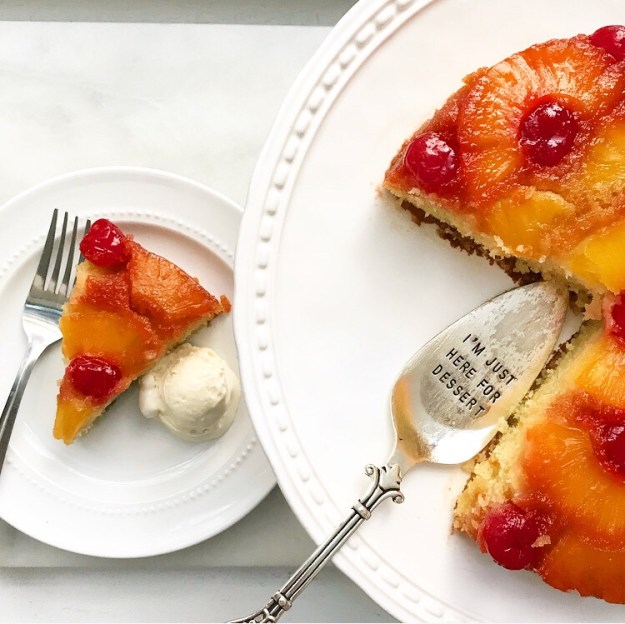 Yep, if I were a cake, this would be the one.
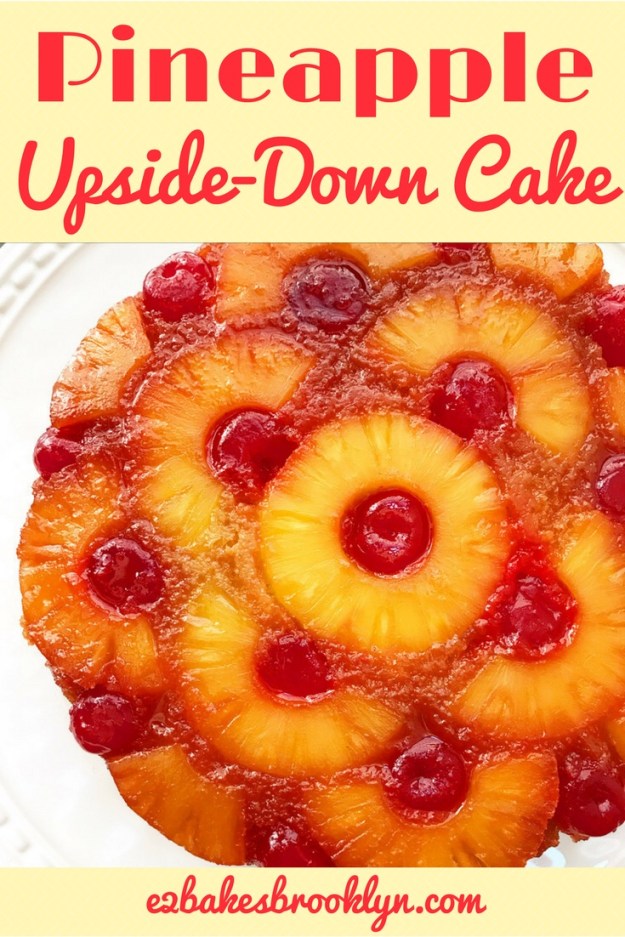
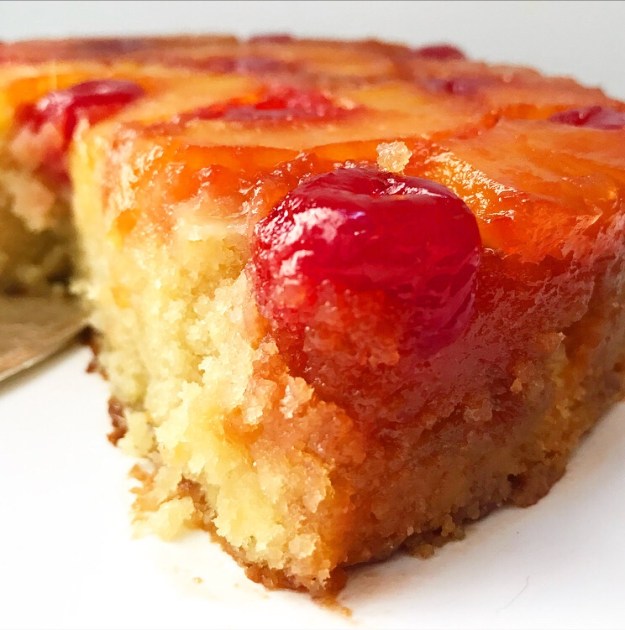 Why all this Pineapple Upside-Down Cake love? Well, all the things listed above and because today is National Pineapple Upside-Down Cake Day. Yes, that’s a thing now. As far as I’m concerned, it’s as good a reason as any to stash a homemade cake in your fridge and snack on it all weekend.
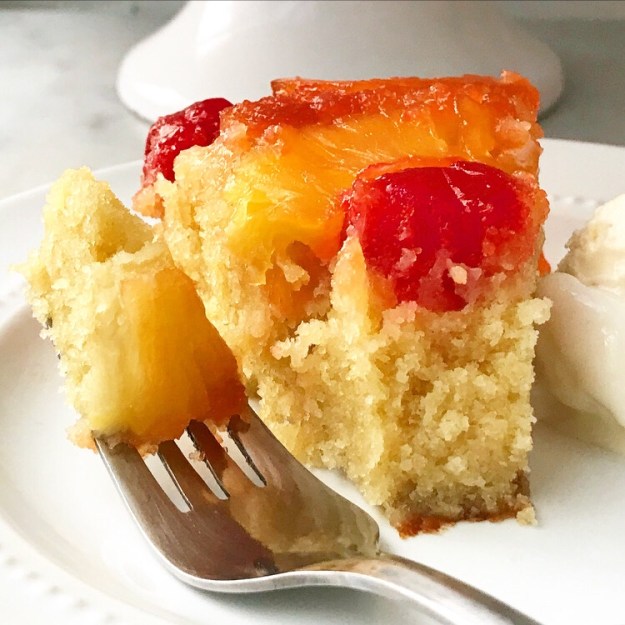
Pineapple Upside-Down Cake
makes one 9-inch round cake
Topping:
1 20-ounce can pineapple slices in juice
1 10-ounce jar maraschino cherries
1/4 cup unsalted butter
2/3 cup light brown sugar, packed
Cake:
1 1/2 cups all-purpose flour
2 tablespoons cornstarch
1/2 teaspoon baking powder
1/4 teaspoon baking soda
1/2 teaspoon Kosher or sea salt
1/2 cup (1 stick) unsalted butter, softened to room temperature
2/3 cup granulated sugar
1/3 cup light brown sugar, packed
2 large eggs, room temperature
2 teaspoons pure vanilla extract
1/8 teaspoon pure almond extract (optional)
1/2 cup pineapple juice (reserved from topping)
1/2 cup milk (not skim or fat free), room temperature
For serving:
vanilla ice cream (optional)
Preheat oven to 350F. Grease a deep 9-inch round cake pan (or a springform). Set aside.
Make the topping. Open the can of pineapple rings and drain the juice into a small bowl. Drain maraschino cherries (or just fish them out of the jar).
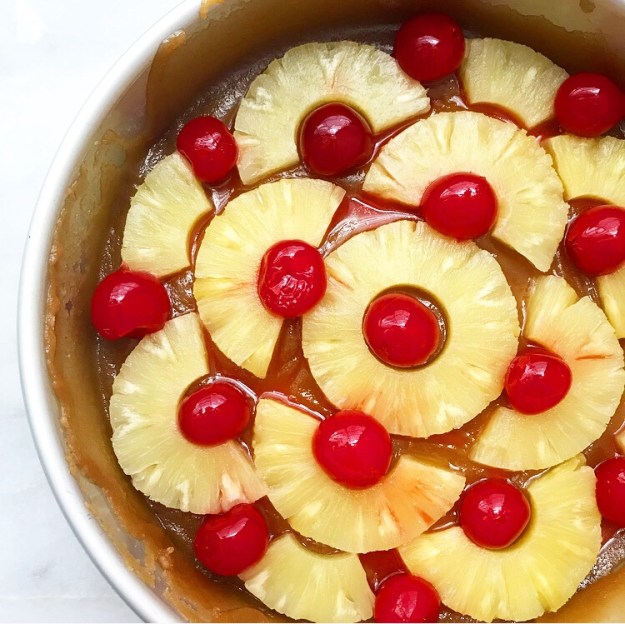
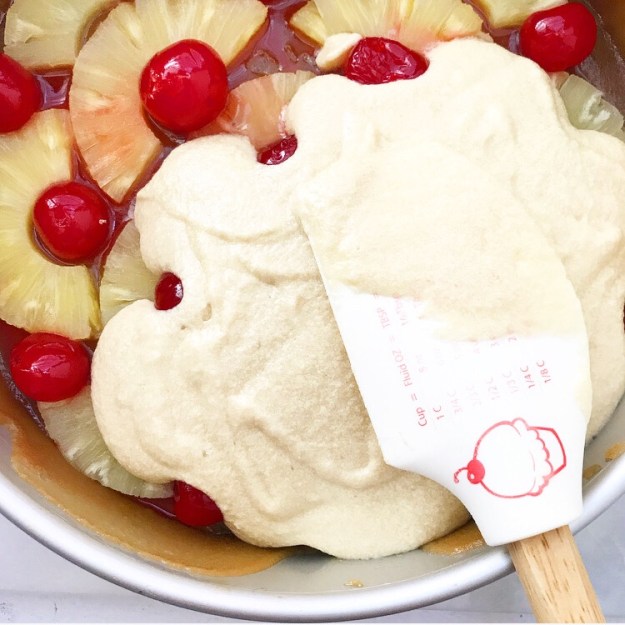
In a small saucepan, combine butter and light brown sugar. Place over medium-low heat and stir constantly until butter and sugar are melted, 3-5 minutes. Remove pan from heat. Transfer mixture into prepared pan, using a silicone spatula to spread it over the entire bottom of the pan. Top the brown sugar mixture with a single layer or pineapple and cherries. Set aside.
Make the cake batter. In a small-medium mixing bowl, whisk together flour, cornstarch, baking powder, baking soda, and salt. Set aside.
In a large mixing bowl, beat butter with an electric mixer until light and fluffy, about 2 minutes. Beat in granulated and light brown sugars. Add eggs one at a time, mixing completely after each addition. Combine pineapple juice, milk, vanilla and almond extracts (if using) in a measuring cup. With the mixer on low, alternate adding dry ingredients and the pineapple juice mixture in two installments. Mix just until combined.
Pour batter over pineapple and cherry layer, and spread with a silicone spatula to even out the top. Tap pan on the counter two or three times to release any large air bubbles. Depending on the depth of your pan, you may want to place it on a rimmed baking sheet to catch any light overflow of caramel.
Bake cake 45-50 minutes, until a toothpick inserted in the middle comes out clean. Tent loosely with a layer of foil if anything begins to brown too quickly.
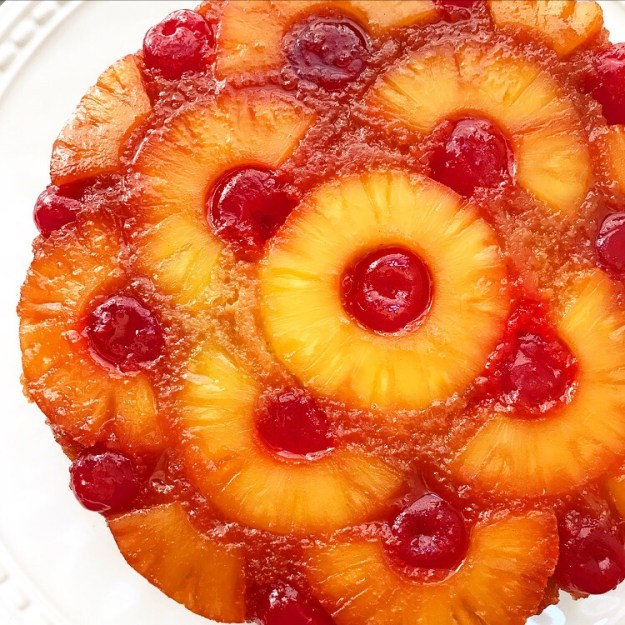
Let cake cool in the pan on a rack for 15 minutes. Run a small, thin knife around the edge of the pan a couple of times before inverting onto a cake stand or large serving plate. If any fruit sticks to the pan, just nudge it back onto the cake with your fingers.
Serve cake warm, room temperature, or cold, with ice cream, if desired.
Cake is best the day it’s baked, but will keep in the refrigerator for up to three days.
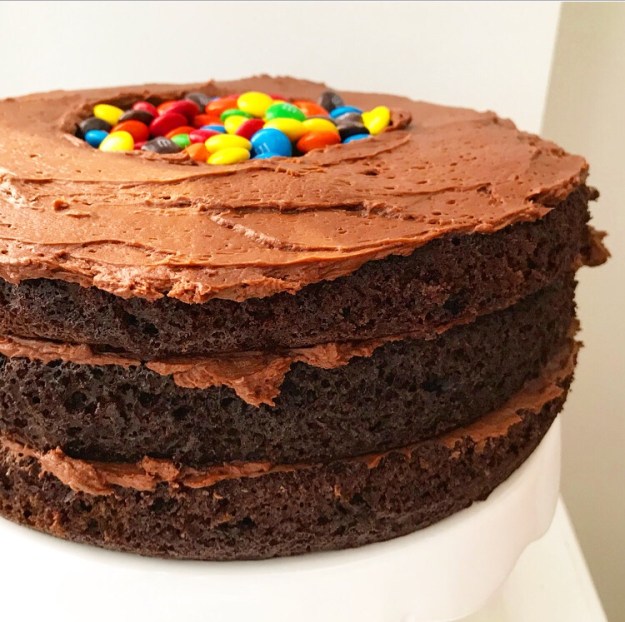
 I posted pictures of a big M&Ms-stuffed chocolate cake on my
 I get it—chocolate cake + buttercream + M&Ms inside + more M&Ms on top = MAGIC.
 That original cake was for a friend and not intended for the blog, but given the response, I thought you might like to know how to make your own!
 First things first. You’re going to need four 9-inch round layers of chocolate cake. This one is a super easy no-mixer recipe that makes four soft, moist, perfect layers. You may recognize this recipe from my my
  Place one of the layers on a serving plate or your favorite of all your cakestands. Spread a little frosting on top.
 Take two of the layers and punch out holes in the centers. I use a 6-inch ring for this, but you can use a wide-mouthed glass or even just a paring knife and a circle of parchment. Layer those on top of that bottom round, frosting between and on top.
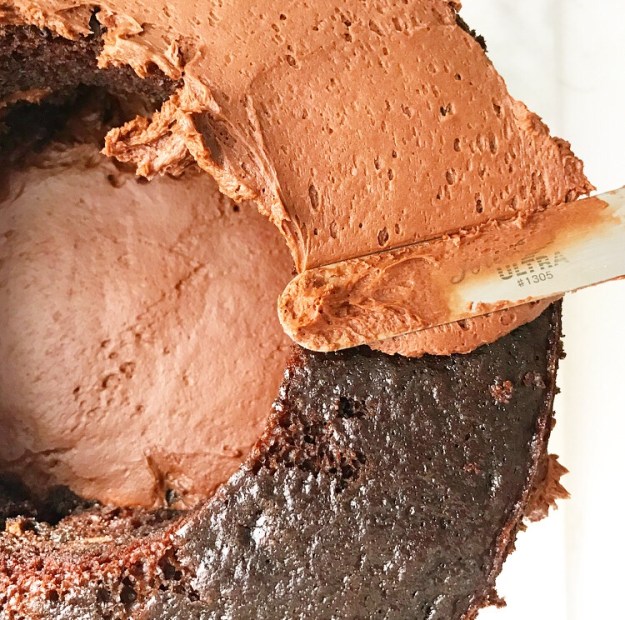 At this point, you’ll have a three layer cake with a hole in it. That’s where the surprise M&Ms are going to go ❤
 Spread a thin layer of buttercream on the “walls.” This will help keep the moist cake from melting the color off the M&Ms too quickly. And speaking of M&Ms…
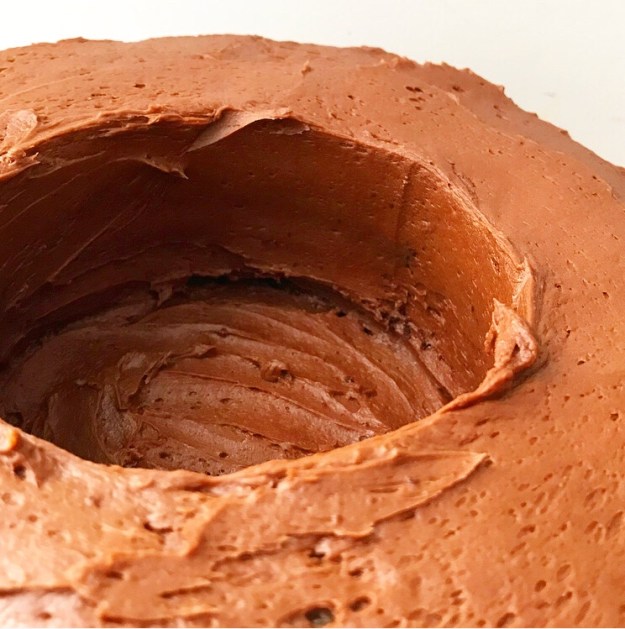
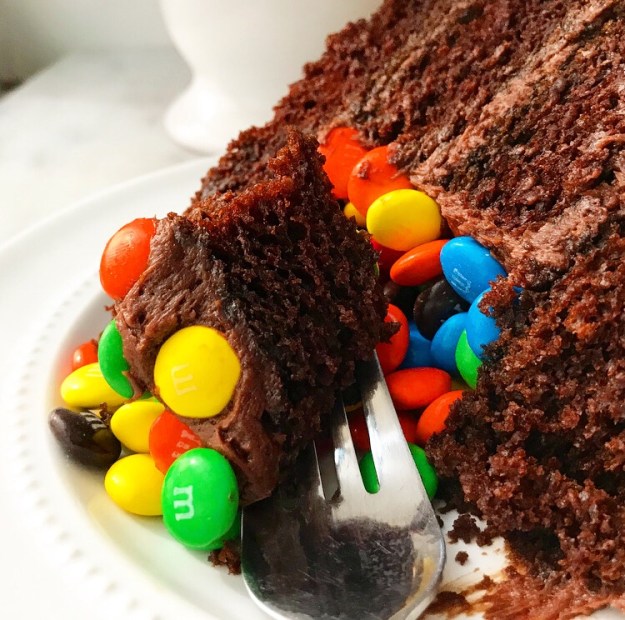
 …pour in almost 2 cups of them ❤ ❤ ❤
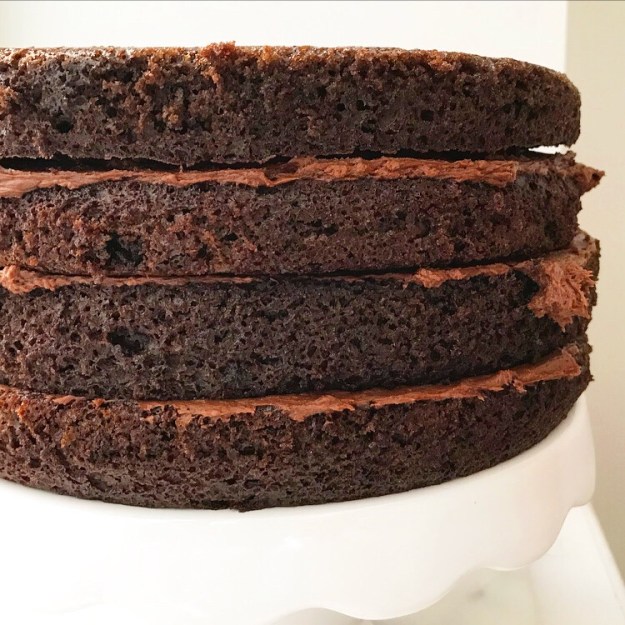
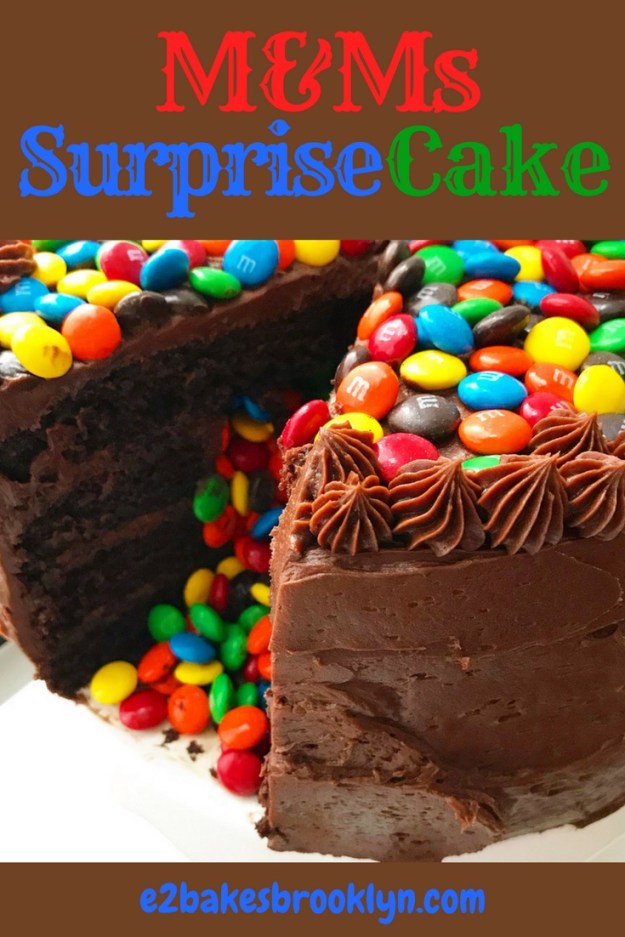
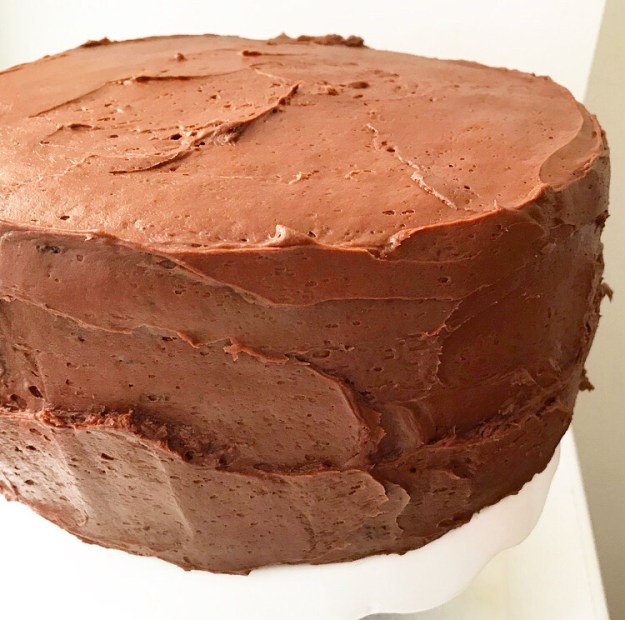 Place your last intact layer of cake on top, effectively hiding all that surprise candy. Frost the cake. For a sort-of photo tutorial on that, see last week’s
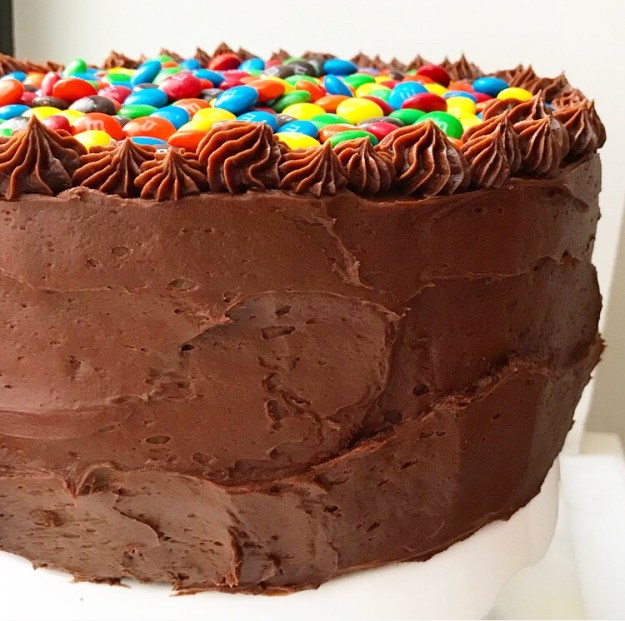
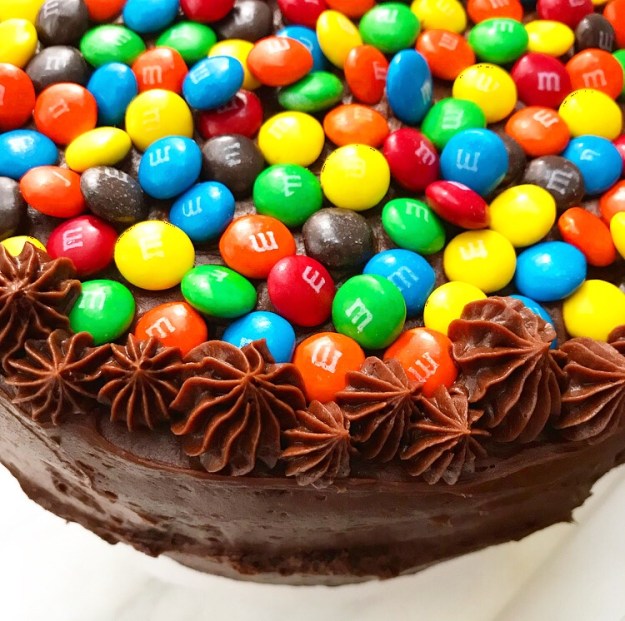 I decorated the top with even more M&Ms and used the last of the frosting to pipe a border. The dollops are all different sizes and I love it!
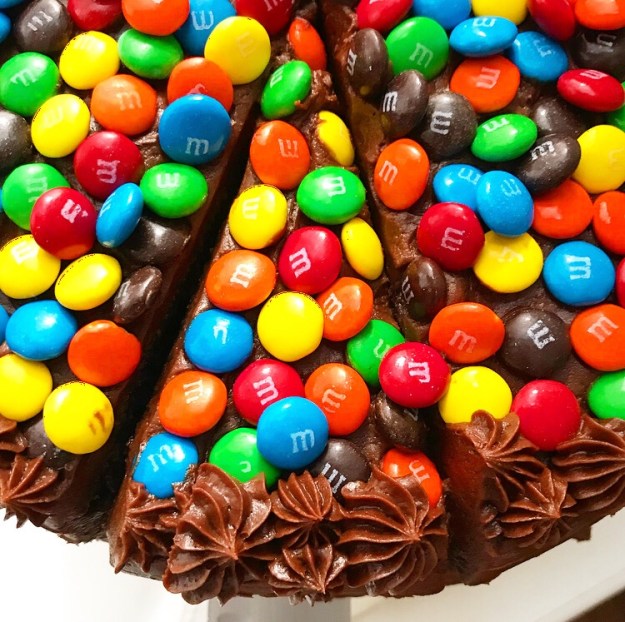


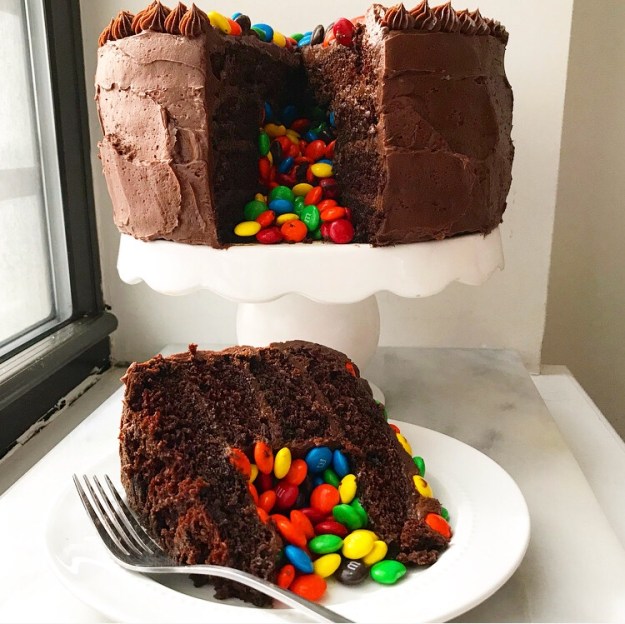
 Then again, I was alone when I sliced this sucker open and it was still pretty damn magical. But I also took 200+ photos of it for you, so I suppose you were practically there.
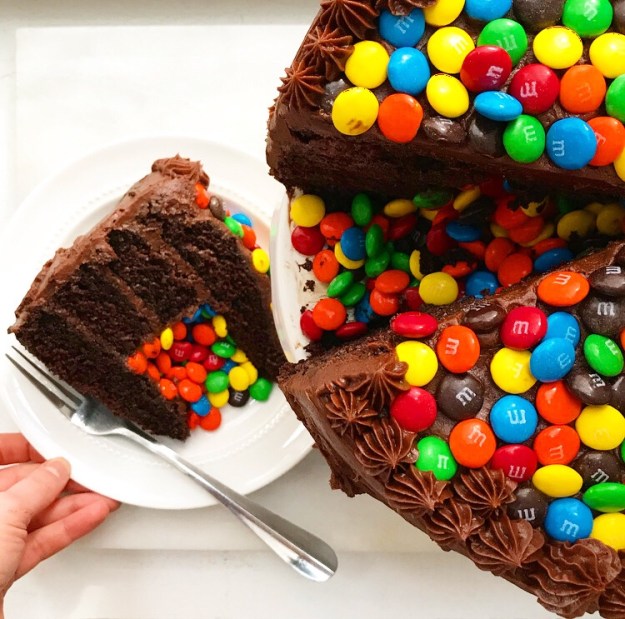
 The official cake-count has now been brought up to sixteen since last Monday. Oy. But in keeping with this week’s theme of
 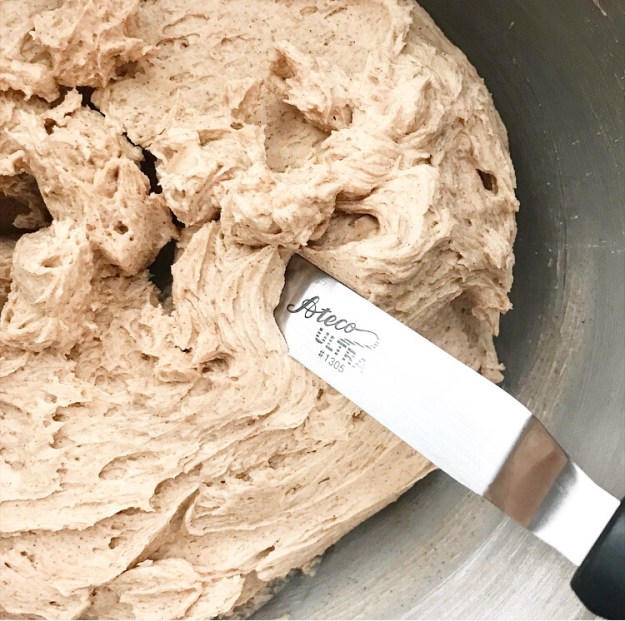 I did break my own step-by-step photos rule though. #sorrynotsorry
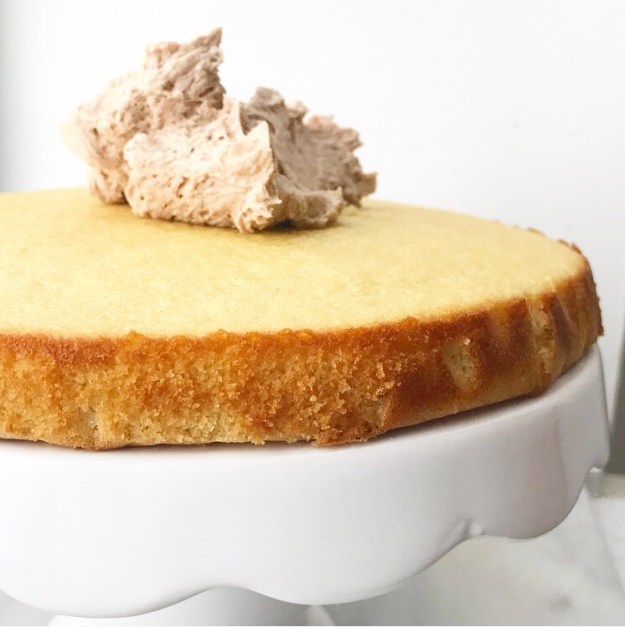
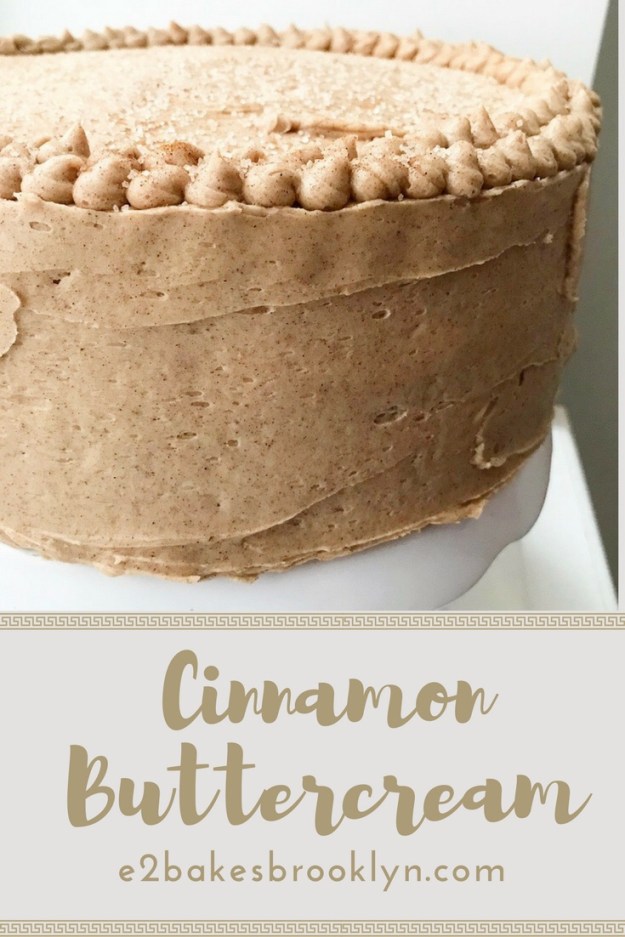
 When cakes #14 & #15 were picked up on Monday afternoon, my client paused before driving off to say how much he loved a vanilla cake with cinnamon buttercream that I had made last month. While he had ordered the cake, he couldn’t decide which flavors he wanted, so he let me surprise him.
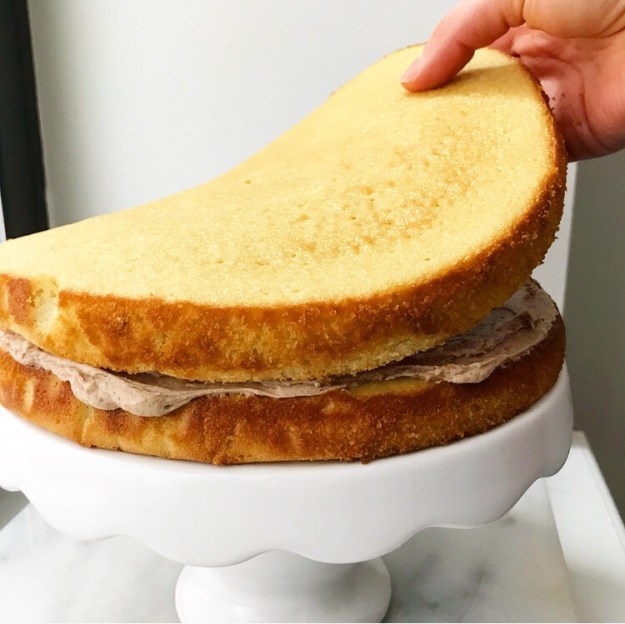
 I could have gone in many directions:
 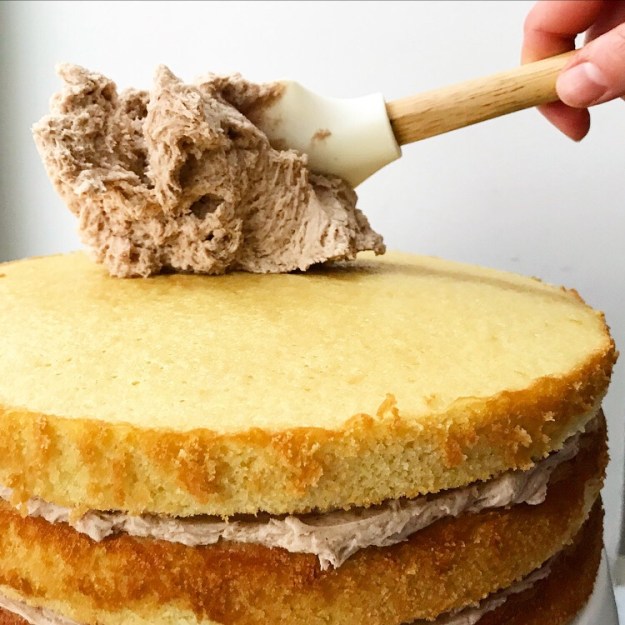 Now, I have never had someone ask for a cake with Cinnamon Buttercream. Not once. But every time I have put it on a cake, I get texts and emails like you wouldn’t believe. People love butter, sugar, cinnamon, and cream whipped until fluffy and slathered between layers of cake.
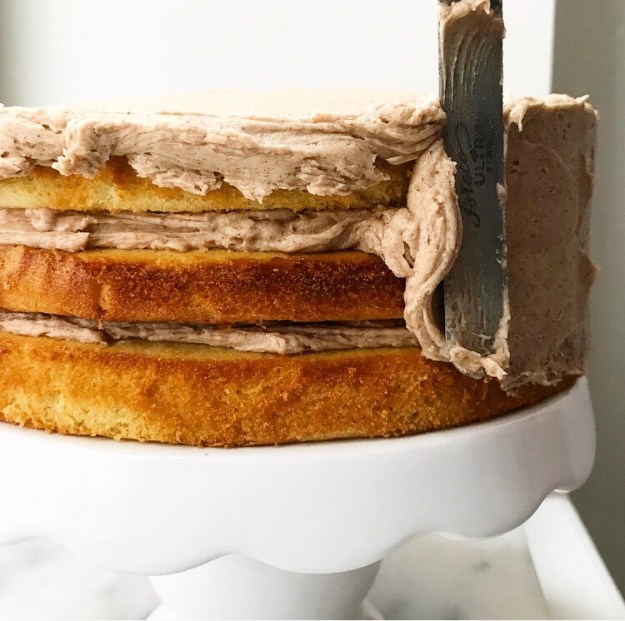 Do you know why?
 It’s because butter, sugar, cinnamon, and cream are freaking delicious!
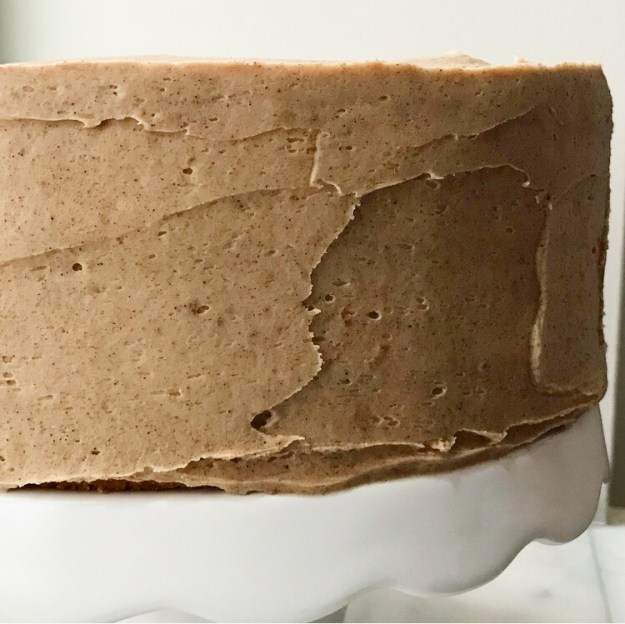 Also delicious? My buttery
 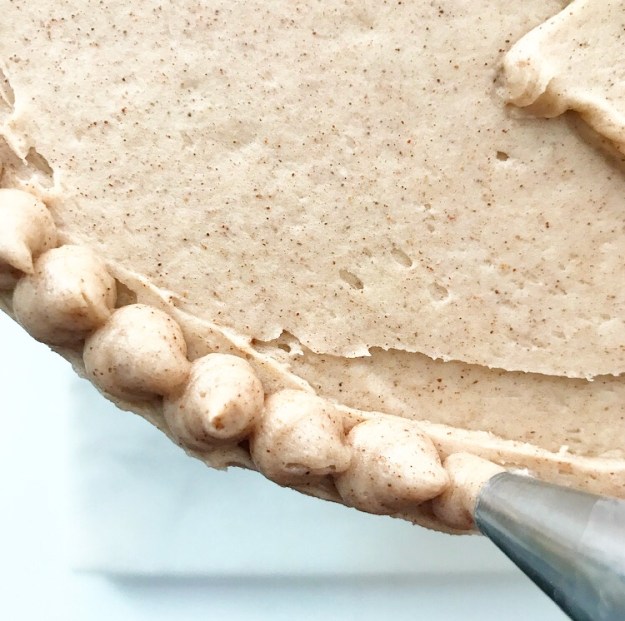 If you follow me on
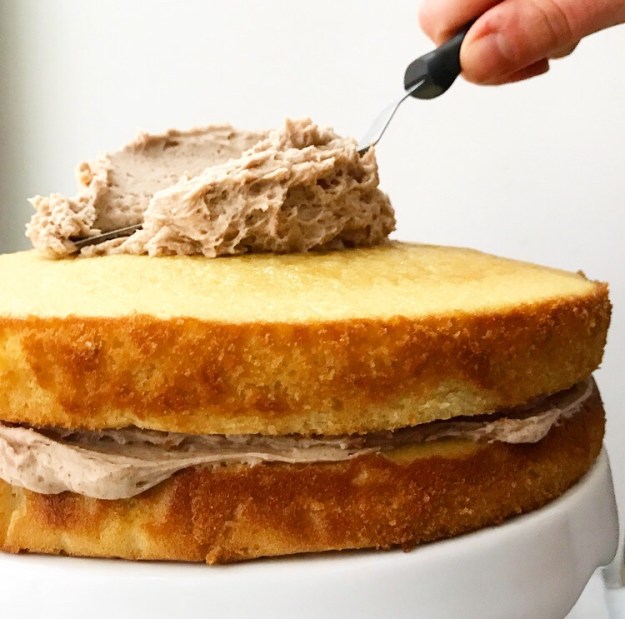
 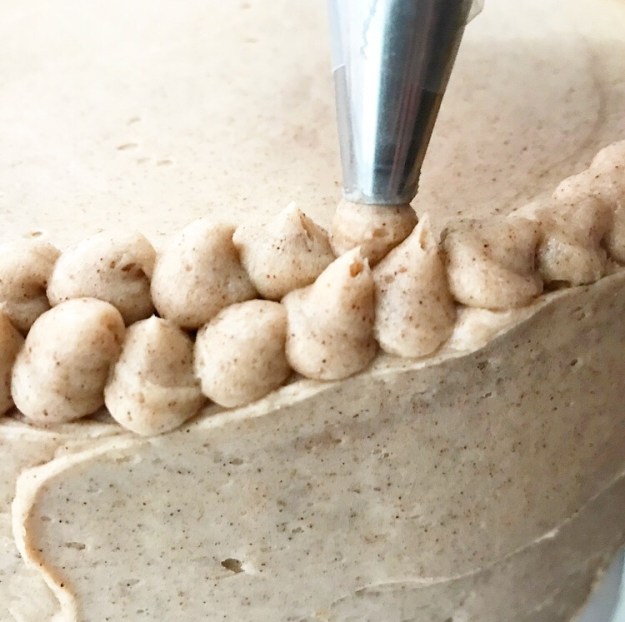 Or just keep a little bowl of Cinnamon Buttercream in the fridge and eat it with graham crackers. Not that I’d know anything about that.
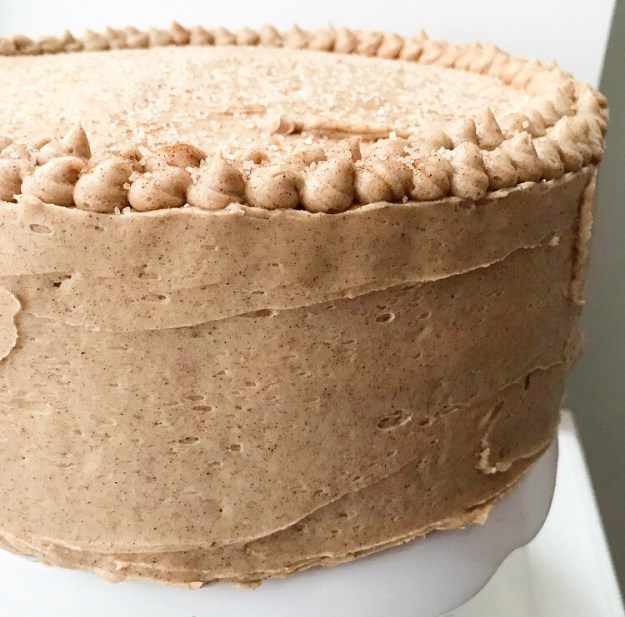
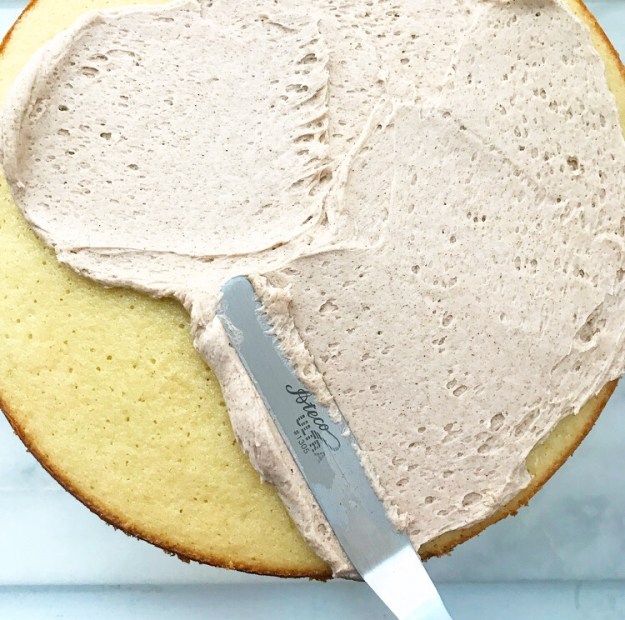
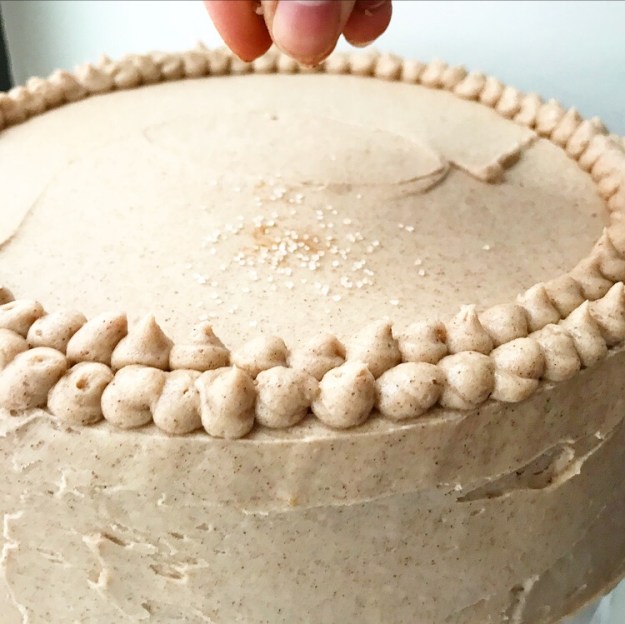 While this particular combination of cake and frosting is great on its own, a little extra flourish of cinnamon-sugar never hurts.
 There. Now it’s perfect.
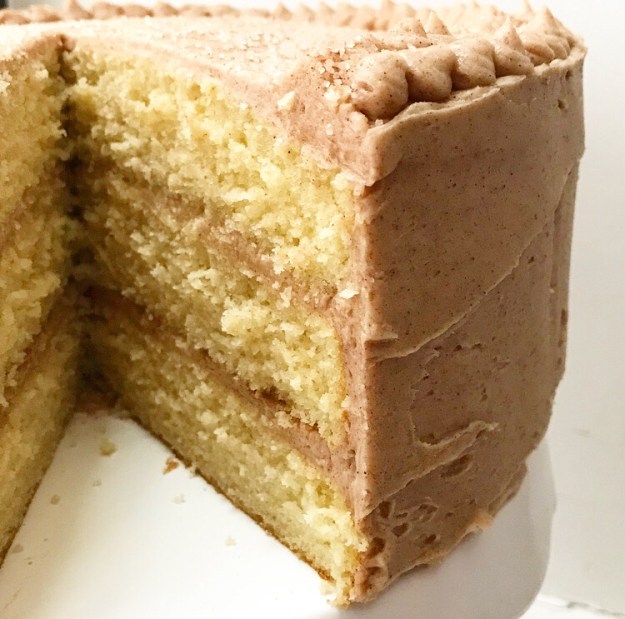 I think I’ll call this one Sweet Sixteen.
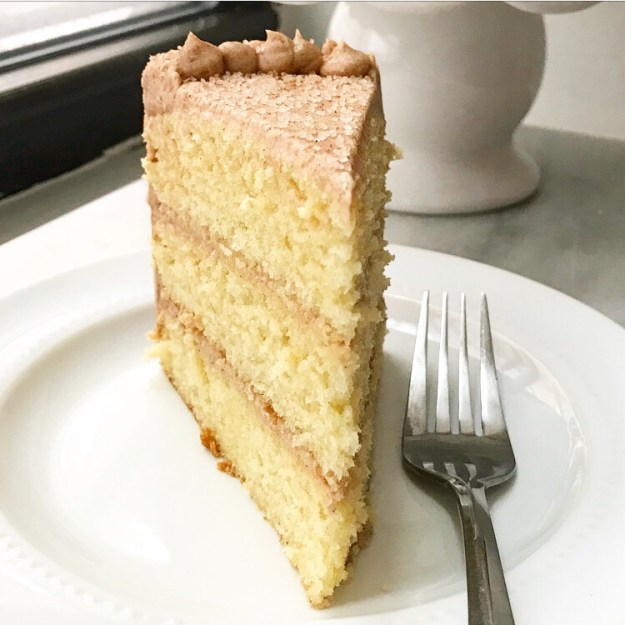
 Have you ever had
 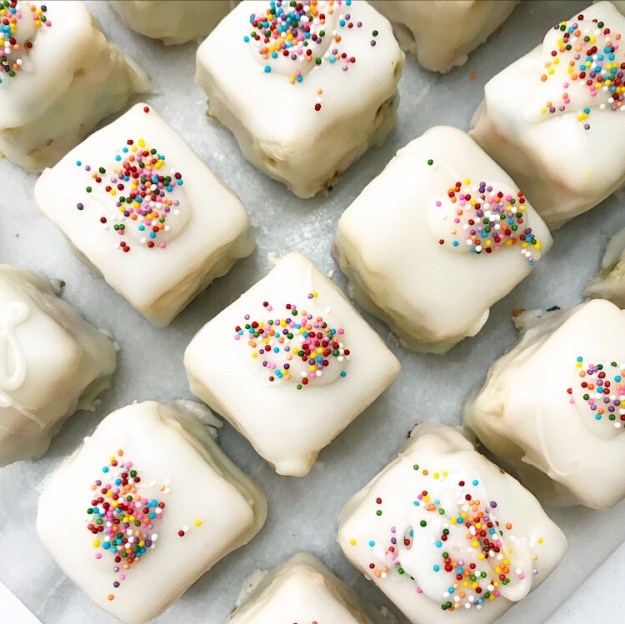 Growing up, we’d forego Easter morning Mass in favor of the Easter Vigil service the night before. While choosing this service did allow us to miss the crowd on Sunday morning, it began at 8:30pm and lasted more than two hours. Luckily, if you’re into liturgical pageantry, the Vigil starts with candles in the dark, ends in the light, and has all sorts of incense, bell ringing, beautiful music, and probably another ten things I’m forgetting. Forgive me—I’m a
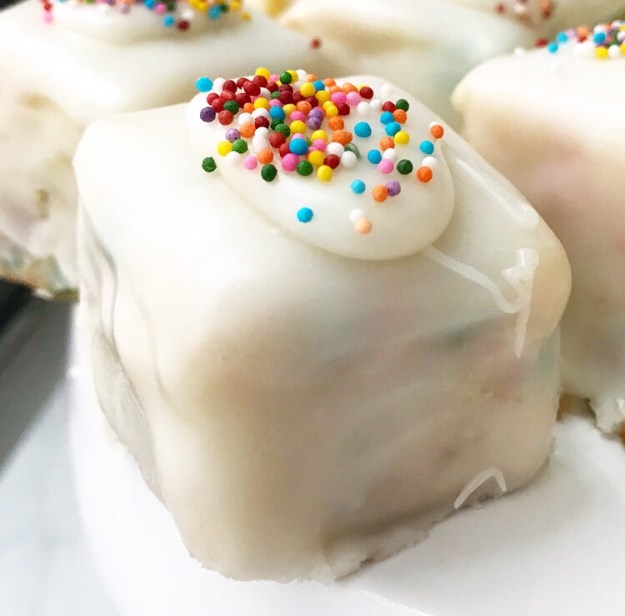
  Once the service was over, we’d race home in my dad’s Cadillac, put on pajamas, and reach for the box of petit fours in the fridge. There are few pleasures greater than a cold late-night petit four from
 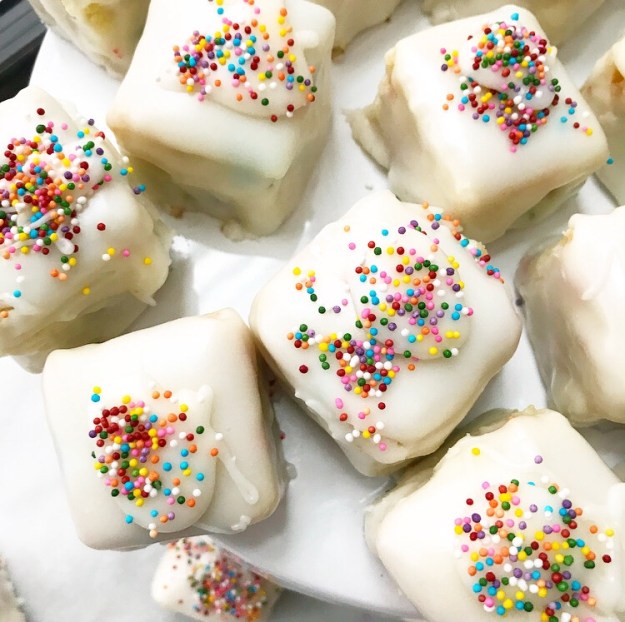 I haven’t been home for Easter in many years now, but I always try to have petit fours on Easter Even. I’ve tried them at a few places around Brooklyn, but most that I’ve found are layered with jam. They’re delicious, but not what I crave this time of year.
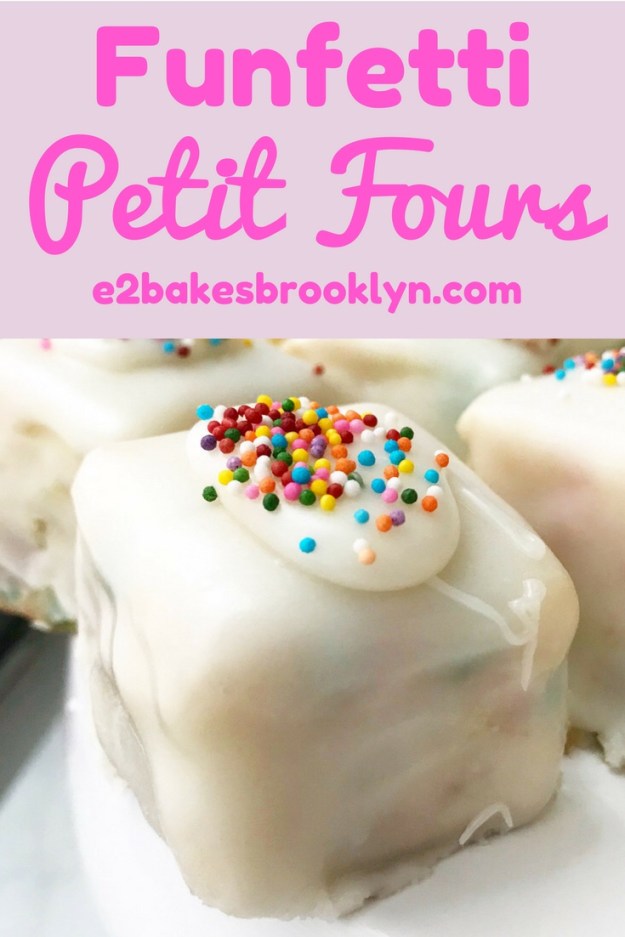
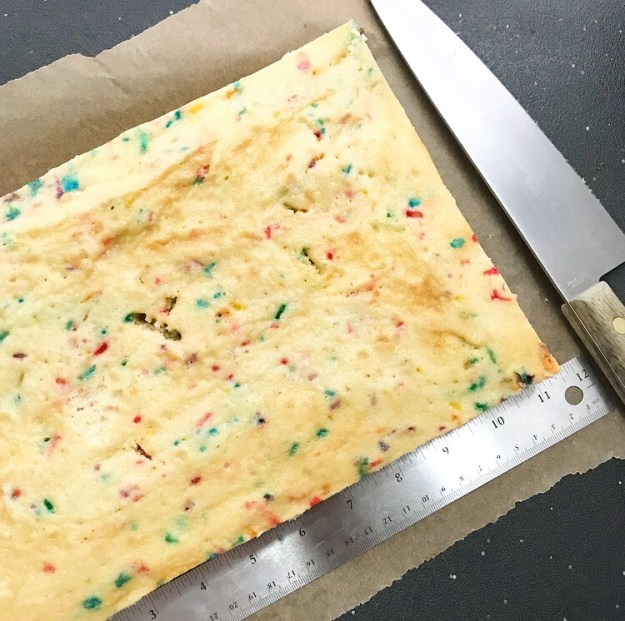 I know my petit fours will never quite live up to the almond-scented Blue Bonnet Bakery version of my dreams, so I’ve decided not to try to recreate those, and instead to make a version that celebrates one of my favorite things:
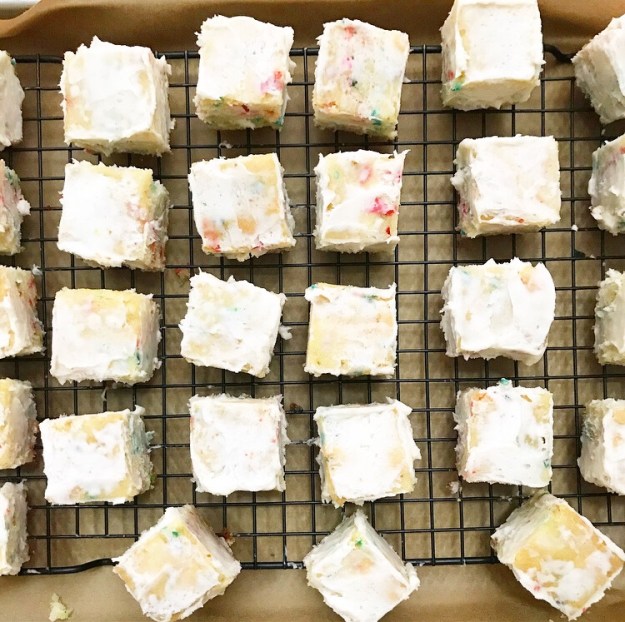
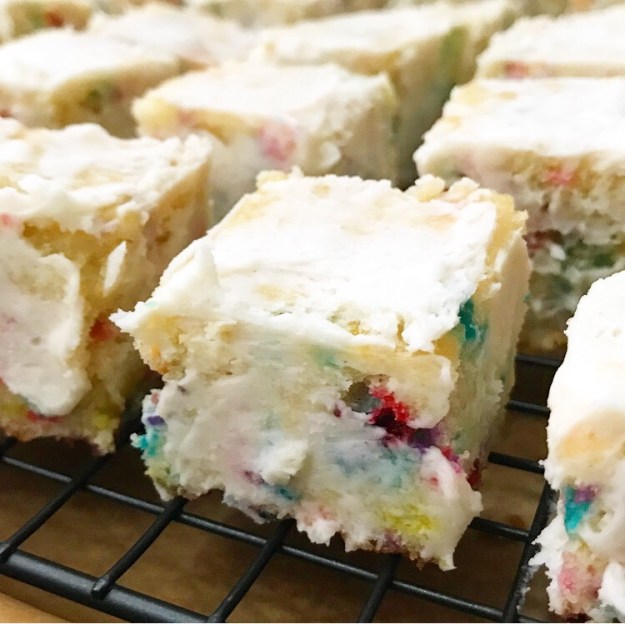 I’m positively in love with this combination of buttery
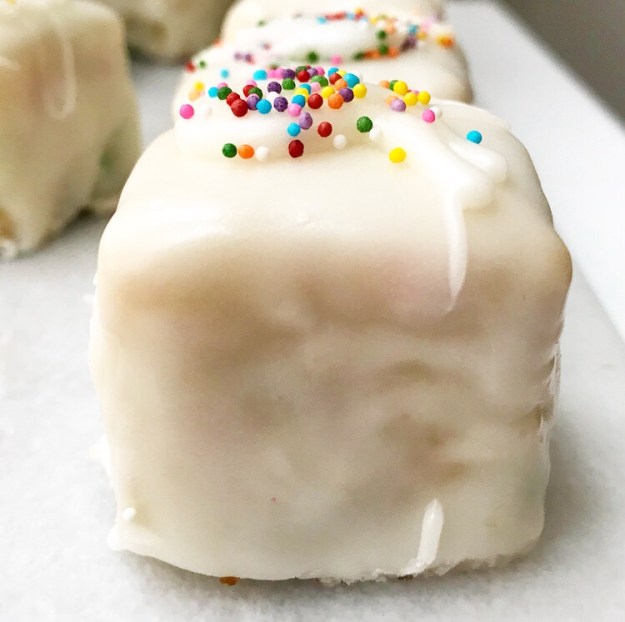 I should say that this recipe is very long, but not too terribly difficult. In fact, as it has no layering or filling, it’s one of the simpler petit fours recipes you’ll find. With the exception of coating the petit fours with poured fondant (easier than it sounds), it’s a lot like making a regular frosted cake. But again, there are a lot of parts, and you will need to use three pans and at least three bowls. It’s a lot for one baker—this might be the sort of recipe you make with a friend.
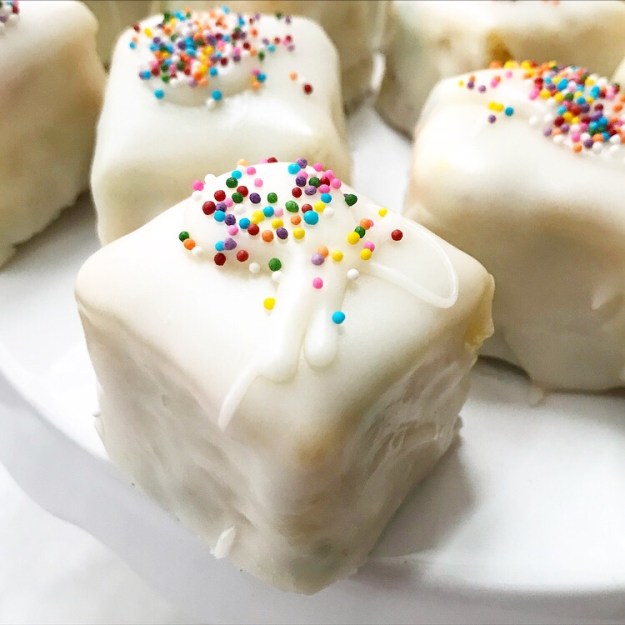 No matter how (or with whom) you choose to address this recipe though, if you follow the directions, you will be rewarded with the sweetest, tiniest, happiest, most colorful petit fours you’ve ever seen ❤ Happy Easter, y’all!
 If you’ve been around here for a while, you know that I love the Oscars. Besides seeing all the nominated films, talking about Oscar politics with one of my best friends, and making statistically-based predictions, I have a traditional Oscar Night meal that always ends with
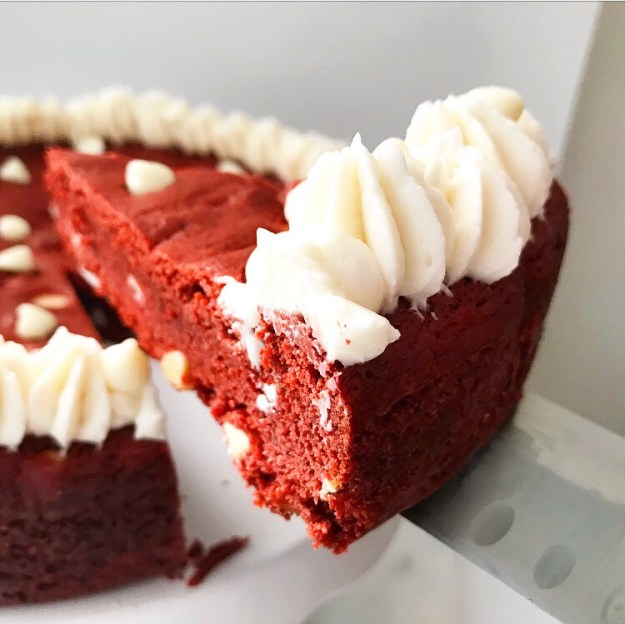

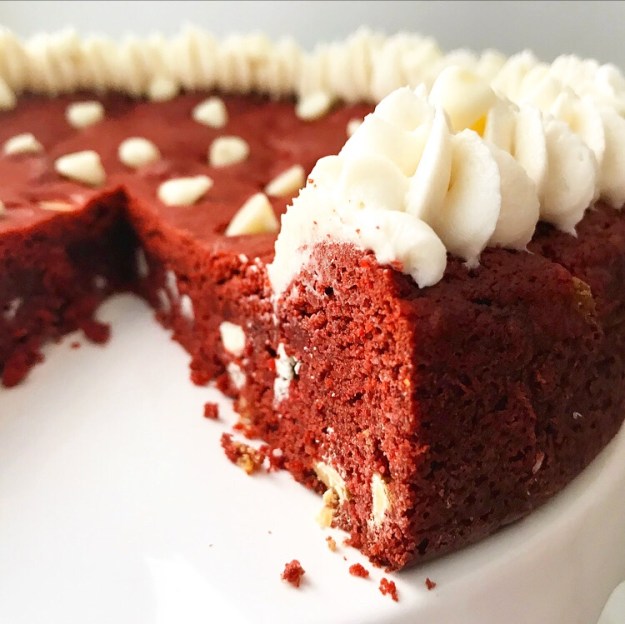
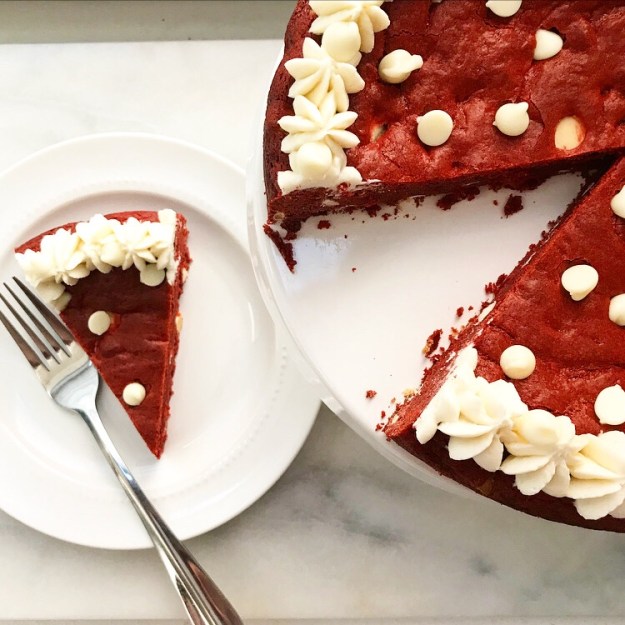
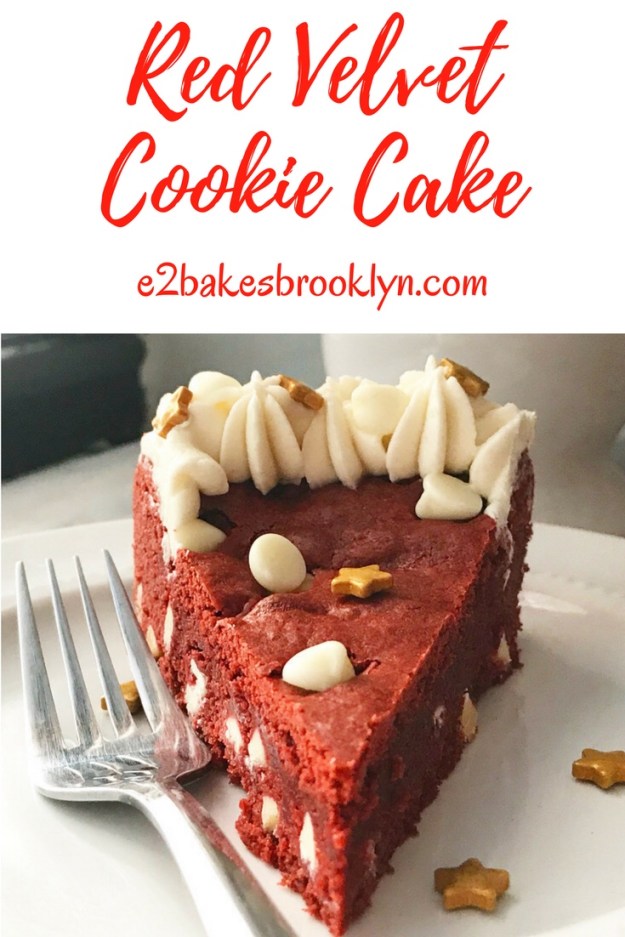
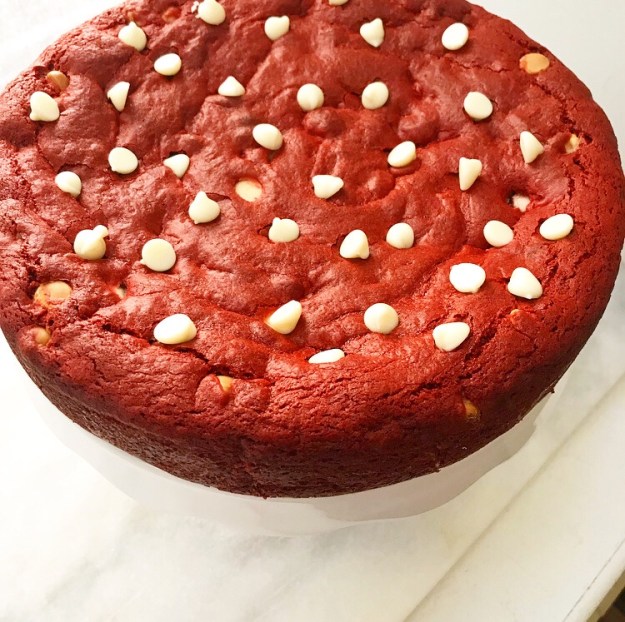
 This year, I’m keeping it simple with this Red Velvet Cookie Cake!
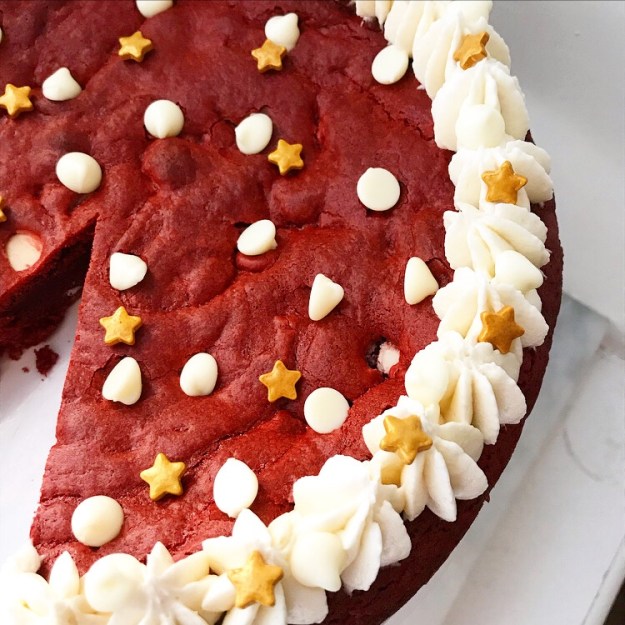 If you’re into easy-but-impressive desserts that are as adorable as they are delicious, this is the recipe for you. The red velvet dough comes together in ten minutes and bakes up in twenty. Oh, and it doesn’t require a mixer 🙂
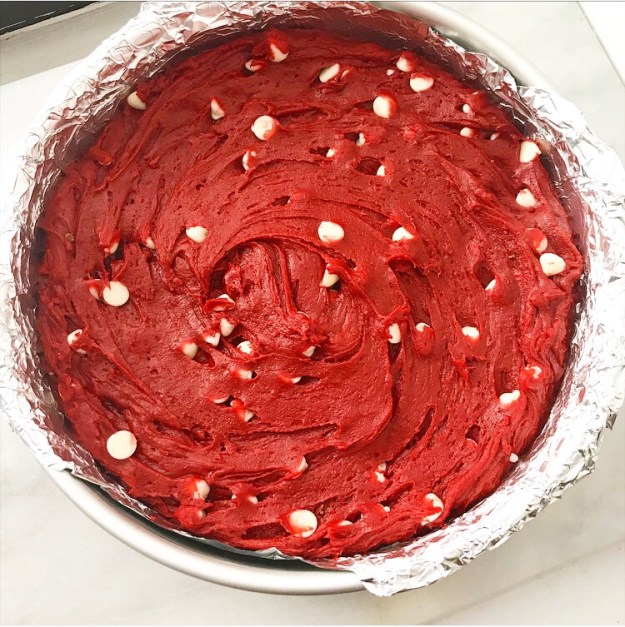
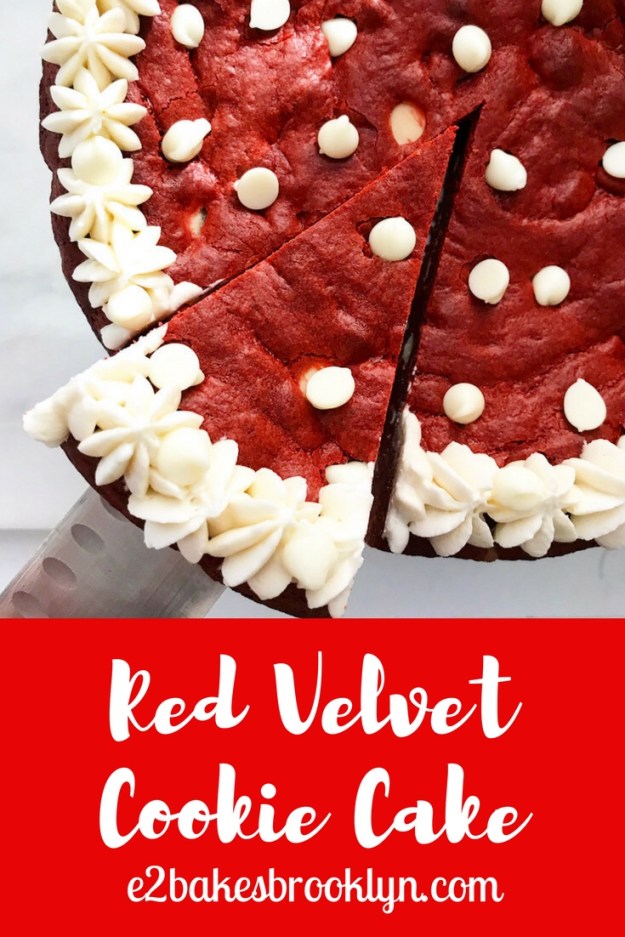
 You could certainly leave this cookie cake plain, but what’s red velvet without cream cheese frosting? This addition requires a mixer and a piping bag, but it’s totally worth it.
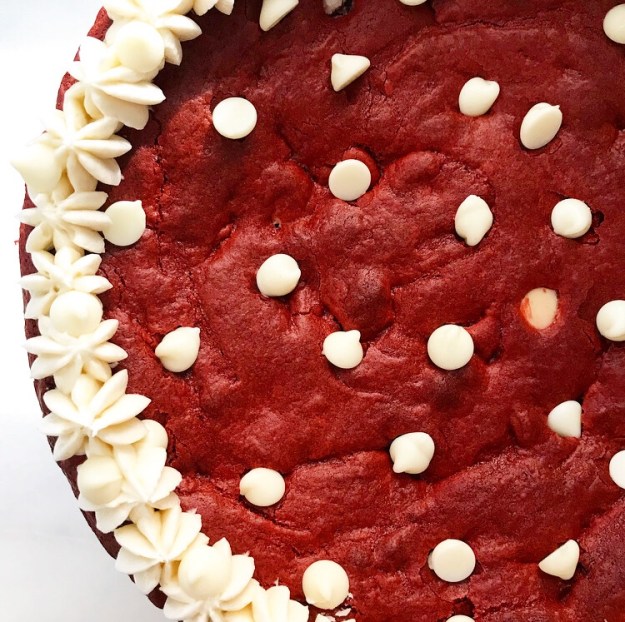
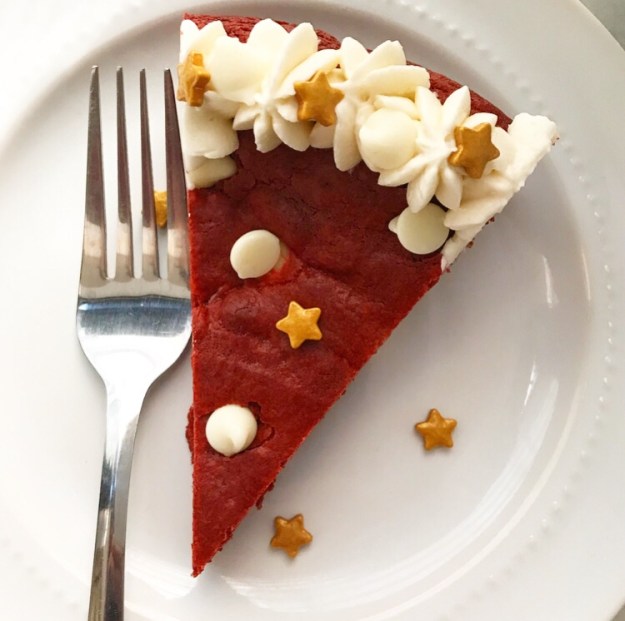
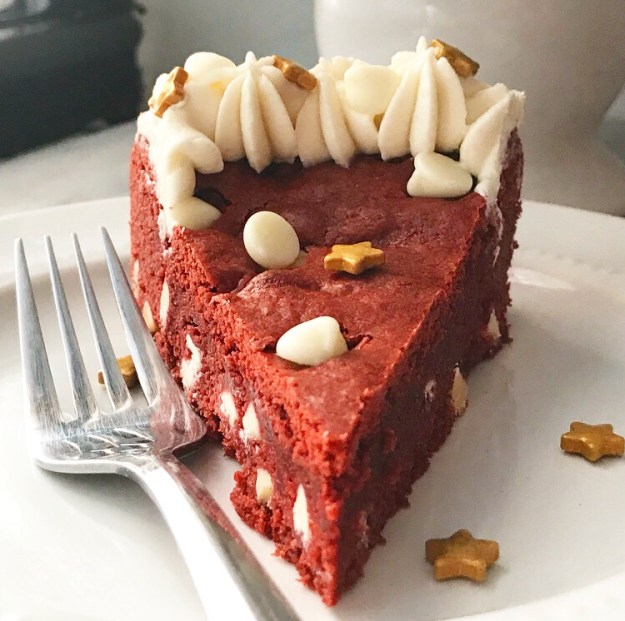
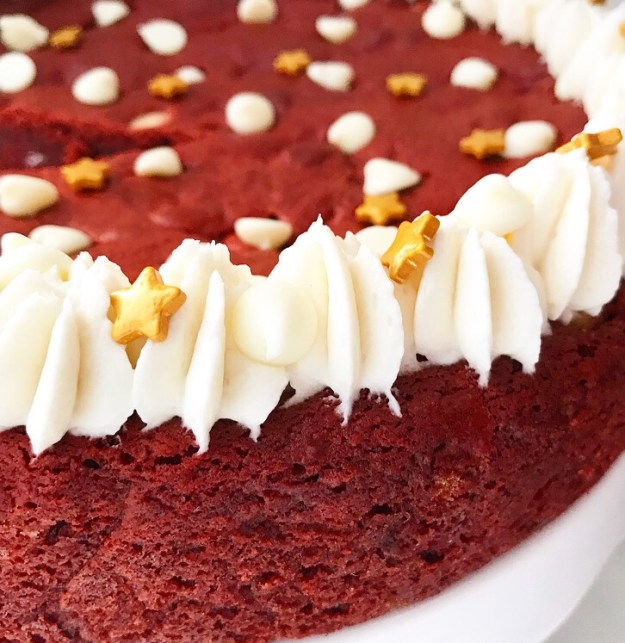 Whether you’re planning to watch Sunday’s broadcast with friends or make Oscar Night a quiet evening in, you’ll love this Red Velvet Cookie Cake! It’s got all the chocolate-meets-vanilla flavor you love, a thick, chewy cookie texture, and just a hint of tangy cream cheese frosting. Oh, and it’s red like the red carpet ❤