 If you’re looking for something easy and adorable to contribute to this year’s Easter desserts spread, your search is over.
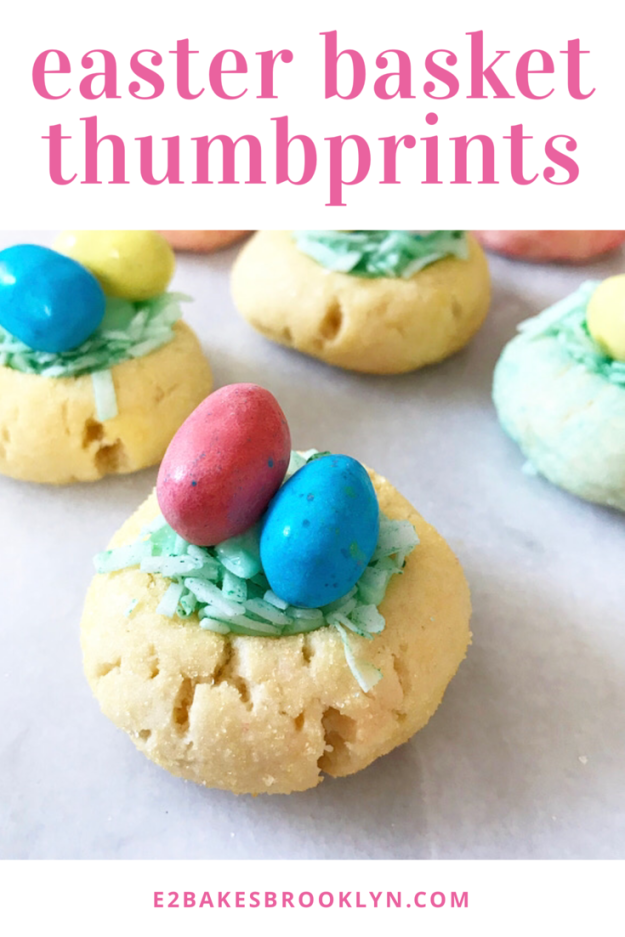
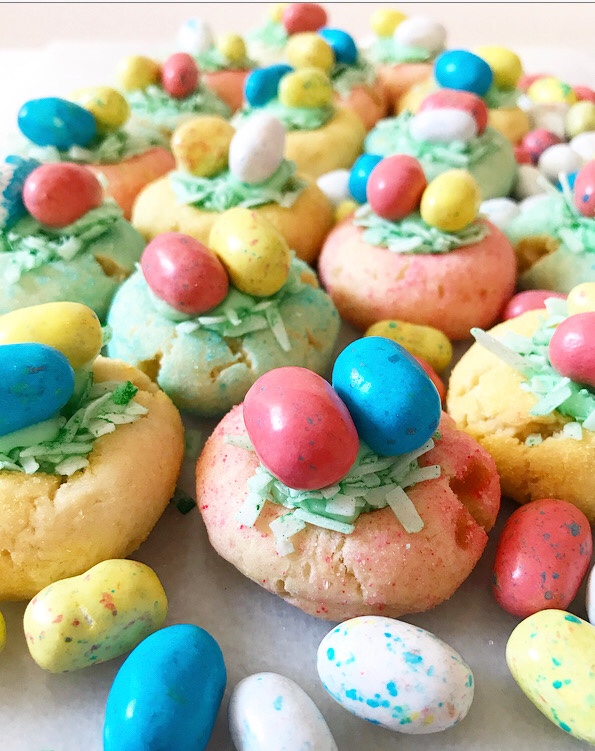 Easter Basket Thumbprints are just as festive as my Easter Egg Hunt Cake and only 1/4 of the work! Who can resist their pastel cuteness?! Not this lady.
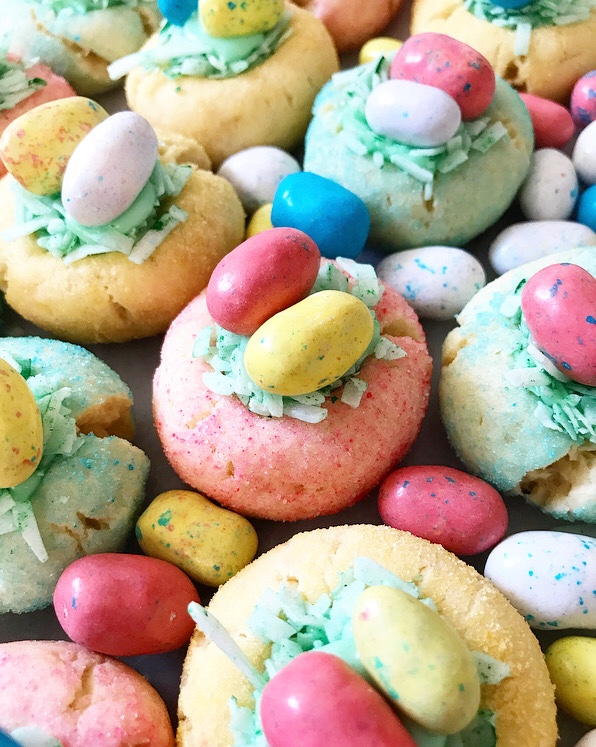 This recipe is simply an Eastered-up take on the Holiday Icing Thumbprints I posted last Christmas. They are meant to resemble little two-bite Easter baskets 🙂
 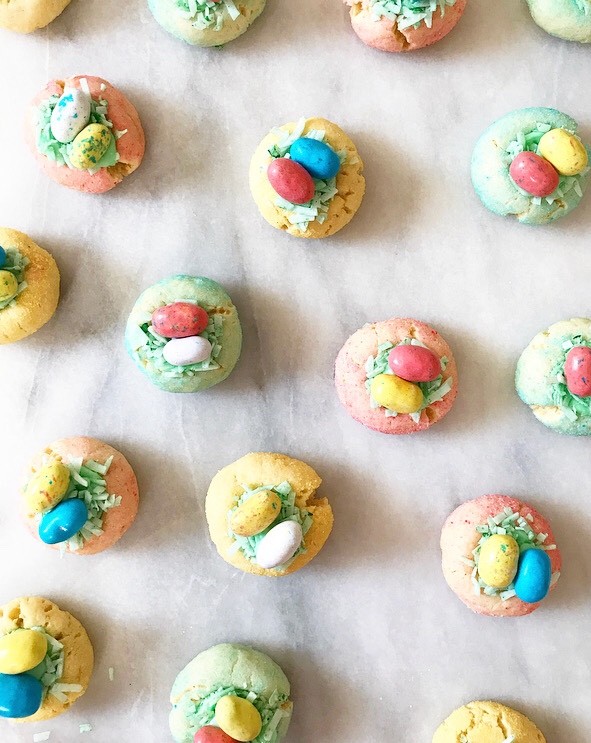 They are simple to make, too. I don’t have children, but I definitely would have made these with my older kids back in my nanny days.
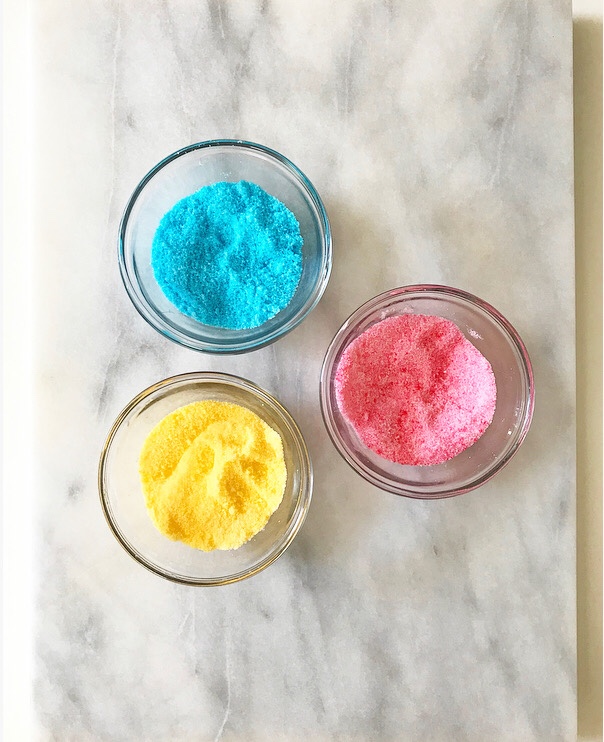
 The sugar cookie dough bases are rolled in pastel sparkling sugar for color and texture (crispy edges!) before baking.
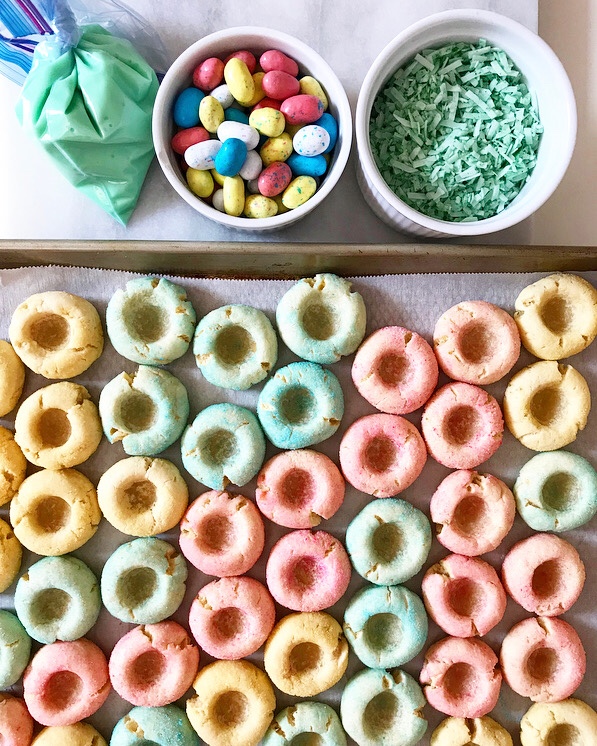 Then, immediately after baking, a well is pressed into the center of each cookie. These are the “thumbprints,” even though they’re made with the back of a 1/2 teaspoon. They’re filled with green icing…
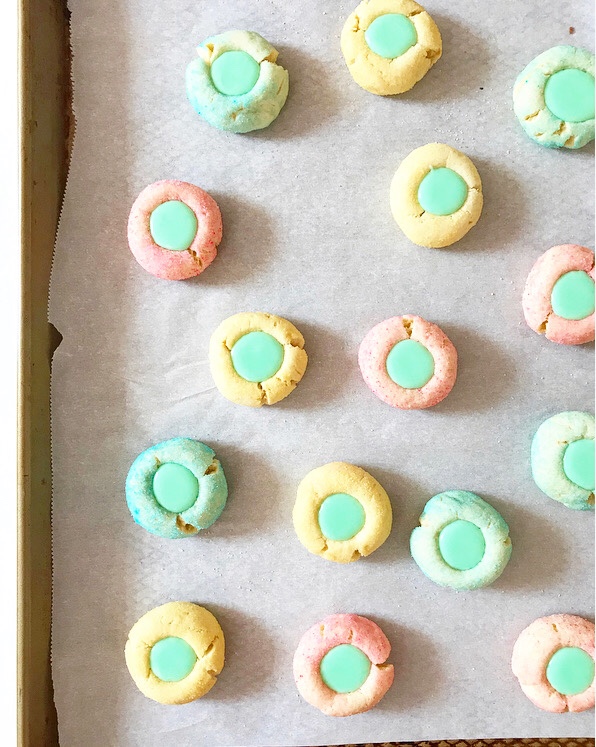
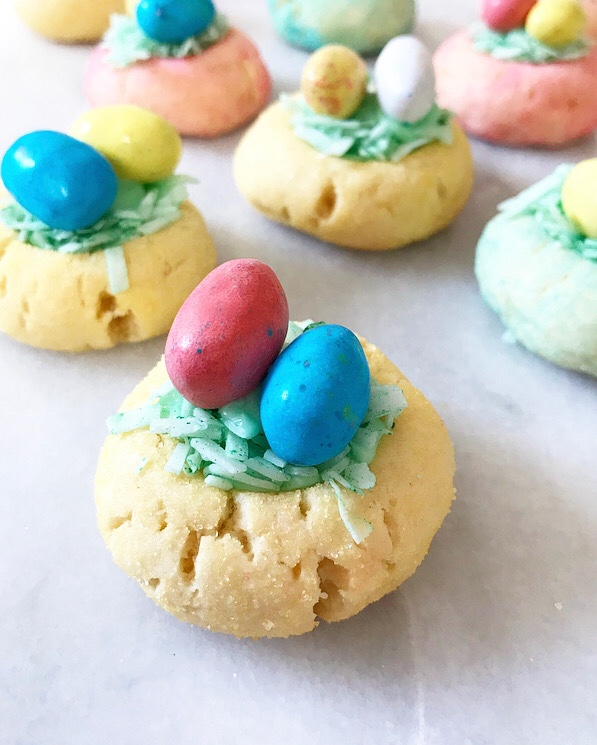
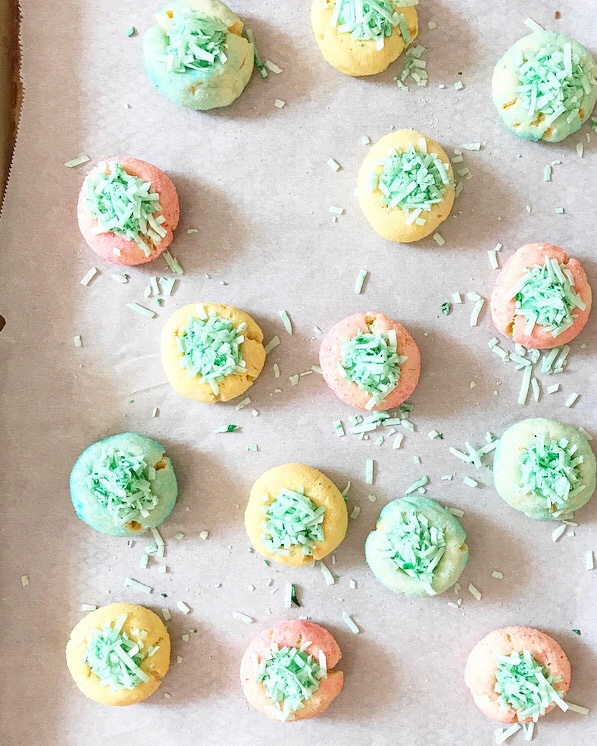 and topped with some coconut “Easter grass.”
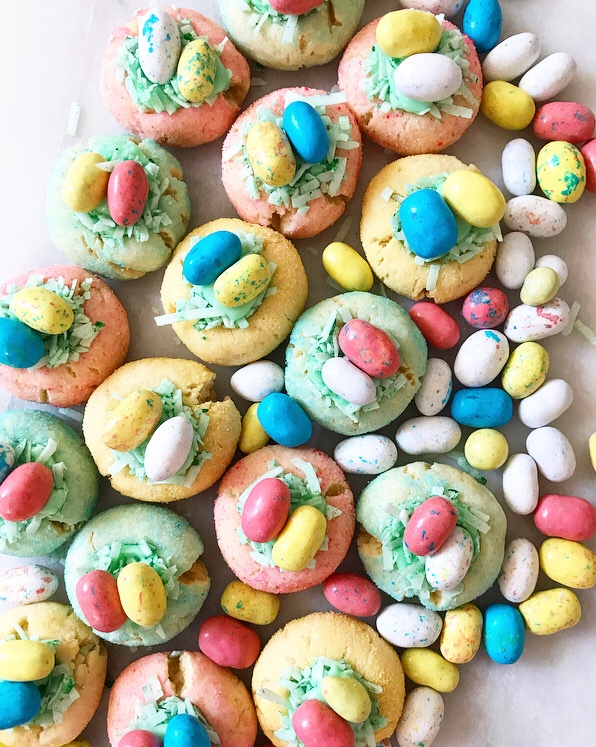 Dot on a little extra icing and finish your cookies with a couple of Easter egg candies. I went with these candy-coated malted milk balls. Let’s not discuss how many I ate during this little photoshoot.
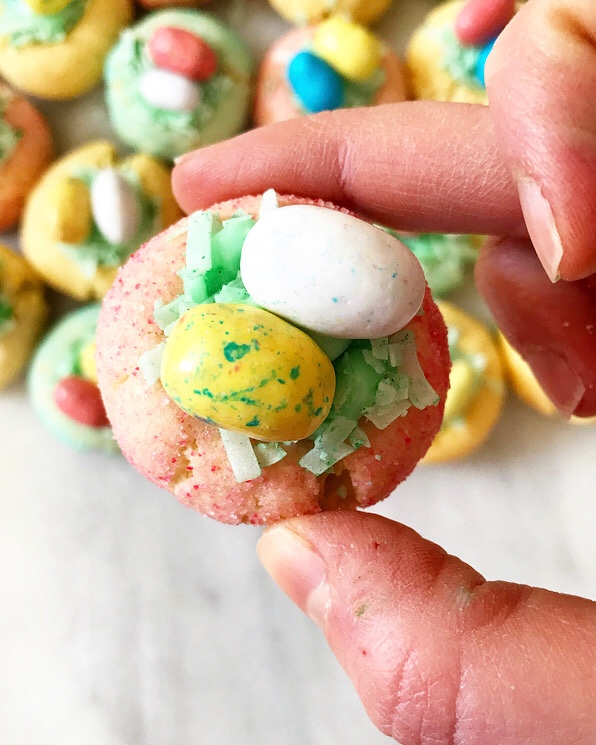 Or how many of these cheerful Easter Basket Thumbprints I ate in the days that followed.
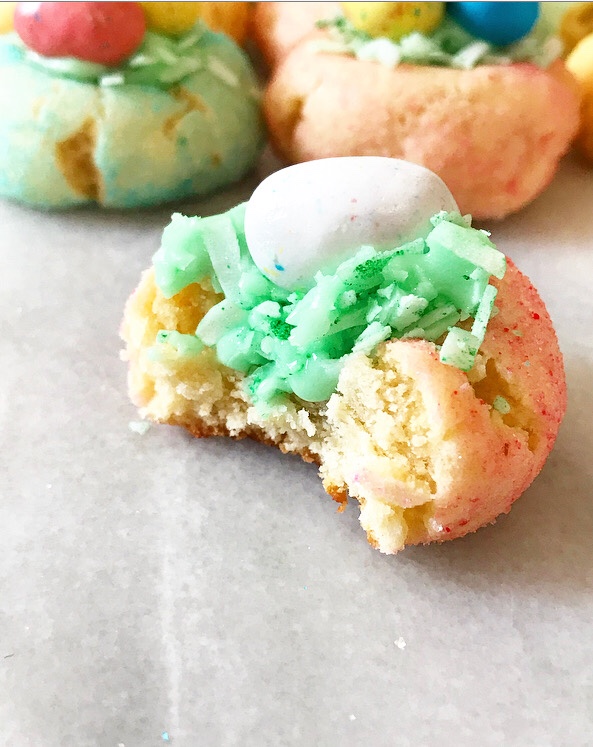 No regrets.
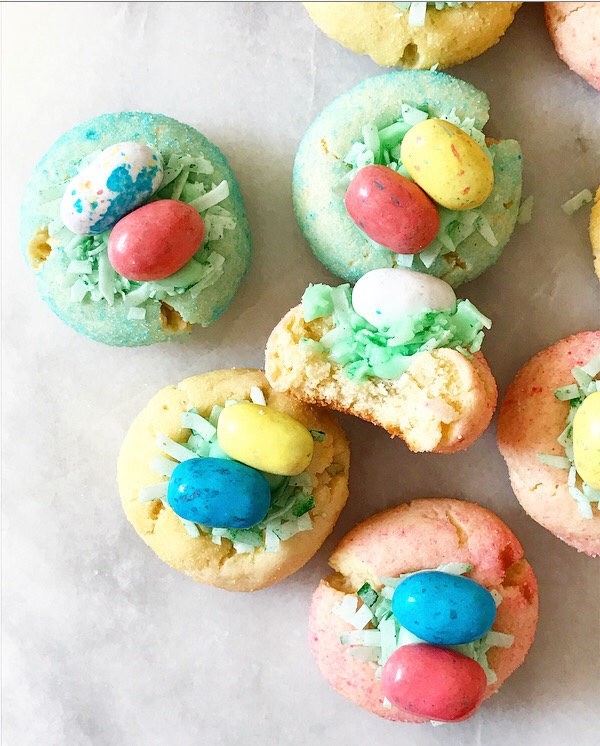
Easter Basket Thumbprints
makes about 3.5 dozen cookies
Cookie Dough:
3 1/4 cups all-purpose flour
1 teaspoon baking powder
1/2 teaspoon Kosher or sea salt
1/2 cup unsalted butter, softened to room temperature
4 oz (1/2 brick) full-fat brick-style cream cheese, softened to room temperature
3/4 cup granulated sugar
1/4 cup light brown sugar, packed
1 large egg, room temperature
2 teaspoons pure vanilla extract
1/4 teaspoon pure almond extract (optional)
For Sugar Coating:
3/4 cup granulated sugar, divided
1-2 drops each pink, blue, and yellow food colorings (liquid or gel)
Coconut:
1 cup flaked coconut (sweetened or unsweetened)
3-5 drops green food coloring (preferably liquid)
Icing & Garnish:
1 1/3 cups confectioners sugar, divided
2-3 tablespoons (6-9 teaspoons) milk
2-3 drops green food coloring (liquid or gel)
1 package Easter egg candies (I like Whoppers Mini Robin Eggs)
In a large mixing bowl, whisk together flour, baking powder, and salt. Set aside.
In a separate large mixing bowl, use an electric mixer to beat butter and cream cheese until light and fluffy, about 2 minutes. Cream in granulated and light brown sugars, followed by the egg, vanilla, and peppermint extract. Add dry ingredients in 3 installments, combining completely after each. Cover dough with plastic wrap and chill for at least 3 hours or up to 3 days.
Preheat oven to 350F. Line two baking sheets with parchment. Set aside.
Make the sugar coating. Place 1/4 cup granulated sugar in each of 3 small bowls. Add 1 drop food coloring to each bowl (I used pink, blue, and yellow) and use a fork to stir in the color. If you use gel coloring, you may need a drop of water to ease the color onto the sugar. Add another drop of food coloring, if needed to reach desired color.
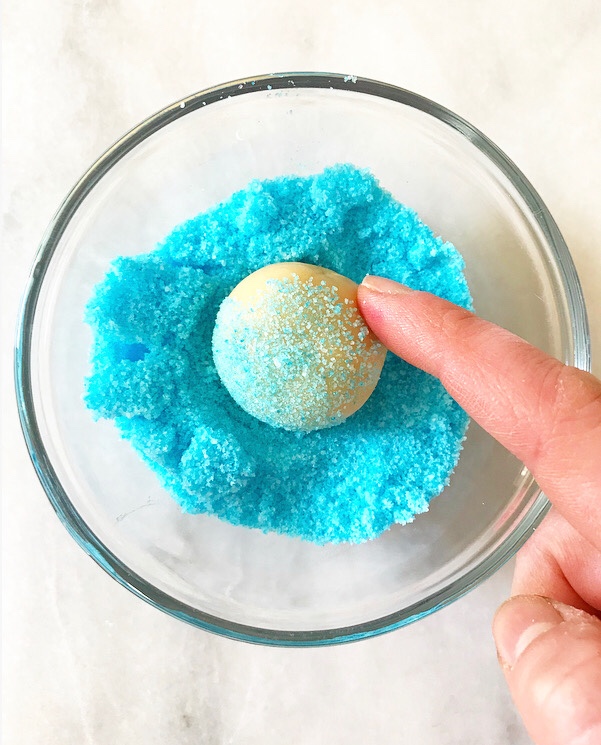
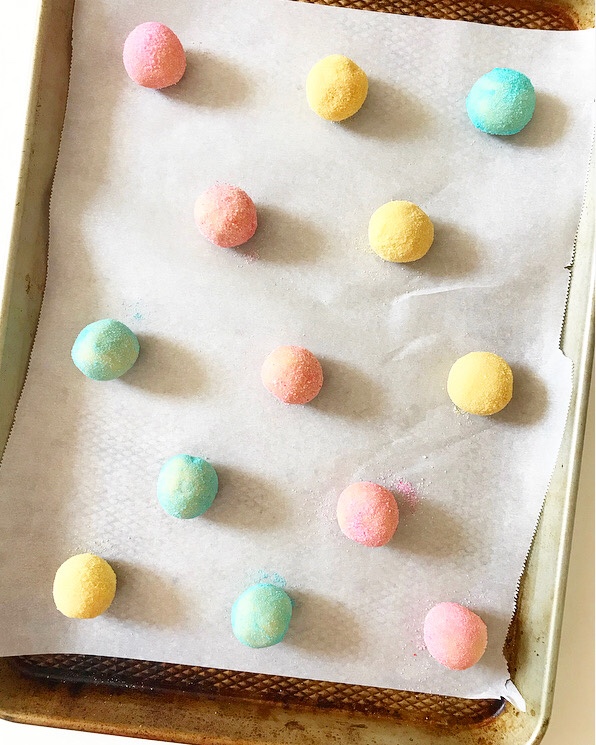
Remove dough from the refrigerator. Scoop dough by the tablespoon and roll each into a ball. Roll balls in colored sugar before placing at least 2 inches apart on prepared pans. Use the back of a very small spoon (like a 1/2 teaspoon) to slowly press a well into each dough ball. They may crack a bit—this is okay.
Bake cookies 12-13 minutes. Cookies are done when puffed and no longer raw-looking. When you remove the cookies from the oven, press the back of the small spoon into the centers again. Let cookies cool on the pans for 10 minutes before carefully removing to a rack to cool completely. Repeat rolling, coating, and baking process with all remaining dough, letting the cookie sheets come back to room temperature between batches.
Dye the coconut. Place flaked coconut in a small bowl and add 3 drops green food coloring. Use a fork (or your fingers) to distribute the dye evenly. Add another drop or 2 of coloring, as needed to achieve desired color.
Make the icing. Place confectioners sugar in a small bowl. Stir 2 tablespoons (6 teaspoons) of milk into each bowl. Add 2-3 drops green food coloring and whisk with a fork until combined. Add more milk by the 1/2 teaspoon until icing is very thick, but pourable.
Transfer icing to a piping bag (or ziptop sandwich bag), twist it tight and snip off a very small corner. Fill wells in cookies as desired. Sprinkle/press on coconut.
Add a drop of icing to each cookie to adhere Easter egg candies.
Icing will set over time. Cookies will keep in an airtight container at room temperature for a few days. Place wax paper between layers for easiest storage.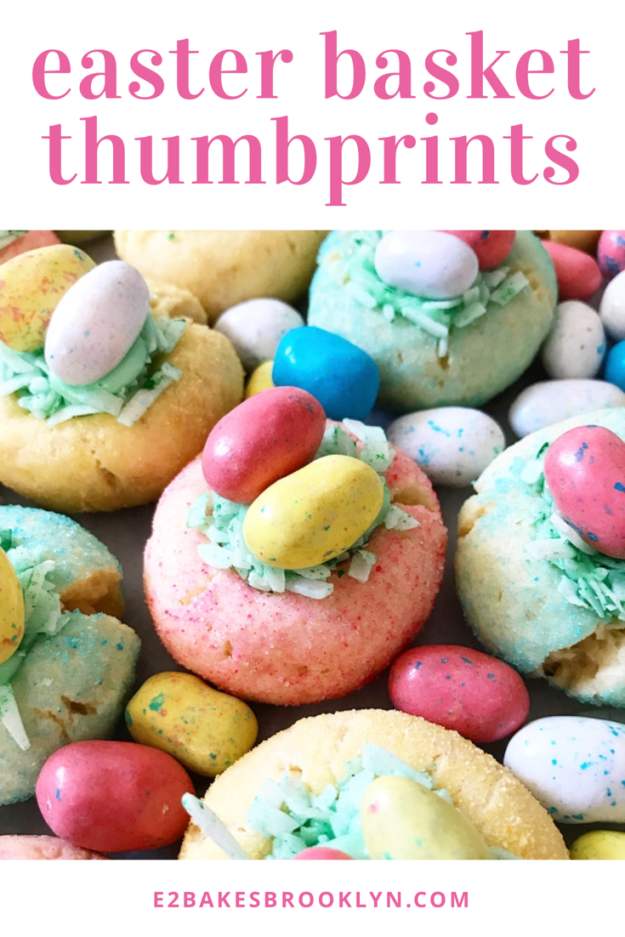
 When I moved in with my roommate, I thought it would be a short-term deal. We were friendly, but didn’t know each other particularly well, and I honestly didn’t think we’d get along in close quarters—the original plan was that I’d live here for six months or so while I recovered from the end of a relationship.
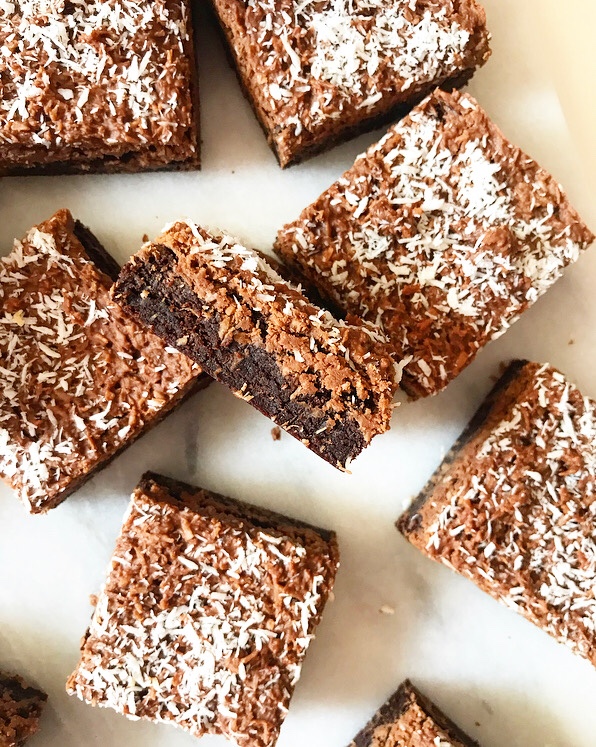 Flash forward three years and I’m still here, living with the same guy. Turns out that an obsessive baker who mostly wears pajamas and a neat freak can, in fact, live in peace. And make each other laugh really hard.
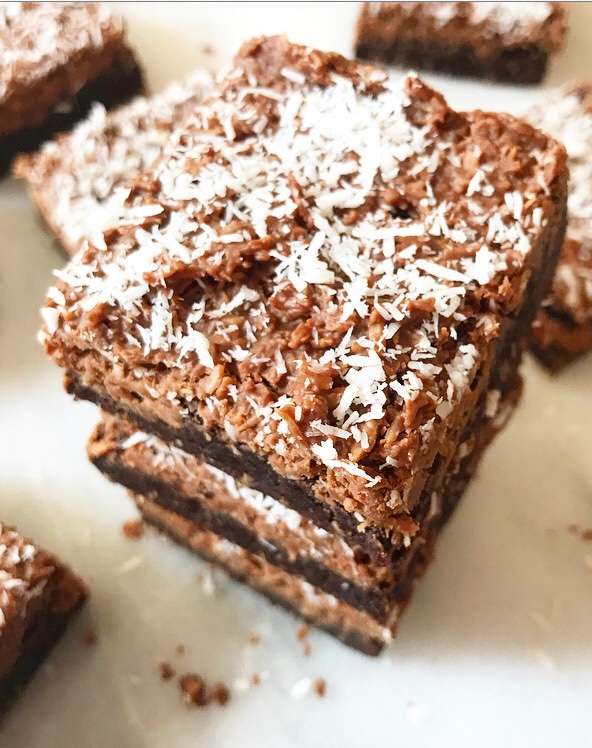 Before I get to the point and why this is relevant to Coconut Cluster Brownies, I have to say that this is not some sort of romantic announcement. Hahahahahaha absolutely not.
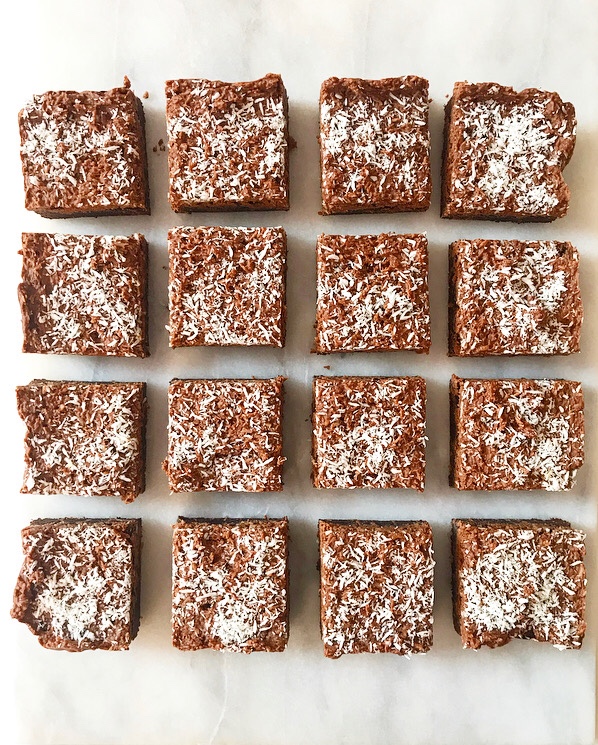 But let me confuse you further by telling you that he got me a box of chocolates for Valentine’s Day. It wasn’t a romantic gesture. We get each other things all the time—I sometimes make
 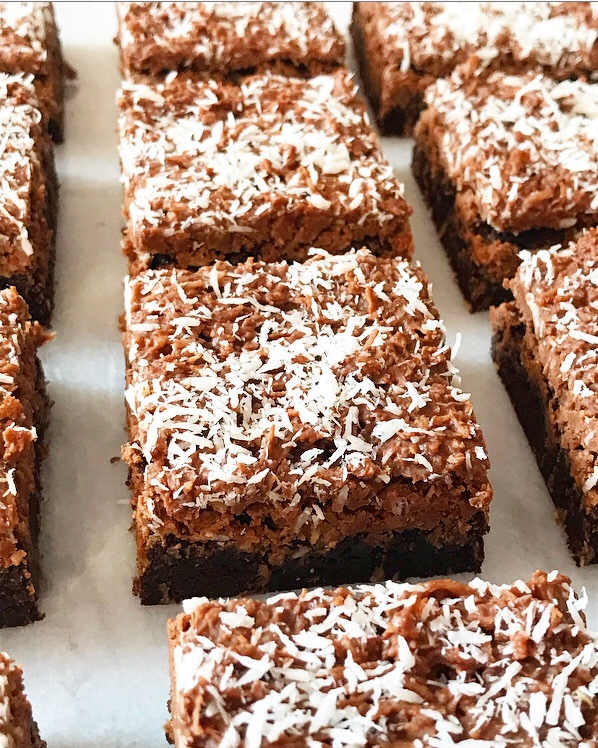 The small Whitman’s Sampler that I received only had a few pieces in it, and I immediately determined the order in which I would eat them, one at a time, over the next few days. The caramel went first, followed by the buttercream and the ganache. The last one, the candy that I was the least excited about, was the Coconut Cluster. It was shaped like a peanut butter cup, but instead of being a filling enrobed in chocolate, it was a block of milk chocolate speckled with bits of coconut. As I went to eat it so I could toss the heart-shaped box, I didn’t expect much, but then I popped it into my mouth and suddenly became obsessed with putting this rich, simple chocolate-coconut combination on a brownie. And so, a month later, I did.
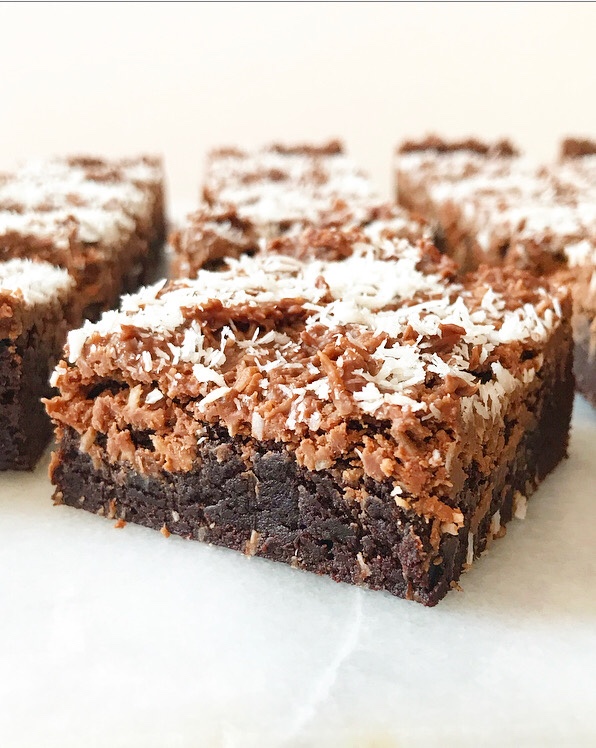
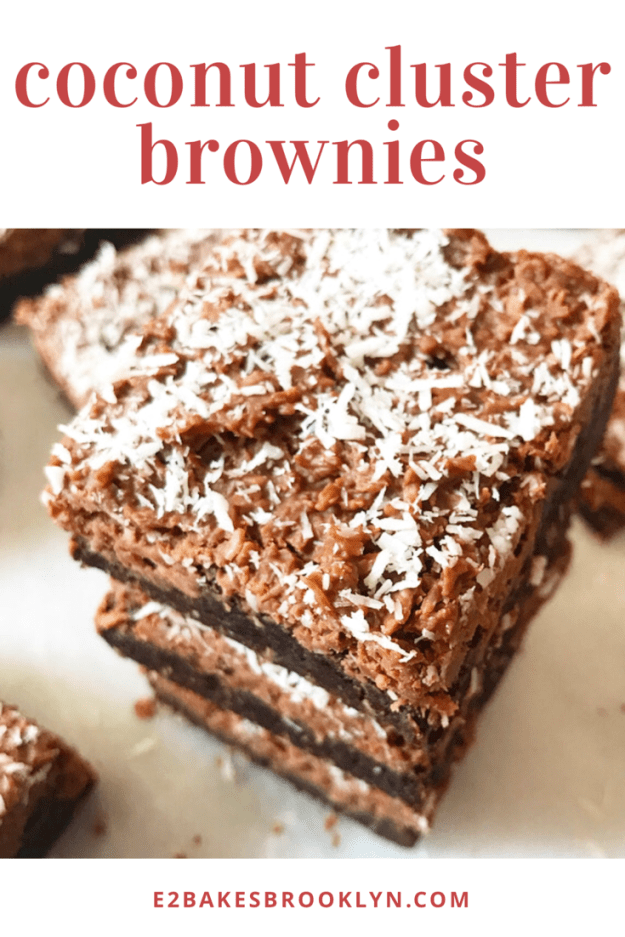
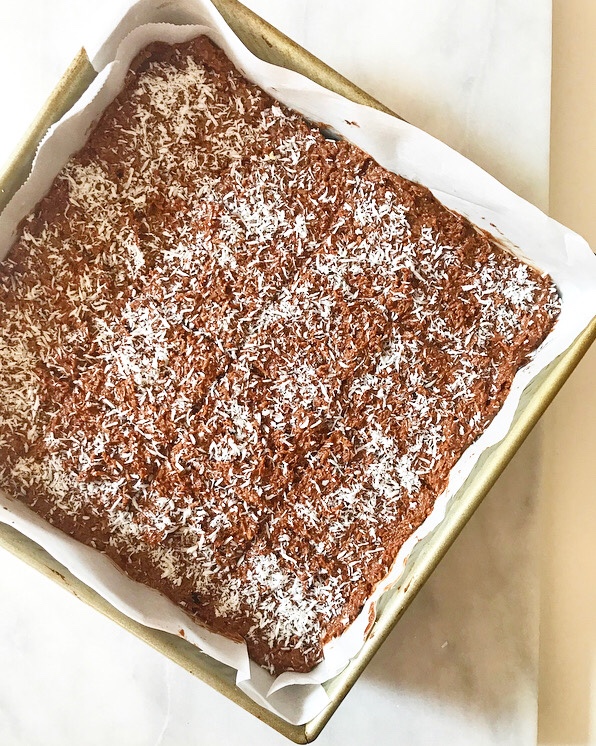 These Coconut Cluster Brownies are nothing more than my favorite
  If you love chocolate, coconut, and brownies like I do, you will want to hoard all of these for yourself…
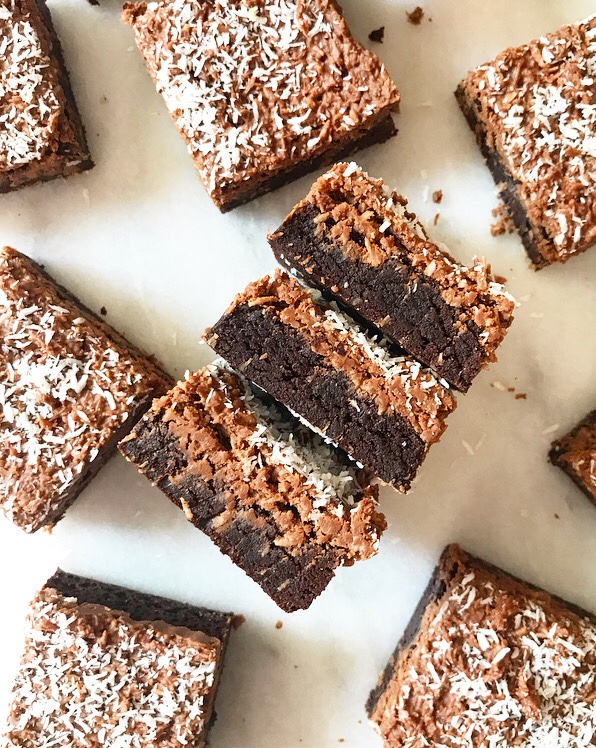 …but maybe set one or two or four aside for your friend who puts up with your late night baking and knows you well enough to know how you feel about sale-priced peanut butter and cheap chocolate. That’s a good sort of person to have around.
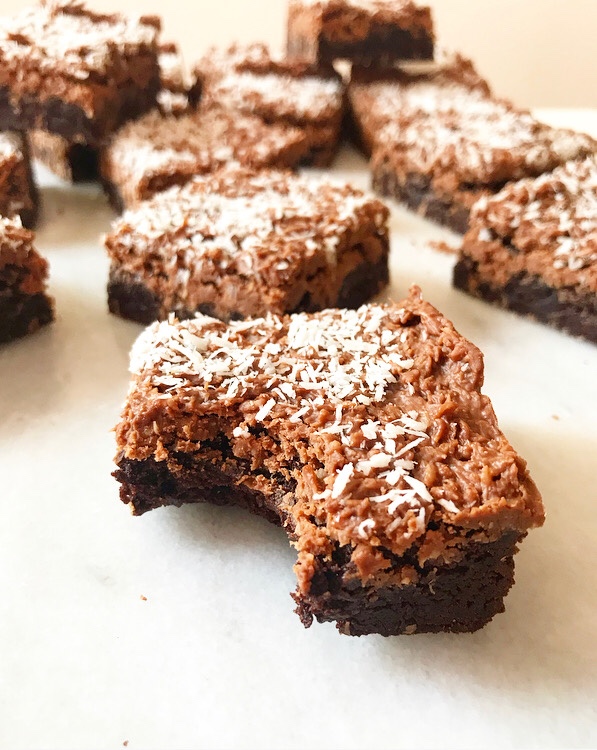
 If you’re keeping count, this is my third pie
  Today’s recipe is a new favorite of mine: Coconut Custard Pie! It’s basically exactly what it sounds like—shredded coconut suspended in a soft vanilla custard, all wrapped up in golden brown crust! If you love coconut, this is the pie for you!*
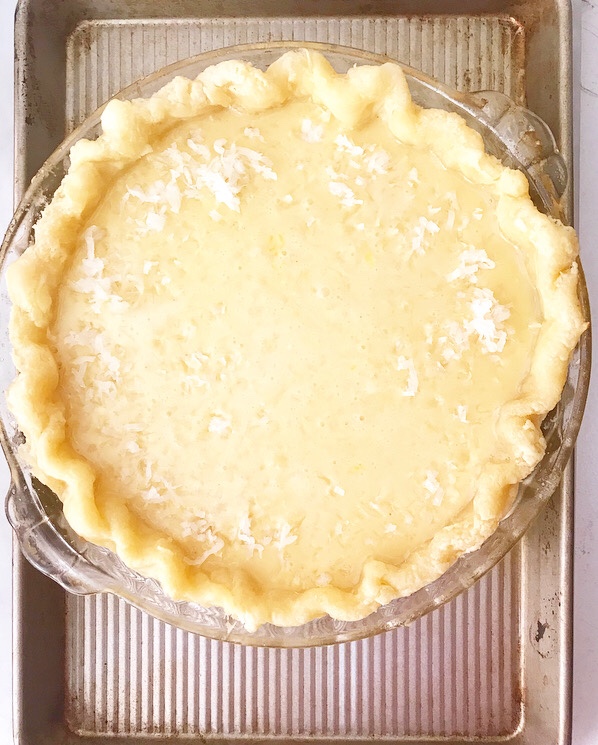
 I won’t lie to you—this pie is a little bit of a diva. For one, the crust has to be partially blind-baked (aka baked without filling). It’s not a difficult process, but it’s fussy.
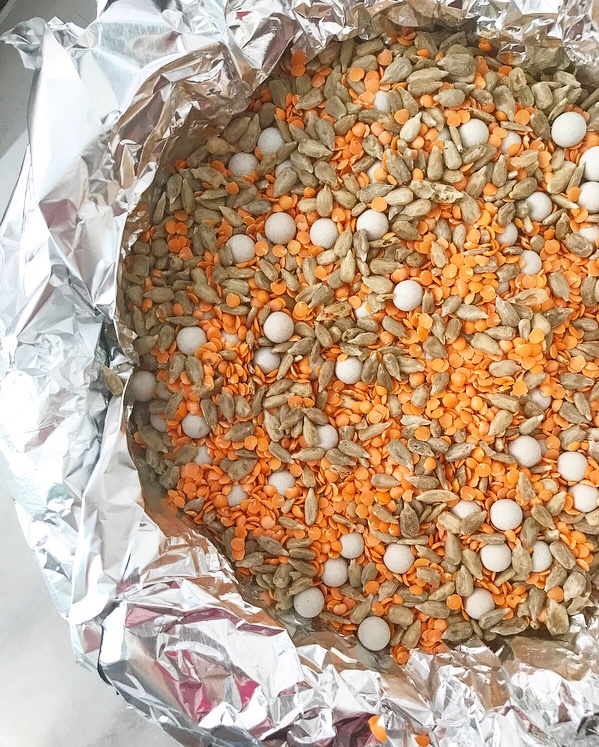 To put it briefly: roll the dough, put it in a pie plate, crimp it, freeze it, dock it with a fork, line it with foil (2 sheets!), fill it with pie weights/dried beans/rice/seeds/a combination, freeze again, bake just until set (but not anywhere near done), remove pie weights, fill, bake again. WHEW.
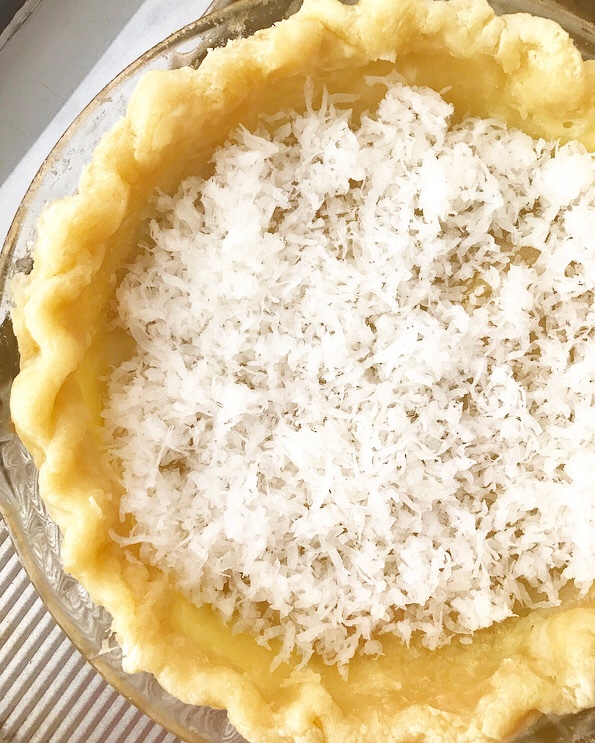
 Again, not difficult, just fussy. Don’t be tempted to skip this step though, unless you are into soft, undercooked bottom crust. I promise that I wouldn’t insist on par-baking if it were not absolutely necessary for stellar Coconut Custard Pie.
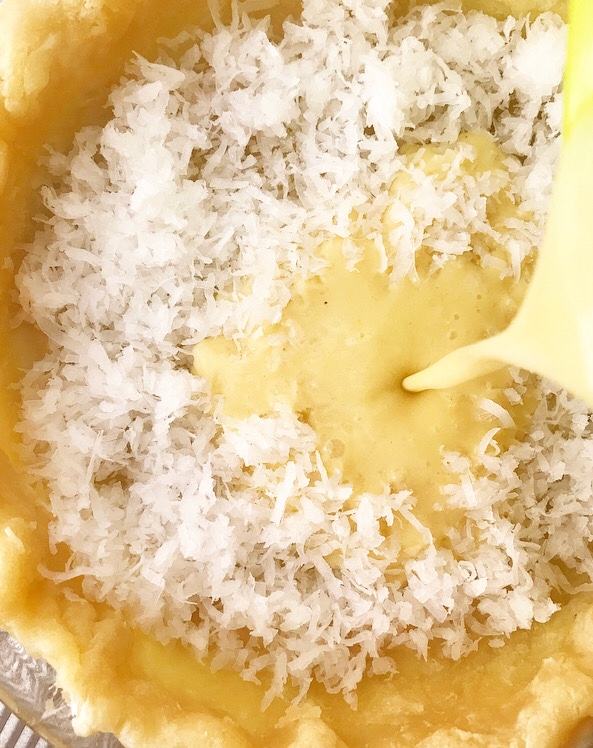
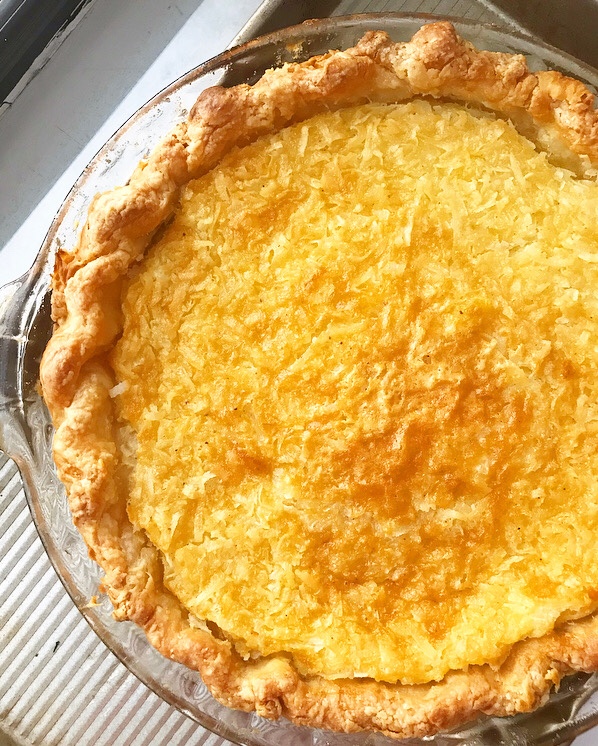
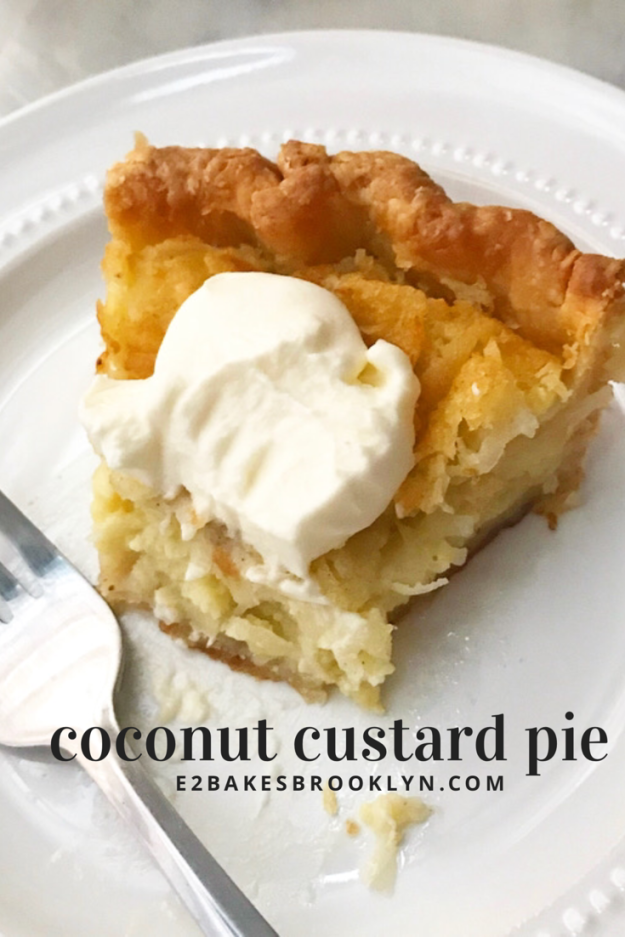
 And make no mistake, this pie is stellar. The filling is an easy whisk-and-pour situation, and once it’s baked and cooled, it becomes soft, rich, toasty coconut magic.
 Add a little whipped cream, and you’ve got the perfect way to end your Thanksgiving dinner.


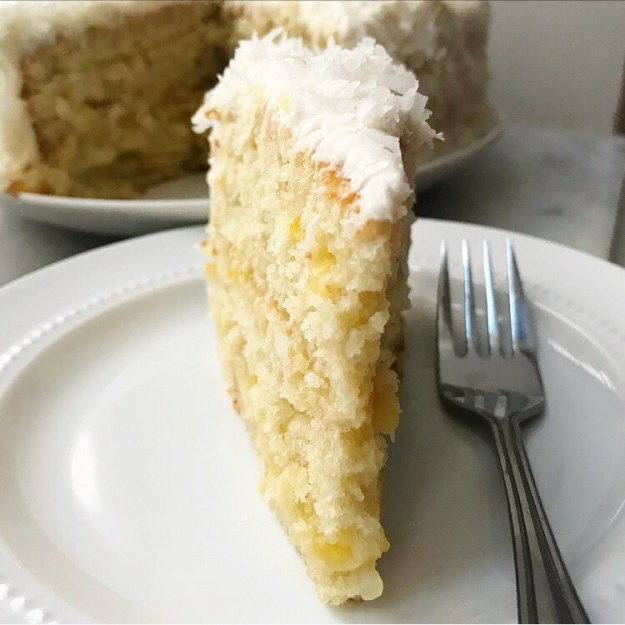
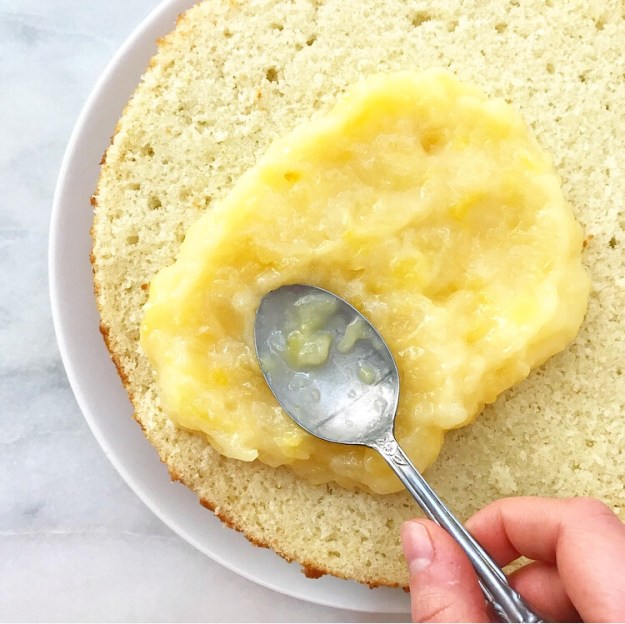
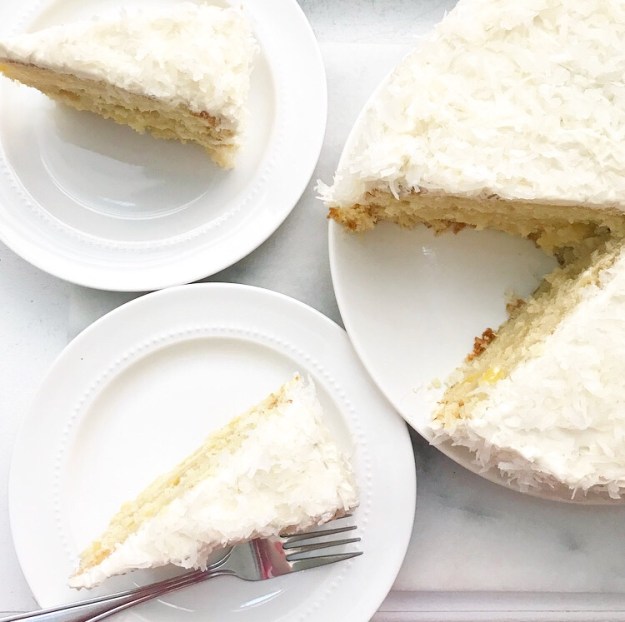
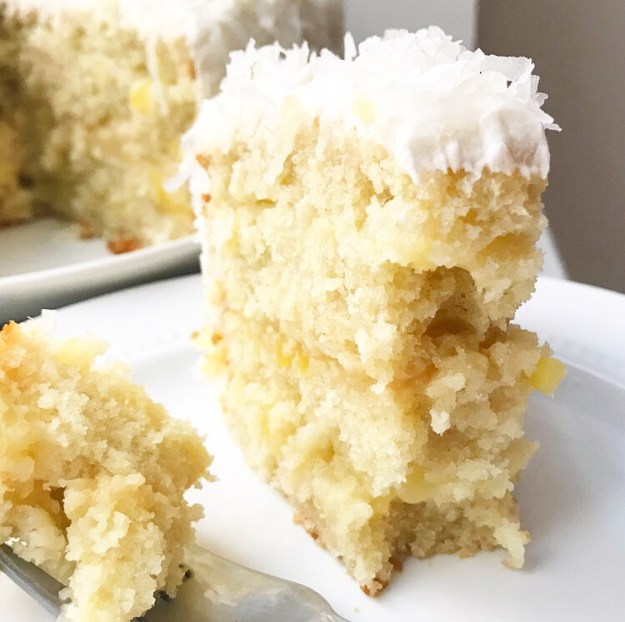
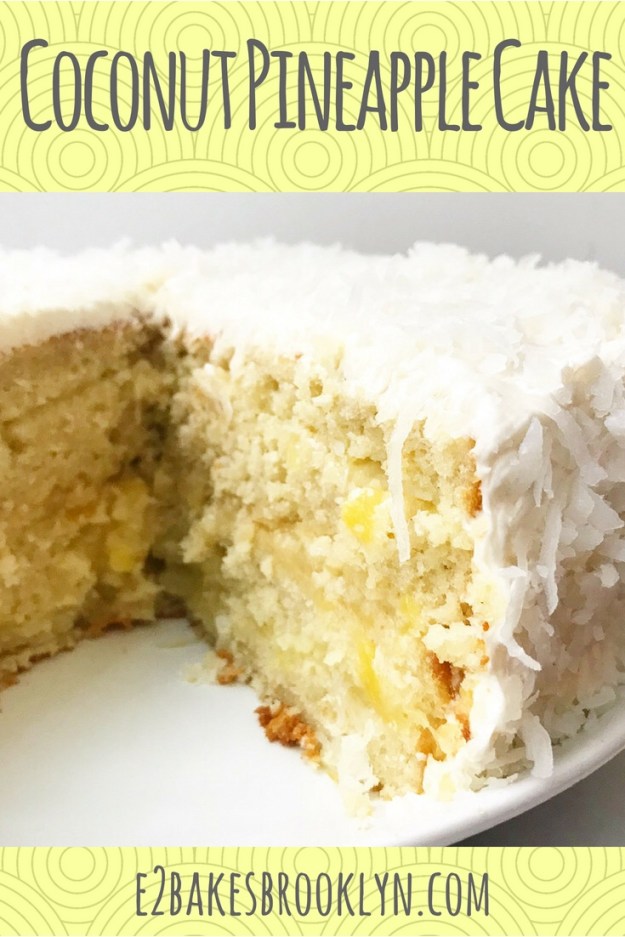
 About two years ago, an acquaintance called and asked me to make a Coconut Pineapple Cake for his birthday party.
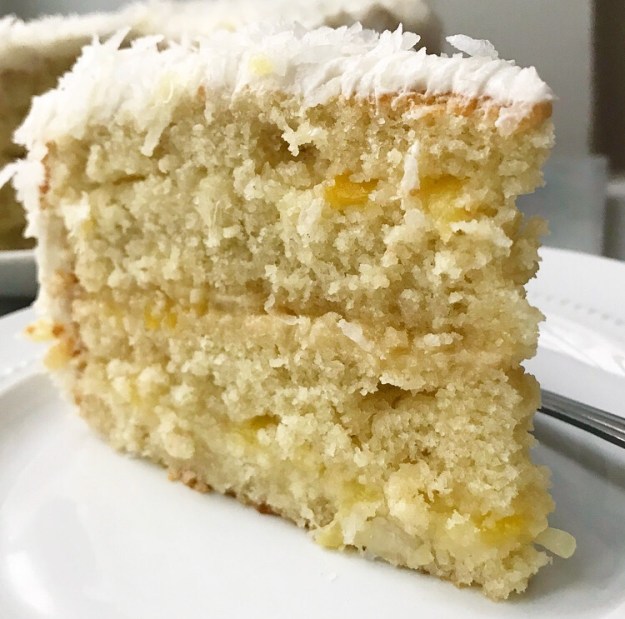


 I don’t want to write about baking today—I want to write about how much I love the Olympics. I’ve watched the coverage every night and had it on in the background while I’ve baked during the day. This isn’t a recent habit—I grew up in a family that gathered to watch the games (summer or winter) every night they were on, and I even once had a wall of my teenage bedroom dedicated to the decorated short track speedskater Apolo Ohno.
 Anyway, this isn’t an Olympics blog. It’s a baking blog. So, let’s talk about baked goods, specifically Almond Joy Shortbread Bars.
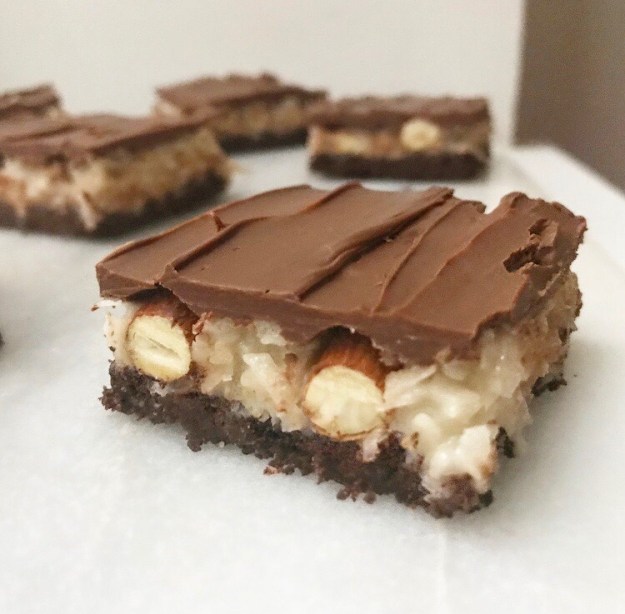
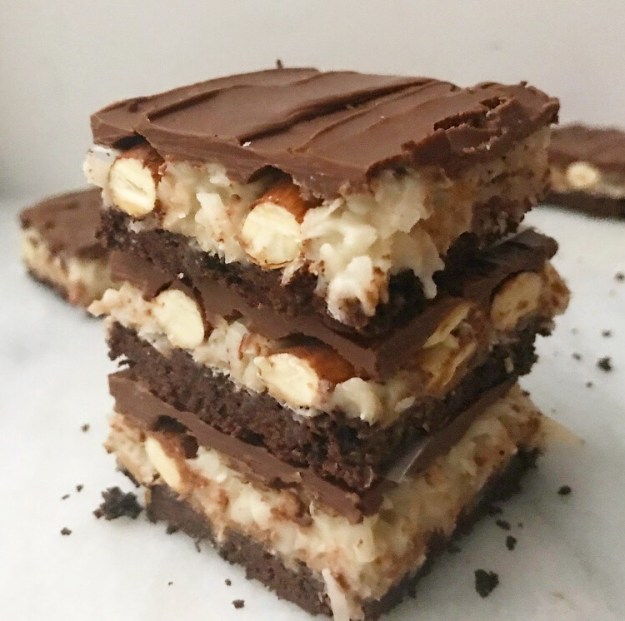
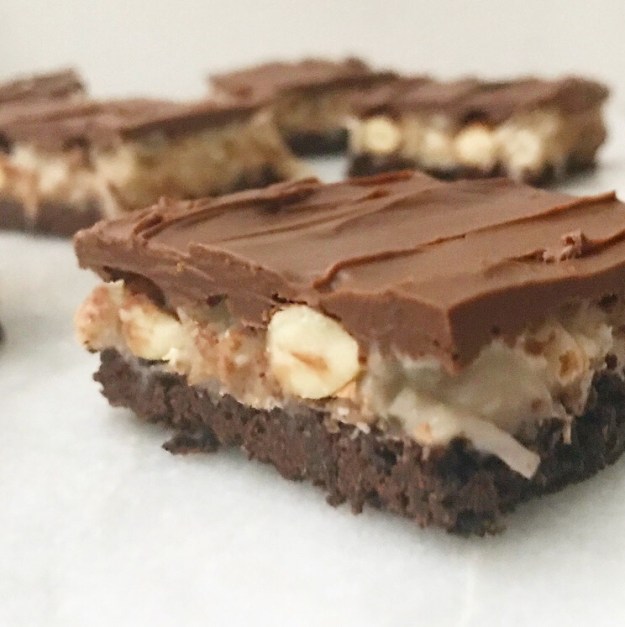 If you’re going to try to improve on the practically perfect combination of chocolate, almonds, and sweet coconut filling, layering it all onto a buttery chocolate shortbread crust is a pretty good way to start.
 All the layers in these bars make them look like they take hours to prepare, but in reality, they take about 90 minutes from start to finish and are nearly no-bake. That easy chocolate shortbread crust is the only layer that has to spend time in the oven.
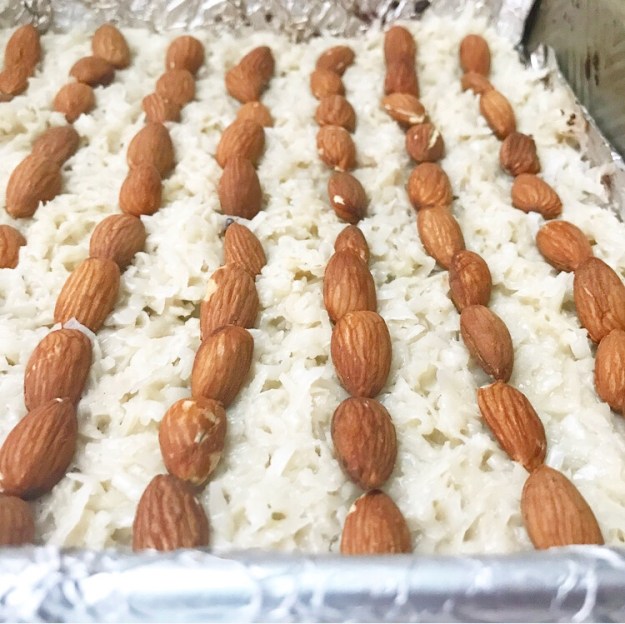
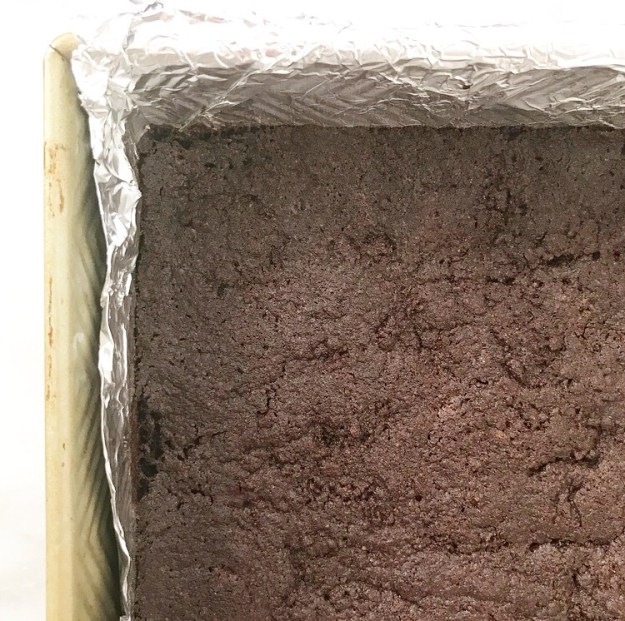 It’s topped with a thick layer of coconut filling and dotted with whole roasted almonds…

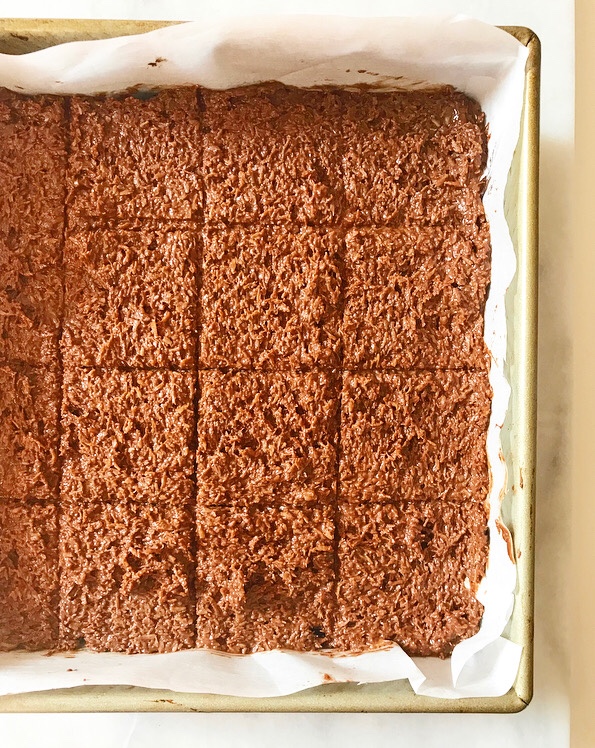
 But back to the bars. Slice ‘em up and admire your handiwork. #thoselayerstho
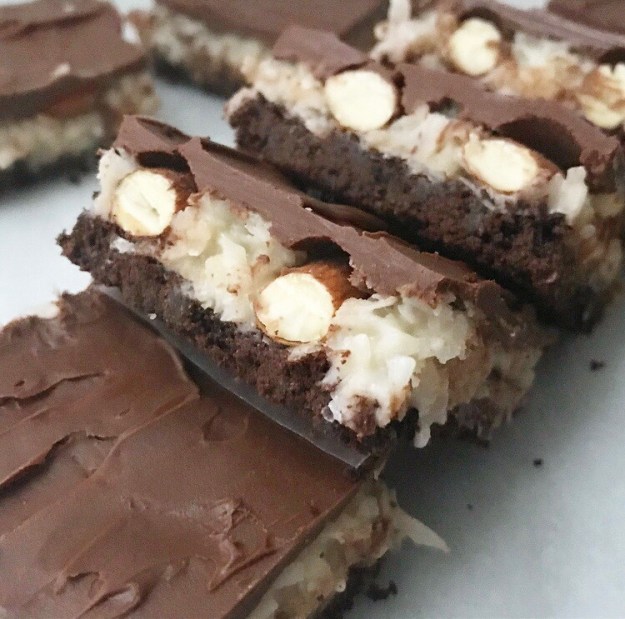 The flavor is everything you love about sweet, chewy, crunchy Almond Joys, but better because they’re homemade. Oh, and because they have a crispy layer of chocolate shortbread offsetting all their sweetness. After sinking your teeth into one of these, you’ll never be able to go back to the mass-produced candy bar.