Category Archives: Entertaining

Apple Cinnamon Upside-Down Cake {Seven Year Anniversary}

In years past, I might have gone with a flashier recipe to celebrate seven years of this blog, but this year I’m keeping it low key and doing what comes naturally. I’m just glad to be here.

Apple Cinnamon Upside-Down Cake​

I’ve been open about needing a break this past summer. Though the baking never stopped, I’m very much getting back into the swing of posting. I am currently writing to you on a Friday afternoon from the New York City subway—it’s not the first time and certainly not the last. E2 Bakes has always been a little bit of a patchwork. A little time here, a little time there. Late nights, early mornings, set baking hours with a little wiggle room, writing content on public transit between appointments—it all makes this place function.

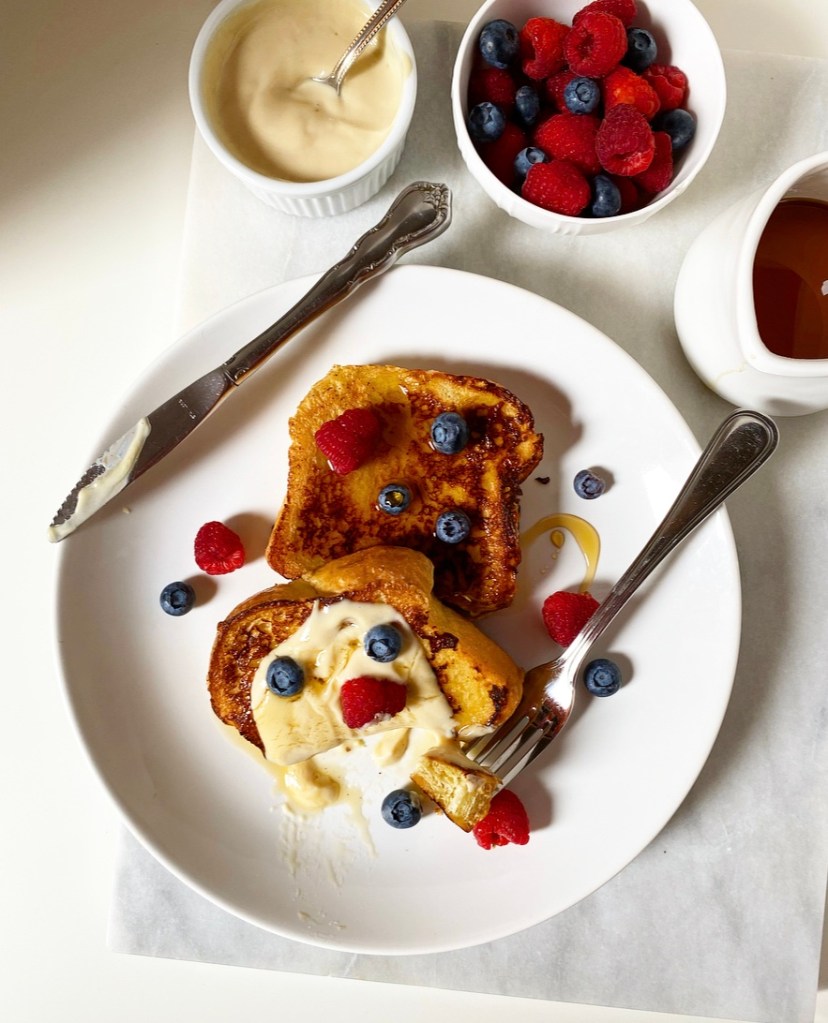
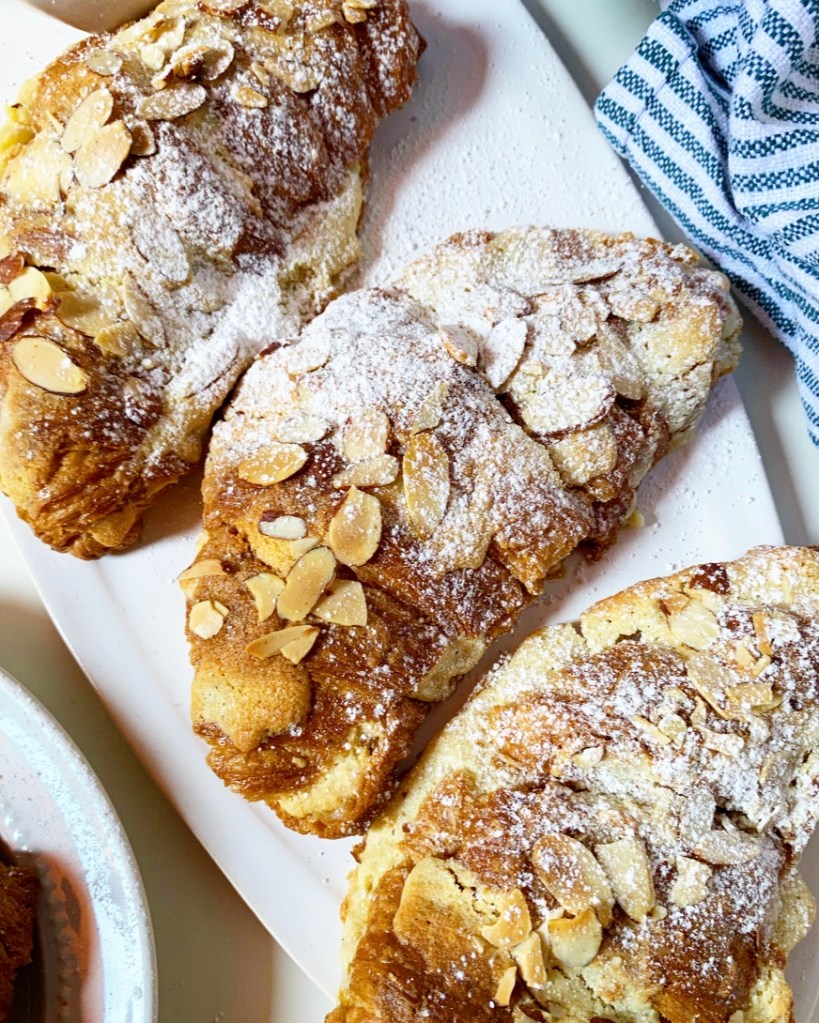
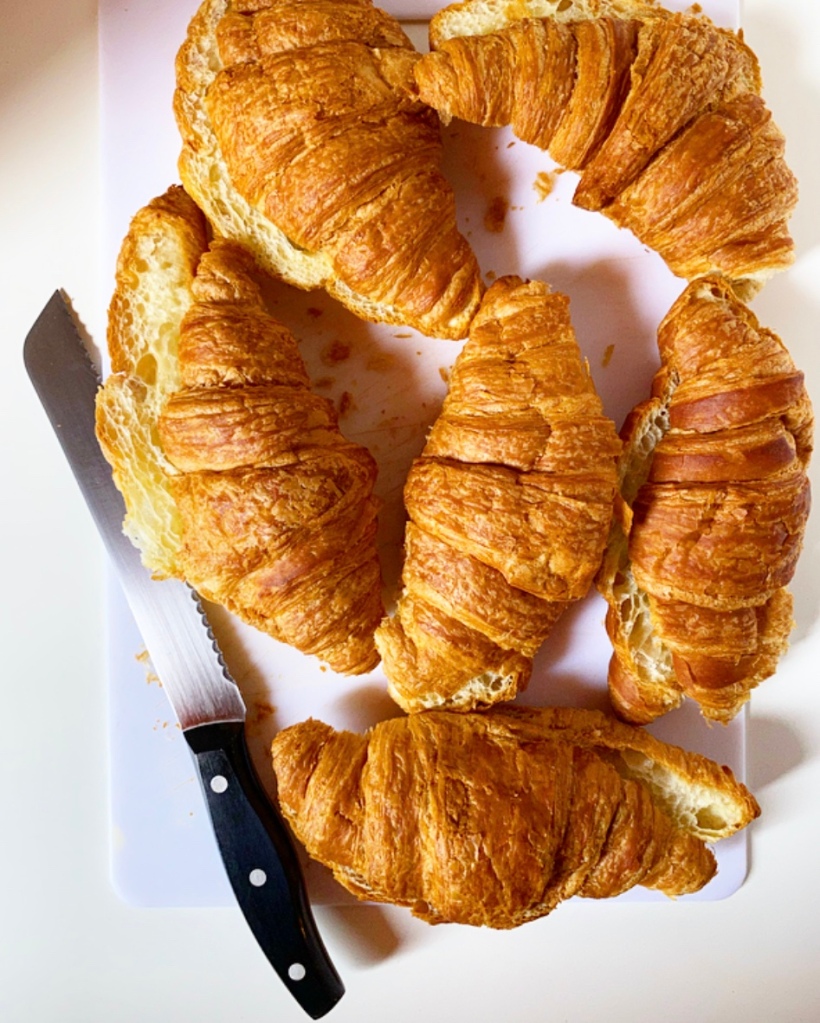
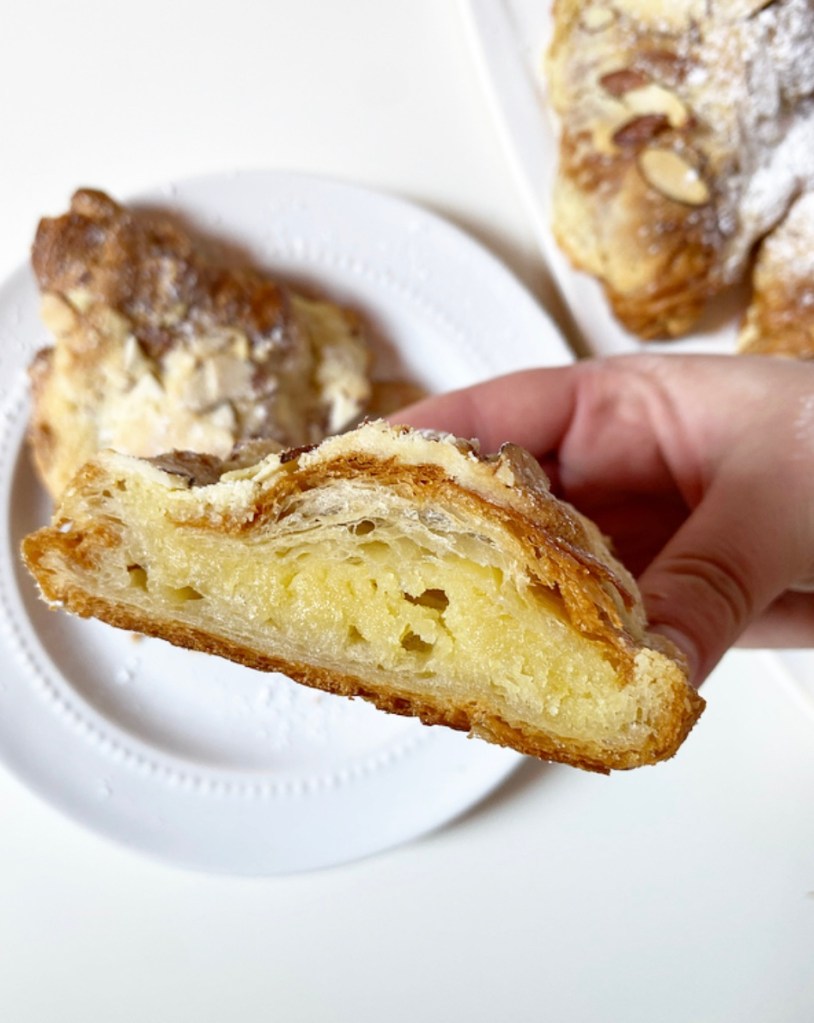
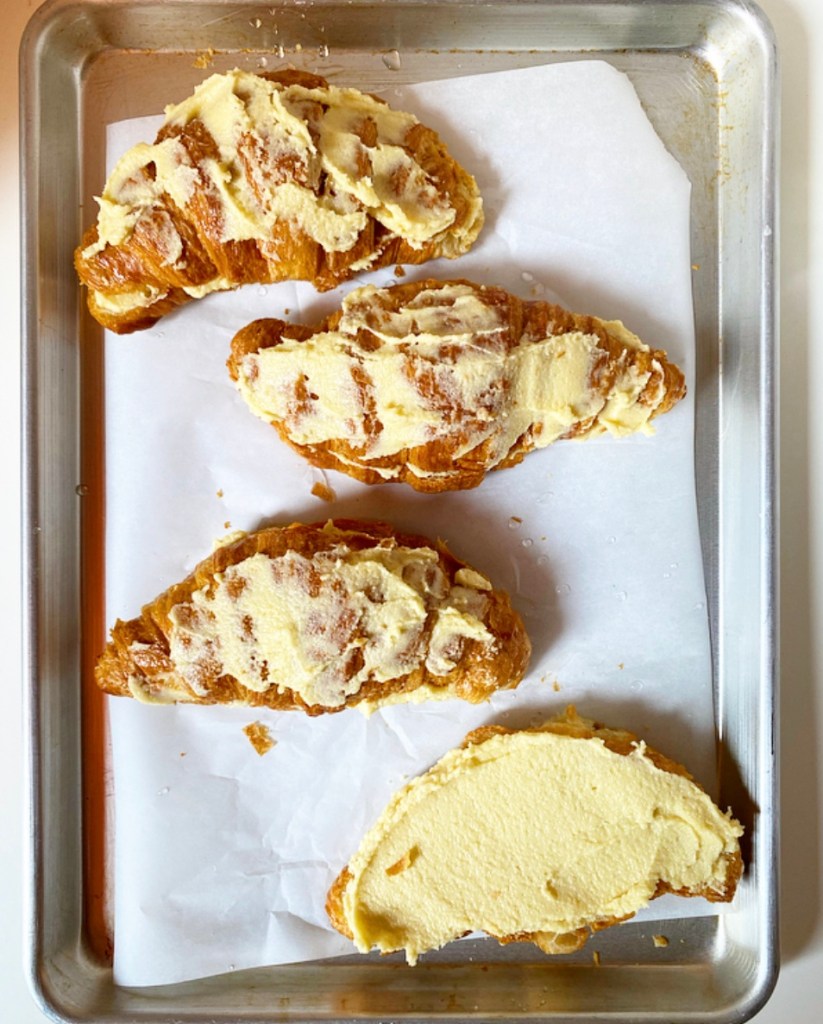
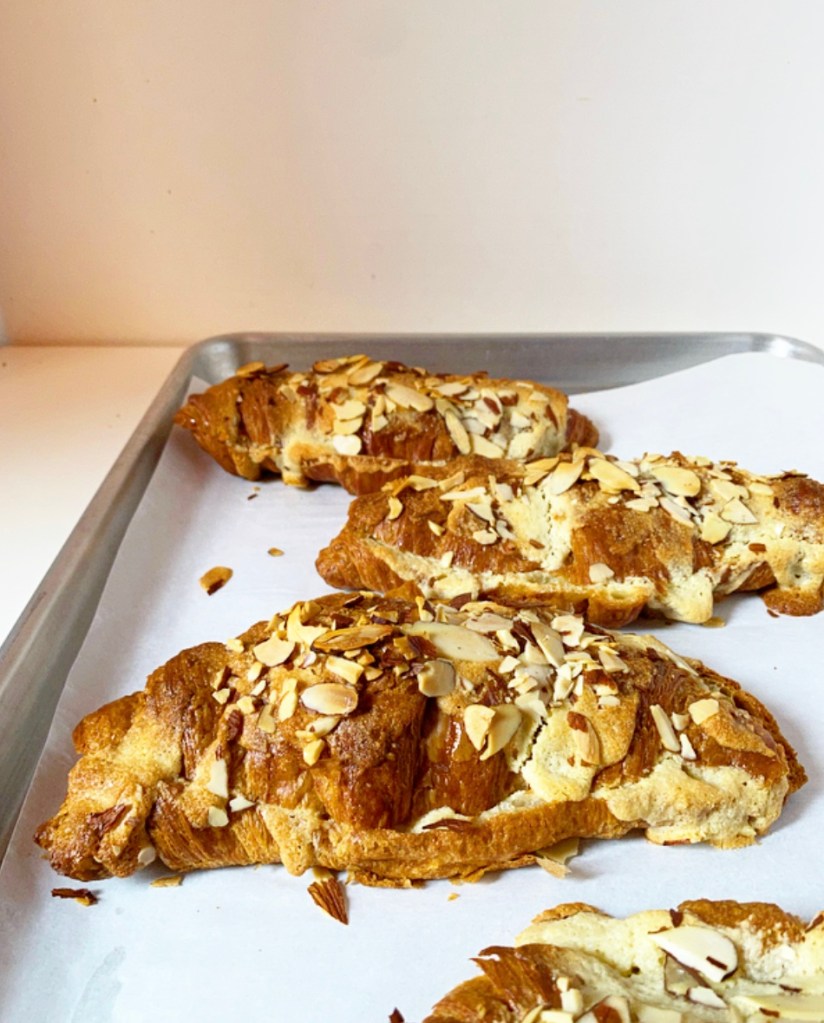
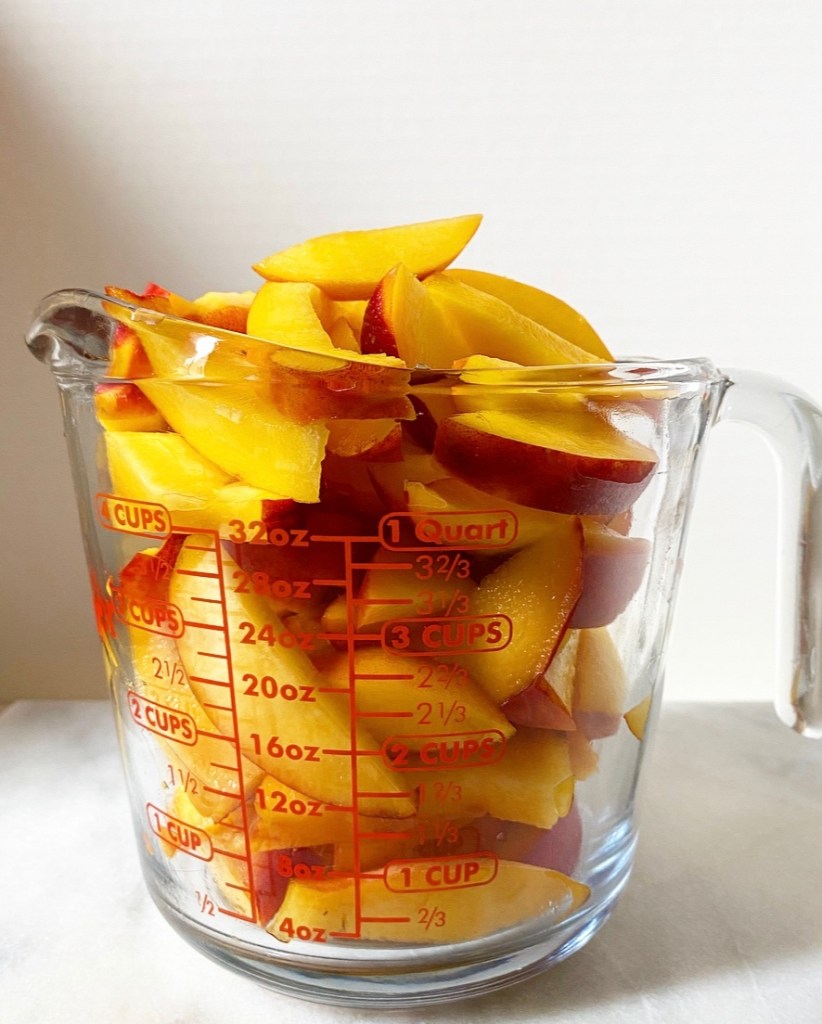
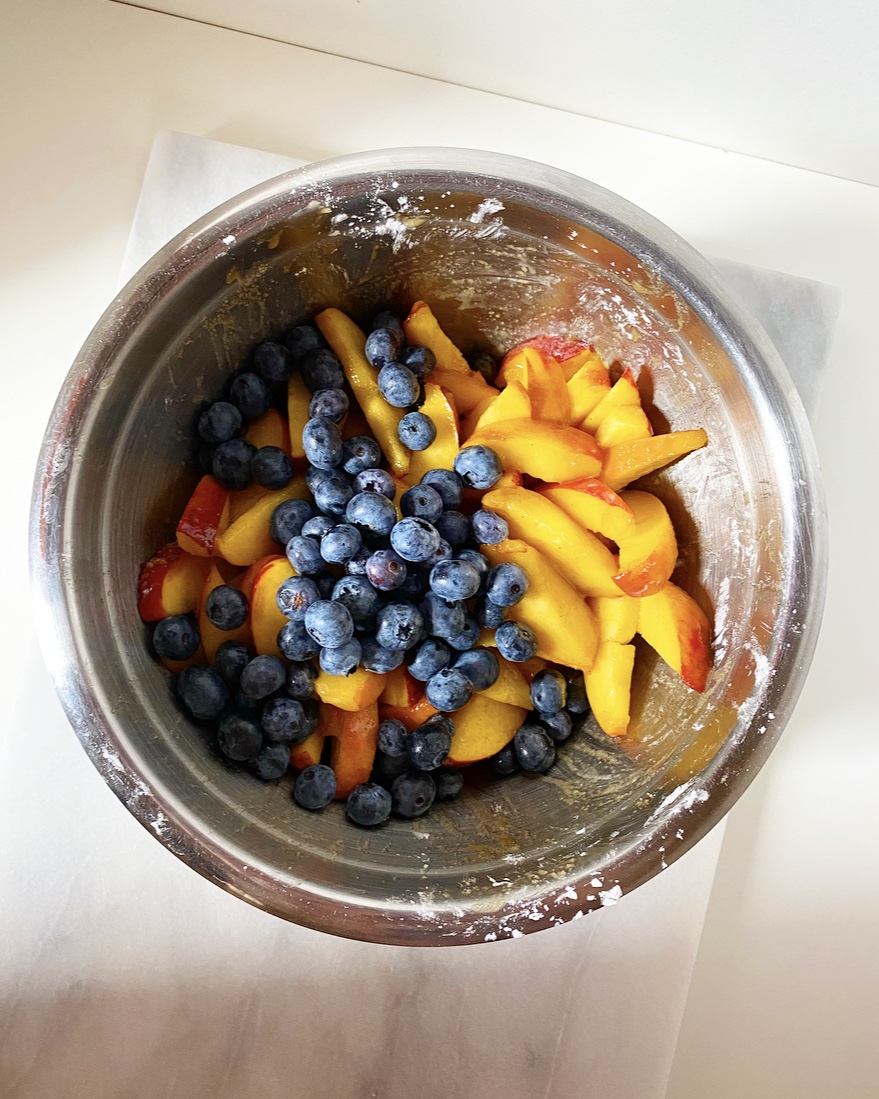
Of all of that, the baking and recipe testing is obviously the most important. I need to spend time making the things that I want to make not just because it’s enjoyable for me, but because those things are just better. See exhibits A, B & C of many (many, many). I am not one of those who thinks being “made with love” is crucial for success (I have made plenty of delicious things while absolutely furious), but it sure doesn’t hurt.

Apple Cinnamon Upside-Down Cake​

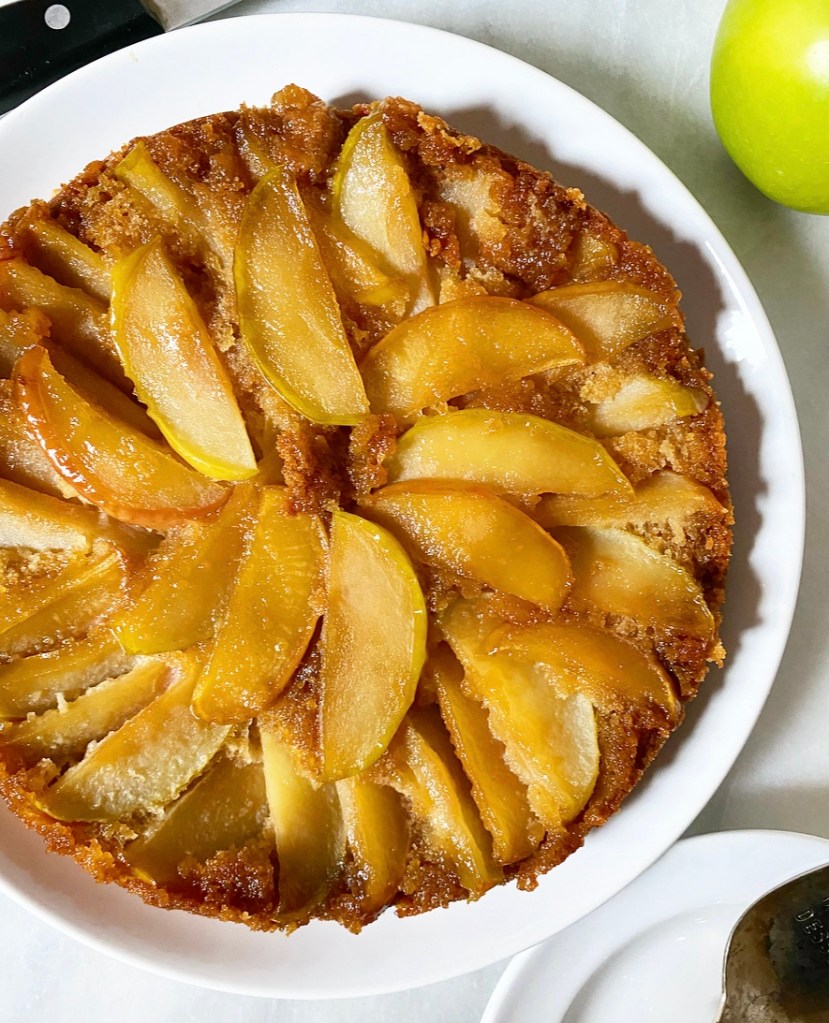
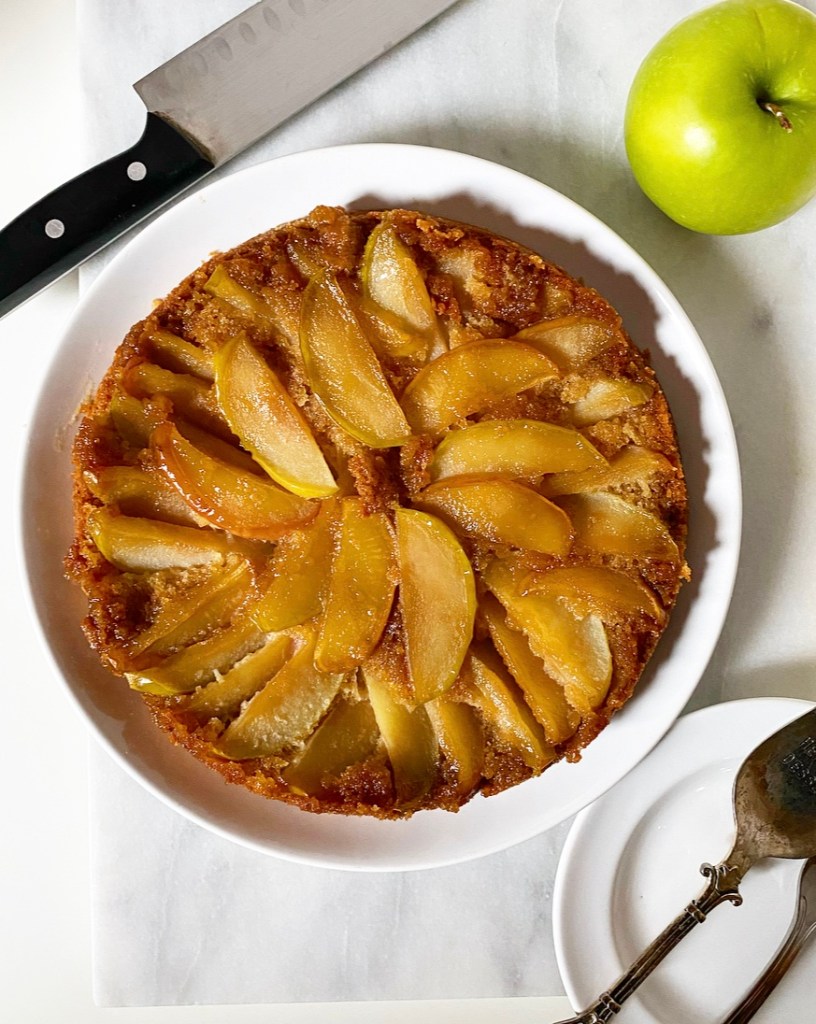
This Apple Cinnamon Upside-Down Cake was made with joy, on the fly, in pajamas, on a Monday morning in my kitchen. I didn’t shop for any specific ingredients or make a plan; I just saw what I had (a fridge drawer full of apples) and went from there. It was, to be frank, my ideal baking situation.

Apple Cinnamon Upside-Down Cake​

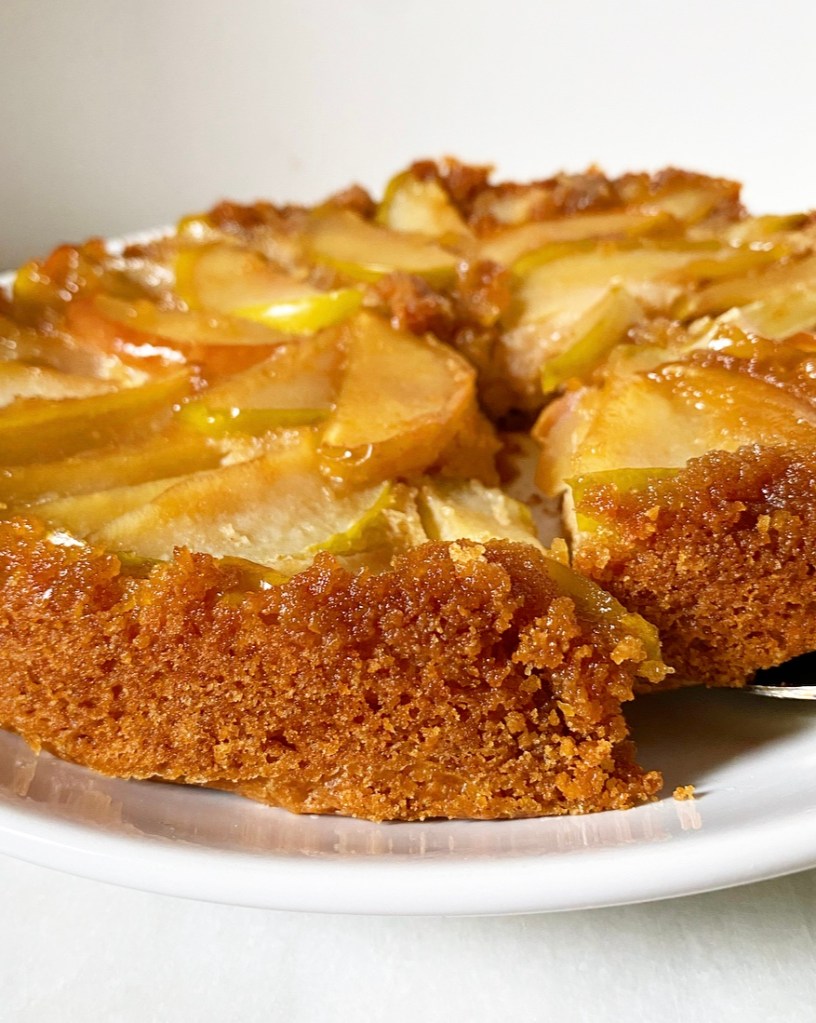
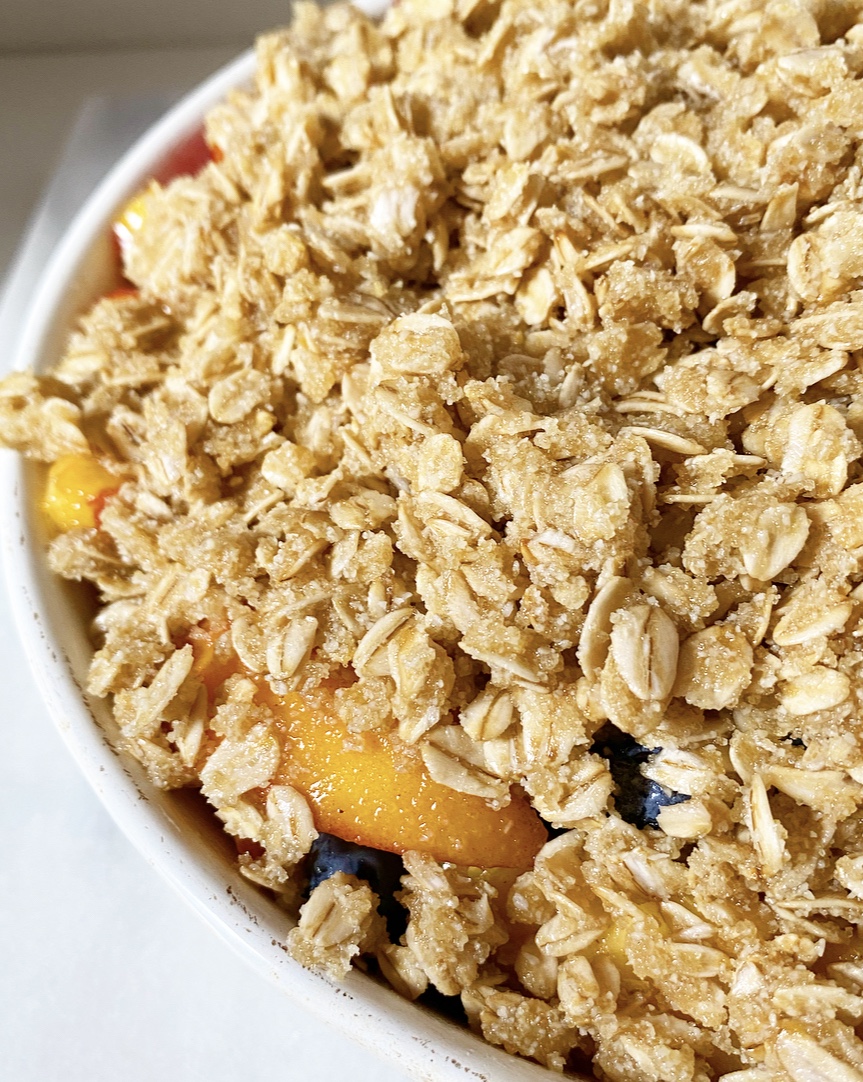
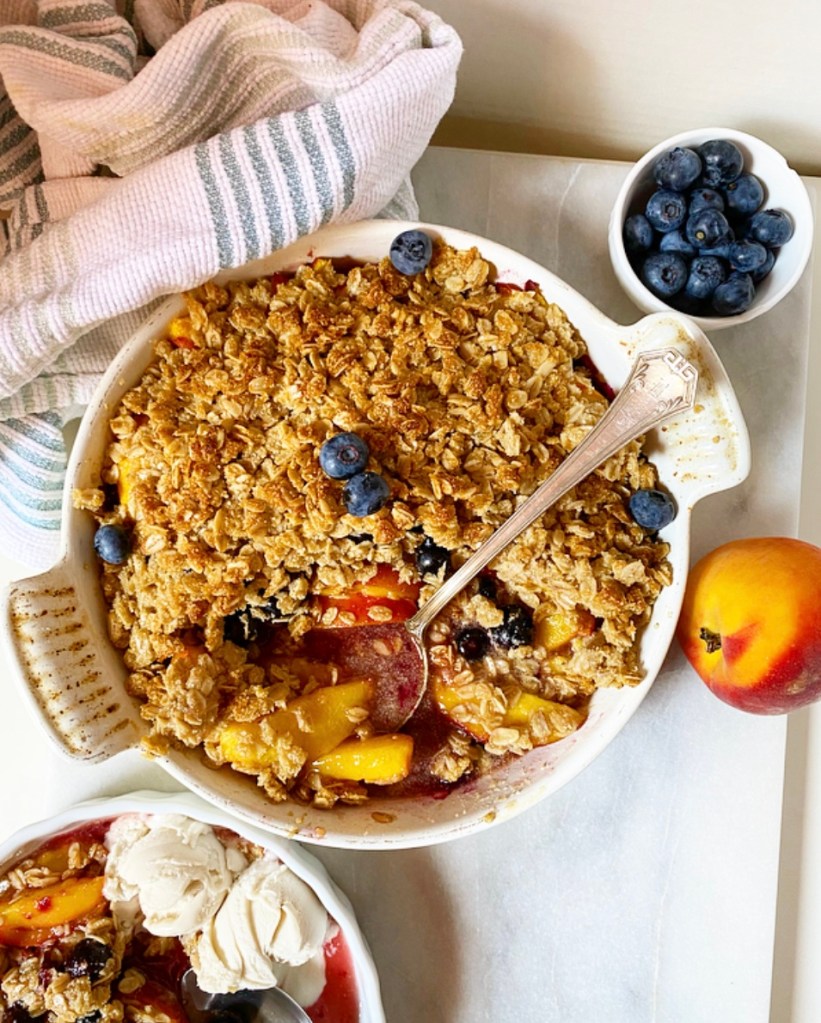
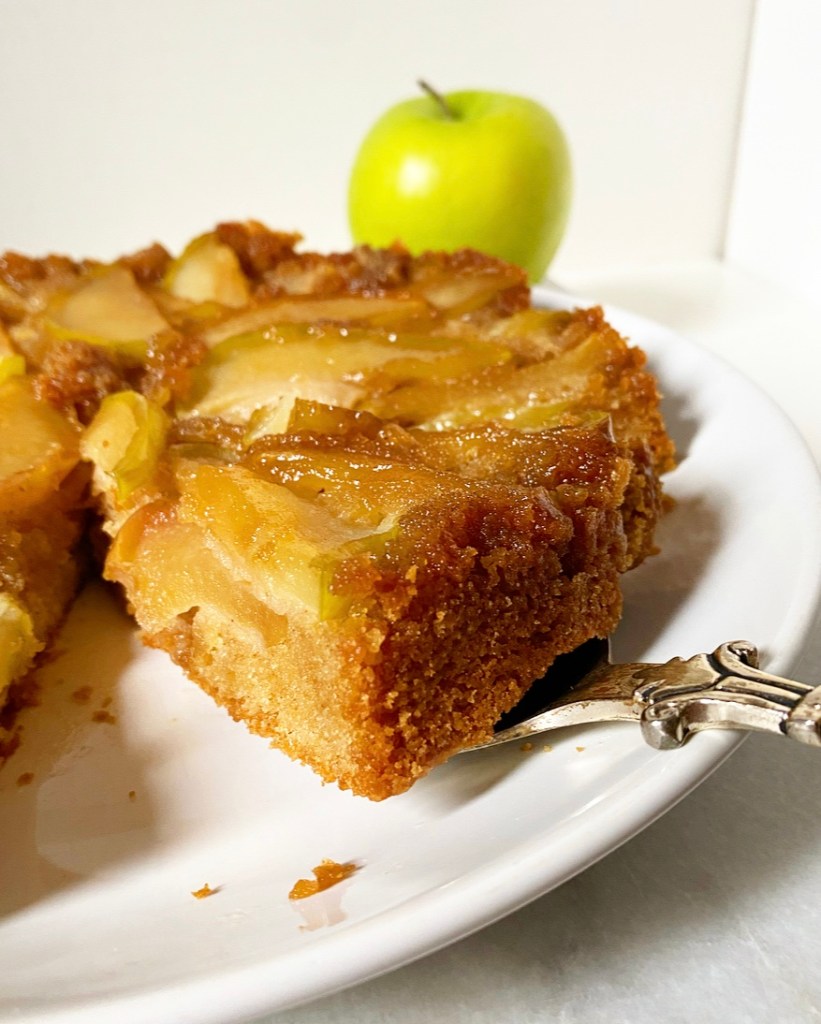
The cake itself is the slightest variation on the summery Peach Upside-Down Cake I made in 2020, but updated for fall with a little more comforting spice. It’s a simple torte batter poured over a mix of brown sugar, butter, and sliced apples that bakes up to tender butterscotch-edged perfection.

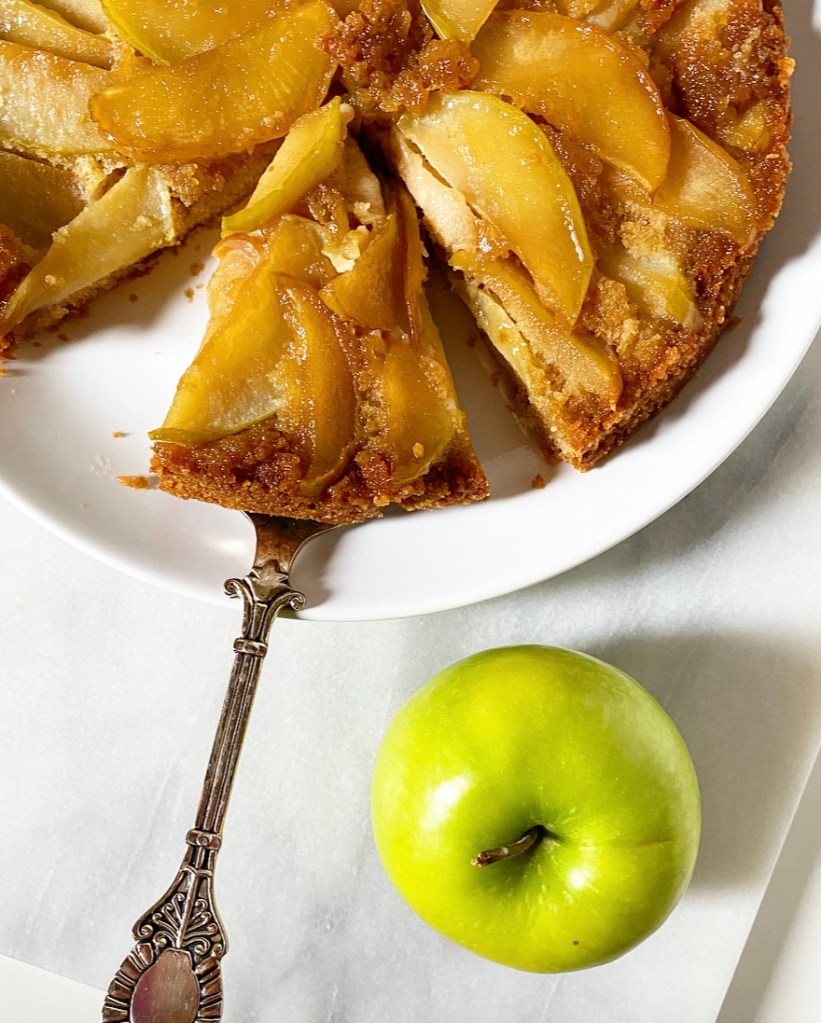
There are certainly prettier ways to arrange your apples for this cake, and I know that the finished product could benefit from a drizzle of caramel and a scoop of ice cream, but I like it like this. Thrown together for the fun of it, photographed without a plan, eaten warm before noon on a weekday. It feels authentic, which is exactly how I hope this space comes across.

Apple Cinnamon Upside-Down Cake​

Thank you for being here and for supporting this little project of mine for so long. It means the world. I hope we bake together for many years to come.

Happy birthday, E2 Bakes.

Apple Cinnamon Upside-Down Cake​
Apple Cinnamon Upside-Down Cake
makes 1 9-inch round cake

For the apples:
2 large baking apples (I used Granny Smith & Pink Lady)
1/4 cup unsalted butter
2/3 cup light or dark brown sugar, packed
pinch of Kosher or sea salt

Batter:
1 cup all-purpose flour
1 teaspoon ground cinnamon
1 teaspoon baking powder
1/4 teaspoon Kosher or sea salt
1/2 cup unsalted butter, softened to room temperature
1/2 cup granulated sugar
1/2 cup light brown sugar, packed
2 large eggs, room temperature
1 1/2 teaspoons pure vanilla extract

For serving (optional):
vanilla ice cream

Preheat oven to 350F. Heavily grease a 9-inch round cake pan. Set aside.

Slice apples in 1/4-inch slices. No need to peel. Discard cores.

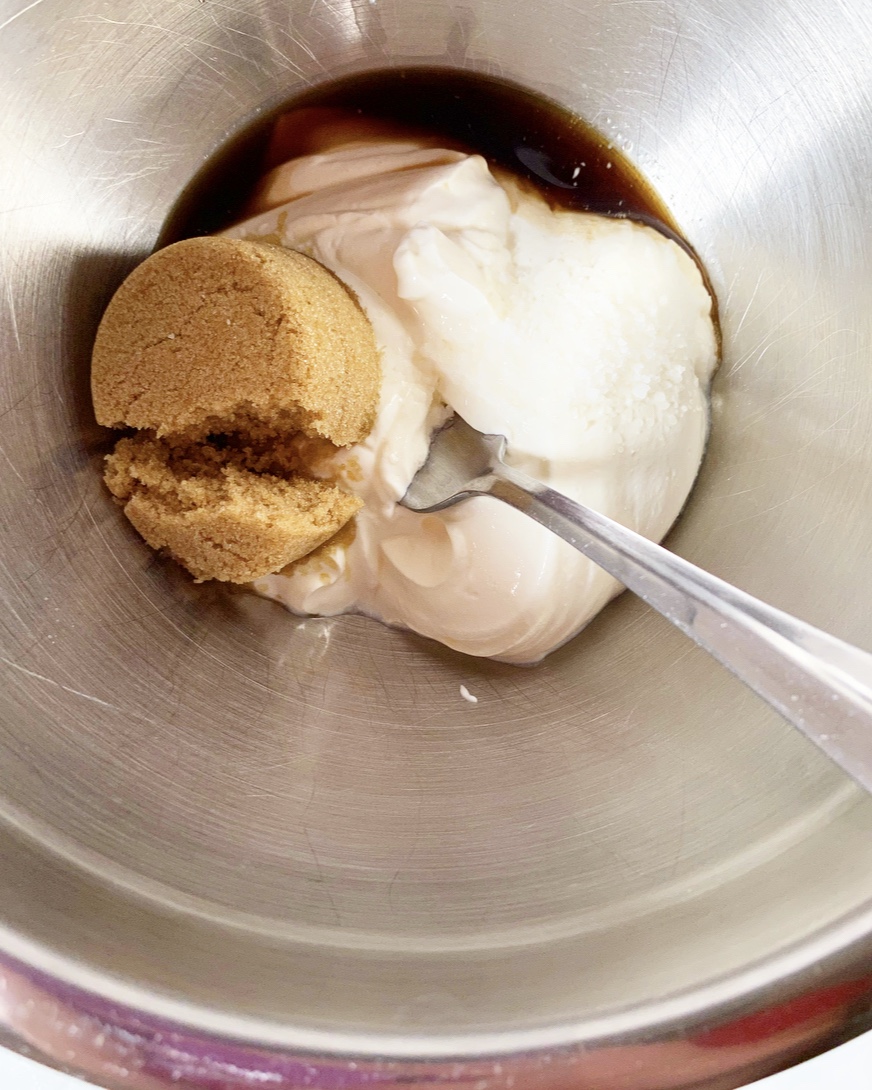
In a small saucepan, combine butter and dark brown sugar. Place over medium-low heat and stir constantly until butter and sugar are melted and fully homogeneous, 3-5 minutes. Remove pan from heat. Pour mixture into a 9-inch round cake pan, using a silicone spatula to spread it over the entire bottom of the pan.

Top the brown sugar mixture with single layer of sliced apples, slightly overlapping them for the prettiest effect, in any design you like. Set aside.

In a small-medium bowl, whisk together flour, cinnamon, baking powder, and salt. Set aside.

In a large mixing bowl, use an electric mixer to cream butter until very light and fluffy (about 2 minutes). Beat in granulated sugar and light brown sugars. Mix in eggs one at a time, followed by vanilla extract. With the mixer on low, mix in dry ingredients. Batter will be thick.

Drop batter in spoonfuls over the peaches. Use an offset icing knife or the back of a spoon to spread it in an even layer. Tap the pan on the counter 5 times to release any large air bubbles. Bake 40-45 minutes, or until a toothpick inserted near the center comes out clean or with only a few moist crumbs (not wet batter).

Let cake cool in the pan on a rack for 15 minutes before running a small, thin knife around the edge a couple of times. Place a cake stand or large serving plate upside down over the top of the pan. Holding on to the plate and pan with oven mitts, quickly invert them so that the plate is right-side-up and the pan is now upside-down. Tap the top of the pan a time or two to help the cake release. Lift off the empty pan. If any fruit sticks to the pan, just nudge it back onto the cake with your fingers or a spoon.

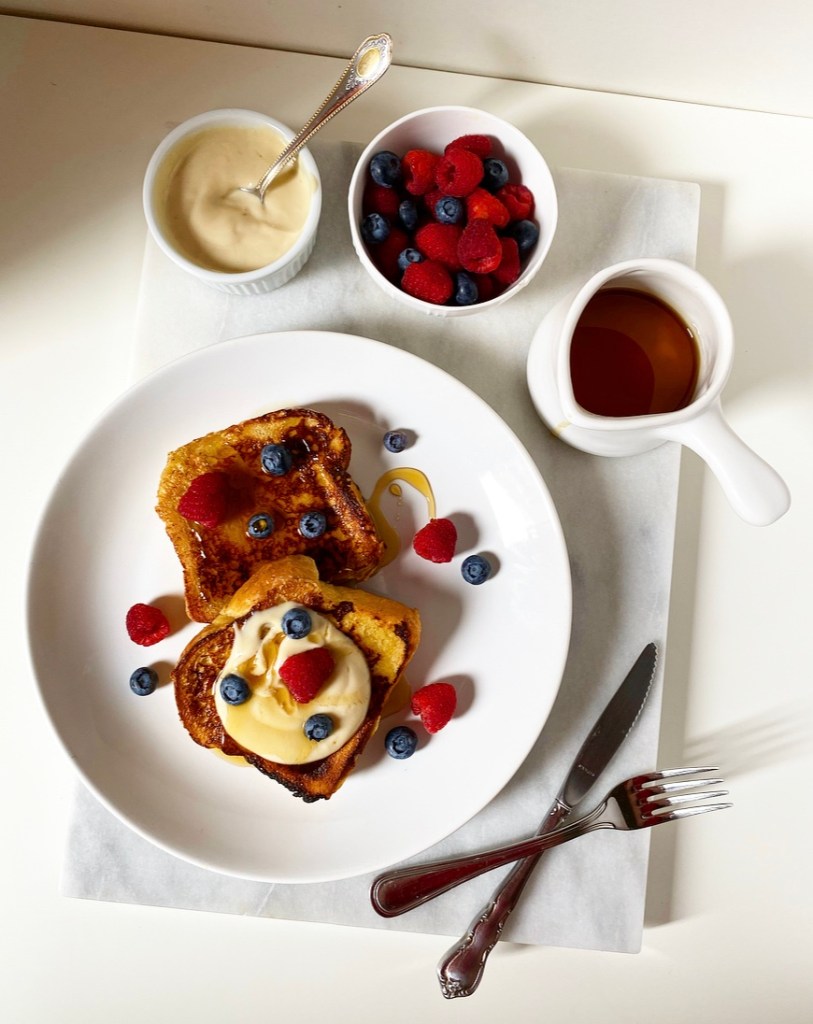
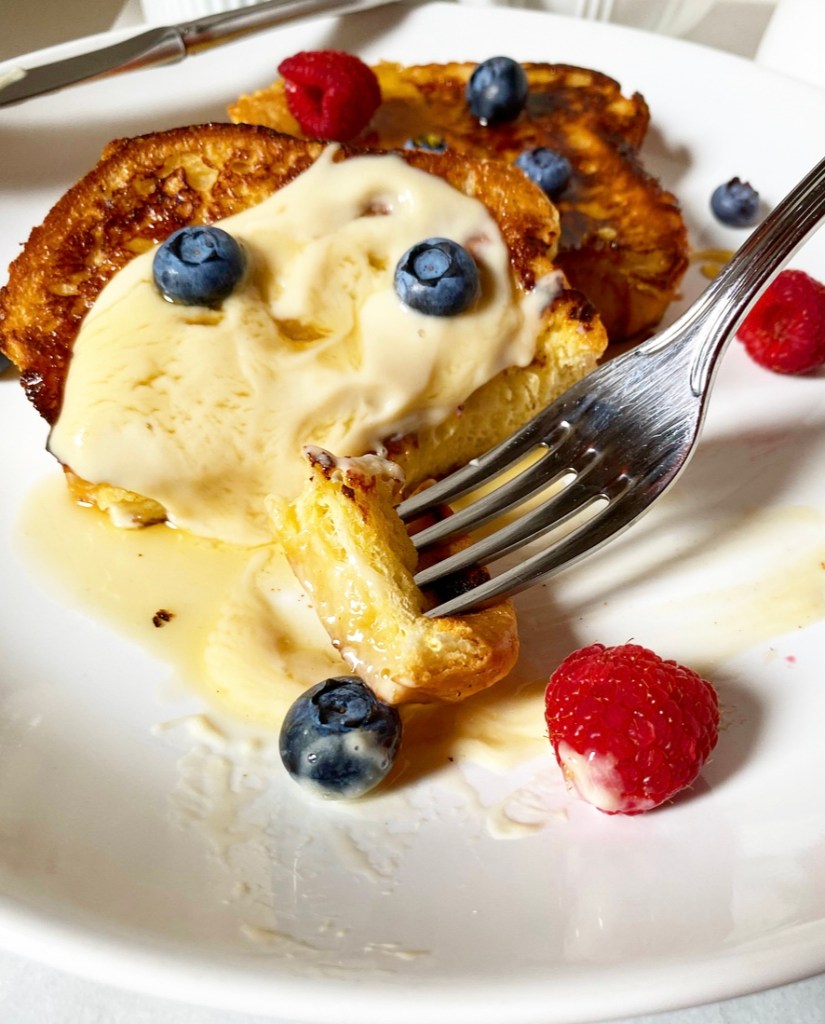
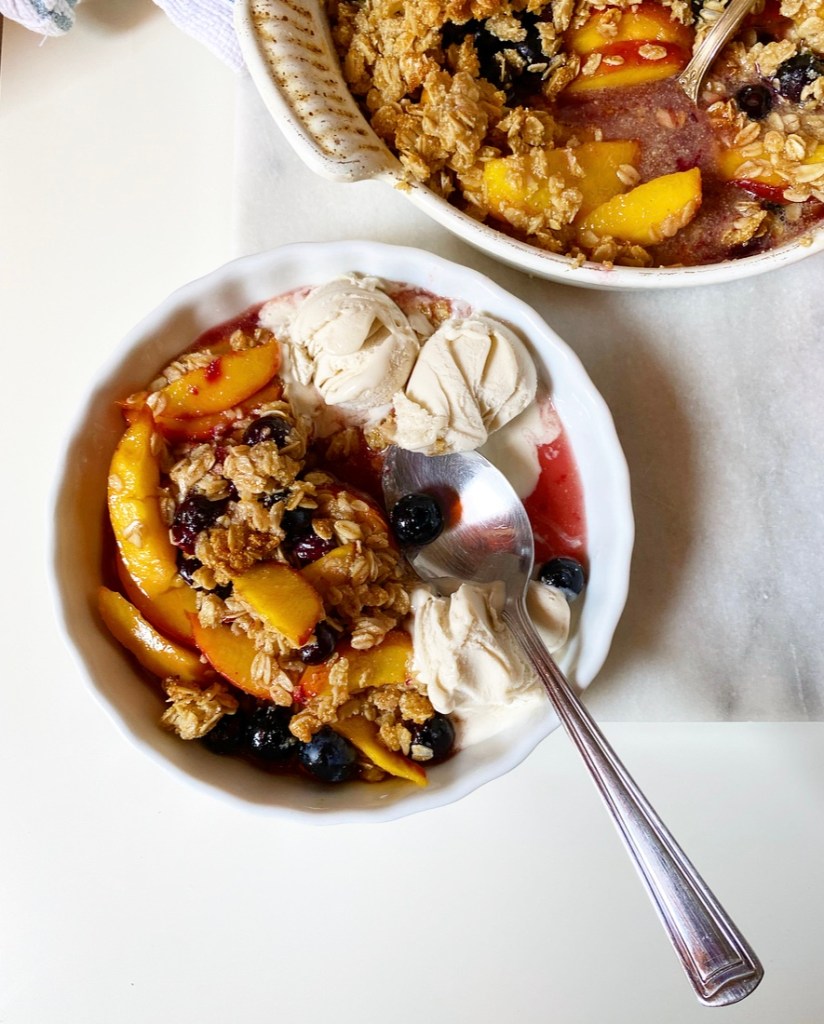
Serve cake warm, room temperature, or cold, with ice cream, if desired.

Cake is best the day it's baked, but will keep in the refrigerator for up to three days.

Chocolate Cake with Chocolate Sour Cream Frosting (and a story about burnout)

Hi. Is anybody still here?

I’ve been a little MIA recently, owing mostly to the burnout I’ve been rocketing toward for the last year. It happened gradually—I went down to one post a week in February, quit posting to social media in June, didn’t do anything blog-related during my vacation in August, then took three more weeks away. I tried everything in my power not to disappear completely from this place, but nearly seven years into this endeavor, I was just…tired.

Chocolate Cake with Chocolate Sour Cream Frosting (and a story about burnout)​

Running this one-woman show isn’t easy. Between testing, photographing, writing, posting, and promoting, each post takes about twelve hours start-to-finish. I make income from this blog, but throwing all the daily tasks of running it on top of my day job, trying to have some semblance of a social life, and regularly scheduled introvert hours had me on the verge of a breakdown. So, I stepped away.

I didn’t stop baking though. In fact, I have baked more. I have baked, dare I say, *better.* With more passion, without any expectations. I made things I wanted to make, whether or not they were seasonally appropriate or trending.

Chocolate Cake with Chocolate Sour Cream Frosting

Take this Chocolate Cake with Chocolate Sour Cream Frosting, for instance. I wanted to make it for months, and finally did it once I took the pressure off myself. It’s old-fashioned and simple, made with my go-to chocolate cake recipe and finished with a silky, tangy chocolate frosting. It’s rich and chocolaty, unfussy and unpretentious, with a glossy finish usually reserved for the cover of Southern Living Magazine. In short, it’s everything I want in a chocolate cake. I’m just glad I finally took the time to make it. I hope you will, too.

I am a little hesitant to dive back in here, but I think I am ready to get back to blogging. I’ve missed it. Posts may be twice a week or may just be once depending on how the rest of my life is going. For now though, I am back and oh-so glad to be in this little corner of the internet.

Hello, out there.

Chocolate Cake with Chocolate Sour Cream Frosting
Chocolate Cake
makes two 9-inch round layers

Cake:
1 3/4 cups all purpose flour
3/4 cup natural unsweetened cocoa powder (not Dutch Process)
1 cup granulated sugar
3/4 cup light or dark brown sugar
1 tablespoon espresso granules (optional, but recommended)
1 teaspoon baking powder
2 teaspoons baking soda
1 teaspoon Kosher or sea salt
1/2 cup neutral-flavored oil (I use canola)
2 large eggs, room temperature
2 teaspoons pure vanilla extract
1 cup buttermilk (low fat is fine)
1 cup boiling water

For assembly:
1 recipe Chocolate Sour Cream Frosting (below)

Preheat the oven to 350F. Grease two 9-inch round cake pans. Line the bottoms with parchment and grease again. Set aside.

Make the cake batter. In a large mixing bowl, sift together flour, cocoa powder, granulated sugar, brown sugar, espresso granules (if using), baking powder, baking soda, and salt. Whisk to distribute ingredients evenly. Set aside.

In a separate medium-large mixing bowl, whisk together oil and eggs, followed by vanilla and buttermilk. Whisk half the egg mixture into the dry ingredients, just until combined. Add half the boiling water. Whisk in the remaining egg mixture followed by the remaining water. Batter will be thin.

Divide batter evenly between the pans. Tap full pans on the counter five times to release any air bubbles. Bake 25-27 minutes, or until a toothpick inserted in the middle comes out clean.

Let cakes cool in their pans for at least 30 minutes. Run a small, thin knife around the edges. Invert cakes onto cooling racks and discard parchment. Allow to cool to room temperature.

While layers are cooling, make the frosting (recipe below).

Assemble the cake. Place one layer on a cake plate. Top with about 3/4 cup frosting, then sandwich the other layer on top. Frost and decorate cake as desired.

Frosted cake will keep covered at room temperature for up to two days, and in the refrigerator for up to a week.


Chocolate Sour Cream Frosting
makes enough for two 9-inch round layers

2 1/2 cups confectioners sugar, sifted
3/4 cup natural unsweetened cocoa powder, sifted
pinch of Kosher or sea salt
1 cup (2 sticks) unsalted butter, softened to room temperature
2 teaspoons pure vanilla extract
6 tablespoons (heaping 1/3 cup) full-fat sour cream

In a medium mixing bowl, sift together confectioner’s sugar, cocoa powder, and salt. Whisk together to distribute evenly.

In a large mixing bowl, use an electric mixer to beat butter until light and fluffy (about 2 minutes). Beat in half the dry ingredients, scraping down the bowl as necessary. It may seem like too much, but it will incorporate. Mix in remaining dry ingredients. Add vanilla and sour cream, then beat on high for 2-3 minutes, until smooth and fluffy. Use to frost a 9-inch round layer cake (or whatever).

Sour Cream French Toast

Sour Cream French Toast

There are pancake people and waffle people, but I am 200% French toast people. Do I like pancakes and waffles? Sure do! But when Sunday morning rolls around and I go to make myself a special breakfast, nine times out of ten, it’s French toast. I’ve made it so many times at this point that I can do it without having coffee first—a miracle. I always have some form of the basic ingredients (bread, eggs, milk, maple syrup) on hand…or at least almost always.

Sour Cream French Toast

You see, if I were a person who prepares, this recipe might not be here right now. One Sunday morning last month, I had run out of dairy milk, almond milk, and heavy cream, leaving me with few options to get my French toast fix. Just when I was preparing to pack it in and go get a bagel, I noticed a half-empty container of sour cream, thought “that might work,” and ten test batches later, here we are. Sour cream is the secret to my go-to waffles and now my current favorite French toast—you know it won’t be long before I’m making sour cream pancakes!

Sour Cream French Toast is super easy to make and incredibly delicious—buttery and eggy with the slightest sour cream tang. The method is the same as classic French toast: mix together a quick vanilla custard, dip day-old bread into it, then fry in butter until golden. Finish with maple syrup and fruit (and a sweetened sour cream topping) and call it breakfast. Like I said, it’s so easy I can make it before I’m caffeinated.

Sour Cream French Toast

I need to give a little disclaimer that the batch pictured is double the written recipe. I wasn’t having a party or anything—I just like cold leftover French toast. It gives me the same vibe as cold leftover macaroni & cheese, but without all the cheese and pasta. Does that make sense? Probably not. But the best things in life (and breakfast) don’t have to.

Sour Cream French Toast

Now, tell me. Are you pancake, waffle, or French toast people? Or do you have another go-to sweet brunch? Inquiring bakers want to know!

Sour Cream French Toast
makes 8 slices (3-4 servings)

Sour Cream Topping (optional):
1/3 cup full-fat sour cream
1 tablespoon light brown sugar, packed
1/2 teaspoon pure vanilla extract

French toast:
1/2 cup full-fat sour cream
1 teaspoon pure vanilla extract
2 tablespoons light brown sugar, packed
1/4 teaspoon Kosher or sea salt
2 large eggs
8 thick slices day-old brioche (or challah)
2-3 tablespoons butter, for cooking

For serving (optional):
pure maple syrup
fresh fruit of choice
sour cream topping (recipe above)
confectioner’s sugar

Make the sour cream topping, if using. Combine sour cream, brown sugar, and vanilla in a small bowl. Use a fork to whisk until smooth. Cover and refrigerate until needed.

Preheat oven to 200F. Set an ovenproof cooling rack over a rimmed baking sheet. Set aside.

Make the French toast. In a small-medium mixing bowl, whisk together sour cream, vanilla, brown sugar, and salt. Add eggs one at a time, whisking until smooth. Pour mixture into a shallow dish.

Heat a large (10-12 inch) heavy-bottomed skillet over medium heat. Once the pan is hot, melt 1 tablespoon of butter and swirl to coat.

Working with 3-4 slices of day-old brioche at a time, dip them in the custard, coating on all sides. Let them soak for 20-30 seconds before placing them in the skillet, making sure not to crowd the pan. Let cook until a golden brown crust forms, about 2-3 minutes. Flip slices and cook an additional 2-3 minutes. Remove French toast to the prepared rack/sheet pan and place the entire contraption in the oven to keep warm.

Repeat soaking and cooking processes until all slices of brioche have been used. Add more butter to the pan as necessary.

When ready to serve, remove sour cream topping from the refrigerator and uncover.

Divide French toast over 3-4 plates. Top with sour cream topping, maple syrup, fresh fruit and/or confectioner’s sugar, as desired. Serve immediately.

Leftover French toast may be wrapped tightly in plastic wrap or foil and refrigerated for a couple of days. Warm before serving (or eat cold if you’re weird like me).

Easy Homemade Almond Croissants

Easy Homemade Almond Croissants

I make almost every baked good I consume from scratch with the best ingredients available to me. I’m a bit of a snob when it comes down to it. Even at the height of the pandemic, I was inspecting different brands of flour to see their protein counts because I care that much.* That said, when it comes to store-bought baked goods, I have one glaring weakness: Costco croissants.

*4% or bust. King Arthur, Heckers & Trader Joe’s only.

Easy Homemade Almond Croissants

I will go out of my way for a Costco croissant. They are shockingly delicious, especially when eaten like a wild animal mid-shopping trip, somewhere between produce and electronics. I was introduced to them by my friend and certified Costco enthusiast, David, and I’ve been ruined ever since. The finest French pastry they are not, but I defy you not to enjoy one while it’s still warm, as they almost always are when I sling them into my cart. For $6 (and a Costco membership) you too can have 12 big, buttery Costco croissants in a giant clamshell package. Twelve seems like a lot, but if you’re anything like me, that means one for now, one for later, two for tomorrow, and eight to sit out on my counter to get stale for Easy Almond Croissants.

You see, Almond Croissants, while a bakery favorite, are frequently just another way to use up leftover bread; think of them as the even more sophisticated cousins of French toast and Bostock. Imbued with almond flavor inside and out, they’re deceptively simple to make and even easier to eat.

Stale croissants are split and soaked in simple syrup, smeared with homemade frangipane, sandwiched together, and topped with sliced almonds before baking. They emerge from the oven fragrant and flaky with the best crisp almond edges and rich, dense centers. You may leave them plain—as if there’s a way for Almond Croissants to seem plain!—or you may dust them with a little confectioner’s sugar for flair. I like flair.

Easy Homemade Almond Croissants

While I am a Costco croissant purist, these may be made with any pre-baked or store-bought croissants you may have on hand. Please keep in mind that your croissants may differ in size from mine, so you may end up with a larger or smaller quantity of Almond Croissants than I have. Not that I’ve ever found such a thing to be a problem. It is the summer of frangipane, after all.

Easy Homemade Almond Croissants
Easy Homemade Almond Croissants 
makes 8-12 (I made 8)

Simple Syrup:
3/4 cup granulated sugar
3/4 cup water

Frangipane*:
2 cup blanched almond flour or 8 ounces blanched almonds
2 tablespoons all-purpose flour
1/2 teaspoon Kosher or sea salt
3/4 cup granulated sugar
3/4 cup (1 1/2 sticks) unsalted butter, cold-ish room temperature, cut into cubes
2 large eggs
1 teaspoon pure almond extract

For Assembly & Garnish:
8-12 store-bought croissants (I used 8), preferably a little stale
1/2 cup sliced almonds
2 tablespoons confectioner’s sugar, optional

The simple syrup and frangipane may be made up to a day in advance. Just cover and refrigerate until you are ready to bake.

Make the simple syrup. Combine sugar and water in a saucepan over medium heat. Bring to a simmer and stir until sugar dissolves, about 5 minutes. Remove from heat and allow to cool until you can comfortably hold your finger in it. Transfer to a bowl or dish (I used a pie plate) that is slightly larger than your croissants.

Make the frangipane. In a food processor (or very good blender), pulse almond flour, all-purpose flour, salt and sugar together. Pulse in butter. Pour in eggs and almond extract, and process until frangipane is a homogenous paste. Set aside.

Arrange oven racks in central positions. Preheat the oven to 350F. Line two rimmed sheet pans with parchment.

Assemble the almond croissants. Slice each croissant in half equatorially.

Working with one sliced croissant at a time, dip each half in the simple syrup, making sure to coat all sides. Place the bottom halves cut-sides-up on the prepared pans, and set the top halves on plates or another surface while assembly continues.

Use an offset icing spatula or the back of a spoon to spread about 2 heaping tablespoons of frangipane on the bottom half of each croissant. Top the frangipane with the top halves of the croissants, cut-sides-down. Press down lightly on each to adhere.

Spread about a tablespoon of frangipane on top of each filled croissant and sprinkle sliced almonds over the top. Bake croissants for 20-22 minutes, or until the frangipane is golden.

Let croissants cool on the pans for 15 minutes before removing to a rack to cool completely. Sift confectioner’s sugar over the tops, if desired. Serve slightly warm or at room temperature.

Almond Croissants are best eaten the day they are made.

Note: You will have some leftover frangipane after making these. Refrigerate it and use it for these or this.

Vegan, Gluten-Free Peachy Berry Crisp

Our annual trip to Maine is coming up in just five weeks. In addition spending my days dreaming about what treasures I’m going to pick up at Iverstudio and tiptoeing into the ocean at Fine Sand Beach, I’m diving deep into menu planning.

Vegan, Gluten-Free Peachy Berry Crisp

I cook a primarily vegan, gluten-free menu up there to accommodate all of our various dietary needs. It works for us, and even the guests we’ve had who don’t regularly eat that way seem to enjoy it. We have a list of staple meals—vegan Everyday Cassoulet is always the #1 request—but I am constantly on the lookout for new things to add to our repertoire. Beyond three square meals a day (plus a lot of guacamole), I most look forward to making a vegan, gluten-free dessert for my friends and my blog.

Last year’s offering was an easy Vegan, Gluten-Free Apple Crisp. It was fall on the island, so going with apples made perfect sense. Now in the heat of summer, I’m giving that recipe a peachy berry spin!

Vegan, Gluten-Free Peachy Berry Crisp

I punched up the original recipe with loads of fresh peaches, brown sugar and lemon, and just a hint of spice—enough so you know it’s there, but not enough to overwhelm the fruit. Once the peaches are prepared and tossed with all that goodness, a cup of fresh blueberries are added to the mix. You could add any berry you like here and it would work, but keep in mind that some may leach color more easily than others.

The crisp topping is made primarily with almond flour, gluten-free rolled oats, brown sugar and vegan butter (or coconut oil). A thick layer is scattered over the filling, and then the whole thing is baked until golden, piping hot, and screaming for a scoop (or two or three) of your favorite vegan vanilla ice cream. I’m an oat milk vanilla girl myself.

Vegan, Gluten-Free Peachy Berry Crisp

Vegan, Gluten-Free Peachy Berry Crisp is super summery and wildly quick and simple to make. It’s perfect for cookouts and dinner parties, but if you can swing it, it’ll really hit the spot on vacation with two of your favorite people.

Vegan, Gluten-Free Peachy Berry Crisp
makes one 9-10 inch dish, about 6 servings

Filling:
5 cups sliced ripe peaches (about 7-8 medium peaches)
juice of 1/2 lemon
1/2 cup light brown sugar, packed
2 tablespoons cornstarch
1/8 teaspoon ground cinnamon
1/8 teaspoon ground ginger
1/4 teaspoon Kosher or sea salt
1 cup fresh blueberries

Crisp Topping:
1 cup rolled oats
1/2 cup almond flour
1/2 cup light brown sugar, packed
1/2 teaspoon kosher or sea salt
1/2 cup vegan butter (or refined coconut oil), melted

For serving:
dairy-free vanilla ice cream

Preheat oven to 350F. Grease a 9-inch casserole dish or cast iron pan with vegan butter (or refined coconut oil). Set aside.

Place peach slices in a medium mixing bowl and toss with lemon juice, brown sugar, cornstarch, cinnamon, ginger, and salt. Add blueberries and gently fold together. Transfer to the prepared baking dish.

Make the topping. In a medium mixing bowl (I just wipe out the one I used for the fruit), whisk together oats, almond flour, sugar, and salt. Add melted butter (or coconut oil) and stir until everything is saturated. It may seem sandy; this is okay. Scatter topping onto the fruit.

Bake 28-30 minutes, until topping is browned and peaches are tender. Let cool 10 minutes before serving in bowls with dairy-free vanilla ice cream, if desired.

Cover and refrigerate any leftovers for up to 4 days. Reheat before serving.