E2 Bakes is turning three on Sunday!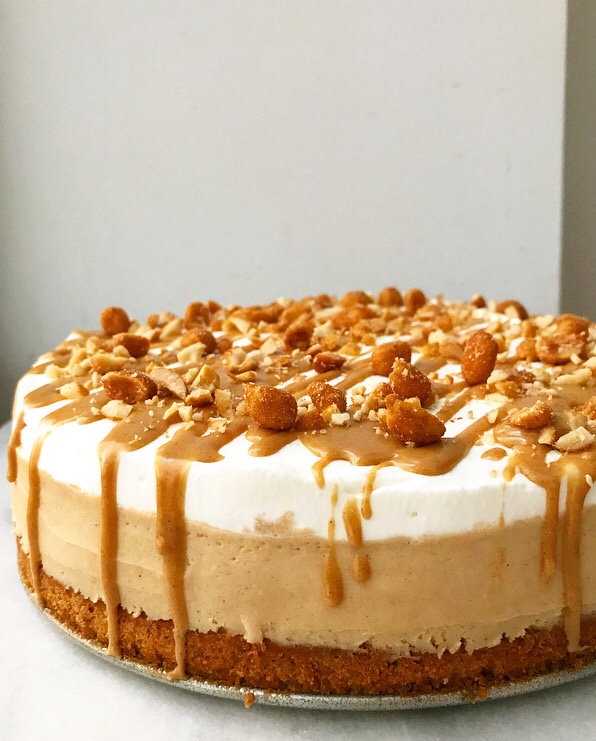 In years past, I would take this time to go on about the number of posts/recipes I’ve written (332/322, if you care about that sort of thing) and how I had no idea that the blog would go on this long. I have a tendency toward sentimentality and I’m working on reining it in, but I’m not perfect yet…so, um, I’ll be brief. And then we’ll talk about Peanut Butter Mousse Cake.
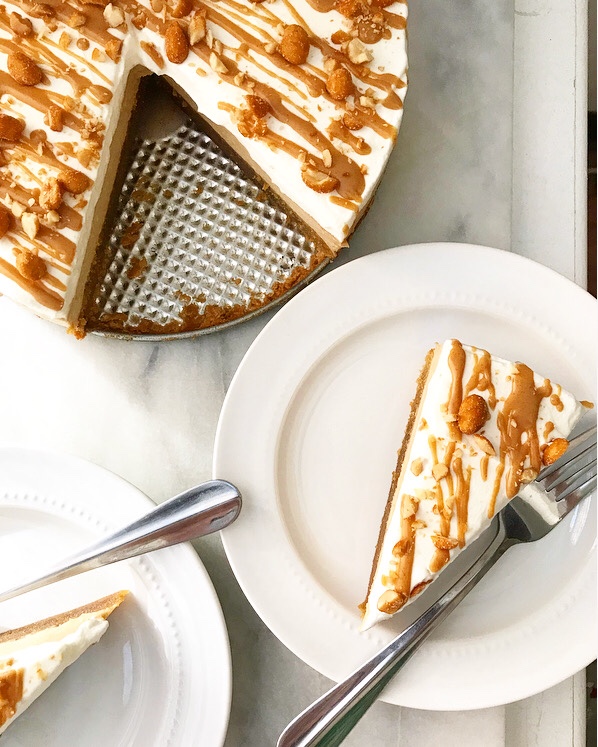 This blog is the thing of which I am proudest. I spend more time and energy working on content for this site than basically anything else, but it has been worth every late night and working weekend. I hope to continue baking and writing here for years to come.
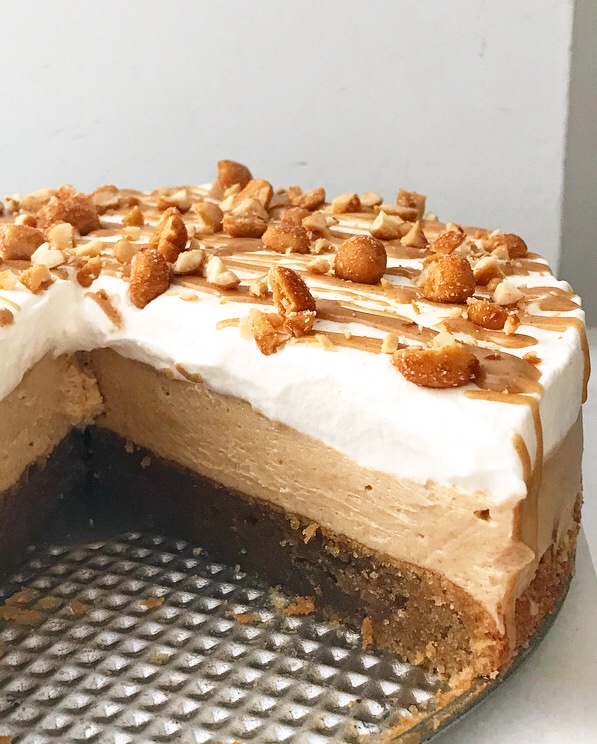 I blog because I love it, but it wouldn’t be nearly as much fun without y’all. Thank you for reading, commenting, providing encouragement and feedback, and making my recipes in your own kitchens!
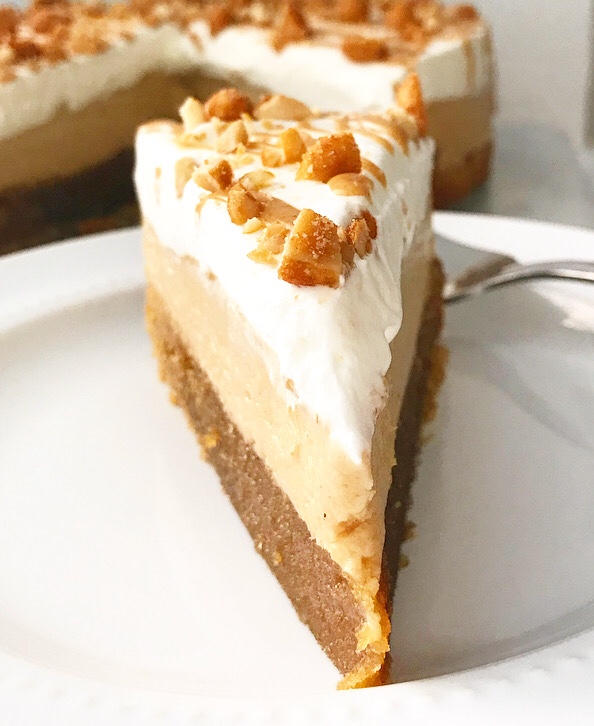 This community has grown by leaps and bounds over the last year. For those of you who are new around here, welcome! I’m glad you’re here.
For those who have been here since the beginning, thank you for sticking with me. Sorry about all those bad photos in the early days 🙂 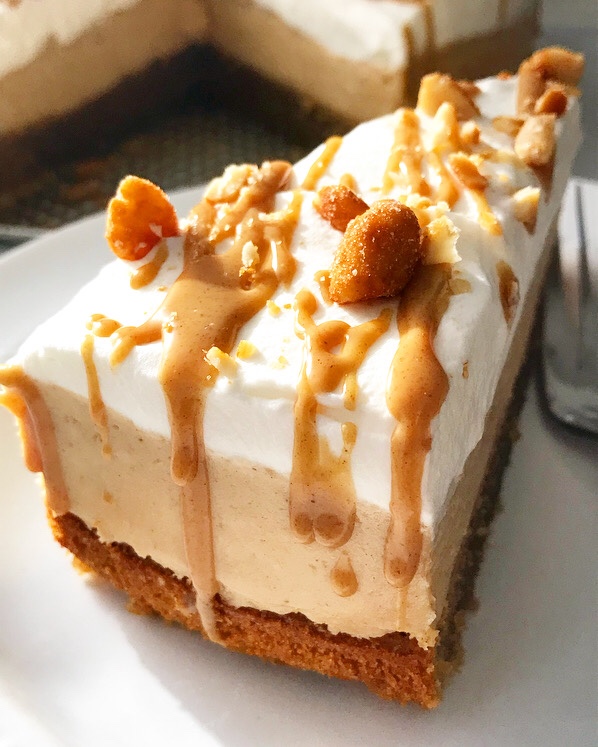 As for the future, lot of exciting things are coming in year four! Recipes, of course, but also bigger, better, blog-altering things. I can’t say much now, but know that good things are happening and I’m psyched to share them with you soon ❤
  For now though, let’s talk about Peanut Butter Mousse Cake. It’s the peanut butteriest peanut butter cake I’ve ever had. So. freaking. good!
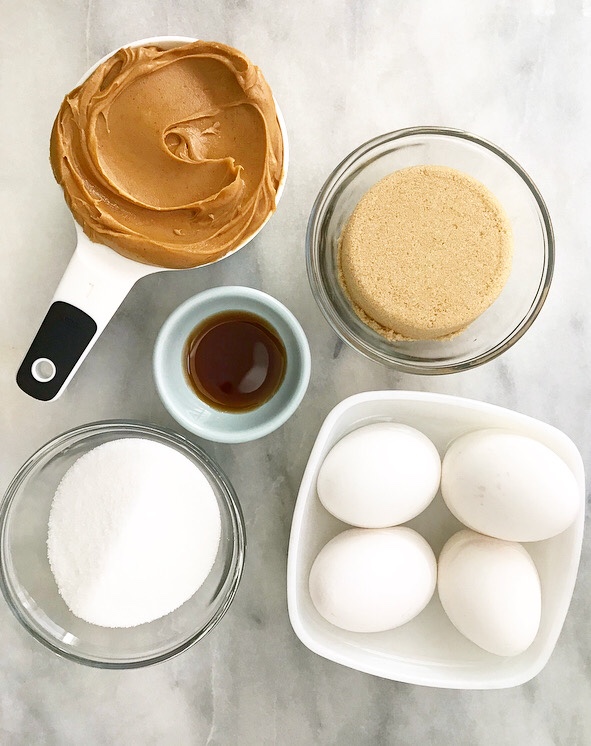
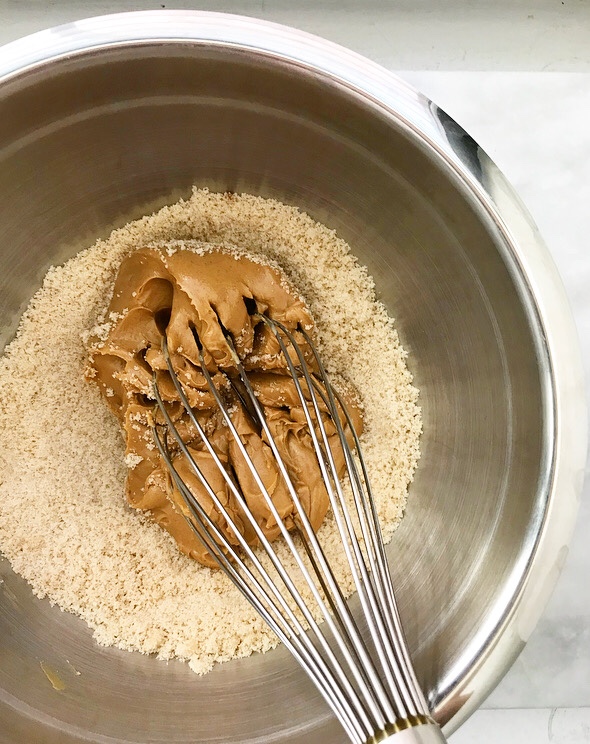
 It starts with a flourless peanut butter cake. This super-easy cake comes together with just five ingredients, one bowl, and a whisk. It’s rich and dense—since it relies on peanut butter and eggs for texture and structure, it’s like a cross between a cake, cookie, and a blondie. YUM.
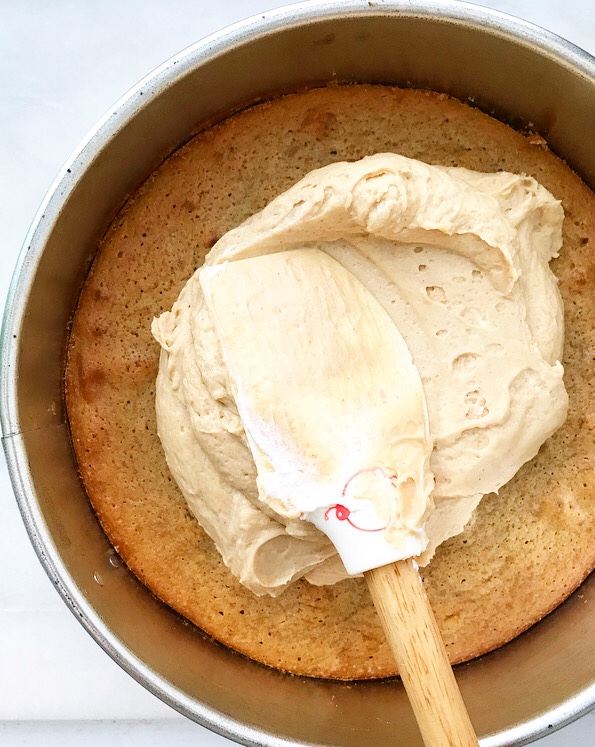 After the cake is baked and cooled, it’s topped with a thick layer of creamy peanut butter mousse. If this recipe looks familiar, that’s because it is—it’s the filling from my No-Bake Peanut Butter Pie 🙂
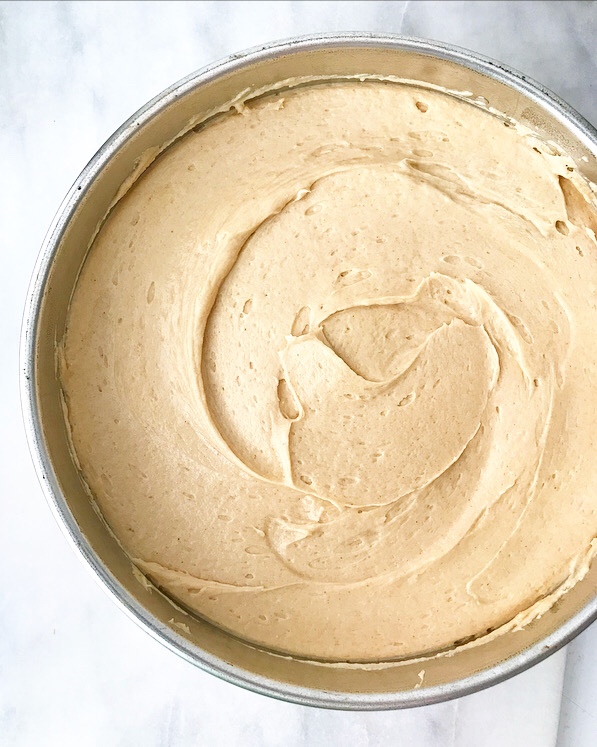 Spread the mousse layer on and chill the cake until everything is firm.
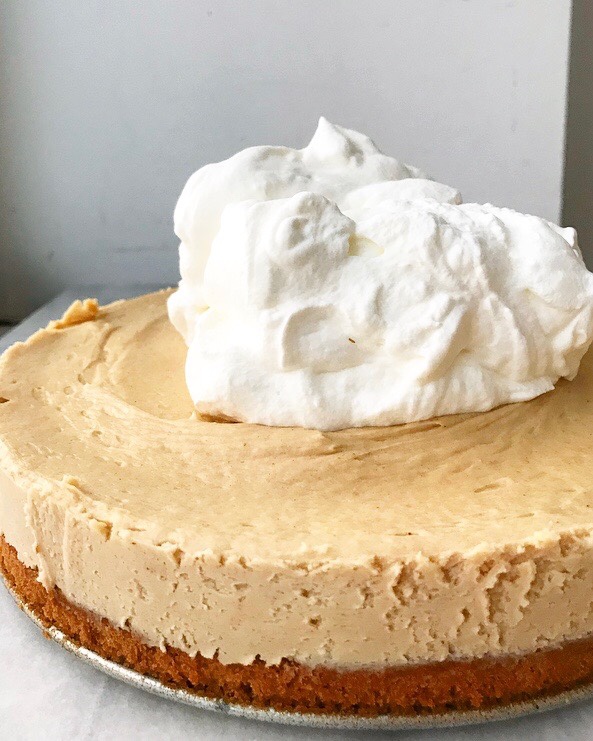
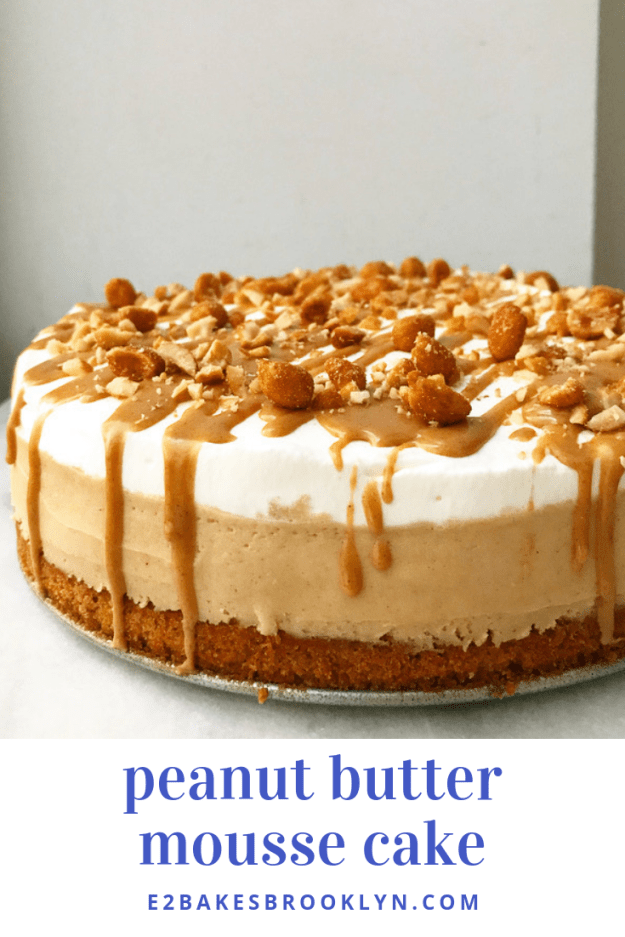
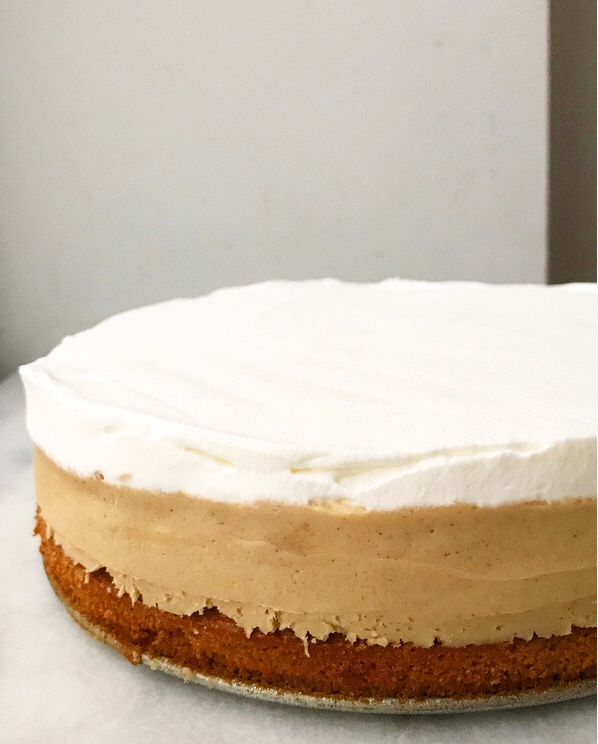 Top it with a thick layer of whipped cream. Yaaaaaaas.
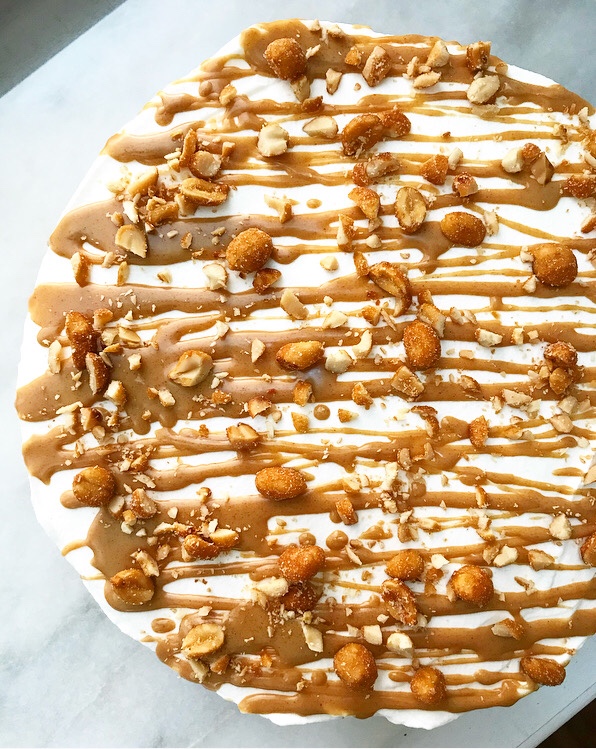 Don’t forget the peanut butter magic shell and honey roasted peanuts.
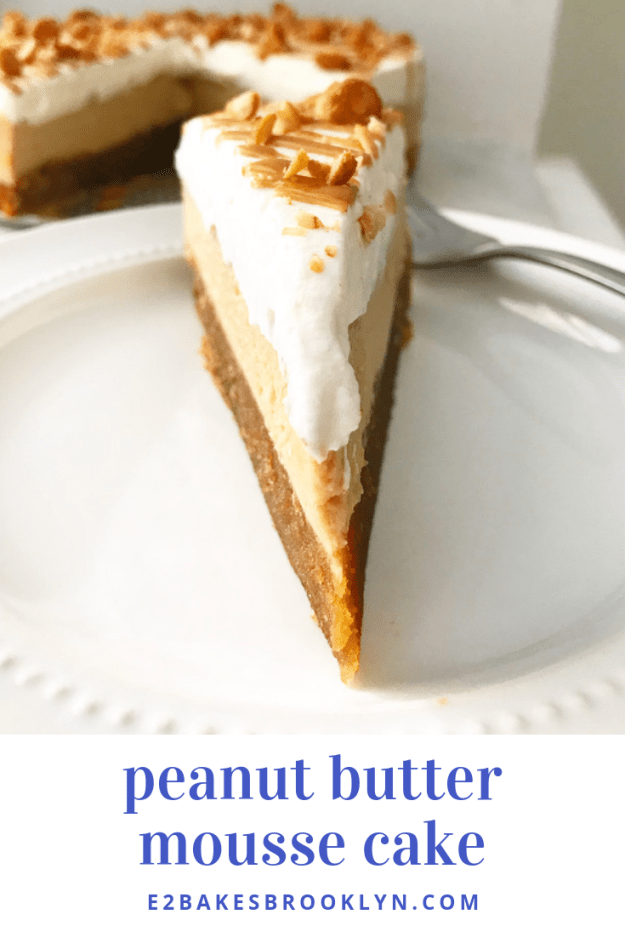
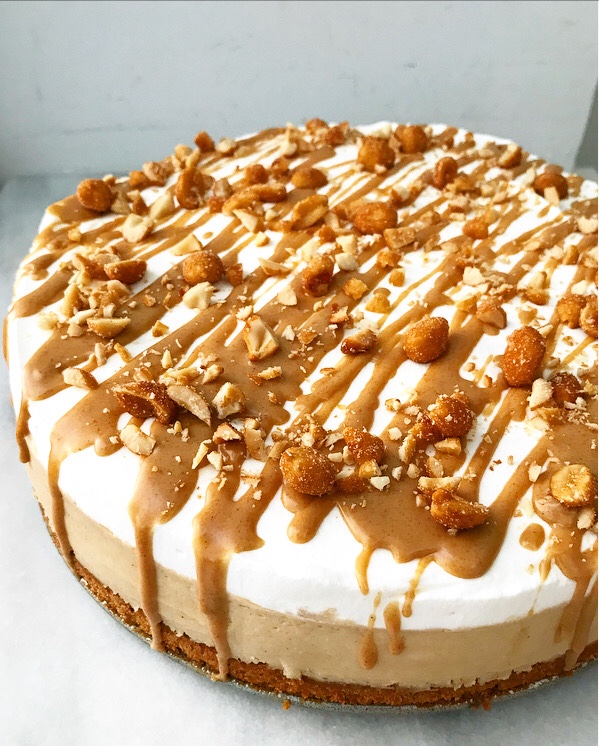 How gorgeous is that?! I love the triple-layered look.
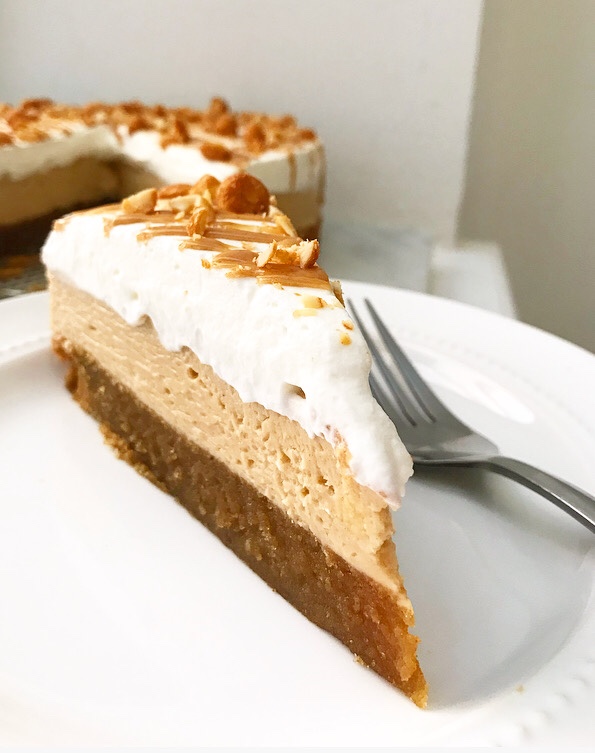 And the creamy, dreamy peanut butter flavor.
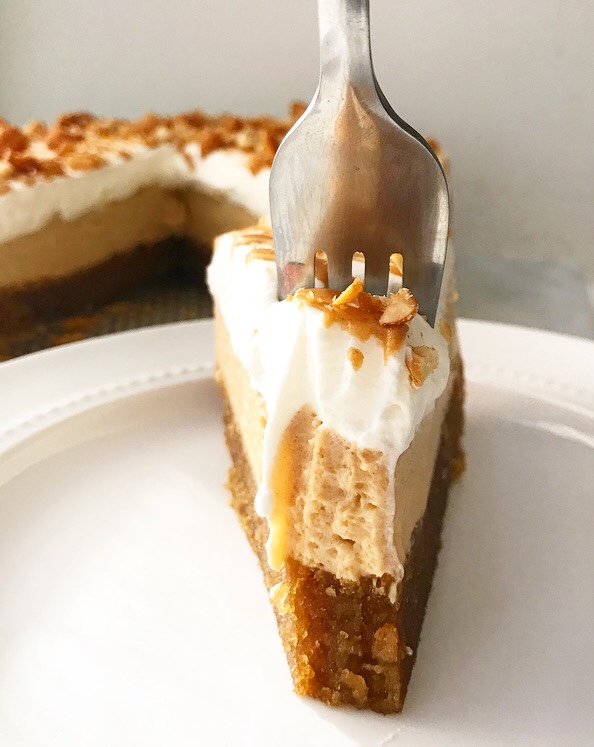 This cake is shockingly simple to make (don’t let the length of the recipe scare you away!) and perfect for nearly any occasion…
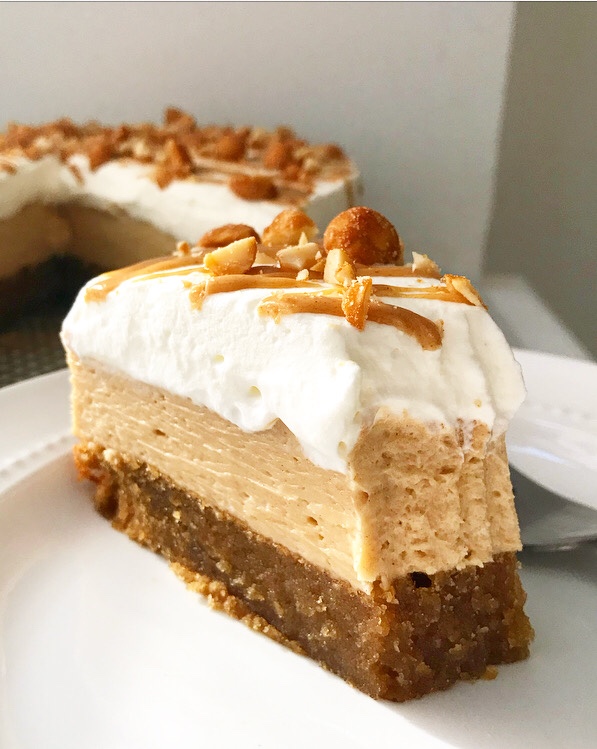
…including very silly ones like this blog’s anniversary.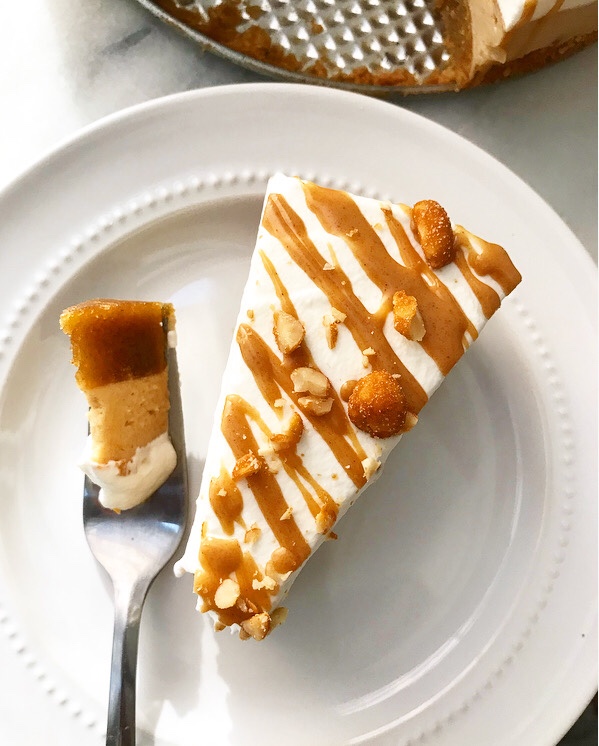
Peanut Butter Mousse Cake
makes one 9-inch round cake
Flourless Peanut Butter Cake:
1 cup creamy-style peanut butter (not natural)
1/2 cup granulated sugar
1/2 cup light brown sugar, packed
4 large eggs, room temperature
2 teaspoons pure vanilla extract
Peanut Butter Mousse:
3/4 cup heavy cream, very cold
1 cup creamy-style peanut butter (not natural)
1 cup confectioner’s sugar
8 ounces full-fat brick-style cream cheese
1 tablespoon pure vanilla extract
Whipped Cream:
1 1/2 cups heavy cream, very cold
2 tablespoons confectioner’s sugar
Peanut Butter Magic Shell*:
1/2 cup creamy-style peanut butter (not natural)
1-2 tablespoons confectioners sugar (depending on your sweetness preference)
1 tablespoon coconut oil (preferably refined)
1 teaspoon honey
Garnish:
2 tablespoons honey roasted peanuts
Preheat oven to 375F. Grease a 9-inch springform pan. Line with parchment and grease again. Set aside.
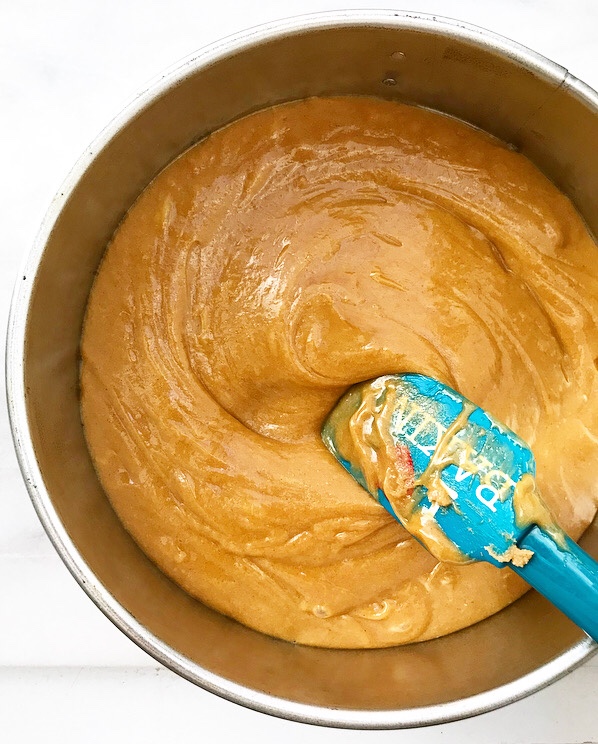
Make the flourless peanut butter cake. In a medium-large mixing bowl, whisk together peanut butter, granulated sugar, and light brown sugar. Whisk in eggs one at a time, followed by vanilla. Transfer batter to prepared pan. Tap full pan on the counter 10 times to release any large air bubbles (there may be a lot).
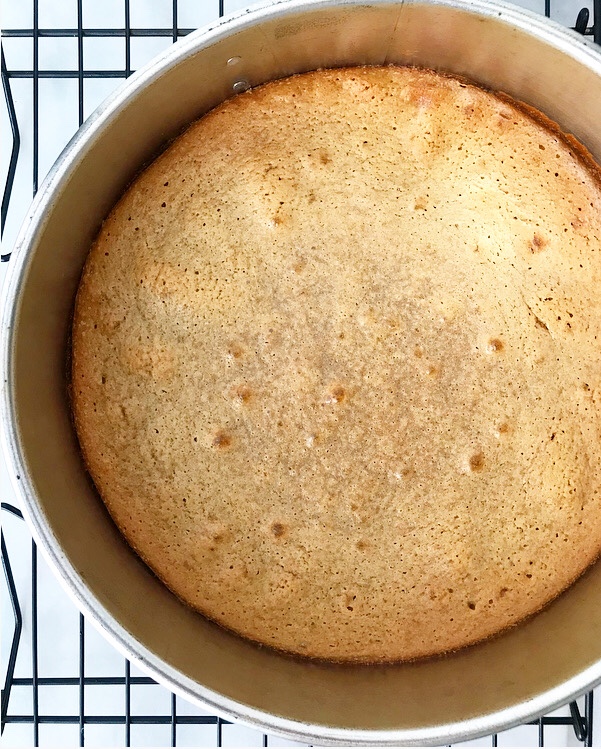
Bake 25-27 minutes, or until puffy and no longer wet-looking. Let cool completely in the pan on a rack. Run a thin flexible knife around the edge, but do not remove from the pan.
Make the peanut butter mousse. In a large mixing bowl, use an electric mixer to whip heavy cream until stiff peaks form. Do not overwhip. Set aside.
In a separate large mixing bowl, use an electric mixer to beat peanut butter, cream cheese, confectioner’s sugar, and vanilla until combined and fluffy. Use a silicone spatula or wooden spoon to stir in 1/3 of the whipped cream. Working in 2 installments, carefully fold in remaining whipped cream until combined.
Pile the mousse on top of the cooled cake (still in the pan). Spread it into an even layer and tap the pan on the counter a few times to release any large air bubbles. Stick a layer of plastic wrap to the surface of the mousse. Refrigerate for at least 3 hours (or freeze for 1 hour).
Remove cake from the refrigerator and let sit at room temperature for 30 minutes. Remove plastic wrap. Run a thin, flexible knife dipped in warm water around the edge of the pan before removing the springform.
Make the whipped cream. Combine heavy cream and confectioner’s sugar in a large mixing bowl. Use an electric mixer to whip the mixture on low for 30 seconds before whipping on high for 1-2 minutes, or until stiff peaks form.
Pile whipped cream onto the cake before spreading it into an even layer. Use a knife dipped in warm water to smooth the outer edge of the cake. Refrigerate cake (uncovered) while you make the peanut butter magic shell.
In a small bowl, use a fork to whisk together peanut butter, 1 or 2 tablespoons confectioners sugar (based on your desired level of sweetness), coconut oil, and honey. Microwave on high in 20 second increments, whisking in between, until mixture is smooth and drizzle-able. Set aside.
Chop all or some of the honey roasted peanuts.
Remove cake from the refrigerator. Pour/drizzle some of the peanut butter magic shell over the top, as desired. Scatter on honey roasted peanuts. Let shell set for a few minutes.
Serve cake immediately or refrigerate. For clean slices, dip the knife in warm water and wipe dry between cuts.
Leftovers will keep covered in the refrigerator for a few days.
Note:
This will make more peanut butter magic shell than you need, but leftovers may be stored indefinitely in the refrigerator. This makes excellent ice cream topping. Reheat before using.
 I’ve got maple syrup on my mind, y’all! Last week, it was in the form of a
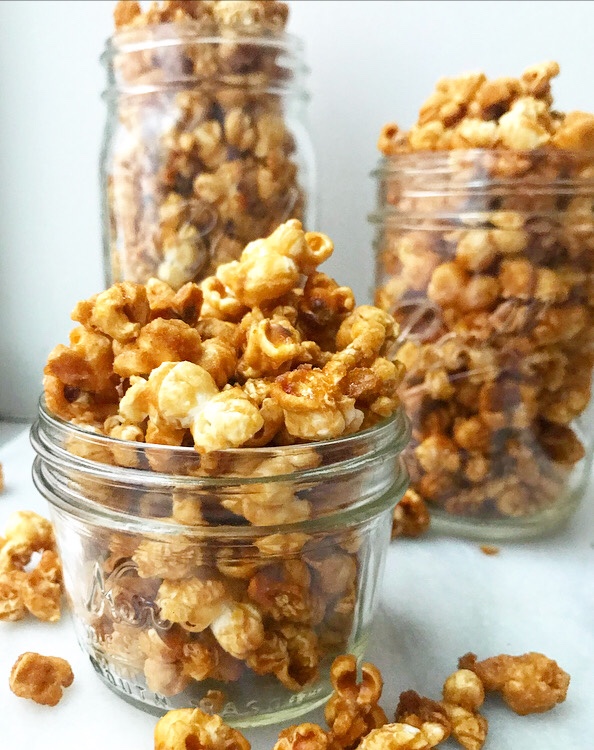
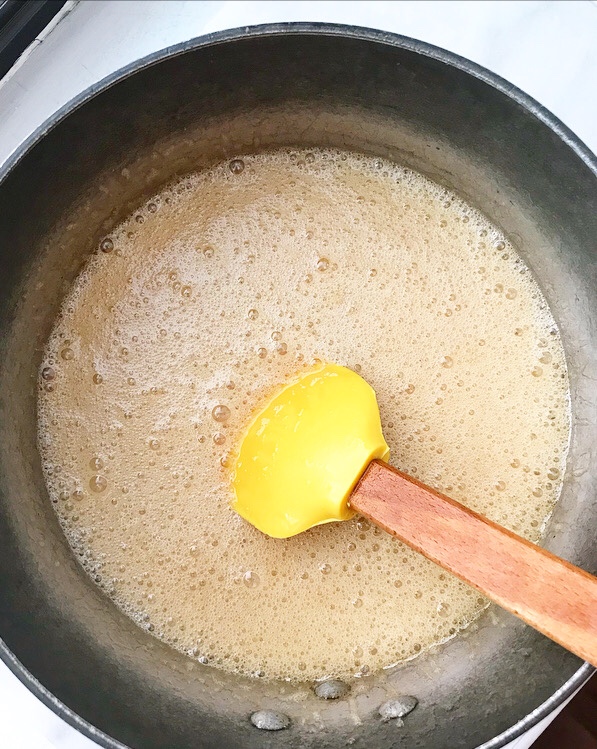
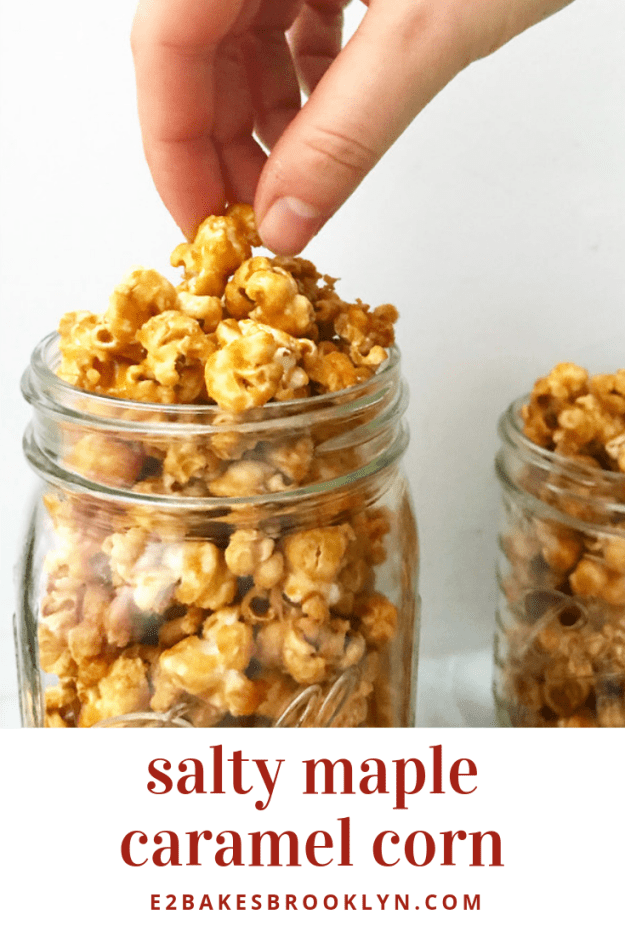
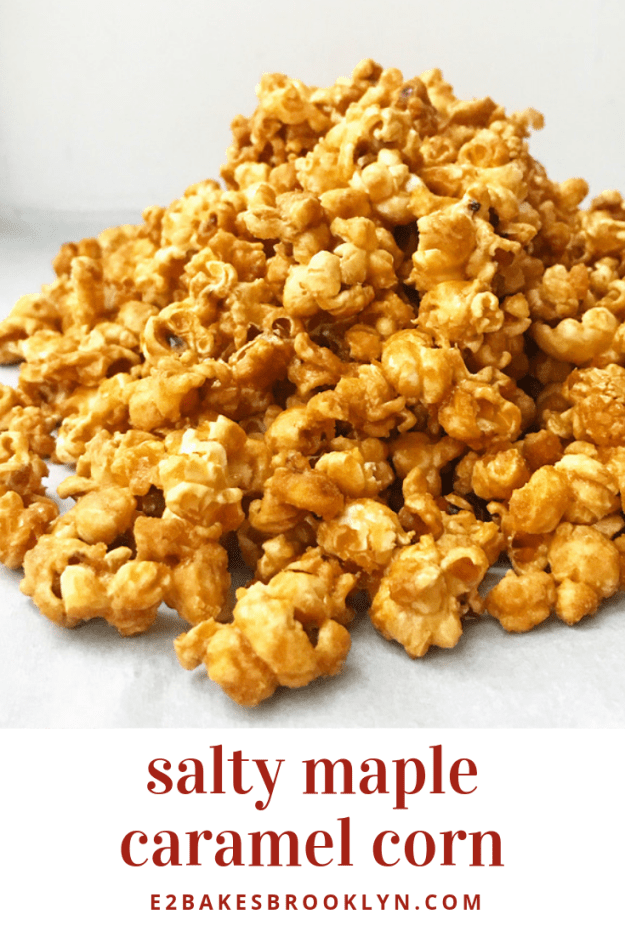
 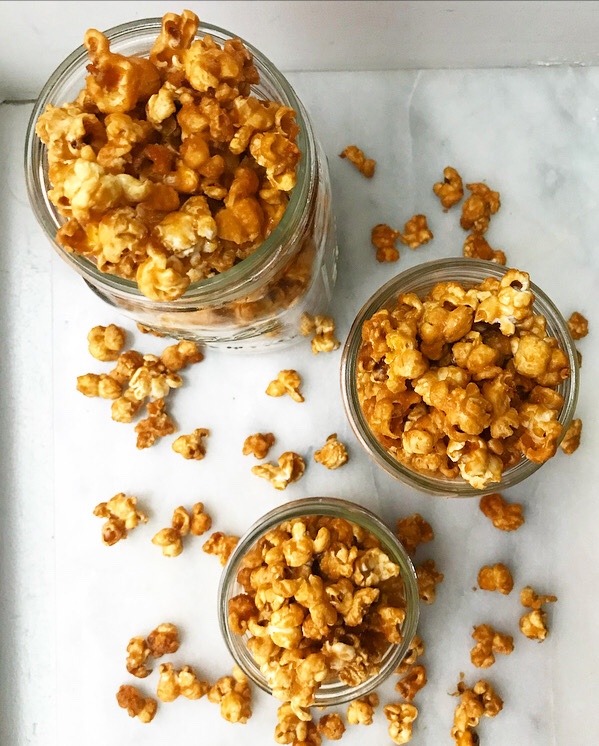 Y’all—this stuff is phenomenal. Phe-nom-e-nal. Crispy, crunchy, sweet and salty. Oh, and easy. Salty Maple Caramel Corn comes together in four simple steps.

 For the same reasons, don’t touch any pieces of coated popcorn that fly out of the bowl during mixing. Wait until they cool for a few minutes before picking them up.
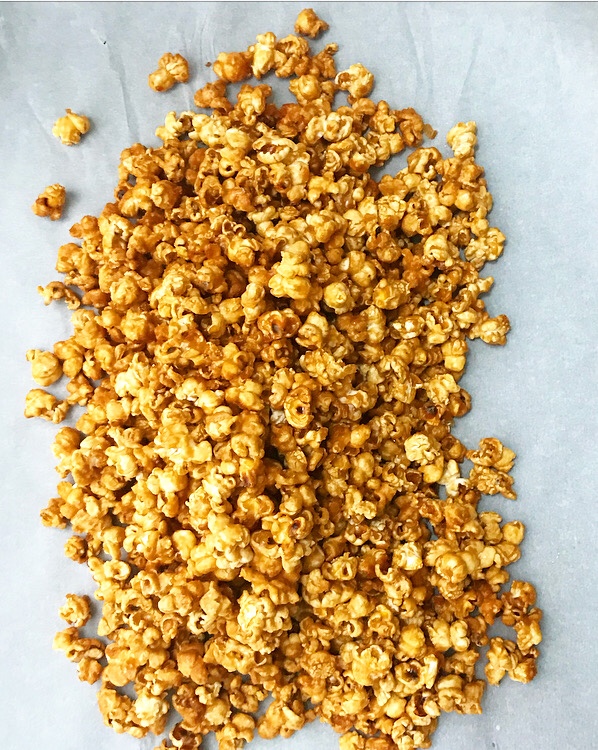
 The caramel corn will seem very wet at first, but will harden to a crispy, glossy finish. Once the hour is up, scatter the caramel corn onto a big piece of parchment and let it cool to room temperature. After that, snack away!
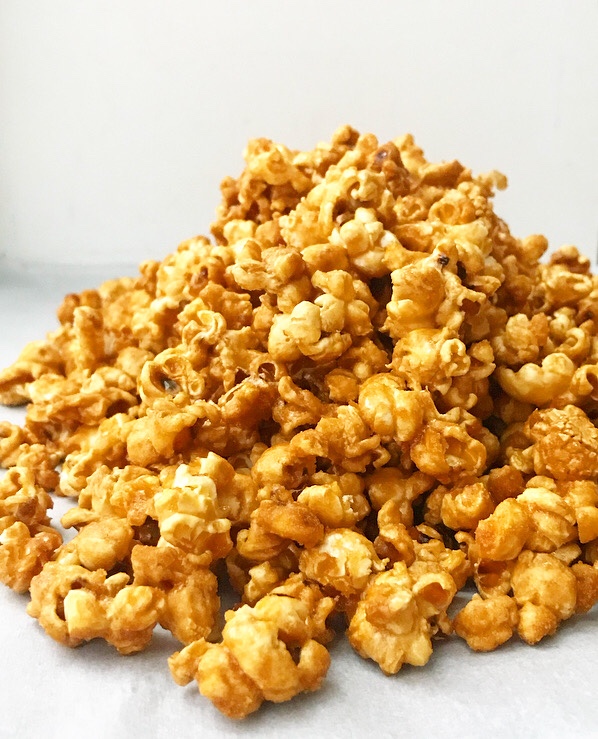
 You’re going to love this Salty Maple Caramel Corn! It’s a great sweet & salty snack or dessert. I think it would make for a wonderful finishing touch on a bowl of ice cream. You could even pile it high as a finishing touch on a
  I highly recommend making a batch over the next couple of days. It’s a guaranteed way to upgrade your weekend ❤
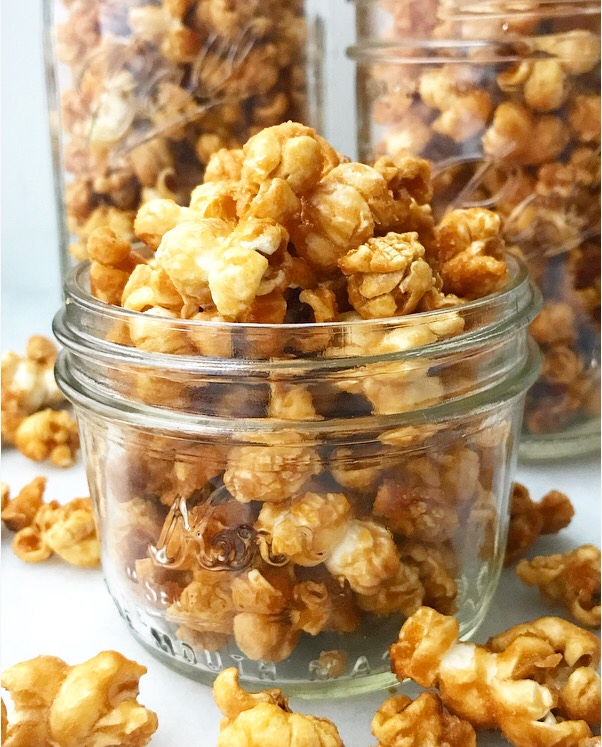

 Hello from
  VJ and I got here Saturday afternoon. It was supposed to be us and two more that day, but due to a work snafu, they didn’t join us until yesterday. Thank goodness for our other guest, my sister,
 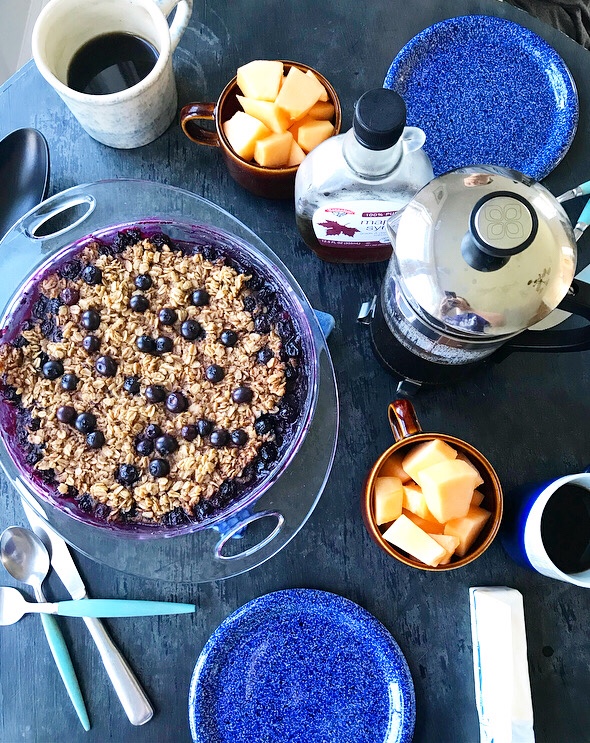 Since it’s just been the two of us these last few days, meals have been simple. As I’ve mentioned
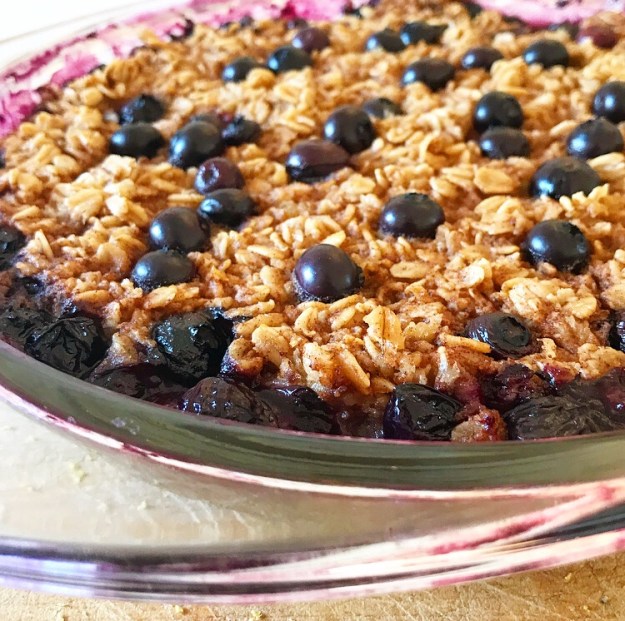
 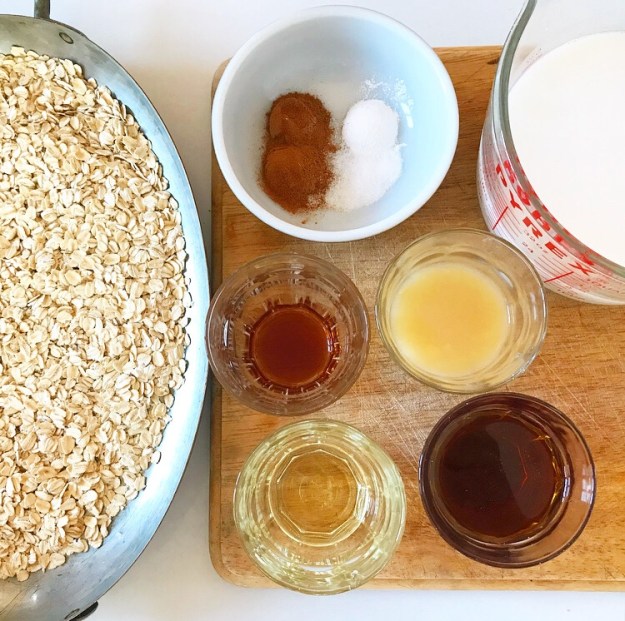 While everyone else I know was going to work Monday morning, I made this Blueberry Baked Oatmeal for us. Made with gluten-free old-fashioned oats, rice milk,* and
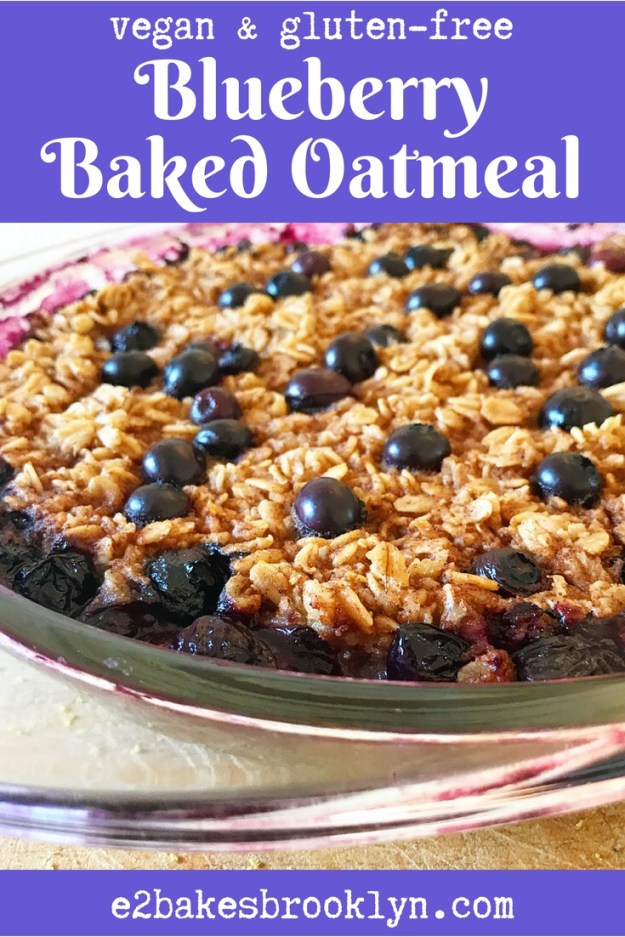
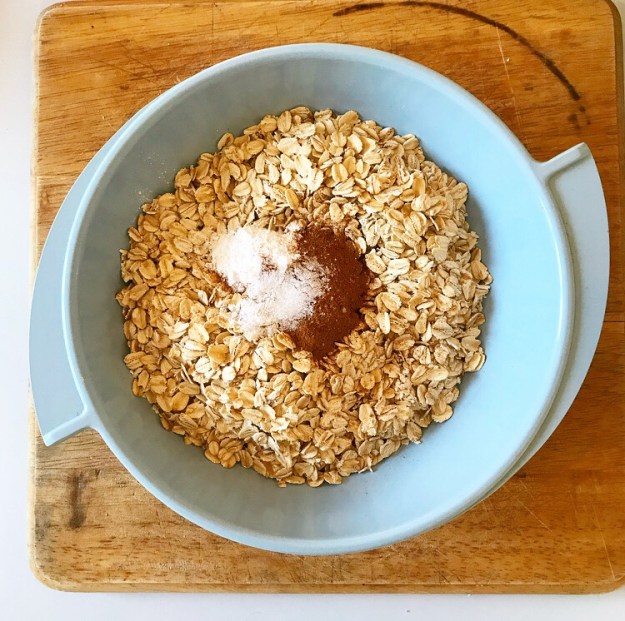
 This oatmeal is super simple to make. With just a few minutes of prep-work and 40 minutes of bake time, you’ll be rewarded with a rich, cinnamon-spiked oatmeal that is positively bursting with blueberries.
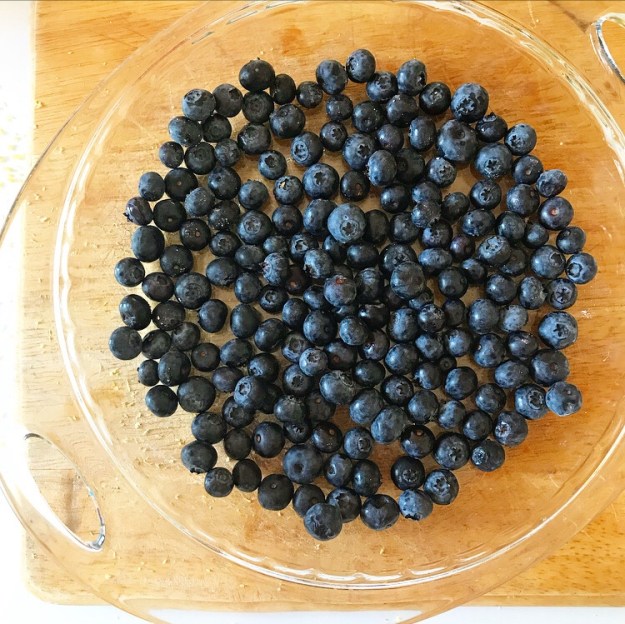
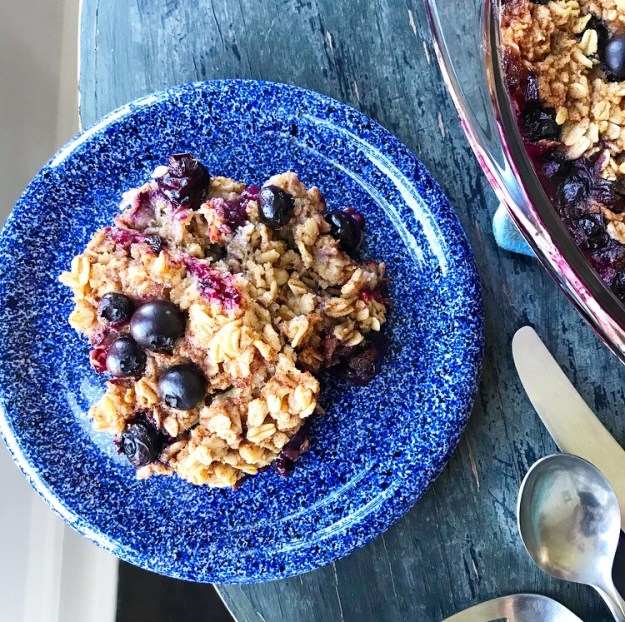
 You just need two bowls and a stirring implement to put it together, and you probably have all the ingredients already (with the possible exception of blueberries).
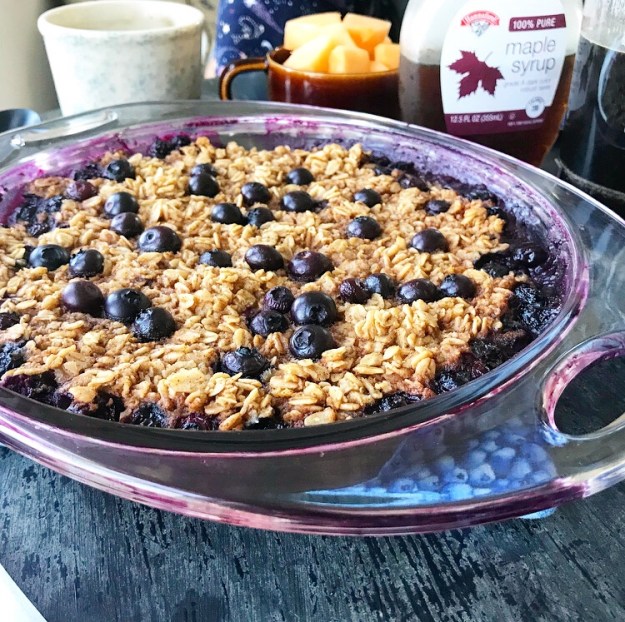
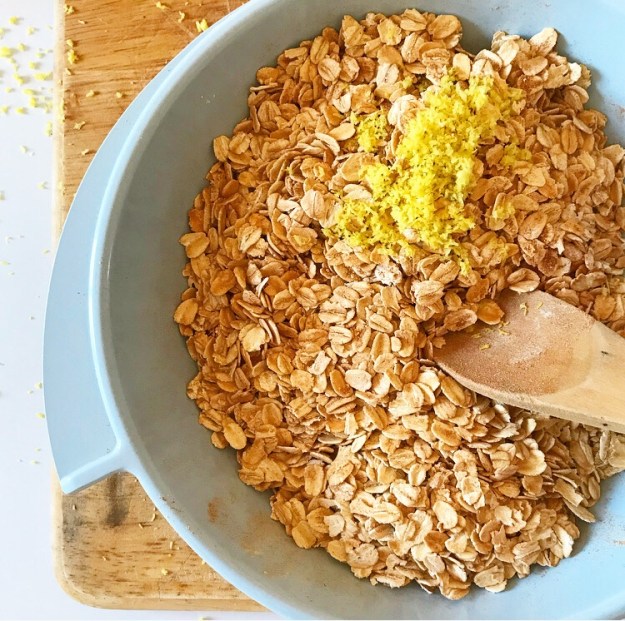
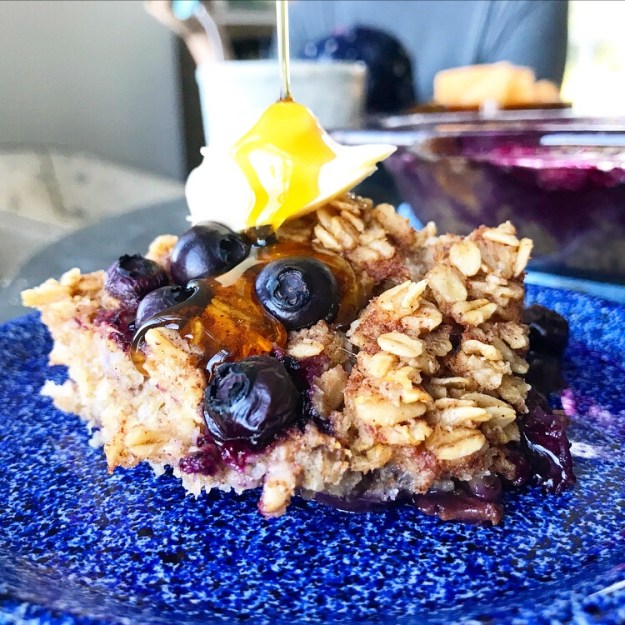 VJ and I prefer our oatmeal on the sweet side, so I used 1/2 cup maple syrup here. If you’d like a less-sweet breakfast, you can reduce it to 1/4 cup.
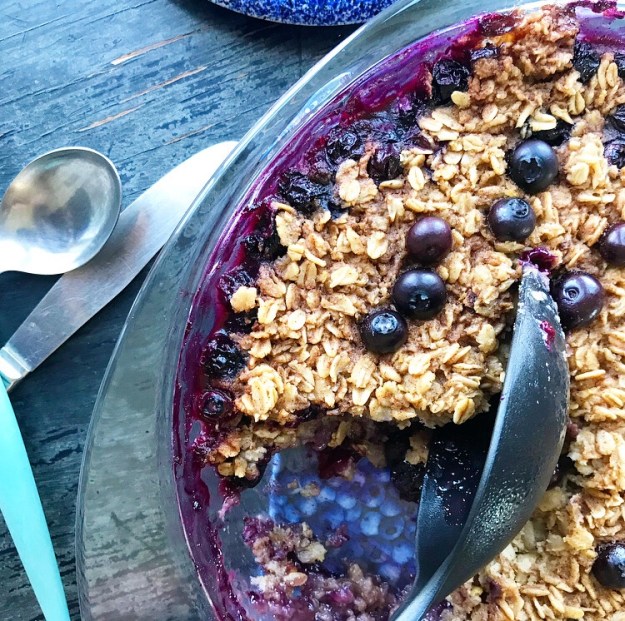 Feel free to add nuts or seeds (toast them with the oats!), or stir in coconut flakes or mashed banana. Everything we eat on Swan’s Island comes from one pre-ferry grocery trip on the mainland, so meals are paired down and simple. I like this oatmeal as-is with an additional drizzle of maple and a pat of butter, but that’s just me.
 As with many of the recipes on this site, this recipe can be made with many variations. Feel free to take my favorite and make it yours.
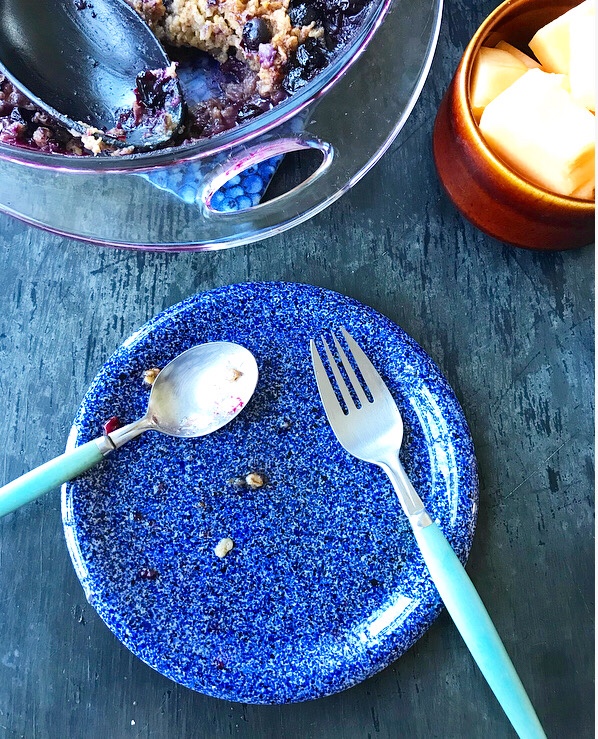
 After I made
 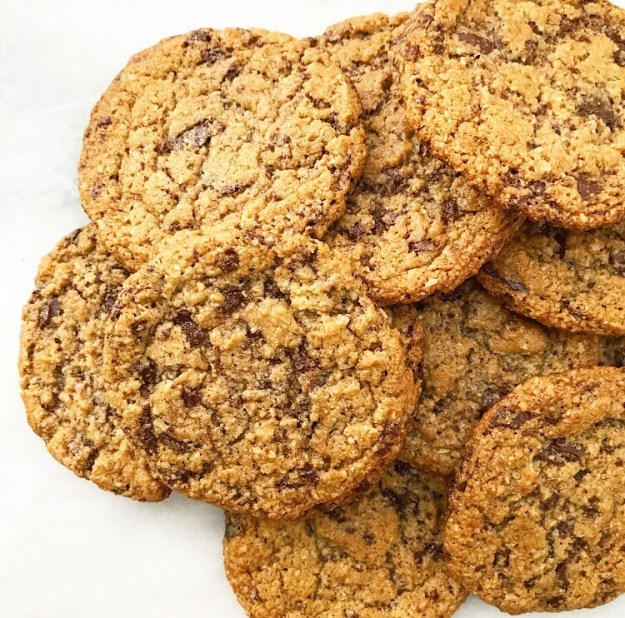 I should acknowledge that I already have four recipes for chocolate chip cookies in my archives (see
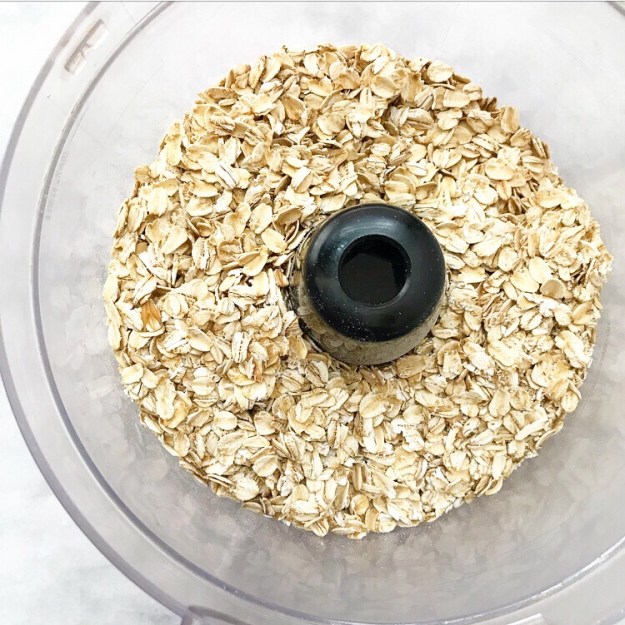
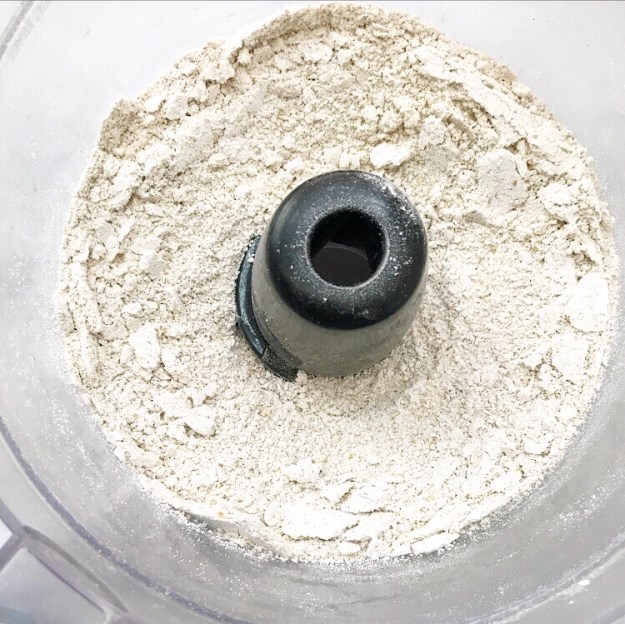 The original recipe calls for all-purpose flour, but as I had plenty of oats leftover from making from my adventures in graham cracker-ing, I figured I’d give it a shot with toasted ground oats. I also swapped out plain granulated sugar for an equal volume of light brown, added some vanilla, switched from chocolate chips to finely chopped dark chocolate, and nixed the extra salt entirely.
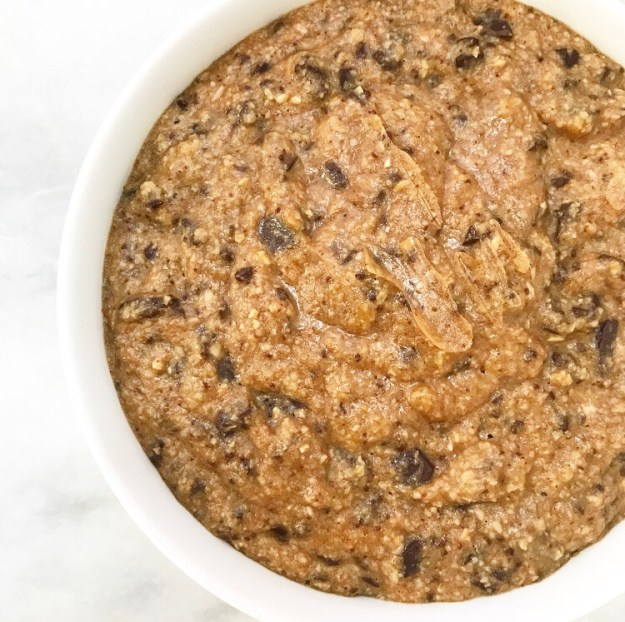
 The Ovenly overlords will tell you that theirs’ is a finicky recipe and to follow it to the T. They are correct—it’s a very precise recipe and works perfectly as-is. But I messed with it anyway because I can’t help myself.
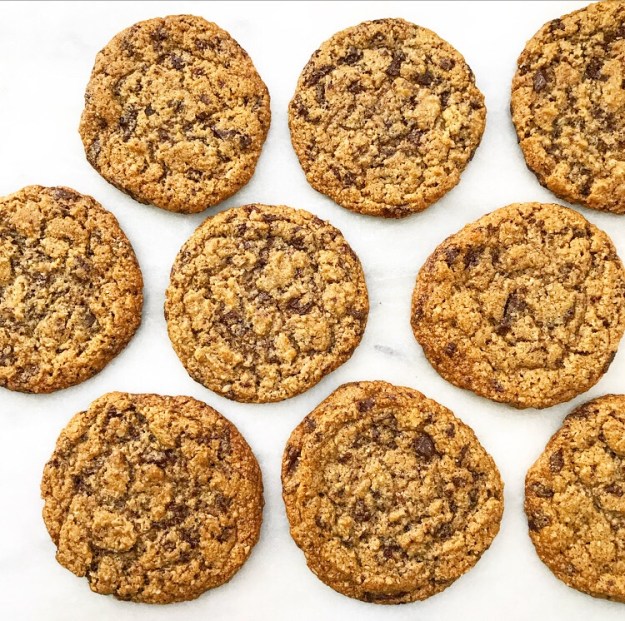 It took me five test rounds to get these cookies to work consistently with toasted ground oats, but I persisted and have been rewarded with super chewy, chocolaty cookies that anyone will love (not just your favorite local
 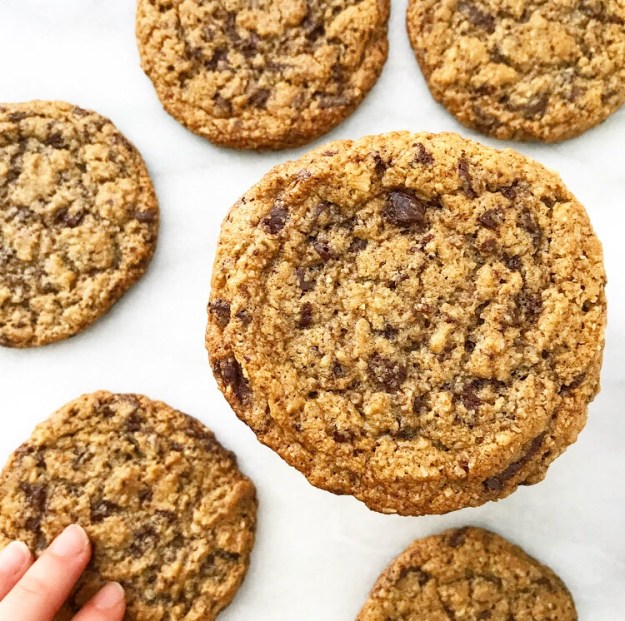 I will, however, jump on Ovenly’s soapbox like a hypocrite and tell you not to mess with this recipe…any further than I have already.
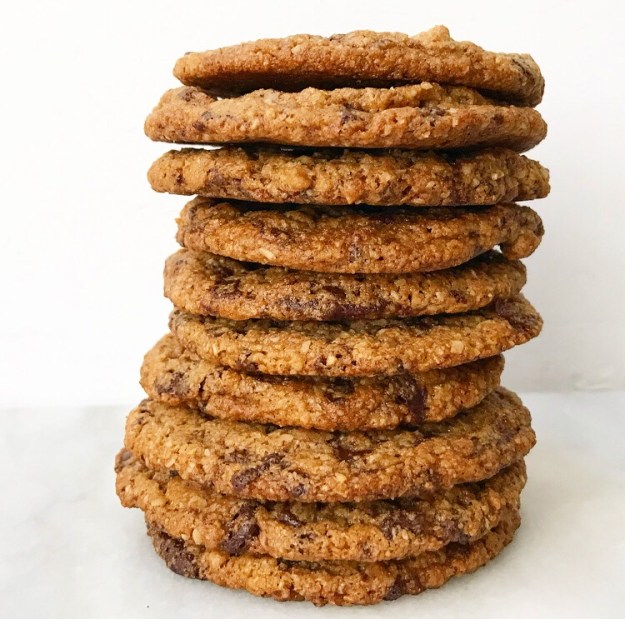 As with most baking recipes, the volumes of ingredients are very specific for a reason. In the case of this recipe, adjusting the liquid ingredients by 1 tablespoon (!) will either yield sad, soupy dough (and lacy cookies) or a chilled rock of inedible dough. Trust me, I know.
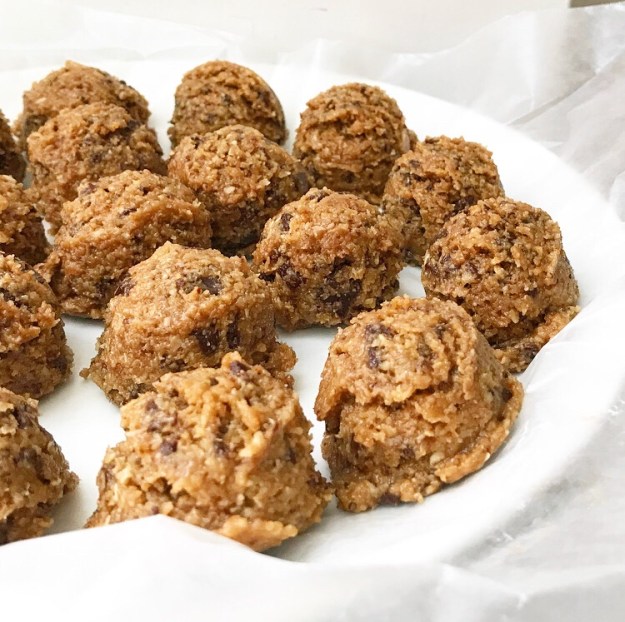
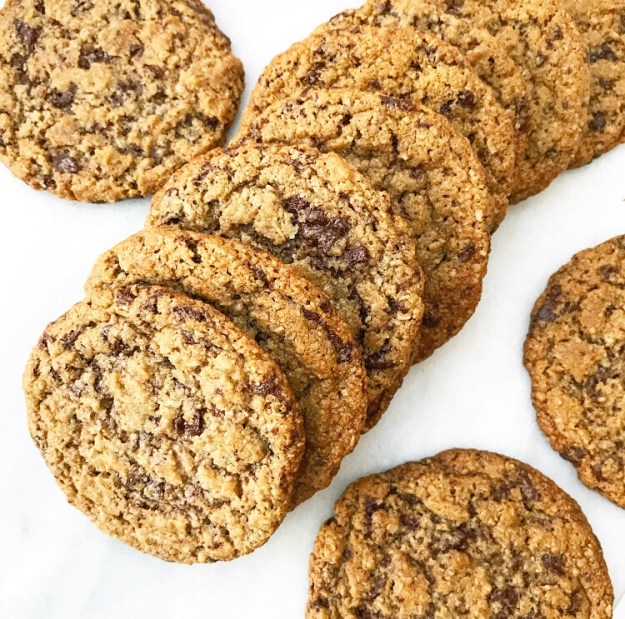 And for the love of everything, don’t shorten the 12-24 hour chill. If you do, I guarantee you will be disappointed. But if you work ahead, as specified in the recipe, you’ll be rewarded with some seriously good Chewy Chocolate Chunk Cookies.
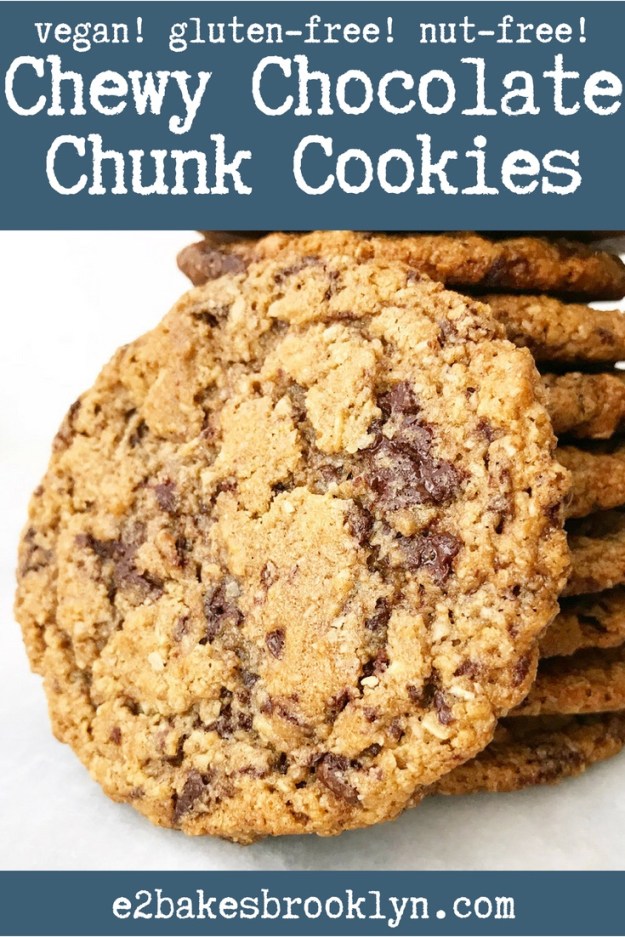
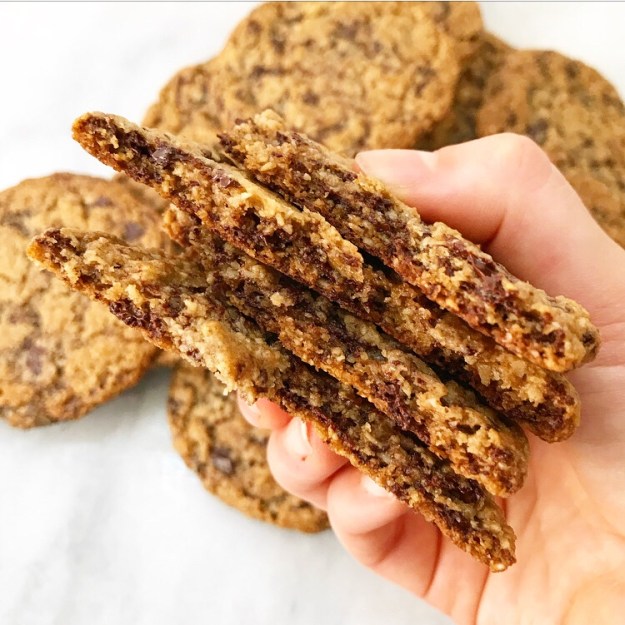 For all my “don’t mess with the recipe” talk, these are remarkably easy and delicious cookies! They’re a guaranteed hit, not only for their chewy texture and perfect amount of dark chocolate, but because they’re vegan, gluten-free, and nut-free, so more people can eat them. Love that ❤
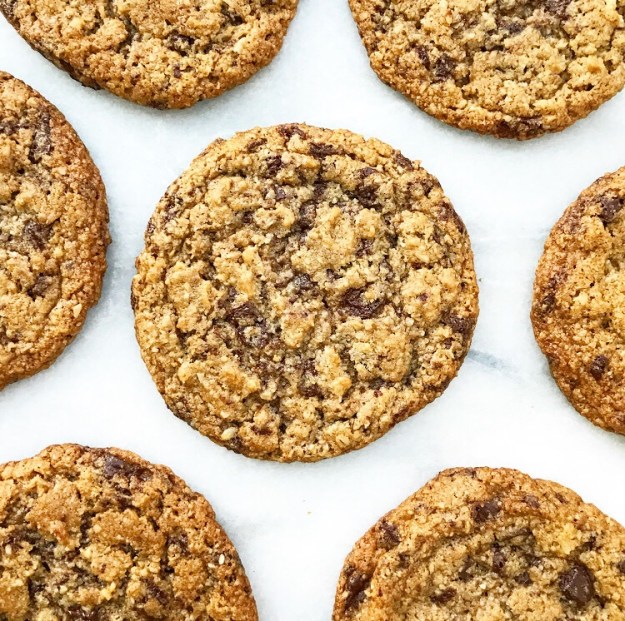
 This is my third gluten-free
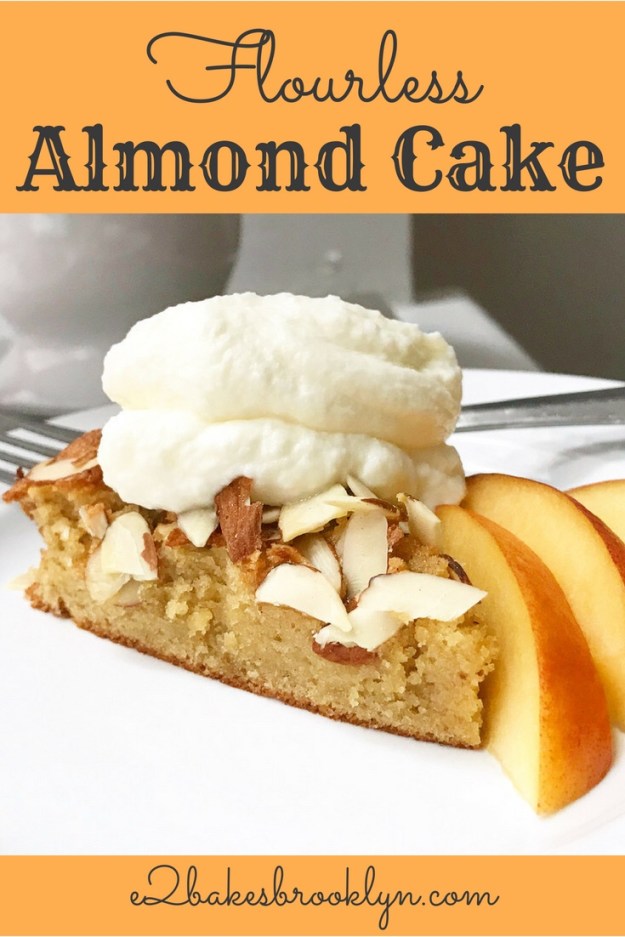
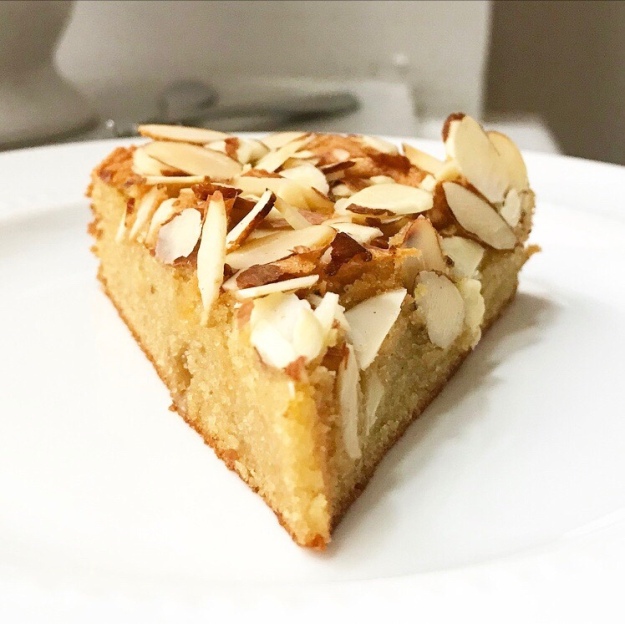
 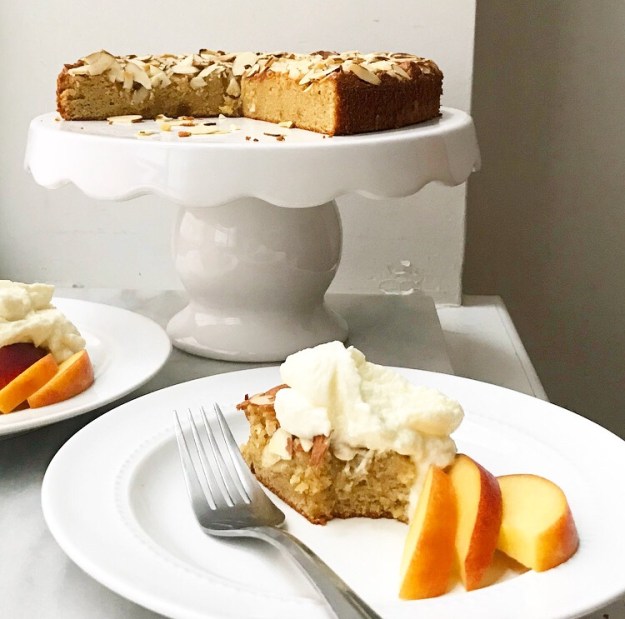 You might think that since I kept it for last, it’s subpar in some way. Quite the opposite—Flourless Almond Cake is really something special. It’s one of those recipes you’ll want to have in your repertoire not only because it’s grain-free and relatively quick and simple, but because it can adapt to any occasion. It’s as perfect for a dinner party as it is for a cookout or taking to a friend who needs a pick-me-up. The holidays are still a while away, but I can imagine this cake being a welcome addition to any dessert spread.
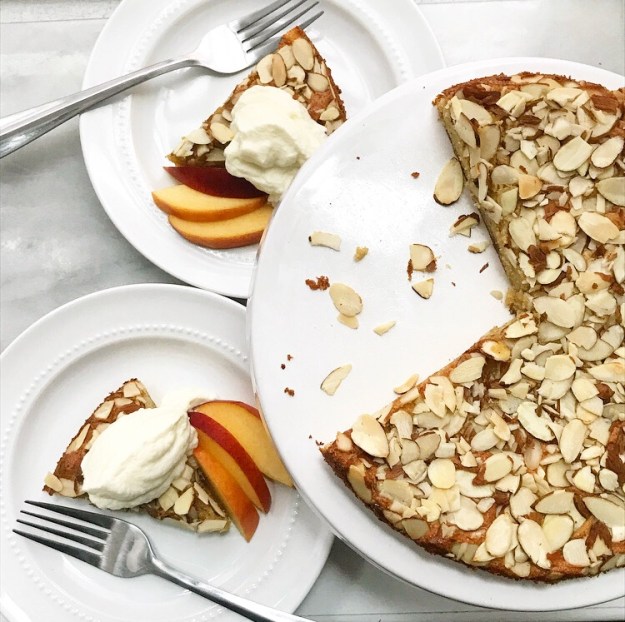 But it’s barely August and I’m getting ahead of myself. Let me show you how this cake comes together.
 It starts by measuring out some blanched almond flour. I measure using the spoon & level method, as I do with all my
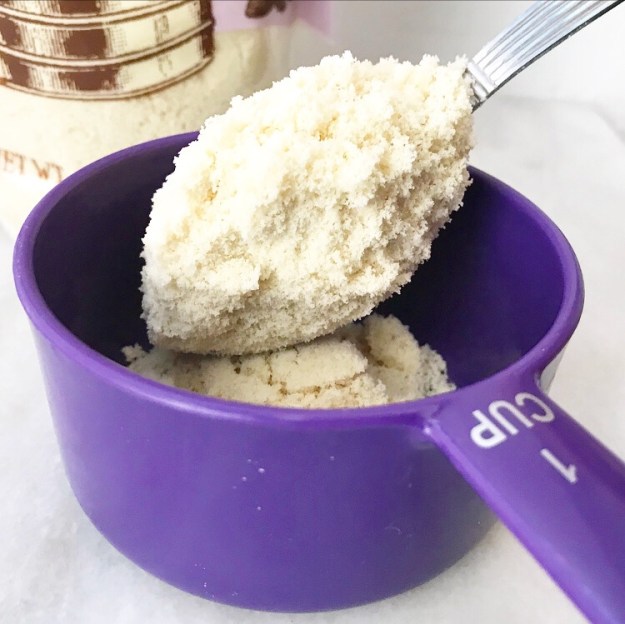
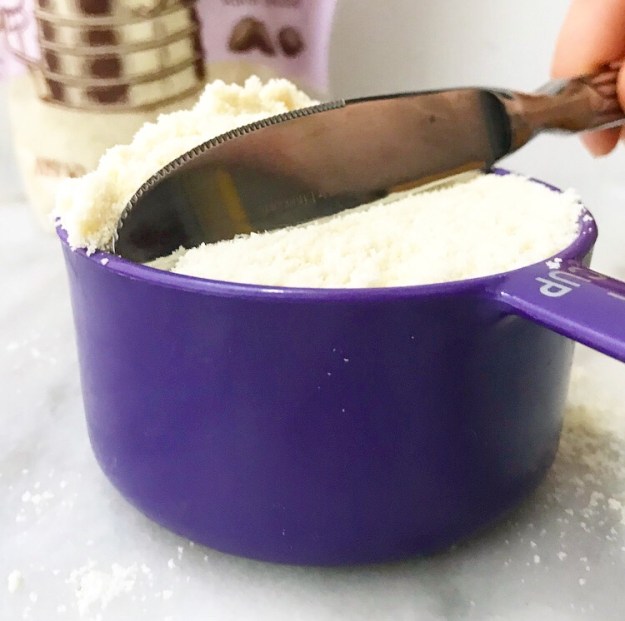 This may sound tedious if you’ve never done it before, but it only takes a few seconds longer than other common volume-based measuring techniques. While it’s appealing to scoop ingredients with a measuring cup directly, it may cause your final product to be too dense.
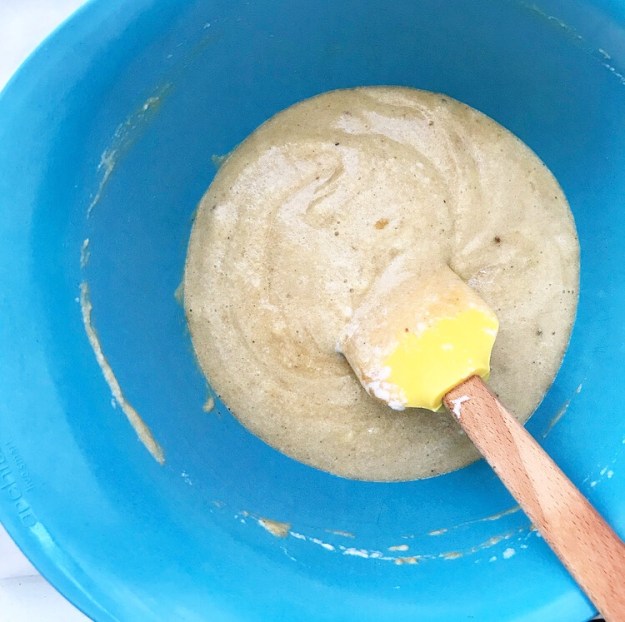
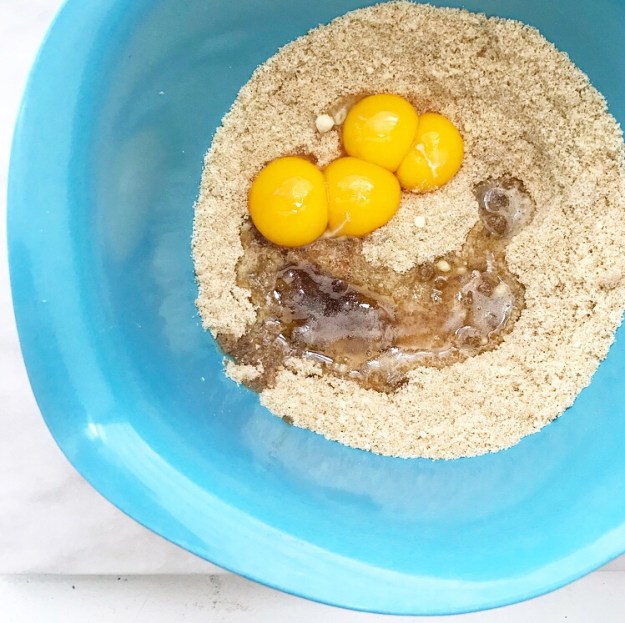 Put your almond flour in a large mixing bowl and mix in some light brown sugar, salt, and touches of cinnamon and nutmeg. Next come four egg yolks, vanilla and almond extracts, and a little butter. You may certainly just use plain melted butter here, but I like to use brown butter for the extra toasty flavor it imparts.
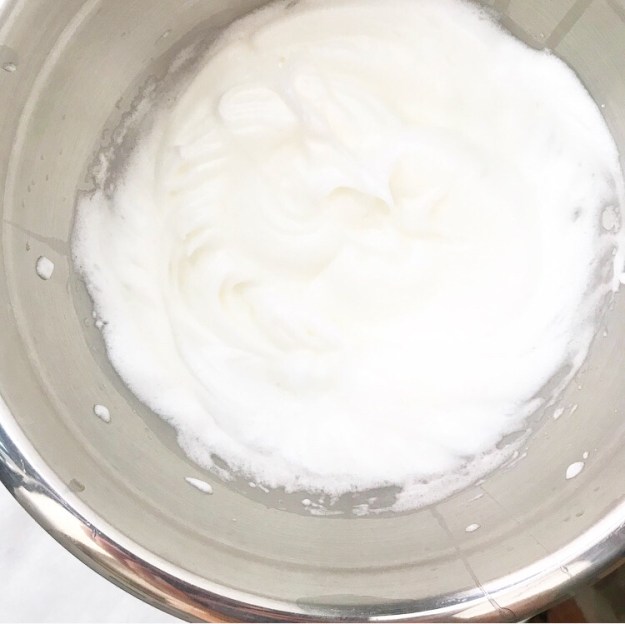 Next up, wash and dry your mixer attachment and whip four egg whites to stiff peaks. Don’t skip the wash/dry step or your egg whites won’t whip, and you’ll be cursing my name while you separate four more eggs. I tried bypassing this step and using the egg whites as-is, and the result was a dense, flat cake. No, thanks.
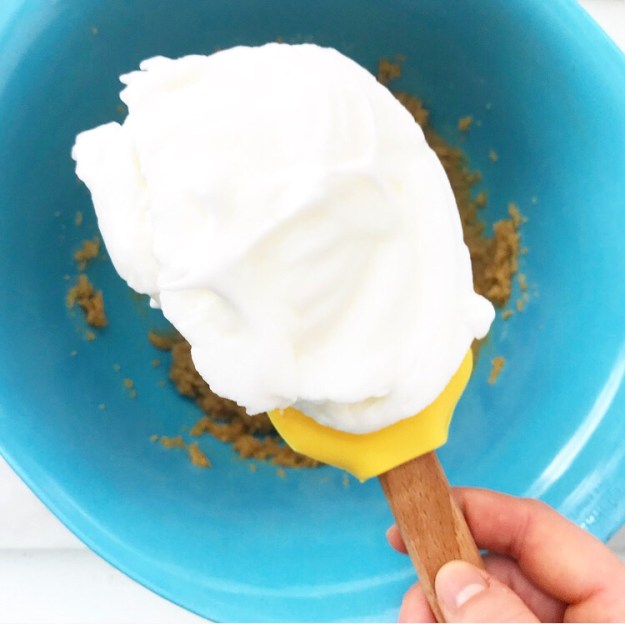
 Stir 1/3 of the whipped egg whites into the almond mixture before gently folding in the rest.
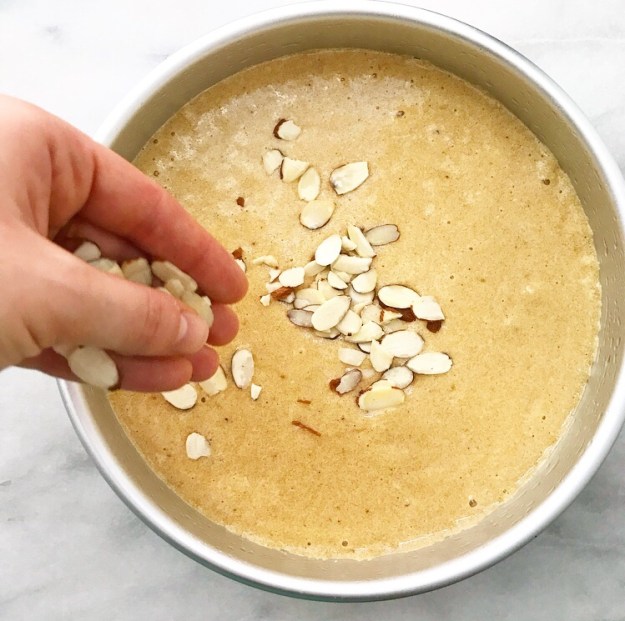 Pour the batter into a prepared pan, scatter sliced almonds over the top, and bake until the center is firm.
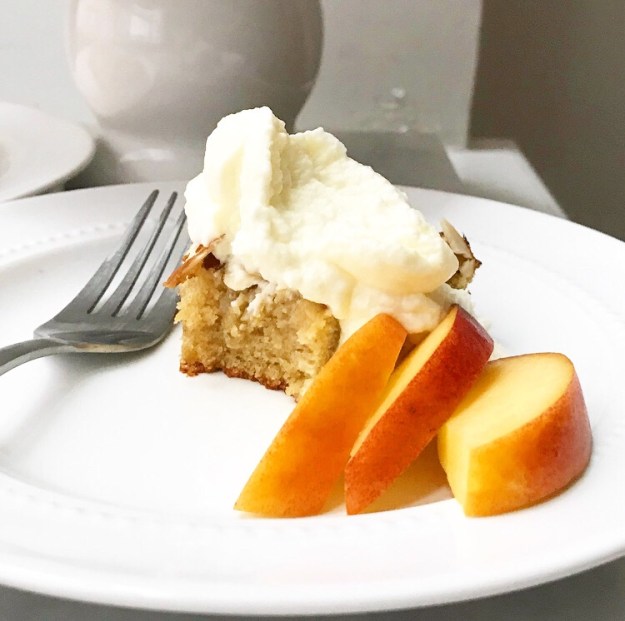
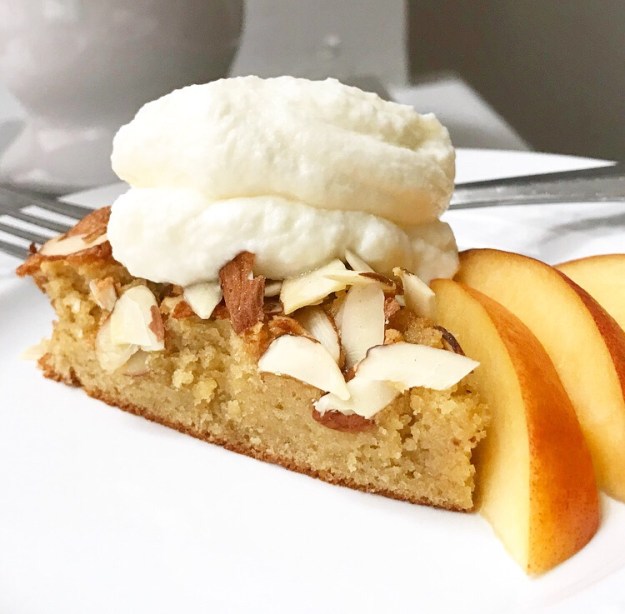
 Turn the cake out onto a serving platter and let it cool completely. Slice it up and serve it any way you see fit.
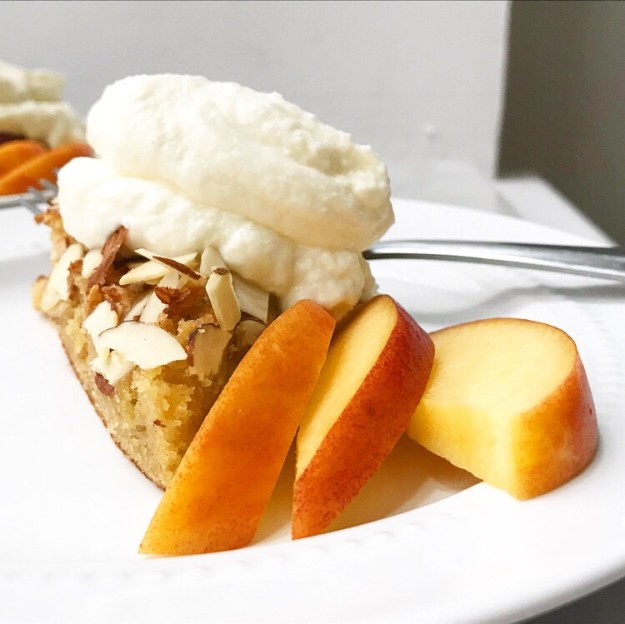 Like
Like 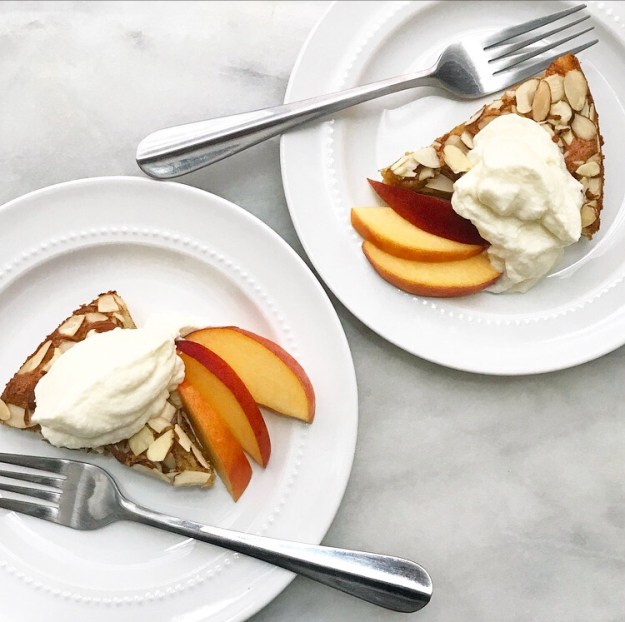 No matter which suggestion you go with, this simple little cake is sure to be a winner.