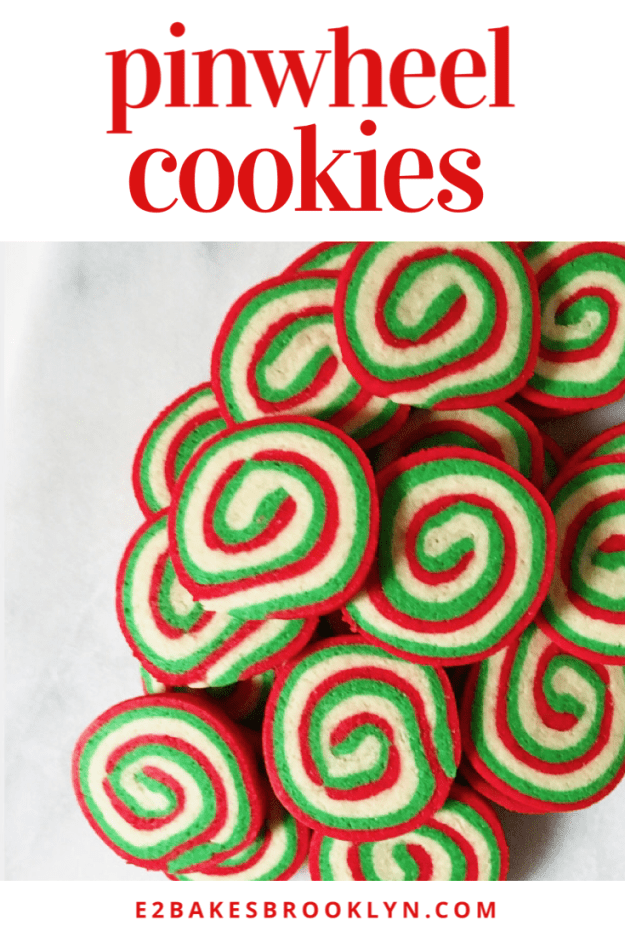
I have had these Pinwheel Cookies on my “to bake” list for years, but every time the holidays have come around, I’ve said “next year.” But now, having gotten brave and made them four times without any real hitches, I can confidently say that the Pinwheel intimidation factor is entirely in the presentation. I mean, all those colors and the signature swirl and the abject cuteness—you can see why I was worried. What if mine were hideous?
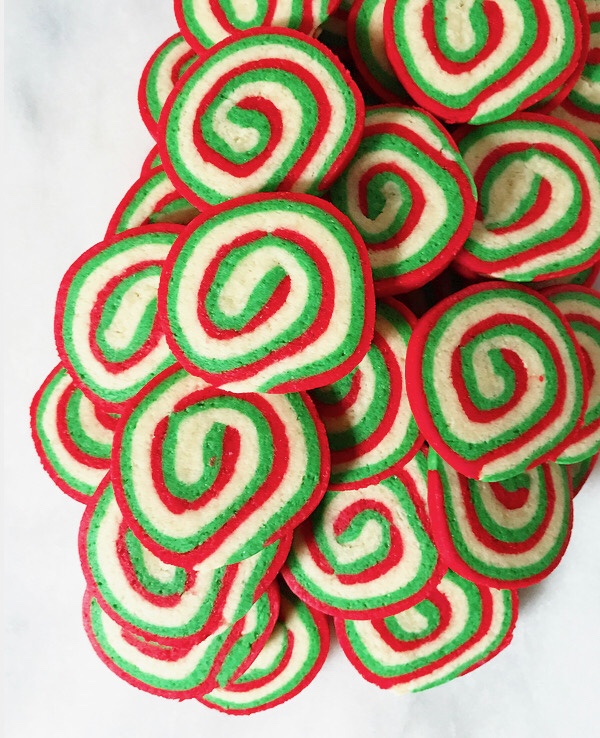 I was sure that I, with my fairly limited motor skills, would need months to figure out a method that worked for me. Turns out all I really needed were 48 hours and a little self-confidence. If I can make Pinwheel Cookies, so can you! I mean, even if you really screw them up (which you won’t!) they’re still going to be cookies, right?! Let me walk you through the process.
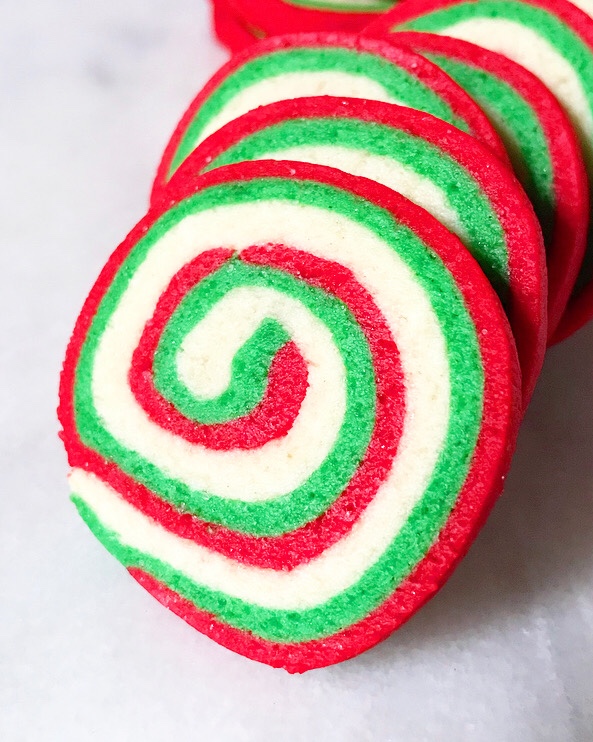 As I said, these are simpler to make than they look, but be sure you read through the recipe a couple of times before beginning. That’s Baking 101, but I know I’ve skipped it and found myself in a bind more than a few times. This recipe is not difficult, but it does have many steps, including two short chills and one long one. You want to know what’s coming before you start!
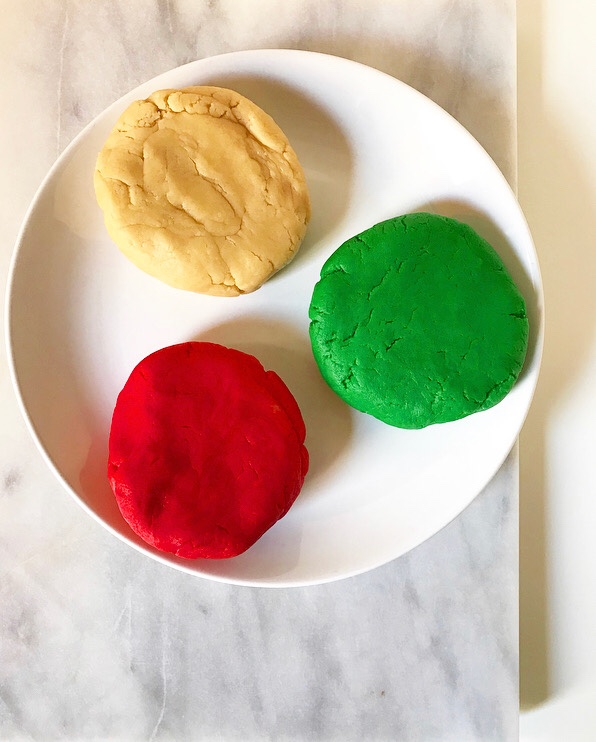 The dough I used here is my tried & true Cream Cheese Sugar Cookie dough—it’s easy to mix together, tastes delicious, and bakes up beautifully every time. Mix it up, divide it in thirds, and dye two of them red and green, leaving the remaining one white/plain. Give the dough a brief chill before rolling it out and stacking it up.
 This part always stresses me out, but I promise it’s not a big deal. I’ve tried stacking the dough in frozen sheets, among other ways, but the best I’ve found is rolling them all on parchment, then stacking and peeling off the parchment. If your dough tears, simply press it back together with your fingers. Once all the colors are stacked, put the dough into the in the fridge for a few minutes before rolling it up into a cylinder.
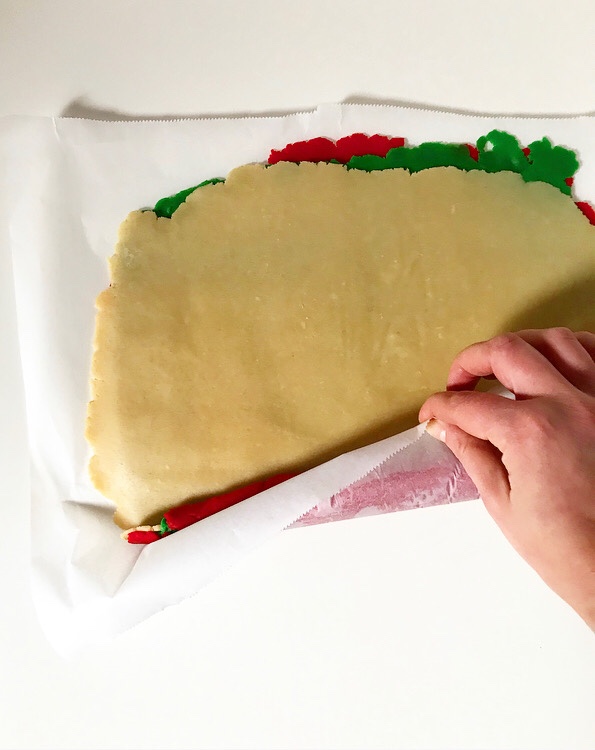
 Some recipes will tell you to trim off the edges of the dough before rolling, but I’ve found that unnecessary. If it’s bothering you, though, go ahead and even out the long sides.
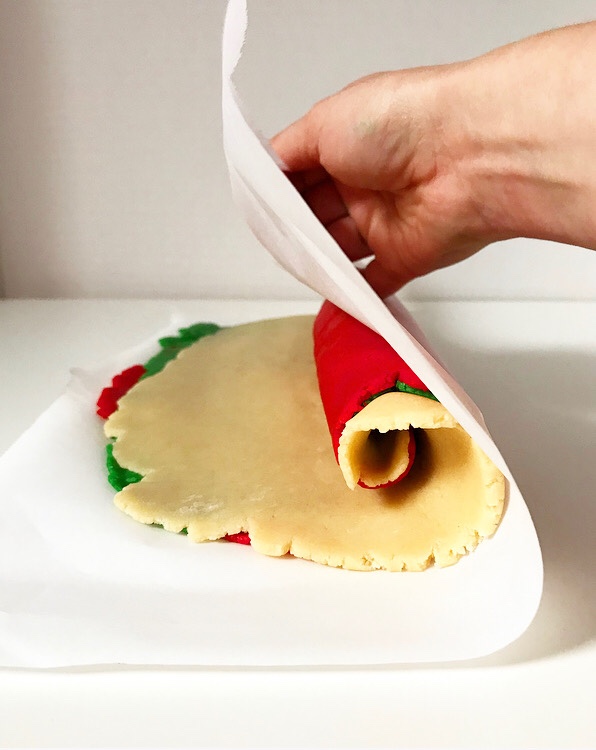
To create the cylinder, start by lifting a long edge of the cookie dough stack and turning it in on itself. It’s easiest if you do this by moving from one end to another, like how you roll up cinnamon rolls (or, if you’ve never made cinnamon rolls, how a typewriter moves). Once that initial roll has happened, lift the parchment and use it to coax the dough into a cylinder. Don’t worry if it doesn’t go perfectly–these are surprisingly resilient. Before I chill the dough, I like to smooth the cylinder, rolling it back and forth and stretching it out to 16 inches in length and 1 1/2 inches in diameter. This ensures that all the layers of the cylinder stick together in one cohesive piece and that all the cookies will be roughly the same size. Trim off the uneven ends, wrap the dough in plastic wrap and chill it for a good three hours. If you’re working ahead, you can triple-wrap it and put it in the freezer. Just thaw overnight before slicing.
 The great part about Pinwheel Cookies is that the hard part is done before the final chill. After that, all you’ll need to do is slice them into 1/4-inch thick pieces, arrange them on a sheet pan, and bake them for 8 minutes. Let them cool on a rack and then throw ‘em on a platter, in a tin or a cookie jar.
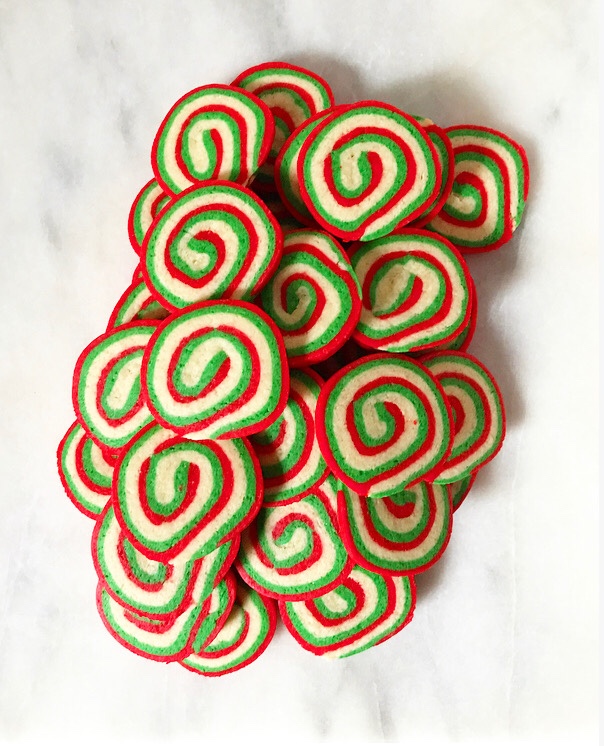 All that’s left to do is eat three and declare this the “Year of the Pinwheel.” Nobody else will have any idea WTF you’re talking about, but I do and I think you’re a holiday baking badass.
Pinwheel Cookies
makes 3.5-4 dozen cookies
3 1/4 cups all-purpose flour
1 1/2 teaspoons baking powder
1/2 teaspoon Kosher or sea salt
1/2 cup unsalted butter, softened to room temperature
4 oz (1/2 brick) full-fat brick-style cream cheese, softened to room temperature
3/4 cup granulated sugar
1/4 cup light brown sugar, packed
1 large egg, room temperature
1 teaspoon pure vanilla extract
1/4 teaspoon pure almond extract
10-12 drops red gel food coloring*
8-10 drops green gel food coloring
In a large mixing bowl, whisk together flour, baking powder, and salt. Set aside.
In a separate large mixing bowl, use an electric mixer to beat butter and cream cheese until light and fluffy, about 2 minutes. Cream in granulated and light brown sugars, followed by the egg, vanilla, and almond extract. Add dry ingredients in 3 installments, combining completely after each.
Divide dough into thirds. Form one into a disk—this is the white/plain portion. Using your mixer (or your hands and a surface) knead 10-12 drops red gel food coloring into another third, then form into a disk. Clean your mixer (or your hands and surface) before kneading 8-10 drops green gel food coloring into the remaining third and form into a disk. Cover with plastic wrap and chill for 30 minutes.
Flour a rolling pin. Place the red disk on a large sheet of parchment and roll to a 9×11-inch rectangle. Set aside. Repeat this process two more times (with the green and white disks), flouring your rolling pin as necessary.
Stack the dough. Place the red sheet (still on parchment) dough-side-up on your work surface. Carefully lift the green sheet and place dough-side-down on the red. Peel away parchment. If dough has cracks or holes, just use your fingers to piece it back together and pat lightly. Carefully lift the white sheet and place dough-side-down on the green. Again, piece together anything that may be askew. Use your rolling pin to give the stack a couple of rolls, just to adhere everything together. Chill stack for 15 minutes.
Make the pinwheel. Orient the dough so that one of the 11-inch sides is nearest to you. Lift the closest edge of parchment and use your fingers to carefully start to roll the dough. This is easiest if you start on one side and gradually move to the other, like how you would roll cinnamon rolls (or how a typewriter works). Once you’ve started the roll, use the parchment to coax the dough into a cylinder.
Once rolled up, roll the cylinder out to 16 inches. Starting by placing your hands in the center of the cylinder, lightly roll it, moving your hands outward to smooth, until it is 16-inches in length, with a diameter of 1 1/2-inches. This will take a few minutes and a few repetitions of this motion. This ensures the roll is uniform and that all the layers are adhered into a pinwheel. Trim the ends, wrap in plastic wrap, and chill for 3 hours or up to 3 days.
Preheat oven to 350F. Line two baking sheets with parchment.
Place cylinder on a clean, dry cutting board. Use a large, sharp chef’s knife to slice cylinder into 1/4-inch slices. Place 1.5-2 inches apart on prepared baking sheets. Bake cookies 7-8 minutes, until no longer raw-looking. Let cookies cool on the pans for five minutes before removing to a rack to cool completely. Repeat slicing and baking with any remaining dough.
Cookies will keep in an airtight container at room temperature for at least a week.
Note:
I prefer gel food coloring, as it doesn’t affect doughs as much as liquid food coloring. If you only have liquid, I’m sure it will work, but I don’t know how much you’ll need.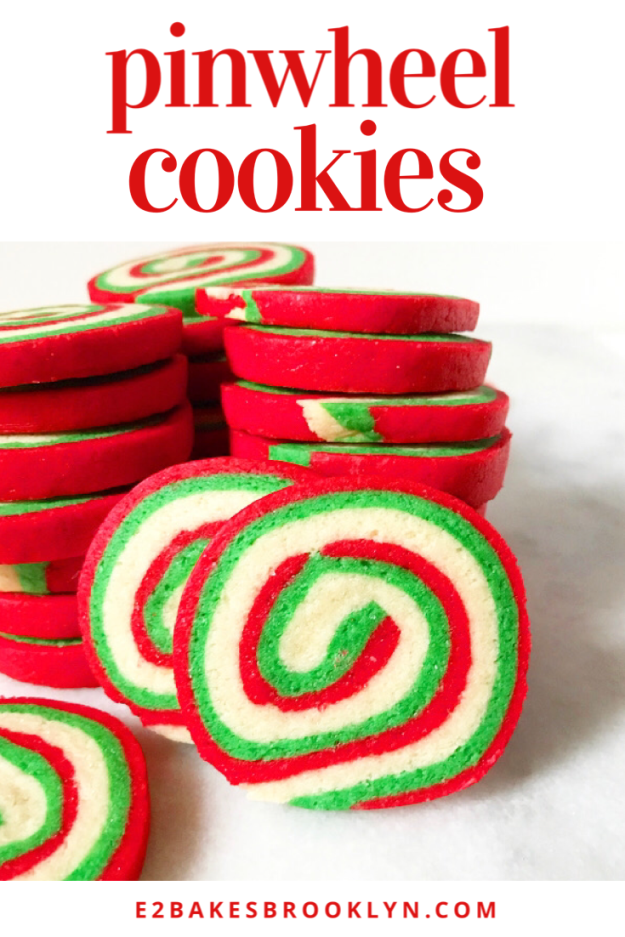
 I had something a bit more complicated planned for today’s post, but due to circumstances beyond my control (number of hours in a day, number of days in a week), I had to take the easy way out.
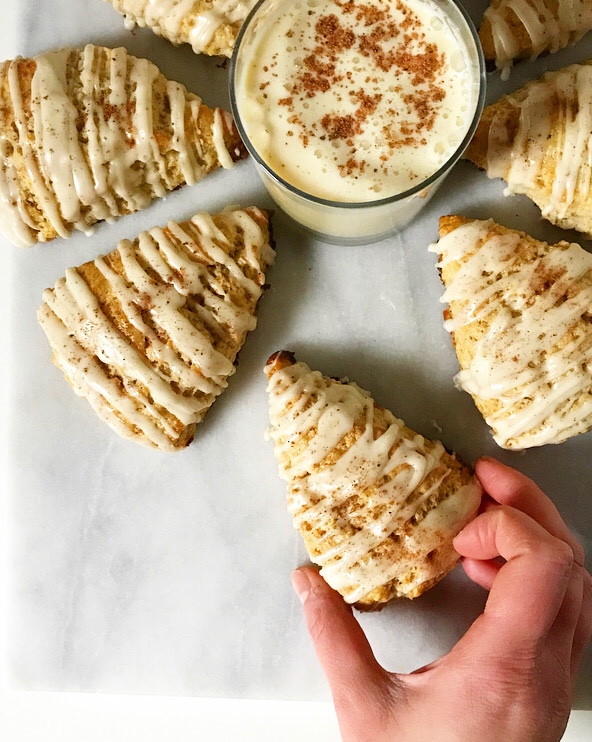 Lucky for all of us, the easy way out is through a warm batch of Eggnog Scones.
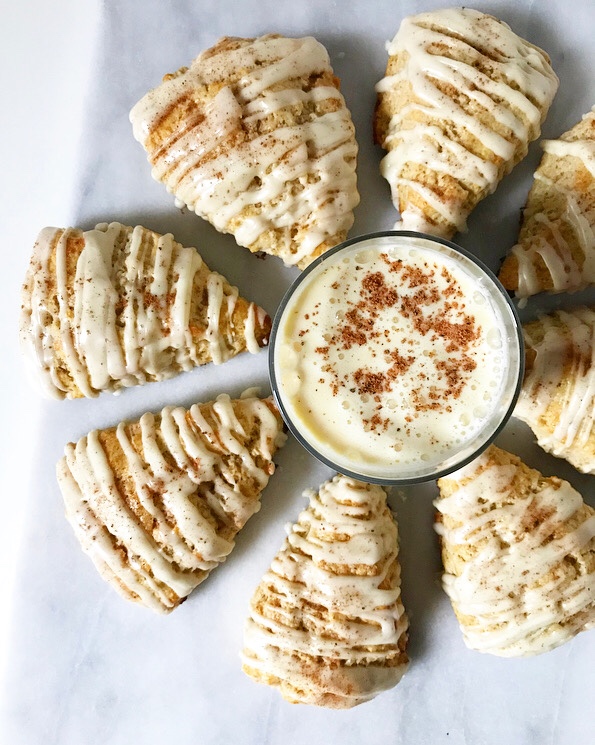
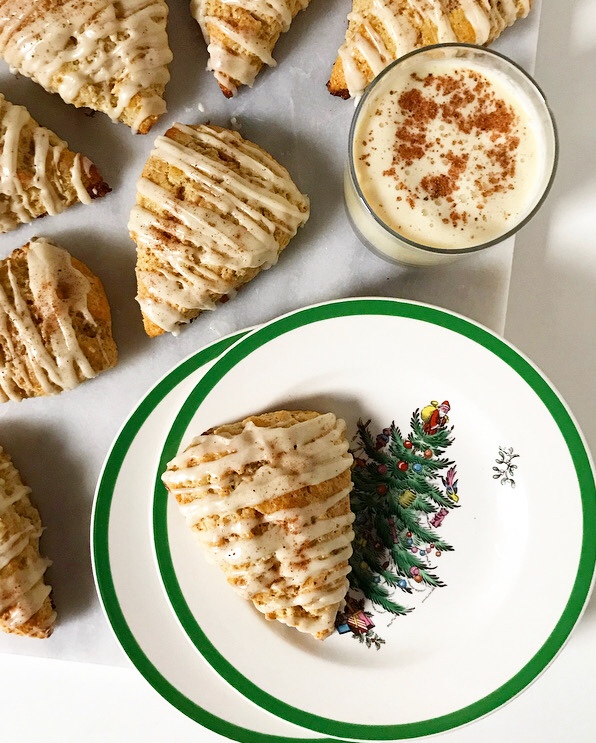 Y’all, these are goooood. We’re talking 8 springy, nubbly-edged breakfast treats made with eggnog and then topped with eggnog glaze—what’s not to love.?! I am not a fan of eggnog in its liquid state, but mix it into dough or whirl it into glaze and add warming spices, and I’m suddenly *very* interested.
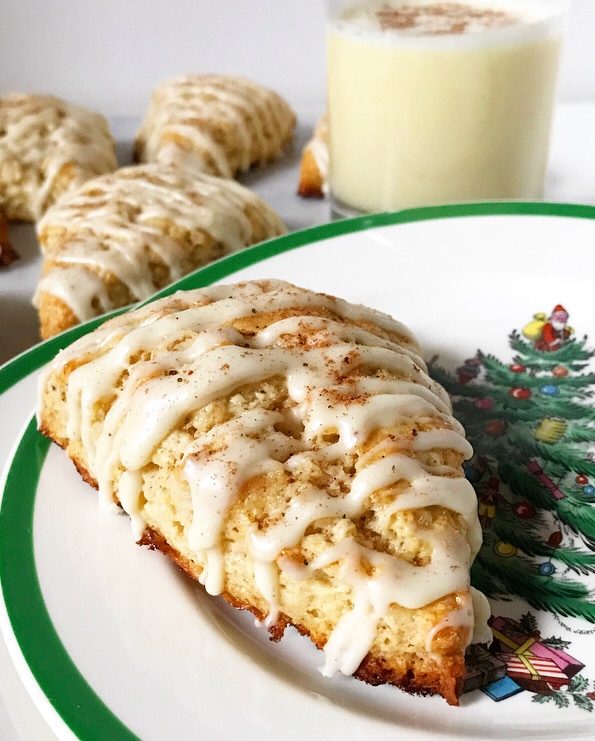 As with nearly all scones, these are a breeze to make. The dough comes together in ten minutes and bakes in fifteen. The glaze is technically optional, but it’s a snap to whisk up while the scones are cooling, and it’s delicious, of course. Creamy and lightly spiced, it’s the perfect accompaniment to the not-too-sweet scones. And that’s to say nothing of how satisfying it is to drizzle over the tops!
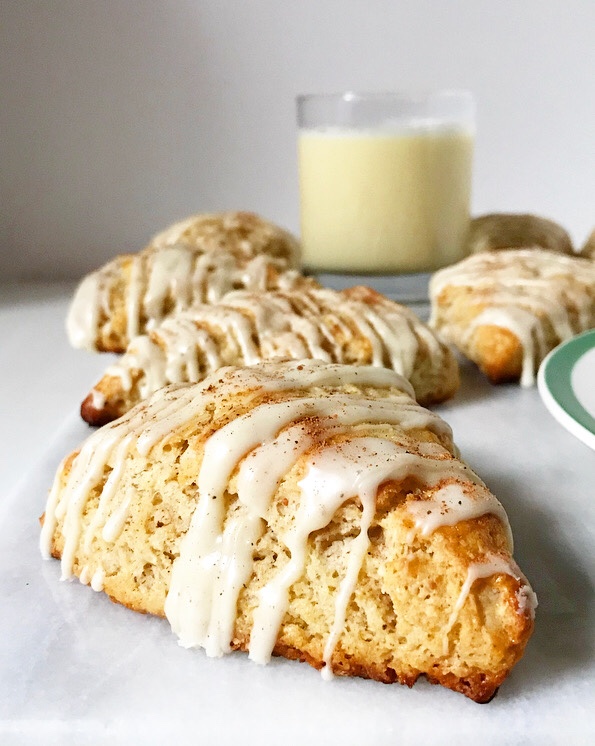 Speaking of satisfying, eating one…or one and a half…or two…of these with a big cup of coffee is, like, the best way to start a holiday morning. I’ve been so busy since I returned home from Thanksgiving that I keep forgetting that Christmas is almost here. When I’m eating an Eggnog Scone though, the holiday cheer is real. Real delicious, that is.
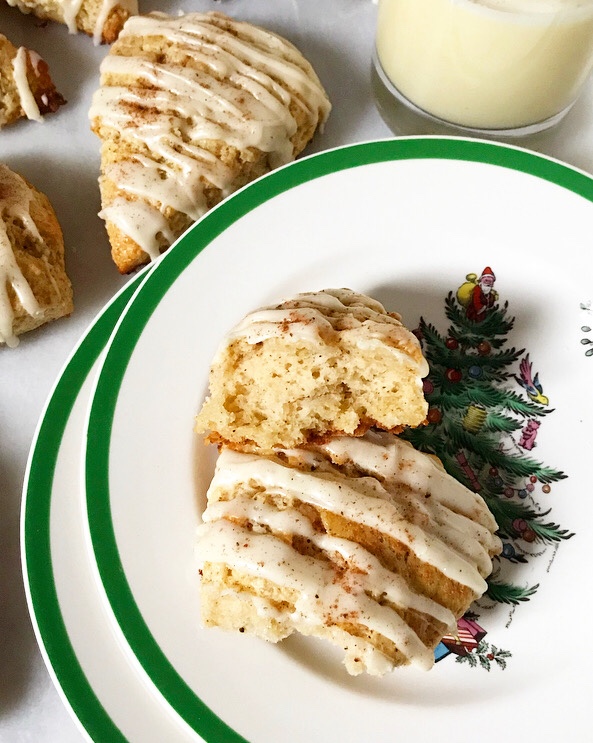


 Hello! I hope you had a nice Thanksgiving. I’m still in D.C., but am looking forward to getting back to NYC to put my Christmas tree up and really get into the swing of holiday baking—look out for my first Christmas cookies of the season next Wednesday!
 Today’s recipe is hardly a recipe at all. When I was visiting my friend, Tad, in San Francisco last month, we stopped for an ice cream cone at
 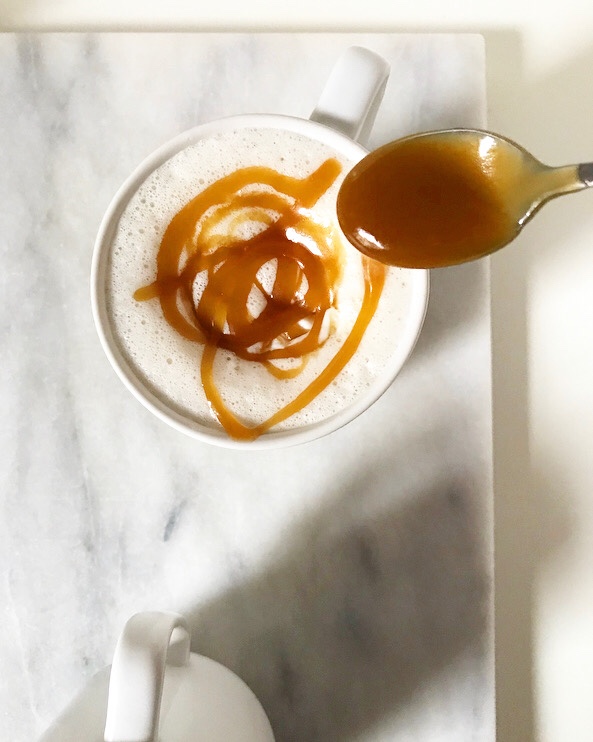 I decided then and there that I would figure out a Hot Butterscotch recipe by Thanksgiving, and lo and behold, here it is. Rocket science, this is not, but those Castro Fountain guys are on to something!
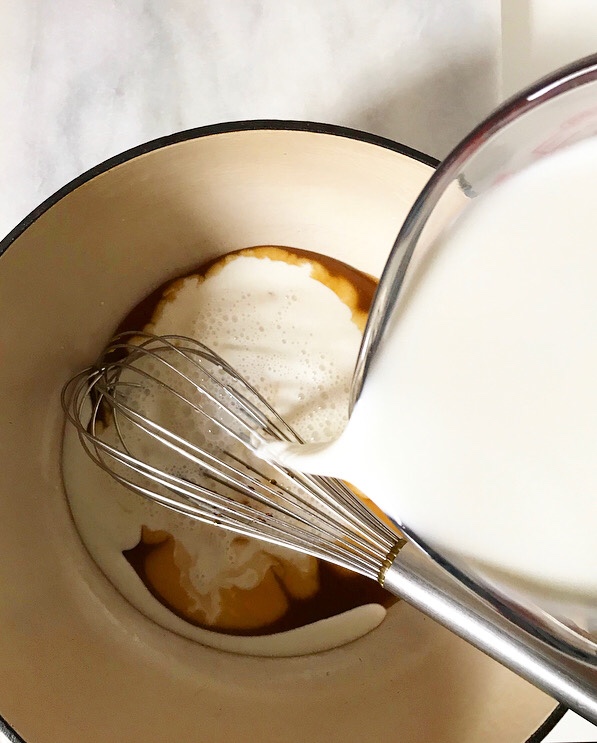
 Simply whisk a cup of
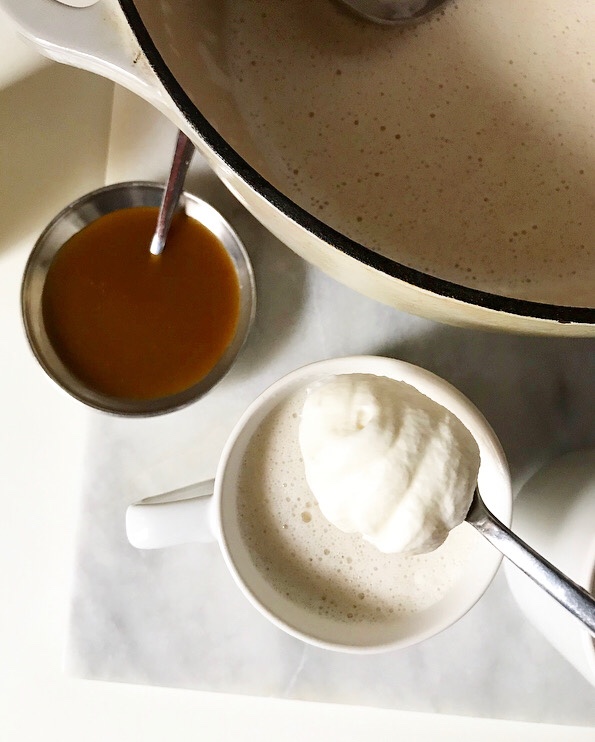
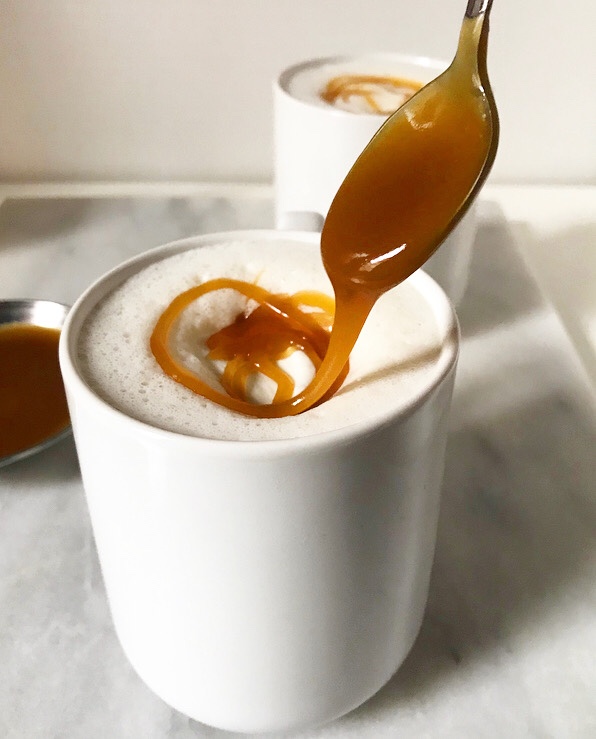
 Hot Butterscotch is creamy and comforting with plenty of buttery brown sugar and vanilla flavor. I like it as written, but if you want something a little more decadent, feel free to swap half & half or heavy cream for some of the milk.
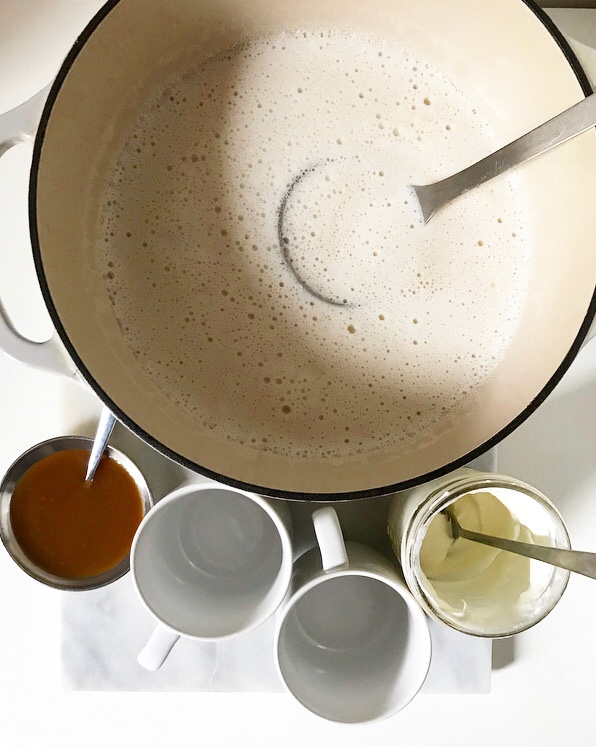
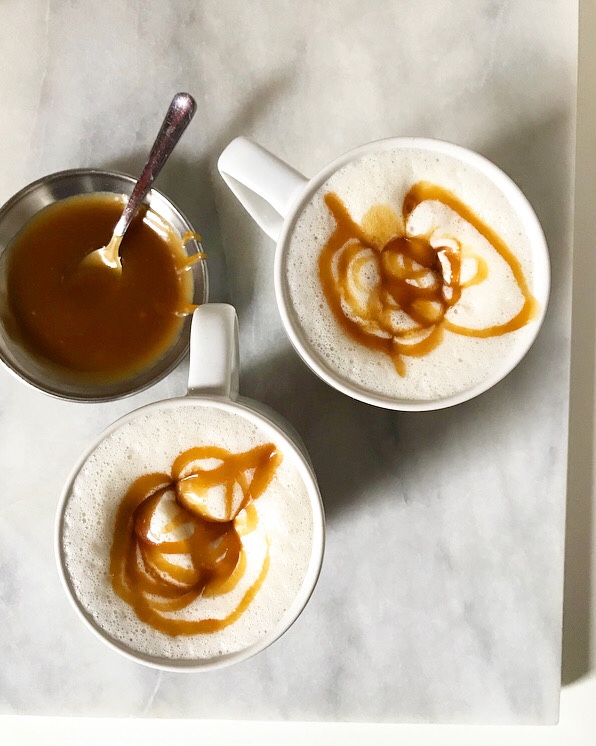 No matter how you mix it up, this is the perfect low-maintenance treat to make this Thanksgiving weekend. You could even give jars of homemade butterscotch as food gifts and attach a label with the recipe. But then again, I may be getting ahead of myself.
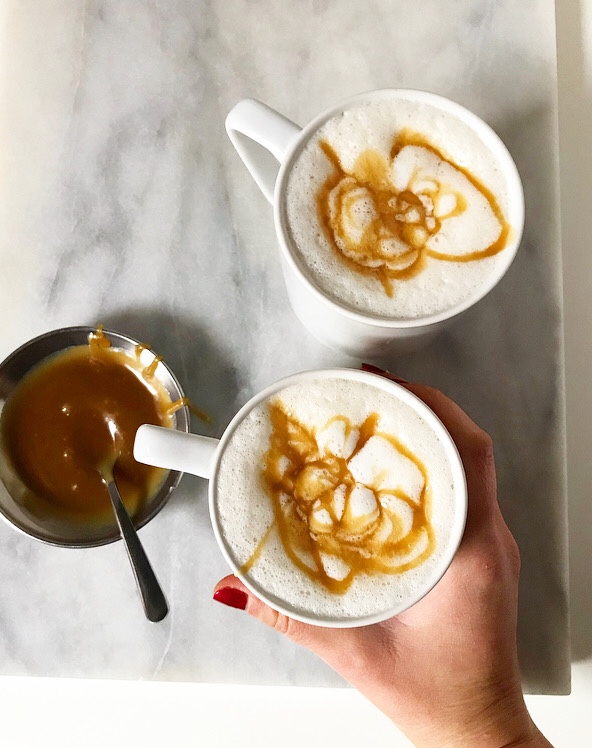


 I’ve been making Thanksgiving food since mid-October, and while that’s my idea of a good time, it’s a bit of a relief that I’m not going to be anywhere near an oven on Thursday. My family traditionally travels and makes reservations for this particular holiday, so all I have to do is pack that skirt I marked as my “Thanksgiving outfit” back in September, get on a bus to D.C., and leave the cooking to a bunch of chefs.
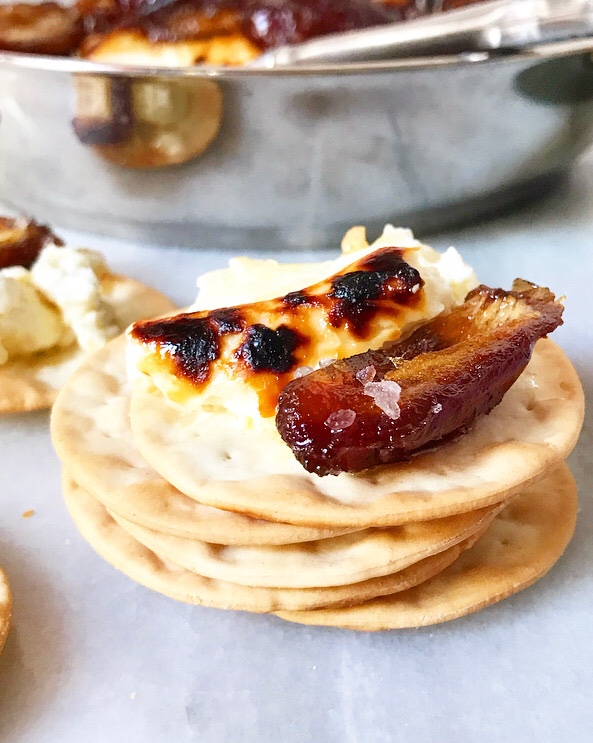 We’ve been doing this routine in different cities since 1997, so it’s second nature now. In fact, the only issue I have with my family’s Thanksgiving tradition is that I’ll have to wait til Christmas to make them this Baked Feta with Sautéed Dates.
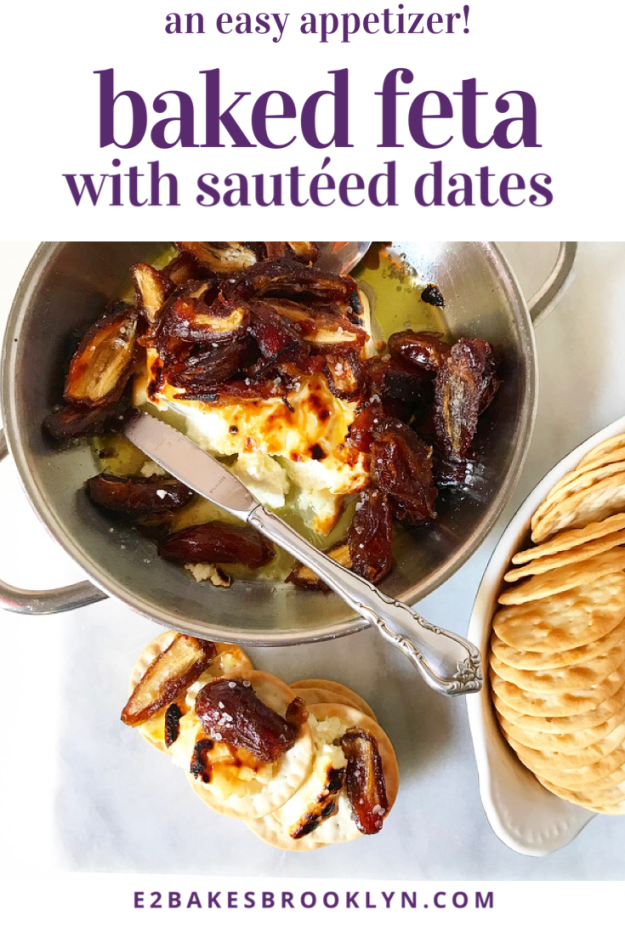
 Poor them—they don’t know what they’re missing. I do, though, and so I am here to tell you that you absolutely, unequivocally should make this three days from now.
 I know. I know! The menu’s set. You’ve made the list. But just go ahead and add a brick of feta and some dates to the tail end. I promise it’s worth the change in plans.
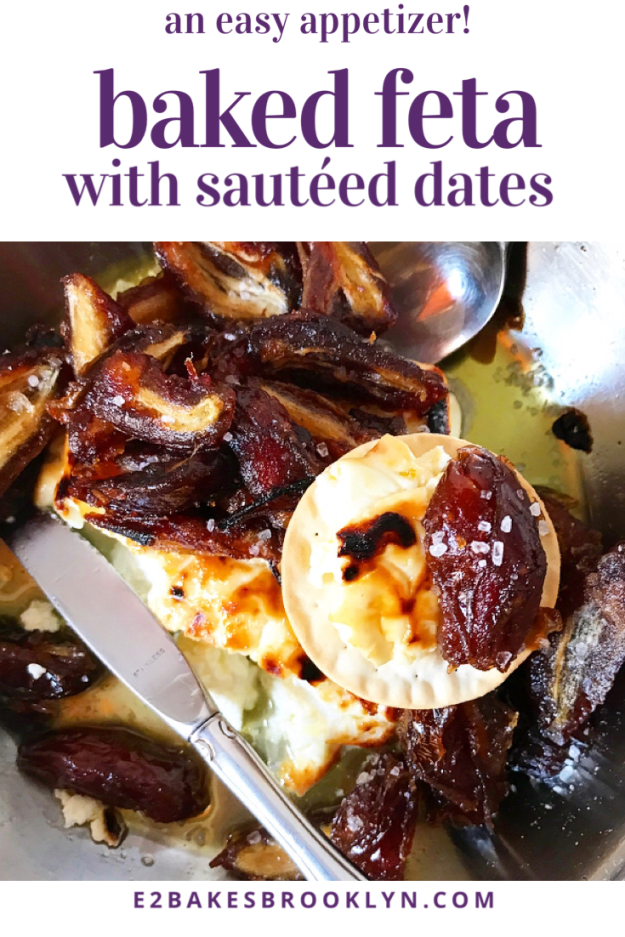
 You’ll only need five ingredients (plus something carby for serving) and fifteen minutes to put this appetizer together, and I would be utterly shocked if it lasts more than another fifteen minutes. I was alone when I made the feta and dates pictured here, and I had trouble keeping myself from eating half the brick in one go.
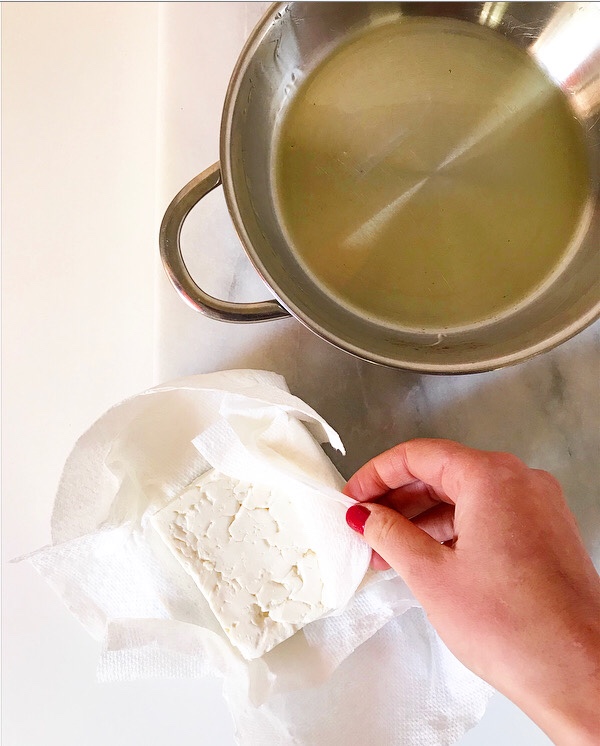
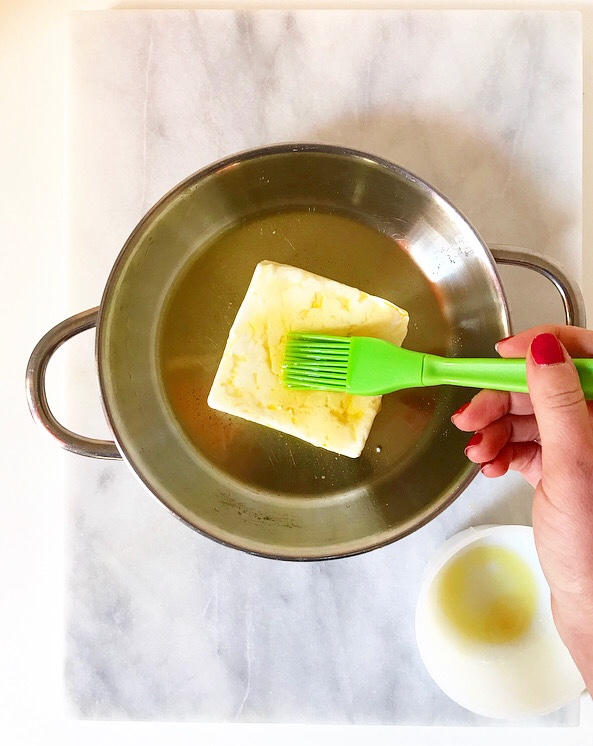
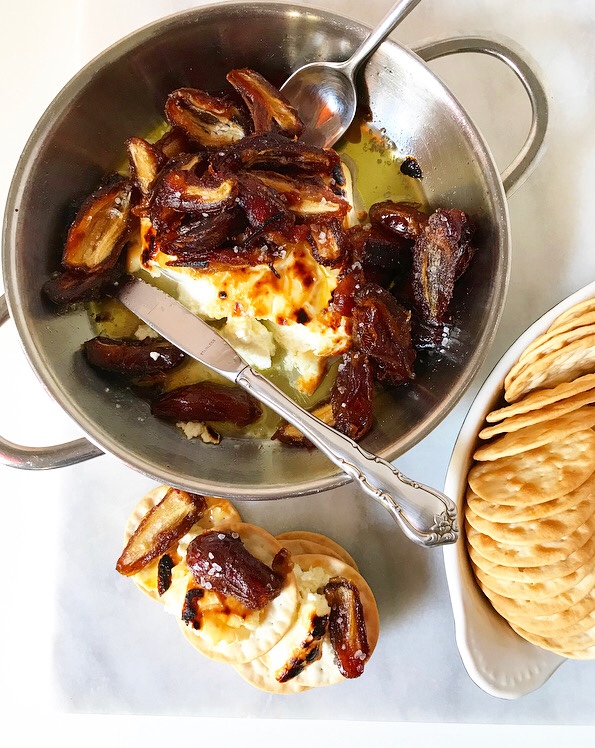
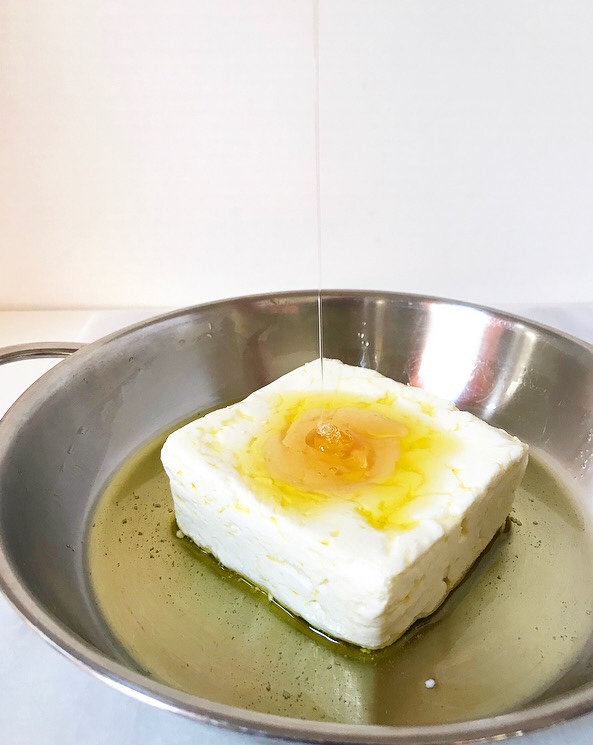 The feta is baked for ten minutes and broiled for a couple more. It turns soft and salty with crispy edges and corners that slump in the most pleasing way. It’s brushed with olive oil all over and honey on top before going into the oven, so it gets brown and blistered and…seriously, good luck not hoarding this all to yourself.
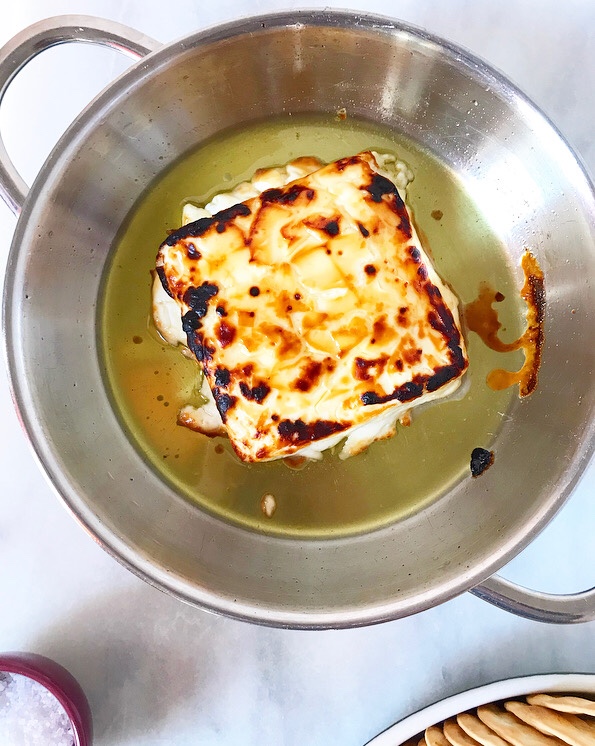 It won’t melt—feta doesn’t do that—but it will soften to the point where you can practically slice it with the edge of a cracker. Frankly, you could serve the feta by its lonesome and it’d disappear in minutes, but then you’d be denying yourself the magic of Sautéed Dates, and that’d be a real shame.
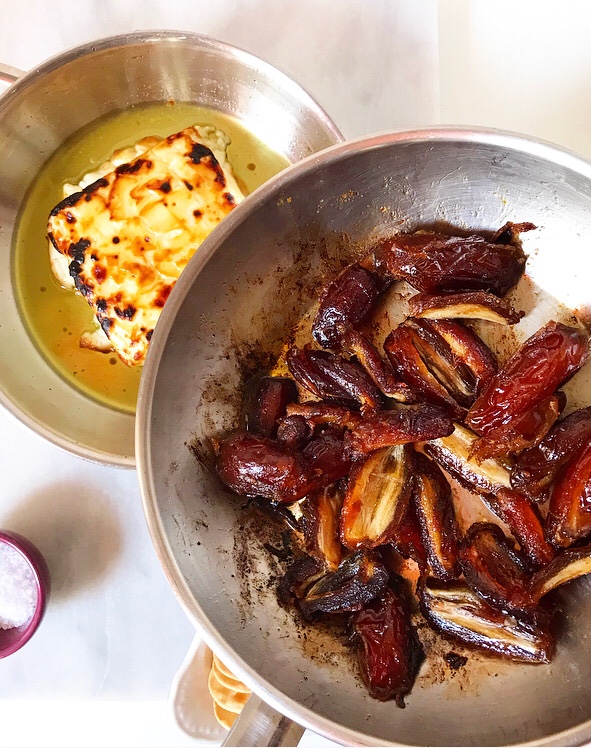
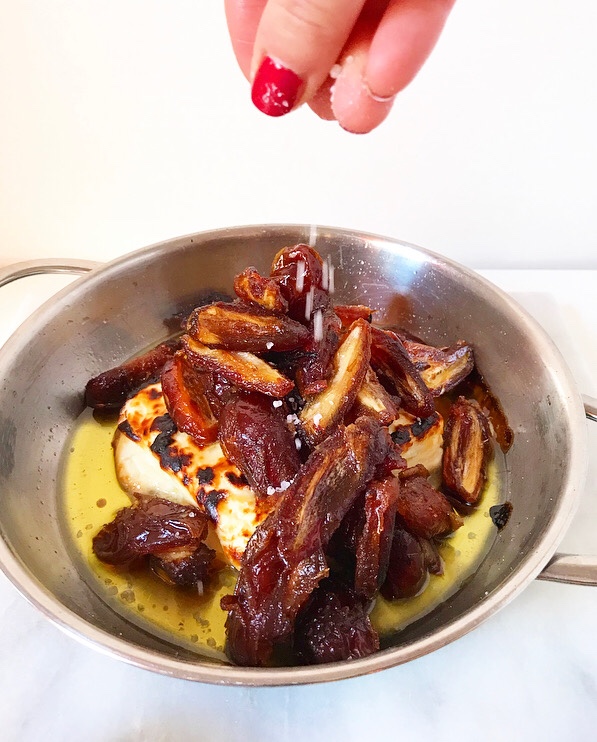 I mean, if there’s anything in the world that can stand up to the wonder that is Baked Feta, it’s these dates. They’re sautéed in olive oil for a minute or two while the cheese is in the oven, just until the edges begin to caramelize. The results are mostly sweet and a little savory—they’re great with yogurt, labneh and hummus. Here, they’re spooned over the warm feta and sprinkled with finishing salt before being scooped up with crackers or baguette or whatever and shoveled into your mouth as quickly as possible because—oh my goodness—this stuff is delicious.
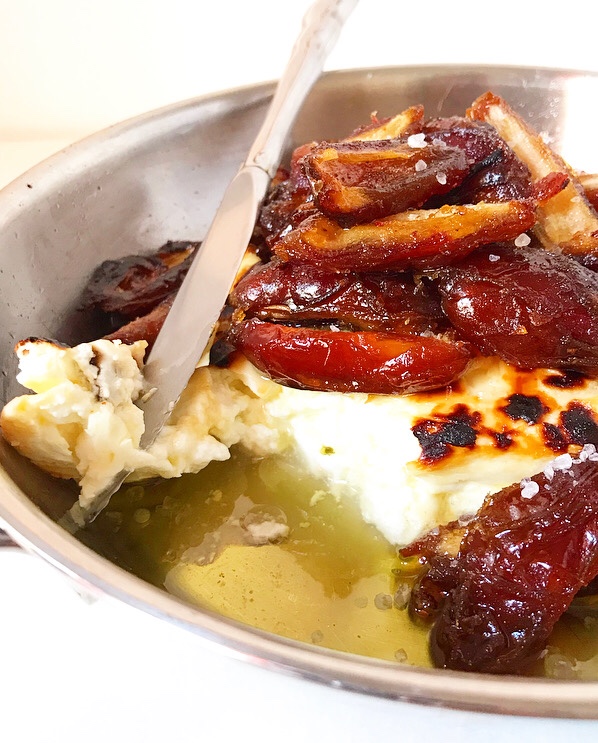 Salty, sweet, cheesy, savory, fruity, eyes-rolling-back-in-your-head good. You’re not going to want to share, but you should because…manners, I guess? But go ahead and plan to make this for every party between now and January 2nd, because if you can’t eat a brick of cheese during the holidays, when can you?!
 Happy Thanksgiving, dear readers!
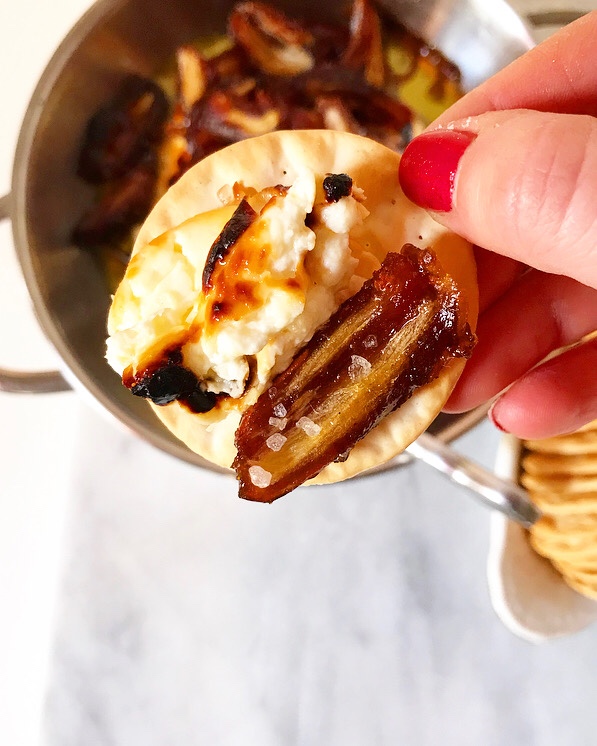

 Here we are, six days from Thanksgiving. Six days!
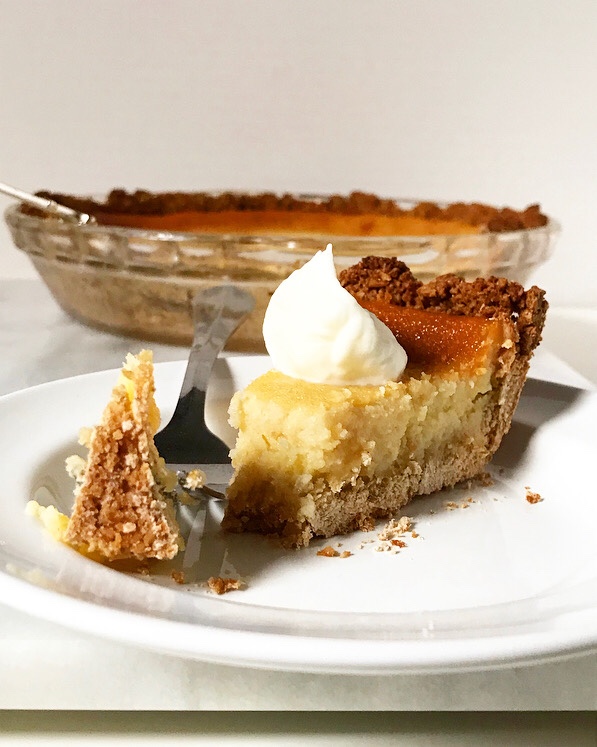
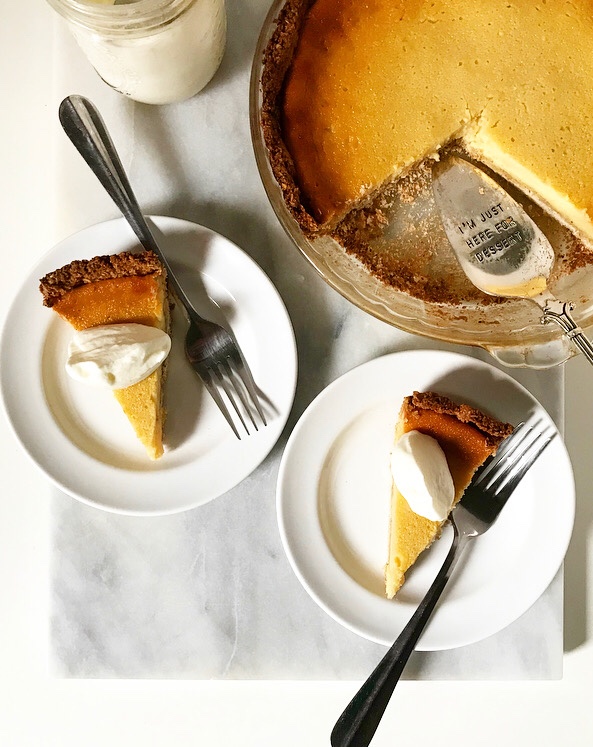
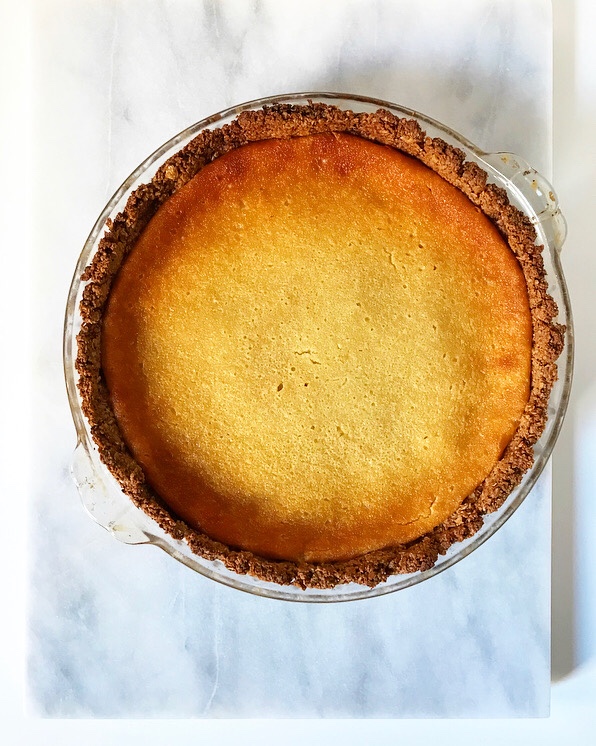 I’ll have one more holiday recipe for you on Monday—a really simple one—but first, pie. More specifically, Buttermilk Pie with Oatmeal Crust.
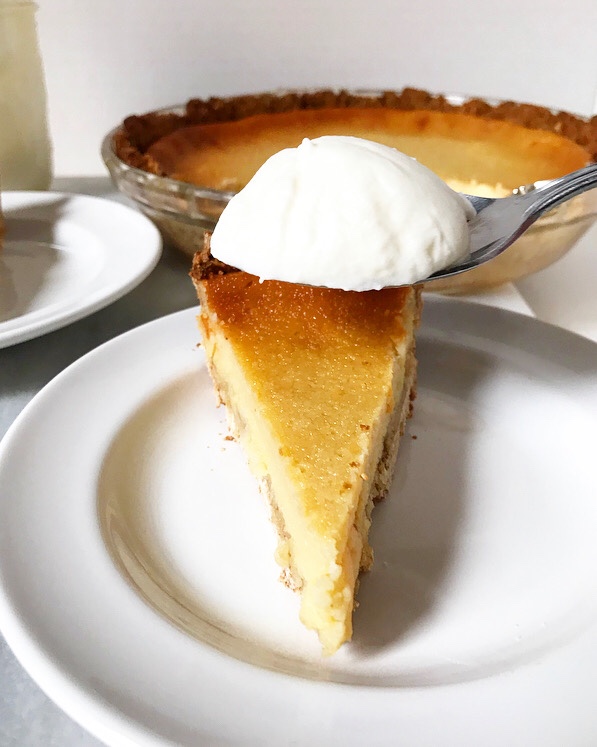
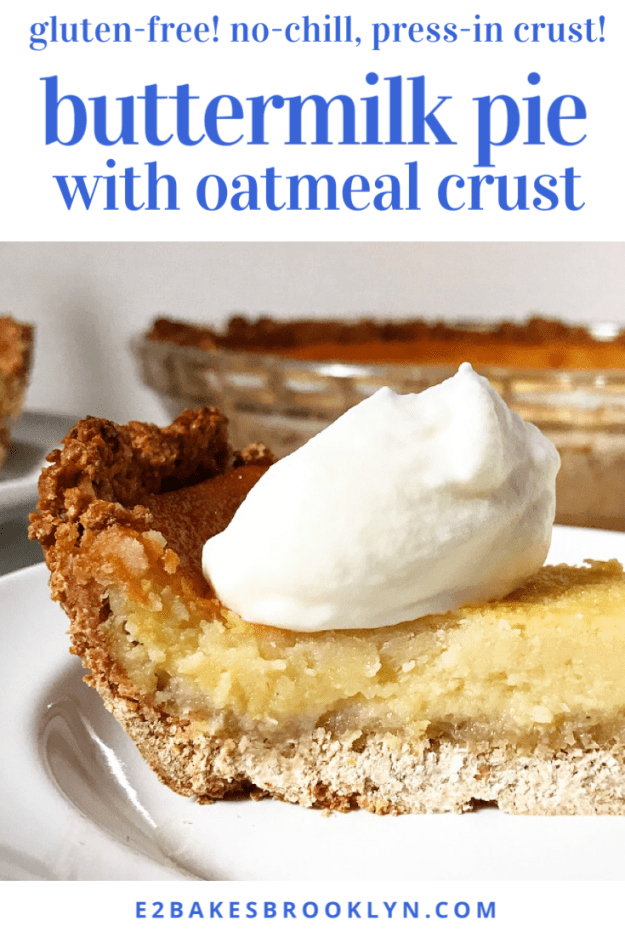
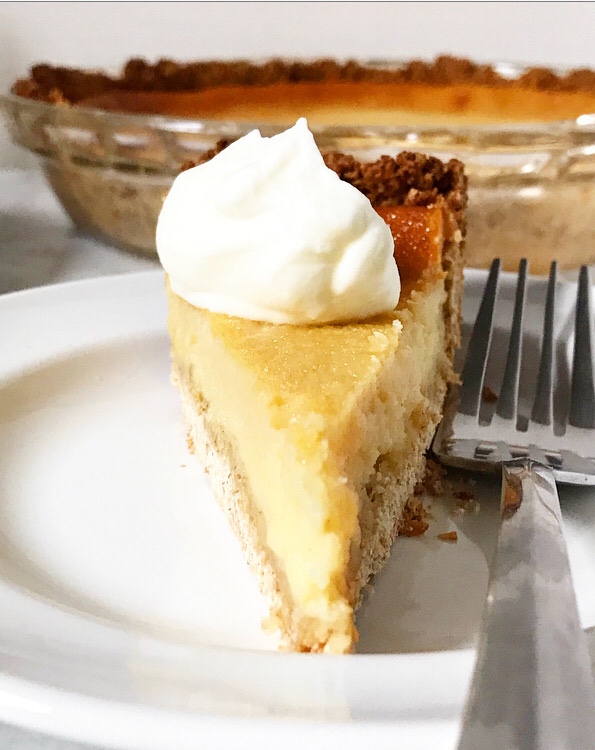 Just imagine a layer of vanilla-scented buttermilk custard soft enough to squidge (technical term) against your teeth, and a crisp, lightly-spiced crust reminiscent of an old-fashioned oatmeal cookie. That’s what you get with this recipe.
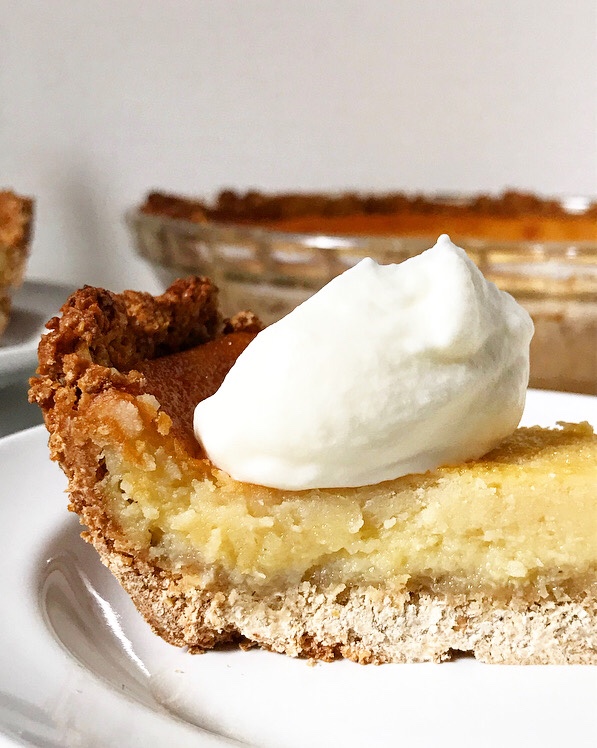 Oh, and it’s easy. The filling comes together with a whisk and a mixing bowl. It’s incredibly simple, and the results are old-fashioned and delicious.
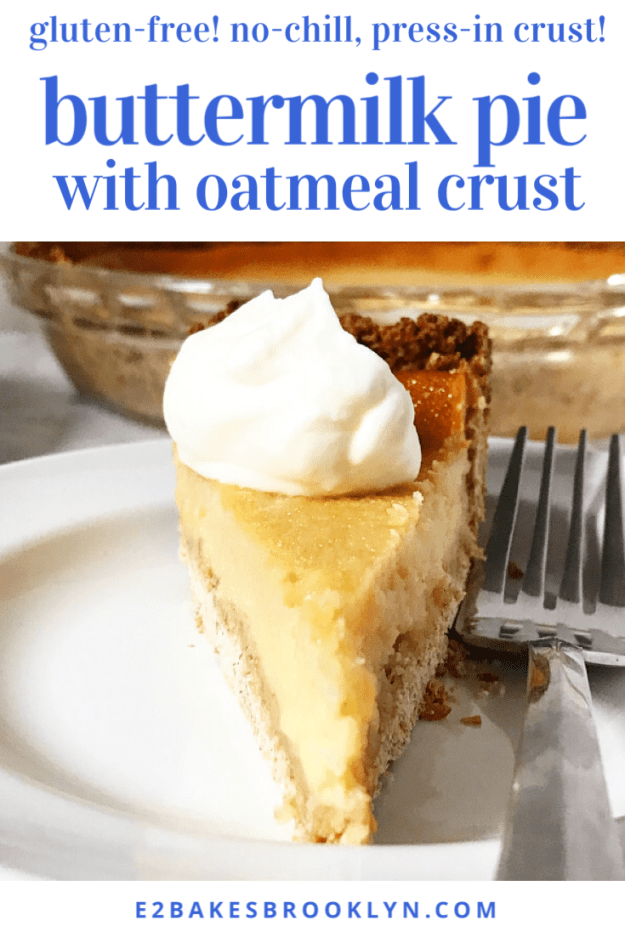
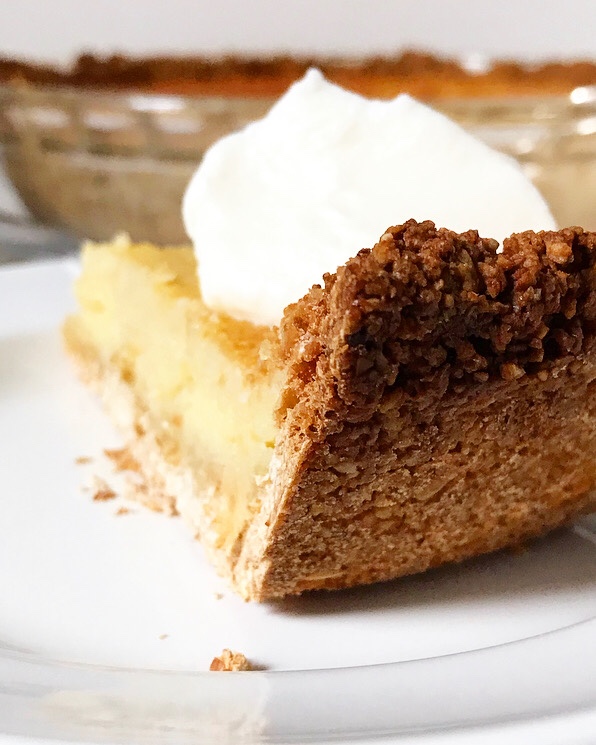 As for the crust, well, let’s just say I’m in love. It’s a little thicker than your average pastry crust, but it’s also like a big cookie—a big cookie filled with buttermilk custard!
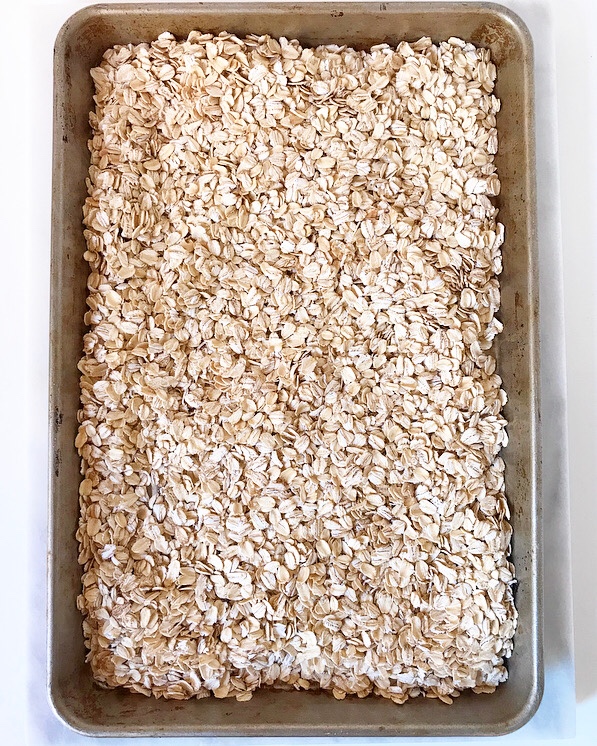
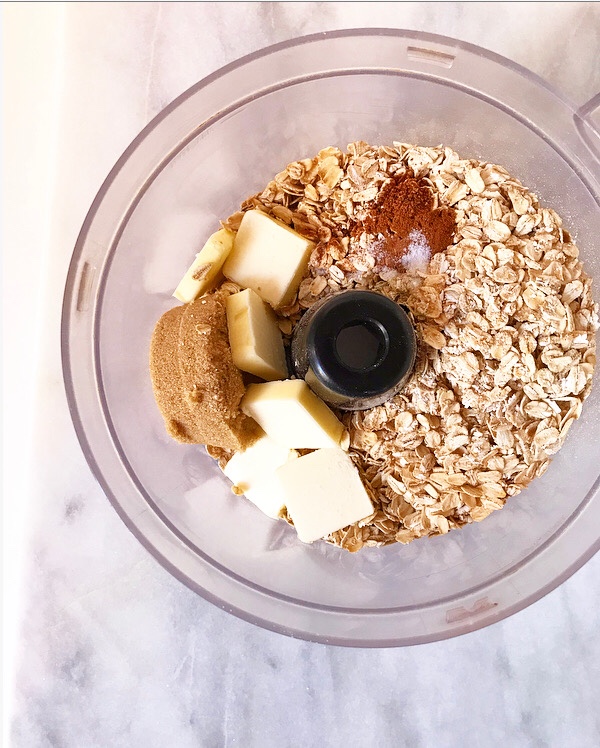

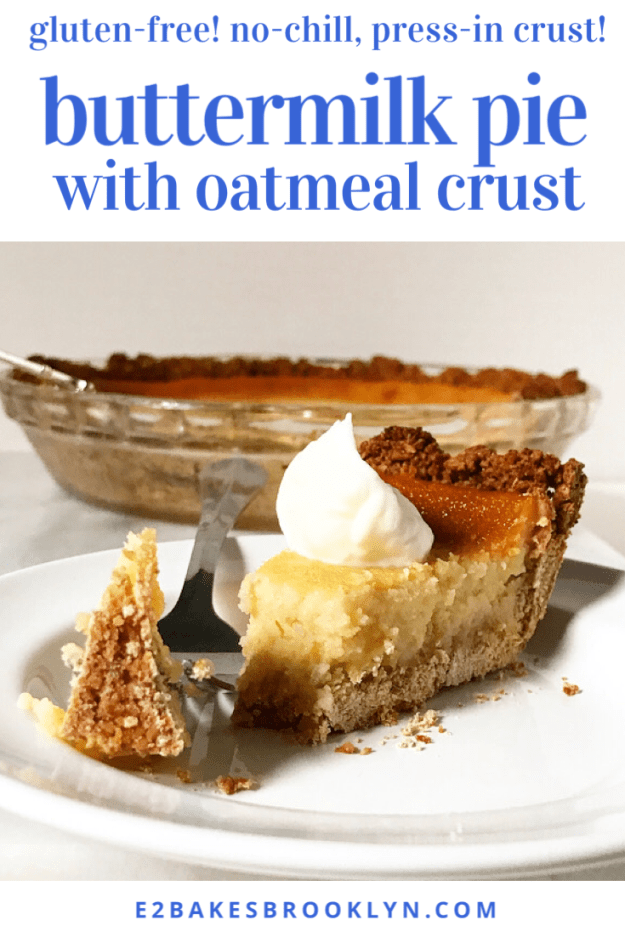
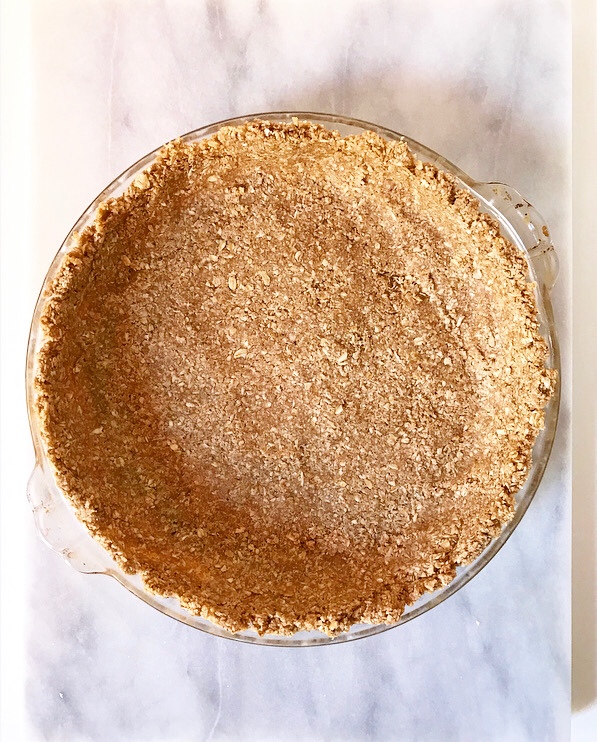 This oatmeal crust comes together in a food processor before being pressed into a greased pie plate. No need for chilling, rolling or crimping. Easy easy easy.
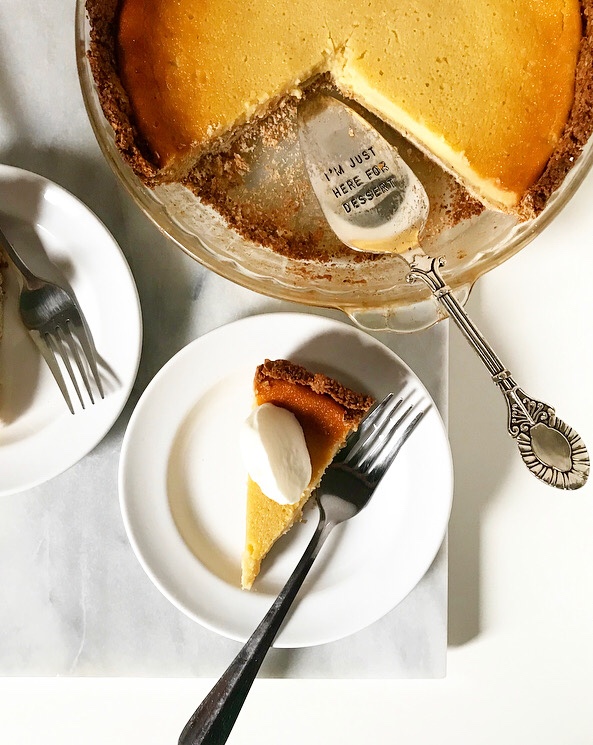 And did I mention that both components just happen to be gluten-free? Yesssss. I love inclusive recipes—that goes double at the holidays.