Growing up in Texas, I was surrounded by football. On Friday nights, we went to high school football games. Saturdays were reserved for watching the TCU and UT games, and Sundays were for church and the Dallas Cowboys. My parents were (and are) both very into it, but I’ve just never understood the appeal.
It’s not that I don’t like sports. I love baseball (I can’t wait for the playoffs!) and have been known to enjoy watching PGA golf. Yes, I watch golf–I blame my dad. But football just doesn’t do it for me. Total snoozefest. But I will come over to your house and watch the game anyway because I love game day food. If there are chips and guacamole, artichoke dip, or Double Chocolate Fritos Cookies, I will probably show up. If you are serving wings, I will be there for the pre-game show and stay through the post-game show because I love buffalo chicken almost as much as I love breathing.
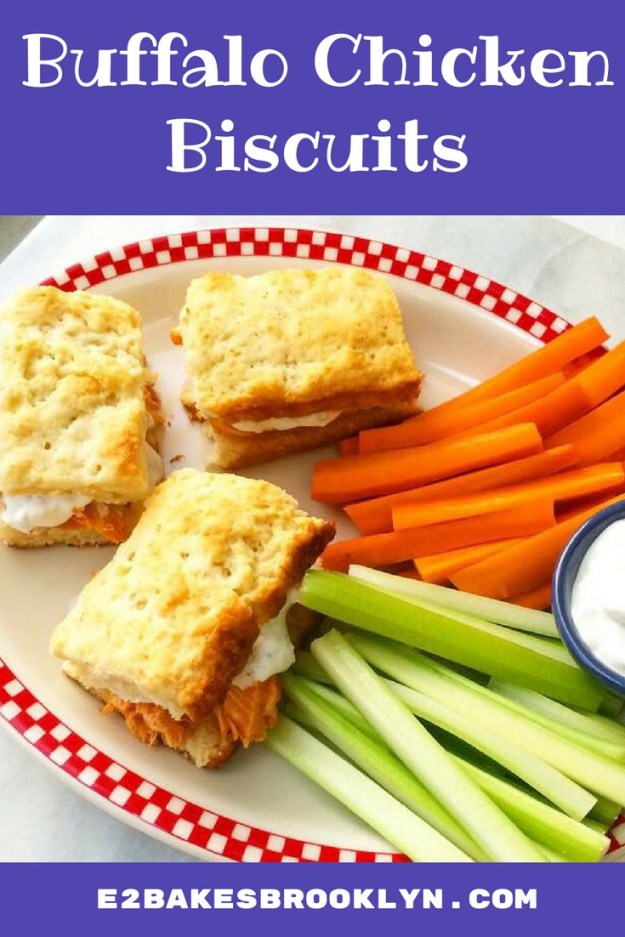
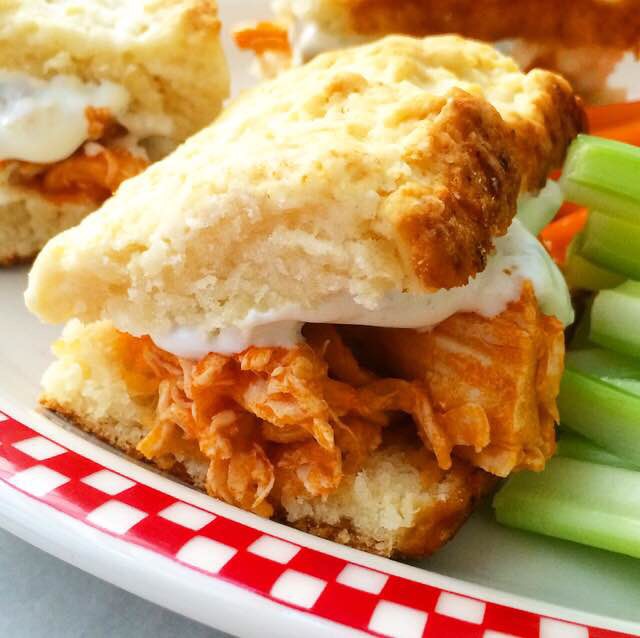 Today, I’m bringing you my new favorite game day snack: Buffalo Chicken Biscuits. Soft cream biscuits sandwiched with shredded buffalo chicken and homemade blue cheese dressing. Y’all, these are insanely good.
They’re also super simple to throw together. Start by making the world’s easiest scratch biscuits. There’s no chilling, rolling, or fancy folding here. Nope. These biscuits are as simple as stirring heavy cream into dry ingredients. Press the dough into a 9×13″ pan and score it so that there are sixteen little rectangles. Brush the biscuits with a little more cream and bake for 15-20 minutes, until golden.
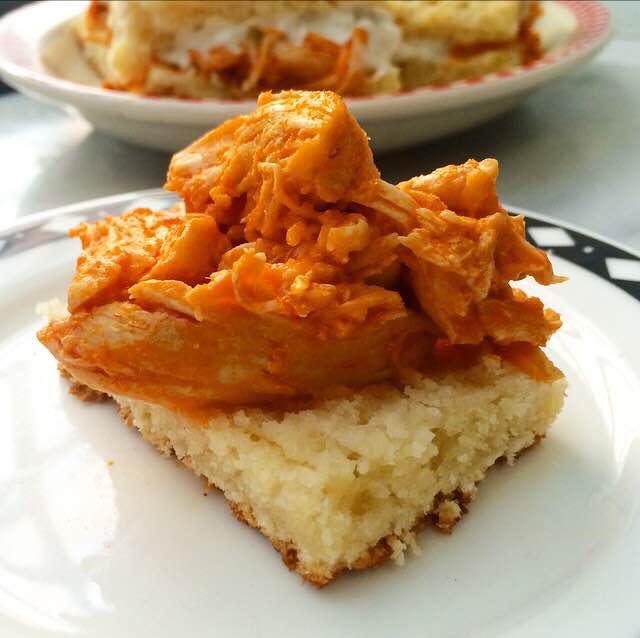
 Shred some cooked boneless skinless chicken breasts, and toss them with some homemade buffalo sauce. If you didn’t know already, buffalo sauce is just a combination of Frank’s Red Hot and butter. Melt them together and voila!
Next, make some blue cheese dressing. Sure, you could use your favorite bottled variety, but the homemade stuff is so much better and so easy, it’s ridiculous. Stir together mayonnaise and sour cream. Then, stir in some blue cheese crumbles. That’s it! You could definitely use this on salads, but you may want to thin it with a tablespoon or two of milk.
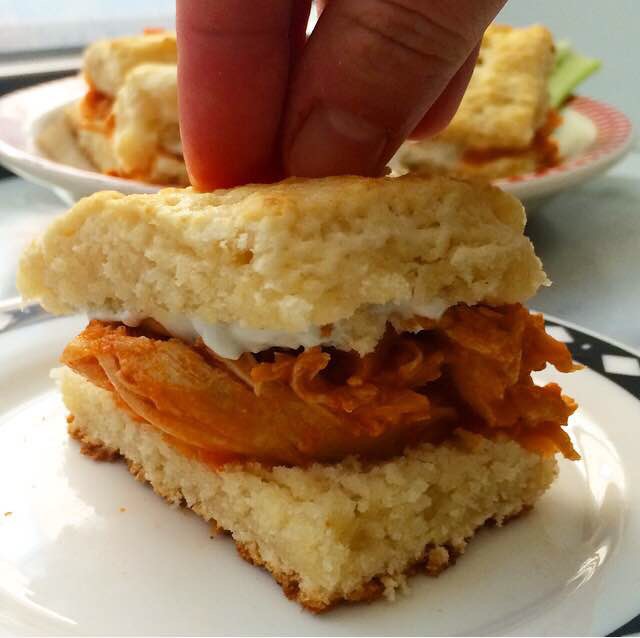
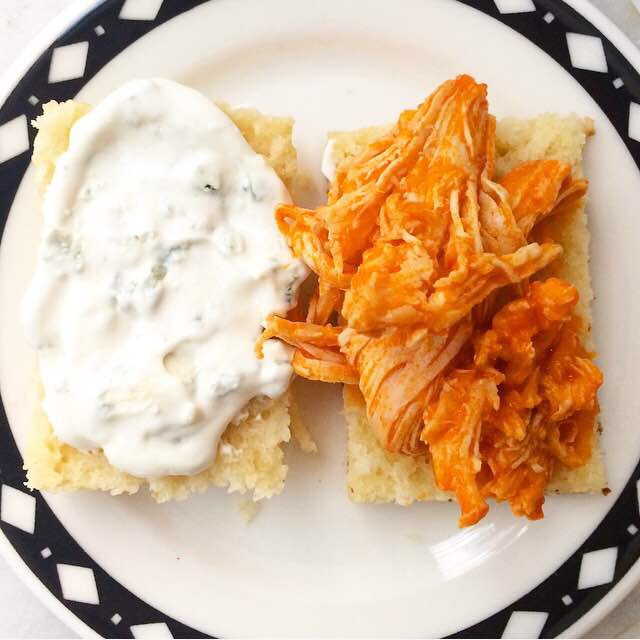
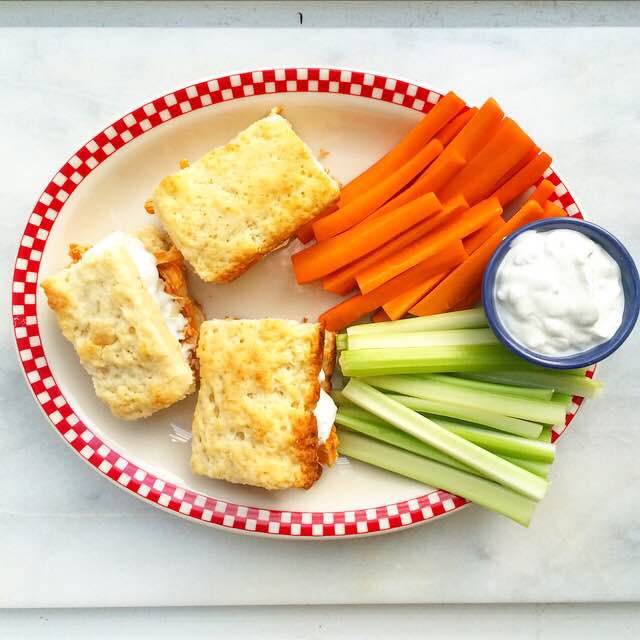 Now, to assemble. Remove the biscuits from the pan and slice them in half. Place the shredded buffalo chicken on half of the sliced biscuits, and spread the blue cheese dressing on the rest. Sandwich them together and serve with carrots, celery, and more blue cheese!
Buffalo Chicken Biscuits will be a hit at your next game day get-together. Between the soft, tender biscuits, the spicy, tangy chicken, and the blue cheese, everyone will want this recipe. This combination is also a favorite of mine for easy weeknight meals. Serve a couple of these little biscuit sandwiches (or put the good stuff on some hamburger buns) and make a salad, and your whole family will be happy 😊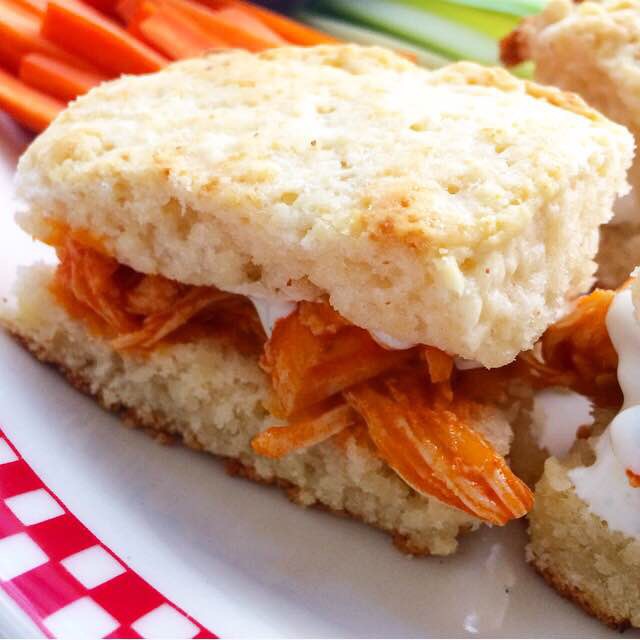
Buffalo Chicken Biscuits
biscuit recipe from Dinner with Julie
makes 16 small sandwiches
Cream Biscuits:
3 cups all purpose flour
2 tablespoons granulated sugar
1 tablespoon baking powder
1 teaspoon Kosher or sea salt
2 cups heavy cream, cold, + extra for brushing
Shredded Buffalo Chicken:
1 lb boneless skinless chicken breasts
4 tablespoons butter
1/2-2/3 cup Frank’s Red Hot Cayenne Pepper Sauce
Blue Cheese Dressing:
1/2 cup mayonnaise
1/2 cup sour cream
3/4 cup blue cheese crumbles
For Serving:
carrot sticks
celery sticks
blue cheese dressing
Make the cream biscuits. Preheat the oven to 400F. Line a 9×13-inch pan with foil and grease lightly. Set aside.
In a large mixing bowl, whisk together flour, sugar, baking powder, and salt. Pour in heavy cream, and use a silicone spatula or wooden spoon to stir everything together. The dough should be a little shaggy, but come together after a few kneads with clean hands. Transfer dough to the prepared pan and press it into one even layer. Use a chef’s knife (not serrated) to score it into 16 rectangles. Brush with additional heavy cream. Bake 15-20 minutes, until golden and cooked through. Place the pan on a rack and allow to cool for at least 20 minutes before removing from the pan.
Cook the chicken. Place chicken in a pot or high-sided pan. Pour in cold tap water until the chicken is covered by one inch. Place pan over medium-high heat. Bring it to a simmer and let cook for 25-30 minutes, until cooked through. Remove chicken from water and allow to cool for 10 minutes. Use two forks to shred the chicken.
To make the buffalo sauce, combine butter and Frank’s Red Hot in a microwave-safe bowl. Microwave in 30 second increments, stirring frequently, until butter is melted. Pour sauce over shredded chicken and toss with the shredded chicken. Set aside until ready to use.
Make the blue cheese dressing. In a small bowl, stir together mayonnaise and sour cream. Stir in blue cheese crumbles. Refrigerate until ready to use.
Assemble the sandwiches. Slice each biscuit in half. Top one half with about two tablespoons of buffalo chicken. Spread the other half of each biscuit with blue cheese dressing. Put sandwiches together. Serve sandwiches immediately with carrots, celery, and additional blue cheese dressing, if desired.