Dark Chocolate Pecan Butter

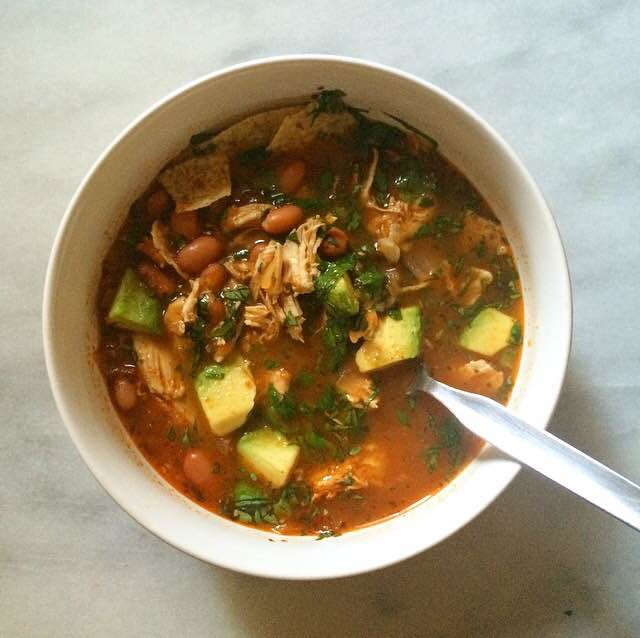
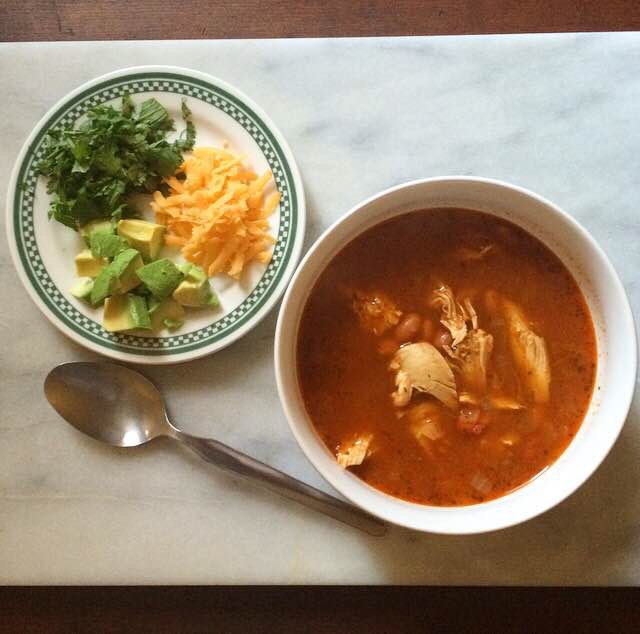
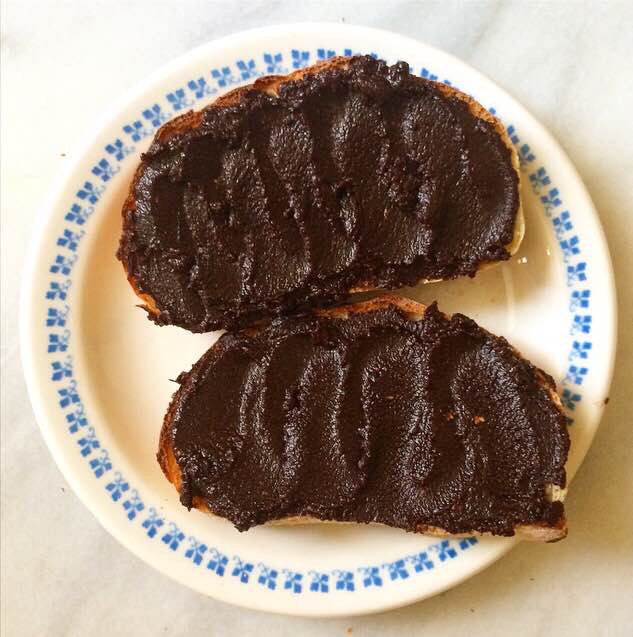
Well, we survived the blizzard. With the exception of a two hour excursion to the fancy grocery store for provisions (read: lots of cheese and some kimchi), Henry and I stayed home all day Saturday while New York City was brought to a standstill by Jonas. We watched PBS (because we’re big nerds) and made a pot of sausage and white bean soup before the real cabin fever set in. But that was solved by taking a slippery walk down to Smith Street and making some snow angels. Really, there was nothing to complain about: we had a warm apartment, plenty of food, Netflix, and good company. But now, the snow is a problem. It’s everywhere, gray and slushy. I literally had to hike to the coffee shop across the street yesterday morning. Gross. But, then I came home, turned on BBC World Service (again, big nerd), ate some toast with bananas and this Dark Chocolate Pecan Butter, and briefly, blissfully forgot about the mayhem outside…until I left for Target and fell in a gray snowbank. So much for peace.

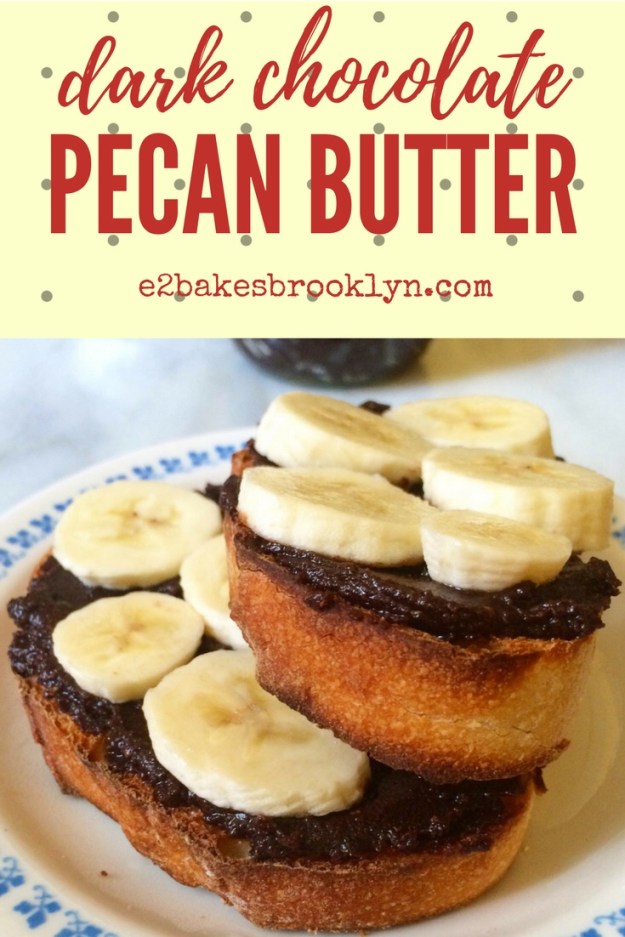
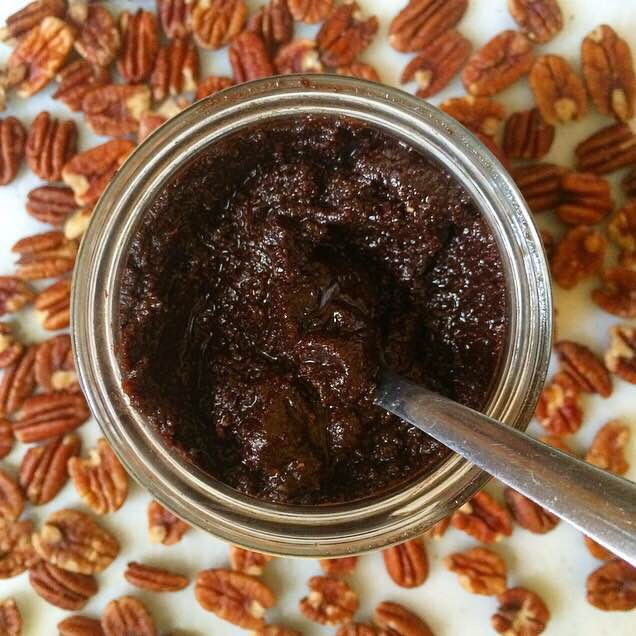
This Dark Chocolate Pecan Butter is so good. Chocolaty and lightly sweetened, with the deep caramel flavor that only toasted pecans can provide. It’s made with everyday ingredients like pecan halves (duh), cocoa powder, maple syrup, and coconut oil. Nothing weird. No palm oil, no copious amounts of refined sugar. No refined sugar at all, actually! There’s no dairy here either, so this nut butter is vegan!

Making homemade nut butters couldn’t be simpler. You will need a food processor or high-powered blender, but that is the only special equipment. If you don’t have one, I recommend this Hamilton Beach food processor. I’ve had mine for five years and it hasn’t failed me yet.

But back to the Dark Chocolate Pecan Butter. It starts with toasting pecan halves. Just spread them on a dry cookie sheet and bake at 400F for 5-7 minutes. You’ll know they’re ready the second you start to smell them. If you don’t trust your nose, start checking them every thirty seconds or so from the five minute mark until you deem them done. Whatever you do, don’t leave the room. The pecans can burn in a split second, and burnt pecan butter is decidedly not delicious.

  Once the pecans are toasty, put them in your food processor with a touch of salt and some cocoa powder. I prefer to use Dutch process cocoa here because I think its flavor is richer than natural. Dutch process cocoa is a little less widely available than natural, but it’s really not hard to find at all. In NYC, it’s available at Whole Foods, Sahadi’s, Union Market, and many specialty stores. N.Y. Cake Supply sells Valrhona cocoa at wholesale prices, but if Valrhona is a little too pricey for your liking, Droste is another brand I love. If you just want to stick with classic Hershey’s, do it. It will be delicious! Don’t let something as silly as some fancy cocoa stop you from making this Dark Chocolate Pecan Butter.

…anyway…

Process the pecans, cocoa powder, and salt until a nut butter forms. Then, add a bit of coconut oil, a few tablespoons of maple syrup, and a splash of vanilla, before blitzing for an additional 3-5 minutes. You might be thinking that the coconut oil seems unnecessary with all the oils in the pecans. And you’d be right, except that the cocoa powder dries everything out. The two teaspoons of coconut oil keep everything loose and spreadable. As far as sweetening goes, it’s up to you. I don’t like this butter to be very sweet. I use three tablespoons of maple syrup, but just add it to your preferred sweetness. Keep in mind that the maple will cause the butter to seize when you add it, but after a minute or two, everything will loosen back up. When the Dark Chocolate Pecan Butter is to your preferred consistency, transfer it to an airtight container for storage. The oils will separate a bit as it sits, so just give it a quick stir before use.

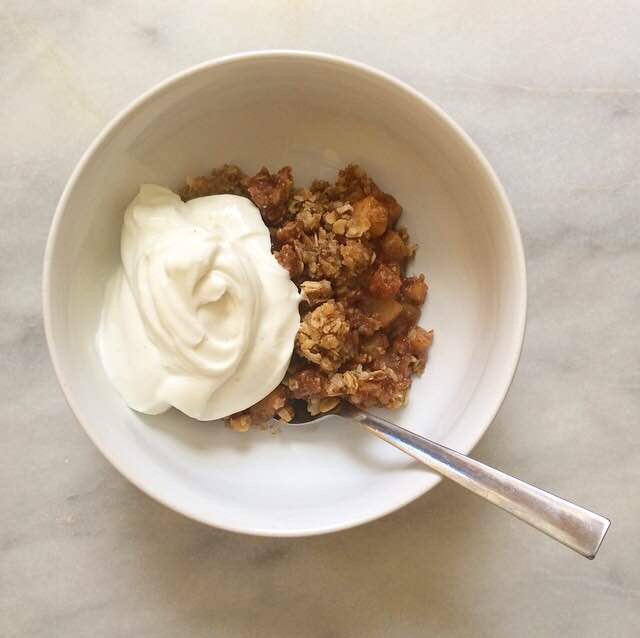
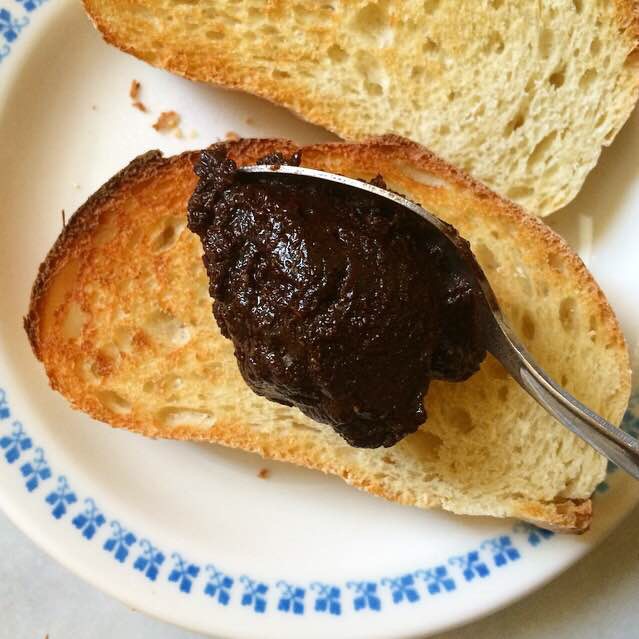
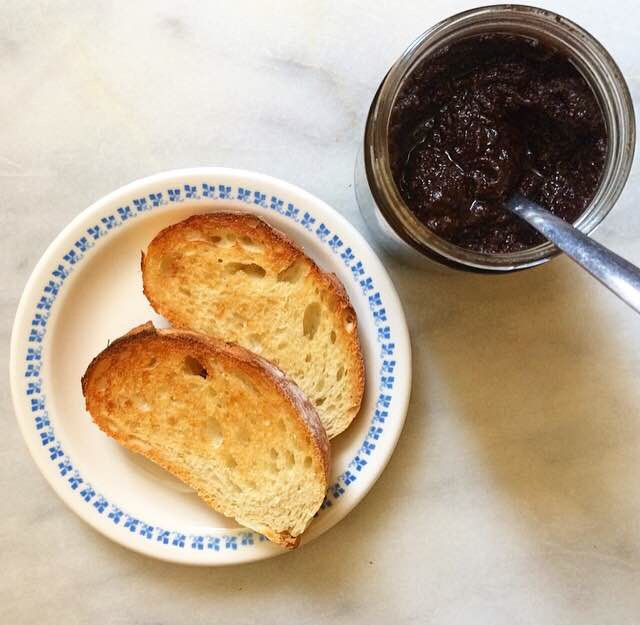
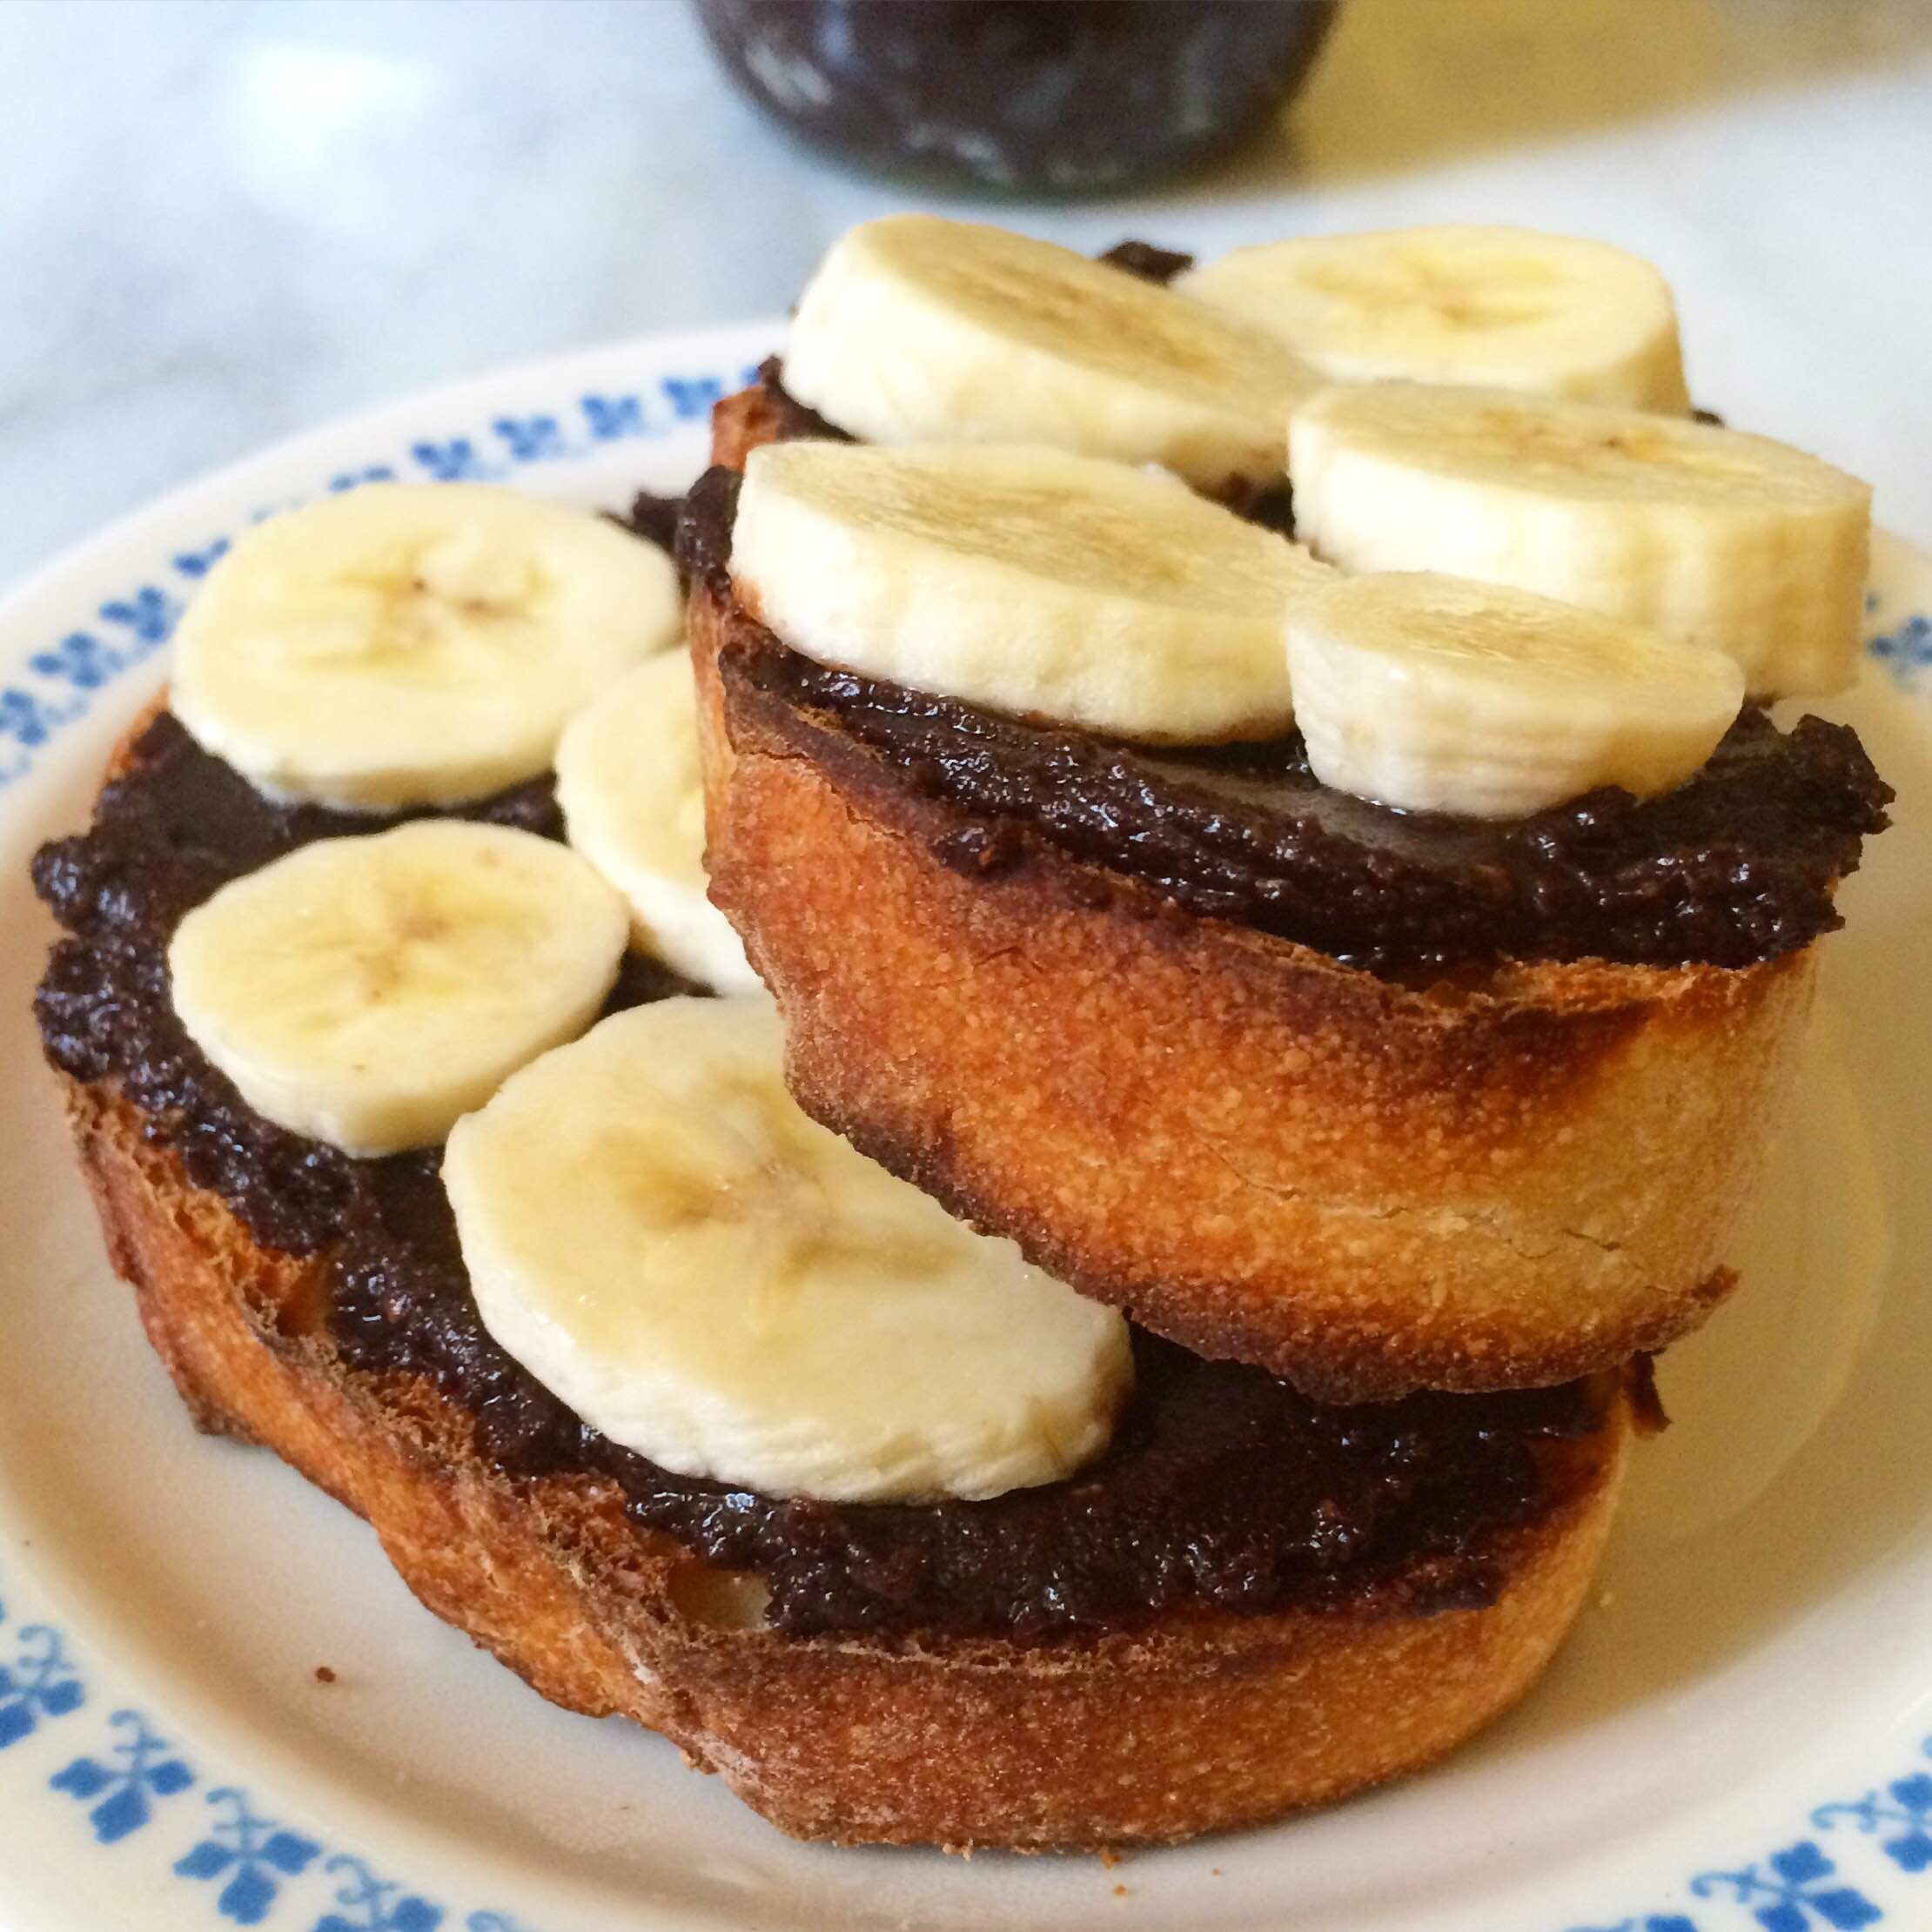
Now, how to serve this… Well, there’s always eating it by the spoonful. Or on oatmeal. Or stirred into yogurt. All of those would be great! But my favorite is on toasted country bread with bananas. Try it. Trust me.

Want more chocolate and pecans? Check out my Salted Caramel Chocolate-Covered Pecan Cookies!

Dark Chocolate Pecan Butter
makes about two cups

3 cups pecan halve
3 tablespoons cocoa powder*
1/4 teaspoon salt
3-4 tablespoons pure maple syrup*
2 teaspoons coconut oil
1/2 teaspoon pure vanilla extract

Preheat oven to 400F. Spread pecan halves on a baking sheet (not greased). Roast for 5-7 minutes, until fragrant. Let cool five minutes before transferring to a food processor or high-powered blender.

Add cocoa powder and salt to pecans and process until a nut butter forms, about 5 minutes. Scrape down the sides of the bowl as necessary. Add in maple syrup, coconut oil, and vanilla. Process for an additional 3-5 minutes. Butter will seize initially before becoming smooth again. Once it’s smooth, transfer the butter to an airtight container.

Store Dark Chocolate Pecan Butter at room temperature for up to a week, or indefinitely in the refrigerator. Butter will harden in the refrigerator, so bring it to room temperature before spreading. Stir before using.

Notes:
1. I prefer Dutch process cocoa here, but any cocoa powder will do.
2. Honey or agave may be substituted.

Dark Chocolate Pecan Butter

Spicy Southwestern Chicken Soup

Being from Texas, I have a deep abiding love for all things southwestern, especially Tex-Mex. If it has salsa, guacamole, melted cheese, pinto beans, or tortillas, I love it and I would like seconds thankyouverymuch. But since I am a New Yorker (can I finally call myself that after eight years?), there aren’t many Mexican restaurants or grocery stores that carry much besides packaged taco seasoning, and that simply won’t cut it. Also, that stereotype of New Yorkers being busy every minute of everyday? Totally true. When we get up and leave in the morning, we pack our entire lives into one supposedly-convenient bag. There are no cars for carrying those rain boots or options to make a quick trip home on lunch hour. This week is especially crazy because we are finally expecting snow. So now, in addition to everything else, everyone is preparing for the snowpocalypse (mostly by standing in line at Trader Joe’s). On my list for storm prep? Buy new winter boots and make a big pot of this Spicy Southwestern Chicken Soup.

This recipe is adapted from one that my mom made when I went home to visit in 2010. Nearly every time I make the trip to Texas, my allergies flare up and I can barely enjoy the family time. Knowing what was in store once I landed on Texas soil, my mom did what really good moms do–she made the ultimate cure-all, chicken soup. But instead of the traditional variety with carrots and celery, she used salsa and pinto beans, and threw it all in the slow cooker. She served it ladled over rice, and it hit the spot. Simple, comforting, and full of shredded chicken and beans, it was just what was needed to keep my allergies at bay (…somewhat–I don’t promise any miracles 😊). When she told me it had been made with a jar of Pace Picante, I was shocked! This soup was so much more than the sum of its parts.

When I got back to Brooklyn, I put it into my regular dinner rotation, with a few adjustments. I ditched the jarred salsa in favor of homemade, and as I lack a slow cooker, I made it on the stovetop. Where the slow cooker would probably take four to eight hours, my version takes one hour from start to finish! My mom calls this recipe Chicken Chili, which is absolute sacrilege, apparently. In Texas, chili is not supposed to have beans. It’s something I’ll never understand. So, with Henry’s help, it’s been renamed. Whatever you call it, it’s delicious.

Spicy Southwestern Chicken Soup begins as many soups do, with sautéing diced onion and minced garlic together until they are soft and fragrant. Stir in some chili powder and cumin, followed by two cups of salsa. I like to use the Restaurant-Style Salsa that I posted yesterday. It’s a snap to put together and is super smoky and flavorful. You may also use a jar of your favorite prepared salsa. I think a tomatillo version would be great here! Next, place two pounds of bone-in chicken breast in the pot, followed by four cups of chicken stock. If the chicken is not completely submerged, add water until it is. By using bone-in chicken in addition to chicken stock, we are giving the broth a double dose of chicken flavor. Cover the pot, bring the soup to a boil, and then let it simmer until the chicken is cooked through, about 30 minutes. Remove the chicken from the pot, toss the bones, and shred the meat before adding it back in. Then throw in some pinto beans that you’ve drained and rinsed, and let everything cook for just ten more minutes before enjoying.

 I like to serve this soup similarly to my Red Posole. I put out little plates of shredded cheddar, chopped cilantro, and diced avocado, so everyone can customize their bowls. Having eaten this soup on four occasions this week, I highly recommend crushing some tortilla chips over the top as well. So. Good. You could also take a page from my mom and serve it over rice. And a side salad couldn’t hurt 😊

Spicy Southwestern Chicken Soup is a warm, comforting meal perfect for cold weather. Simple, nutritious and brimming with the flavors of the southwest, it’s a favorite in our home. I’m sure it’ll become a favorite in yours, too.

 Spicy Southwestern Chicken Soup
makes 6-8 servings

1 tablespoon olive oil
1 small red onion, diced
1-2 cloves garlic, minced
1 1/2 teaspoons chili powder
1 1/2 teaspoons ground cumin
2 cups salsa
2 lbs bone-in chicken breast, skin and excess fat removed
4 cups chicken stock
water
2 15 oz cans (3 cups) pinto beans, drained and rinsed
1/2 teaspoon Kosher or sea salt (or to taste)

Suggested Accompaniments:
diced avocado
chopped cilantro
shredded cheddar cheese
cooked white or brown rice
crushed tortilla chips

Heat a 4-6 quart heavy-bottomed soup pot over medium-high heat. Add olive oil and swirl it around to coat the pan. Sauté onions until soft and translucent, five to seven minutes. Add garlic and cook until fragrant. Stir in chili powder and cumin. Pour in salsa, and stir to coat everything. Lay chicken breasts in the pot and pour in chicken stock. If chicken is not completely submerged, add water until it is. Cover the pot and bring it to a boil. Reduce it to a simmer for 30 minutes, or until chicken is cooked through.

Use tongs to remove chicken breasts from the pot. Allow to cool five minutes before shredding with two forks. Add shredded meat back to the pot, followed by pinto beans. Let simmer uncovered for an additional ten minutes. Check the seasoning and add salt to taste. Serve warm with accompaniments of choice.

Spicy Southwestern Chicken Soup can be covered and refrigerated for up to five days.

Restaurant-Style Salsa

I go through phases in my kitchen. In 2010, I made jam for six months. Strawberry, ginger-nectarine, cherry-vanilla. I made them all, plus a rockin’ grapefruit marmalade that I’ll post someday. But as much as I enjoy making jam, I don’t actually eat much of it–a little on a biscuit here and there, but that’s about it. And so the six months of jam unceremoniously came to an end. Then there was the pickling. Oh, I love to pickle! Especially jalapeños and carrots. And I’m sure my roommates just loved the pervasive cloud of vinegar steam that was our kitchen. When I moved in with Henry though, I stopped the pickling cold-turkey. We share a very small apartment with a pocket-sized kitchen, and the idea that our bedroom would reek of vinegar all the time was just too much for either of us to handle. And so I moved on to salsa. In the first four or so months that we lived together, I made a different batch of salsa every week (tomatillo, amarilla, and habanero, to name a few), and we’d crowd our friends into our apartment to test it out, usually with homemade tostadas or tacos. For all the flavors and colors I toyed with, classic Restaurant-Style Salsa was always the favorite.

Being from Texas, I grew up surrounded by chips and salsa. Tex-Mex restaurants are often judged on the quality of their chips and salsa. If the salsa even seems like it might be manufactured elsewhere, the restaurant is not long for this world. La Familia, my favorite hometown Mexican restaurant, brings out freshly made salsa by the pitcher, just to drive home the fact that it is made in-house. When I moved to New York eight years ago, I quickly discovered that a) there were no Tex-Mex restaurants worth patronizing (something that’s been remedied by Lisa Fain), and b) good prepared salsa simply did not exist. There was a brief period where I could find D.L. Jardine’s Texacante at a local specialty foods store, but that didn’t even last six months. And so I was left to make my own, or be salsaless for the foreseeable future. And being a good Tex-patriot, I simply could not go without.

Logically, I started with fresh tomatoes. While there’s nothing better than in-season tomatoes, they simply aren’t available ten months out of the year. Flavorless January tomatoes cannot be made into salsa that’s worth eating. What’s more, when I have made salsa with even the best tomatoes, it turns an unappetizing whitish pink color. It still tastes good, but it sure doesn’t look it. After reading a few recipes online, it was made clear to me that canned was the way to go. Sure, you could blanch and peel fresh tomatoes, but that seems like a lot of work for something that is going to be puréed. Canned tomatoes taste good year-round and have a gorgeous bright red color. Also, because this salsa is blended, there won’t be any of those big chunks of cooked tomato that are often found in jarred salsas. In my humble opinion, whomever decided that “thick n’ chunky” salsa was a good idea was deeply wrong.

In addition to the to a 28-ounce can of whole peeled tomatoes, you’ll need chipotles in adobo. These are jalapeños that have been smoked and then preserved in a flavorful sauce (adobo). They are super smoky and really add a lot of flavor to the finished salsa, but they definitely pack some heat. When adding them, keep in mind your preferred level of spice. I use four chipotles in adobo for something close to medium-hot, but if you have a low tolerance for heat, start with one pepper and go from there. I don’t recommend leaving them out, simply because the flavor is so rich and gives this salsa a wonderfully smoky flavor.

The rest of the ingredients are standard salsa fare: a small red onion, a couple of cloves of garlic, cilantro, lime juice, and a pinch of salt. Place all the ingredients (including the tomatoes and chipotles) into a food processor or high-powered blender, and blitz until no large chunks remain. That’s it! While I love this particular blend, feel free to adjust it to your taste. Want less onion? Only use half. Hate cilantro? Leave it out. This is simply what I like. Take my favorite and make it yours.

Restaurant-Style Salsa is great with chips, of course, but also works well mixed into salad dressings and enchilada sauce. Tomorrow’s recipe uses it as the base for soup! Make sure to swing by and check it out!

 Restaurant-Style Salsa
makes about four cups

1 28-ounce can whole peeled tomatoes (with liquid)
1-5 canned whole chipotles in adobo*
1 small red onion, peeled and quartered
2 cloves garlic
1/4-1/3 cup fresh cilantro, washed
juice of 1 lime
large pinch Kosher or sea salt

Combine all ingredients in a food processor or high-powered blender. Process on high until no large chunks remain, about 30-60 seconds depending on the machine.

Refrigerate salsa in an airtight container for up to one week.

Note:

Chipotles in adobo can be found in the Goya or international aisles at most grocery stores. I buy Goya or La Costeña. They are also available on Amazon. They freeze well for several months.

Restaurant-Style Salsa

Apple Breakfast Crumble

 
I love recipes that can work at multiple times of day. Take poached eggs, for example. They are great with toast at breakfast, on spinach salad at lunch, and in tomato sauce at dinner. They cover all the bases. Side note: isn’t breakfast for dinner the best? But I digress. Today, I’m bringing you an apple crumble. Apples and pie spices, topped with a crunchy oat crust. It’s a classic, home-style dessert. But I have an odd serving suggestion: make it for breakfast. 

Before you go thinking I’ve done a swan dive off the deep end, know that this was not my idea originally. You can blame Deb Perelman for all of this. Do you read her blog, Smitten Kitchen? You should–there’s a reason why it’s one of the most popular food blogs out there. She’s like Martha Stewart, Ina Garten, and Julia Child morphed into one hilarious, cooking-obsessed Manhattan mom. Deb makes things like Saltine Crack Ice Cream Sandwiches and Apricot Pistachio Squares, not to mention all the salads and impressive main dishes. She daydreams about food the way I do (or at least, I like to think we have that in common). This is all a very long way of saying that I was flipping through her cookbook a year or two ago and became obsessed with her recipe for Breakfast Apricot Crisp. I made it as-written a couple of times and have since gone a little crazy with adaptations. I’ve made it with plums, rhubarb, blueberries and raspberries, and pears and cranberries. It can take pretty much anything you throw at it and still be divine.

Today we’re going with apples. It’s very cold and windy here in New York City–the kind of weather that just demands comfort food. And nothing says comfort quite like a bowl of steamy cinnamon apples and crunchy crust. Let’s get started.

  The apples are diced small so that they cook quickly. They’re tossed with a couple of tablespoons of brown sugar, some cinnamon and other pie spices, a bit of cornstarch, and a touch of apple cider vinegar. The crumble itself is made by cutting butter into a mixture of oats, white whole wheat flour, brown sugar, and chopped nuts. Place the apples in a prepared pie plate and top with the crumble mixture. Then, dot everything with butter before baking for 30 minutes at 400F. The apples will be soft, but not too soft, and the crumble will be reminiscent of granola, with plenty of nubbly bits between the oats and nuts. All it needs is a dollop of yogurt (I like Siggi’s), and it’s good to go. 

Now, you might be thinking that this sounds great for a weekend brunch, but too decadent for everyday breakfasting. Let me point out a few things that might (just might!) sway you. This crumble is full of diced apples, whole grains, and nuts. There’s no pie crust full of butter and empty carbs. Instead, there are oats and white whole wheat flour, keeping this recipe whole grain. There are nuts which are, of course, high in protein and healthy fats. If you have an allergy or simply don’t want to use the nuts, they can be omitted without any negative effect on the final product. There’s butter here, but it’s not much for a recipe that feeds six–only five tablespoons. It could be cut to four if you don’t dot the top before baking, but I really love how well the crumble browns with that extra tablespoon. The least nutritious part of this crumble is probably the sugar, and there really isn’t much to be spoken of–less than 1/2 cup in the entire recipe. There is plenty of sweetness from the fruit, so a ton of sugar really isn’t necessary.

Now, I’m not a nutritionist or anything, but given the low added sugar, low fat, high volume of fresh fruit, and whole grains, I can’t see any glaring reason why this Apple Breakfast Crumble isn’t perfect for breakfast any day of the week. I am fond of keeping it in the fridge so I can dip into it whenever the mood strikes. Most people would probably warm it up, but I think it’s great cold. And on that note, instead of becoming Martha or Ina or Julia, I am slowly morphing into my mother. 

 Apple Breakfast Crumble
adapted from Breakfast Apricot Crisp by Deb Perelman
makes one 9-inch pie plate, about six servings

Filling:
4 large baking apples*, peeled and 1/2-inch diced
2 tablespoons light or dark brown sugar, packed
1 tablespoon cornstarch
1 1/2 teaspoons ground cinnamon
1/4 teaspoon ground allspice
1/4 teaspoon ground ginger
1/4 teaspoon ground nutmeg
pinch of Kosher or sea salt
1 teaspoon apple cider vinegar*

Crumble:
1/2 cup old fashioned oats
1/2 cup white whole wheat flour*
1/3 cup light or dark brown sugar, packed
1/2 teaspoon Kosher or sea salt
2 tablespoons chopped nuts*, optional
5 tablespoons cold unsalted butter, divided
yogurt, for serving*

Preheat oven to 400F. Grease a 9-inch pie plate. Set aside.

In a large bowl, combine diced apples, brown sugar, cornstarch, cinnamon, allspice, ginger, nutmeg, salt, and apple cider vinegar. Toss with your hands until evenly mixed. Pour into the pie plate.

Make the crumble. In a separate mixing bowl, stir together oats, white whole wheat flour, brown sugar, and salt. Stir in chopped nuts. Using a pastry blender or two forks, cut four tablespoons of butter into the mixture until the largest pieces are the size of small pieces. Pour mixture over the apples and use your hands to press it into an even layer. Cut one tablespoon of butter into very small pieces and use them to dot the top of the crumble. Bake for 30 minutes, until the apples are tender and the crumble is golden. Let cool ten minutes before serving with yogurt.

Apple Breakfast Crumble will keep covered in the refrigerator for up to five days.

Notes:

1. I recommend using a mix of tart and sweet apples. This crumble was made with two Granny Smith and two Fuji.
2. Fresh lemon juice may be substituted.
3. Regular whole wheat flour or all-purpose flour may be substituted. 
4. I used walnuts here, but have also used pecans and almonds.

Whole Wheat Chocolate Chip Cookies

 As I’ve mentioned previously, I have a cookie commitment every Wednesday night. Usually I bring two different kinds of cookies or bars, but yesterday, I went all-in on Whole Wheat Chocolate Chip. You see, I had made one batch from Molly Wizenberg’s recipe and had big plans to make some Heath Bar blondies. All would have gone according to plan, except that I had more cookies than I needed. So naturally, I had a little snack…let’s call it quality control 😉 These cookies were (and are!) good: sweet and chocolaty with the nutty, slightly savory qualities of whole wheat. But there was one little problem: they were crunchy where I would have liked them to be soft. While this may not have fazed another baker, it got me thinking: how could I adjust these to be soft and chewy? A few things ran through my mind: cutting or increasing the flour, adding cornstarch, adjusting the leaveners, reducing the sugar. I did a little mental baking chemistry and got to work making a second batch that would hopefully be on the softer side. The resulting cookies had all the qualities I liked from the original recipe with the added benefit of soft, chewy middles. I 💗 cookie science (and rare kitchen experiments that work on the first try).

But now I had a little problem: nine dozen cookies that were all basically the same flavor. What was a baker to do? Answer: have a Whole Wheat Chocolate Chip Cookie taste-off. I labeled Molly’s recipe as Batch A and mine as Batch B, and determined that I’d post whichever recipe won. As people started to trickle in, I explained my mission. Thank goodness these are friends, or they’d all just think I’m nuts. Well, they probably do think I’m nuts and are my friends regardless. It probably doesn’t hurt that I literally always have cookies 😊 Anyway…there were people on both sides of the argument. My friends who like thinner, crunchier cookies were firmly for Batch A, but the vast majority must be soft and chewy cookie fans because Batch B won by a landslide. So, here we are. 

  These cookies start with whisking together whole wheat flour, cornstarch, baking powder and soda, and salt. As I wrote earlier this week, whole wheat flour can produce heavy, dry baked goods if not treated properly. Here, we add cornstarch, which lightens the flour a bit and gives the cookies a little softness. Also, we use both baking soda and baking powder. The vast majority of my drop cookies (with the exception of sugar cookies) only require baking soda, but since whole wheat flour is heavier than all-purpose, these need a little bit more help to puff up properly. We add a teaspoon of baking powder to the mix–it contains both an acid (cream of tartar) and a base (baking soda), and will keep the cookies from being too hard.

The wet ingredients are standard cookie fodder. Two sticks of softened butter are beaten until light and fluffy. Then come light brown sugar and granulated sugar, followed by two room temperature eggs and some vanilla. Then, add the dry ingredients in two installments, making sure that everything is fully incorporated. Fold in some semisweet chocolate chips and then chill the dough for 45 minutes. Where most of my cookie recipes require a chill of at least 90 minutes to prevent spreading, the heaviness (and quantity) of the whole wheat flour means these can be in the cookie jar sooner rather than later. Roll the chilled dough by the tablespoon and bake at 350F for 8-10 minutes. Let the cookies cool a bit and enjoy! 

One quick word about nutrition. No, I am not a nutritionist or health expert of any variety. One thing I can tell you, though, is that the presence of whole wheat flour in these cookies does not make them healthy. Sure, the protein and fiber in whole wheat makes this recipe a bit more nutritious than most chocolate chip cookies, but there is still plenty of butter and sugar (and chocolate!) present. These are simply really good, chewy chocolate chip cookies that happen to be made with whole wheat flour. Nothing more, nothing less.

Whew! That was a little too serious for a baking blog.

If you’re looking for a treat to make this weekend, these are the way to go. The combination of whole wheat and chocolate will pleasantly surprise anyone with whom you choose to share! These cookies are definitely winners. 
 Whole Wheat Chocolate Chip Cookies
adapted from Whole Wheat Chocolate Chip Cookies by Molly Wizenberg
makes about 4.5 dozen cookies

3 1/4 cups white whole wheat flour*
1 tablespoon cornstarch
1 teaspoon baking powder
1 teaspoon baking soda
1 teaspoons Kosher or sea salt
1 cup unsalted butter, softened to room temperature
1 1/2 cups dark brown sugar
1/2 cup granulated sugar
2 large eggs, room temperature
1 1/2 teaspoons pure vanilla extract
1 1/2 cups semisweet chocolate chips

In a large mixing bowl, whisk together white whole wheat flour, cornstarch, baking powder, baking soda, and salt. Set aside.

In a separate large mixing bowl, use an electric mixer to beat butter until light and fluffy. Beat in dark brown sugar and granulated sugar, followed by eggs and vanilla. Add dry ingredients in two installments, beating until completely combined. Beat in chocolate chips, kneading the dough a bit if necessary. Cover dough and chill for 45 minutes, or up to three days.

Preheat oven to 350F. Line two baking sheets with parchment. Scoop dough by the tablespoon and roll into balls, setting them two inches apart on the prepared pans. Bake 8-10 minutes until they look just a touch underdone. Let cool on the sheet pans for five minutes before transferring to a cooling rack to cool completely.

Cookies will keep covered at room temperature for up to a week.

Note:

Regular whole wheat flour may be substituted for white whole wheat flour.