One great thing about excellent base recipes is that with a little finesse, you can take them in any direction you like. Blondies are one that I mess with often, as is my cream cheese sugar cookie dough, as are so many other things.

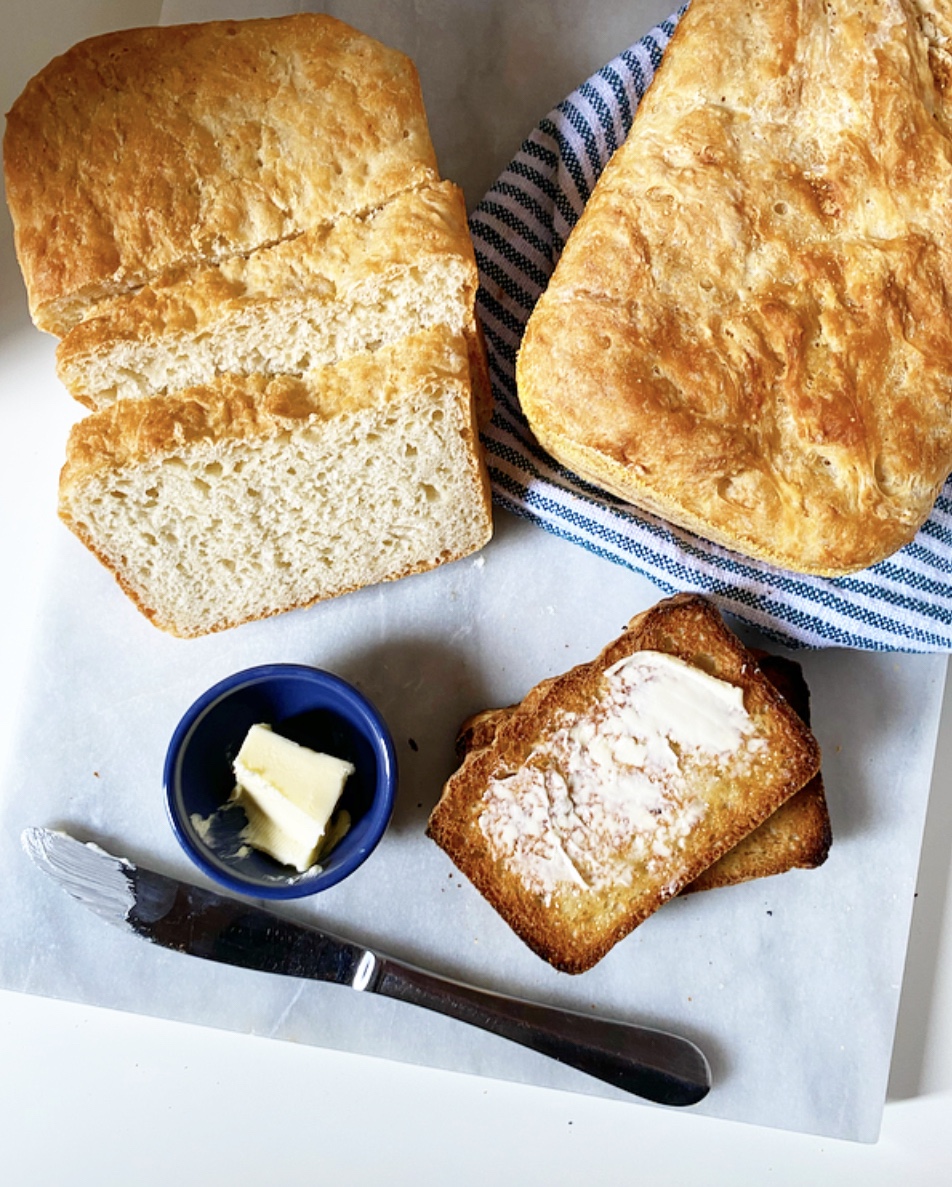
Take my English Muffin Bread, for instance. It comes together in one bowl and two loaf pans, requires exactly one rise, and bakes up tall in half an hour. When sliced thick and toasted, it’s soft inside and crispy-craggy on the edges, just like a really excellent English muffin. And that’s fantastic—no notes. But sometimes the creative urge overtakes me and I just have to mess with perfection.
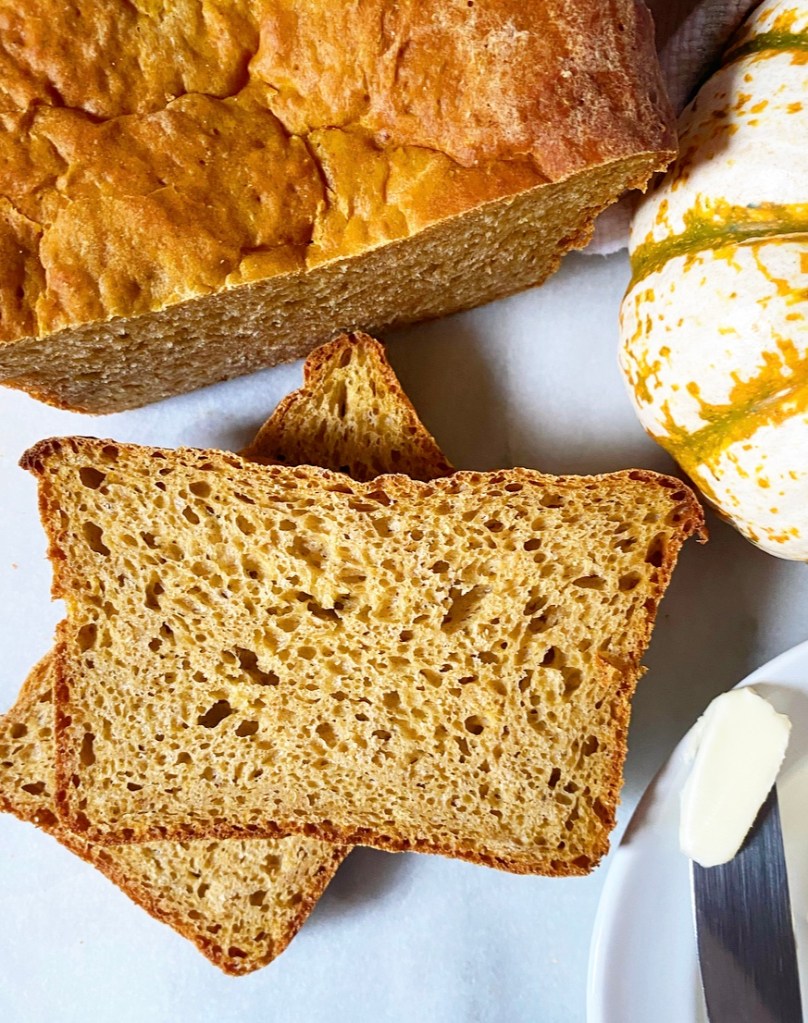
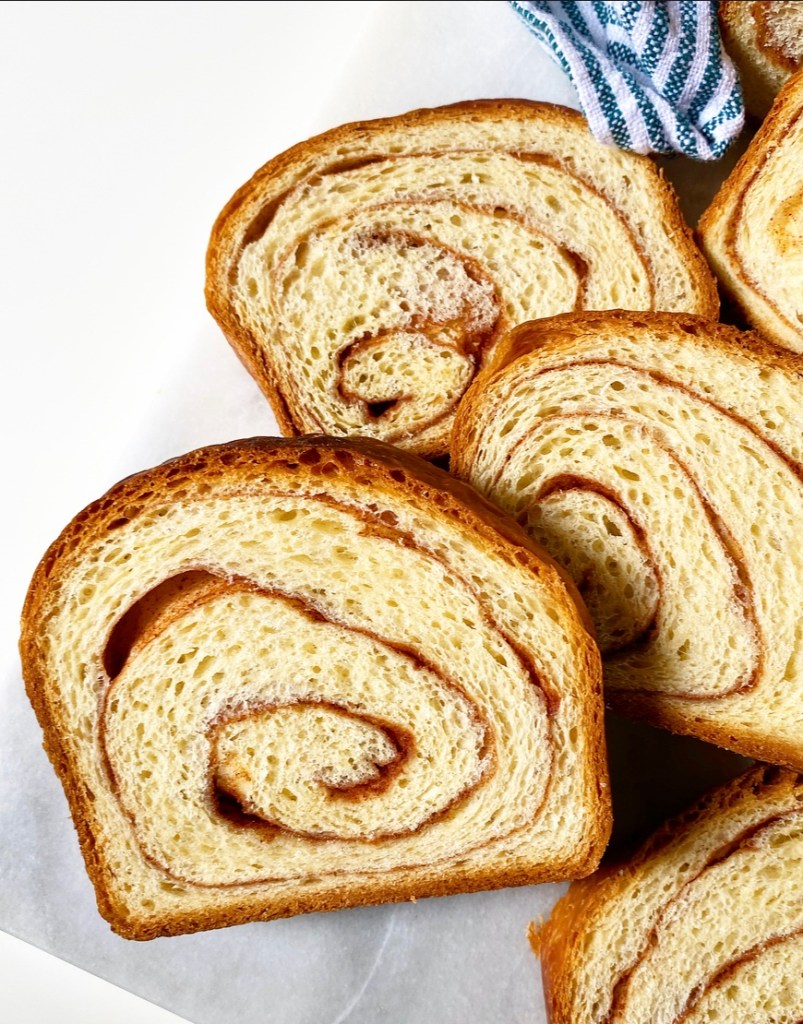
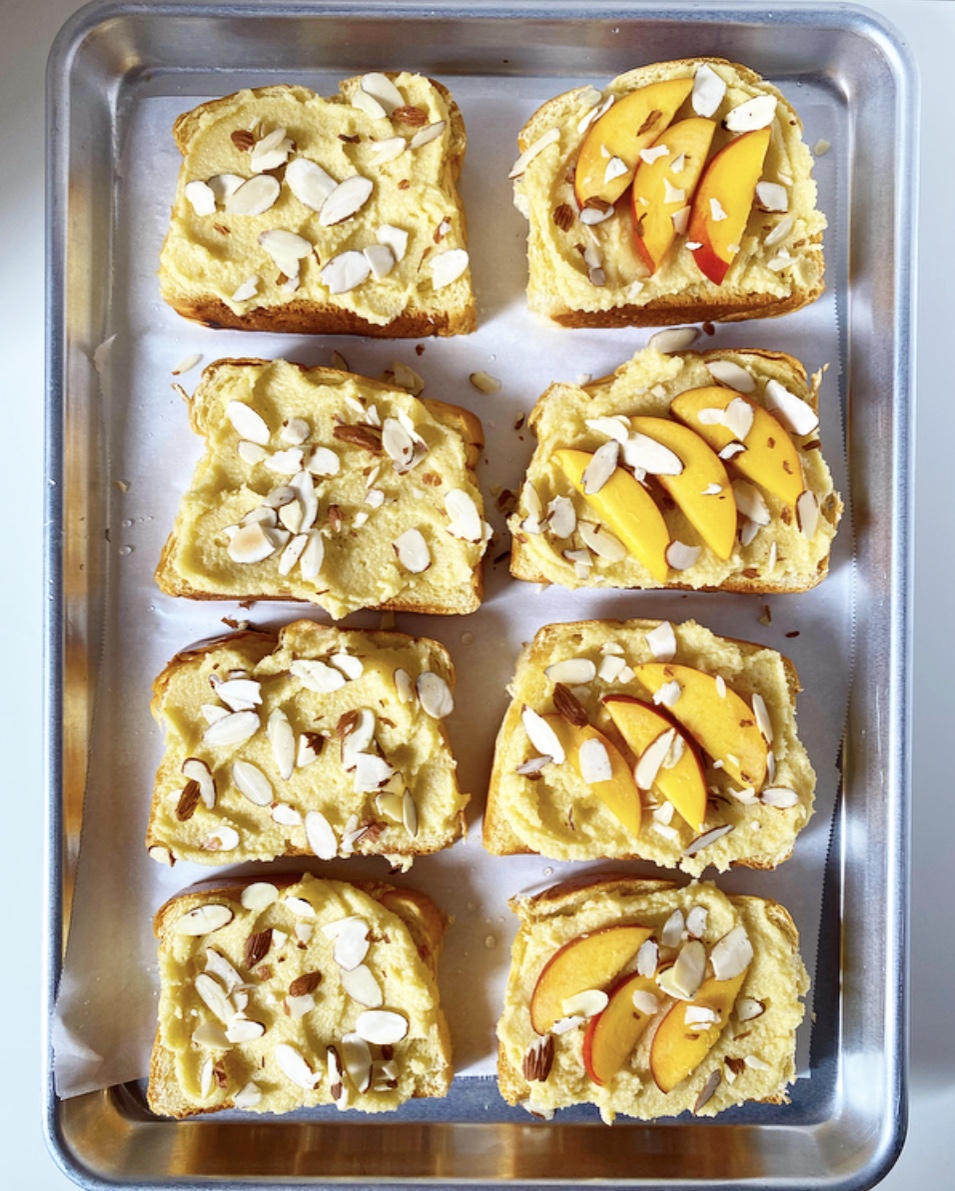
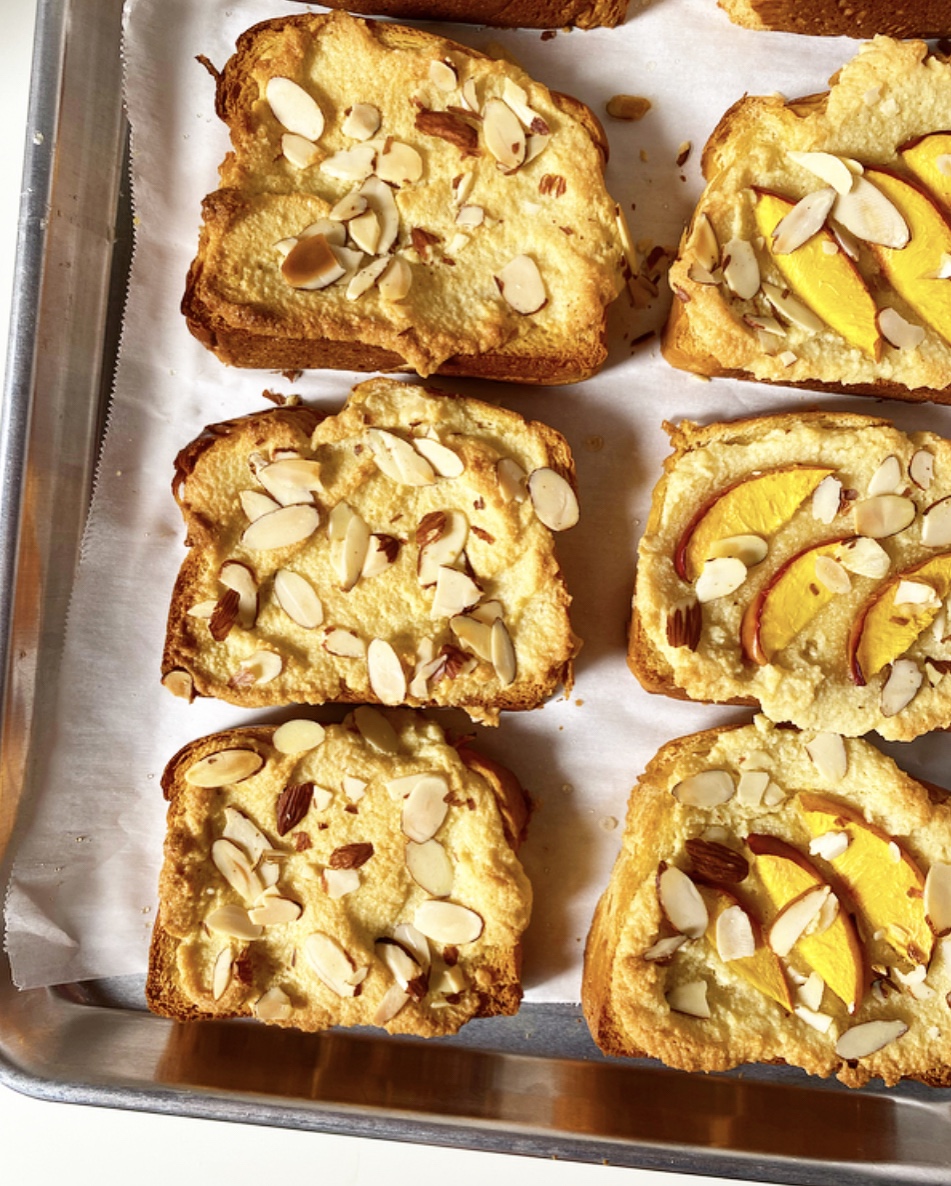
Today, we’re starting with that excellent formula and giving it a little autumnal twist. With a hefty scoop of pumpkin purée, pumpkin pie spice, and just enough brown sugar for flavor (not overwhelming sweetness), this Pumpkin Spice English Muffin Bread makes a cozy, delicious breakfast.
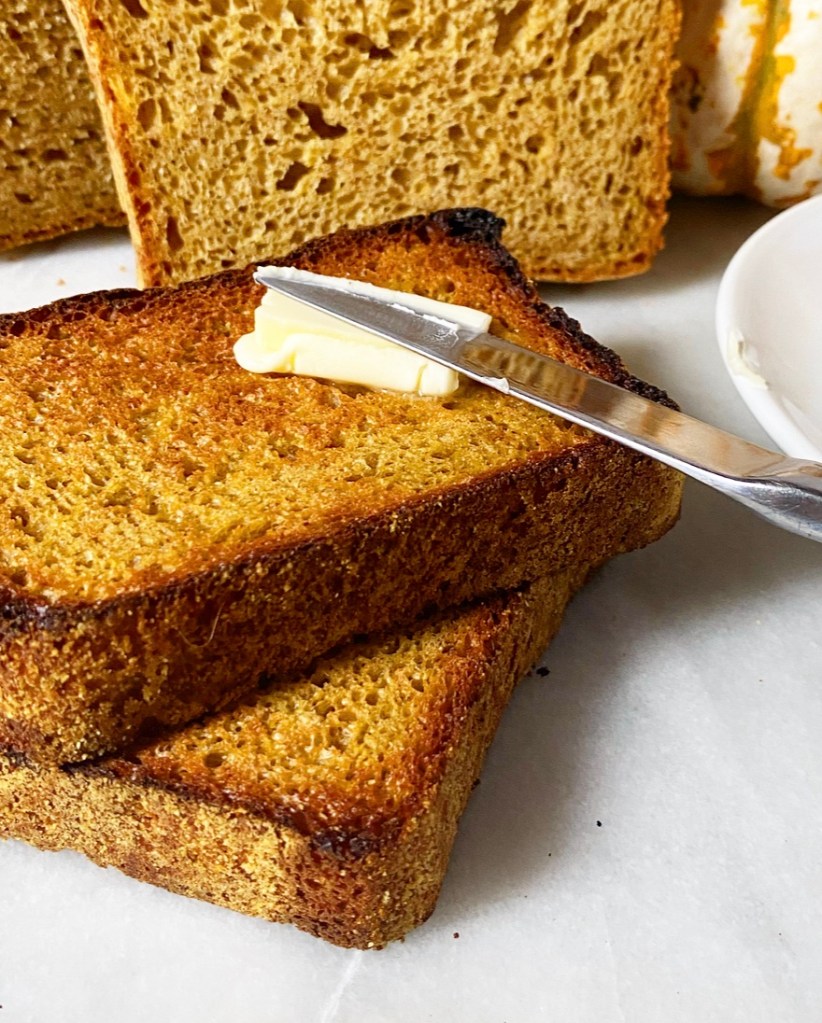
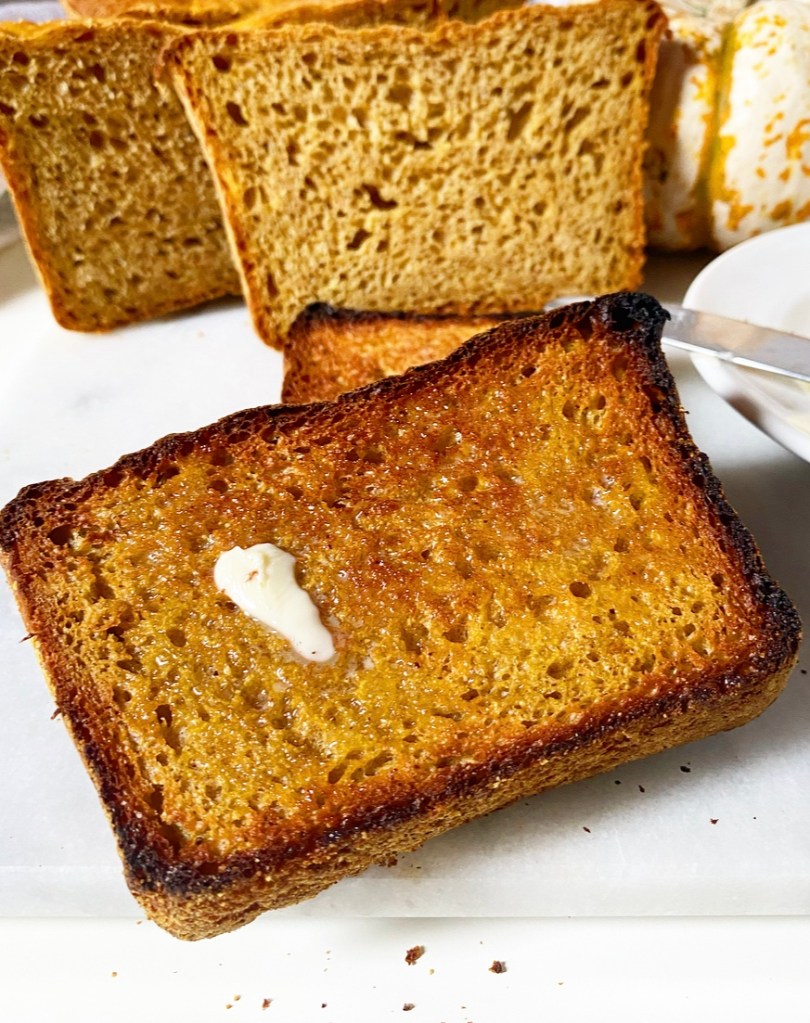
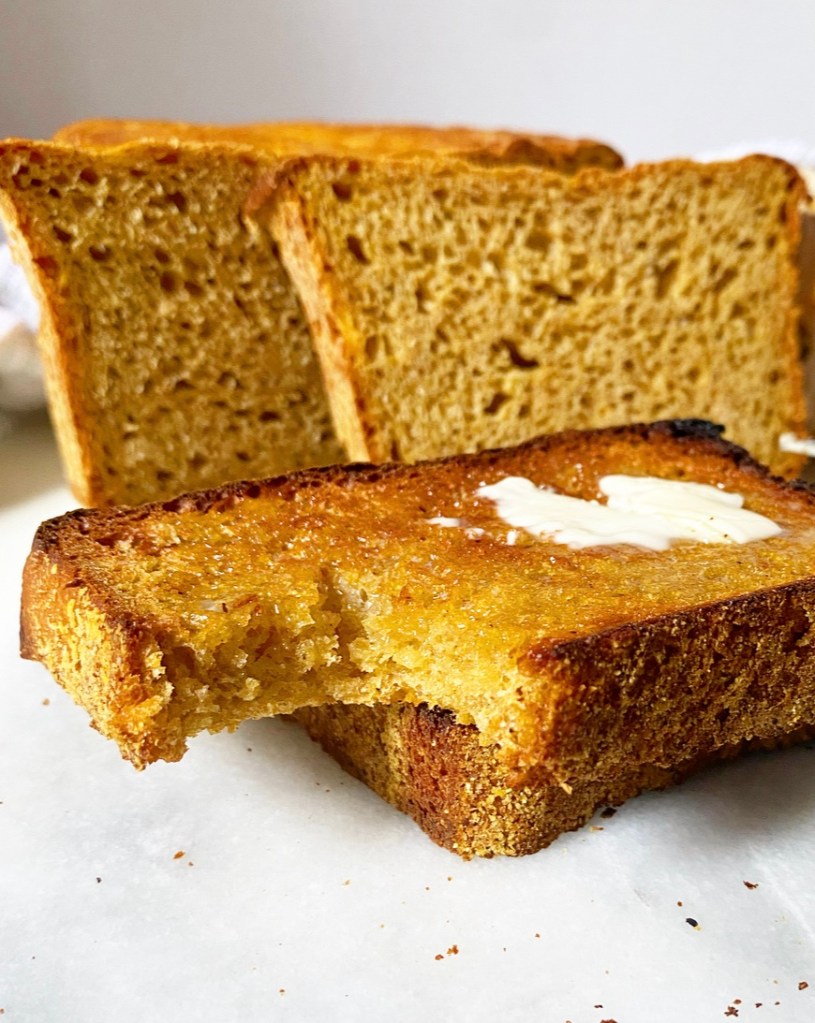
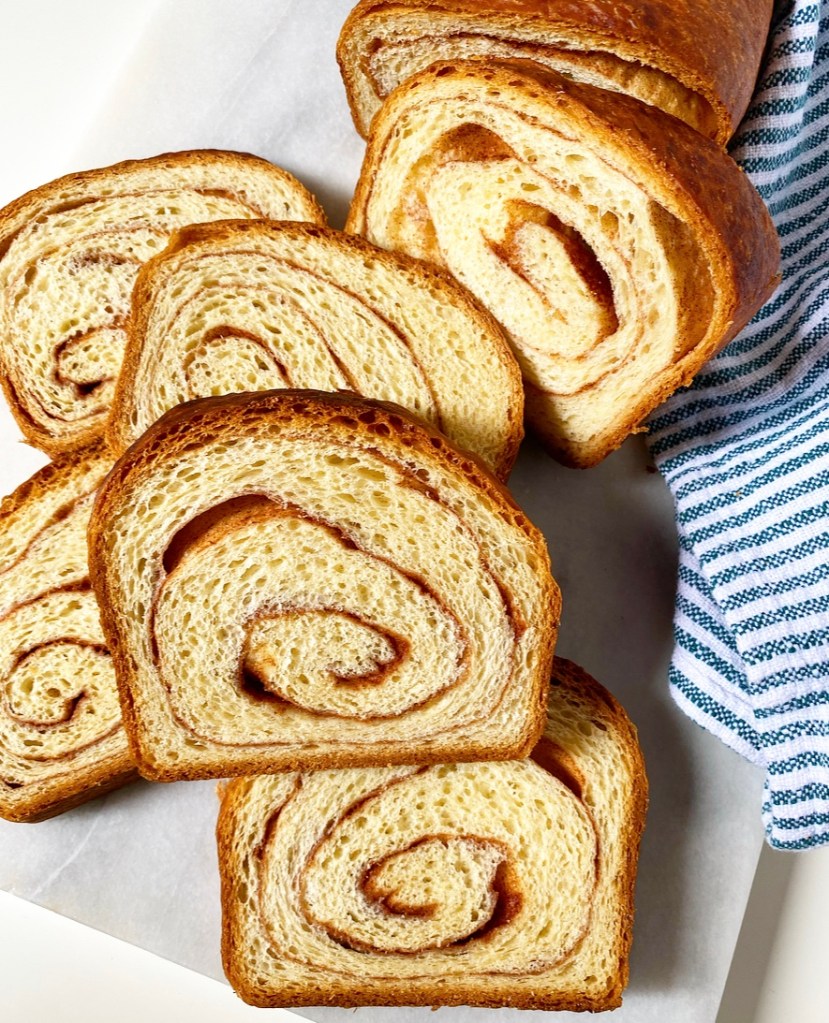
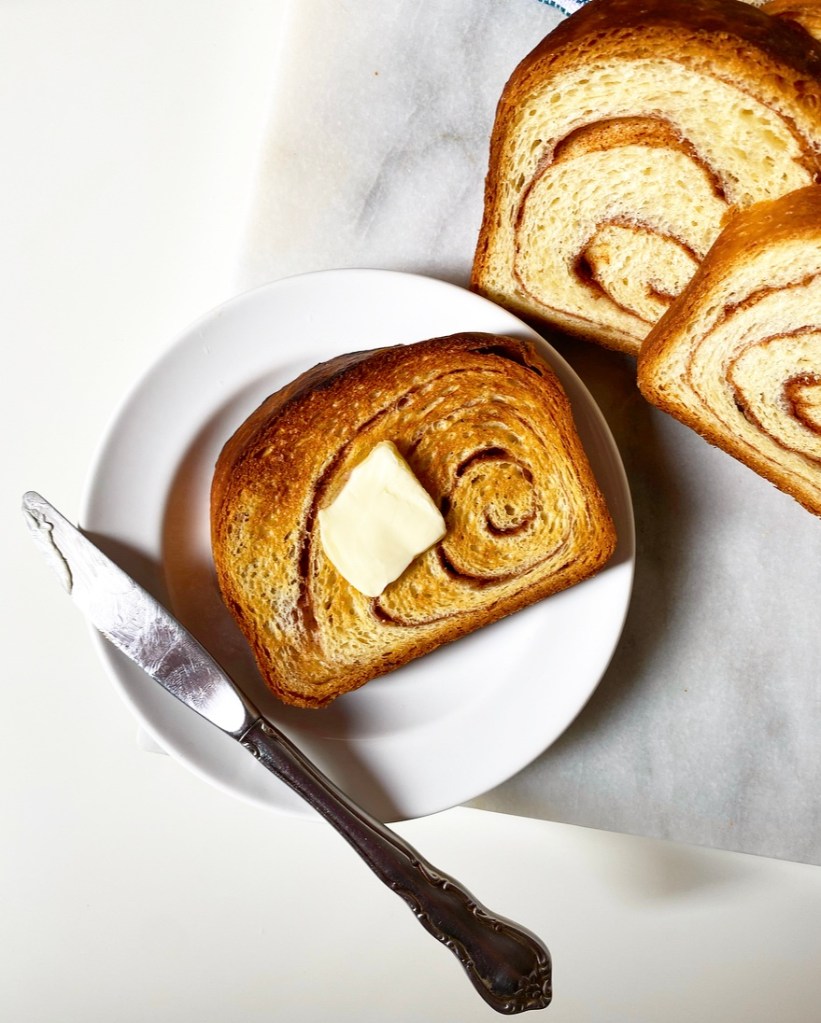
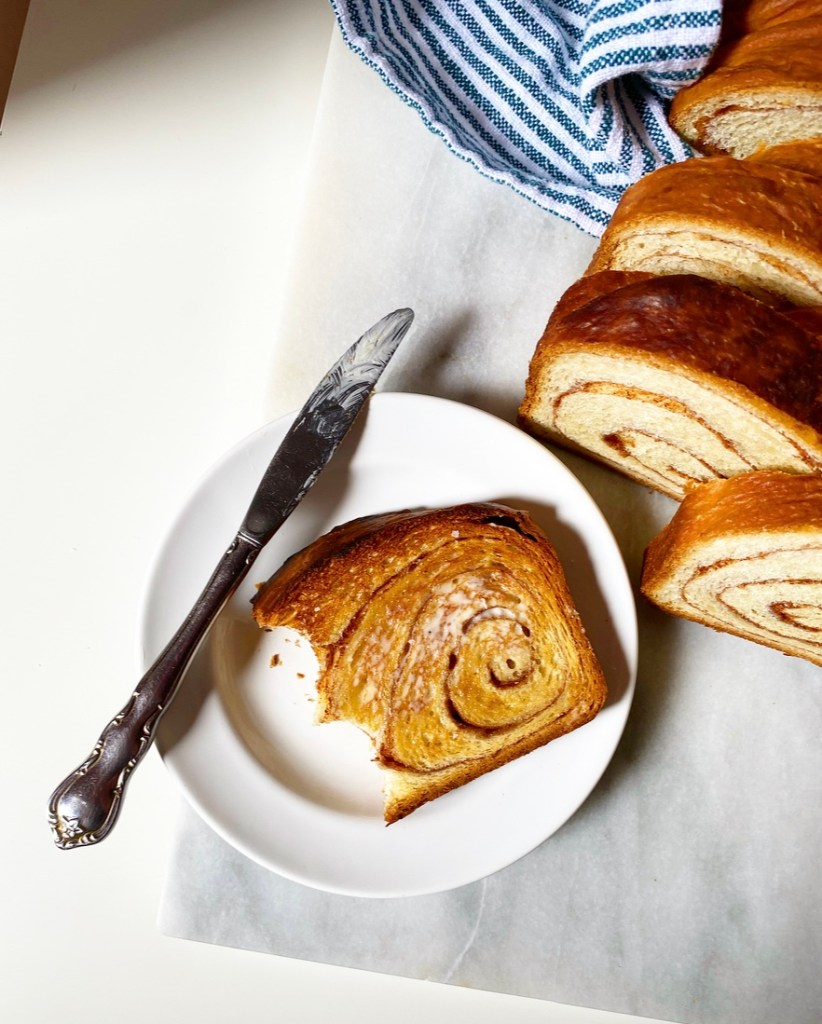
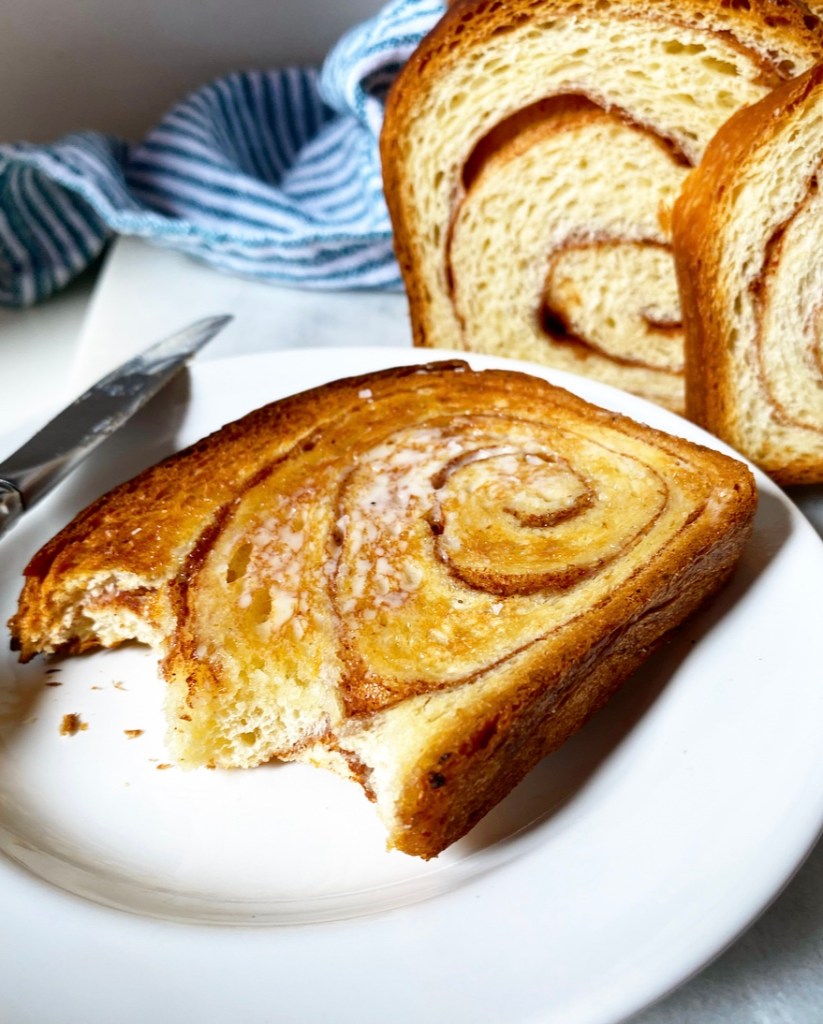
It’s got enough pumpkin flavor to fulfill a seasonal craving without overwhelming whatever is spread over and nestled into all those craggy bits. I kept my toppings classic here with just a little butter, but honestly, Pumpkin Spice English Muffin Bread makes the best Cinnamon Toast. Heck, you could even sub some of the cinnamon sugar for pumpkin pie spice sugar and really drive that autumnal vibe home.
No matter what you do to it though, this bread is fantastic. Like I said: no notes.
Pumpkin Spice English Muffin Bread
makes 2 loaves
For the pans:
1 tablespoon unsalted butter
3-4 tablespoons cornmeal
Bread Dough:
5 1/2 cups all-purpose flour (or bread flour)
4 tablespoons granulated sugar or packed light brown sugar
4 teaspoons pumpkin pie spice
1/2 teaspoon baking soda
1 1/2 teaspoons Kosher salt
4 1/2 teaspoons (2 packages) instant yeast
2 tablespoons unsalted butter, melted
1/2 cup pure pumpkin purée
1/2 cup whole milk (warm to the touch, not hot)
1 2/3 cups warm water
For proofing:
plastic wrap
oil, butter or cooking spray
For serving:
butter
jam
honey
Grease 2 9x5-inch loaf pans with butter. Add cornmeal and rotate pans so that the entire insides are coated in a thin layer. Tap out and discard excess cornmeal.
In a medium-large mixing bowl, whisk together flour, sugar, pumpkin pie spice, baking soda, salt and instant yeast.
In a large liquid measuring cup (or other vessel) whisk together melted butter, pumpkin purée, warm milk, and warm water. It should be warm to the touch (90-110F) but not hot.
Whisk/stir wet ingredients into dry ingredients in two installments. Stir until a sticky, shaggy dough forms and flour is coated, then stir an additional 30 seconds to make sure things are saturated.
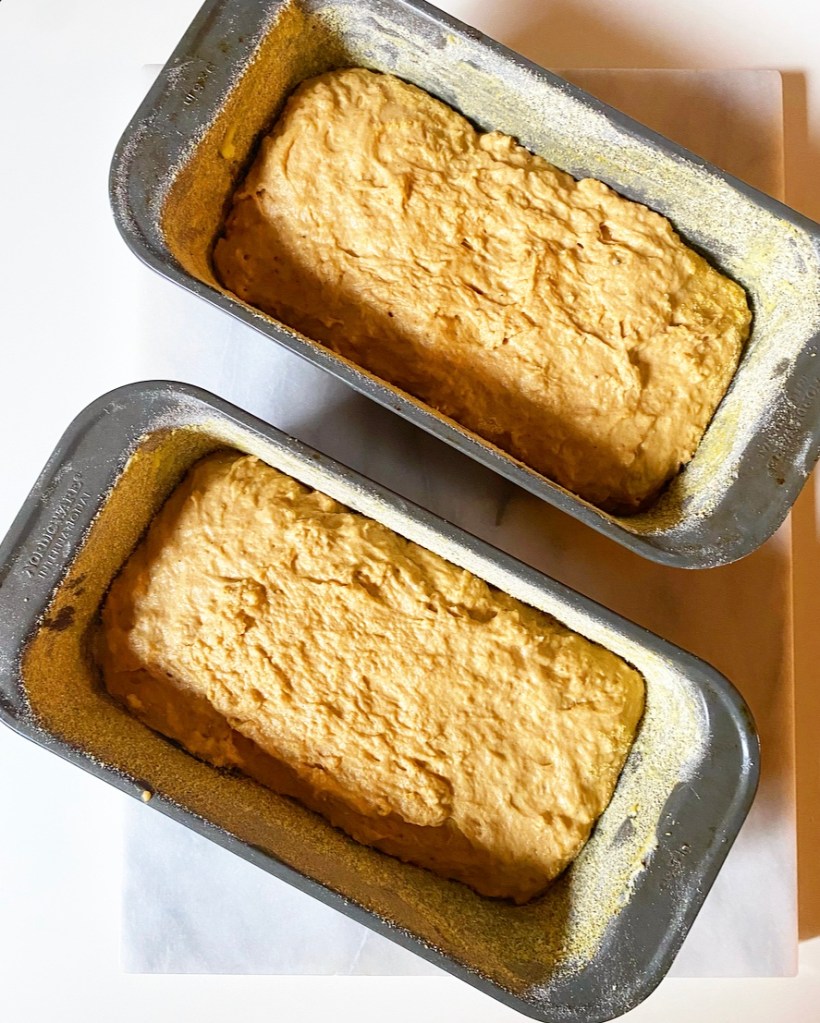
Grease your hands, then divide dough into prepared pans. Grease 2 pieces of plastic wrap. Lay them loosely over the top of each loaf pan.
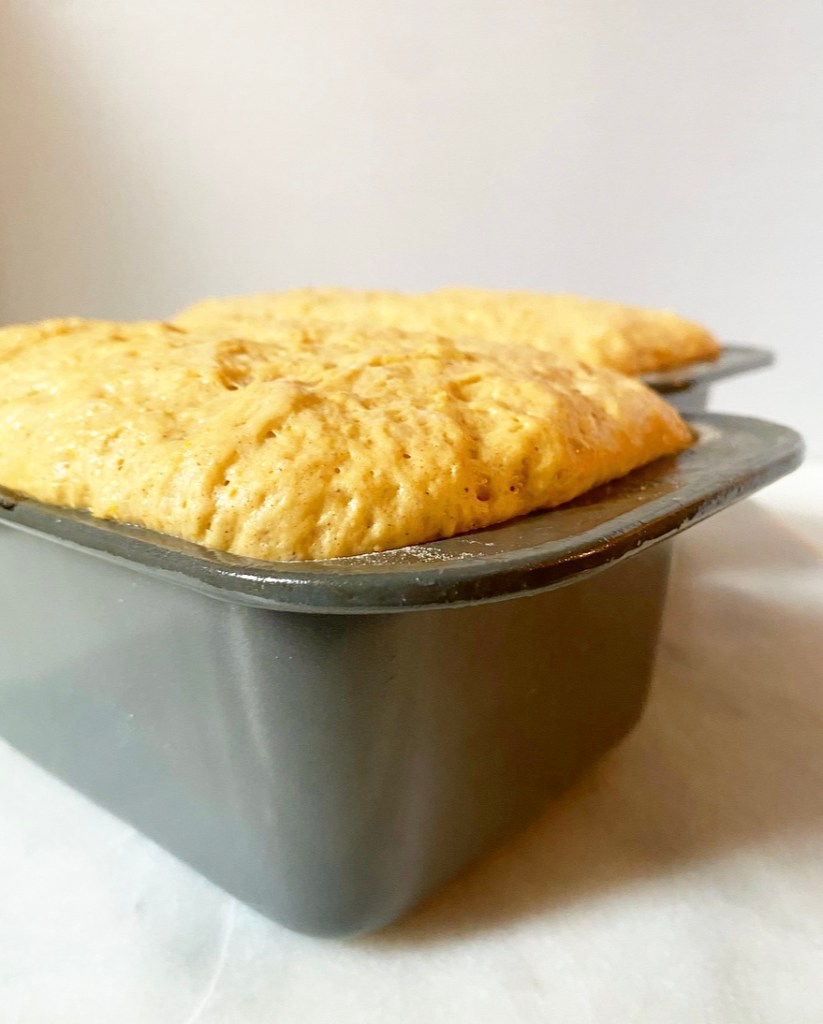
Place pans in a warm, draft-free environment for 45-60 minutes, or until the dough has risen just above the tops of the pans. While dough is rising, preheat oven to 400F.
When dough is ready, gently peel off and discard plastic wrap. Dough may seem a bit wet and jiggly. Gently place pans in the oven and bake for 25-30 minutes, or until golden all over. The interior temperature should be at least 190F.
Immediately turn bread out onto a rack. Let cool completely so crumb structure can set. Do not slice into bread until it is completely cool.
Slice and toast before serving. Leftovers will keep well-wrapped in the refrigerator for up to a week.


 Today I’m taking this blog into new territory: bread! You won’t find me feeding any sourdough starters or anything, but I have taken a chance on a few bread recipes over the last year because…well, I had some time on my hands. English Muffin Bread is my favorite by a long shot. It’s got all the craggy structure of English muffins, toasts like a dream, and is so delicious it’s kind of ridiculous.
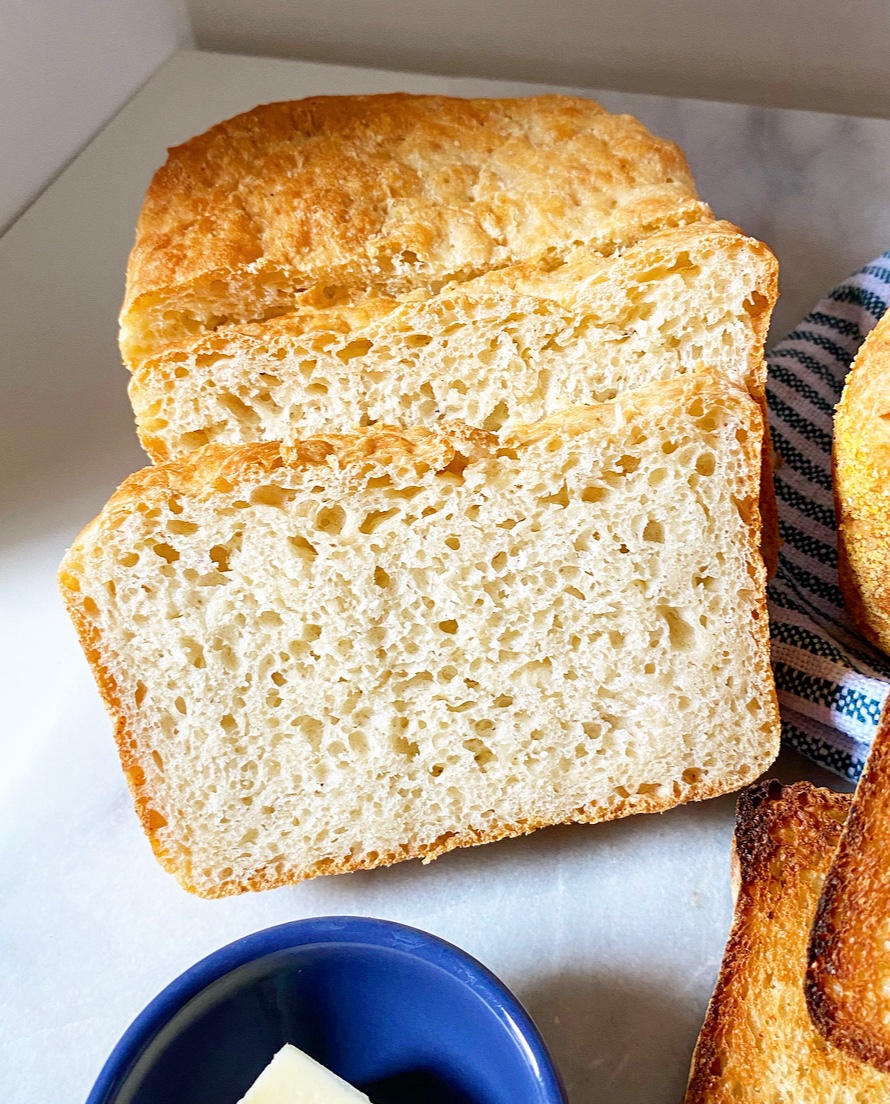 I first heard about English Muffin Bread when
 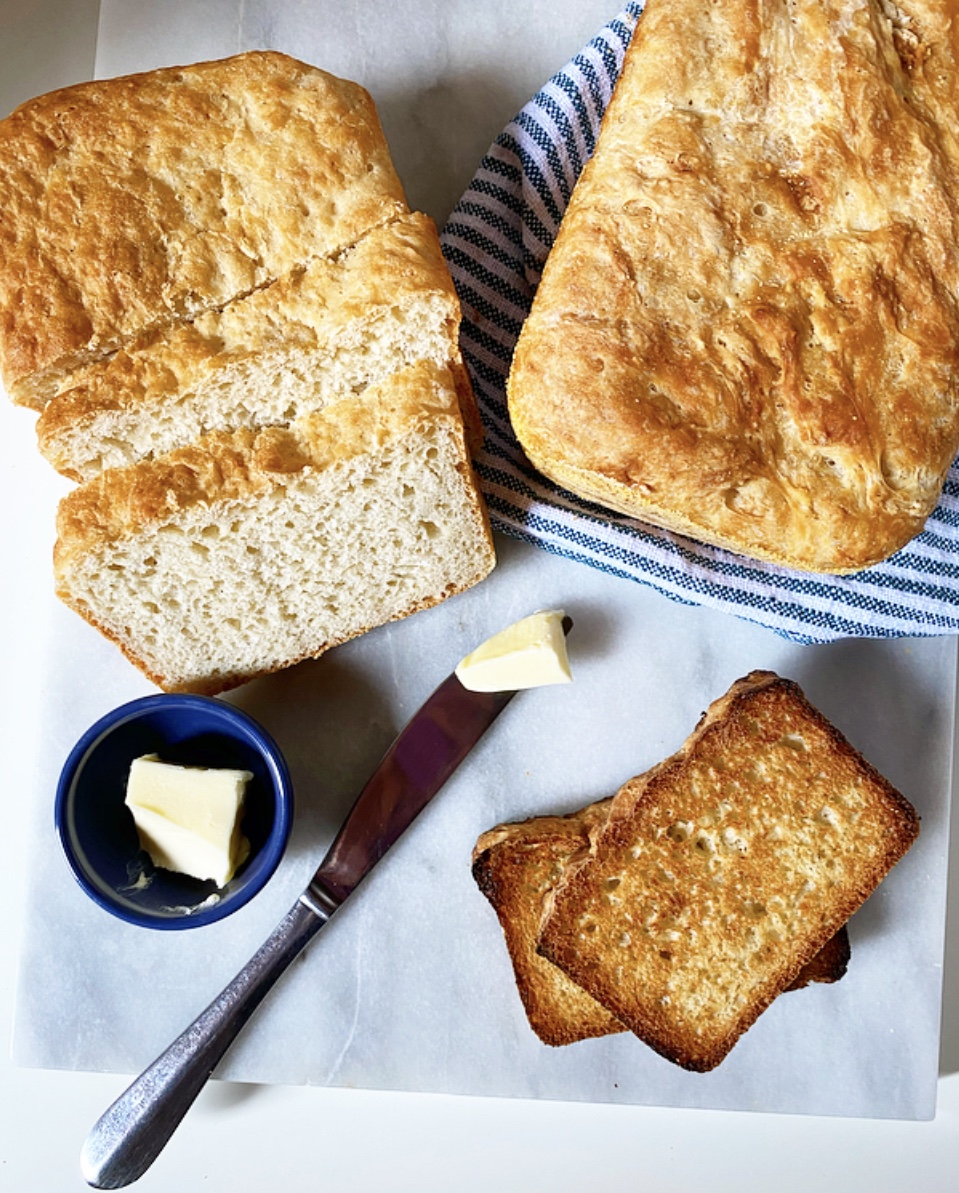 My English Muffin Bread is a one bowl, no-knead, single rise situation. By giving this dough just a few minutes of your time and then a bit of patience, you’ll be rewarded with all the craggy texture you love in English muffins, but in a sliceable, toastable loaf. Two of them, actually.
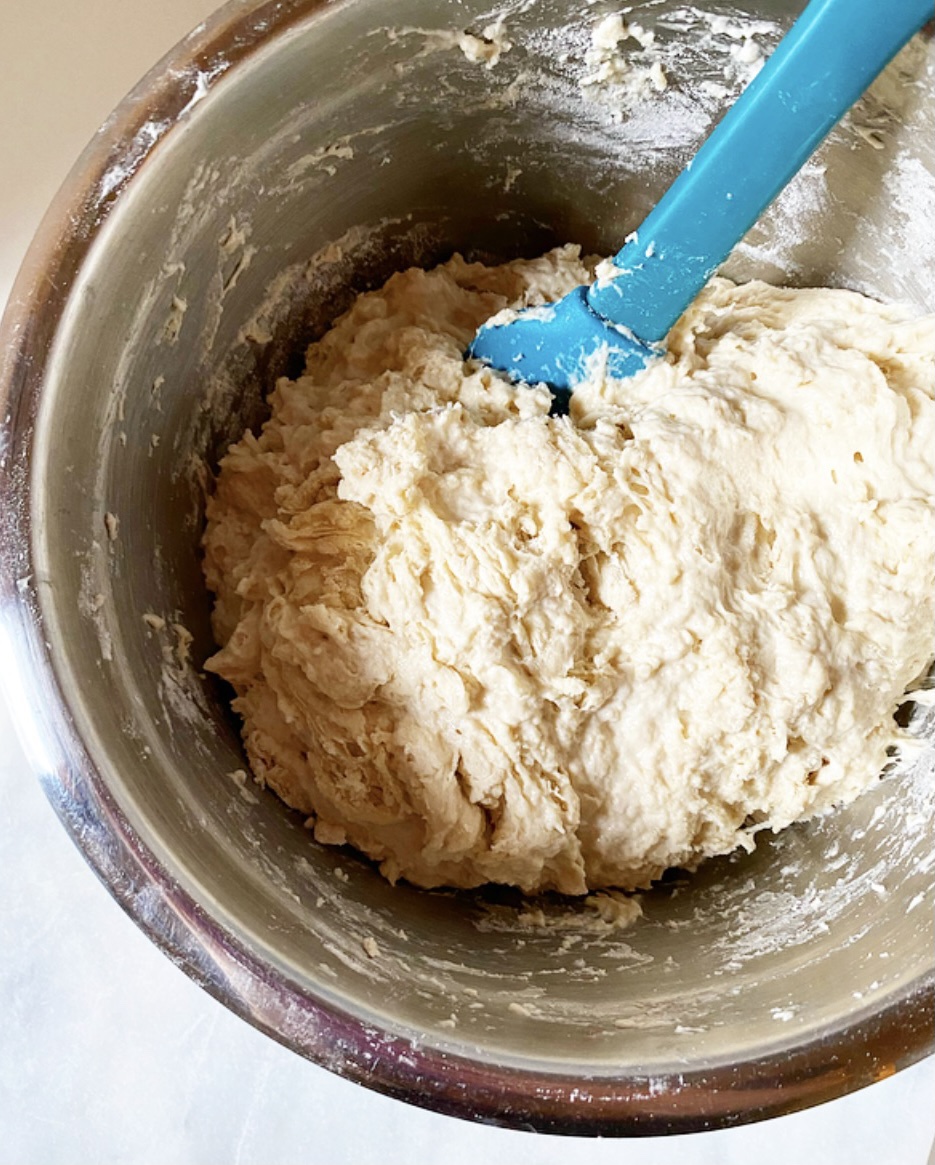 English Muffin Bread couldn’t be easier to make. Simply whisk together flour, a touch of sugar, kosher salt, instant yeast and a little baking soda, then stir in water and melted butter until a shaggy dough forms. Divide your dough in two, then put it in two cornmeal-dusted loaf pans. No, you didn’t miss a kneading step—thanks to the high volume of liquid and the desired texture, there’s no need to knead! <—see what I did there?!
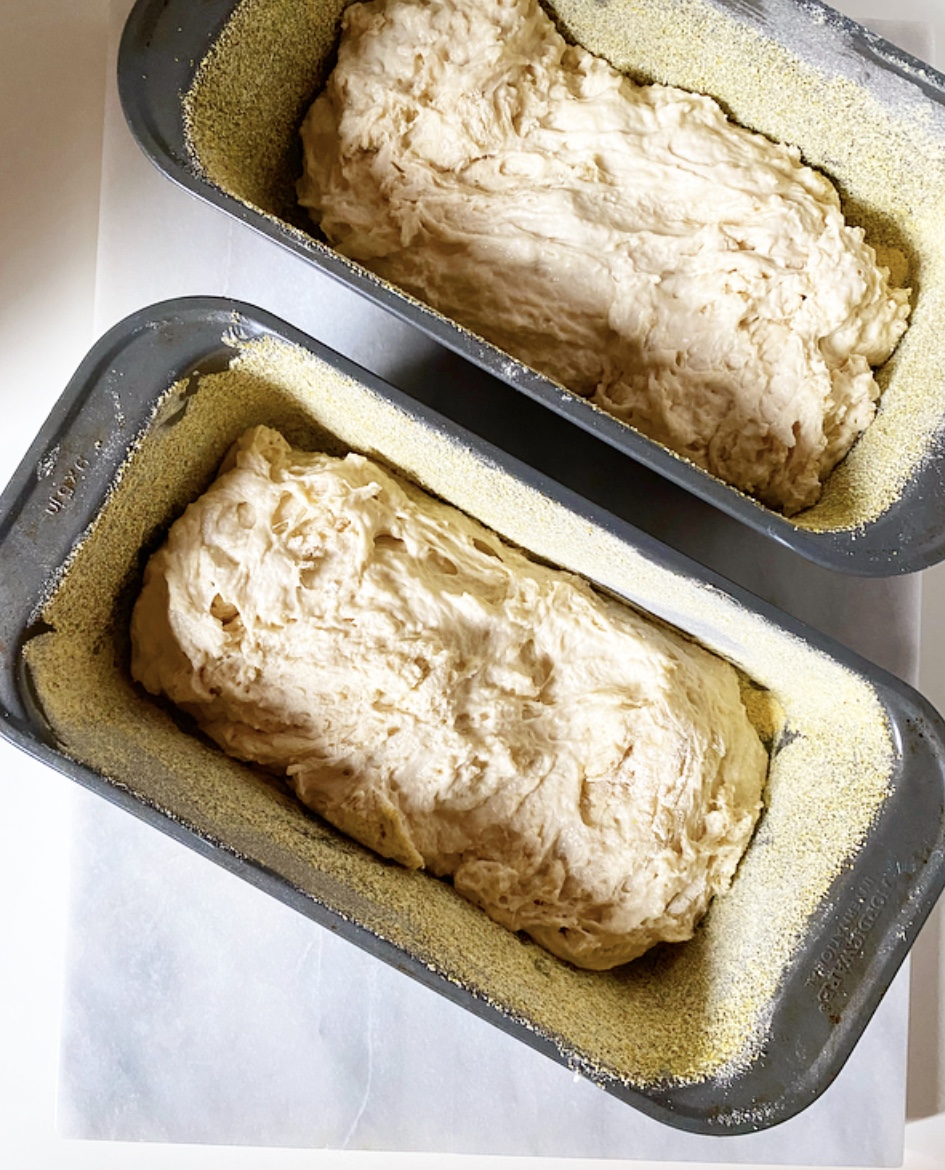 Let your dough rise for about an hour, just until it peaks over the tops of your pans. The combination of yeast and baking soda along with the single rise mean that the oven-ready dough will be very airy and a little delicate. It should be a bit wet looking and a little jiggly—be gentle with the pans so you don’t knock out any of the holey, craggy structure.
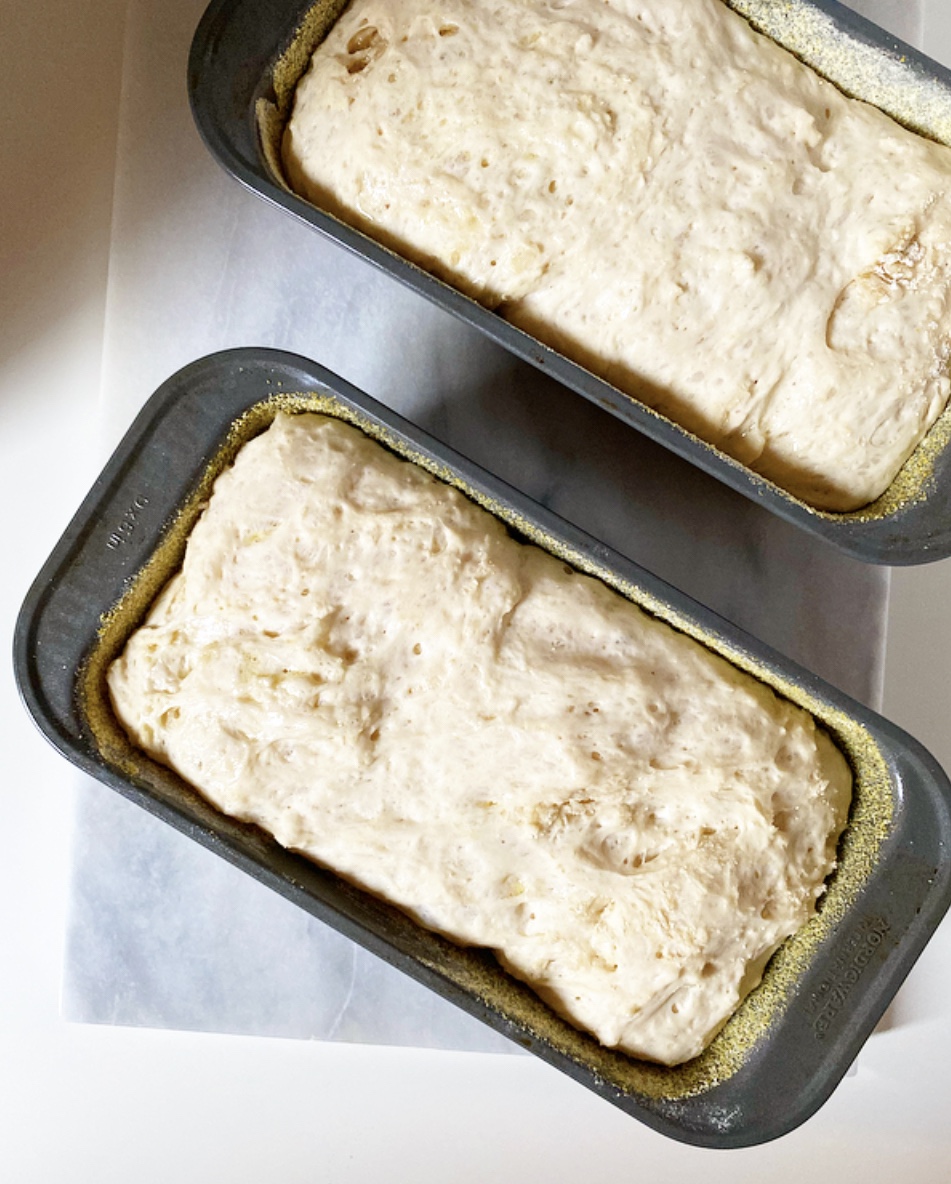 Bake your loaves for 25-30 minutes as 400F, until golden all over and hollow-sounding when tapped. If you’re worried about under-baking, a food thermometer should register 190F when the bread is done.
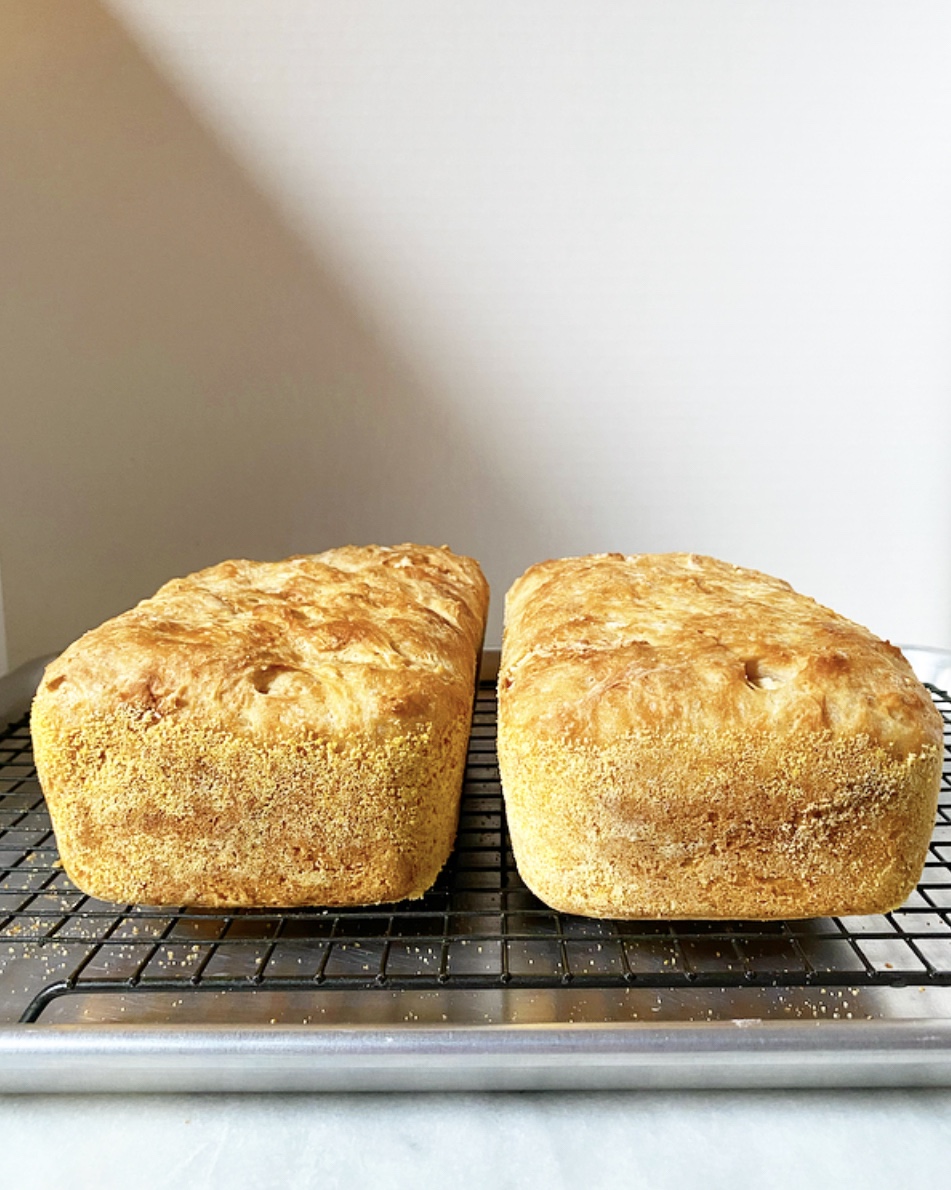
 Turn your loaves out onto a rack as soon as they come out of the oven, then let them cool completely. This is supremely important. Do not let the intoxicating smell of fresh-baked bread tempt you to rip into this while it’s cooling or you will find a gross, gummy mess. The hole structure needs to cool completely for maximum English muffin goodness. I find that cooling takes 2-3 hours, but that’s a small price to pay for the quality of toast you are about to consume.
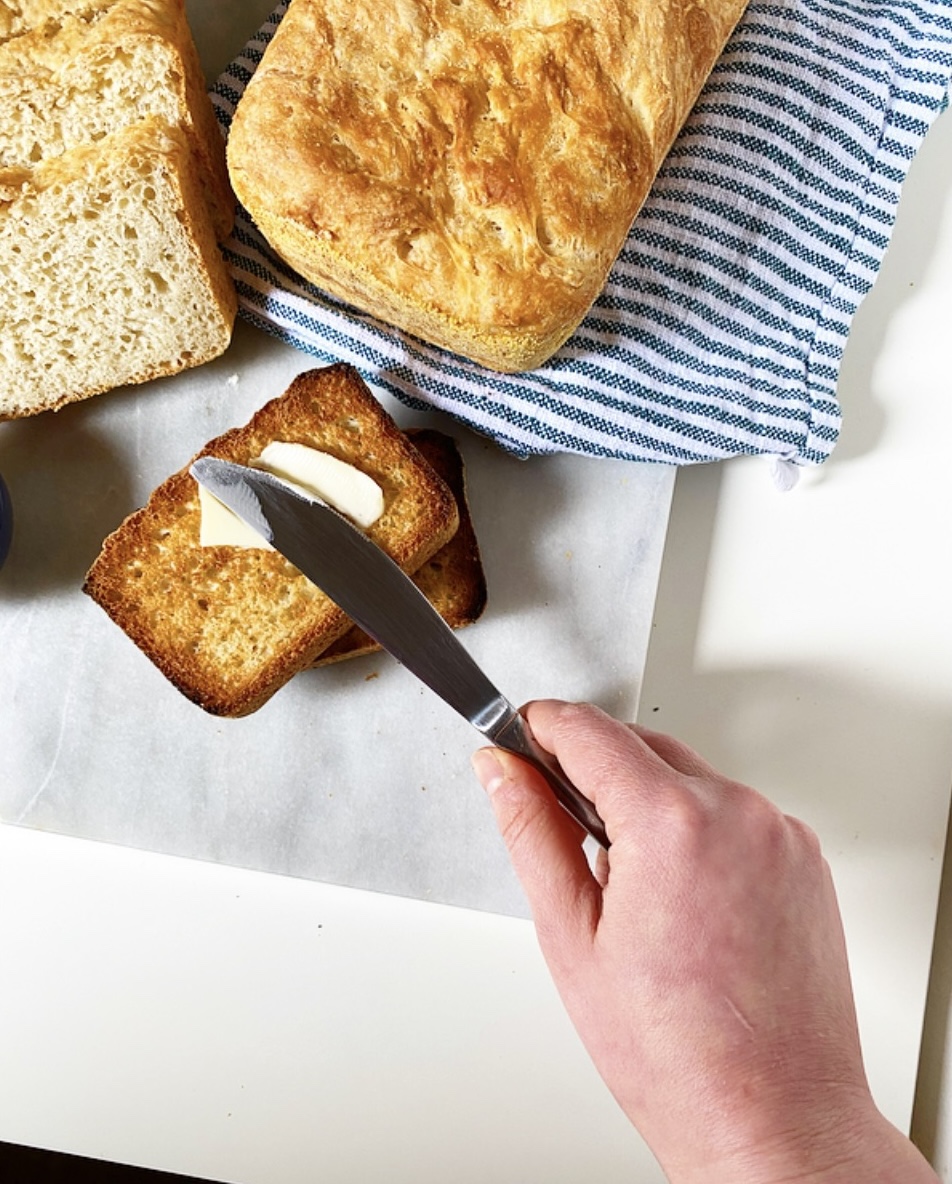
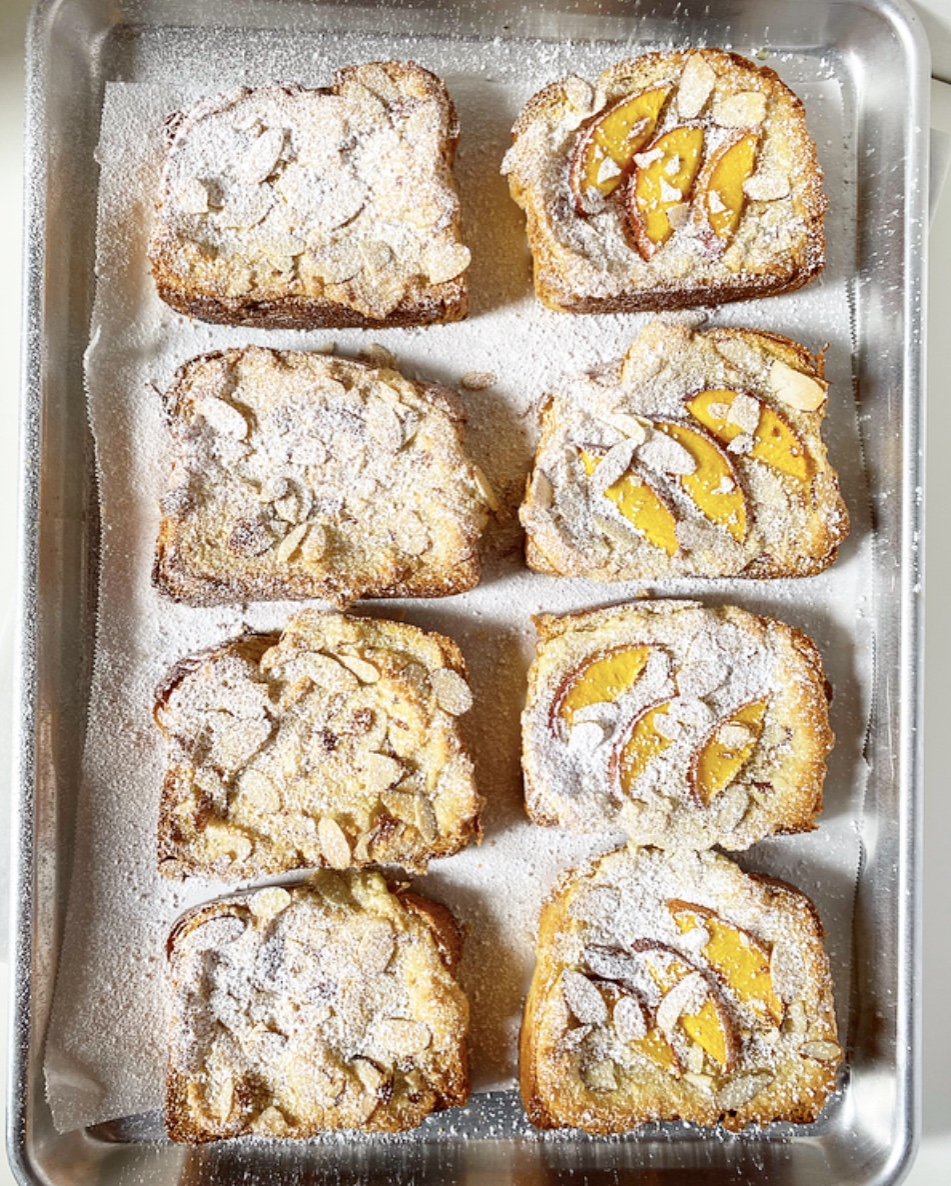
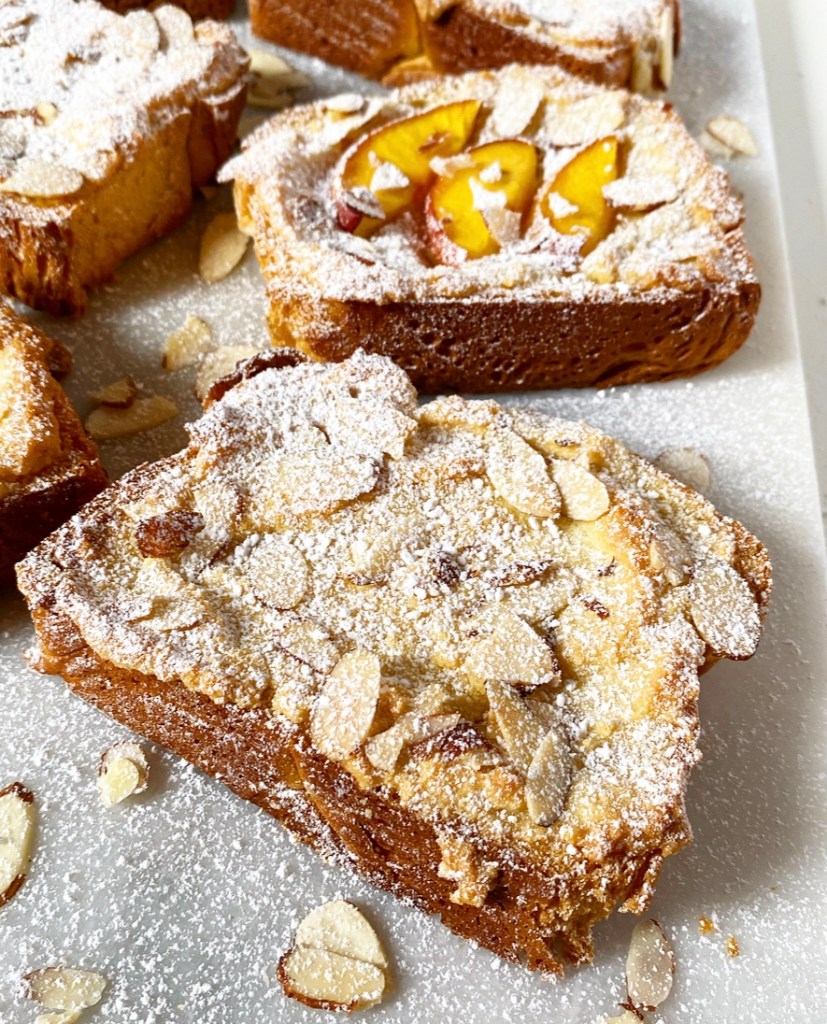
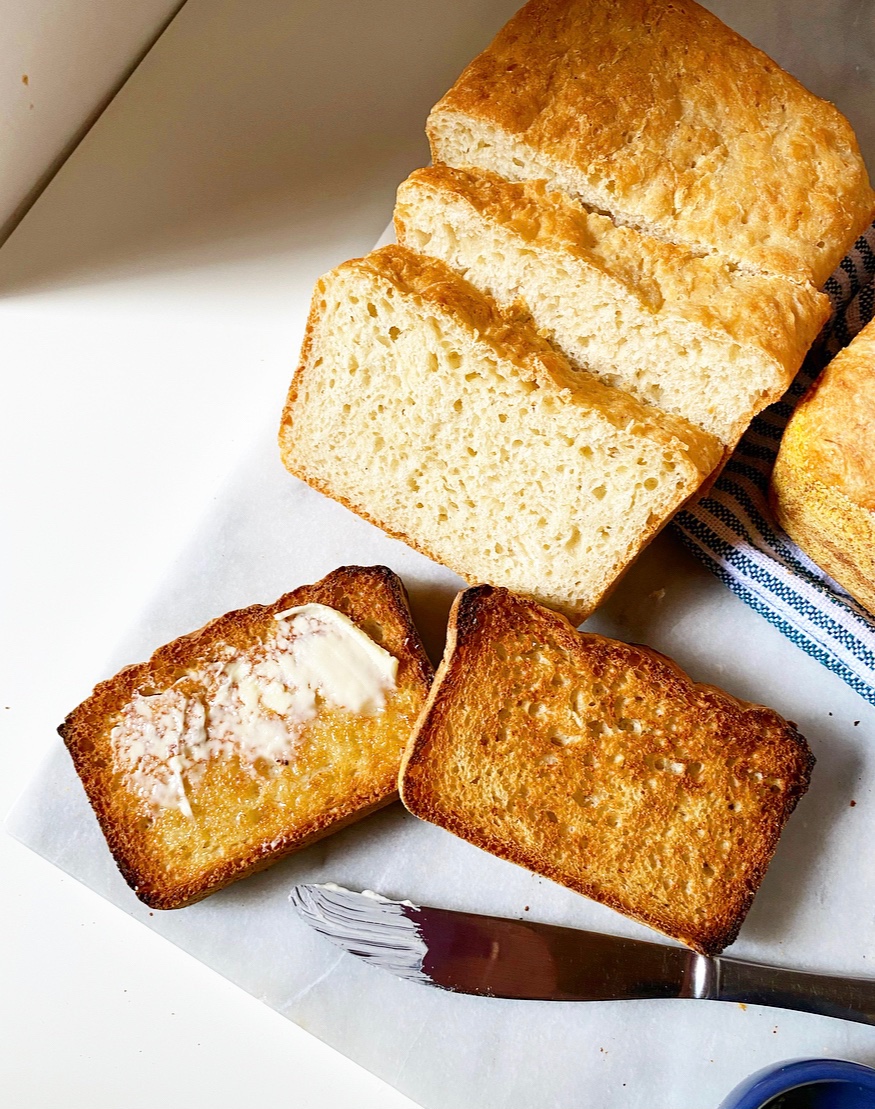 While you can absolutely enjoy a slice of English Muffin Bread without doing anything to it, an extra crispy, golden brown, toasty finish really makes each slice sing. The holes and crags are emphasized, the cornmeal on the edge gets extra crunchy, the minuscule amount of butter in the dough gives it just enough richness. Like a perfectly toasted English muffin, it’s perfect with a smear of soft butter. Or honey. Or jam. Or Nutella. Or peanut butter. Or avocado. Or fried into French toast. Or made into a grilled cheese.
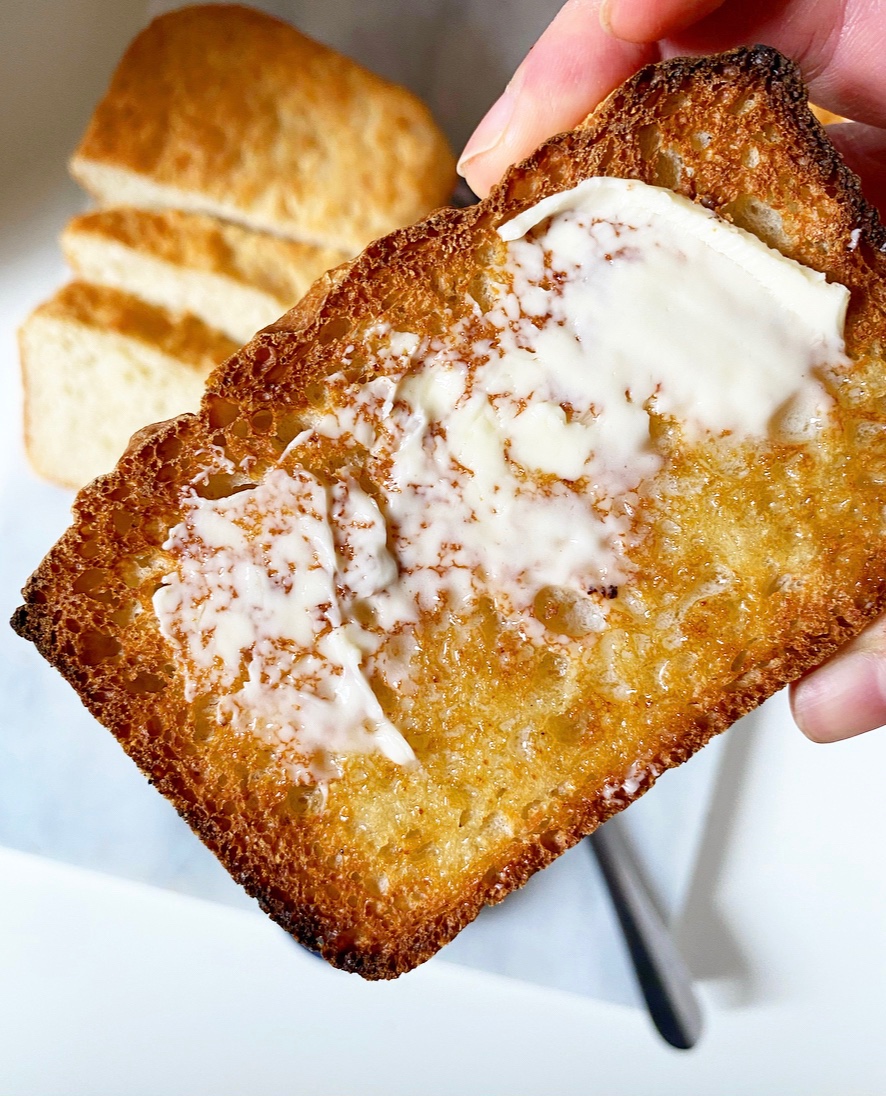
 Until recently, I’ve eaten (baked) frozen dinner rolls at every holiday dinner of my life and had exactly zero idea that I was missing anything. Warm bread is warm bread, right?
 I mean, I’m sure I will eat a (baked) frozen dinner roll in the future because warm bread, but now I know the magic and ease of buttery, homemade Fluffy Dinner Rolls and I can never fully go back. In the story of my life, time will be defined as “Before Fluffy Dinner Rolls” and “After Fluffy Dinner Rolls.”
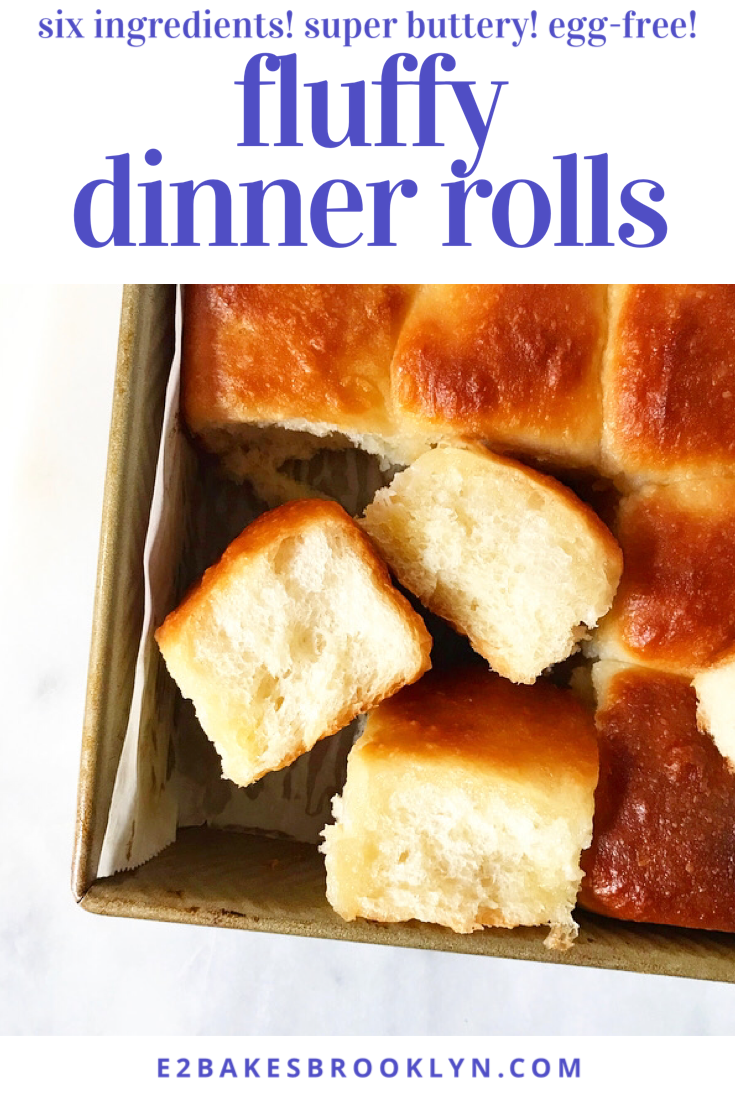
 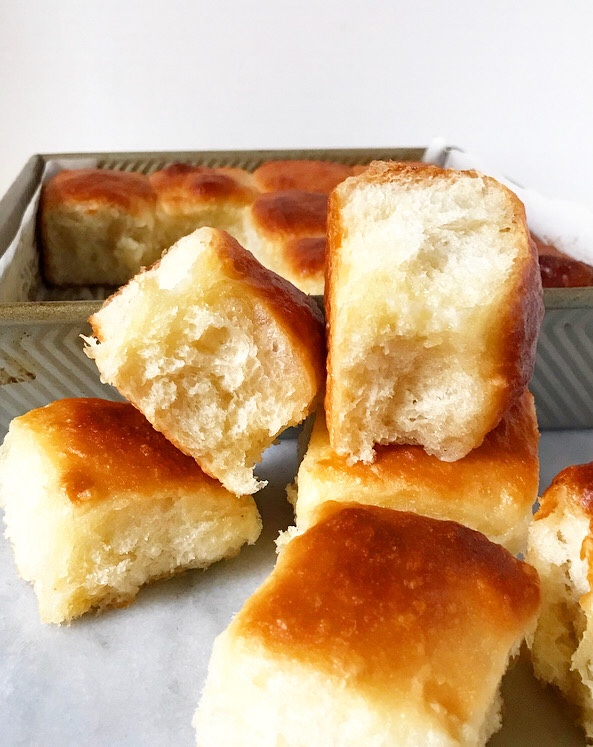 Okay, maybe not. But I am changed, and I have a sneaking suspicion that some of you are in the same boat I once was—out there living your lives, blissfully unconcerned that your holiday table is missing something or that you have been denied anything—and I am here to mess all that up by giving you an easy six-ingredient dinner roll recipe that will blow your freaking minds with its buttery, golden wonderfulness and ruin freezer aisle rolls for you forever. #sorrynotsorry
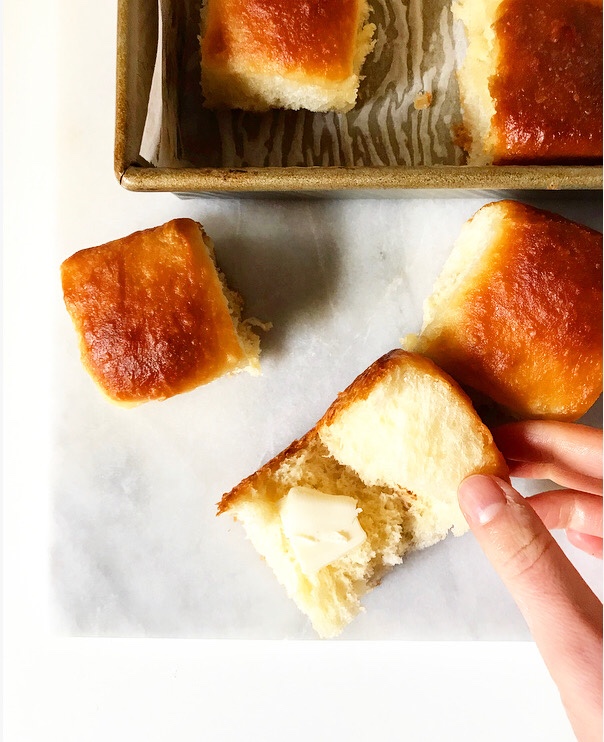
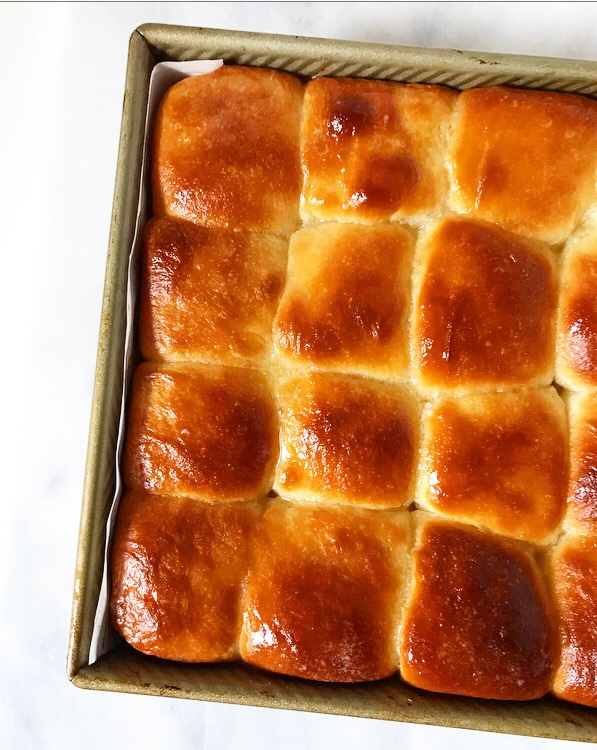
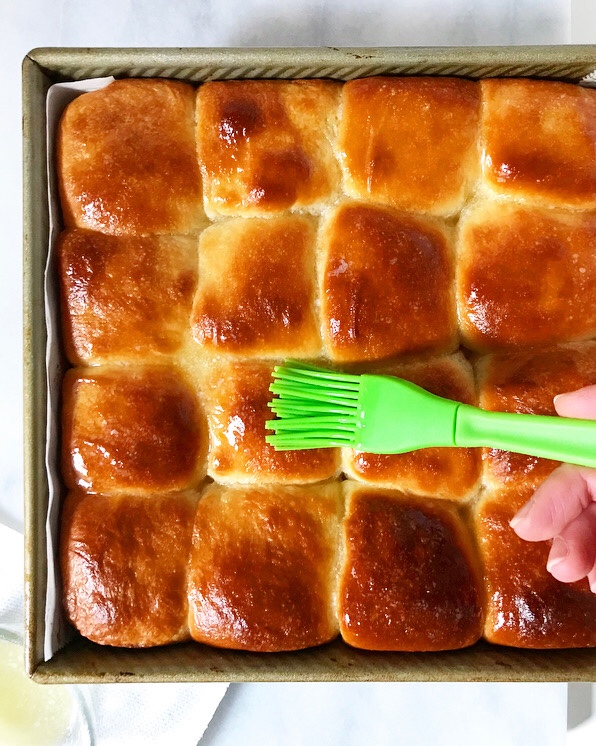
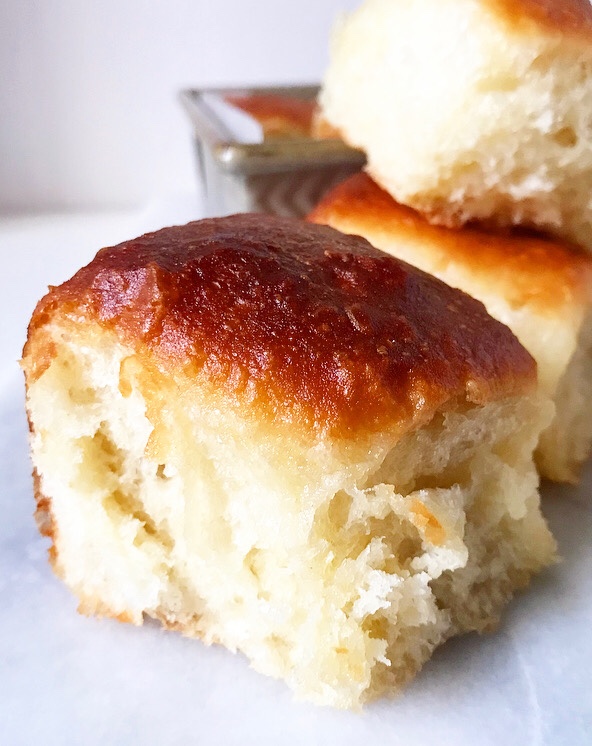 These Fluffy Dinner Rolls, y’all. They are fluffy. So fluffy. And they are slightly sweet and buttery as all get-out (whatever that means). There’s butter in the dough, and more is brushed on both before and after baking!
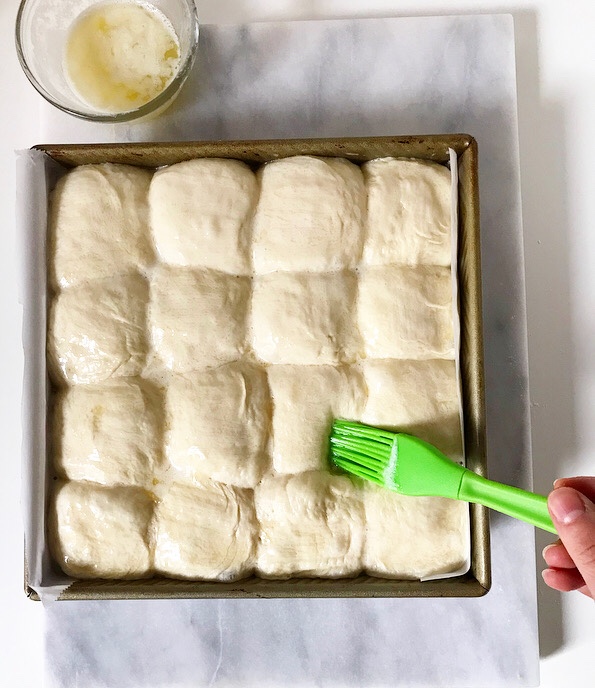
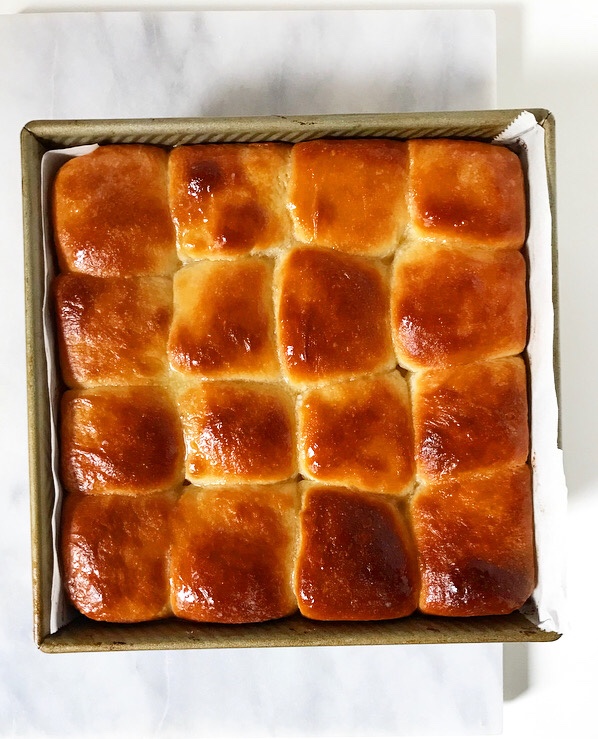
 Did I mention their softness? When I was testing this recipe, I spent a lot of time poking the golden tops of these rolls and watching them bounce back, just because I could. So soft! So dang fluffy!
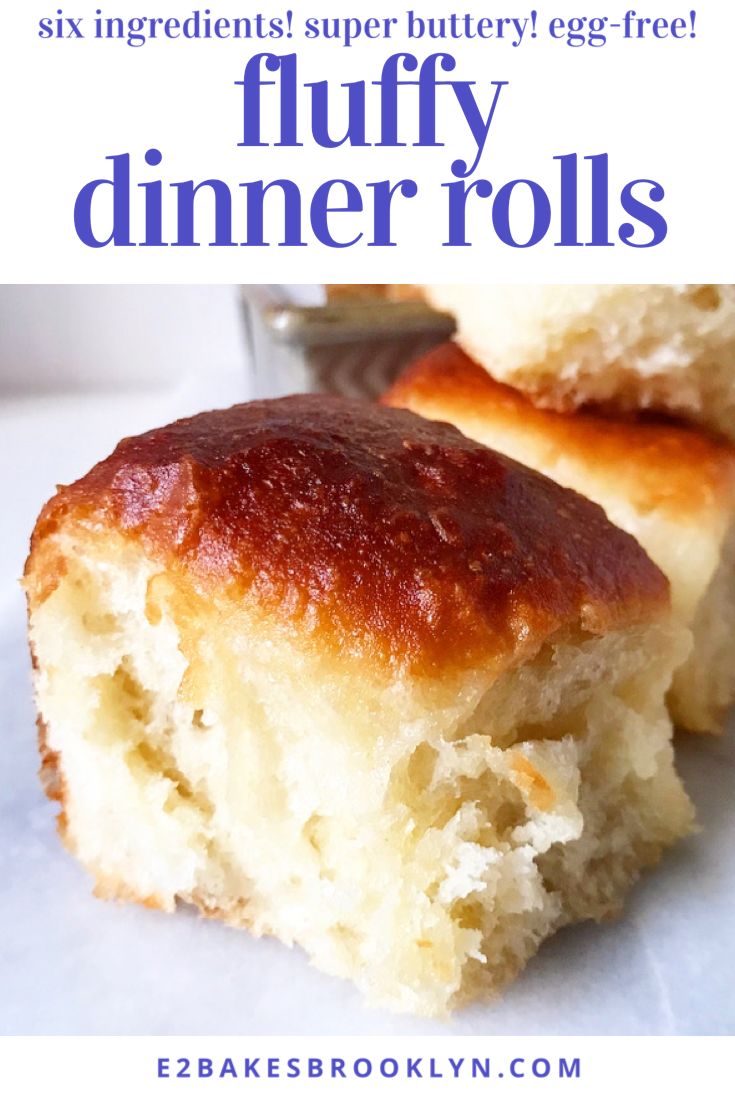
 As I said, these beautiful dinner rolls require just six ingredients: flour, yeast, sugar, salt, butter and buttermilk. These rolls are egg-free, but lack nothing in the flavor or texture departments.
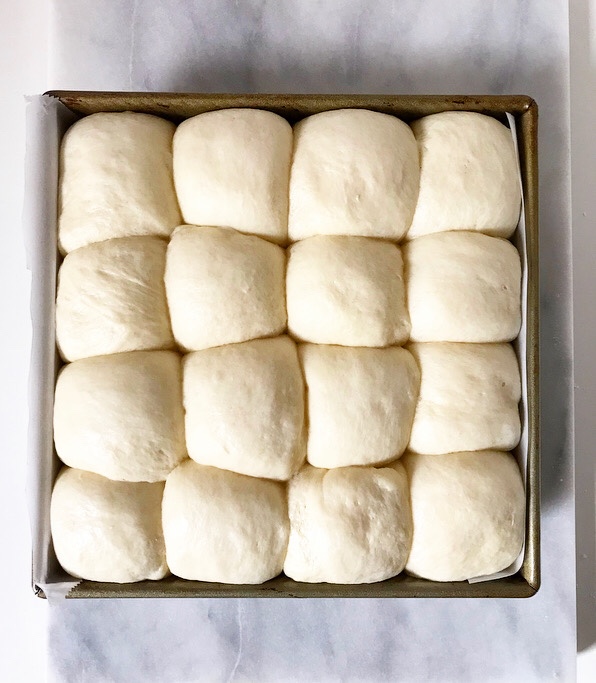
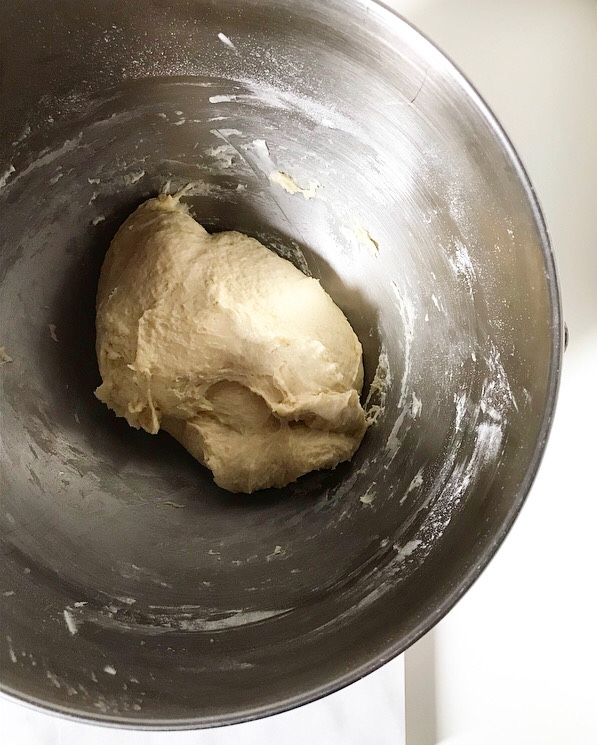
 They are super simple to make, too. Don’t let the length of the recipe fool you—I just wanted to ensure that you have all the information you need for Fluffy Dinner Roll success. I’ve included instructions for a stand mixer and mixing by hand, and for using both active dry and instant yeasts. I tried my best to describe how to shape them, but it’s surprisingly difficult to explain with words alone, so here are some pictures of what I did:
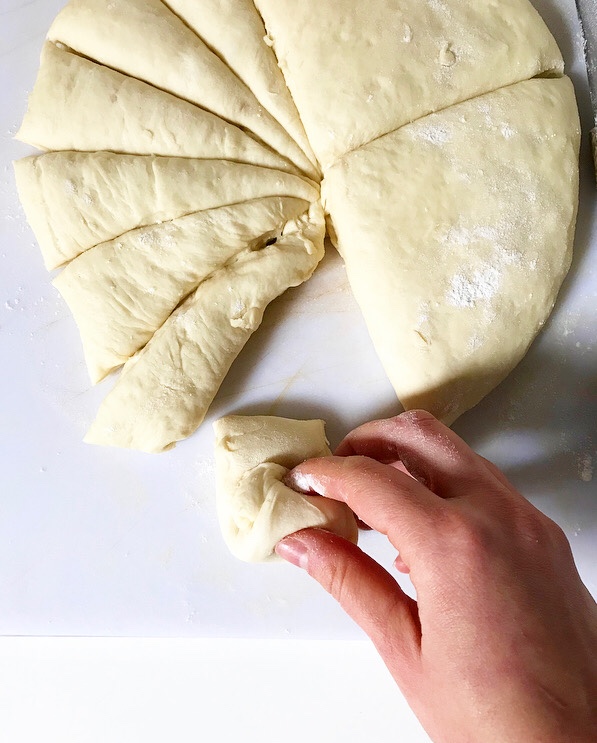
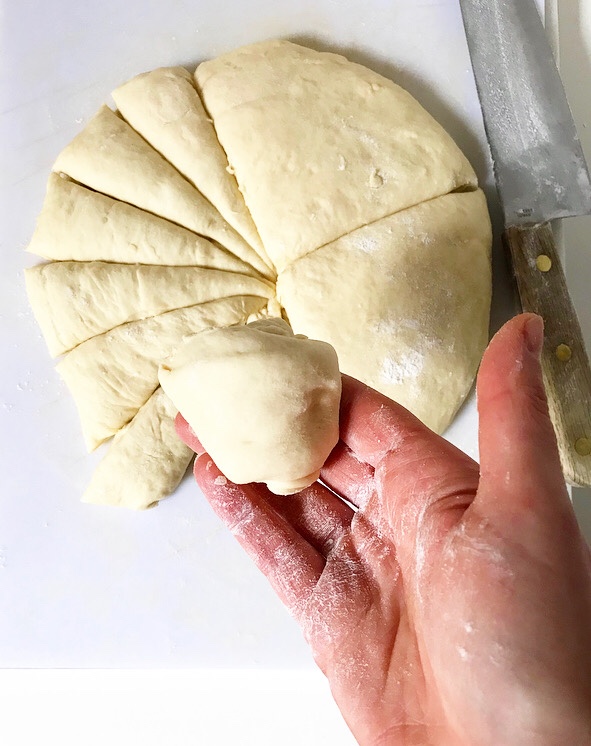

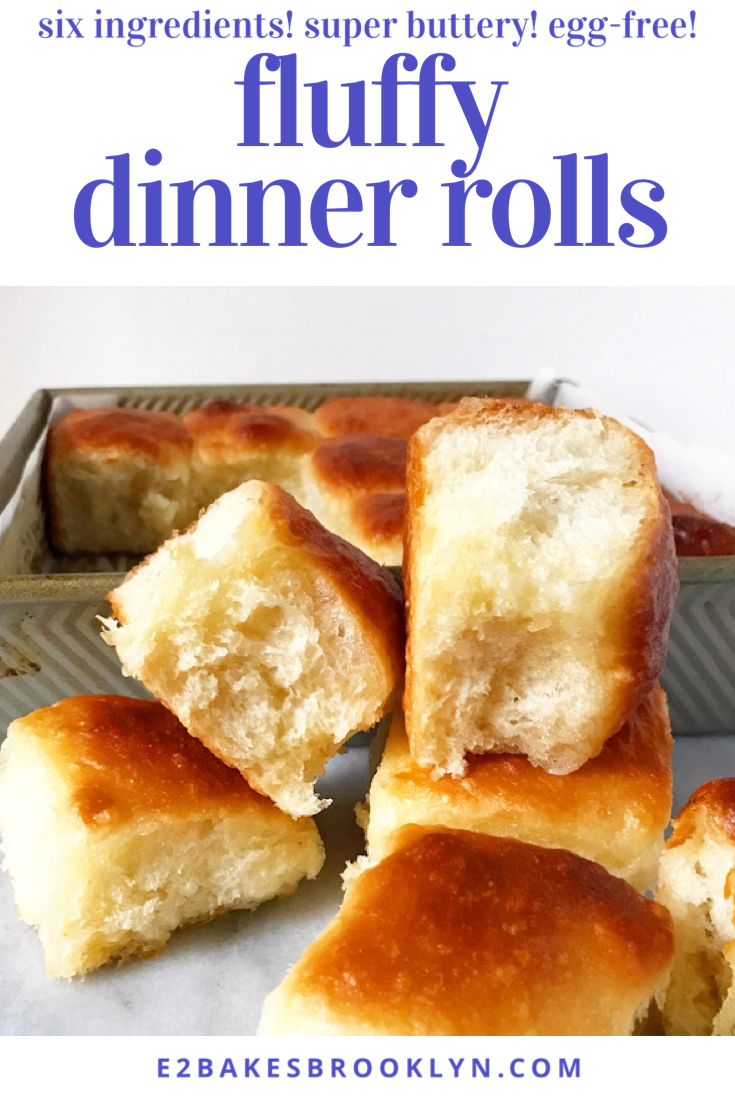
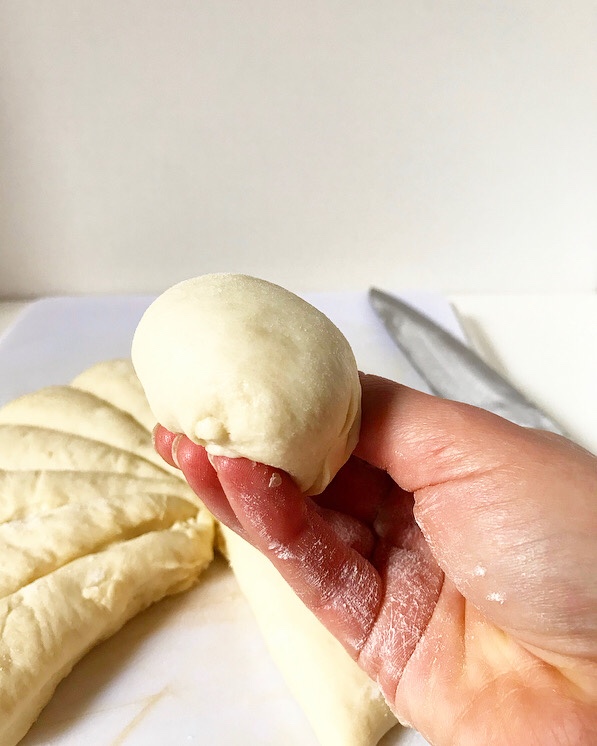 Don’t worry, they don’t have to be shaped perfectly to be delicious. It took me three batches to get a consistent shaping method. Those other four batches? They were for quality control. Or maybe just making up for lost time.