When I think about my favorite recipes on this site, Overnight Yeast-Raised Doughnuts are pretty high on the list. Top five, for sure—probably top three. They are the absolute best doughnuts I have ever had in my life. Ever. EVER.
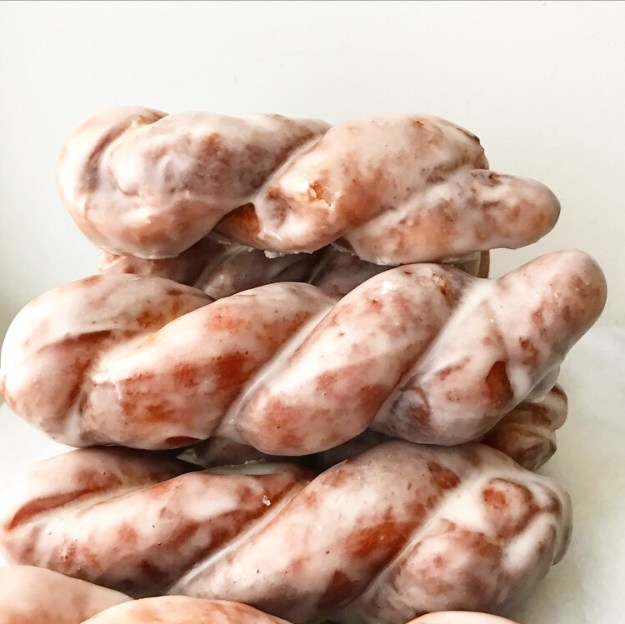 I’ve posted a couple more doughnuts since then (French Crullers and vegan Churros!). They’re all great, but I love the soft, fluffy slight-chewiness of a yeast-raised doughnut the most. What can I say? I love a classic.
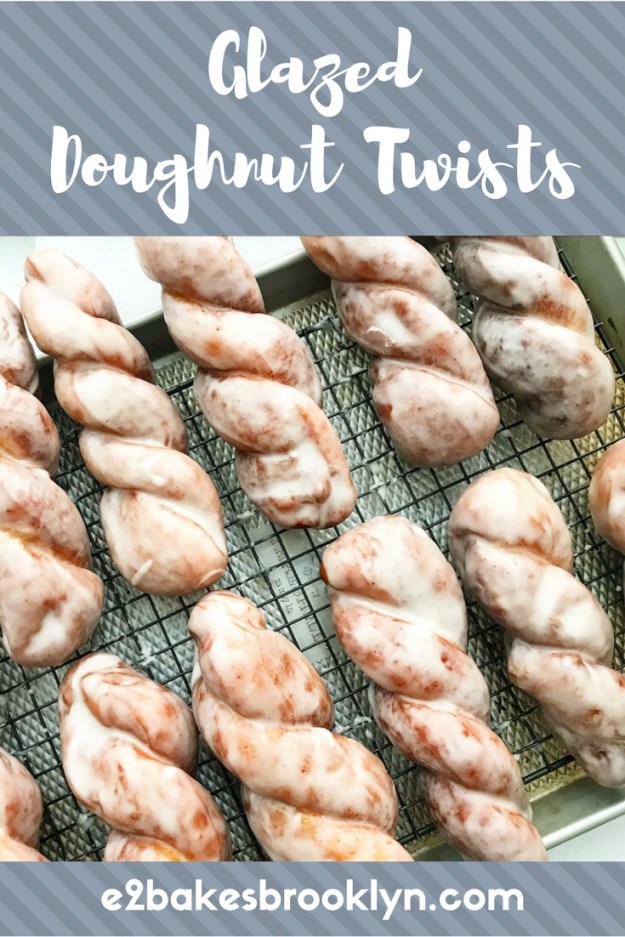
 In fact, the only thing I love more than a classic is a classic with a twist. Most of the time that means an unusual flavor or method, but today it’s completely literal—Glazed Doughnut Twists, y’all! These double-size, yeasted, coiled beauties were one of my favorites to get at my childhood doughnut shop, and I am so happy that I can make them at home now 🙂
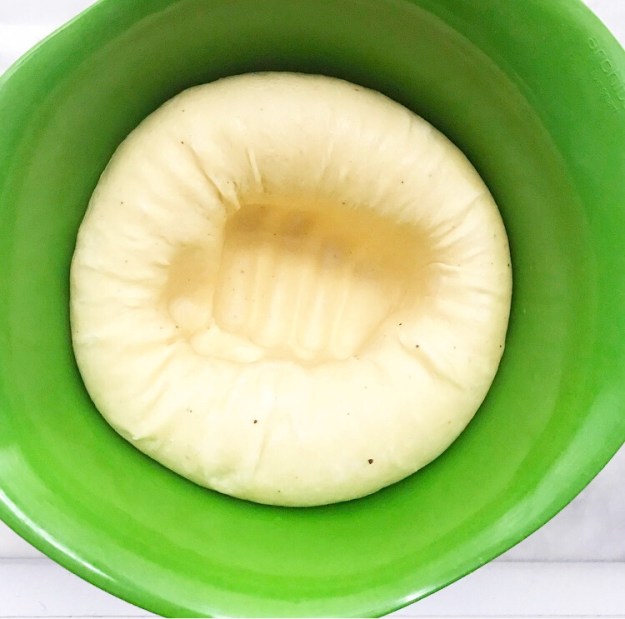
  This recipe starts out just like my original yeast-raised doughnuts. The dough is identical and the method is the same all the way up through the overnight proof in the refrigerator and the punch-down in the morning.
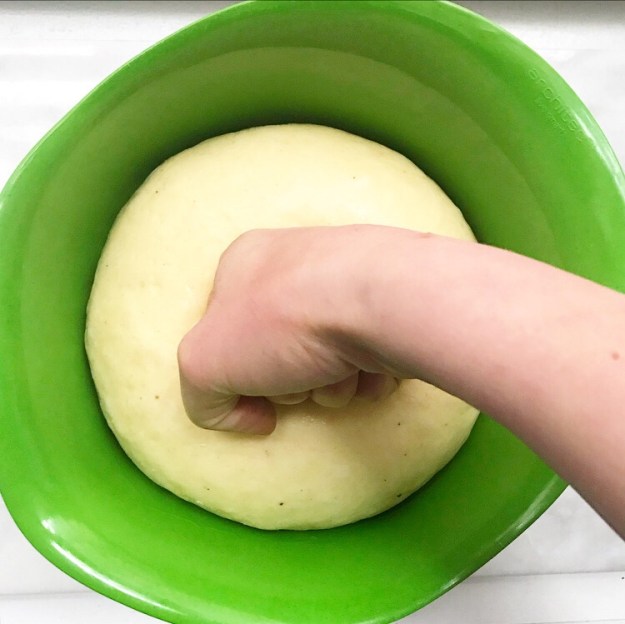
 After that, things change a little. Roll the dough into a 1/2-inch thick rectangle and slice it into twelve strips.
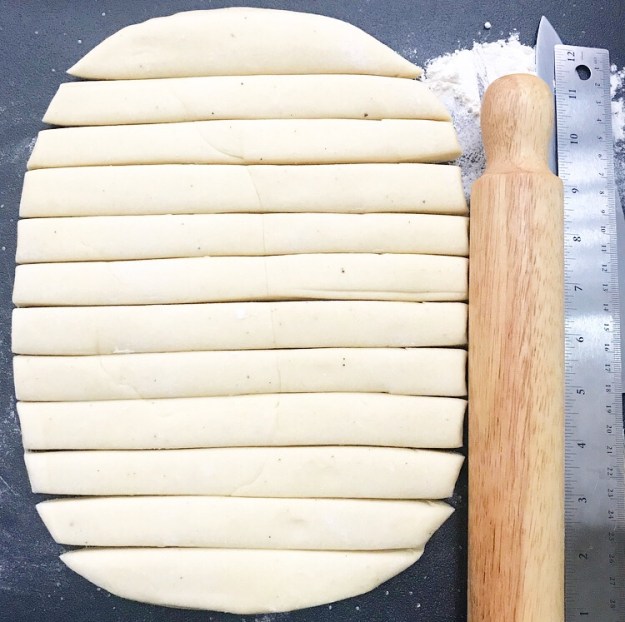
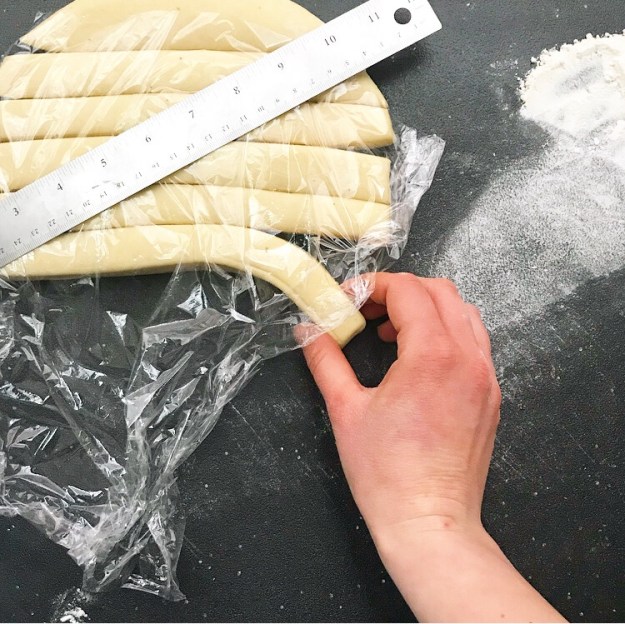
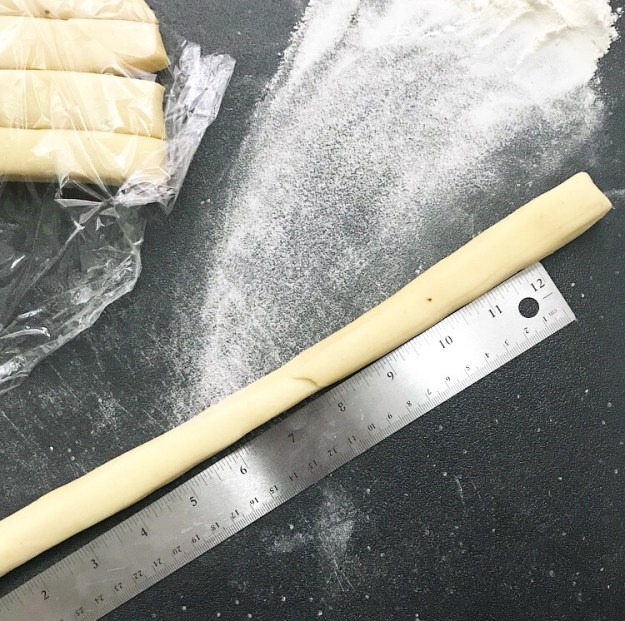
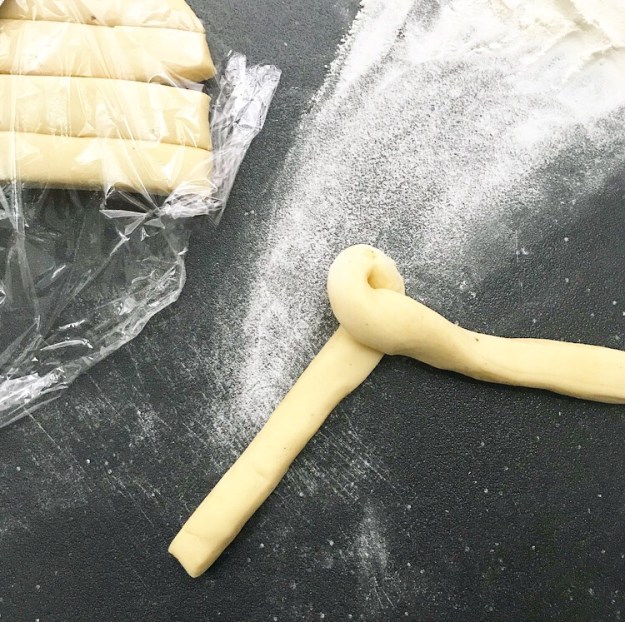
 Working with one strip of dough at a time, roll it into a rope, bend it in half, and give it a few twists. I recommend giving it an extra twist or two—the doughnuts will uncoil slightly between now and when they are done.
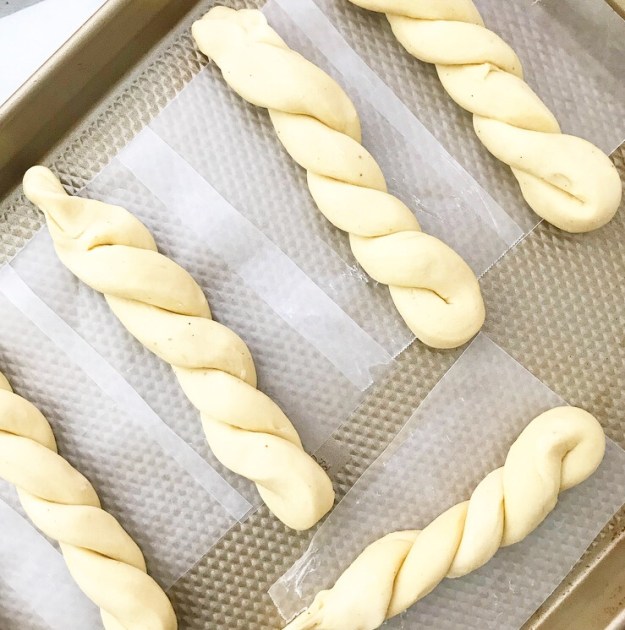 Place the twisted doughnuts on pieces of wax paper before putting them on a baking sheet. Let them rise for 30 minutes in a warm, draft-free place.
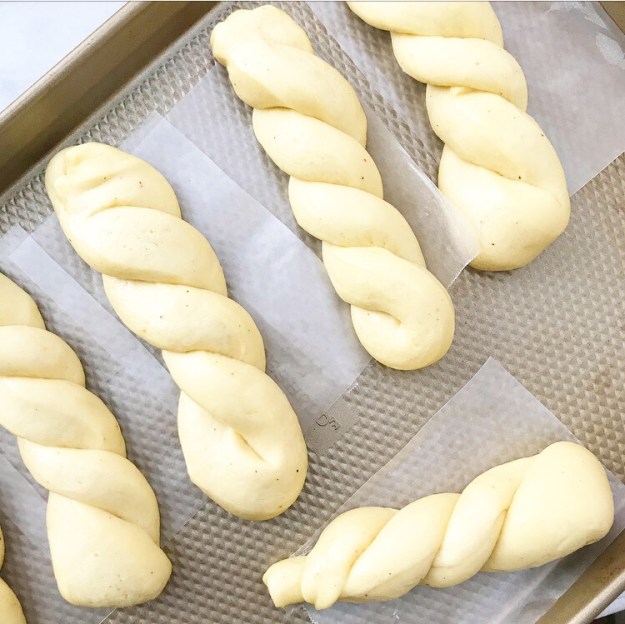 Next up, fry the doughnuts in 360F oil until they’re deep golden…
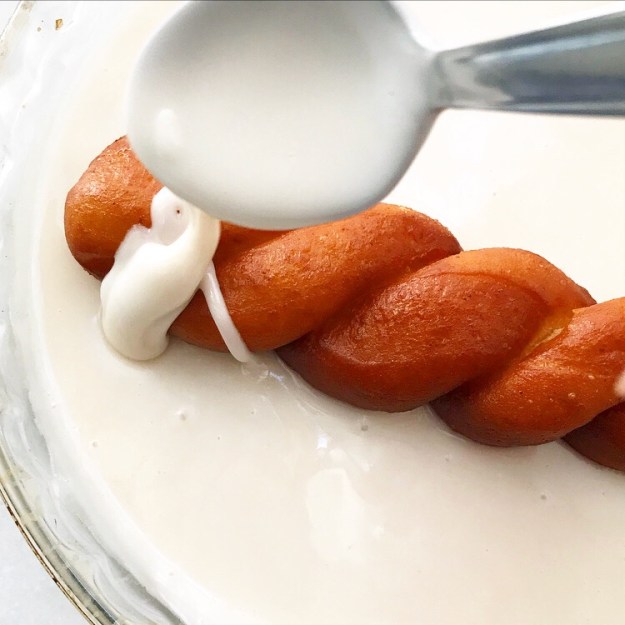
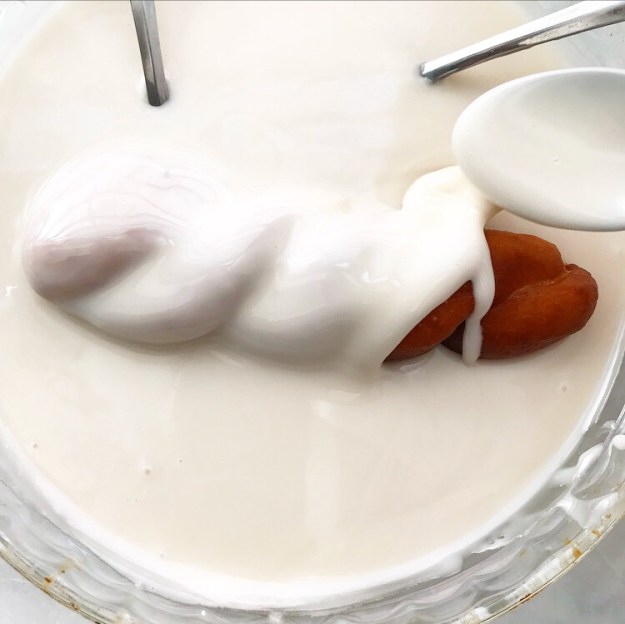
 …and then give them a dip in a classic doughnut glaze. The glaze recipe makes more than you’ll need to glaze a dozen doughnuts, but I find it’s always best to have extra when you’re dipping something. It takes the stress out of the whole process.
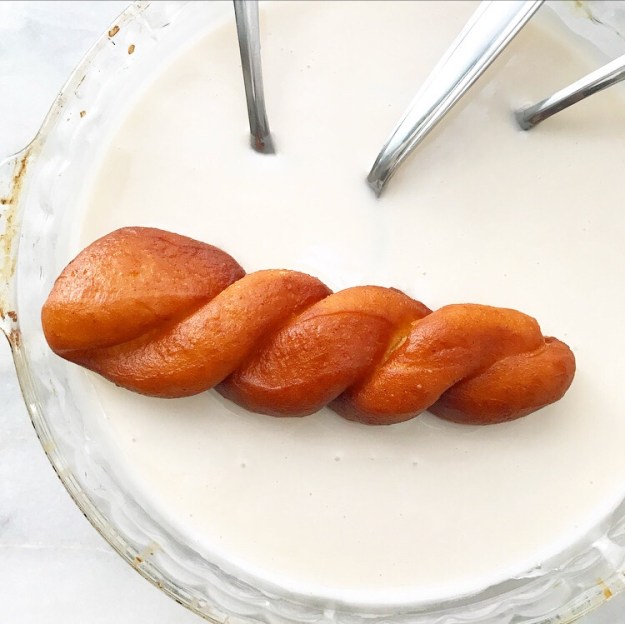
 I mean, doughnuts aren’t supposed to be stressful. They’re supposed to be delicious.
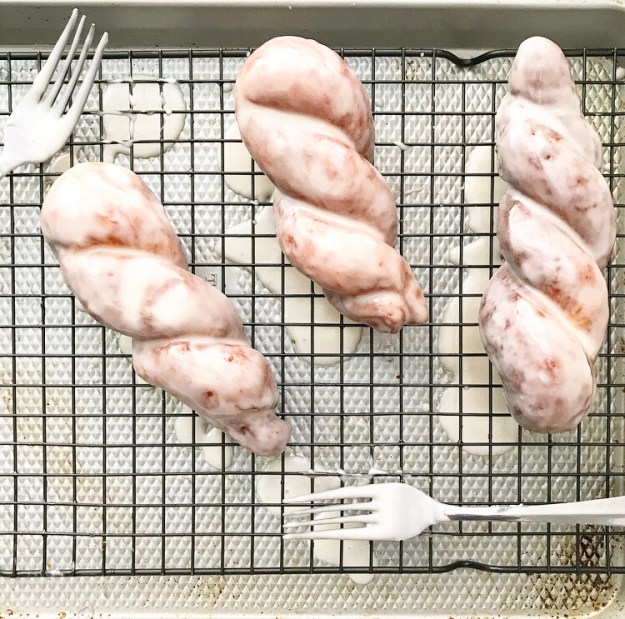
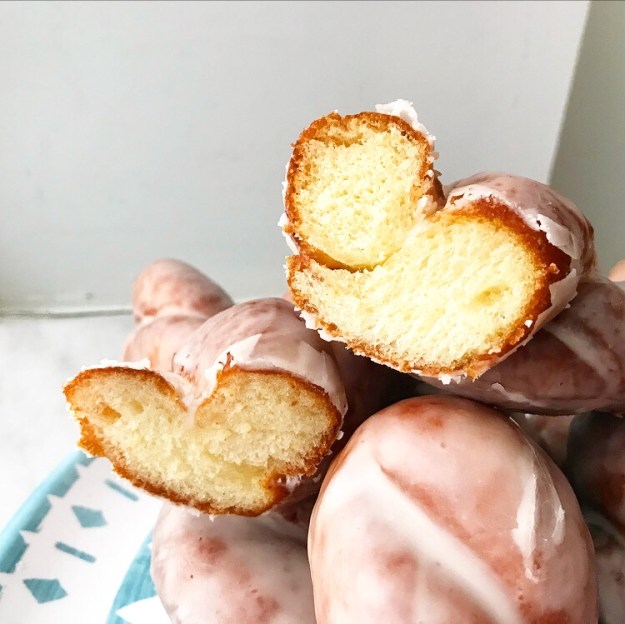 Y’all, these Glazed Doughnut Twists are beyond fantastic! They’re soft and puffy and flavorful, and the glaze…well, it sort of shatters and melts at the same time. It sounds odd when it’s characterized that way, but it’s divine. These doughnuts are the best of all fried pastry worlds, twisted into one simple, sweet treat.
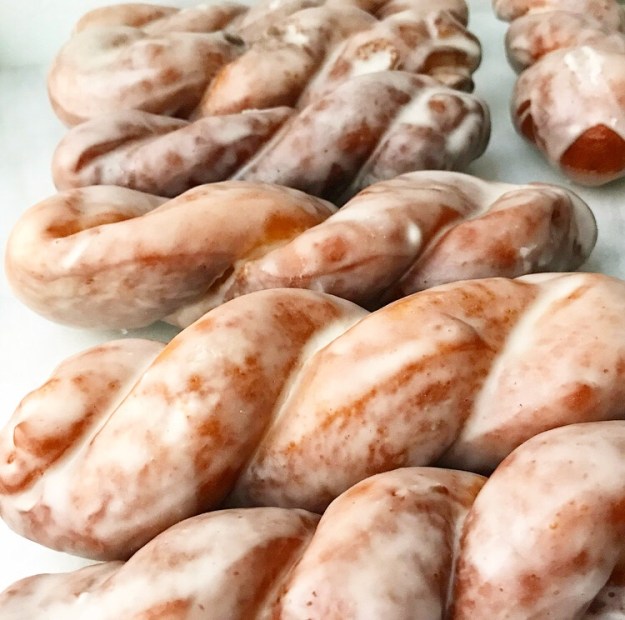 One last thing before I get to the recipe. I know making fried doughnuts at home seems too difficult or like it may be too much work, but you are absolutely capable of making these and they are worth every ounce of the (surprisingly minimal) energy they require. I believe in you! Now, go make the best doughnuts of your life!
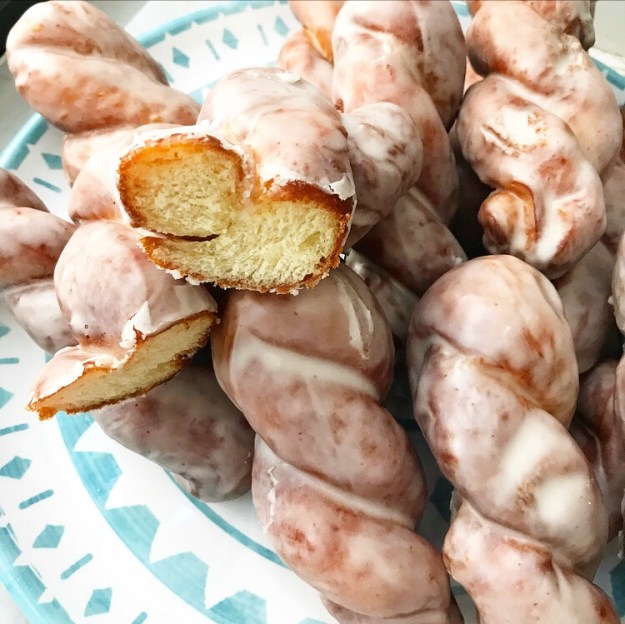
Glazed Doughnut Twists
makes 1 dozen doughnut twists
2 cups bread flour*
2 cups all-purpose flour
1/3 cup granulated sugar
1/4 teaspoon ground nutmeg
1 teaspoon Kosher or sea salt
1 packet (2 1/4 teaspoons) instant yeast (I use Fleischmann’s Rapid Rise)
1 cup buttermilk,* room temperature
3/4 cup (1 1/2 sticks) unsalted butter
2 large eggs, beaten, room temperature
2 quarts shortening or frying oil (like peanut, safflower, or canola), for frying
Classic Doughnut Glaze:
2 pounds confectioners sugar
1 teaspoon Kosher or sea salt
1 tablespoon pure vanilla extract
1 tablespoon light corn syrup
3/4 cup hot tap water
The night before:
In a large mixing bowl, whisk together bread flour, all-purpose flour, sugar, nutmeg, salt, and instant yeast. Set aside.
Combine buttermilk and butter in a small saucepan over medium heat. Warm until hot to the touch, about 115F. Use a silicone spatula to fold liquid into dry ingredients. Fold in eggs until a sticky, shaggy dough forms. Turn dough onto a floured surface and knead for 6-8 minutes, until dough is smooth. Shape dough into a ball and place in an oiled bowl. Cover with plastic wrap and refrigerate overnight (8-12 hours).
The day of:
Cut a large sheet of wax paper into 12 8×3-inch rectangles. Place squares on two rimmed baking sheets.
Remove cold dough from the fridge and turn onto a floured surface. Roll into an 9×12-inch rectangle that is about 1/2-inch thick. Use a large, sharp chef’s knife to slice dough horizontally into 12 even strips.
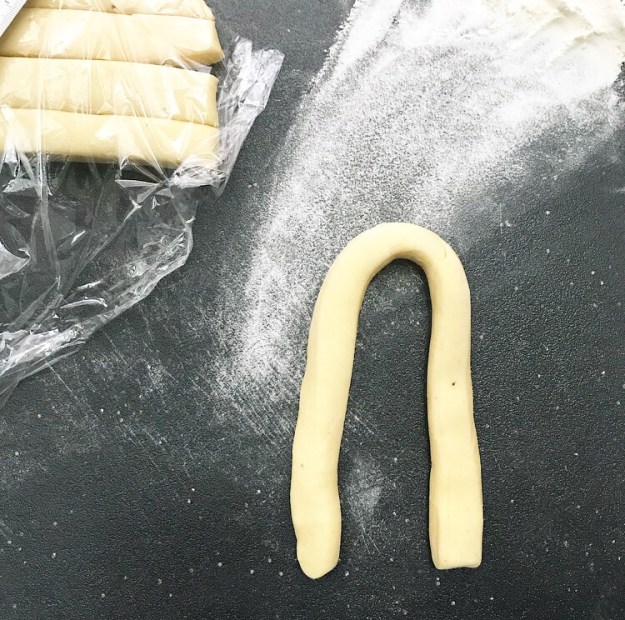
Twist the dough. Working with one strip at a time (and loosely covering the remaining dough), roll the strip into a 13-inch rope. Bend it so that it’s a narrow arch, and then twist together, pinching together loose ends. Place on a rectangle of wax paper and then on the prepared pans. Repeat with remaining dough strips.
Gently lay plastic wrap or a sheet of wax paper over the tops of the pans and allow doughnuts to rise in a warm, draft-free environment* for 30 minutes. Once puffy, remove doughnuts from oven.
Place a cooling rack over a rimmed baking sheet, and set in close proximity to the stove. Also place tongs and a frying spider (if using) near the stove.
Heat shortening or oil to 360F. Add a couple of doughnuts (still on their the wax paper) to the hot oil. Almost immediately, use tongs to lift wax paper out of the oil. Discard. Fry doughnuts for 1-2 minutes per side, until golden and cooked through. Remove to rack. Let oil warm back up between batches. Continue with remaining doughnuts.
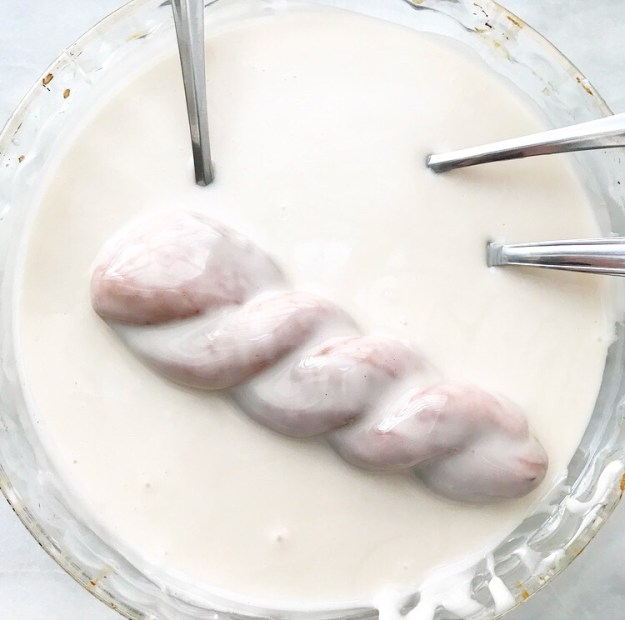
Make classic doughnut glaze. In a large mixing bowl, whisk all ingredients together until smooth. Pour glaze into a shallow dish. Dip one doughnut at a time, spooning more glaze over the top as you go. Transfer back to rack. Repeat with all remaining doughnuts. Glaze will set after 15-20 minutes.
Doughnuts are best the day they are made. Leftovers will keep in an airtight container at room temperature for about a day.
Notes:
1. If you do not have bread flour, you may substitute an equal volume of all-purpose flour. Your doughnuts will not have as much chew as those made with bread flour, but they will still be delicious.
2. If you do not have buttermilk, you may make a substitute with lemon juice (or vinegar) and milk. Pour 1 tablespoon of vinegar into a liquid measuring cup. Pour in milk until the liquid reaches the 1 cup mark. Let sit for five minutes before proceeding with the recipe as written. Whole and low-fat milks are fine, but I do not recommend skim or nonfat.
3. I preheat my oven to 200F, turn it off, and slide the doughnuts inside. After 30 minutes, they are puffy and ready to fry. Works every time.