 When I was allowed to take the reins on planning Christmas dinner last month, I knew immediately what I wanted to make: Porchetta. For those of you who have no idea what I’m talking about, Porchetta is a slow-roasted Italian herbed pork dish that is traditionally made with whole pigs, but most home cooks use a center-cut pork loin wrapped in a sheet of pork belly.
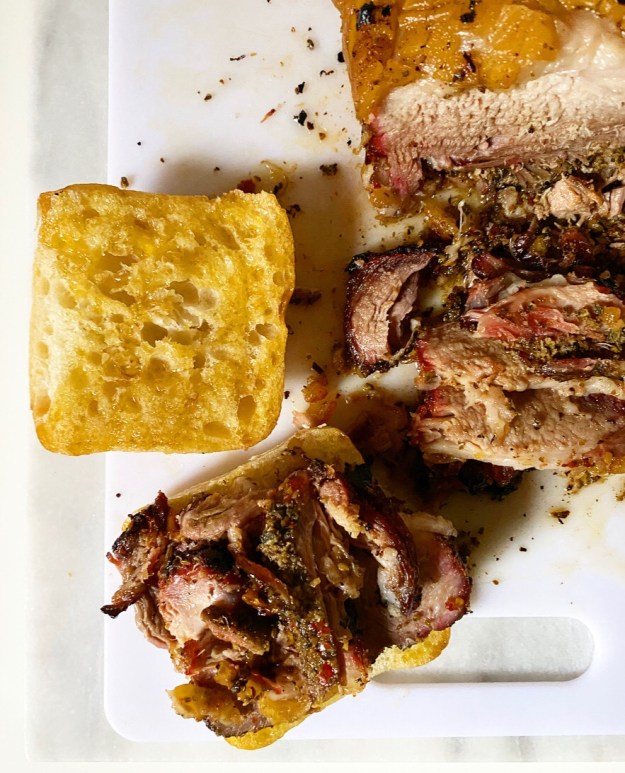
 I spent weeks planning this meal, going so far as to make a 1/4-sized tester in the days before Christmas. After that, I called Central Market (think Texas-specific Whole Foods…but way better than Whole Foods) and ordered all the meat. I packed my favorite knife, a sharpener, my largest meat cutting board, trussing string and an apron in my checked luggage and hightailed it to Fort Worth.
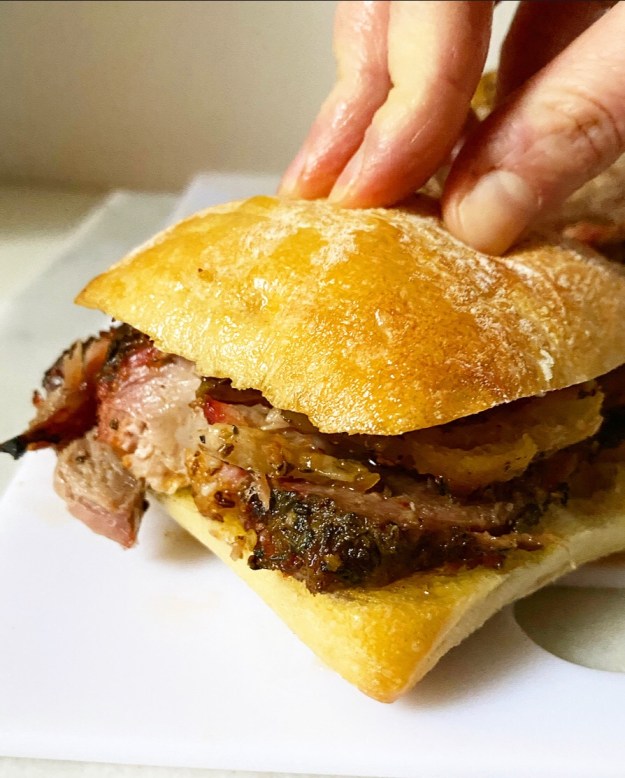 Over the next several days, my mom, sister and I obtained the special-ordered pork and made a great fuss over preparing it…except that it wasn’t actually that much fuss. Once the herb mix was prepared, I butterflied the center-cut pork loin and scattered it over the top. Then I rolled it up jelly-roll-style, rolled that in the sheet of pork belly and tied it all up with trussing string. Afterward, I let it sit uncovered in the refrigerator (“dry brining”) until Christmas Day, on which it was brought to room temperature and then roasted until golden and crisp and pretty irresistible.
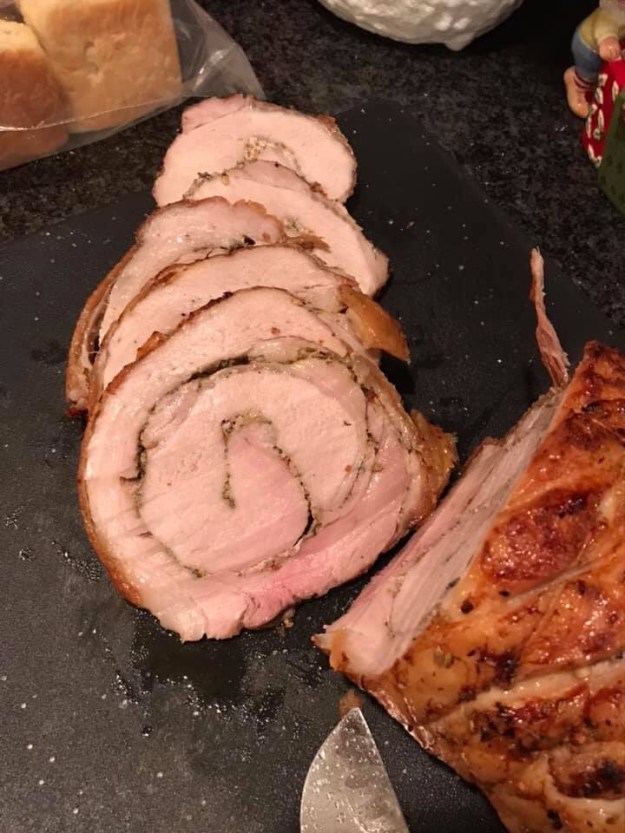
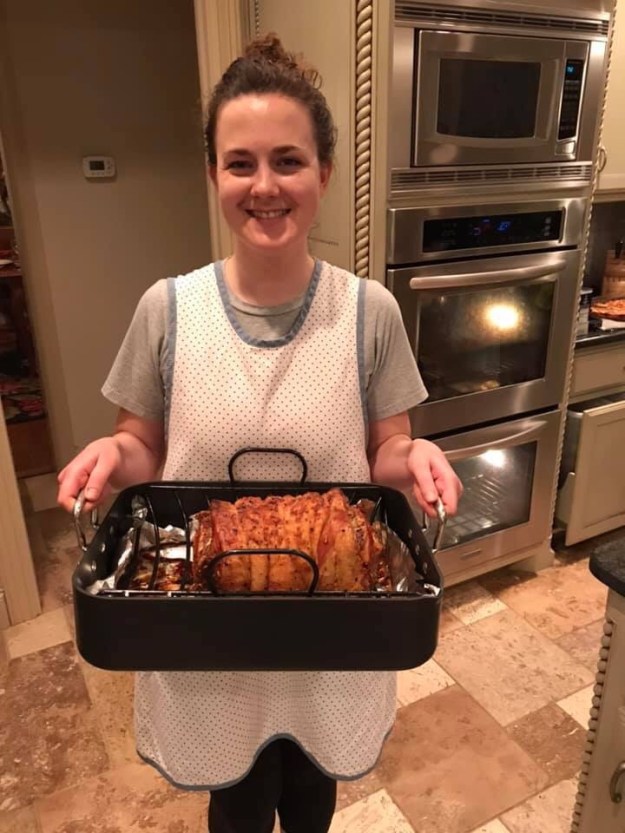
 I was (am) very proud of myself and posted it to all my social media outlets, where I was promptly asked when I’d be posting a recipe. This was something I hadn’t even considered because while the Porchetta I made for Christmas is not particularly difficult to put together, but it *is* pricey.
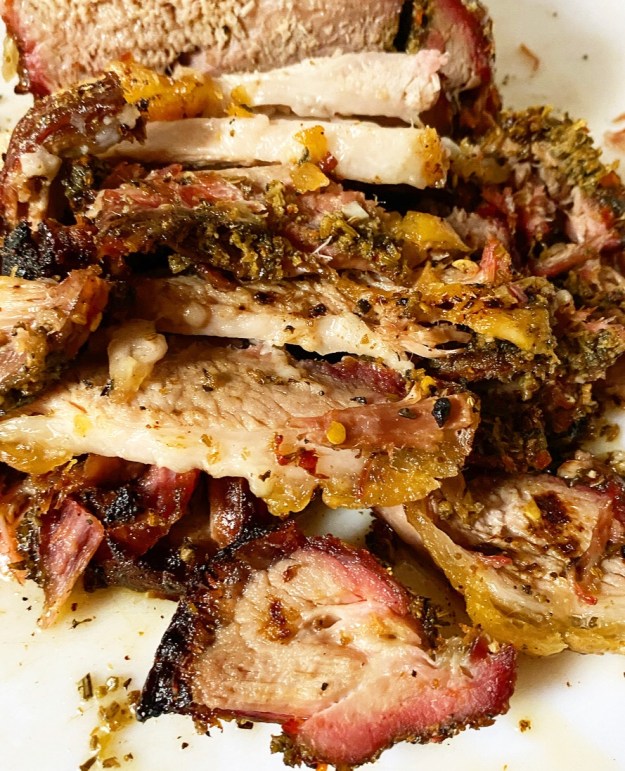 The meat had to be special-ordered for quantity and quality—a 5 pound sheet of skin-on pork belly is not an easy find—and came out to about $60. That’s $60 in Texas, so I’d guess it’s more like $80-$100 in New York, and that’s before the herbs. I love y’all, but not quite enough to spend hundreds testing one lone recipe.
 But. But! I had it in my head that I could give my beloved Slow-Roasted Pulled Pork recipe the Porchetta treatment, and Porchetta Queen Sara Jenkins (formerly of the Lower East Side, now of Maine) agrees. And so, with those recipes and the herb mixture I used at Christmas as guides, I set to work making this: the Pared-Down Porchetta. It’s got all the fatty, herby, meaty, crispy magic you love in traditional Porchetta, but it’s a little rough and tumble.
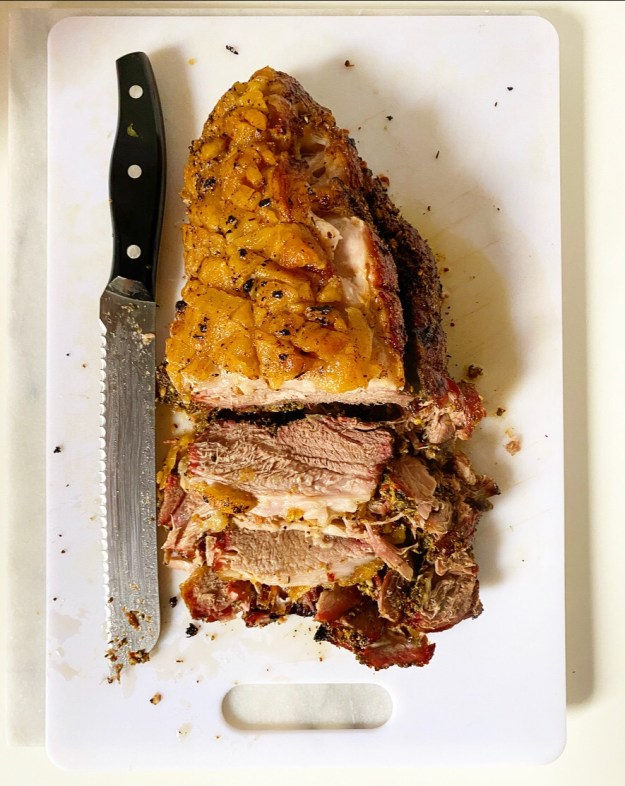 Yes, it still has to sit in your fridge for a day or two, but it is made from just one piece of meat (a boneless pork butt AKA pork shoulder), is mostly hands-off, and won’t cost you an obscene-ish amount of money.
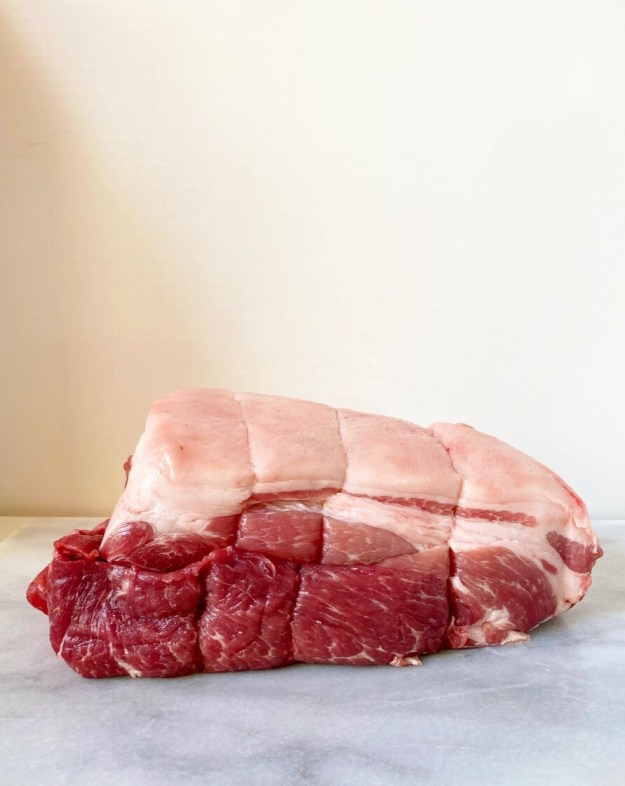
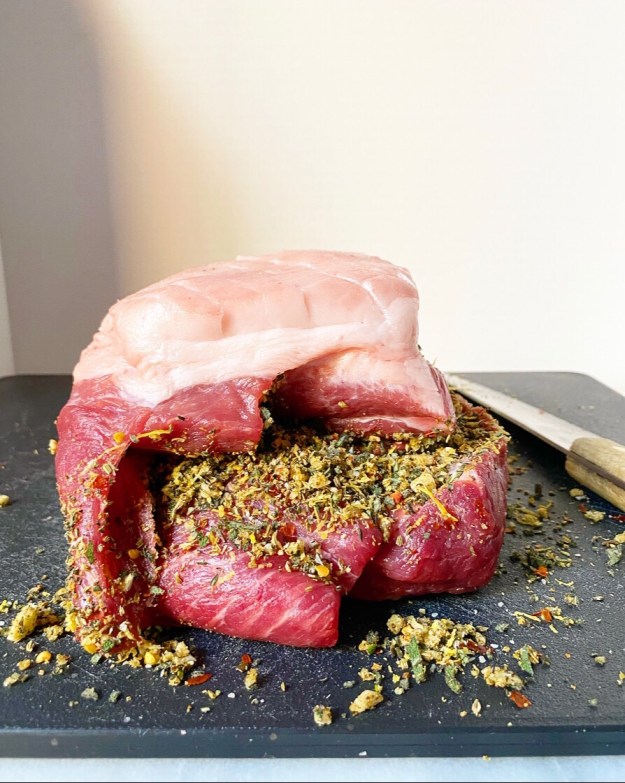
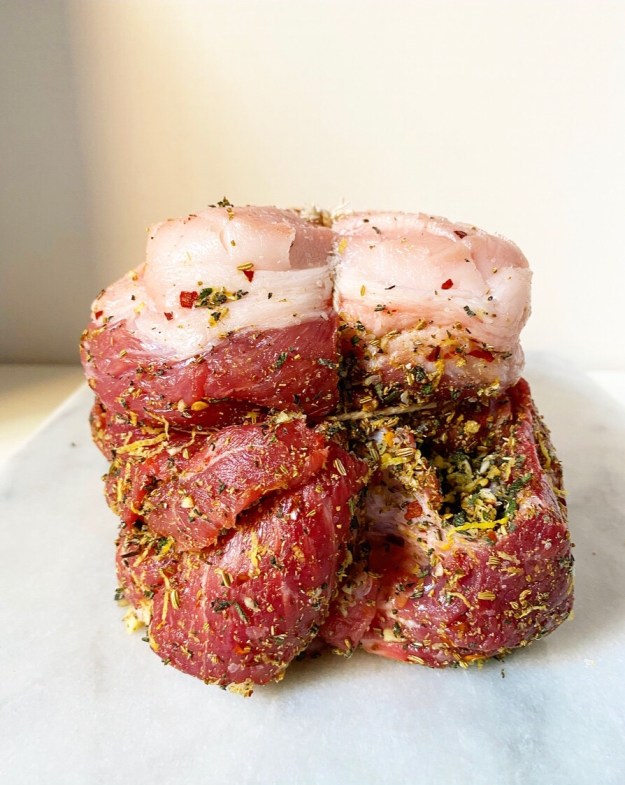
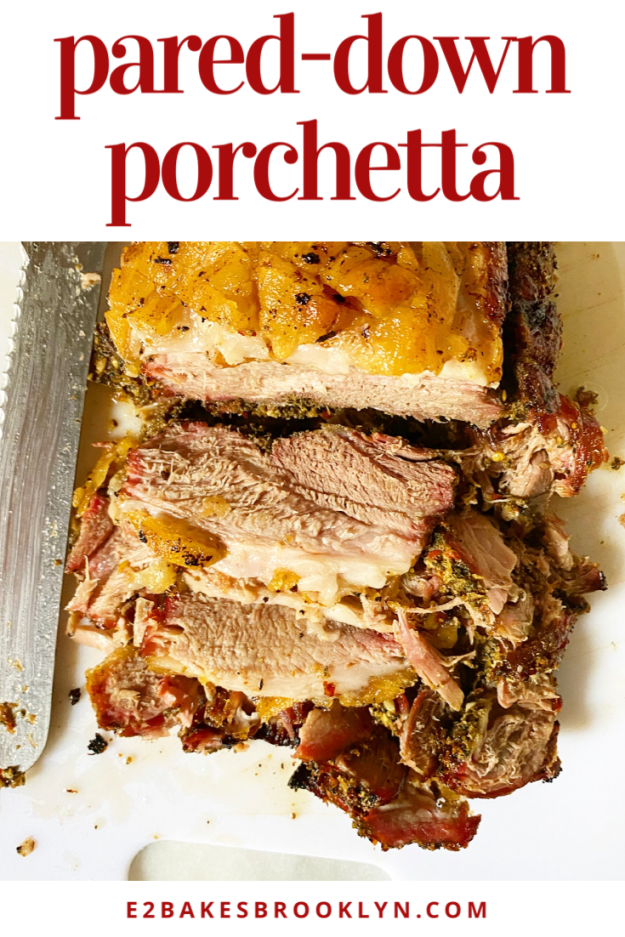
 Let’s start with the meat. This pork butt? It weighed in at 4.5 pounds and cost a cool $14–pretty reasonable compared to $60+! You’ll want it to have a layer of skin or a good, thick fat cap (pictured here) for both flavor and texture. If you can’t find a pork butt that fits either of those descriptions, you can purchase a piece of pork belly or pork skin and tie it onto the butt with trussing string. You want that fatty lid so it can keep the meat moist during roasting and then get crispy at the end. Cracklings are life, am I right?!
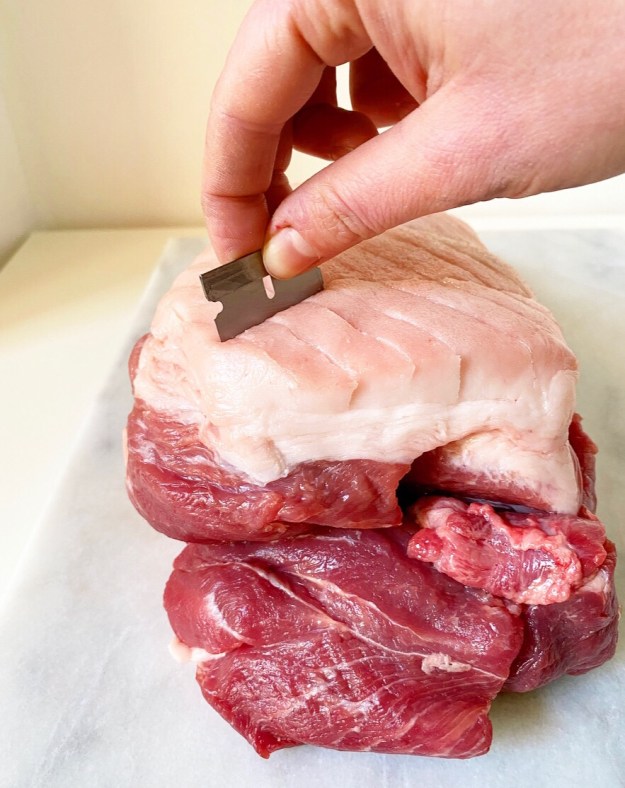
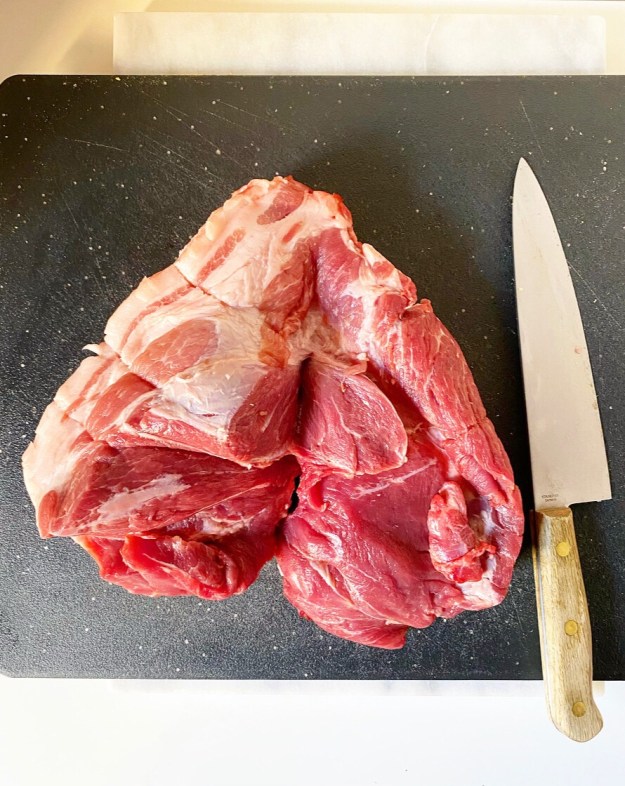 Your pork butt is unlikely to be in one seamless piece due to its heavy marbling and having had a bone cut out of it. This spot (or cavity or whatever you want to call it)? This is where the herb mixture will go. I used my knife to extend that opening down the length of the roast, while making sure to keep one edge intact.
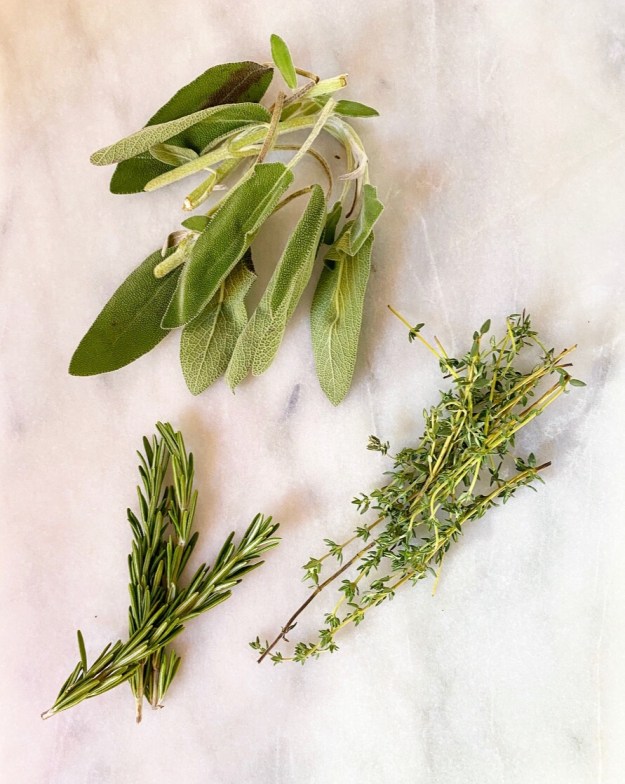
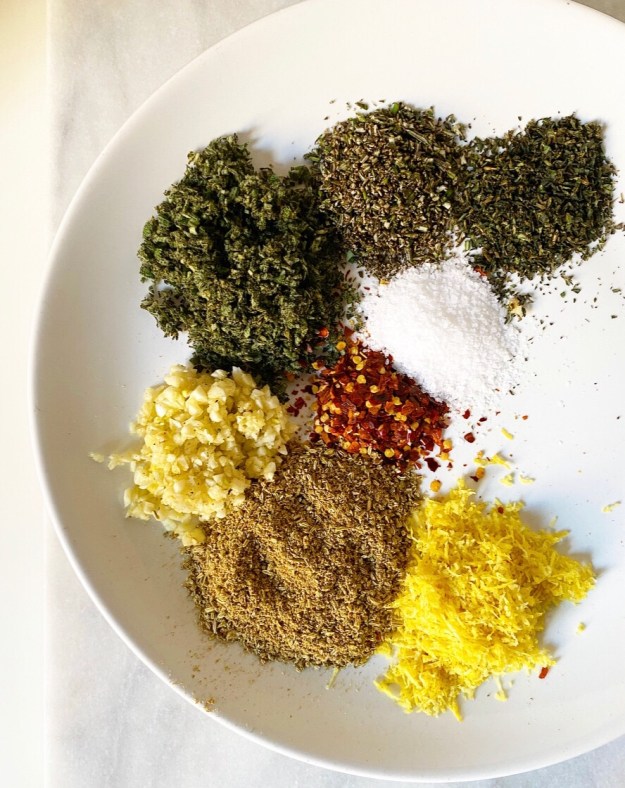
 Another thing you want? Kosher salt—about 1/2 teaspoon per pound. Don’t be tempted to skimp, or all the days of dry brining and the herbs and the money you spent will be for nothing. Salt is critical for both flavor and texture (it draws out moisture), and if used in proper amounts, will not leave your meat particularly salty, just flavorful. You’ll blitz most of it with toasted fennel seeds, sage, rosemary, thyme, garlic, lemon zest and crushed red pepper flakes to make the herb mixture. The rest will be rubbed into the crosshatched skin/fat cap.
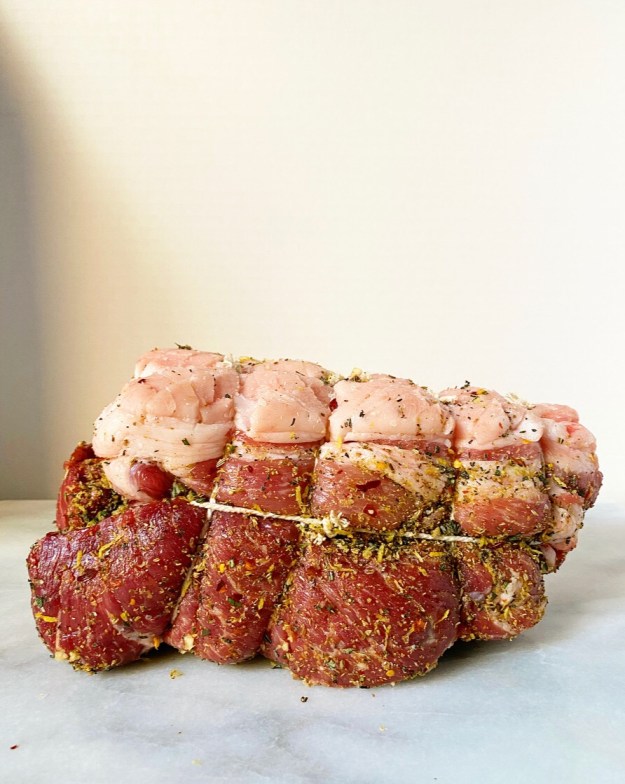
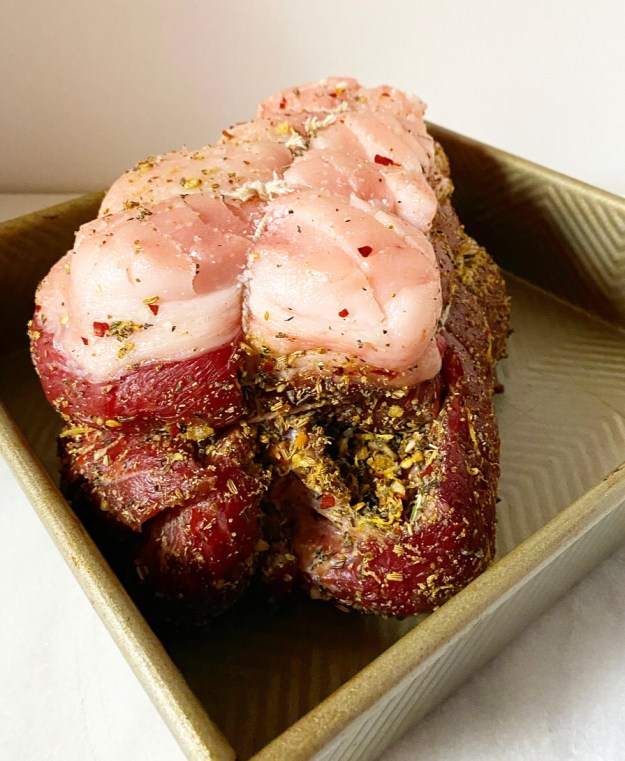 You will have to truss your pork butt, which is really no trouble. Just tie it at short intervals and then anywhere else it isn’t holding together as one cohesive unit. You want all those good herbs to stay put! Then stick the whole thing in a dish and put in the refrigerator and forget about it for 24-48 hours until it’s dry to the touch and the color has changed.
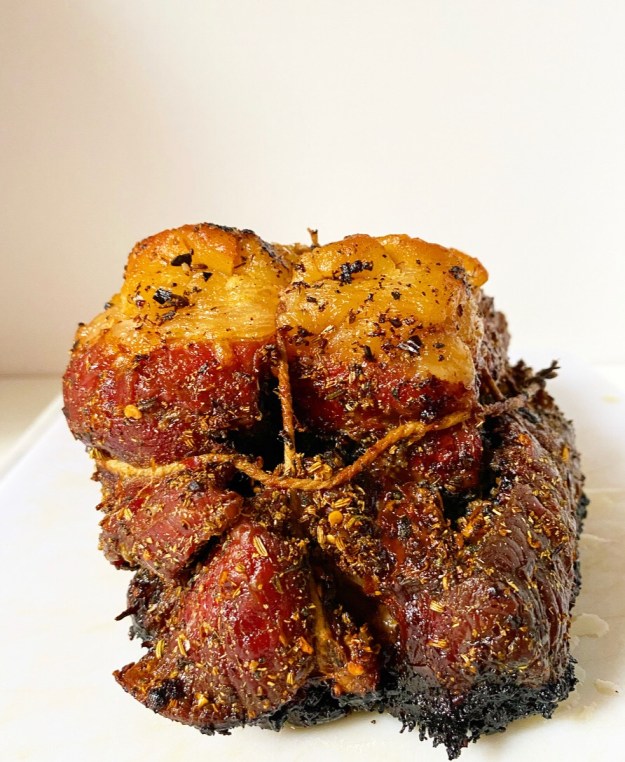
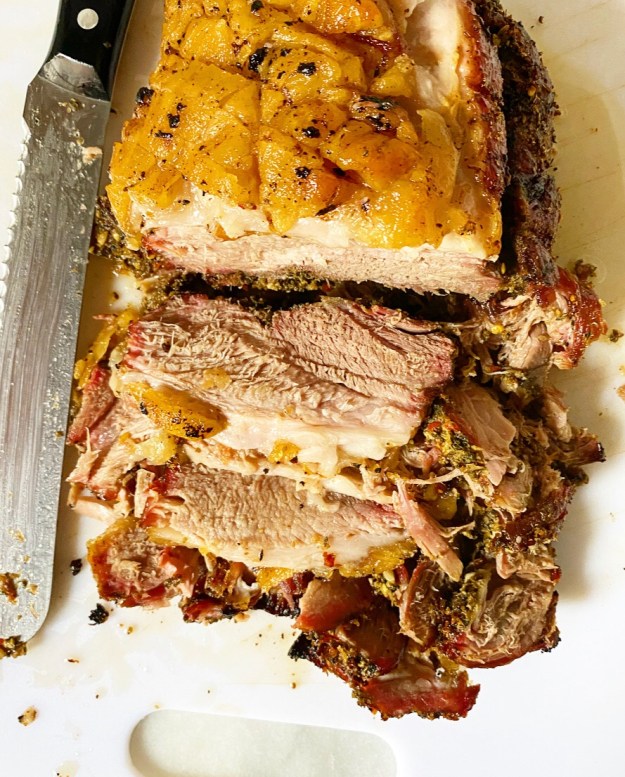
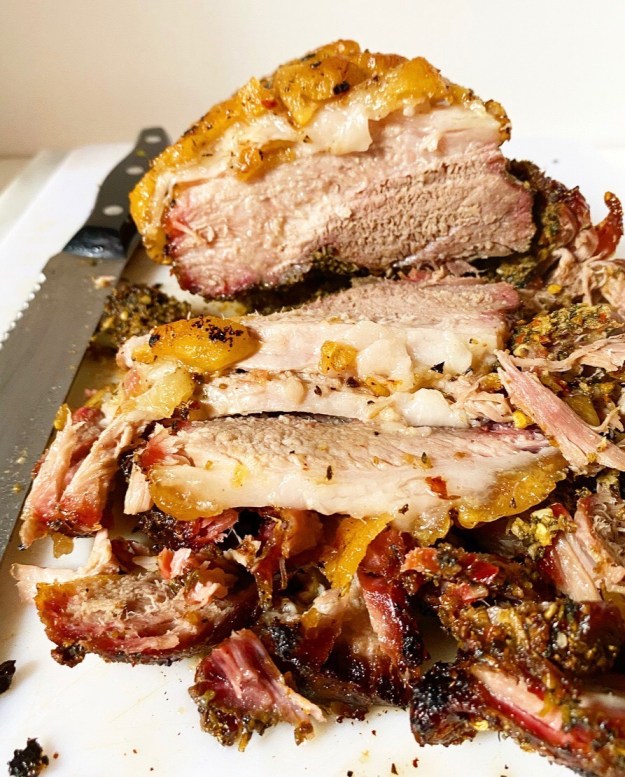
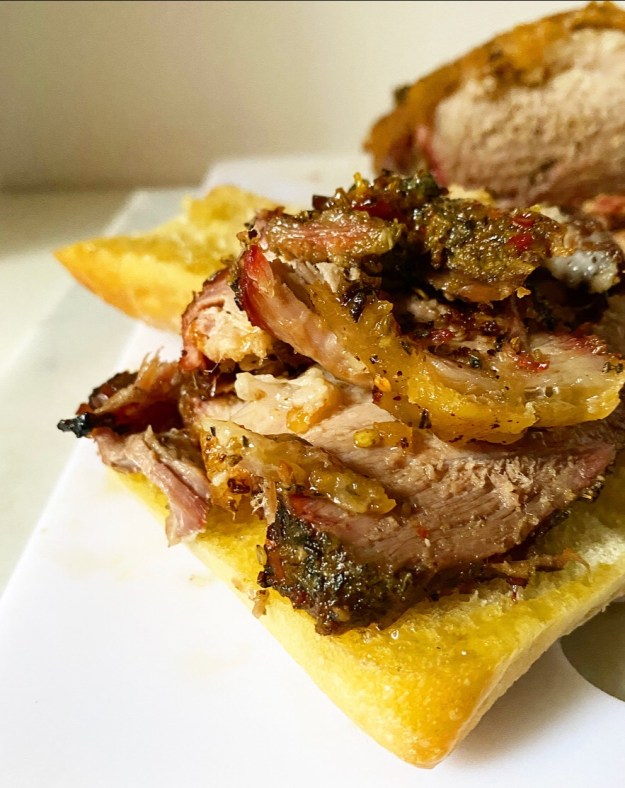
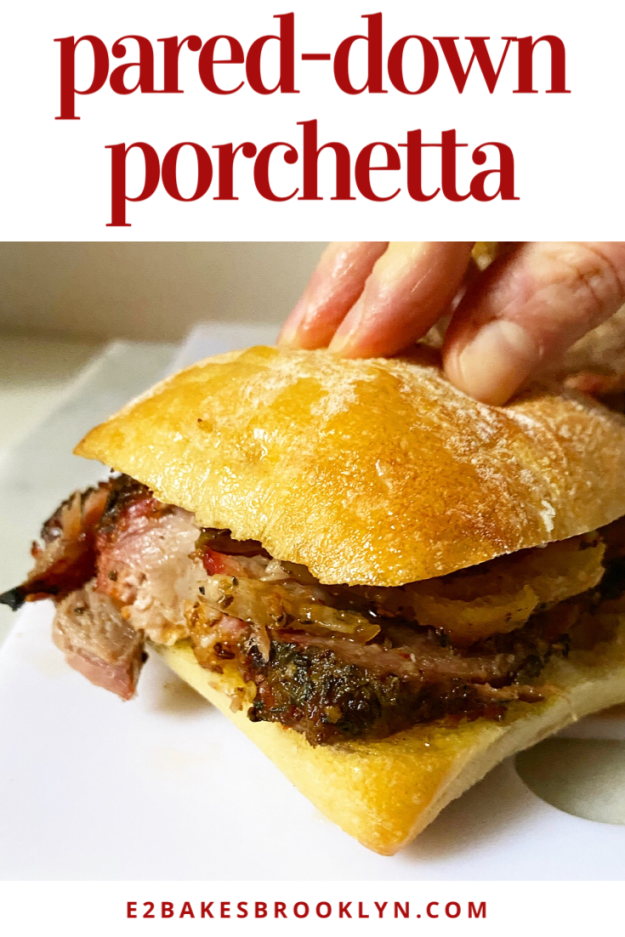
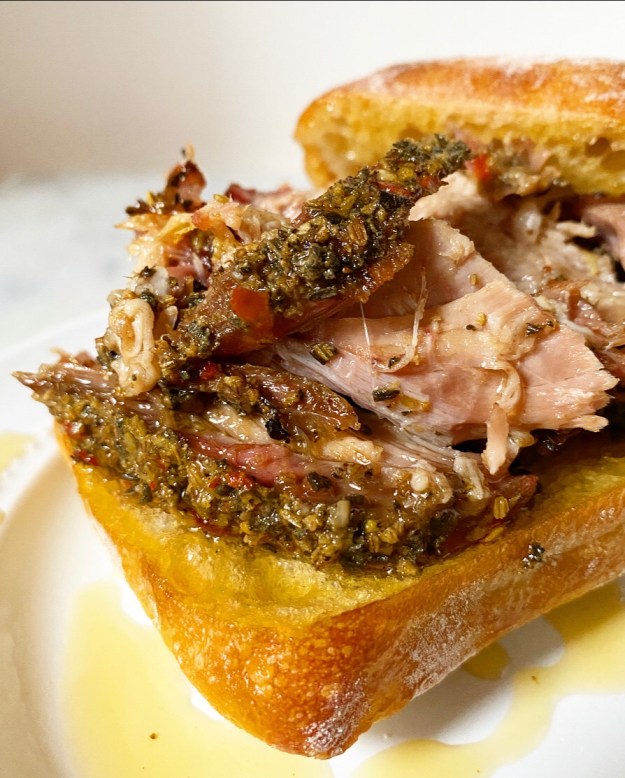 And then roast it looooow and slooooow before crisping up that fat cap, and slicing and serving it on rolls or crusty bread that you’ve given the slightest dip in the rendered fat. You can also serve it alongside garlicky greens or roasted vegetables. Really, you can’t go wrong.
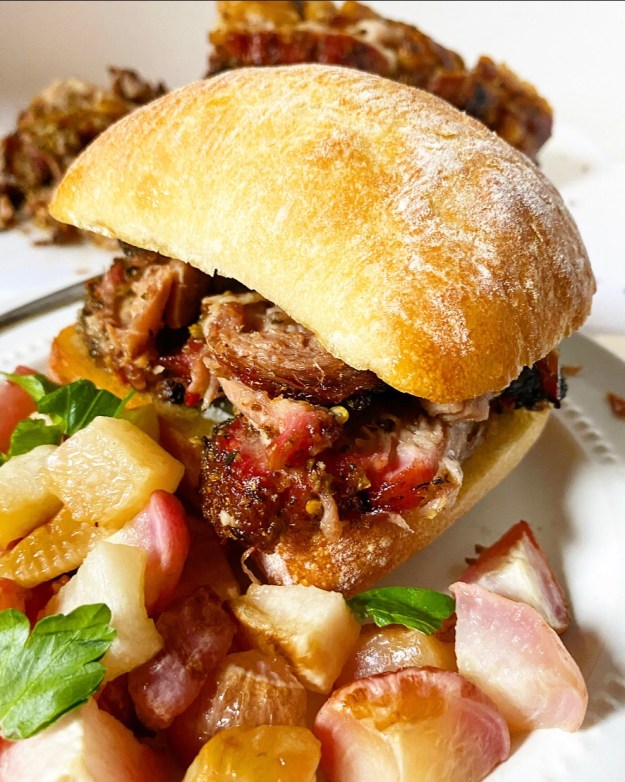 I feel like this Pared-Down Porchetta would be a wonderful main for Super Bowl Sunday, Oscar Night, Easter, or any old night. I mean, you could certainly hold onto this recipe until next Christmas, but that seems like an awfully long time from now, don’t you think?
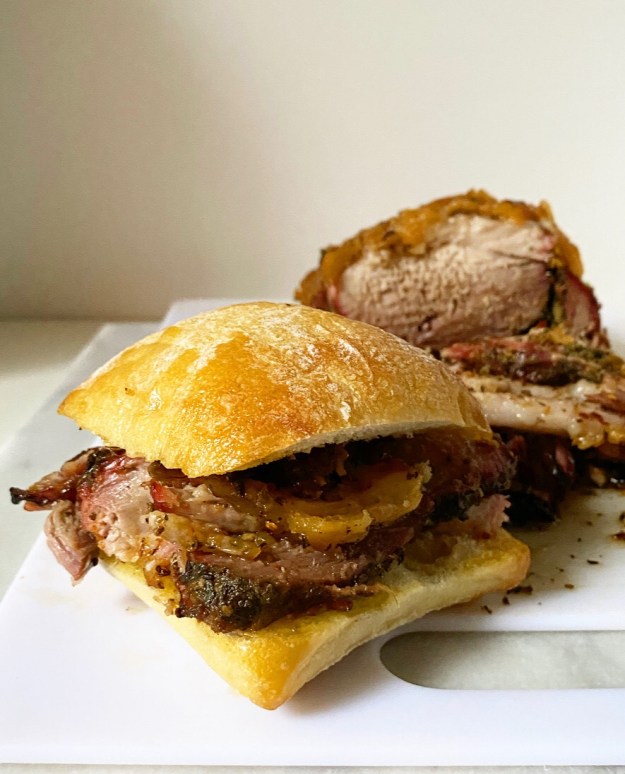
Pared-Down Porchetta
makes 8 (or so) servings
1 4-4.5 lb. boneless pork butt with skin or a thick fat cap*
3 tablespoons fennel seeds
2 tablespoons minced fresh sage
1 tablespoon minced fresh rosemary
1 tablespoon minced fresh thyme
3 cloves garlic, minced
1 tablespoon fresh lemon zest (about 1 medium-large lemon)
1-1 1/2 teaspoons crushed red pepper flakes
2-2 1/2 teaspoons Kosher salt, divided
Special Equipment:
trussing string
a dutch oven or roasting dish
For serving:
rolls (I used Trader Joe’s Ciabatta Rolls)
crusty bread
Read this recipe carefully before proceeding. While the majority of it is hands-off, it will take a minimum of two days to prepare.
If your pork butt was trussed when you purchased it, cut off the trussing string and discard. Blot pork butt to remove excess moisture. Use a large, sharp chef’s knife (or razor blade) to crosshatch the skin.
Toast fennel seeds in a dry pan over low heat until fragrant. Remove to a bowl to cool.
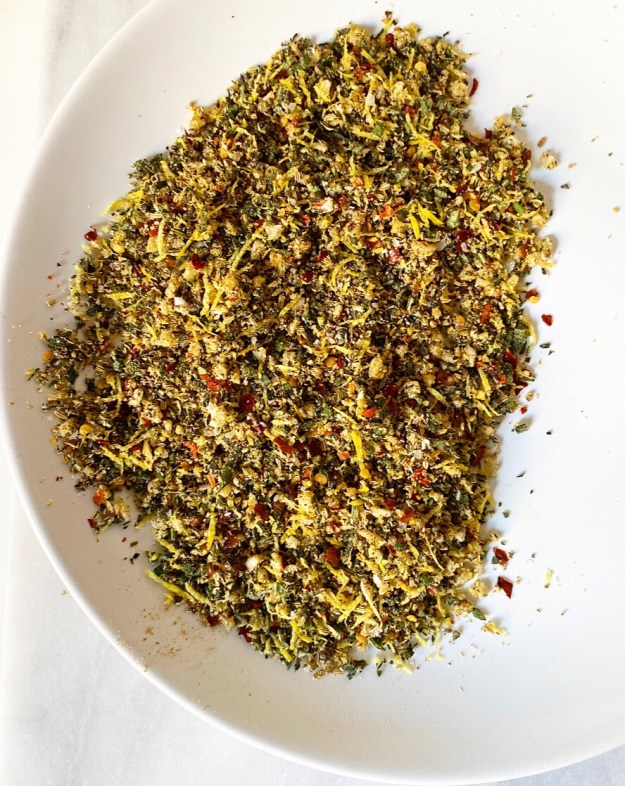
Make the herb mixture. Combine sage, rosemary, thyme, garlic lemon zest, red pepper flakes,1 1/2-2 teaspoons* Kosher salt. and fennel seeds in a food processor and pulse to combine (alternatively, mince with a large, sharp chef’s knife).
Look at your pork butt. It is unlikely to be one stable piece, so take a look and see a natural spot to butterfly it. I chose an area that was already open, and used my knife to further the opening a bit more, leaving one edge still intact (see photos).
Fill opening with herb mixture and then fold back together. Some herb mixture will fall out—this is okay. Use trussing string/kitchen twine to truss the meat. Tie it together at 2-inch intervals and then any other directions necessary to hold it together as a cohesive unit. Rub the herb mixture that fell out of the butterflied section over the outside of the meat. Sprinkle remaining 1/2 teaspoon of salt over the crosshatched skin and lightly massage in. Place pork in a small dish (I used a 9-inch square pan) and refrigerate uncovered for 24-48 hours.
Remove pork from the refrigerator. Let sit at room temperature for an hour. Place pork in a clean, dry oven-safe pot (I use my dutch oven).
Preheat oven to 250F. Place pork in the oven and let cook for 4.5-5.5 hours, until it registers 180F on a meat thermometer and is tender.
Remove pork from oven. Turn temperature up to 500F.
Return pork to the oven and let cook, turning the pot every 5 minutes, until the skin is golden and crispy. (Mine was done for 15 minutes, but I probably should have gone to 20.)
Let pork cool for 20 minutes before carefully, removing trussing string, slicing and serving with rolls or crusty bread.
Leftovers will keep in an airtight container in the refrigerator for a few days.
Note:
1. If you cannot find a boneless pork butt with skin or a fat cap, purchase a piece of pork belly or skin to tie on with trussing string. I’ve seen pork belly for sale at Whole Foods, Whole Foods 365, Costco and some regular supermarkets.
2. You’ll need 1/2 teaspoon Kosher salt per pound of meat, so 2 teaspoons for 4 lbs or 2 1/2 teaspoons for 4.5 lbs. With that knowledge, set aside 1/2 teaspoon of the salt for the skin/fat cap and add the rest to the herb mixture.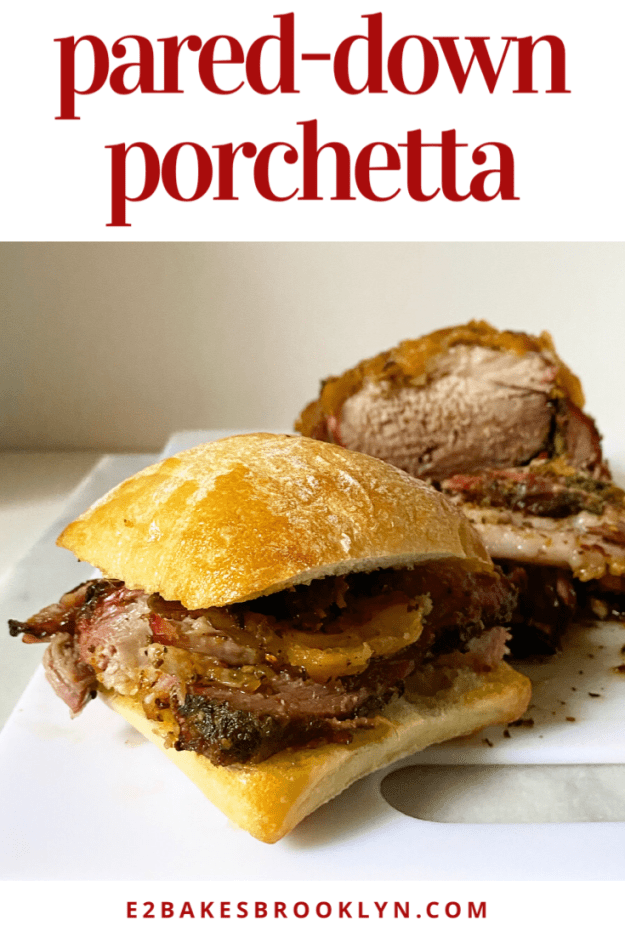
 Unsurprisingly, the way to my heart is through my stomach. I mean, I’m a food blogger–of course it is.
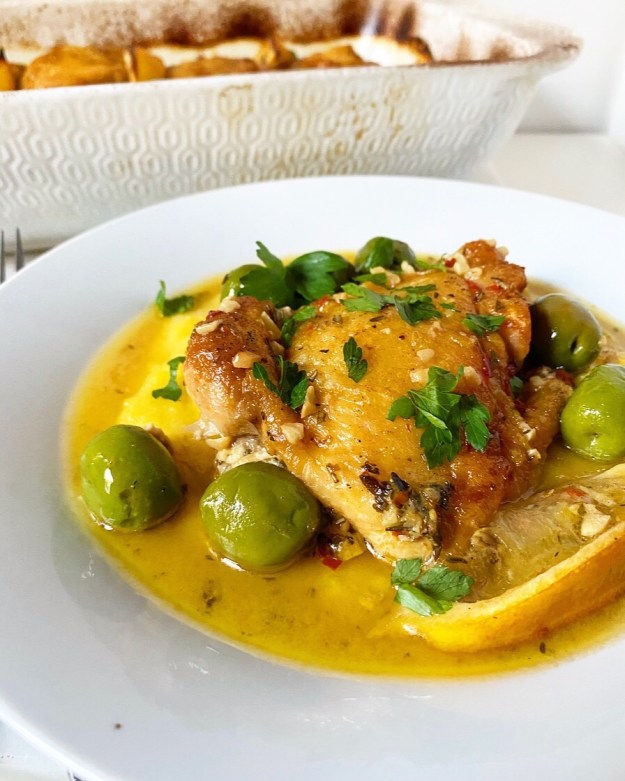
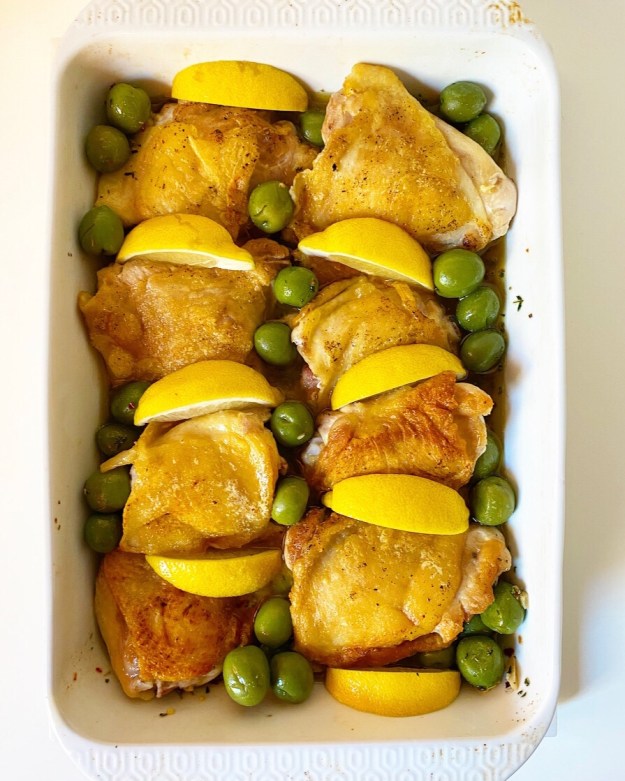
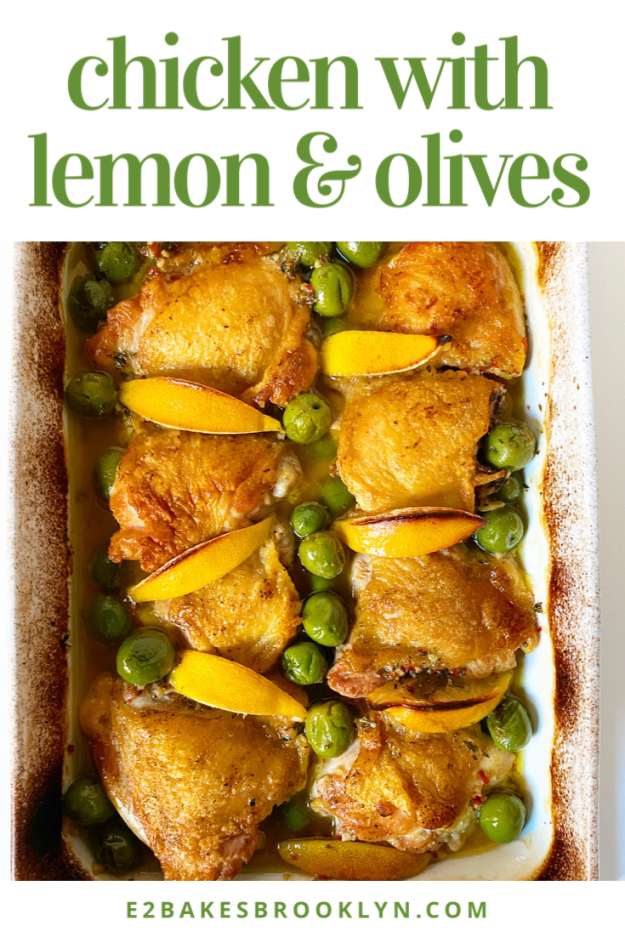
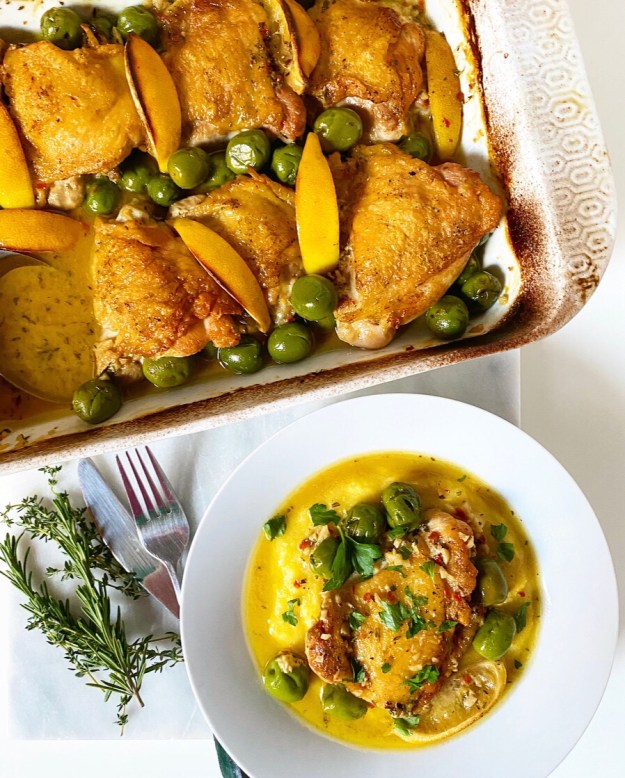 Today, we’re talking about Chicken with Lemon & Olives, which is a dream dinner for someone like me. It’s got crispy-skinned chicken thighs, briny roasted olives and a garlicky, herby, dijon-spiked lemon sauce, so…yeah, um, hi. Sign me up.

 This dish, y’all. It’s so delicious. The sauce is tangy and acidic from the lemon and mustard, and rich (but not overly so) from the chicken and olive oil. And the olives—ohhhh, the olives. They’re cracked open before cooking so that all that tangy, schmaltzy sauce gets in there and gets a little briny and…well, it’s very good.
 Speaking of olives, I prefer to make this with castelveltranos because they’re my favorite. More of a kalamata person? Want to try a mix? Do what makes you happy. I used olives that still have their pits because, frankly, they always taste better. If you want to use pitted olives though, I won’t stop you. Just make sure to skip the step when you give them a thwack with the bottom of a cast iron skillet—nobody wants to clean that mess.
 I should note that the sauce stays on the thin side. If you’d like it to be thicker, you can reduce the amount of stock a bit when you pour it in, or remove the chicken, etc., and thicken it with a cornstarch slurry after roasting. Truly, the consistency of the sauce was the only thing I had reservations about during testing, but I like it as written. It nestles perfectly into a pile of
 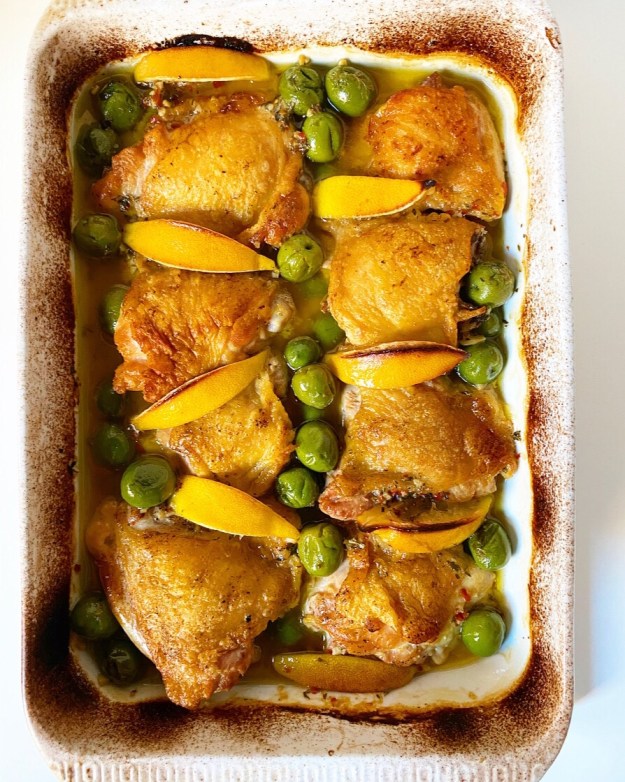 Can we discuss how absurdly beautiful this is? I love the golden chicken in contrast with the vibrant olives and roasted lemon wedges. This is definitely one of those mains that works as well for a
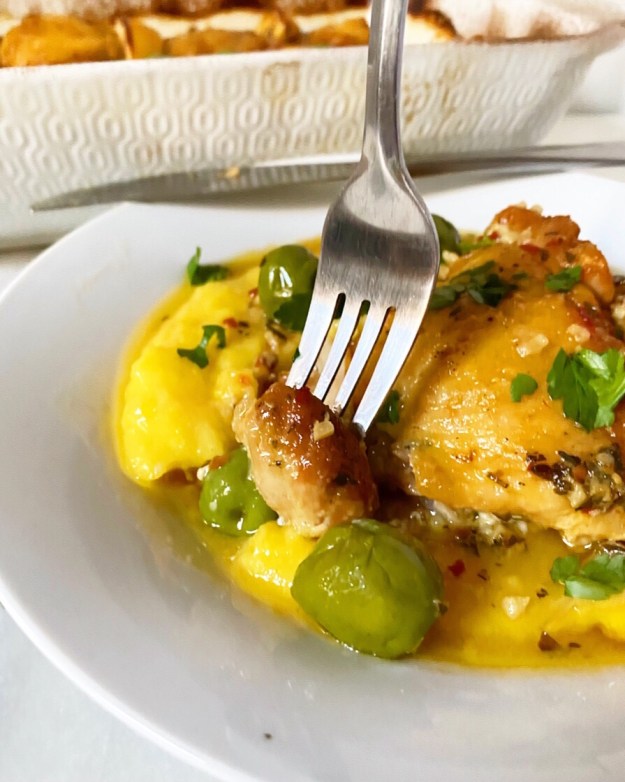


 I have been asked many times over the last several summers for my favorite cobbler recipe. Every time, I have referred these inquiries elsewhere—usually to
 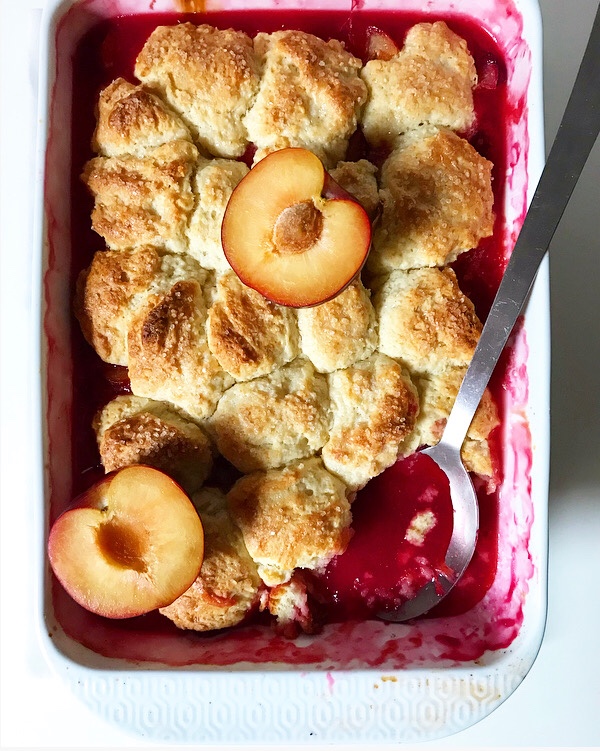 But that was before I started a blog and spent time trying to bake with all types of seasonal produce, even stone fruit, which I previously thought should never be warmed. Pre-2015 Liz would never, ever have eaten
 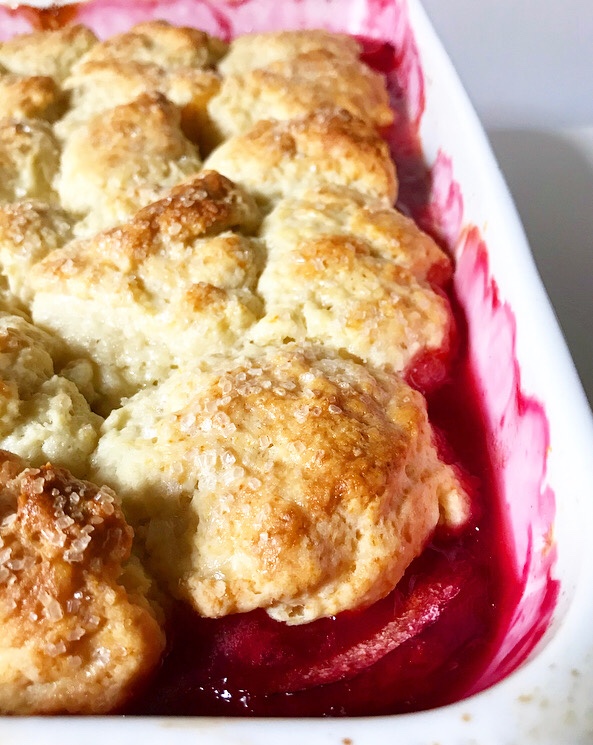 In retrospect, I’m not sure why I ever turned my nose up at this particular category of dessert—I mean, what could be bad about fluffy biscuits baked over seasonal fruit and served with ice cream?! Too many textures, maybe? I don’t know. Perhaps I’ll figure it out one day. For now, I know that I’m a cobbler convert, thanks in no small part to the glut of fabulous plums at my local green market and a drive to bake even when my un-air-conditioned kitchen is already 85 degrees.
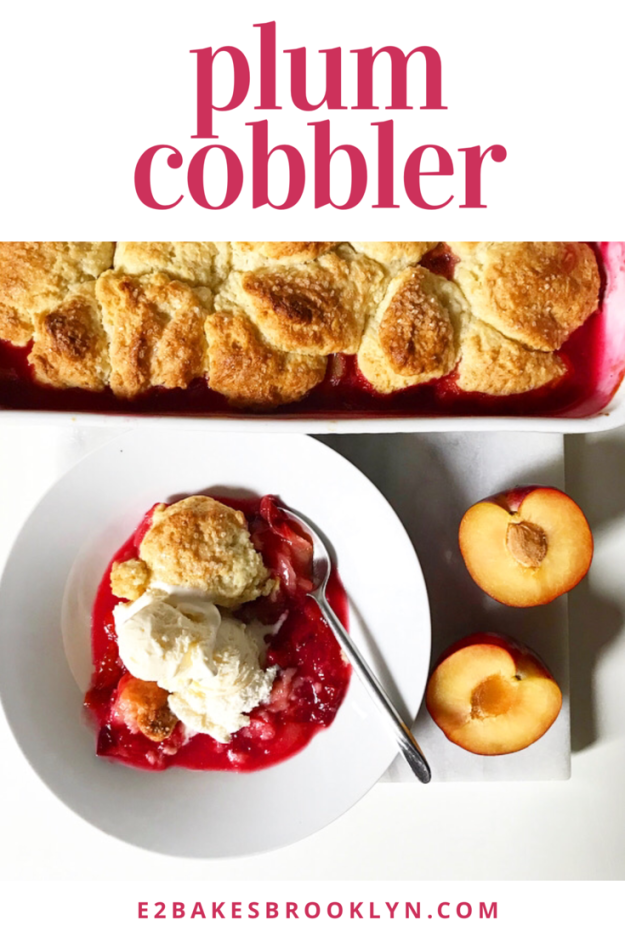
 Trust me, though. This Plum Cobbler is worth heating up the house. It may very well make a believer of even the staunchest of the anti-cooked-stone-fruit contingent.
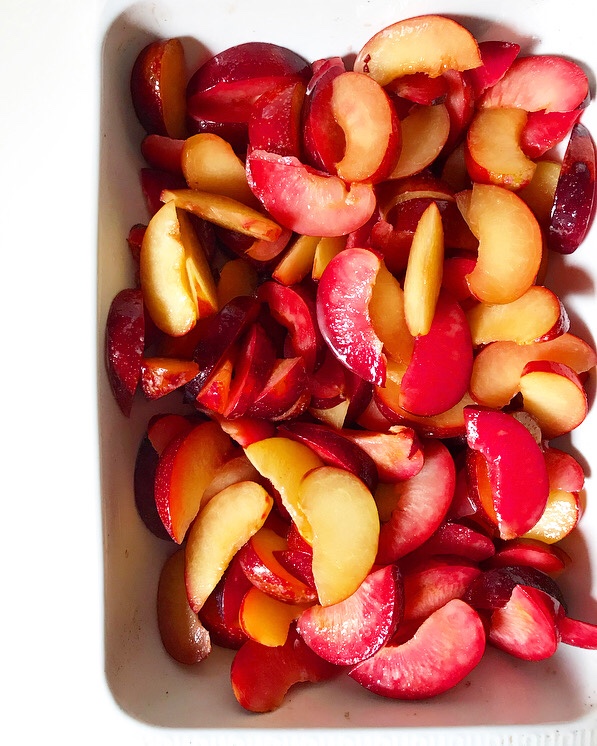 The filling is made of sliced fresh plums (I used a mix of red and black), sugar, lemon juice and ground ginger for depth, and a touch of cornstarch. It’s piled into a baking dish and dotted with butter.
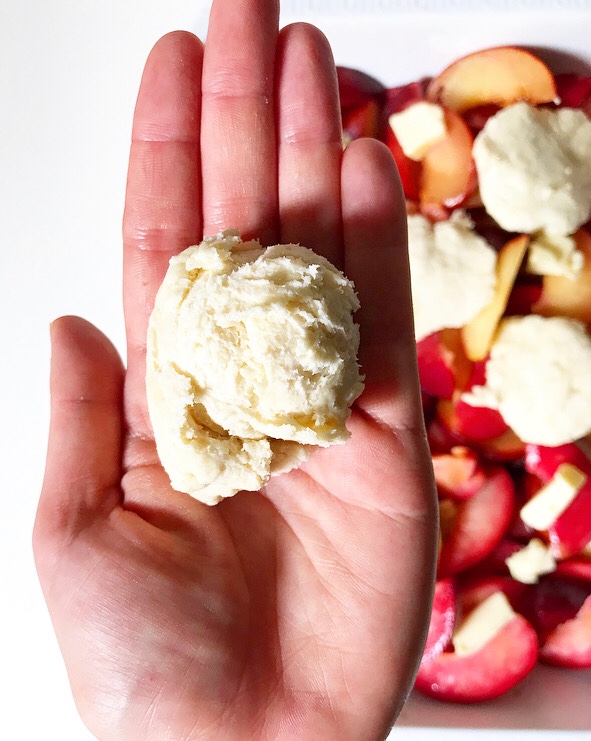
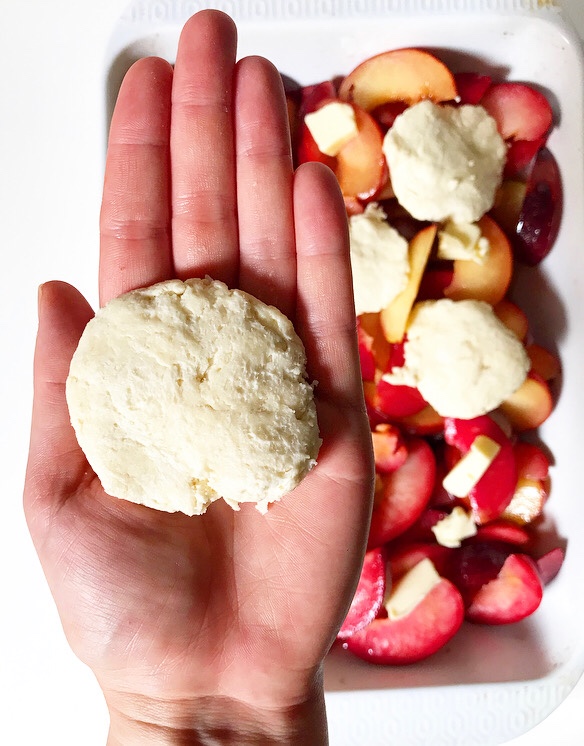 Next up is the topping, which is simply my
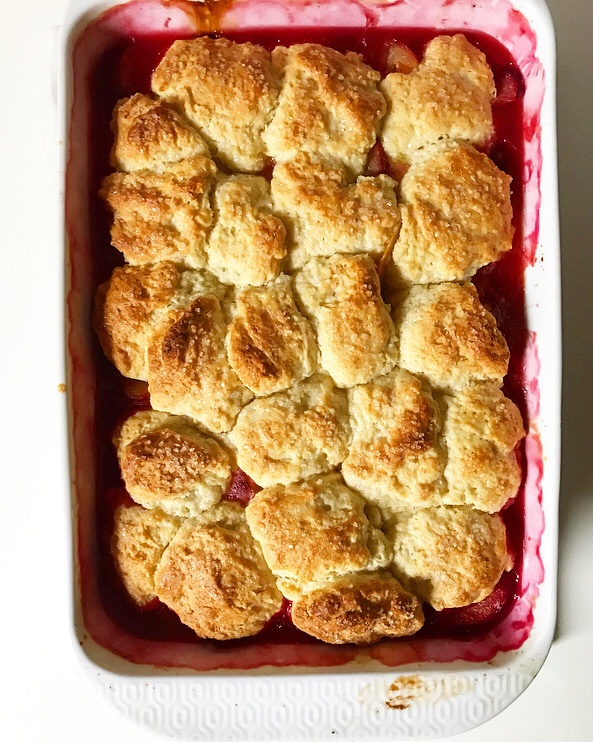 The flattened pieces are then arranged in a cobblestone pattern—this is where the name cobbler comes from. After brushing the dough with cream and sprinkling on some coarse sugar, everything is baked for 45 minutes, or until the biscuits are golden and the filling is bubbling.
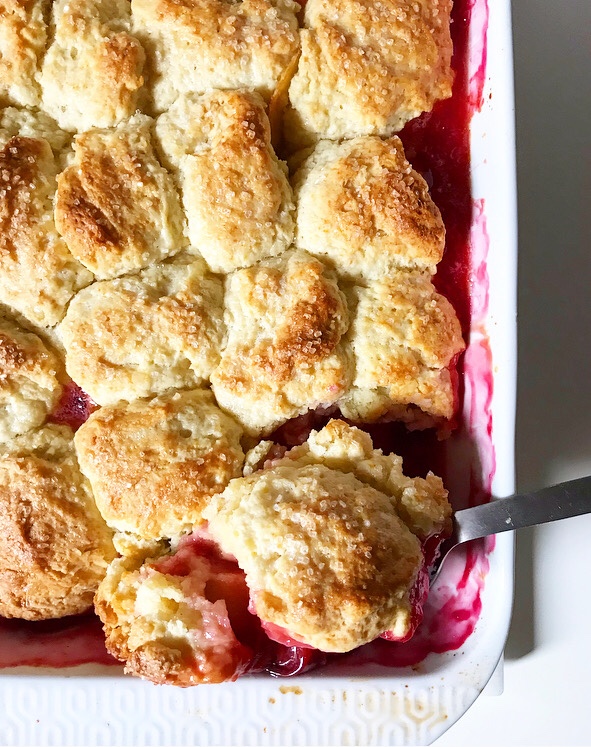
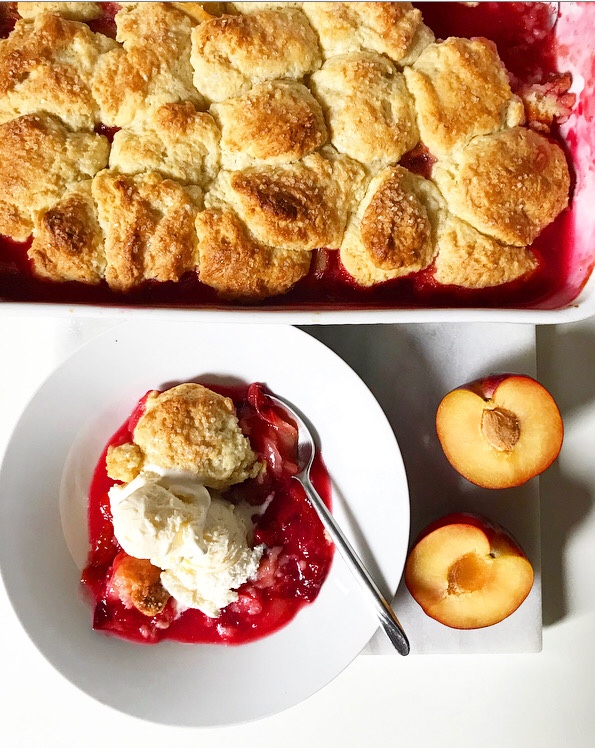
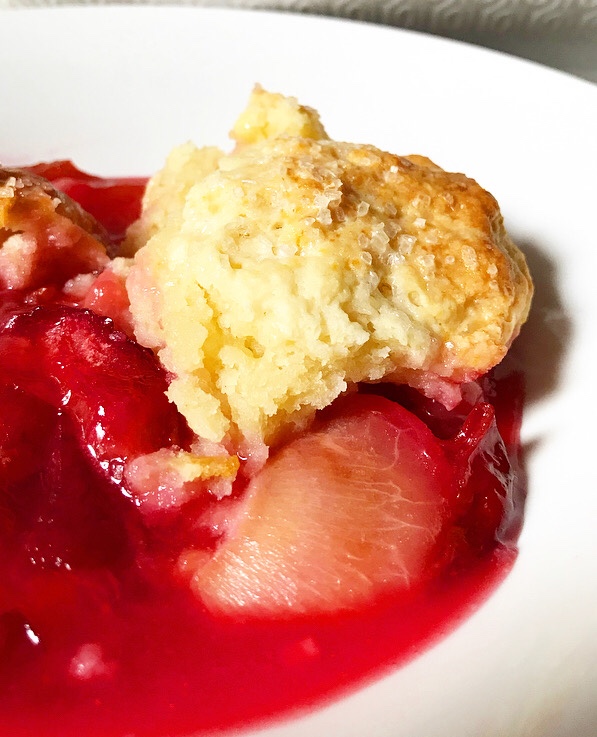 Maybe my favorite thing about cobbler (and crisps and crumbles) is that it’s best hot from the oven. I like to let mine cool ten minutes, just until the filling stops bubbling, before spooning it into shallow bowls and finishing it off with vanilla ice cream.
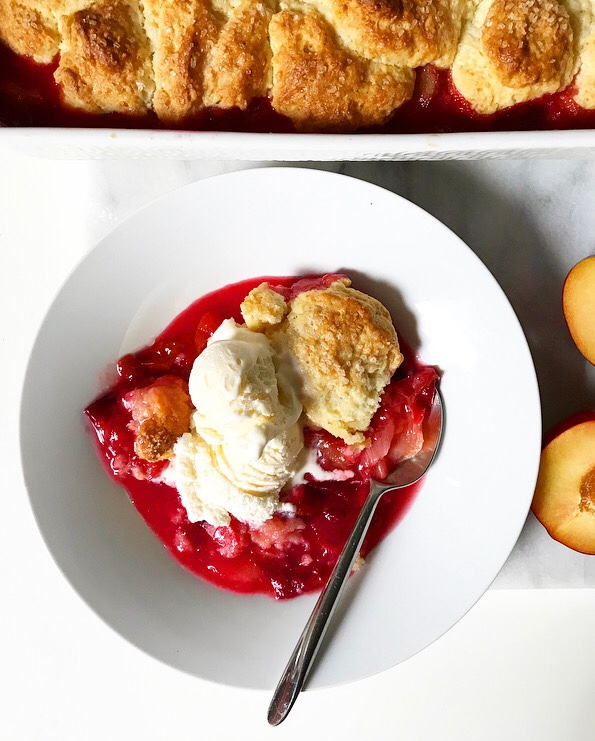 Plum Cobbler is tart and sweet and a bit on the syrupy side, the perfect contrast to the fluffy biscuit topping. And that’s to say nothing of the outstanding vibrant color of the filling or the way slow-melting ice cream rounds out this bowl of late summer goodness. It’s damn near impossible to resist.
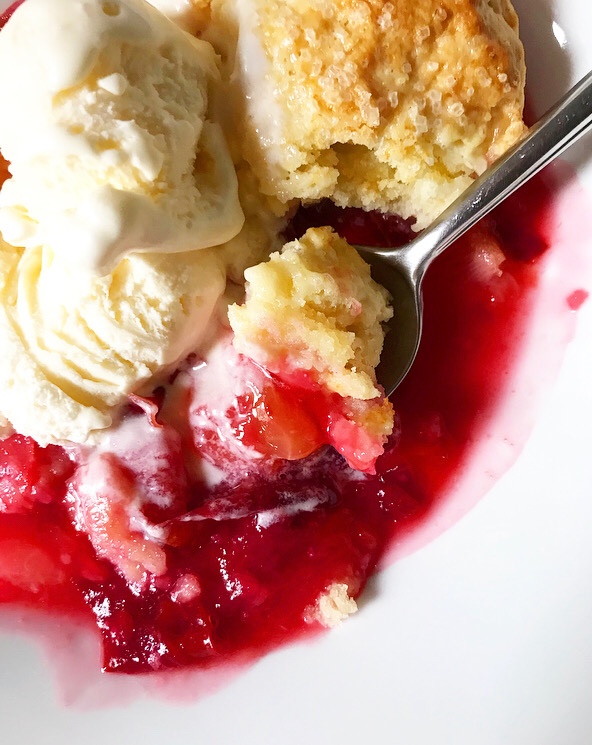


 Have you ever been to New Orleans? I have a few times, including a three week stint of post-Hurricane Katrina relief work, but I’ve never been for Mardi Gras.
 As a college student in Texas, it occurred to me that it might be a fun thing to do once (I’m very into road trips), but then I remembered that I am a tried and true introvert and that spending a weekend in a loud, crowded city might be my idea of hell…
 While I love the idea of a whole state with its own unique way of celebrating a holiday, my party days are well behind me and I don’t envision any circumstance in which I’ll ever find myself in Louisiana in early February. But I love King Cake. I mostly associate it with Epiphany (or Three Kings Day or Twelfth Night or January 6th, or whatever you call it), but I’m okay for breaking with personal traditions if it means I get to eat this:
 If you’ve somehow never had King Cake, you’re in for a treat. It’s a fluffy yeasted coffee cake served in Louisiana (and lots of other places) in the religious season between Christmas and Lent. To describe King Cake plainly, it’s sort of like
 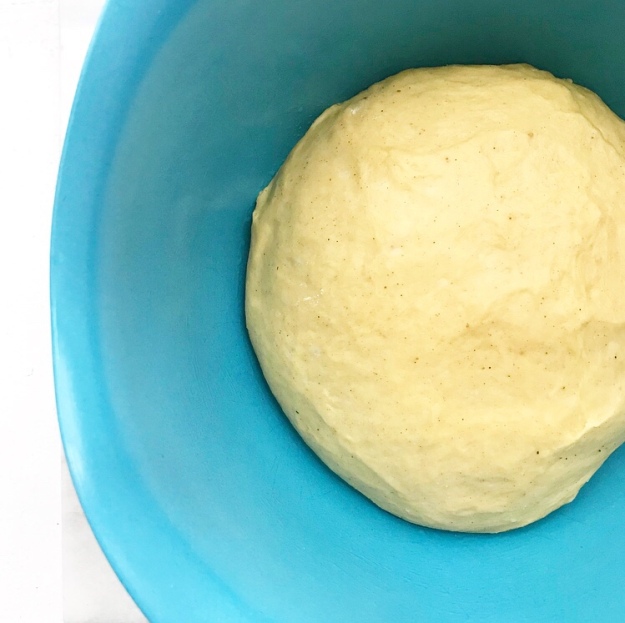 From what I can tell from all my research, if you have a flavor preference, there is a King Cake recipe out there for you. The traditional filling is a mixture of butter and cinnamon-sugar (again, like cinnamon rolls), but I have seen pecan praline, strawberry, and cherry-almond variations. I have become entranced by the idea of cream cheese filling, so I did a little mash-up of my own: cinnamon cream cheese, y’all!
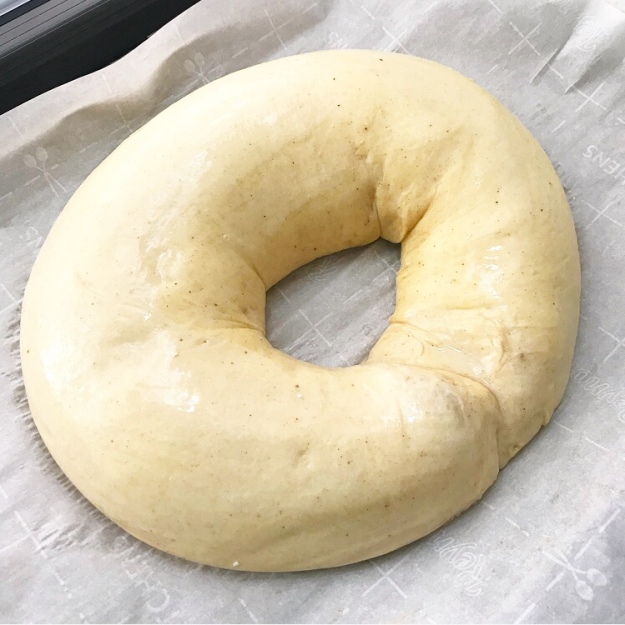
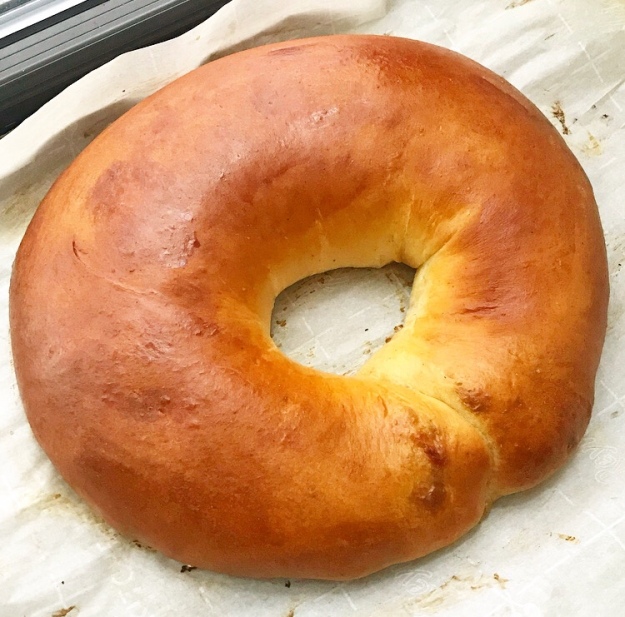
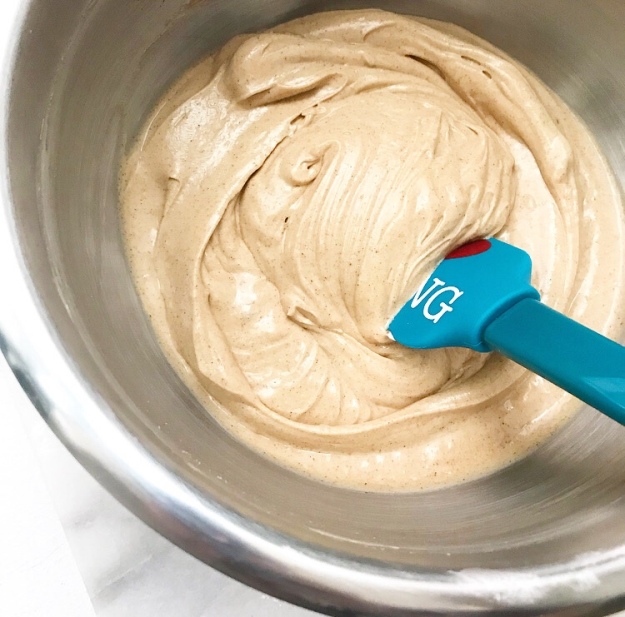 The filling is rolled up into the dough like it is in sweet rolls. The cylinder of dough is formed into a ring and set aside to rise for about an hour, until it doubles in size. Then it’s painted with an egg wash and baked until golden brown all over.
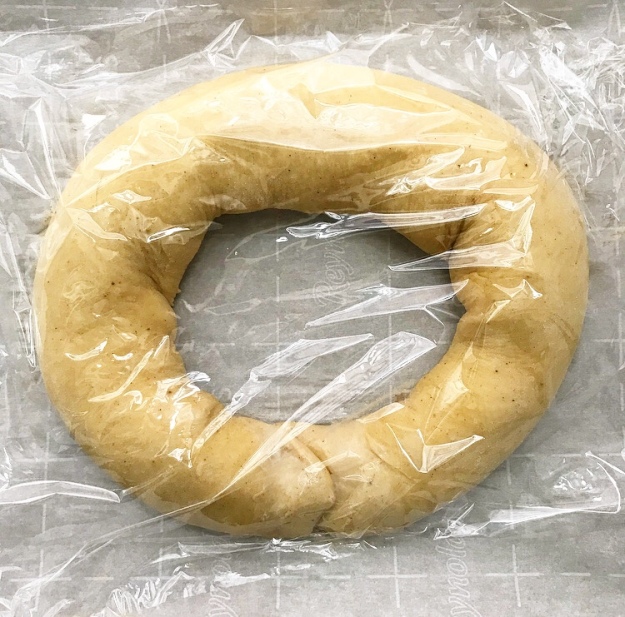
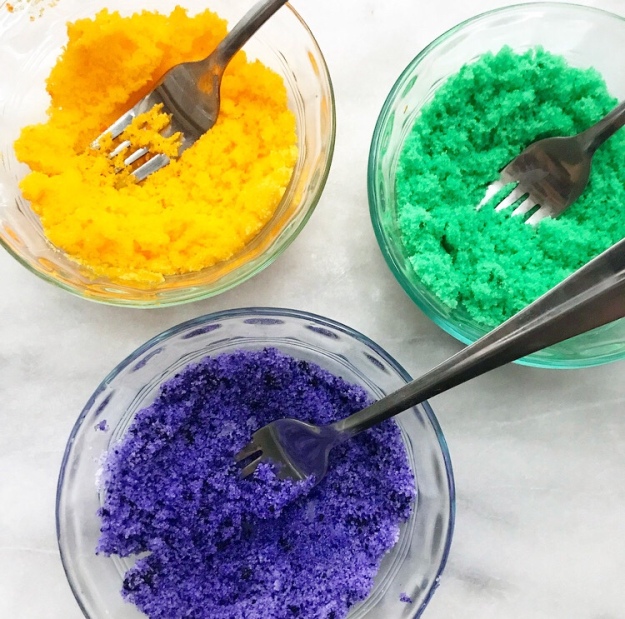
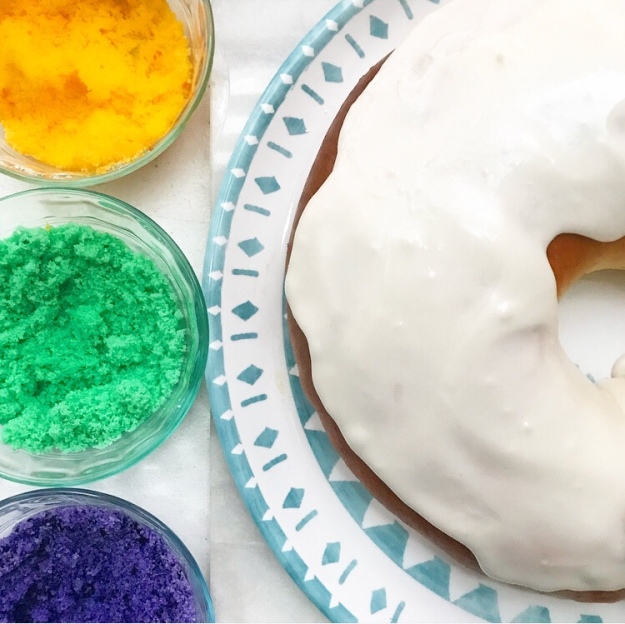
 King Cakes are traditionally decorated with a thick white icing and yellow, green, and purple sugars (representing power, faith, and justice, respectively). I had a hard time tracking down sugars in the appropriate colors, so I just stirred a few drops of food coloring into 1/3 cup increments of granulated sugar.
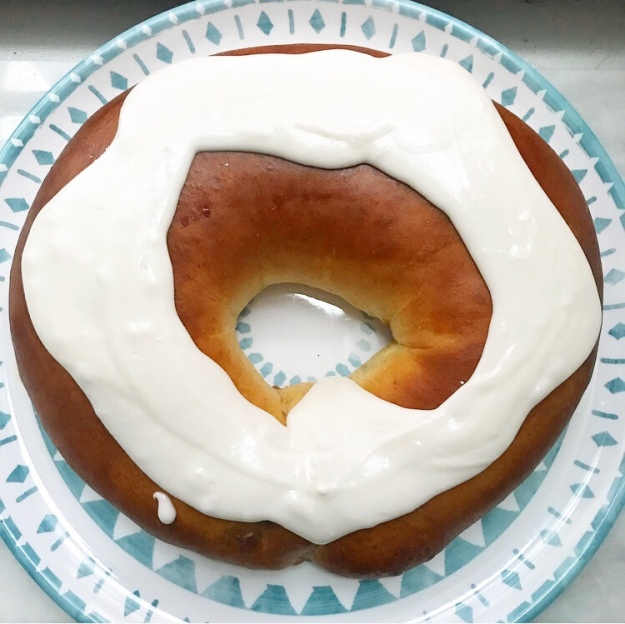
 A tiny plastic baby doll is also traditionally inserted into the cake after baking. The person who receives the slice with the baby doll is king/queen for the day and is responsible for procuring next year’s cake. I didn’t put a doll in this cake because I simply don’t have it together enough to remember to order things in time for scheduled blog posts. But anyway…
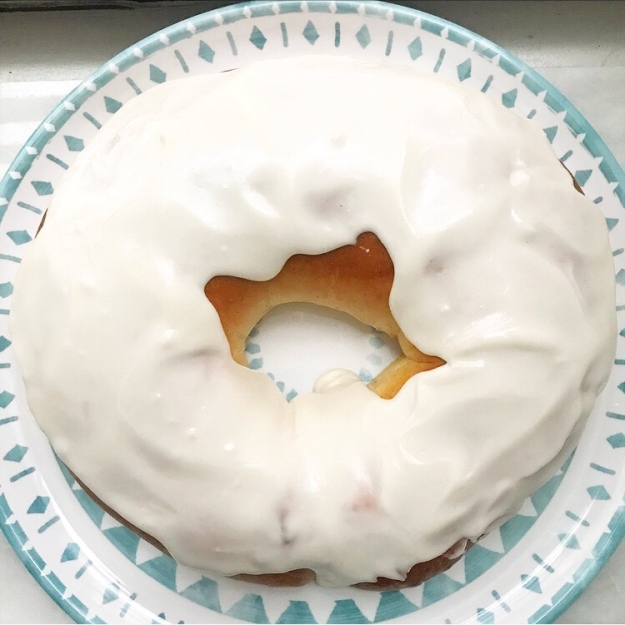
 If you love the look of the golden cake, the white icing, and the sparkling, colorful sugars, just wait ‘til you slice it up.
 That swirl y’all! And the soft, fluffy interior! And the cinnamon in the cake and the filling! And the cream cheese! It’s a win all around 🙂
 One last thing: this recipe makes two King Cakes. Before you click away, never to return, here is a list of reasons to have two King Cakes.