 This summer is going to be a little different, but one thing remains the same: its unofficial kick-off, Memorial Day, is coming up next week. While it’s highly unlikely that I’ll find myself around a campfire or even on a rooftop anytime soon, I will not let this year go by without a s’mores-centric treat.
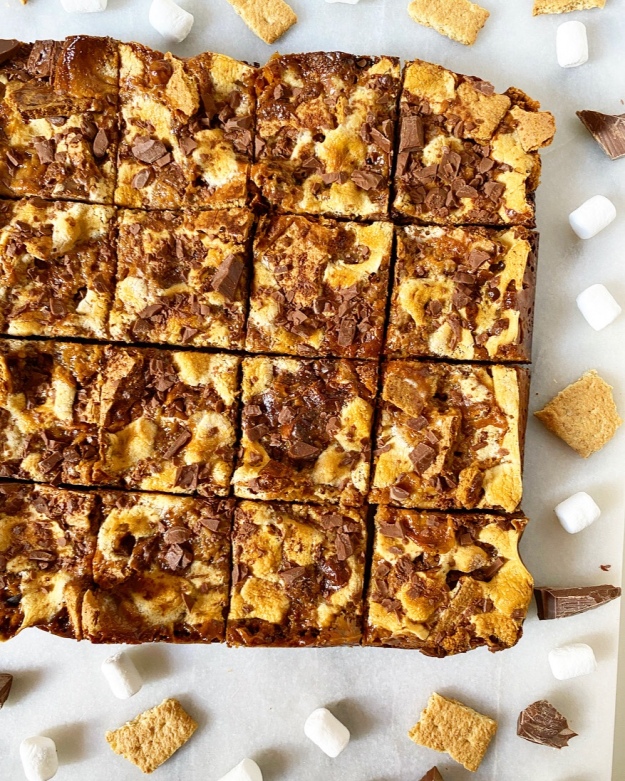 Is there anything that says “summer” quite like a s’more? I mean, what’s not to love about crisp graham cracker, milk chocolate (or lemon curd!) and toasted marshmallow stacked together while everything’s still gooey?
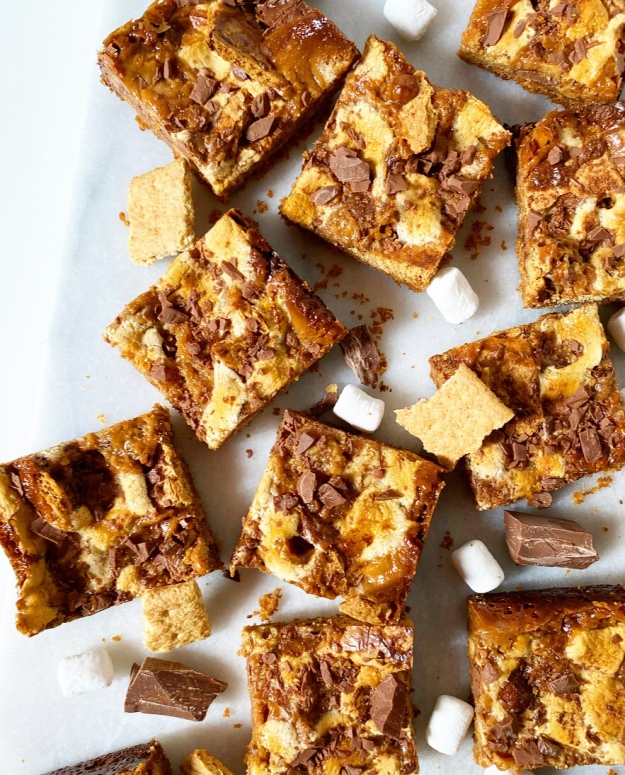
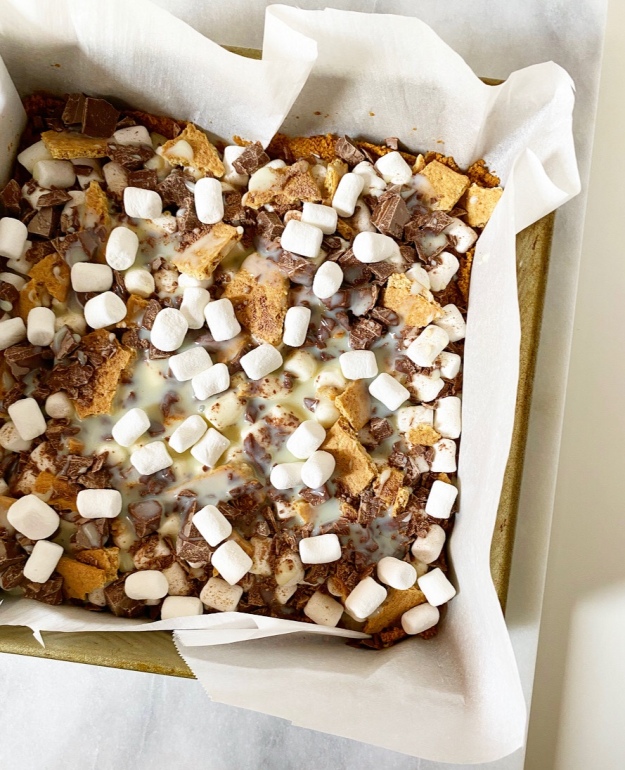
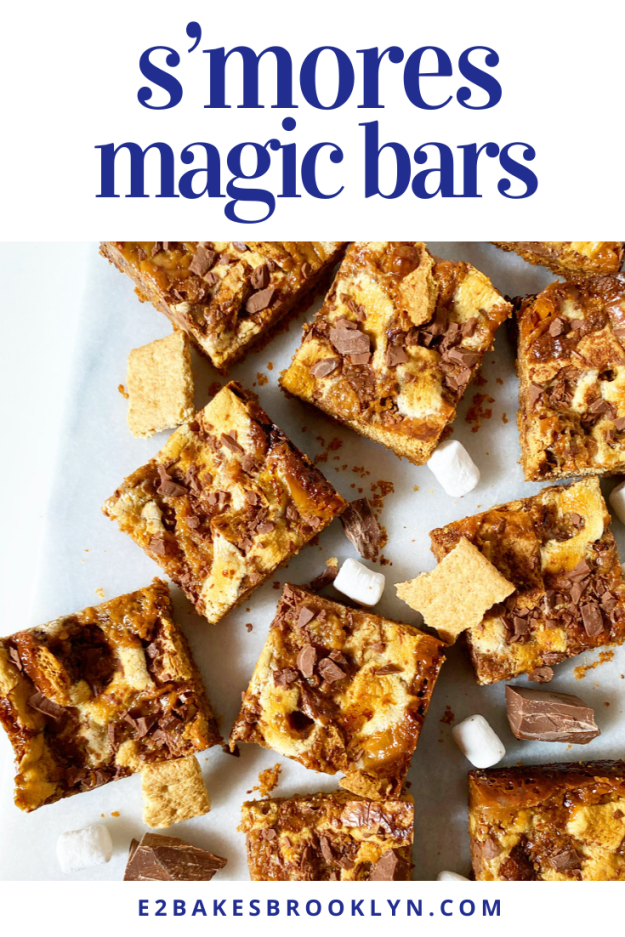
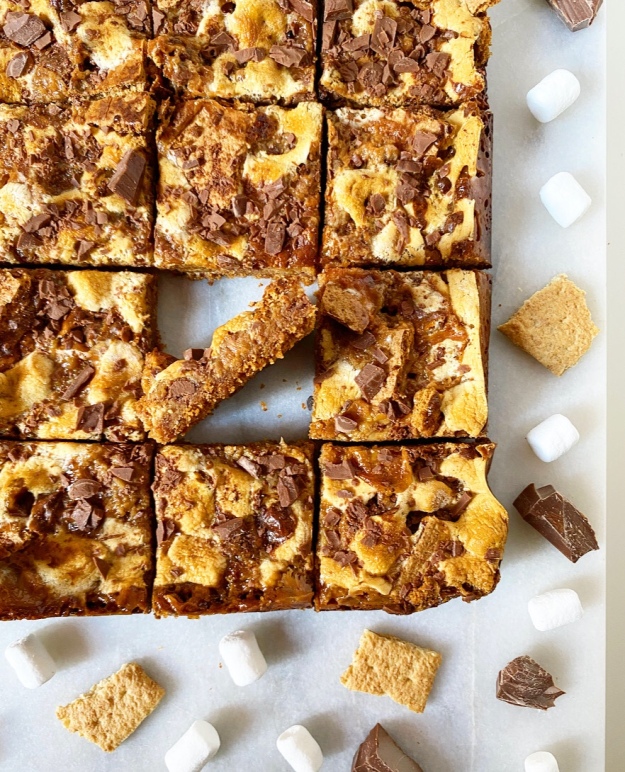 These S’mores Magic Bars aren’t your traditional summertime fare, but they have plenty of graham crackers (in the form of crust and crispy shards), chopped milk chocolate and toasted marshmallows. It straight-up doesn’t count as a s’mores dessert if the marshmallows aren’t toasted, am I right?!
 As with all magic bars, these are held together with a can of sweetened condensed milk. It serves as the structural backbone of this whole operation (along with the graham crust), and caramelizes in the oven for a toffee undertone.
S’mores + toffee = basically everything I’ve ever wanted.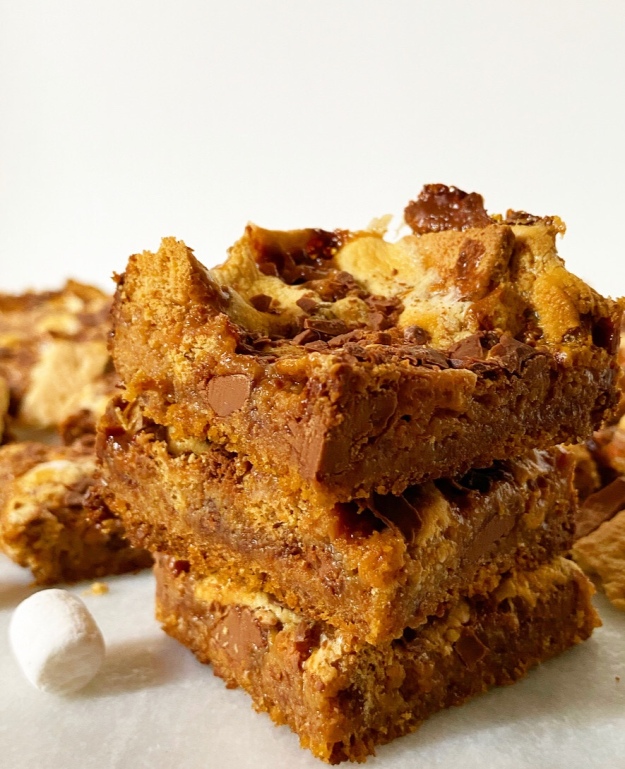 The sweetened condensed milk also gives these bars a slightly gooey finish, which is a good thing because while the marshmallows do get nice and golden brown, they also have to cool completely before you slice the bars. Like I said, we’re not going for tradition, we’re going for the most efficient way to get toasted marshmallow, graham cracker and milk chocolate into our faces in a less than ideal summer situation!
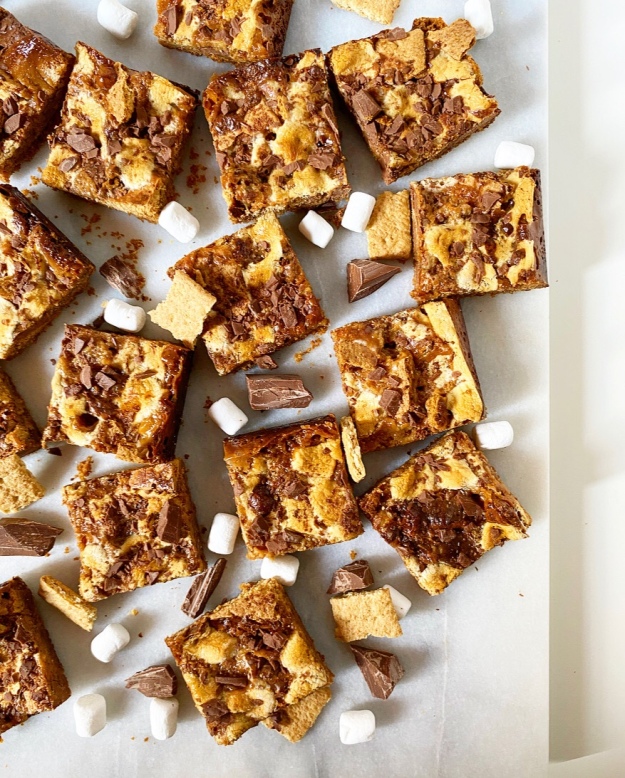 Also, unlike traditional s’mores, these sweet squares will stay good for days after baking. Days! That’s a very good thing, because I have a feeling I’m going to need a few batches between now and Labor Day.
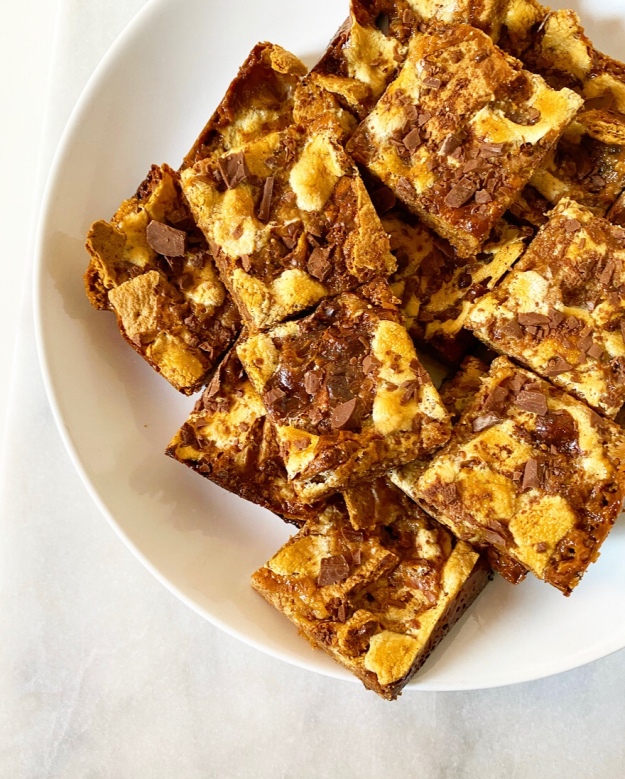
S’mores Magic Bars
makes one 8- or 9-inch square pan
Crust:
9 sheets graham crackers
1/4 cup light or dark brown sugar, packed
pinch of Kosher or sea salt
5 tablespoons unsalted butter, melted
Filling:
1 14-ounce can sweetened condensed milk, divided
2 cups mini marshmallows, divided
2 sheets graham crackers, broken into small pieces
4 ounces milk chocolate, roughly chopped
Place an oven rack in the center position. Preheat oven to 350F. Heavily grease a 9-inch square pan and line with parchment paper, leaving overhang on two sides. Grease again. Set aside.
Make the crust. Place graham crackers in the bowl of a food processor and process until no large pieces remain. Add light brown sugar, melted butter, and salt. Process until the mixture resembles wet sand, scraping down the sides of the bowl as necessary. Transfer the mixture to prepared pan and use the bottom of a measuring cup (or clean hands) to press the mixture onto the bottom of the pan. Bake crust for 10 minutes. Cool it on a rack for a few minutes while you prepare the filling.
Pour 1/2 cup of the sweetened condensed milk into a liquid measuring cup or small bowl. Set aside.
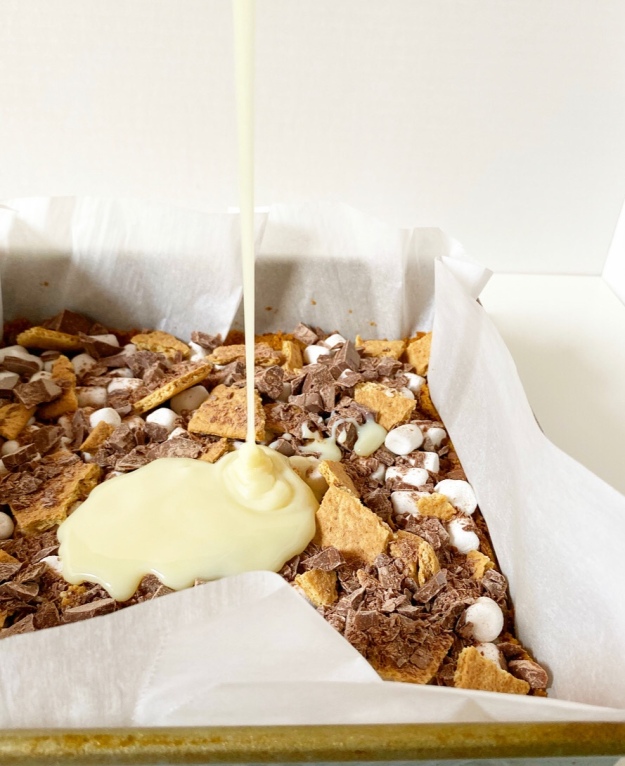
Drizzle remaining sweetened condensed milk onto crust. Top with 1 1/2 cups mini marshmallows, followed by graham pieces and chopped milkchocolate.
Drizzle on reserved sweetened condensed milk and scatter on remaining mini marshmallows. Bake 30-32 minutes, until everything is golden brown and the center of the pan just barely jiggles when the pan is jostled.
Let bars cool completely in the pan on a rack. Use parchment overhang to remove them to a cutting board before slicing with a large, sharp chef’s knife. For clean edges, carefully wipe the knife blade clean with a damp towel between cuts.
Layer leftovers with wax paper (or parchment) in an airtight container. Bars will keep covered at room temperature for up to 3 days or in the refrigerator for up to a week.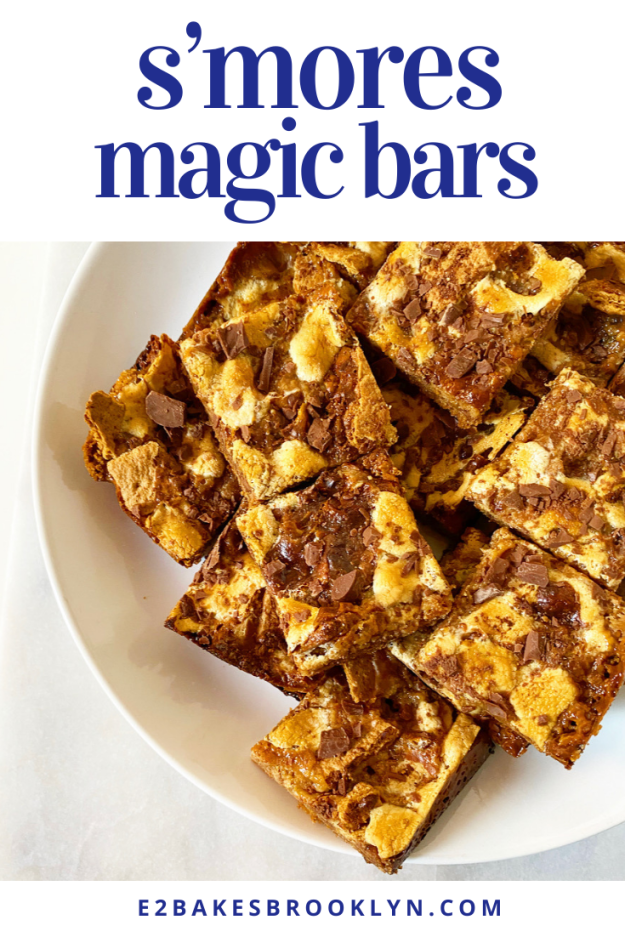
 Three years ago, I went home to Texas for three weeks over Christmas. I was there for the holidays and a family wedding a week into the new year, and I had determined that it was easier to spend an extended period in my home state than it was to fly back and forth. My little sister was home for her winter break too, so we had an odd period of time where our childhood living arrangements were real again, except that everyone had a driver’s license and their own bathroom this time.
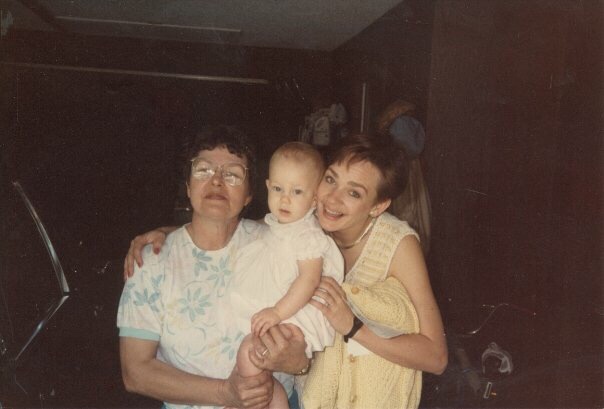
 But! But. I was going to make a cheesecake with my mom, even going so far as to have my older sister give her a Fat Daddio cheesecake pan for Christmas. I was going to do this thing. And then…I didn’t because we found 43 other ways to fill our time and there was the wedding and then it was time to go back to NYC.
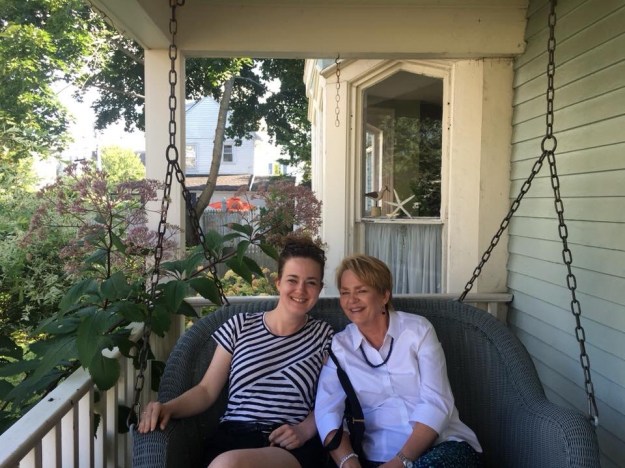
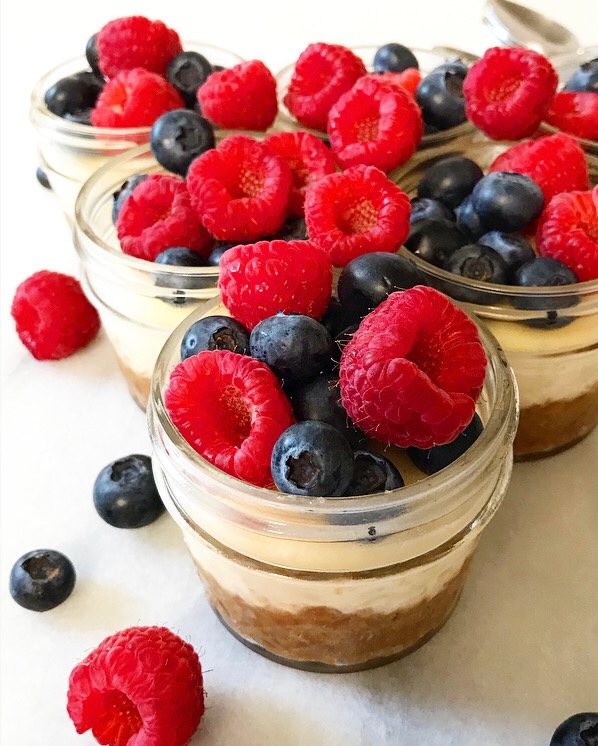 Now it’s Mother’s Day weekend three years later and I still owe my mom a cheesecake. I remain reticent about attempting a big one (yes, I know it’s silly) and I don’t know when I’ll be with her long enough to carve out the time, so I have made it easy on both of us and made miniature versions that don’t involve a foil-wrapped pan. Happy Mother’s Day, Mom! I made you six cheesecakes.
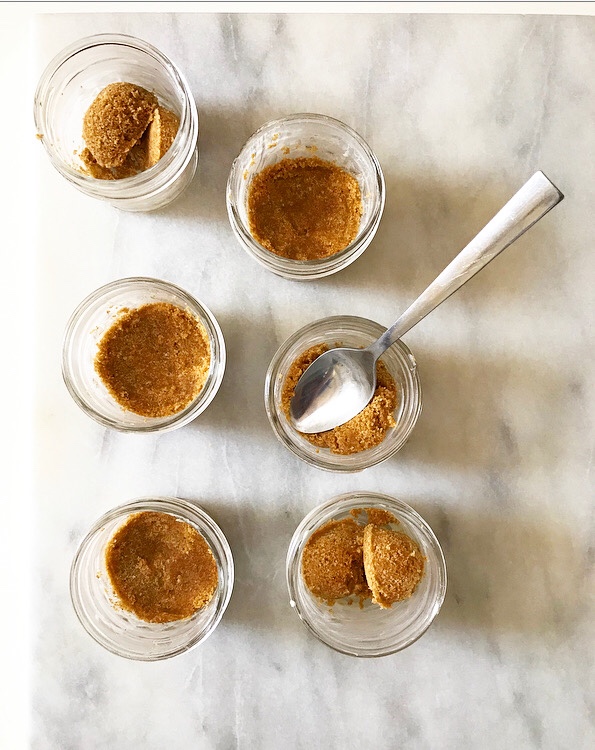
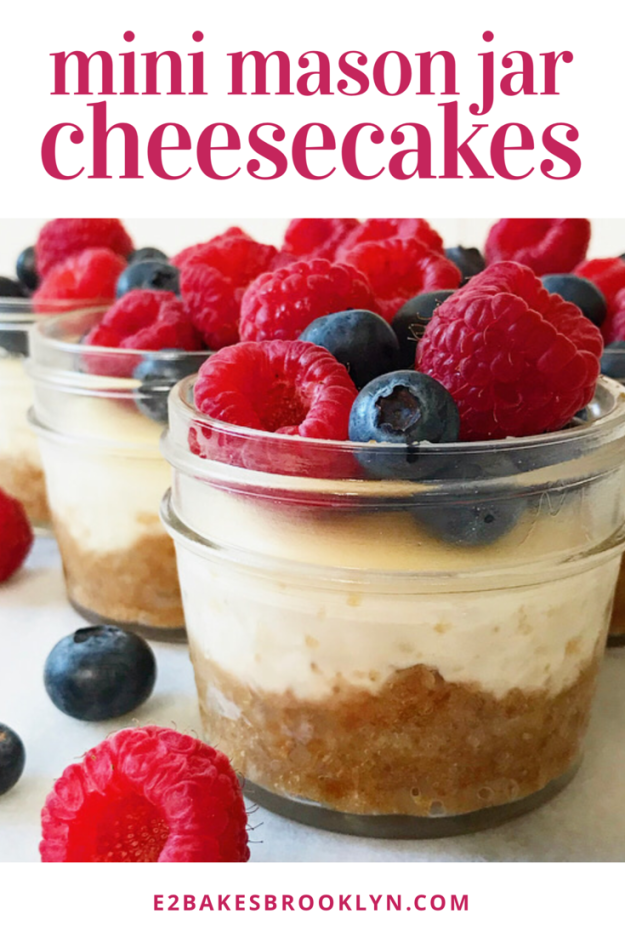
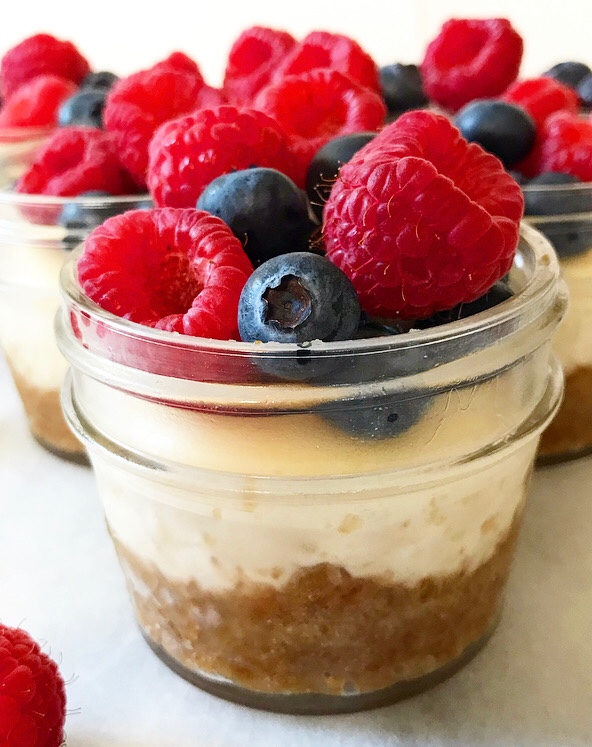
 This small-batch recipe makes just enough to fill six 4-ounce mason jars, but you can easily scale it up depending on your needs. The cheesecake itself is remarkably easy to make—it has a total of nine ingredients and two major steps (both of which are easy), and most of the time commitment is spent waiting for things to cool.
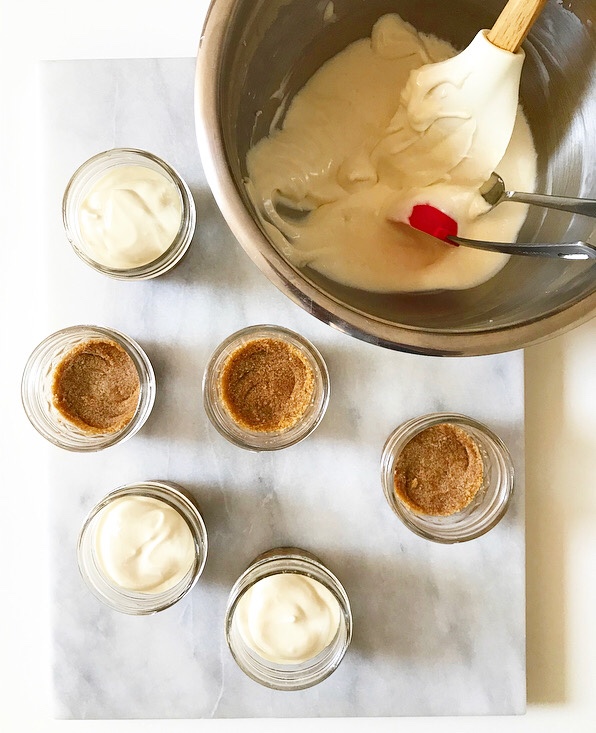
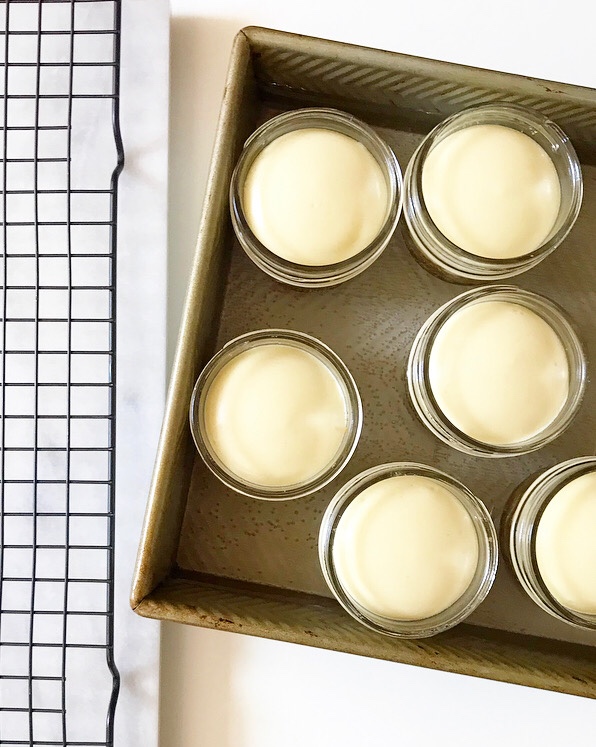
 As for the water bath (“bain-marie”) step that I fear so much, it’s a breeze. Mason jars are water-tight, so my fear of soggy cheesecake foiled-by-foil doesn’t apply here. These mini desserts bake up evenly and beautifully every time!
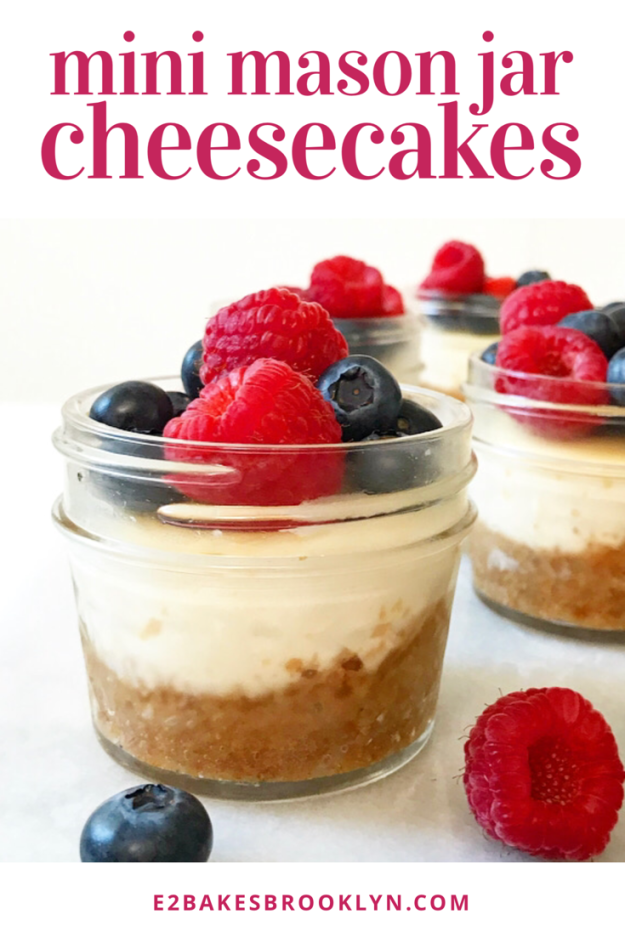
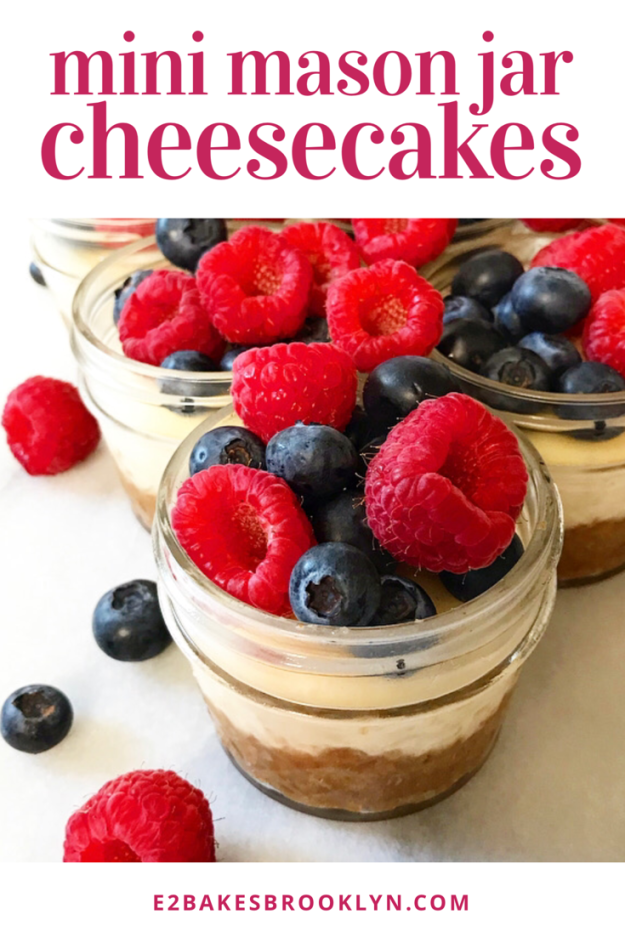
 They are delicious, too: rich, creamy and tangy with a brown sugary graham cracker crust. You can top them with anything you like:
 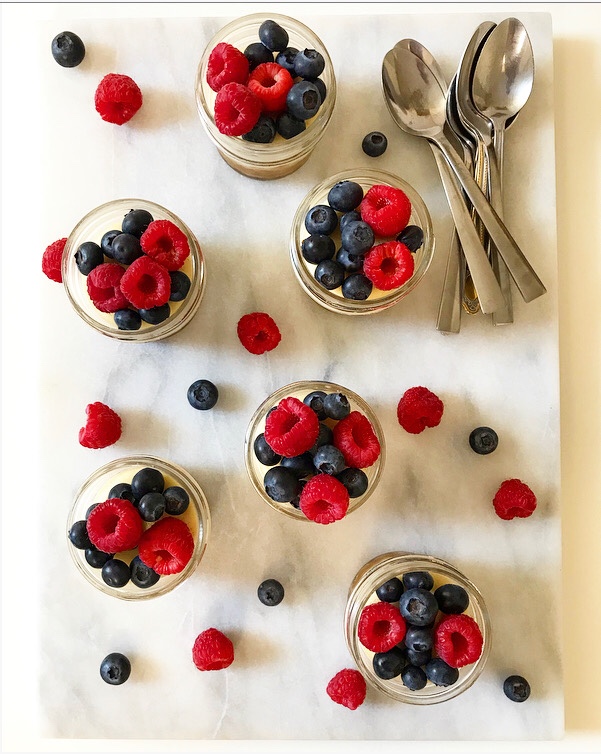 Aside from being cute, delicious, and portion-controlled, I love that these cheesecakes are portable. Just press a little plastic wrap to their surfaces after chilling, screw on the mason jar lids, and pack them into a cooler for premium picnicking. Pack the topping(s) separately and let everyone customize their own!
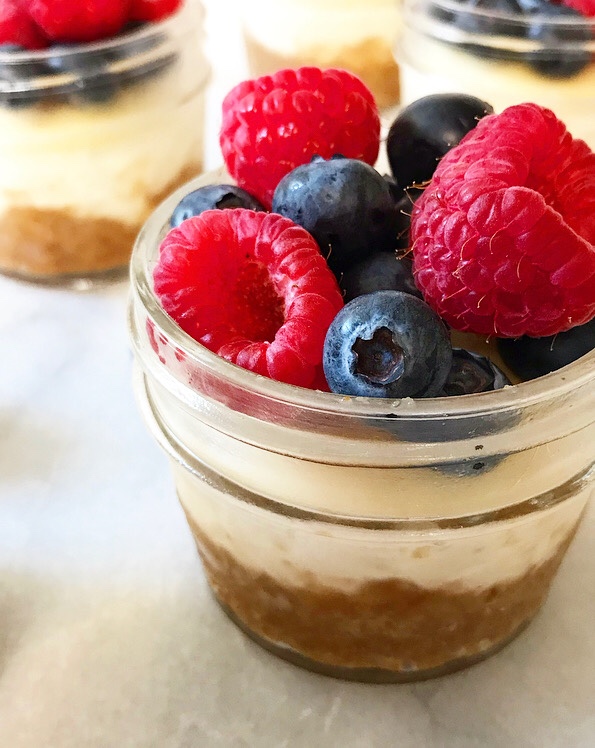 So, after 3.5 years of blogging, there is my first “traditional” cheesecake! Maybe I’ll be brave enough for the real deal before Labor Day. Got any leak-proofing tips for me? Leave them in the comments!
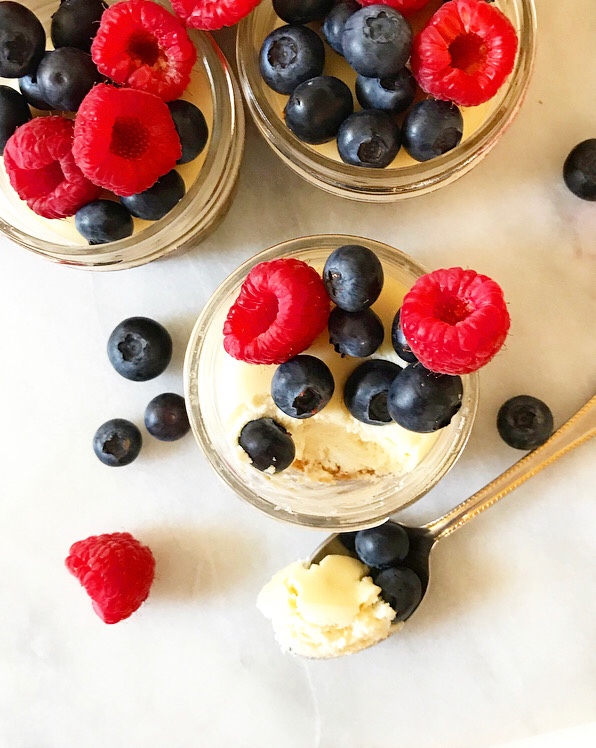 Happy Mother’s Day to all those celebrating, especially my cute mom ❤