 I know what you’re thinking. How many scone recipes does one baker need? The answer is simple: as many as they can conjure up! Can’t stop, won’t stop. Sorry, not sorry. I mean, do you see these???
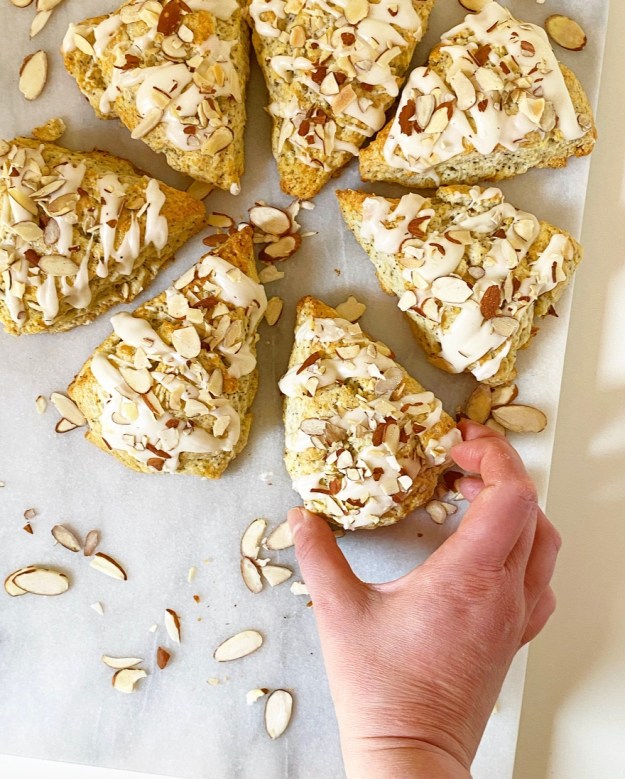
Almond Poppy Seed Scones are super tender and buttery, speckled with crispy poppy seeds, topped with a creamy almond glaze and finished off with a smattering of toasted sliced almonds. They’ve got tons of texture and flavor, but aren’t overly sweet or cloying. I think they’d be a perfect addition to any brunch or tea menu, though they’re so simple they can be thrown together on a Saturday morning without a second thought.


I’ve made scones with half-and-half and whole milk over the years, but heavy cream is my current go-to. If that sounds intense it’s because it is, but if you’ve tried my Maple Scones and Vanilla Bean Cream Cheese Mini Scones, you know how cream can take things from good to luxurious. In addition to the cream, these scones are made with flour, a little sugar, baking powder, salt, poppy seeds, cold butter, vanilla & almond extracts, and an egg. The dough may feel a little thick when mixed and patted out, but will result in super rich, tender scones.
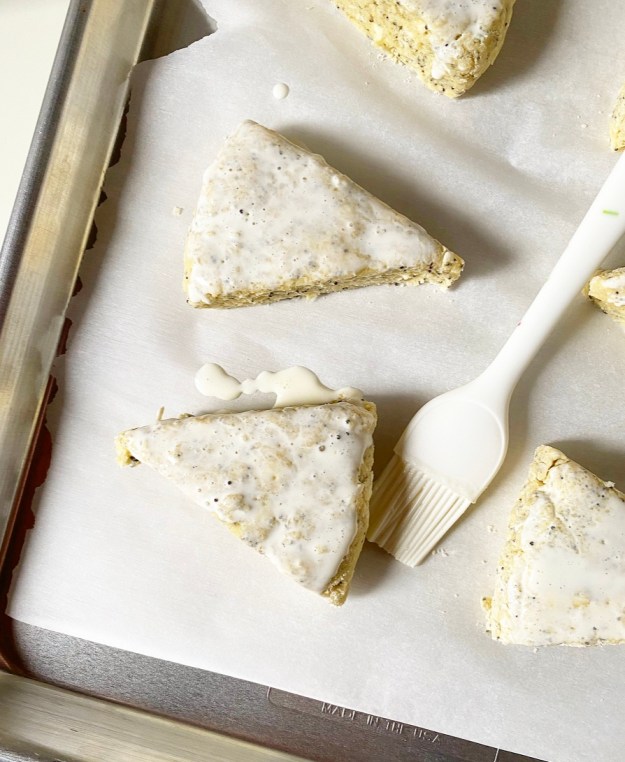
As with biscuits, pie dough, rough puff pastry and anything else that depends on cold butter for texture and structure, you’ll need to keep these babies cold cold cold so they don’t turn out flat and sad. I like to freeze my scones for 15 minutes after they’re sliced into wedges, then brush them with a little more cream before baking.
When they emerge, they’ll be craggy and golden and pretty difficult not to tear into while they’re still warm. I’m not going to tell you how to live your life, but I will suggest holding off on eating until your scones have cooled. Not only will this save the roof of your mouth, but it will give you time to stir together a quick glaze and toast some sliced almonds. You know I love a glaze and a garnish.
Almond Poppy Seed Scones have it all—the looks, the textures, the simplicity, those irresistible little poppy seeds! I made four batches trying to get them right and I’m still hoping for a moment this weekend to make some more. Like I said, I can never get enough scones.
Almond Poppy Seed Scones
makes 8 scones
Scones:
3/4 cup heavy cream, very cold
1 large egg, cold from the fridge
1 teaspoon pure vanilla extract
1 teaspoon almond extract
2 1/4 cups all-purpose flour
1/4 cup granulated sugar
2 tablespoons poppy seeds
1 tablespoon baking powder
1/2 teaspoon Kosher or sea salt
6 tablespoons unsalted butter, very cold, cut into cubes
Glaze & Garnish:
2 1/2-3 tablespoons heavy cream (or 1 tablespoon whole milk)
1/4 teaspoon pure vanilla extract
1/4 teaspoon almond extract
1/2 cup confectioner’s sugar
pinch of Kosher or sea salt
1/4 cup toasted sliced almonds
Make the scones. Meanwhile, place an oven rack in the center position. Preheat oven to 400F. Line a baking sheet with parchment. Set aside.
In a liquid measuring cup, use a fork to whisk together heavy cream, egg, vanilla and almond extracts. Refrigerate.
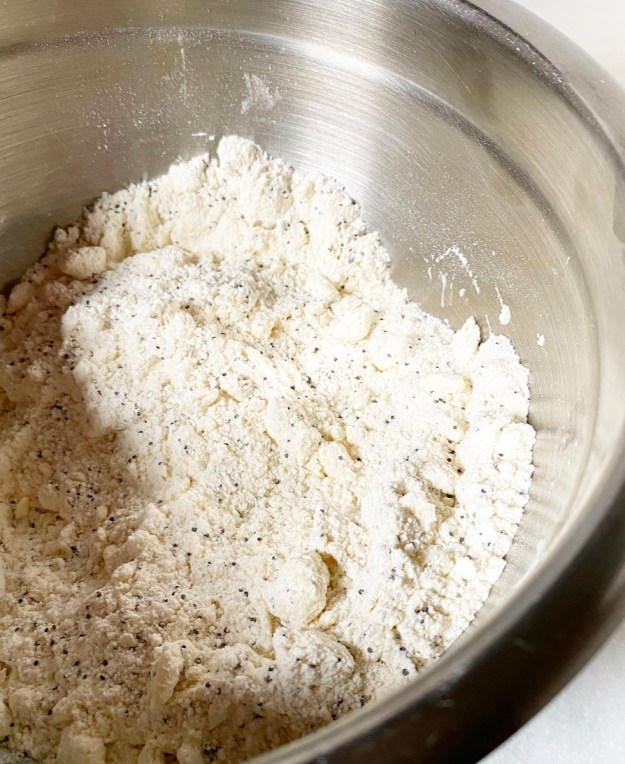
In a large mixing bowl, whisk together flour, sugar, poppy seeds, baking powder, and salt. Add cold butter. Use a pastry blender or clean fingertips to cut the butter into the flour until the largest pieces are the size of small peas. Stir in heavy cream mixture until a shaggy dough forms.
Turn dough out onto a floured surface. Pat it to 3/4-inch thick circle. Use a large, sharp chef’s knife to slice circle into 8 wedges. Freeze sliced scones for 15 minutes.
Place scones at least 2 inches apart on prepared pan. Brush with more heavy cream. Bake 16-17 minutes, until puffed and golden at the edges. Let scones cool on the pan on a rack for 15 minutes, or until they can be handled.
Make the glaze. In a small bowl, whisk together cream (or milk), vanilla and almond extracts. Whisk in confectioner’s sugar and salt. If the mixture is too thick, add more cream (or milk) by the teaspoon. Drizzle over scones and finish with toasted sliced almonds.
Scones may be served warm or at room temperature. They are best the day they are made, but will keep in an airtight container at room temperature for up to 2 days.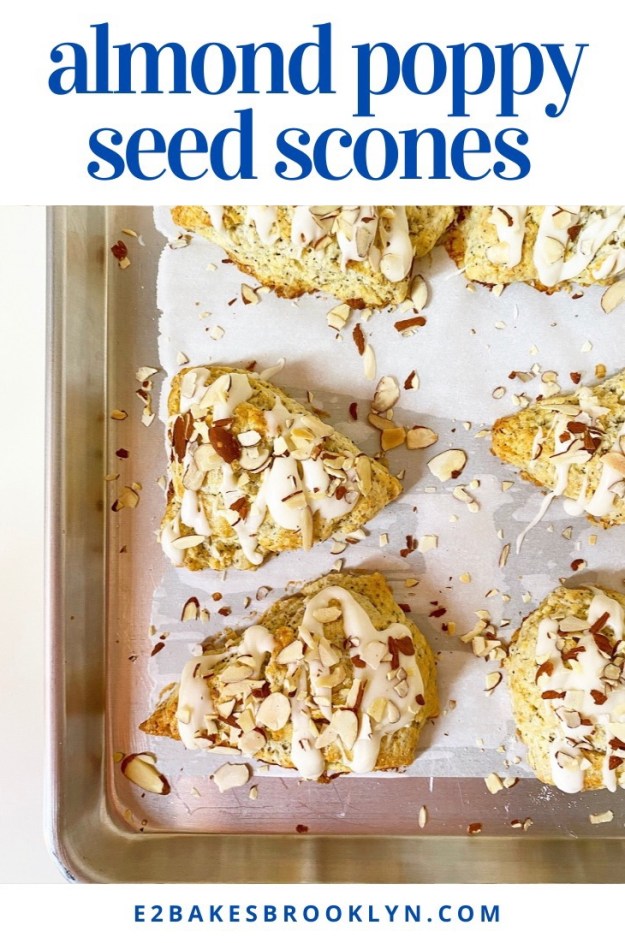


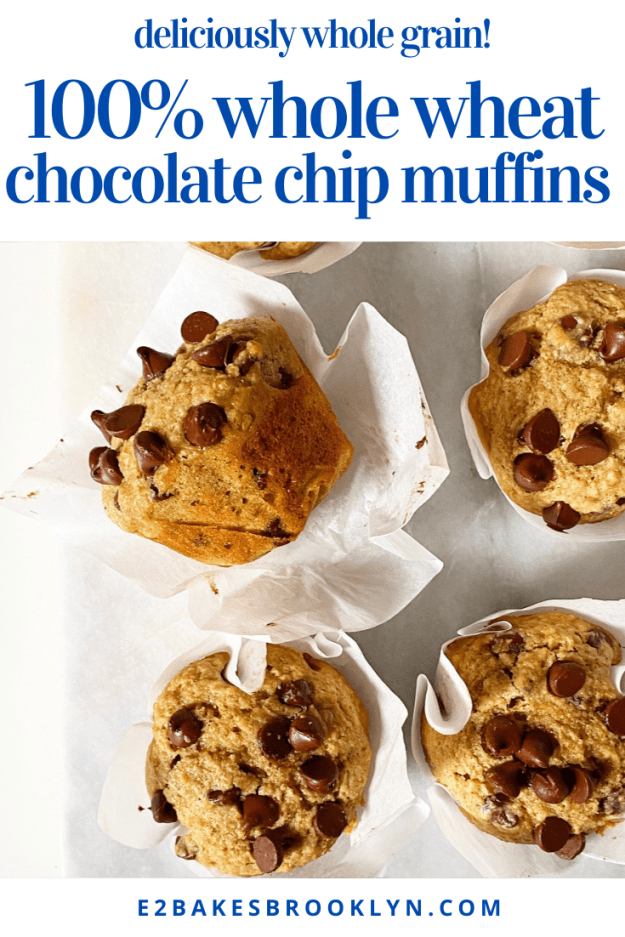
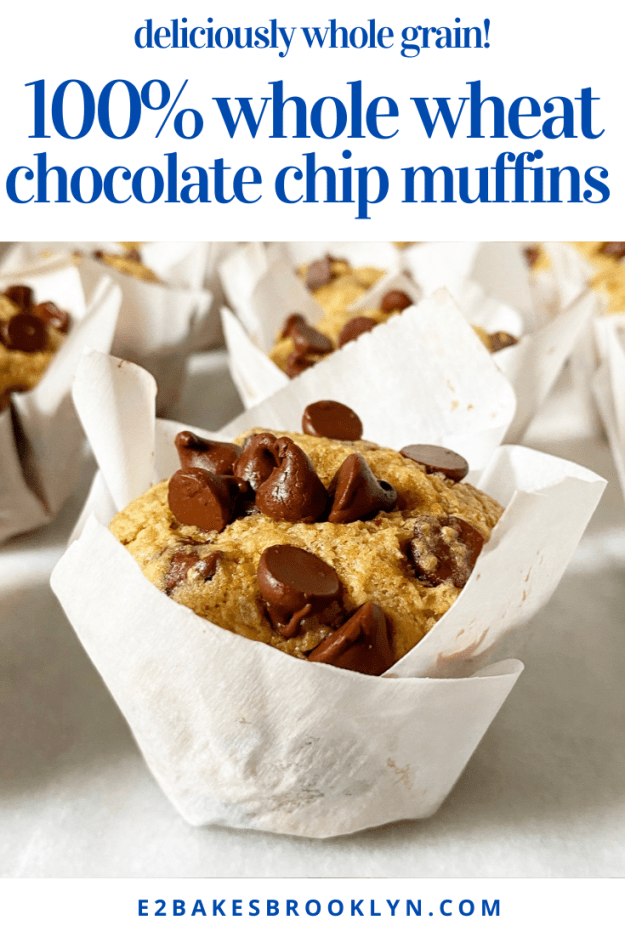
 In five years, I’ve deleted exactly three recipes from this blog. I’ve kept terrible photos, absurdly lengthy writing and even some personal stuff on here, so you may be wondering why I’d remove whole recipes. The answer is simple: because they were bad. Not “not perfect,” not “unoriginal.” Just bad. They didn’t taste good and/or work properly, and those are basically the only two requirements for me to put a recipe on here, so I deleted them. Among the group were a batch of Whole Wheat Chocolate Chip Muffins that were truly atrocious, and which I have finally found the time to rework into something delicious.
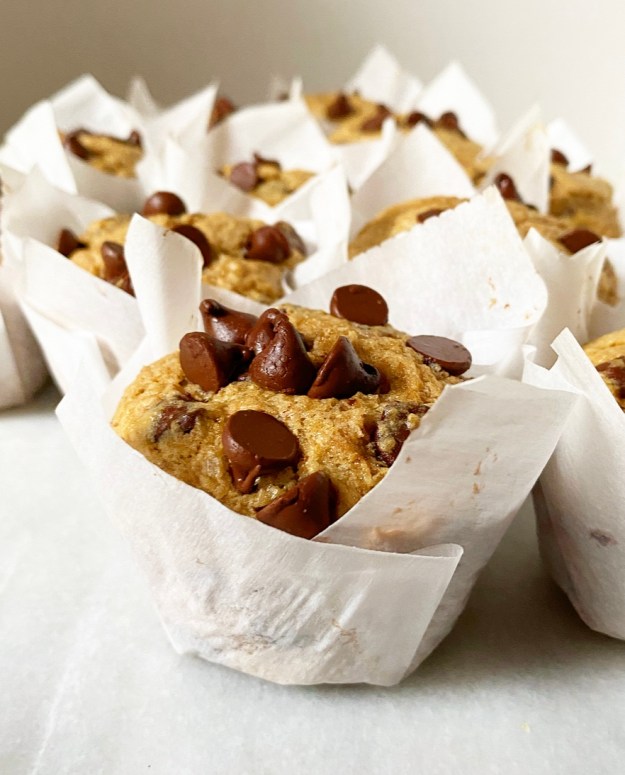 Now, I didn’t intentionally write a terrible muffin recipe. There were circumstances. I wrote the old recipe for Whole Wheat Chocolate Chip Muffins when I was five days off the break-up a four year relationship. That was my first mistake—don’t try to do good work when you’re heartbroken.
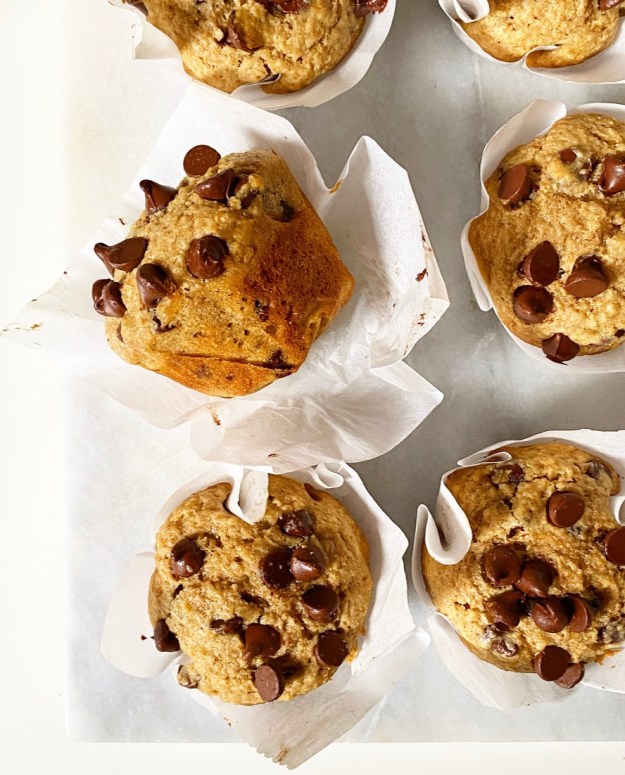 Two weeks ago, I found myself five years more experienced, very over that boyfriend, and with a large bag of mostly-unallocated whole wheat flour. Armed with that and a newfound
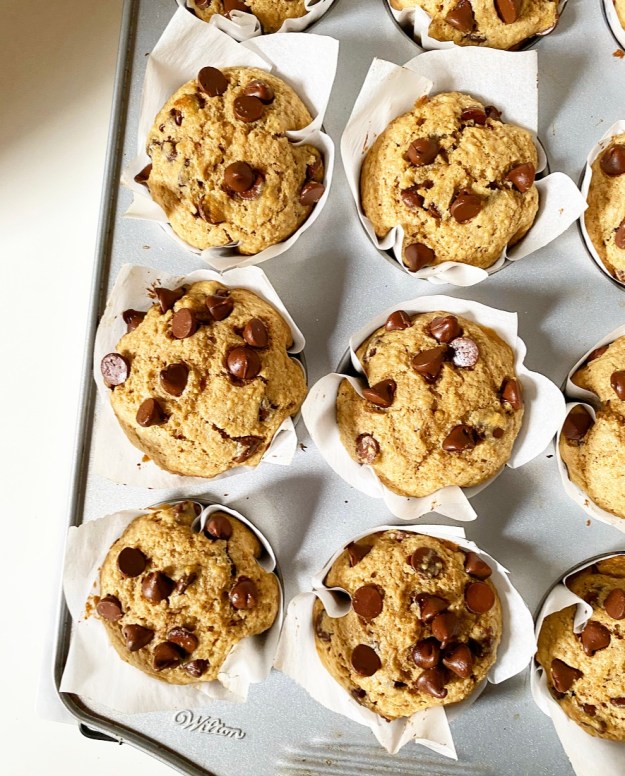
 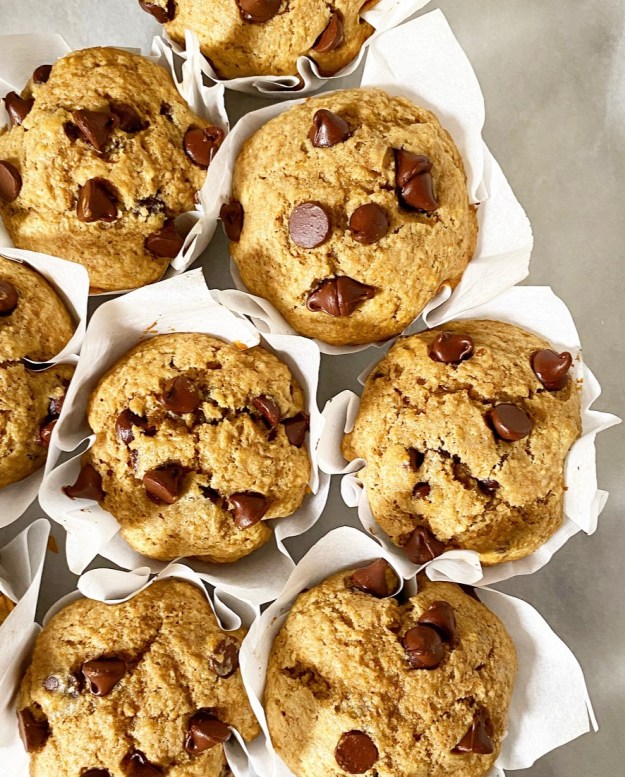 These Whole Wheat Chocolate Chip Muffins are soft and just sweet enough, with plenty of chocolate chips and whole grain flavor. Butter, sour cream and eggs keep them moist and balance the potential for heaviness that comes with using all whole wheat flour. They also get a little lift from starting in a 400F, then continuing at 350F until they’re fluffy, puffy and perfect.
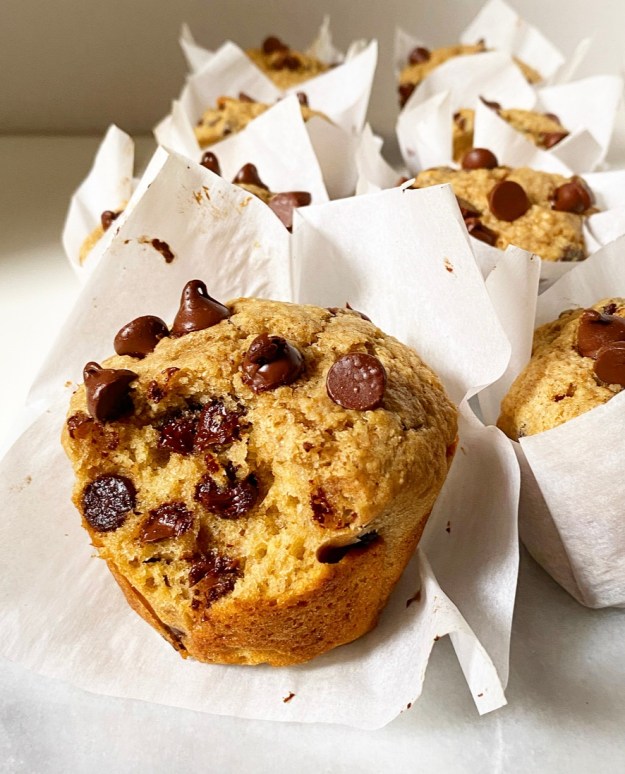

 Today I’m taking this blog into new territory: bread! You won’t find me feeding any sourdough starters or anything, but I have taken a chance on a few bread recipes over the last year because…well, I had some time on my hands. English Muffin Bread is my favorite by a long shot. It’s got all the craggy structure of English muffins, toasts like a dream, and is so delicious it’s kind of ridiculous.
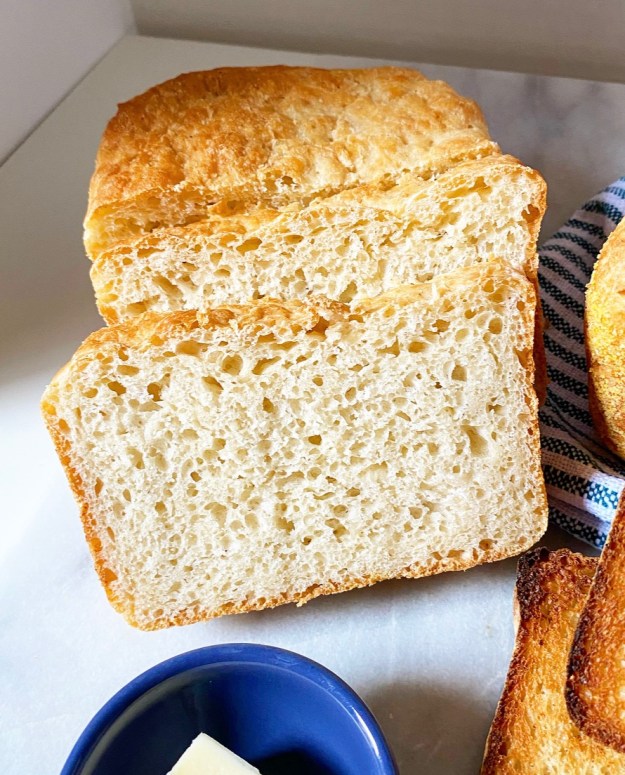 I first heard about English Muffin Bread when
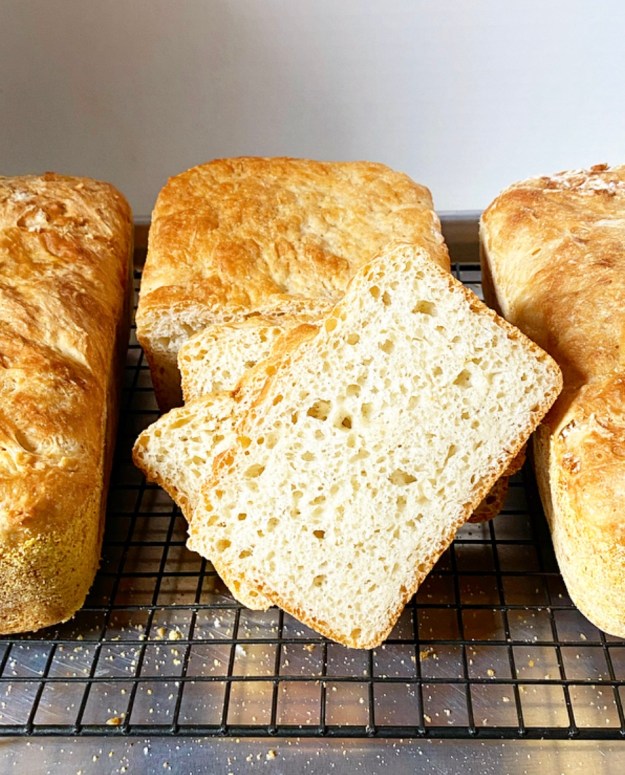
 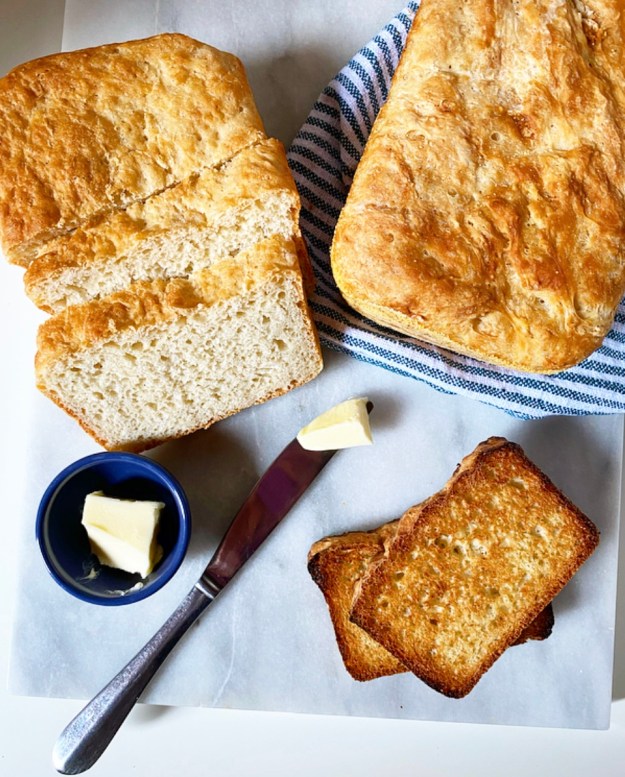 My English Muffin Bread is a one bowl, no-knead, single rise situation. By giving this dough just a few minutes of your time and then a bit of patience, you’ll be rewarded with all the craggy texture you love in English muffins, but in a sliceable, toastable loaf. Two of them, actually.
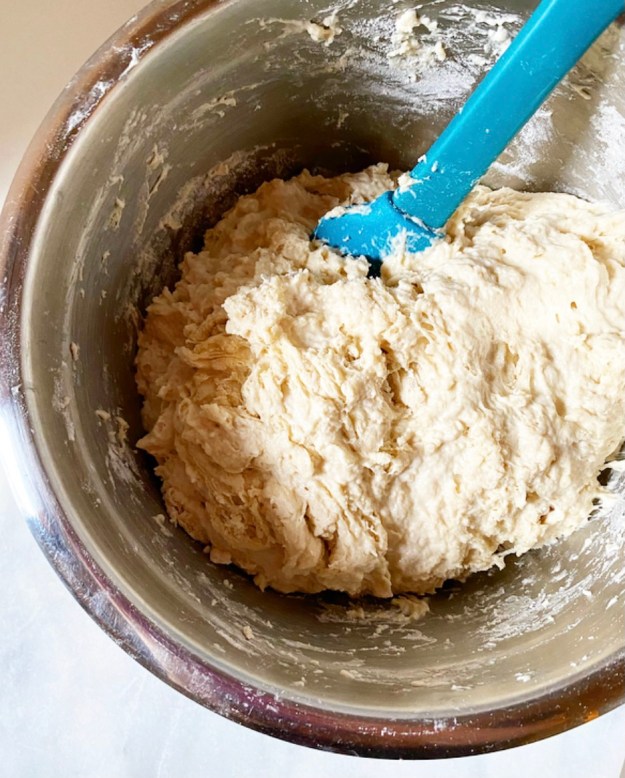 English Muffin Bread couldn’t be easier to make. Simply whisk together flour, a touch of sugar, kosher salt, instant yeast and a little baking soda, then stir in water and melted butter until a shaggy dough forms. Divide your dough in two, then put it in two cornmeal-dusted loaf pans. No, you didn’t miss a kneading step—thanks to the high volume of liquid and the desired texture, there’s no need to knead! <—see what I did there?!
 Let your dough rise for about an hour, just until it peaks over the tops of your pans. The combination of yeast and baking soda along with the single rise mean that the oven-ready dough will be very airy and a little delicate. It should be a bit wet looking and a little jiggly—be gentle with the pans so you don’t knock out any of the holey, craggy structure.
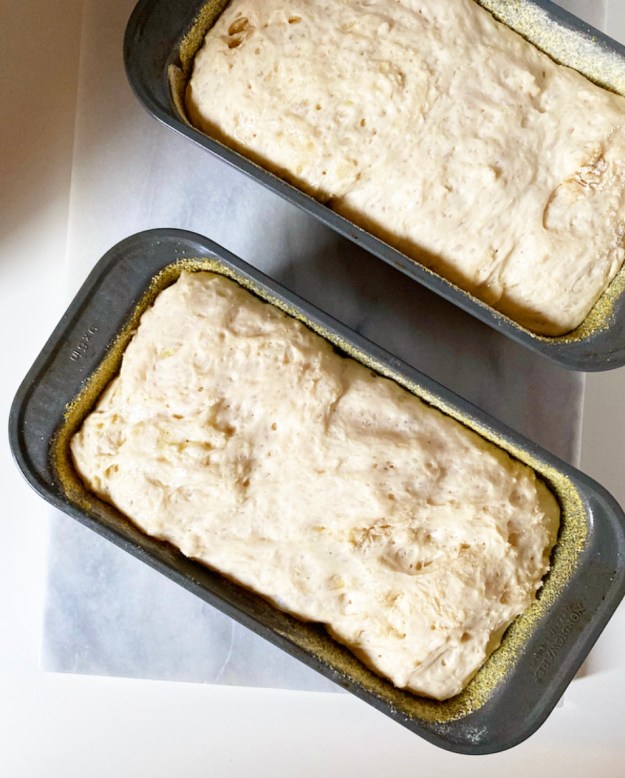 Bake your loaves for 25-30 minutes as 400F, until golden all over and hollow-sounding when tapped. If you’re worried about under-baking, a food thermometer should register 190F when the bread is done.
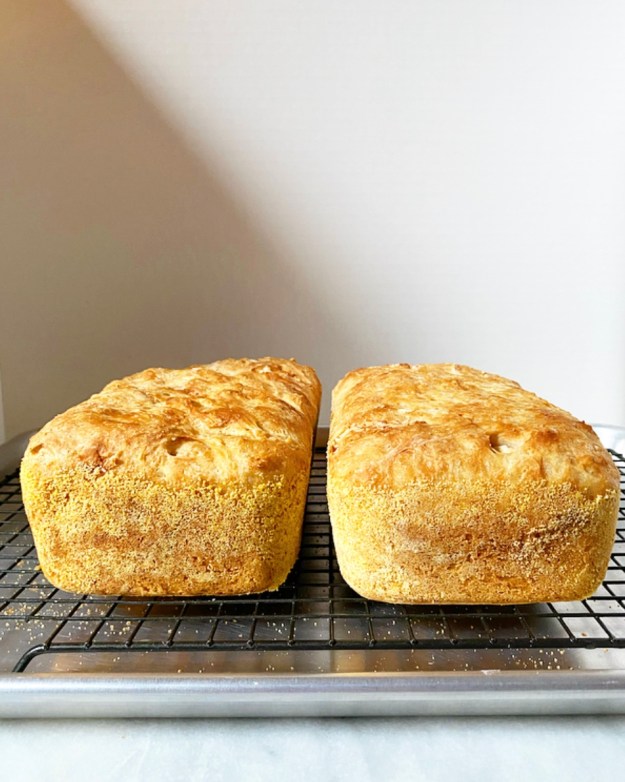
 Turn your loaves out onto a rack as soon as they come out of the oven, then let them cool completely. This is supremely important. Do not let the intoxicating smell of fresh-baked bread tempt you to rip into this while it’s cooling or you will find a gross, gummy mess. The hole structure needs to cool completely for maximum English muffin goodness. I find that cooling takes 2-3 hours, but that’s a small price to pay for the quality of toast you are about to consume.
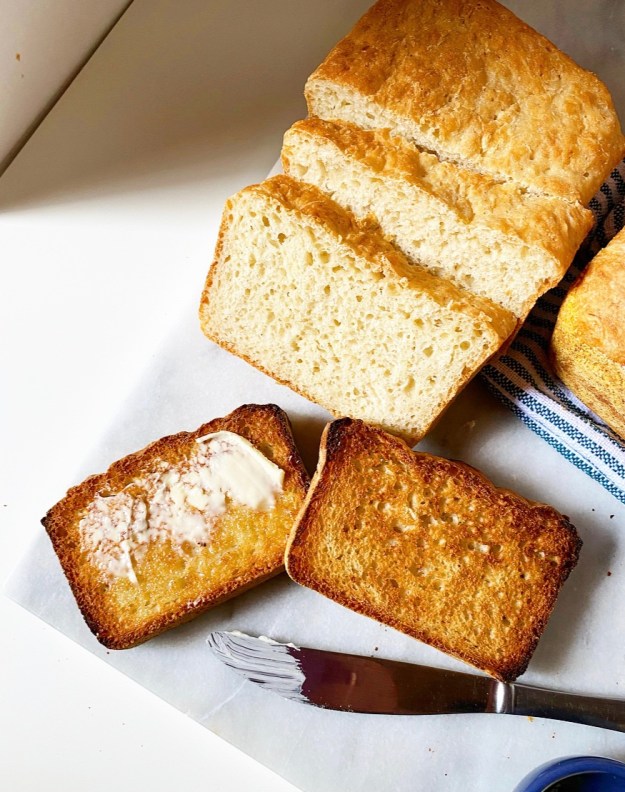 While you can absolutely enjoy a slice of English Muffin Bread without doing anything to it, an extra crispy, golden brown, toasty finish really makes each slice sing. The holes and crags are emphasized, the cornmeal on the edge gets extra crunchy, the minuscule amount of butter in the dough gives it just enough richness. Like a perfectly toasted English muffin, it’s perfect with a smear of soft butter. Or honey. Or jam. Or Nutella. Or peanut butter. Or avocado. Or fried into French toast. Or made into a grilled cheese.
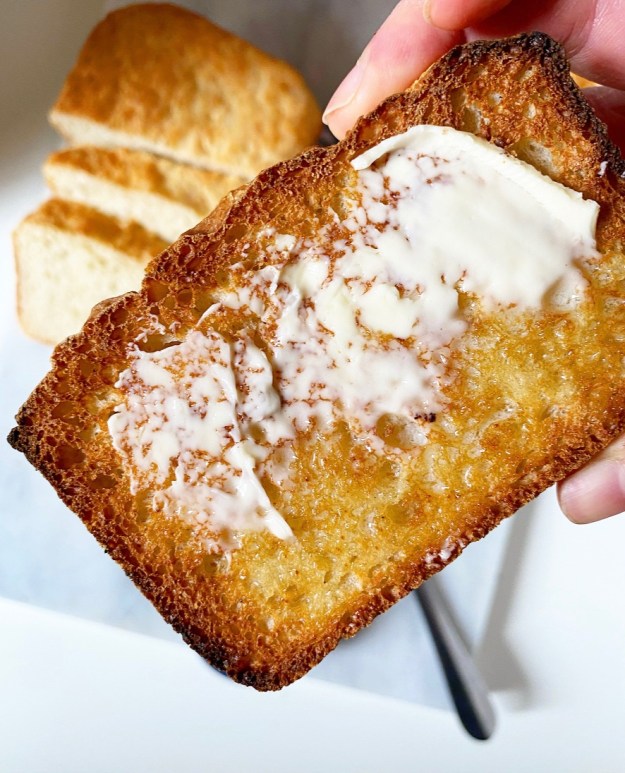
 When I was a kid, I had a friend whose mom hated to cook except for Saturday breakfast. A lot of the meals I ate with this family were takeout, but come the weekend, there were eggs and bacon, orange juice, blueberry muffins, and cinnamon rolls from one of those cans you have to thwack against the edge of your countertop. Little me thought it was the best ever (Puff Pancakes obviously excepted).
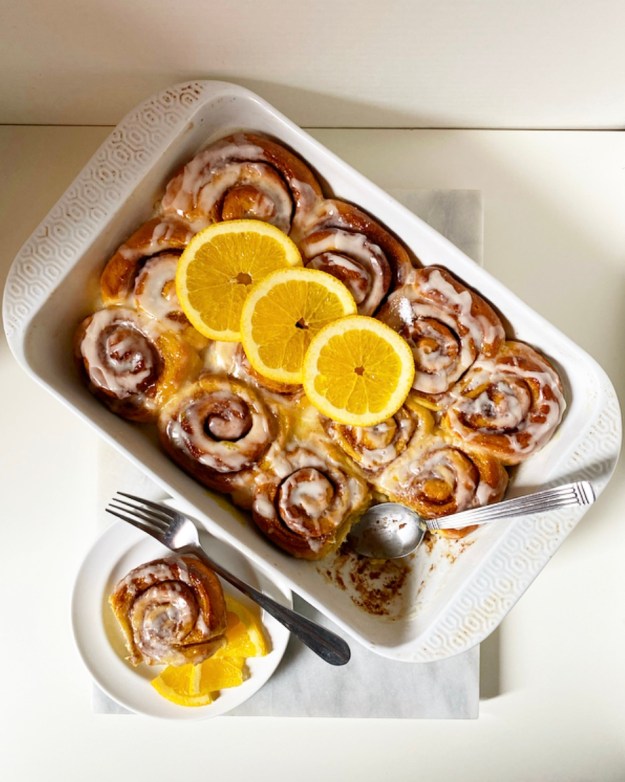 I had one complaint though, because of course I did. Every once in a while the cinnamon rolls would be the orange kind, and while everyone in that family loved them, I deeply did not. I kept my mouth shut—#manners—but I hated them. In fact, I still do, but only because I hate fake orange flavoring.
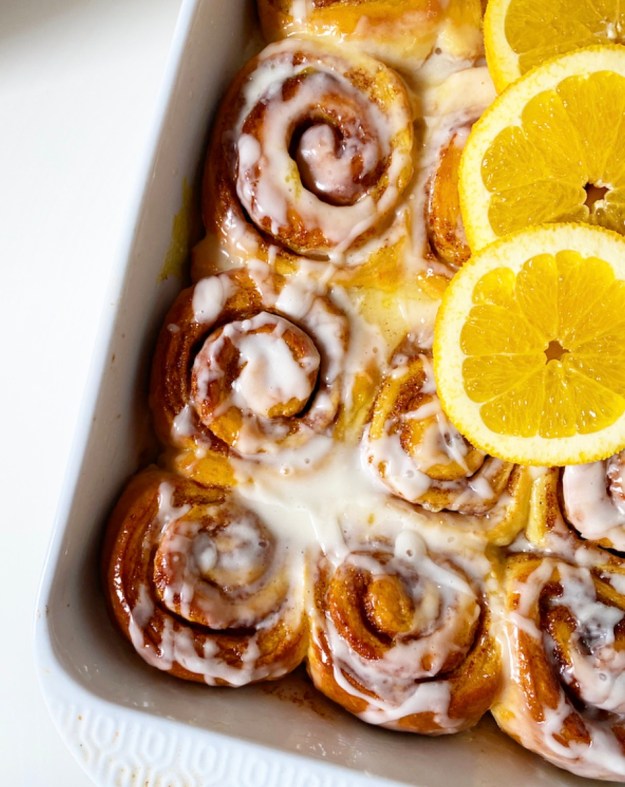
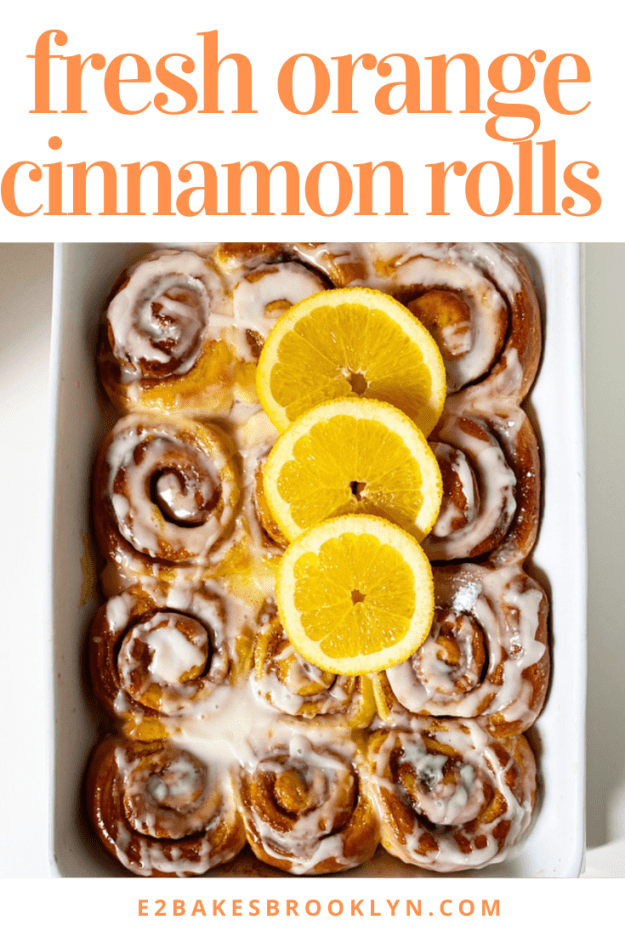
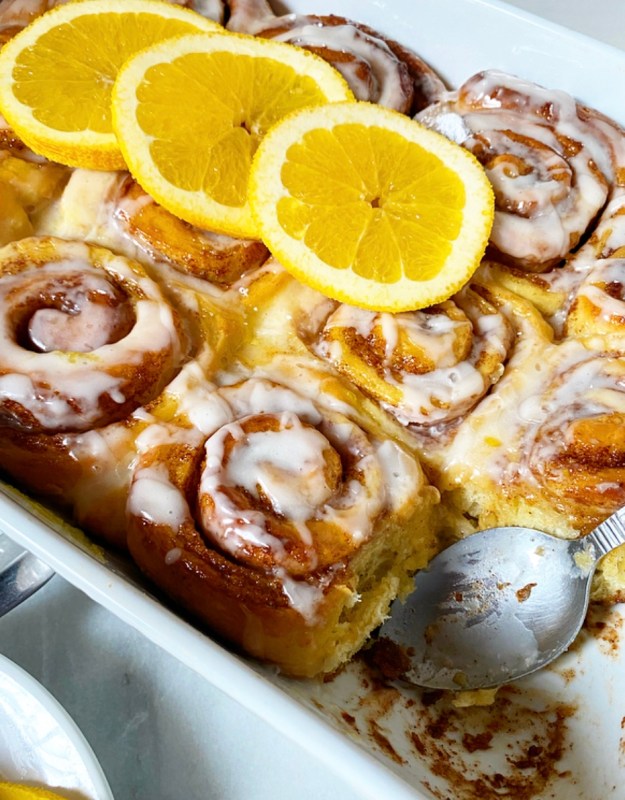 Turns out, I love Orange Cinnamon Rolls made with real fresh oranges. Like really, really love them. I mean, what’s not to love about fluffy, buttery, orangey cinnamon rolls?!
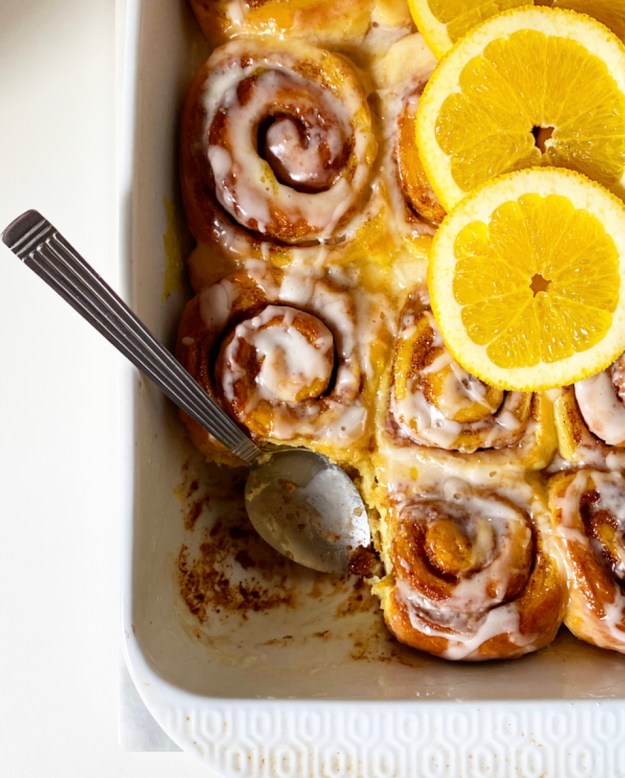
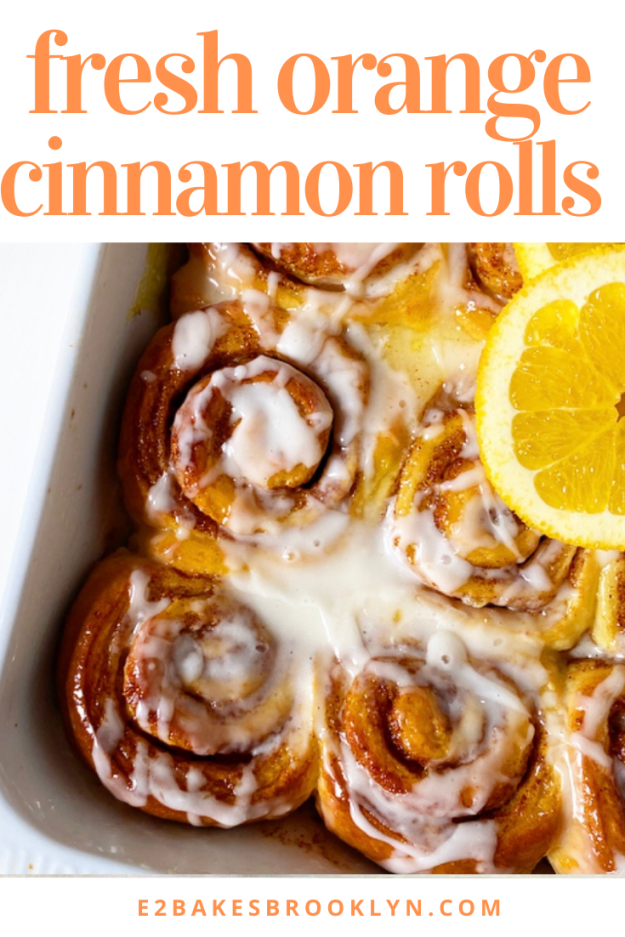
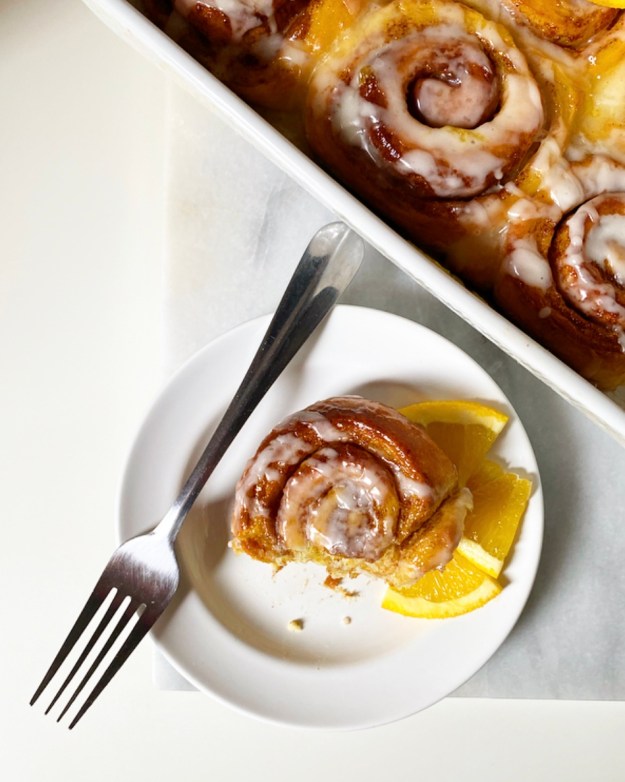 I’m over the moon for these, y’all. There’s orange zest in the dough and cinnamon filling, and orange juice in the glaze and the icing! Yes, you read that correctly, these babies have a glaze *and* an icing! I did this on last year’s
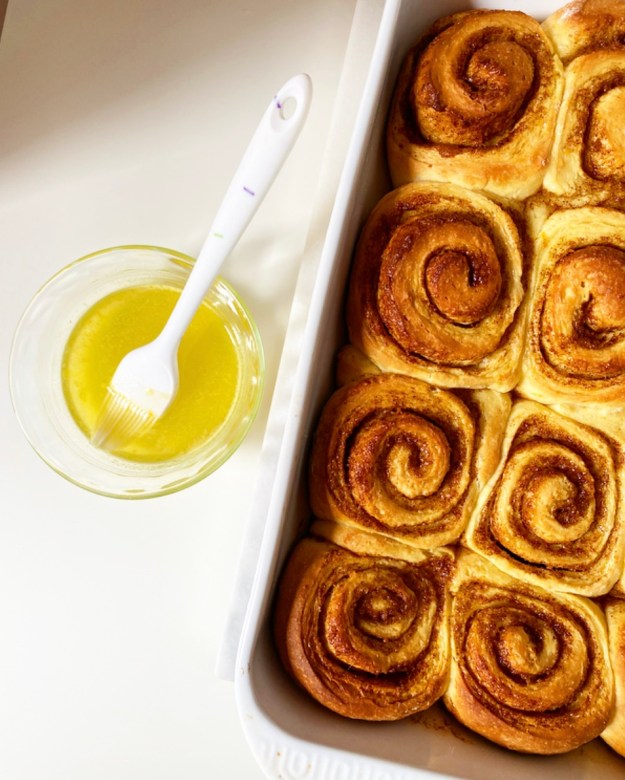
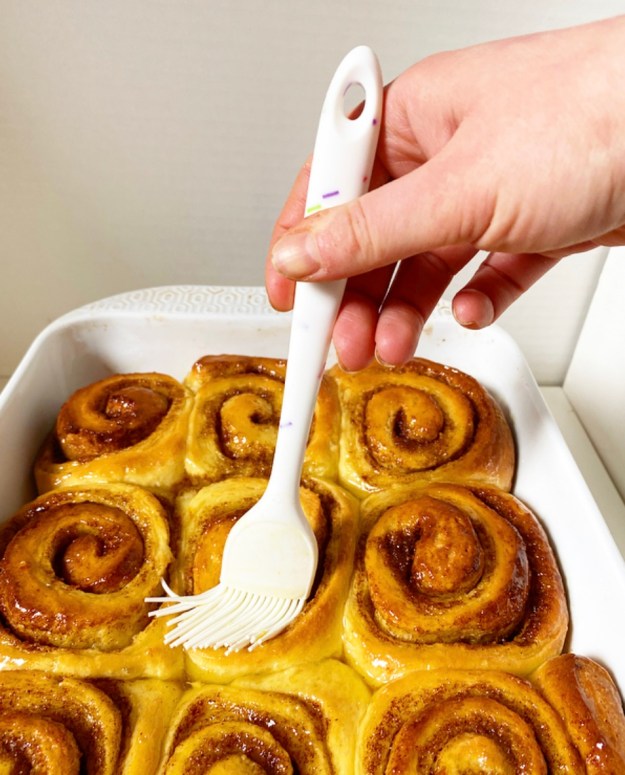
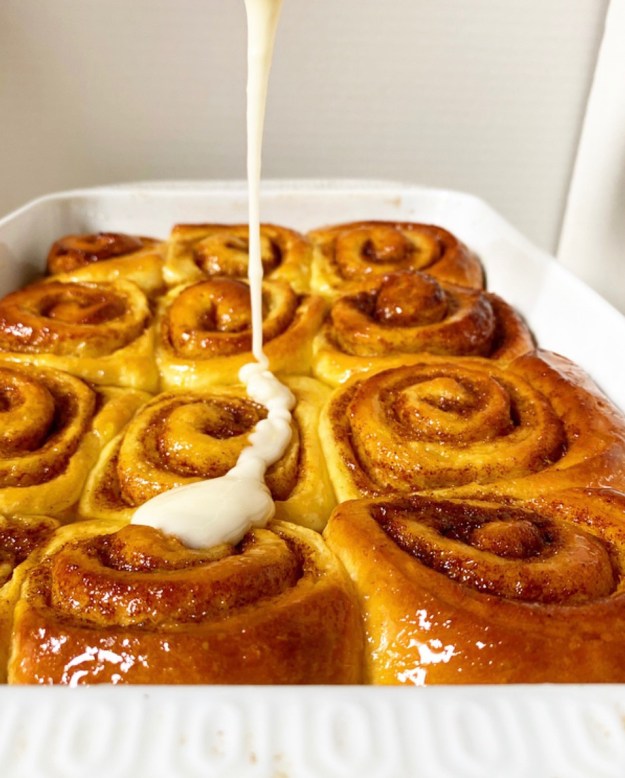
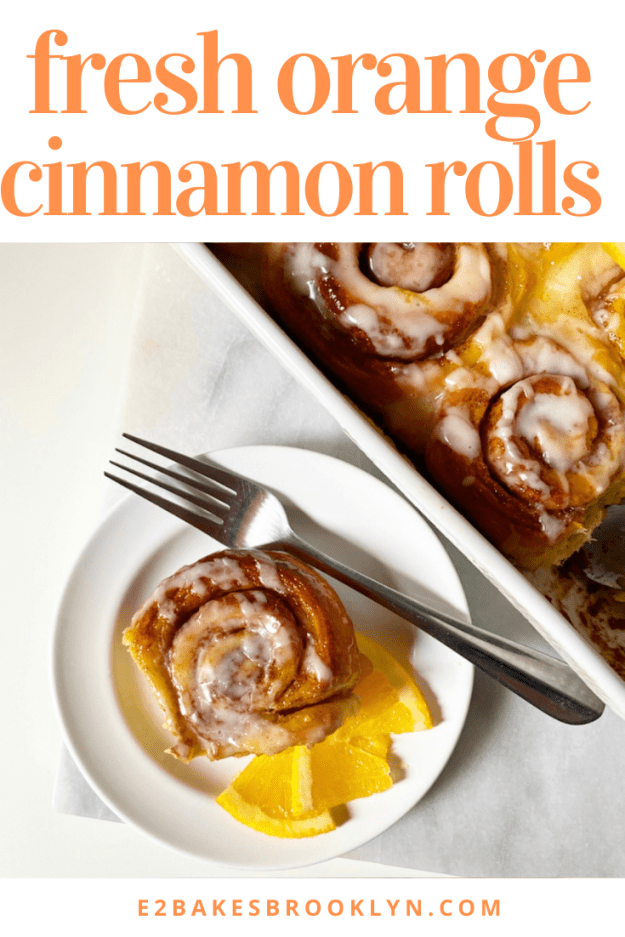
 Just after you pull your rolls from the oven, paint them with the orange glaze so they get glossy and soak up all that sticky orange flavor. Let that absorb for a few minutes and then hit them with a simple orange icing. This goes without saying, but yes, you can double it.
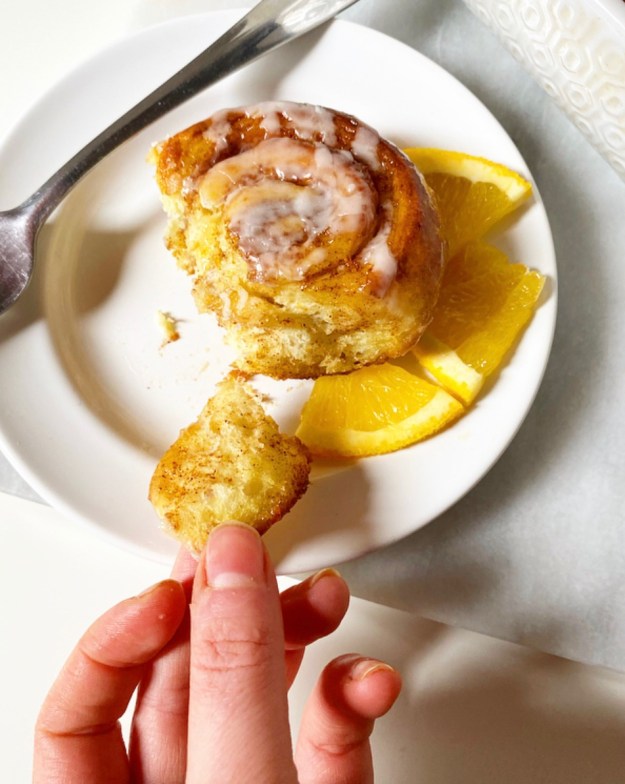 And then, well, you know what to do.
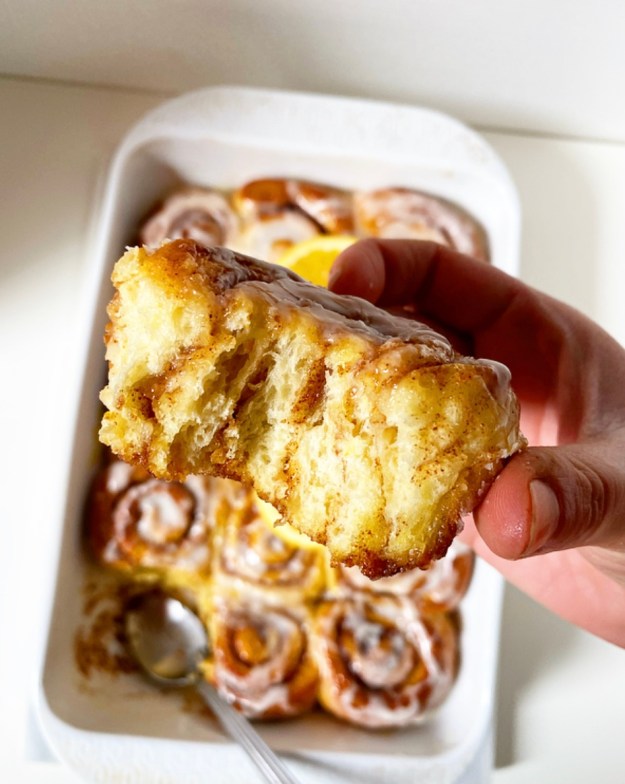
 Southern-style
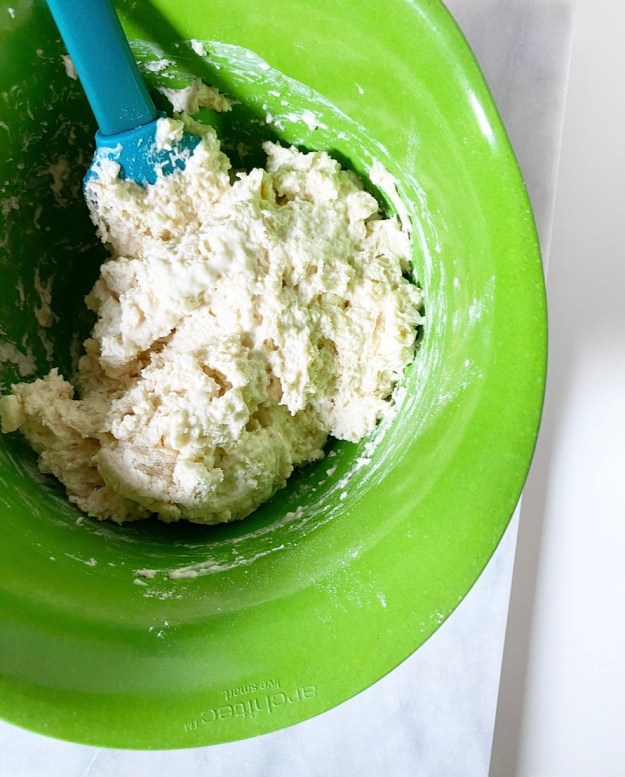
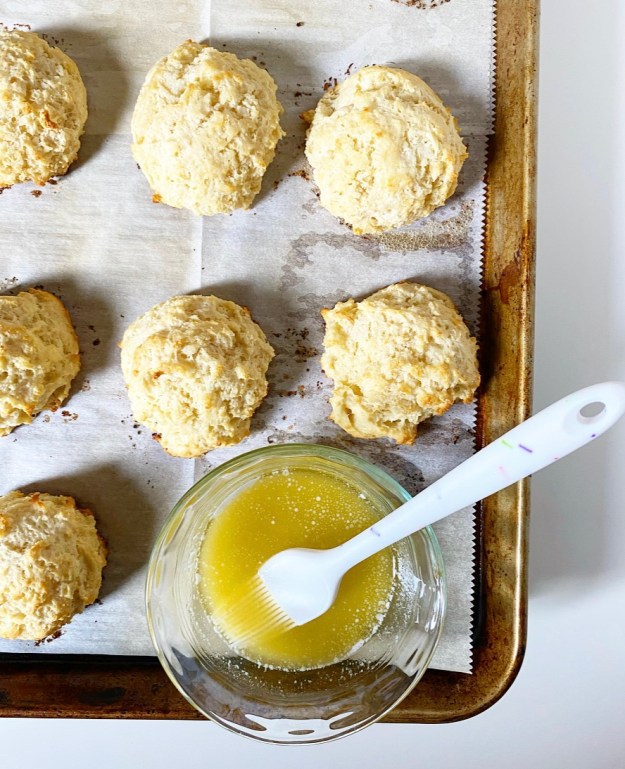 All that said, I’ve never really gotten on the drop biscuit train. I guess I thought they were cheating or something—the ingredients and mixing methods are nearly identical, but you don’t have to pat and cut anything, instead scooping the sticky dough directly onto a pan before baking. I suppose that without dirtying a surface or doing extra work I assumed that they were a slightly-less-good version of the “real deal.” But I was wrong. So, so wrong.
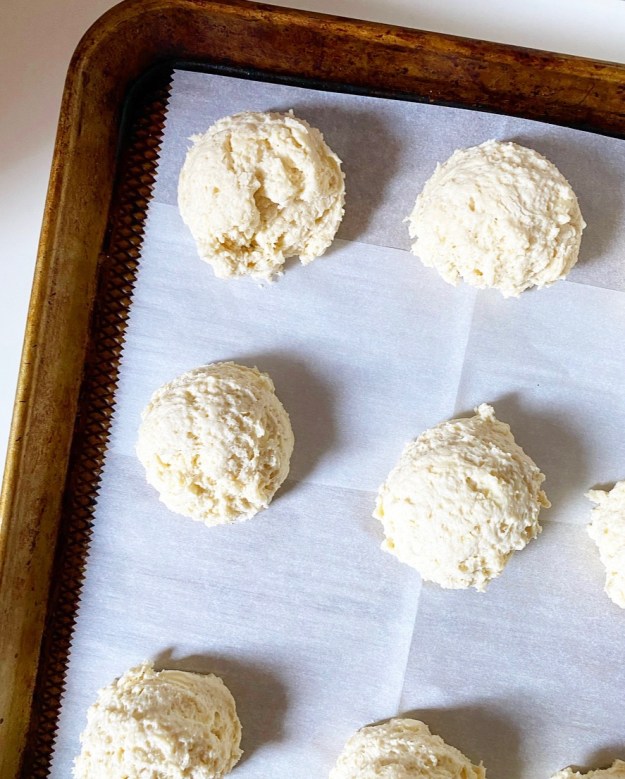
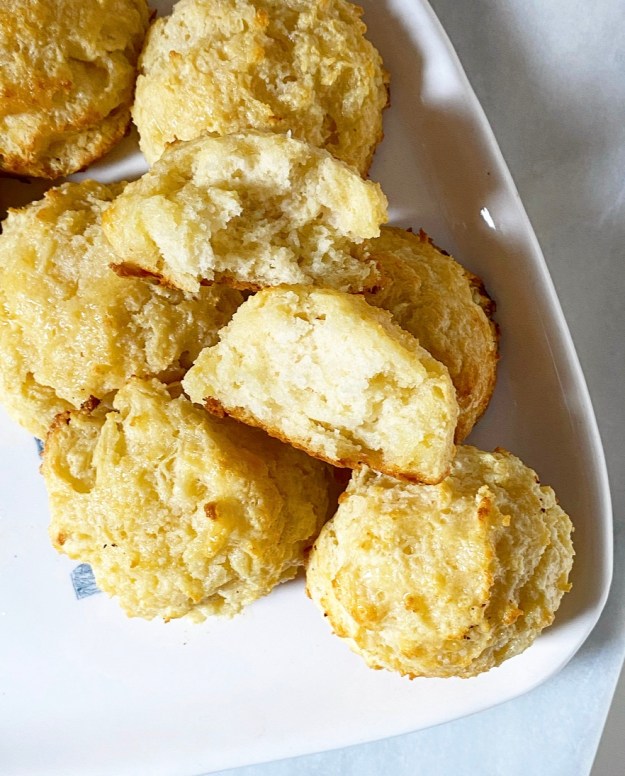 Turns out, drop biscuits are their own thing entirely. They’re fluffy and tender instead of flaky and layered, and they have these extra crispy-crunchy exteriors with which I am now fully obsessed. And the recipe works with both whole milk and buttermilk, and (!) I don’t have to scrape an invisible layer of butter and flour off of my countertop every time I make a batch. Drop biscuits, where have you been all my life???
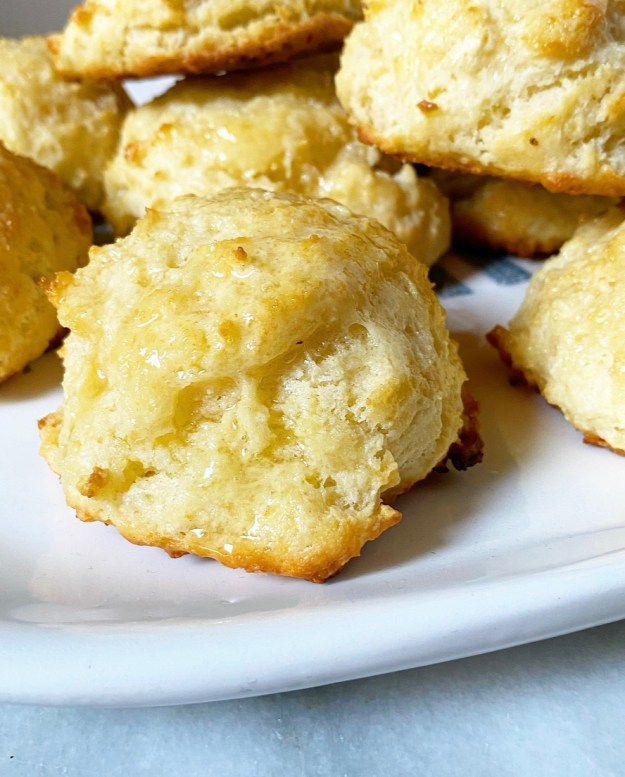
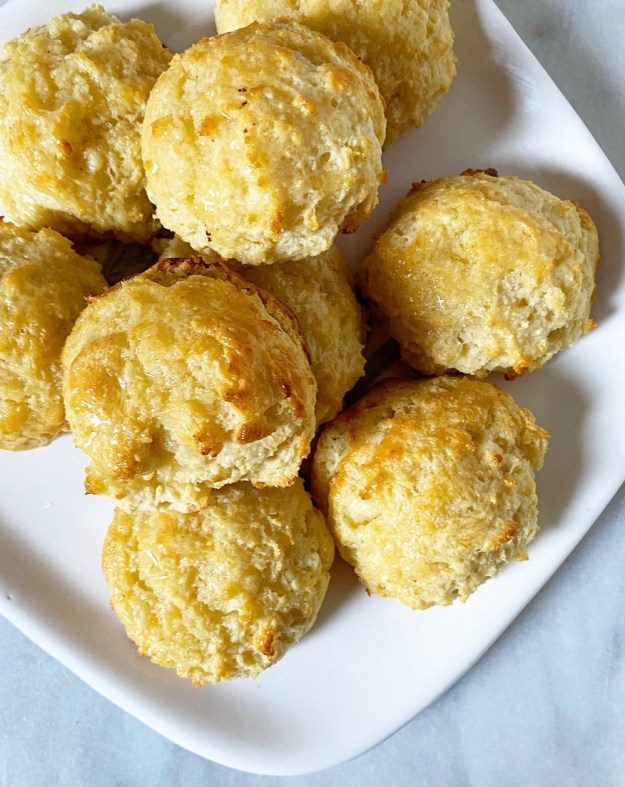
 I won’t lie to you: drop biscuits are not a traditionally beautiful food. They’re scraggly, craggy and have slightly wonky shapes, regardless of whether you use a cookie scoop, a spoon or your hands to dole out dough. They’re super delicious, just a little ugly. Or at least they are until you give them a glossy coat of salty-sweet honey butter.
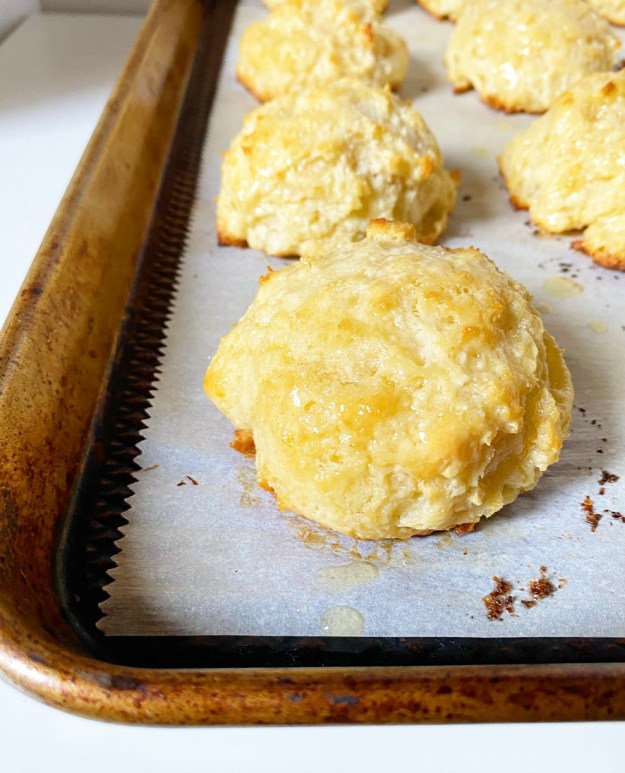
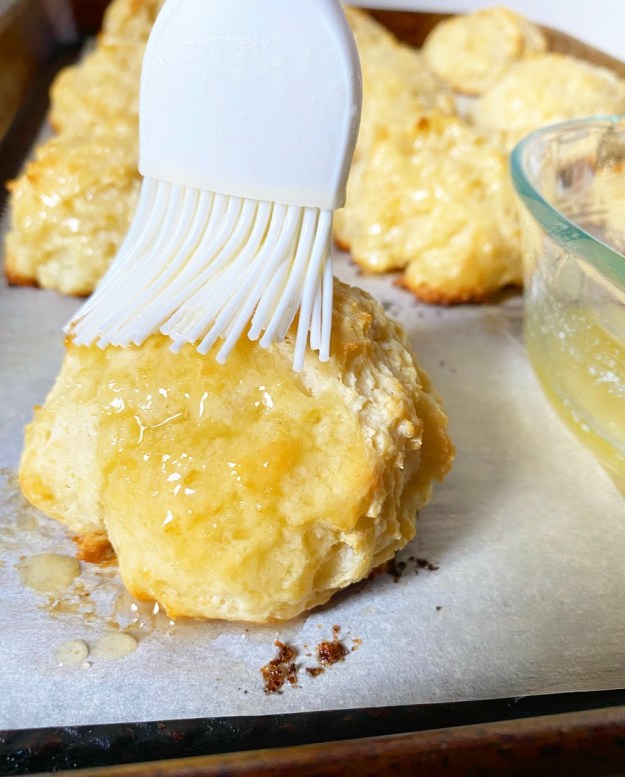
 Ohhh yes.