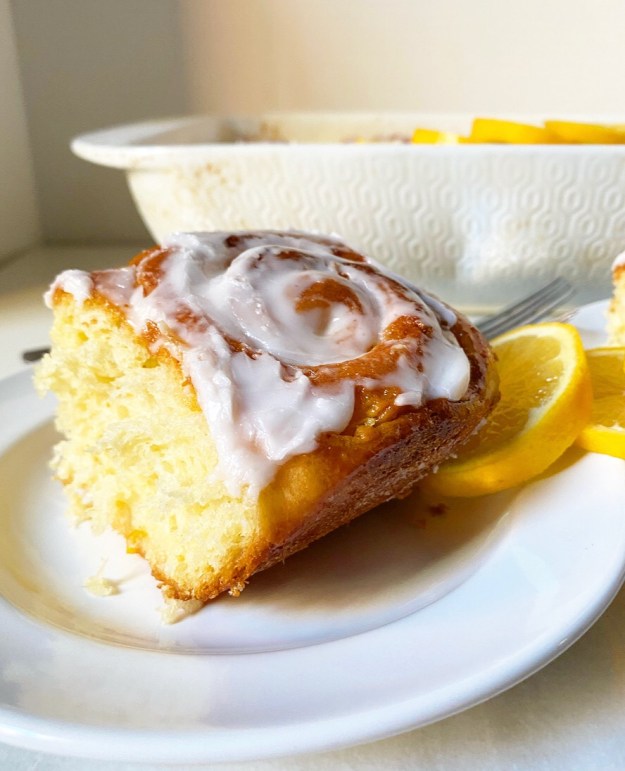
 Today is alllll about meyer lemons, y’all! As far as I’m concerned, they’re the queen of winter citrus. If you’ve never tried them, they’re what happens when you cross a mandarin orange with a lemon. This goes without saying, but they’re very, very good in baked goods.
Exhibit A: these Meyer Lemon Sweet Rolls!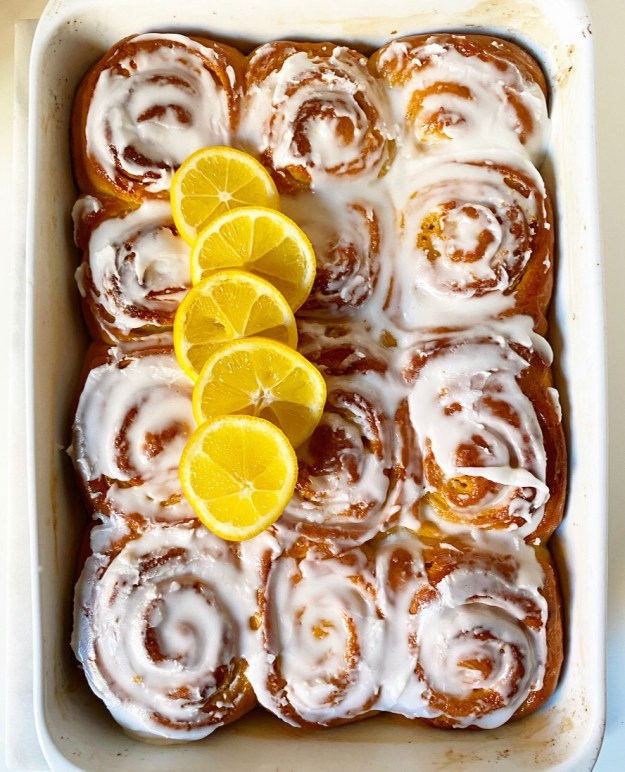 These tall, fluffy rolls make excellent use of meyer lemon juice and zest. They’re bright and tangy and just a little bit sticky, but in the best sort of way.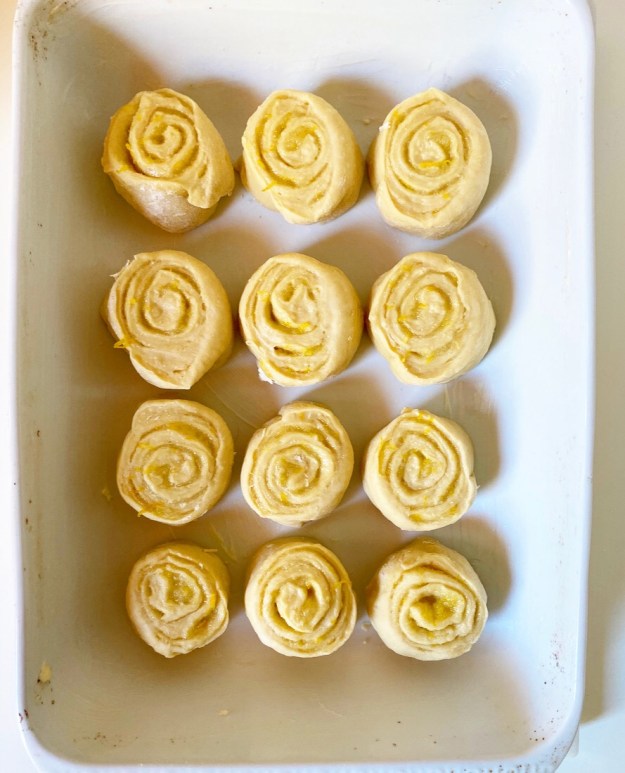
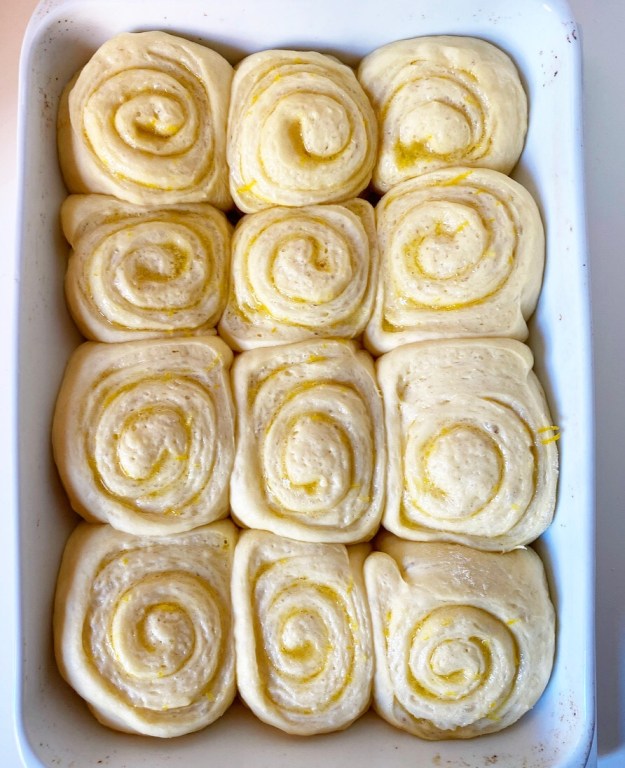
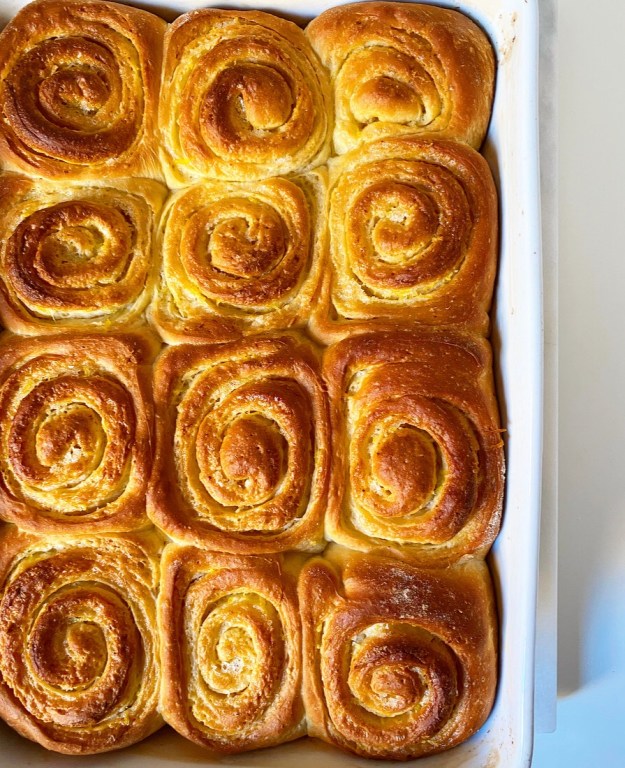 These rolls get three doses of meyer lemon flavor. The first is in the filling, which is simply a paste made of meyer lemon zest, sugar, salt and melted butter. It’s spread onto the dough before it’s rolled up, sliced, risen and baked.
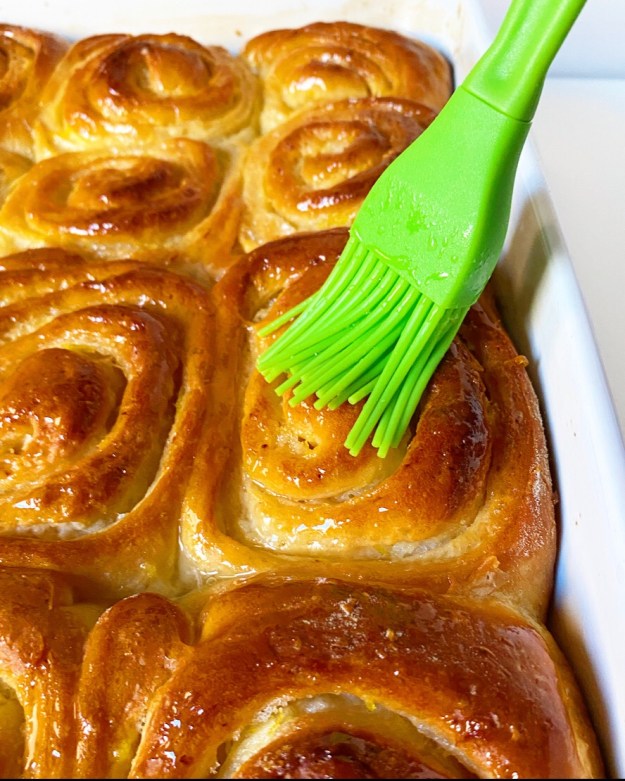 Next up: a glaze! I got the idea for painting on a glaze from last year’s Meyer Lemon Drizzle Cakes and I regret nothing. This simple syrup is made of meyer lemon juice and a few tablespoons of sugar, and brushed onto the rolls right after they come out of the oven. It makes them a little sticky and a little glossy and I am very much here for it.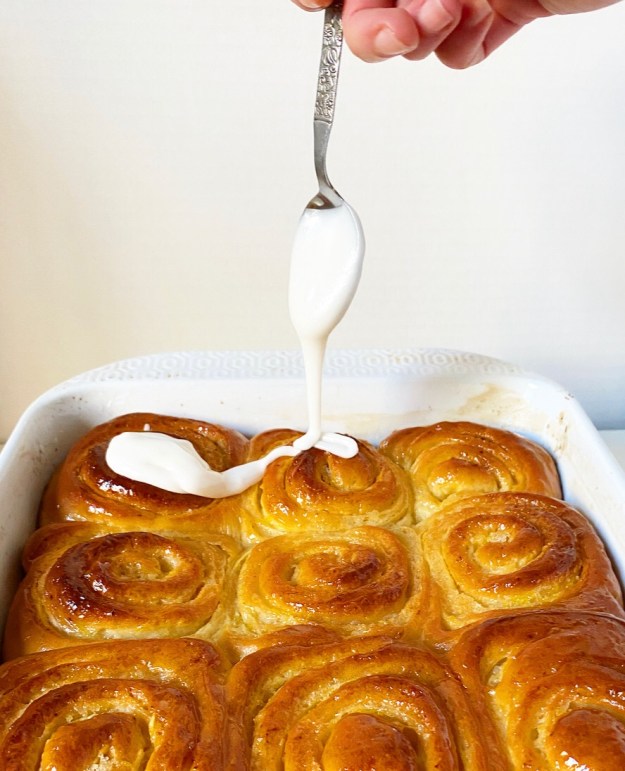
 It’s all rounded out with a layer of meyer lemon icing. Ohhhh, the icing. It’s the crowning glory of this whole operation! To make it, just whisk a couple tablespoons of meyer lemon juice and a pinch of salt into a cup of confectioners sugar, and then spoon/pour/drizzle/spread it all over the tops of the rolls so that they’re absolutely impossible to resist.
 And then eat the dang rolls and bask in the sunshiny goodness that is the union of perfect winter citrus and fluffy pastry. Bask, I tell you.
Meyer Lemon Sweet Rolls
makes 12 rolls
Dough:
2 2/3-3 cups all-purpose flour
3 tablespoons granulated sugar
1 packet (2 1/4 teaspoons) instant yeast (I use Fleischmann’s Rapid Rise Yeast)
1 teaspoon Kosher or sea salt
1 cup whole milk
4 tablespoons unsalted butter
2 large eggs, beaten, room temperature
Filling:
2 tablespoons meyer lemon zest (about 2-3 meyer lemons)
2/3 cup granulated sugar
pinch of Kosher or sea salt
4 tablespoons unsalted butter, melted
Glaze:
1/4 cup fresh meyer lemon juice (1-2 meyer lemons)
3 tablespoons granulated sugar
Icing:
1 cup confectioners sugar
pinch of Kosher or sea salt
2-3 tablespoons fresh meyer lemon juice (1-1 1/2 meyer lemons)
Grease a 9×13-inch casserole dish or rimmed baking pan. Set aside.
In a large mixing bowl, whisk together 2 2/3 cups all-purpose flour, sugar, instant yeast, and salt. Set aside.
In a small saucepan, heat whole milk and butter until hot to the touch, about 110F.
Use a silicone spatula or wooden spoon to fold milk mixture into dry ingredients , followed by beaten eggs. Add more all-purpose flour in 2 tablespoon increments until dough starts to pull away from the sides of the bowl. Knead 5-6 minutes before forming into a ball. Cover with plastic wrap and let rest for 10 minutes (you may do this in a bowl, but I just do this on my surface).
Make the filling. In a small mixing bowl, use your fingertips to rub meyer lemon zest into sugar. Add salt and melted butter and stir with a fork until a paste forms.
On a lightly floured surface, roll dough into a 12×18-inch rectangle. Drop filling over the dough by the spoonful. Use an offset knife or the back of a spoon to spread filling mixture over the dough, keeping a 1/2-inch perimeter on all sides. Starting with the long edge closest to your body, tightly roll filled dough away from you, smoothing any seams with your thumbs. Slice dough into 12 rolls. Place rolls close together in prepared pan. Cover the pan with aluminum foil or plastic wrap. Place covered pan in a warm, draft-free place for 60-90 minutes, until rolls have doubled in size. Remove pan from oven.
Preheat oven to 375F. Uncover rolls. Bake 25-30 minutes (mine took 27), tenting the rolls with foil if anything begins to brown too quickly.
While rolls are baking, make the glaze. In a small bowl, use a fork to stir together meyer lemon juice and sugar. Microwave in 15 second increments, stirring in between, until the sugar has dissolved (45-60 seconds total).
Remove rolls from the oven. Let cool 1-2 minutes, then use a pastry brush to paint glaze all over all exposed pastry. Use all glaze. Let sit 5 minutes while you make the icing.
Make the icing. In a small mixing bowl, whisk together confectioners sugar, salt and 2 tablespoons of meyer lemon juice. Add more juice by the teaspoon (up to 3 teaspoons) until icing is thick, but pourable.
Spoon/pour icing over the rolls and use an offset icing knife or the back of a spoon to spread icing over the rolls as desired. Serve.
Meyer Lemon Sweet Rolls are best served the day they are made, but will keep covered at room temperature for a day or so.


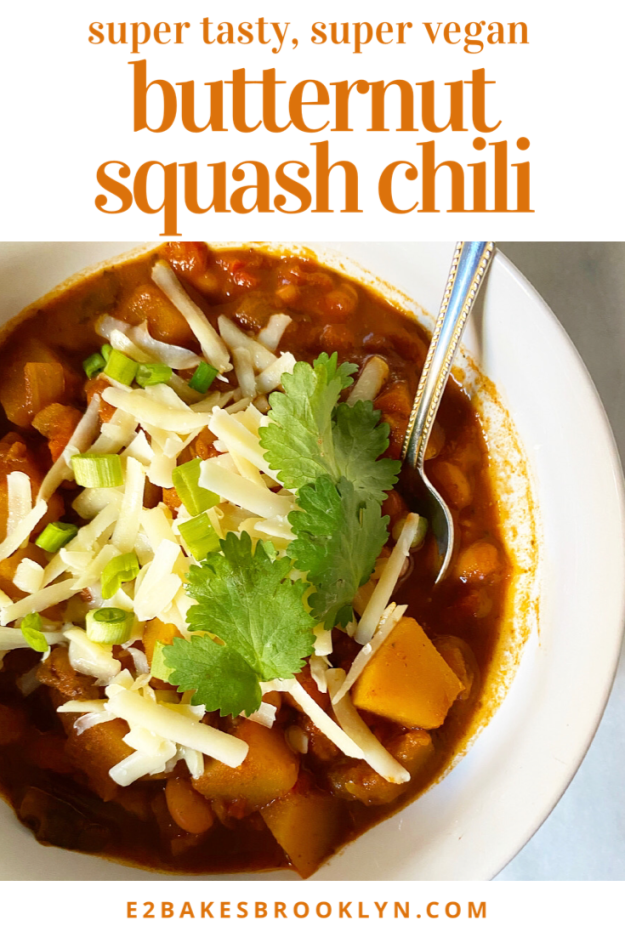
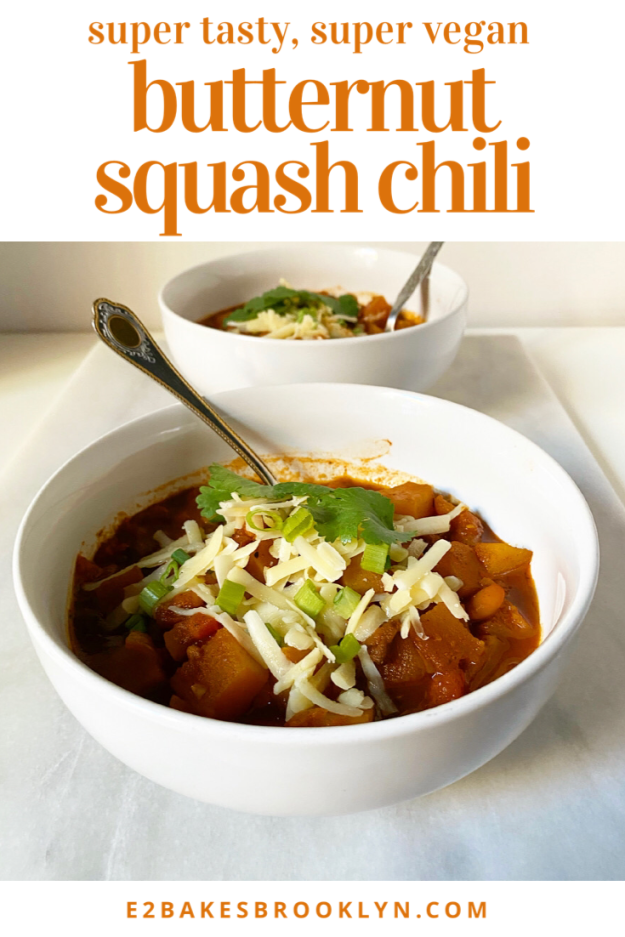
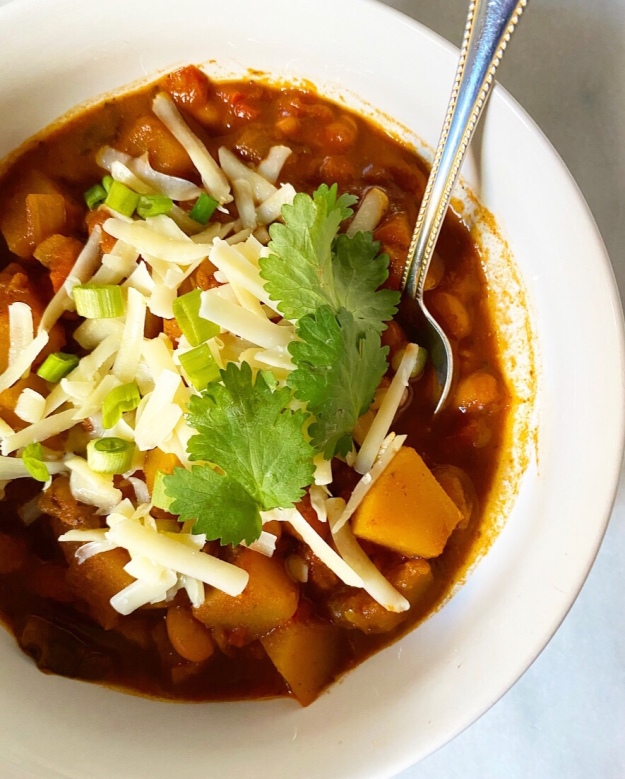 I am psyched for today’s recipe, y’all! This vegan Butternut Squash Chili is so good and good for you—perfect for the Super Bowl this weekend or any wintry night.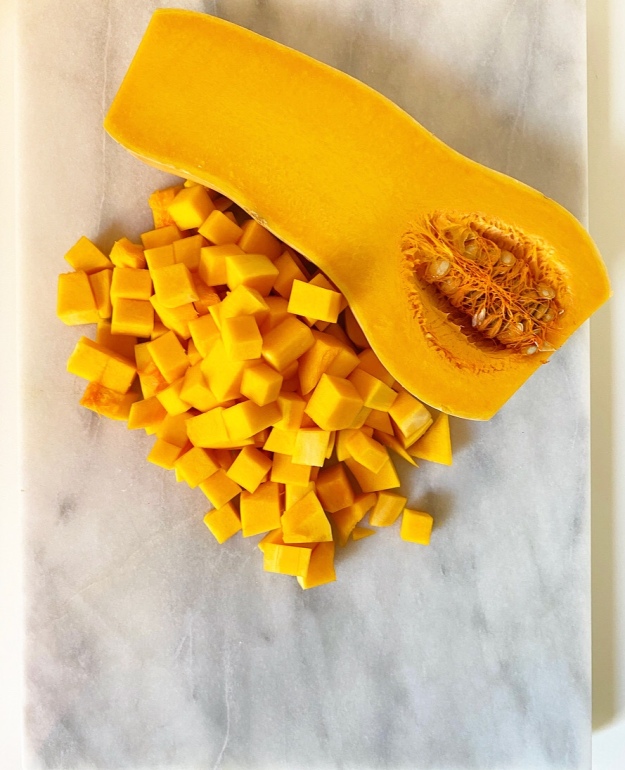
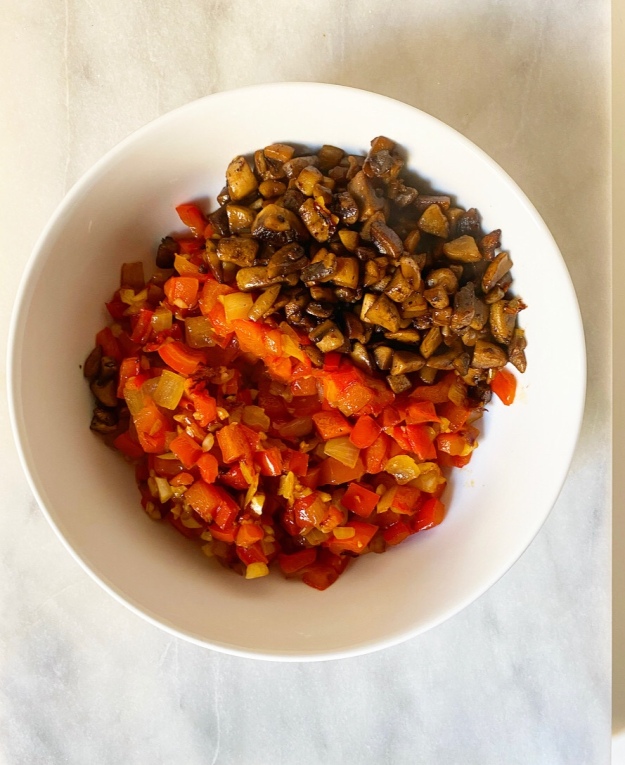 It’s made with loads of good stuff. We’re talking the standard onion, garlic and red bell pepper, of course, but also a whole butternut squash (duh), meaty mushrooms, and pinto beans. YUM!
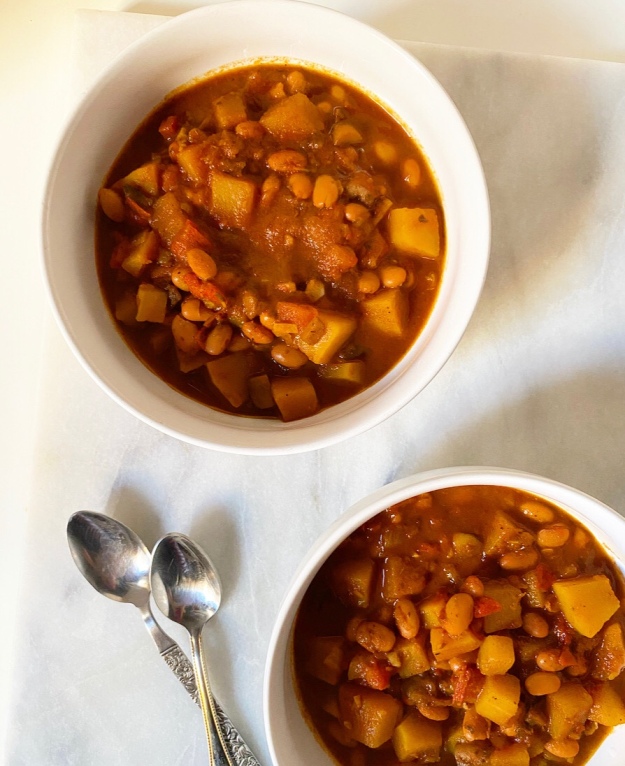 I know that being Texan means I “shouldn’t” like beans in
 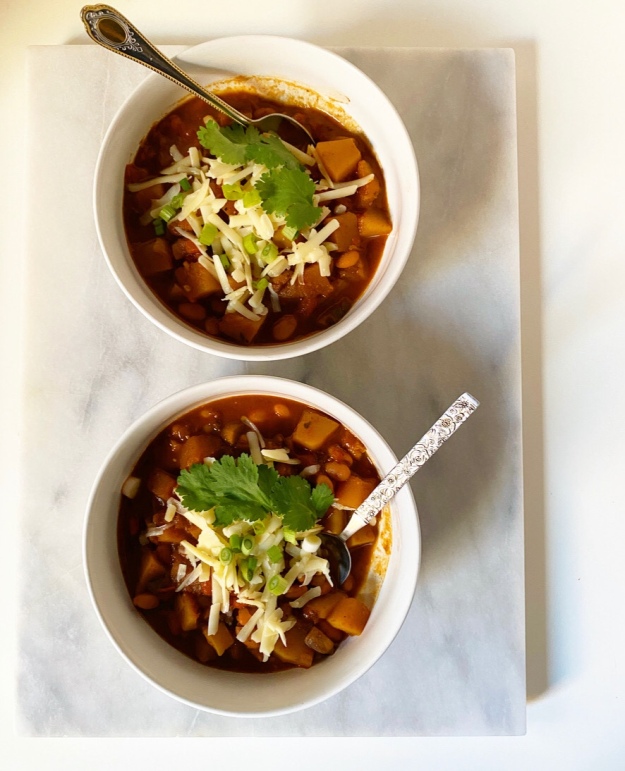 Small amounts of cinnamon and cocoa powder set this chili apart from the rest. They add a little nuance to the standard seasoning combination of chili powder, cumin, dried oregano, and cayenne. Minced chipotles in adobo are stirred in before serving for a touch of smoky heat.
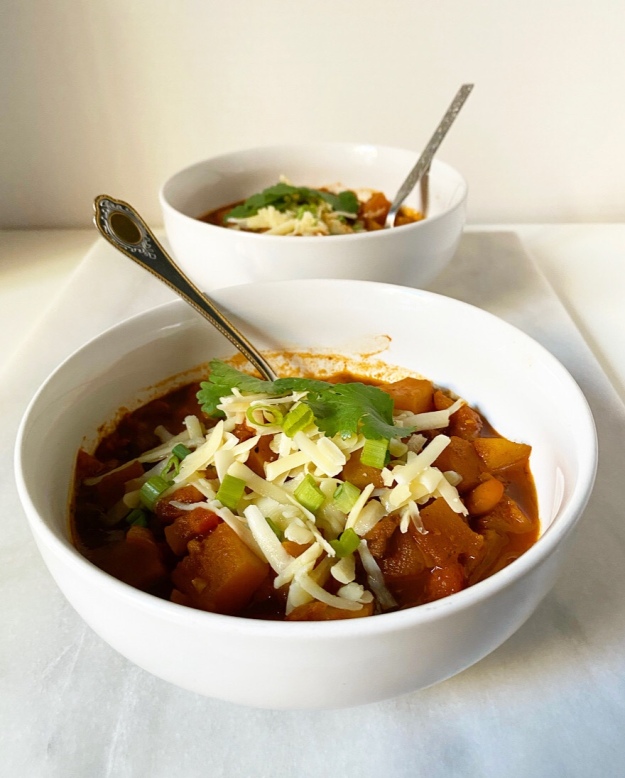 Butternut Squash Chili requires a couple of long browning steps—you want maximum flavor from those onions and mushrooms—and a simmer, but comes together surprisingly quickly overall. The batch pictured clocked in at just under two hours, which gives you just enough time to whip up some
 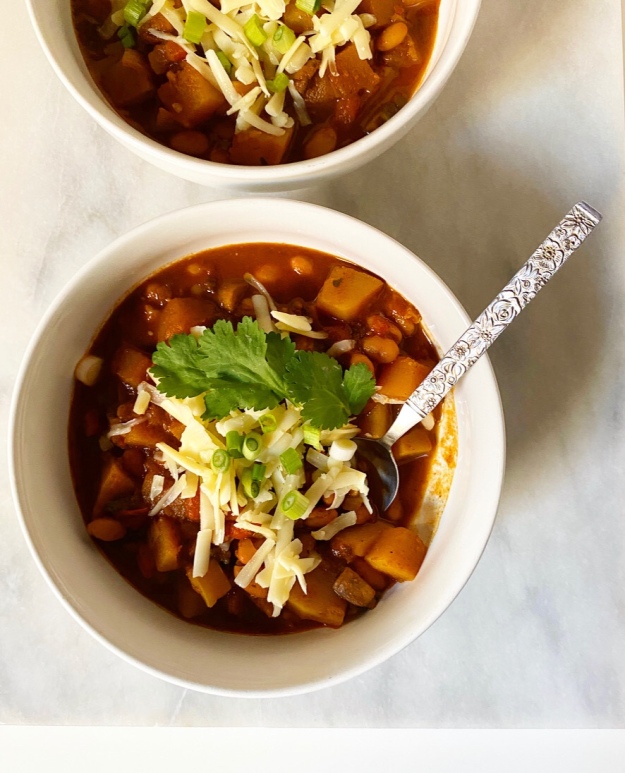 As with most soupy, stewy things, this is a meal that will get better with time. It’s delicious the day it’s made, but is particularly spectacular after a day or two in the refrigerator. Basically, if you want to eat this while you watch the Super Bowl, make if Friday, Saturday or Sunday. Love a make-ahead main!

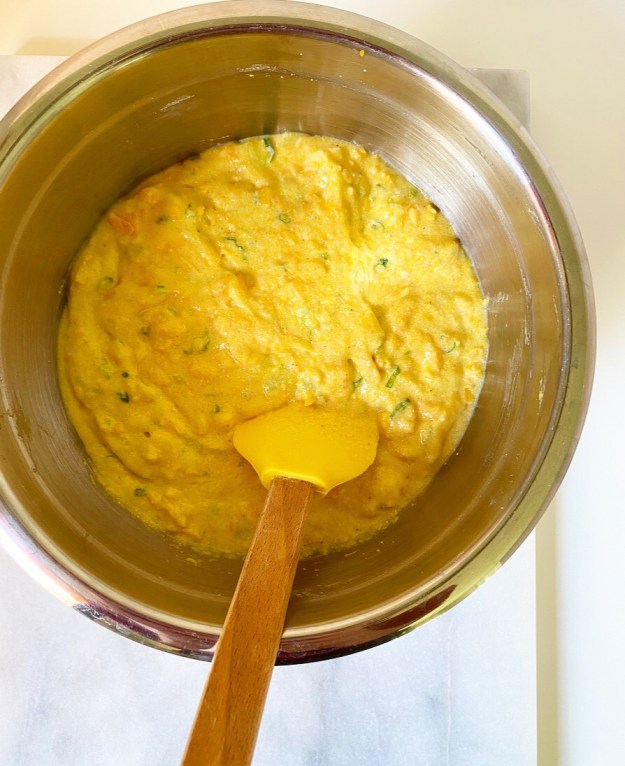
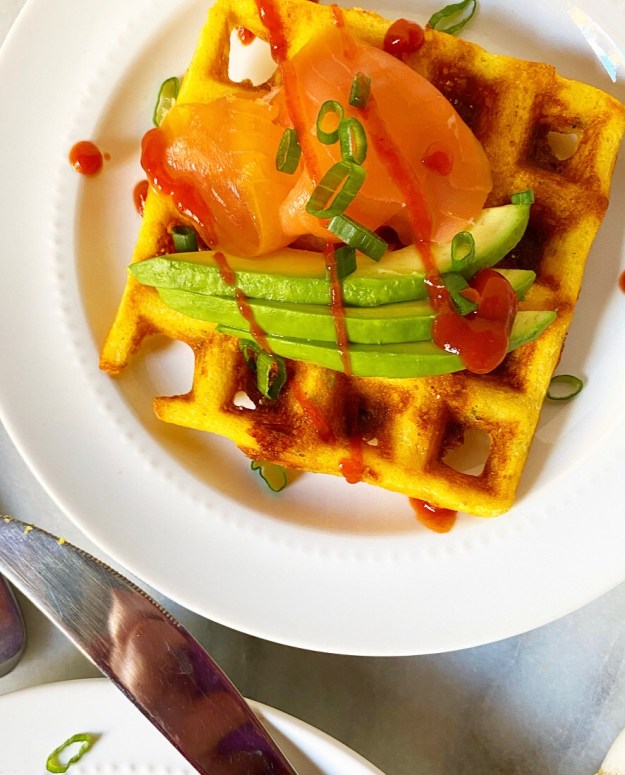 When I posted that
 You know, one that involves stacking smoked salmon and avocado and sriracha and lacy
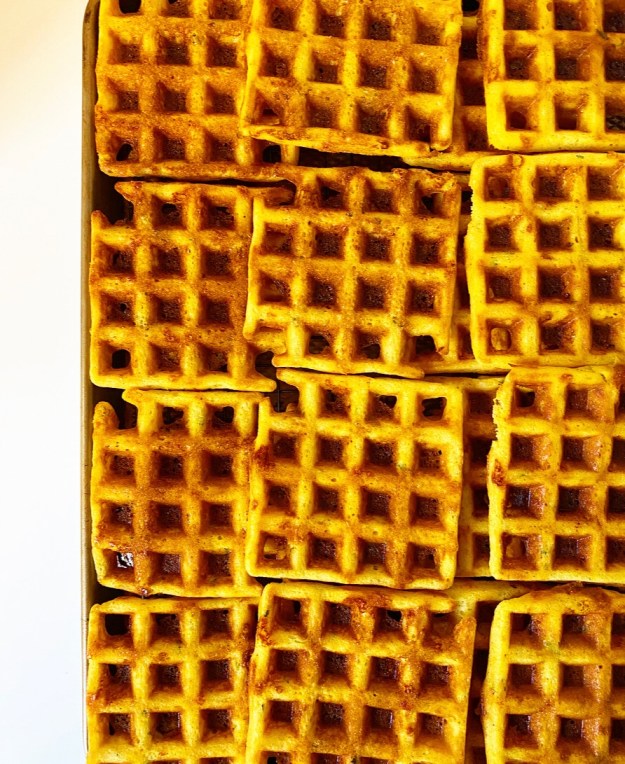
 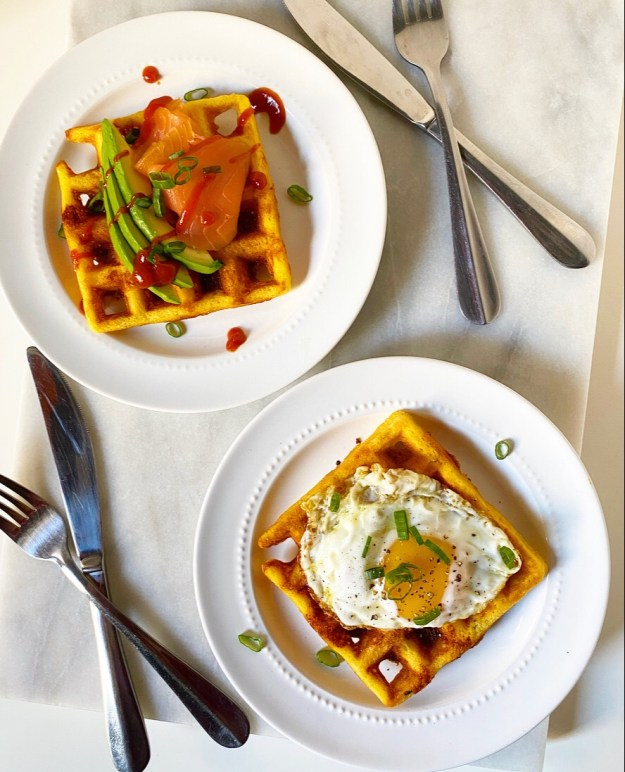 Aren’t these pretty? I’ve found my
 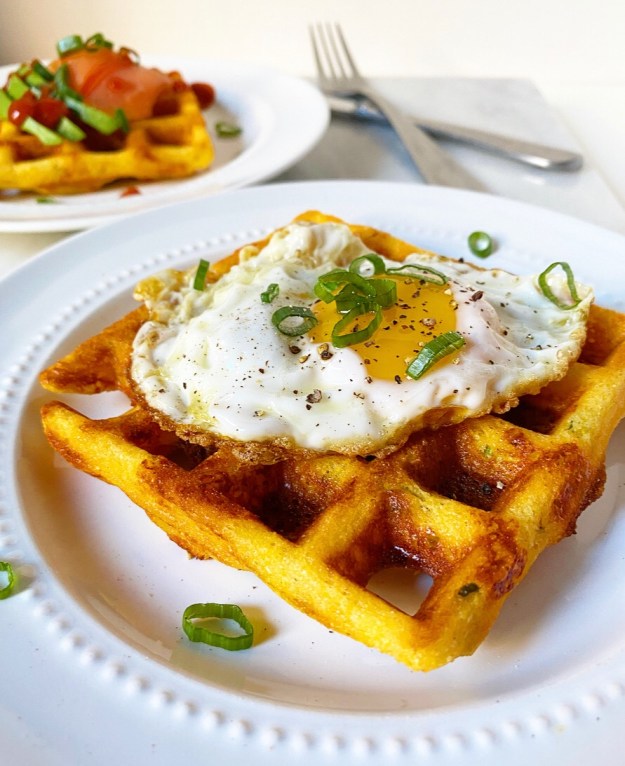 I am huge fan of all things onion, so scallions were a natural choice as a mix-in. Feel free to leave them out if they’re not your thing, or swap ‘em for chopped herbs or minced jalapeños or anything else your heart desires.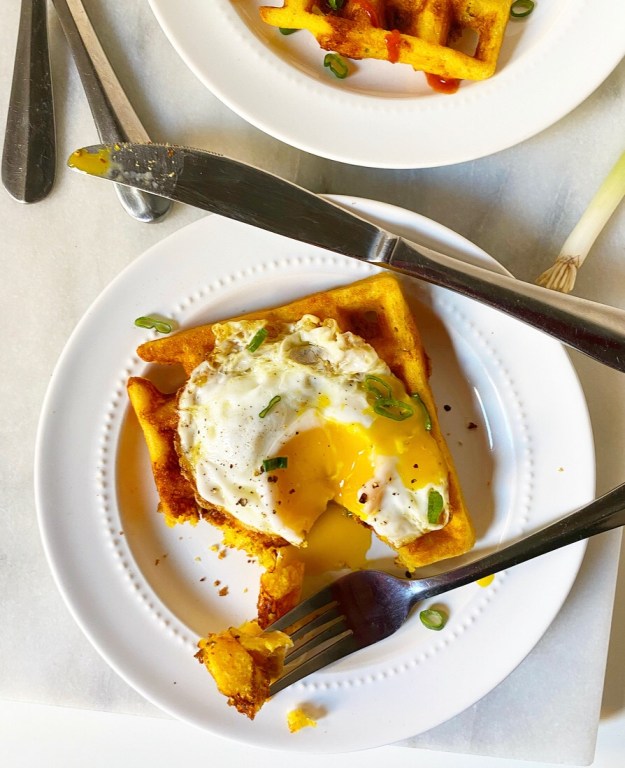



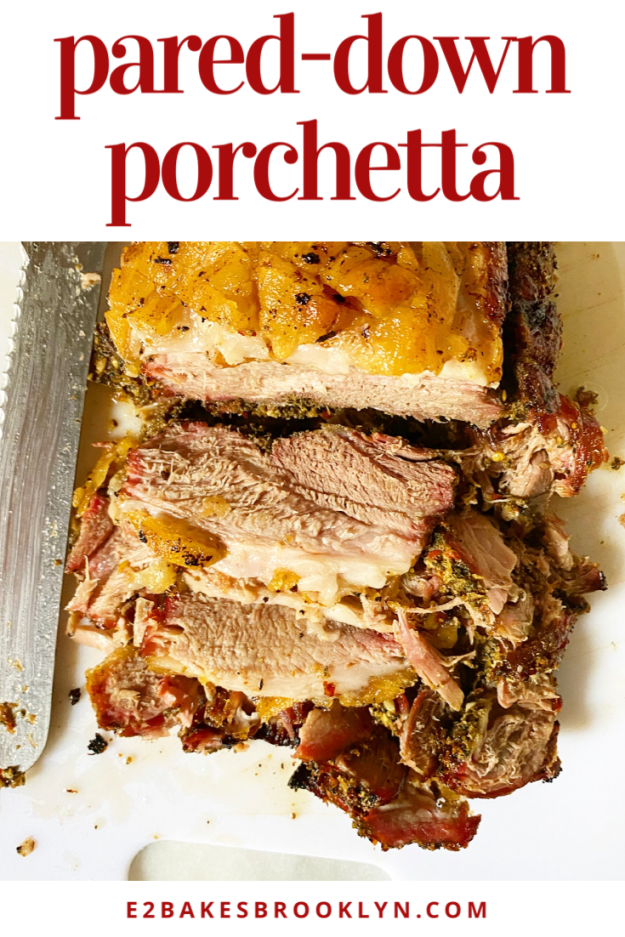
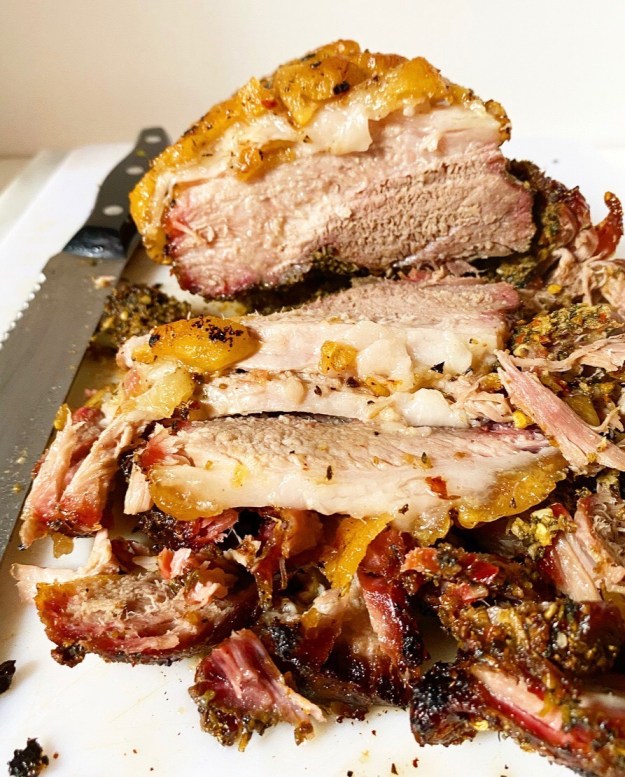 When I was allowed to take the reins on planning Christmas dinner last month, I knew immediately what I wanted to make: Porchetta. For those of you who have no idea what I’m talking about, Porchetta is a slow-roasted Italian herbed pork dish that is traditionally made with whole pigs, but most home cooks use a center-cut pork loin wrapped in a sheet of pork belly.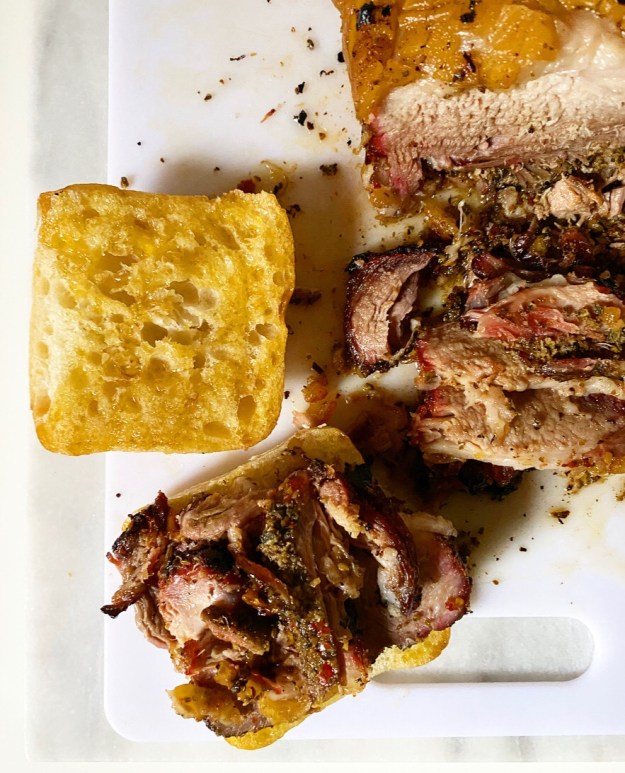
 I spent weeks planning this meal, going so far as to make a 1/4-sized tester in the days before Christmas. After that, I called
  Over the next several days, my mom, sister and I obtained the special-ordered pork and made a great fuss over preparing it…except that it wasn’t actually that much fuss. Once the herb mix was prepared, I butterflied the center-cut pork loin and scattered it over the top. Then I rolled it up jelly-roll-style, rolled that in the sheet of pork belly and tied it all up with trussing string. Afterward, I let it sit uncovered in the refrigerator (“dry brining”) until Christmas Day, on which it was brought to room temperature and then roasted until golden and crisp and pretty irresistible.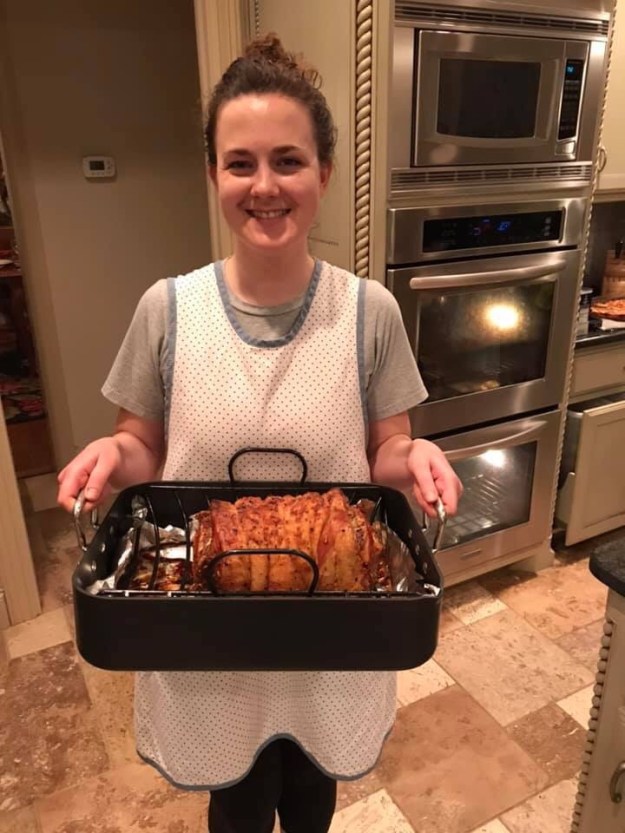
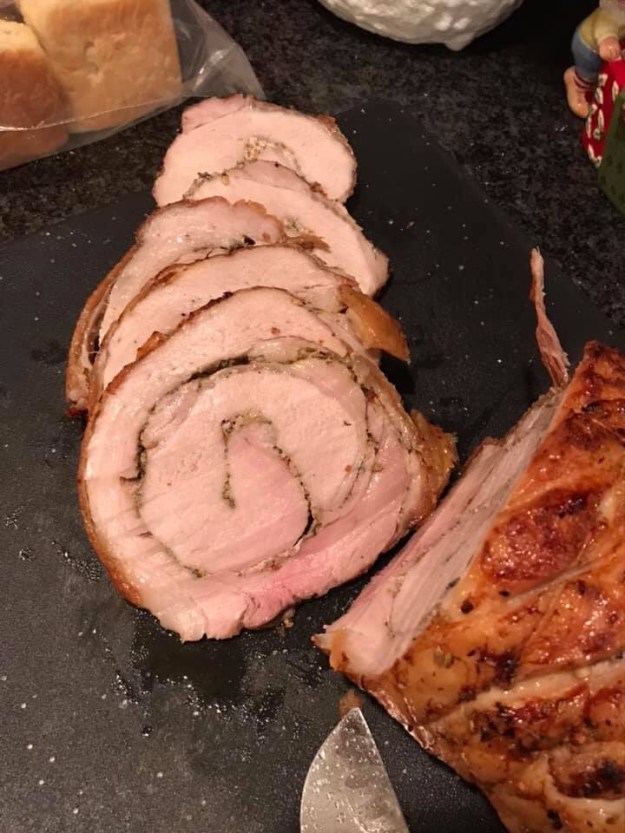 I was (am) very proud of myself and posted it to all my social media outlets, where I was promptly asked when I’d be posting a recipe. This was something I hadn’t even considered because while the Porchetta I made for Christmas is not particularly difficult to put together, but it *is* pricey.
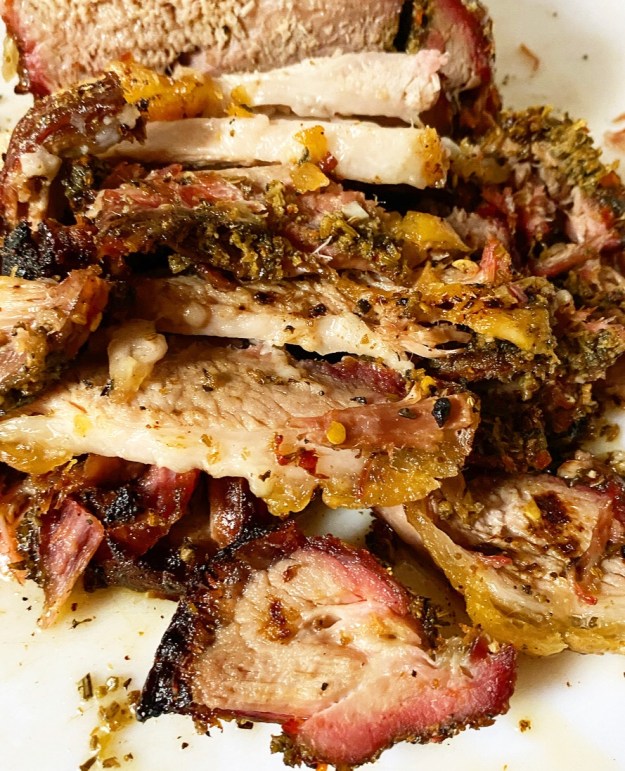 The meat had to be special-ordered for quantity and quality—a 5 pound sheet of skin-on pork belly is not an easy find—and came out to about $60. That’s $60 in Texas, so I’d guess it’s more like $80-$100 in New York, and that’s before the herbs. I love y’all, but not quite enough to spend hundreds testing one lone recipe.
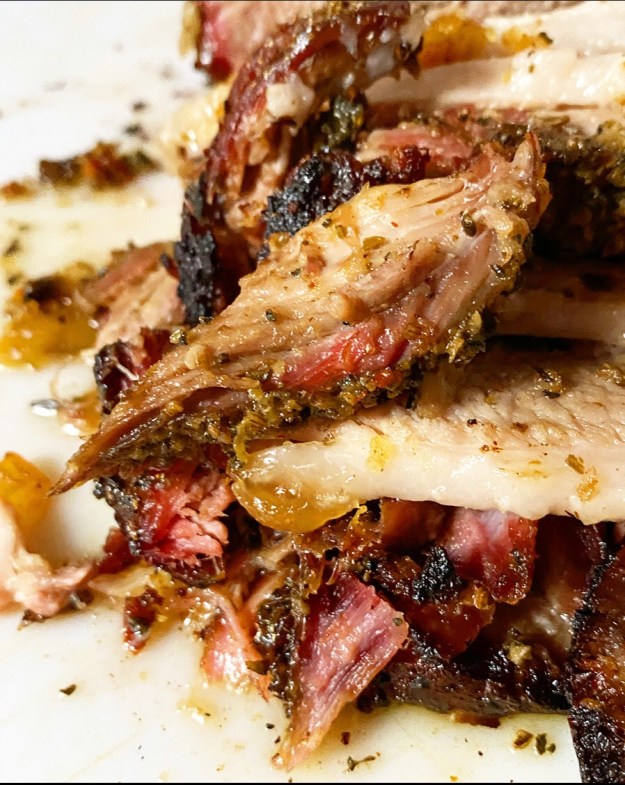 But. But! I had it in my head that I could give my beloved
 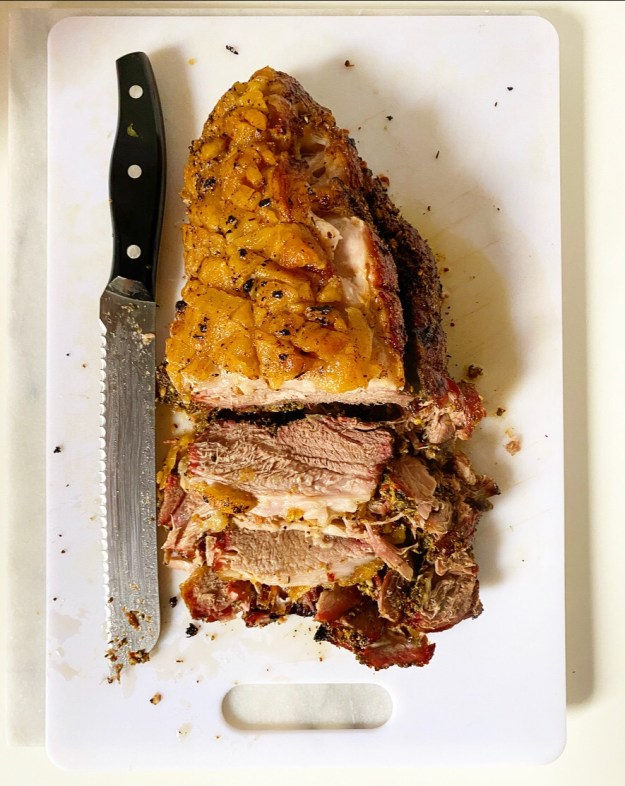 Yes, it still has to sit in your fridge for a day or two, but it is made from just one piece of meat (a boneless pork butt AKA pork shoulder), is mostly hands-off, and won’t cost you an obscene-ish amount of money.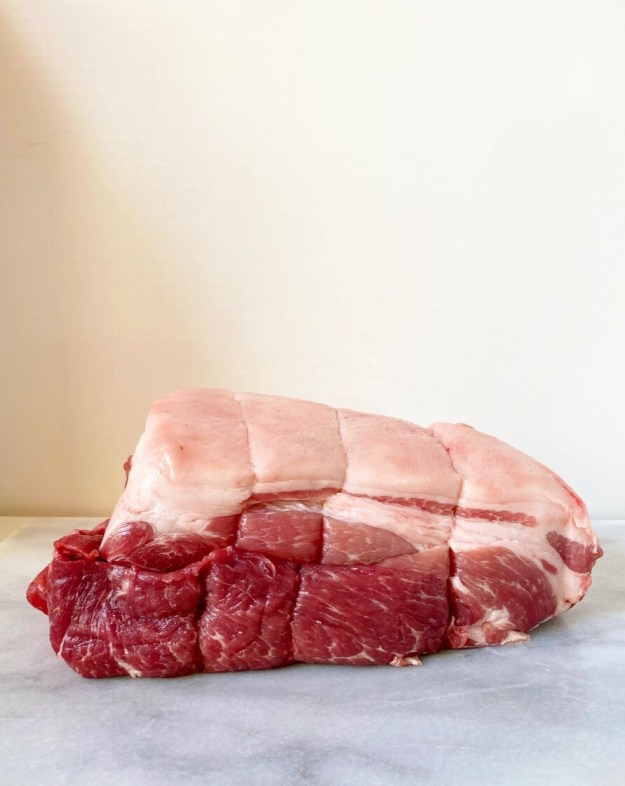
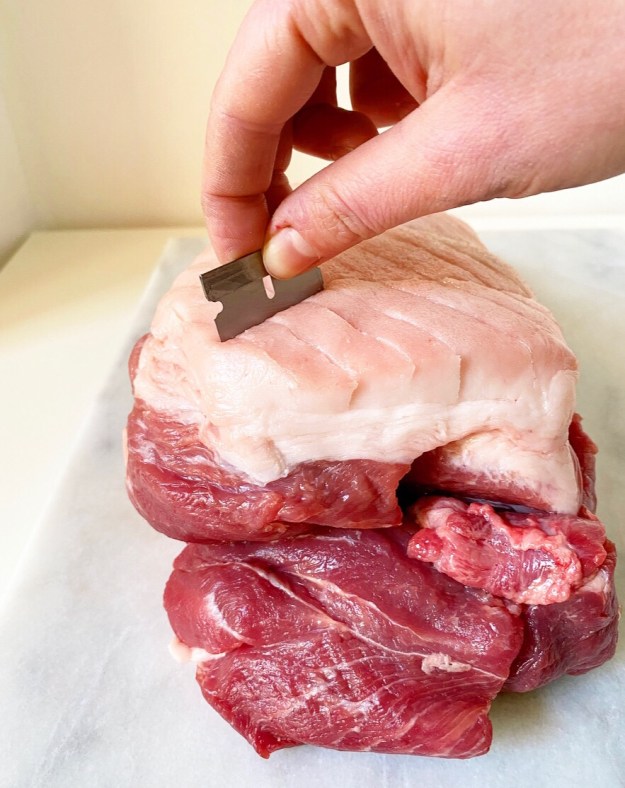 Let’s start with the meat. This pork butt? It weighed in at 4.5 pounds and cost a cool $14–pretty reasonable compared to $60+! You’ll want it to have a layer of skin or a good, thick fat cap (pictured here) for both flavor and texture. If you can’t find a pork butt that fits either of those descriptions, you can purchase a piece of pork belly or pork skin and tie it onto the butt with trussing string. You want that fatty lid so it can keep the meat moist during roasting and then get crispy at the end. Cracklings are life, am I right?!
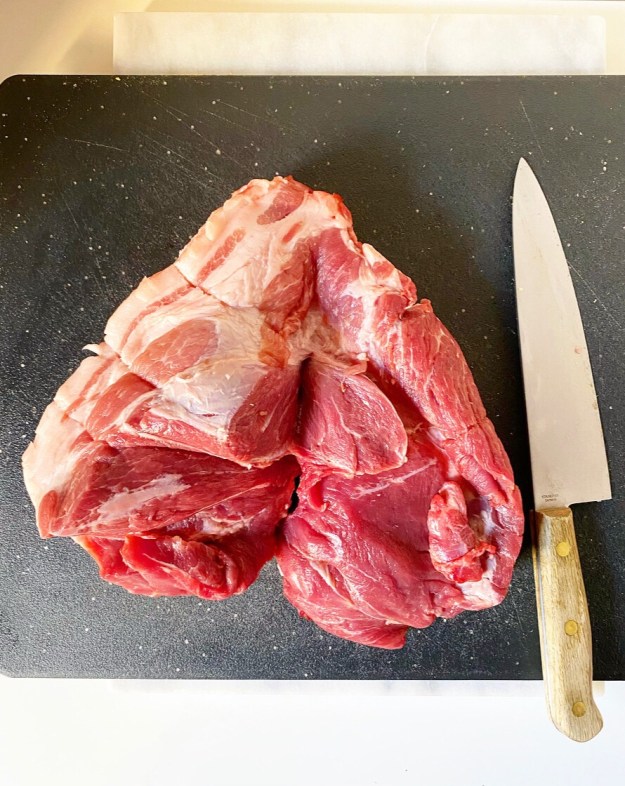 Your pork butt is unlikely to be in one seamless piece due to its heavy marbling and having had a bone cut out of it. This spot (or cavity or whatever you want to call it)? This is where the herb mixture will go. I used my knife to extend that opening down the length of the roast, while making sure to keep one edge intact.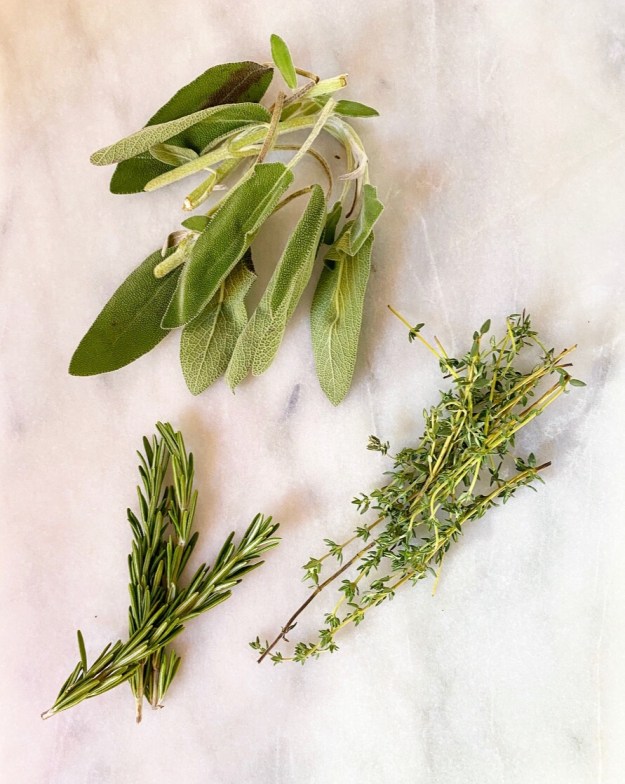
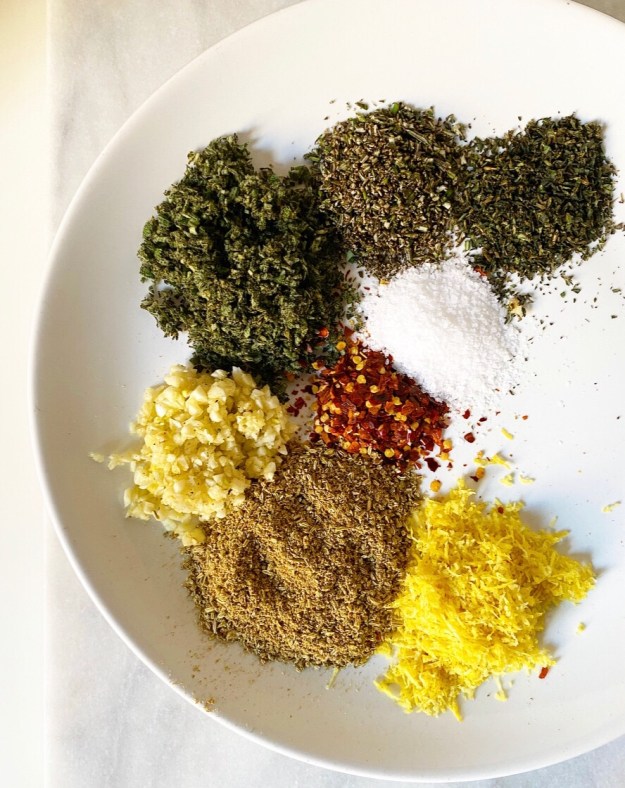
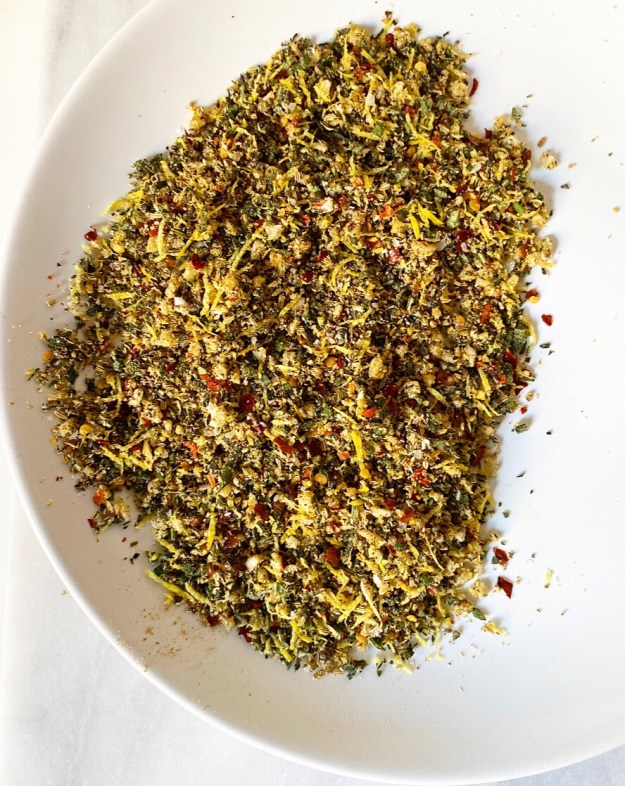
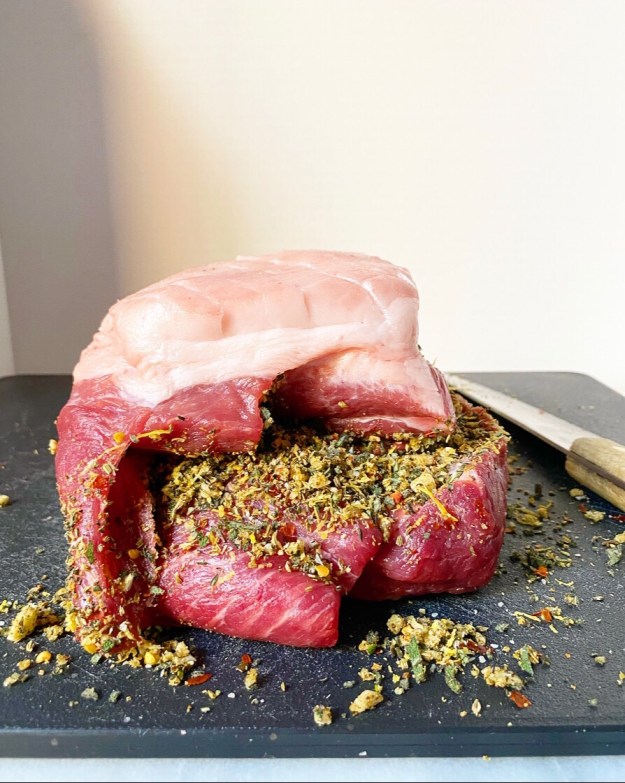 Another thing you want? Kosher salt—about 1/2 teaspoon per pound. Don’t be tempted to skimp, or all the days of dry brining and the herbs and the money you spent will be for nothing. Salt is critical for both flavor and texture (it draws out moisture), and if used in proper amounts, will not leave your meat particularly salty, just flavorful. You’ll blitz most of it with toasted fennel seeds, sage, rosemary, thyme, garlic, lemon zest and crushed red pepper flakes to make the herb mixture. The rest will be rubbed into the crosshatched skin/fat cap.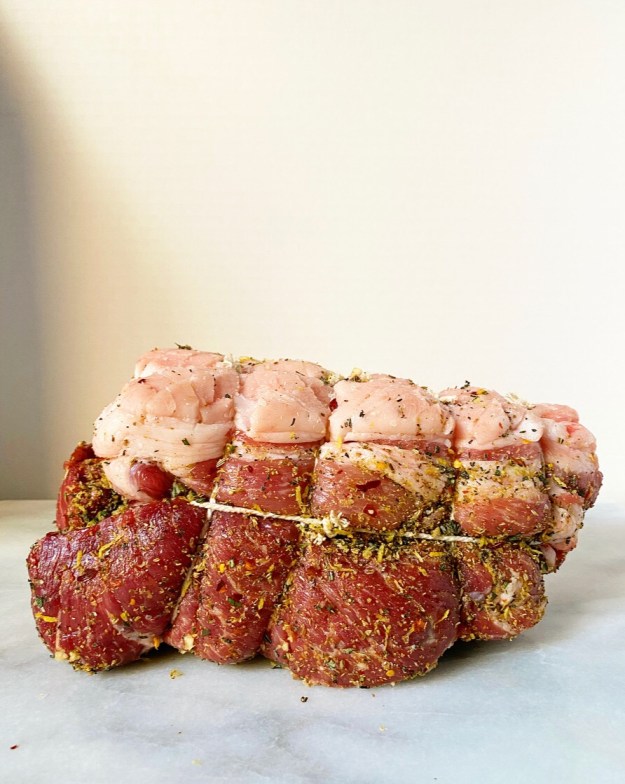
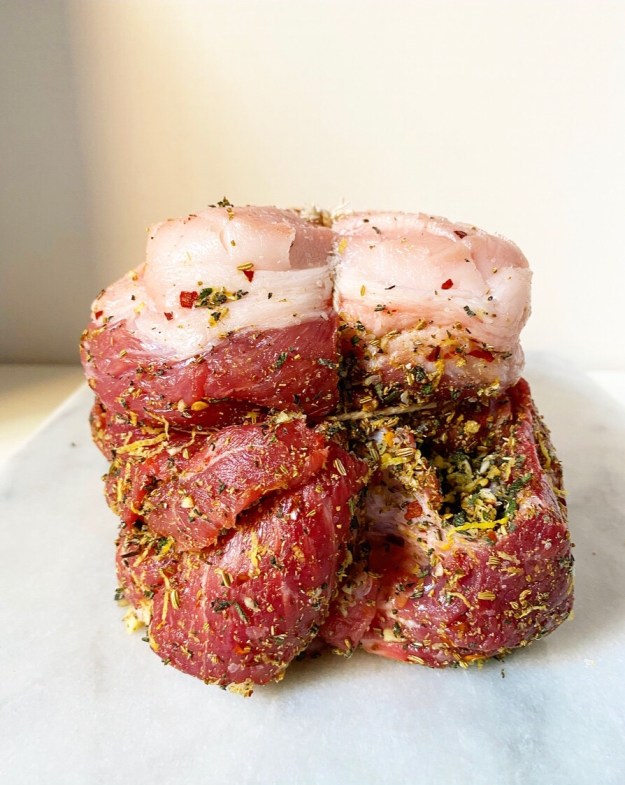
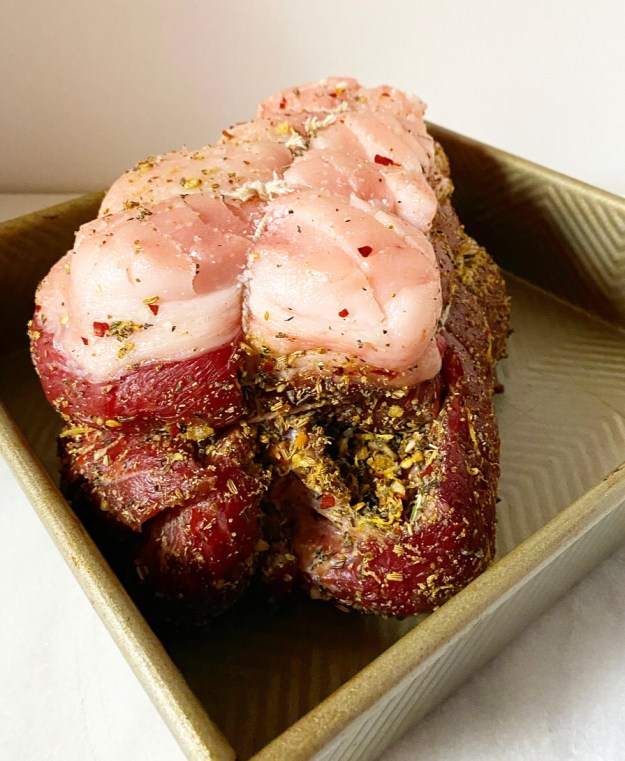 You will have to truss your pork butt, which is really no trouble. Just tie it at short intervals and then anywhere else it isn’t holding together as one cohesive unit. You want all those good herbs to stay put! Then stick the whole thing in a dish and put in the refrigerator and forget about it for 24-48 hours until it’s dry to the touch and the color has changed.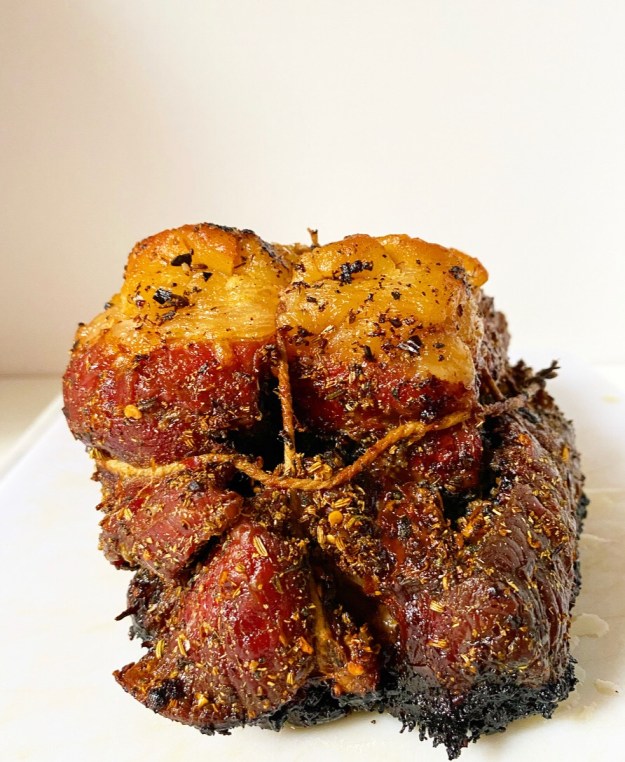
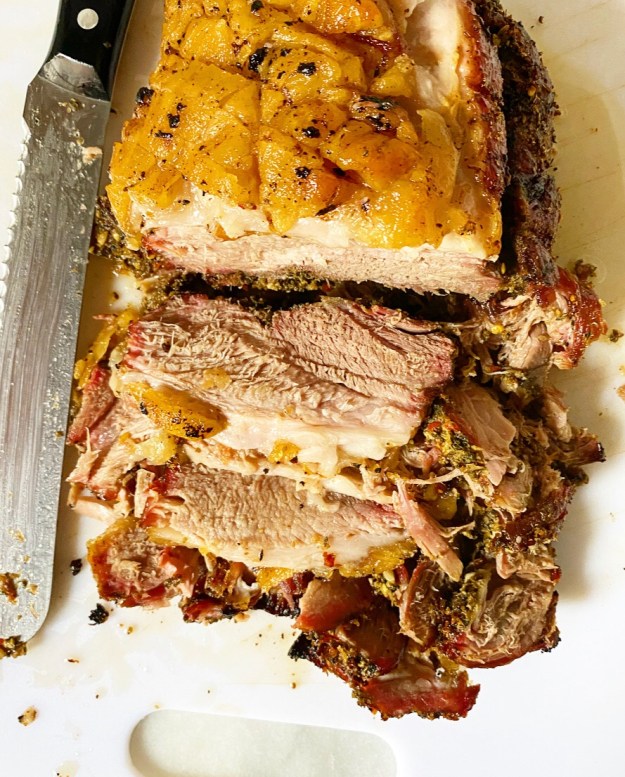
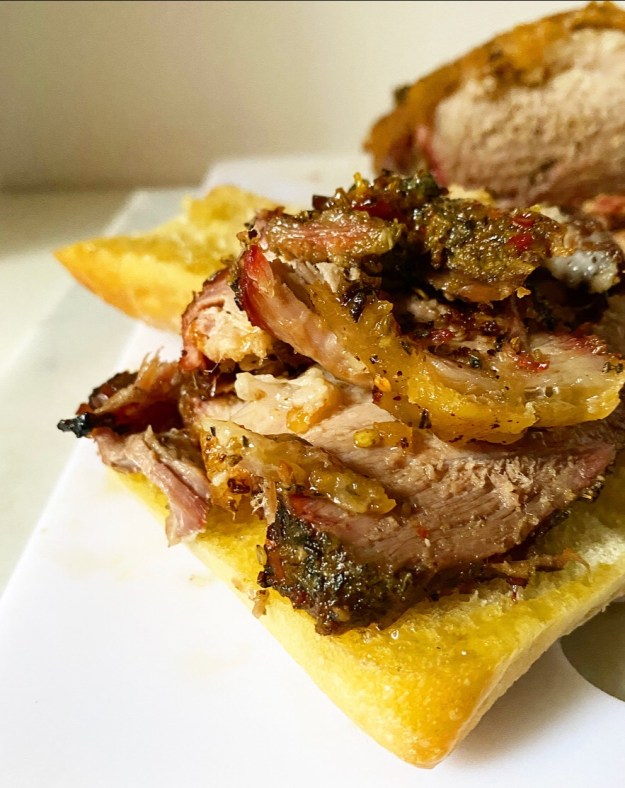
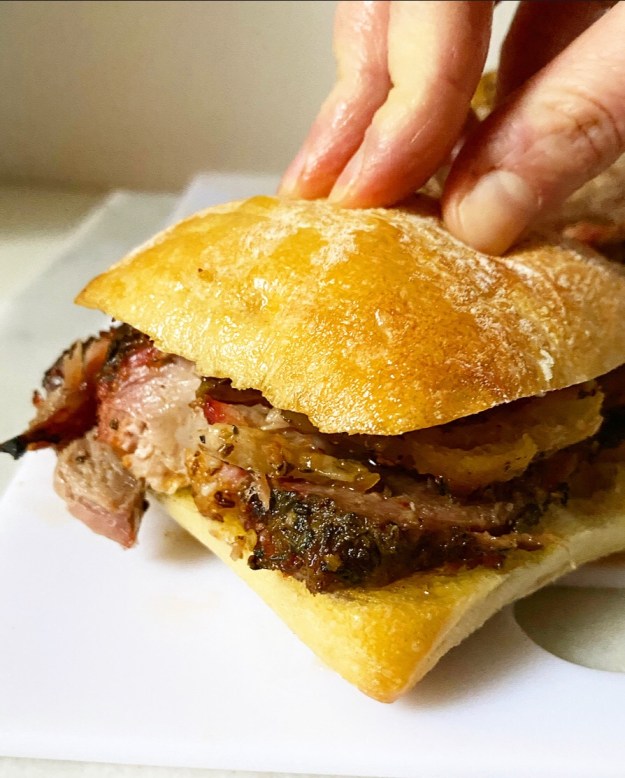
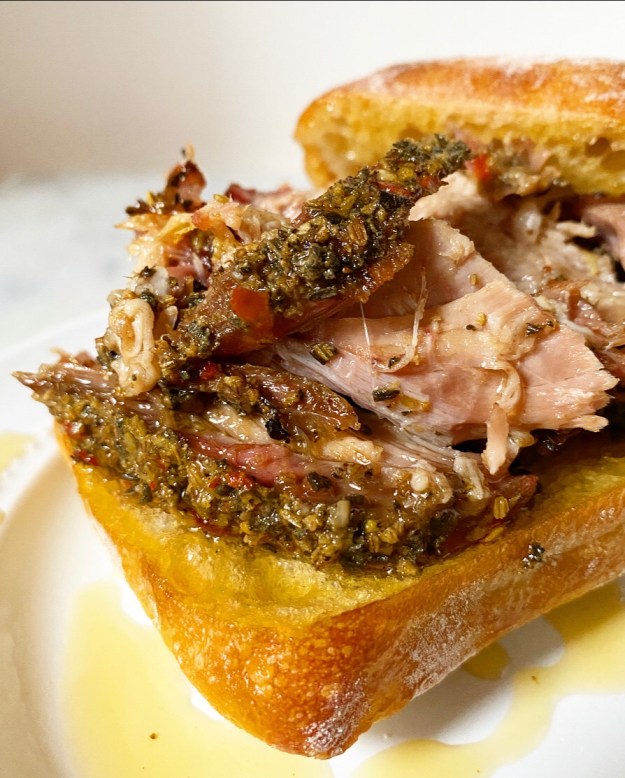 And then roast it looooow and slooooow before crisping up that fat cap, and slicing and serving it on rolls or crusty bread that you’ve given the slightest dip in the rendered fat. You can also serve it alongside garlicky greens or roasted vegetables. Really, you can’t go wrong.
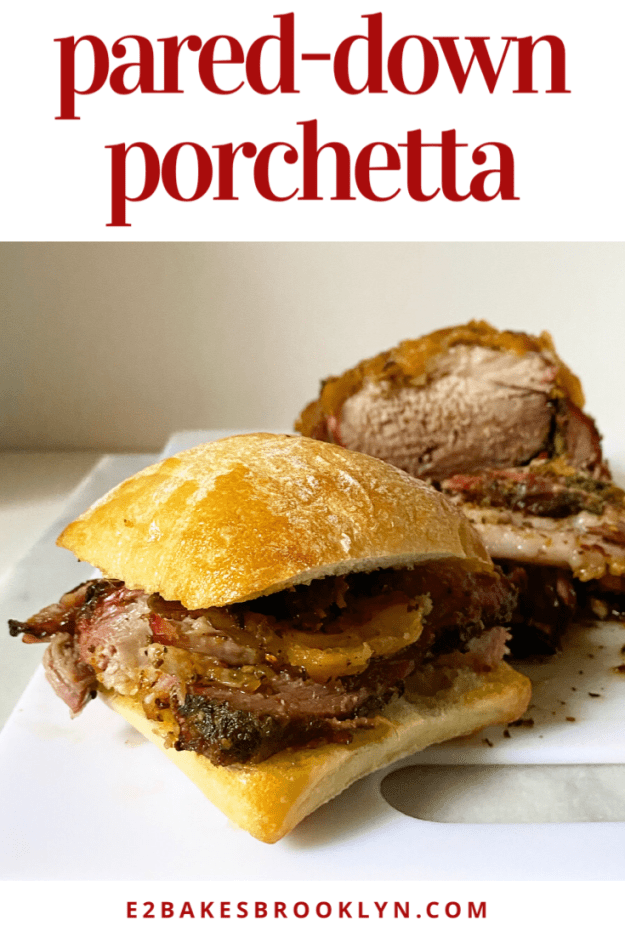
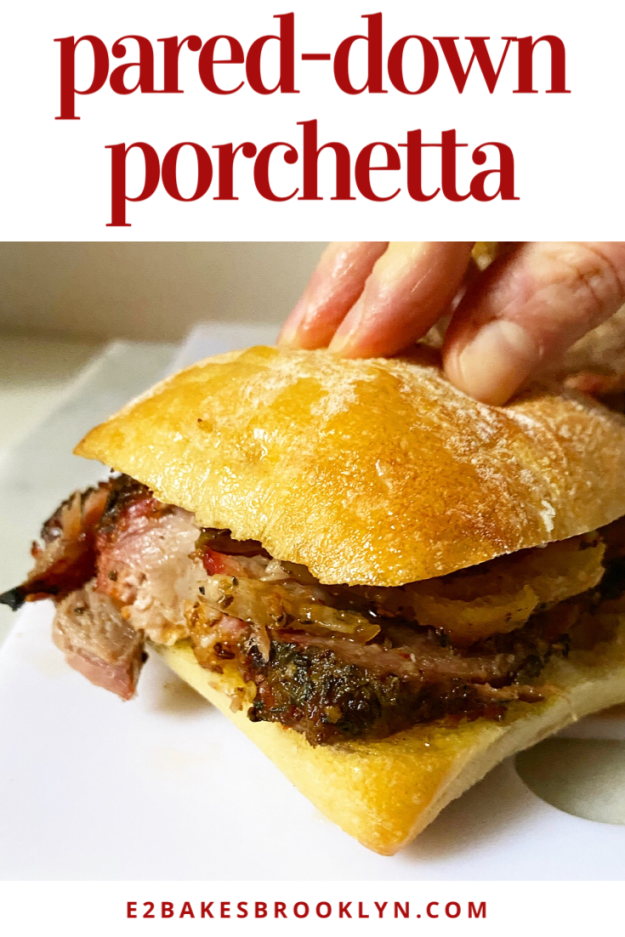
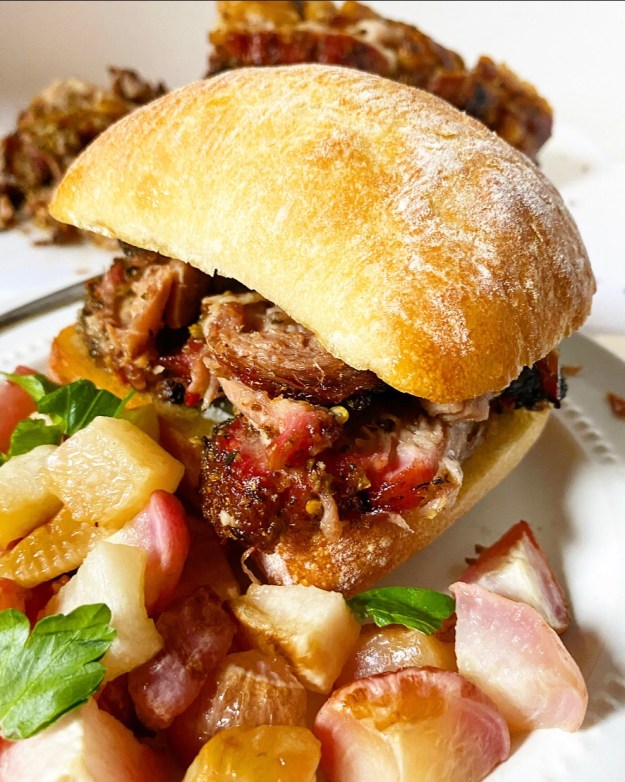 I feel like this Pared-Down Porchetta would be a wonderful main for Super Bowl Sunday, Oscar Night, Easter, or any old night. I mean, you could certainly hold onto this recipe until next Christmas, but that seems like an awfully long time from now, don’t you think?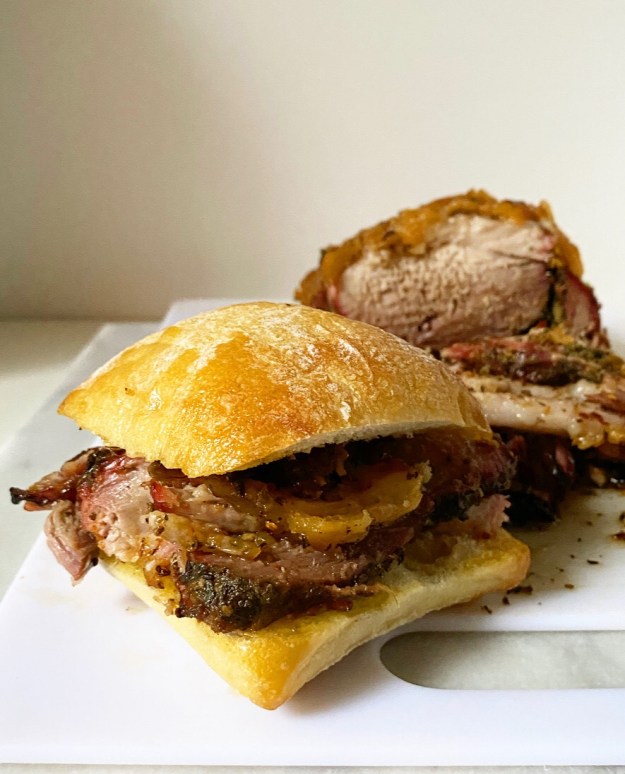
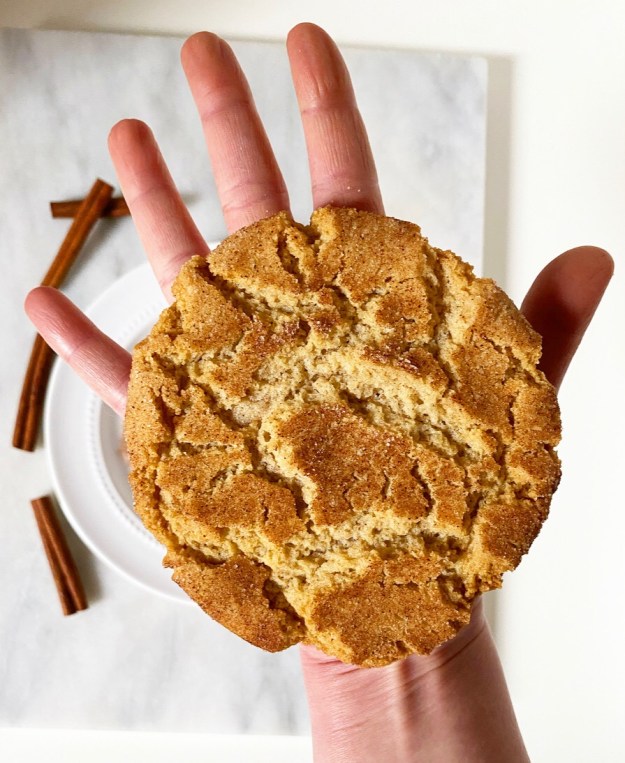 There is a time for large-batch, super-shareable baking, and then there is the time for a cookie for one (or two, if you’re feeling generous) that can be measured in tablespoons instead of cups, mixed with a fork, and baked to crisp-chewy perfection all in the span of 25 minutes.
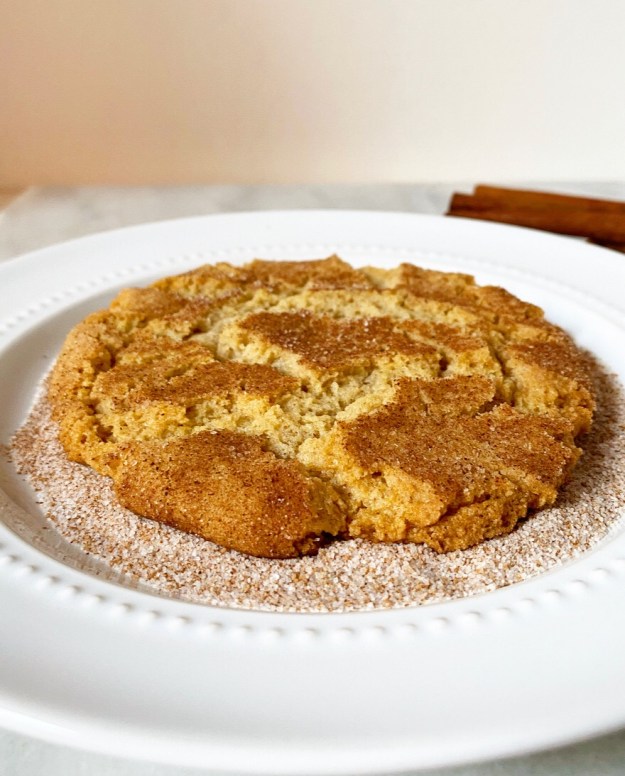 I started making these One Big Cookies about a year ago; you can find the
 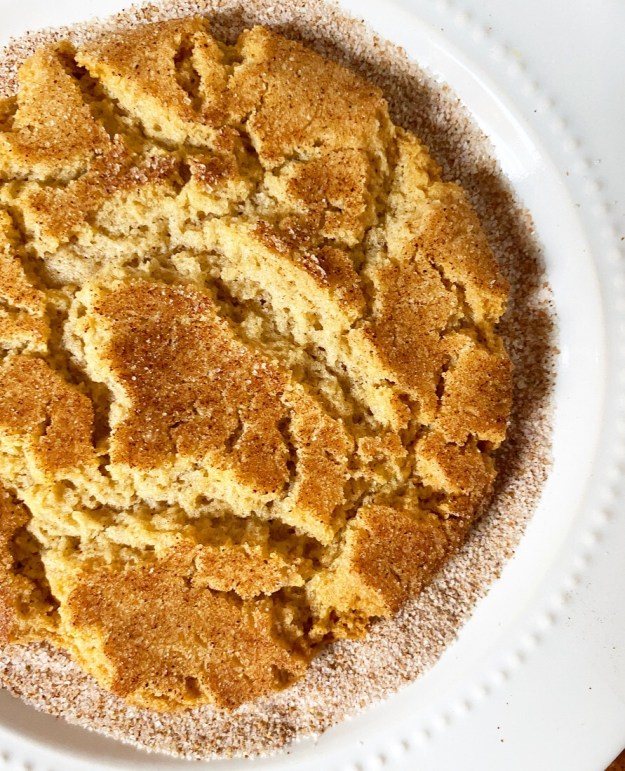 This is a cookie designed to be made on the fly. Yes, you’ll need baking basics (sugar, butter, flour), but you likely have all of them and even if you don’t, swaps can be made in the moment. Trust me. I did nine test rounds of this recipe, so I know all the ins and outs.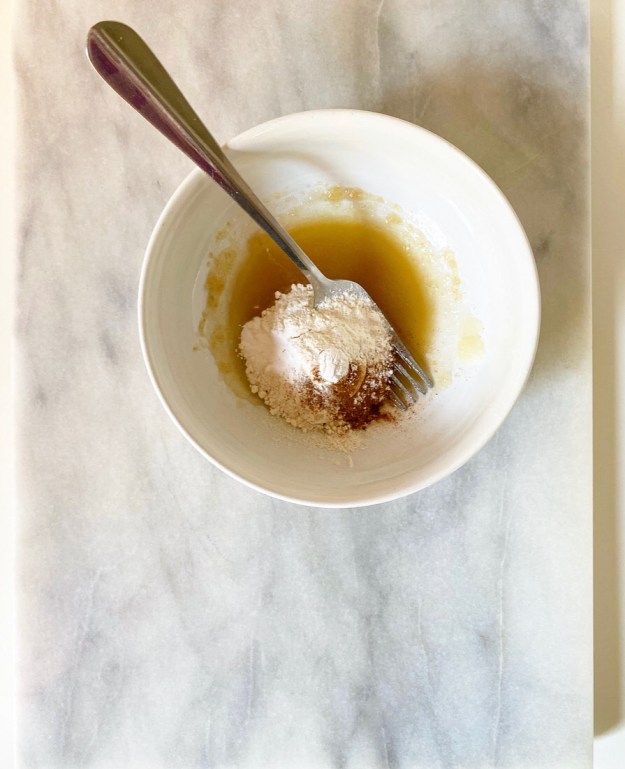
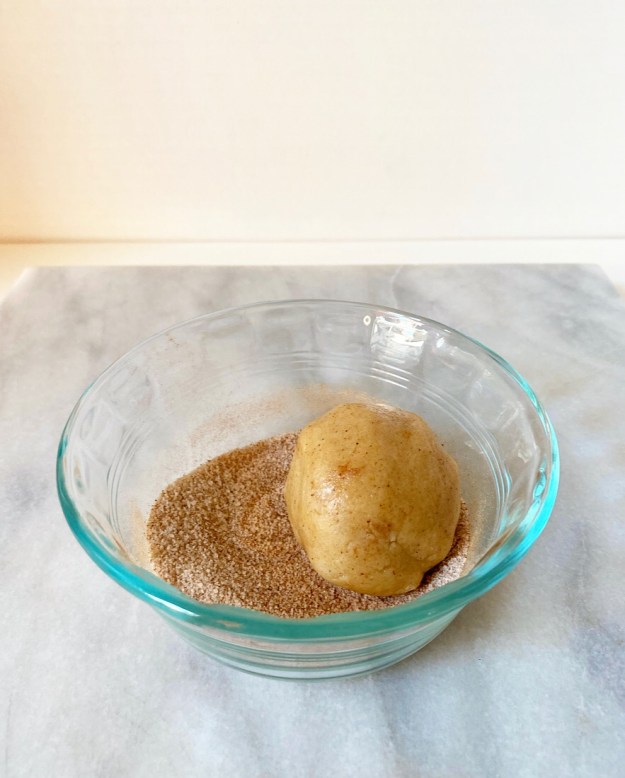
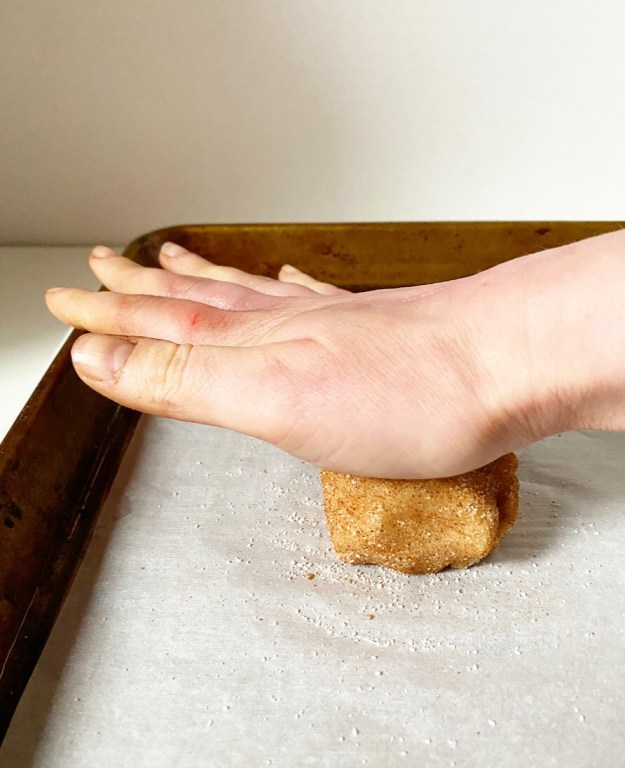
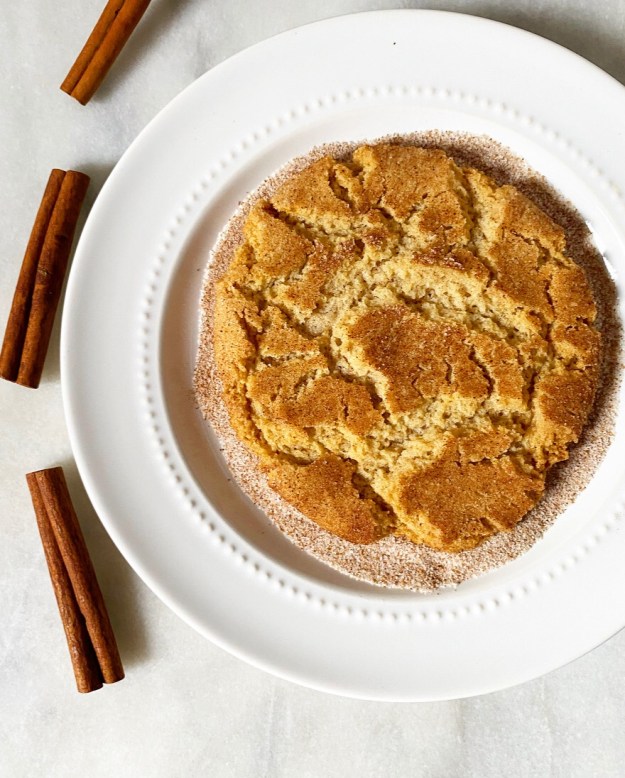 As you can see, adaptability is the name of the game! It’s such a rarity in baking, but this Snickerdoodle allows for it in spades. Who doesn’t need that sort of cinnamon-sugar-coated positivity in their life?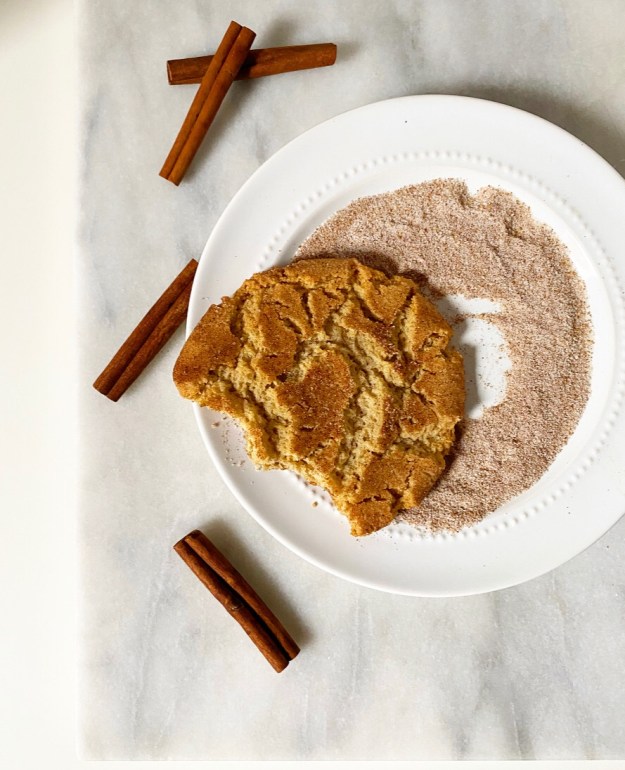


 e2 bakes brooklyn