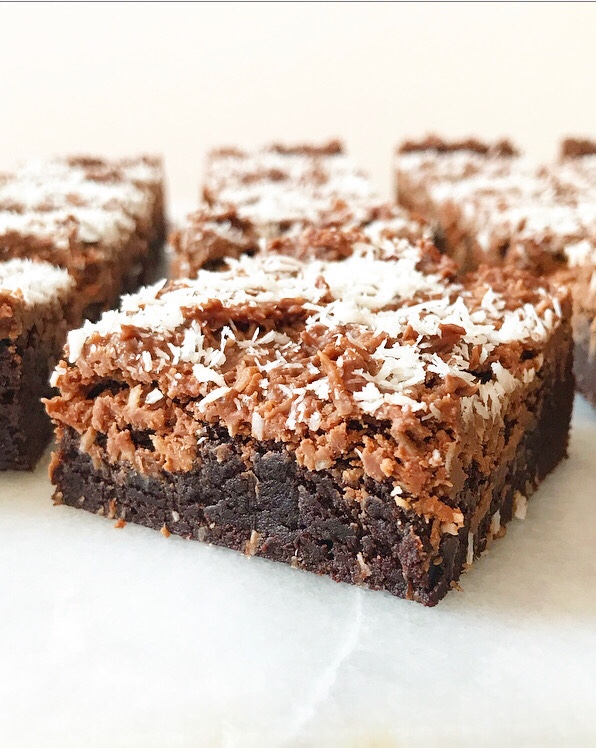
With all the coconut recipes in my archives, you’d never guess that I couldn’t stand it when I was a child. I don’t know when I started to like it—I’m guessing around the time when my whole extended family randomly started bringing German Chocolate Cake to every occasion…?
Well, I guess it’s not important. The point is that coconut is my jam and I bake with it as often as possible.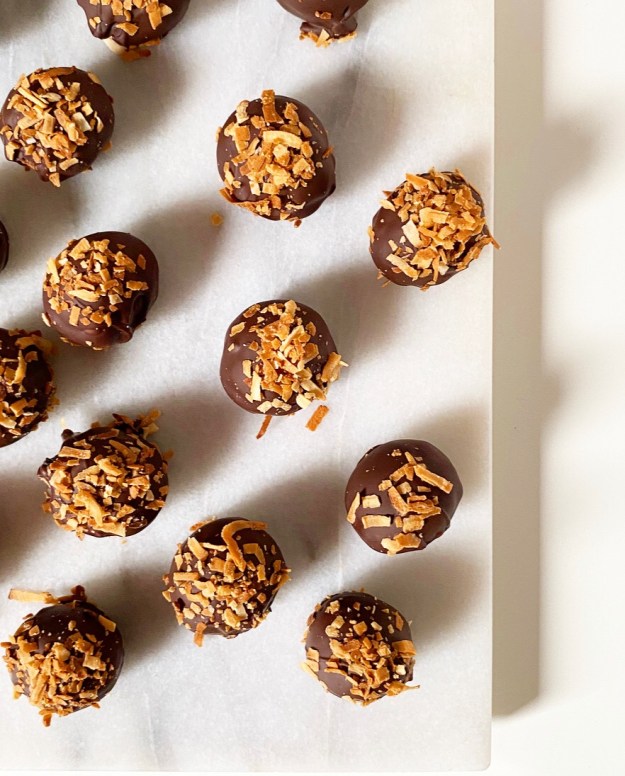 I spent a good chunk of January working on a coconut cookie for the blog, but the recipe’s just not quite “there.” I was a little bummed after round 4, realizing that I was going to have to let the recipe come to me rather than forcing it (baking gets spiritual around these parts). In the meantime though, I had three bags of sweetened flaked coconut taking up space in my kitchen. I realize that bags of coconut don’t have souls, but I swear they were taunting me.
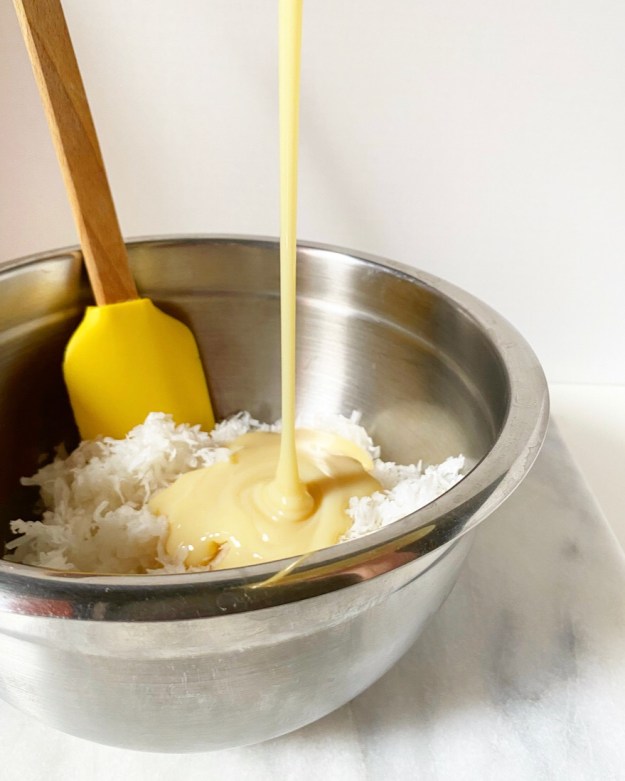


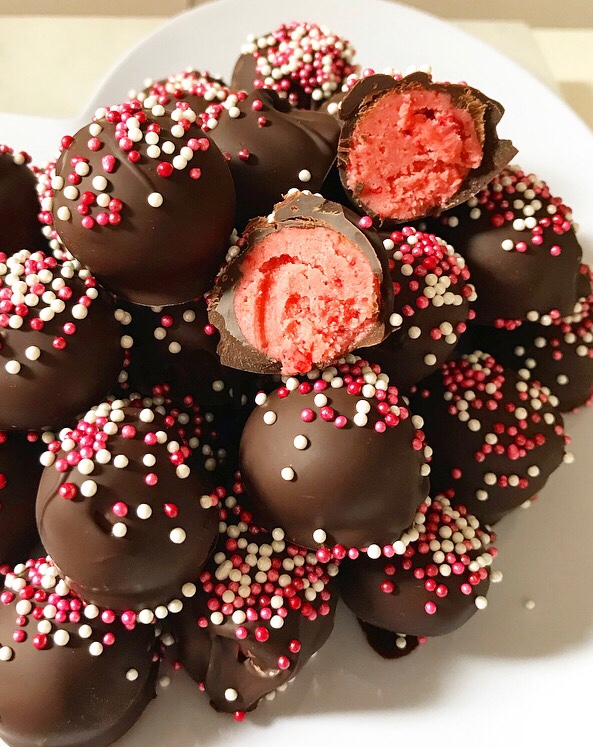
 And so, I threw the contents of one in a bowl with a cup of sweetened condensed milk (a la this), rolled the mixture into balls, coated them with dark chocolate and topped ‘em off with toasted coconut, and called them Valentine’s Day-appropriate…which they are.
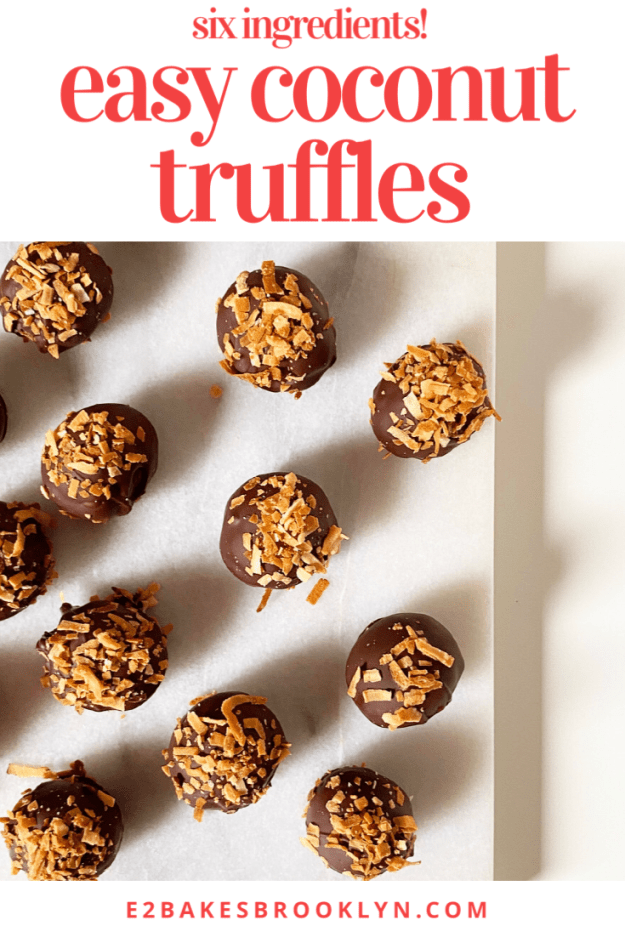
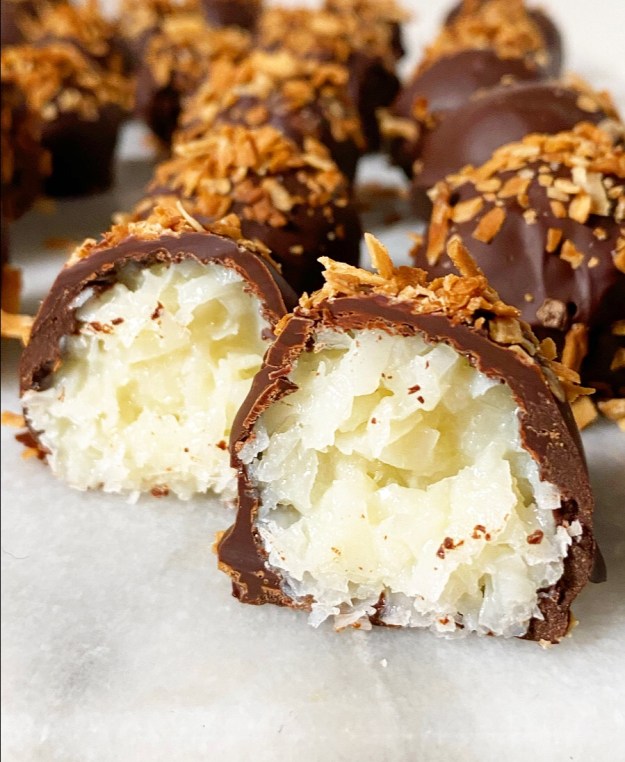 Easy Coconut Truffles are way better than any candy you’ll find in a heart-shaped box, and super fun to make at home. They require a grand total of six ingredients (!) and are chock-full of coconut flavor thanks to the creamy filling and toasty garnish. And even though they’re a little imperfect, they’re completely wonderful.
If that’s not a metaphor for love, I don’t know what is.
Easy Coconut Truffles
makes about 3.5 dozen truffles
Filling:
1 14-ounce bag sweetened flaked coconut
1 cup sweetened condensed milk
pinch of salt
Coating:
12 ounces dark chocolate, chopped (not chocolate chips)
1 teaspoon coconut oil (or butter)
1 teaspoon corn syrup (or mild honey)
Toasted Coconut:
1 cup sweetened flaked coconut
Special Equipment:
microwave-safe bowl or double boiler
parchment paper
baking sheet or a few plates (must fit in refrigerator)
Make the filling. In a large mixing bowl, use a silicone spatula or wooden spoon to stir together coconut and sweetened condensed milk until combined and a bit sticky. Cover mixture loosely with plastic wrap and refrigerate for 1 hour, or up to a day.
Make toasted coconut. Preheat oven to 325F. Scatter coconut on a dry rimmed baking sheet. Bake coconut, stirring every 3-4 minutes until toasted to your liking, about 8-10 minutes. Set aside to cool completely.
Line a rimmed baking sheet (or a few plates) with parchment paper. Remove coconut mixture from refrigerator. Lightly grease your hands. Scoop mixture in 1/2 tablespoon (1 1/2 teaspoons) increments and roll into balls with your palms. Place on prepared baking sheet. Repeat until all coconut mixture is used. Refrigerate for 30 minutes (or freeze for 15).
Make the coating. Place chopped dark chocolate in a microwave-safe bowl. Microwave for 1 minute. Stir with a fork. Add coconut oil. Continue to microwave in 30 second increments, stirring in between, until smooth. Stir in corn syrup.
To dip, drop one ball of coconut into the melted chocolate and use a fork to coat it in chocolate. Drain briefly by scraping the tines of the fork on the edge of the bowl. Use the fork to gently lay the truffle on the prepared pan. Immediately top with a pinch of toasted coconut. Continue this process until all truffles are coated and garnished.
Place baking sheet in the refrigerator for 15 minutes, or until chocolate has set. Serve.
Truffles will keep in an airtight container in the refrigerator for up to a week.


 It’s a tradition of mine to make a red velvet treat for Oscar Night, which happens to be this Sunday. It’s sort of my “thing.”
 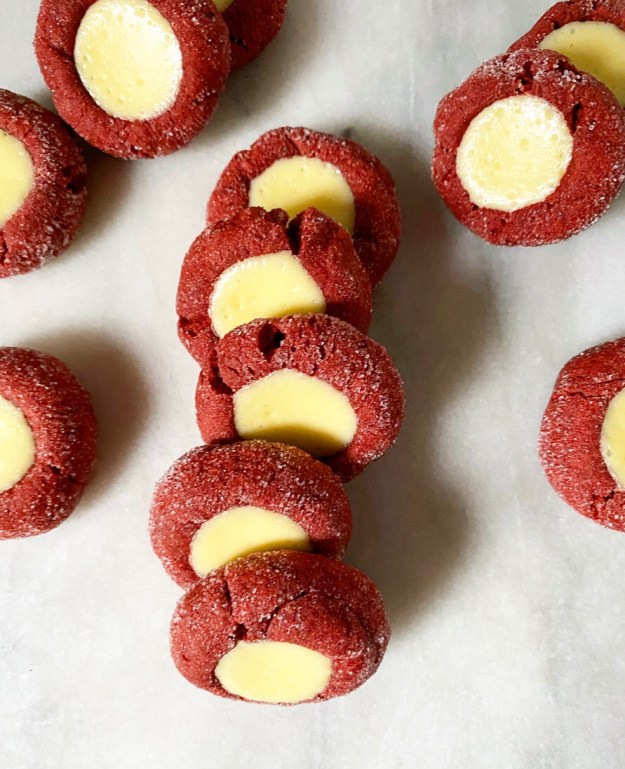 Yes, I know the Oscars are silly, but I, too, am silly. Also, I love a theme, especially when it means I get to watch 15 or 20 movies, cheer/curse/cry at my TV and eat red velvet baked goods. There was once a whole meal I made only for this occasion, but over the years it’s been reduced down to a “
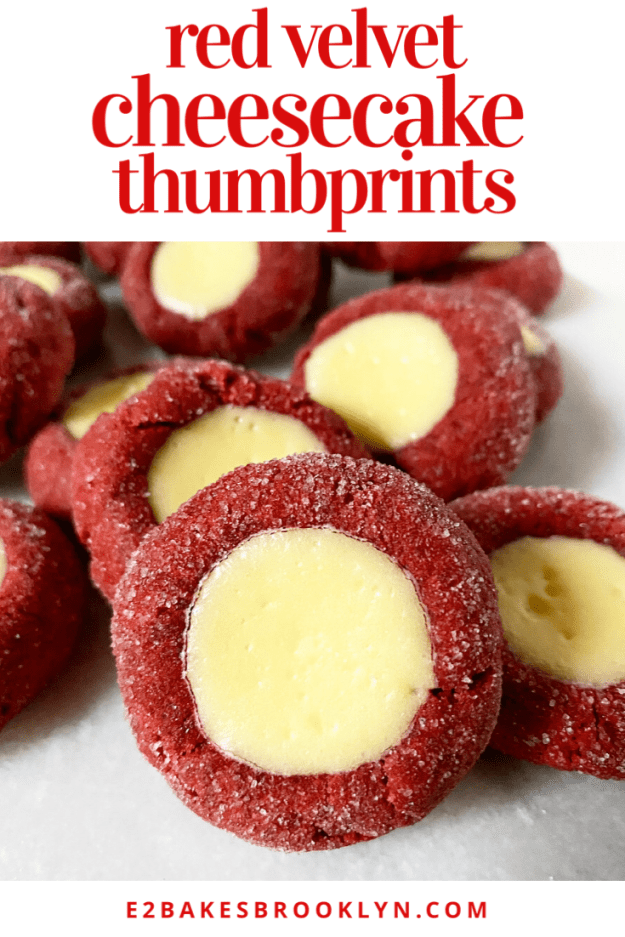
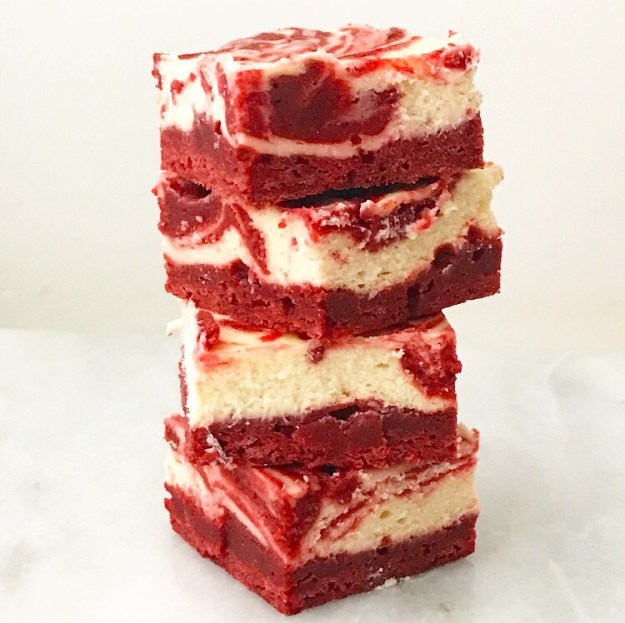
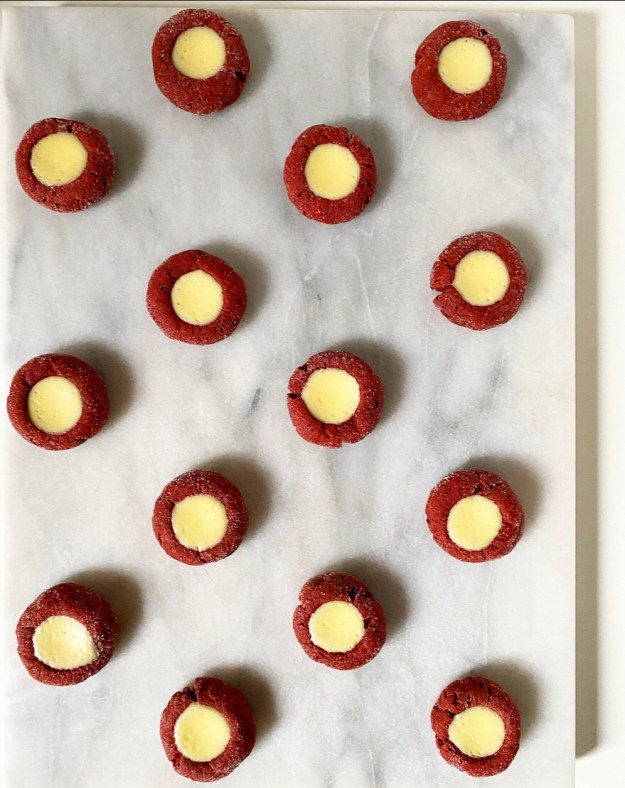 This year’s treat? Red Velvet Cheesecake Thumbprints. They’re exactly what they sound like—red velvet cookies with little wells of cheesecake baked into their centers—and they are also as delicious as you’d expect. Chocolate, vanilla and tangy cheesecake are a match made in heaven. And also my kitchen. And soon, yours.
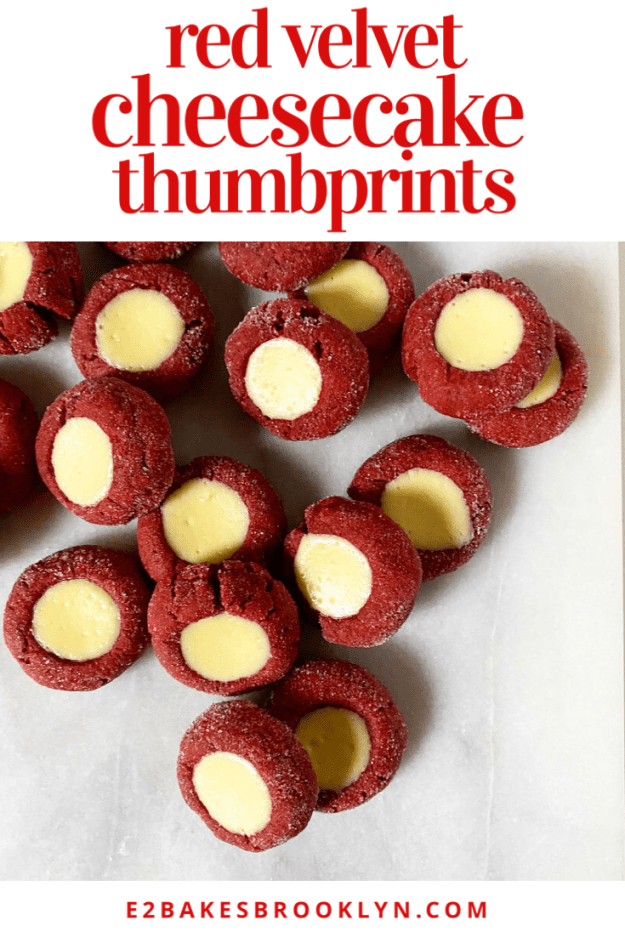
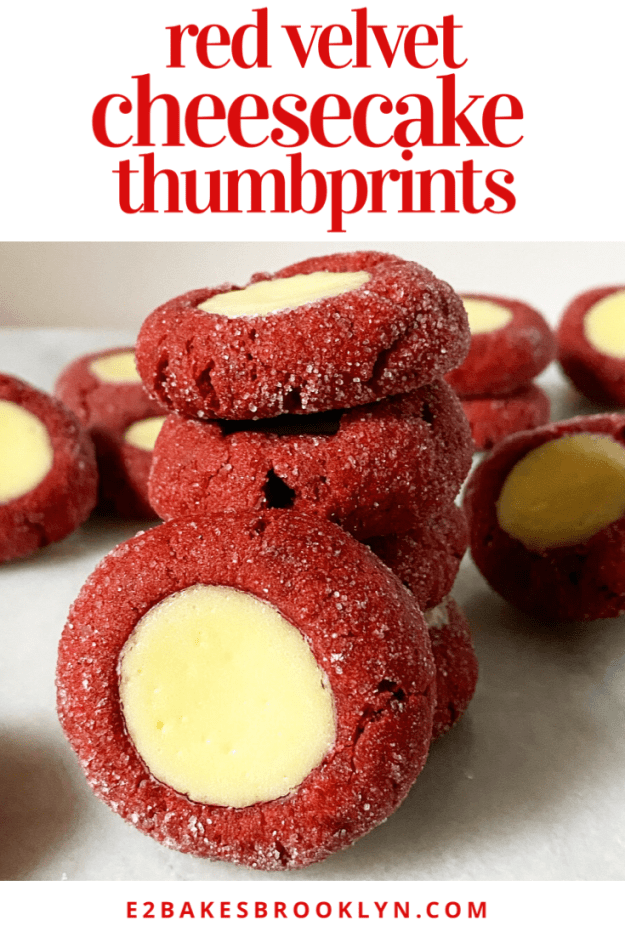
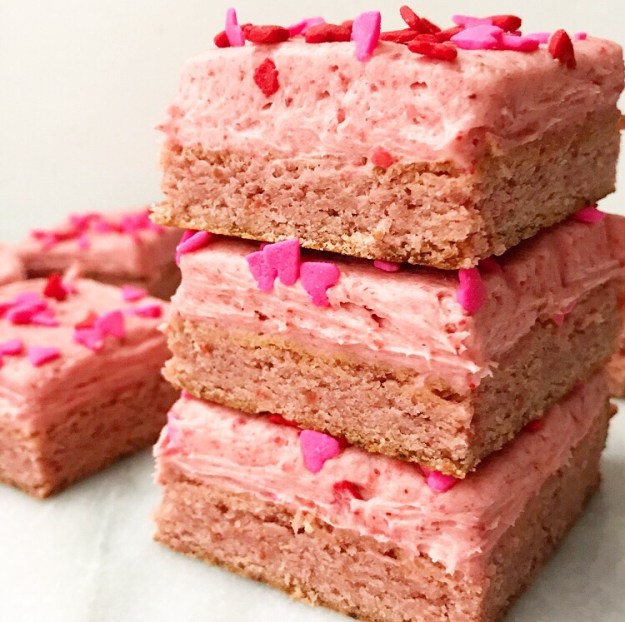
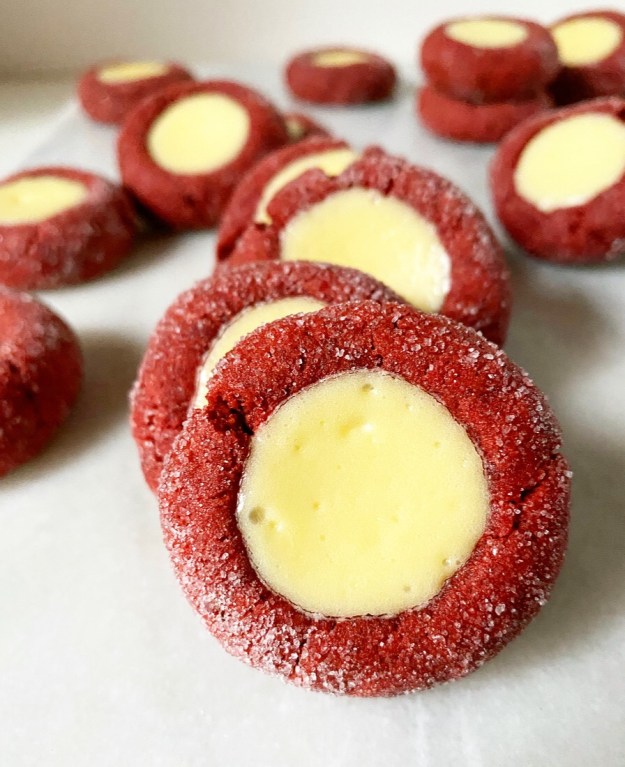
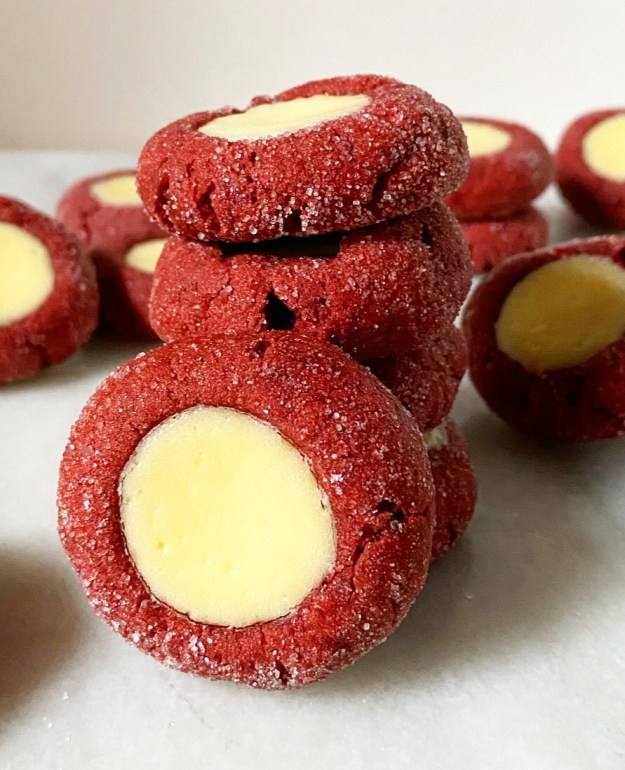 The base for these cookies is a slight variation on my
 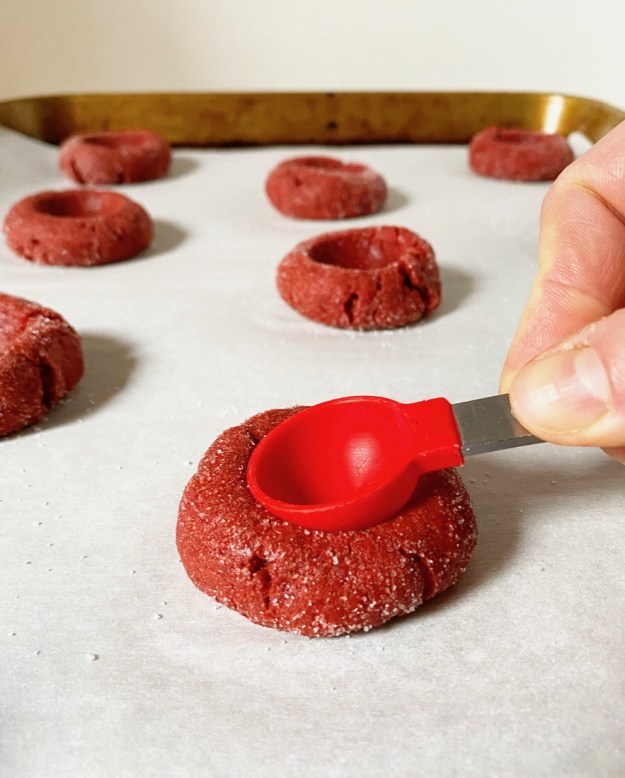 Next come the thumbprints or, if you want to keep things transparent, spoon-prints. Each sugar-crusted dough ball is indented with the back of a rounded 1/2 teaspoon measure. You could, of course, do this with your thumb, but a spoon is a more accurate (and less messy) tool for the job.
 The cookies are baked at a fairly low temperature (300F for ten minutes) before the thumbprints are deepened and widened with the back of a 1 teaspoon measure. Oh, and filled with cheesecake ♥️
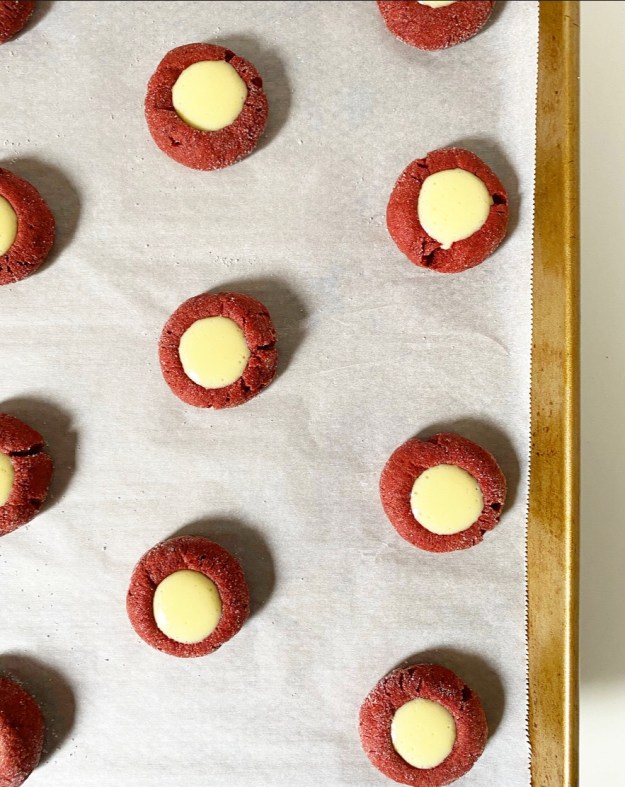 After ten more minutes in the oven, the cookies will be set and the cheesecake will be a little puffy. Let them cool to room temperature—the centers will deflate a bit—before chilling for at least 45 minutes. You want those little wells of cheesecake to be nice and cold when you’re snacking on them mid-Oscar broadcast.
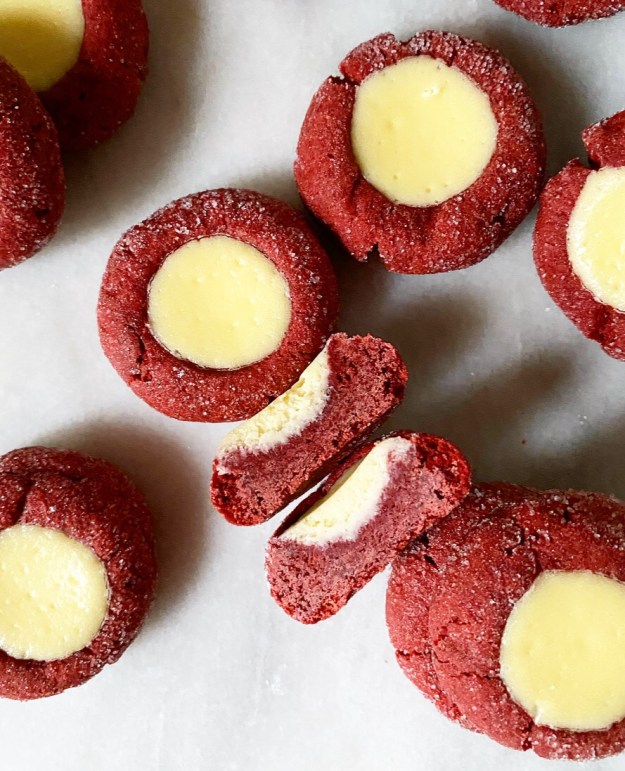 If you don’t have traditions and superstitions (and an