I try to keep a certain level of variety on here, but with 600 recipes there are bound to be some variations on a few really good staples.

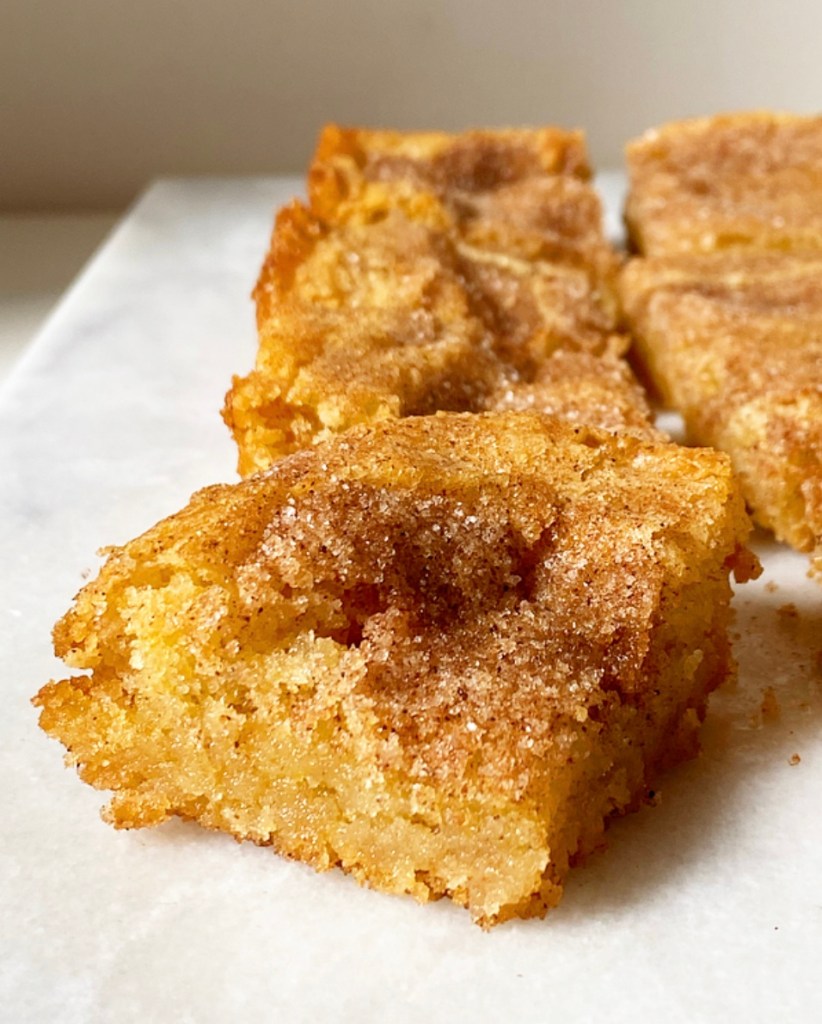
Case in point: shortbread bars. They’re one of the simplest desserts in my baking arsenal, and also one of my very favorites. They’re quick and easy to make and have a short ingredient list. You almost certainly have all the shortbread ingredients right now.


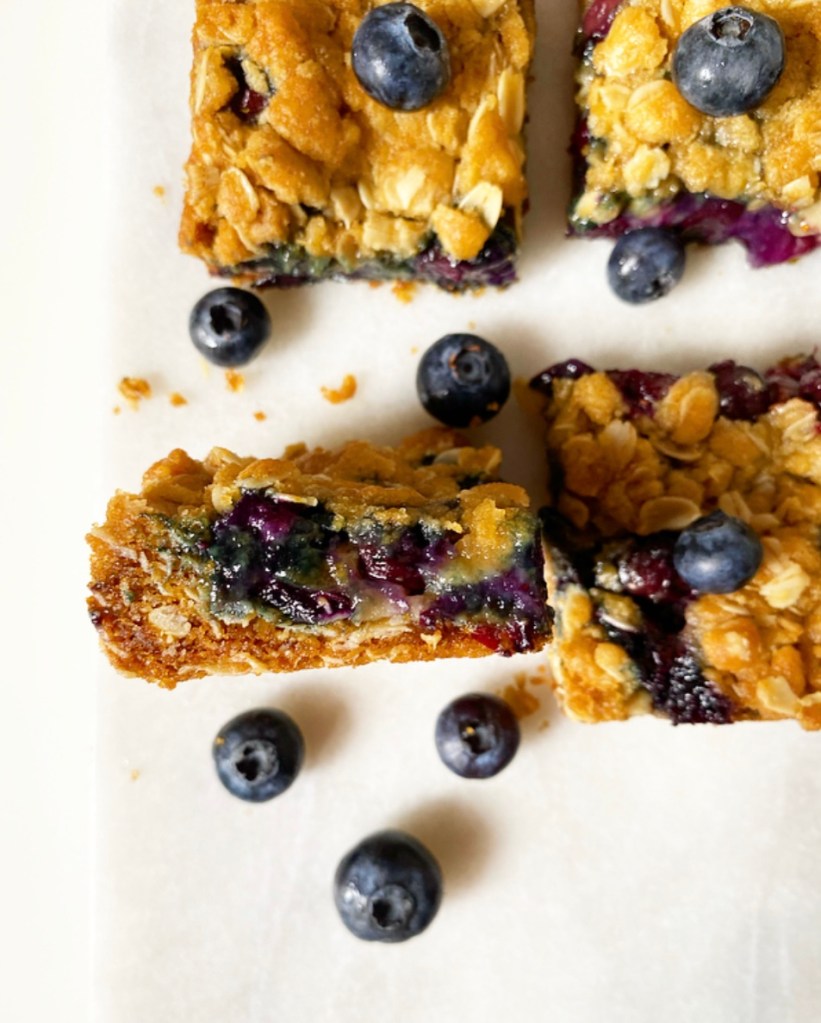
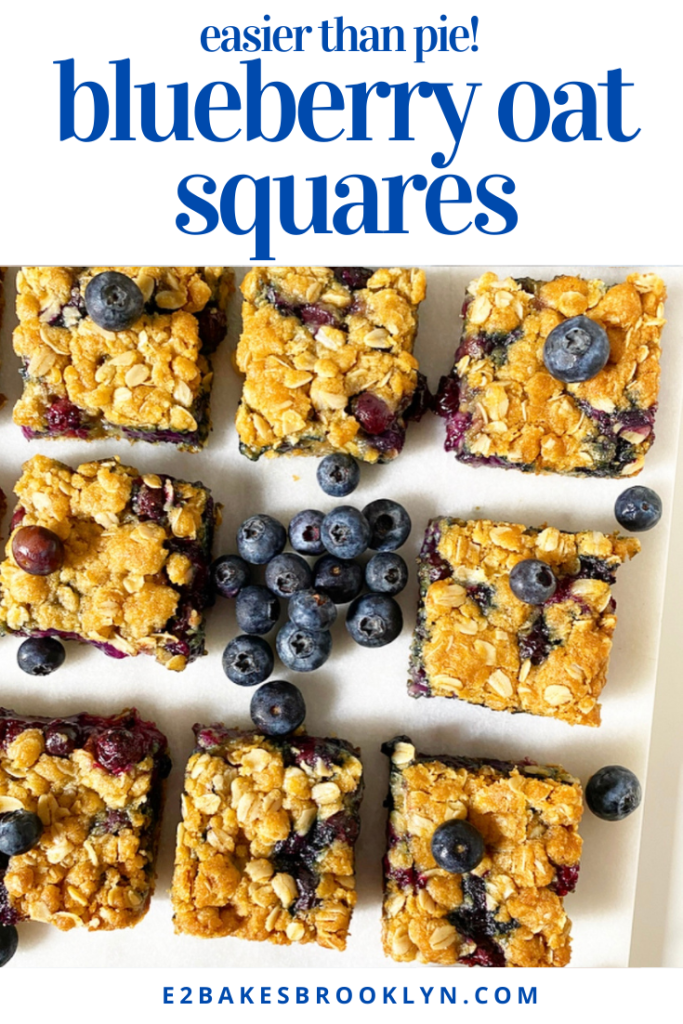
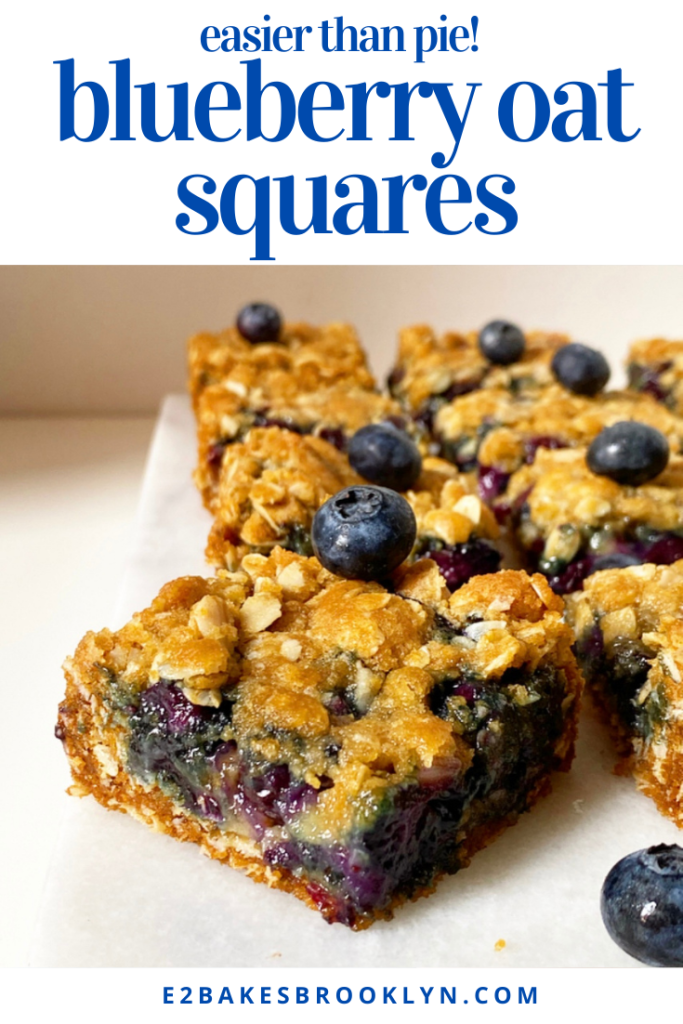
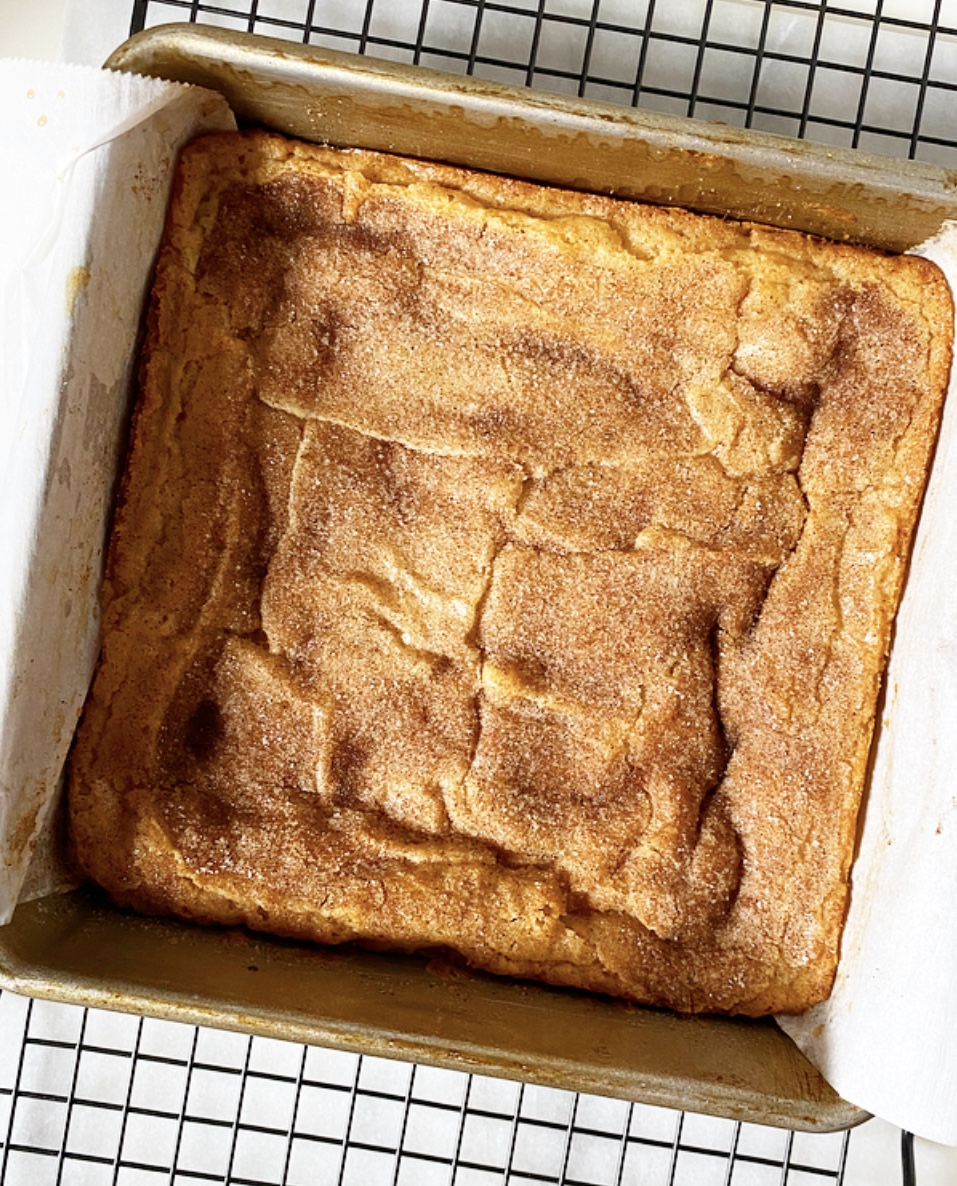
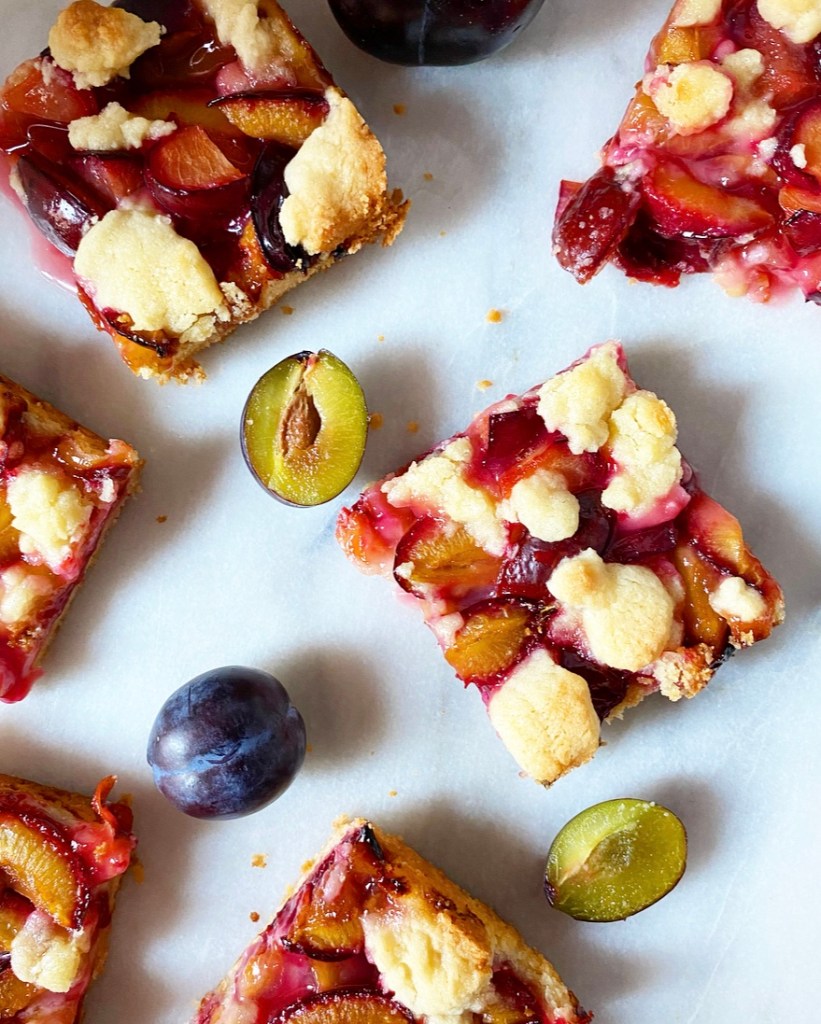
Shortbread bars hit all the same notes as pie, yet require only fractions of the work and time. The shortbread dough doubles as both base and topping, and you don’t need to roll or crimp anything—rustic is the name of the game. You can make them square, or bake them up round and cut them into wedges.
Perhaps best of all, shortbread bars seamlessly adapt to whatever fruit you have in hand, whether it be apples, cherries, blackberries or an astonishing amount of sweet & tangy late summer plums.
Yep. This recipe’s a keeper.
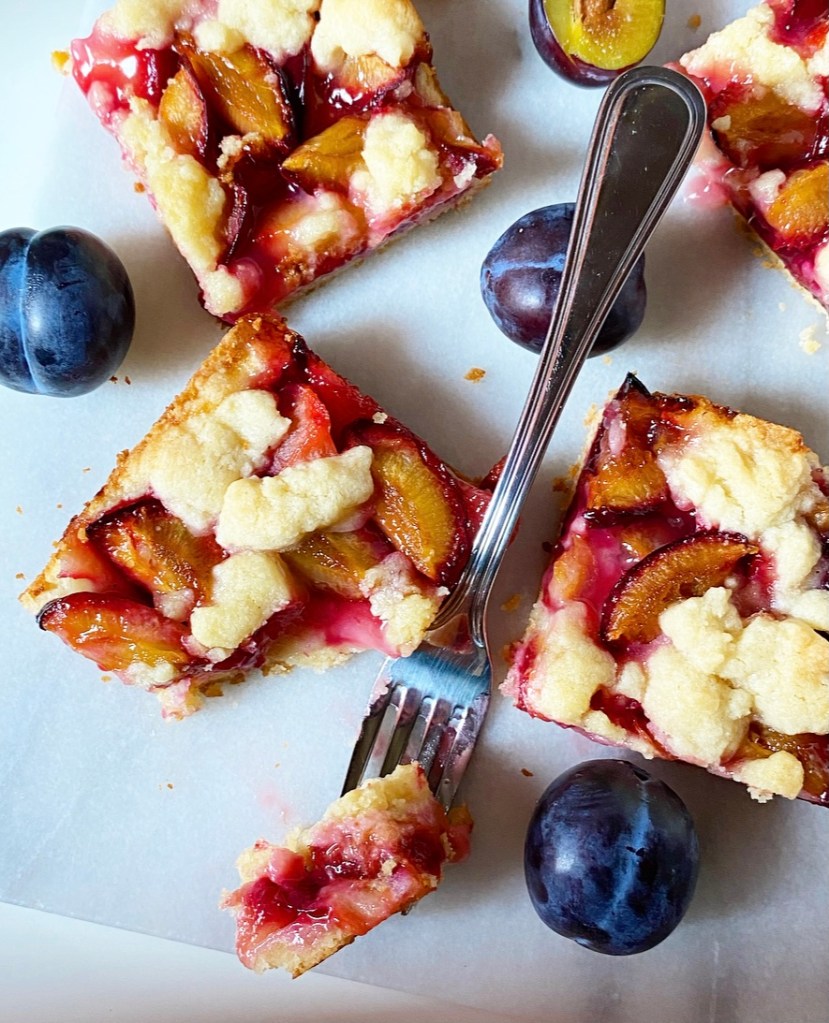
Plum Shortbread Bars
makes one 8-inch pan, 8-12 wedges
Filling:
3 cups sliced fresh plums* (1-inch pieces)
1 tablespoon lemon juice (about 1/2 medium lemon)
1/2 cup granulated sugar
pinch of Kosher or sea salt
1 tablespoons cornstarch
Shortbread:
2 cups all-purpose flour
1/2 cup granulated sugar
1/4 teaspoon Kosher or sea salt
1 cup (2 sticks) unsalted butter, cold, cut into small cubes
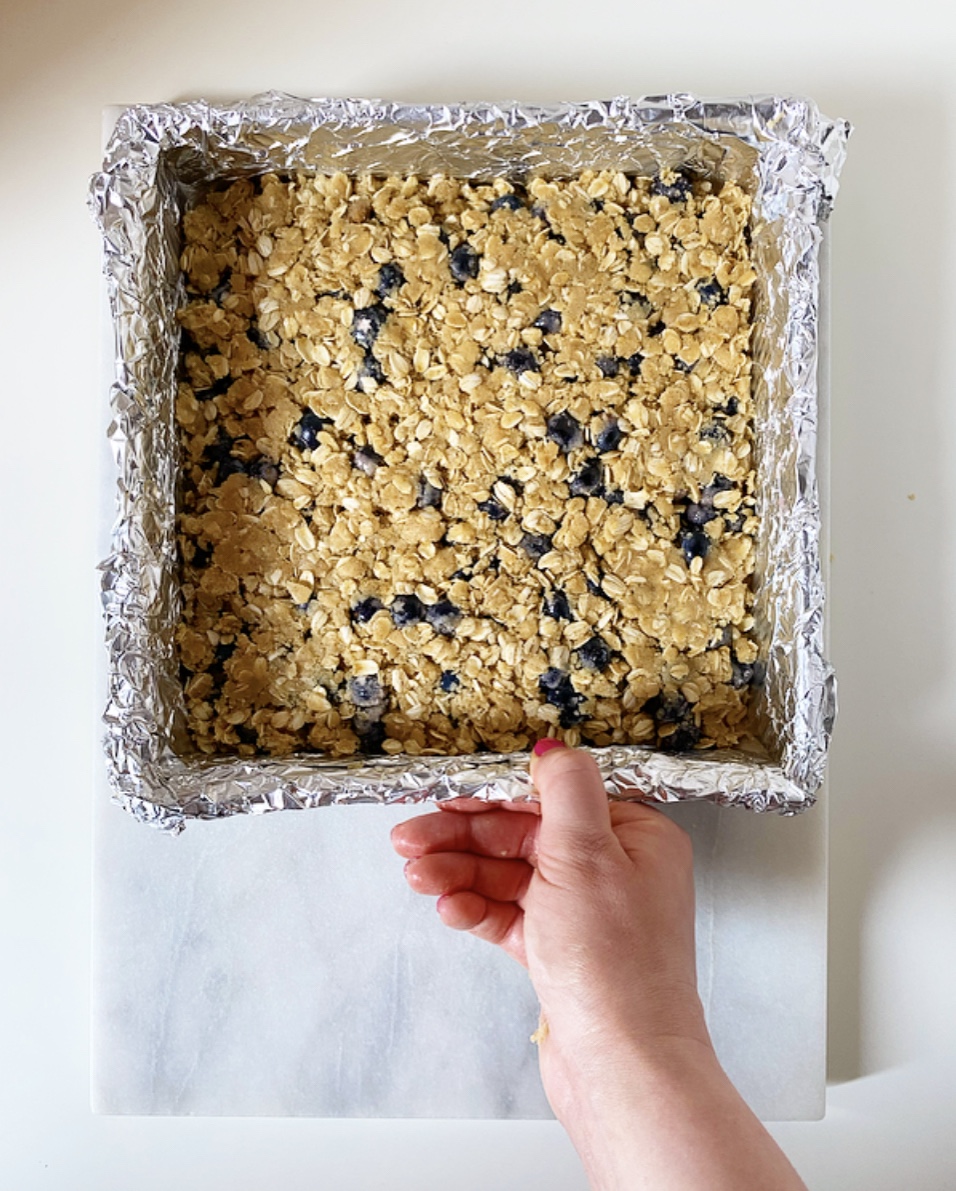
Place oven racks in top and bottom positions. Preheat oven to 375F. Butter and flour an 8-inch round cake pan, or line with aluminum foil, leaving overhang, and grease with butter. Set aside.
Make plum filling. In a medium mixing bowl, combine sliced plums, lemon juice, sugar, salt, and cornstarch. Set aside while you make the shortbread.
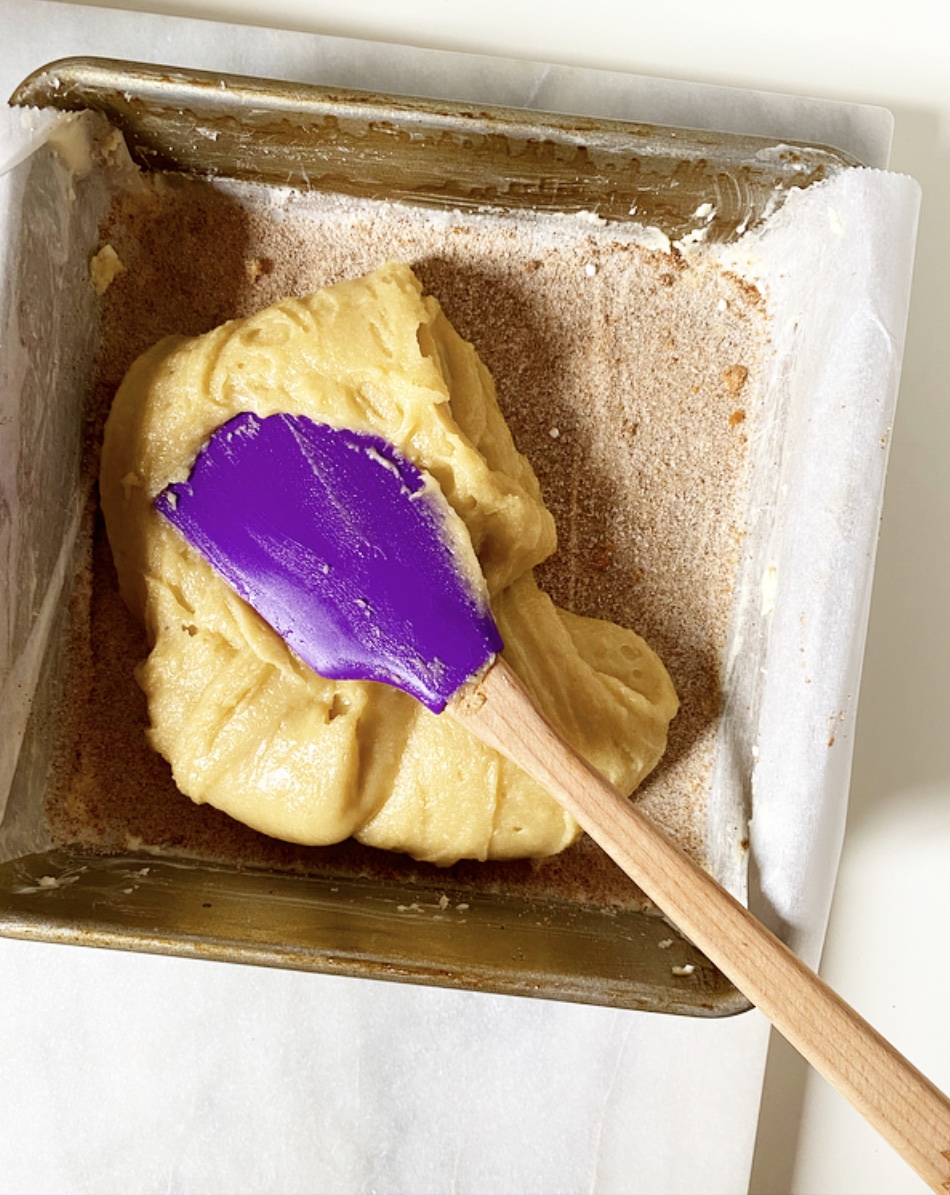
In a large mixing bowl, combine flour, sugar, and salt. Add cold butter. Use your fingertips to rub butter into flour until the largest pieces are the size of small peas. It will be powdery, but should hold together when pinched. Set aside 1 cup of the mixture for topping.
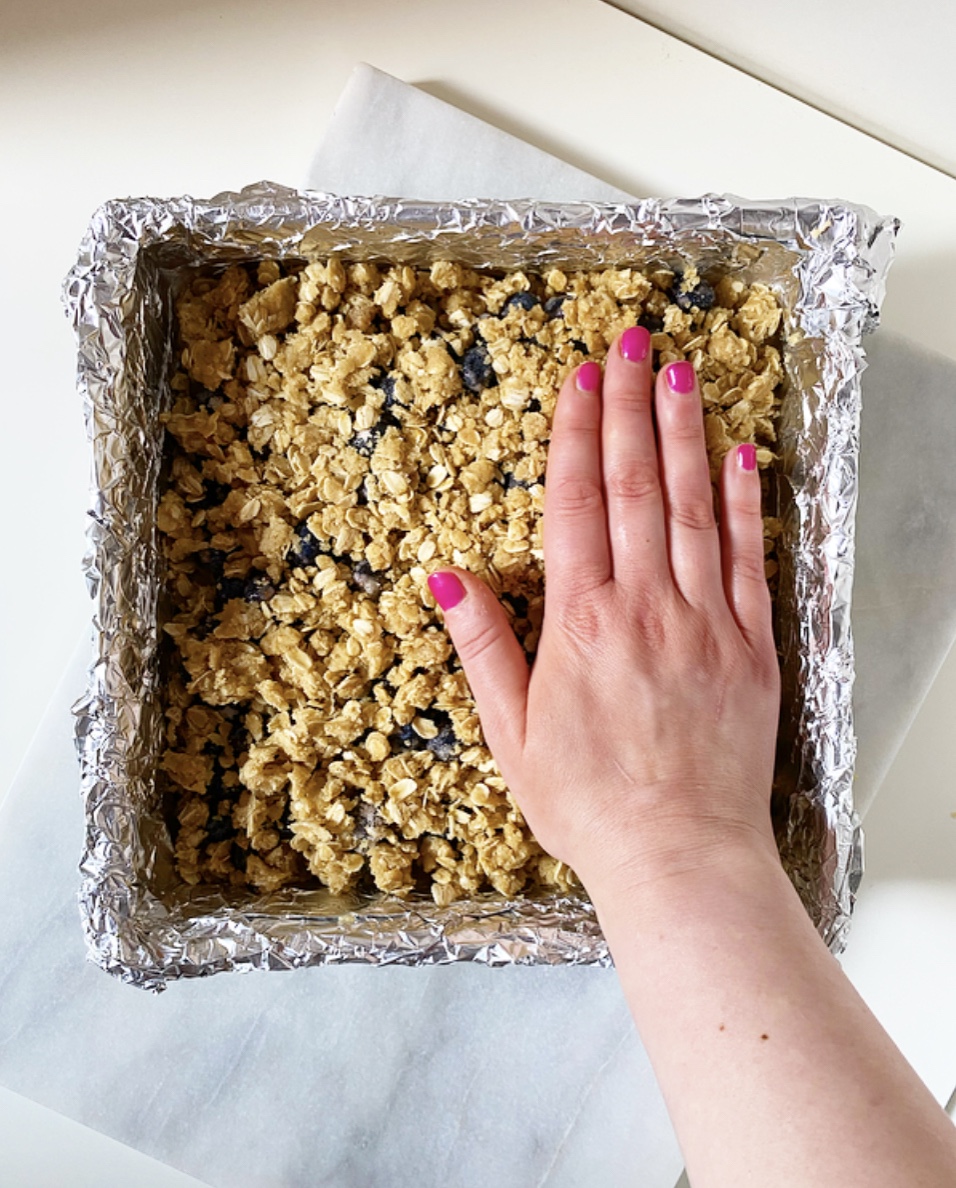
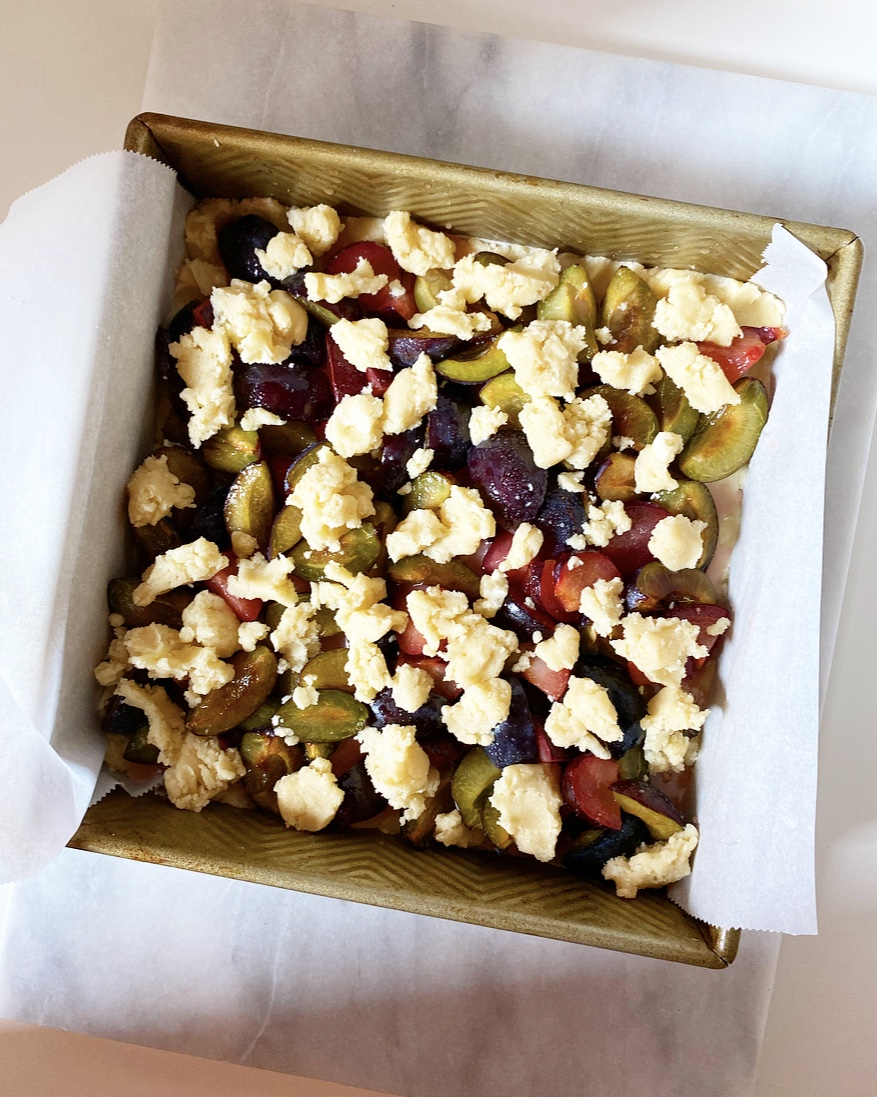
Pour remaining shortbread mixture into prepared pan. Spread it around to cover the bottom of the pan before using your hand to pack it down into an even layer. Prick several times with a fork. Spoon plum filling over the top and arrange into an even layer.
For the topping, use your fingers to pinch together small portions of the reserved shortbread mixture. Scatter them over the top of the blackberry layer.
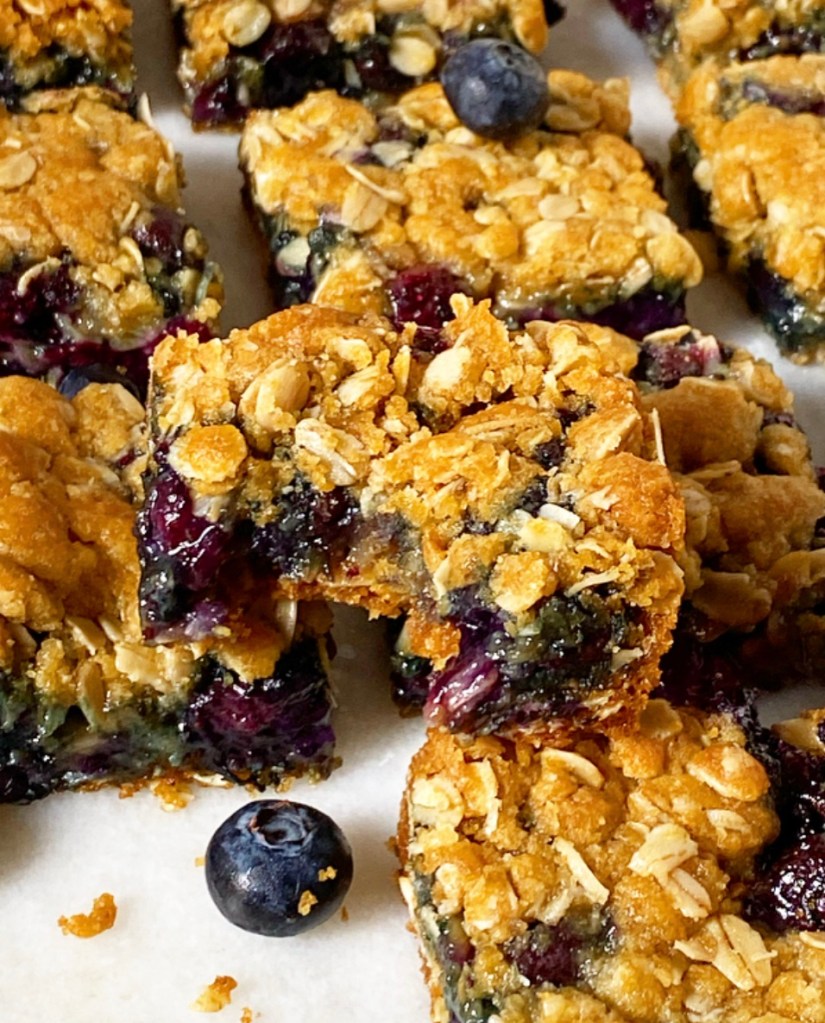
If your pan is on the shallow side, place it on a rimmed baking sheet to collect any light overflow. Bake on the bottom rack of the oven for 20 minutes. Move bars to the top rack and bake for an additional 10-12 minutes, until browned. Tent with foil if anything begins to brown too quickly. Let cool in the pan on a rack until they reach room temperature. Refrigerate for at least 90 minutes, or until cold.
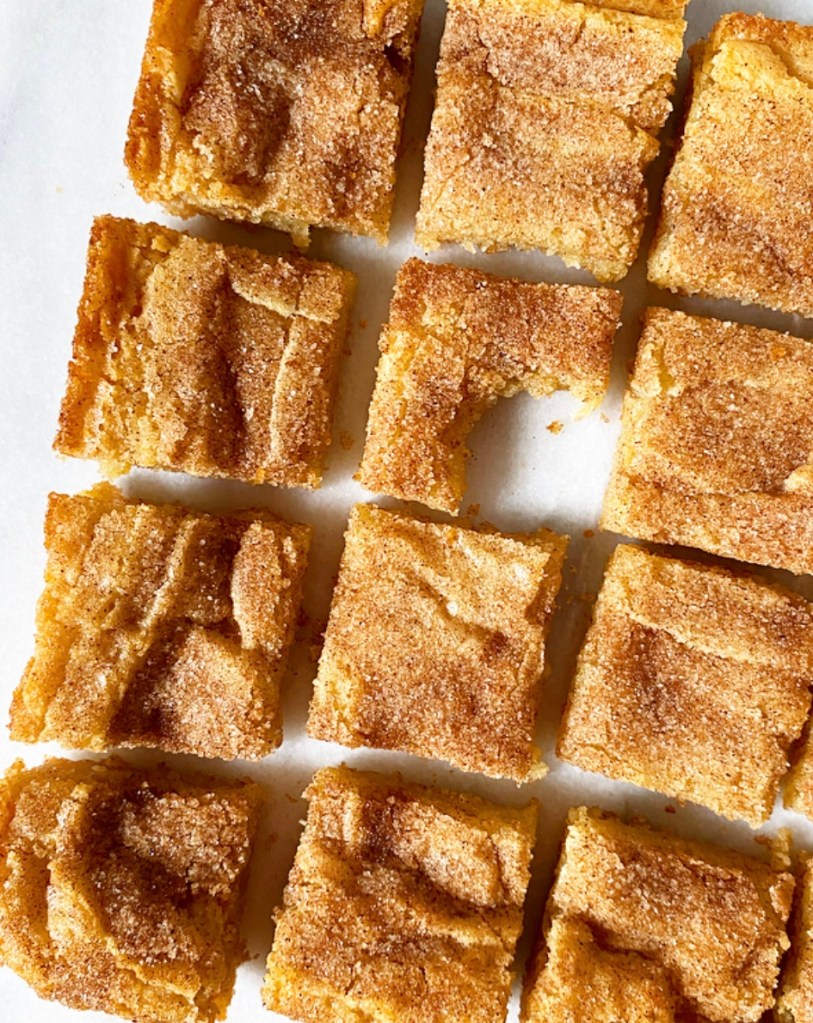
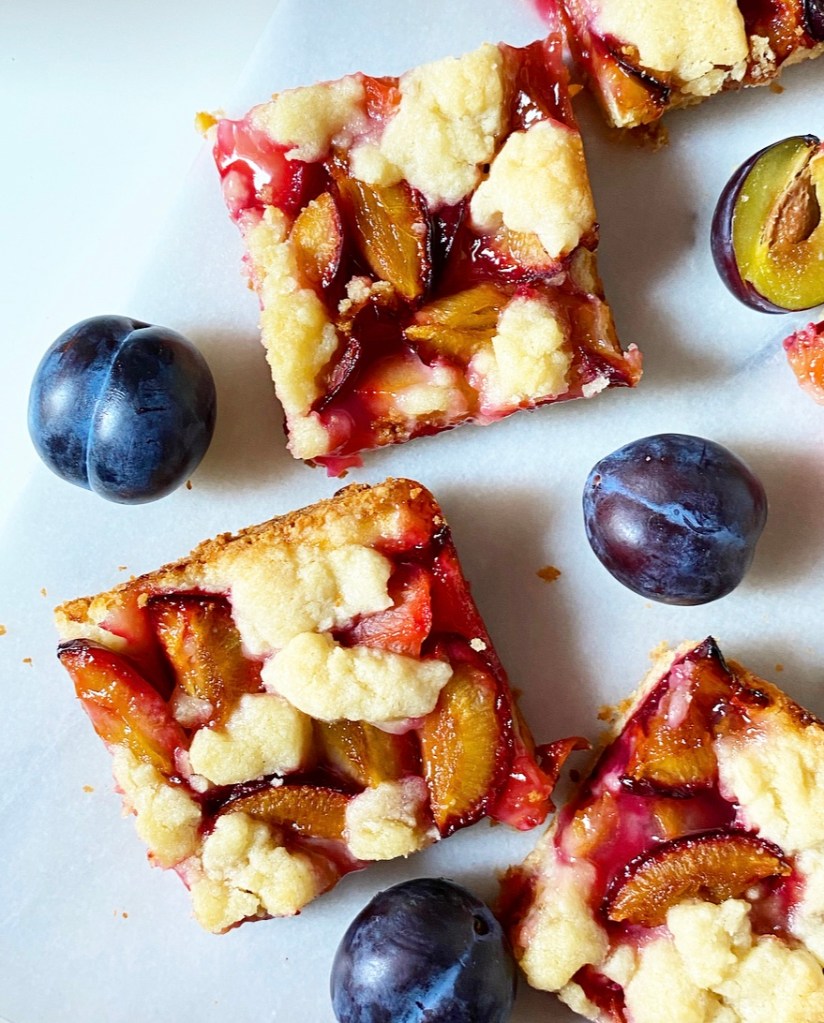
Run a thin knife around the edges of the pan. Use parchment overhang to remove to a cutting board. Slice and serve.
Leftover Plum Shortbread Wedges will keep in an airtight container in the refrigerator for up to four days. They will soften over time.
Note:
I used 2 medium red plums and a dozen Italian prune plums.