 I put a poll on my Facebook page late yesterday afternoon because I couldn’t decide which of two brown butter chocolate chip recipes I should post to the blog today. The options were Cheesecake Blondies and these Brown Butter Chocolate Chip Scones, and while it was a tight poll, Team Scone ultimately reigned supreme.
For those who might prefer cheesecake over scones, don’t fret—that recipe will make its debut soon. I don’t know about you, but I can’t imagine ever being tired of brown butter and chocolate…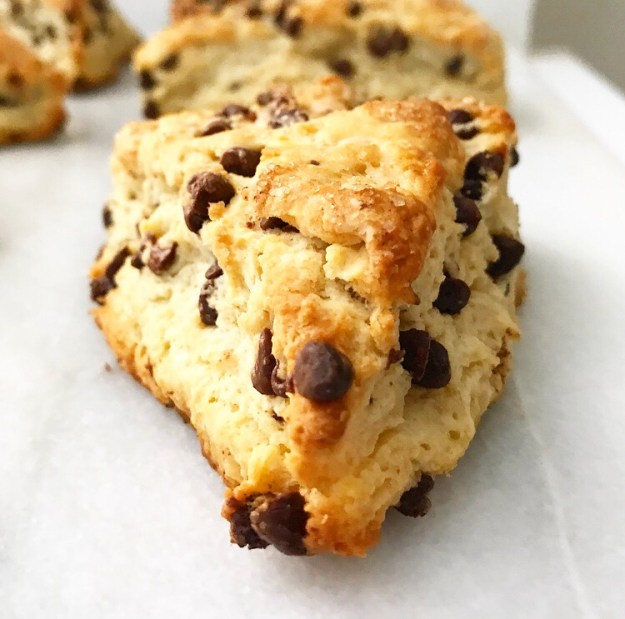
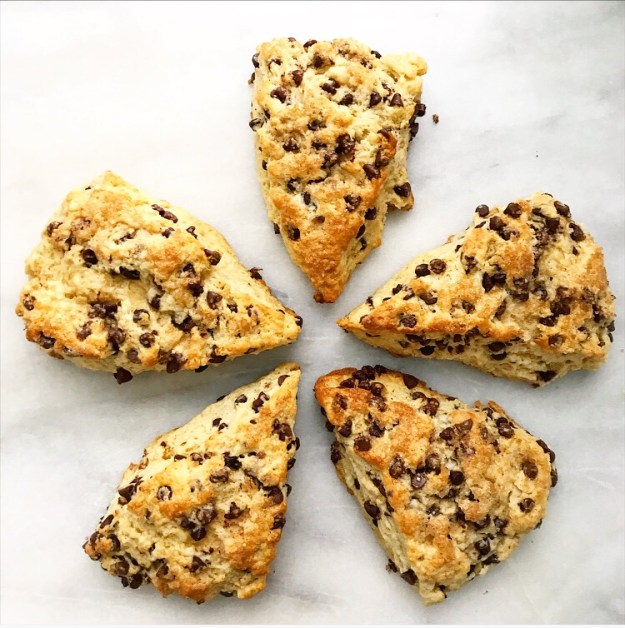
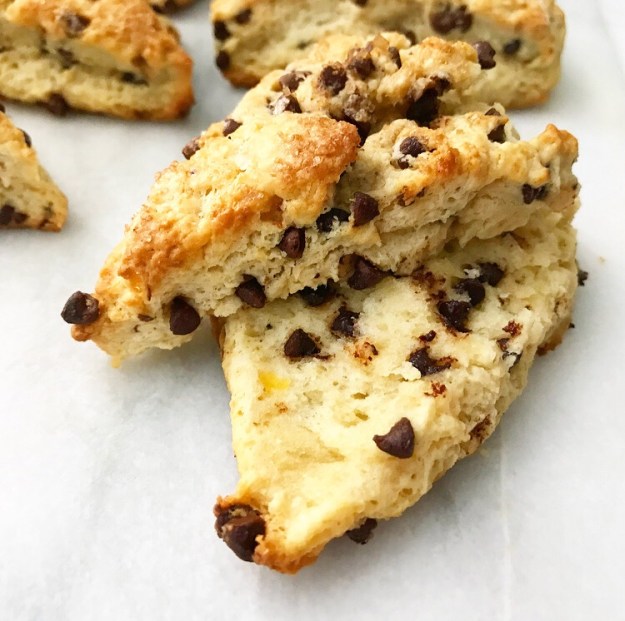
…especially when they’re folded into a simple dough, sliced into wedges, and baked into the very best chocolate chip scones I’ve ever had. Y’all, these are ridiculous. Ri-di-cu-lous.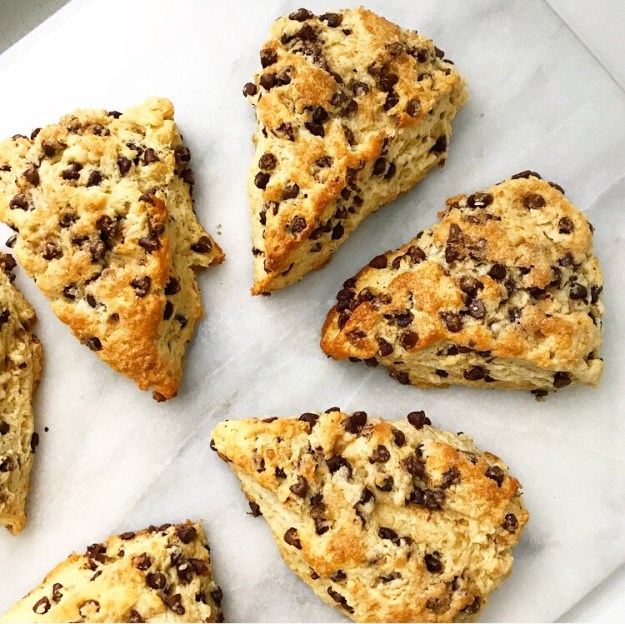
They’re soft and fluffy with crunchy edges and crispy caramelized sugar on top! Oh, and the depth of brown butter and just the right amount of mini chocolate chips ❤ I’m not much of a chocolate for breakfast gal, but these scones could easily convince me otherwise!
The idea for these Brown Butter Chocolate Chip Scones has been floating around in my head and my “to bake” list for some time now—probably since I made the biscuits for last summer’s Brown Butter Strawberry Shortcakes. In fact, this recipe is quite similar to that one. It starts with brown butter that’s chilled until solid before being cut into dry ingredients.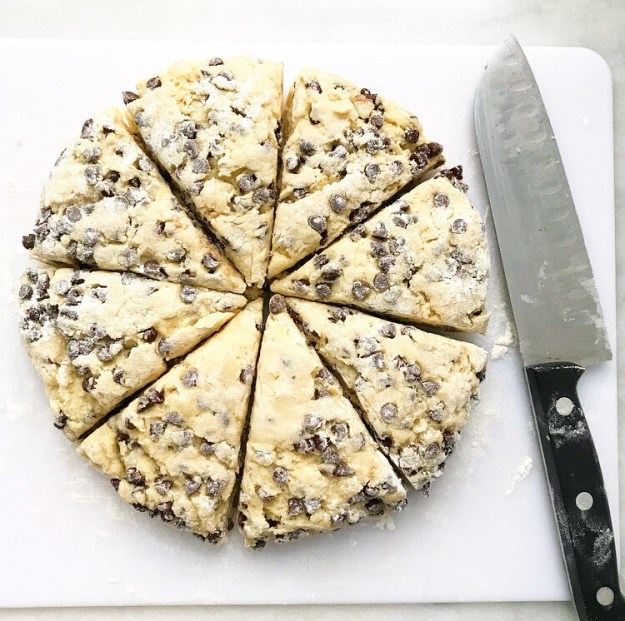
Half-and-half is the main liquid ingredient here; its extra fat helps make up for any moisture the butter may have lost during the browning process. An egg yolk helps with this, too. It may seem like an afterthought—what can one lone egg yolk really do in a scone recipe?—but it makes a huge difference in terms of texture and shelf-life. Where most scones begin to dry out by the end of the day they’re made, these stay surprisingly tender and fluffy into day two. I love how the tops lift right off!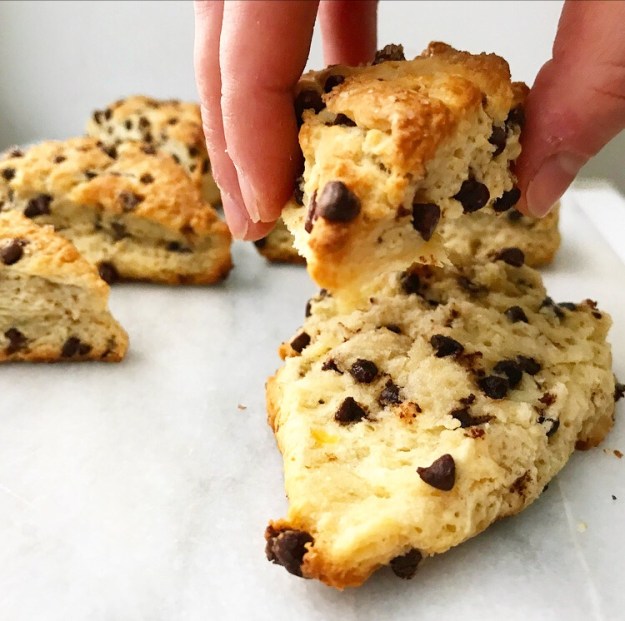
Other things to look out for in this recipe? Brown sugar and vanilla. I have seen many chocolate chip scone recipes with citrus zest and/or warming spices, but I wanted mine to have flavors more reminiscent of a chocolate chip cookie. Neither of these ingredients is particularly prominent—instead, they allow the brown butter and chocolate to shine.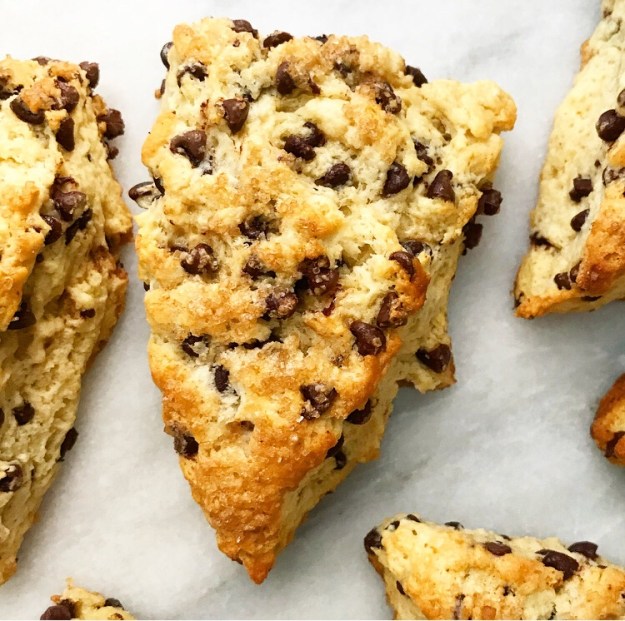
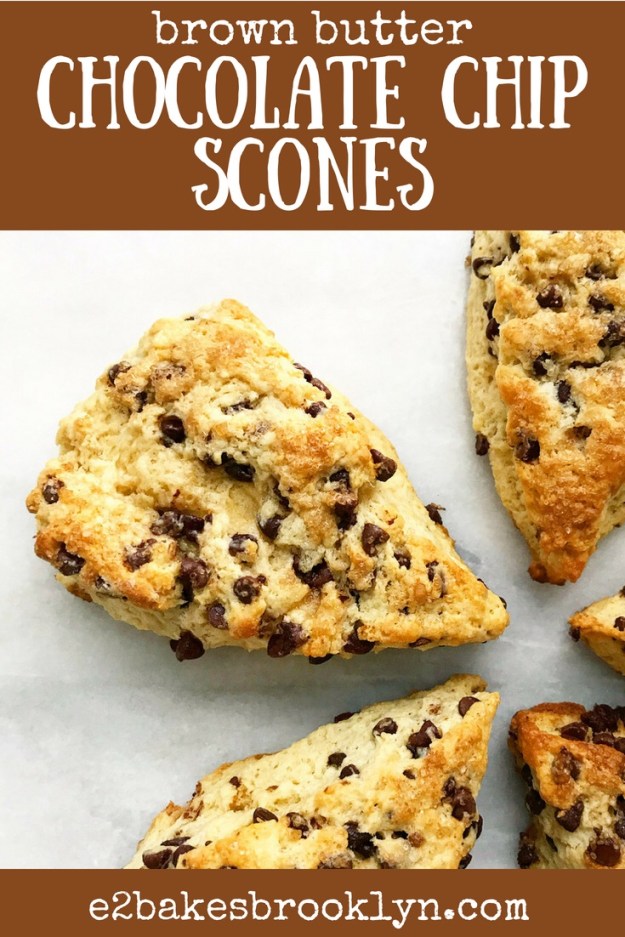
Alright, that’s enough for a Wednesday! Now, go brown some butter and make yourself some scones. Or better yet, hold onto this recipe and make them for Father’s Day this weekend 🙂 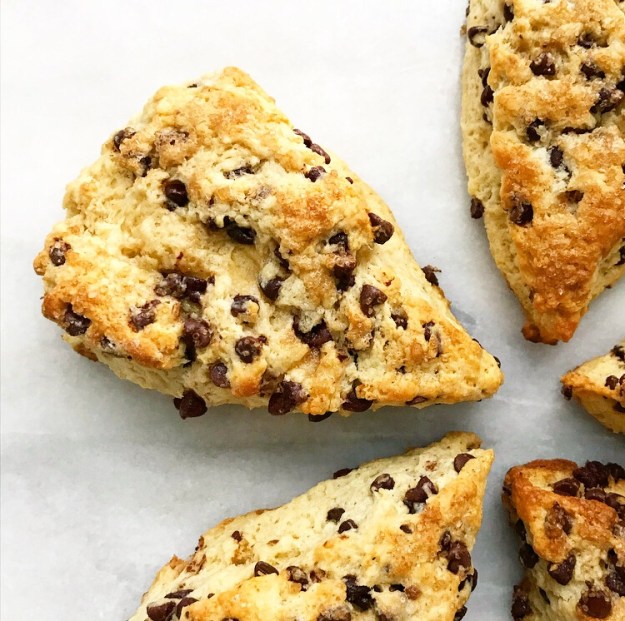
Brown Butter Chocolate Chip Scones
makes 8 scones
Brown Butter:
1/2 cup (1 stick) unsalted butter
Brown Butter Biscuits:
2/3 cup half-and-half, very cold, plus more for brushing
1 large egg yolk
1 1/2 teaspoons pure vanilla extract
2 cups all-purpose flour
1 tablespoon baking powder
3 tablespoons light or dark brown sugar, packed
1/2 teaspoon Kosher or sea salt
1/2 cup brown butter, solid, very cold
3/4 cup miniature chocolate chips
1 tablespoon coarse sugar (like turbinado), for sprinkling
Brown the butter. Place butter in a light-colored saucepan over medium heat. Let butter melt. Butter will bubble and crackle as the water content evaporates. Swirl the pan frequently for 5-7 minutes, keeping an eye on the color. When the solids are turning brown and the butter is nutty and fragrant, remove the pot from the heat and immediately pour the brown butter into a small bowl. Let the butter cool to room temperature before refrigerating until solid and very cold, several hours or overnight.
Brown butter may be made up to a few days ahead and kept in the refrigerator.
Make the scones. Place an oven rack in the center position. Preheat oven to 400F. Line a baking sheet with parchment or a silicone baking mat. Set aside.
In a liquid measuring cup, use a fork to whisk together half-and-half, egg yolk, and vanilla. Refrigerate.
In a large mixing bowl, whisk together flour, baking powder, brown sugar, and salt. Add cold brown butter. Use a pastry blender or clean fingertips to cut the butter into the flour until the largest pieces are the size of small peas. Stir in half-and-half mixture. Fold in miniature chocolate chips.
Turn dough out onto a floured surface. Pat it to 1-inch thick circle. Use a large, sharp chef’s knife to slice circle into 8 wedges. Place scones at least 2 inches apart on prepared pan. Brush with more half-and-half and sprinkle with coarse sugar. Bake 14-16 minutes, until puffed and golden. Let scones cool on the pan on a rack for a few minutes, or until they can be handled.
Scones may be served warm or at room temperature. They are best the day they are made, but will keep in an airtight container at room temperature for up to 2 days.
 Hey y’all! I’m writing from Cambridge, Massachusetts, where my baby sister (who is not a baby—she’s 30) is graduating from Harvard.


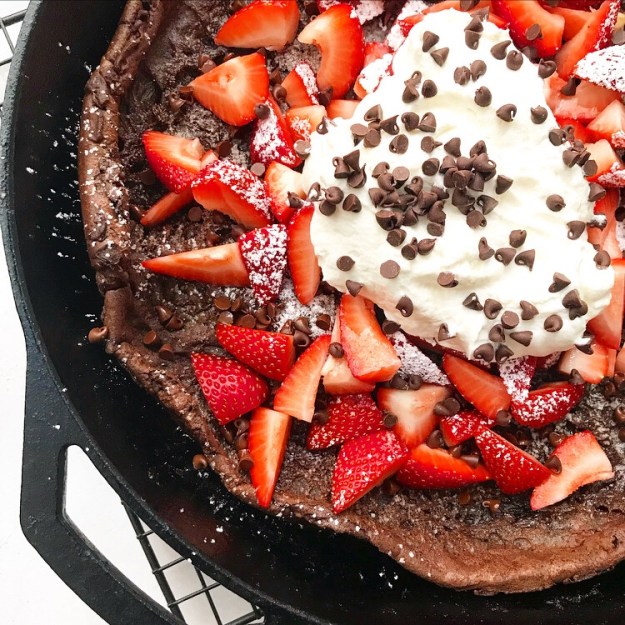 This Chocolate Puff Pancake has everything you love about a classic
 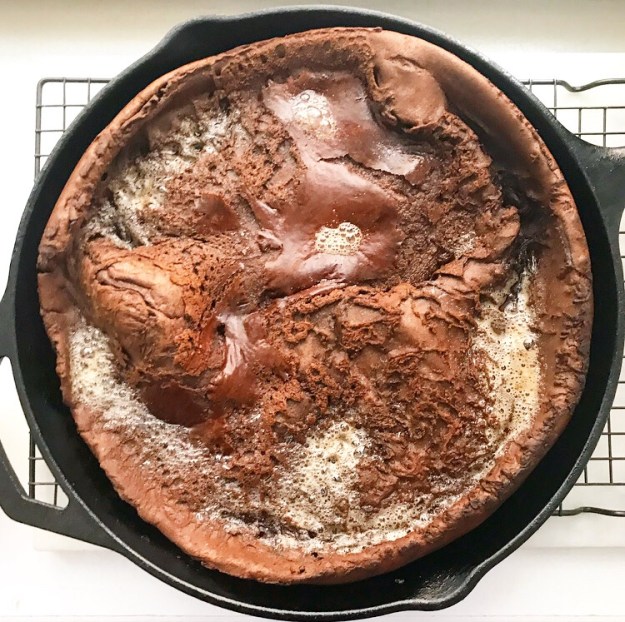 It’s quick and easy, coming together in 30 seconds in the blender and 18 minutes in the oven.
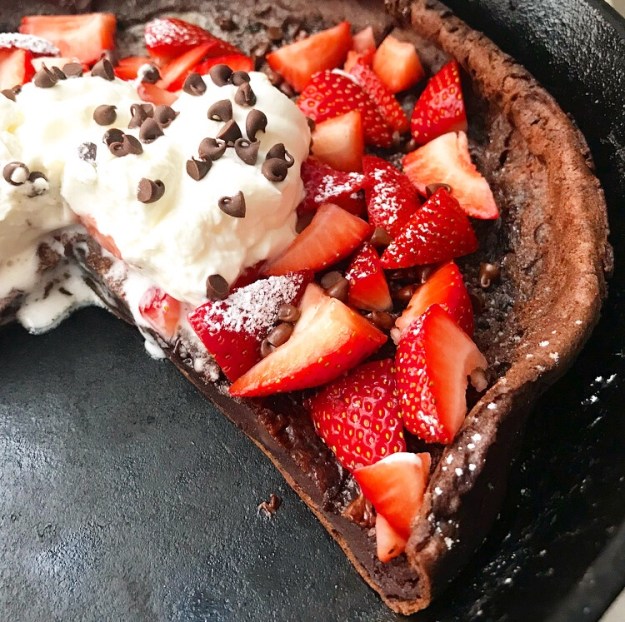
 It puffs dramatically while baking (hence the name), but deflates quickly, leaving behind a rustic, rumpled, shareable pancake.
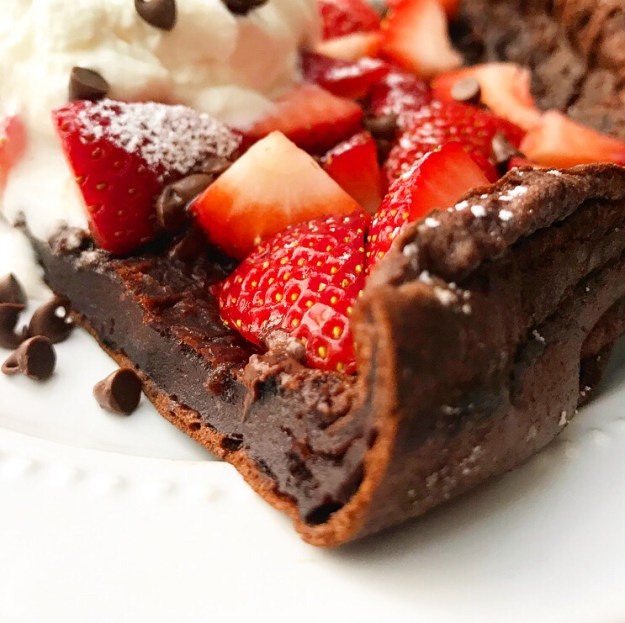 It has curled edges and custard-like center that I dream about all workweek long.
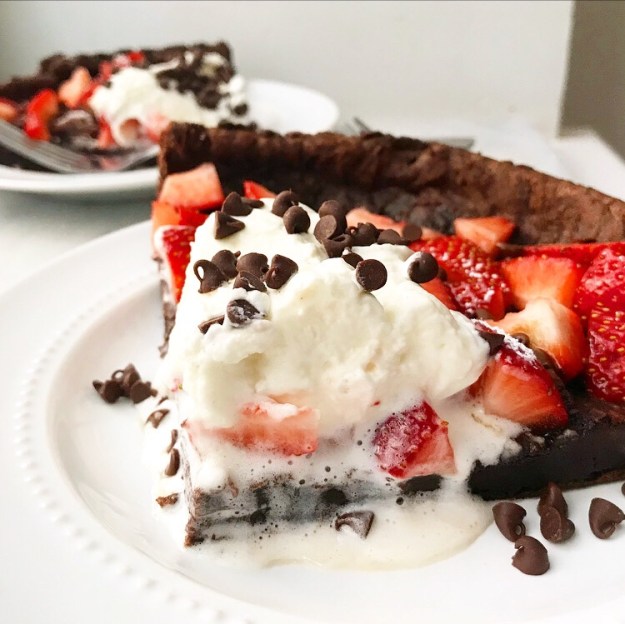 And chocolate.
 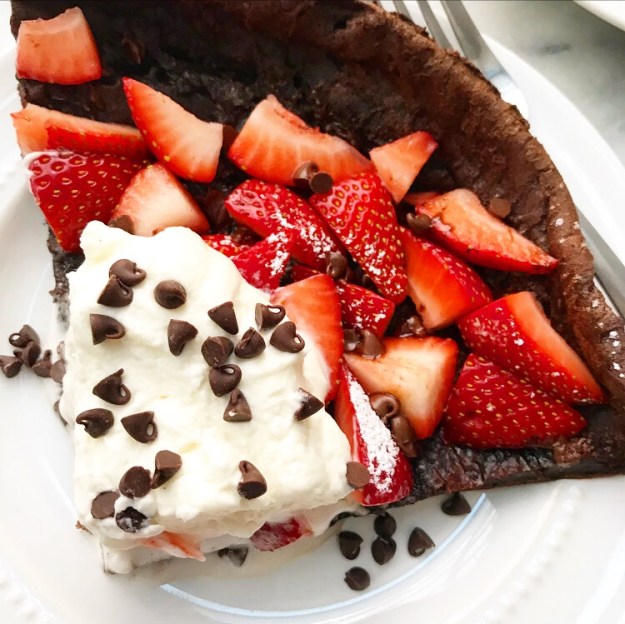 I’m not normally a chocolate for breakfast sort of gal, but this? I could get used to this. And that’s serious because I am a confirmed
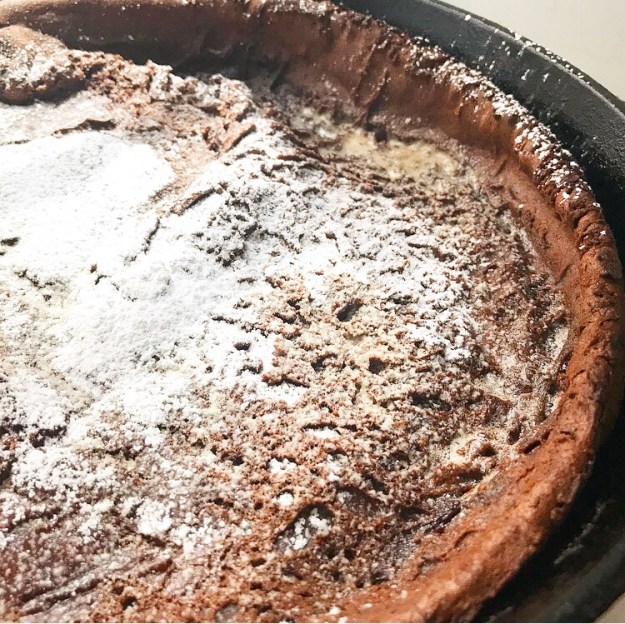

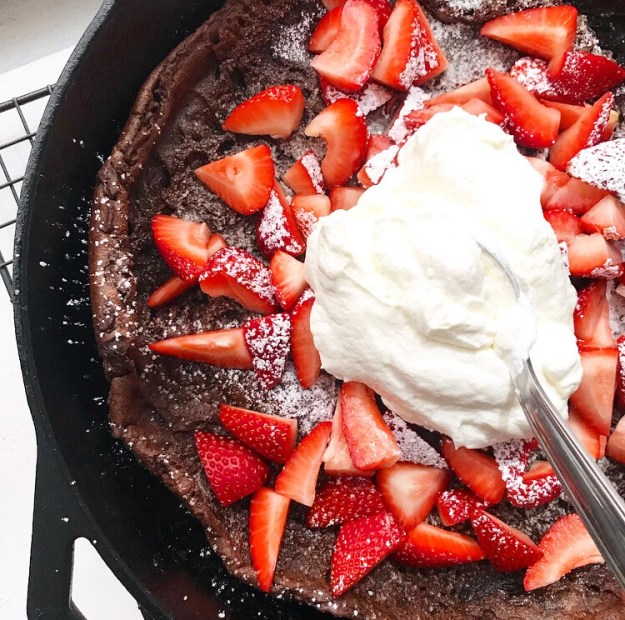
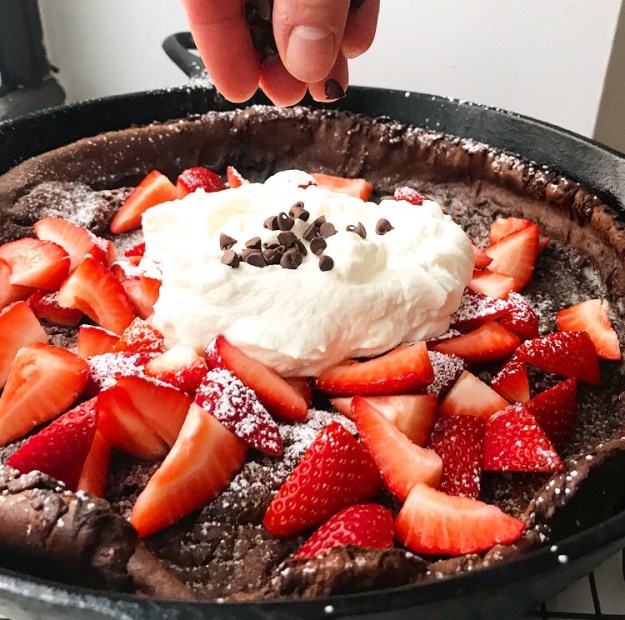 I mean, who can resist a barely-sweet chocolate pancake that you can literally fill with confectioner’s sugar, strawberries, whipped cream, and mini chocolate chips?!
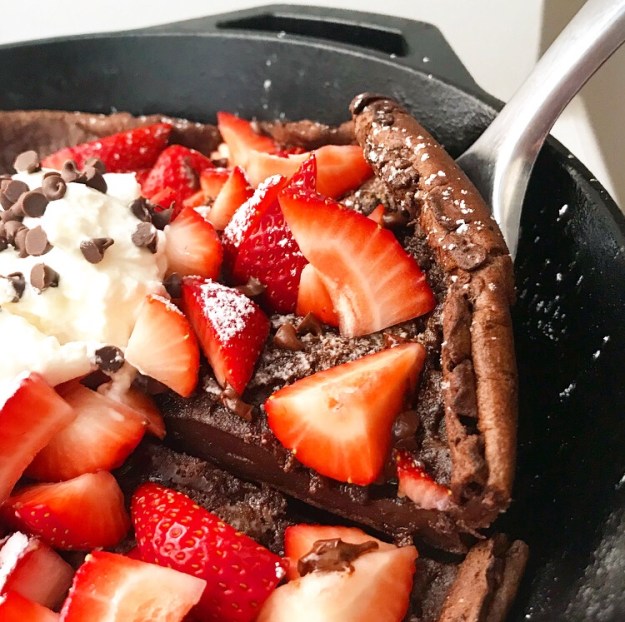
 The delicate pancake pairs so well with the fresh berries, airy cream, and melty chocolate. It’s pretty phenomenal as far as sweet brunches go.
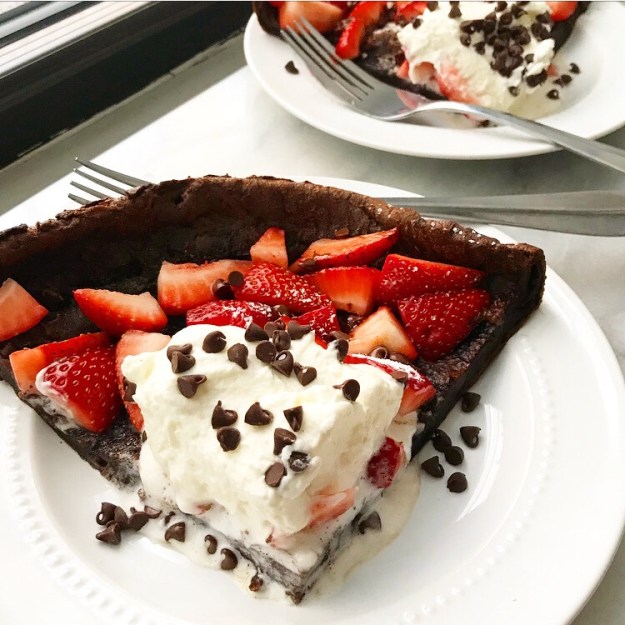 Plus, it’s pretty.
 We all know pretty food tastes better. Or something.

 I’ve eaten a lot of desserts in my life—A LOT—but as far as sheer enjoyment goes, I still think it’s pretty hard to beat homemade chocolate chip cookies. The combination of caramelized brown sugar cookie and semisweet chocolate chips is about as perfect as it gets, don’t you think?
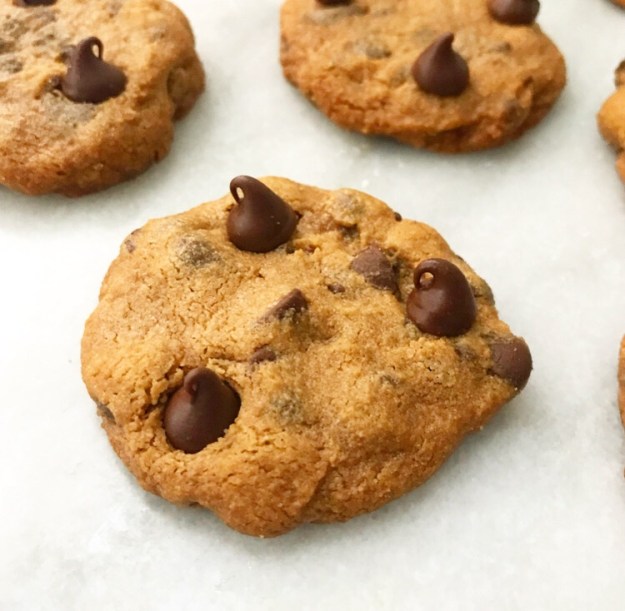 My favorite chocolate chip cookie
 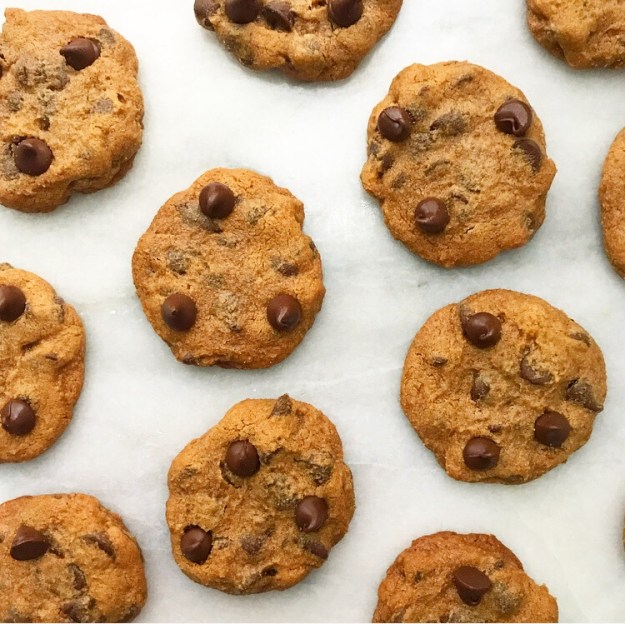 That’s right—these delectable chocolate chip cookies are made with creamy cashew butter in place of a traditional flour base, making them gluten-free. If you’ve been around here for a while, you know I have a bit of an obsession with reimagining classic cookies with a cashew butter base. The smooth, buttery flavor of cashews is a perfect jumping off point for revamping all sorts of cookie jar favorites! I posted
 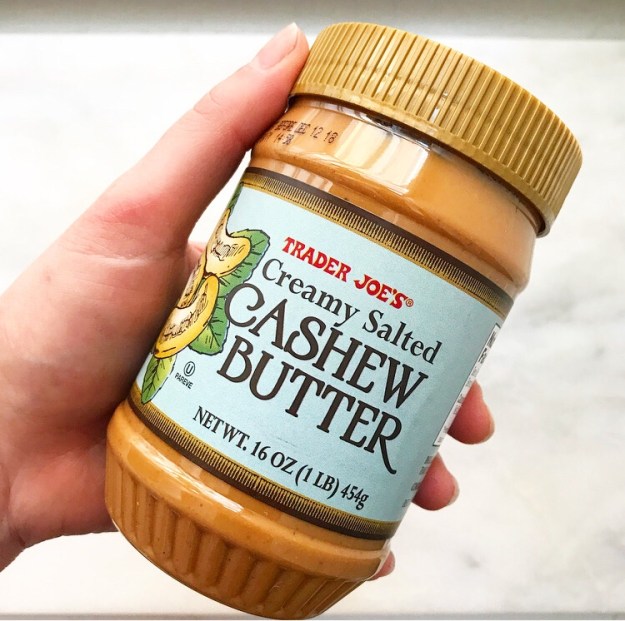 Another great thing about these Cashew Butter Chocolate Chip Cookies? They’re vegan! The natural oil in the cashew butter negates the need for butter, and the usual egg is swapped for a few tablespoons of
 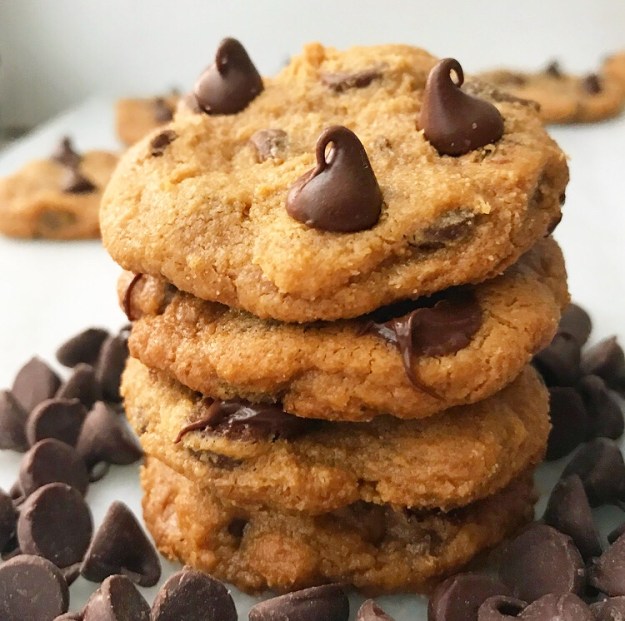 You’ll notice that these cookies don’t have the slightly raggedy edges of my other forays into cashew butter cookies. That’s because I finally figured out that these cookies bake up in a more aesthetically pleasing way if you flatten them before they go in the oven.
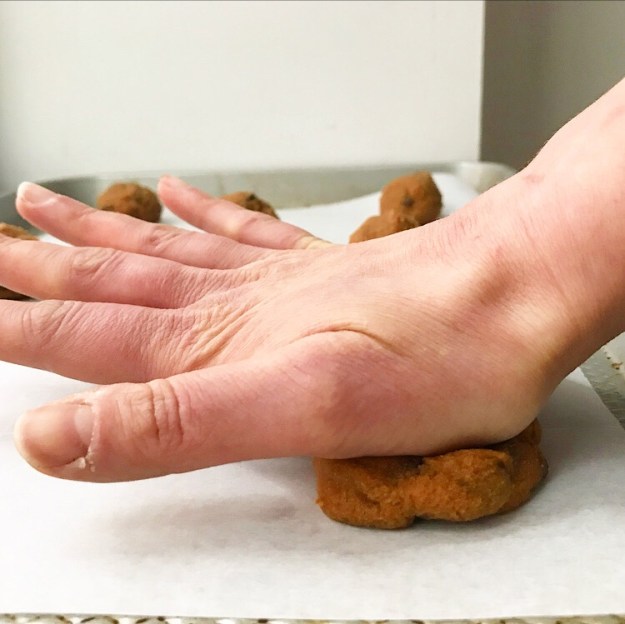 *cue
*cue 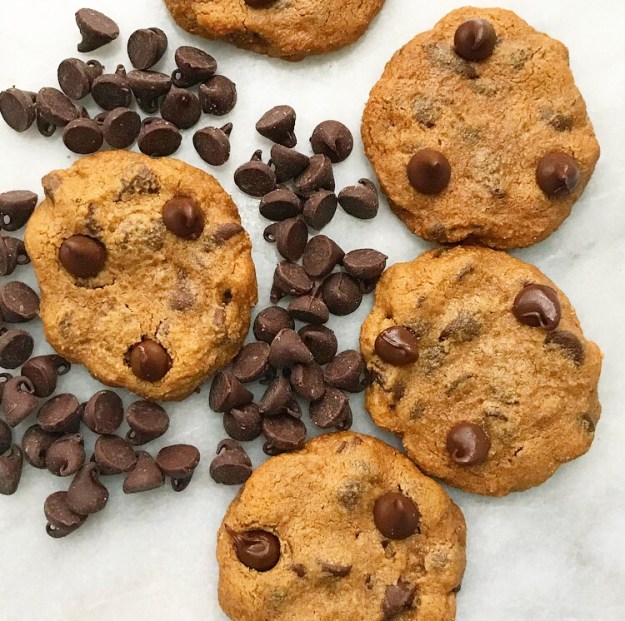 I’m going to gush a little more about these cookies and then I swear I’m done 😉 This recipe doesn’t require anything beyond a whisk, a silicone spatula, and a bowl. There’s no required chill either–if you turn on the oven right now, you can have an entire batch of cookies ready to go in just about an hour!
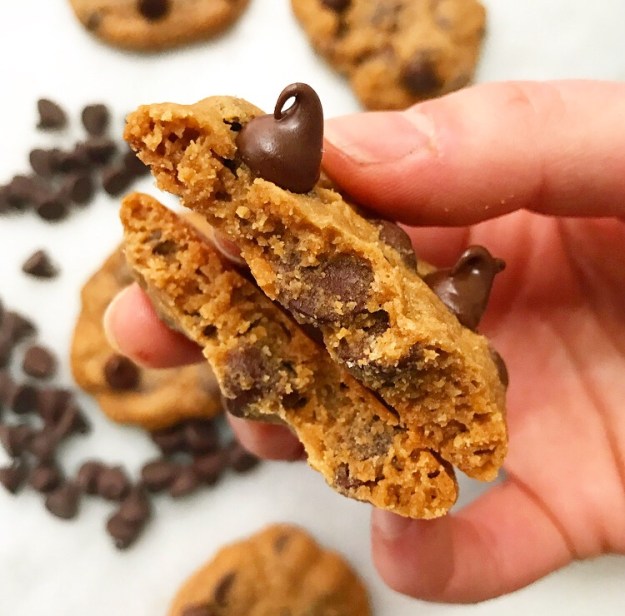 Seriously, there are so many good things to say about Cashew Butter Chocolate Chip Cookies. Their shockingly-close-to-the-real-deal flavor and soft & chewy texture are enough to capture just about any cookie-loving heart ❤ My favorite thing about them though is that they’re vegan and gluten-free, so I can share them with more friends. I’m pretty sure that the only thing better than a fresh homemade batch of chocolate chip cookies is having people to share them with.
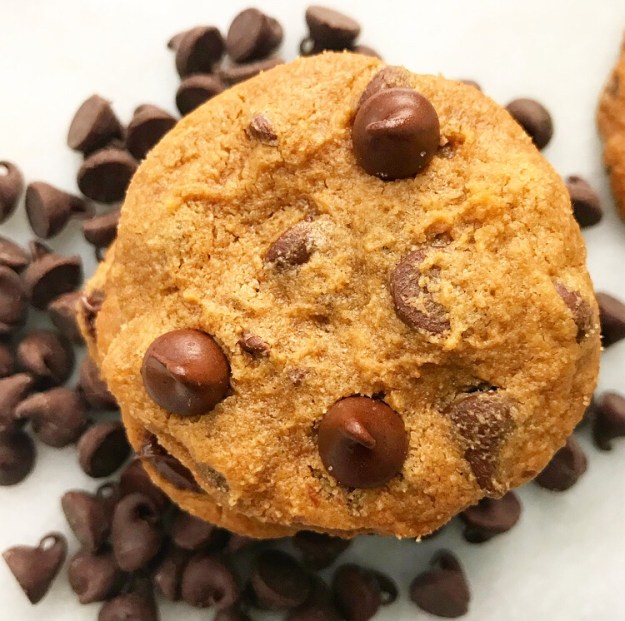 Cashew Butter Chocolate Chip Cookies {Vegan & Gluten-Free}
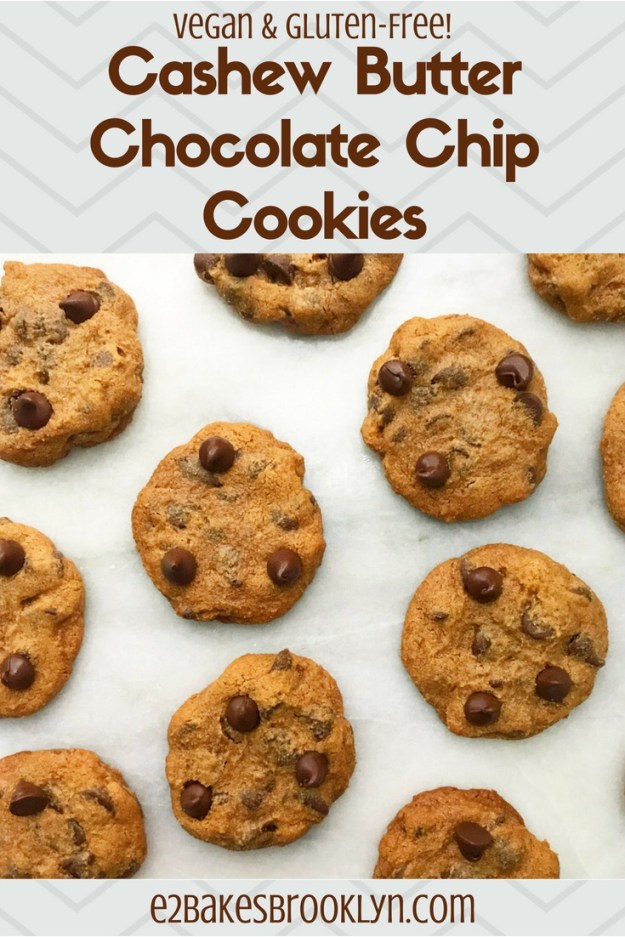
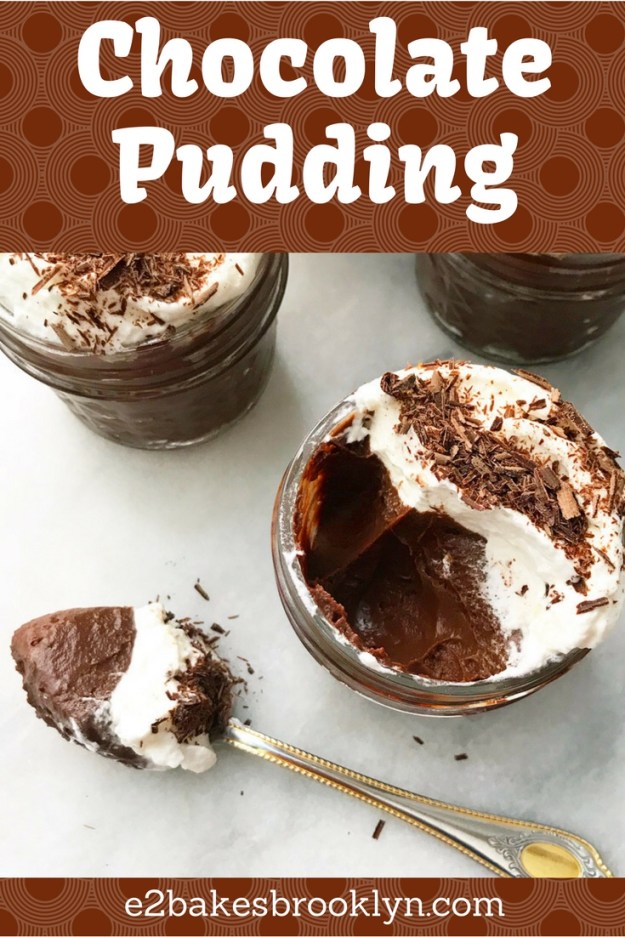
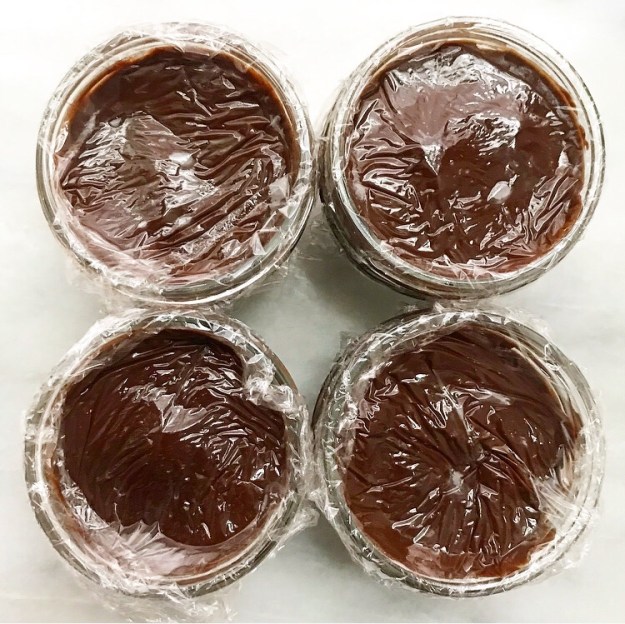
 I’m usually not the sort of blogger who labels her own recipes as “the best ever,” but y’all…this Chocolate Pudding might be the best ever. At the very least, it’s the best I’ve ever had.
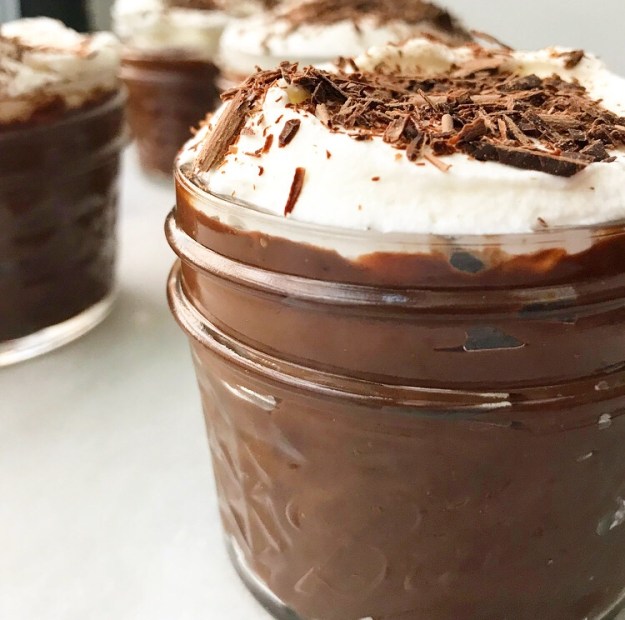 Of course, until a few years ago, I’m pretty sure that the closest I’d ever come to eating pudding made from scratch was my mom making Jell-o Cook & Serve vanilla pudding on an occasional weekend night. I’m not complaining though—she served it in a set of rarely-used champagne coupes, so it felt very fancy for something we ate on the couch in front of the TV.
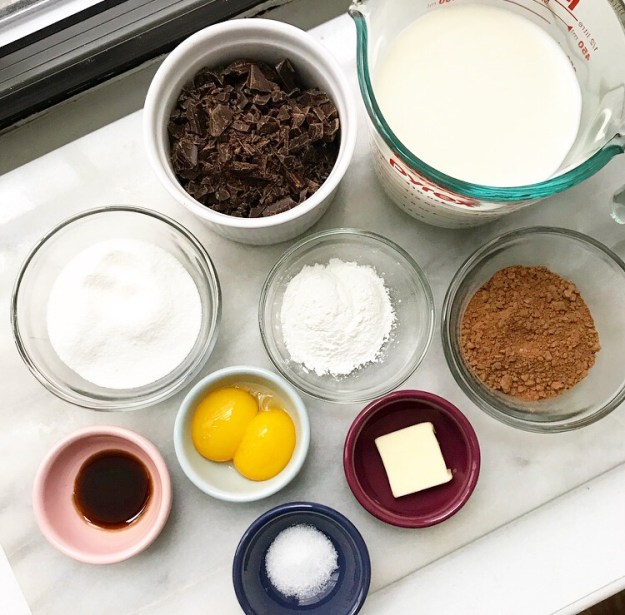
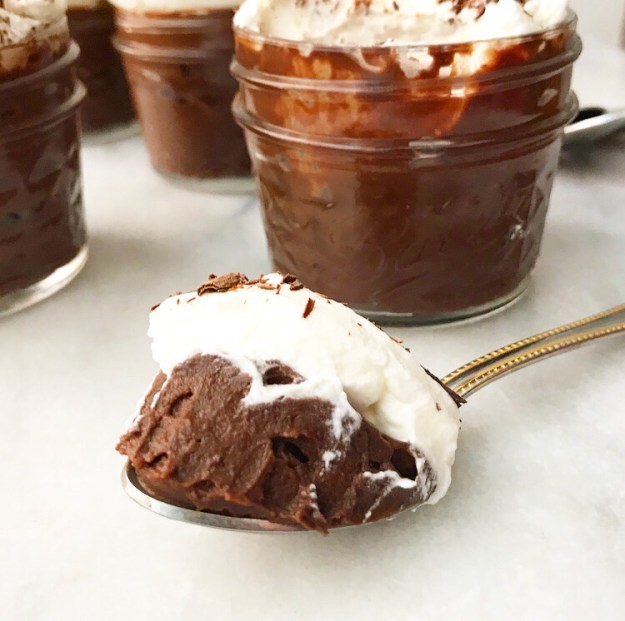
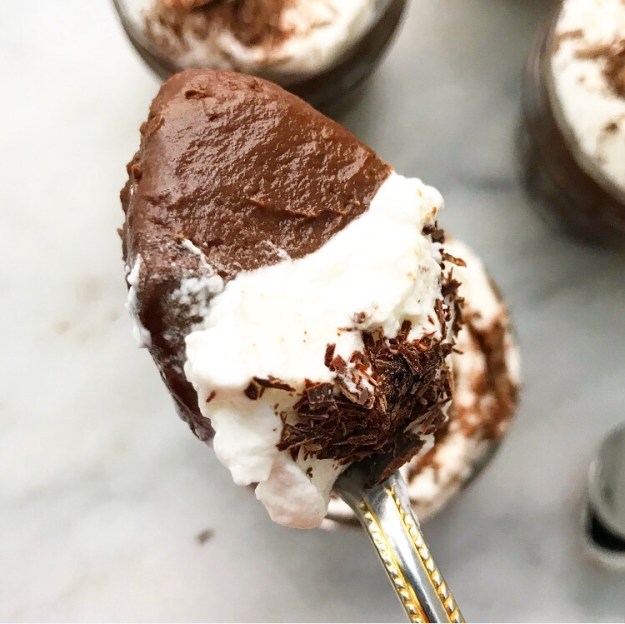
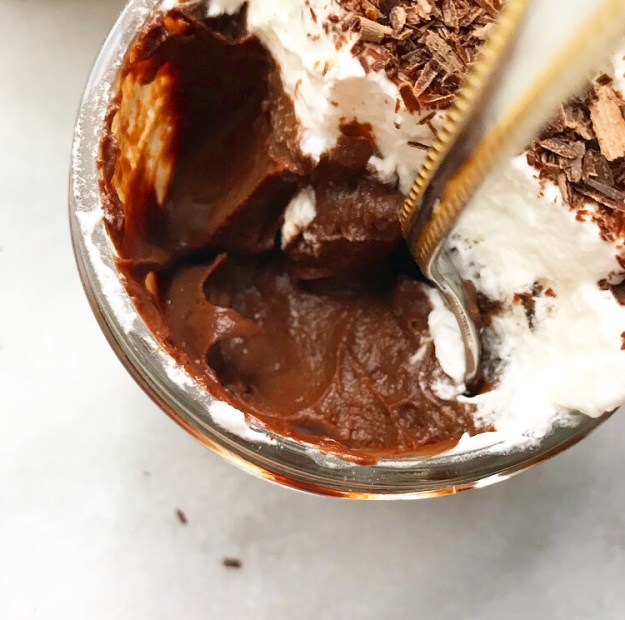
 This pudding though? It doesn’t need any elegant glassware to feel luxurious. It’s made with both cocoa and chopped bittersweet chocolate, giving the finished pudding a bold, in-your-face flavor. I cut the added sugar way down too, so there’s no cloying sweetness to distract from the intensity of the chocolate.
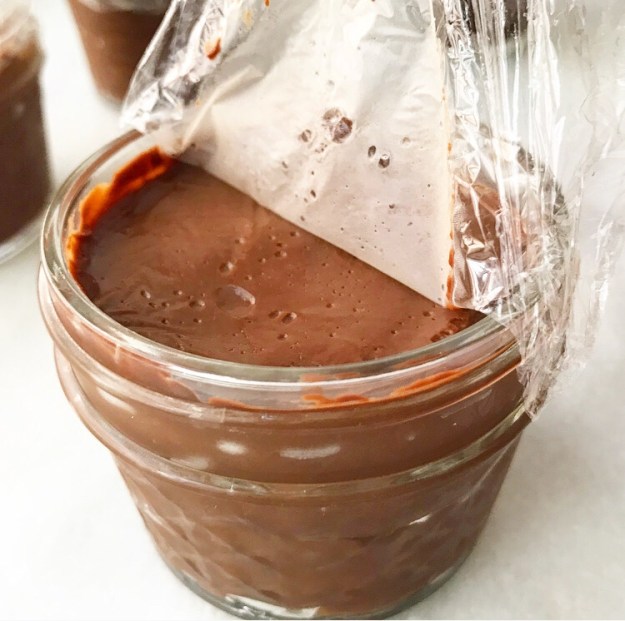
 I can guarantee you that there is no boxed mix on the market that makes a chocolate pudding that’s anywhere near this chocolaty.
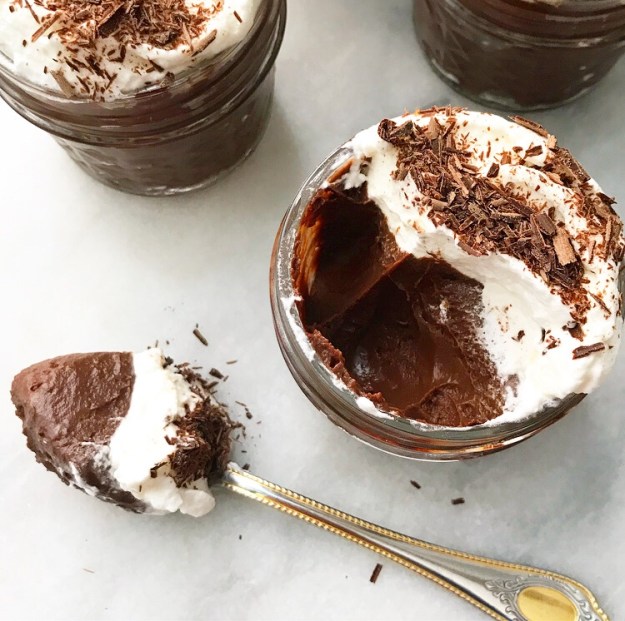
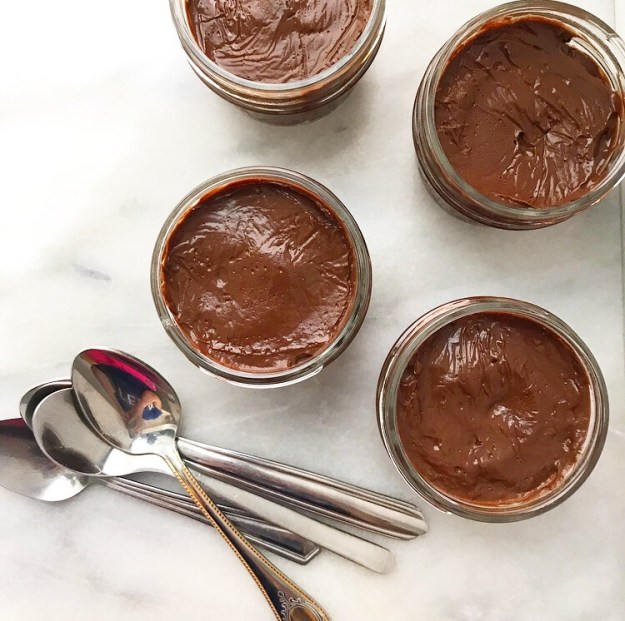
 This Chocolate Pudding is super thick, too. I mean, your average store bought pudding cup can’t hold a spoon straight up like that, now can it?!
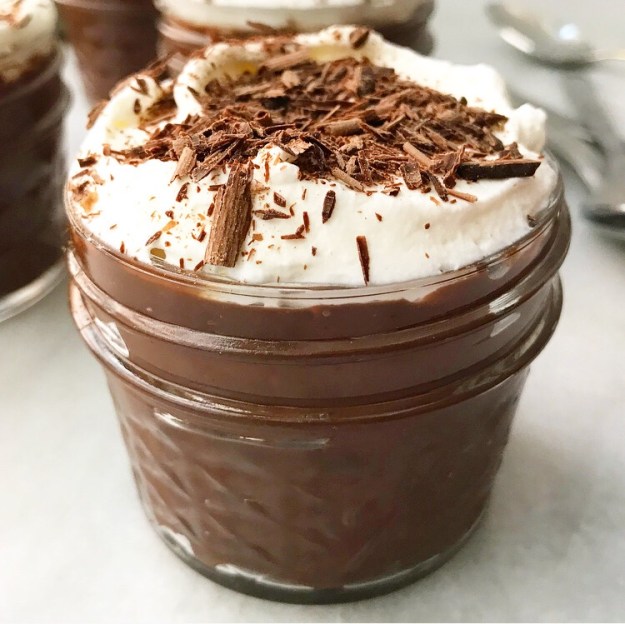
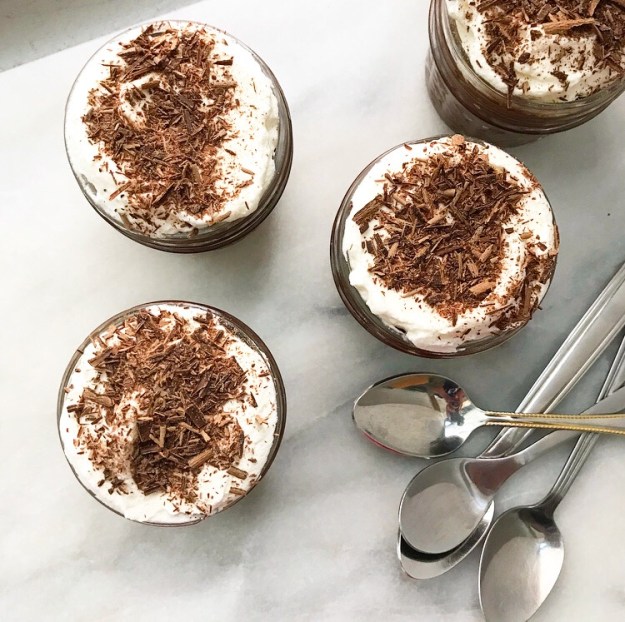 Another thing I love about this recipe is that it takes all of twenty minutes from the time I start measuring out ingredients to the time I put the pudding in the refrigerator to chill. This makes it perfect for a lazy night in or for a game night or cookout. I even think you could deck the individual servings out with whipped cream and shaved chocolate and serve them at a dinner party.
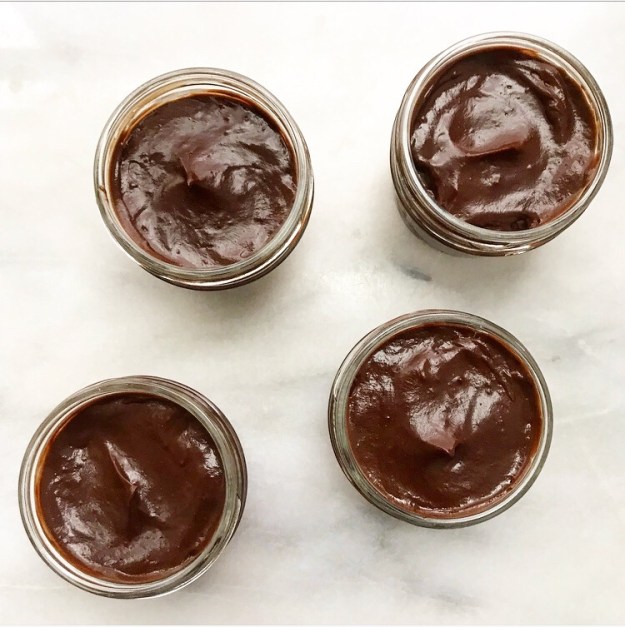
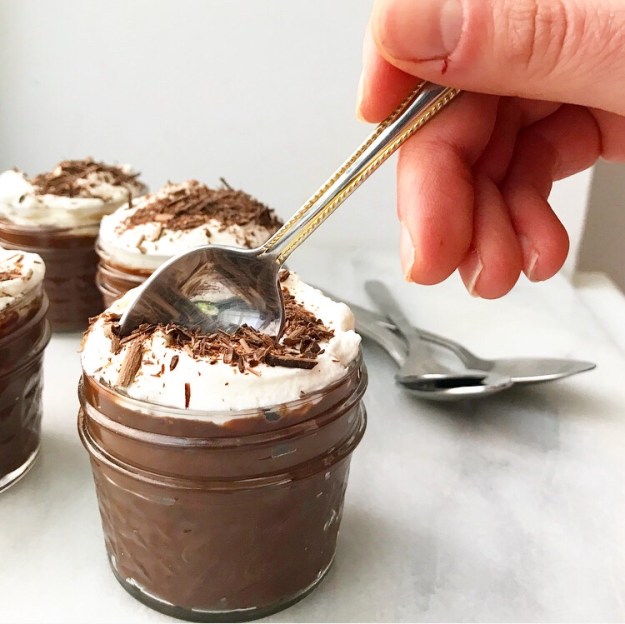
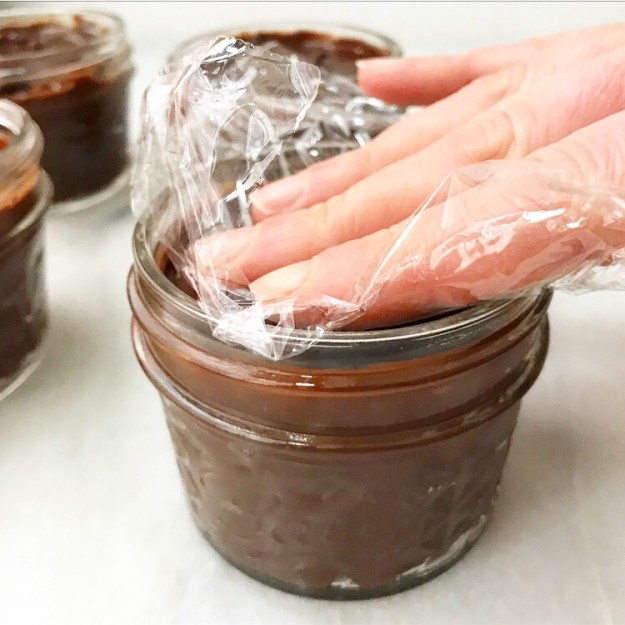
 My Chocolate Pudding stays good for a few days in the fridge, so it’s a great make ahead option too. If you can resist the temptation to take a cold, creamy bite, that is.