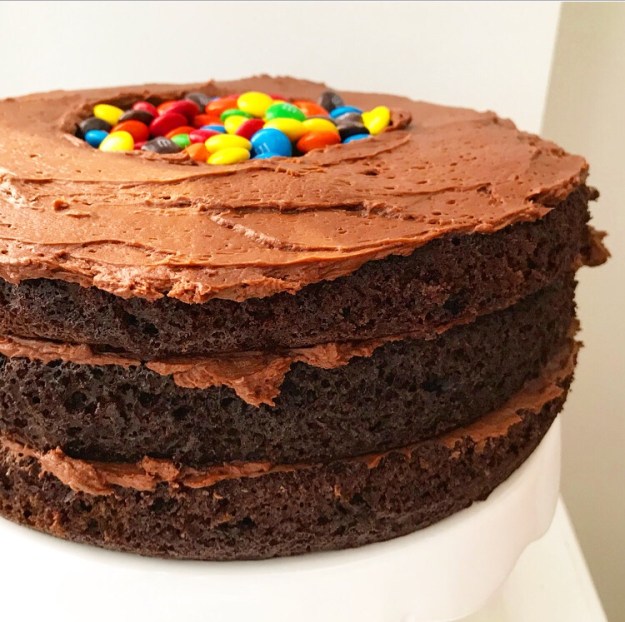
I posted pictures of a big M&Ms-stuffed chocolate cake on my social media last week and y’all went crazy for it!
 I get it—chocolate cake + buttercream + M&Ms inside + more M&Ms on top = MAGIC.
 That original cake was for a friend and not intended for the blog, but given the response, I thought you might like to know how to make your own!
 First things first. You’re going to need four 9-inch round layers of chocolate cake. This one is a super easy no-mixer recipe that makes four soft, moist, perfect layers. You may recognize this recipe from my my Chocolate Cake with Malted Chocolate Buttercream—it’s exactly the same except that I scaled it up by 50%.
 Place one of the layers on a serving plate or your favorite of all your cakestands. Spread a little frosting on top.
 Take two of the layers and punch out holes in the centers. I use a 6-inch ring for this, but you can use a wide-mouthed glass or even just a paring knife and a circle of parchment. Layer those on top of that bottom round, frosting between and on top.
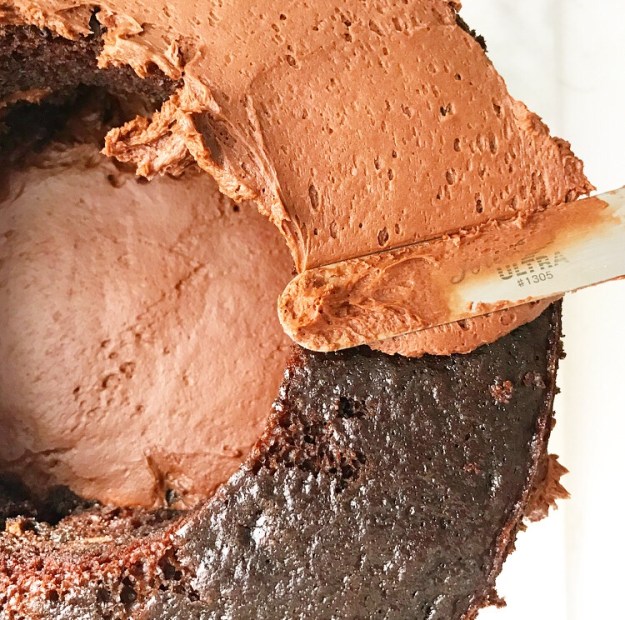 At this point, you’ll have a three layer cake with a hole in it. That’s where the surprise M&Ms are going to go ❤
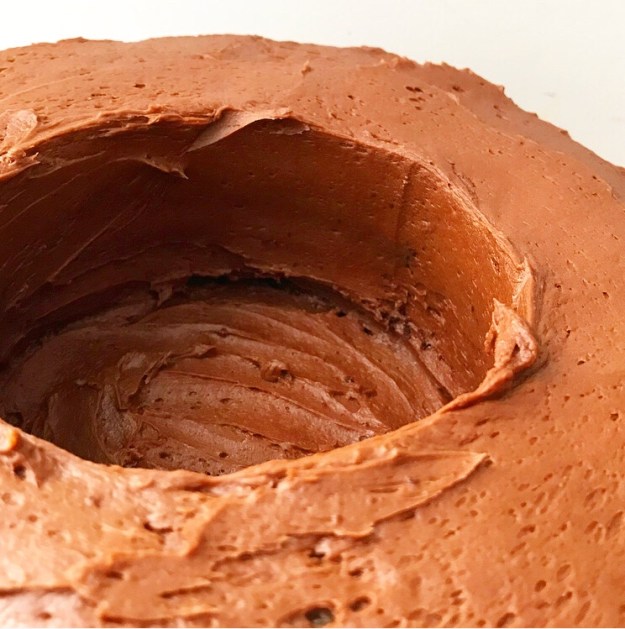 Spread a thin layer of buttercream on the “walls.” This will help keep the moist cake from melting the color off the M&Ms too quickly. And speaking of M&Ms…
 …pour in almost 2 cups of them ❤ ❤ ❤
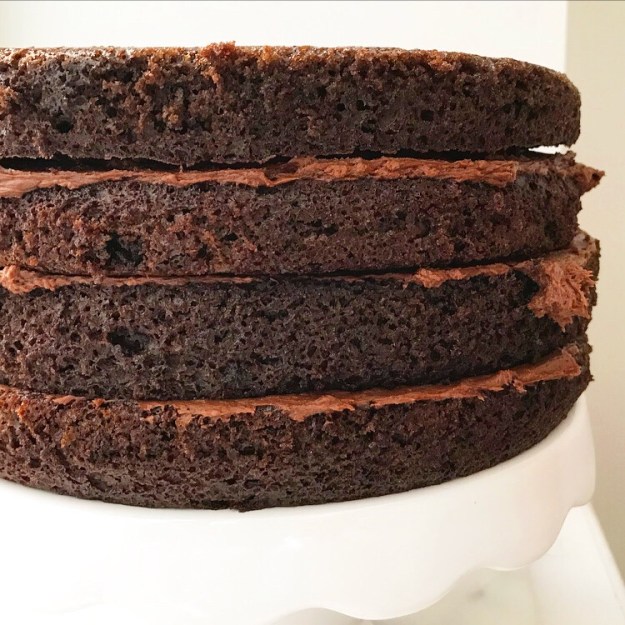
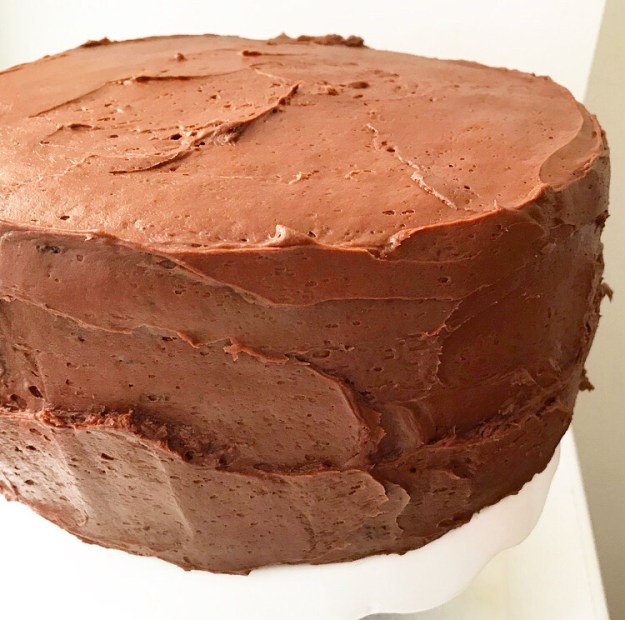 Place your last intact layer of cake on top, effectively hiding all that surprise candy. Frost the cake. For a sort-of photo tutorial on that, see last week’s Cinnamon Buttercream post.
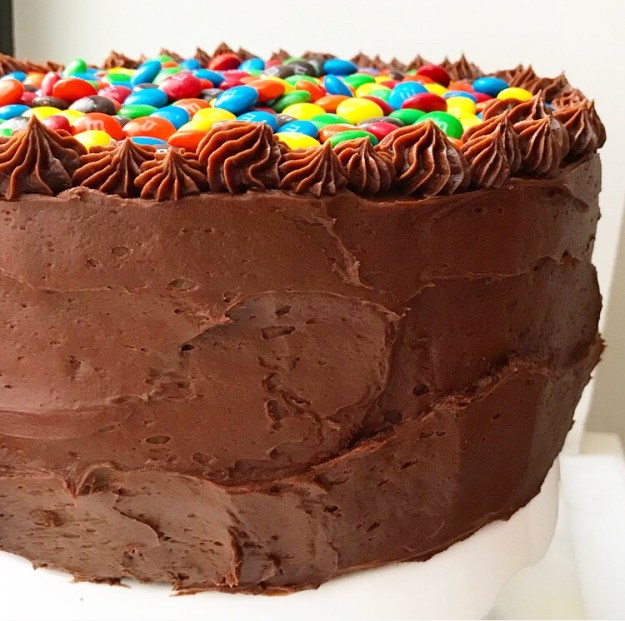
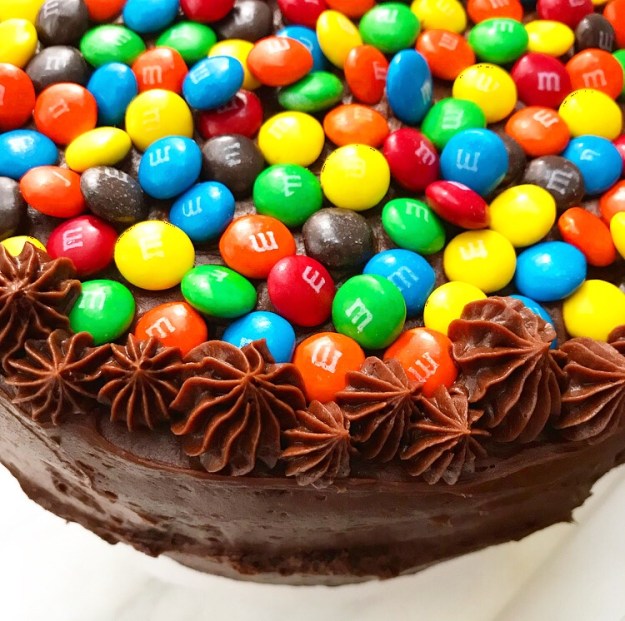 I decorated the top with even more M&Ms and used the last of the frosting to pipe a border. The dollops are all different sizes and I love it!
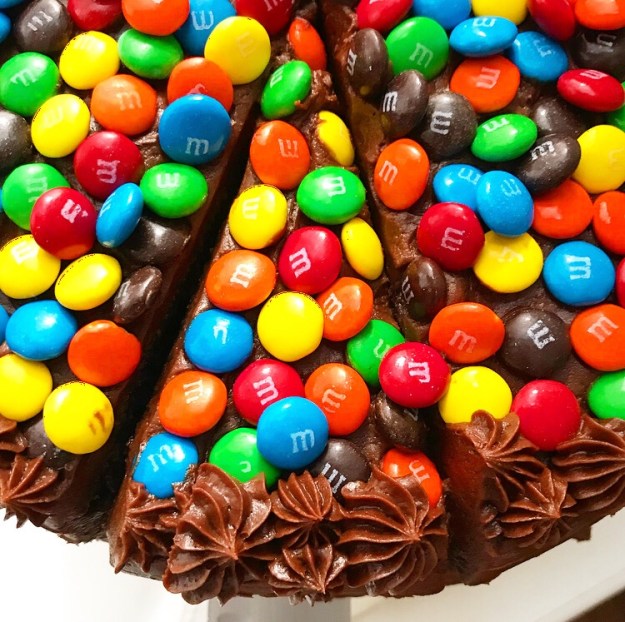


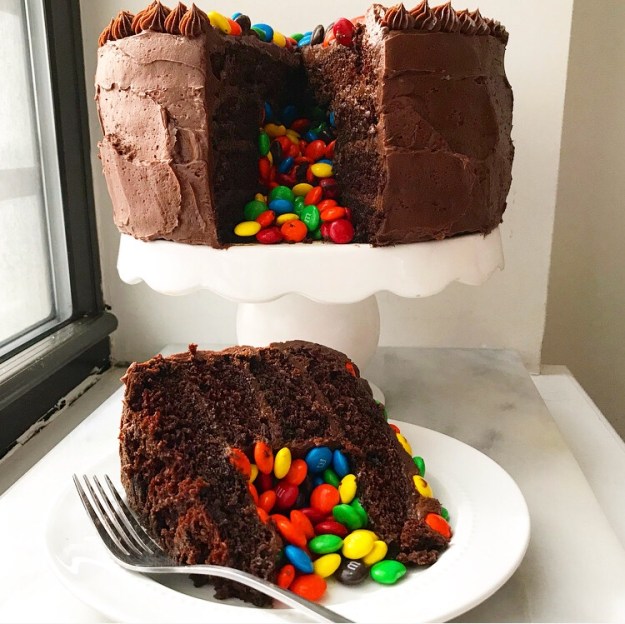
Gather all your family, friends, neighbors, coworkers—really, anyone will do. Get them all around the table so they can see this amazing thing you’ve made in all it’s rainbow candy avalanche glory. This cake is delicious—with that much chocolate and butter, it has to be—but the magic is in the presentation.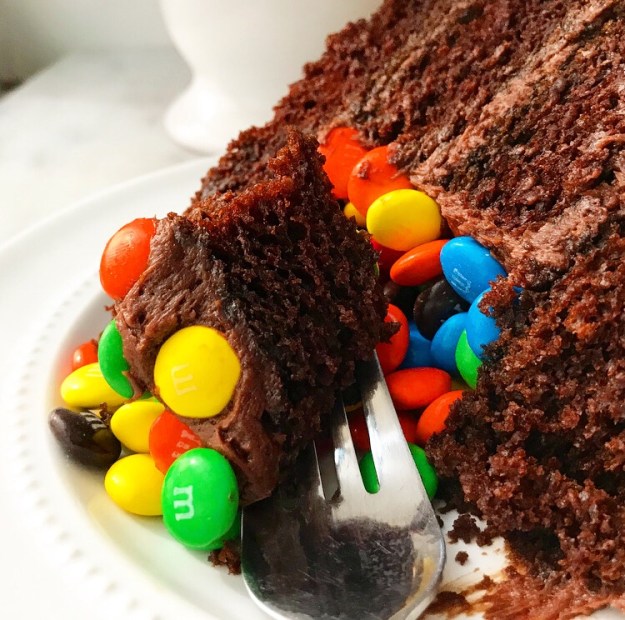 Then again, I was alone when I sliced this sucker open and it was still pretty damn magical. But I also took 200+ photos of it for you, so I suppose you were practically there.
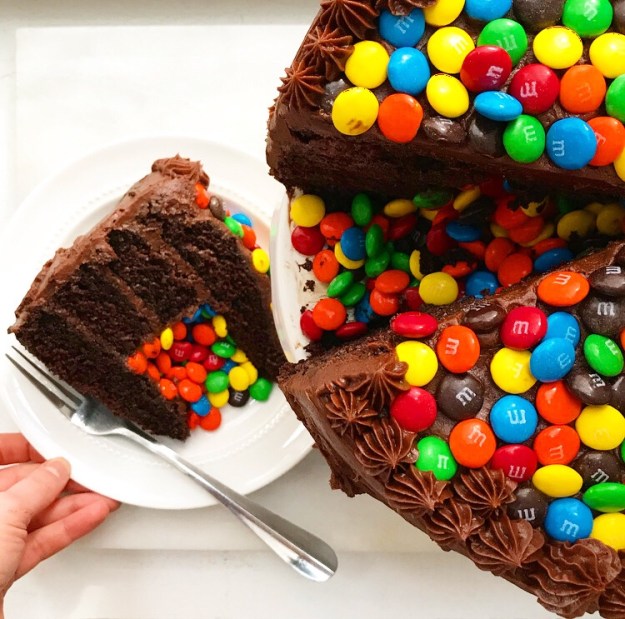
M&Ms Surprise Cake
makes 1 large 9-inch round cake
Cake:
2 2/3 cups all purpose flour
1 cup + 2 Tbsp natural unsweetened cocoa powder
1 2/3 cups granulated sugar
1 cup light or dark brown sugar, packed
1 1/2 teaspoons baking powder
1 tablespoon (3 teaspoons) baking soda
1 1/2 teaspoons Kosher or sea salt
3/4 cup neutral-flavored oil (I like canola)
3 large eggs, room temperature
1 tablespoon pure vanilla extract
1 1/2 cups buttermilk
1 1/2 cups strong, hot coffee
Chocolate Buttercream:
2 cups (4 sticks) unsalted butter, softened to room temperature
5 1/2 cups confectioners sugar
1 1/4 cups natural unsweetened cocoa powder
pinch of Kosher or sea salt
2 teaspoons pure vanilla extract
1/2-2/3 cup heavy cream
For Assembly:
1 3/4 cups M&Ms candy, plus more for decoration
Preheat the oven to 350F. Grease 4 9-inch round cake pans. Line the bottoms with parchment and grease again. Set aside.
Make the cake batter. In a large mixing bowl to sift together flour, cocoa powder, granulated sugar, dark brown sugar, baking powder, baking soda, and salt. Set aside.
In a separate large mixing bowl, whisk together oil and eggs, followed by vanilla, buttermilk, and coffee. Whisk in dry ingredients in three installments, just until combined. Divide batter evenly among the pans. Tap full pans on the counter five times to release any air bubbles. Bake 20-22 minutes, or until a toothpick inserted in the middle comes out clean.
Let cakes cool in pans for ten minutes before running a small, thin knife around the edges. Invert cakes onto cooling racks and allow to cool to room temperature.
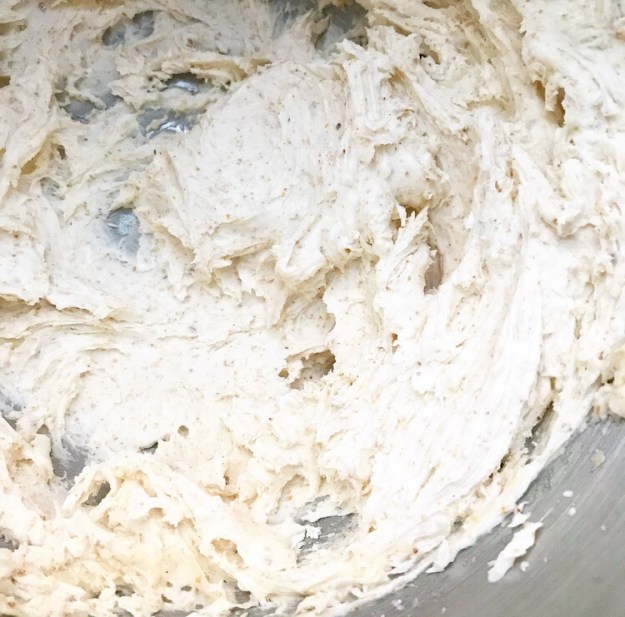
Make the chocolate buttercream. In a large mixing bowl, use an electric mixer to beat butter until light and fluffy (about two minutes). Beat in confectioner’s sugar, followed by cocoa powder and salt, scraping down the bowl as necessary. Add in vanilla and 1/2 cup heavy cream. Beat on high for 1-2 minutes, until very fluffy. Add up to 2 more tablespoons of heavy cream, until desired consistency is reached.
Assemble cake. Place one round on a serving plate and top with a layer of frosting. Set aside.
Use a 4-6 inch cutter (or a wide-mouthed cup or jar) to cut the centers out of two layers. Set centers aside for another use. Place one cut-out layer on the bottom layer and top with a layer of frosting. Place the other cut-out layer on top and frost. Coat the inside of the hole with a thin layer of frosting.
Fill the hole in the cake layers with M&Ms. Top with the last (fully-intact) layer of cake. Frost cake as desired. Decorate with more M&Ms, as desired.
Layer cake will keep covered at room temperature for up to three days, or in the refrigerator for up to a week. M&Ms may lose their color over long periods of time.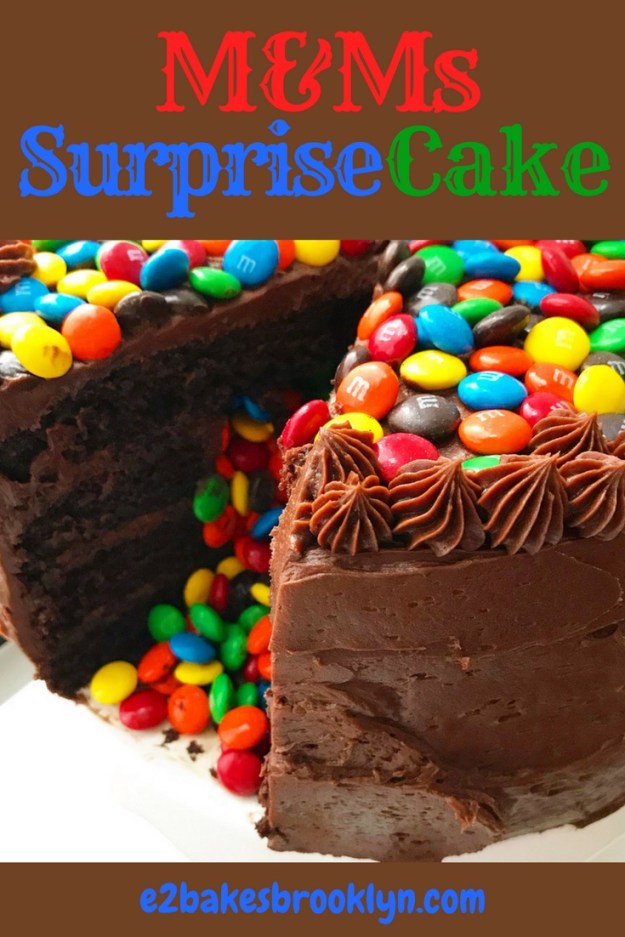
 I won’t lie to you—I was tempted to take today off of blogging. I made fifteen cakes between last Monday and this Monday. I like making cake, but fifteen is A LOT.
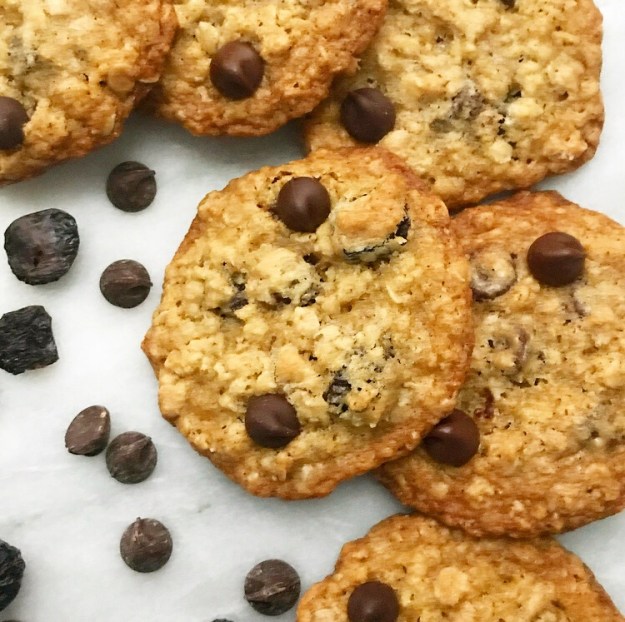 But I love this little corner of the internet, so I’m here anyway–just taking it easy this week. I’m saying a big “NO” to
 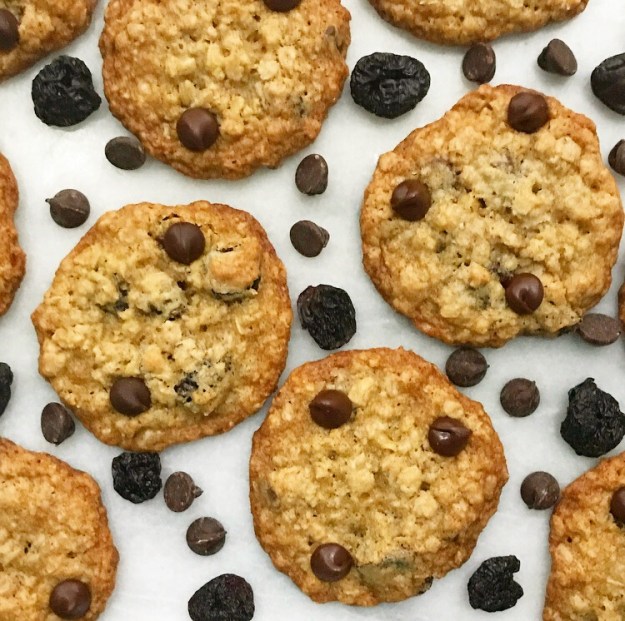 But I’m saying yes to
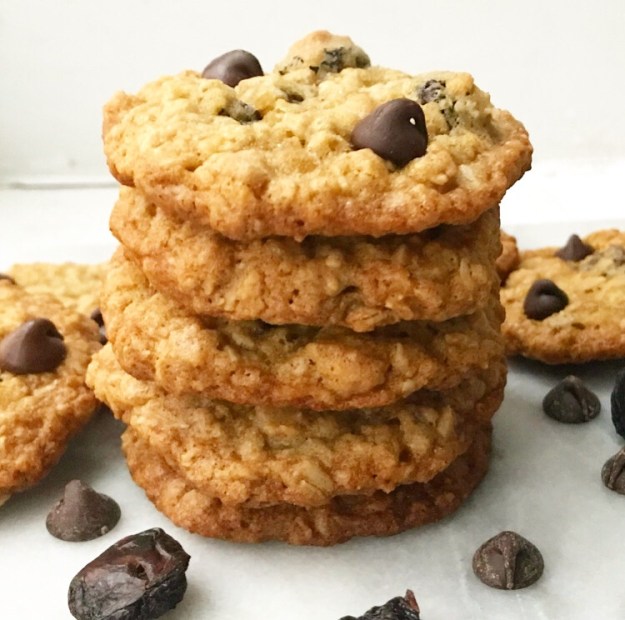
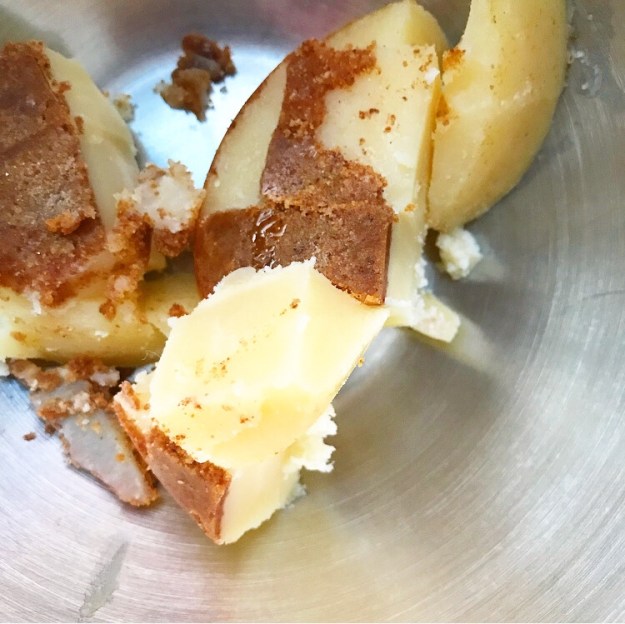
  Yes to oats. (And butter and brown sugar and the tiniest pinch of nutmeg.)
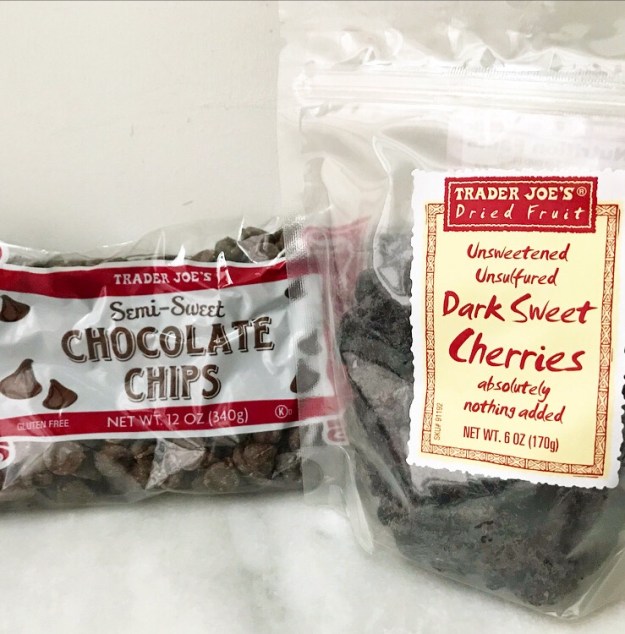
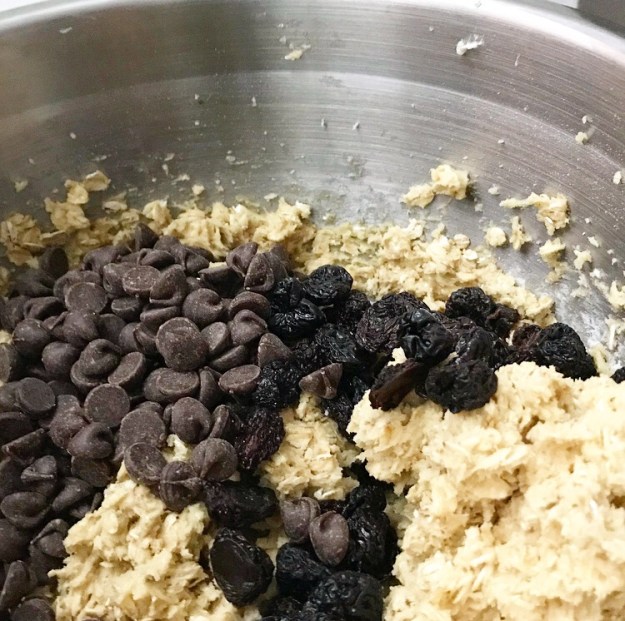 Yes to chocolate chips. Yes to dried cherries.
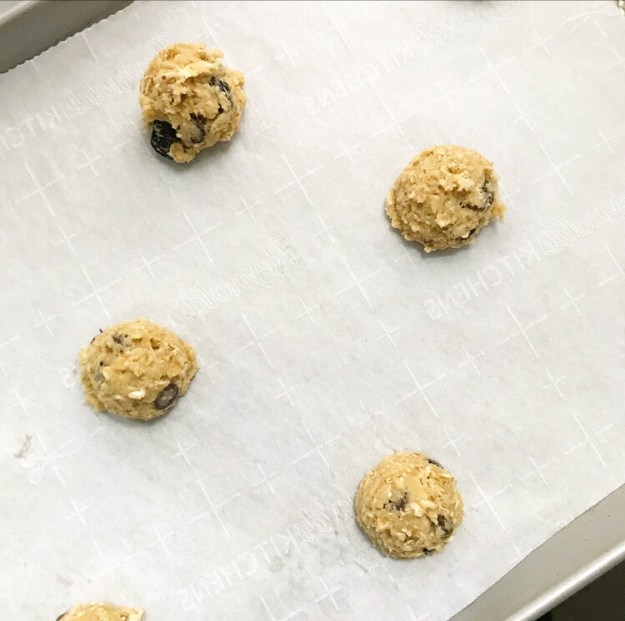 Yes to dough that doesn’t need a chill.
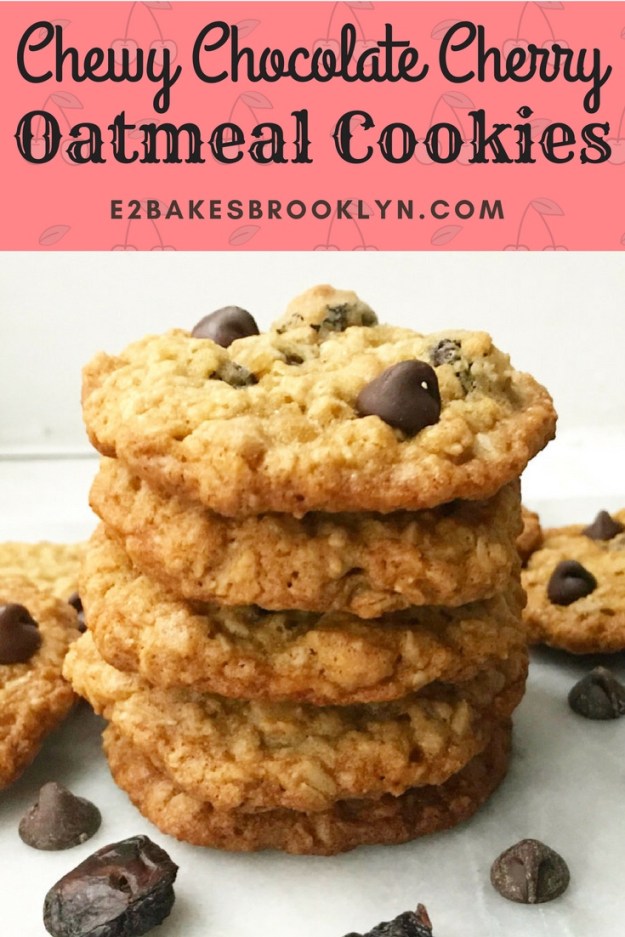
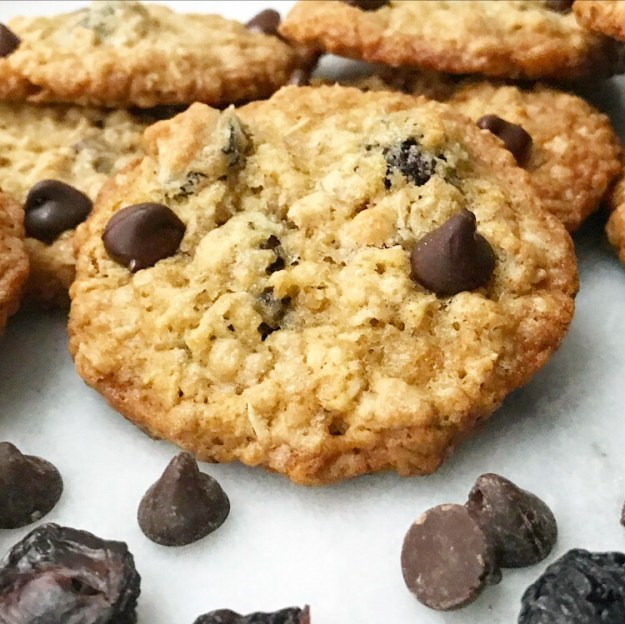 Yes to Chewy Chocolate Cherry Oatmeal Cookies.
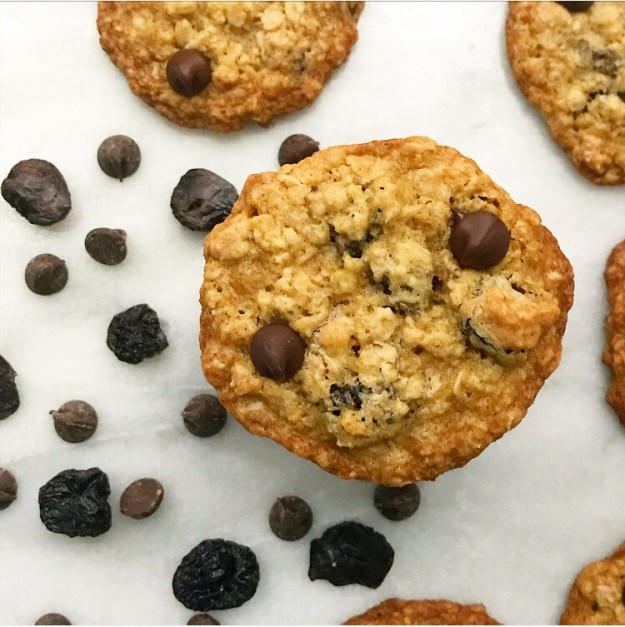 Yes.
Yes.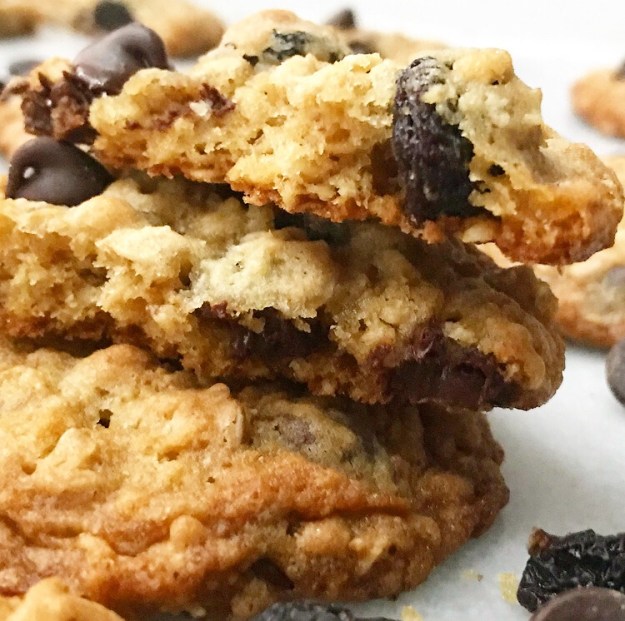
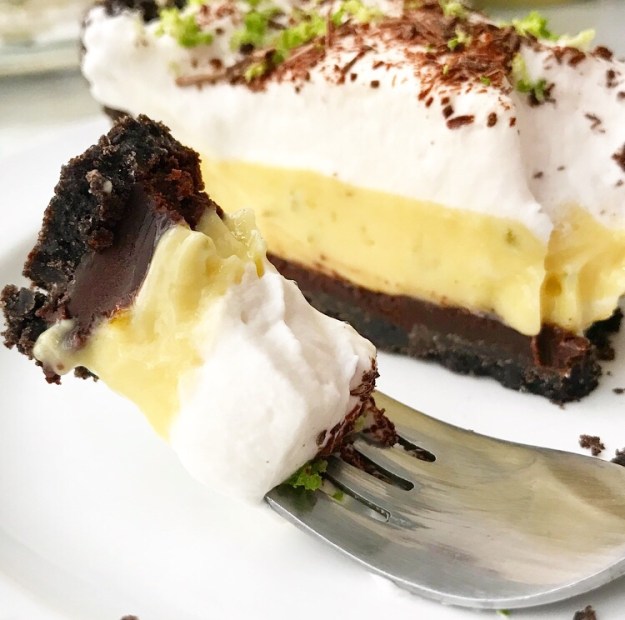
 In my short but very intense baking career, I’ve come to think that whoever coined “Easy as pie,” was making a very cruel joke.
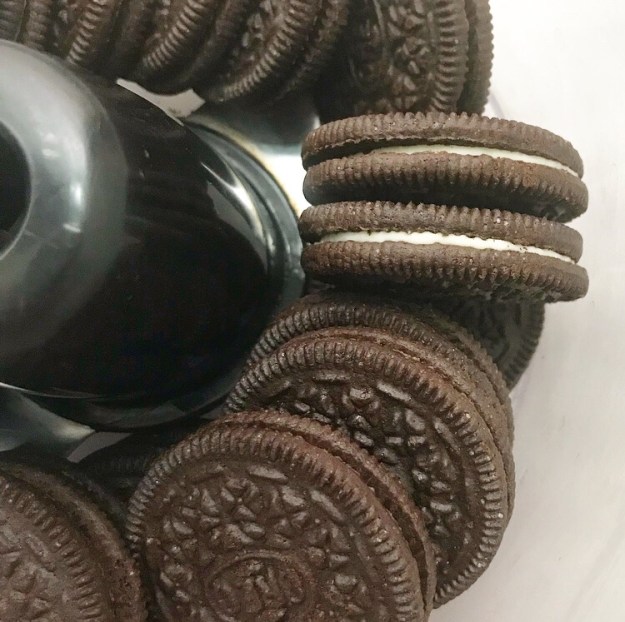
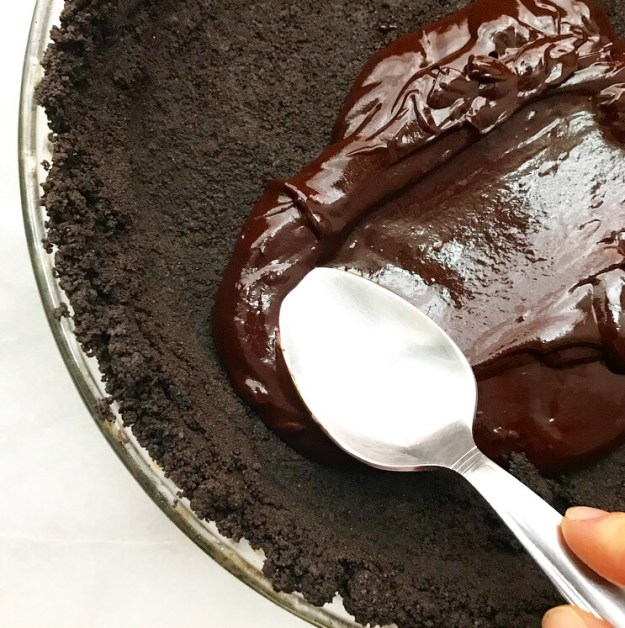
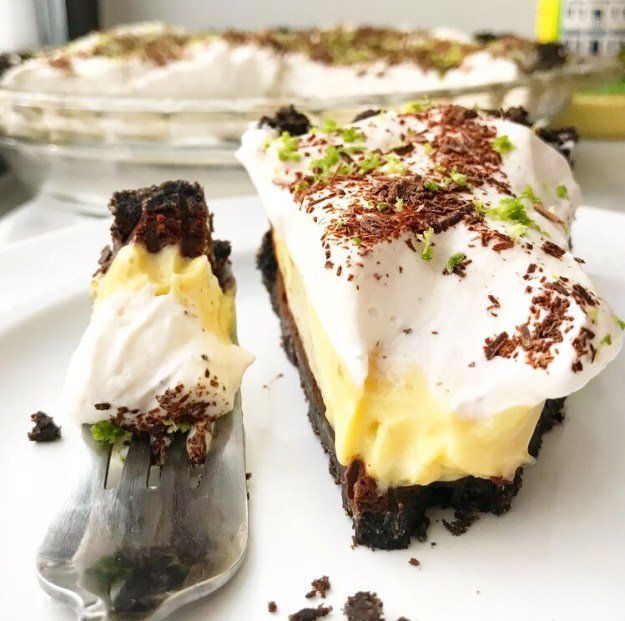
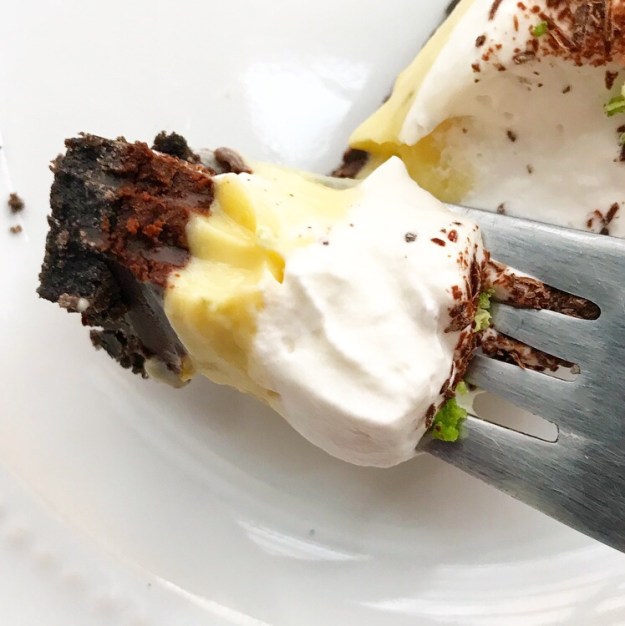
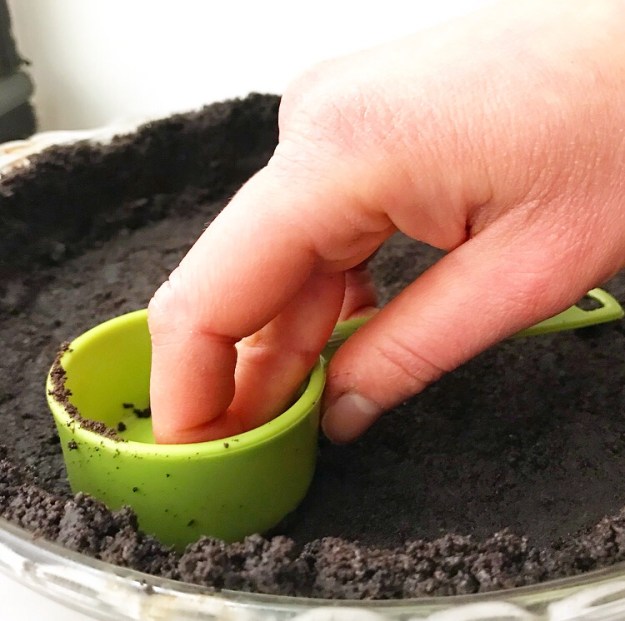 If you want to make one of these magnificent pies for yourself, start by blitzing Oreos and butter together until they are sandy. Press the mixture into a pie plate to make a crust. Bake that for 8 minutes, just to set.
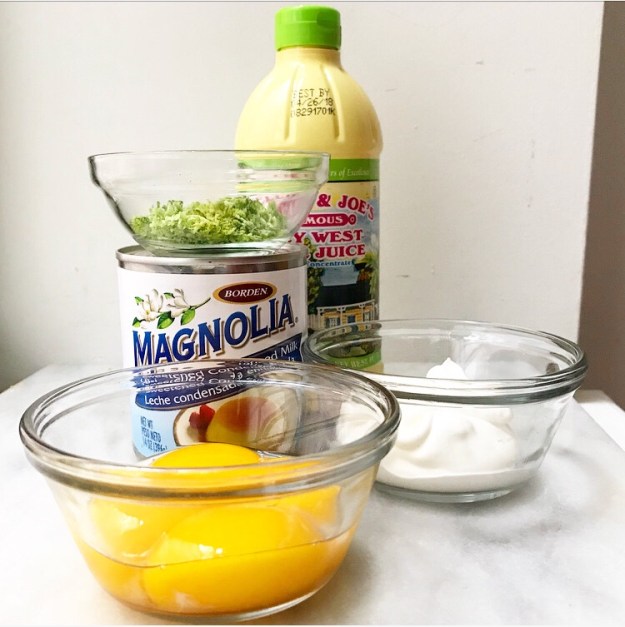
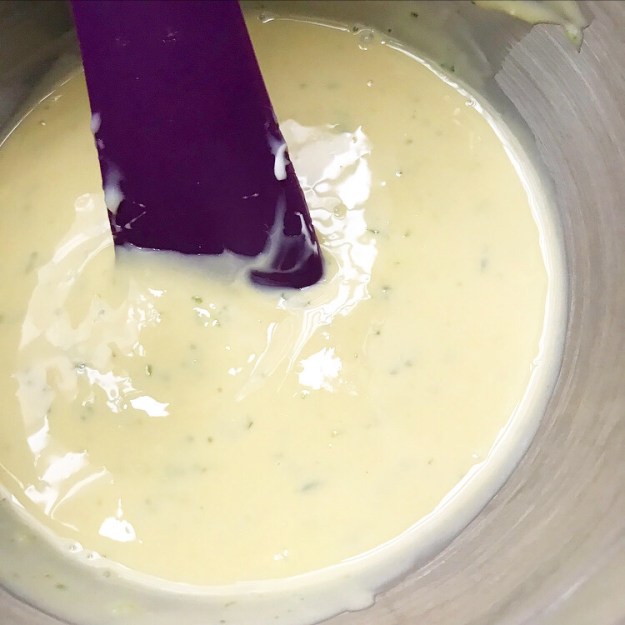 Whisk together the key lime filling. This iconic pie filling is one of the easiest to make. Just whisk together a can of sweetened condensed milk, some egg yolks, some lime zest and key lime juice. I like to add 1/4 cup of sour cream, just to keep everything extra dreamy. If you’re a key lime pie purist, you can leave it out.

 I don’t want to write about baking today—I want to write about how much I love the Olympics. I’ve watched the coverage every night and had it on in the background while I’ve baked during the day. This isn’t a recent habit—I grew up in a family that gathered to watch the games (summer or winter) every night they were on, and I even once had a wall of my teenage bedroom dedicated to the decorated short track speedskater Apolo Ohno.
 Anyway, this isn’t an Olympics blog. It’s a baking blog. So, let’s talk about baked goods, specifically Almond Joy Shortbread Bars.
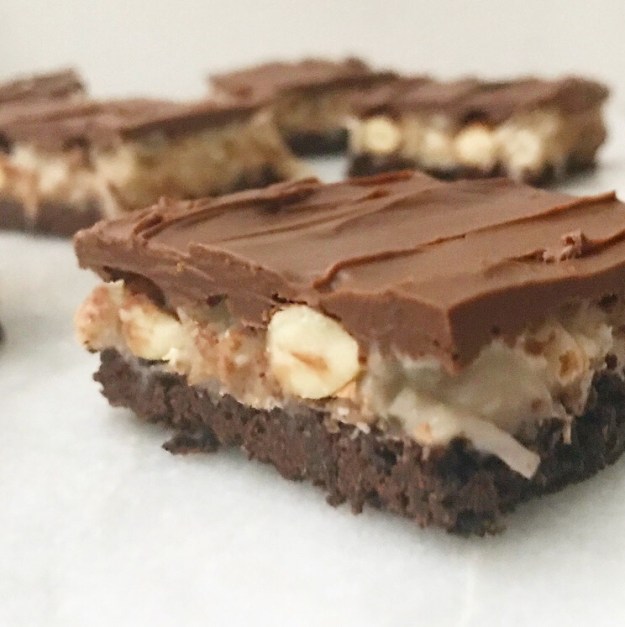 If you’re going to try to improve on the practically perfect combination of chocolate, almonds, and sweet coconut filling, layering it all onto a buttery chocolate shortbread crust is a pretty good way to start.
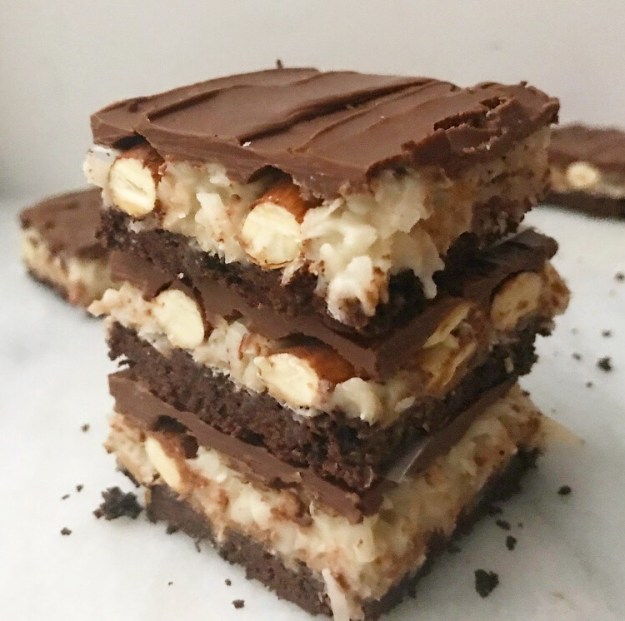
 All the layers in these bars make them look like they take hours to prepare, but in reality, they take about 90 minutes from start to finish and are nearly no-bake. That easy chocolate shortbread crust is the only layer that has to spend time in the oven.
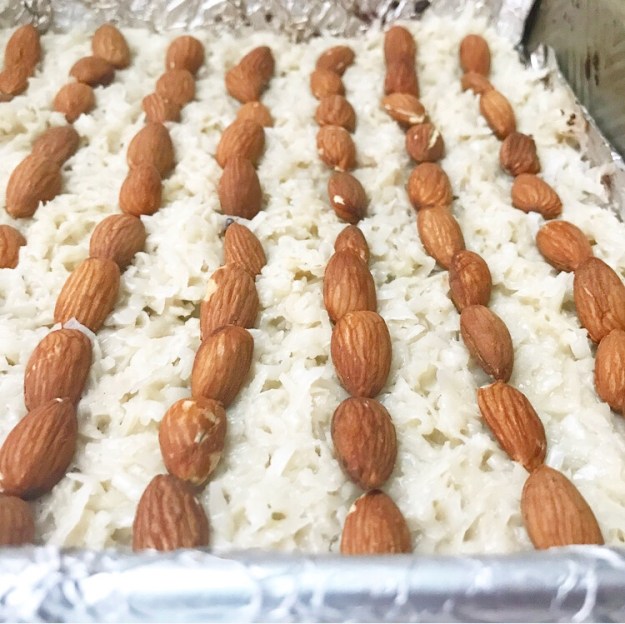
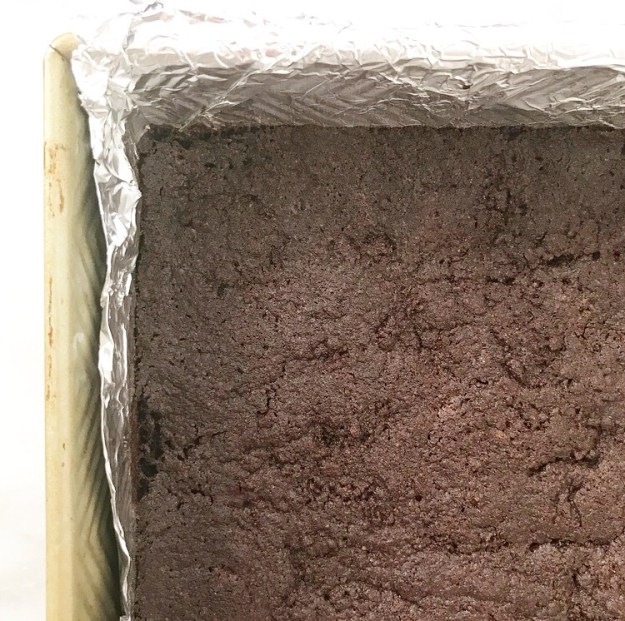 It’s topped with a thick layer of coconut filling and dotted with whole roasted almonds…

 But back to the bars. Slice ‘em up and admire your handiwork. #thoselayerstho
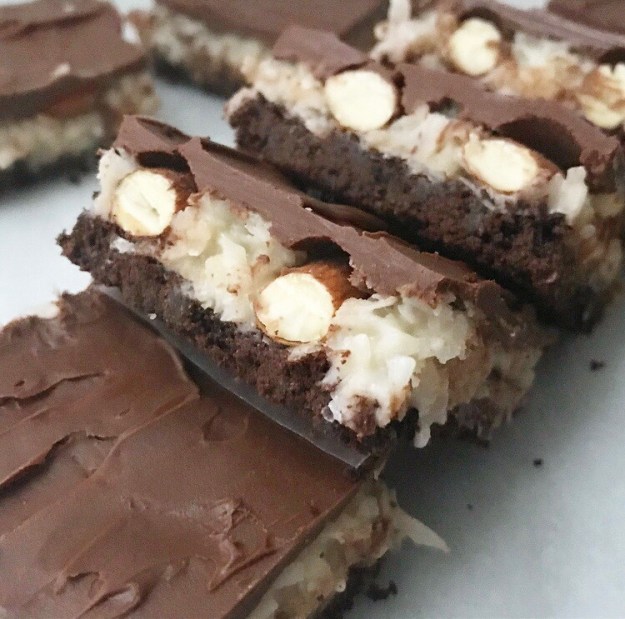 The flavor is everything you love about sweet, chewy, crunchy Almond Joys, but better because they’re homemade. Oh, and because they have a crispy layer of chocolate shortbread offsetting all their sweetness. After sinking your teeth into one of these, you’ll never be able to go back to the mass-produced candy bar.
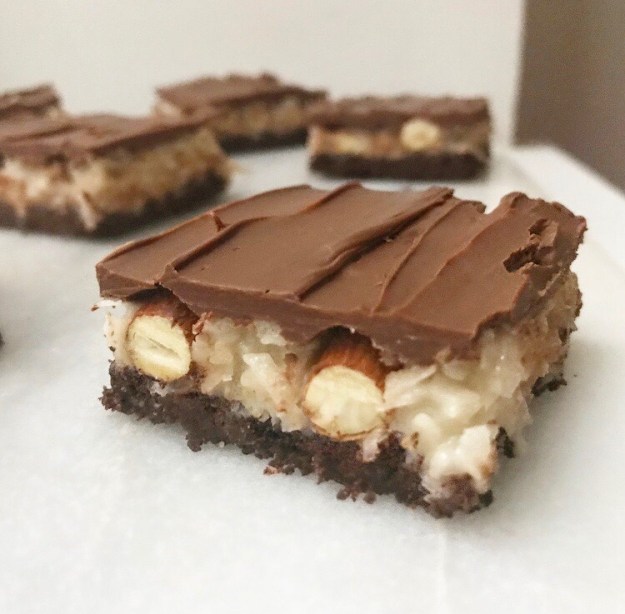

 As with everything else in life, patience is a huge part of being a food blogger. For instance, I first made a version of these cookies for an order last April and knew immediately that I wanted to put them on the blog…but who eats shortbread in April?
 I’m sure someone does, but most everybody I know reserves it for Christmas, so I waited. And then December came and went, and nary a shortbread made an appearance on this blog. I suppose I could have held out for the end of the year, but instead I’m making shortbread for Valentine’s Day and you should too.
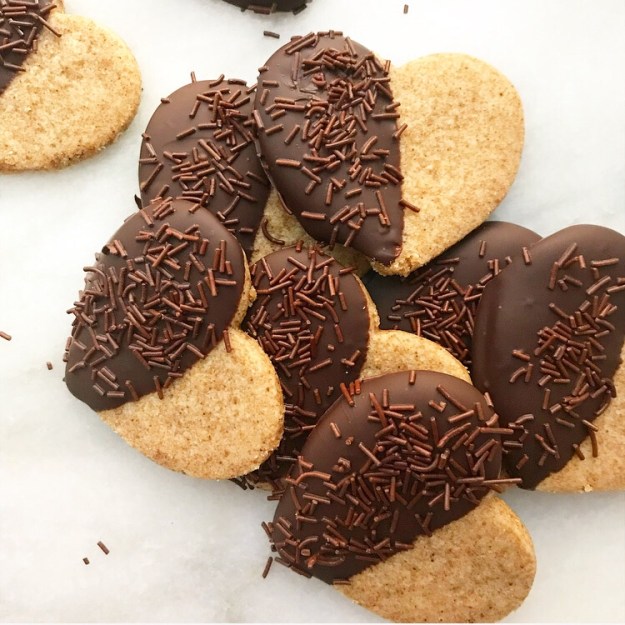
 I mean, all
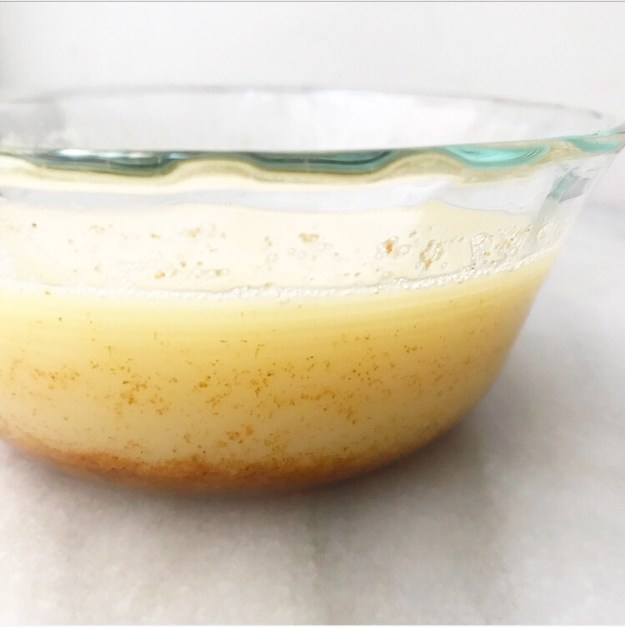
 This version is made with brown butter. It’s one of my very favorite ingredients (see
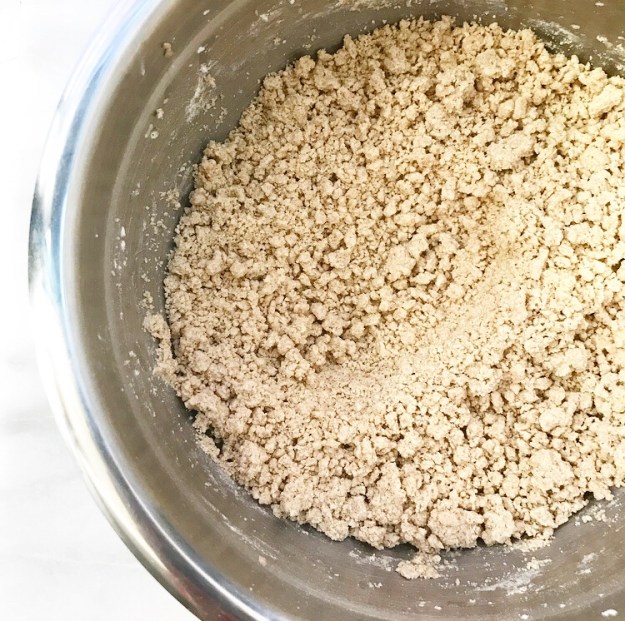
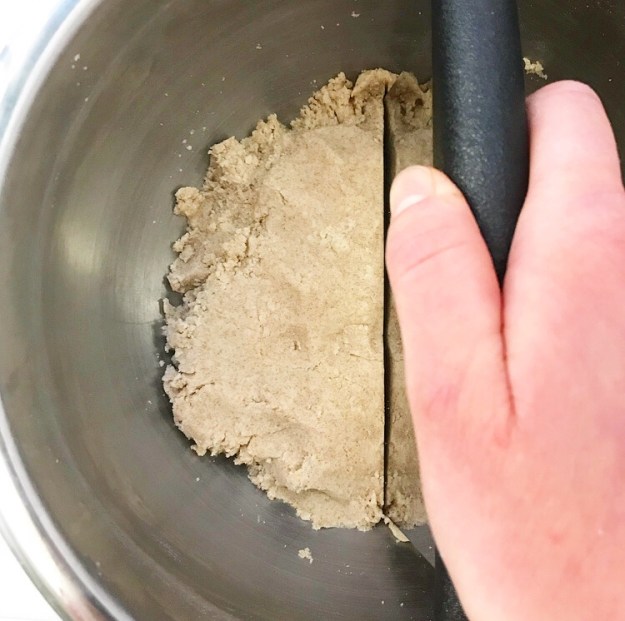
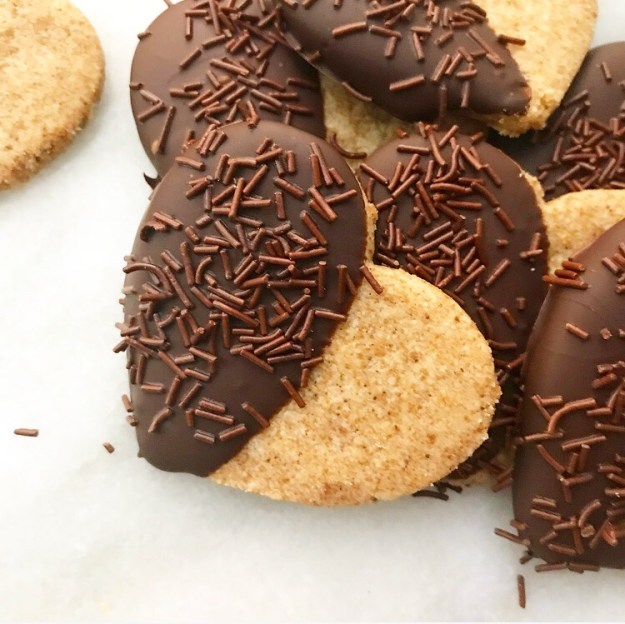
 Brown butter is good in basically everything, but it really shines in these simple six-ingredient cookies. See those dark specks? Those are browned milk solids—tiny bits of flavor alllllll over the place, y’all!
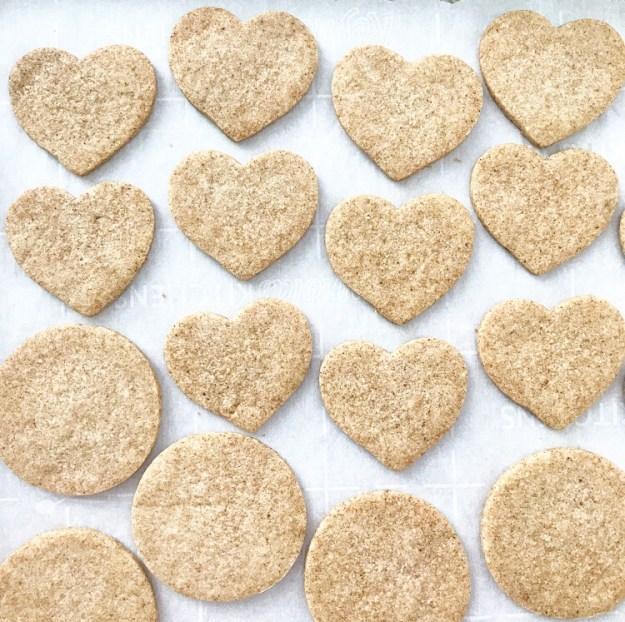
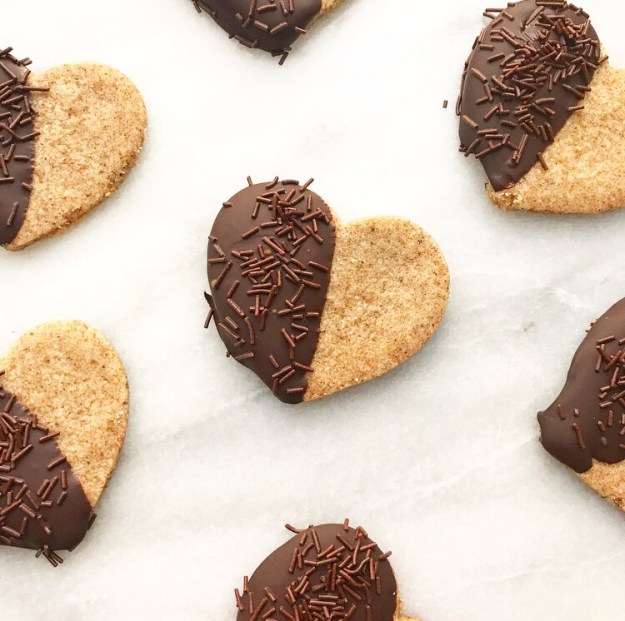
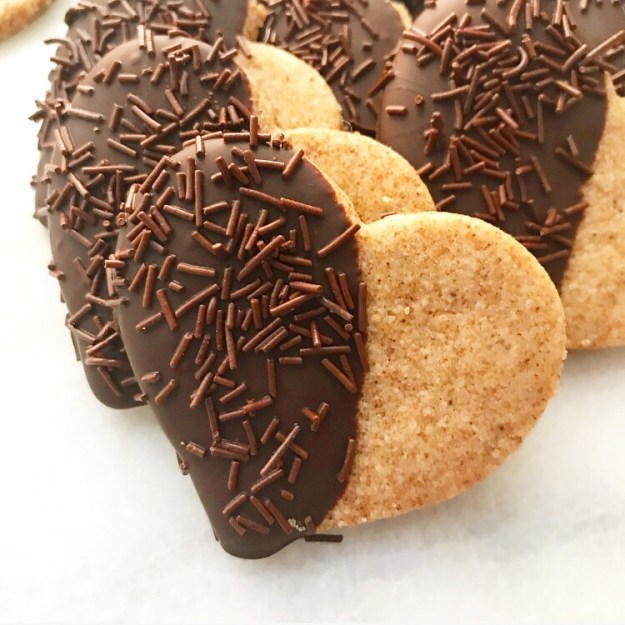
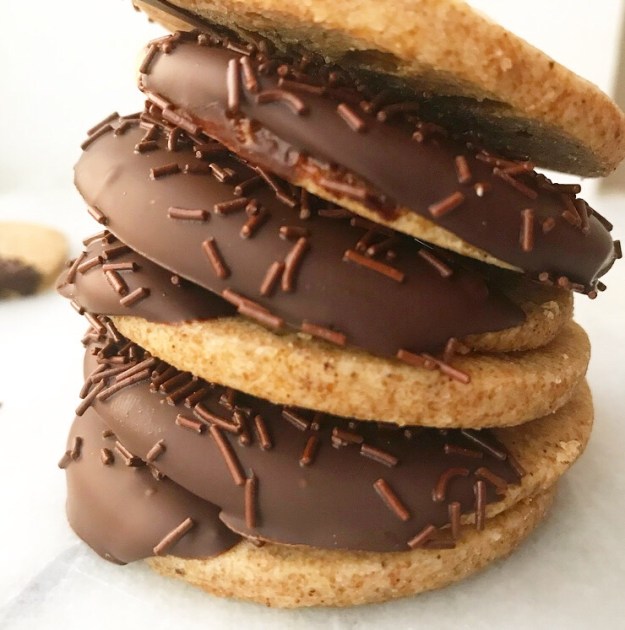
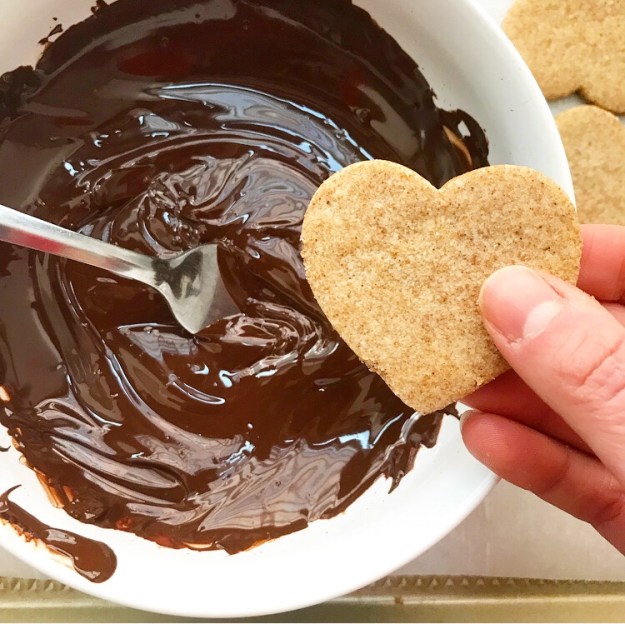 And then, as if things could possibly get better, the baked shortbread are dipped in melted dark chocolate.
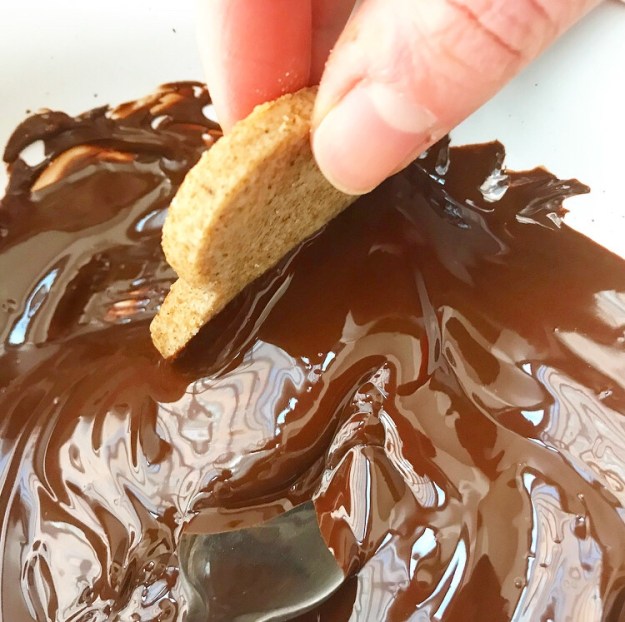 Tender, buttery, melt-in-your-mouth brown butter shortbread dipped. in. chocolate.
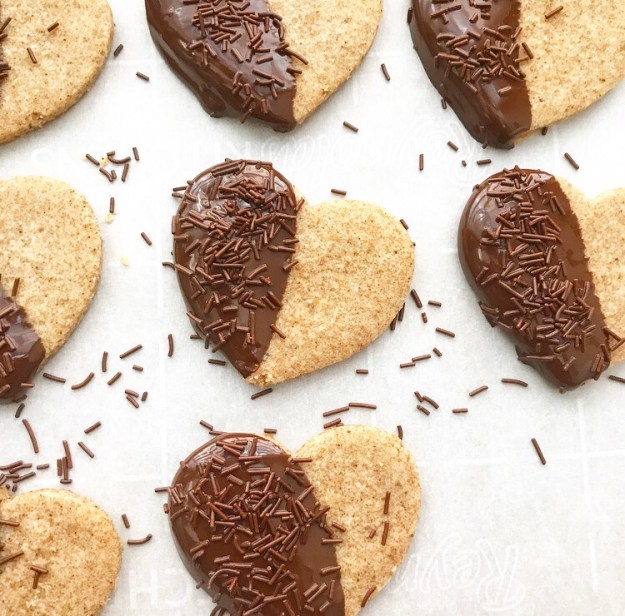 Oh my word.
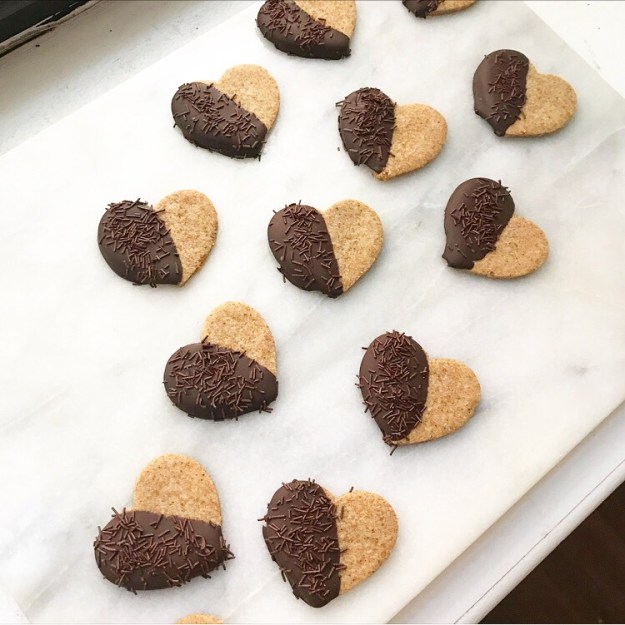 You could certainly leave the chocolate half plain, but I am not the sort of baker who leaves things plain. I used my fanciest chocolate sprinkles here (they’re called
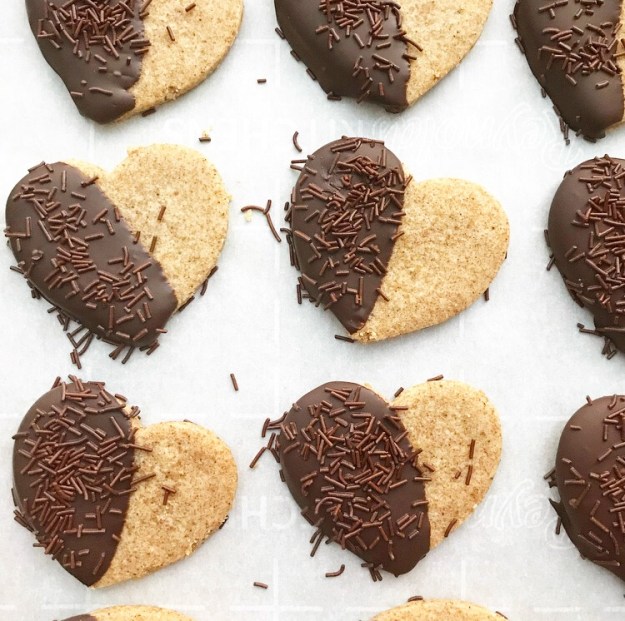
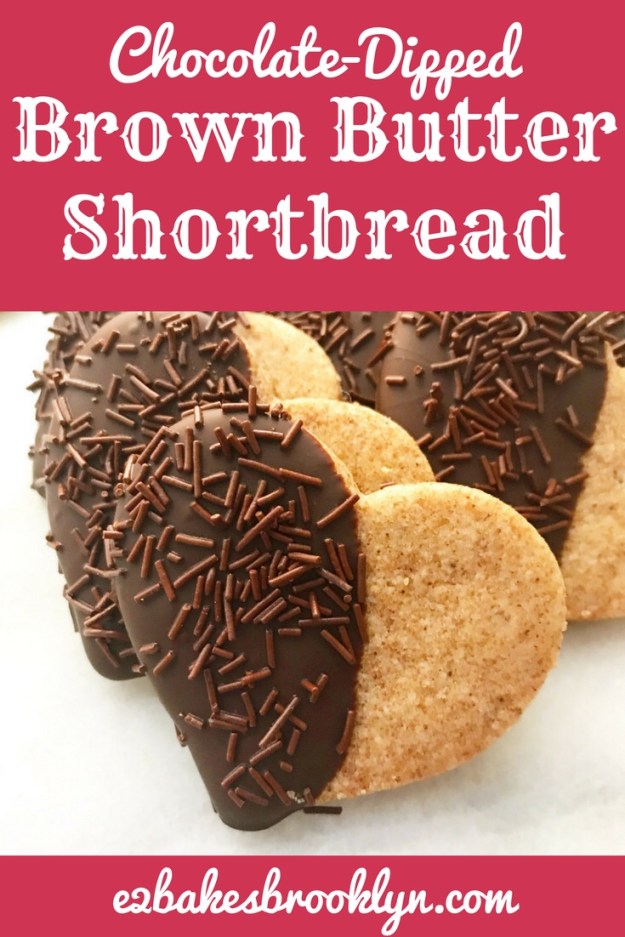
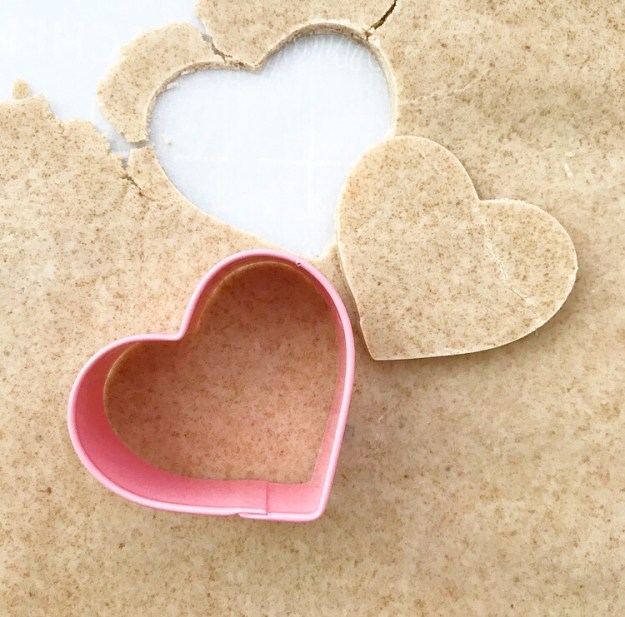
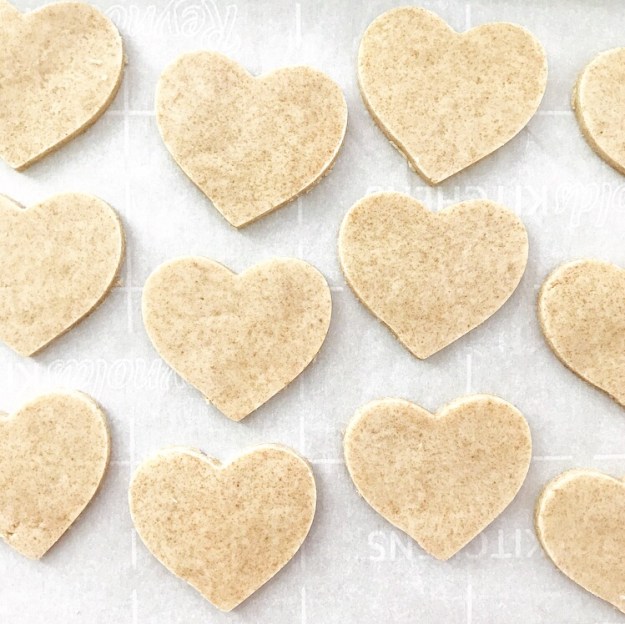
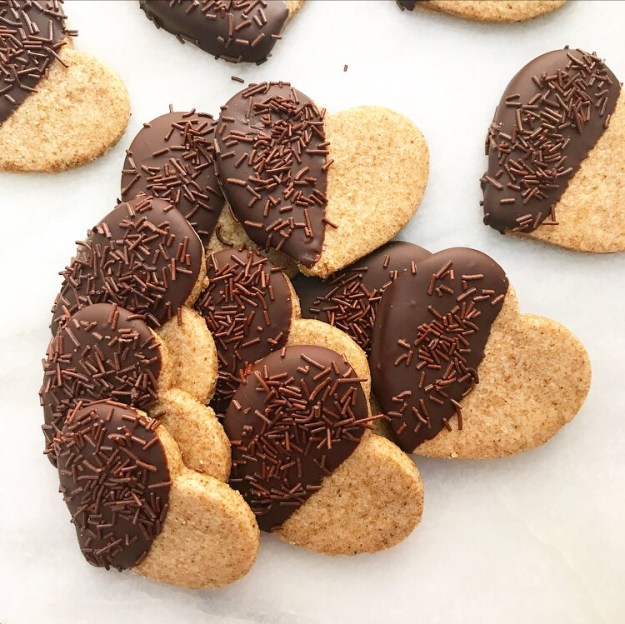 There’s something luxurious about the name of this recipe, and they certainly look fancy, but I assure you that these Chocolate-Dipped Brown Butter Shortbread are as easy as they are delicious. I made them five times this week (and in multiple shapes!), so I know.
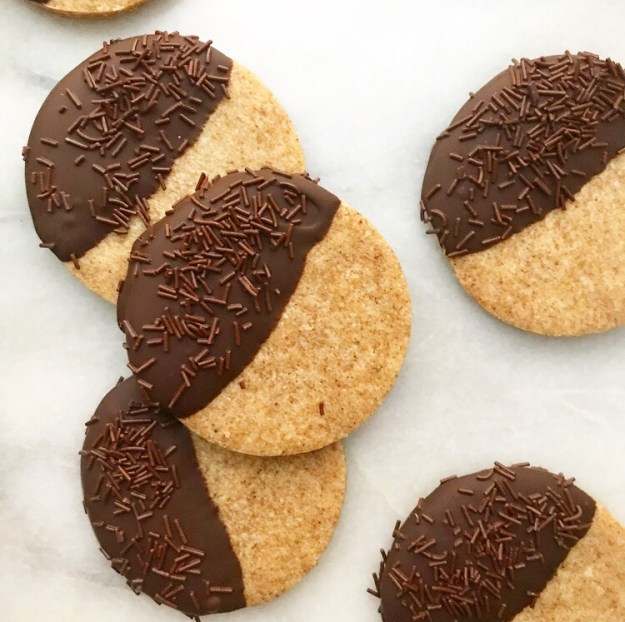
 Another thing I know? If someone presented me with a batch of these, I’d definitely feel loved.