After I made Toasted Oat Graham Crackers a few weeks ago, I ran across the recipe for Ovenly’s Salted Chocolate Chip Cookies, which I had bookmarked in three separate places, including my copy of their book.
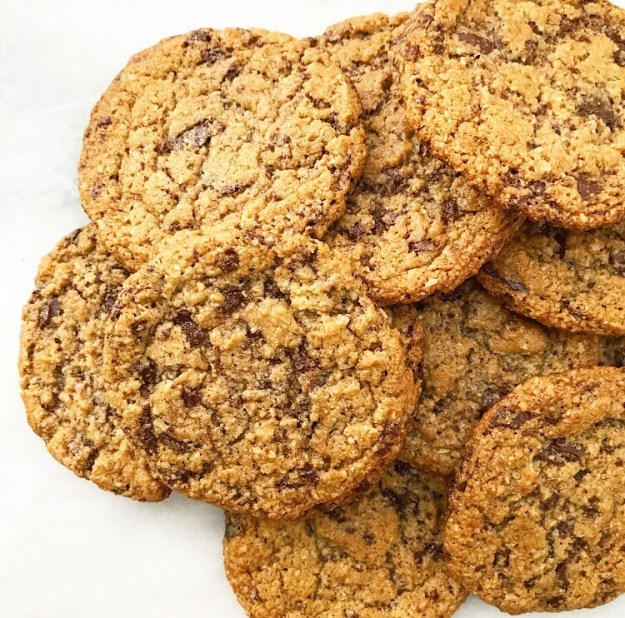 I should acknowledge that I already have four recipes for chocolate chip cookies in my archives (see here, here, here, and here) and another I’ve been tinkering with for over a year. I don’t need another, but I made an exception for Ovenly because theirs’ is naturally vegan and doesn’t involve any egg substitutes or sticks of “buttery spread.”
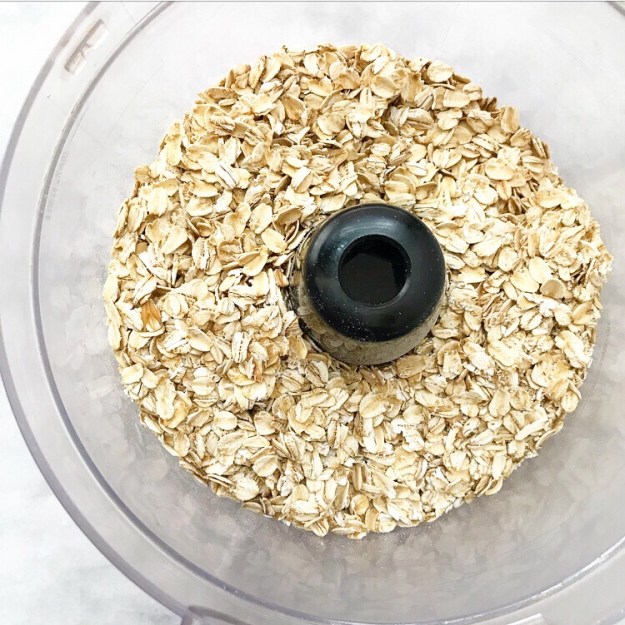
 The original recipe calls for all-purpose flour, but as I had plenty of oats leftover from making from my adventures in graham cracker-ing, I figured I’d give it a shot with toasted ground oats. I also swapped out plain granulated sugar for an equal volume of light brown, added some vanilla, switched from chocolate chips to finely chopped dark chocolate, and nixed the extra salt entirely.
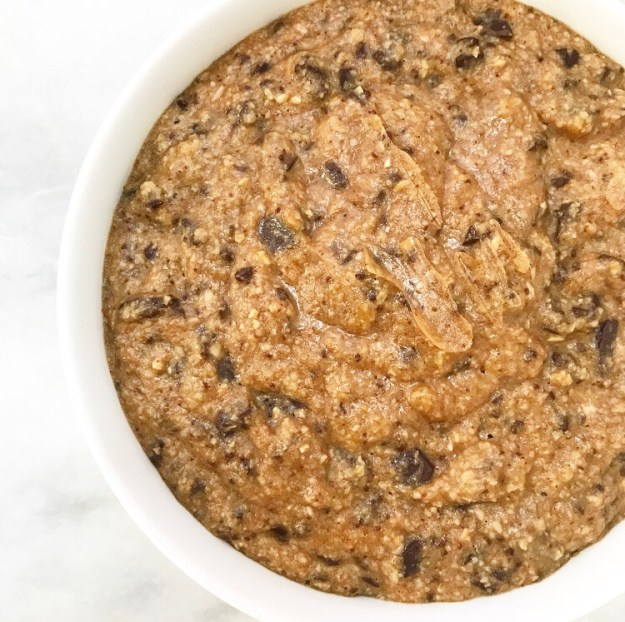
 The Ovenly overlords will tell you that theirs’ is a finicky recipe and to follow it to the T. They are correct—it’s a very precise recipe and works perfectly as-is. But I messed with it anyway because I can’t help myself.
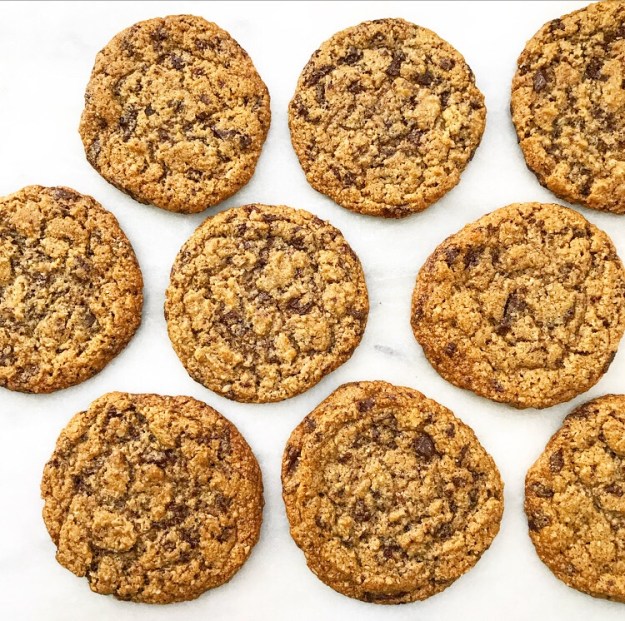 It took me five test rounds to get these cookies to work consistently with toasted ground oats, but I persisted and have been rewarded with super chewy, chocolaty cookies that anyone will love (not just your favorite local gluten-free vegan).
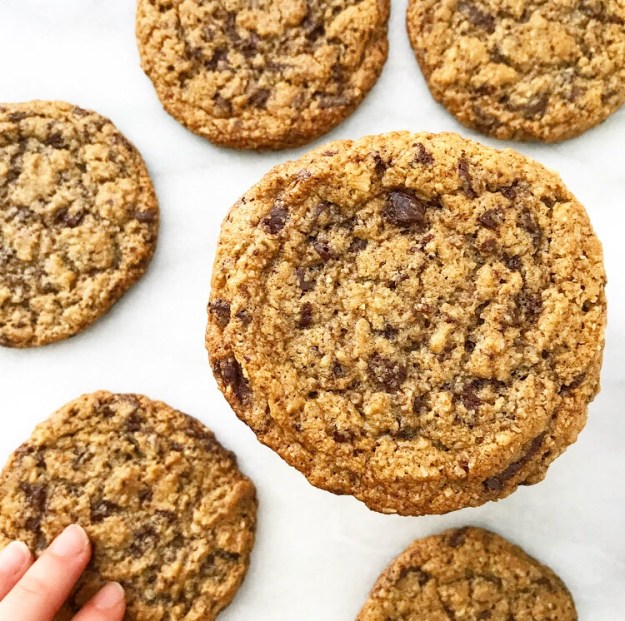 I will, however, jump on Ovenly’s soapbox like a hypocrite and tell you not to mess with this recipe…any further than I have already.
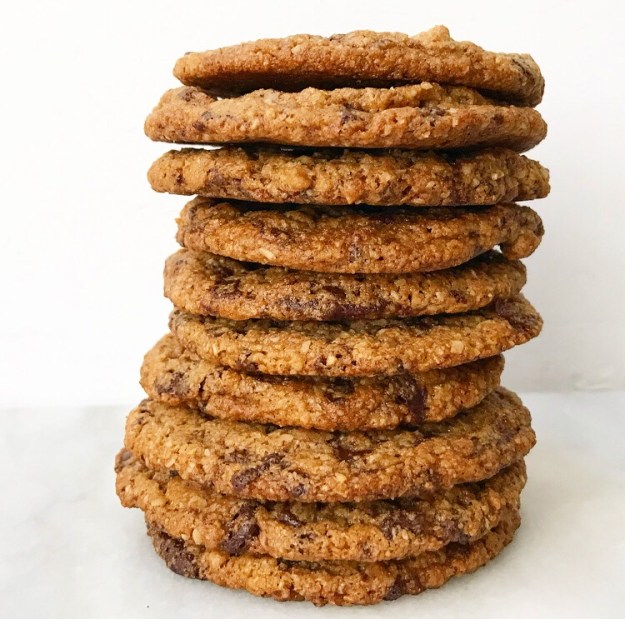 As with most baking recipes, the volumes of ingredients are very specific for a reason. In the case of this recipe, adjusting the liquid ingredients by 1 tablespoon (!) will either yield sad, soupy dough (and lacy cookies) or a chilled rock of inedible dough. Trust me, I know.
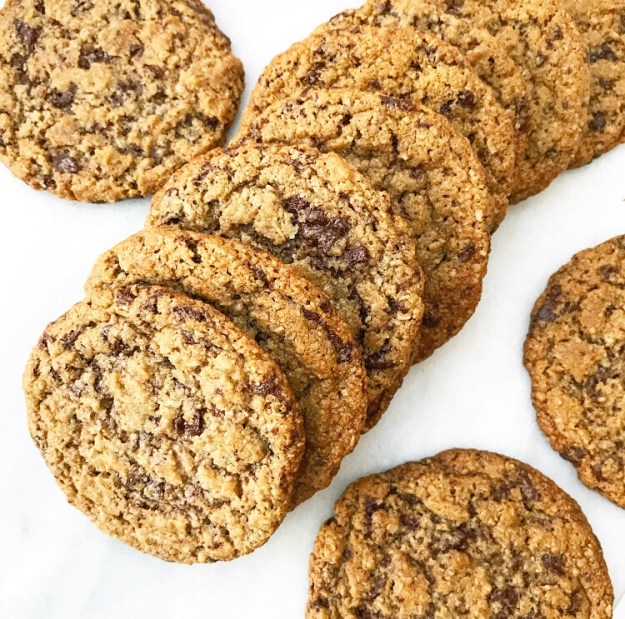 And for the love of everything, don’t shorten the 12-24 hour chill. If you do, I guarantee you will be disappointed. But if you work ahead, as specified in the recipe, you’ll be rewarded with some seriously good Chewy Chocolate Chunk Cookies.
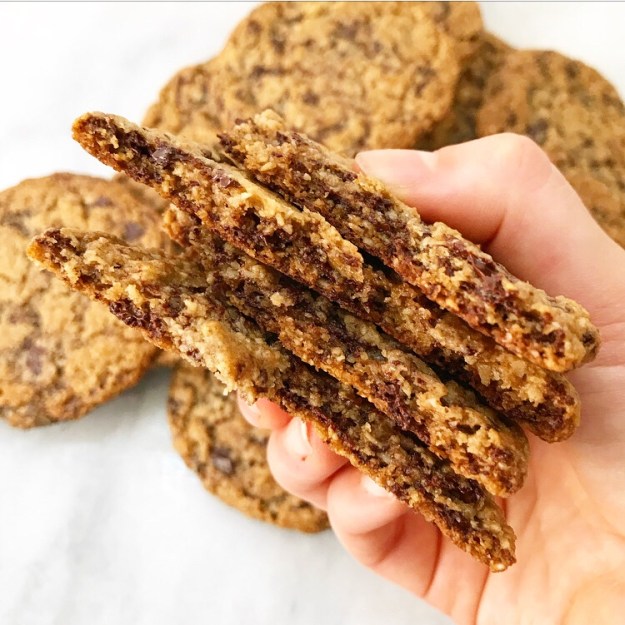 For all my “don’t mess with the recipe” talk, these are remarkably easy and delicious cookies! They’re a guaranteed hit, not only for their chewy texture and perfect amount of dark chocolate, but because they’re vegan, gluten-free, and nut-free, so more people can eat them. Love that ❤
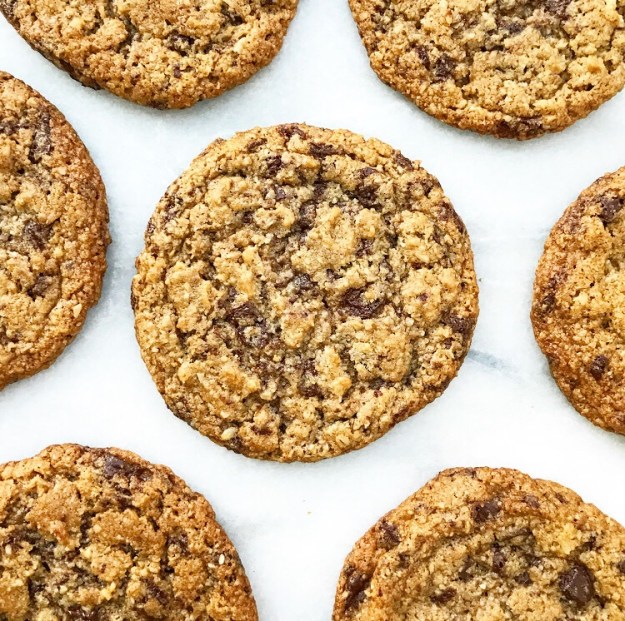
Chewy Chocolate Chunk Cookies {Vegan, Gluten-Free, Nut-Free}
adapted from Ovenly
makes 21-24 medium cookies
3 cups old-fashioned oats (certified gluten-free for gluten-free)
1 cup light brown sugar, packed
1/2 cup + 1 tablespoon neutral-flavored oil (I use canola)
1/4 cup + 1 tablespoon water
1 1/2 teaspoons pure vanilla extract
1 teaspoon baking powder
3/4 teaspoon baking soda
1/2 teaspoon fine sea salt
6 ounces dark chocolate (certified dairy-free for vegan), finely chopped
Place oven racks in the top and bottom positions. Preheat oven to 350F.
Spread oats onto a dry rimmed sheet pan. Place in oven and toast for 5 minutes, or until fragrant. Let cool for about 10 minutes.
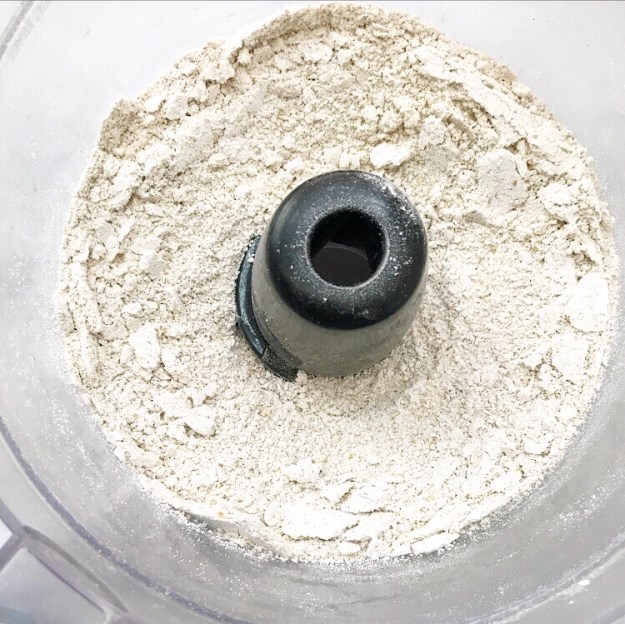
Transfer oats into the bowl of a food processor. Process for 3-4 minutes, or until there are no recognizable oats. Transfer ground oats to a large mixing bowl and freeze for 5 minutes, or until no longer warm.
In a medium mixing bowl, combine light brown sugar, oil, water, and vanilla. Whisk until the sugar has melted, and everything is fully combined and thickened slightly. Set aside.
Retrieve ground oats from the freezer. Whisk in baking powder, baking soda, and salt. Fold in chopped dark chocolate. Pour in liquid ingredients and fold together. Mixture will be pretty thin. Cover with plastic wrap and chill in the refrigerator for 12-24 hours. Do not skip or shorten this step.
Preheat oven to 350F. Line 2 rimmed baking sheets with parchment. Set aside.
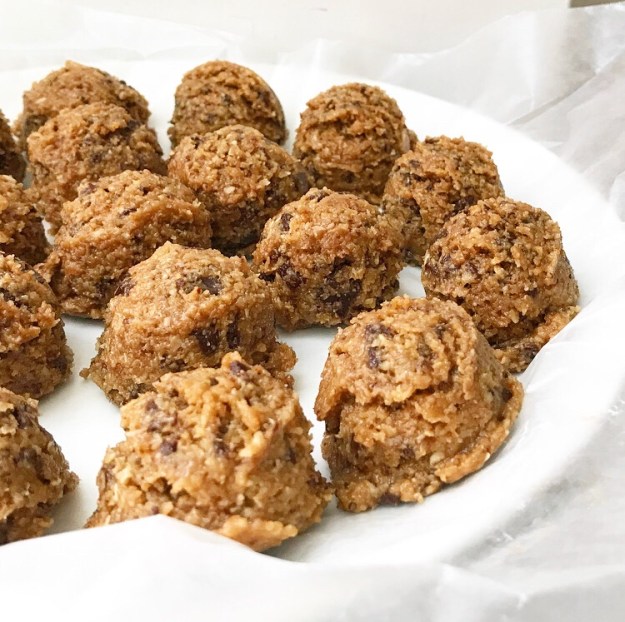
Line a dinner plate with wax paper or parchment. Scoop dough (which will still be soft) in 2 tablespoon increments. Place dough balls on lined plate. Freeze for 10 minutes.
Place dough balls at least 4 inches apart on prepared pans (I get 6 on a half sheet pan). Place any remaining dough balls back in the freezer.
Bake 7 minutes. Rotate pans top-to-bottom and back-to-front. Bake an additional 6 minutes. Let cool for at least 7 minutes on prepared pans before removing to a rack to cool completely. Let pans return to room, temperature before baking remaining dough balls.
Cookies will keep in an airtight container at room temperature for up to 5 days. They may also be frozen after baking and are shockingly good when they are ice cold.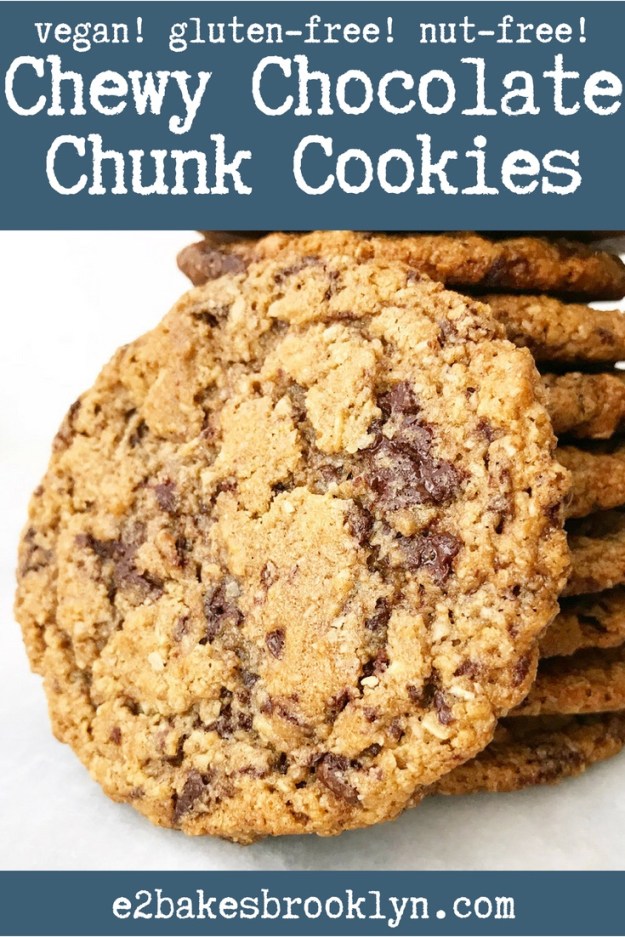
 Remember that huge, ridiculous
  You know what’s still taking up space in my kitchen? This comically large container of M&Ms. It’s made it through two of those cakes, a batch of cookies and lots of late night snacks, and it’s still kickin’.
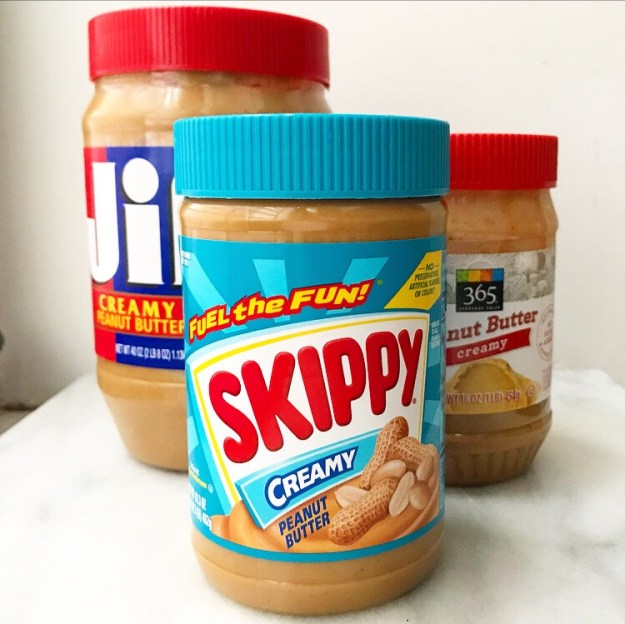 Also taking up space in my kitchen? Three different jars of peanut butter. THREE. And they’re all different brands. Just…what? I really need an Excel spreadsheet to keep track of all my baking supplies so I’m not compelled to pick up peanut butter every time I see it on sale.
 So, what does one do with all that peanut butter and that huge container of M&Ms? Add some oats and make Monster Blondies, of course!
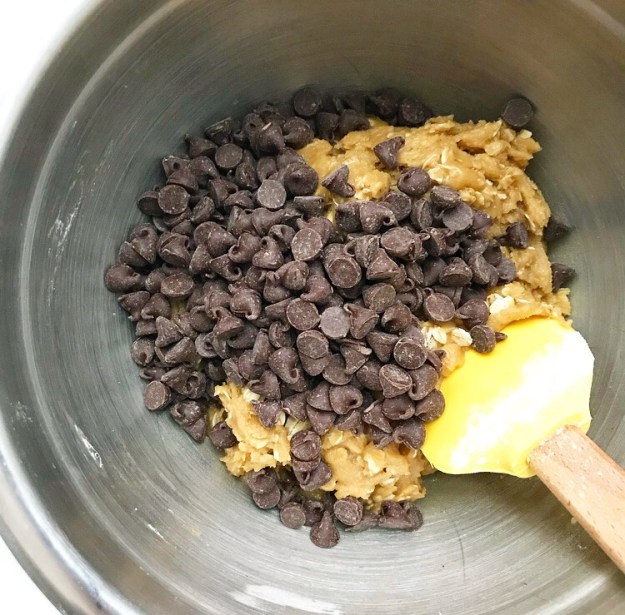
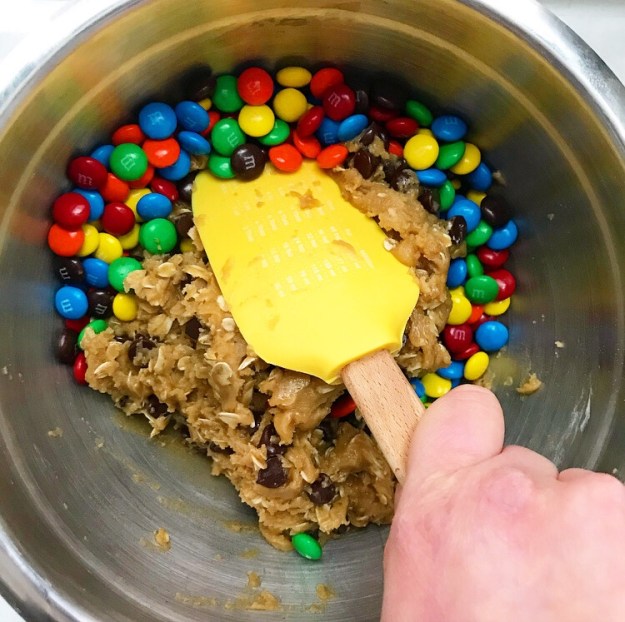
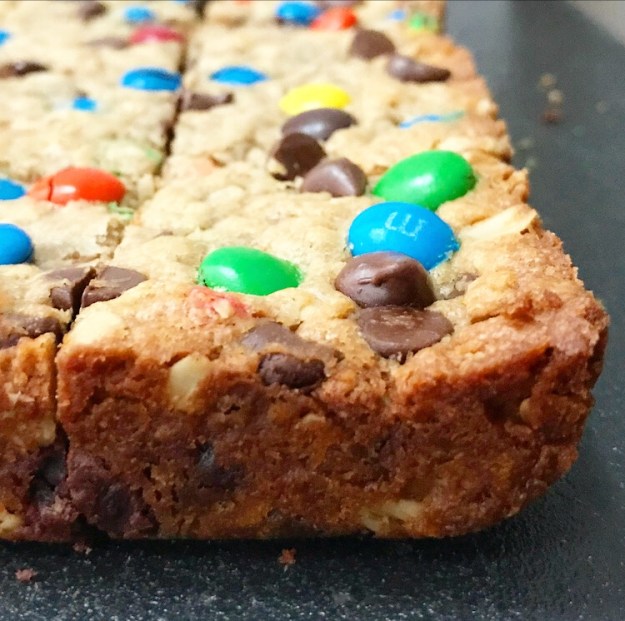
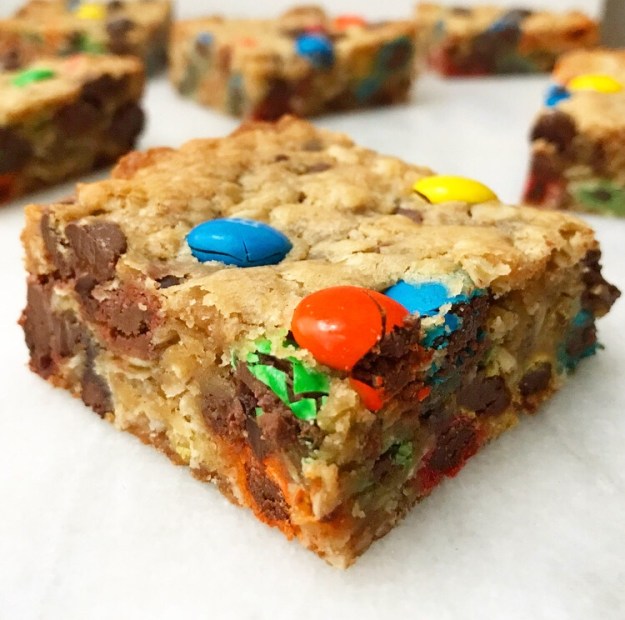 What makes these blondies so…monstrous? Well, they’re a riff on Monster Cookies, a sort of “everything but the kitchen sink” cookie that, at its most basic, contains peanut butter, oats, M&Ms and chocolate chips.
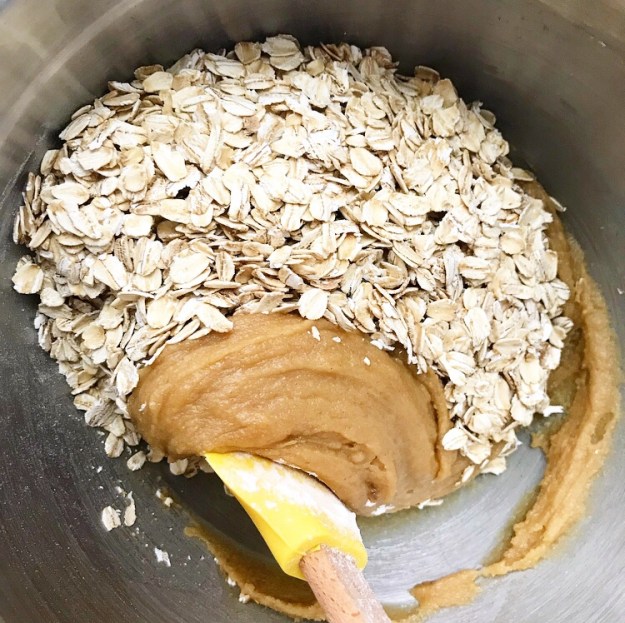
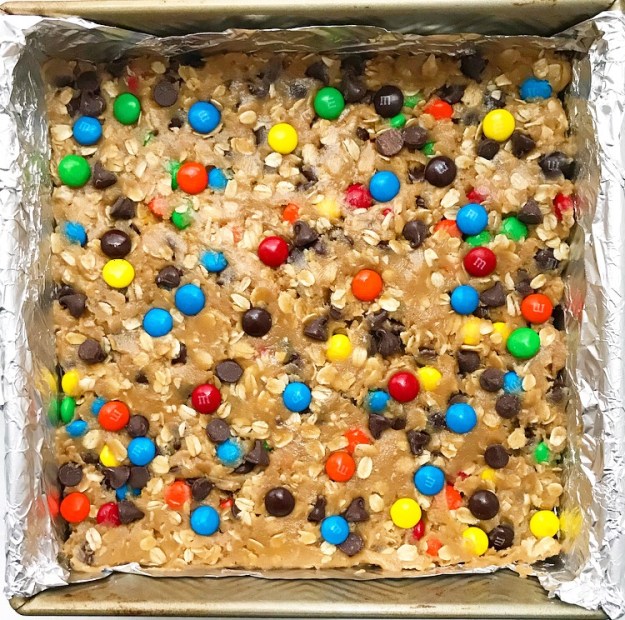 The original cookies are terrific, but skipping the cookie dough and tossing all those ingredients into blondie batter is absolutely the way to go! The resulting blondies have all the flavors and textures from their namesake recipe, but with an extra thick and chewy
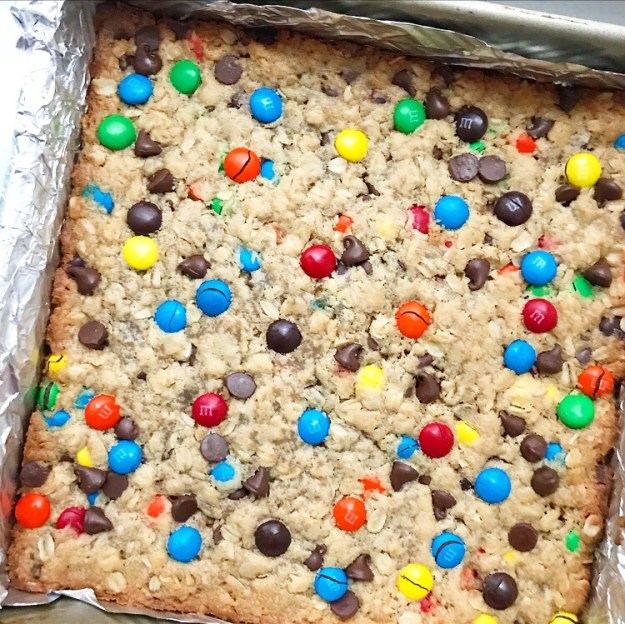
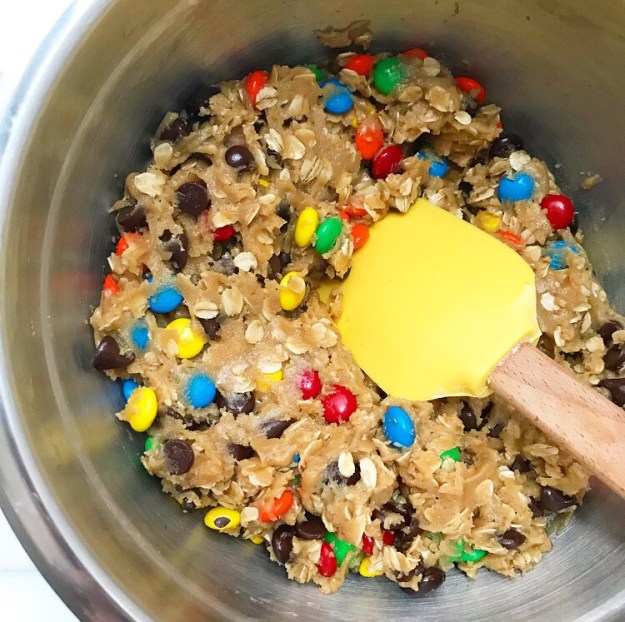
 Not only that, but blondies are way easier to make than cookies—this recipe comes together with just one bowl and a silicone spatula! And, of course, they don’t require baking in batches. Monster Blondies are ready to come out of the oven just 40 minutes after you start making the batter!
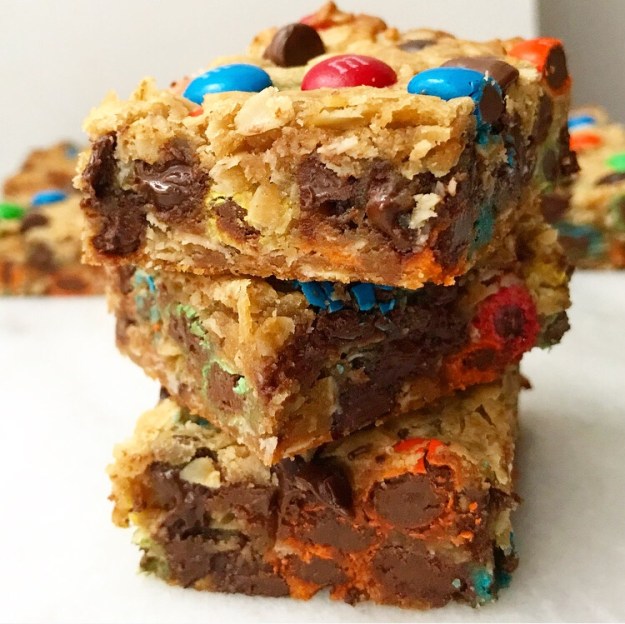
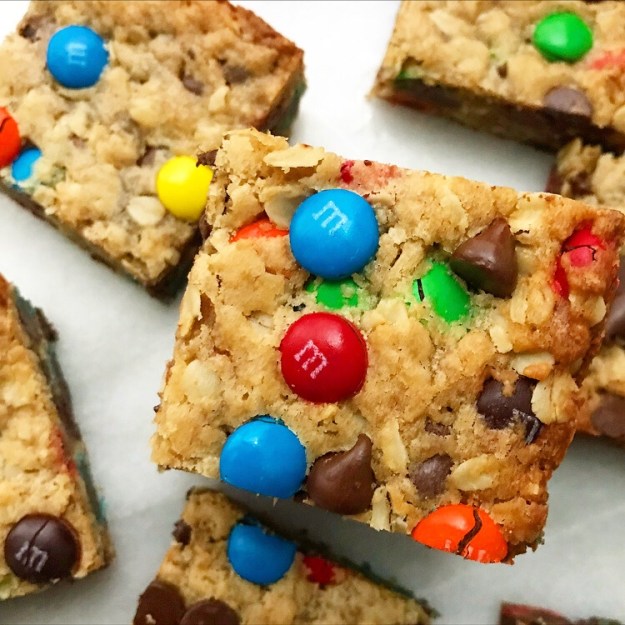
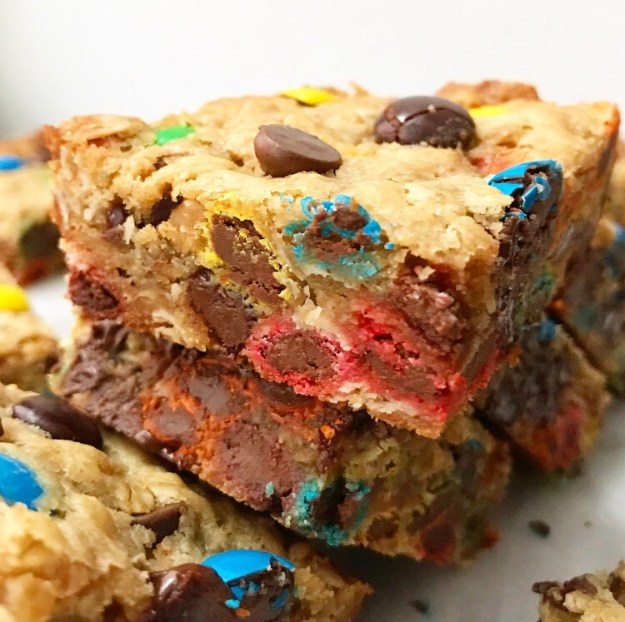 Once the blondies have cooled slice them up and dig in! You’ll love the soft & chewy blondie base, the slight saltiness from the peanut butter, the texture from the oats and crackly candy coating, and tons of chocolate. As far as I’m concerned, they’re the very best kind of mid-week pick-me-up ❤
 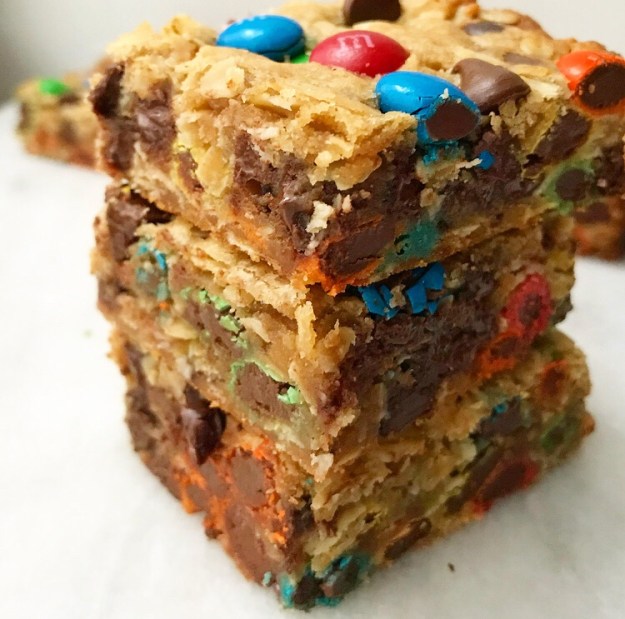 Monster Blondies
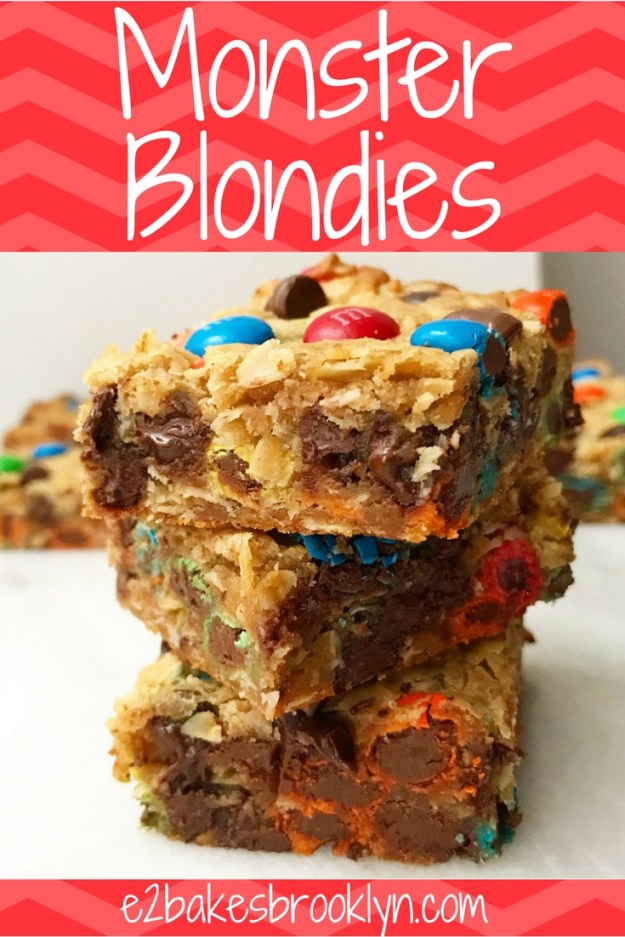
 I won’t lie to you—I was tempted to take today off of blogging. I made fifteen cakes between last Monday and this Monday. I like making cake, but fifteen is A LOT.
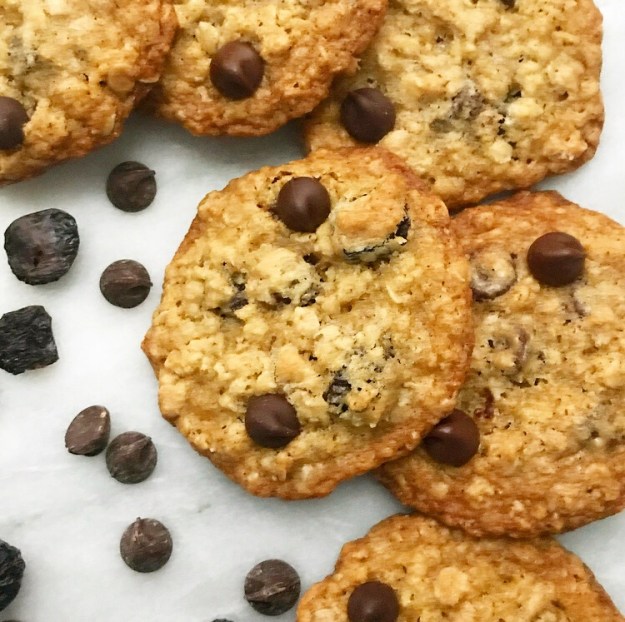 But I love this little corner of the internet, so I’m here anyway–just taking it easy this week. I’m saying a big “NO” to
 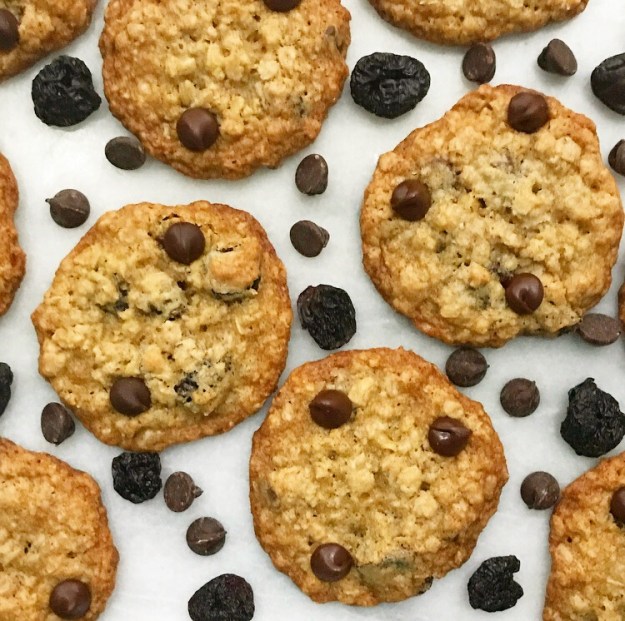 But I’m saying yes to
  Yes to oats. (And butter and brown sugar and the tiniest pinch of nutmeg.)
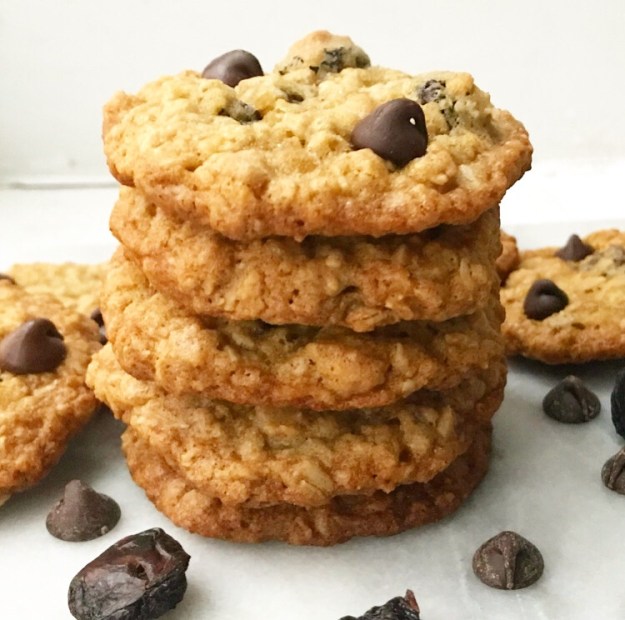
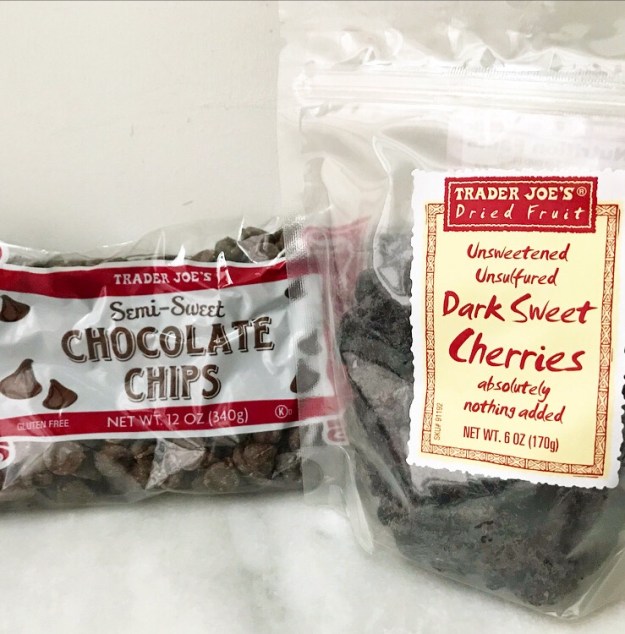
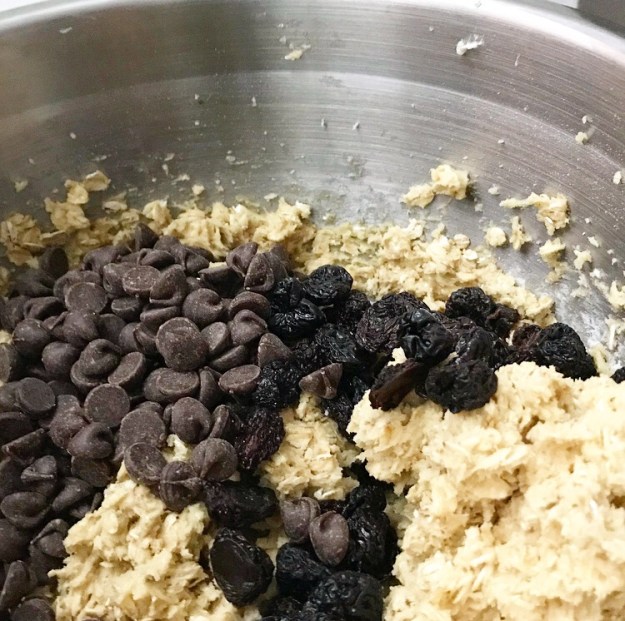 Yes to chocolate chips. Yes to dried cherries.
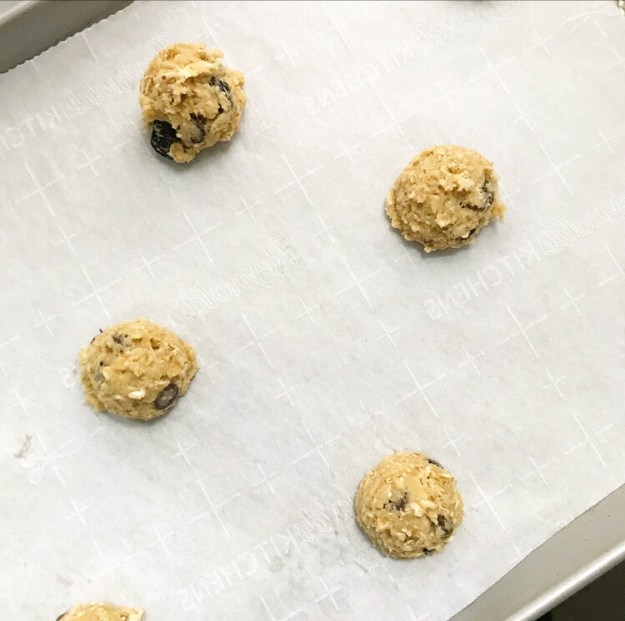 Yes to dough that doesn’t need a chill.
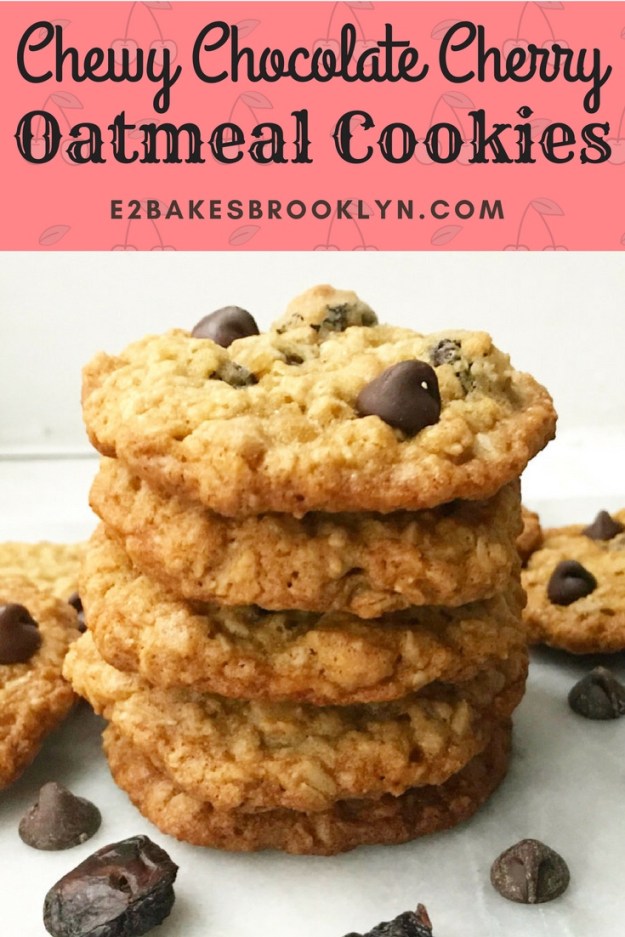
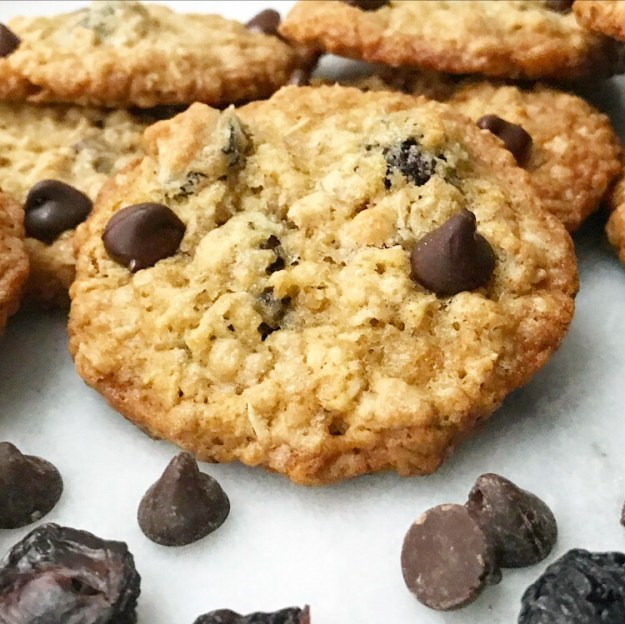 Yes to Chewy Chocolate Cherry Oatmeal Cookies.
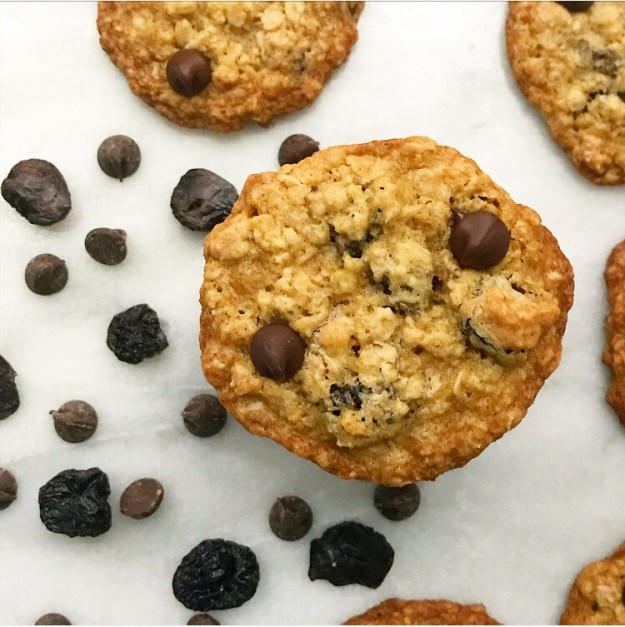 Yes.
Yes.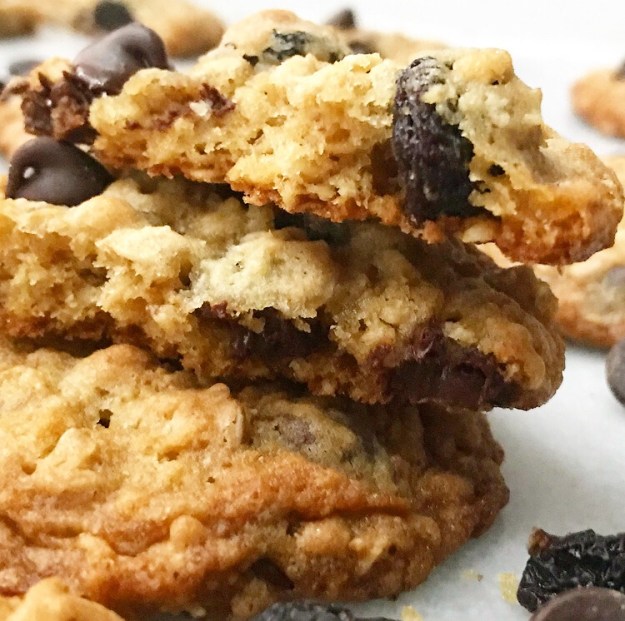
 It feels like I’m jumping the gun by posting a carrot cake-flavored recipe in the middle of March, just after the third nor’easter in twelve days, but Easter is on the early side this year, so I suppose I’m right on time.
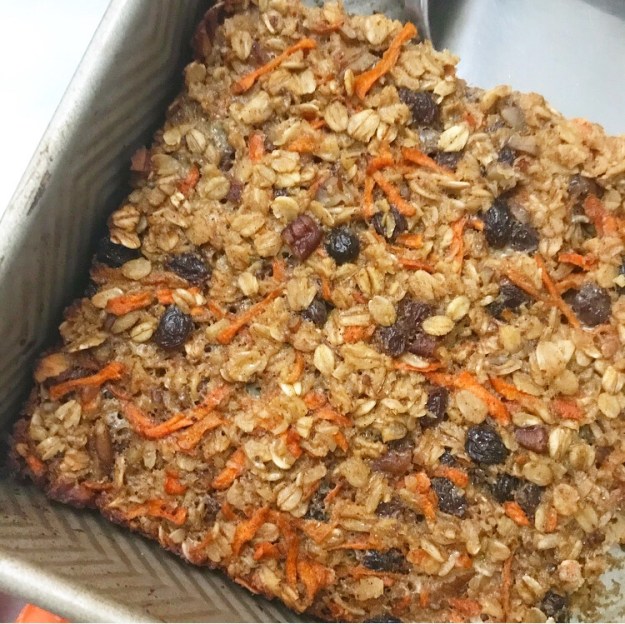 I get that
 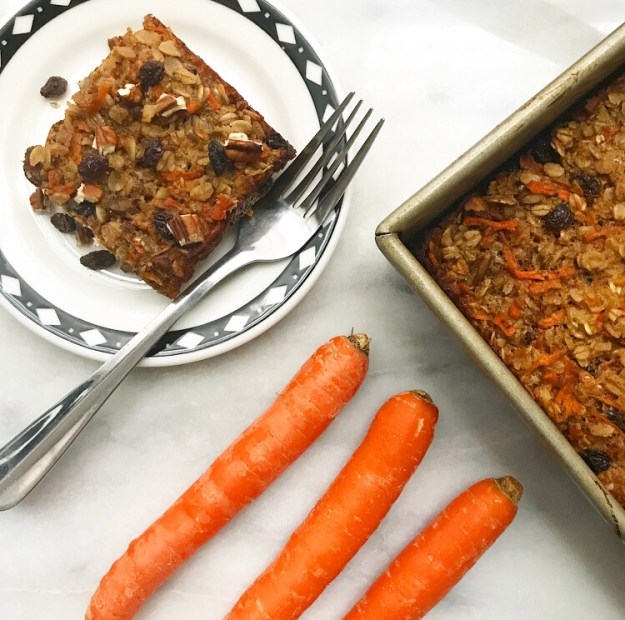 I think not. I could eat it any day, anytime, on a boat/plane/train/any other Seussical place without complaint. Except for the whole general health and well-being and needing bigger pants thing. But if those obstacles weren’t standing in my way, let me tell you, it’d be all carrot cake all the time. That and things made with
 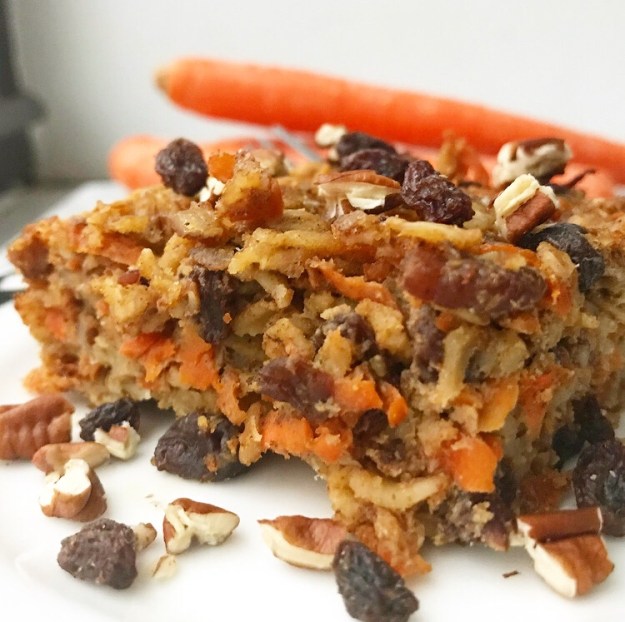 As it stands though, I just bought a pair of Levi’s 501s that make me feel like a supermodel and I am trying to eat well (outside of the occasional
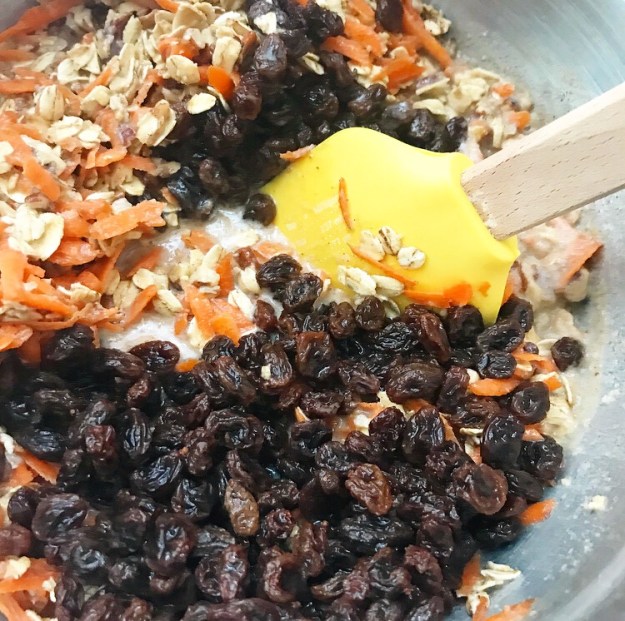
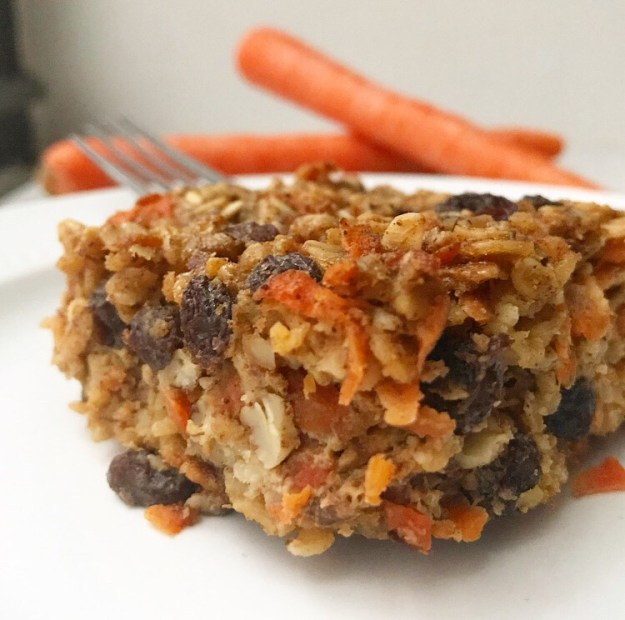
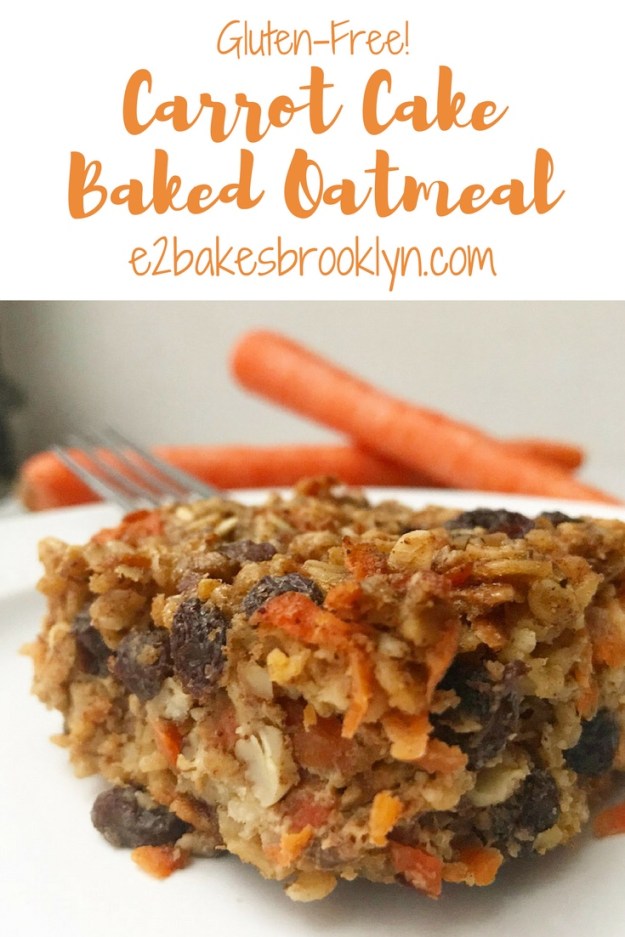
 This Carrot Cake Baked Oatmeal comes together quickly and easily, and has huge flavor thanks to warming spices, the classic additions of raisins and chopped pecans, and maple syrup.
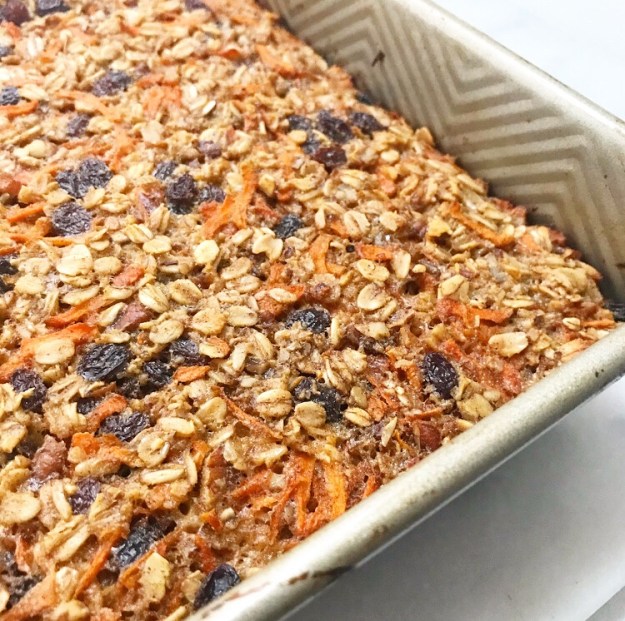 It bakes up in just half an hour. You could certainly serve it on its own, but I like an extra drizzle of maple syrup, just for kicks. A dollop of yogurt couldn’t hurt either.
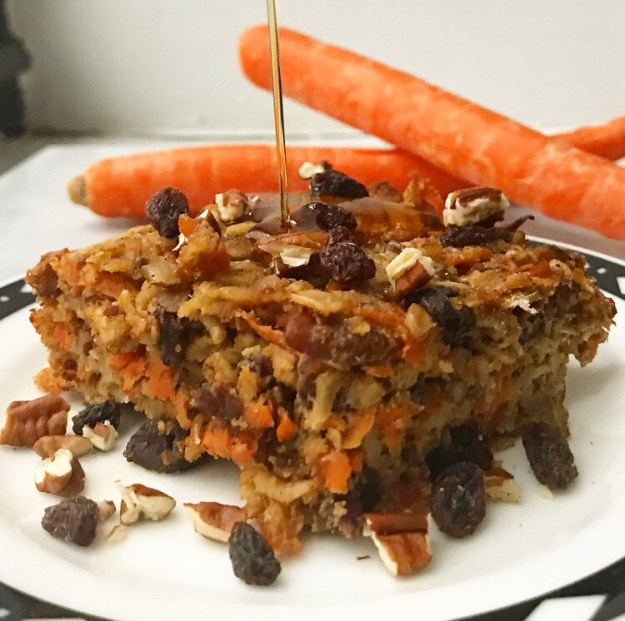 Another great thing about this breakfast? It’s high in protein, so you won’t be starving two hours after you’ve eaten. Oh, and if you use certified gluten-free oats, it’s gluten-free too 🙂 Yep. This is the sort of everyday indulgence I can get behind.
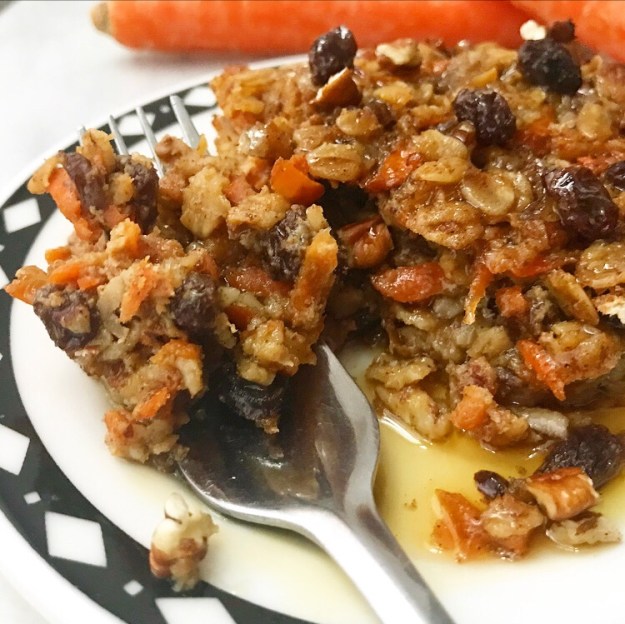
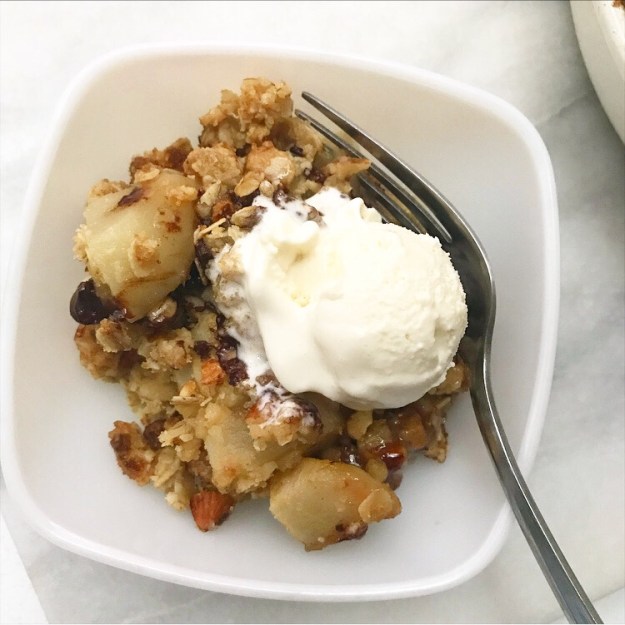
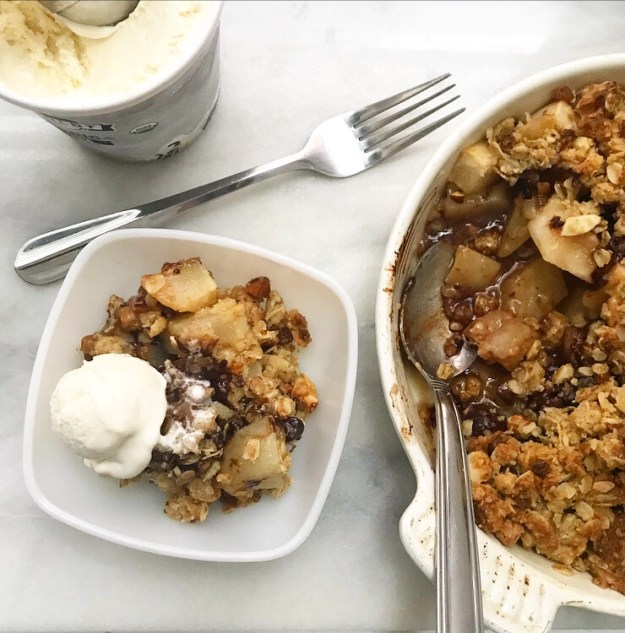 On any other day, I would probably go on and on about how how I prefer my chocolate desserts to be all chocolate and my fruit desserts to be just fruit, but for right now, I must say otherwise. And even if I were feeling that way this particular Wednesday, I’d be hard-pressed to get the words out, what with shoveling bites of warm Pear Crisp with Chocolate & Ginger into my face.
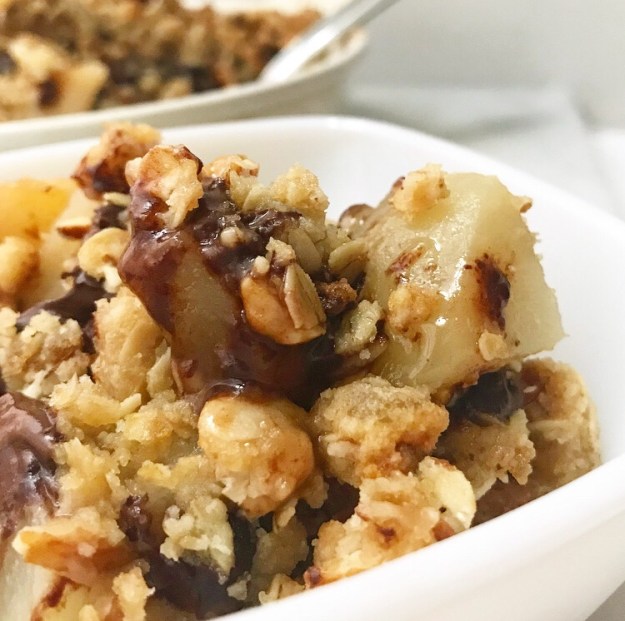 As far as late-January desserts go, this is about as good as it gets. I mean, when it comes to warm, soft pieces of pear, bits of melty chocolate and crunchy oat topping with two kinds of ginger, what’s not to love?!
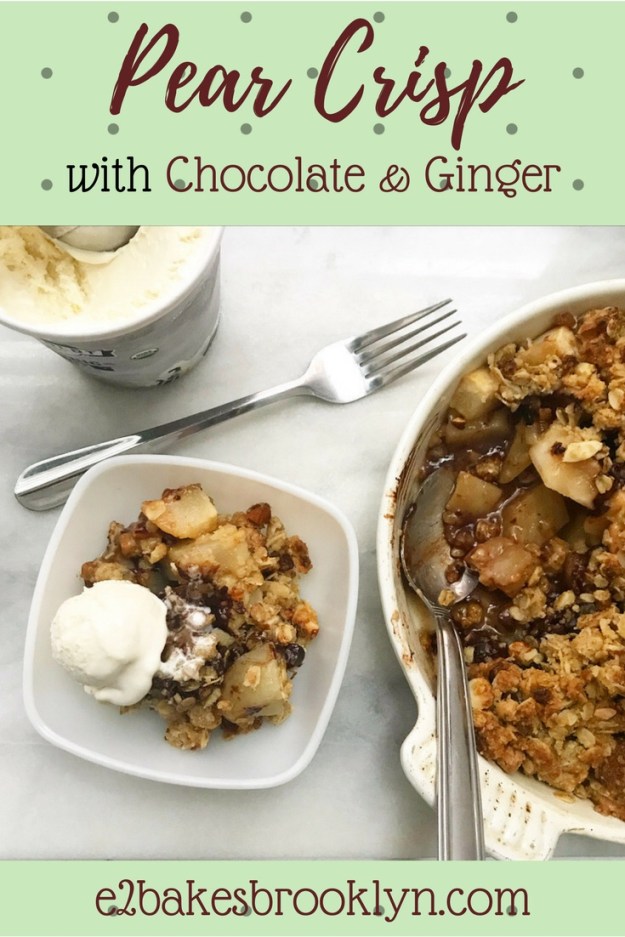
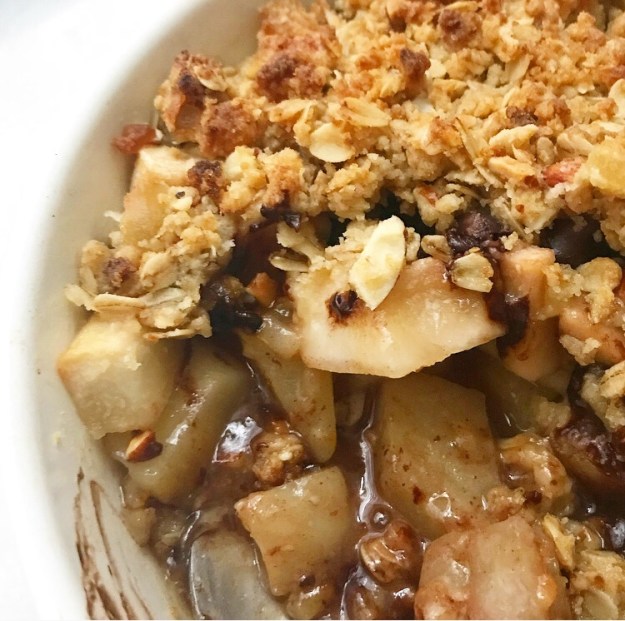 Beyond being delicious, this crisp is wonderfully easy to make. If you are at all intimidated by making pie from scratch, this is the dessert for you. There’s no finicky dough or chilling or crimping, and definitely no lengthy cooling time. In fact, the whole process of making a crisp takes one hour, as opposed to the three or four (or more!) that it takes to make and cool a fruit pie.
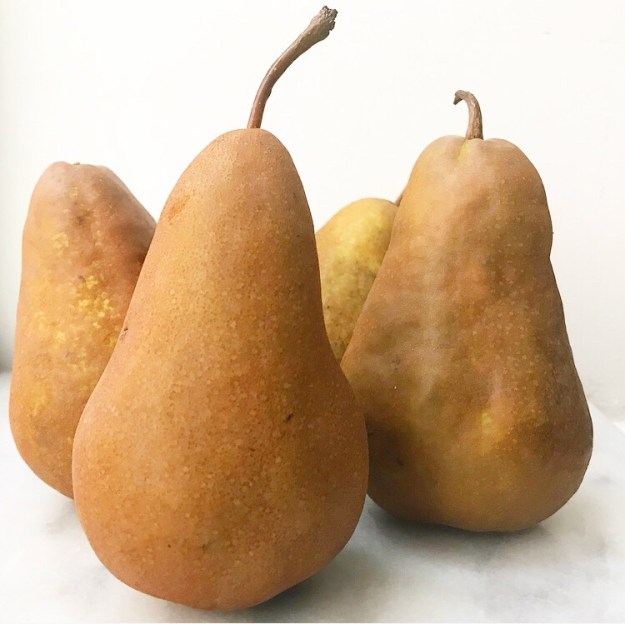
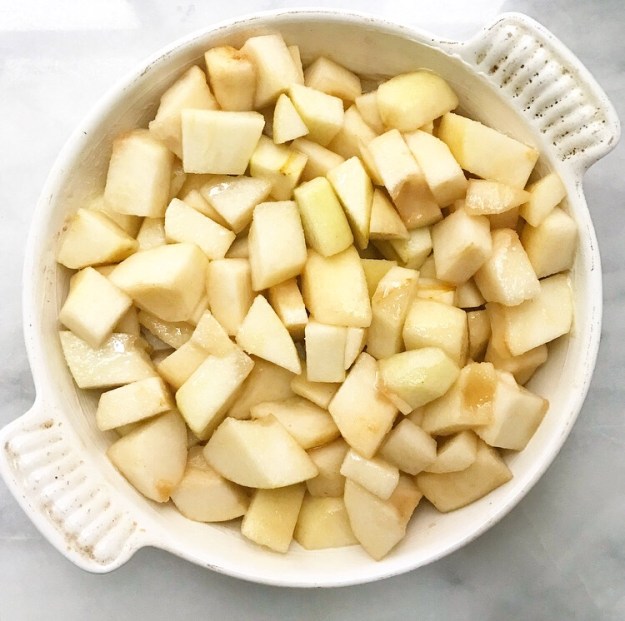 To start, pears are peeled, diced, and tossed with sugar, cornstarch, ground ginger, and lemon.
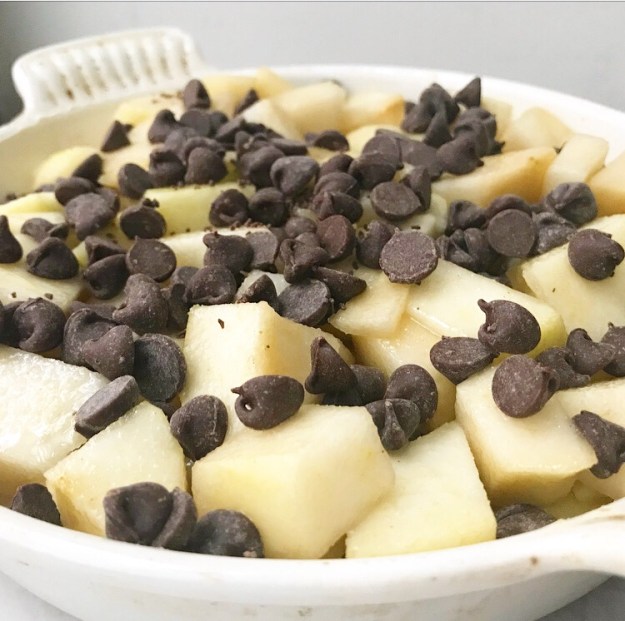 Chocolate chips are scattered over the top.
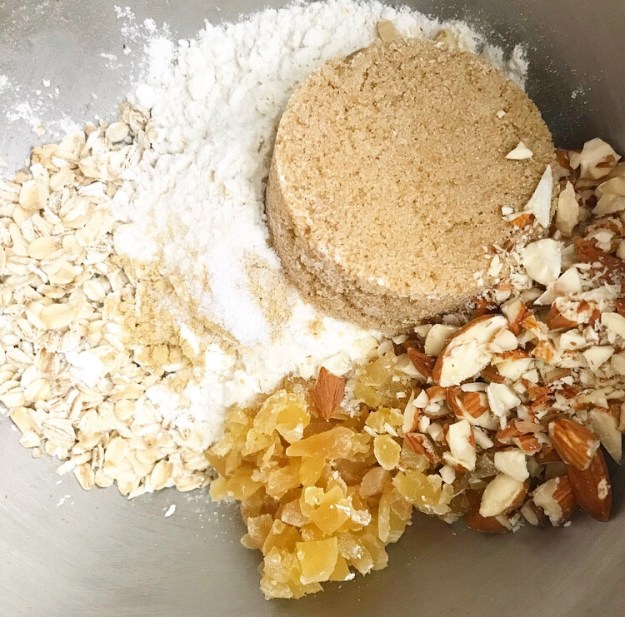
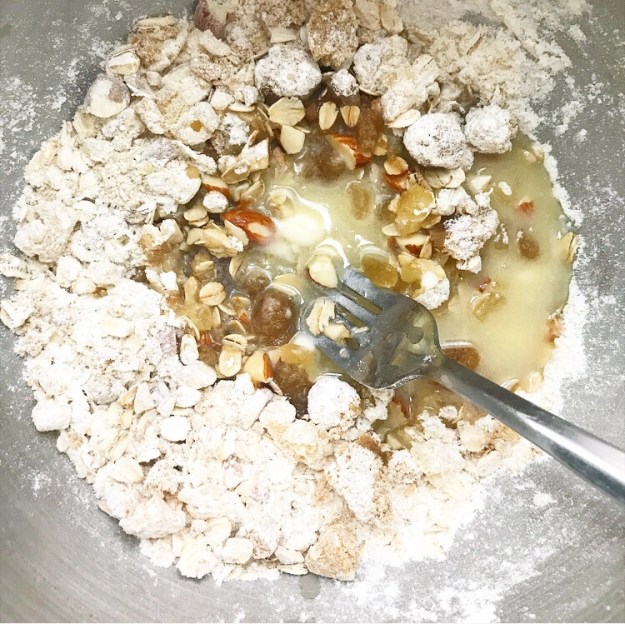
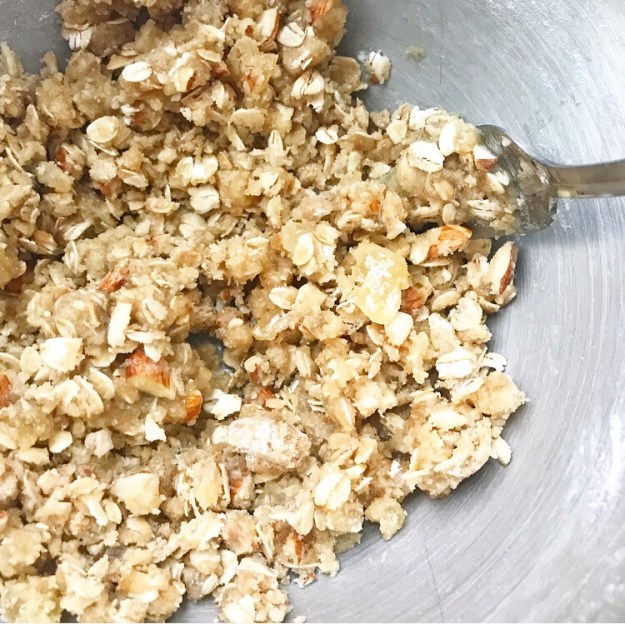 The crisp topping is made from oats, flour, light brown sugar, chopped almonds, and both ground and candied ginger. Oh, and butter.
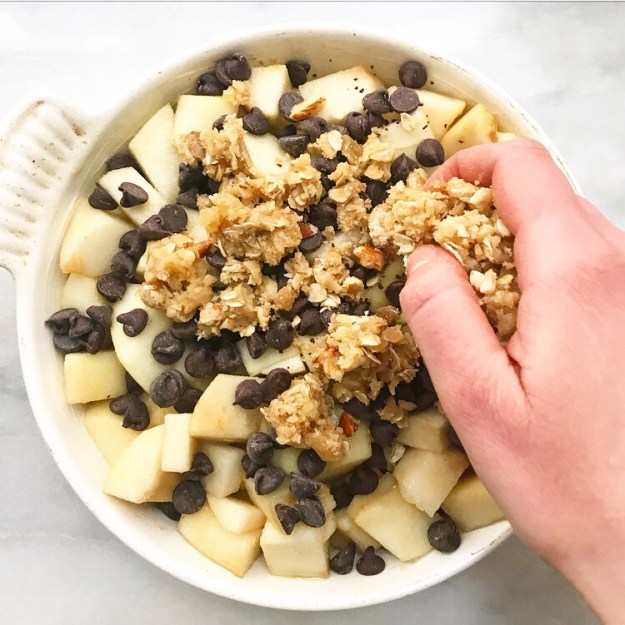
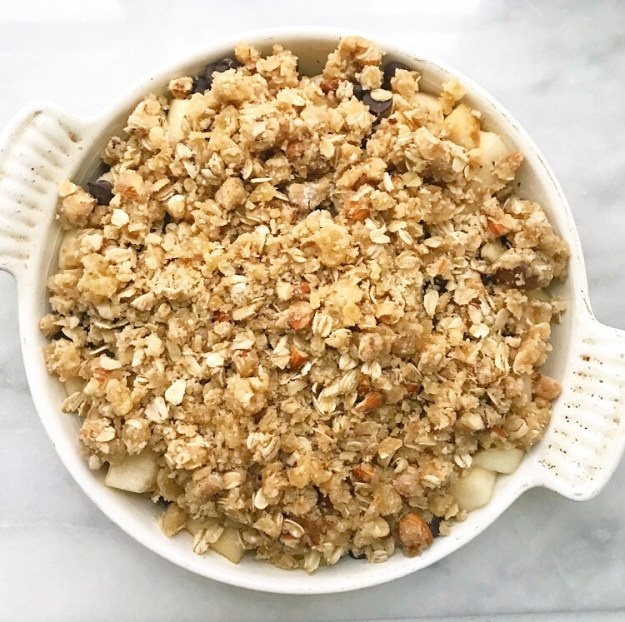 Scatter the topping over the fruit, being careful to cover most of the chocolate. This will keep it from overcooking.
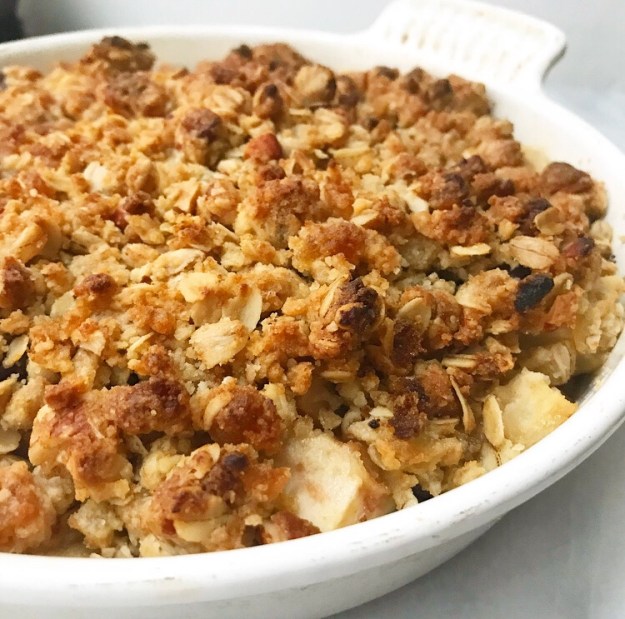 Bake the crisp for half an hour and let it cool for ten minutes.
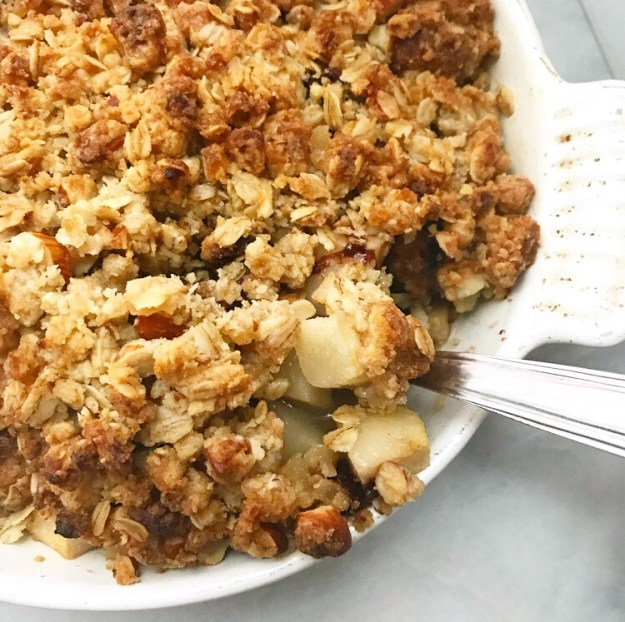
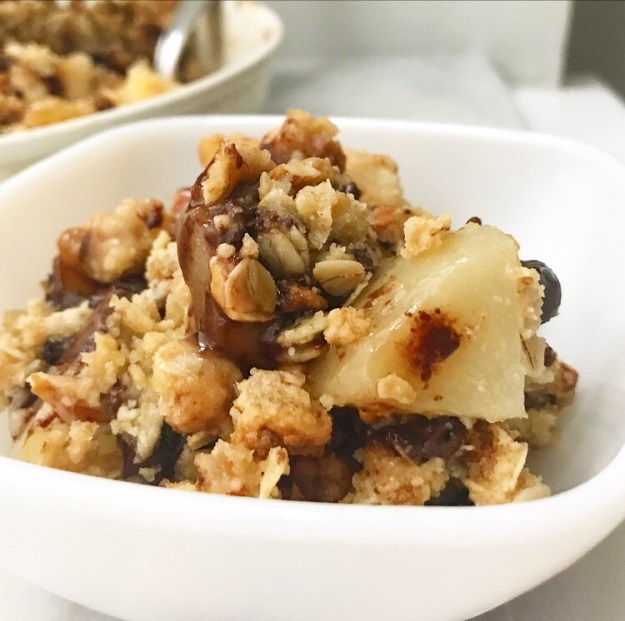
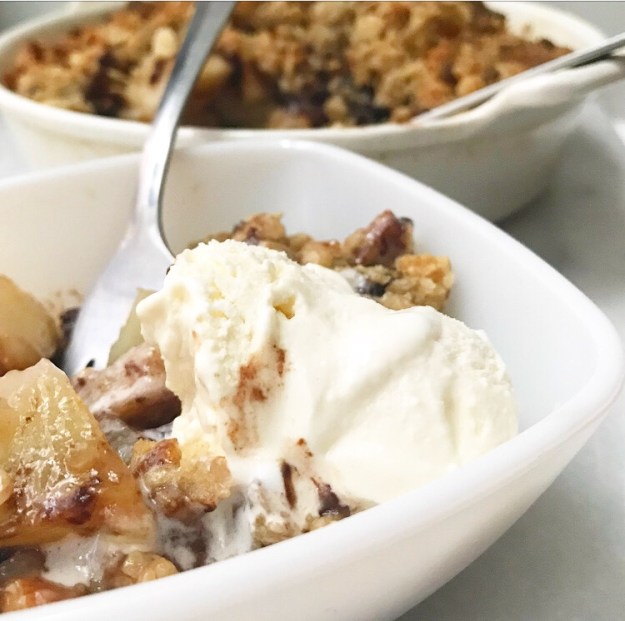
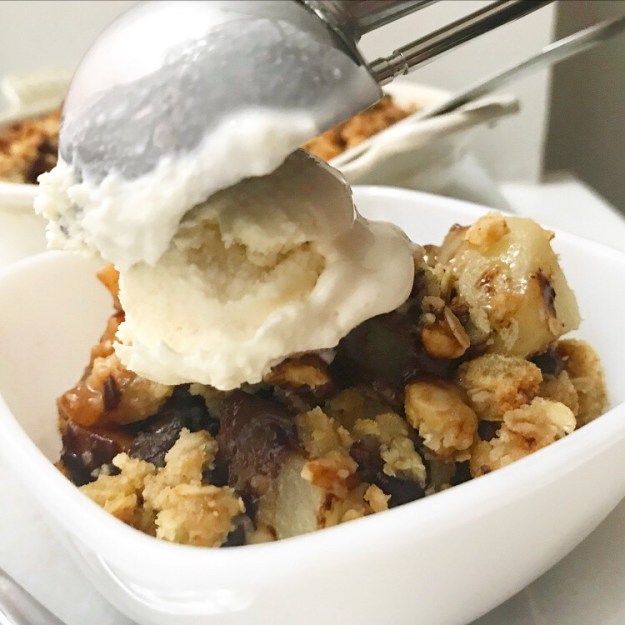 While it’s warm, scoop it into bowls and top it with vanilla ice cream. The recipe says this addition is only “if desired,” but I like to think of it as mandatory.