Since the very beginning of this blog, I have sung the praises of my Cream Cheese Pie Dough. It’s easy to mix together (no guess work!), rolls without tearing, has a croissant-like flakiness, and is super delicious. I will stand by it forever and ever, amen.
So, if I love it sooo much—and I do—why on earth am I giving you another pie dough recipe? Because I don’t always have a brick of cream cheese sitting around when I’m in a pie-making mood. It’s that simple. That doesn’t mean I’m going to subject myself to subpar pie crust though. No way. Crisp, flaky, and buttery or bust! I’ll be the first to tell you that I’m not reinventing the wheel with this crust. There are a gazillion all-butter pie doughs out there and nearly all of them have similar proportions and instructions, which makes it all the more surprising that I had to test this recipe six times to get it exactly how I want it.
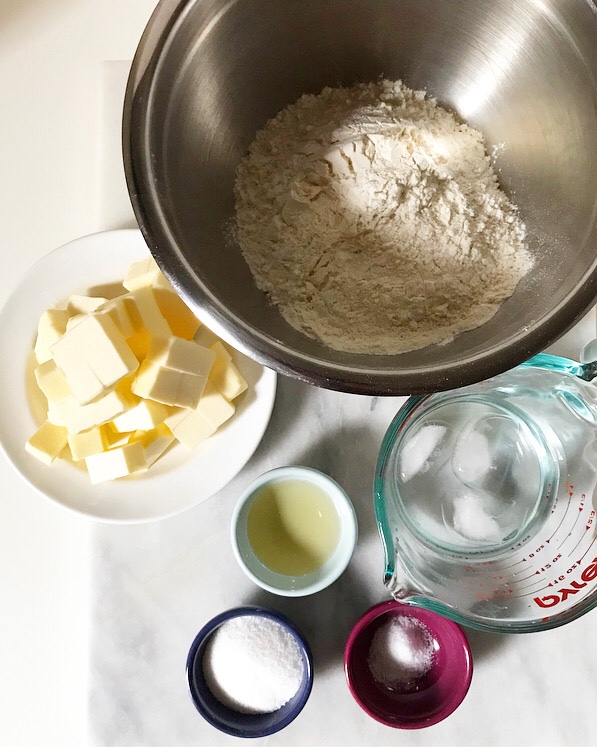 All-Butter Pie Dough requires just six ingredients. Six! You probably have all of them in your kitchen right now.
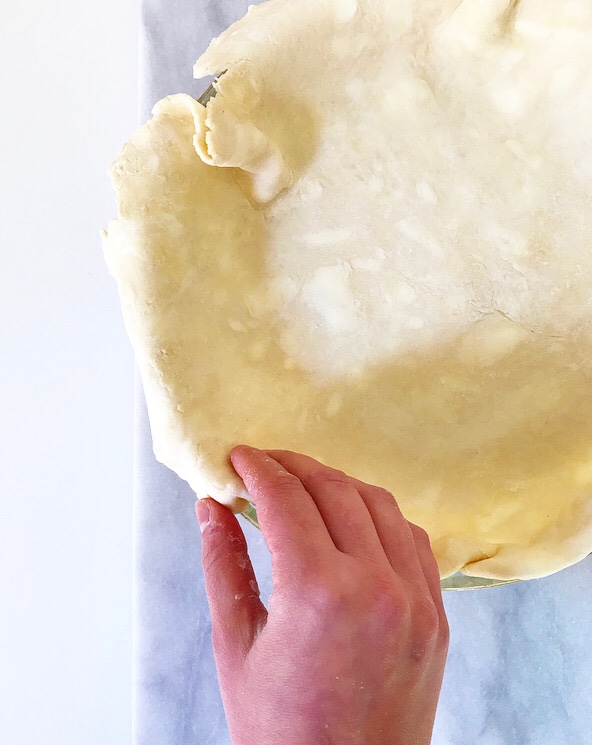
- Cold butter. Pockets of cold fat are the secret to a flaky crust. As they melt in the oven, their water content turns to steam and form the layers we all love so much. Some bakers use shortening or lard (or cream cheese!) as their fat of choice, but since this is All-Butter Pie Dough, we’re using all butter, duh. I like to cut mine into cubes ahead of time and then freeze it until I add it to the dry ingredients. It’ll get cut into the dough just until it’s the size of small peas. This means there will be visible chunks of butter in your pie dough at all stages, even when it’s rolled out. If at any point in the process your butter feels soft/warm/sticky/otherwise-not-cold, throw the dough back in the fridge. Unless you like tough crust, that is.
- Cold water. Cold. Cuh-old. Water is the binder in this pie dough recipe. It has to be freezing cold because if we add room temperature or—heaven forbid—warm water to the dough, we can kiss that cold butter and flaky crust goodbye. I like to measure out 2/3 cup of cold water and then add ice cubes to keep it that way. Also, don’t get heavy-handed—you probably won’t need all the water in your measuring cup. You want to add just enough for the dough to hold together. Any more than that and the gluten in the flour may become overdeveloped and yield a tough crust.

- Apple cider vinegar. This is the one “unusual” ingredient you’ll find in this recipe, but I’m far from the first baker to put vinegar in pie dough. It helps mitigate gluten development (buying you an extra stir or knead) to produce a more tender crust, the same way that adding buttermilk (also an acid) to cakes/biscuits/what-have-you helps make them tender.

- Sugar and salt. These add flavor and balance to our crust. Without them, why bother making pie dough at all?! You may be tempted to leave out the sugar, especially in savory applications, but I recommend keeping it. The small amount of sugar in this dough caramelizes during baking, helping to produce a golden brown crust.
- All-Purpose Flour. This is the structural foundation of pie dough (and sooo many other things). Make sure you measure it properly (spoon & level) so that you don’t use too much or too little.


See, six ingredients, each with a job of its own. You’re a bowl, a hand blender, and fifteen minutes away from having two disks of pie dough in your fridge. #score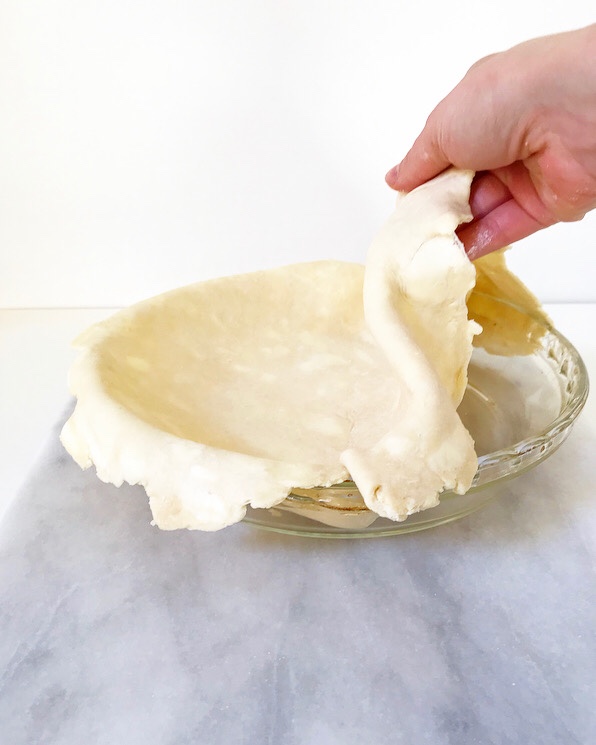
 If pie dough makes you jittery or this is your first year making it from scratch, never fear! All-Butter Pie Dough is very simple to make. Once you’ve made your first batch, you’ll wonder what you were ever afraid of…but just in case you need a little extra encouragement, here are some of my best pie dough tips.
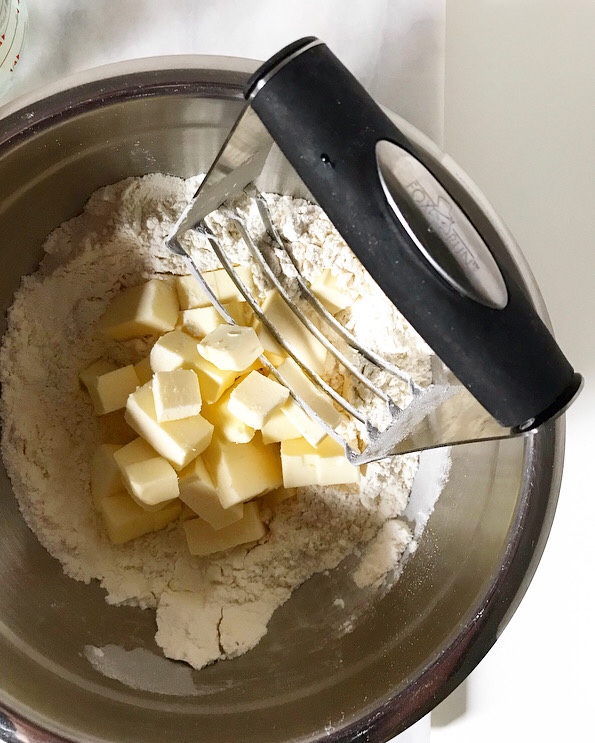
- Make it by hand. There are now three pie dough recipes on this site, and not one of them is made in a food processor. I know it’s supposed to be faster and easier that way, but it also involves more clean up and requires you to give up control of the butter. It’s not always easy to get visible chunks of butter in a food processor, but it is when you are cutting it in by hand. Dough made by hand = visible butter = flaky crust!
- When in doubt, throw it in the fridge. This is the solution to almost all your pie crust problems. Butter seems sticky? Throw it in the fridge. Dough seems a little soft? Throw it in the fridge. Fitted the dough to the pie plate and filled it, but have some time before the oven will be warm? Throw it in the fridge. Worried about the crimp holding? Throw it it in the fridge. Say it with me: Throw. It. In. The. Fridge.

- Take your time. You can make pie dough three days before you make pie and keep it in the refrigerator—no need to do everything on the same day. You can even freeze this pie dough! Just triple-wrap in plastic and throw it in the freezer for up to six months. Let it thaw in the fridge overnight before rolling.
- Don’t fret if it’s not perfect. Pie takes time. Pie takes practice. I have made a lot of pies in the last six years and many of them have been hideous. Many, many. But you know what? Ugly pie is still pie. As one of my favorite bloggers, Julie Van Rosendaal, says “The best pie is the one on your table.”

Wooooow so many bullet points today. Pie, y’all! It’s happening. Look out Friday for my first pie recipe of the season. Or go into my Recipe Index and make yourself this tart Cranberry Crumb Pie. I know we still have 22 days til Thanksgiving, but I mean…it’s practice, right?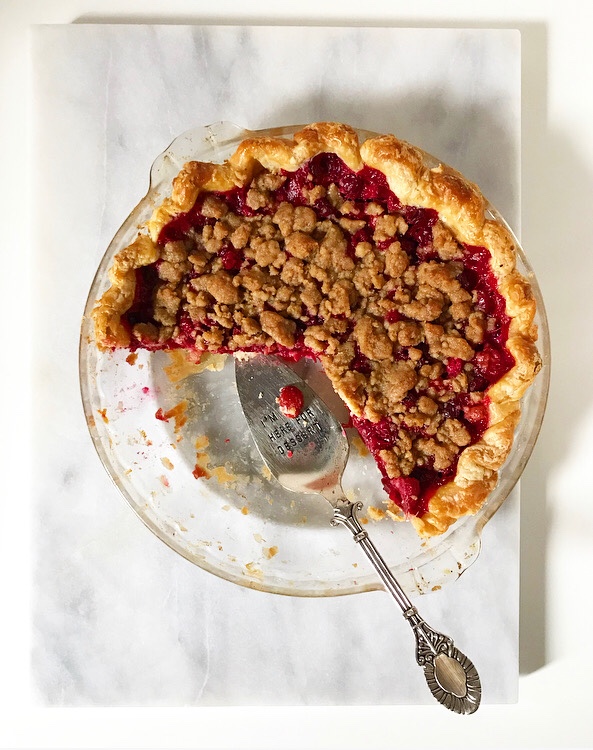
All-Butter Pie Dough
makes 2 crusts
1 cup (2 sticks) unsalted butter, very cold, cut into cubes
1 tablespoon apple cider vinegar
~2/3 cup water, very cold
ice cubes
2 1/2 cups all-purpose flour
2 tablespoons granulated sugar
1/2 teaspoon Kosher or sea salt
Cut butter into cubes. Put it on a plate and freeze it while you prepare the other ingredients.
Pour apple cider vinegar into a liquid measuring cup. Add cold water up to the 2/3 cup mark. Add a few ice cubes. Set aside.
In a large mixing bowl, whisk together flour, sugar, and salt. Add cold butter and use a pastry blender to cut it in until the largest pieces are the size of small peas.
Using a finger to block ice cubes, pour 1/2 cup water/vinegar mixture into the bowl. Use a silicone spatula or wooden spoon to stir just until everything is moistened. Add more liquid 1 tablespoon at a time until clumps begin to form and dough holds together well when pinched. You will likely have some liquid leftover.
Give dough a couple of quick kneads to help it come together. There may be some dry unincorporated bits at the bottom of the bowl—this is normal.
Divide dough into two equal pieces and fork into disks. Wrap in plastic wrap and refrigerate for at least 1 hour or up to 3 days.
Flour a surface and a rolling pin. Unwrap one disk of dough. Use rolling pin to roll dough to 1/8-inch thickness (about 14 inches in diameter for a 9-inch pie plate). For easiest rolling, roll dough in one direction, turning it one quarter turn after each roll. Re-flour surface and rolling pin as needed.
To transfer to a pie plate, carefully fold dough into quarters. Place point in the center of the pie plate and carefully unfold. Fit it to the pan, trim any excess overhang to 1-inch and crimp.
Proceed with your pie recipe as written.

 Sometimes it takes years of thinking and testing and cursing and problem-solving—or, to be brief, “general creative agony”—to formulate a recipe. Other times, the recipe comes up and metaphorically slaps you in your dessert-obsessed face.
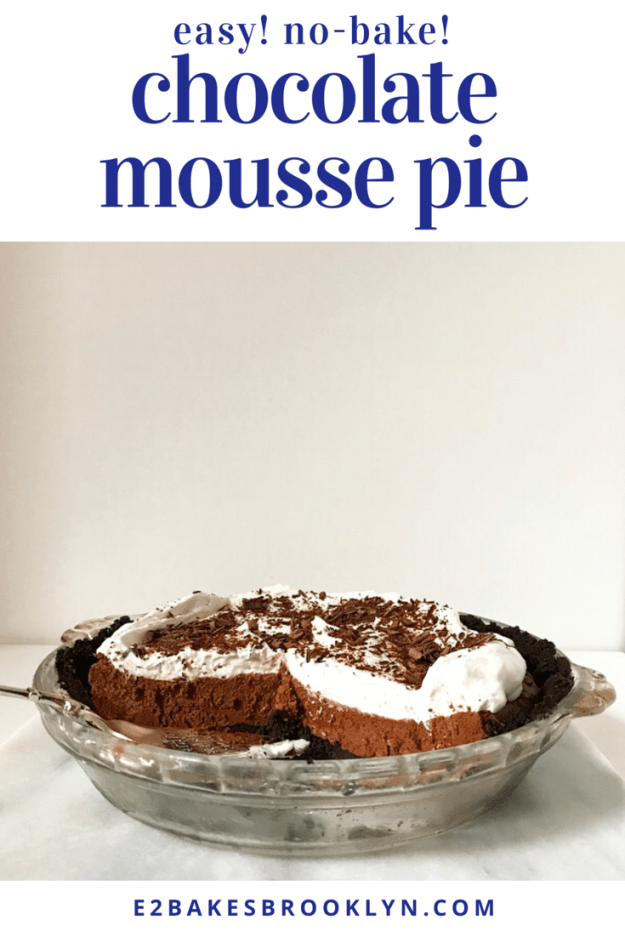
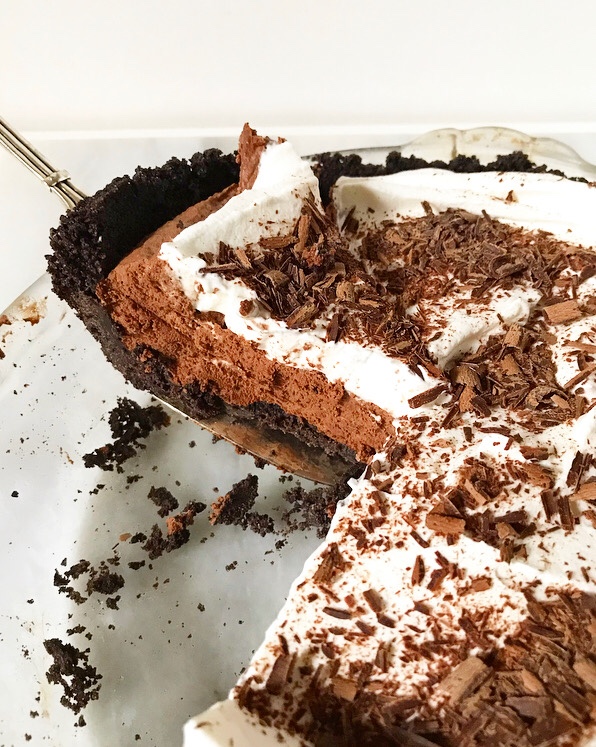 You can guess which sort of recipe this Chocolate Mousse Pie is.
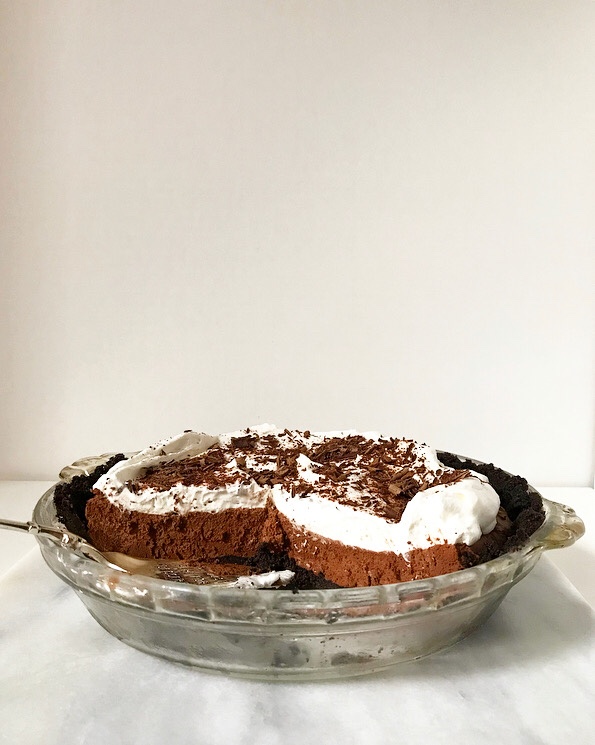 Y’all! How did I not make a Chocolate Mousse Pie sooner? How did it never cross my mind? I’ve had a magnificent
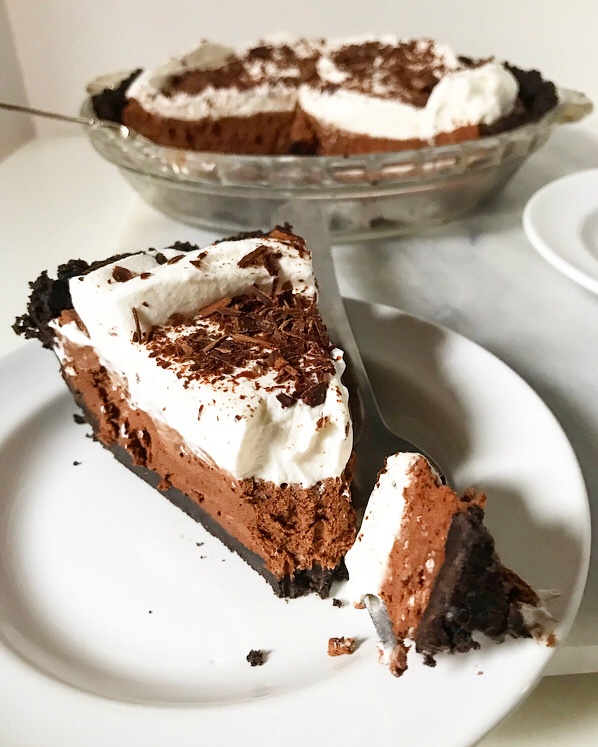
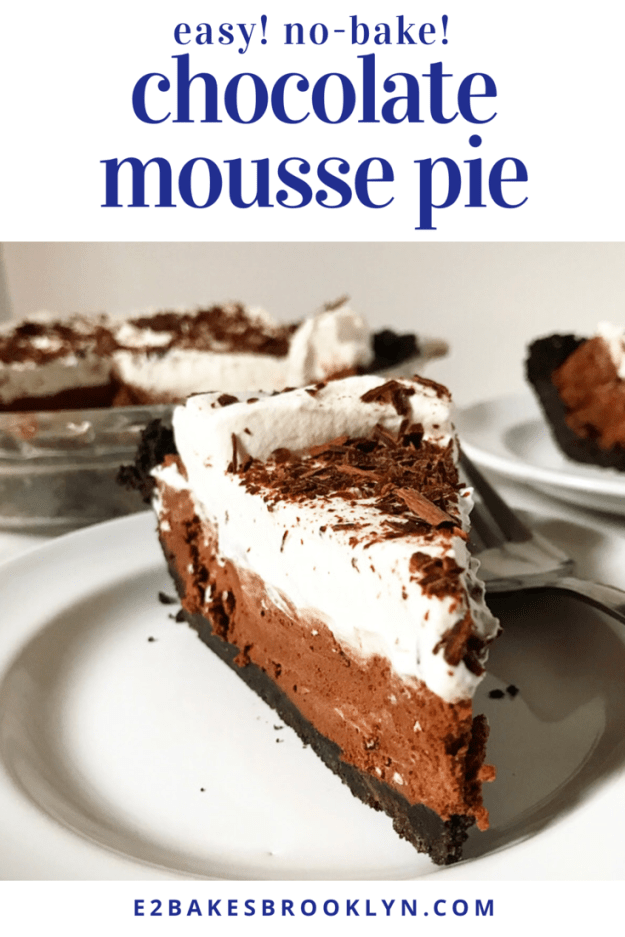
  This is exactly the sort of recipe I love to have in my back pocket. It’s super simple to make and a universal crowd-pleaser. Who can resist fluffy homemade chocolate mousse, whipped cream, and Oreo crumb crust? Not this baker.
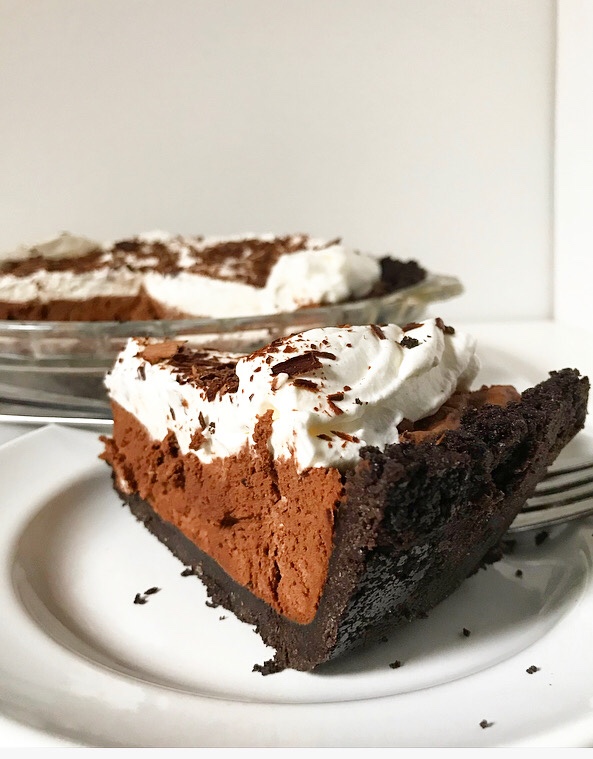 …or should I say “no”-baker? This is a no-bake pie, after all! There are a couple of chilling steps in the recipe, but no need to crank up your oven. I’ve got a few
  But! But. It’s not even

 Have you ever seen the movie Waitress? It’s one of my very favorites—it’s about a small town pie waitress who is saddled with the worst sort of husband and a lifestyle of which she doesn’t see a clear way out. Her passion is pie, and throughout the film she thinks in pie recipes with very specific names: Marshmallow Mermaid Pie, Bad Baby Pie, Lonely Chicago Pie…you get the idea. I won’t ruin it further. You can and should stream it on
  Alternatively, you can come to NYC and see Waitress the
 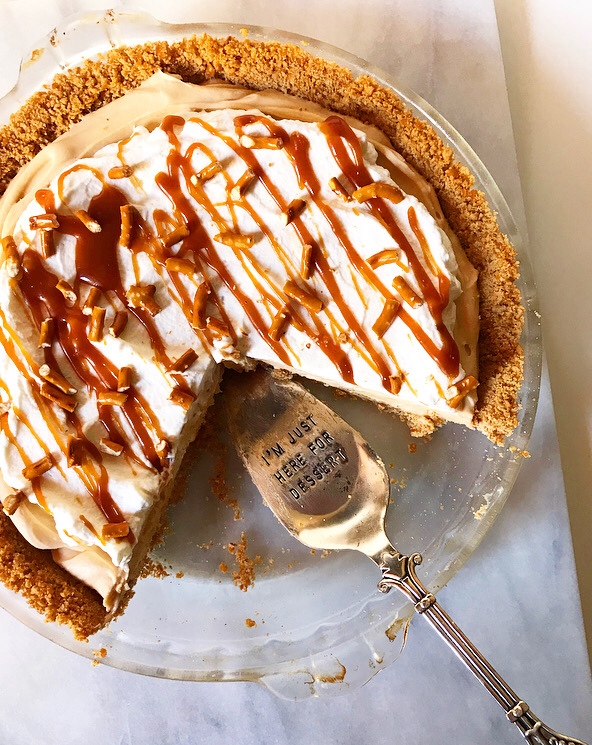 When we left the theater and headed for the subway, I knew two things:
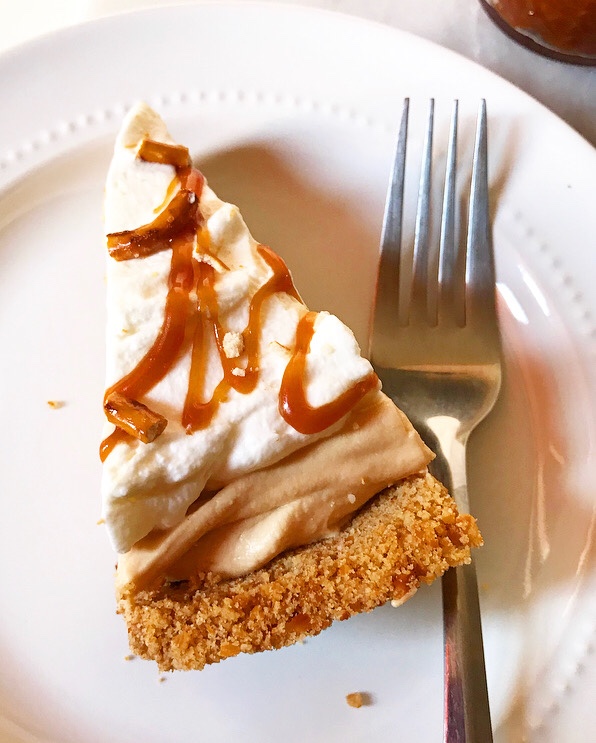
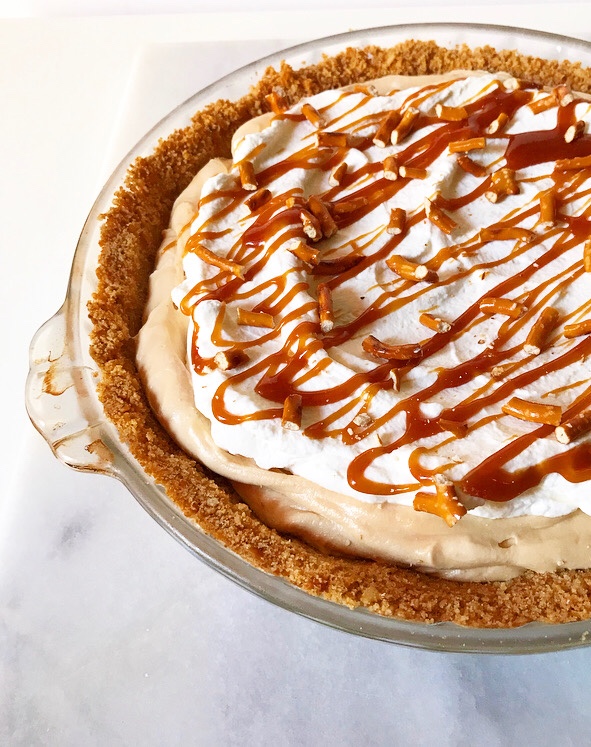
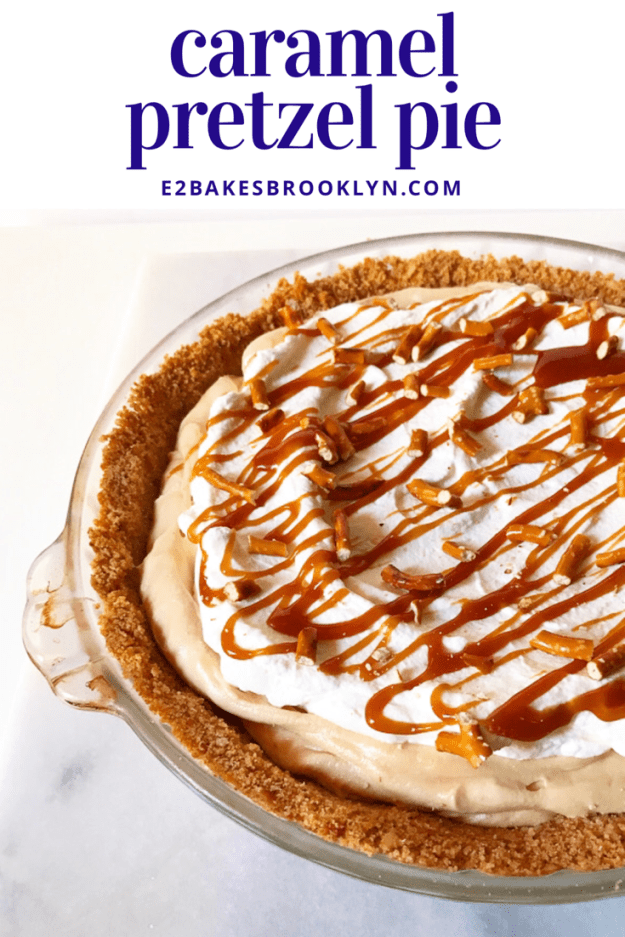
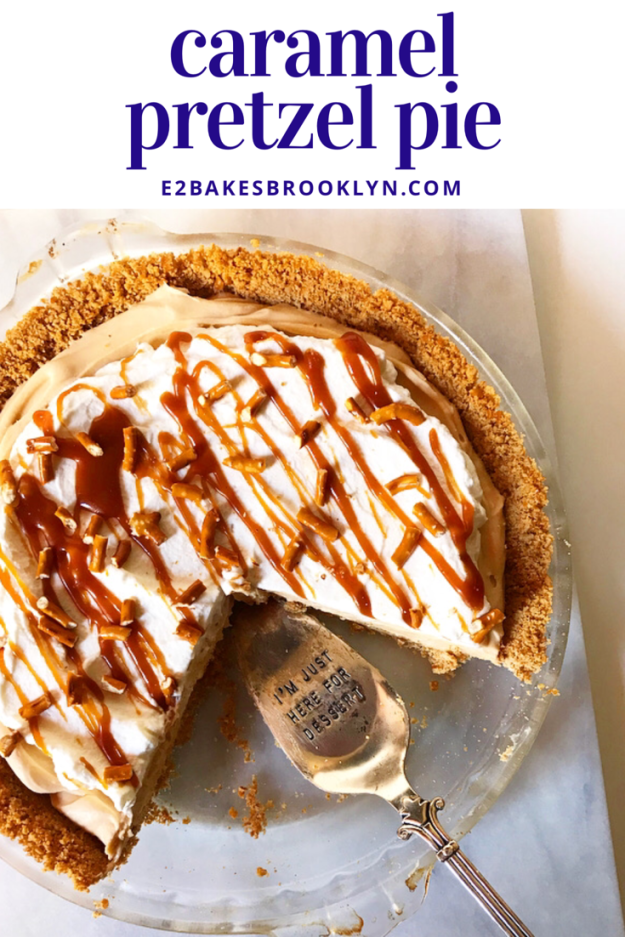
 Done and DONE. Caramel Pretzel Pie, y’all. It’s sweet, salty, and full of creamy caramel flavor!
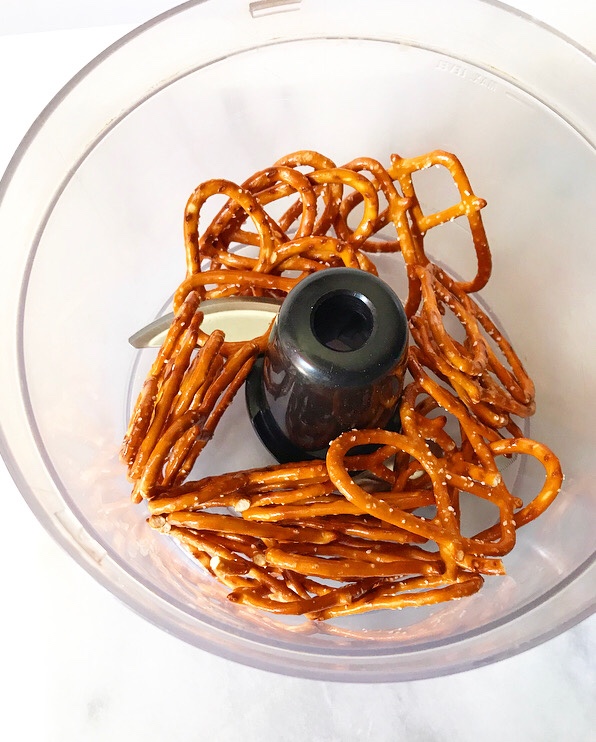
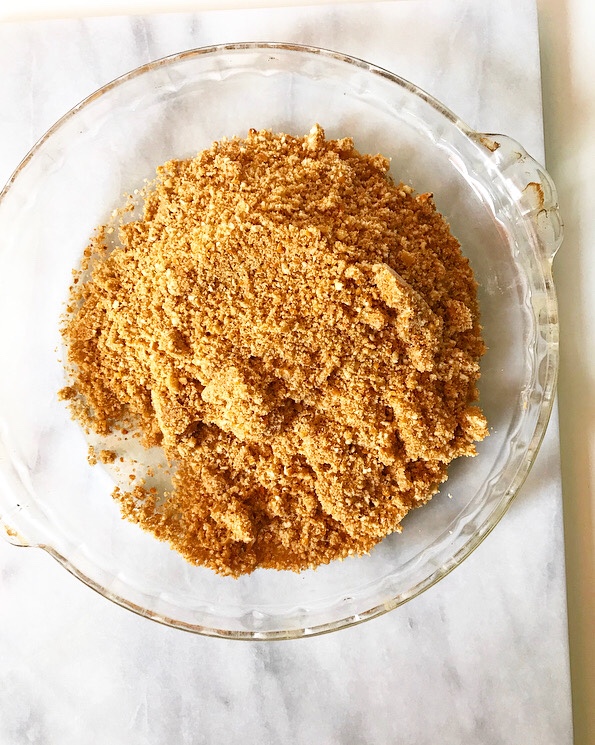
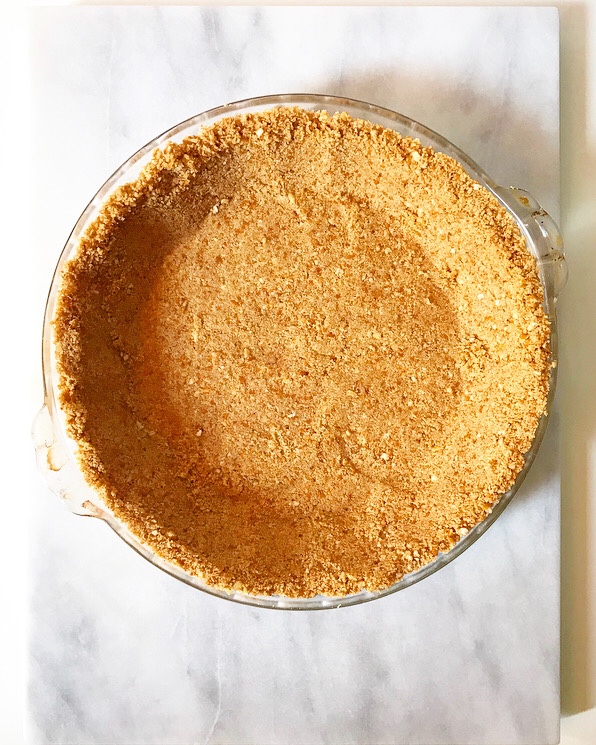 One great thing about Caramel Pretzel Pie? It’s almost-no-bake. I had originally intended for this beauty to be oven-free, but the idea of a slightly-toasty pretzel crust won out. I think you’ll agree that the ten minutes of oven time required to set the crust are absolutely worth it.
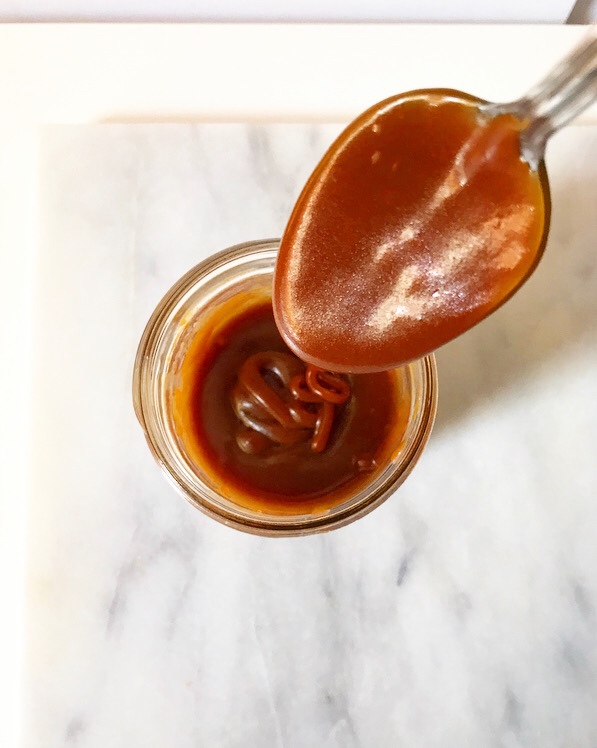
 Another great thing? This pie is very quick and simple to make, especially if you make your caramel sauce ahead. You could swap in a store-bought caramel sauce if that’s more your speed (I hear Trader Joe’s has a good one), but homemade is super easy to make and is far better than anything I’ve ever found in a grocery store.
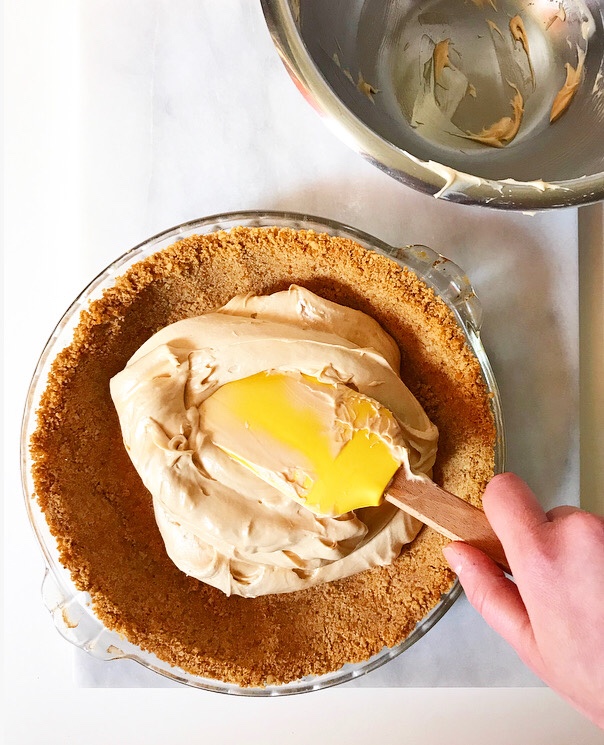
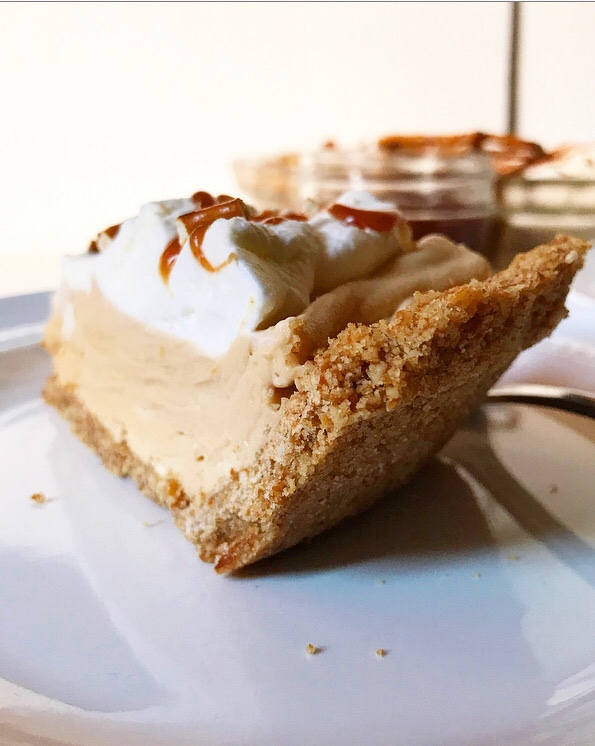
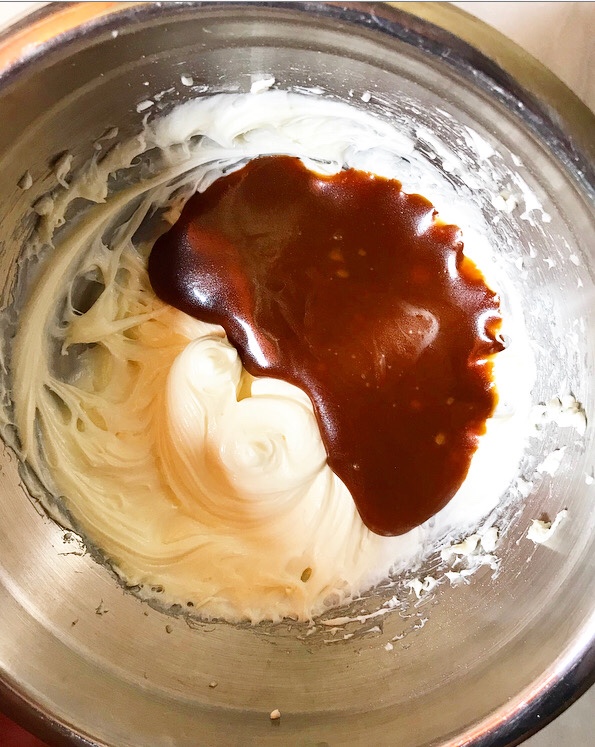
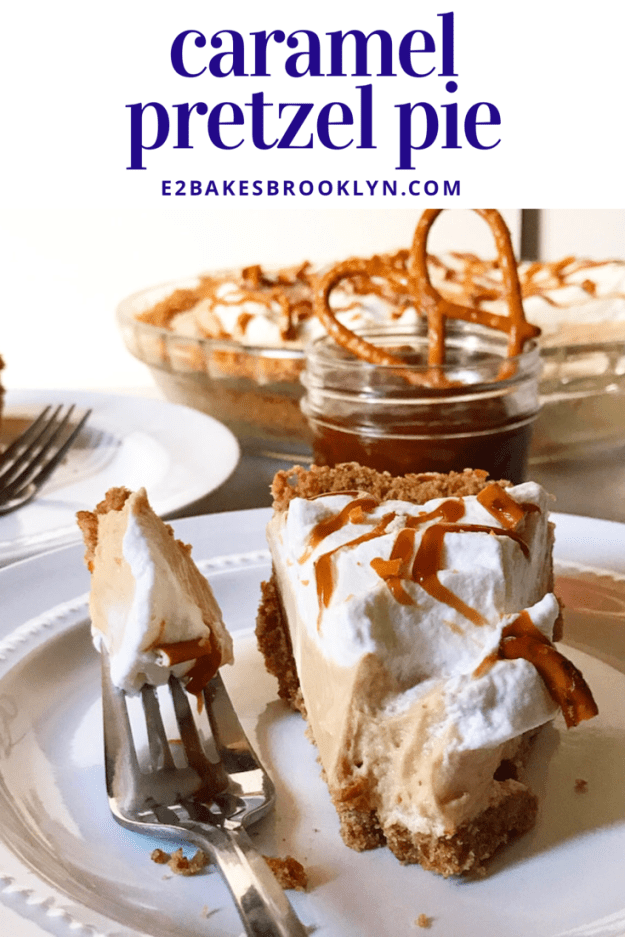
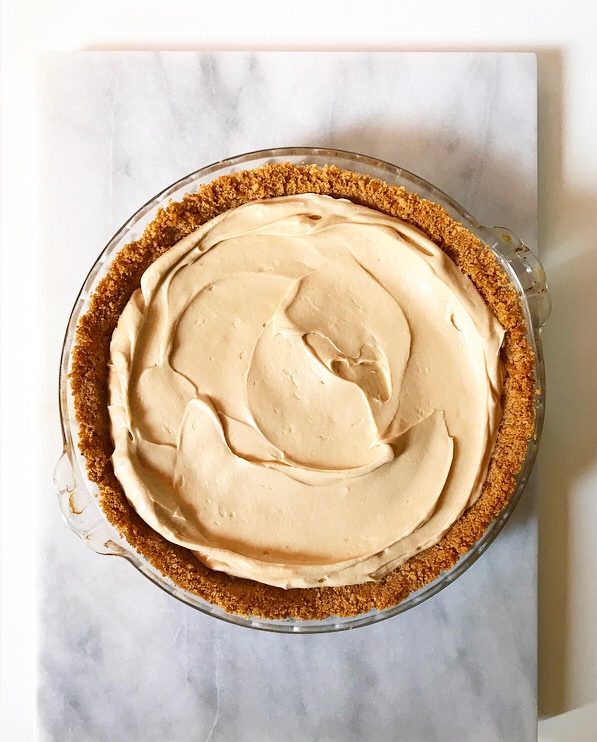 The creamy, cloud-like caramel filling comes together in minutes and has a nice tang from a hit of cream cheese.
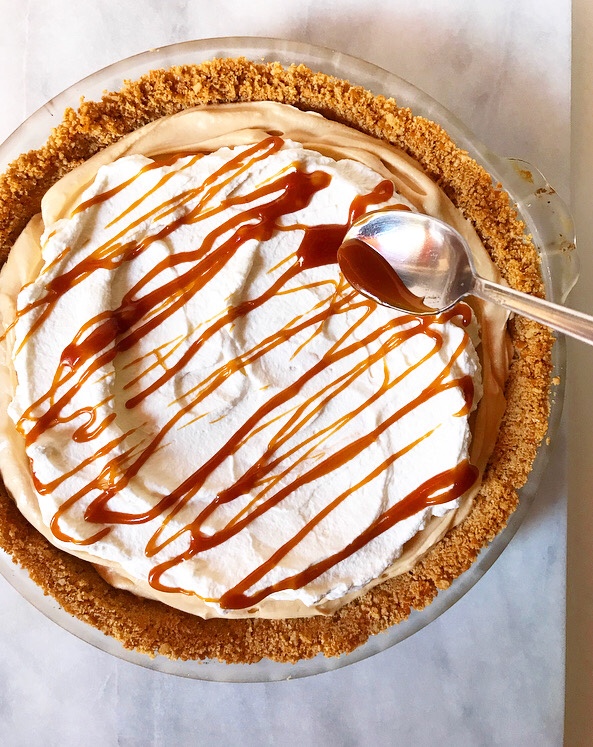
 After a few hours chilling in the fridge, the pie is finished off with whipped cream, a drizzle of caramel sauce, and a few broken pretzels.
 It’s so delicious, it’s ridiculous. I always love a
  All it’s missing is a very specific name. Somehow Feminist Movie/Musical Inspo Pie doesn’t sound quite right 😂 Maybe you can come up with something when you make this for every cookout this summer. Believe me–this one is a guaranteed hit.
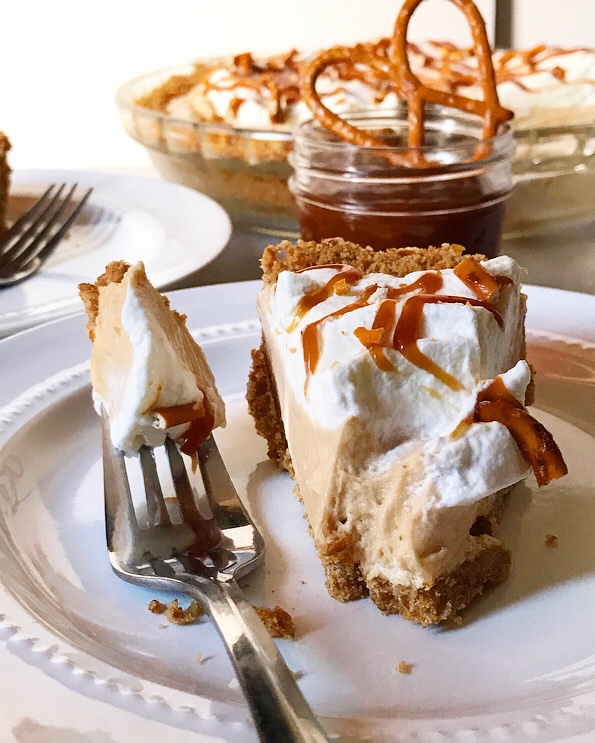
 I had big plans for Pi Day, the day on which we celebrate both pie and math, which falls on March 14th (aka 3.14, aka tomorrow). For months, my plan had been to make an Old-Fashioned Pineapple Pie, the sort of southern grandma food that makes my heart sing. I had read about this dessert sometime last year and decided that I would aim to have it perfected by today, but as usual, my plans never play out in the linear fashion that I’d prefer.
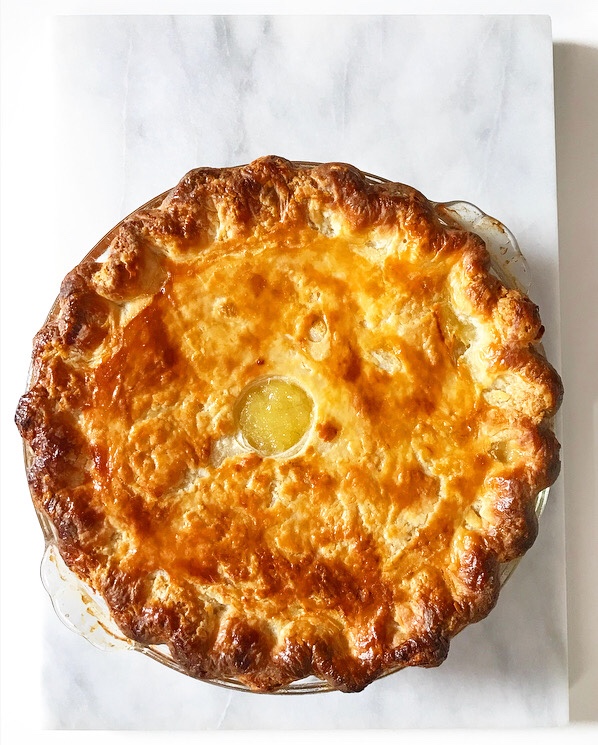 My attempt at Pineapple Pie was ostensibly fine. The crust was golden, the filling was set, the crimp was maybe my best ever, but when I went to try a slice, all I could think was how…soft…it was. The flavor was good and I suppose I’d prefer that it be soft over crunchy, but still. It was just so…soft.
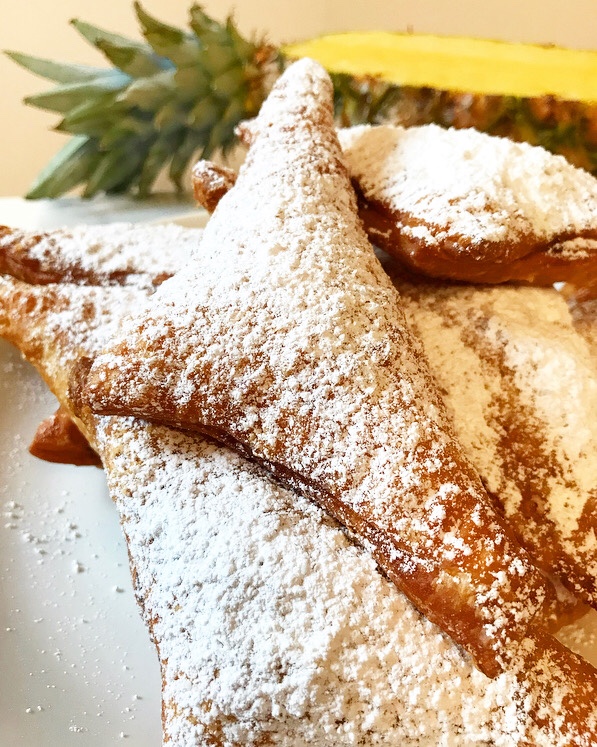 I was ready to go back to the drawing board, looking over my (long) list of recipe ideas when I noticed “fried pies” tacked onto my future-pie-inspo. That’s when it hit me: while I may not want an inch-thick layer of pineapple filling, a little bit folded into a crispy southern-style fried hand pie seemed like a very good idea.
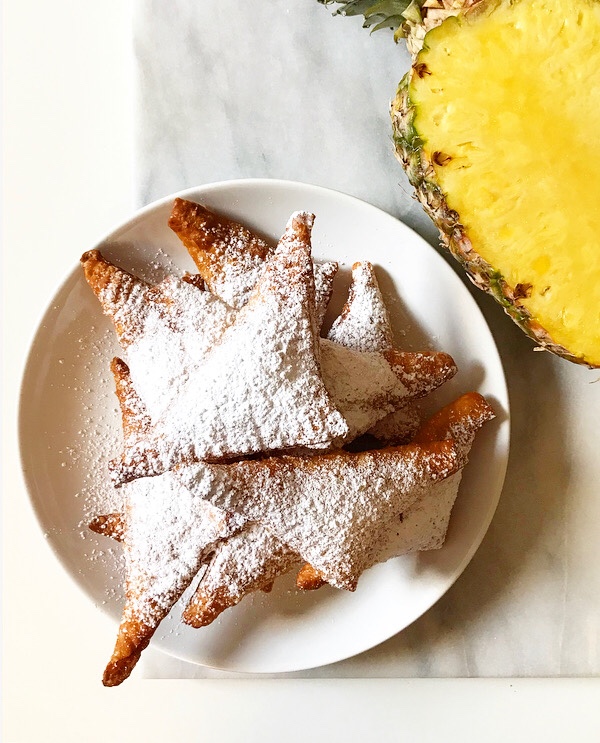
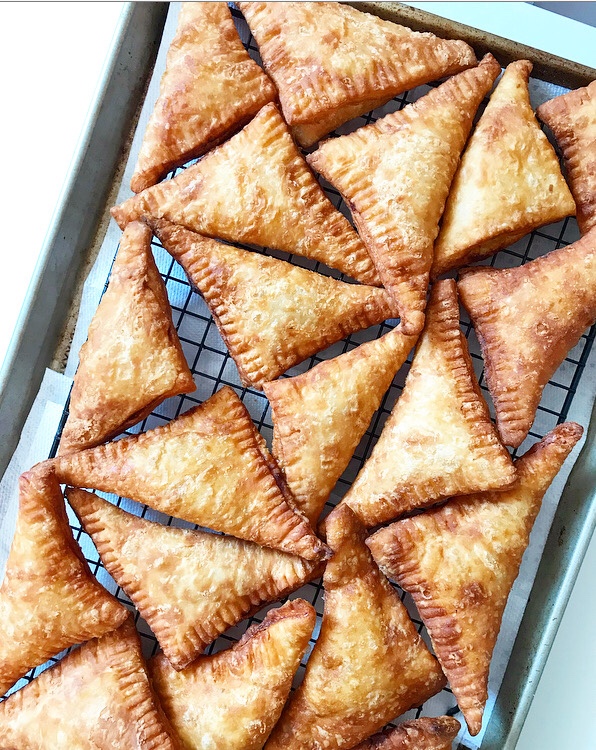
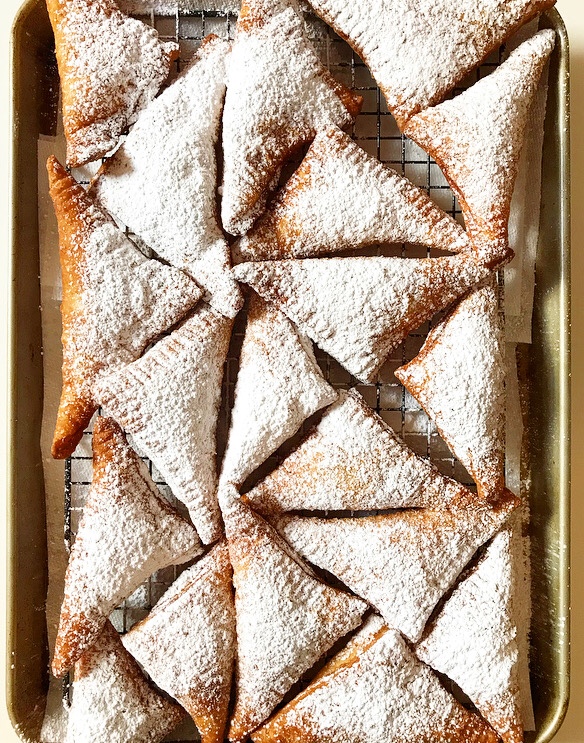
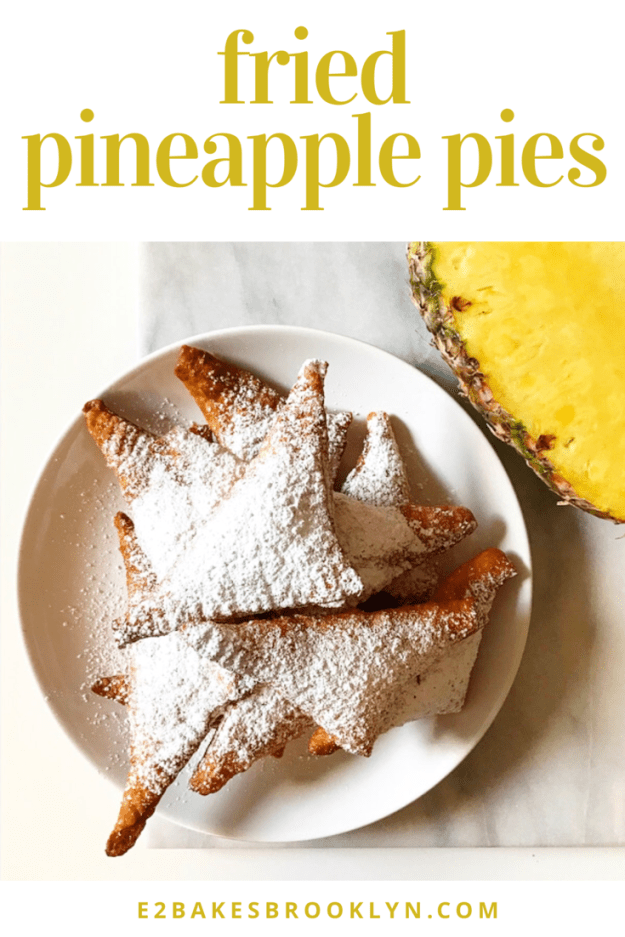
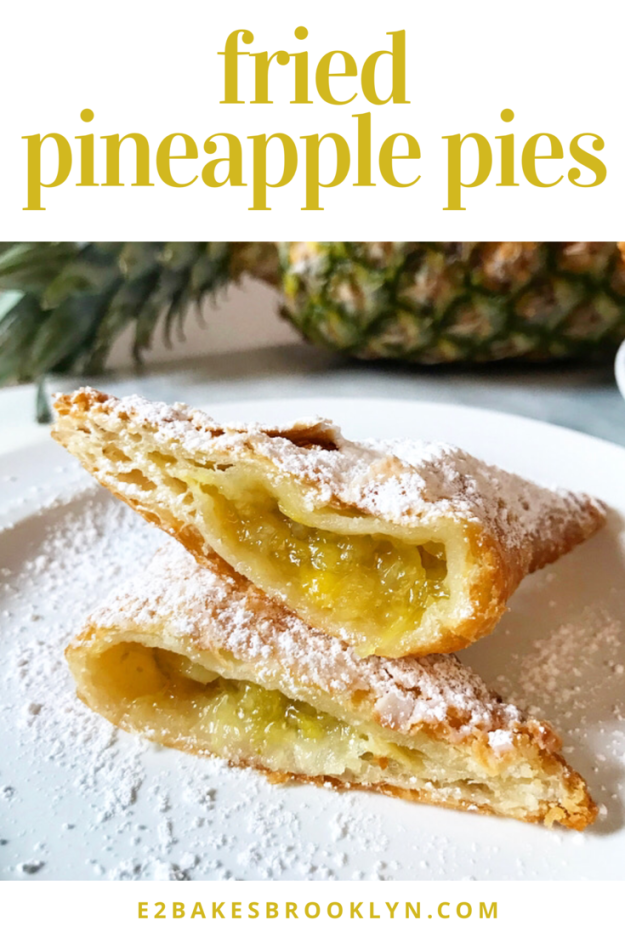
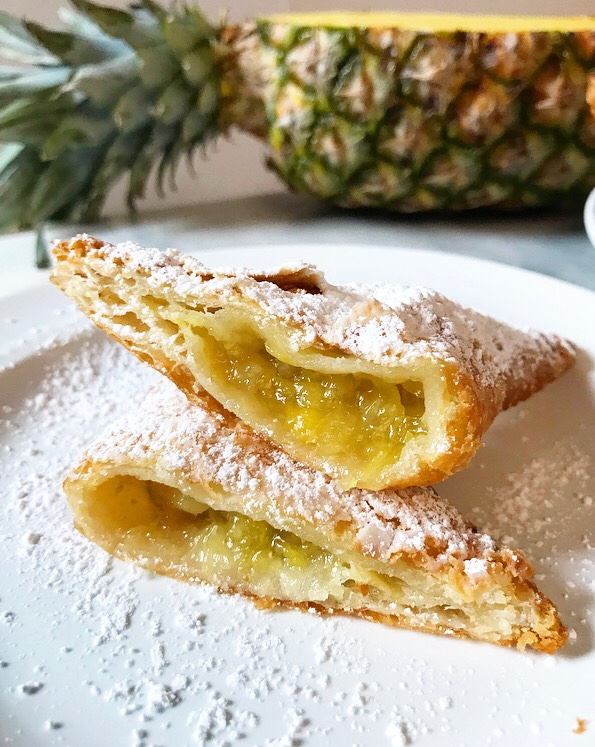 Now, having made these Fried Pineapple Pies twice, I can confirm that they are indeed a very good idea. A phenomenal idea, really. The combination of sweet, tangy, lime- and ginger-spiked pineapple filling and flaky fried crust is one of the best things to come out of my kitchen this year!
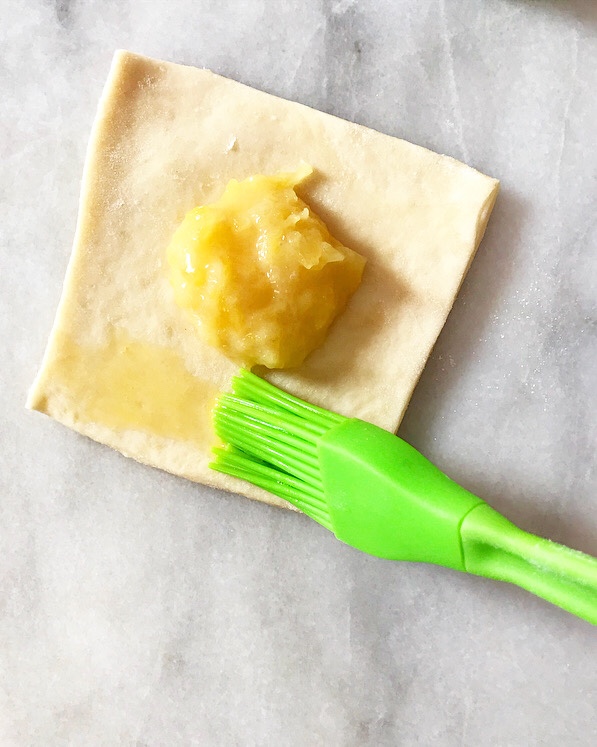
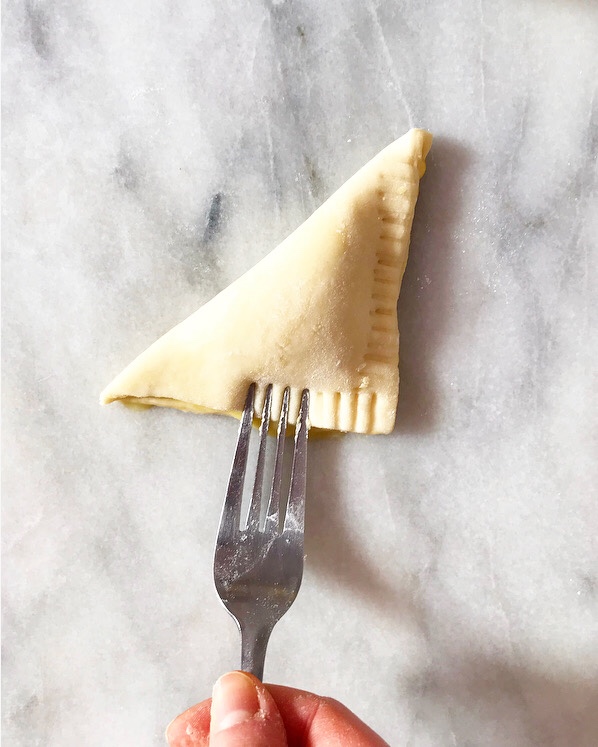
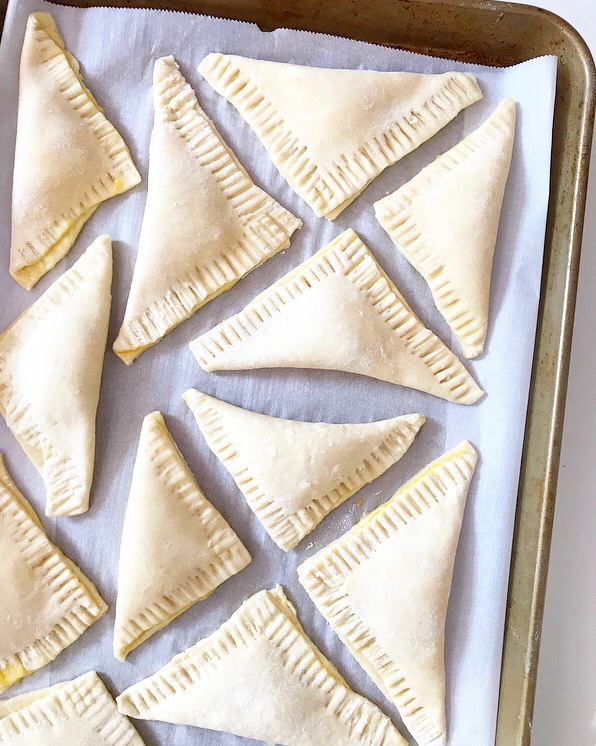
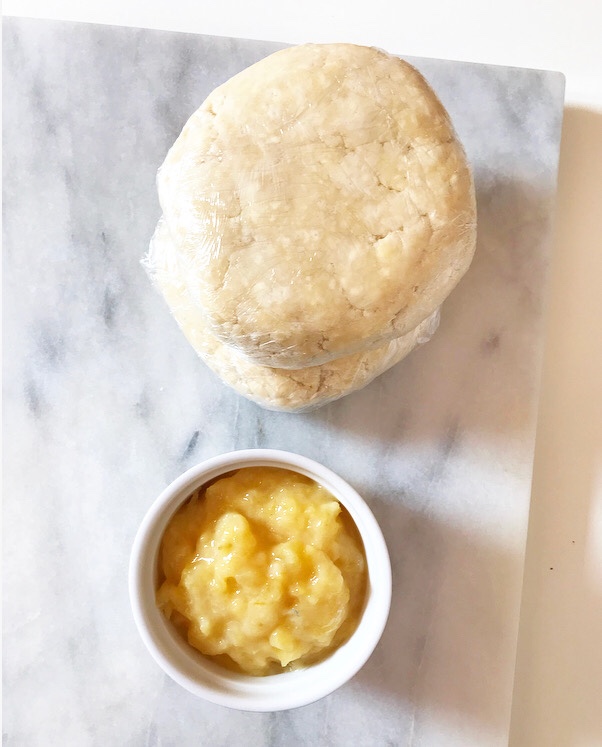 The crust and filling come together ahead of time—the filling in five minutes on the stovetop and the crust in the bowl of a food processor—and are then combined shortly before frying. Pineapple filling is doled out by the tablespoon before being folded into a triangle. The pies are sealed with egg and crimped with a fork before being lowered into a pot of 350F oil. Two or three minutes later, they are lifted out, golden and flaky and begging for a dusting of confectioner’s sugar before being eaten warm ❤
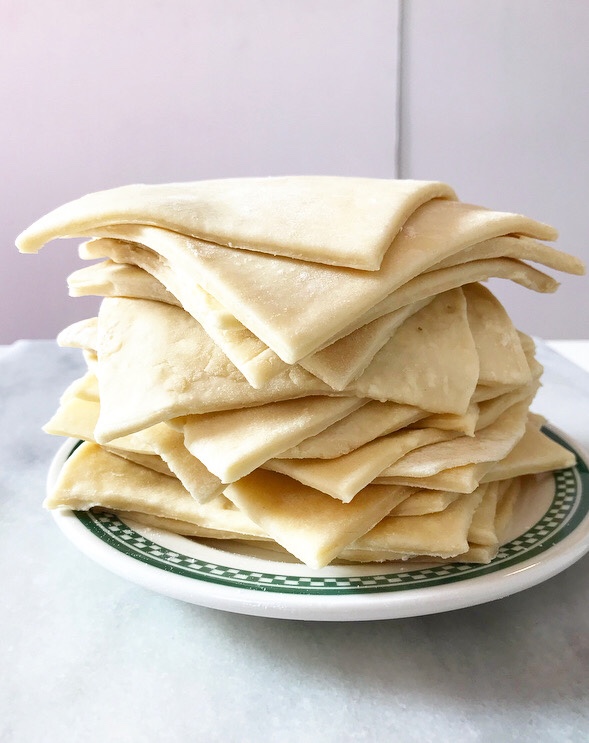

 A few things about the crust before I get to the recipe:
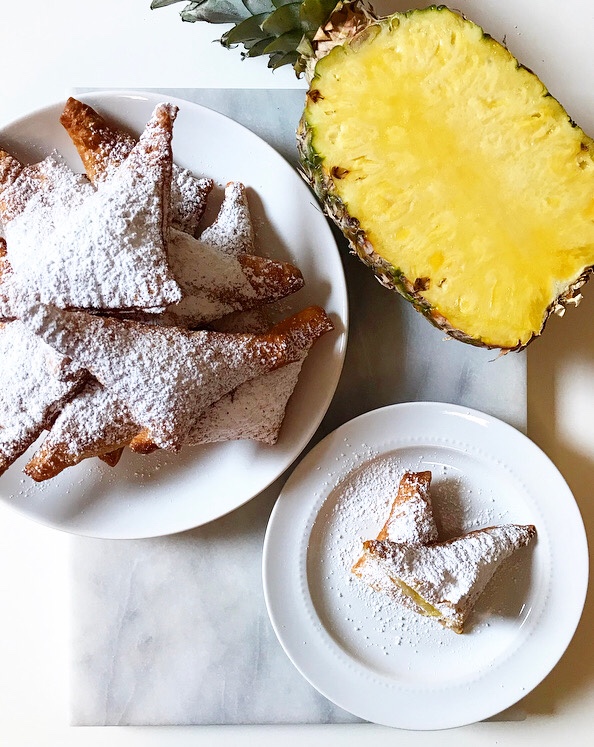 No need for words on the pineapple filling—it’s basically the same as the filling in my
 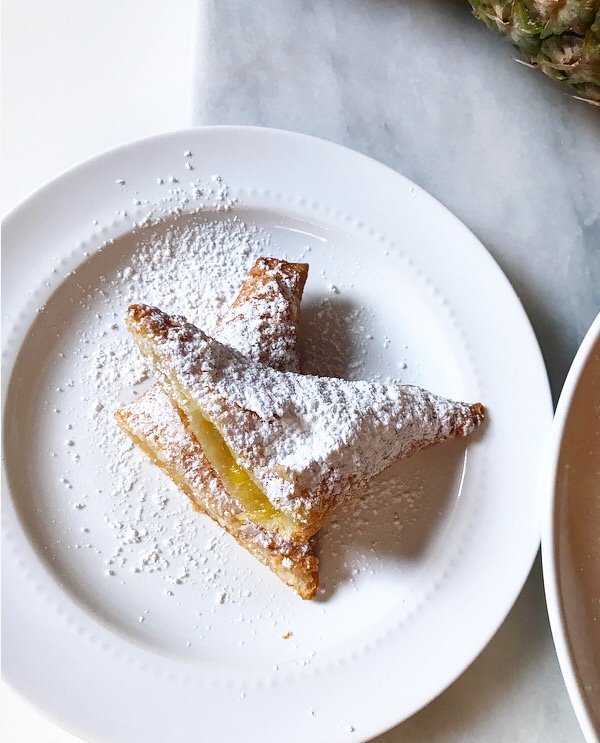 Well, I think that covers the pie portion of Pi Day. Maybe someday I’ll figure out how to properly celebrate the math…but probably not.
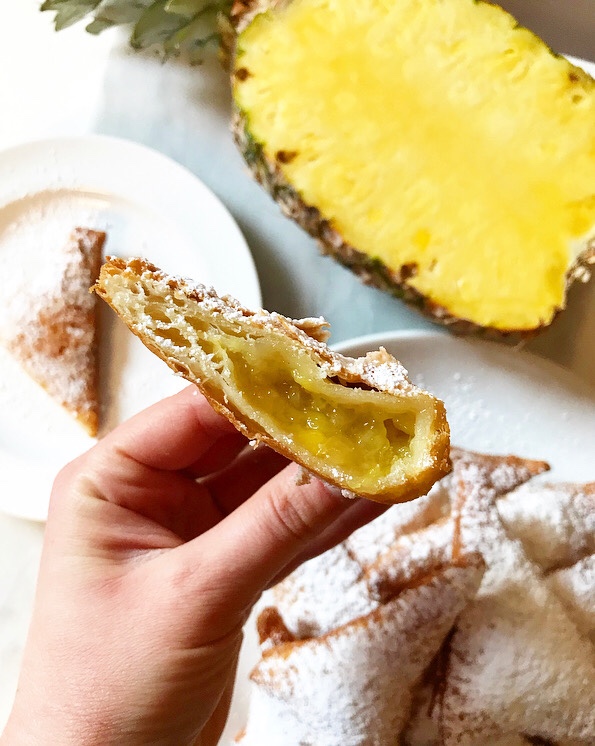
 If you’re keeping count, this is my third pie
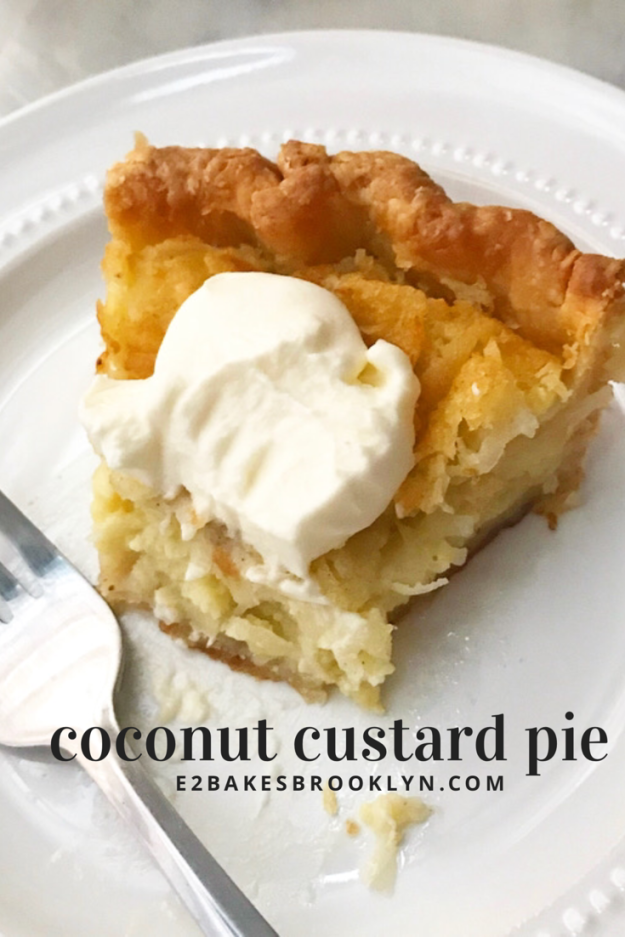
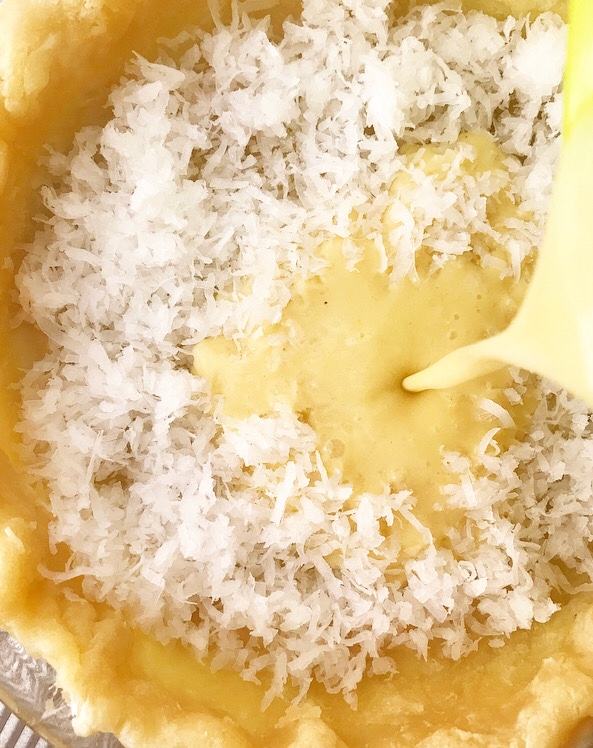
  Today’s recipe is a new favorite of mine: Coconut Custard Pie! It’s basically exactly what it sounds like—shredded coconut suspended in a soft vanilla custard, all wrapped up in golden brown crust! If you love coconut, this is the pie for you!*
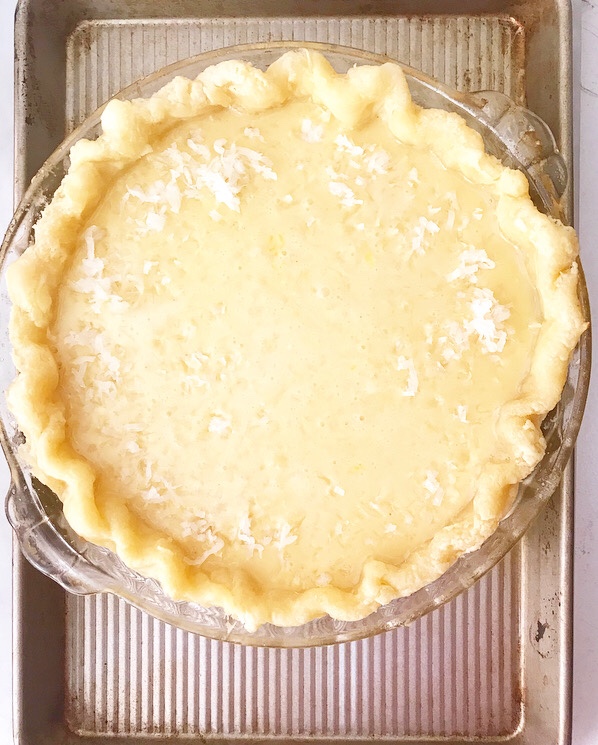
 I won’t lie to you—this pie is a little bit of a diva. For one, the crust has to be partially blind-baked (aka baked without filling). It’s not a difficult process, but it’s fussy.
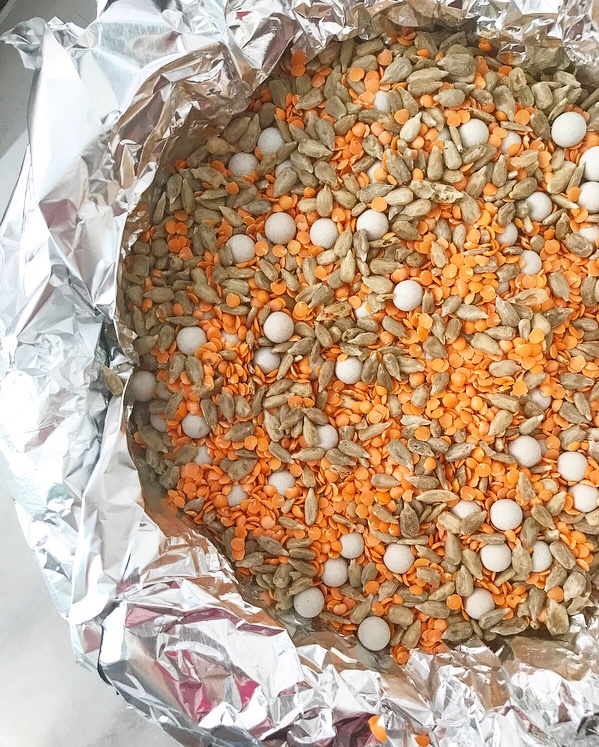 To put it briefly: roll the dough, put it in a pie plate, crimp it, freeze it, dock it with a fork, line it with foil (2 sheets!), fill it with pie weights/dried beans/rice/seeds/a combination, freeze again, bake just until set (but not anywhere near done), remove pie weights, fill, bake again. WHEW.
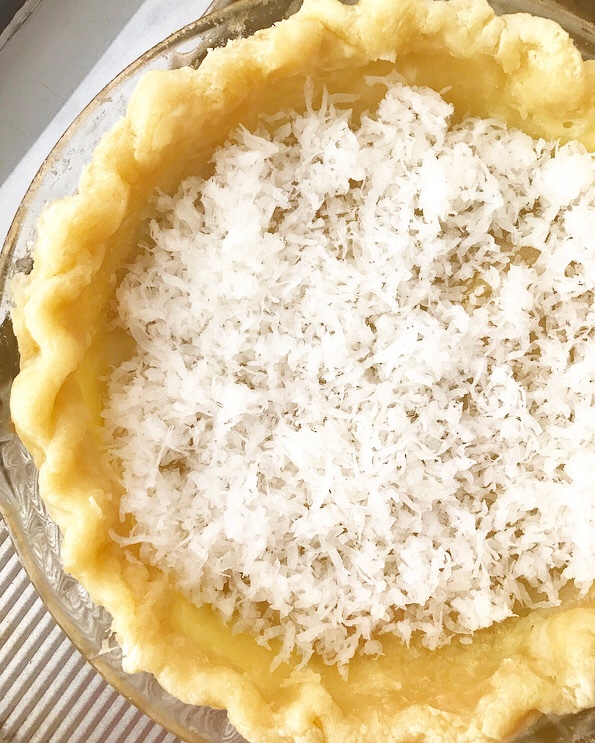
 Again, not difficult, just fussy. Don’t be tempted to skip this step though, unless you are into soft, undercooked bottom crust. I promise that I wouldn’t insist on par-baking if it were not absolutely necessary for stellar Coconut Custard Pie.
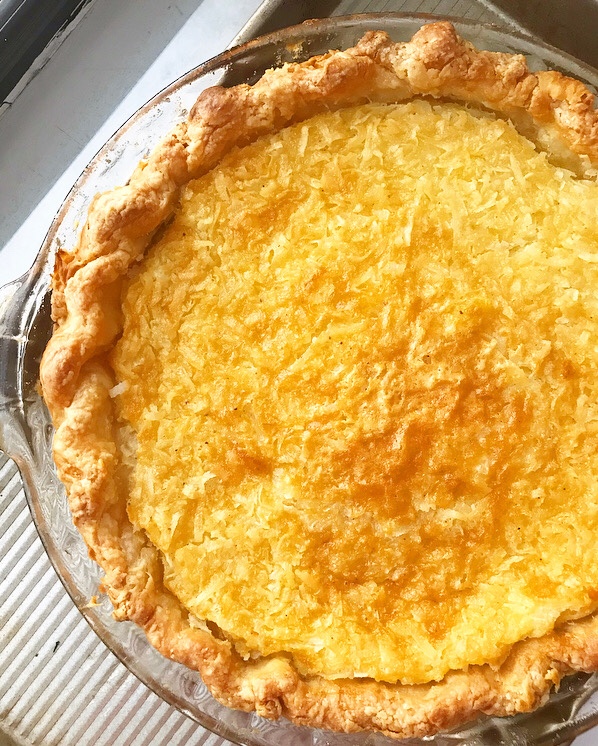
 And make no mistake, this pie is stellar. The filling is an easy whisk-and-pour situation, and once it’s baked and cooled, it becomes soft, rich, toasty coconut magic.
 Add a little whipped cream, and you’ve got the perfect way to end your Thanksgiving dinner.