 I love January on this blog. It’s not that I’m not into making desserts all the time—and you know I can’t quit baking completely—but it’s really fun to share recipes that are part of my everyday life. The sorts of things that I make on the weekends and then delegate as lunch or dinner for the next four days. #singlelady
  I’ve been making this Roasted Butternut Squash Soup for the last few months and I can’t get enough. It’s super simple to put together and very wholesome and comforting.
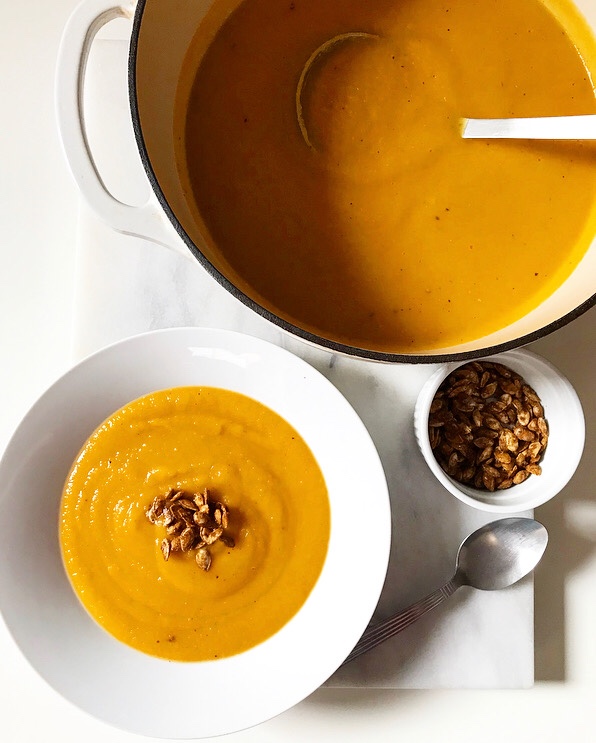
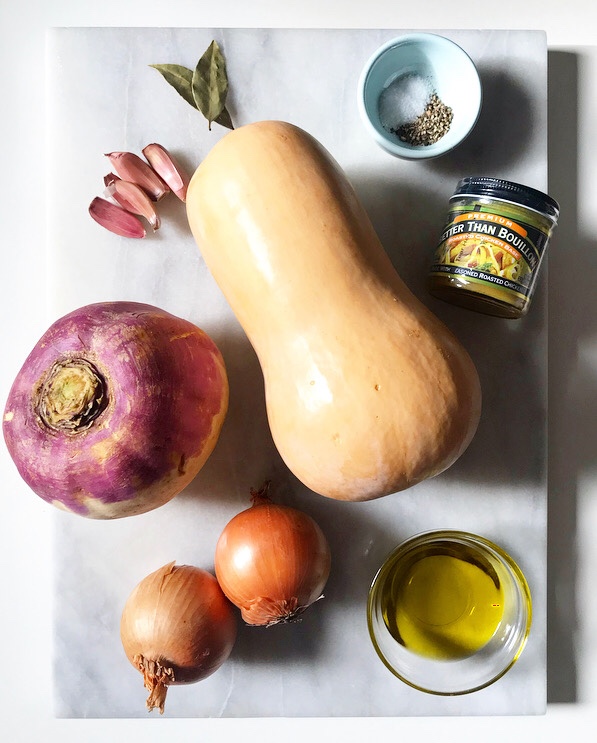 Did I mention that it’s made almost entirely of vegetables and contains zero dairy? This soup’s creamy, velvety texture comes from one unsuspecting secret ingredient: a turnip.* It’s diced up and roasted with the butternut squash until everything is golden and sweet. Yum.
*Yes, the turnip pictured is comically large. That’s what I get for shopping ten minutes before close on a Friday night.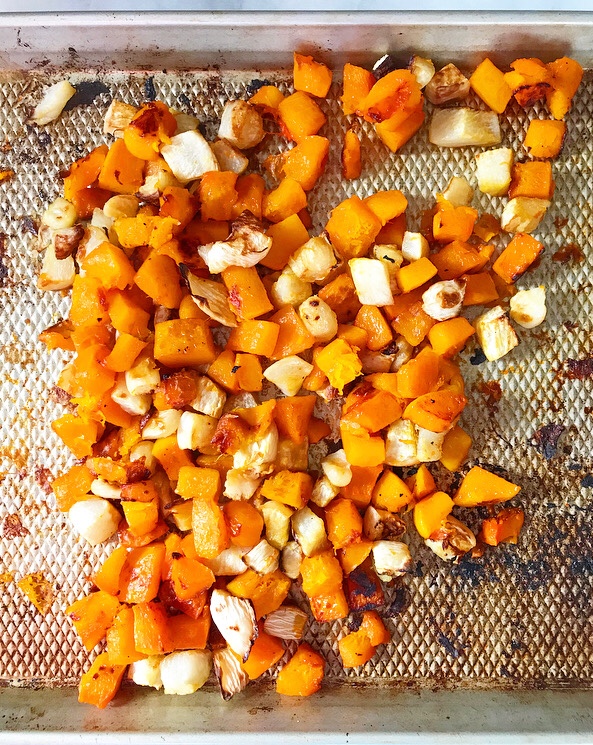
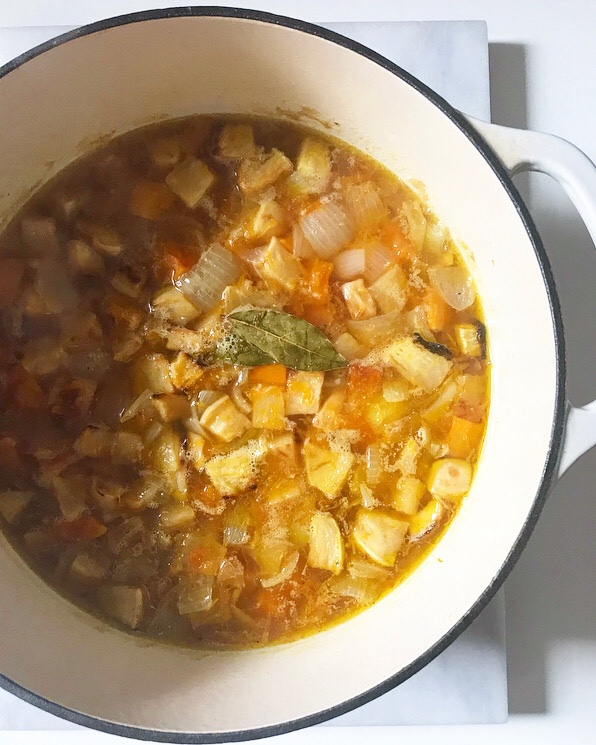 The roasted vegetables are then combined with some softened aromatics and stock (chicken or vegetable, whatever you have on hand), simmered for a few minutes, and puréed into a thick, rich, nutritious soup.
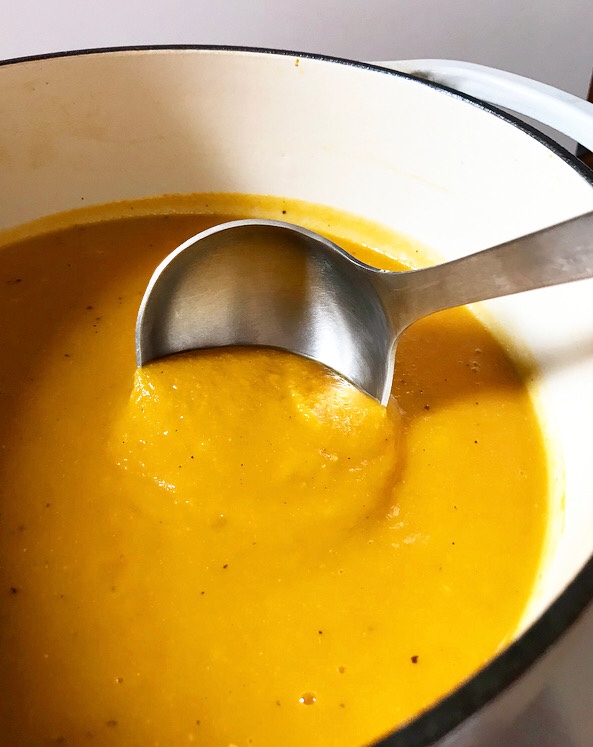
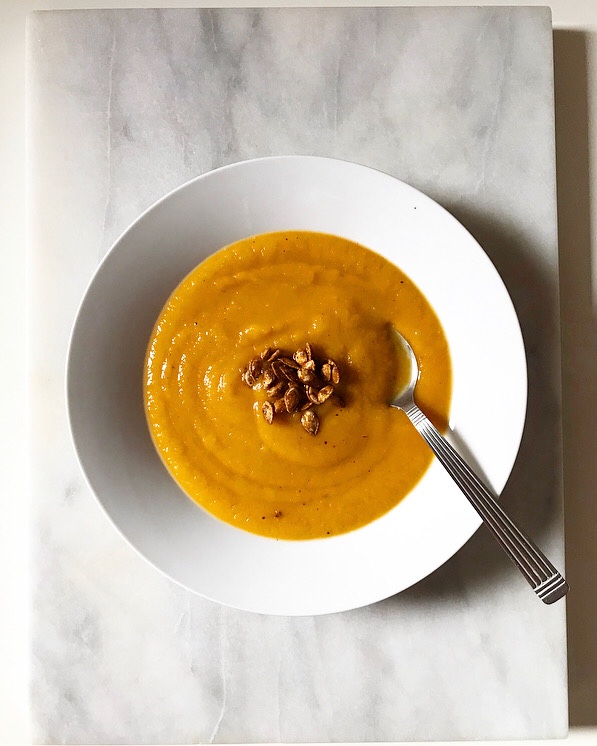 Roasted Butternut Squash Soup provides a great blank slate for any number of garnishes. I was tempted to go with crispy bacon or even a wintry pesto, but decided instead to make something out of the seeds from my butternut squash!
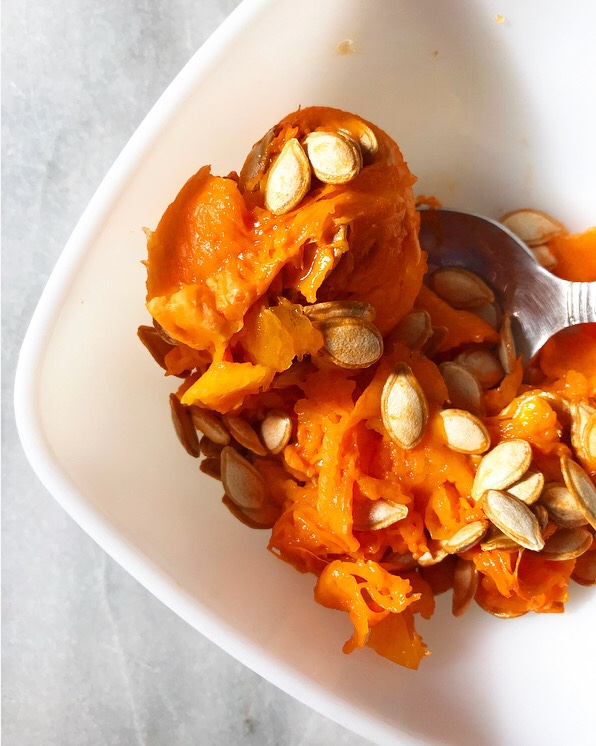
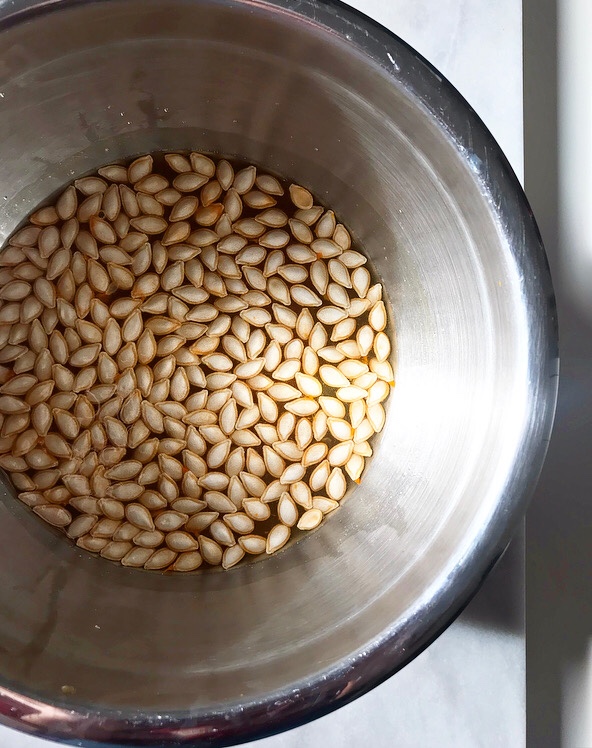
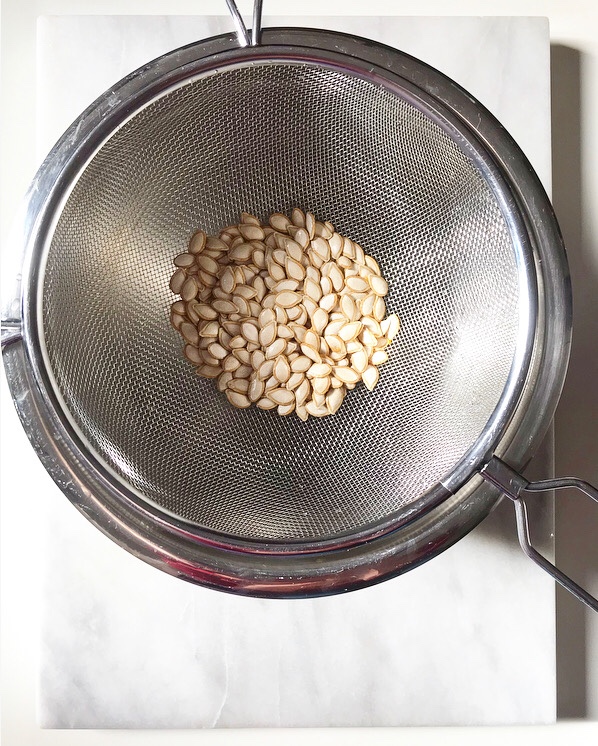
 While the vegetables were roasting, I rinsed the seeds to remove the fibrous squash innards. Then I toasted them in a dry pan just until they started to pop. After that, I added some olive oil, maple syrup, ancho powder, cayenne and salt, and stirred until they were brown and crispy.
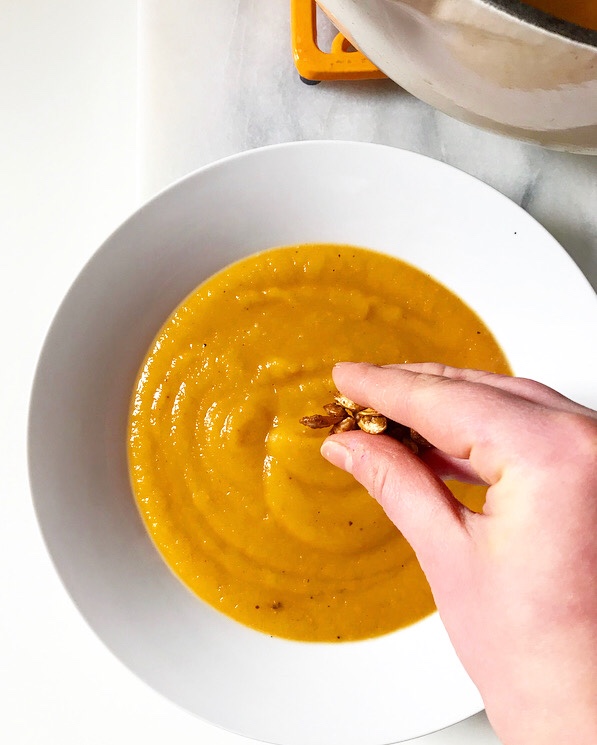
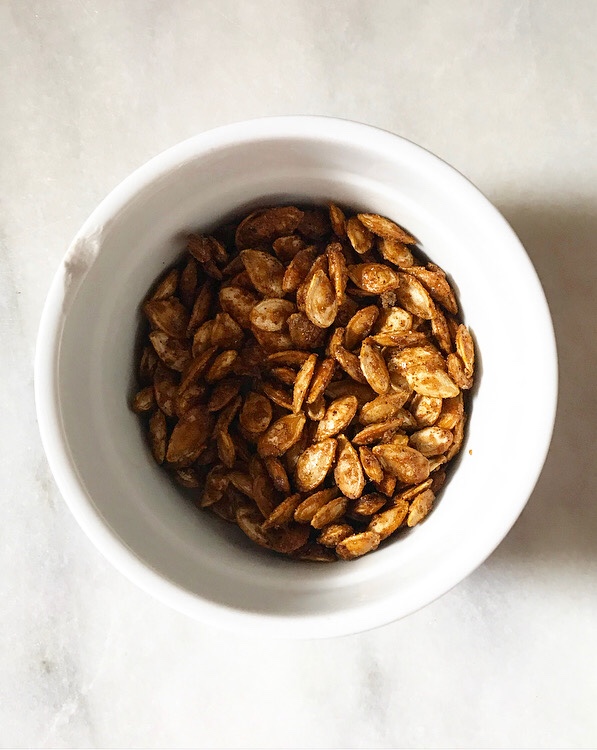
 The results are spicy, salty, sweet Maple-Chile Butternut Seeds, perfect for garnishing soup. Or eating by the tiny handful while you wait for your subpar Chinese takeout to arrive, which is exactly what happened to these. Ah, well.
Roasted Butternut Squash Soup
makes 4-6 servings
1 2 lb butternut squash
1 large or 2 medium white turnips
3 tablespoons olive oil, divided
1 large or 2 small Spanish onions, 1/2-inch diced
3-5 cloves garlic, crushed
4 cups chicken or vegetable stock
2 cups water
2 bay leaves
1/2-3/4 teaspoon fine sea salt
1/4-1/2 teaspoon freshly cracked black pepper
Preheat oven to 425F.
Peel butternut squash and use a large, sharp chef’s knife to cut it into 1-inch chunks. Reserve seeds for Maple-Chile Butternut Seeds (recipe below).
Peel turnip(s) and cut into 1-inch chunks. Place turnip and butternut squash pieces on 2 dry rimmed baking sheets. Drizzle each pan with 1/2 tablespoon (1 1/2 teaspoons) olive oil and toss to coat vegetables. Roast 50-60 minutes, tossing every 25 minutes. They should be soft and caramelized in places. (The roasting time is a good time to make Maple-Chile Butternut Seeds.)
Heat remaining 2 tablespoons of olive oil in a 6-quart soup pot over medium heat. Add diced onion and crushed garlic cloves and cook, stirring frequently, until onion has softened. Stir in roasted vegetables. Add stock, water, and bay leaves. Turn heat to high. Bring to a boil, reduce to a simmer, and cook for 15 minutes.
Remove pot from heat. Discard bay leaves. Use a stick-blender to purée soup. Season with salt and pepper, as desired.
Serve soup with butternut seed garnish. Leftovers will kee in an airtight container in the refrigerator for up to 4 days.
Maple-Chile Butternut Seeds
makes about 1/3 cup
~1/3 cup butternut squash seeds (from 1 butternut squash)
1 teaspoon olive oil
1/4 teaspoon ground ancho, chipotle or other chile powder
pinch of ground cayenne pepper
pinch of fine sea salt
2 teaspoons pure maple syrup
Place squash seeds in a small mixing bowl and cover with water. Use your fingertips to remove pithy squash innards from seeds, discarding them as you go. Pour seeds through a colander and remove any remaining pith.
Place seeds in an even layer on a clean, dry kitchen towel (or double layer of paper towels). Blot dry with another kitchen towel (or paper towel).
Heat a medium heavy-bottomed skillet over medium-low heat. Add squash seeds and toast, stirring every minute or two, until they start to pop. Do not burn.
Reduce heat to low. Stir in olive oil. Return heat to medium-low and cook, stirring frequently, until they begin to darken and pop again. Do not burn.
Mix in chile powder, cayenne, salt, and maple syrup. Stir constantly for 1-2 minutes, until the seeds clump. Remove from heat.
Transfer seeds to a plate and let cool completely. Serve with Roasted Butternut Squash Soup.

 On the last night before I went on holiday break, I cooked for a dinner party in Brooklyn Heights. The hostess wanted to keep it all very casual, so we quickly settled on a menu of
  I mean, I get it. When you’ve got a warm bowl of chili on a cold winter’s night, deciding between a wedge of
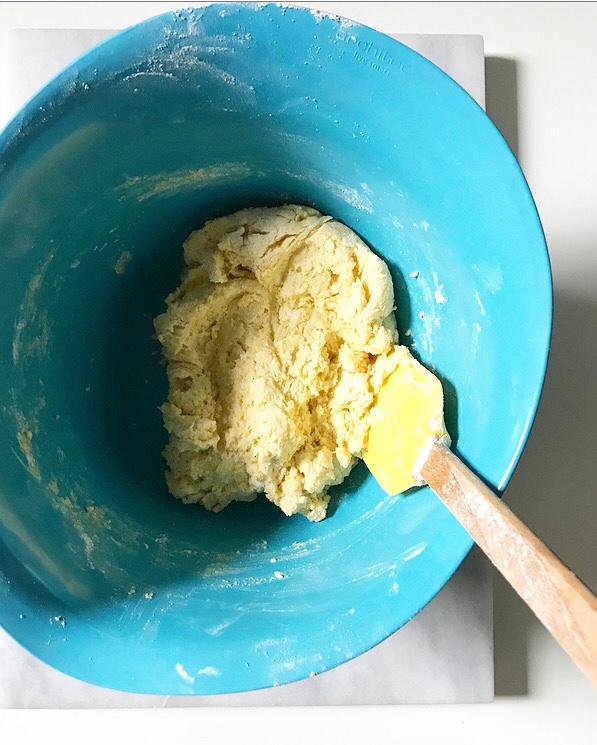
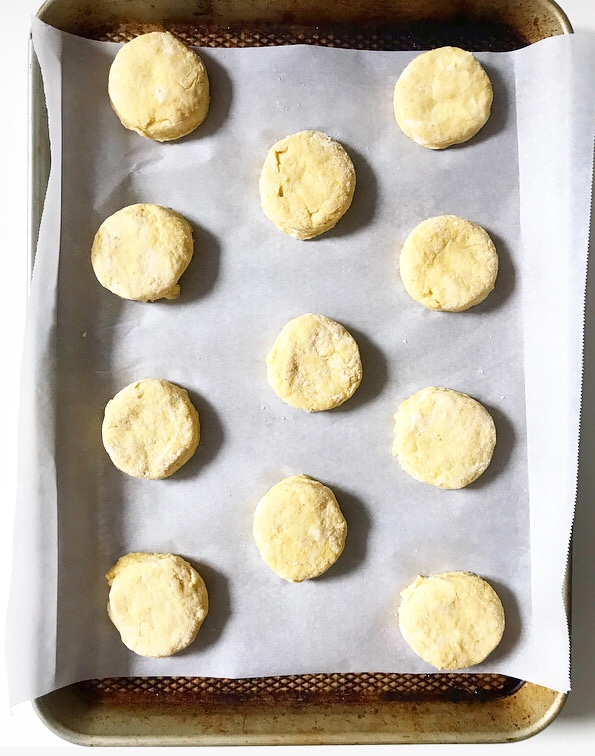
 If you’ve ever found yourself in a cornbread vs. buttermilk biscuits quandary, this is a recipe for you! There’s no more need for minor bread-related anxiety—these Cornmeal Biscuits are the best of both worlds 🙂
  They’re essentially buttermilk biscuits with yellow cornmeal swapped for some of the flour. The resulting biscuits are buttery and tender in the centers, but have crispy, nubbly edges from the coarse texture of the cornmeal.
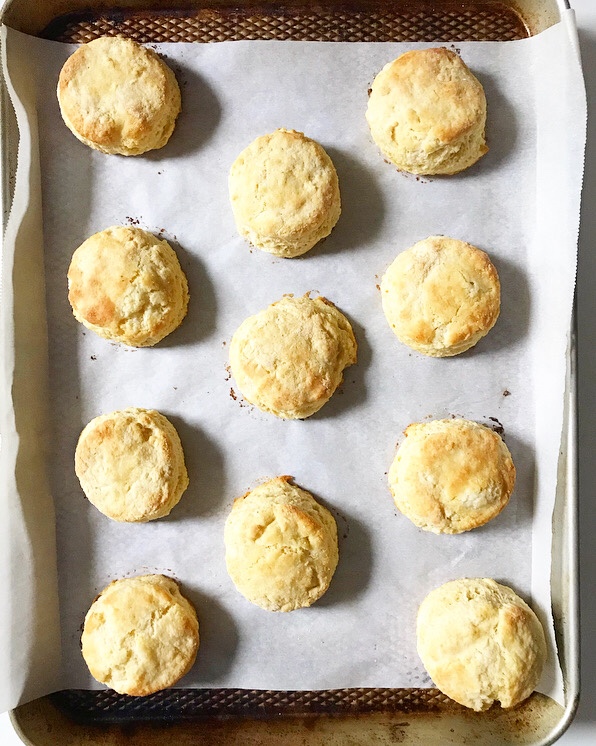
 They’re perfect by themselves or with a pat of butter…

 …but I think they’re especially good with a drizzle of


 What was the first recipe you ever committed to memory?
 For me, it was this Potato Soup—my mom’s. It was our traditional pre-church Christmas Eve dinner for our entire childhood. Every year, Mom would make a double batch and serve it with a spinach salad and warm rolls. It was a tradition we all loved and something we remember fondly.
 Since then, I’ve made Potato Soup for friends, boyfriends, student film shoots, and even once for 125 Hurricane Katrina relief volunteers. My sister doesn’t even particularly like white potatoes,* but she had no problem putting away this soup on Monday night. Everybody—and I mean everybody—loves this soup.
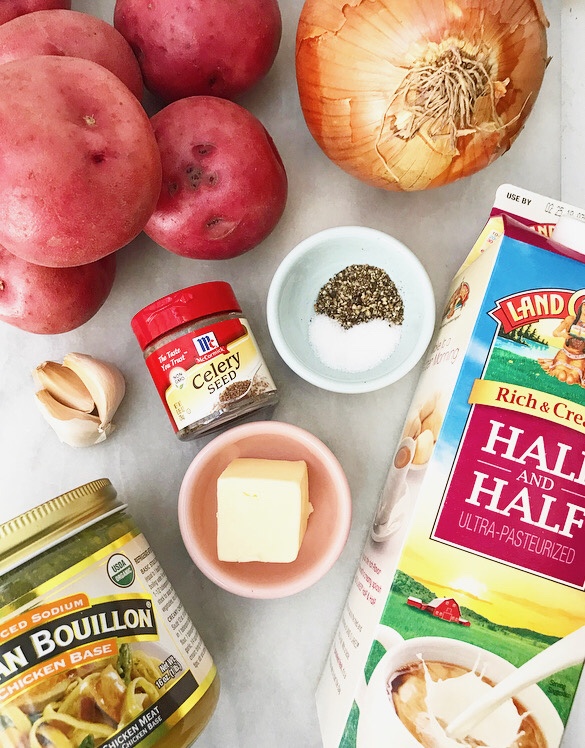 It’s easy to see why. My mom’s recipe is simple and straightforward. There are only seven ingredients (plus salt and pepper), so the flavors of buttery potato, onion, and garlic really shine through. Half-and-half is swapped for the usual heavy cream, so this soup won’t weigh you down either.
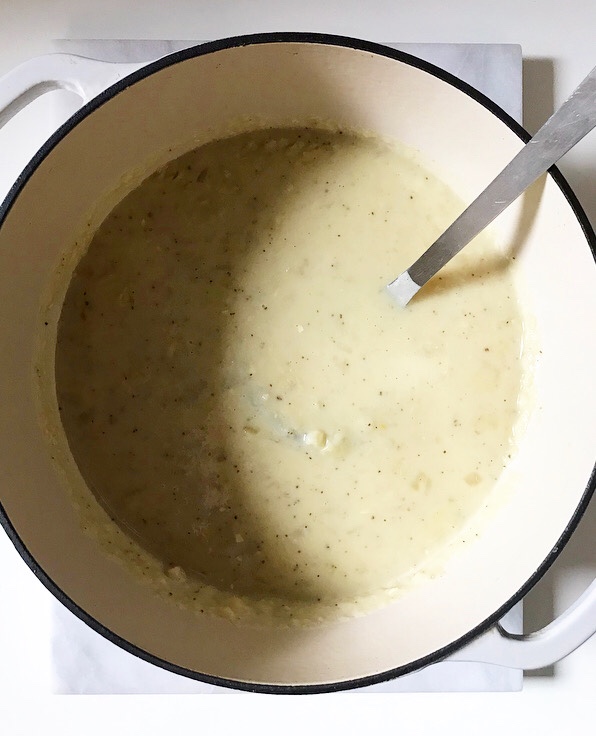 All that rich, creamy deliciousness is accented with a sprinkle of celery seed…
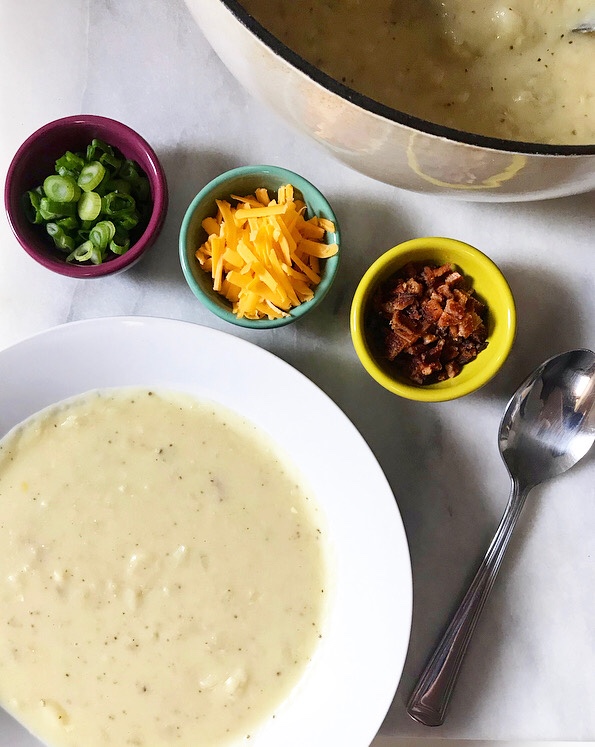 …and melty cheddar, crispy bacon, and fresh scallions.
 It doesn’t get simpler or more delicious than that.


 Happy 2019! I hope you all had a wonderful holiday season and are refreshed and ready to get back to normal. I am dragging my feet about the whole thing, but keep reminding myself that this is only a three day work-week. Thank goodness.
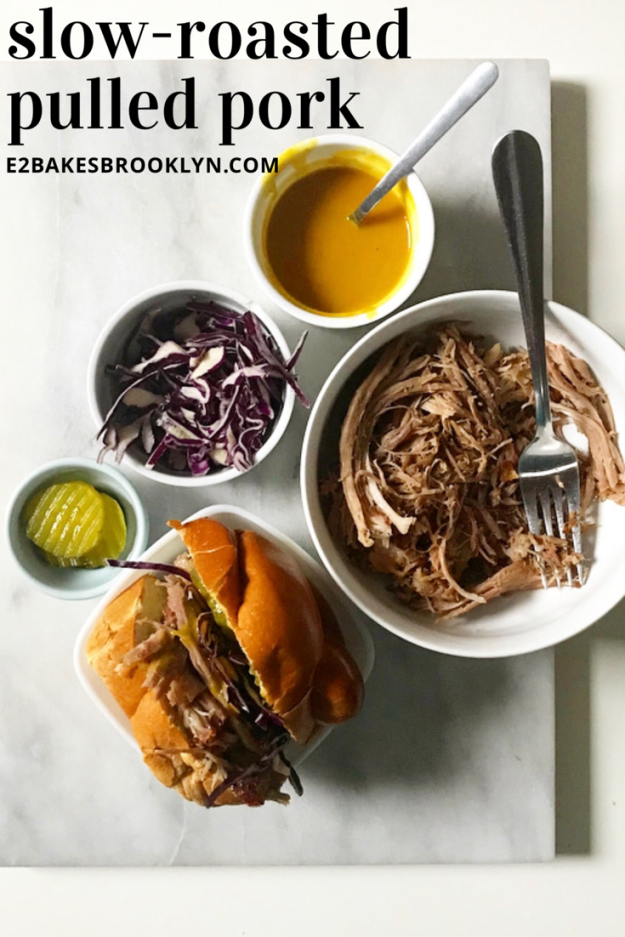
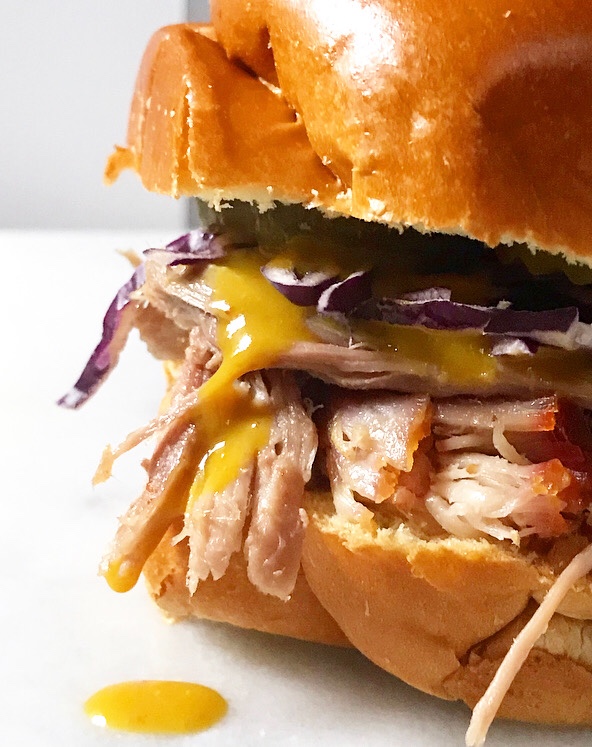 The first recipe of the year is one of my favorites: Slow-Roasted Pulled Pork. I started making it about four years ago and haven’t looked back.
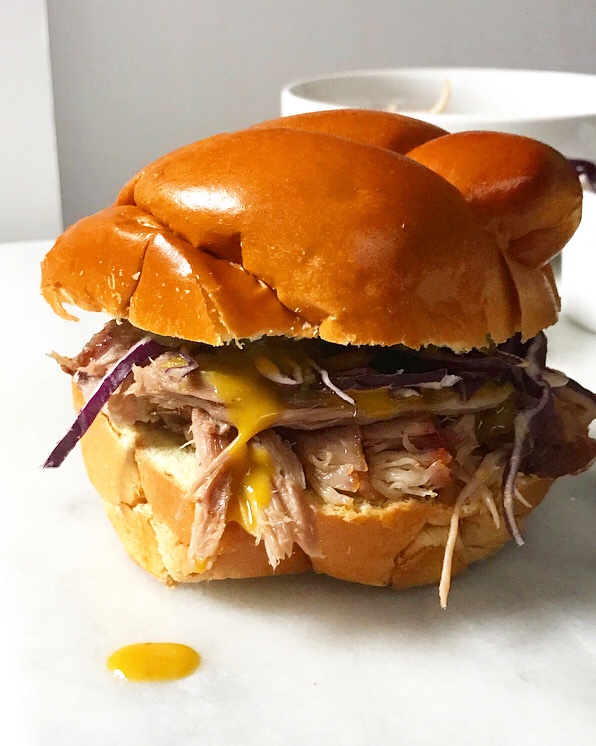 I realize that you probably already have a pulled pork recipe that you love. Slow cooker pulled pork became ridiculously popular in the 2000s—one quick google search of those four words will yield approximately a gazillion variations on putting a pork shoulder in a slow cooker and letting it cook for 8 hours or so before being shredded/pulled, combined with barbecue sauce, and served on hamburger buns.
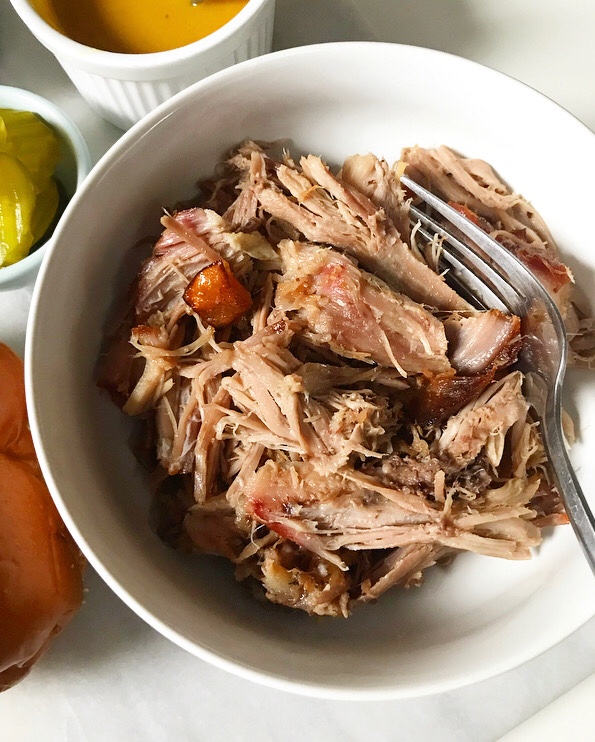 But, um, unpopular opinion: I don’t like slow cooker pulled pork. I’m sure yours is great (!)—not trying to yuck your yum—it’s just not for me. You see, every slow cooker pulled pork I’ve ever had has been soft, mushy, stringy, too wet, too saucy, bland, or some combination thereof. I have eaten it when it’s been offered because when other people cook for me I eat what they make, but I just don’t like it. I can’t help it. Every time I eat slow cooker pulled pork, I wish it were more moist and less wet (if that makes sense) and had a simpler, pork-ier flavor. Oh, and crispy bits. You simply can’t get crispy bits with a cooking method that doesn’t allow air circulation…but you can in an oven.
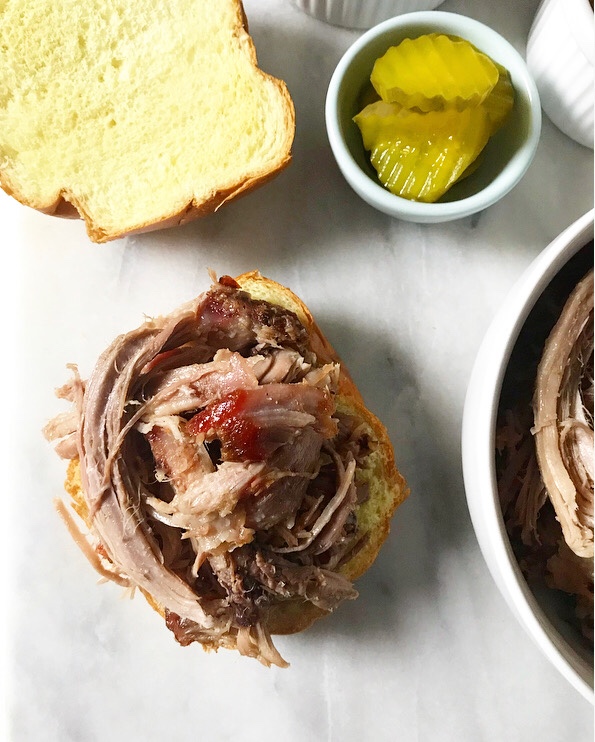 When I found Cara Nicoletti’s pulled pork
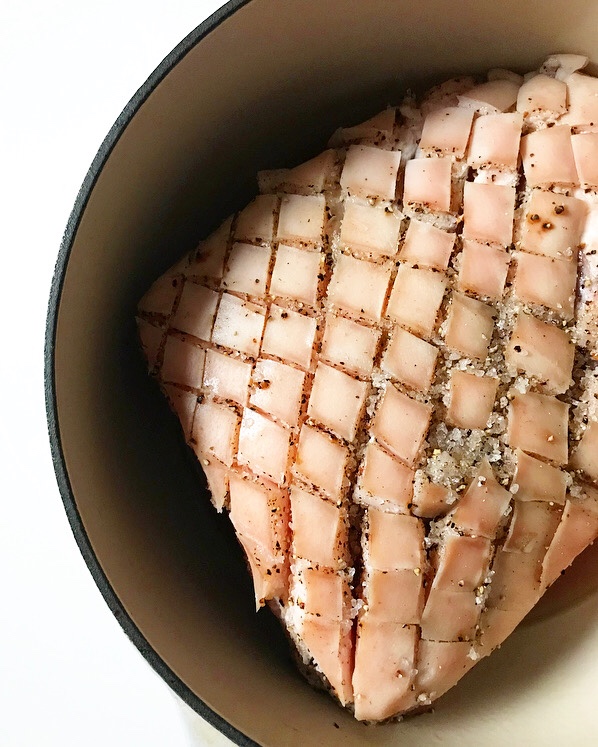
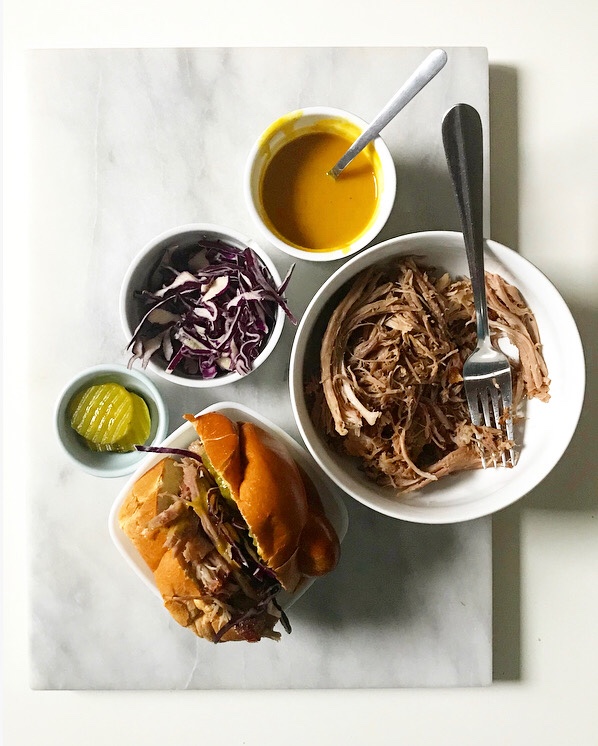
 This stuff is moist and meaty and not at all stringy or watery. It has an unabashedly porky, slightly salty flavor—perfect piled high on a roll with some crunchy vegetables and a drizzle of barbecue sauce (I go for a mustard-based sauce). It freezes like a dream. Oh, and it has plenty of crispy bits.
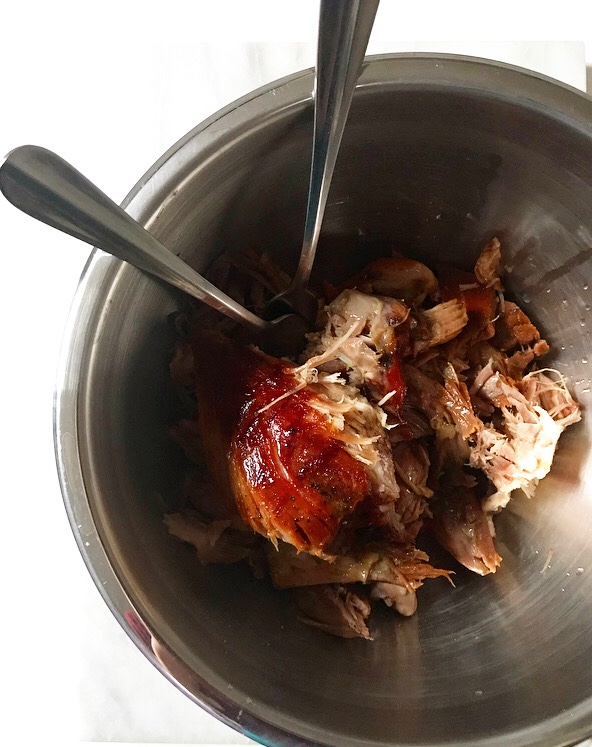
 Making pulled pork in your oven is not as easy as just throwing a pork shoulder in there and calling it a day. It takes time and lots of it—this is a weekend project for sure—but only about 60-90 minutes of it requires your immediate attention. Slow-Roasted Pulled Pork is coated in a mixture of Kosher salt, sugar and black pepper before chilling uncovered in the refrigerator for 12-48 hours. This is called a dry brine, and it’s magical: all the flavor of a traditional brine, but without the big vat of liquid taking up space in your fridge.
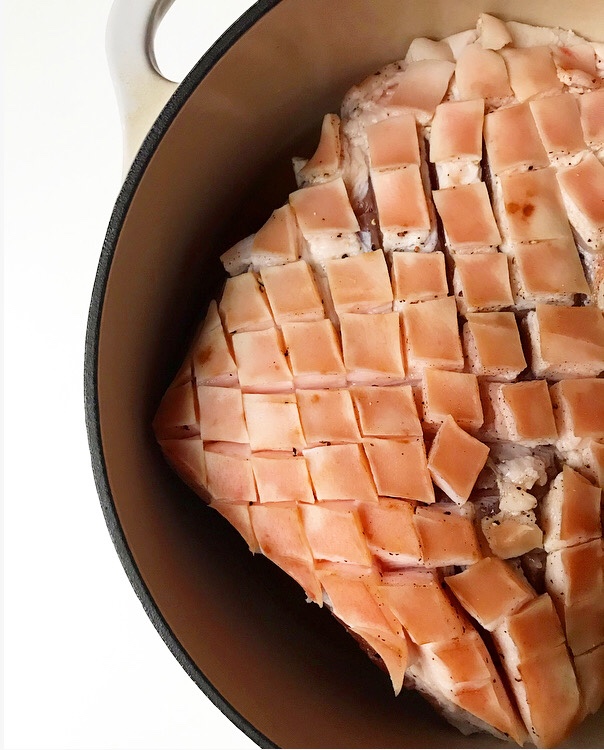
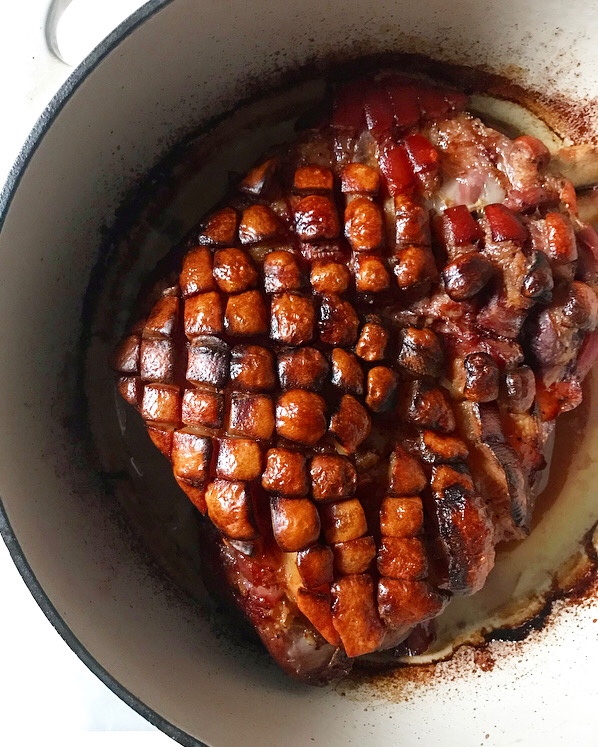
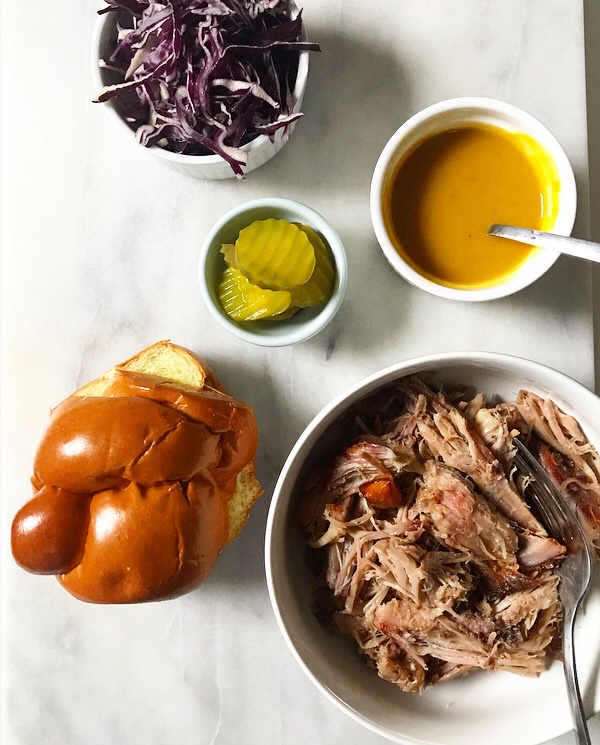 After the brining time, the pork is rinsed and dried before being roasted at a low temperature for 6-7 hours. I like to throw some apple cider vinegar in the roasting dish—it adds moisture and flavor over the long cook time.
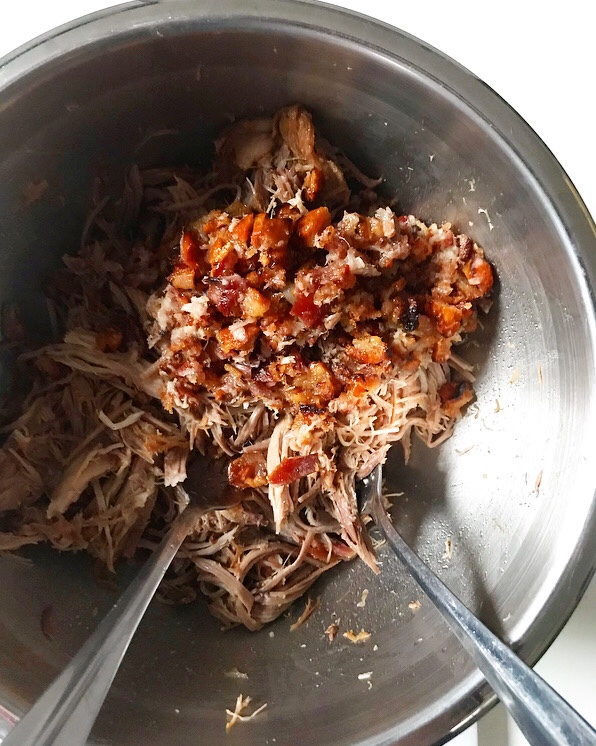
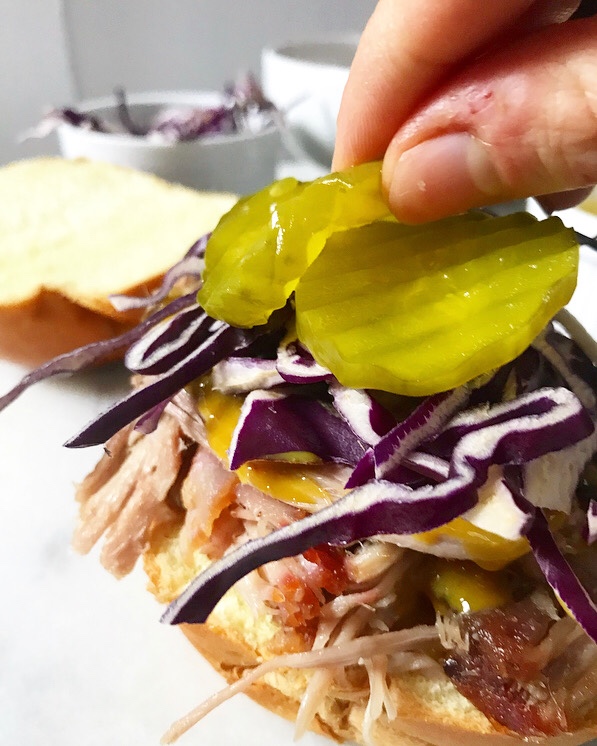 After the slow roast, the heat goes way up to crisp the skin. One short rest later, those cracklings are chopped and mixed with the finished pulled pork. Then it’s time for sandwiches. And picking at the leftovers every time you pass the fridge.
 Seriously, good luck not eating it all.
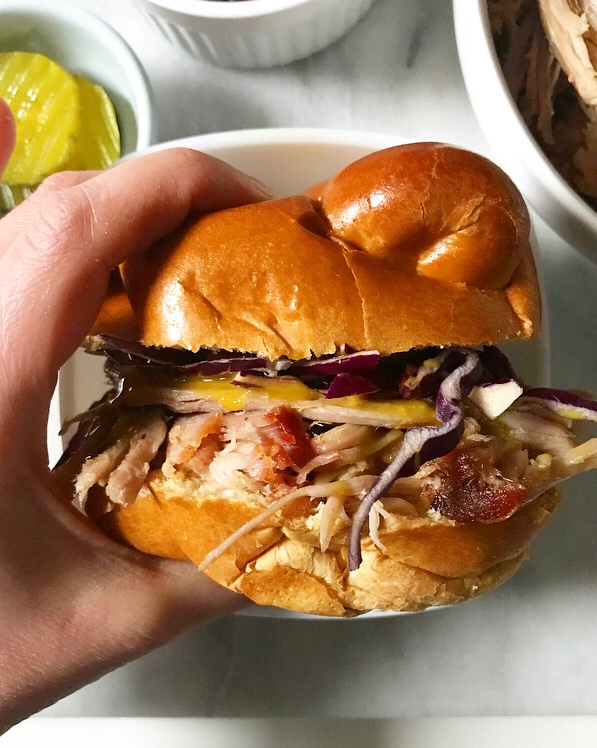

 We may not have done any holiday baking when I was a kid, but we still had plenty of Christmas food traditions. When I was growing up, my mom used to make a breakfast casserole every Christmas morning. While I was (and, honestly, continue to be) wary of any dish with “casserole” in the name, I made an exception for that one. Paired with Mom’s traditional all-citrus fruit salad,* it was impossible for even the pickiest of us to resist. It was so good that we didn’t complain when we were told we had to eat breakfast before opening our gifts. It was magic, I tell you.
 Now, you may have noticed that I am speaking about my mom’s breakfast casserole in the past tense. That’s because she stopped making it about ten years ago, right about the time that my sisters and I started wanting more input in our holiday menu.
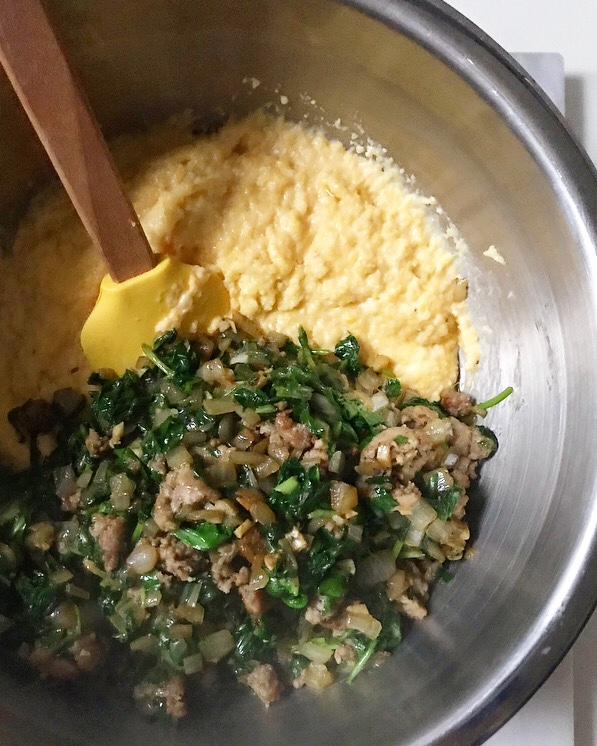
 Long story short: today’s Polenta Breakfast Bake is an homage to the Christmas Morning Casserole of my childhood, minus the Bisquick, plus a creamy polenta base and some extra greens. It’s not my mom’s recipe, but it’s damn good.
 Also, it’s naturally gluten-free (thanks, coarse ground cornmeal!). And people think you’re fancy when you say you made polenta anything, so there’s that.
 My favorite thing about this recipe is that, like my mom’s, it doesn’t require any specific timetable. Flexibility is important when it comes to any holiday meal planning, but I am particularly opposed to any recipe that might require me to get up and start puttering around the kitchen when it’s still dark outside. I’ve said it before and I’ll say it again: sleep > baking (and, um, cooking too).
 This Polenta Breakfast Bake can be prepared morning-of, if you are an early bird, but I love that I can assemble it a day or two ahead and then just bake it for 25 minutes before serving. I have a hard time doing anything in the morning without the aid of coffee, but I can absolutely turn on the oven and bake a breakfast casserole for 25 minutes.
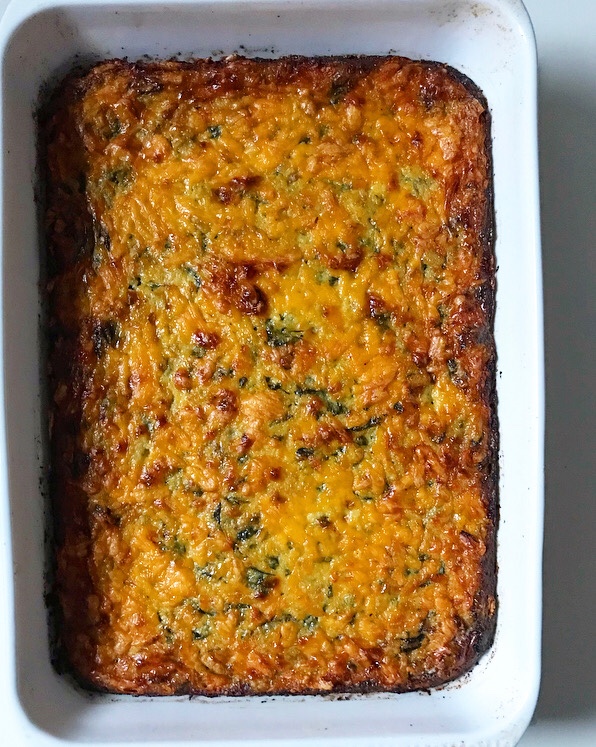
 Hot from the oven, this Polenta Breakfast Bake will be a little hard to slice cleanly, so feel free to scoop it instead. I was able to slice the casserole pictured after letting it cool for about half an hour, but I’d be happy to eat this stuff in any shape (or lack thereof). Leftovers keep very well in the refrigerator and will slice & reheat like a freaking dream.
 One last thing before I get to the recipe. Like all recipes on this site, I’ve made this Polenta Breakfast Bake to suit my own flavor preferences. I used breakfast sausage and cheddar cheese because those were prominent flavors in my mom’s recipe, but you can swap them for any meat and/or cheese you like in weights equal to those in the recipe. My only word of advice here is that if you choose to use bacon, remove it from the pan while you sauté the onion, garlic, and greens so that it doesn’t burn. Oh, and speaking of greens, feel free to leave ‘em out if you have picky eaters (or if breakfast vegetables just aren’t your thing).