This time of year, everyone seems to lose their minds for pumpkin and apples. I admit I am guilty of this too, but I think maple is truly my favorite fall flavor.
Yes, I know maple syrup is made in the spring, but it tastes like fall. It just does. It’s the color of the best crunchy leaves and it tastes like nostalgia and Saturday mornings in early November. Please excuse my waxing poetic, but you know I’m right.
I’ve made tons of maple recipes over the years, including a layer cake, caramel corn, and some incredible sandwich cookies, but I never run out of new ideas for how to use it. Not gonna lie though, I think I’ve outdone myself with these Salty Maple Brown Butter Blondies.
You read that right. Salty. Maple. Brown Butter. Blondies. That’s like everything good in the world in one baked good.
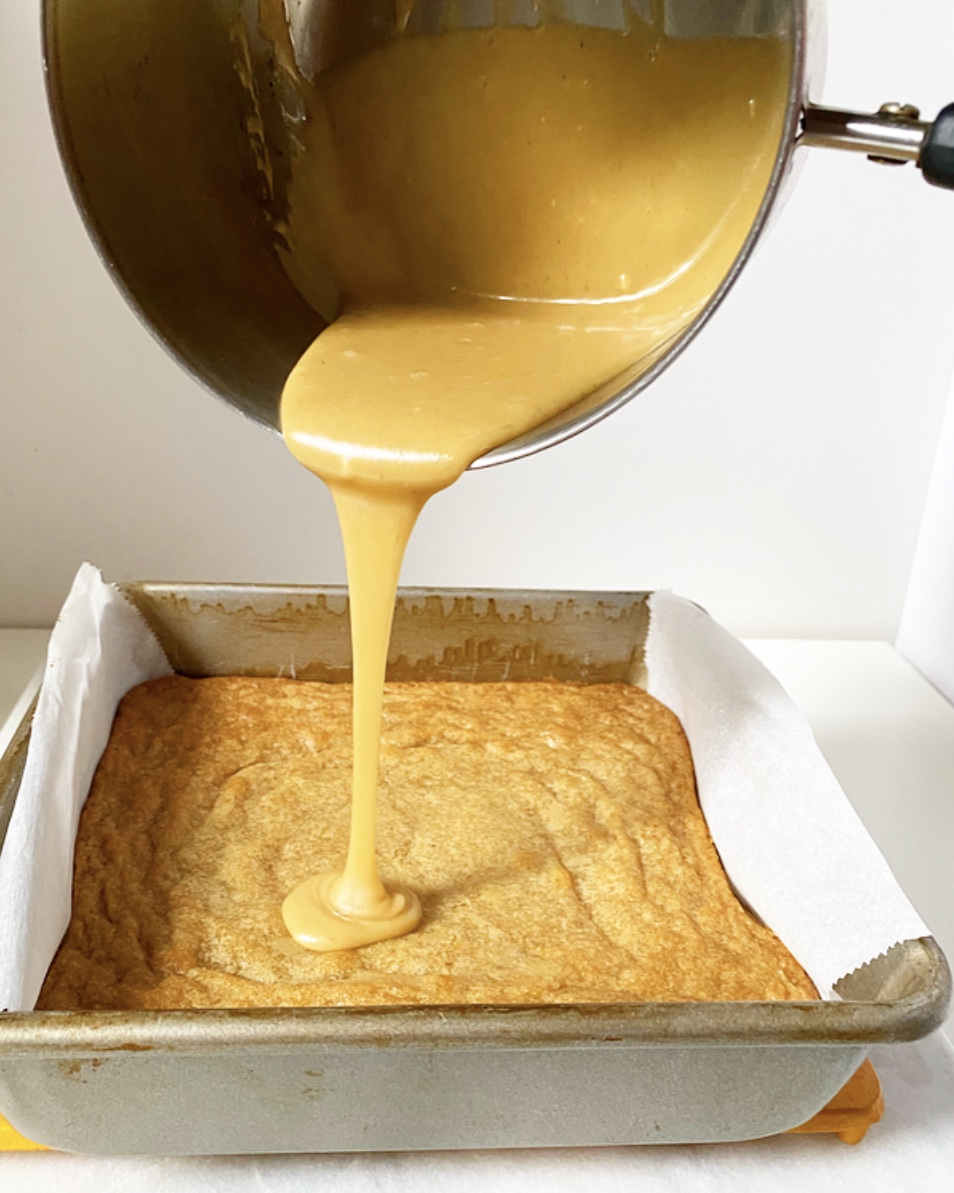
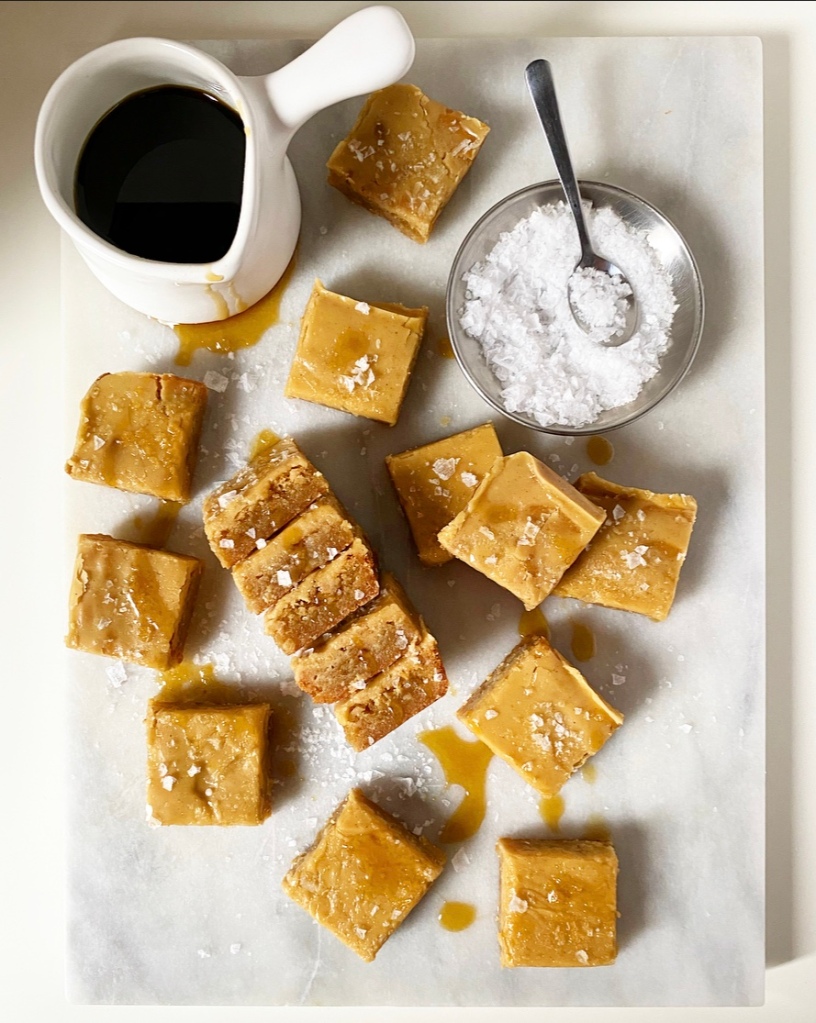
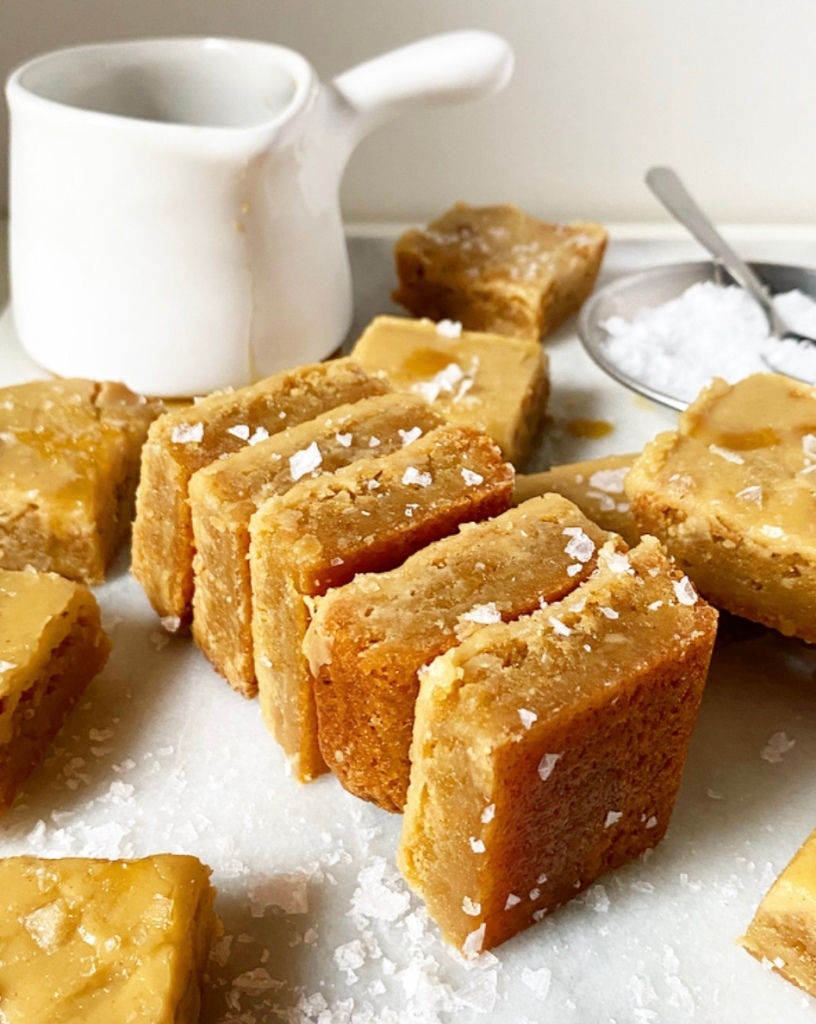
The blondies themselves are a classic recipe with a little less brown sugar and a whole lot of maple syrup. They bake up without fuss and would be great by their lonesome, but then you’d be foregoing the magic of the Salty Maple Brown Butter icing. It gets poured on the blondies warm and settles into a thick layer reminiscent of maple candy. But, you know, with brown butter and flaky finishing salt.
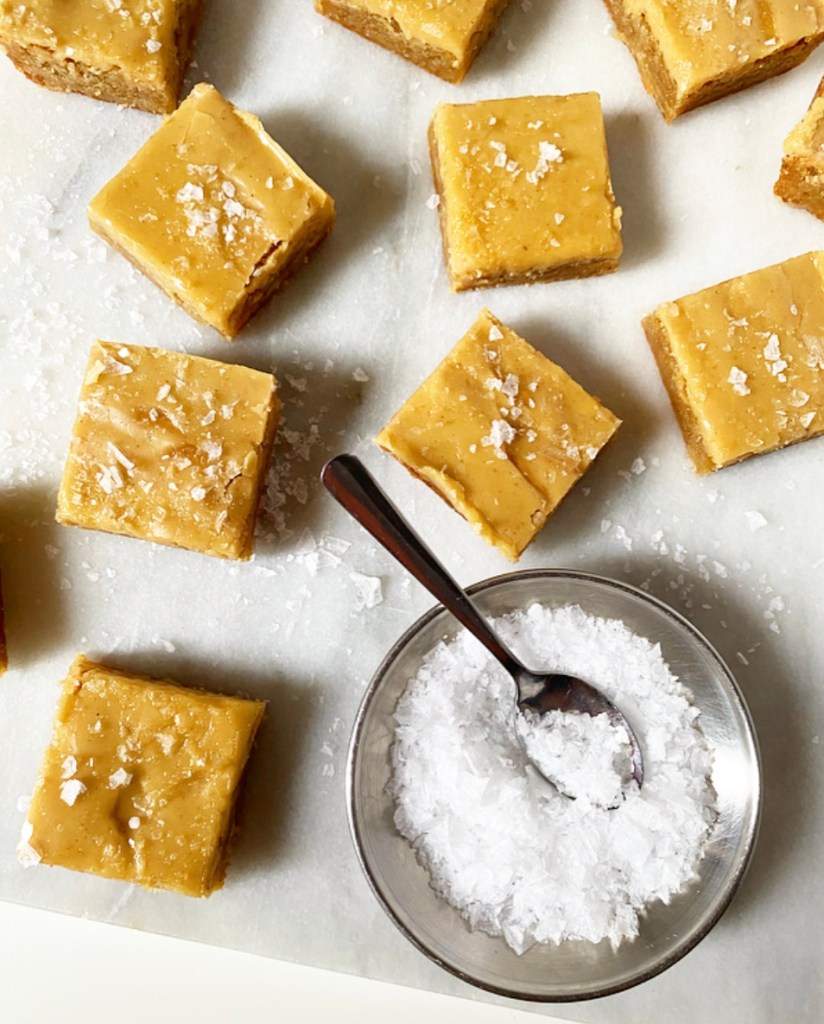
Salty Maple Brown Butter Blondies are sweet, salty, and very buttery, and have the textures of both a perfect chewy cookie and soft maple candy. Their maple flavor shines so brightly and just gets better and deeper as they age. Yes, I am telling you to take your time eating these, but I’ll be the first to admit that’s easier said than done.

Salty Maple Brown Butter Blondies
makes one 8- or 9-inch square pan, about 16 blondies
Blondies:
1/2 cup (1 stick) unsalted butter
1/2 cup granulated sugar
1/2 cup light brown sugar, packed
1/4 cup pure maple syrup (I use Grade A Dark Color, Robust Taste)
1 large egg, room temperature
2 teaspoons pure vanilla extract
1 cup all-purpose flour
tiny pinch of ground nutmeg
1/2 teaspoon Kosher or sea salt
Salty Maple Brown Butter Icing:
2 tablespoons unsalted butter
3 tablespoons pure maple syrup
1/2 cup confectioner’s sugar
pinch of Kosher or sea salt
For Finishing:
coarse or flaky salt (I used Maldon)
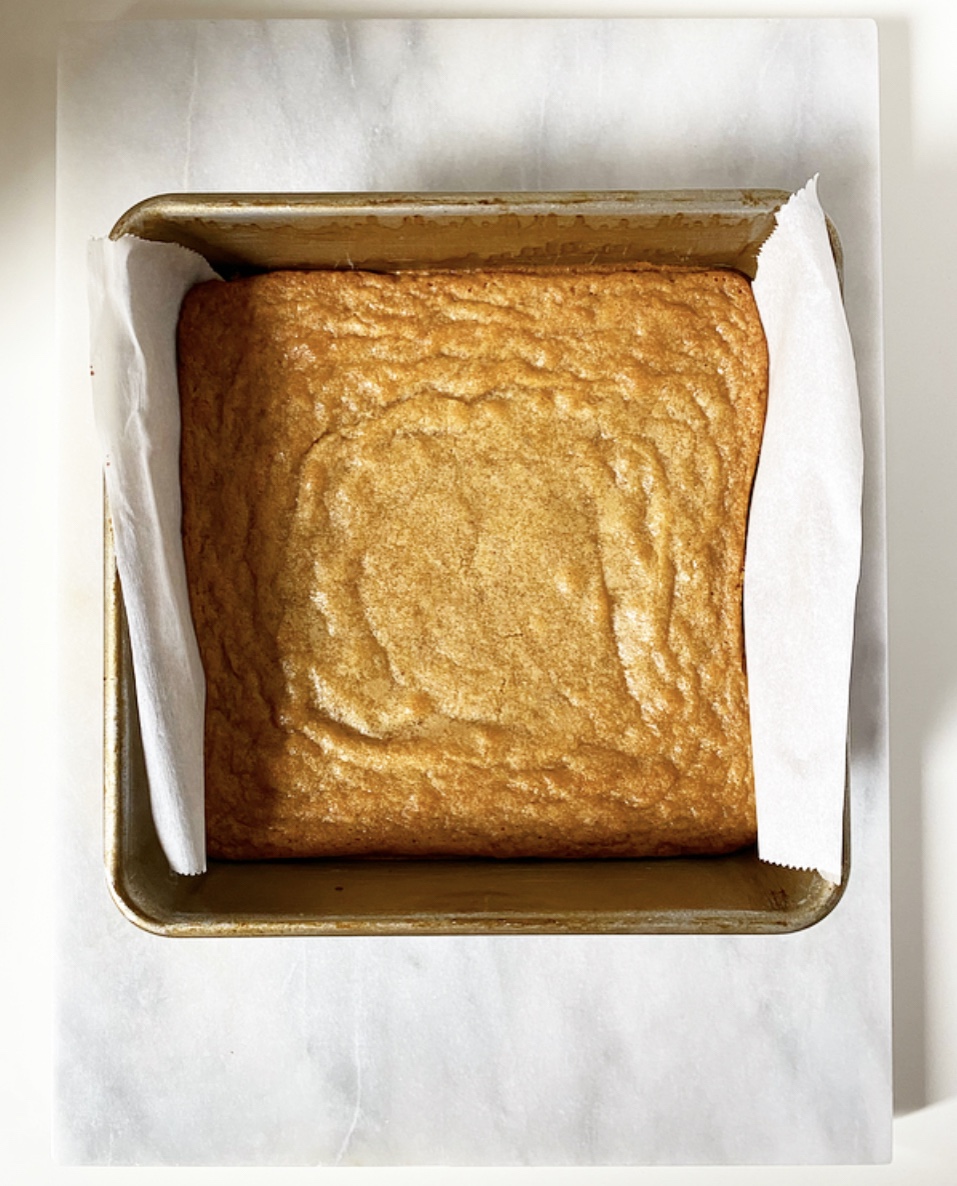
Preheat oven to 350F. Grease an 8- or 9-inch square pan and line with parchment, leaving overhang for bar-removal. Set aside while you make the blondie batter.
Brown the butter. Place butter in a light-colored saucepan over medium heat. Let butter melt. Butter will bubble and crackle as the water content evaporates. Swirl the pan frequently for 5-7 minutes, keeping an eye on the color. When the solids are turning brown and the butter is nutty and fragrant, remove the pot from the heat and immediately pour the brown butter into a medium-large mixing bowl.
Whisk granulated sugar, light brown sugar, and maple syrup into the brown butter. Mix in egg and vanilla, followed by flour, nutmeg and salt.
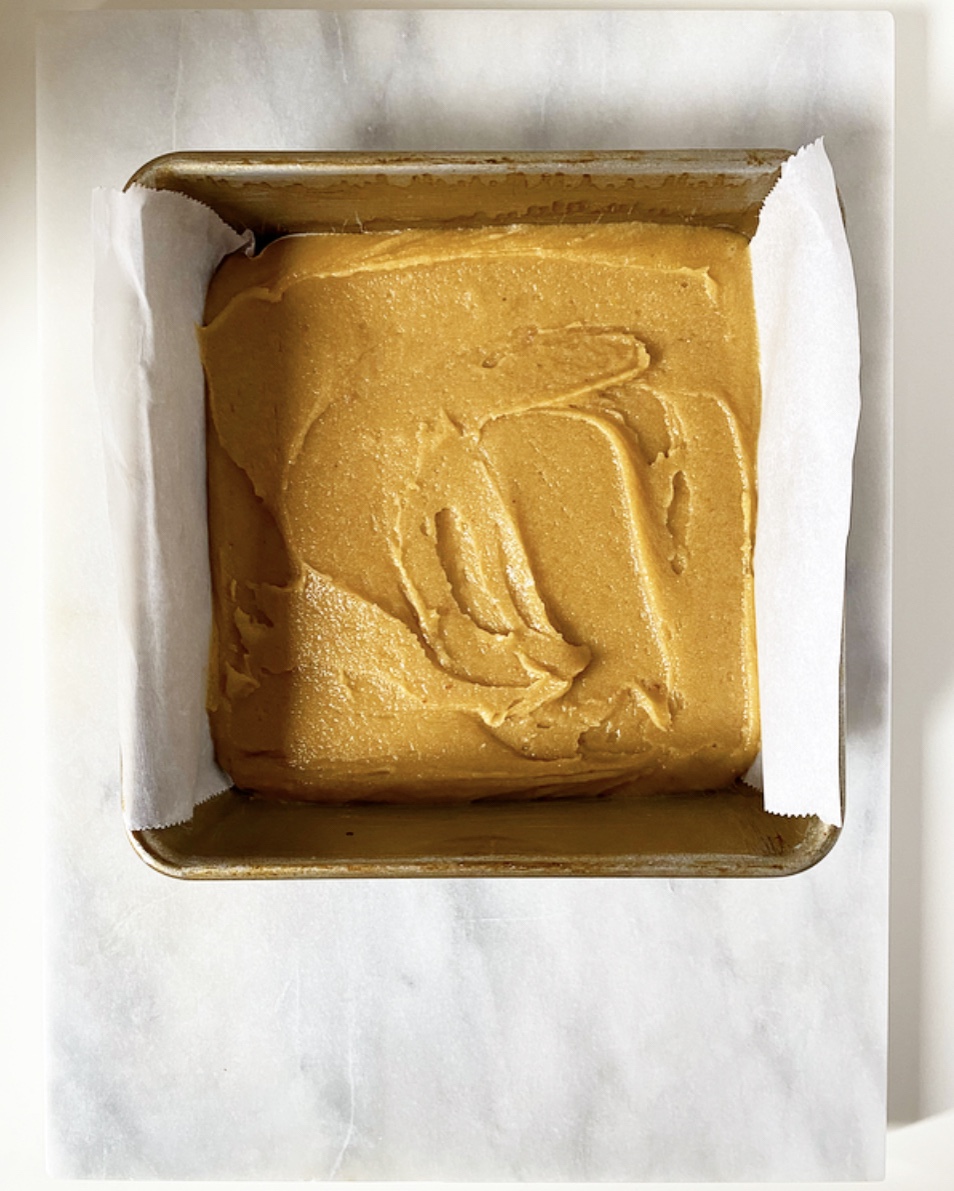
Spread the blondie batter in prepared pan. Bake 25-30 minutes, or until the top is golden and a toothpick inserted in the center comes out mostly clean (no raw batter). Let blondies cool 15 minutes in the pan on a rack.
Meanwhile make the icing. Place butter in a light-colored saucepan over medium heat. Let butter melt. Butter will bubble and crackle as the water content evaporates. Swirl the pan frequently for 5-7 minutes, keeping an eye on the color. When the solids are turning brown and the butter is nutty and fragrant, remove the pot from the heat. Immediately whisk in maple syrup, followed by confectioner’s sugar and salt. Whisk until smooth.
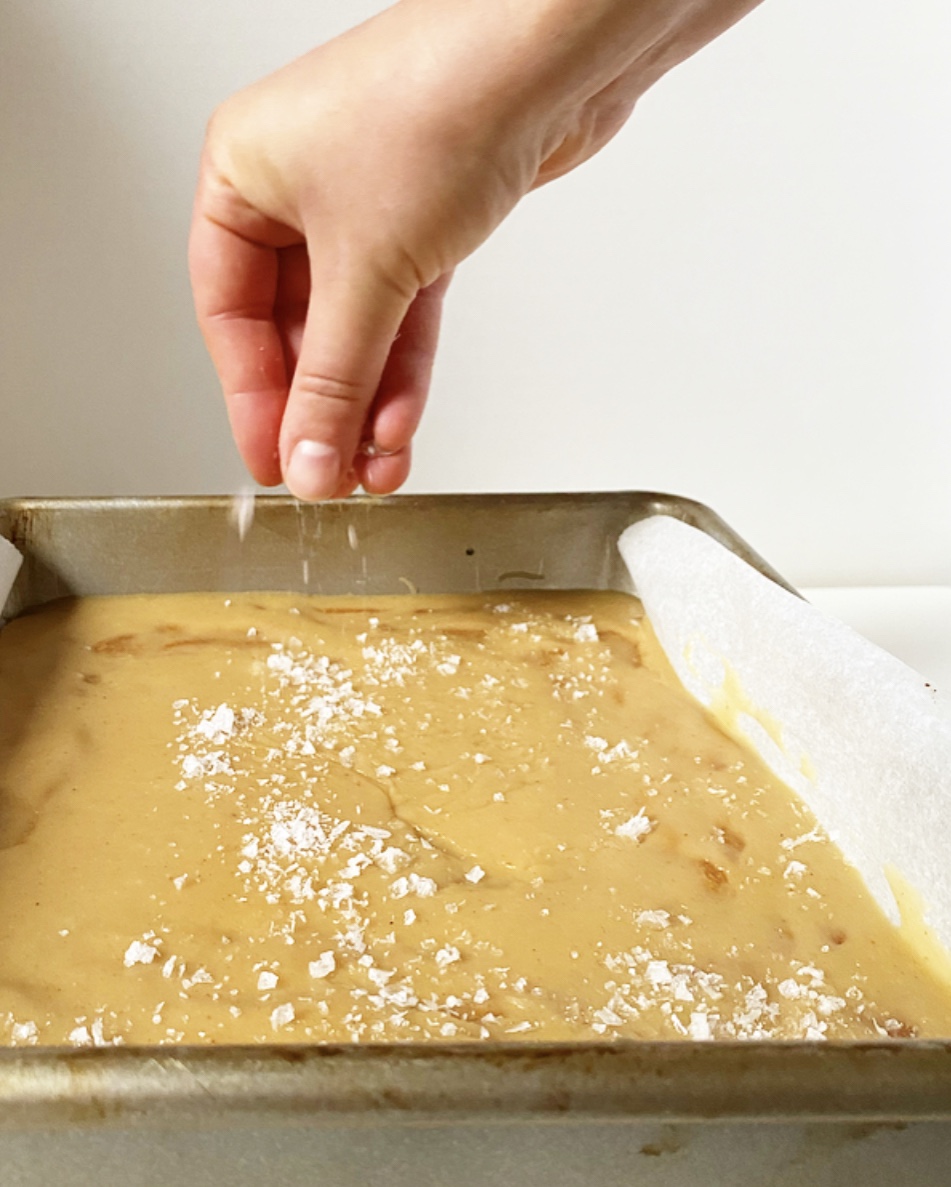
Pour icing over the the blondies (still in the pan). Tilt the pan back and forth and coax with the back of a spoon so that the icing covers the blondies. Sprinkle with a generous pinch of flaky or coarse finishing salt. Let blondies continue to cool until room temperature.
Run a small, thin knife around the edge of the pan, then use parchment to lift them onto a cutting board. Slice with a large, sharp chef’s knife, wiping the blade clean between cuts. Serve.
Blondies will keep in an airtight container at room temperature for up to 4 days.
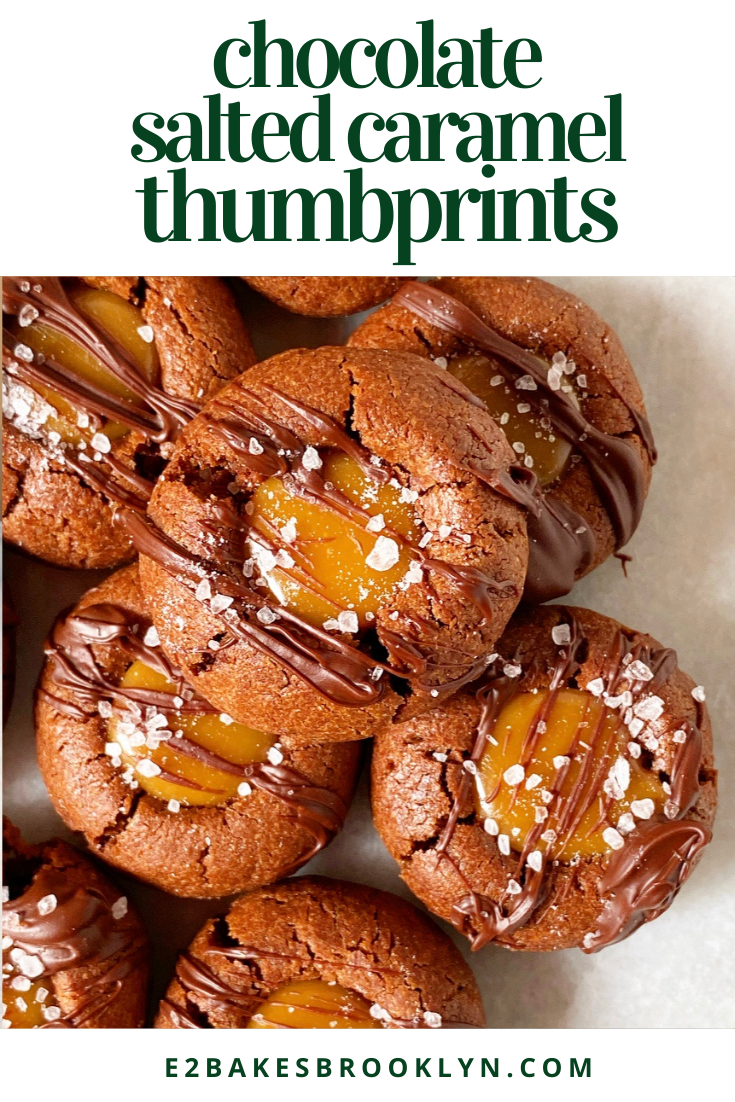
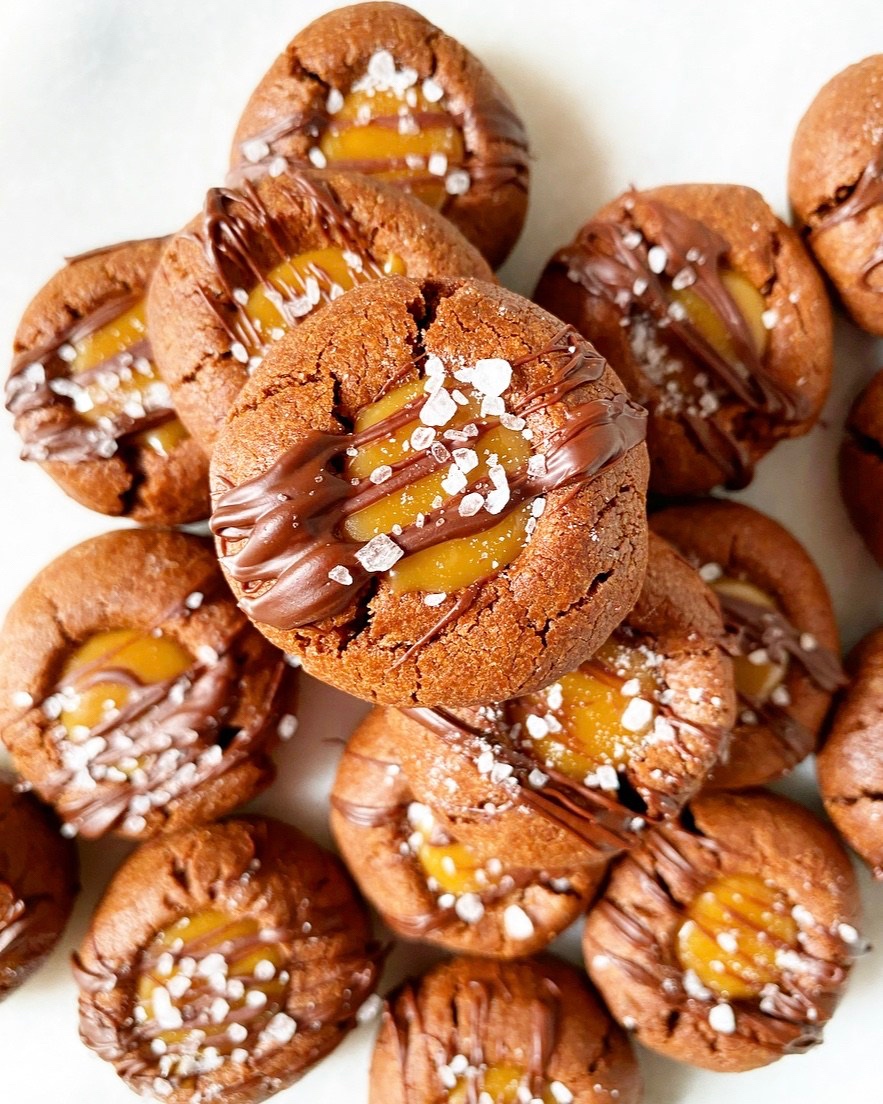 We’re getting close to the end of this year’s posts (two more recipes to go!), but I just couldn’t let 2020 end without making sure you knew about these Chocolate Salted Caramel Thumbprints.
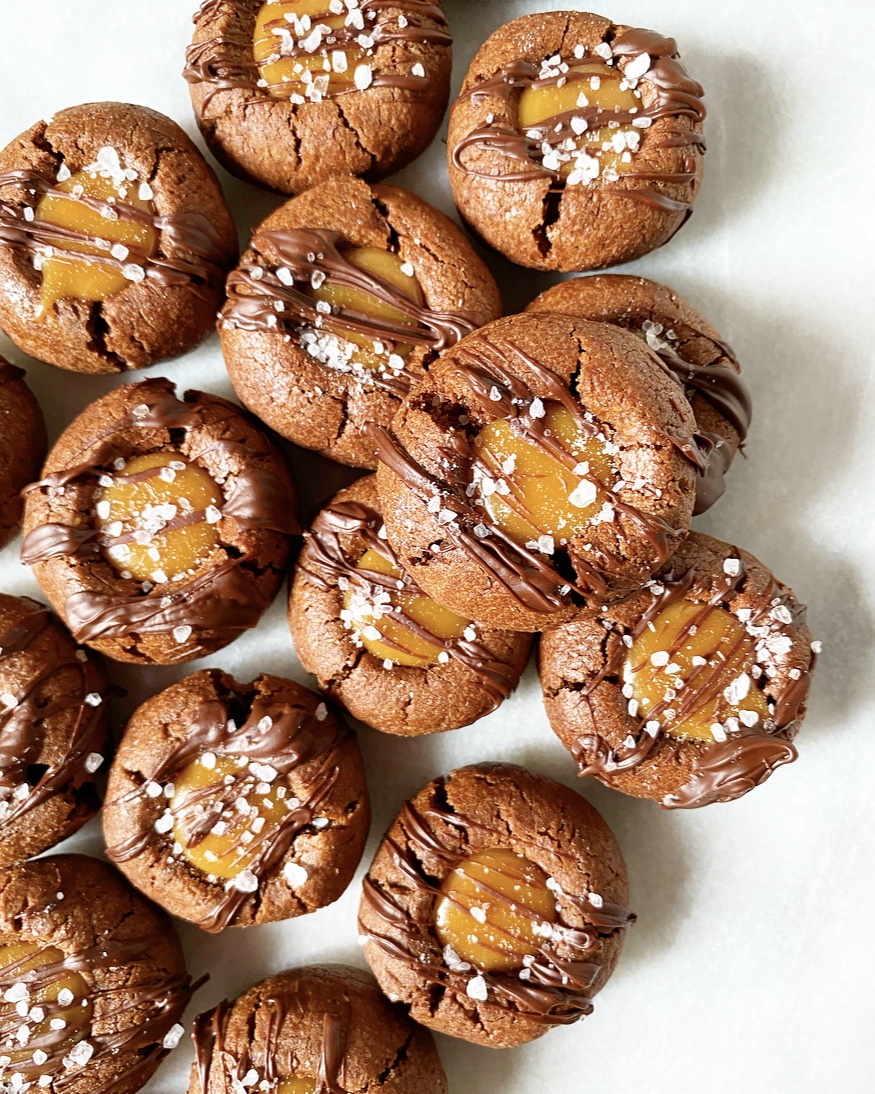 Let me say that again: Chocolate. Salted. Caramel. Thumbprints.
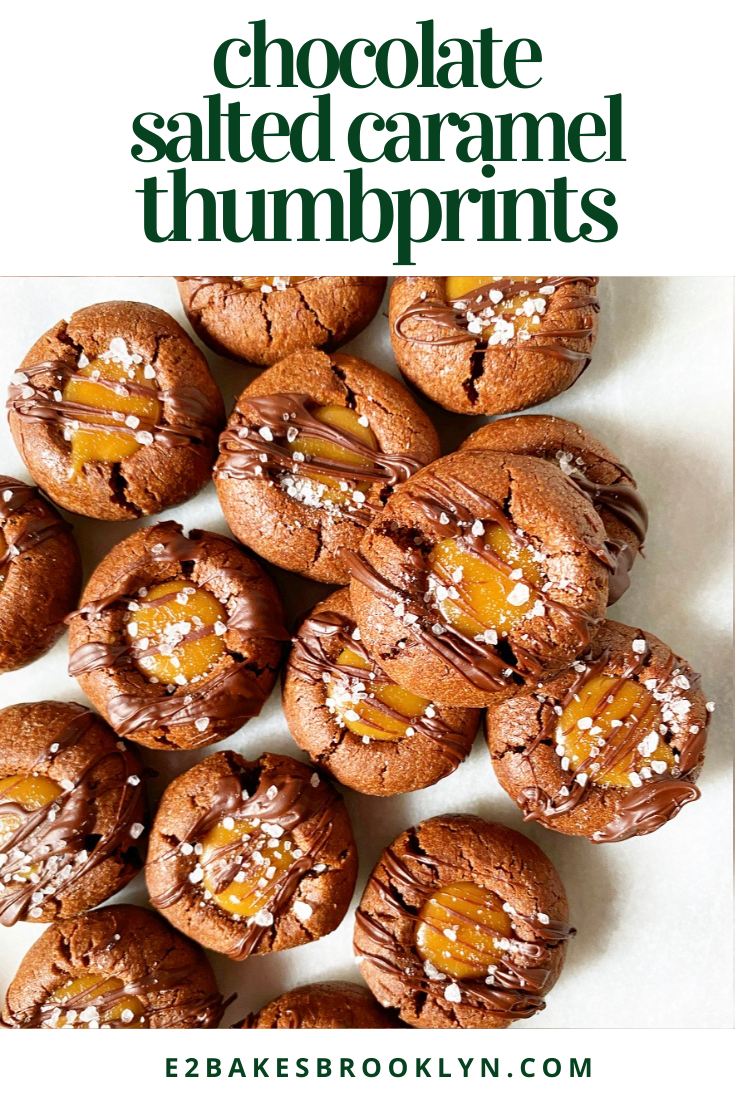
 While Christmas and New Year’s Eve (and literally everything else) are different this year, these cookies should be a part of your holiday, however it looks. Are you gathering with a tiny group to do a gift exchange? Share some cookies with people you love. Are you spending the holiday by your lonesome, like me? Have a cookie (or four) while you watch Home Alone while you’re home alone. Are you skipping it all and hoping next year is better? Well, Chocolate Salted Caramel Thumbprints are good for that too.
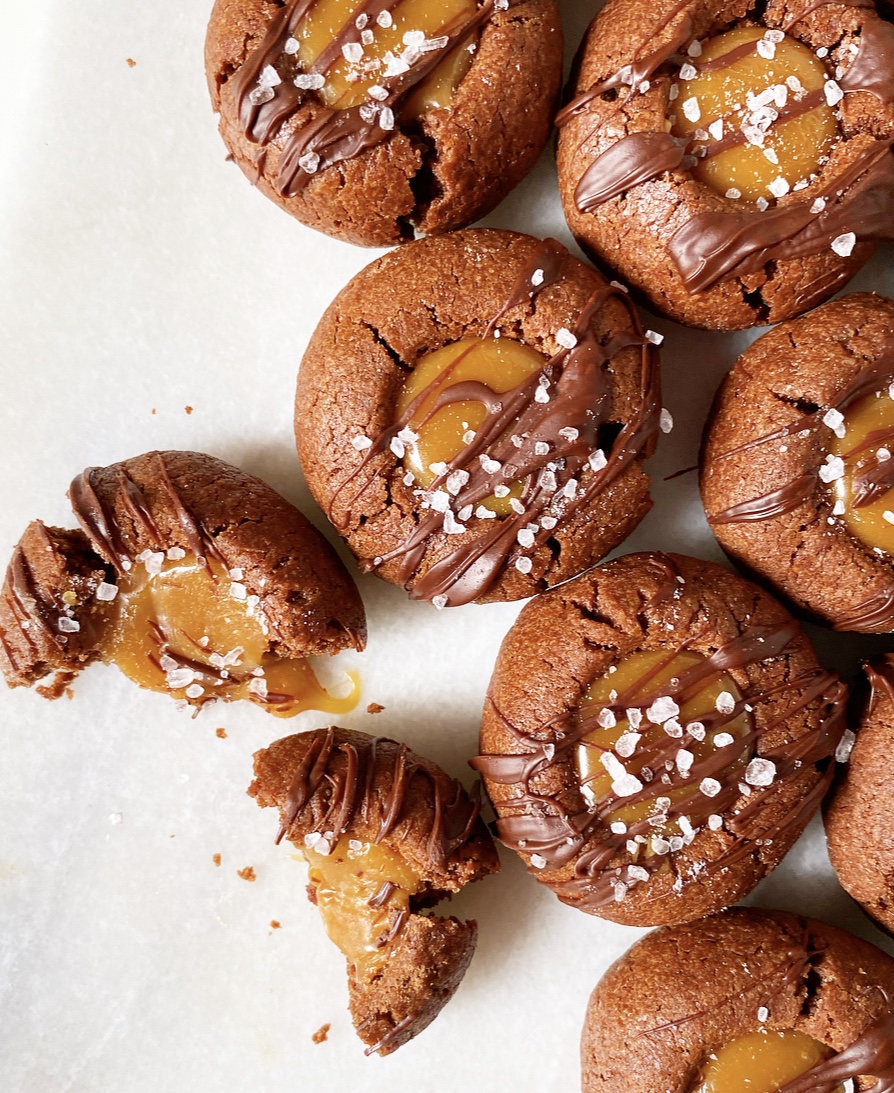 Christmas is only a week away! To accommodate the holiday, I’m changing up next week’s posting schedule from the usual Wednesday/Friday to Monday/Wednesday. Since we’re getting down to the wire, look out for two easy as can be, festive as everything recipes. Oh, and let me know what you’re baking! I love seeing all your holiday (E2) bakes over on
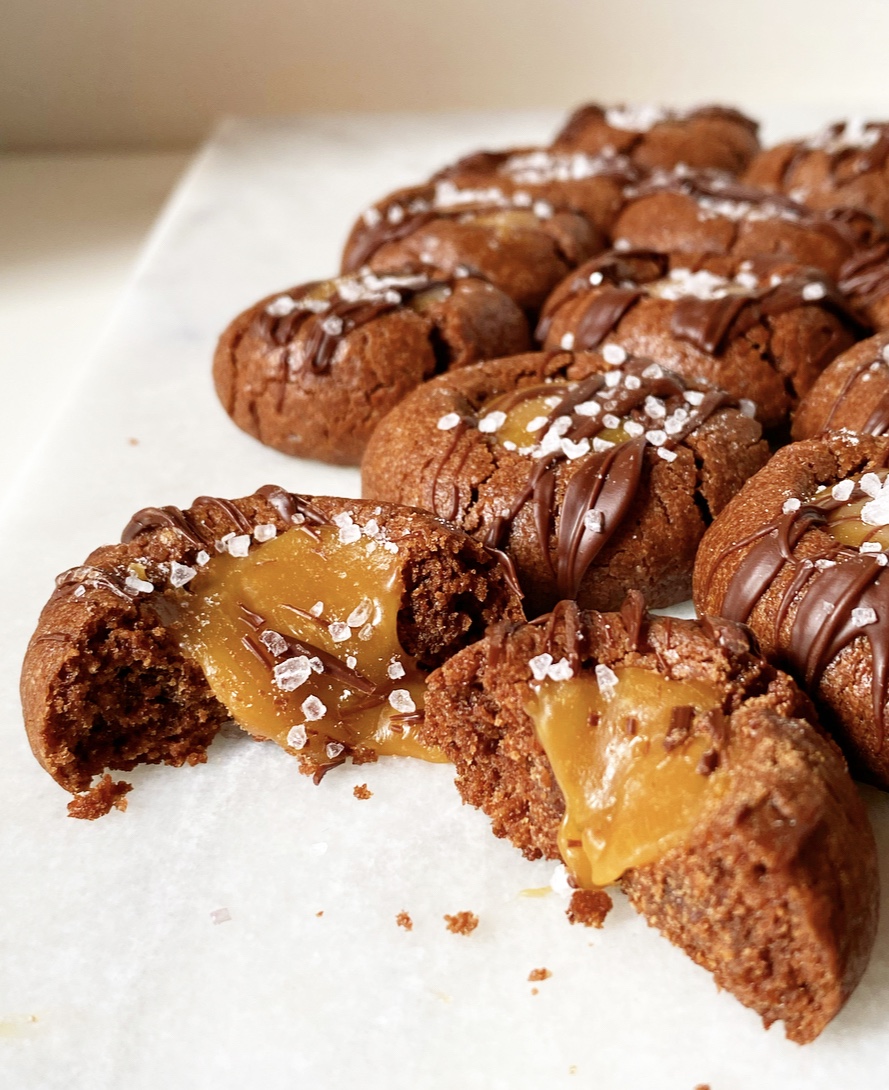
 Do you think Nancy Meyers knows how many lives she changed when she wrote peanut butter and Oreos into the 1998 remake of The Parent Trap? Mine, for one, and probably millions more. Certainly more than when she had Meryl Streep make croissants in It’s Complicated (and in an absurdly short period of time, I might add). Probably way less than when Steve Martin had a meltdown over the quantity disparity between packages of hot dogs and hot dog buns in Father of the Bride. That one still hasn’t been resolved.
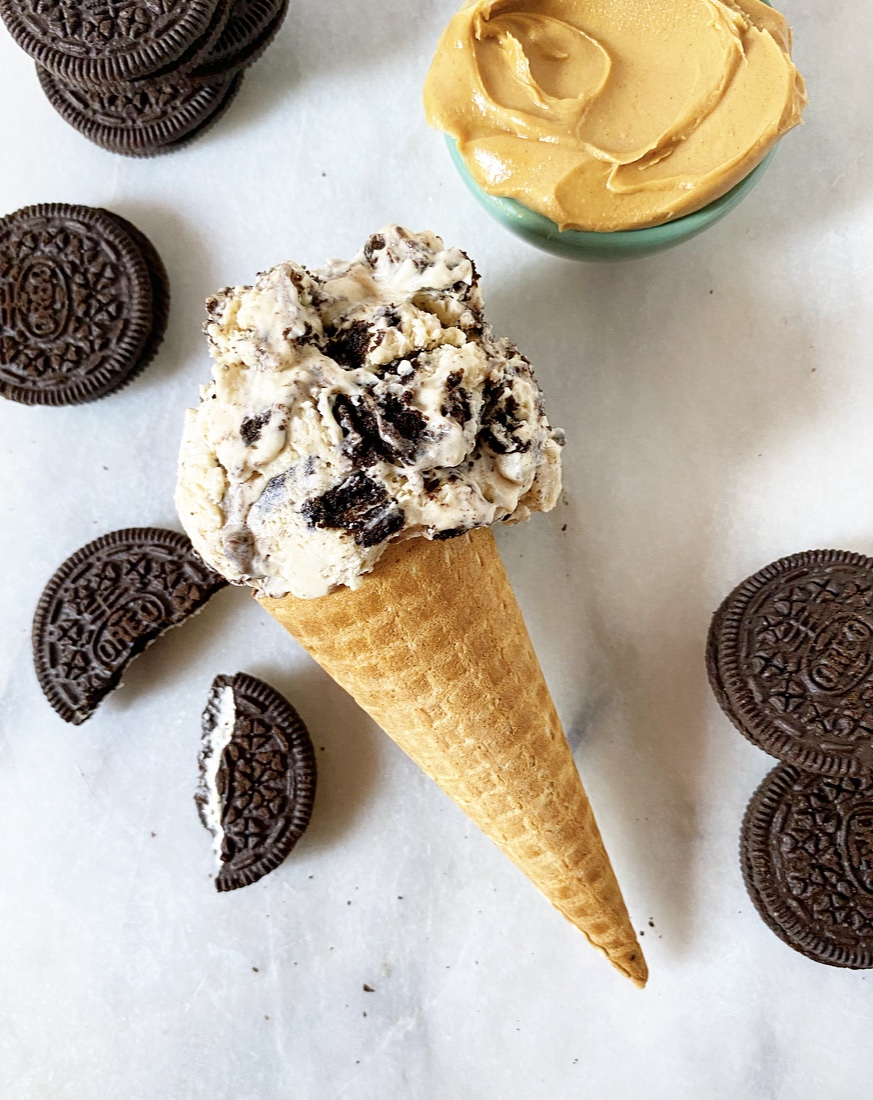 Anyway, since I started baking, I’ve thrown peanut butter and Oreos into many recipes because they just *work.* This salty, creamy, bittersweet combination is one of the easiest ways to take a dessert from fine to fabulous.
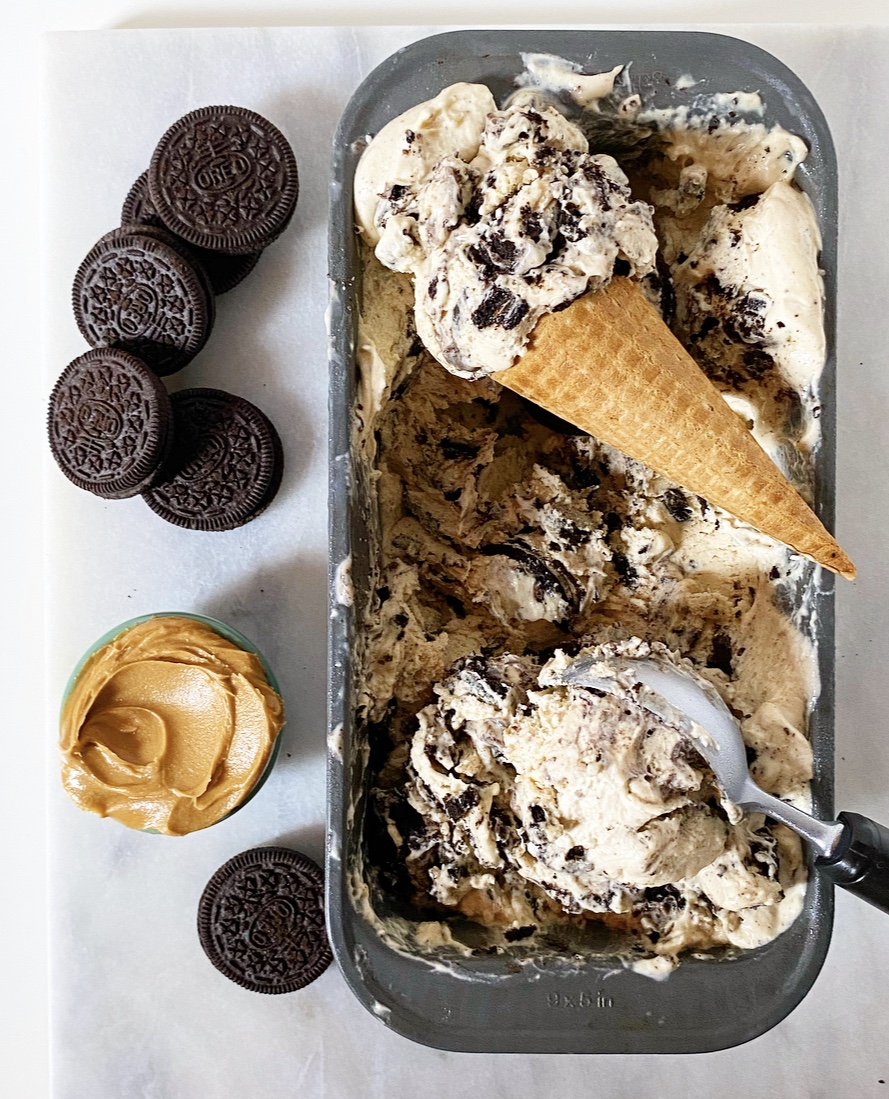
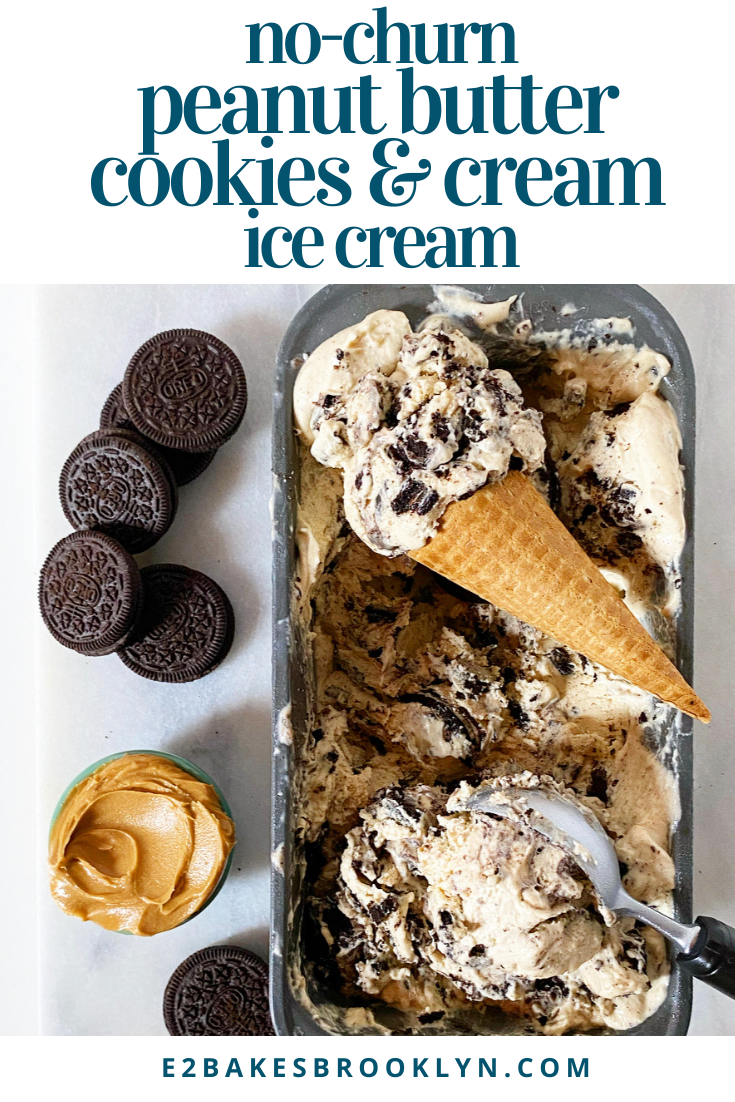
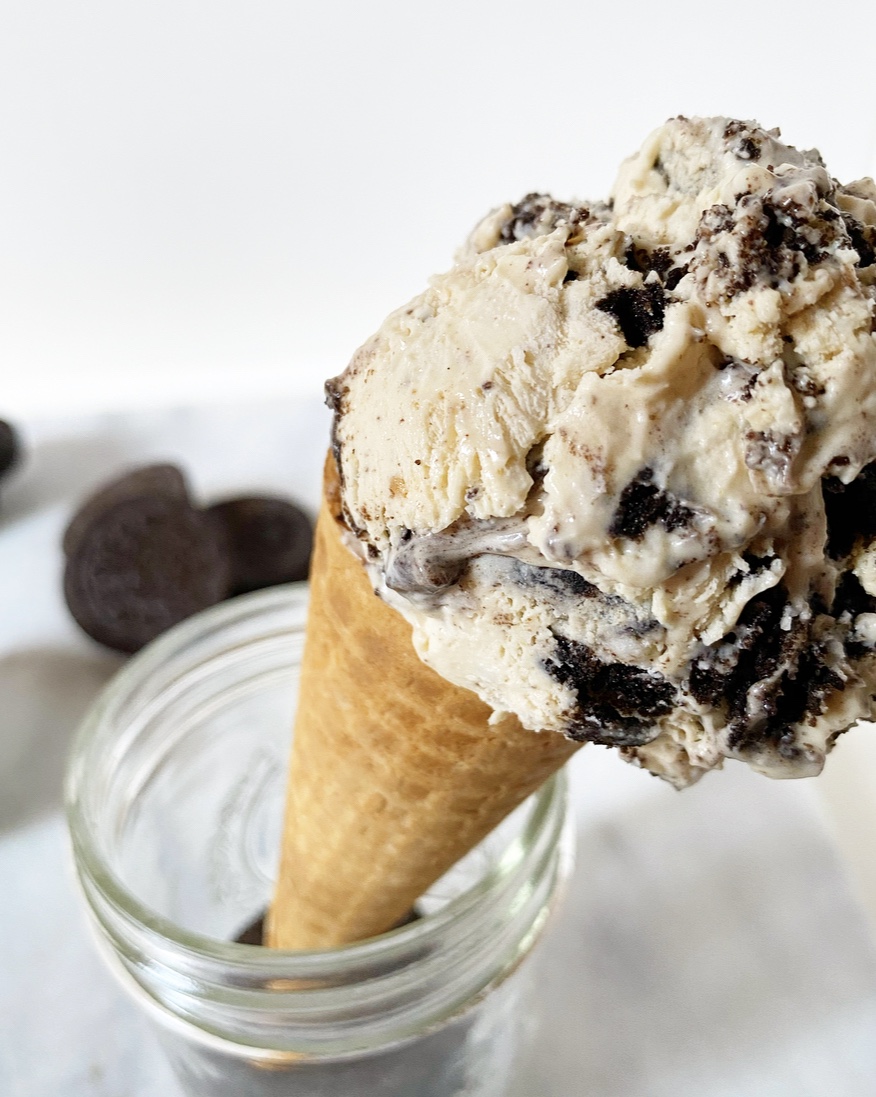 Today’s offering is one you probably saw coming from a mile away: No-Churn Peanut Butter Cookies & Cream Ice Cream! Of course—of course!—I was going to combine them in an ice cream someday. And by someday, I mean today, which just so happens to be National Ice Cream Day. I swear I didn’t plan it like that.
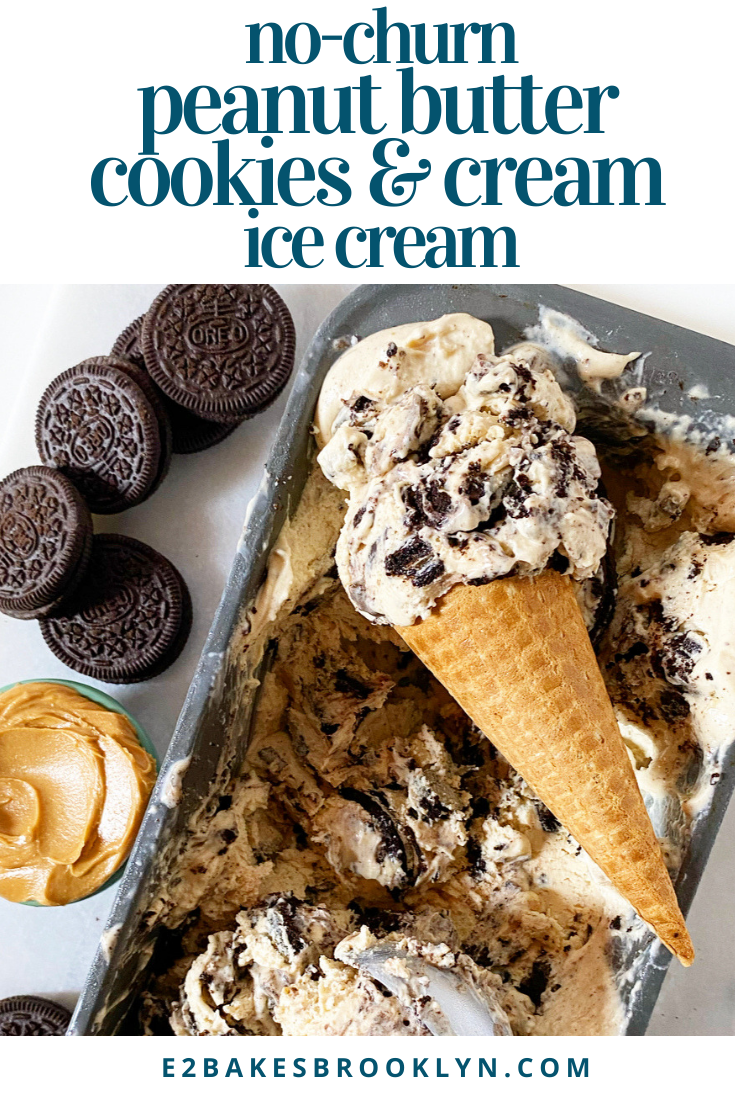
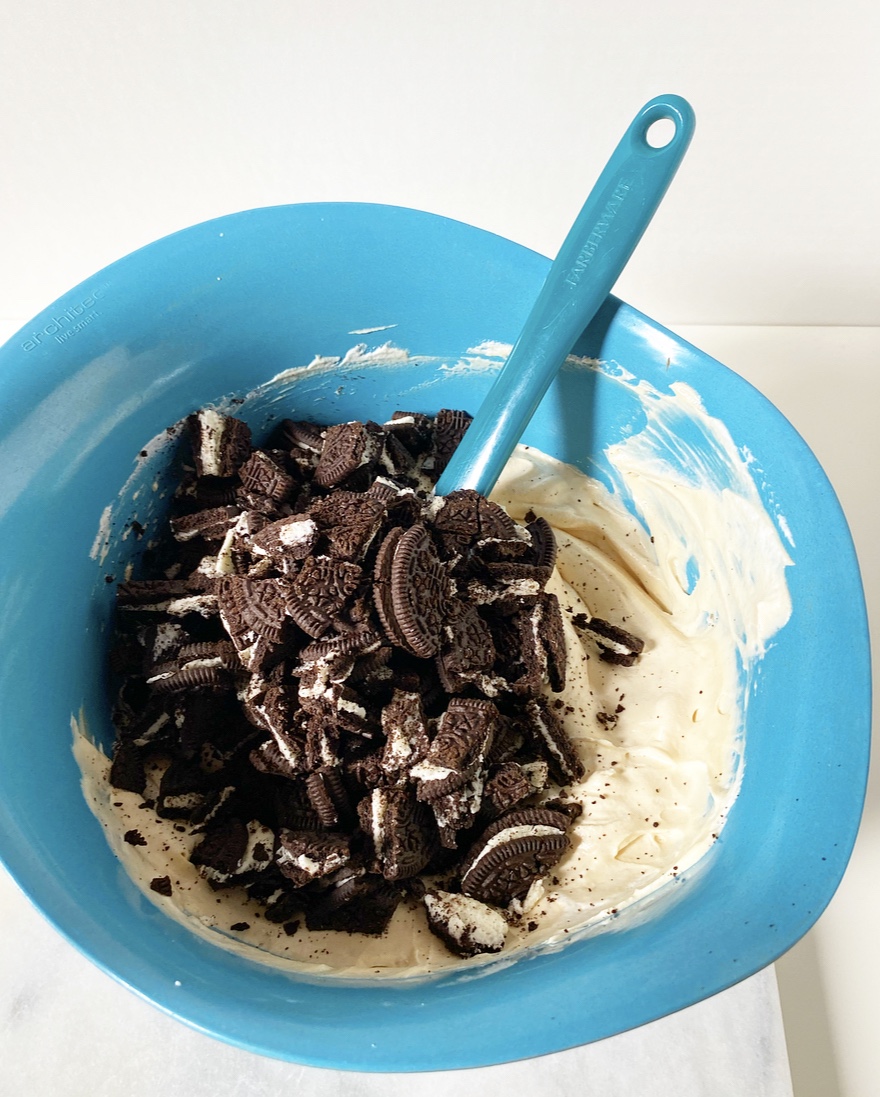 Oh yes, it’s the big chunks of Oreo cookie that are the real magic here. That’s one thing I have a lot of feelings about: big chunks of cookie instead of cookie crumbs in my cookies & cream. It’s not called crumbs & cream, am I right?!
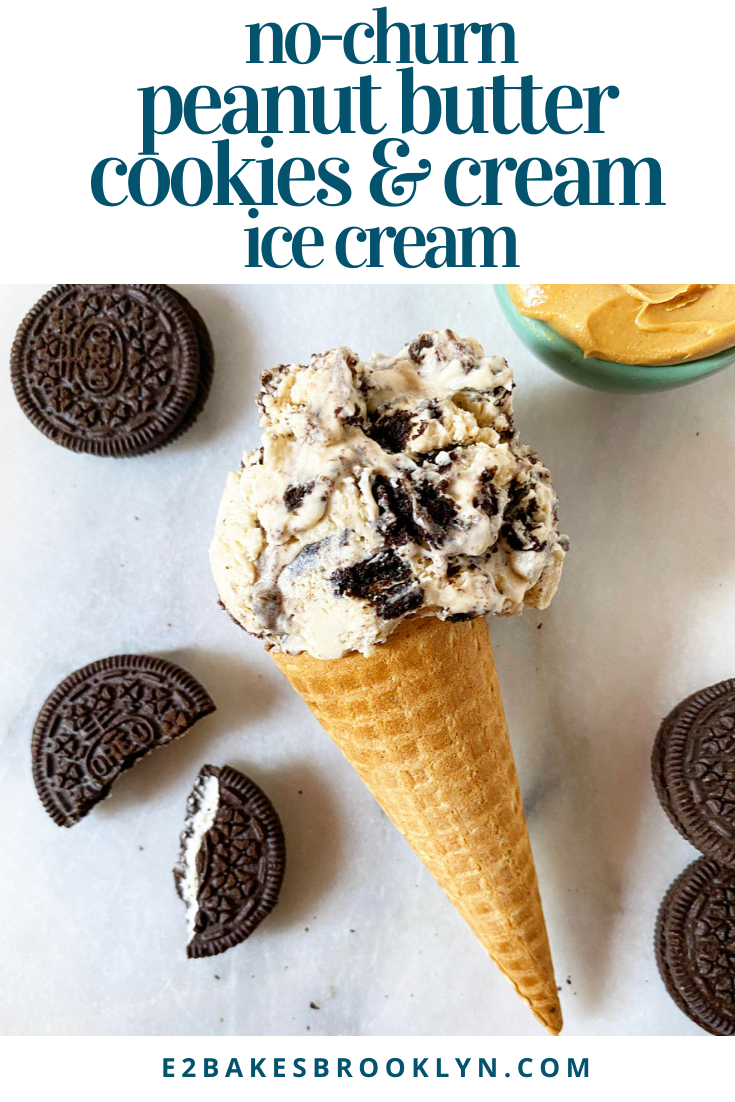
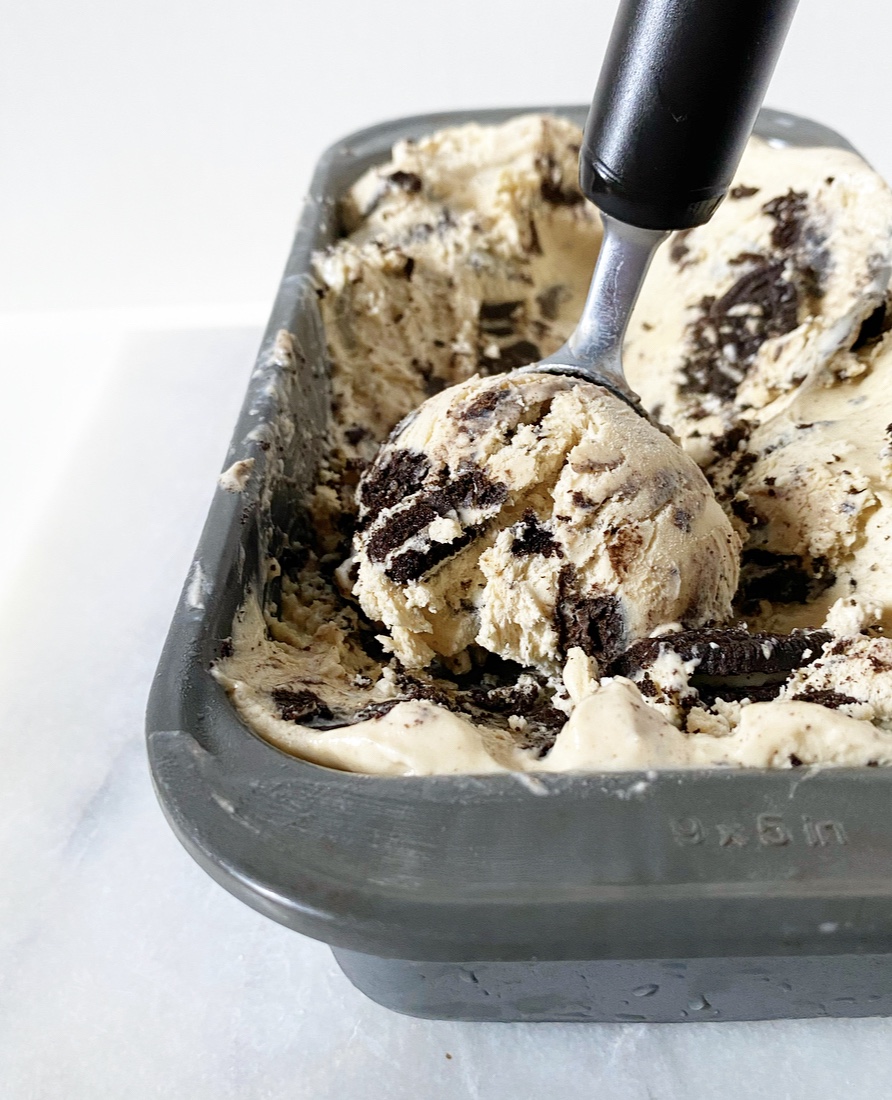 Actually, this whole situation is heaven. Cold, creamy, sweet & salty, Oreo-studded heaven piled in a cone.
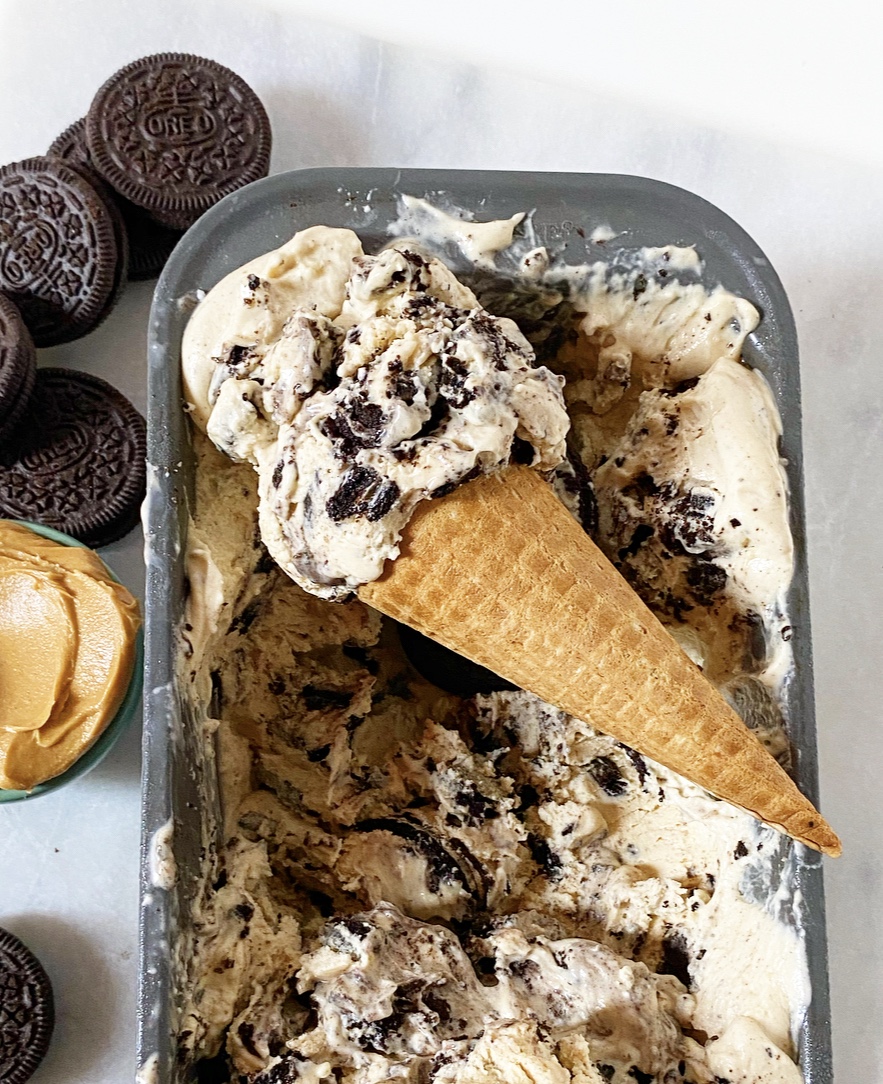
 When thinking up recipes for the week between Christmas and the New Year—a time when I have tons of leftovers, don’t want to take on any intense kitchen projects, and mostly just need a nap—I knew it had to be easy.
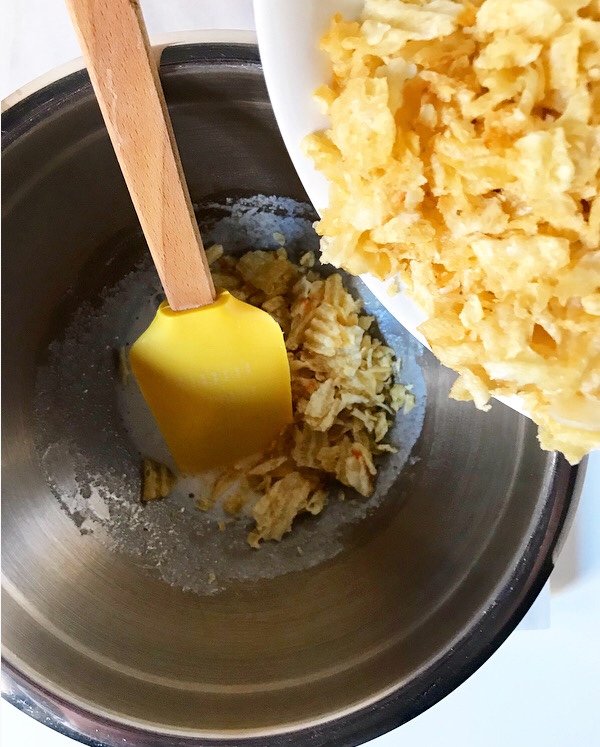
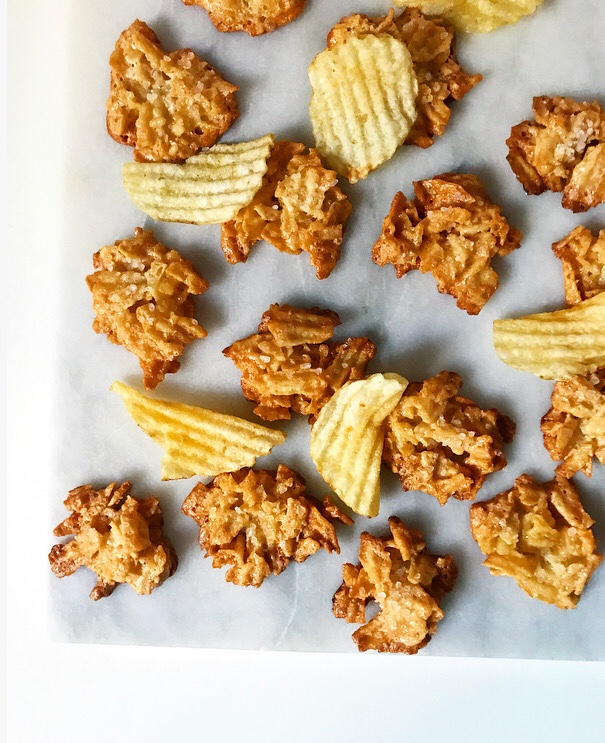 Eeeeeeeaaaaasy. E-A-S-Y. No chill, one bowl, no mixer, limited ingredients—easy!
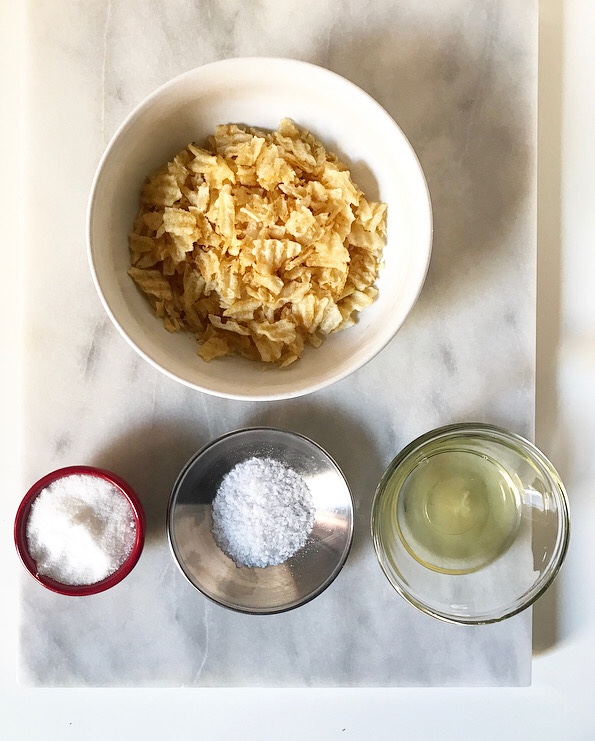
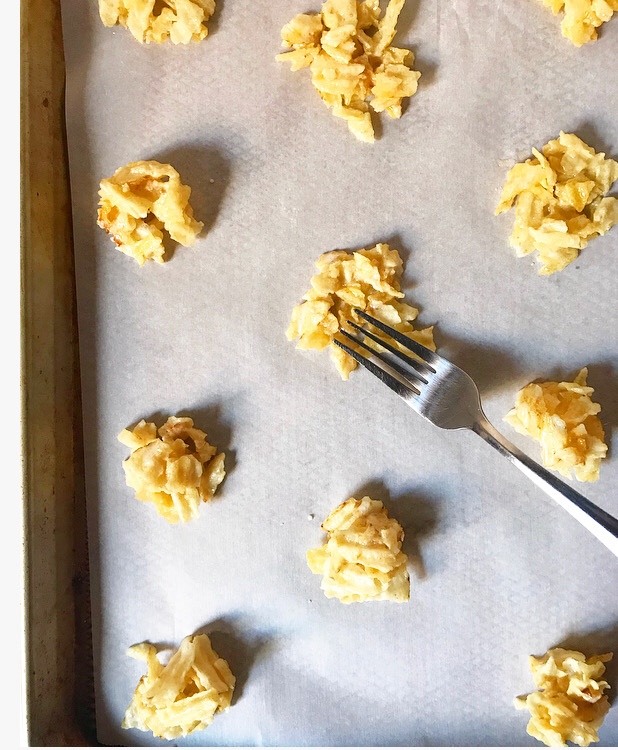
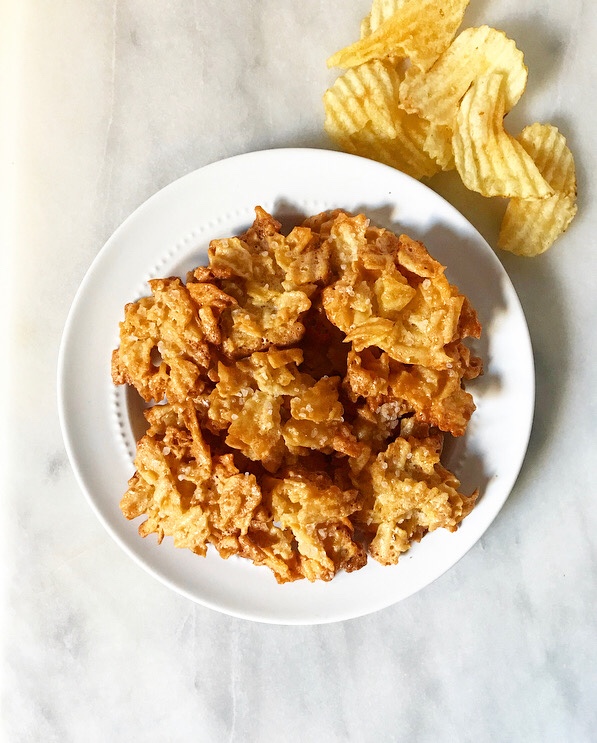
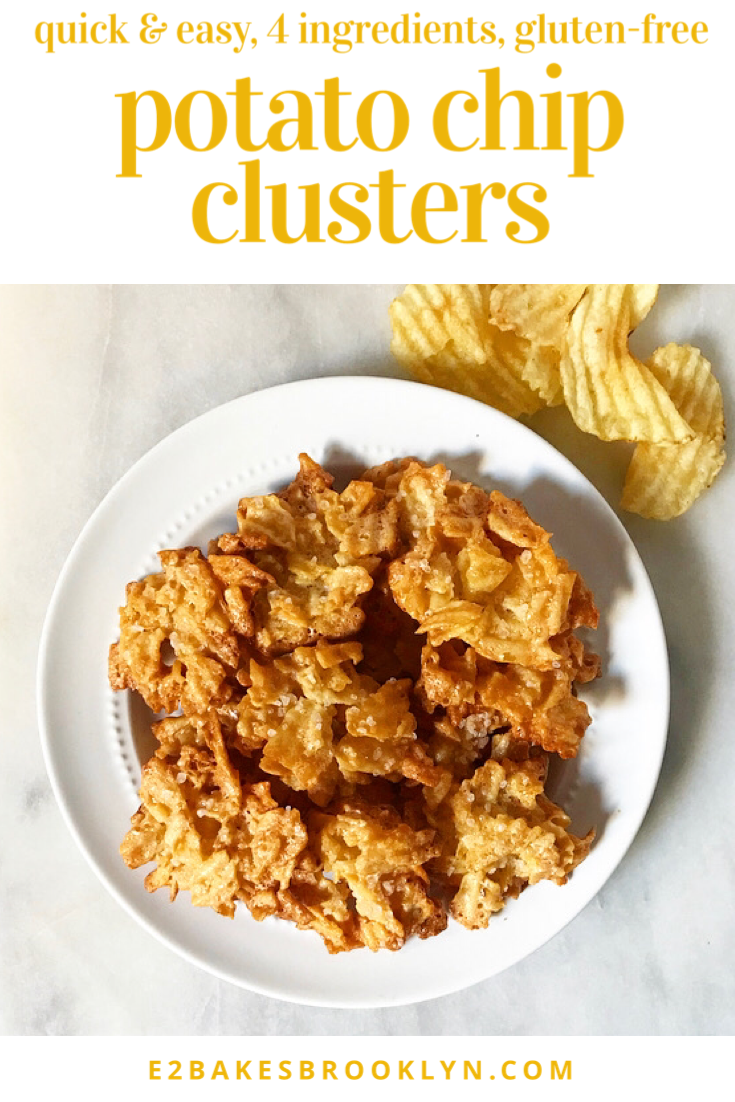
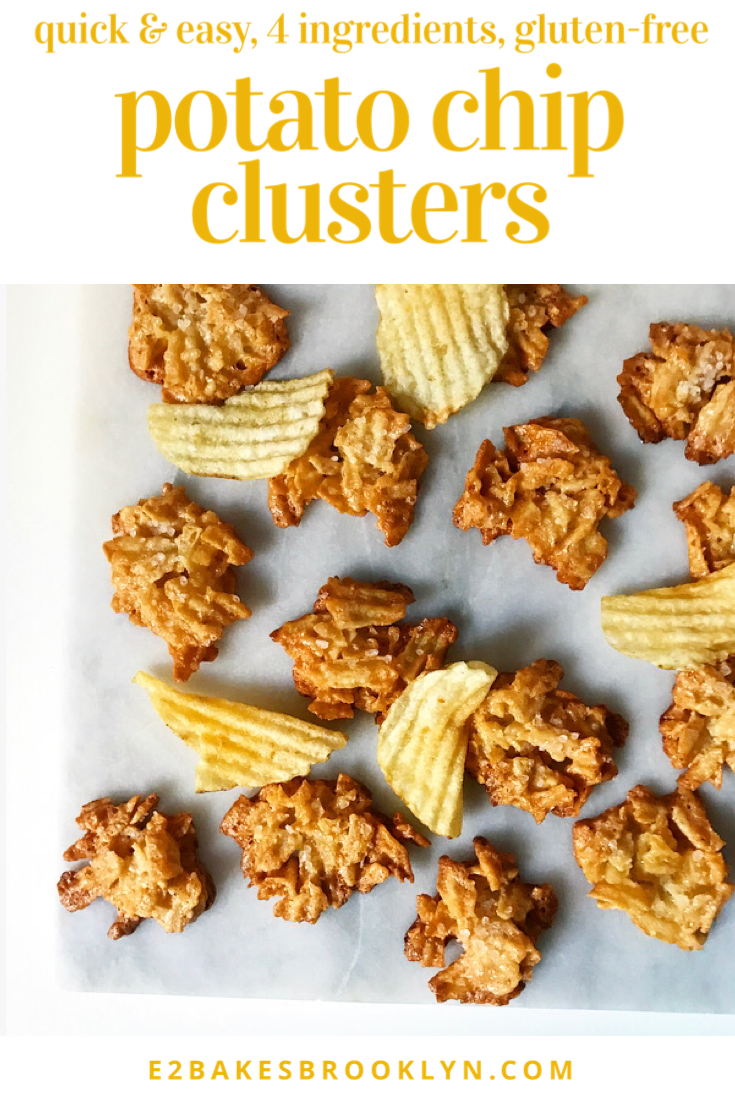
 That’s exactly what these Potato Chip Clusters are: golden, salty-sweet, lightly-candied morsels that require four ingredients, come together in five minutes and bake in seventeen.
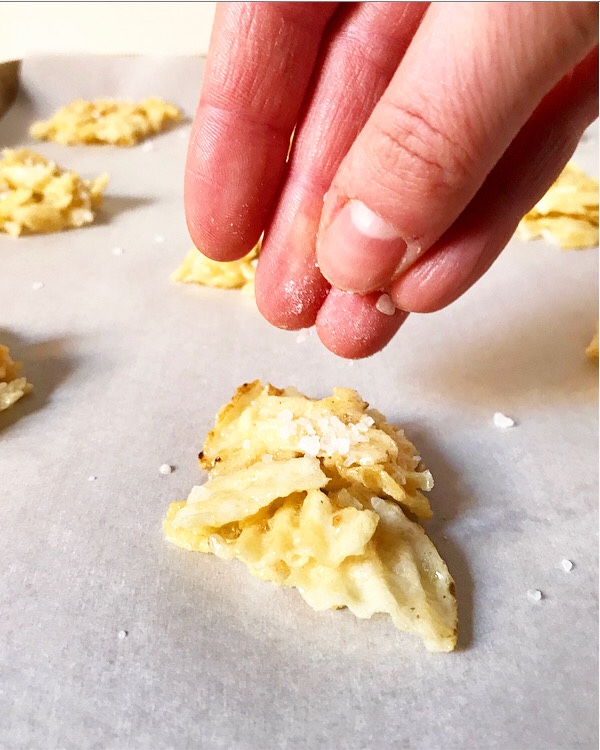
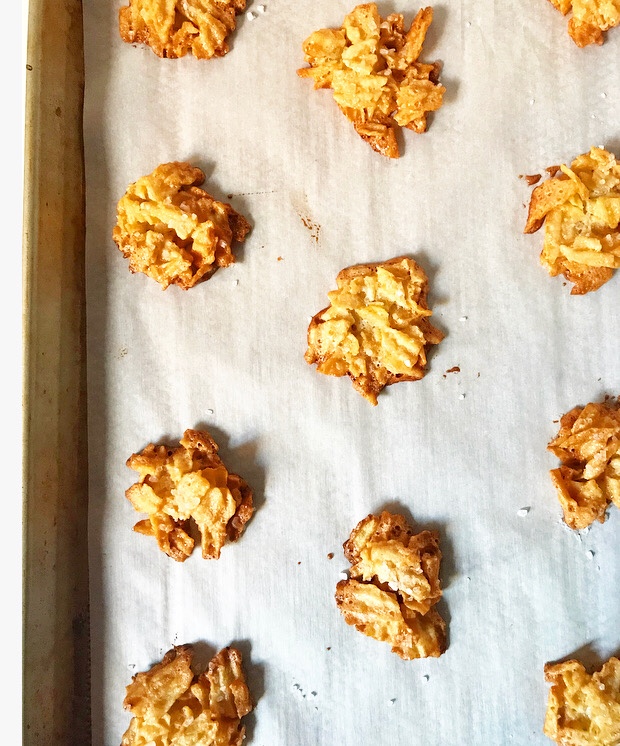 They’re brown at the edges and crispy throughout, and stay that way for days. You won’t have to worry too much about softening since their primary structural component is a single egg white.
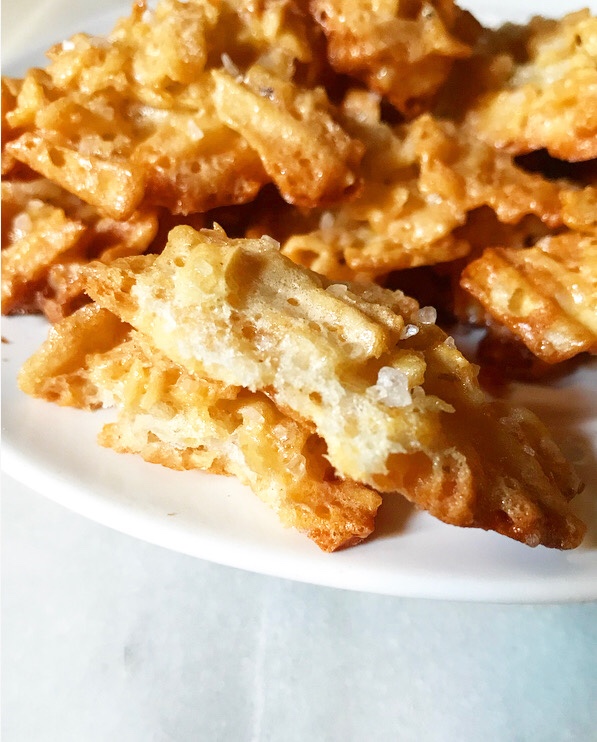 I envision these as the perfect thing to go alongside a cocktail, mocktail or glass of champagne on New Year’s Eve, but I also think they’d be great for Super Bowl Sunday, drizzled with chocolate and tucked into a cookie tin next Christmas, or whipped together any old time you need to knock out the last of a bag of potato chips.
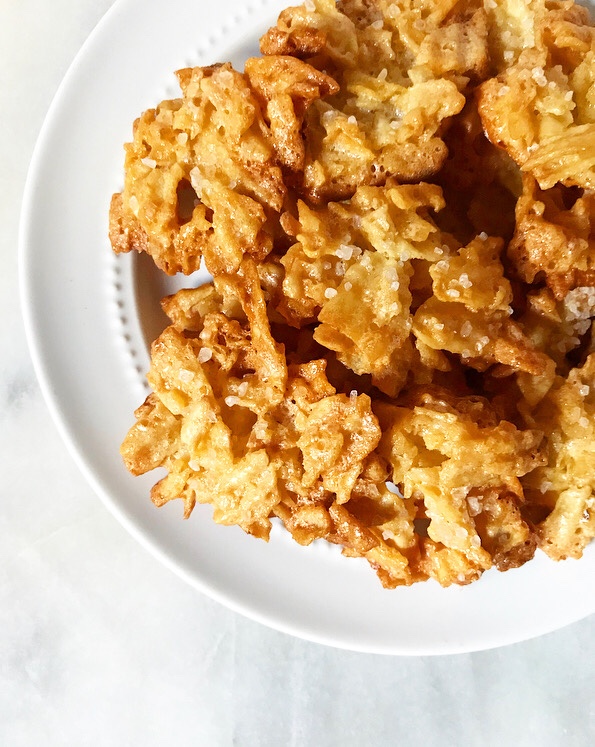
 For the
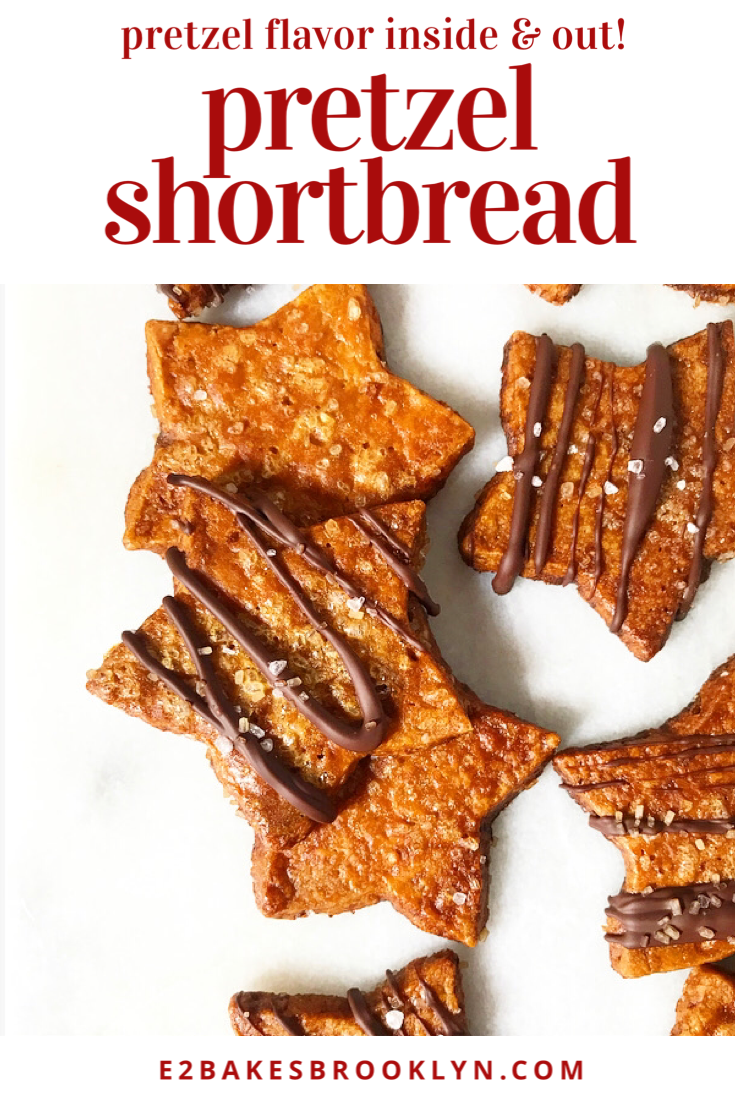
  Let’s talk about Pretzel Shortbread. Salty, sweet, crisp, pretzely (inside & out!) cookies, with or without a drizzle of dark chocolate. Oh my lord, y’all. These are absurdly good.
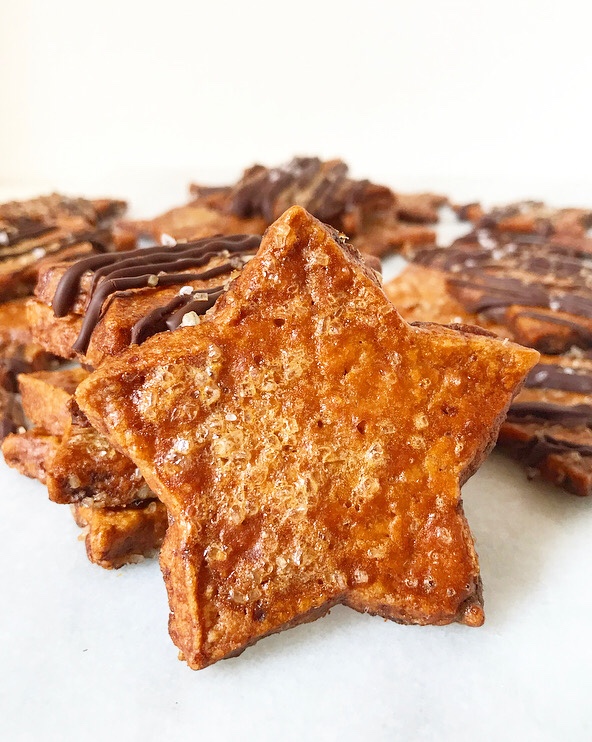
 Today’s cookies are inspired by Philadelphia-favorite
 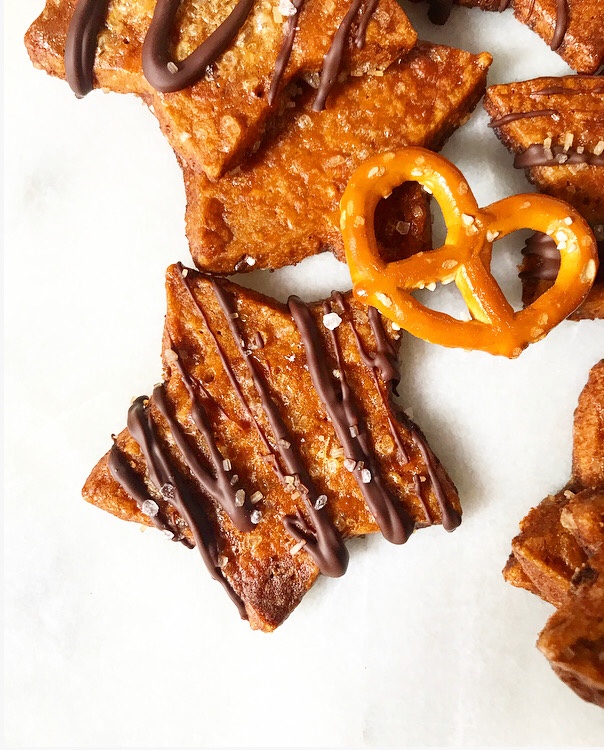 Instead of being a normal person and ordering from Lost Bread Co. online, I decided to figure out a version for the home baker…but without the lye because who keeps food-grade lye around?
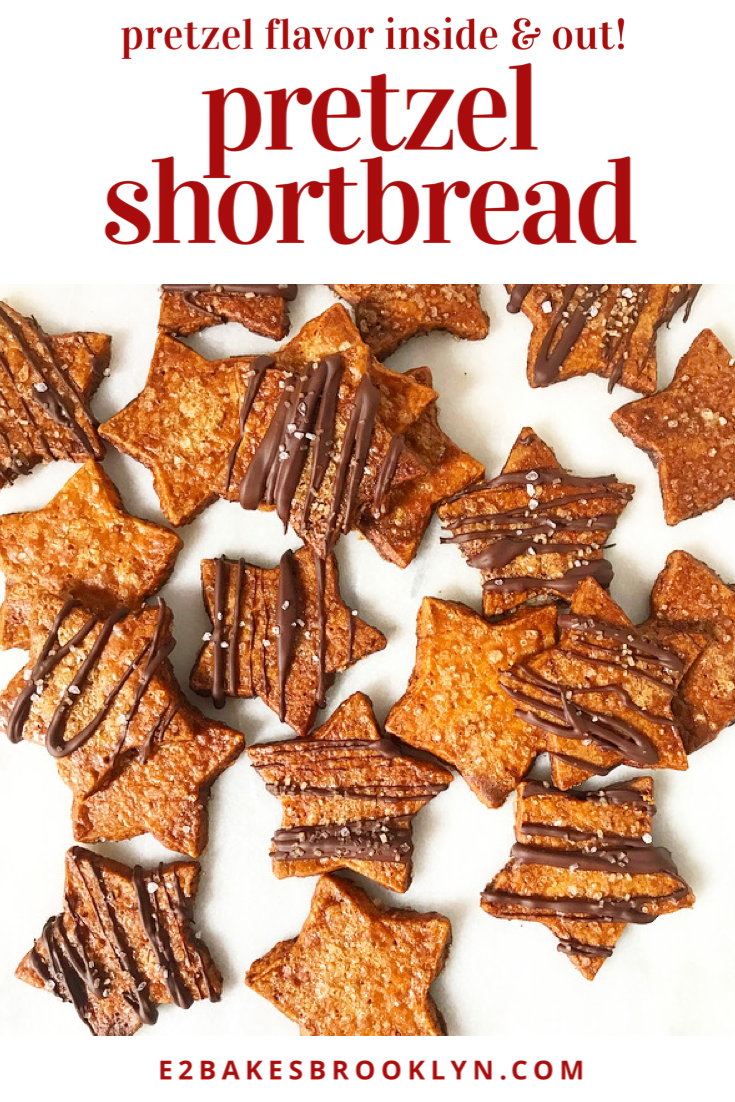
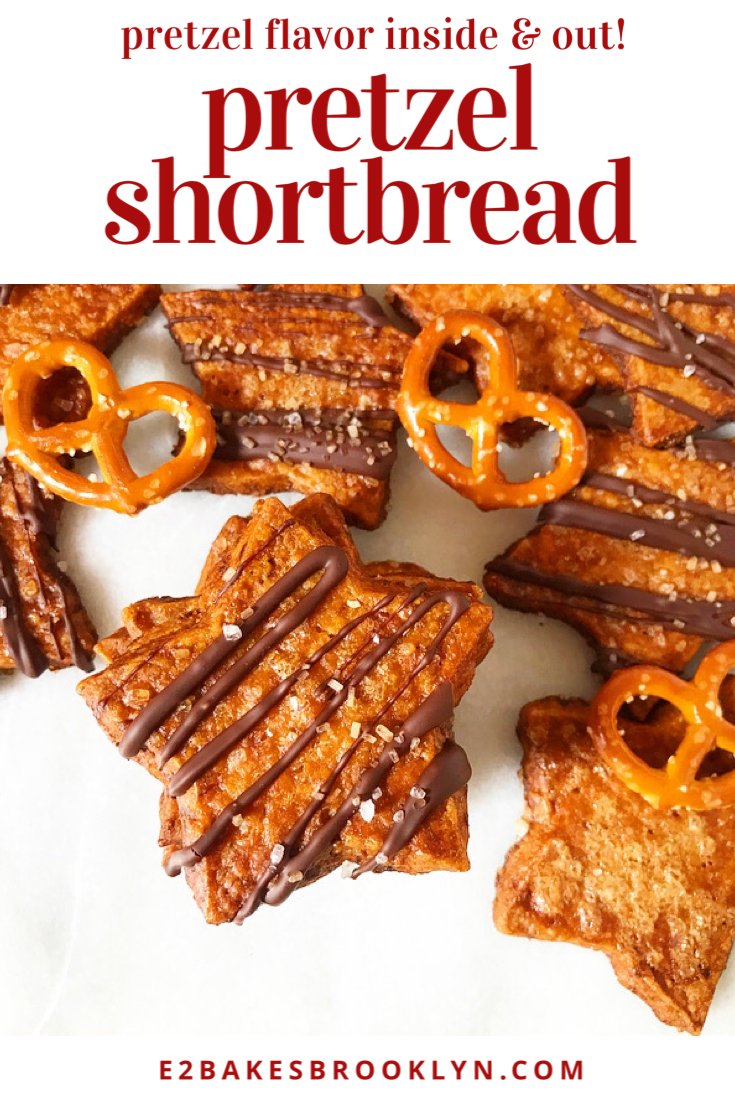
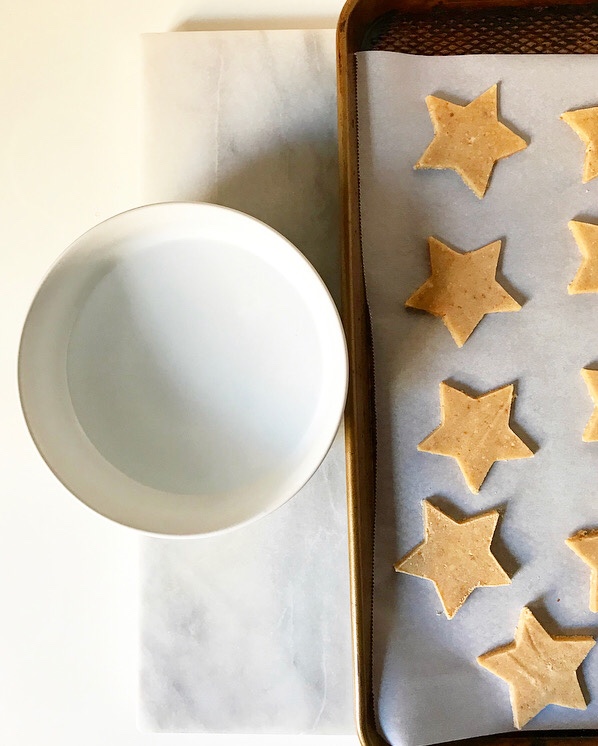
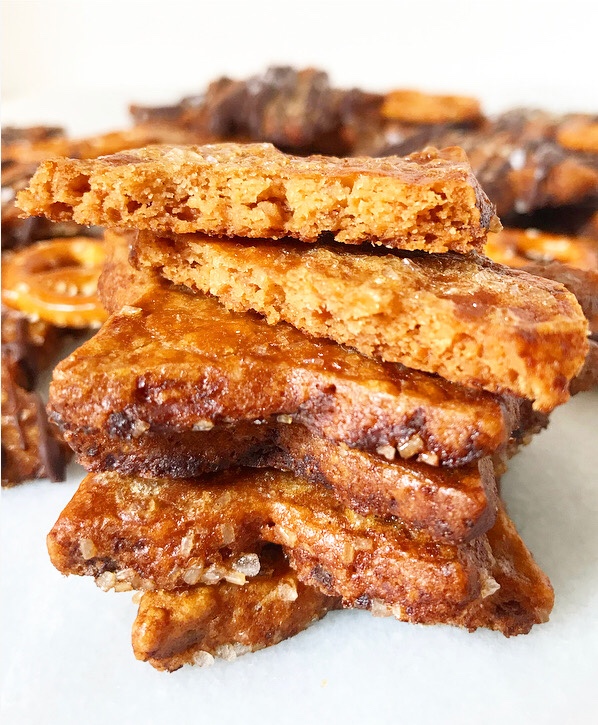 Taking a cue from Lost Bread Co., my Pretzel Shortbread dough is made with a mix of flour and ground pretzels, and sweetened with dark brown sugar and confectioner’s sugar for both flavor and texture. The rest of the ingredients are butter, vanilla, and salt. It’s all mixed together in the span of a few minutes, then rolled and cut into shapes. I went with stars because that’s what I like.
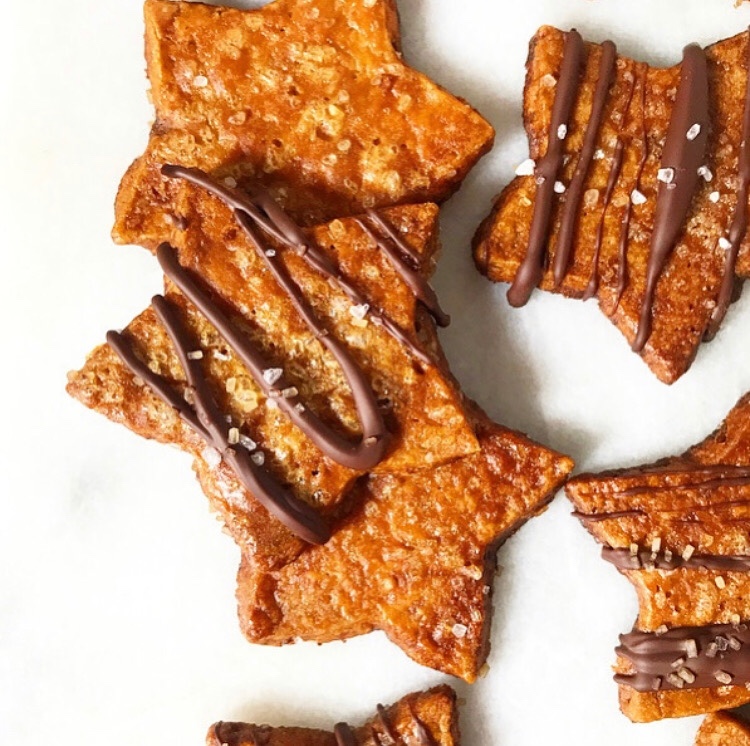
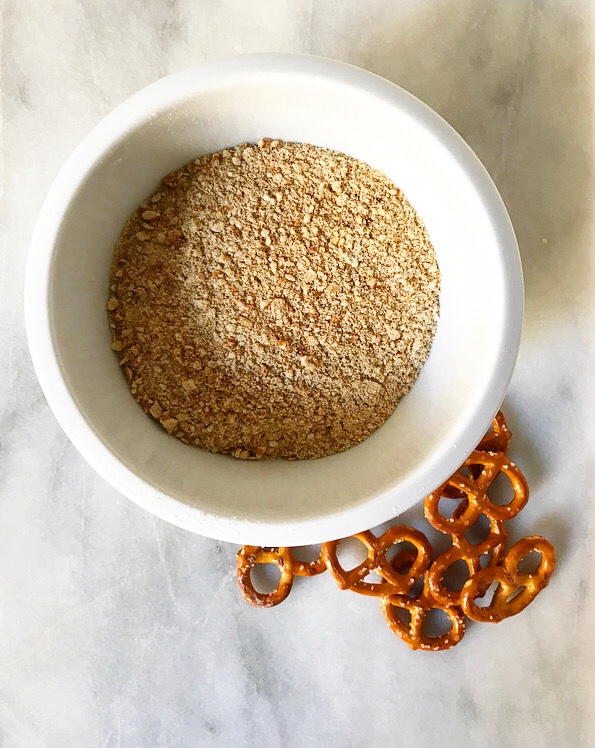
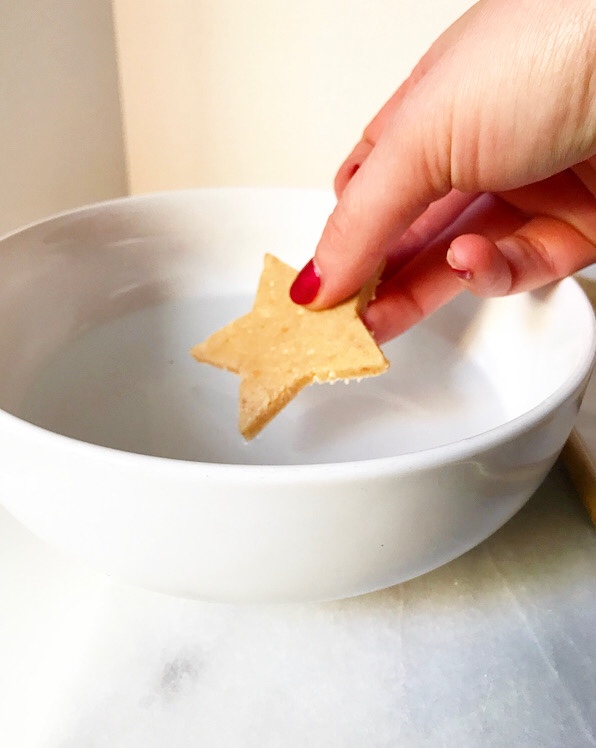 Next up: the pretzeling! After the cookies are rolled and cut (and also briefly frozen a couple of times), they are dipped in a warm mix of water and baking soda, or as I call it, “pretzel wash.” This is simply a small batch of the solution traditional soft pretzels are boiled in to achieve their signature golden finish. It’s literally just water and baking soda (no lye!), but it’s the thing that takes these cookies over the top!
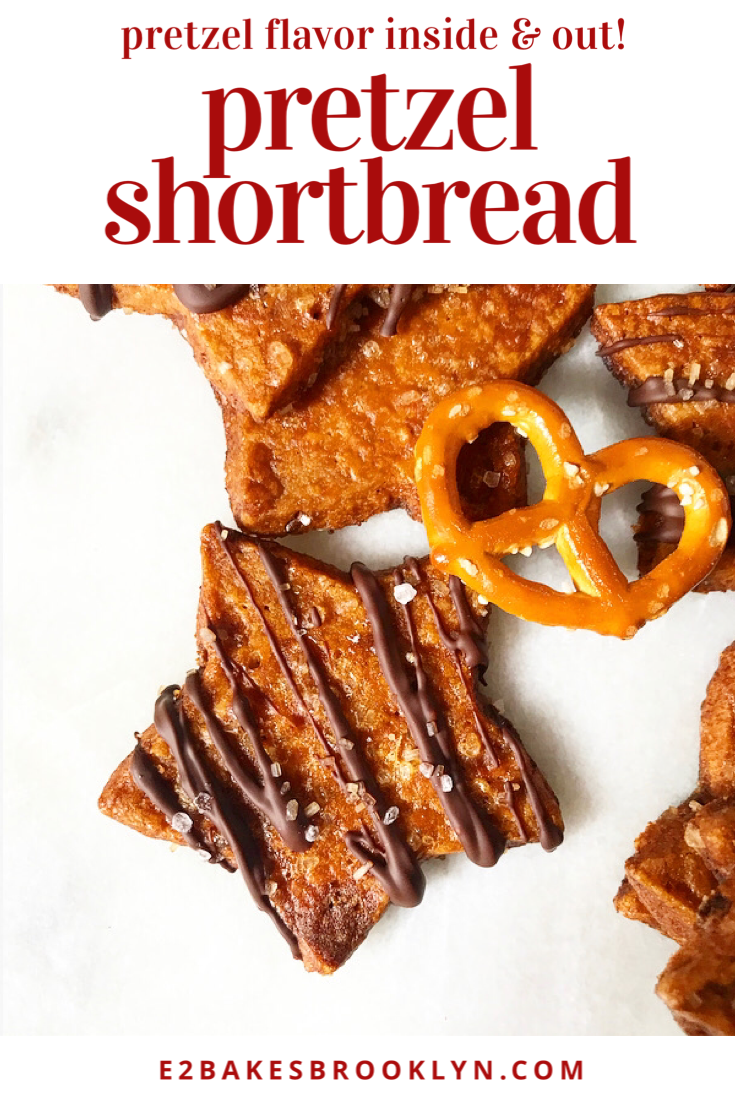
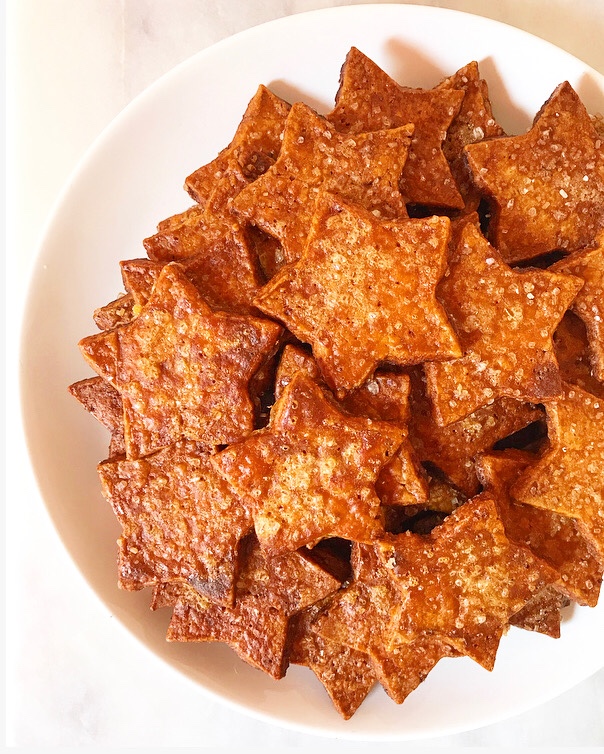 Instead of tossing the shortbread in boiling liquid, which would probably destroy them instantly, I let the pretzel wash cool until I can touch it, and then dip the frozen cookie dough stars into the mix. This is followed up by a swipe of egg wash and sprinkles of coarse salt and sugar before being baked to a brown, burnished, decidedly pretzelesque* finish.
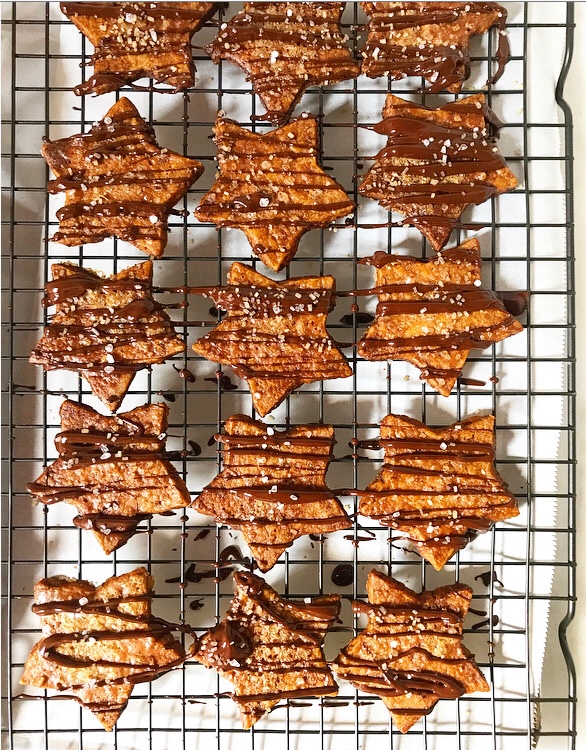 Finish the Pretzel Shortbread off with a drizzle of chocolate, or not. I did a little of each—I like to have options.
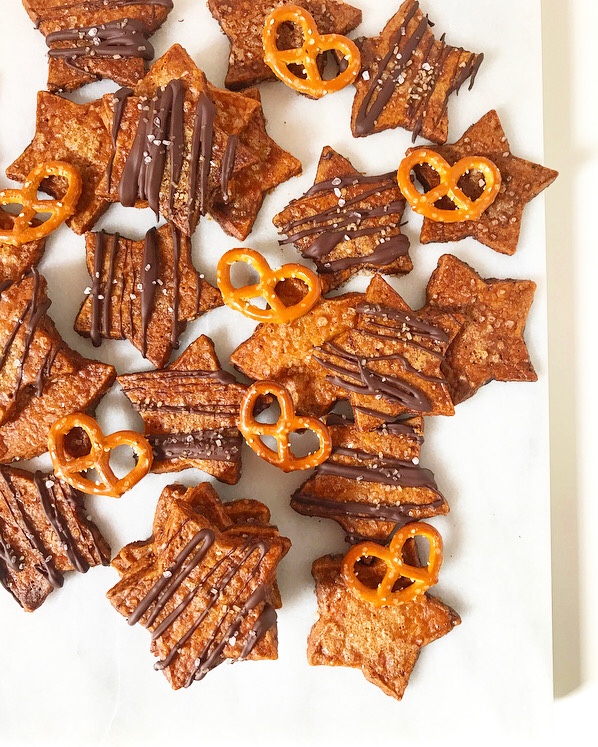 Salty, sweet, pretzeled inside-and-out, chocolaty, Christmasy, delicious options.