Listen, I am not going to try to convince you to always make your own homemade crackers because I am not insane. I buy so few things pre-made, but crackers are one that I do—even dedicated home bakers need a convenience food every now and then! You know, like when you get home at 10pm after working 14 hours straight and if you have to cook one more thing, you will throw a toddler-style tantrum of epic proportions right there on the kitchen floor.
Not that I’ve ever done anything like that. Ahem.
That said, sometimes it’s fun to DIY, especially when it’s both fancy and easy, and it doesn’t get much fancier or easier than homemade Olive Oil Crackers. The recipe is only five ingredients long, takes less than an hour start-to-finish, and makes the most delicious crispy, crunchy crackers I’ve ever had.


The recipe itself is a breeze—just mix together flour, salt, olive oil, and water, then roll, cut and bake ‘til crispy—but there are a couple of unusual things that I want to explain before I get to it.
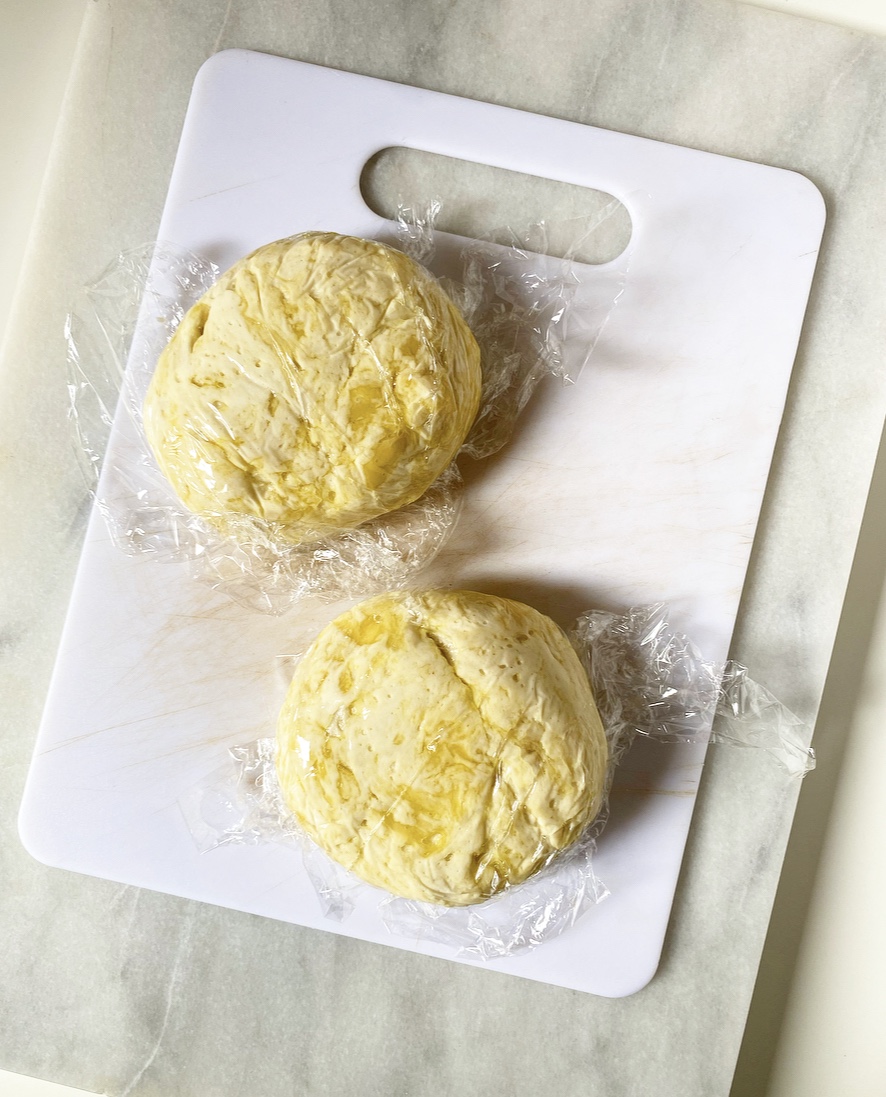
First, you need to rest your dough before rolling it out. This isn’t a prolonged thing, just 15 minutes to let the gluten in the flour relax before you roll it out paper thin. If you skip this step, the dough will shrink back somewhat dramatically at the edges when you roll it—not the worst thing that’s ever happened, but not the best if you’re seeking wafer thin crackers, which I very much am.
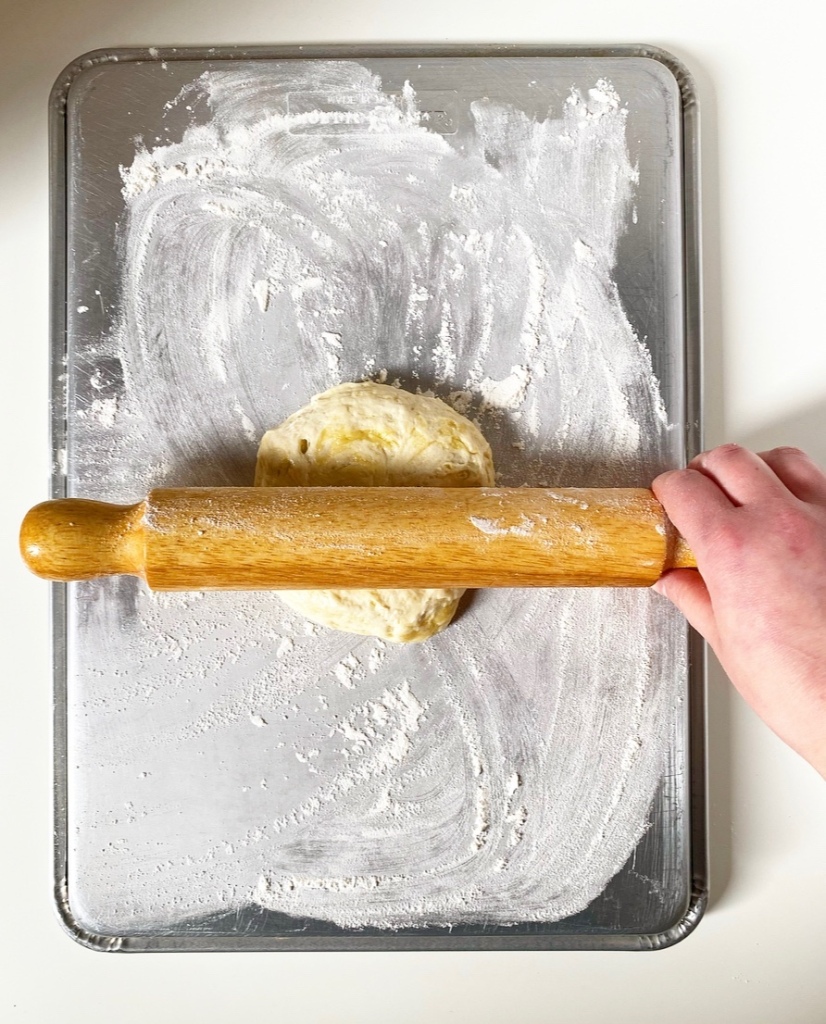
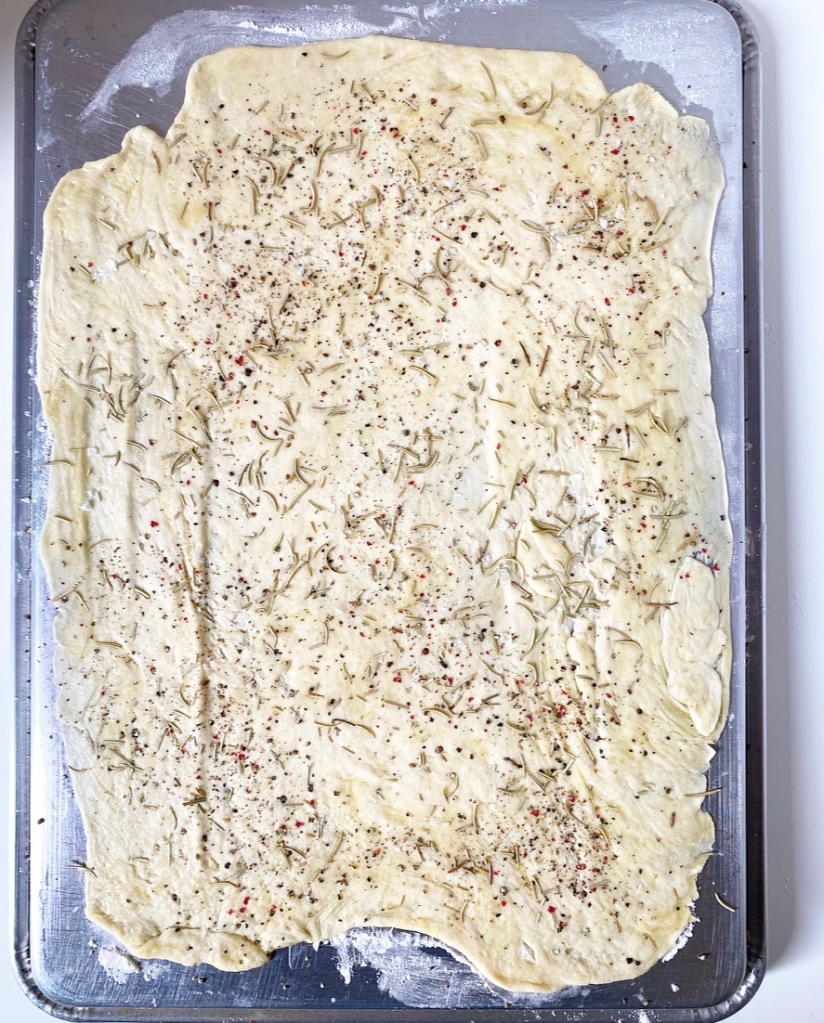
The other thing is the way you roll, cut, and bake these crackers, which happens to be on the back of a sheet pan. I learned this technique from my favorite food writer, Julie Van Rosendaal, and it’s…well, it’s genius. This allows you to get the crackers extra thin with your rolling pin without running into those pesky pan edges and negates the need to transfer each individual cracker to the pan, which usually results in thicker, irregularly shaped results. No thanks! If you have coated pans or simply don’t want to use this method, roll your dough out on a large piece of parchment and transfer that to the pan.
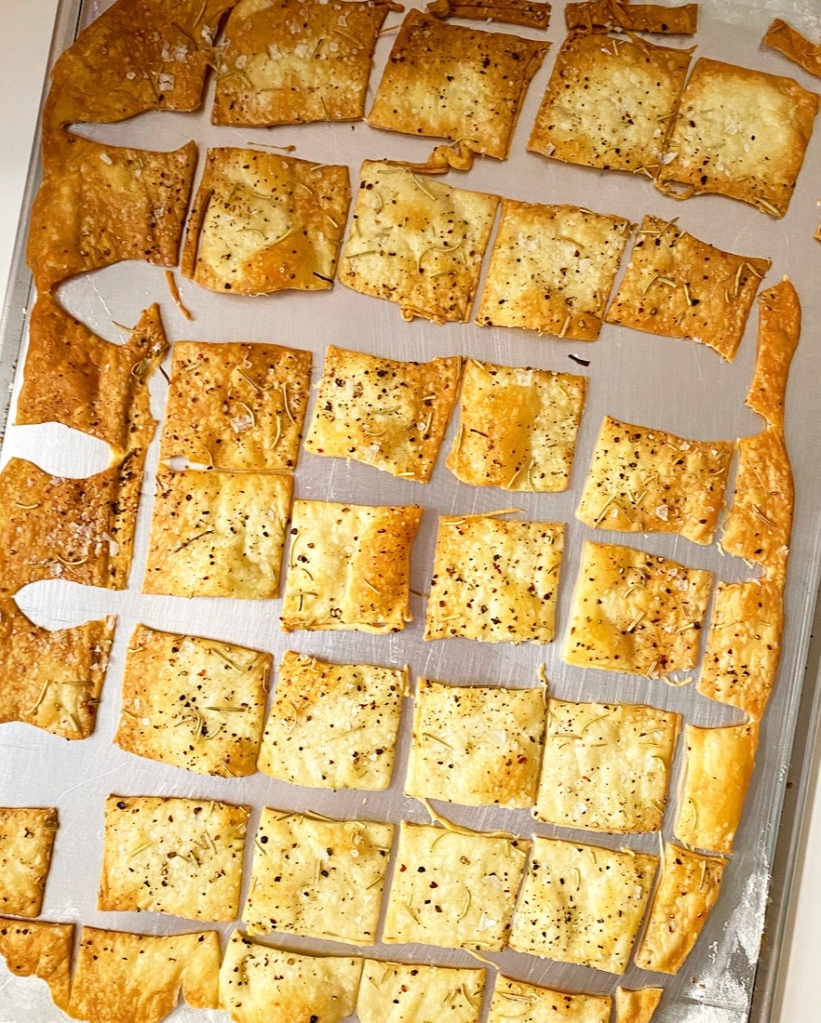
These crackers bake up in about 15 minutes. You’ll know they’re perfect when the edges are dark and the center has browned in places. In my experience, it’s better to brown them a little too much than leave them pale—nobody wants chewy crackers. You may have to sacrifice some of the edge pieces, but honestly, I kind of dig the overdone parts.
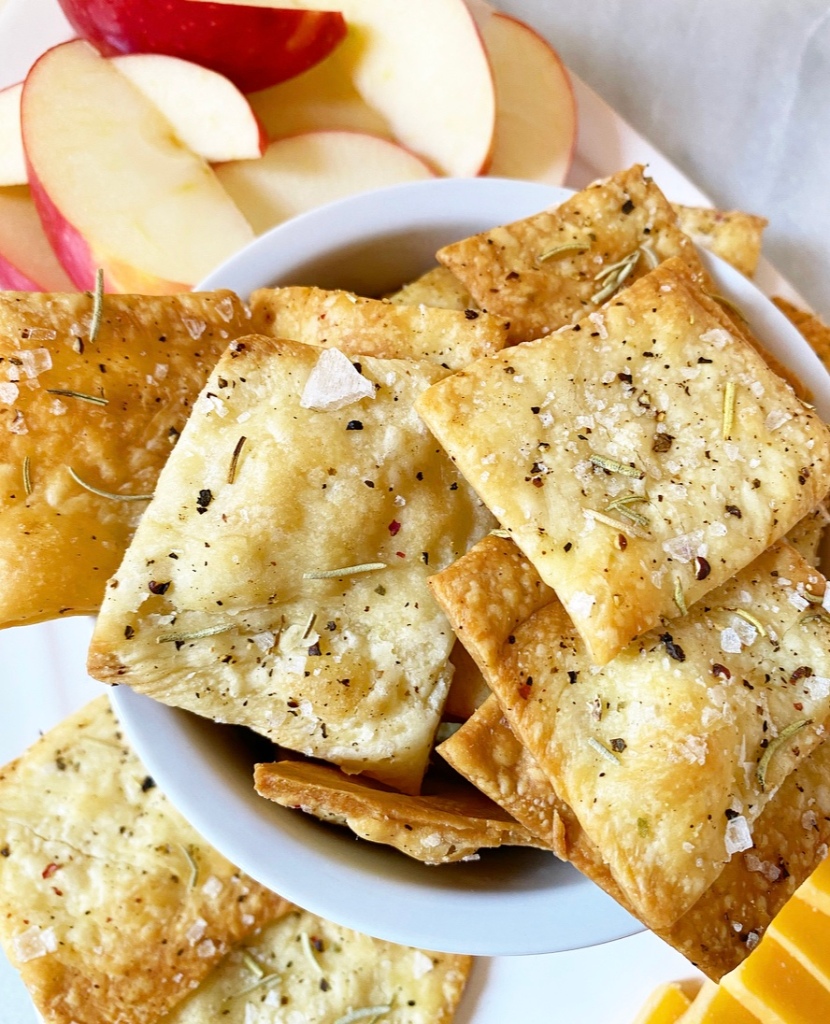
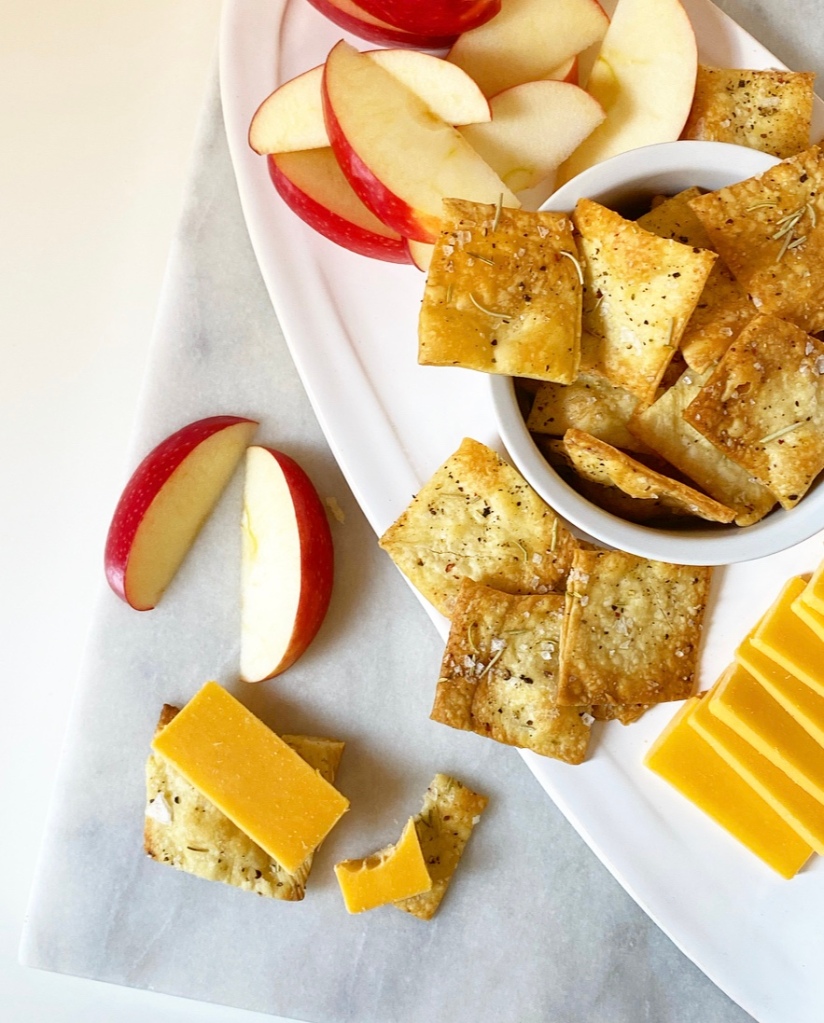
Olive Oil Crackers are a great blank slate cracker because their primary flavors are—you guessed it—olive oil and salt. You can absolutely leave them plain, but I love dressing them up with whatever spices sound good. The batch pictured was seasoned with cracked pepper, Maldon salt, and dried rosemary, but I’ve included a bunch of suggestions in the recipe.

You can save this recipe for your next get-together or cozy night in with someone you like, or you can just make them for yourself, like I do. Because I like to eat Olive Oil Crackers and extra sharp cheddar for dinner after 14 hour workdays. And also because I’m a little bit fancy (but only a little bit).
Olive Oil Crackers
makes lots
2 cups all-purpose flour
1 teaspoon Kosher salt
1/3 cup olive oil
2/3 cup warm tap water
spices of choice
Spice suggestions: freshly cracked black pepper, flaky salt, dried rosemary, dried thyme, everything bagel seasoning, za’atar, sesame seeds, poppyseeds
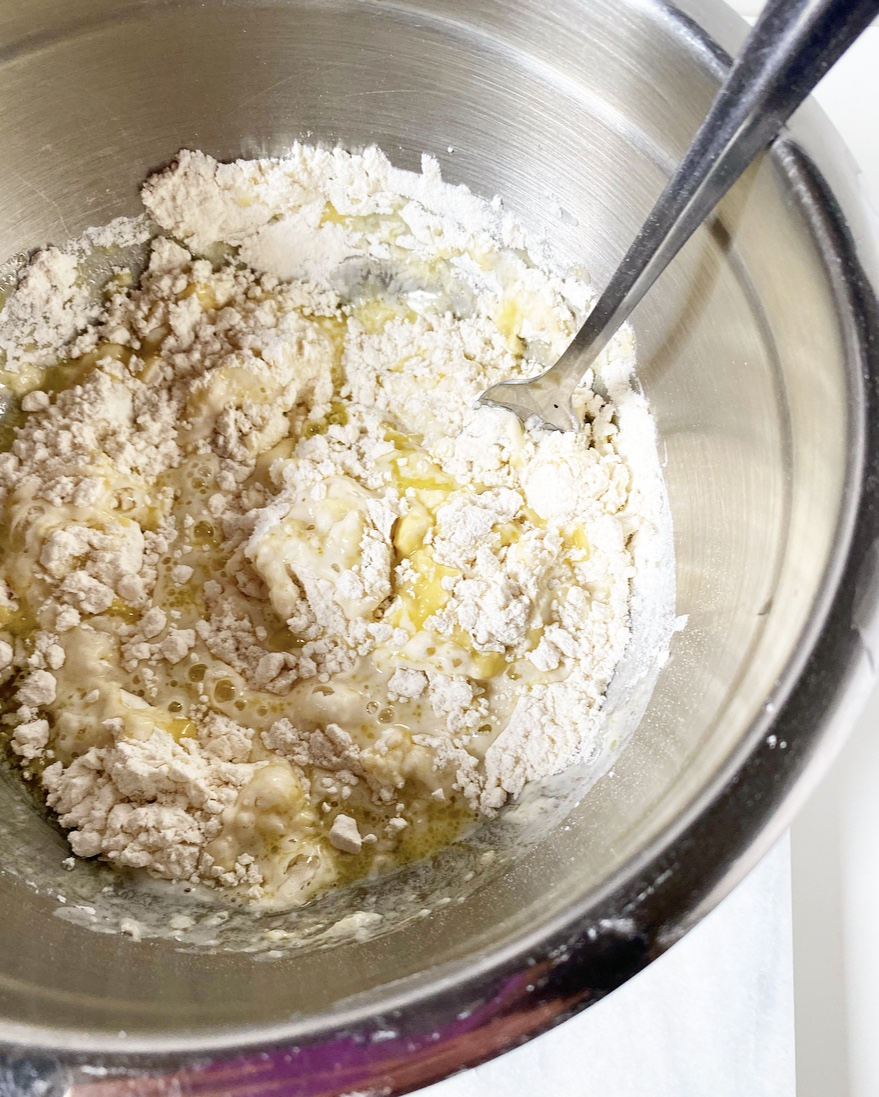
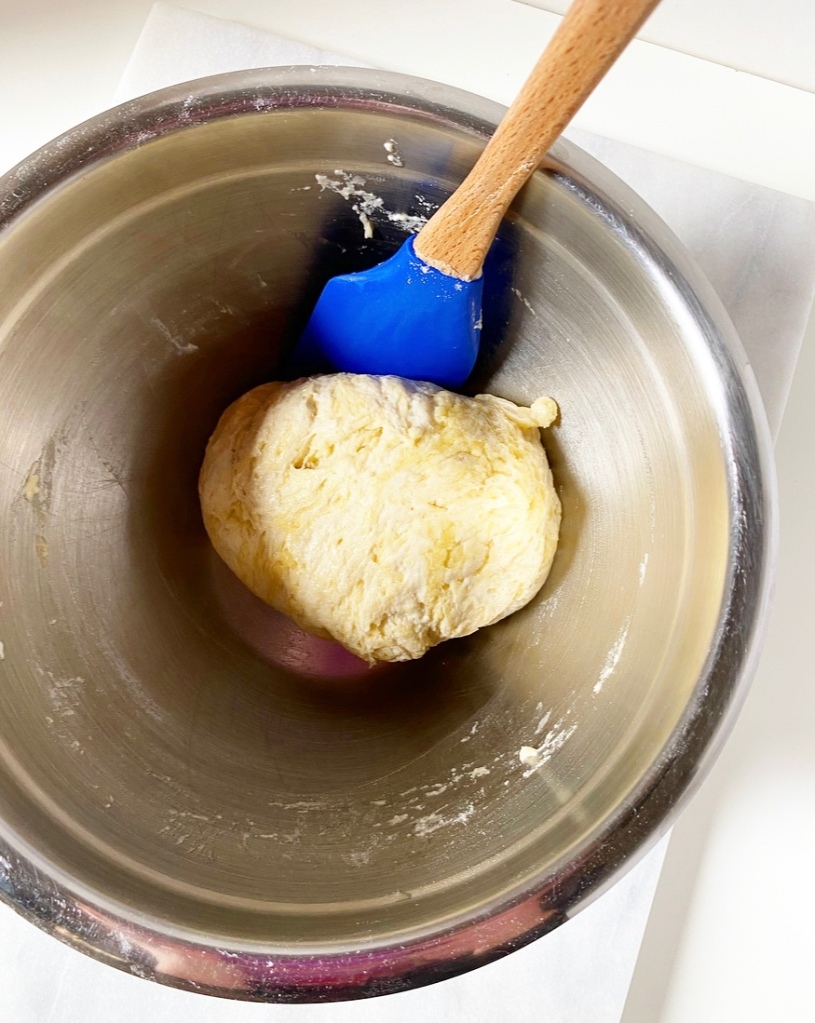
In a medium mixing bowl, whisk together flour and salt. Add oil and warm water and whisk just until combined. Divide dough in two. Wrap each portion in plastic wrap and let rest at room temperature for 15 minutes.
Place oven racks in central positions. Preheat oven to 400F. Lightly flour the backs of 2 sheet pans.
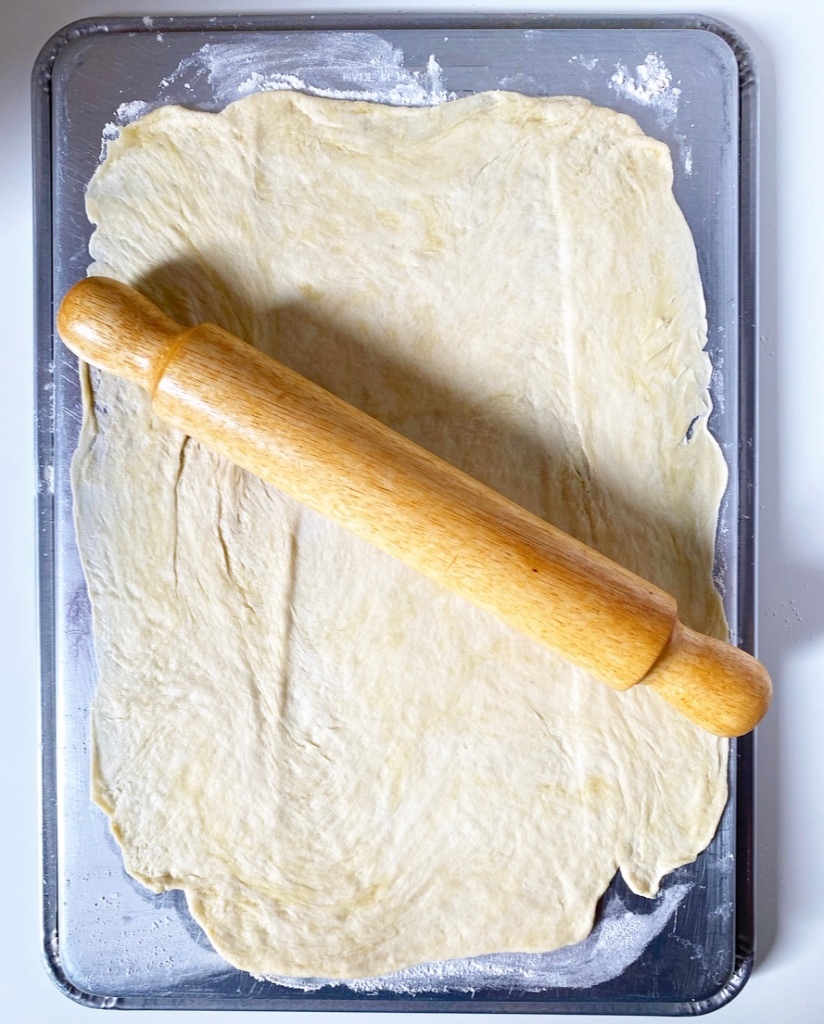
Roll out the crackers. Place one half of the dough on one of the floured pans. Use a rolling pin to roll it as thinly and evenly as possible (without being transparent) in all directions. The edges will shrink back slightly; if they are snapping back dramatically, cover the partially rolled dough with plastic wrap and let rest for another 15 minutes. Once rolled out, the dough should cover most of the pan and have irregular edges. Repeat with remaining dough and pan.
Sprinkle desired spices over the dough and lightly roll the rolling pin over the top to adhere.
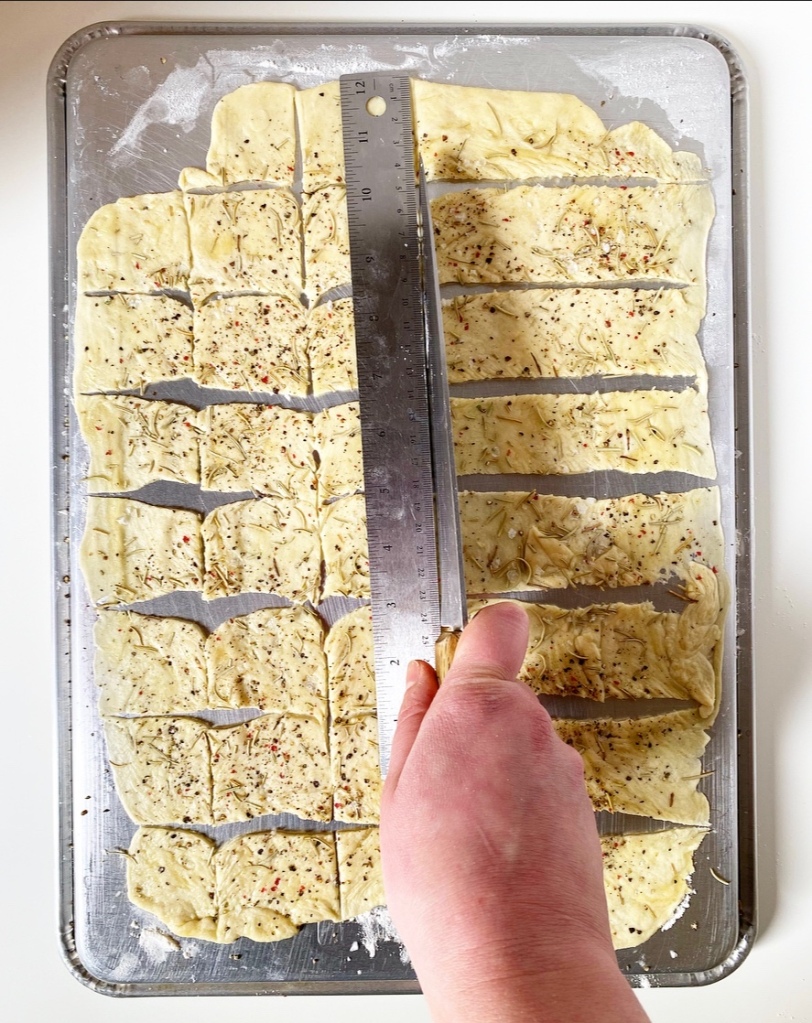
Cut the crackers. Use a sharp chef’s knife, pizza cutter or bench scraper to cut dough into crackers. Mine are roughly 1 1/2 x 2 inches, but you may cut them as big or small as you like, keeping in mind that baking time may be affected. Prick each cracker with a toothpick or fork.
Bake crackers for 15-18 minutes, or until dark at the edges with some browning in the center. If they are pale, in the center, return them to the oven for a minute or two until they develop some darker spots.
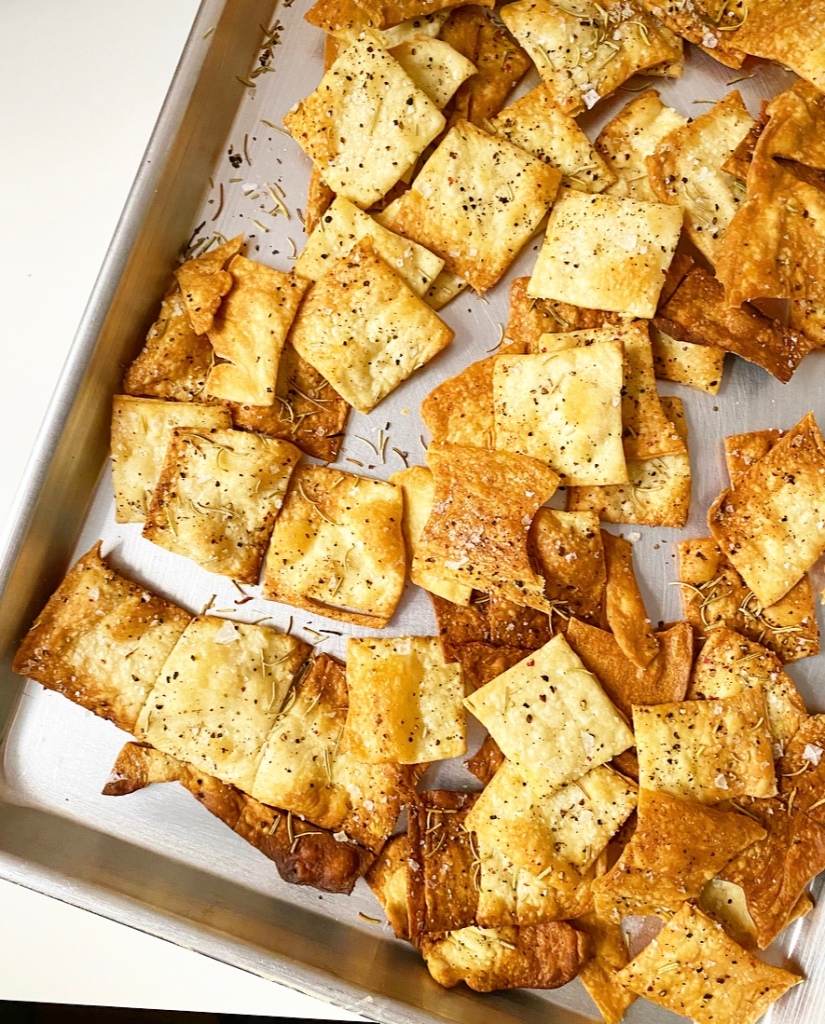
Let crackers cool completely on their pans. Serve with cheese, cured meat and/or fruit.
Crackers will keep in an airtight container for at least a week.