 E2 Bakes Brooklyn is five years old today! Yep, this little blog is exactly half a decade and 544 posts old. I can’t believe it.
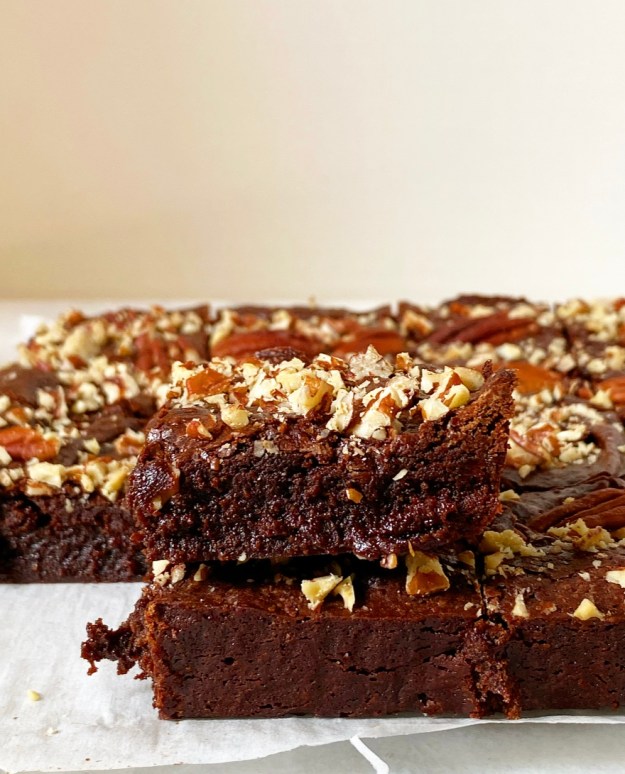
This post, lucky number 544, has the distinction of being my very first repeat. I mean, I’ve used the same chocolate cake in a few different recipes and I have repurposed the same sugar cookie dough at least five times, but this is my first straight-up repeat recipe.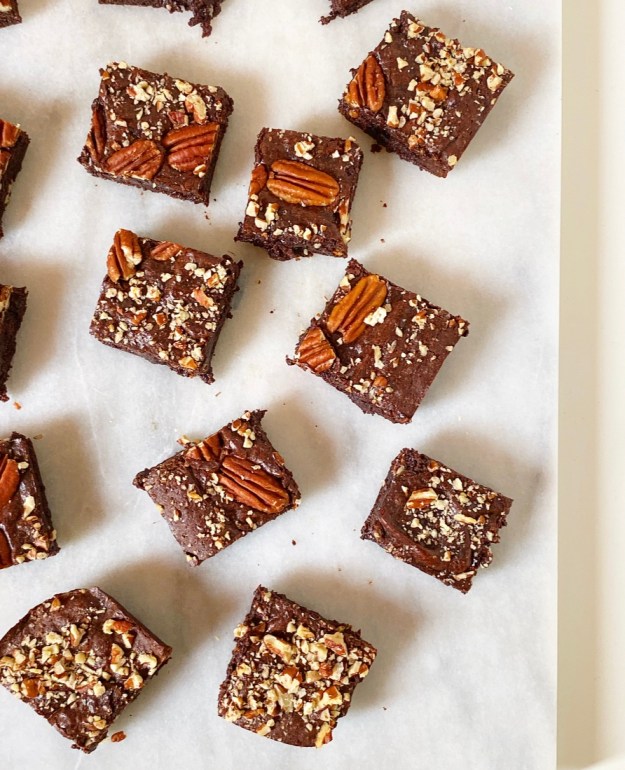 Today, I’m remaking the Cocoa Brownies that I posted on day one: October 21, 2015. They are a twist on Alice Medrich’s stellar recipe, and though I have made many more brownies in the intervening years, these are still my favorites. They’re dark, dense and fudgy, and so chocolaty, you’d never guess that all their flavor comes from cocoa powder.
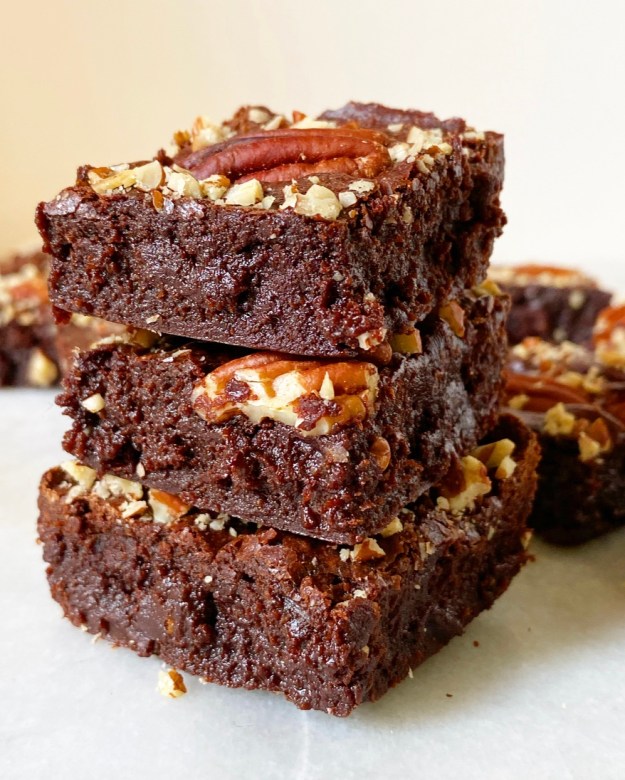 But still, do they warrant a repeat? Even on an anniversary? Well, call me nostalgic, but yes. And for the record, I’m not just revisiting my first post for nostalgia’s sake. As my favorite writer/comedian/Deranged Millionaire/actor/podcaster/celebrity crush, John Hodgman, likes to say, “Nostalgia is the most toxic impulse.” What that means is that you need to live in the present. And in my present, I’ve got unfinished business with my Cocoa Brownies.
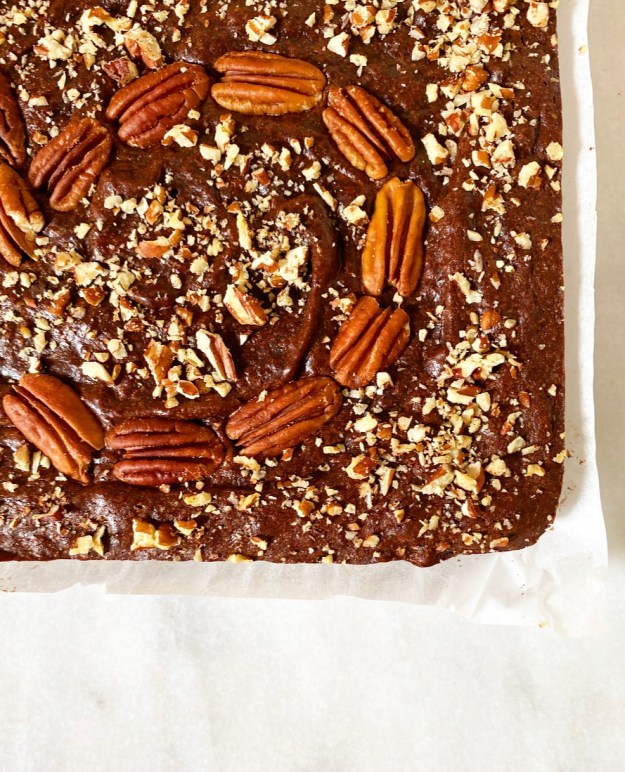
 I mean, I like my first post and the recipe, but the photos? Yikes. They’re not my worst ever, but they’re not great. I’ve gone back and re-done the photos on a few posts in the last couple of years, but it seems wrong somehow to mess with the first post, even with its weird formatting and stilted instructions. 2015 Liz was super proud and excited about finally starting this blog, and I don’t want to diminish that in any way. It was a moment in (my) food blogging time.
That said, today is another a moment in (my) food blogging time—a moment in which Cocoa Brownies finally get the photoshoot they deserve. While I am not a pro food photographer or stylist, I have learned a lot while photographing 544 posts, all on iPhones and nearly all with the same Carrara marble pie board as backdrop.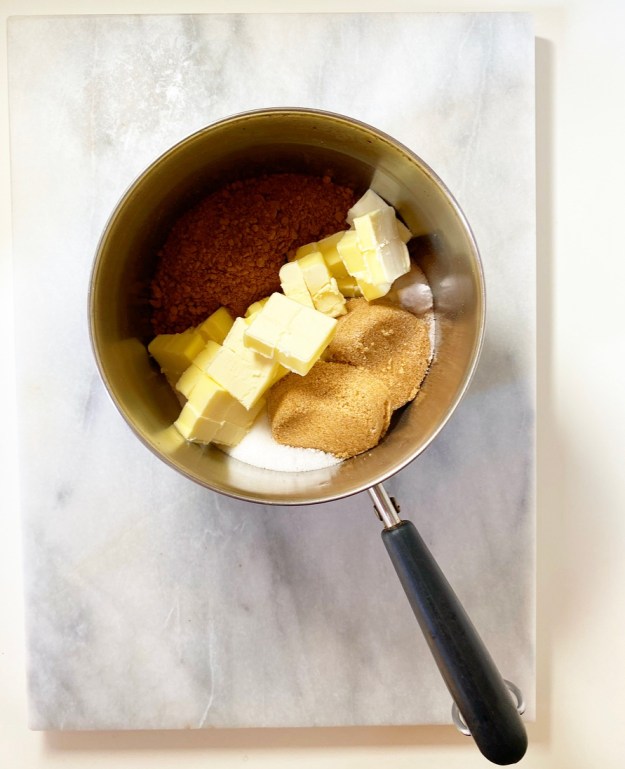

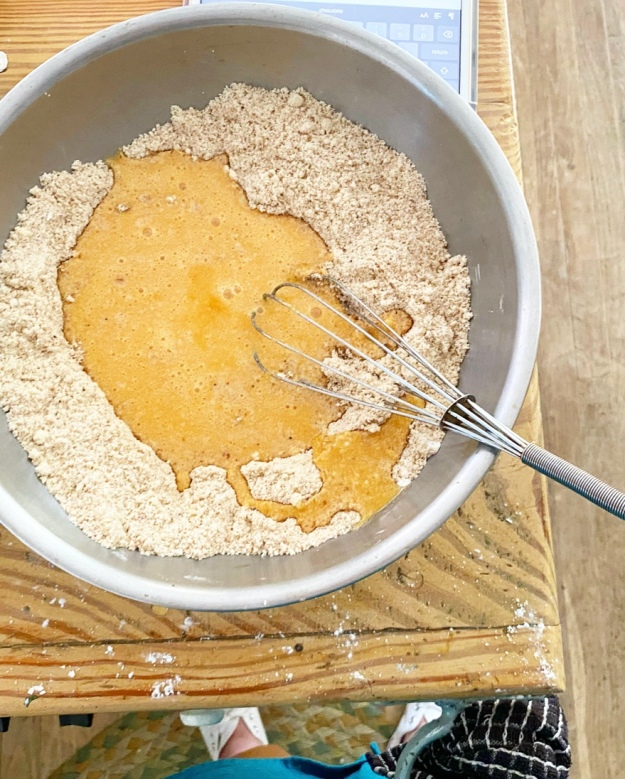
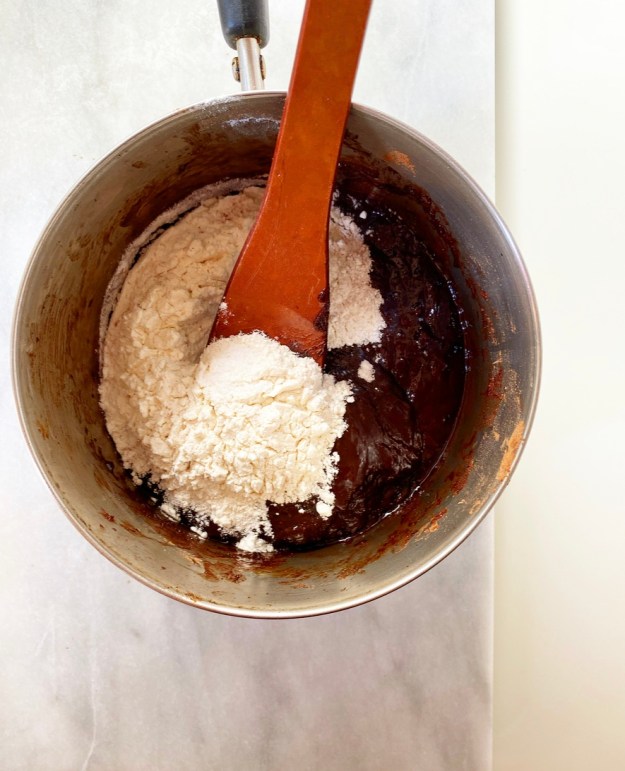 And baking? I’ve learned ten times as much about baking in the last five years as I have about photography. Still, these Cocoa Brownies didn’t need much of an update recipe-wise. In remaking them, I only made one major adjustment: I mixed them right in the pot where I bloomed (melted together) the butter, cocoa, and sugars. You can, of course, just mix the batter in a bowl, but why add more dishes if you don’t have to, am I right?! I simply waited for the cocoa mixture to cool a few minutes so I could add the eggs without scrambling them, then stirred in the dry ingredients. Then I just transferred the batter into an 8-inch square pan. Et voila!
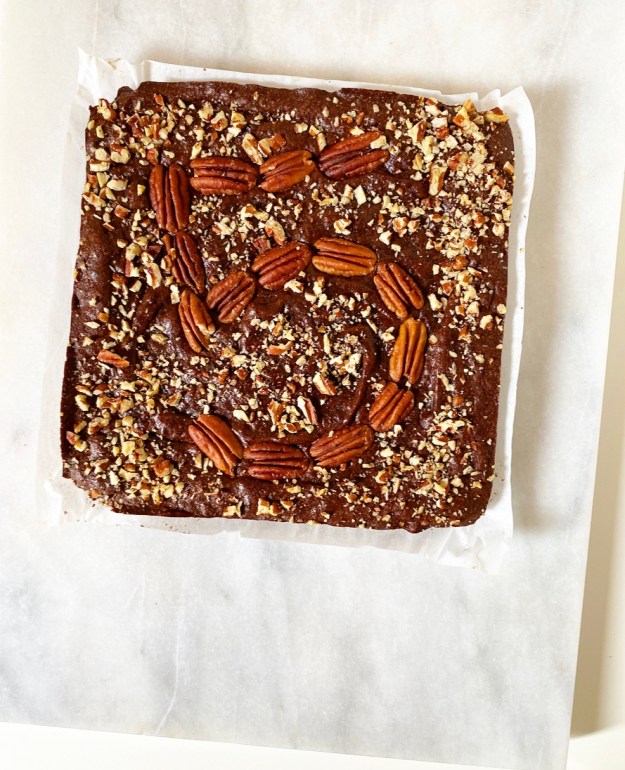
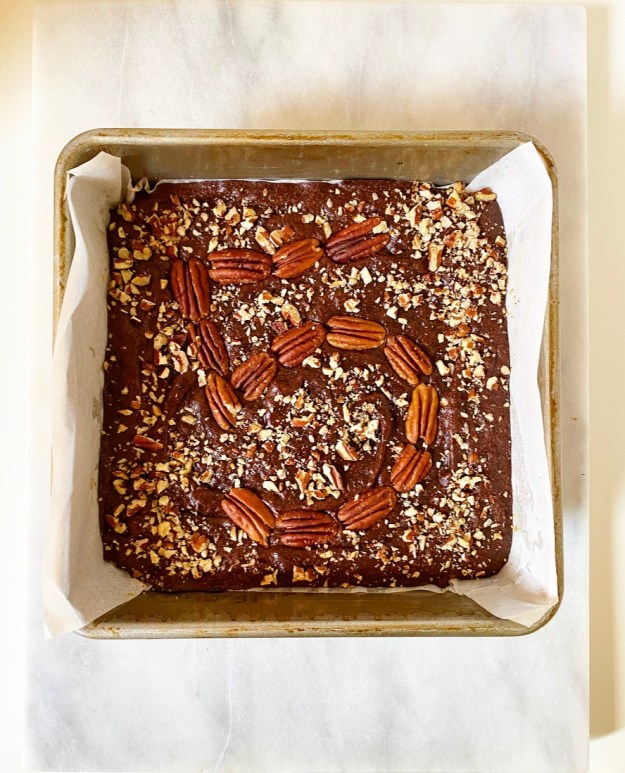 I decided to top this pan of goodness off with a pecan mosaic. My dad, the primary brownie baker in my family, always uses pecans to write something on his brownies—initials, greetings, silly words–and I like to as well. I think today warrants a “5,” don’t you?
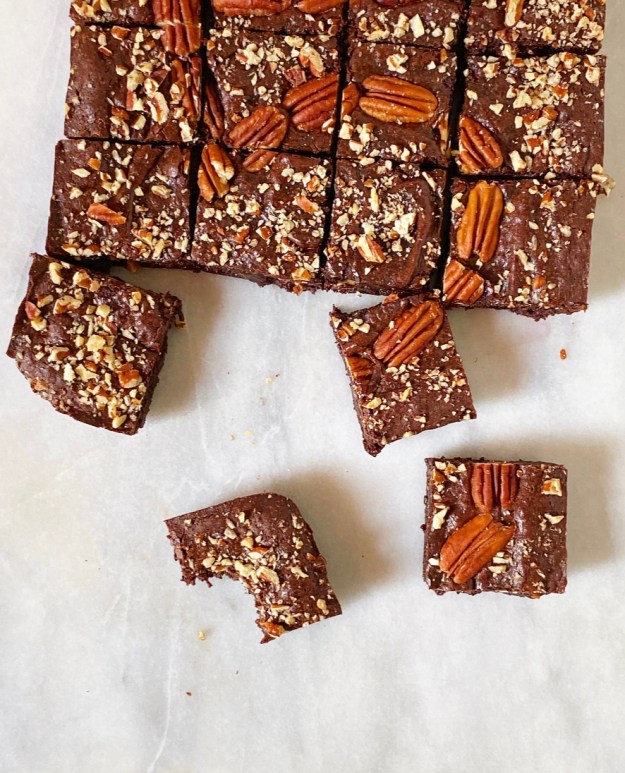 Cocoa Brownies bake in 30 minutes and cool in about an hour, making them the perfect simple treat for celebrating one of my biggest accomplishments to date—one that I couldn’t have done without you. This blog has helped me make new friends, reconnect with old ones, strengthen existing relationships, and interact with so many people that I truly would never have met if it weren’t for this compulsive home-baking and over-sharing habit of mine. Thank you for the kind notes, laughs, likes, questions, comments, and social media posts—for just being a part of this community. It means the world.
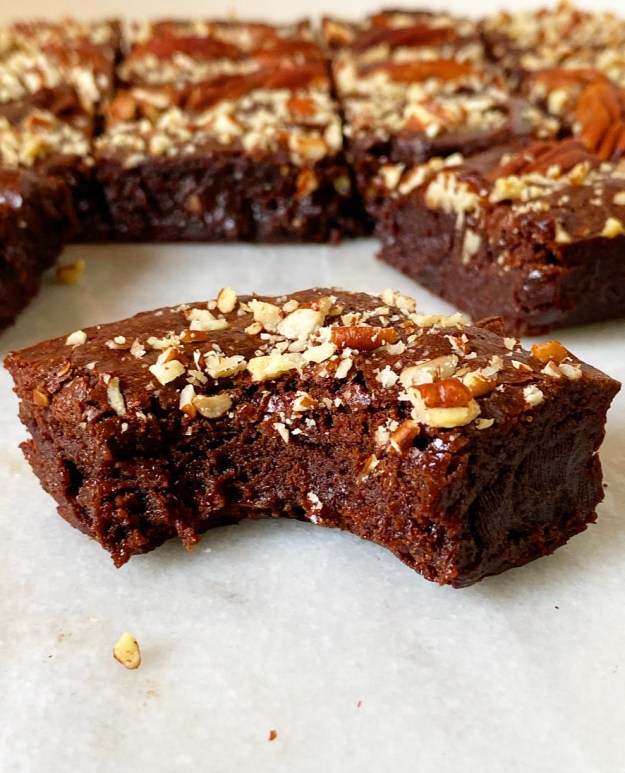
Cocoa Brownies
adapted from Alice Medrich’s Cocoa Brownies
makes one 8- or 9-inch square pan
10 tablespoons unsalted butter, cut into small pieces
3/4 cup granulated sugar
1/2 cup light or dark brown sugar, packed
3/4 cup + 2 tablespoons cocoa powder (natural or dutch process)
2 large eggs, cold
1 teaspoon pure vanilla extract
1/2 cup all-purpose flour
1/2 teaspoon Kosher or sea salt
pecan halves for decorating, optional
Preheat oven to 325F. Butter the inside of an 8- or 9-inch square pan. Line the bottom with parchment and butter again. Set aside.
In a small pot over medium-low heat, melt butter, granulated and brown sugars, and cocoa powder together, stirring frequently, until a thick, grainy mixture forms. Remove from heat and let mixture cool 5-7 minutes.
Add vanilla and eggs to the pot, and stir/whisk to combine. Add flour and salt and stir/whisk to combine. Transfer batter to prepared pan and spread to the edges. Tap the full pan on the counter a couple of times to release any air bubbles. Top with pecans, if desired.
Bake brownies 25-30 minutes, or until a toothpick inserted in the center comes out with only a few moist crumbs (not wet batter).
Let brownies cool completely in the pan on a rack. Slide a knife around the edges of the pan before using parchment overhang to lift brownies onto a cutting board. Use a large, sharp chef’s knife to slice brownies into 16 or 25 pieces. Serve.
Leftovers will keep in an airtight container at room temperature for up to 4 days or in the refrigerator for up to a week. These may also be layered with wax paper or parchment and frozen.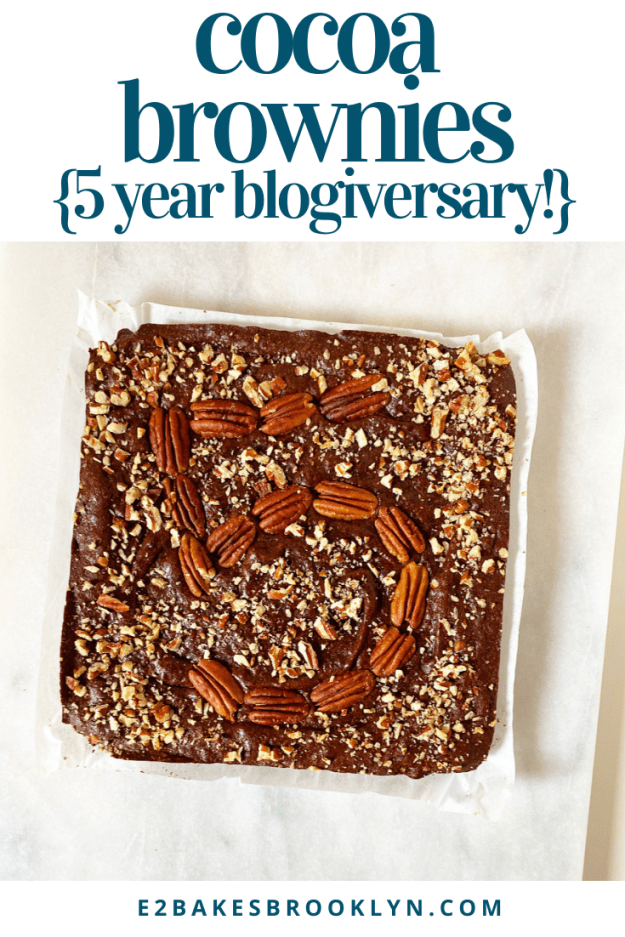

 This is just to let you know that if, on the second night of
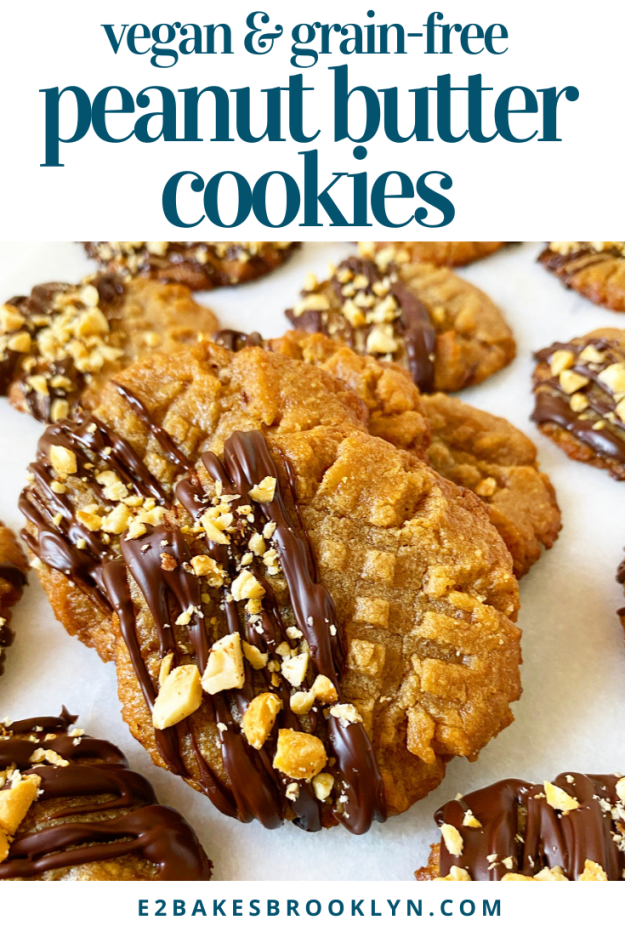
 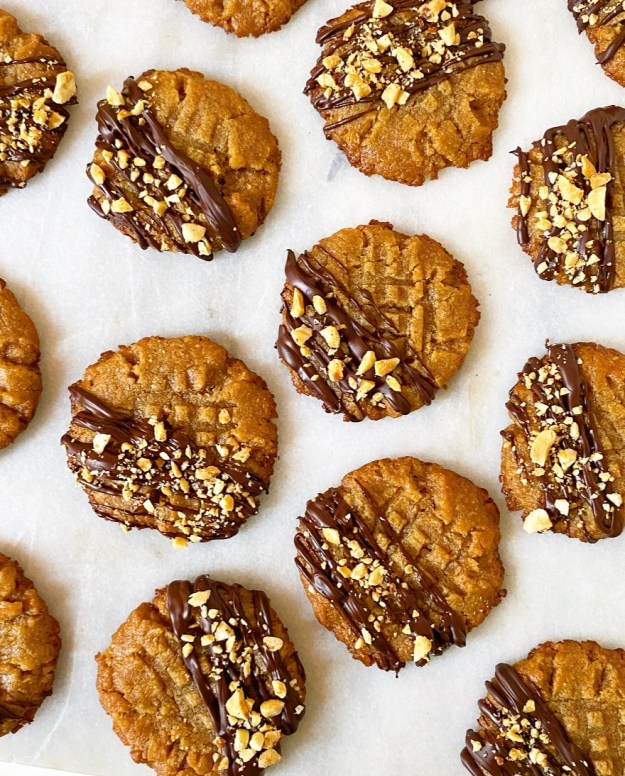 Did I mention that they’re vegan and grain-free? Because they are. This recipe is the lightest twist on the classic
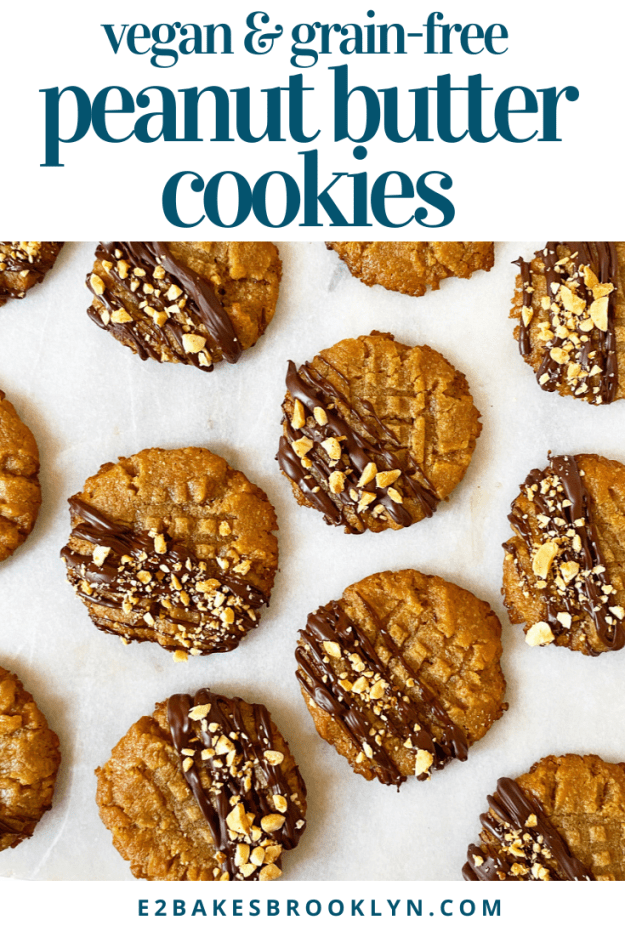
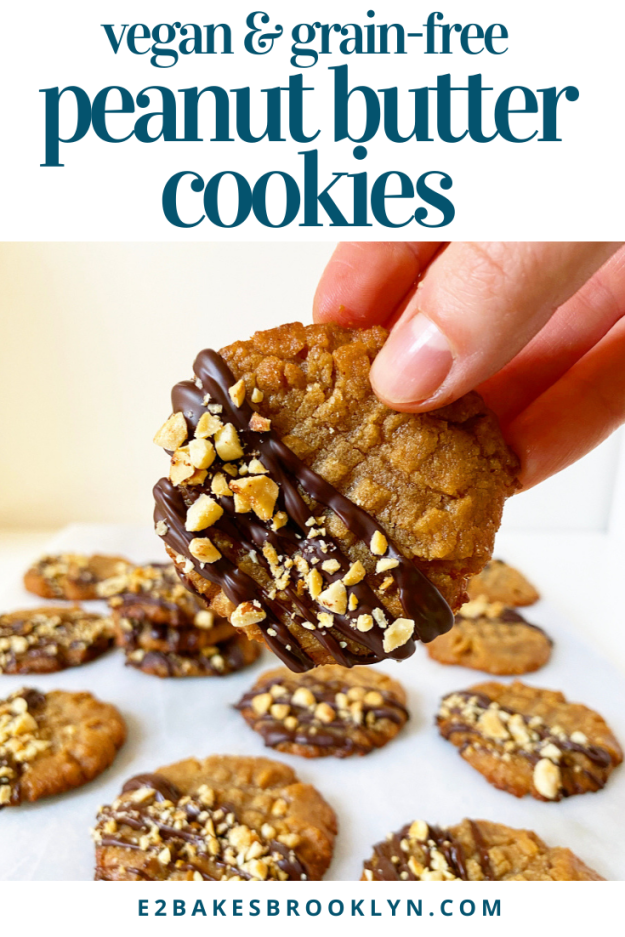
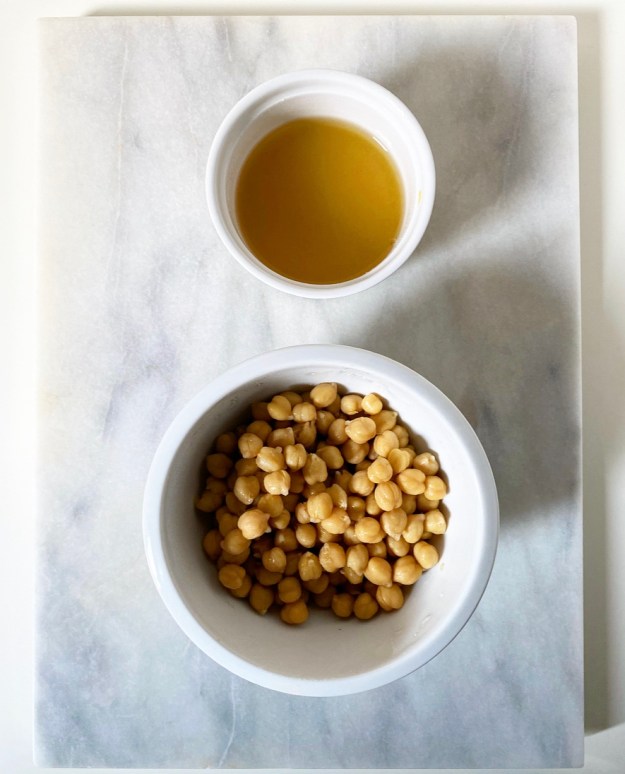
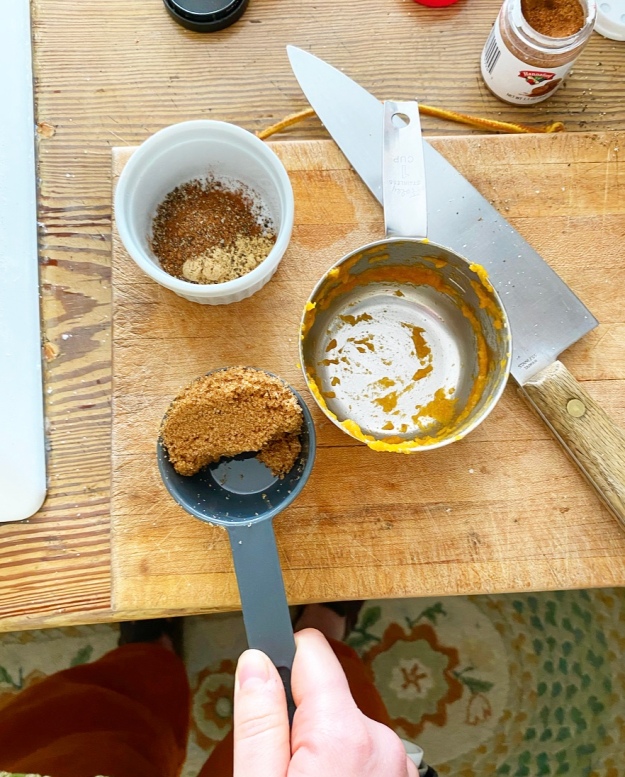
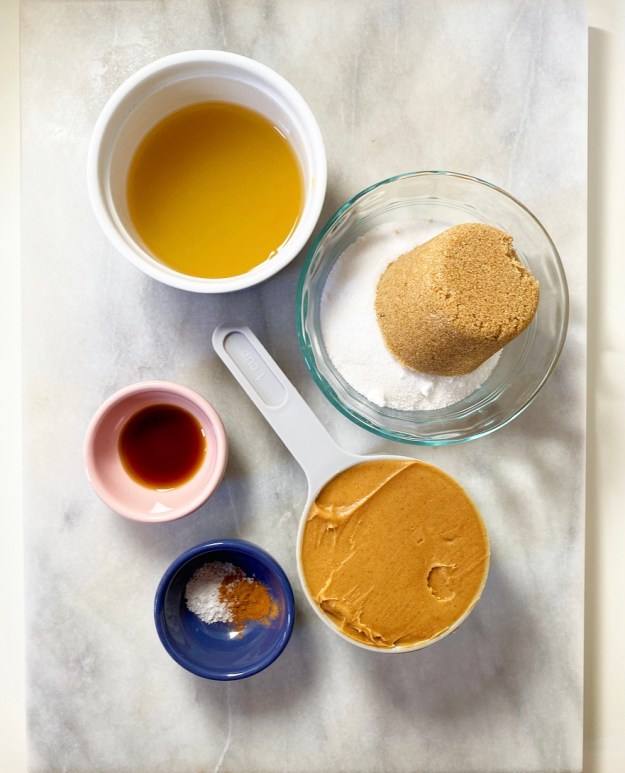 Here, I’ve kept it pretty traditional. I added a few extra ingredients like brown sugar, a dash of cinnamon, some salt and vanilla, but the dough still comes together in moments. In order to keep the cookies vegan, I swapped the egg for an equal volume of
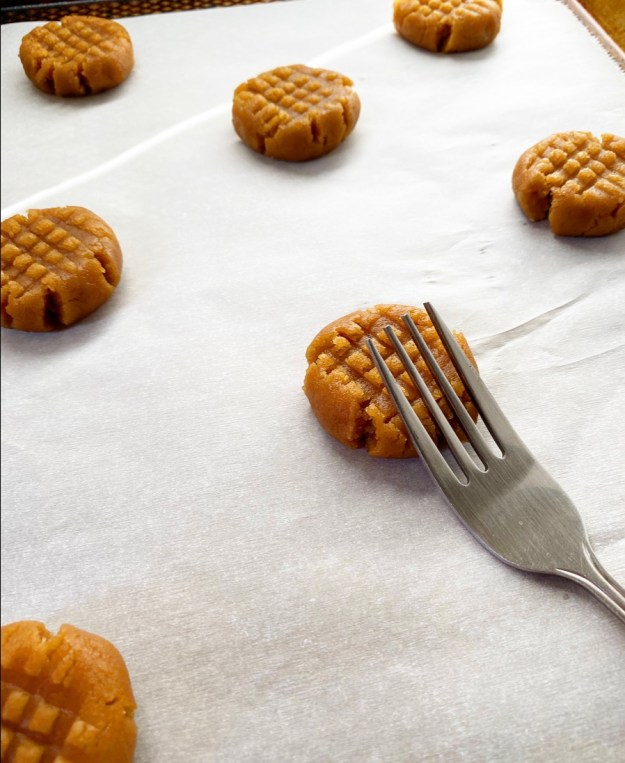
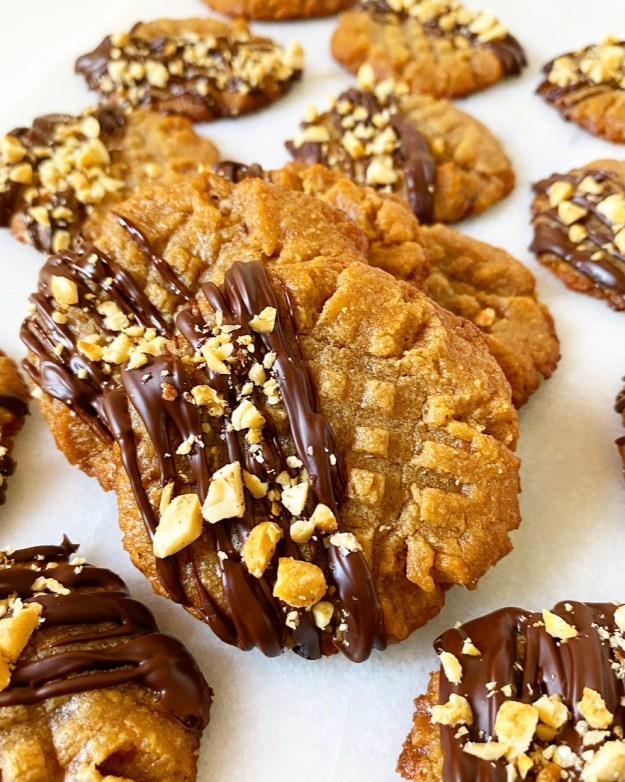
 I’ve also added a short twenty-minute chill to this recipe, but it’s not strictly necessary and your cookies will work without it. They’ll just be a little thinner than mine. Whatever you do, don’t skip crosshatching the tops of your cookies with a fork. I don’t know where this started or why we do this to peanut butter cookies, but I’m pretty sure it’s the law.
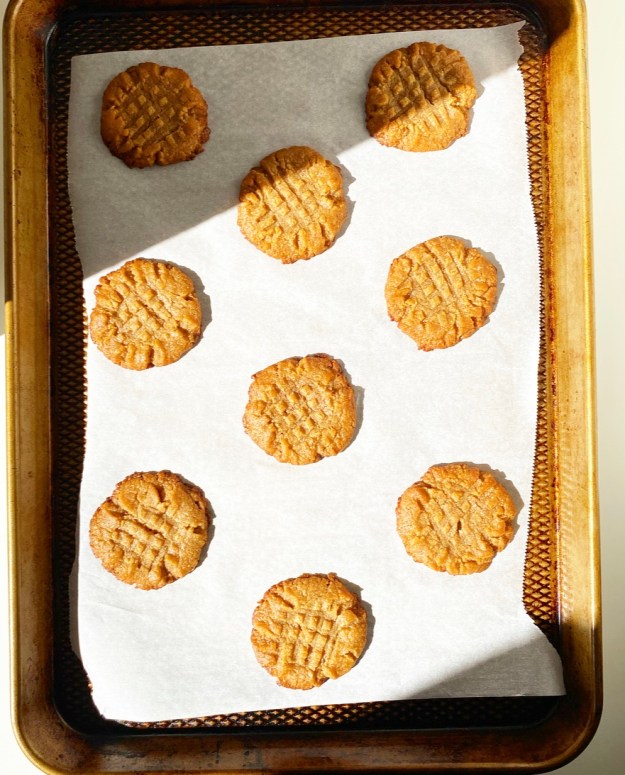
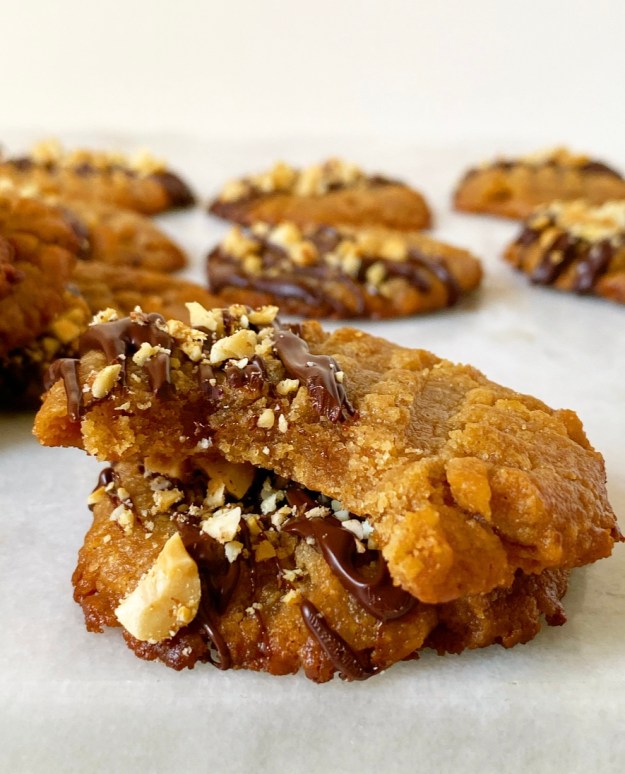
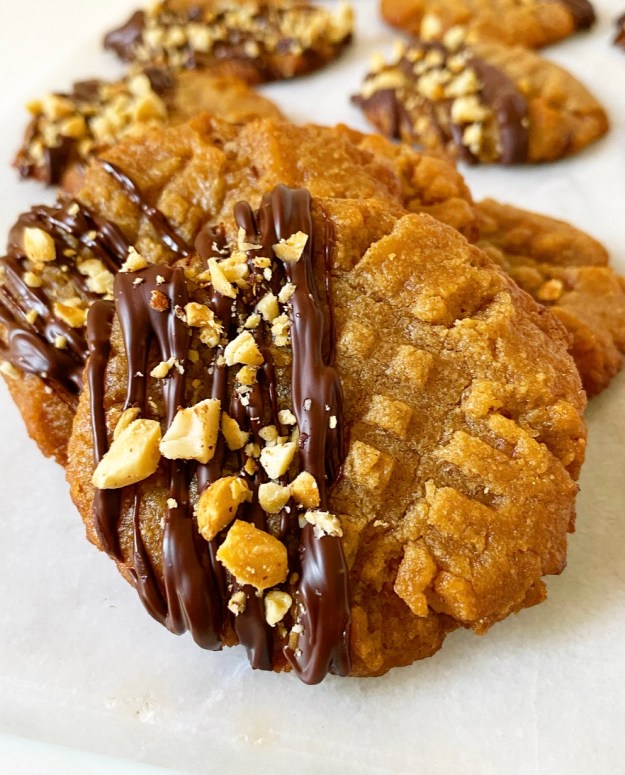 What? I don’t make the rules. I just break ‘em. Like finishing these Peanut Butter Cookies off with the easiest chocolate-peanut butter drizzle and some chopped peanuts. Is this necessary? No. But it’s pretty and freaking delicious. And really, when it comes to
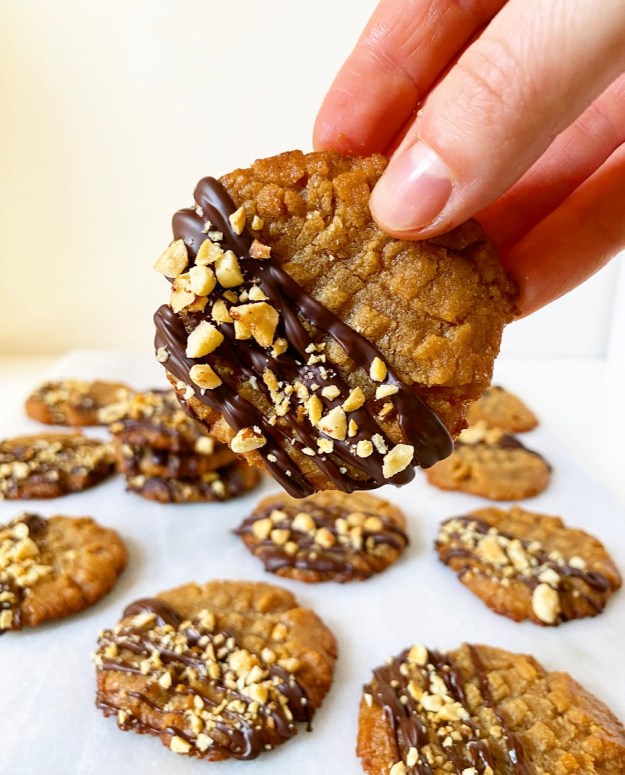
 A week on
 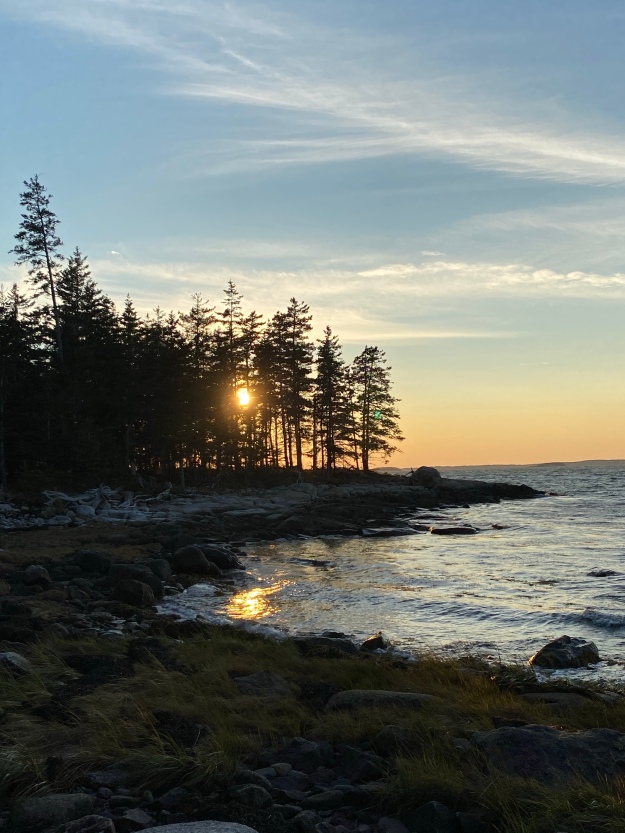 We keep saying “two weeks next year” but only getting half of that. I’m putting it out to the universe now: one month next year. That way, when we only get half, it’ll be two weeks. Am I trying to con the universe in to more vacation? Sure, why not. You can’t blame me for wanting to spend time with the friends we’ve made up there (even socially distanced) instead of carrying on entire relationships via Facebook.
 I mean, would you believe that I’ve pretty much never baked for anyone on Swan’s Island? It’s true. I’ve been going there regularly for the last six years, made some friends, and know the people who own the general store well enough that they recognized me immediately with my mask on, but I’ve never really baked for any of them. They know, of course, that I bake and blog, and I always say I’m going to make something for them, but then time gets away and suddenly I’m on the ferry back to the mainland.
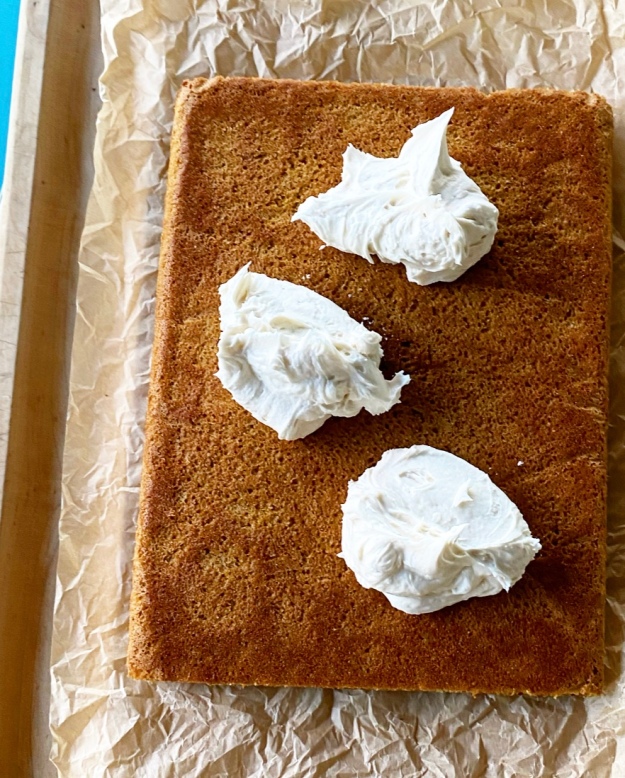
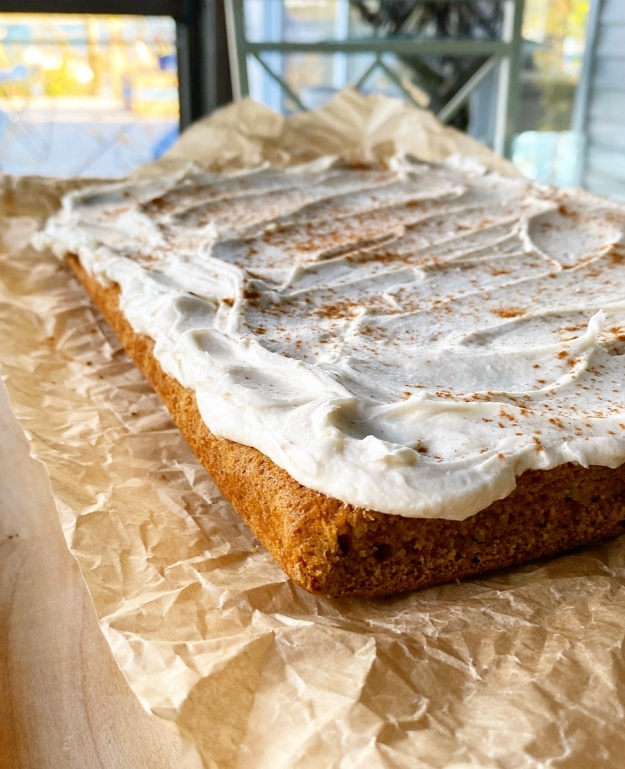
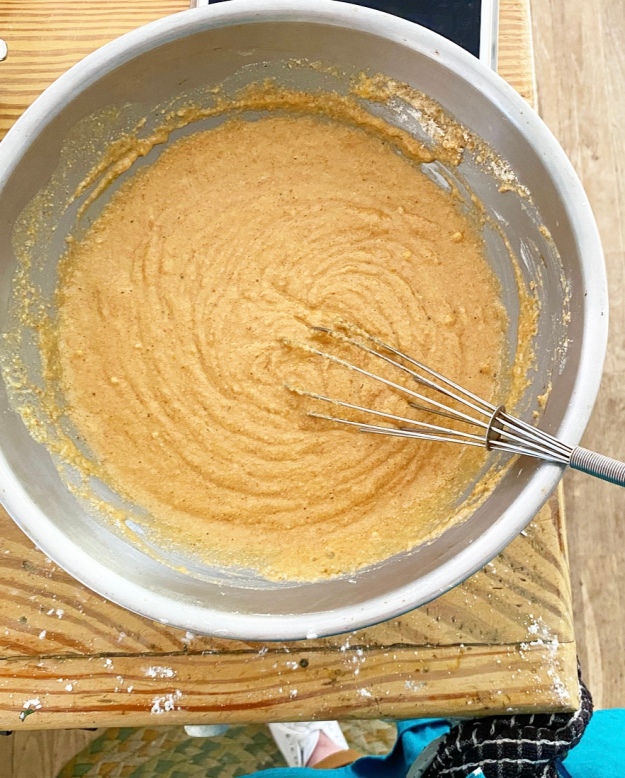
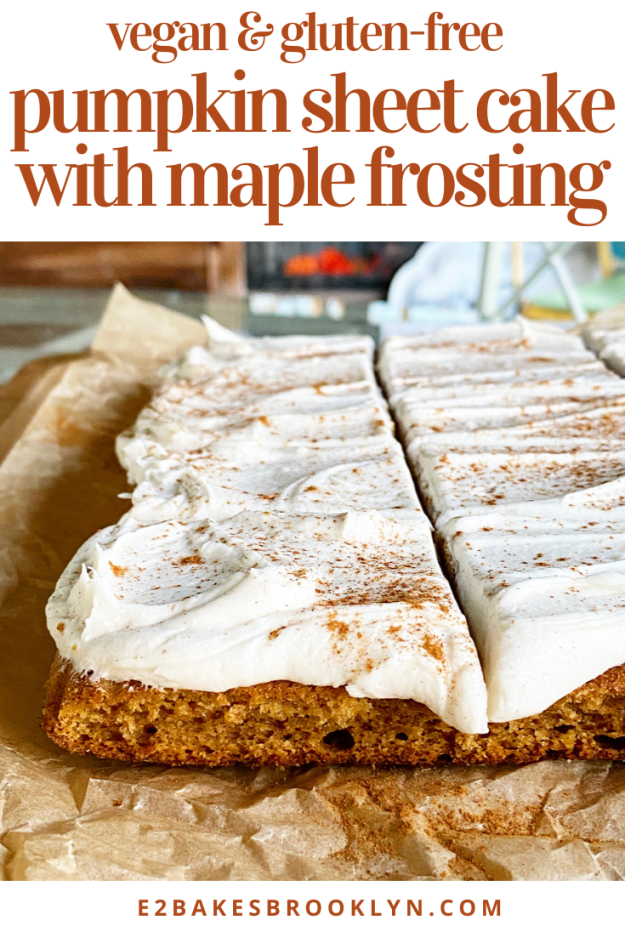
 All that said, when we booked our trip in July, I decided this year was *the* year. I tested a recipe before I left Brooklyn, brought a box of potato starch and the vegan butter I like, and it took until the second-to-last day, but I baked this Pumpkin Sheet Cake with Maple Frosting for my Maine people. Finally.
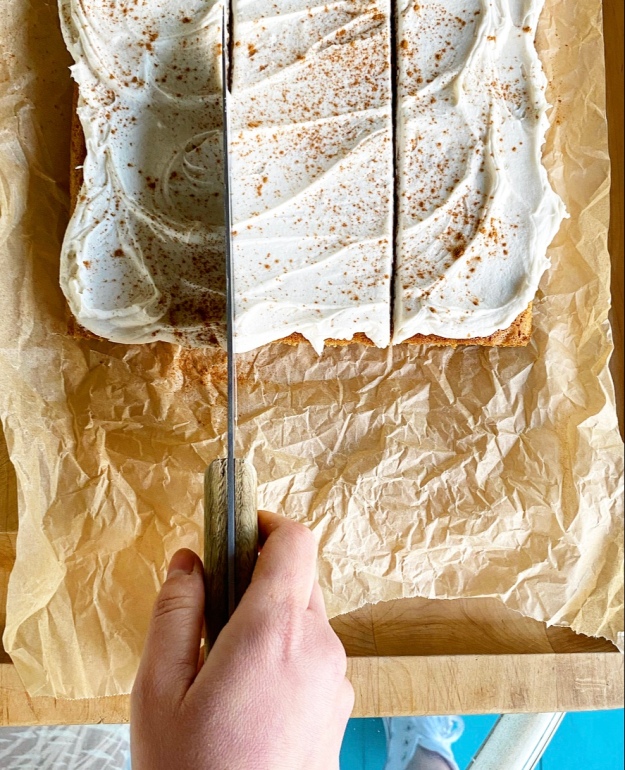
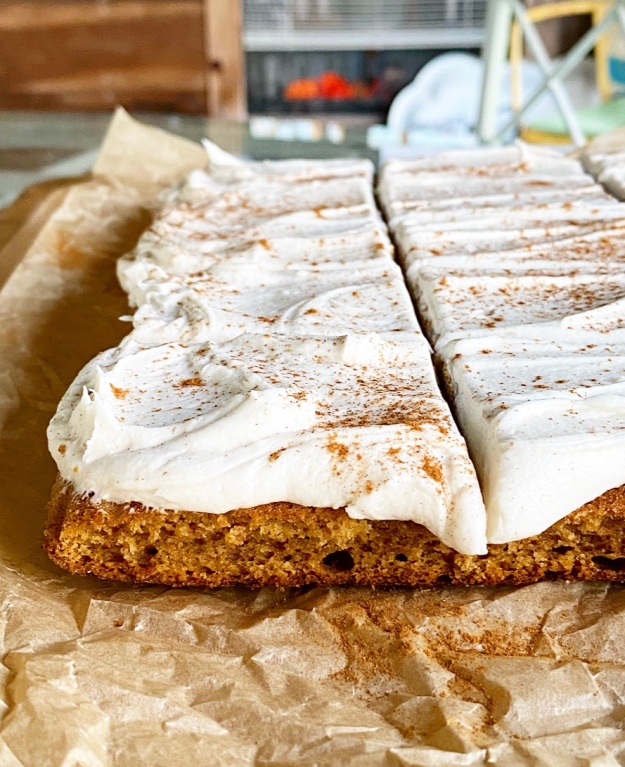 I’ve never put a sheet cake on here. It’s not because I think they’re “less than” or something—I just have occasions for other configurations of cake and frosting far more frequently than I do for this super simple slice-and-share situation. But our annual Swan’s Island trip? That’s a slice-and-share situation if I’ve ever seen one. Especially in COVID, when get-togethers with people outside my immediate germ pod aren’t a thing, it was so nice to be able to wrap up and dole out slices of this Pumpkin Sheet Cake with Maple Frosting without having to worry about keeping layers intact.
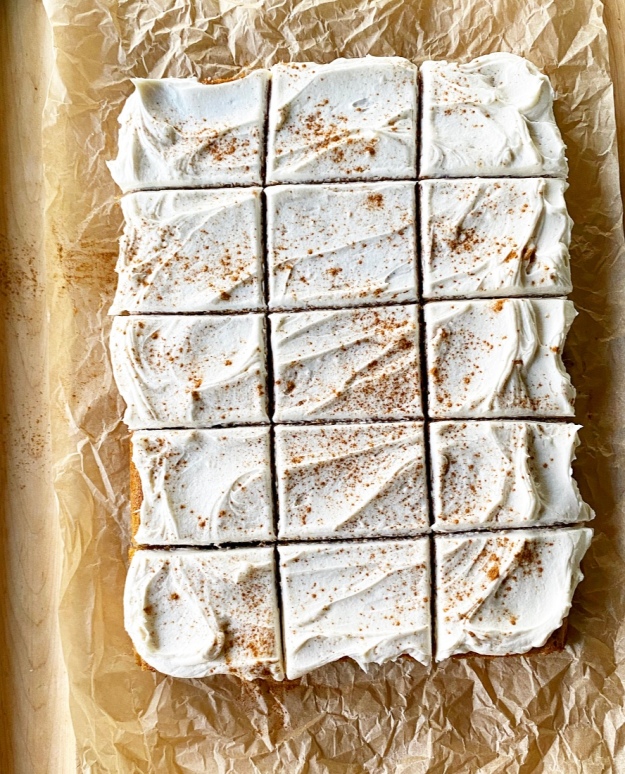 As with most of what we eat on Swan’s Island, this cake was made with my trusty co-traveler/fellow Maine enthusiast, VJ, in mind. I’ve mentioned many times that she is a
 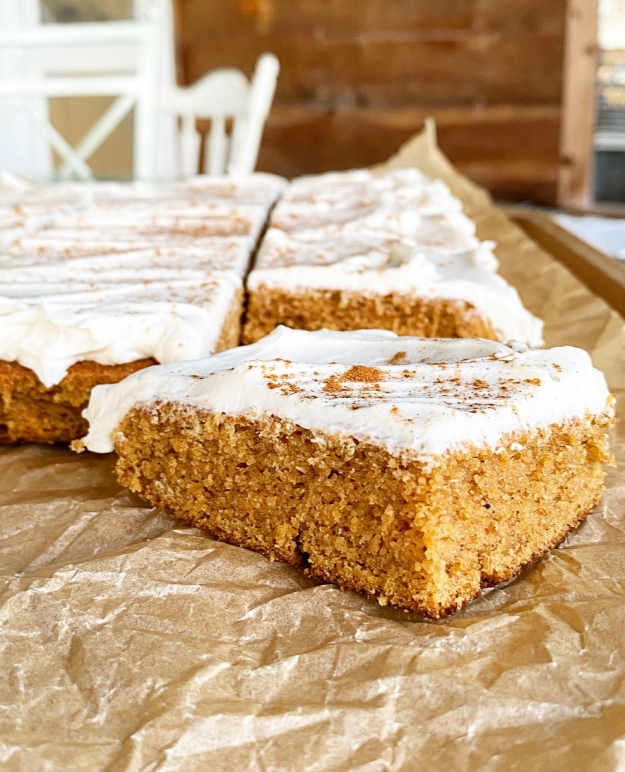 The pumpkin cake is a variation on the
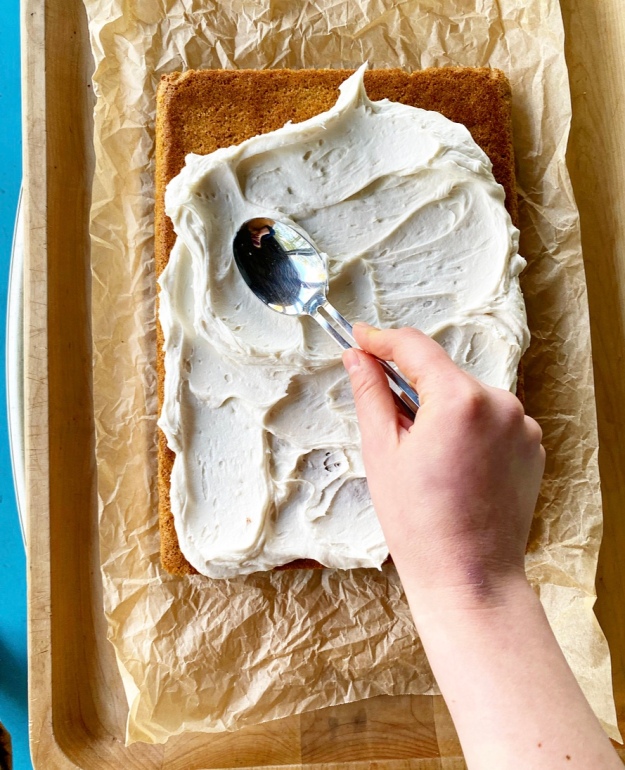
 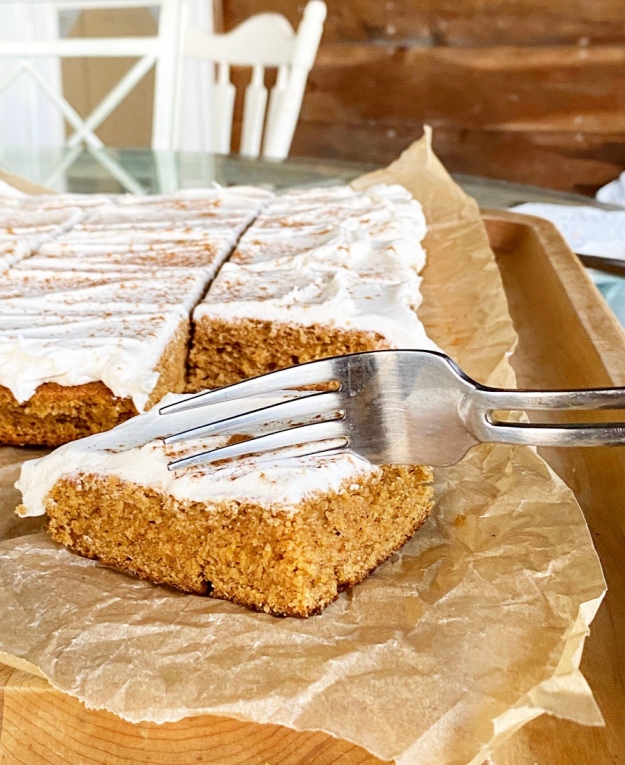 Believe me when I tell you that I understand wanting to eat this cake by its lonesome straight out of the oven, or with a simple dusting of confectioner’s sugar…but also? Believe me when I tell you that a swoopy layer of Maple Frosting takes this seasonal dessert from very good to fabulous. For real.
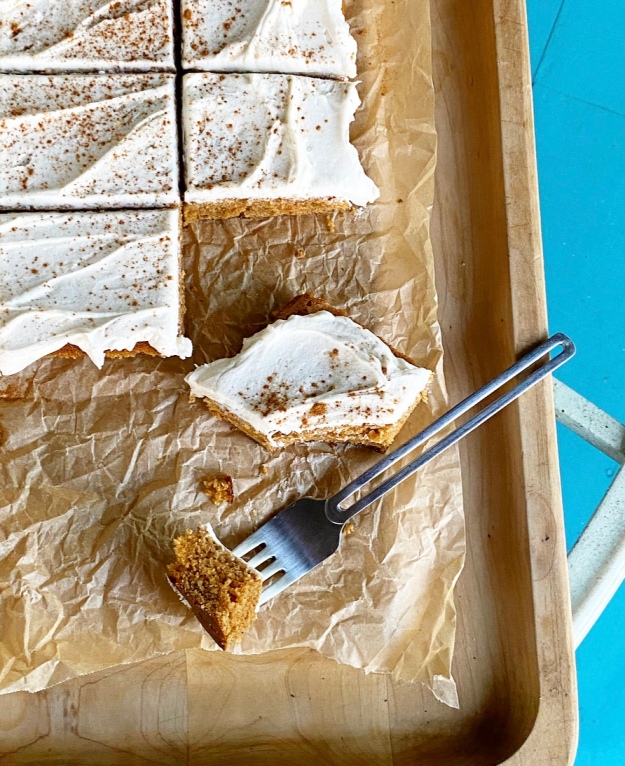 Pumpkin Sheet Cake with Maple Frosting is very good the day it’s made, but as with many pumpkin spice things, it’s actually more delicious the next day, after the flavors have melded. But with a cake this good around, I can’t blame anyone for not waiting to dig in. I mean, I certainly didn’t.
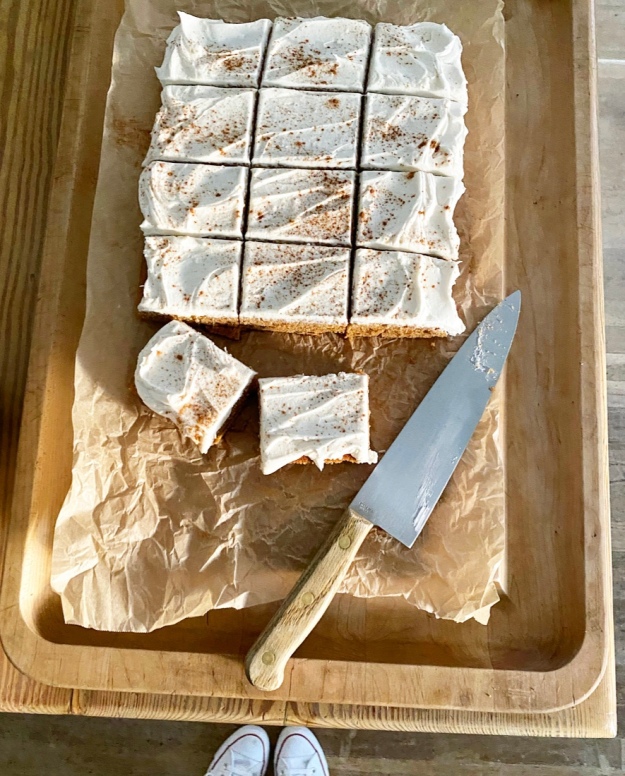

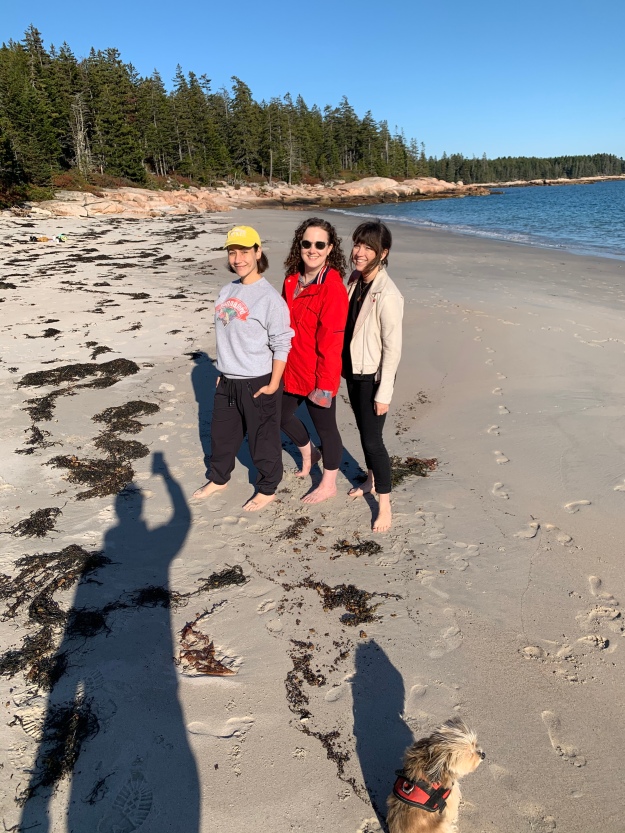 Hello from Swan’s Island, Maine! I’m here with friends, enjoying the ocean views and crunchy leaves and I would never like to leave, thank you very much. We’ve been keeping busy doing as much or as little as we want—hiking, going to the beach, thrifting, watching TikTok, playing with my ring light, crafting…
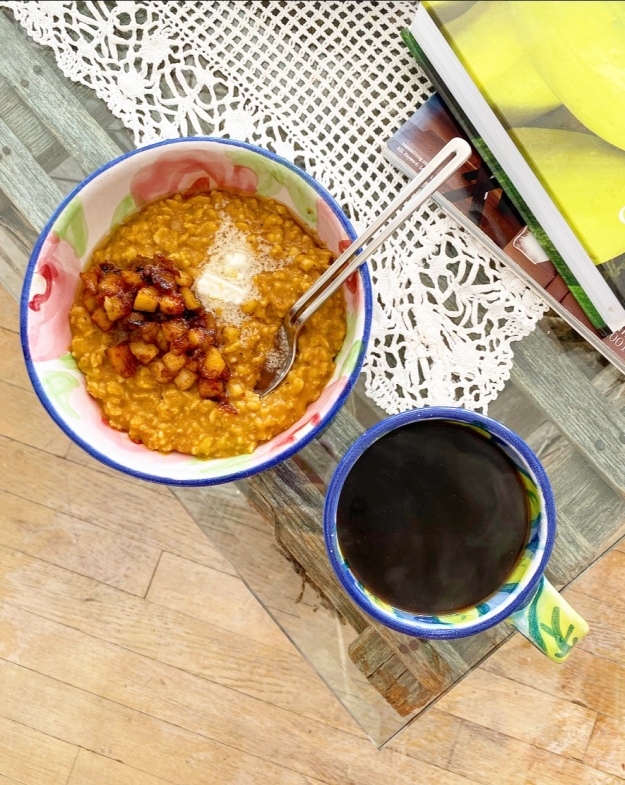 As usual, I have kind of taken over the kitchen. It’s just what I do, I suppose. I’ve made a couple of blog recipes (
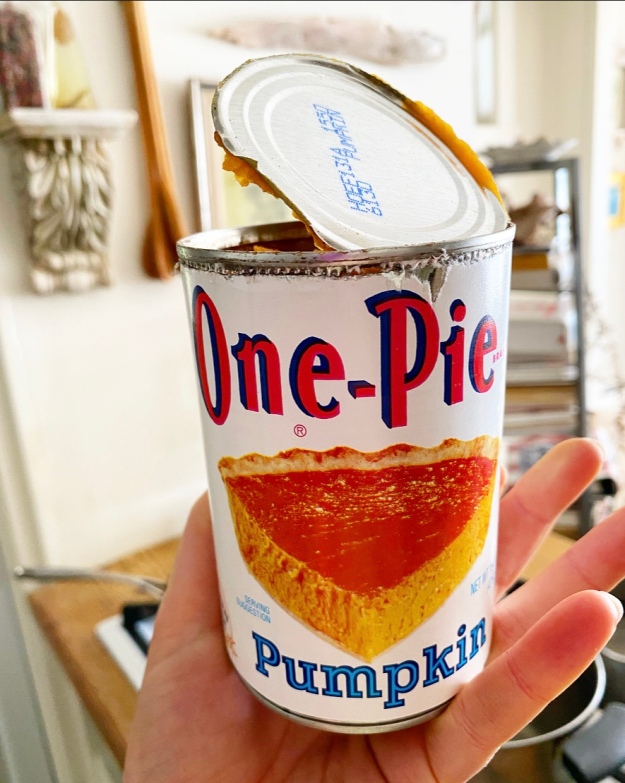
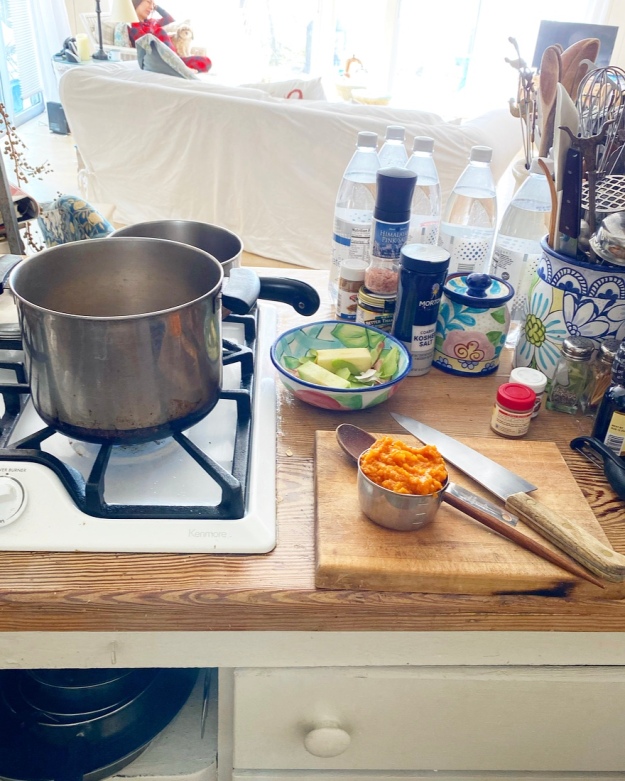
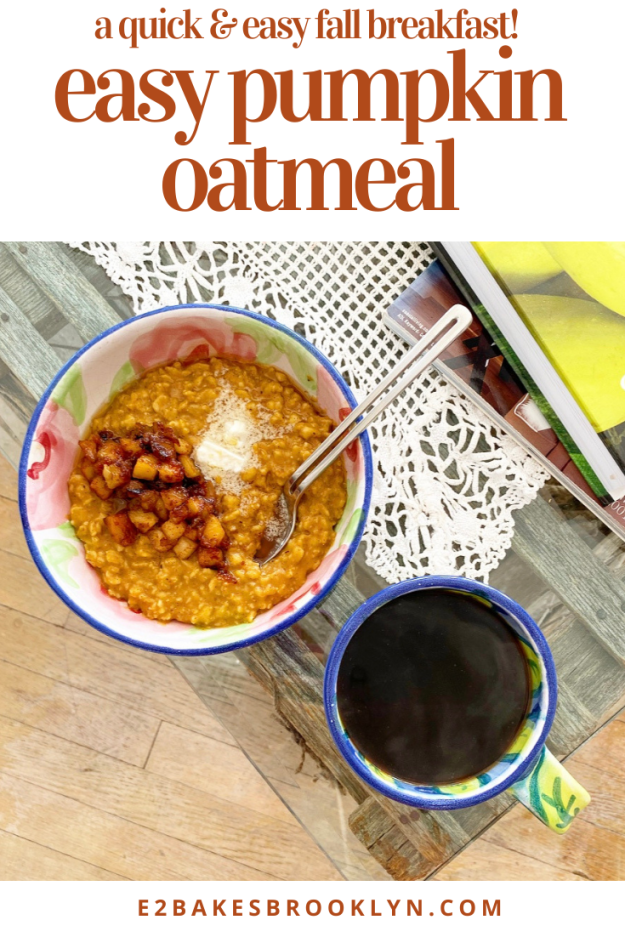
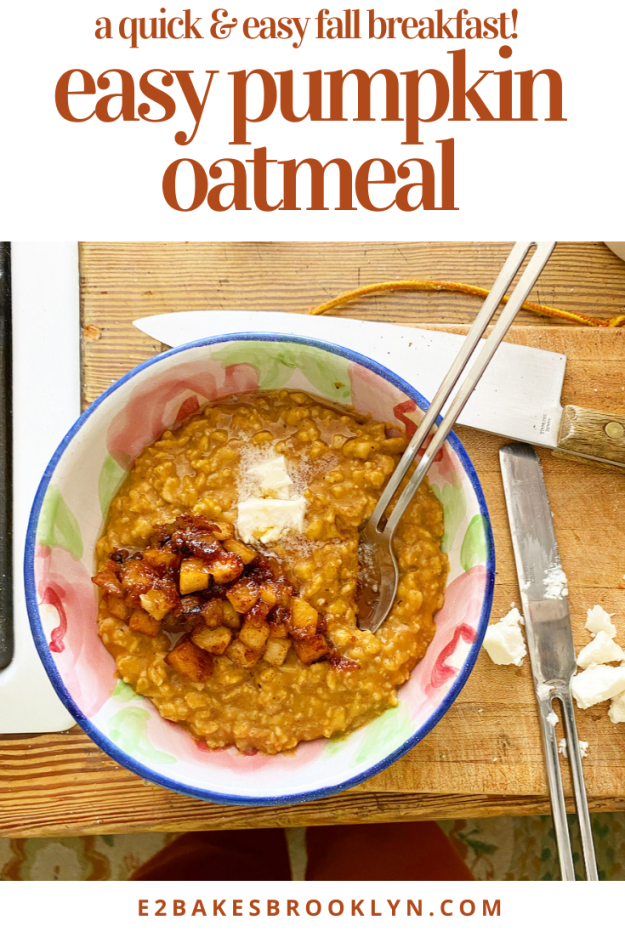
 Easy Pumpkin Oatmeal takes ten whole minutes and is hardly even a recipe. Just toast some oats and then add some water and milk (I used almond). Bring it to a simmer and cook, stirring constantly, for about five minutes or until creamy. Finish it off with some pure pumpkin purée,
 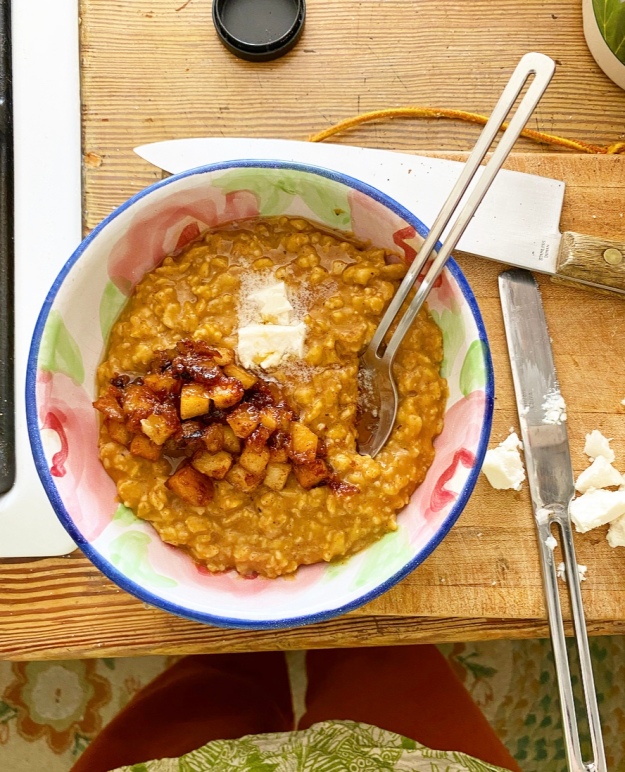 I dished this up with cinnamon apples, vegan butter and maple syrup. I highly recommend eating it in your pajamas in a living room overlooking a lobstering wharf on a fall morning, but if you’re not currently situated on an island in Maine, any dining table will do.
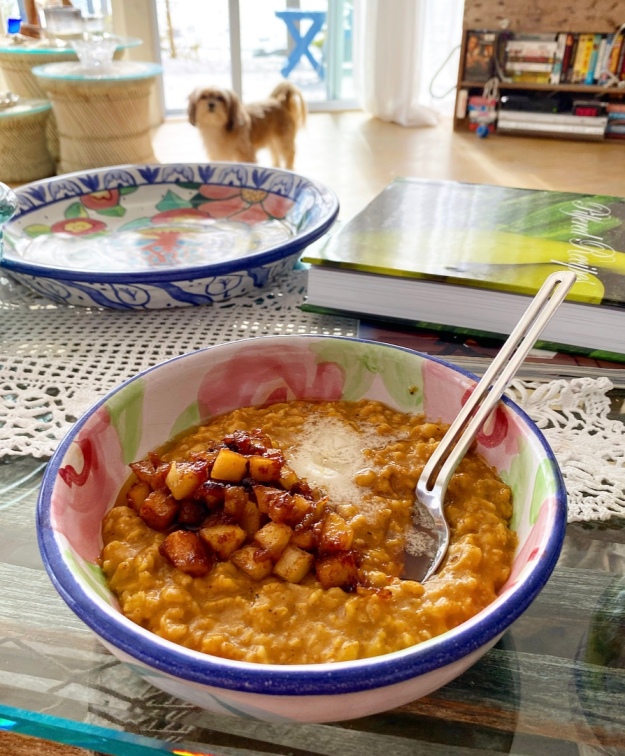 Heads up that I’m going to take this Friday off of posting so I can enjoy my vacation, but I’m posting all our Maine meals over on
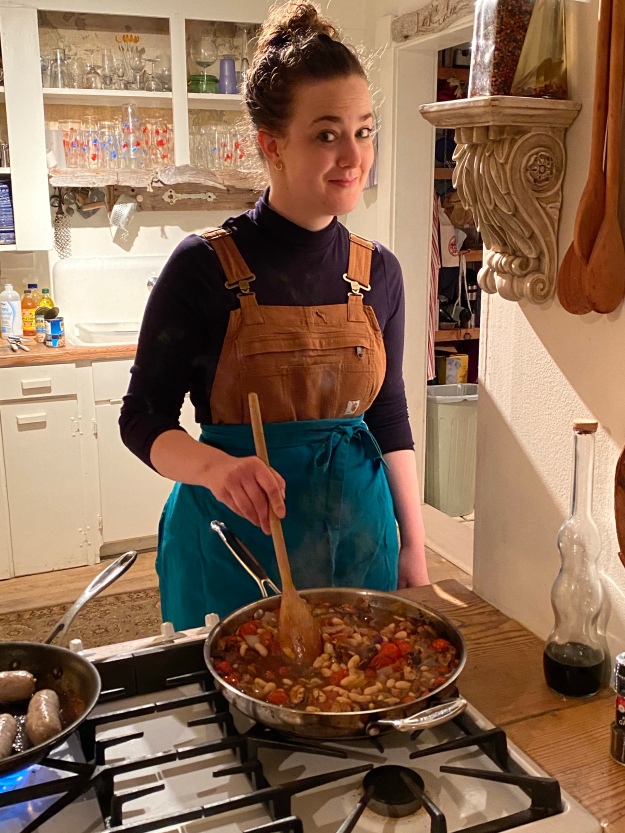
 If you follow me on
 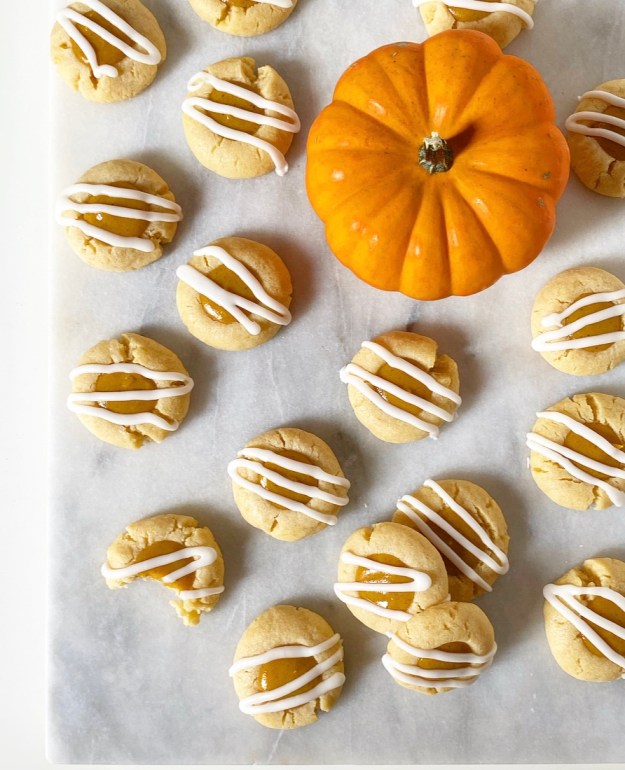 Yep, this is the last thing I have to do before I hit the road today! I mean, it would be super rude of me to leave without telling you about these Pumpkin Pie Thumbprints, now wouldn’t it? They’re teeny, tiny two-bite pumpkin pies nestled in sugar cookies—you *need* to know about these. You need to bake these.
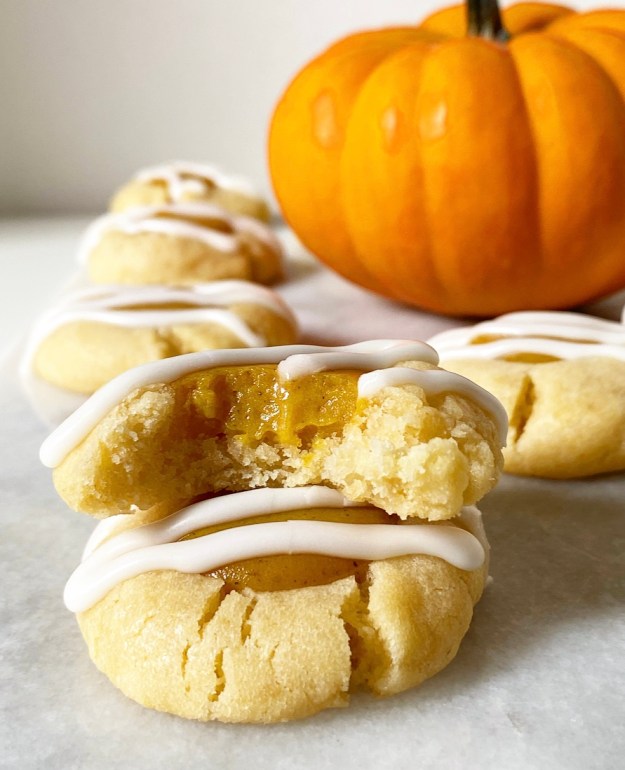
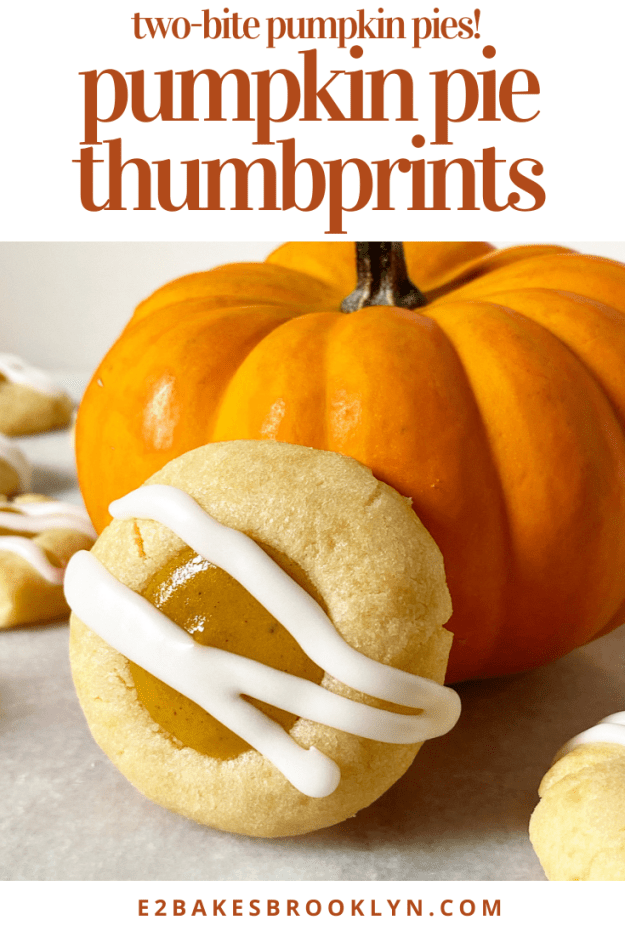
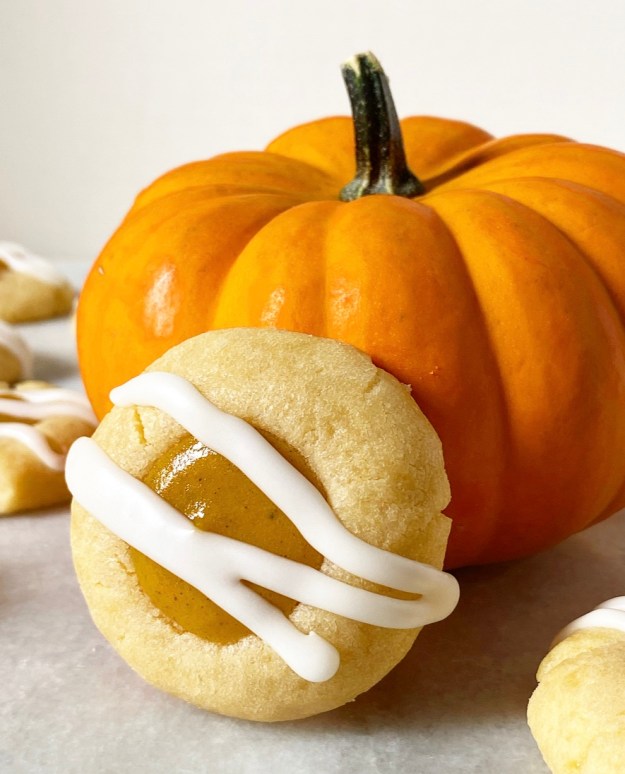
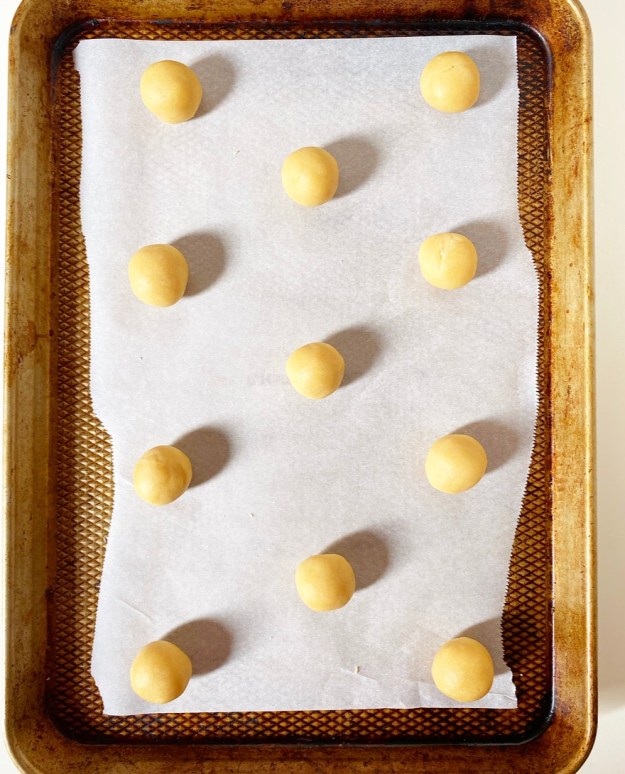
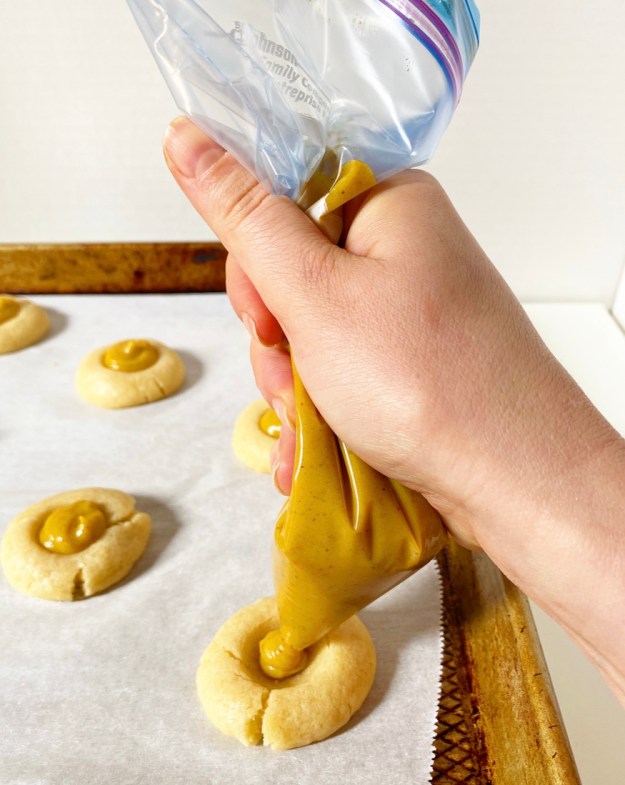
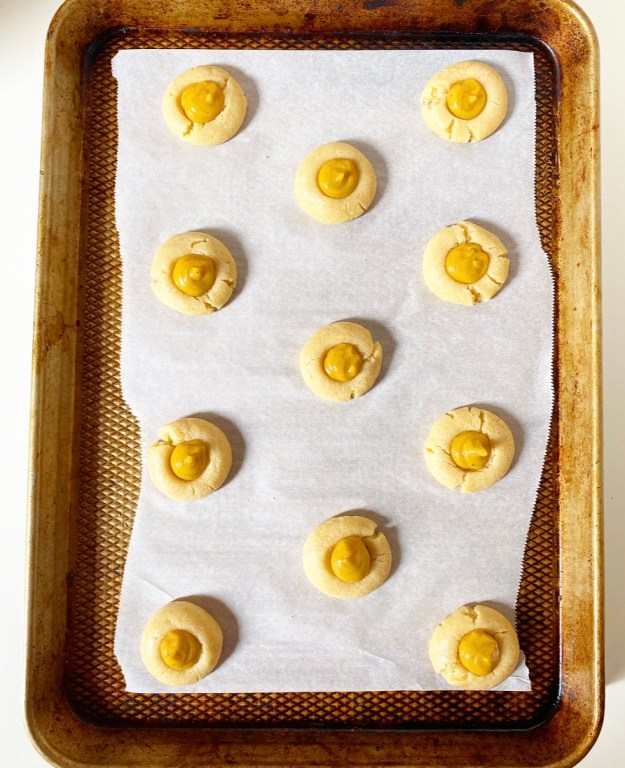
 The secret to these thumbprints?
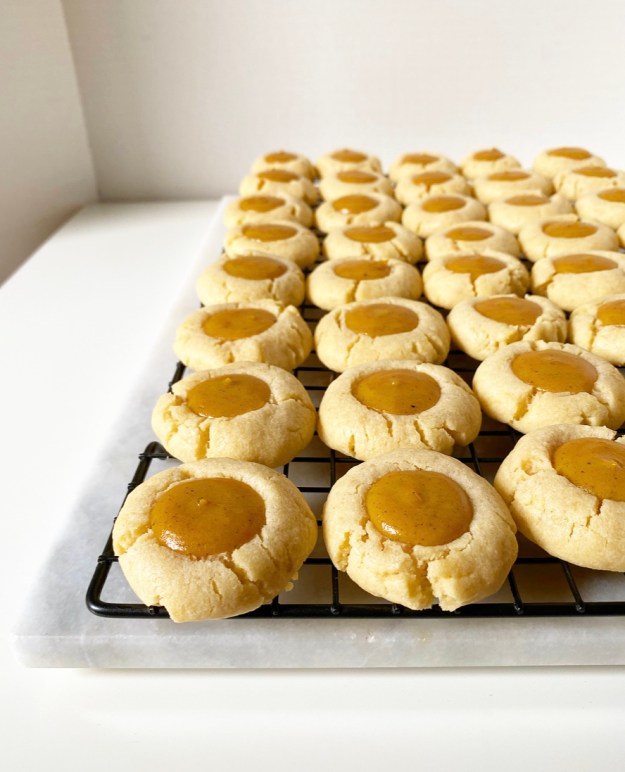
  While pumpkin pie is traditionally finished off with whipped cream, that doesn’t make much sense in a cookie. I went with a simple icing drizzle as the final flourish, and I regret nothing. Aren’t they cute?! Almost as cute as they are delicious—what could be bad about buttery cookies with squidgy pumpkin centers?
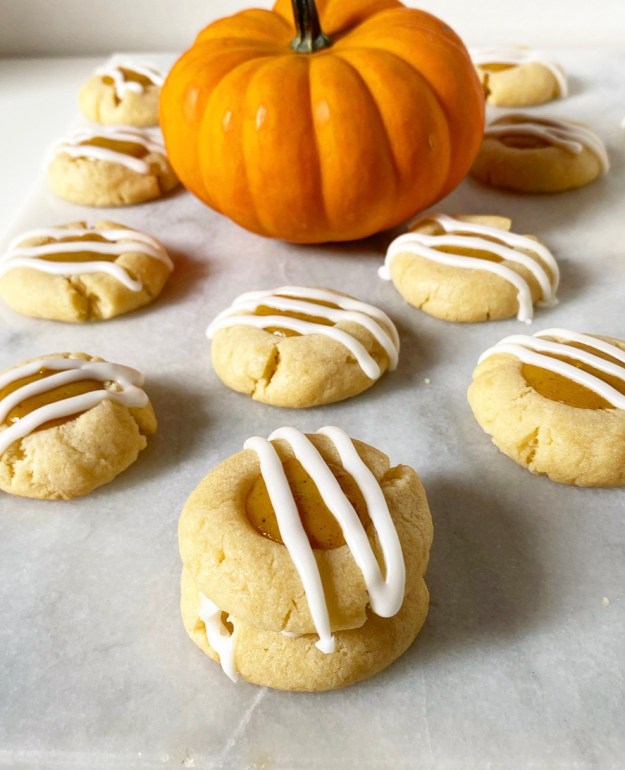 Okay, there it is—you know about Pumpkin Pie Thumbprints. That’s one more thing off the list. I guess all there is to do is road trip north. Can’t wait to get to Swan’s and show you what we’re cooking up six miles out to sea.