I’ve eaten a lot of desserts in my life—A LOT—but as far as sheer enjoyment goes, I still think it’s pretty hard to beat homemade chocolate chip cookies. The combination of caramelized brown sugar cookie and semisweet chocolate chips is about as perfect as it gets, don’t you think?
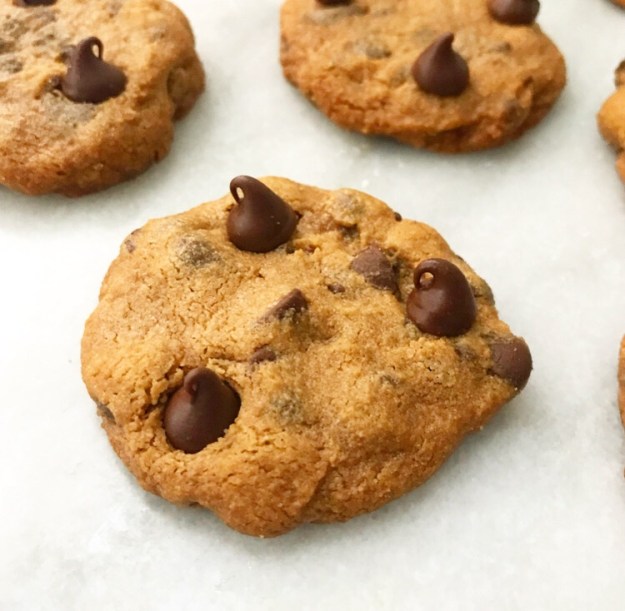 My favorite chocolate chip cookie recipe is in the archives along with a chocolate chip cookie cake that’s bigger your face <—make that! I’ve been working on another iteration of this classic for about a year, too. I wonder if the people I work for have noticed that every batch of cookie dough I’ve made for the last year has been just slightly different than the last…
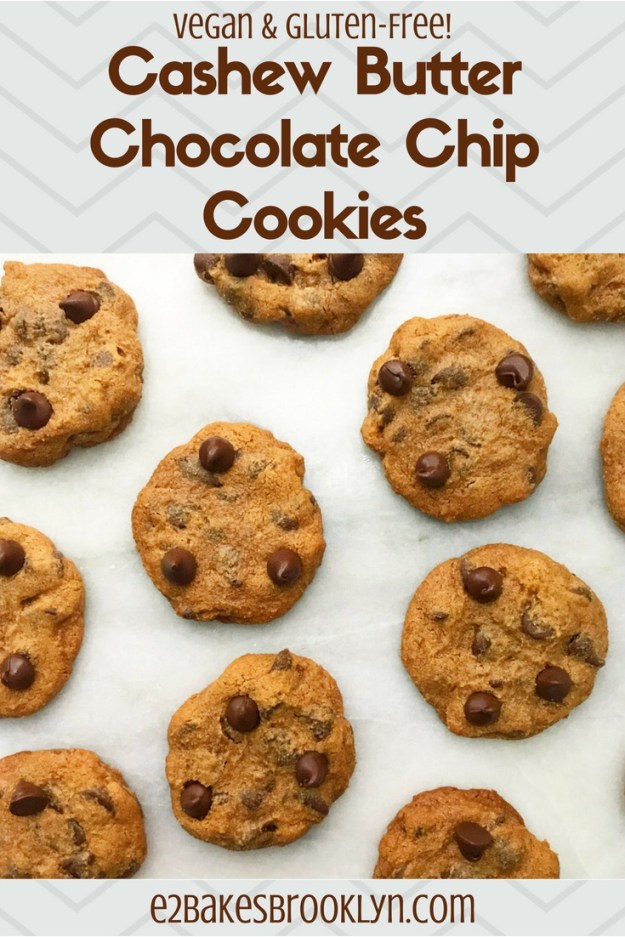
But enough about old favorites and the cookies to come—today is all about Cashew Butter Chocolate Chip Cookies!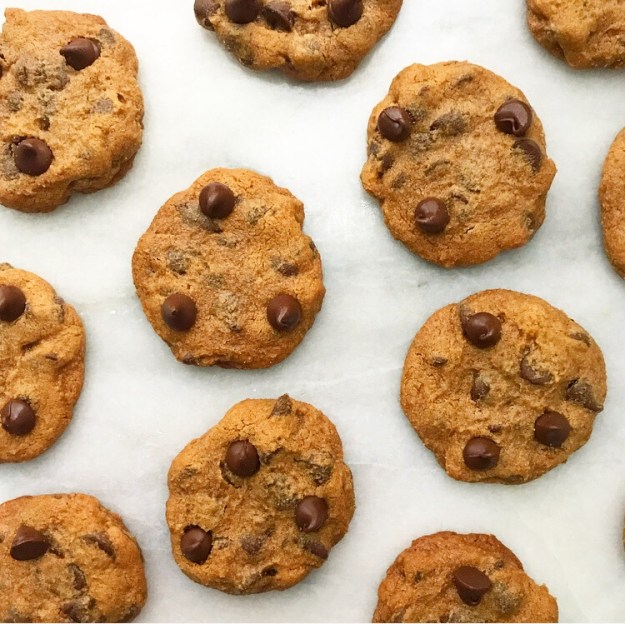 That’s right—these delectable chocolate chip cookies are made with creamy cashew butter in place of a traditional flour base, making them gluten-free. If you’ve been around here for a while, you know I have a bit of an obsession with reimagining classic cookies with a cashew butter base. The smooth, buttery flavor of cashews is a perfect jumping off point for revamping all sorts of cookie jar favorites! I posted Cashew Butter Snickerdoodles about a year ago and Cashew Butter Ginger Cookies around Christmas, but I think this is my favorite so far. I mean, hello—melty chocolate chips, y’all!
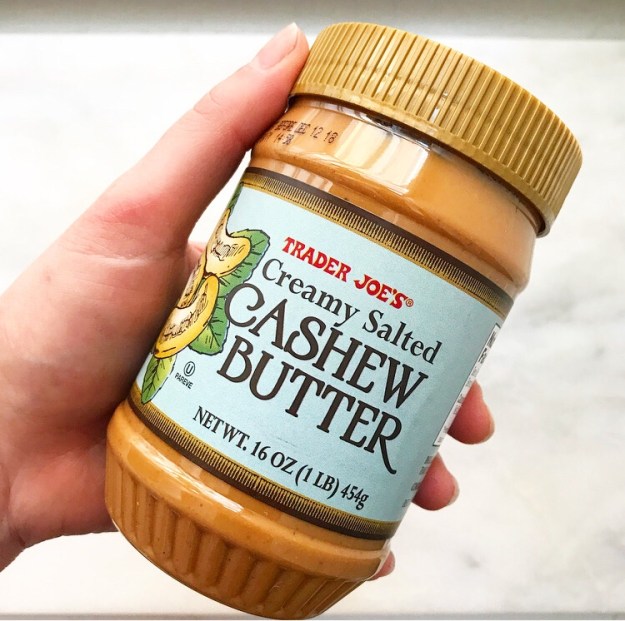 Another great thing about these Cashew Butter Chocolate Chip Cookies? They’re vegan! The natural oil in the cashew butter negates the need for butter, and the usual egg is swapped for a few tablespoons of aquafaba AKA the cooking/canning liquid from chickpeas. Sounds weird, but it totally works, it’s inexpensive and readily available, and no, it will not make your cookies taste like beans. If you’re still skeptical, you can use a flax egg. Either way, you’ll end up with a batch of spectacular vegan, gluten-free chocolate chip cookies.
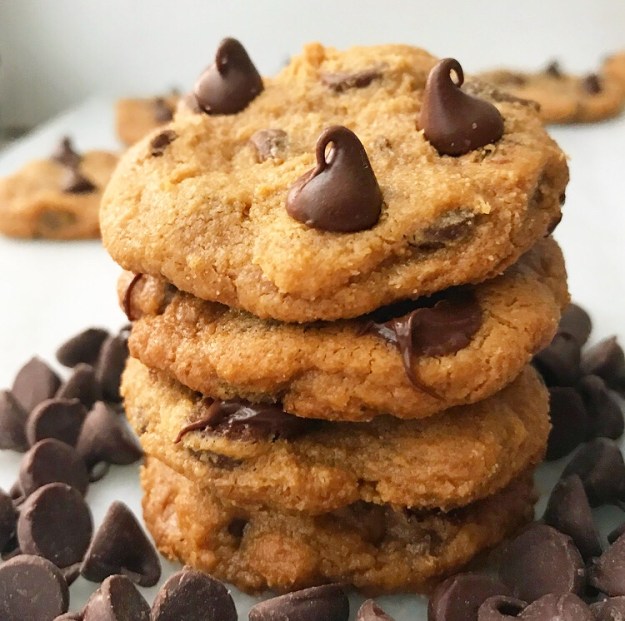 You’ll notice that these cookies don’t have the slightly raggedy edges of my other forays into cashew butter cookies. That’s because I finally figured out that these cookies bake up in a more aesthetically pleasing way if you flatten them before they go in the oven.
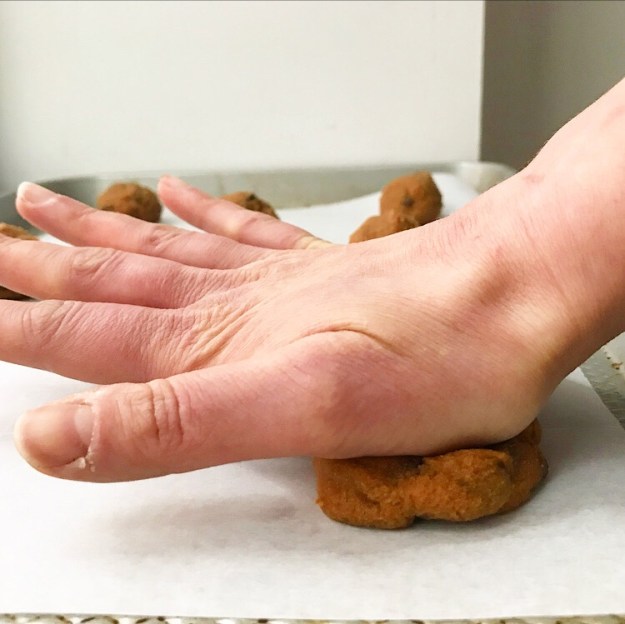 *cue “The More You Know” jingle*
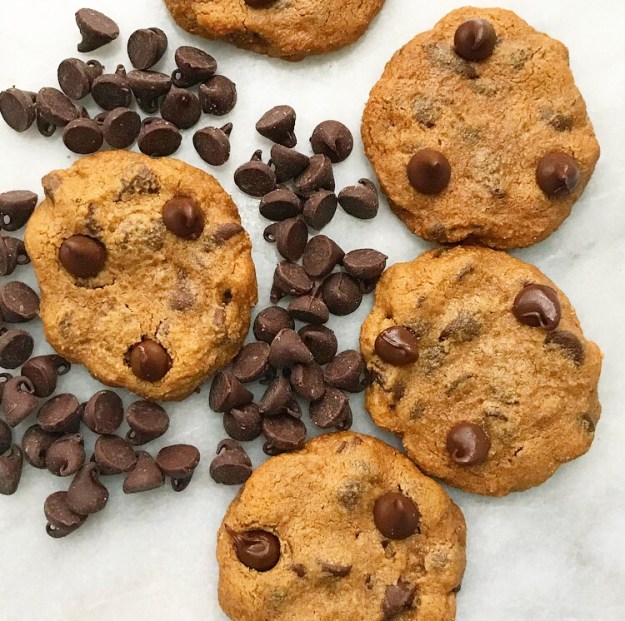 I’m going to gush a little more about these cookies and then I swear I’m done 😉 This recipe doesn’t require anything beyond a whisk, a silicone spatula, and a bowl. There’s no required chill either–if you turn on the oven right now, you can have an entire batch of cookies ready to go in just about an hour!
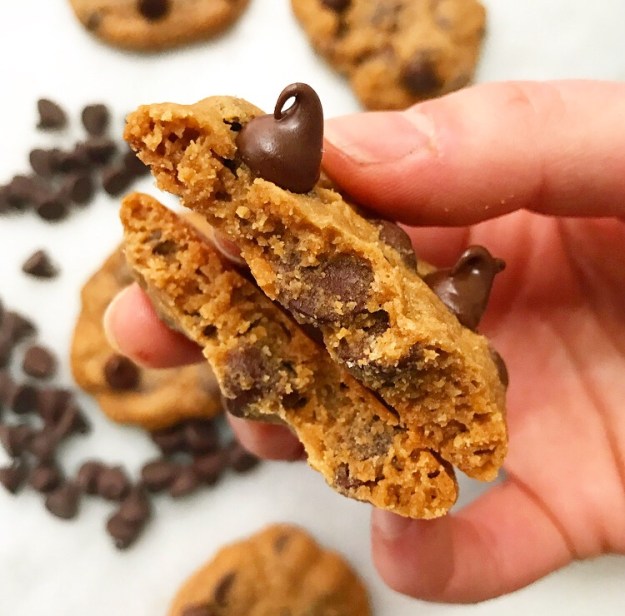 Seriously, there are so many good things to say about Cashew Butter Chocolate Chip Cookies. Their shockingly-close-to-the-real-deal flavor and soft & chewy texture are enough to capture just about any cookie-loving heart ❤ My favorite thing about them though is that they’re vegan and gluten-free, so I can share them with more friends. I’m pretty sure that the only thing better than a fresh homemade batch of chocolate chip cookies is having people to share them with.
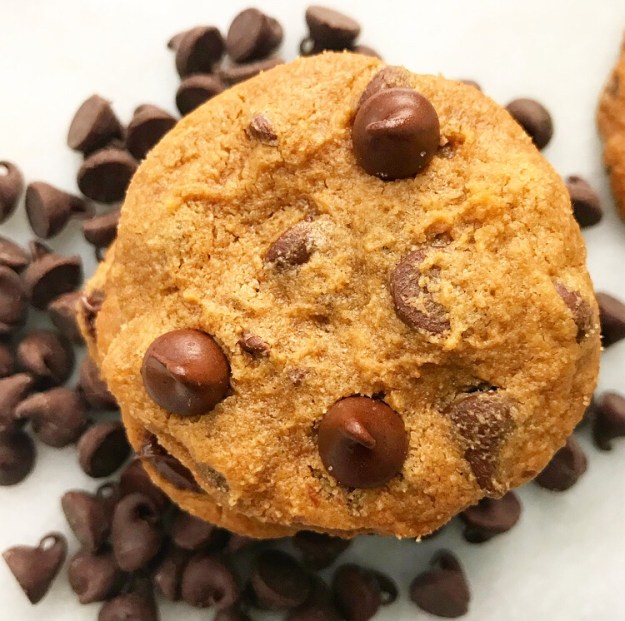 Cashew Butter Chocolate Chip Cookies {Vegan & Gluten-Free}
makes about 2 dozen small cookies
1 cup creamy-style cashew butter
3/4 cup light brown sugar, packed
1/4 cup granulated sugar
3 tablespoons aquafaba (chickpea canning liquid) or 1 flax egg
1 teaspoon vanilla extract
1 tablespoon cornstarch
1/4 teaspoon baking powder
pinch of Kosher or sea salt
1 1/4 cups dairy-free chocolate chips + more for topping (optional)
Preheat oven to 350F. Line two baking sheets with parchment. Set aside.
In a large mixing bowl, whisk together cashew butter, light brown sugar, and granulated sugar until combined. Mix in aquafaba (or flax egg) and vanilla. Use a silicone spatula to fold in cornstarch, baking powder, and salt. Fold in dairy-free chocolate chips.
Scoop dough by the tablespoon and form into balls. Place dough balls 2 inches apart on prepared pans and press down to flatten. Bake 10-11 minutes, just until no longer wet-looking. Allow cookies to cool on the baking sheets for ten minutes before removing to a rack to cool completely. Press more chocolate chips onto the tops of the warm cookies, if desired. Repeat baking process with any remaining dough.
Cookies will keep in an airtight container at room temperature for up to a week. Cashew flavor will mellow slightly over time.
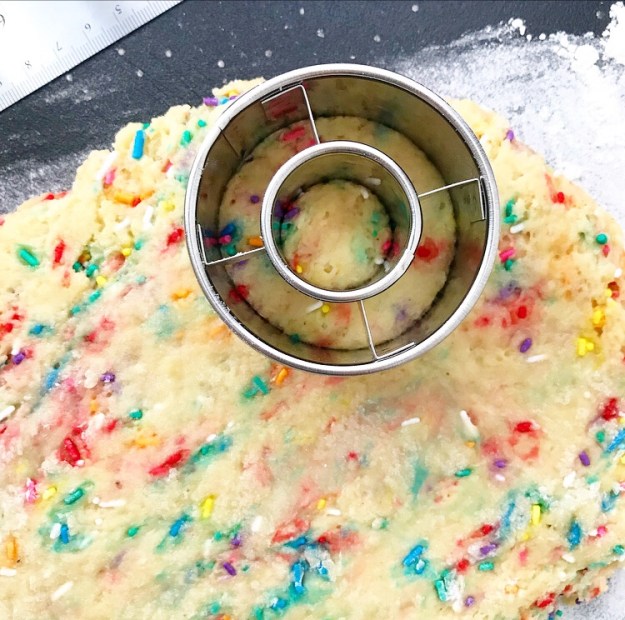
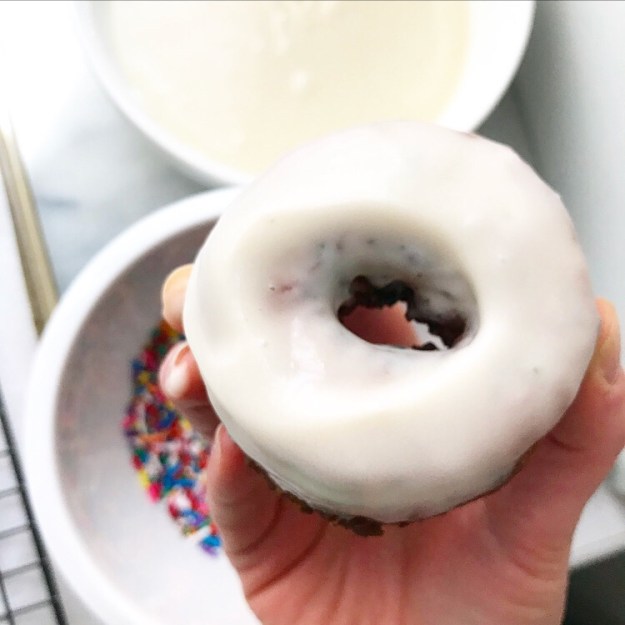
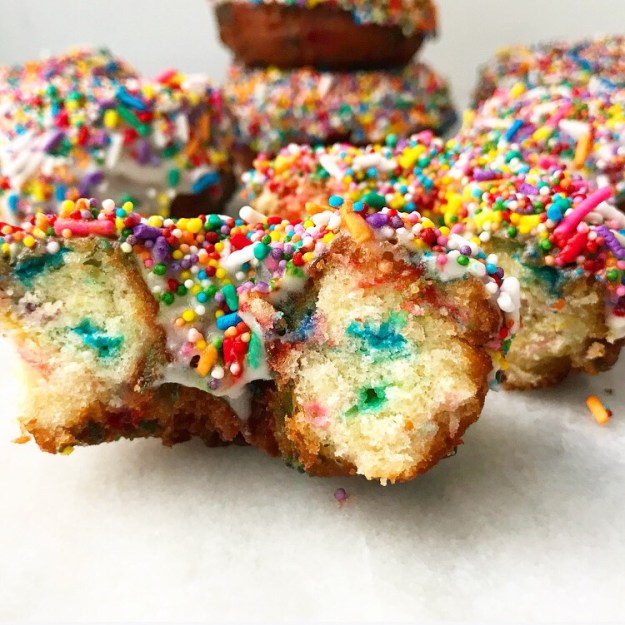
 The idea for these Funfetti Cake Doughnuts popped into my head while my parents were in town last week and I was so enthralled by it that I reorganized my baking schedule so I could make them as. soon. as. possible.
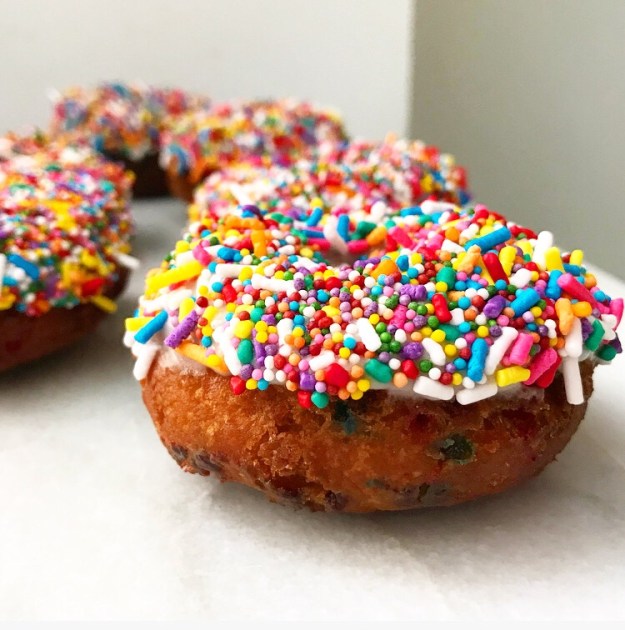 You’re welcome.
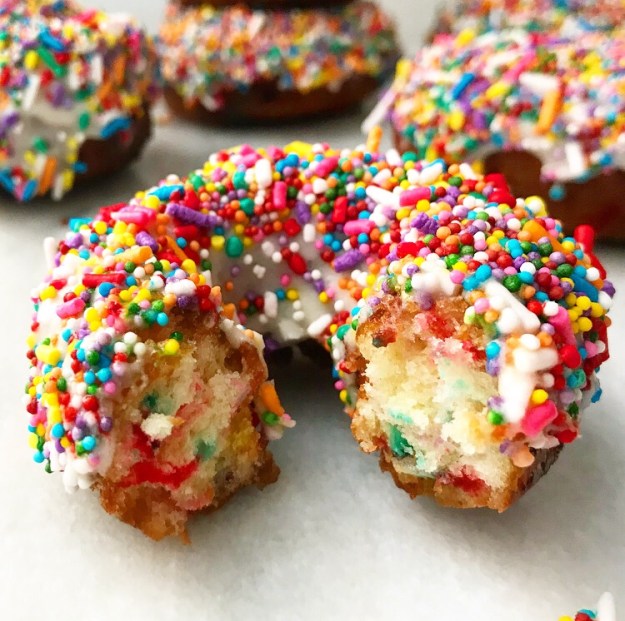
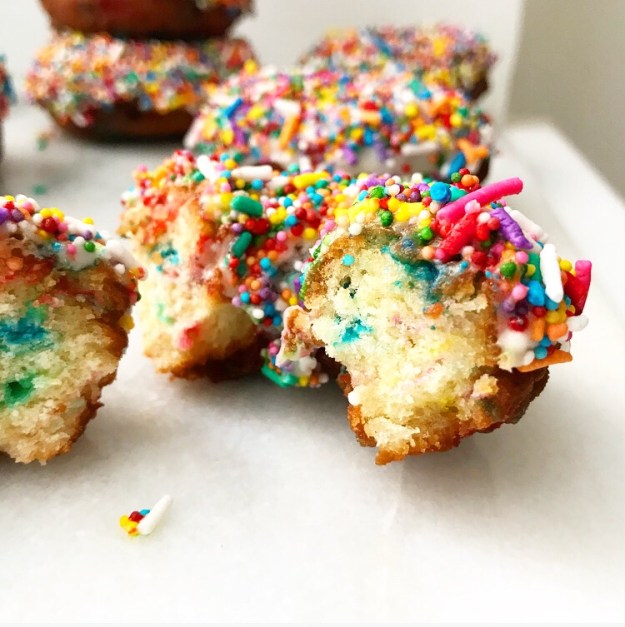 I mean, are these the happiest doughnuts you’ve ever seen or what?!
 If you love
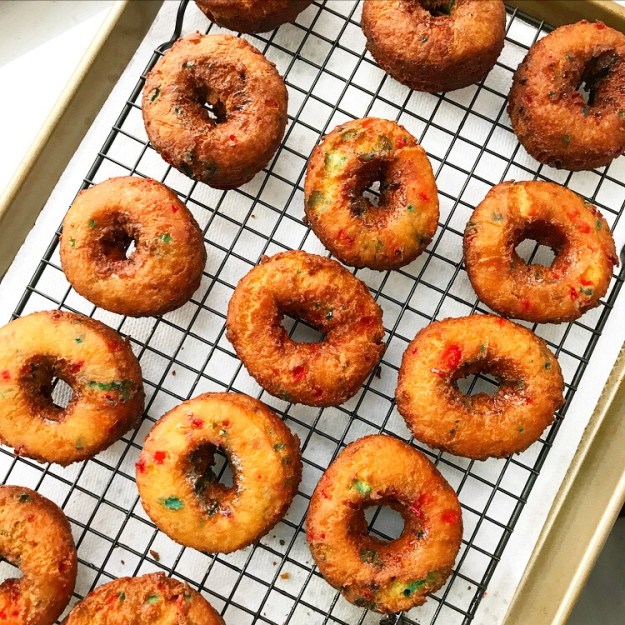
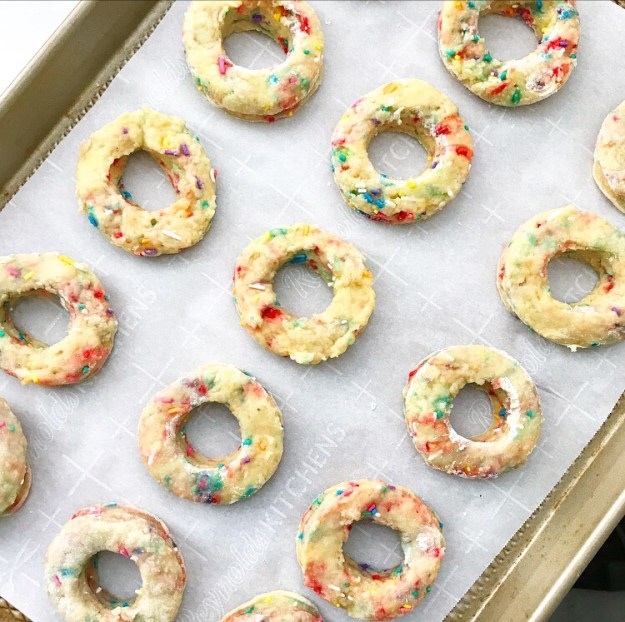
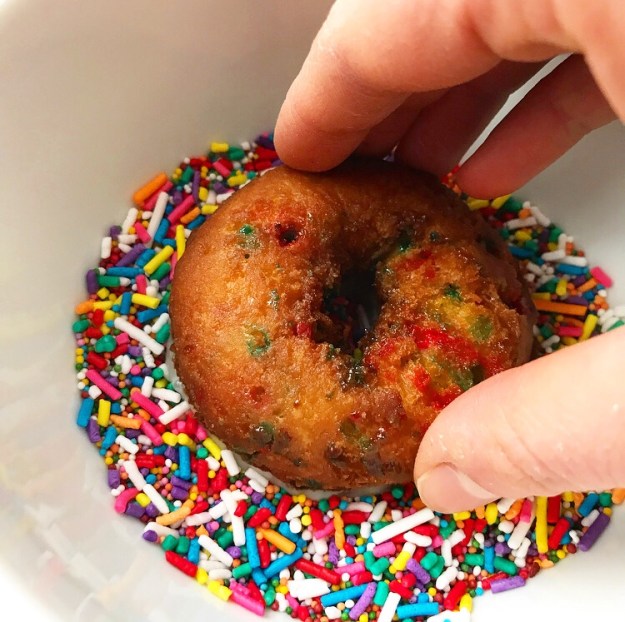 These doughnuts aren’t just pretty, y’all—they are ridiculously delicious. Like maybe the best cake doughnuts I’ve ever had. I made these twice this week (one batch for testing, one for pictures), and I just can’t get enough. Not only that, but formulating this recipe allowed me to streamline my
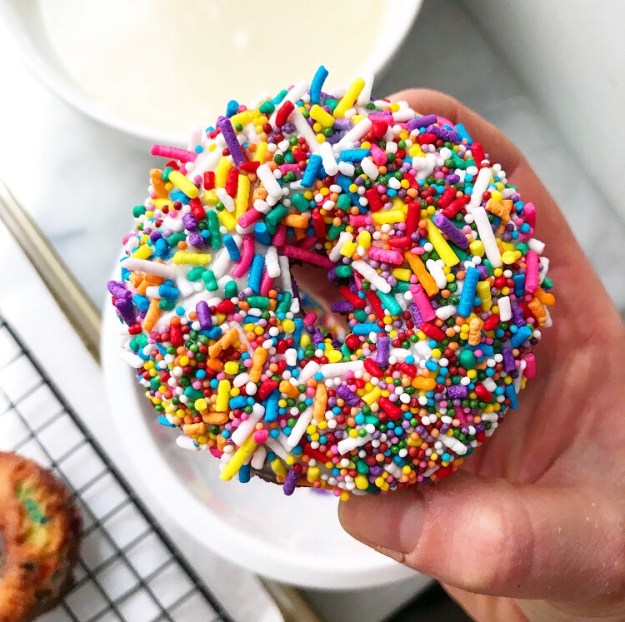
 Now that I have a go-to recipe, there’s no going back—I have about 17 new cake doughnut ideas floating around in my head right now.
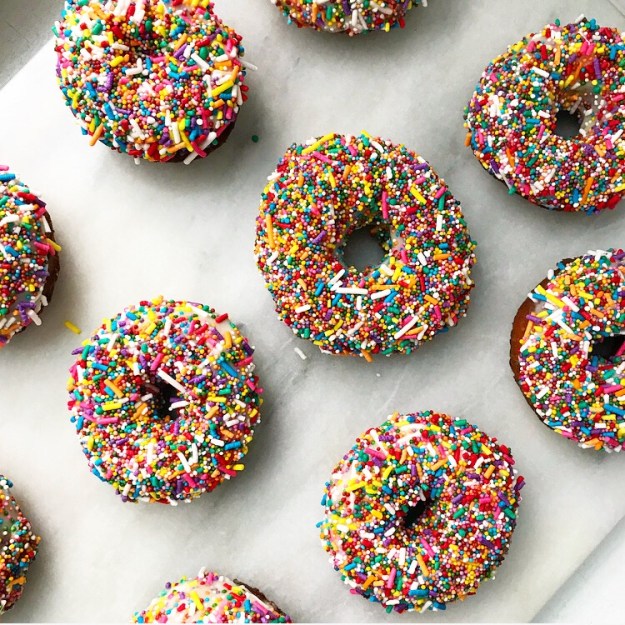
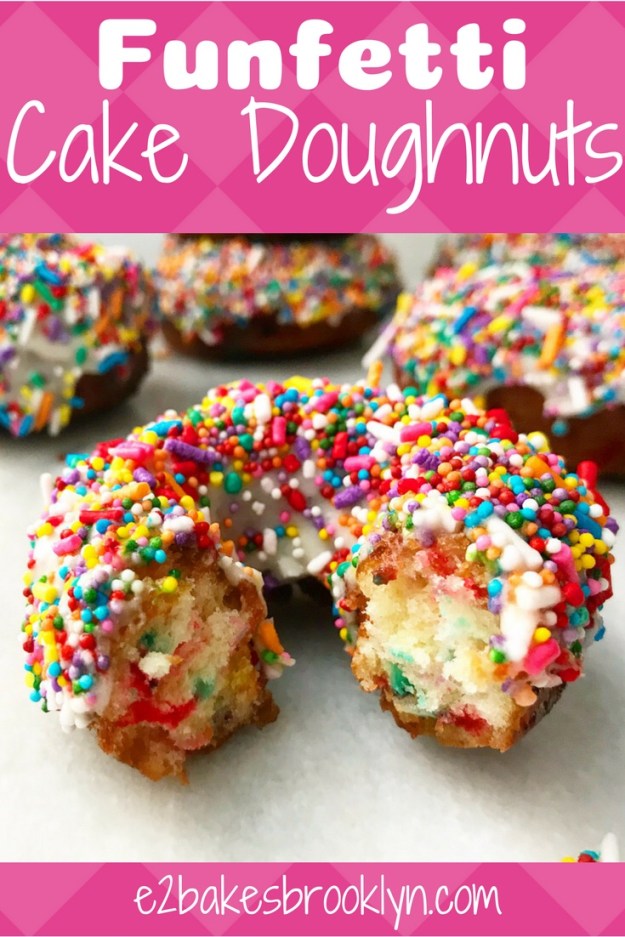
 That’s something to celebrate. Preferably with Funfetti Cake Doughnuts.
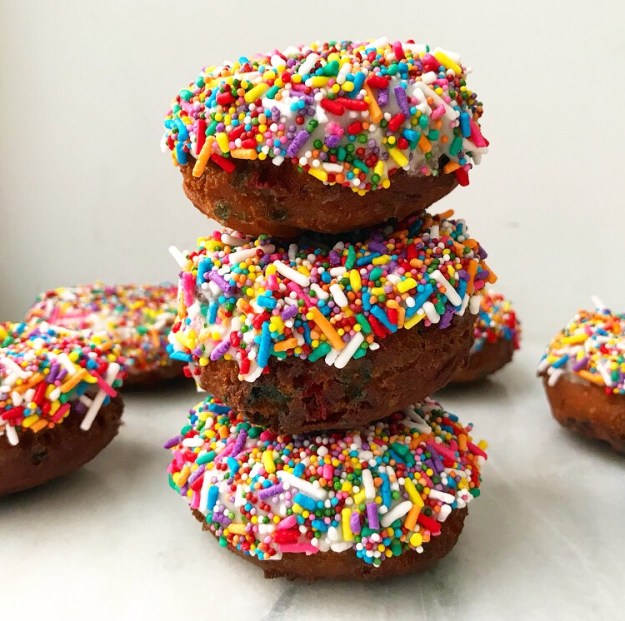
 I’m usually not the sort of blogger who labels her own recipes as “the best ever,” but y’all…this Chocolate Pudding might be the best ever. At the very least, it’s the best I’ve ever had.
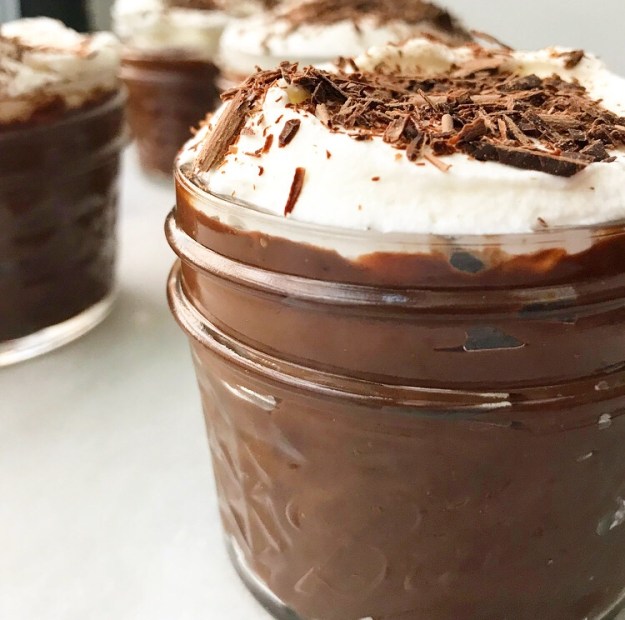 Of course, until a few years ago, I’m pretty sure that the closest I’d ever come to eating pudding made from scratch was my mom making Jell-o Cook & Serve vanilla pudding on an occasional weekend night. I’m not complaining though—she served it in a set of rarely-used champagne coupes, so it felt very fancy for something we ate on the couch in front of the TV.
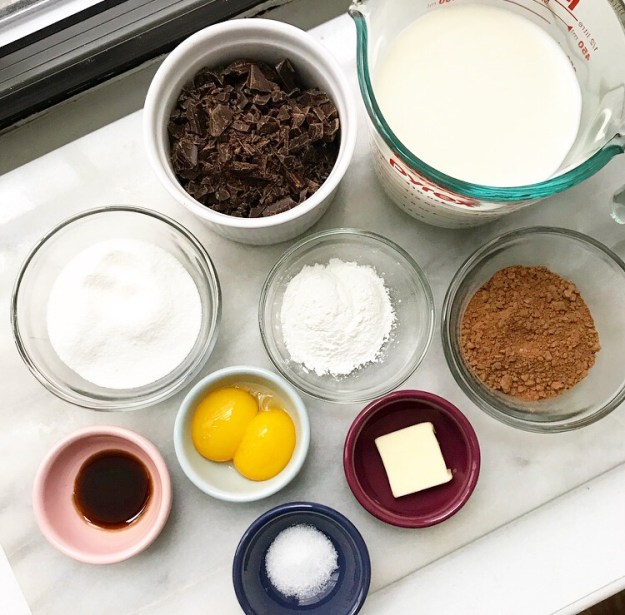
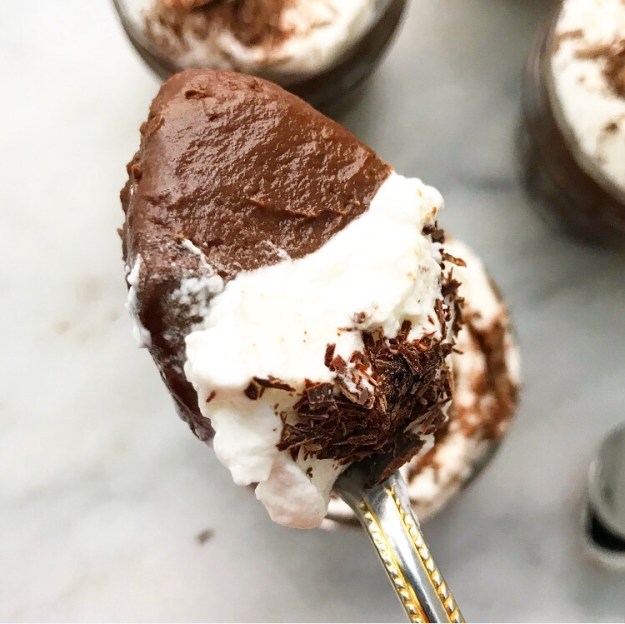
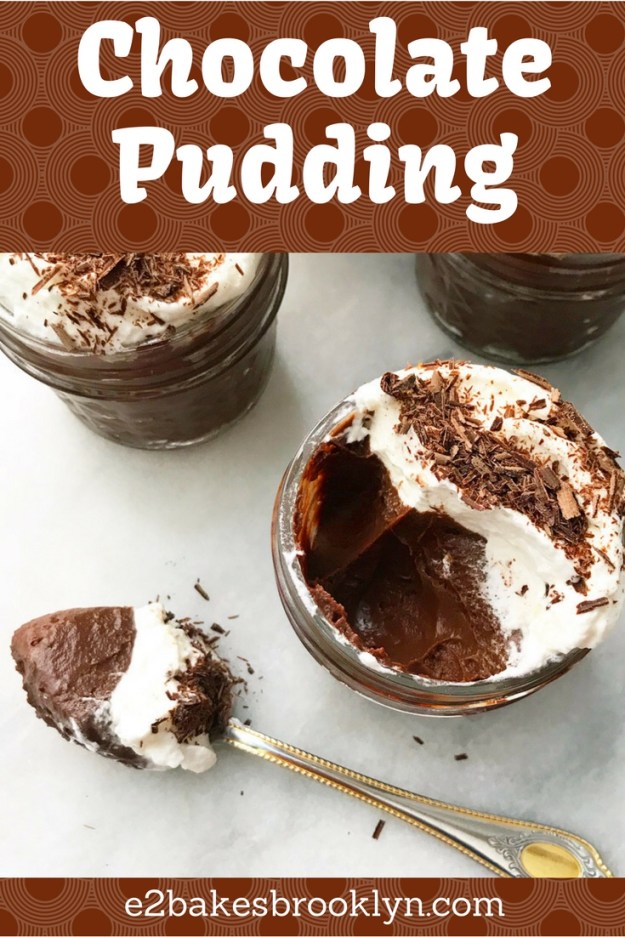
 This pudding though? It doesn’t need any elegant glassware to feel luxurious. It’s made with both cocoa and chopped bittersweet chocolate, giving the finished pudding a bold, in-your-face flavor. I cut the added sugar way down too, so there’s no cloying sweetness to distract from the intensity of the chocolate.
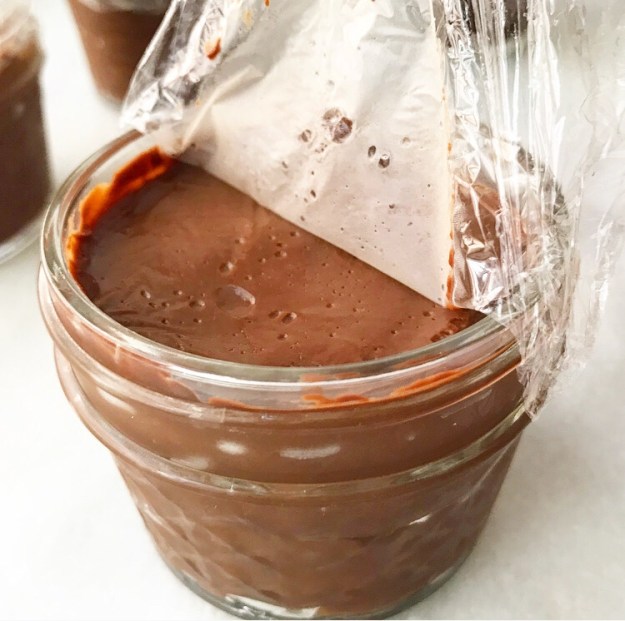
 I can guarantee you that there is no boxed mix on the market that makes a chocolate pudding that’s anywhere near this chocolaty.
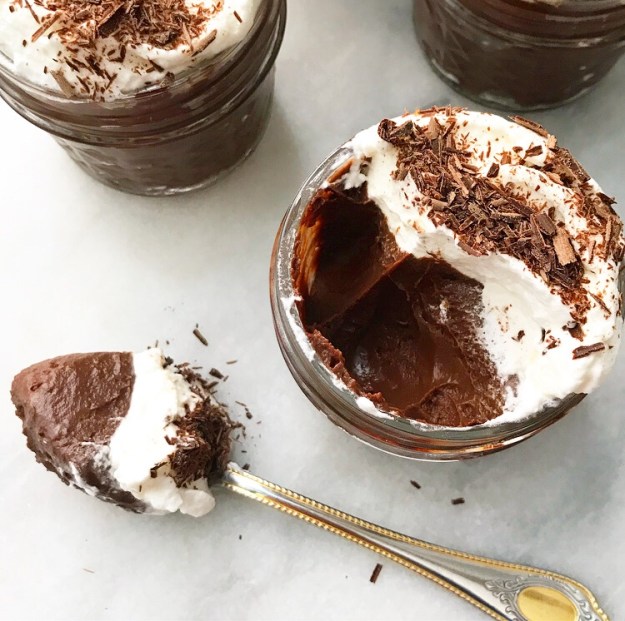
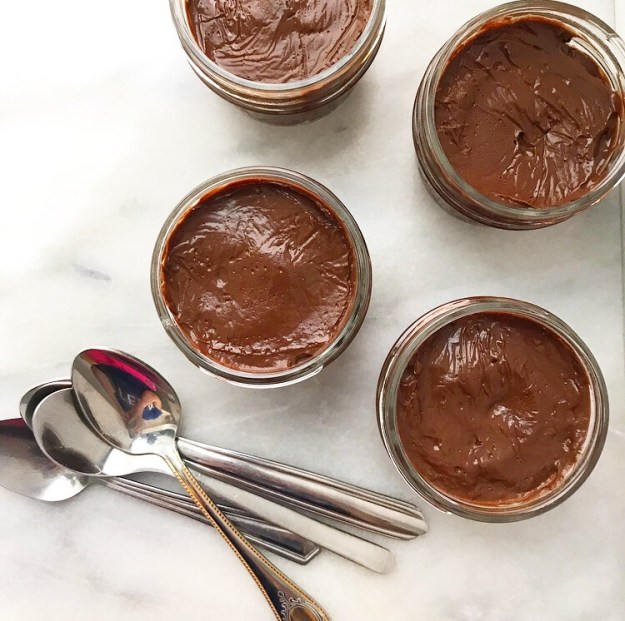
 This Chocolate Pudding is super thick, too. I mean, your average store bought pudding cup can’t hold a spoon straight up like that, now can it?!
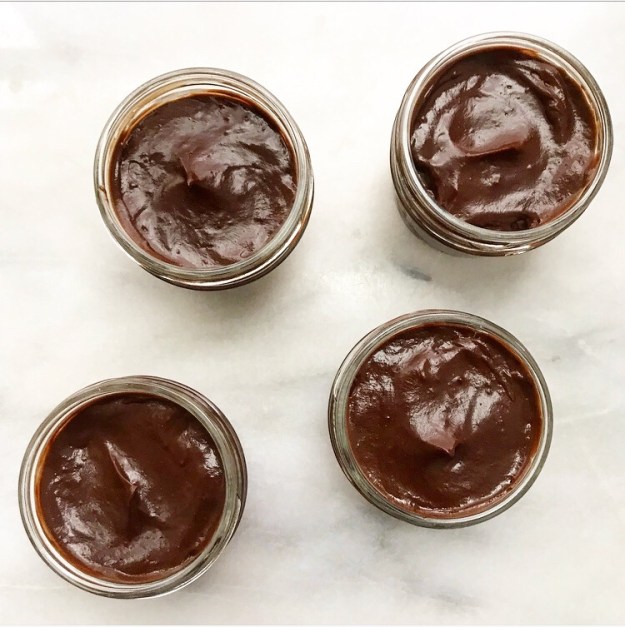
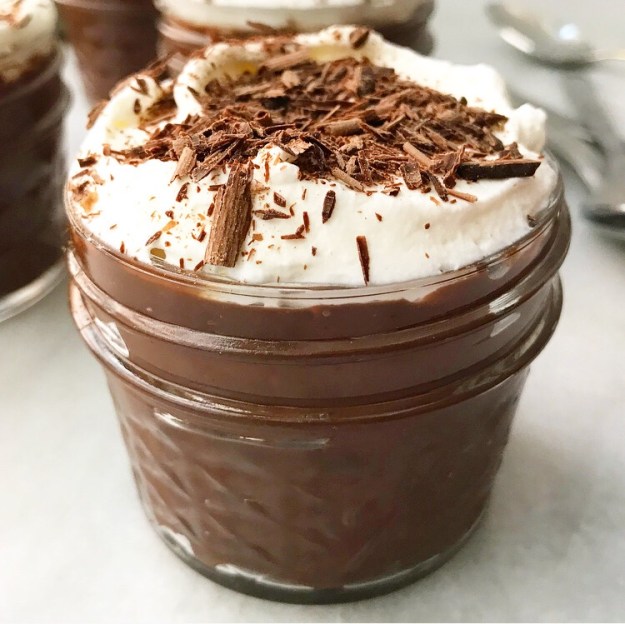
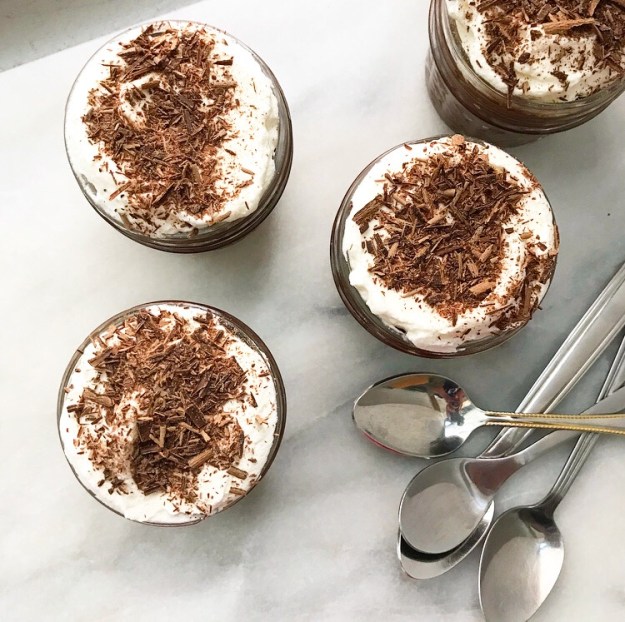 Another thing I love about this recipe is that it takes all of twenty minutes from the time I start measuring out ingredients to the time I put the pudding in the refrigerator to chill. This makes it perfect for a lazy night in or for a game night or cookout. I even think you could deck the individual servings out with whipped cream and shaved chocolate and serve them at a dinner party.
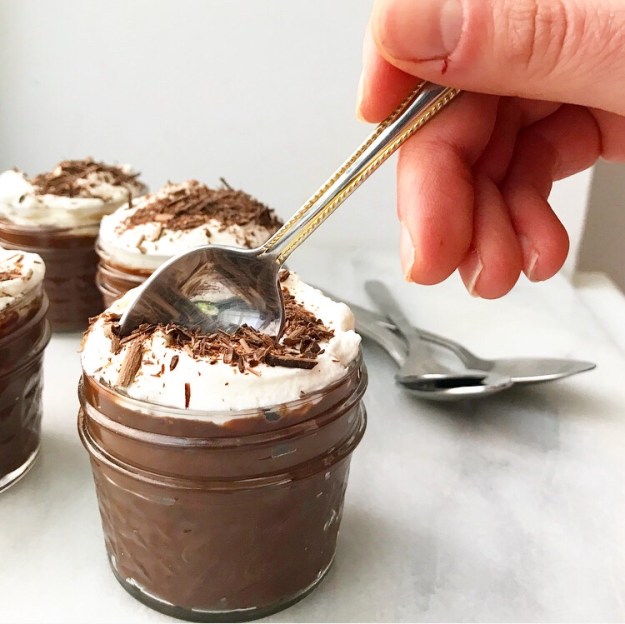
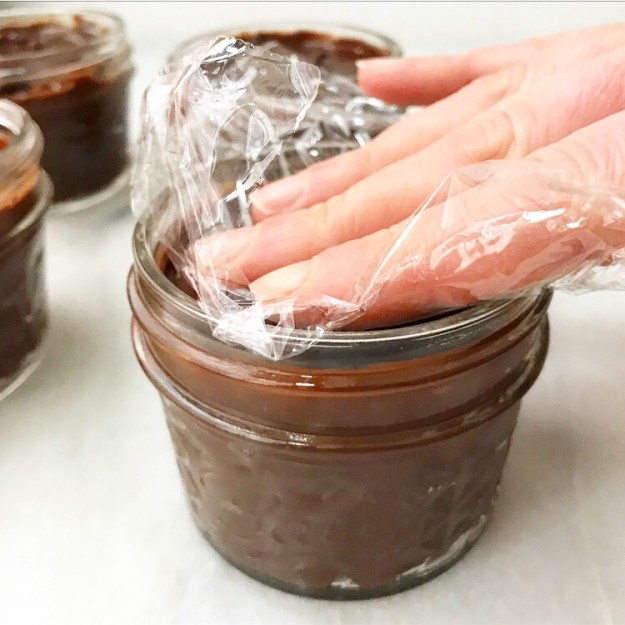
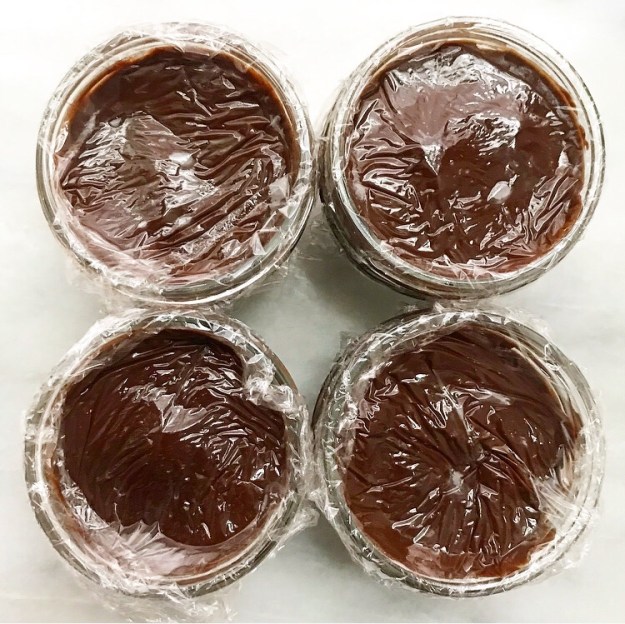
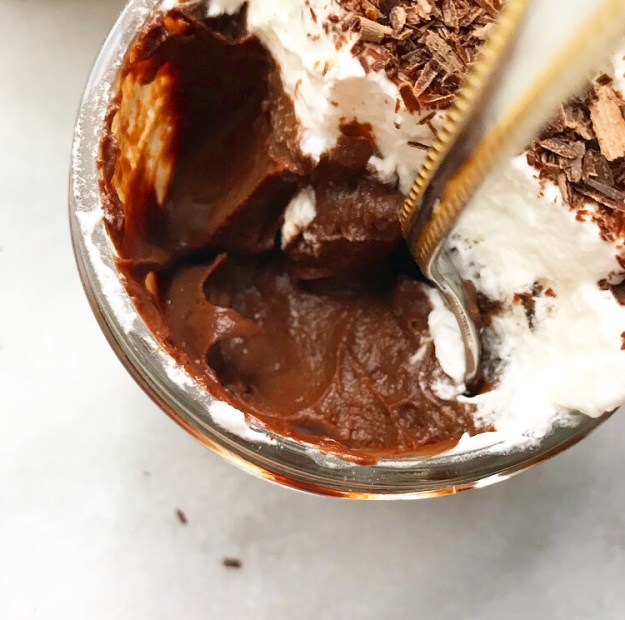 My Chocolate Pudding stays good for a few days in the fridge, so it’s a great make ahead option too. If you can resist the temptation to take a cold, creamy bite, that is.
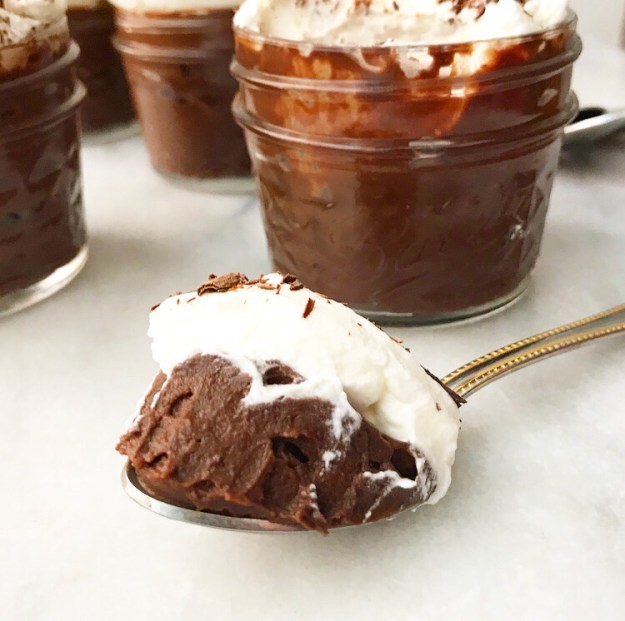
 Outdoor entertaining season is so close, I can taste it…and it tastes like Banana Cream Pie.
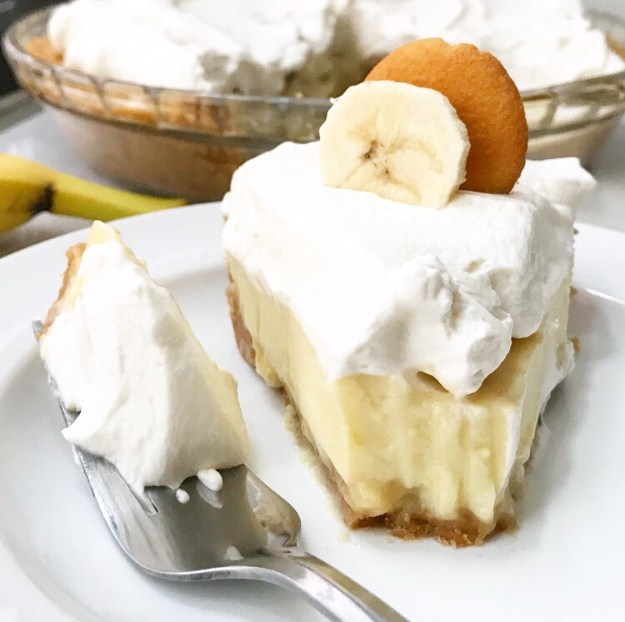
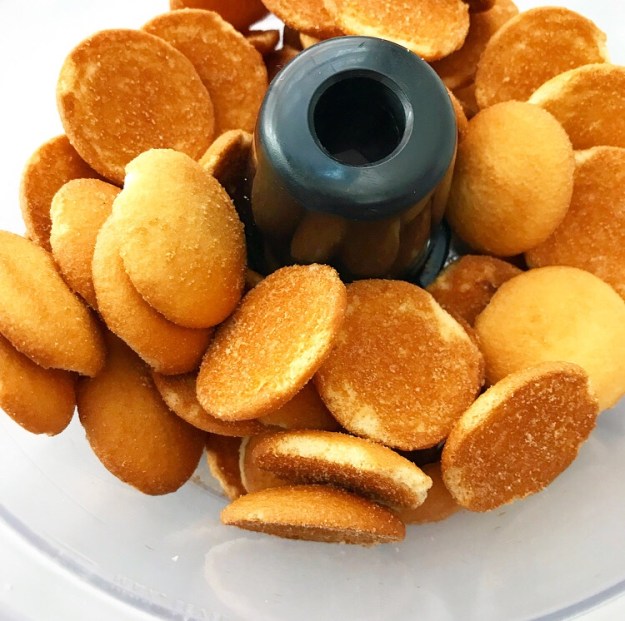
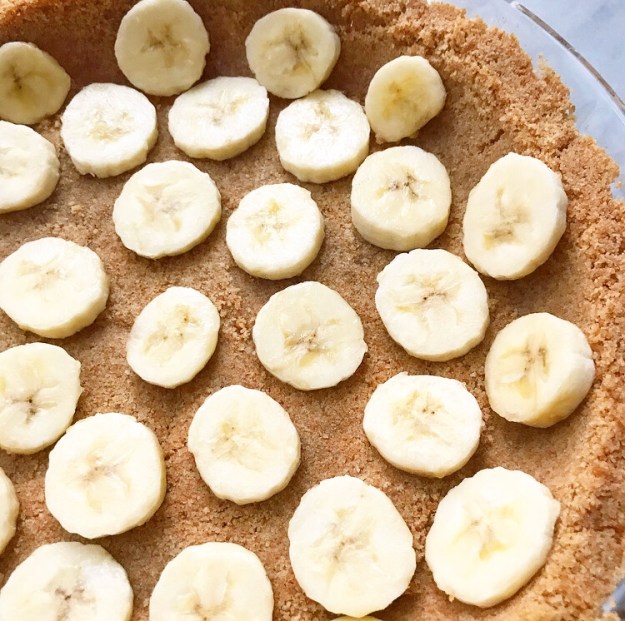
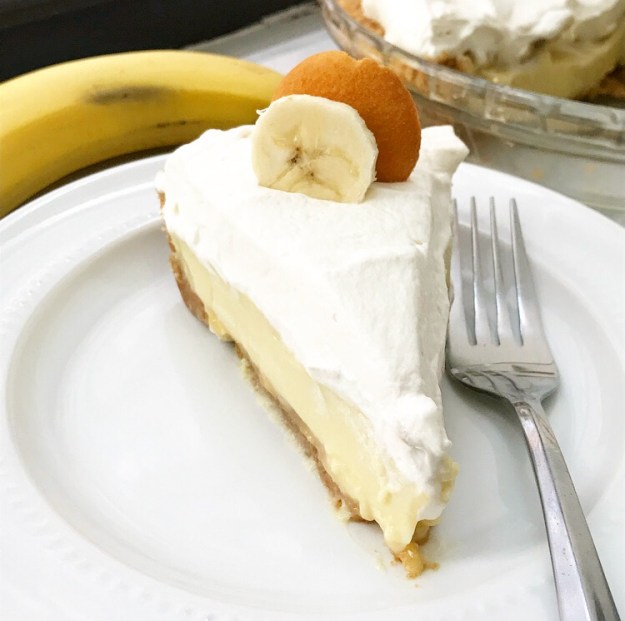 Cold and creamy, with a soft banana-scented filling and a crumbly, buttery Nilla Wafer crust—it’s basically everything that’s good about
 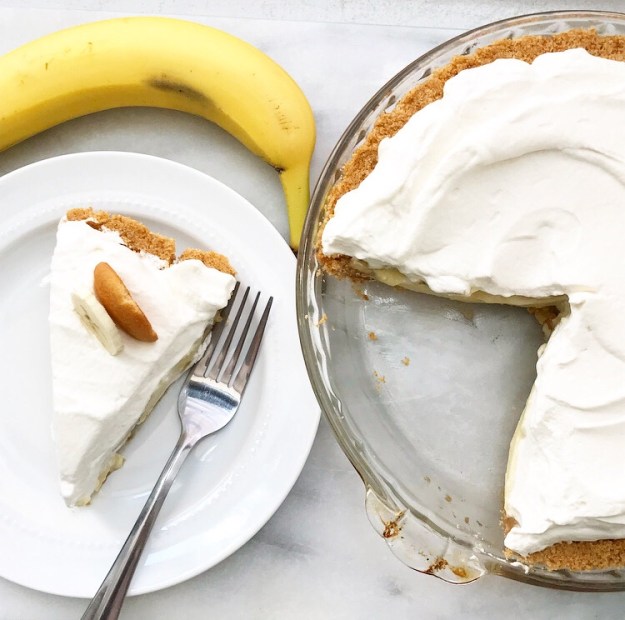 This pie is a little kitschy and very retro—the sort of dessert that everyone forgets they love until they are presented with it…and then they fall in love all over again.
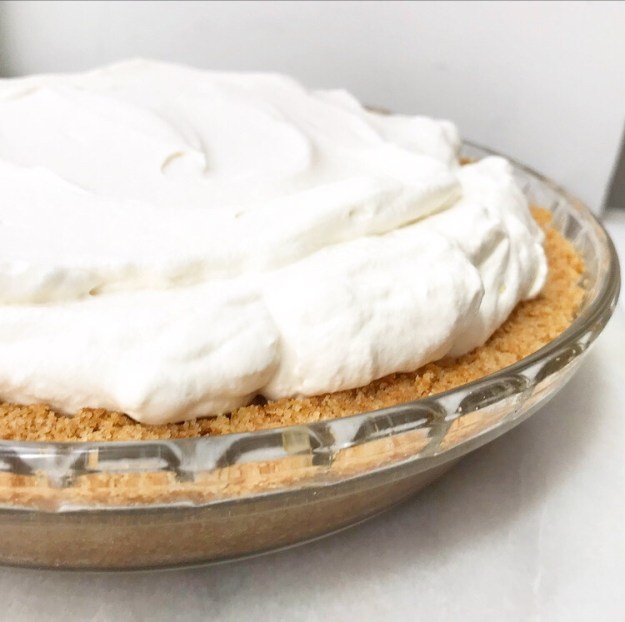
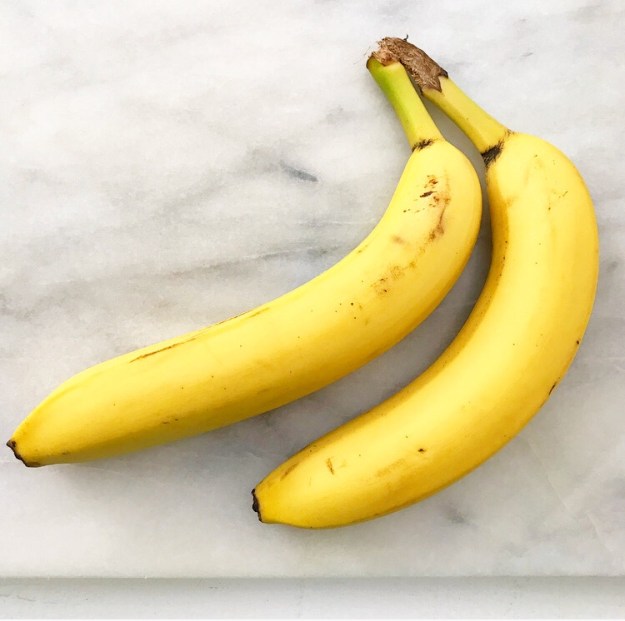
 I defy you to find a warm weather occasion that can’t be improved by Banana Cream Pie.
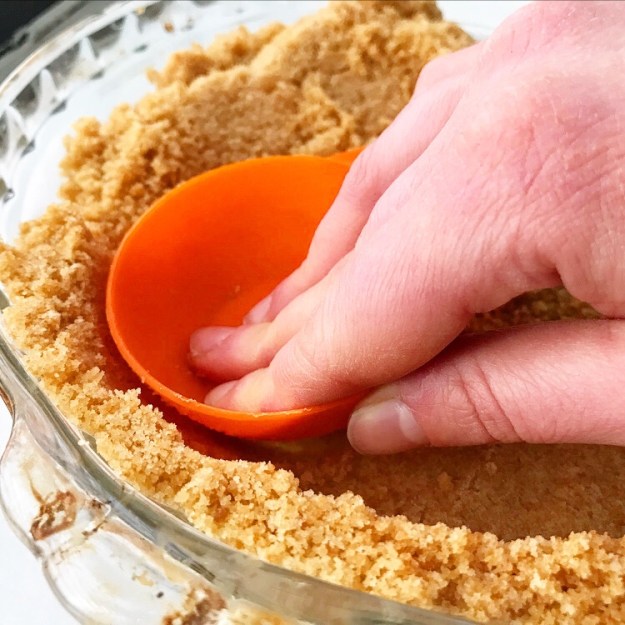
 Rooftop cookout? Banana Cream Pie for dessert. (Pro Tip: this is especially good on nights that involve fireworks.)
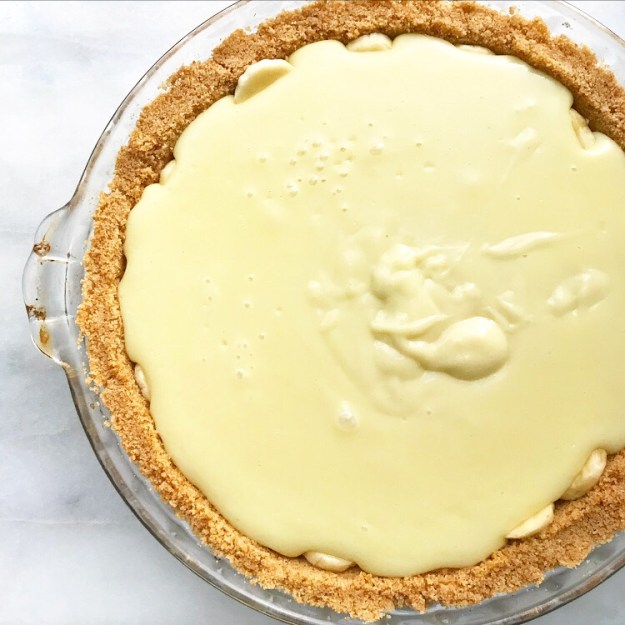
 Beach weekend? Don’t forget a box of Nilla Wafers.
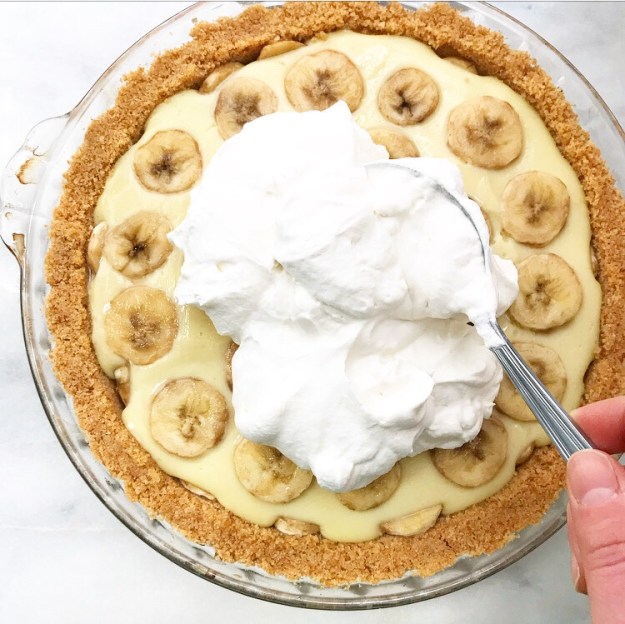
 Netflix and chill…and Banana Cream Pie.
 Trust me. This is a pie capable of winning you new friends.
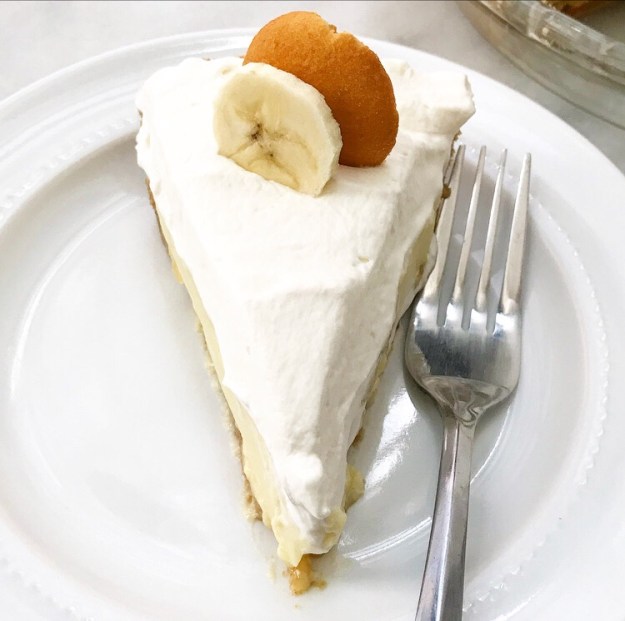
 I mean, I don’t know about you, but if I come to a gathering and someone has made Banana Cream Pie, I want to find that person and make them my friend.
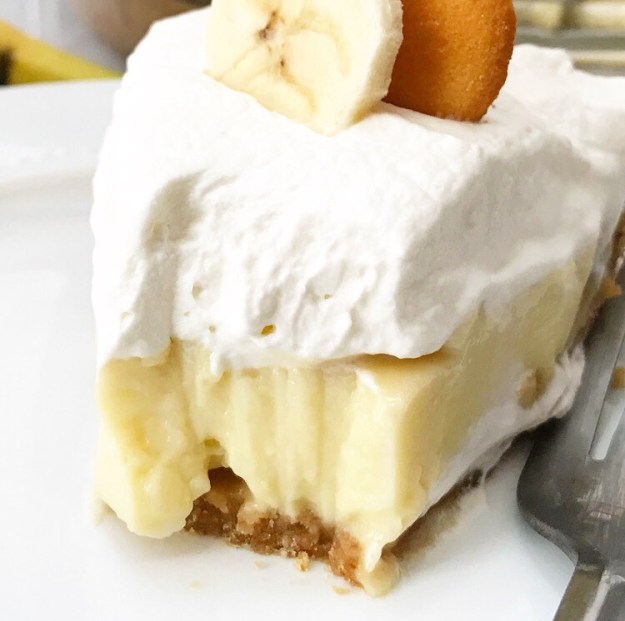 Banana Cream Pie
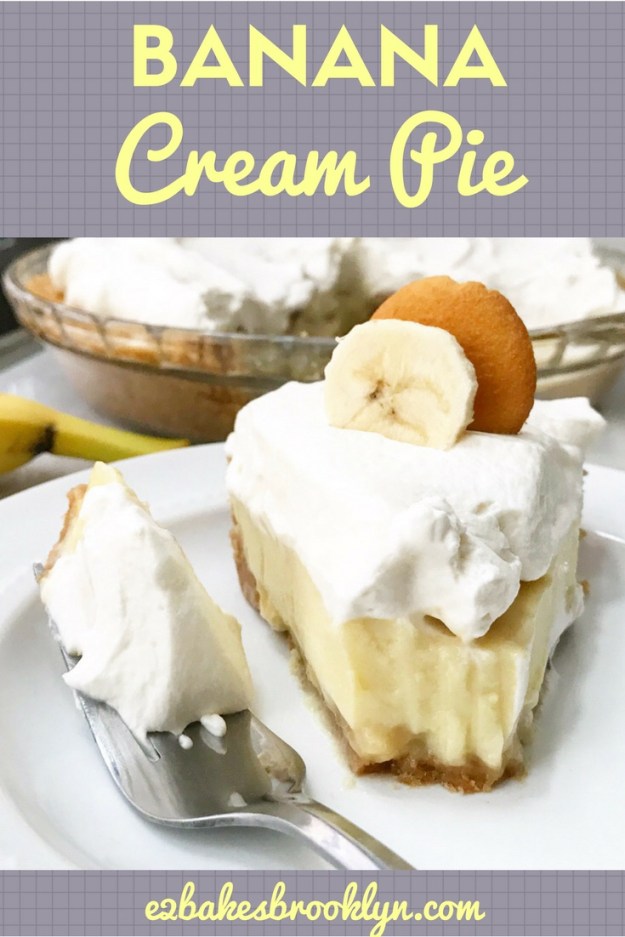
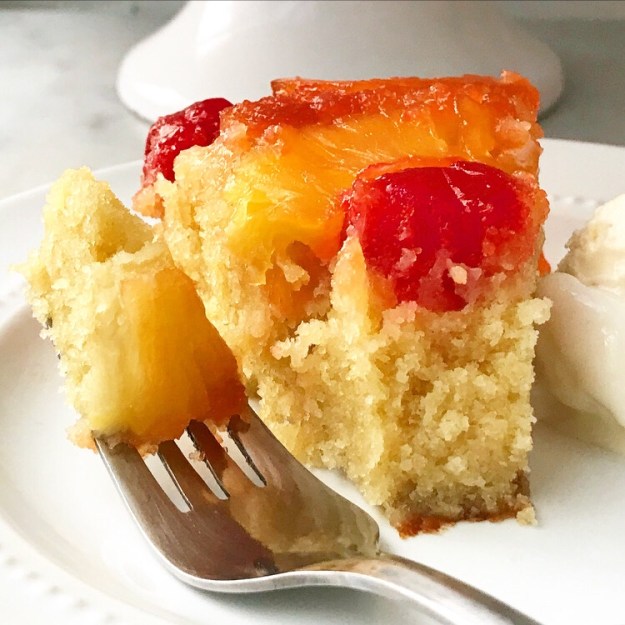
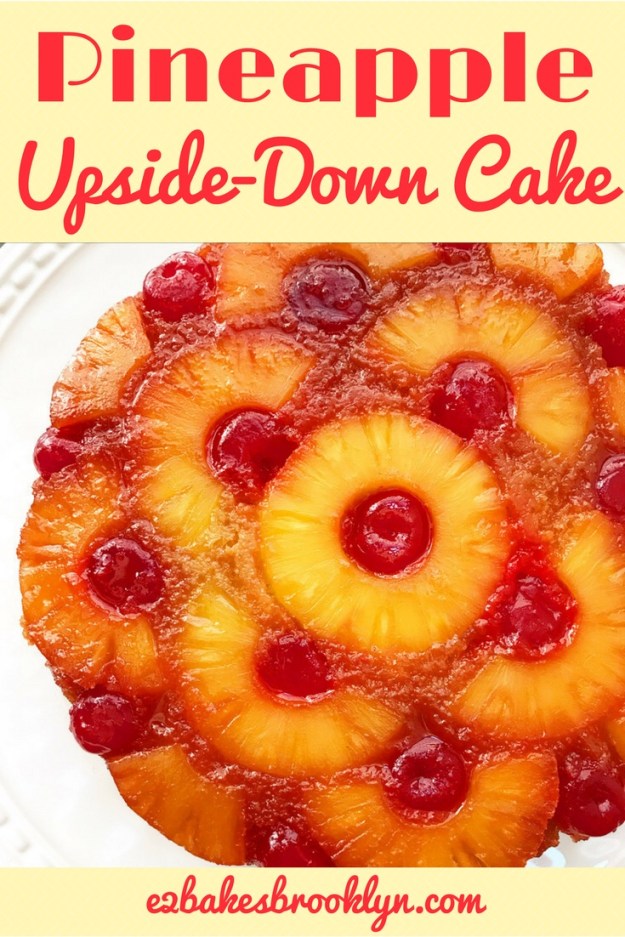
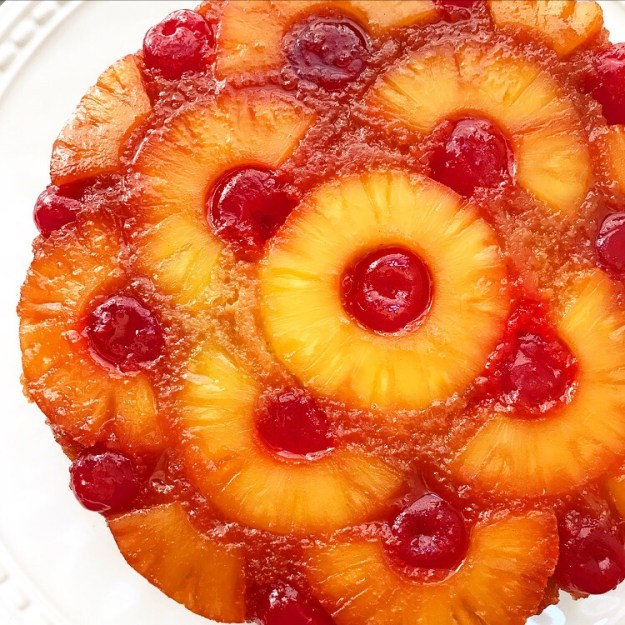
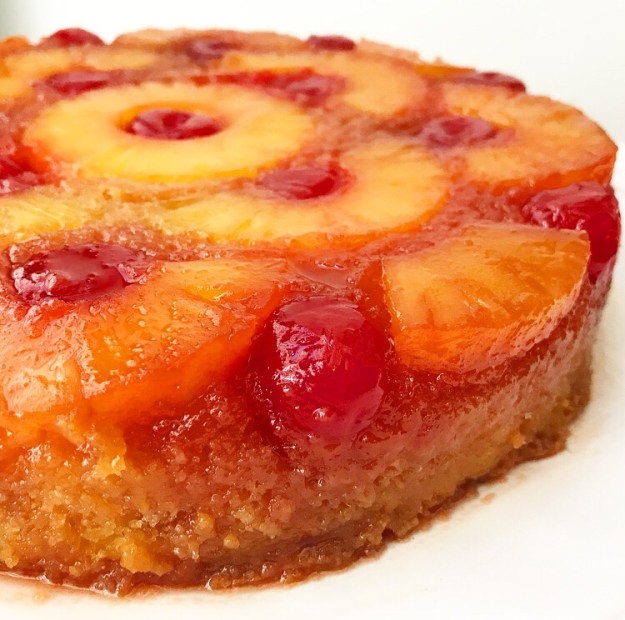 There’s just something about Pineapple Upside-Down Cake.
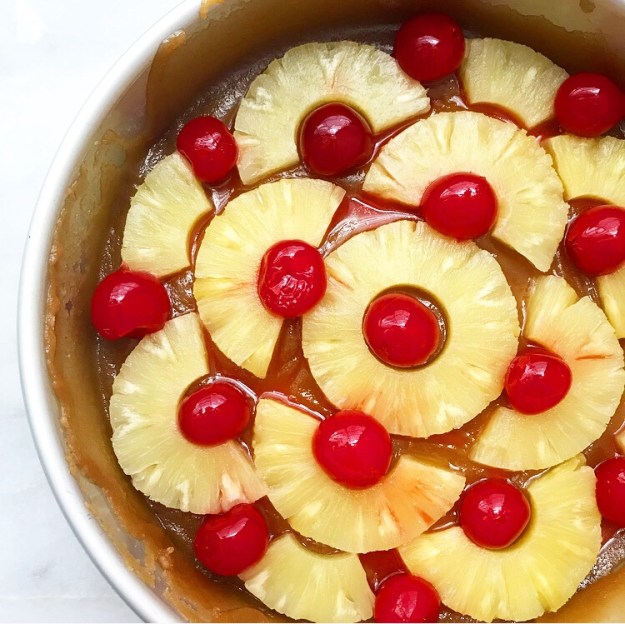
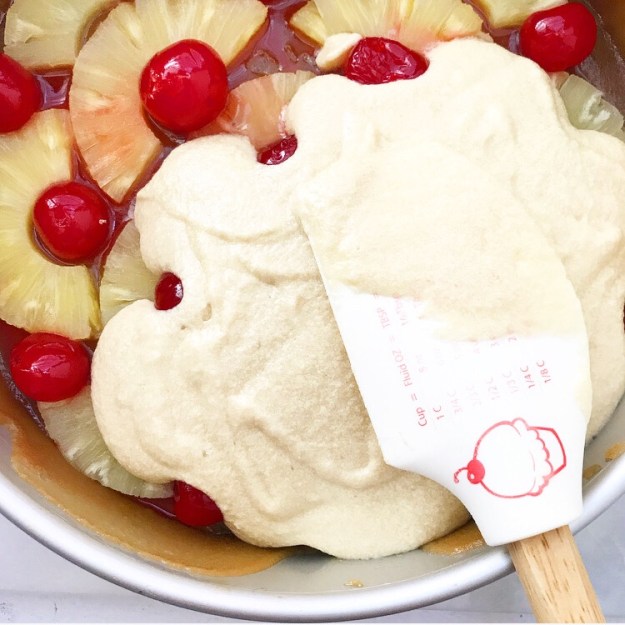
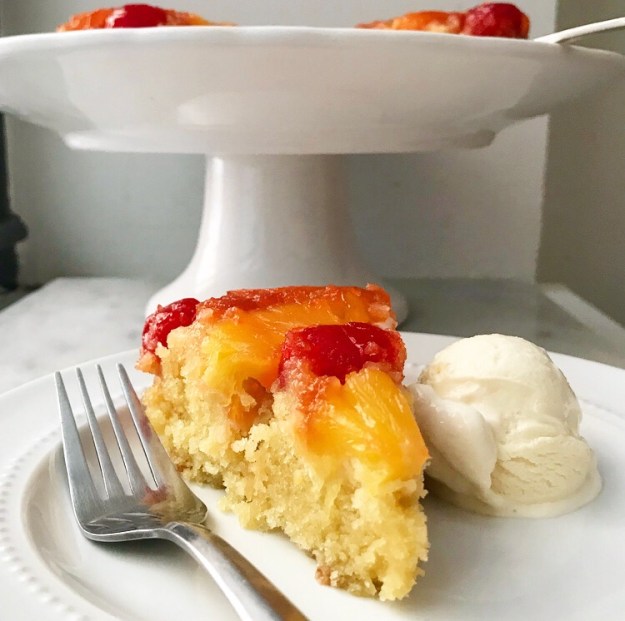 I don’t know if it’s the buttery cake or the mosaic of canned fruit that I would otherwise never eat or the way the brown sugar glaze caramelizes perfectly during the 50 minute bake time.
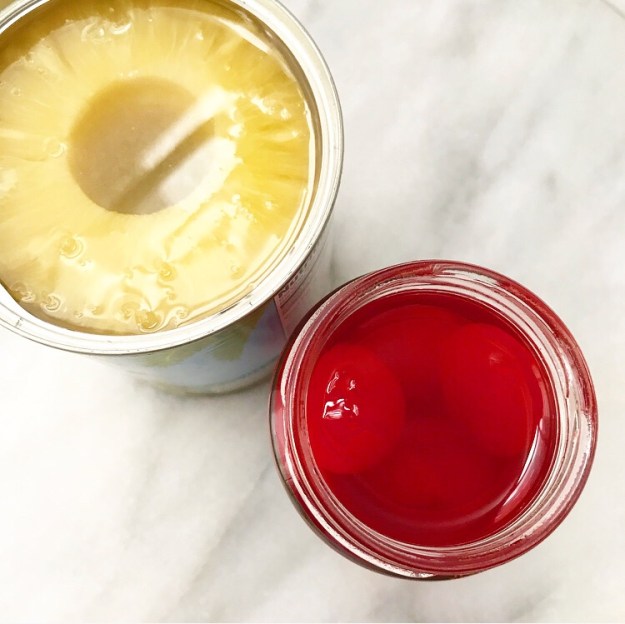
 Perhaps it’s the way that it somehow straddles the line between Everyday Cake and Celebration Cake.
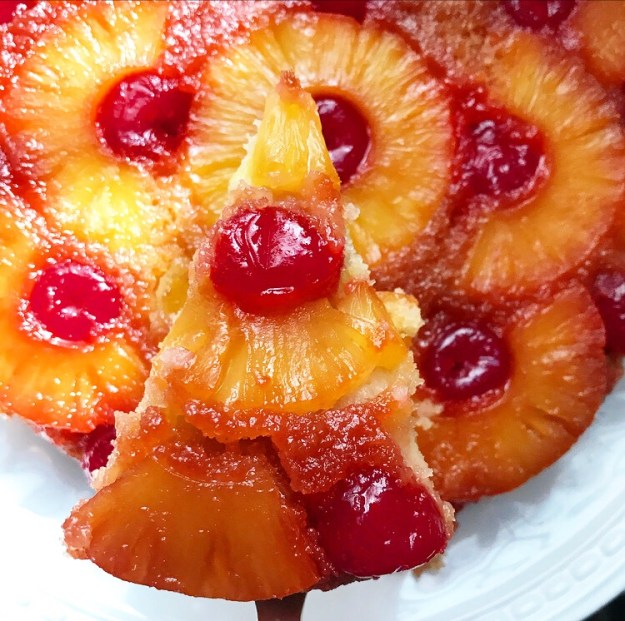
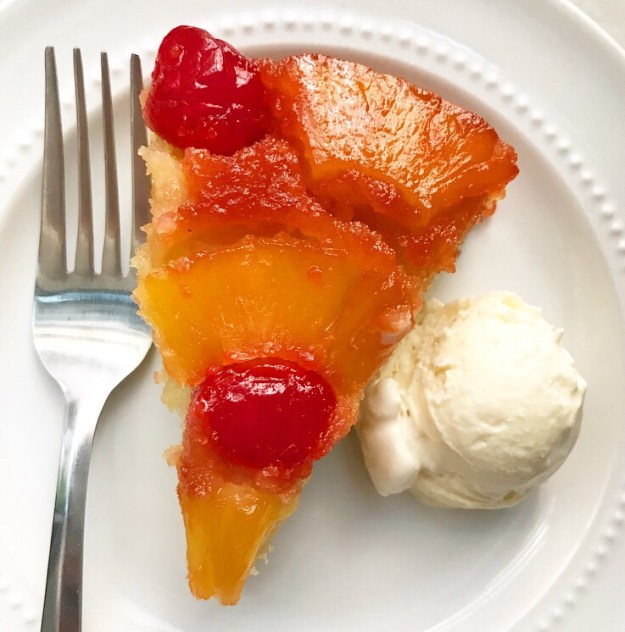
 Or that it doesn’t need to cool much after baking and doesn’t need any sort of adornment to make it complete. A scoop of ice cream doesn’t hurt though.
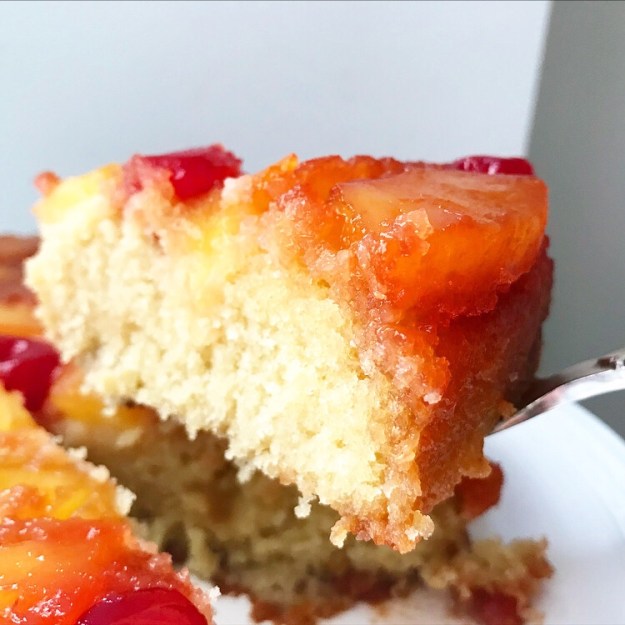
 Maybe it’s that making one of these beauties lets me channel the TV ghost of
 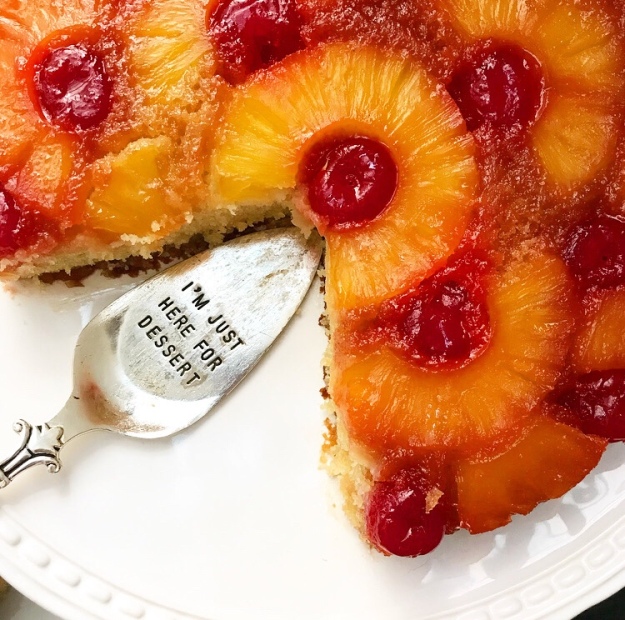 (That’s really something, considering that this blog could easily be sponsored by Lululemon, Birkenstock, and ten year old college t-shirts.)
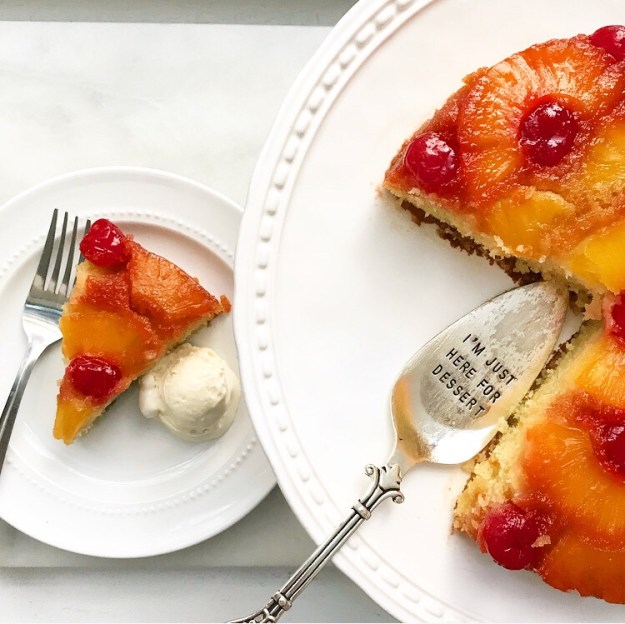 Yep, if I were a cake, this would be the one.
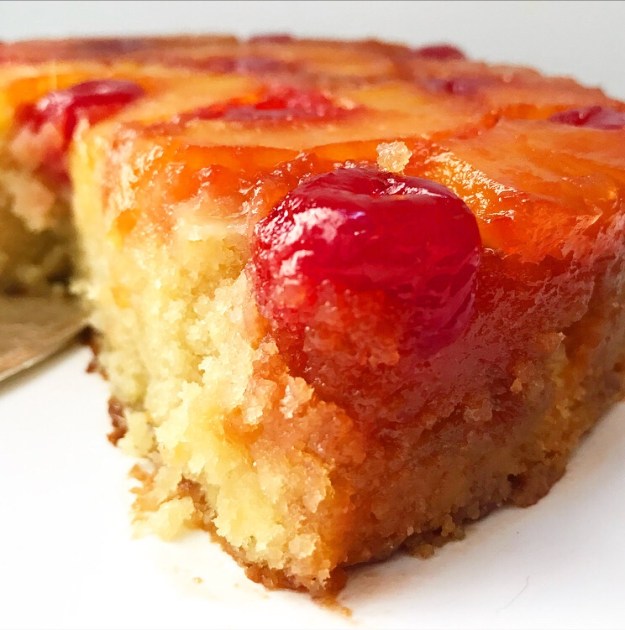 Why all this Pineapple Upside-Down Cake love? Well, all the things listed above and because today is National Pineapple Upside-Down Cake Day. Yes, that’s a thing now. As far as I’m concerned, it’s as good a reason as any to stash a homemade cake in your fridge and snack on it all weekend.