 Some recipes I’m posting during this time are going to be super pared-down and simple, and others are…well…not. What can I say? Bakers gonna bake.
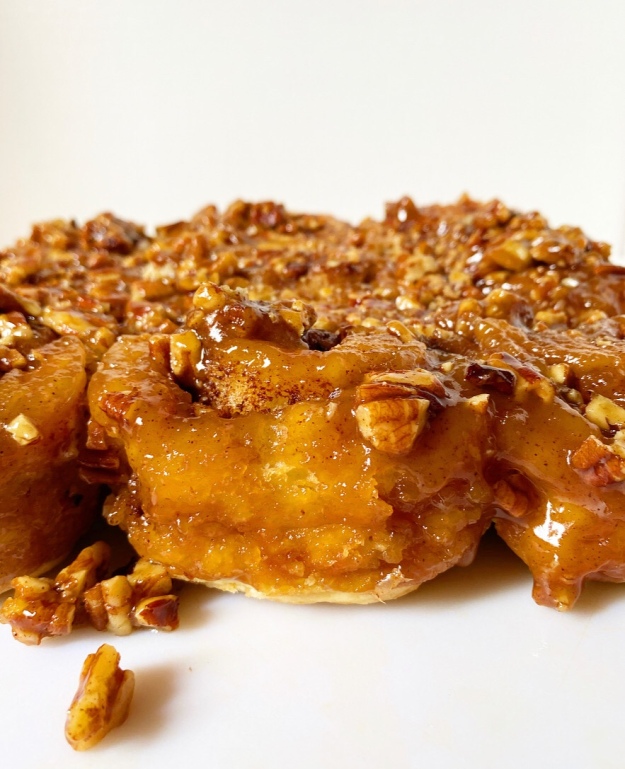 These Cream Biscuit Pecan Sticky Buns came to be because I went into this time of quarantine with a ton of heavy cream in my fridge. It’s usually reserved for making buttercream for the various layer cakes I make every month, but there are no cakes on my calendar for…who knows how long.
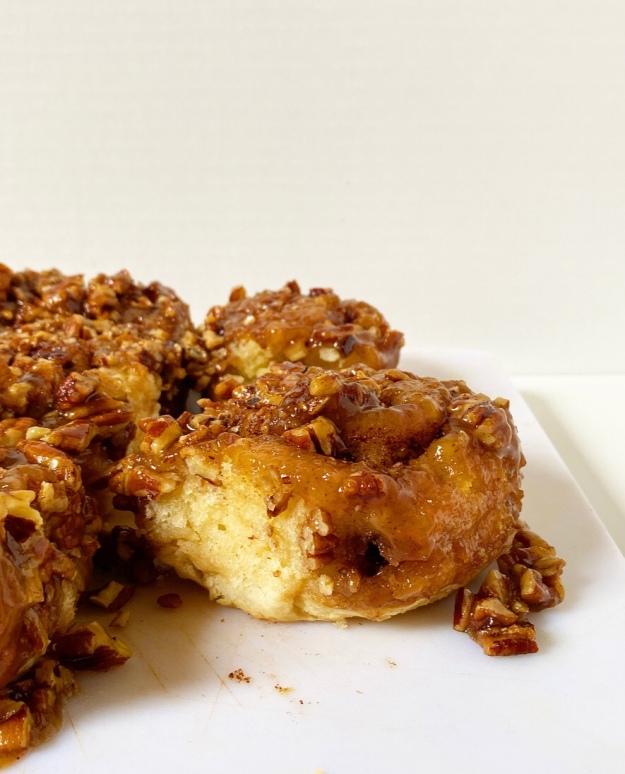
 So, what to do with all that cream? Whip it, make ice cream, make biscuits, and—oh yeah—combine it with the giant bag of pecans in my pantry and roll it all into super soft, tender sticky buns. Yesssss.
 This is not the first time I’ve used biscuit dough to make sweet rolls on here, but it is certainly the prettiest (forgive those photos—I was a baby blogger). Assembly is super simple and, aside from the lack of rise, pretty similar to regular sweet rolls. Make a dough, make a filling, roll it all up, slice, arrange, bake over a lake of sticky pecan stuff, invert, eat. Boom, done.
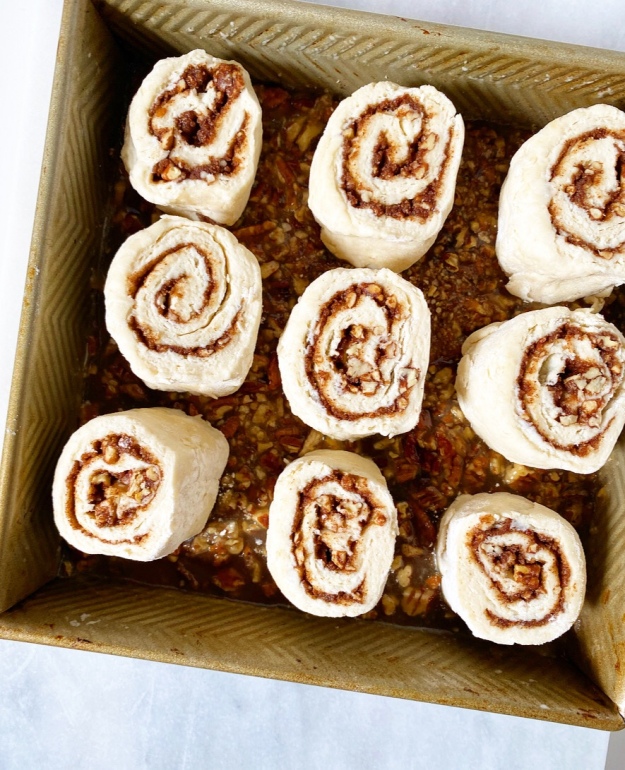
 I’ve designed this recipe to be for just nine rolls. I figure most of us don’t need more than that sitting around to taunt us from the kitchen counter. If nine still seems like too many, know that these keep remarkably well in the fridge for a few days and can be reheated on demand.
 Now for the social distancing swaps so you don’t have to go to the store.
-Have nuts that aren’t pecans? Use ‘em.
-Don’t like nuts? Leave ‘em out entirely. Nothing terrible will happen.
-Don’t have honey for the topping? Use maple syrup, agave, light corn syrup, or golden syrup.
-Use any milk you like for the topping. I went with almond. In a pinch, you can swap the milk for 2 tablespoons of cream and 3 of water.
-Don’t have cream at all? You can use another biscuit dough. I’d be careful about making sure the dough stays cold and probably give the sliced & arranged rolls a good chill before baking.
-Feel like making traditional yeasted sticky buns? Click here. (You can leave out the bananas.)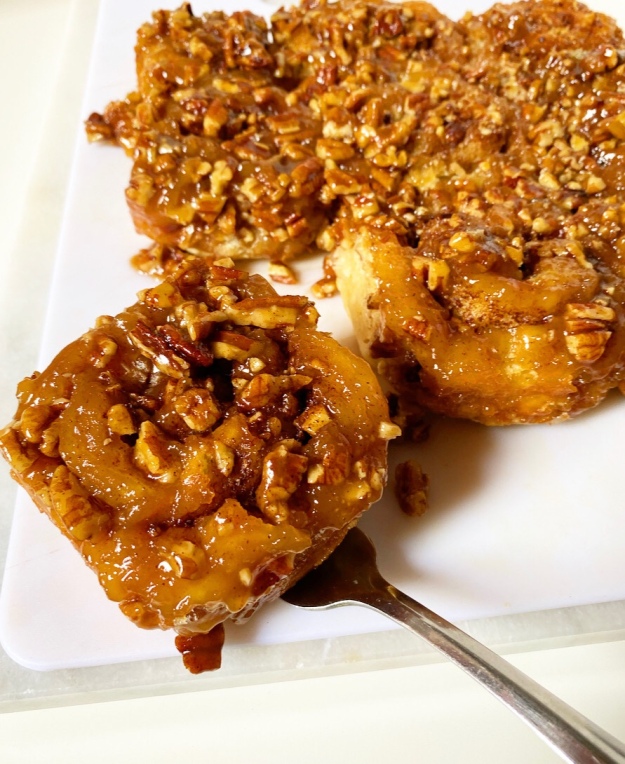
Even with all those swaps, these buns may not quite qualify as quarantine-friendly for some, but they do for me. In an effort to stay home, I’m baking with things that are already in my pantry and fridge, as we all should be. To see more social distancing bakes, click here. And if you’re more inclined to cook than bake right now, head over to my Instagram. I’m posting easy dinner recipes over there a few times a week.
For now though, have a great weekend, and for the love of yourself and everyone else, stay home and make yourself a special breakfast. You’ve earned it! We all have.
Cream Biscuit Pecan Sticky Buns
makes 9 medium-large buns
Topping:
1 1/2 cups chopped pecans, divided
1/4 cup (1/2 stick) unsalted butter, cut into pieces
1/2 cup light or dark brown sugar, packed
1/3 cup milk of choice
2 tablespoons honey
pinch of Kosher or sea salt
1 teaspoon pure vanilla extract
Filling:
6 tablespoons unsalted butter, melted and cooled slightly
1/2 cup light or dark brown sugar, packed
1 tablespoon ground cinnamon
pinch of Kosher or sea salt
Biscuits:
3 cups all-purpose flour
2 tablespoons light or dark brown sugar, packed
1 teaspoon Kosher or sea salt
1 tablespoon baking powder
1 pint (2 cups) heavy cream, cold
Preheat oven to 400F. Grease an 8- or 9-inch square pan with butter. Set aside.
Make the topping. Place pecans on a dry baking sheet. Toast for 5-7 minutes, or until fragrant. Let cool for a few minutes. Chop finely. Set aside 1/2 cup pecans for the filling.
Combine butter, brown sugar, milk, honey, and salt in a medium saucepan over medium heat. Bring to a boil, stirring occasionally. Stir constantly while mixture boils for 3 minutes. Remove from heat and stir in vanilla. Pour mixture into prepared pan—it will seem thin. Tilt pan slightly to coat evenly. Scatter 1 cup chopped pecans evenly over the topping. Refrigerate full pan while you prepare the rolls.
Make the filling. In a small mixing bowl, use a fork to whisk together butter, brown sugar, cinnamon, and salt, until it’s completely combined. Set aside.
Make the biscuit dough. In a large mixing bowl, whisk together flour, brown sugar, salt, and baking powder. Use a silicone spatula or wooden spoon to fold in heavy cream, making sure to scrape the sides and bottom of the bowl. Dough will be shaggy.
On a floured surface, roll half the dough into a 10×14-inch rectangle so that the edge closest to your body is 14 inches. Drop spoonfuls of filling over dough and use an offset knife (or butter knife) to spread it out, leaving a 1/2-inch border at the edge. Scatter on reserved pecans. Starting at the long edge furthest away from your body, tightly roll the dough toward you until you have one large cylinder. Slice into 9 pieces, and place close together in the prepared pan. Bake rolls for 25-30 minutes, until light golden and fully cooked.
Let cooked rolls rest in the pan on a rack for 3 minutes. Run a small, thin knife around the edge of the pan. Place a large serving plate (or cutting board) upside down on top of the pan. Wearing oven mitts, tightly grab the plate and the pan and flip them over, inverting the rolls onto the plate. Remove pan. Nudge any leftover topping onto the rolls and smooth to distribute evenly. Serve warm. If rolls do not release, return pan to the oven for a minute to warm the topping before trying to invert again.
Cream Biscuit Pecan Sticky Buns are best served the day they are made, but may be kept covered in the refrigerator for up to three days.


 Until a few weeks
 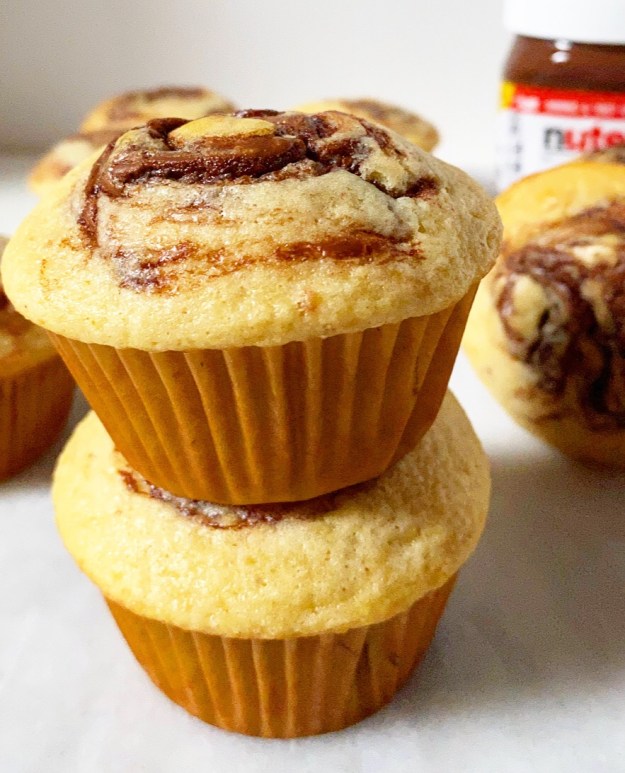 And while muffin/cupcake liners are the obvious solution to that problem, there was another to contend with: I was not terribly confident in my base muffin recipe. But then I went and tested the crap out of my
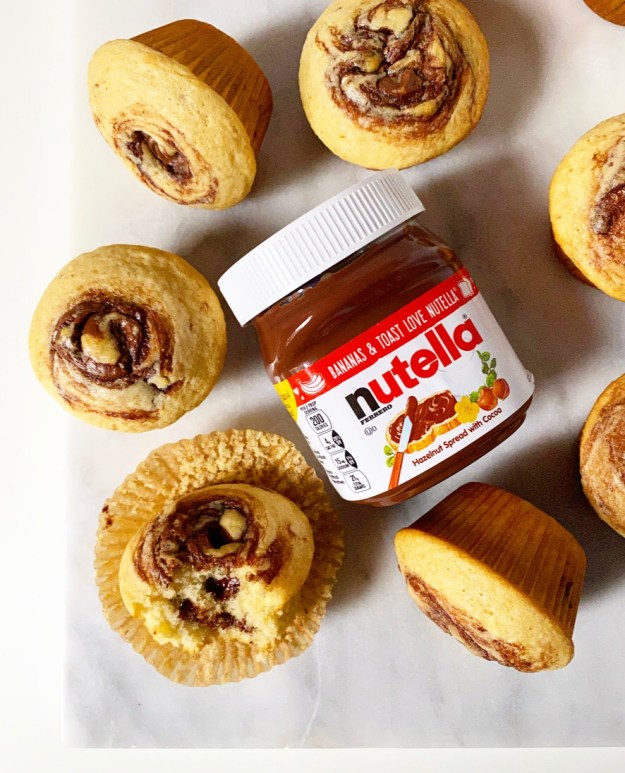
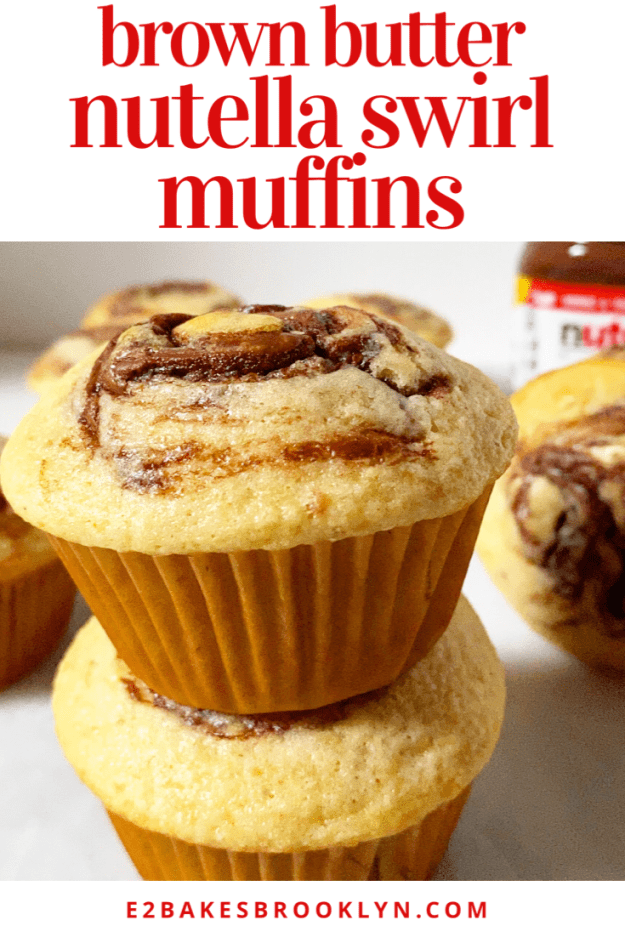
 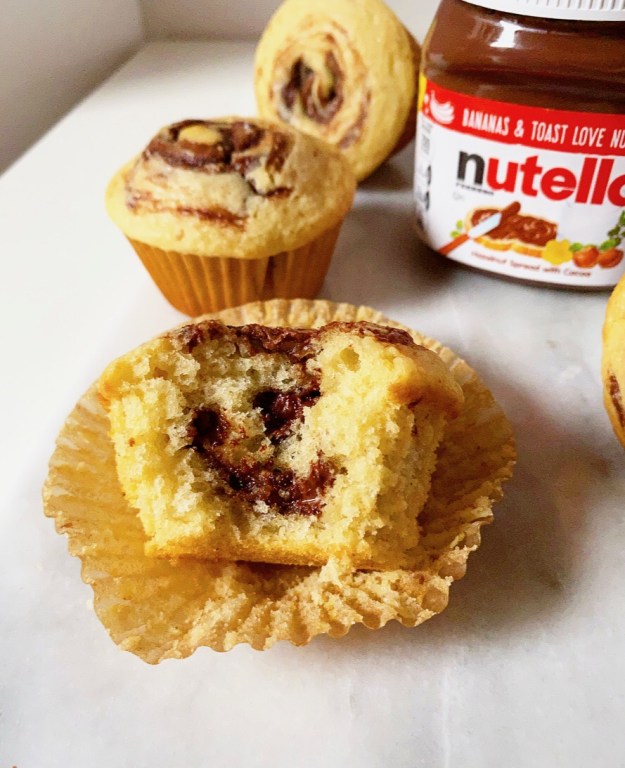 You read that right: Brown Butter. Nutella Swirl. Muffins. Basically every good thing in the world in a handheld treat that is somehow suitable for consumption at breakfast.
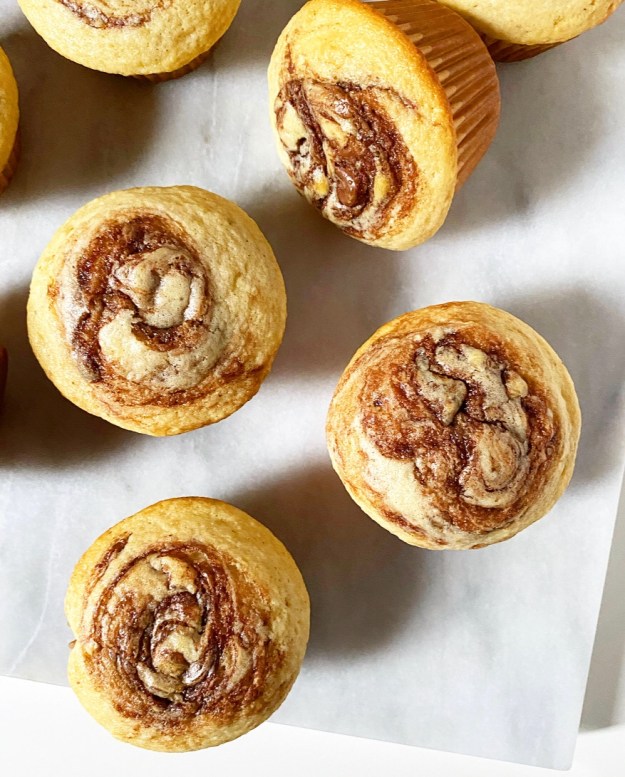 The recipe for these muffins has a few adjustments from the Lemon Poppy Seed version, but not many. Besides the obvious flavor difference, there’s a little more flour and I swapped some of the milk for sour cream, making the batter a little thicker so the Nutella swirls don’t sink.
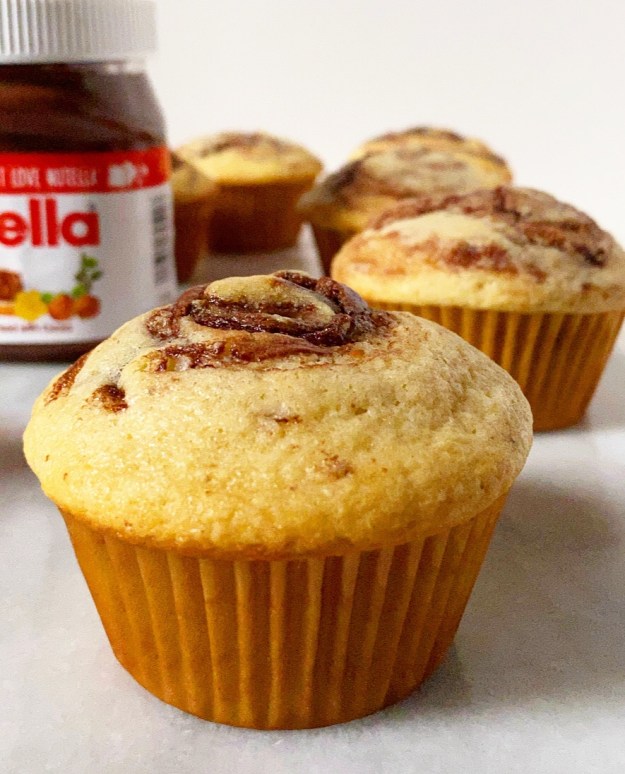 And speaking of Nutella swirls, they are applied in two phases. Basically, you add half the batter to the muffin cups, then swirl in some Nutella, then top with the remaining batter and swirl in remaining Nutella.
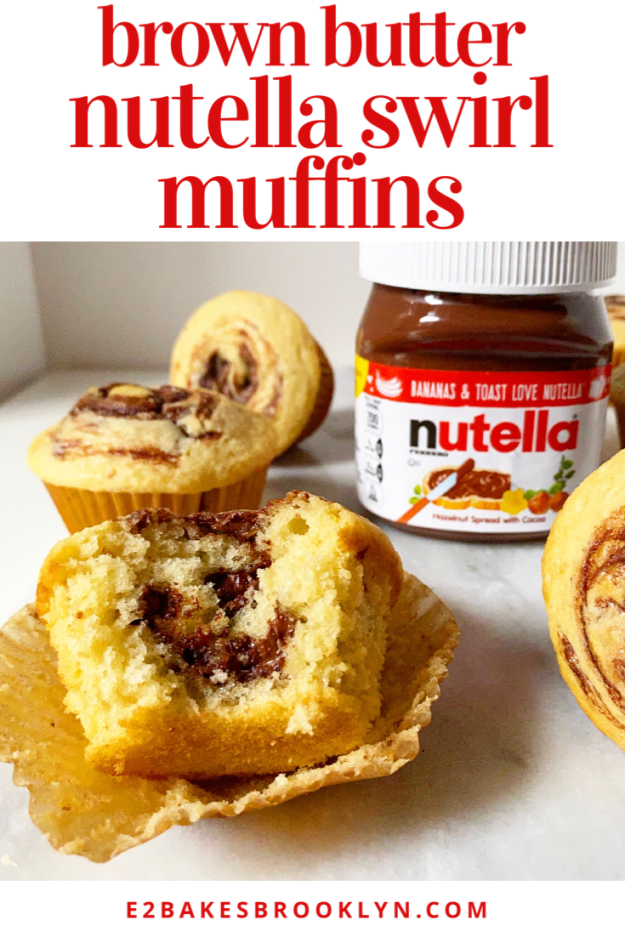
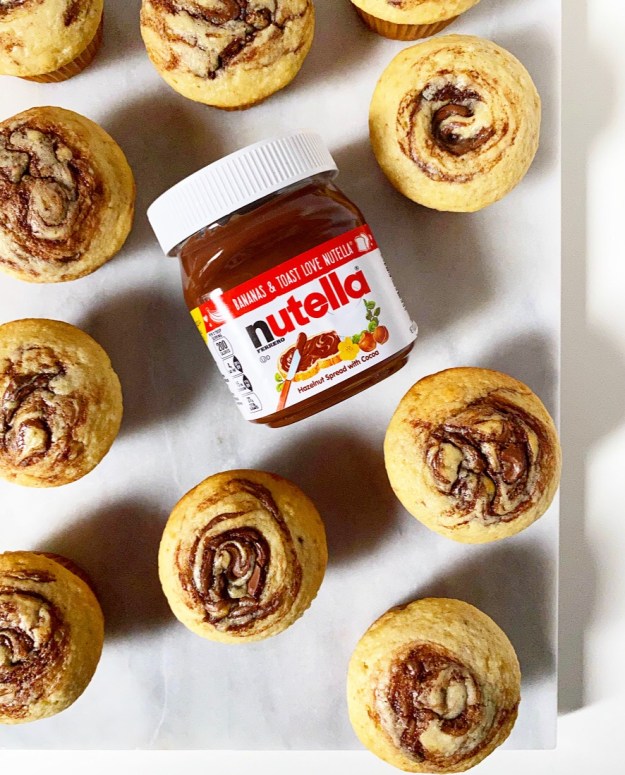 Y’all, these are so good. The interiors are feather soft and the Nutella swirls make every bite extra decadent, as all things with Nutella should be. Also, there’s a little variance in each bite—you could have a little Nutella or you could have a lot! The brown butter is subtle, as it is in my

 One of the great things about yeast doughs—aside from the fact that they’re way easier than they’re made out to be—is that they all seem to have multiple uses. My
 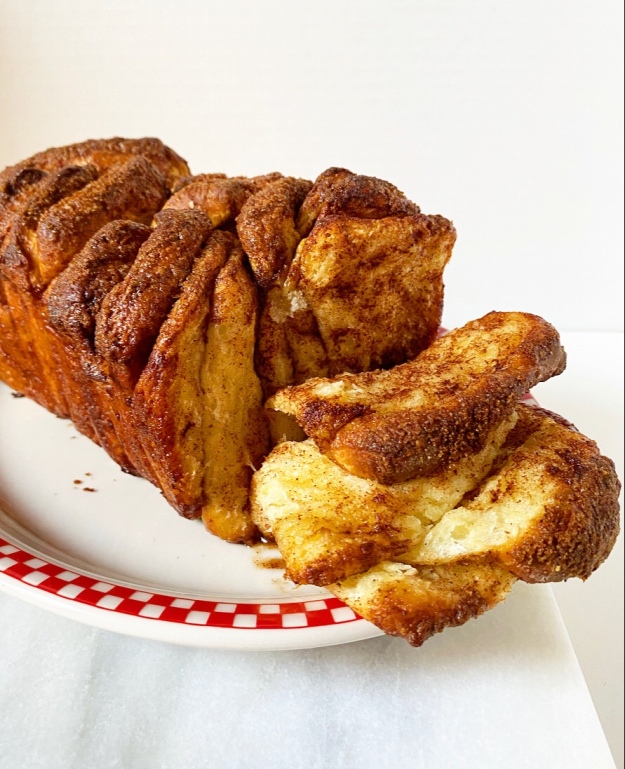 Love a multitasker ❤ ❤ ❤
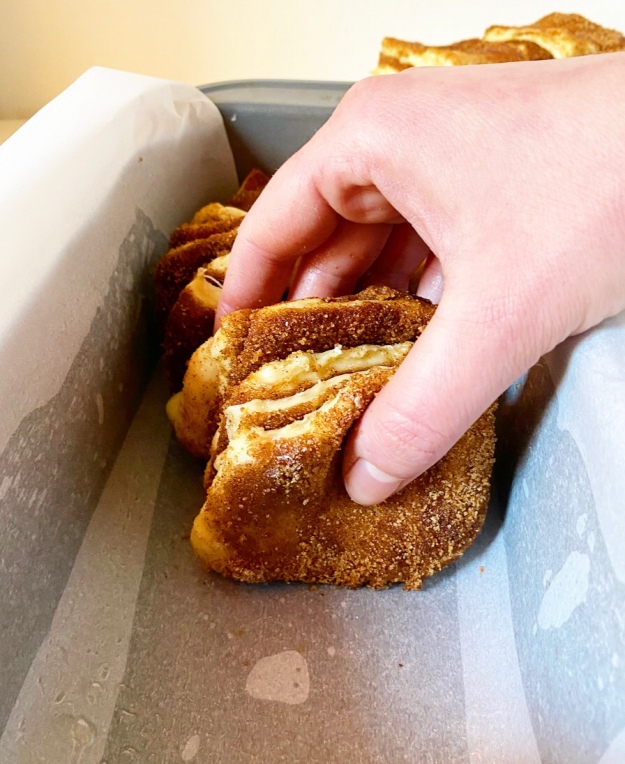
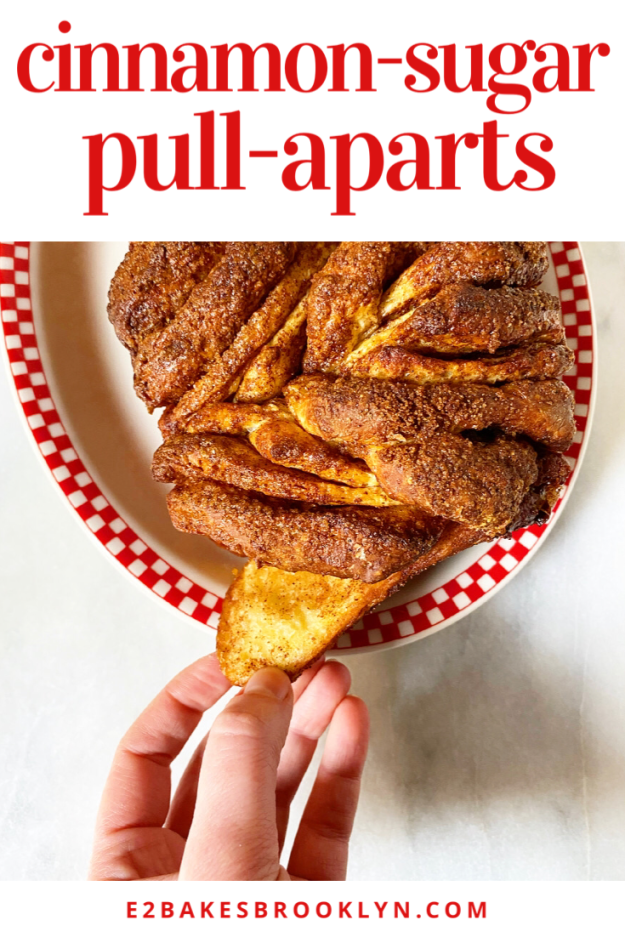
 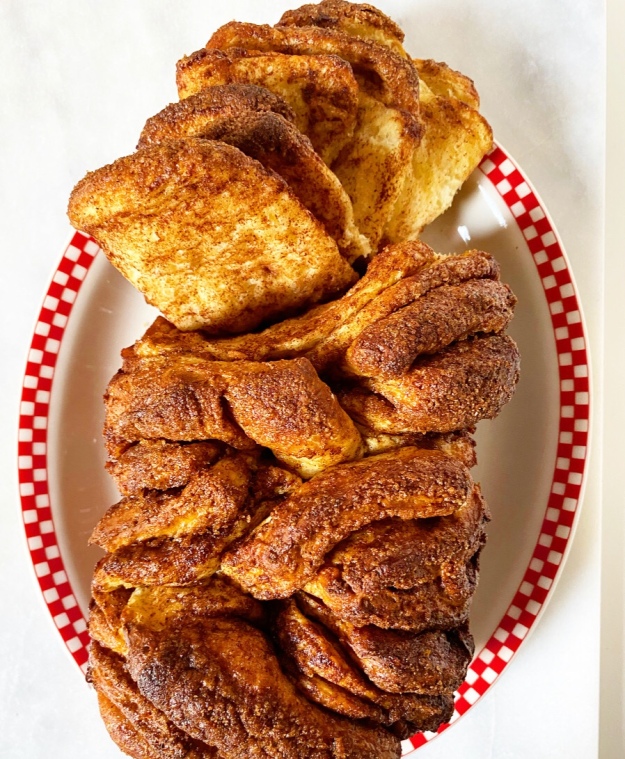 If you’ve never heard of pull-aparts, they’re basically a loaf of bread made of individual pieces layered with a filling (sweet or savory) and baked so that the whole can be pulled apart with your fingers instead of sliced with a knife.
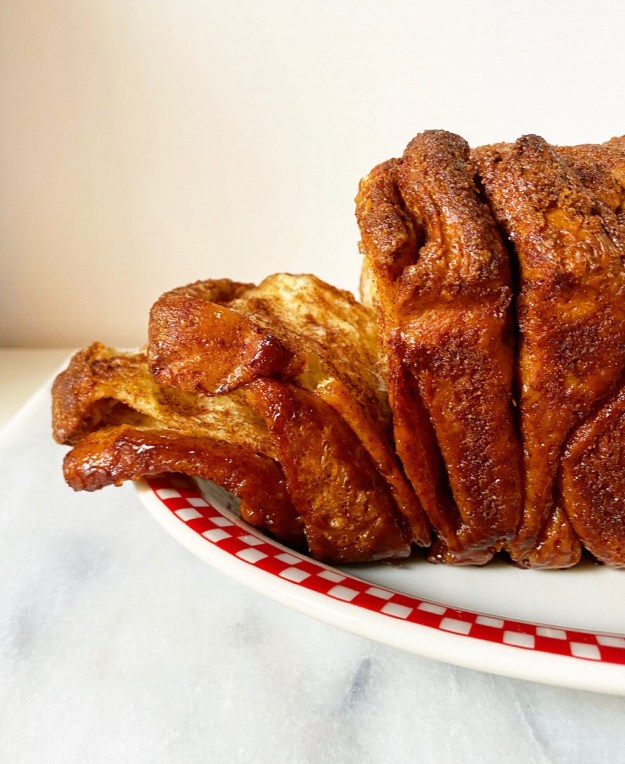 Achieving this is really simple. The process begins like you’re going to make cinnamon rolls. Make a dough, make a cinnamon-brown sugar filling. Roll that dough out and top it with the filling. Nothing you haven’t (probably) done before.
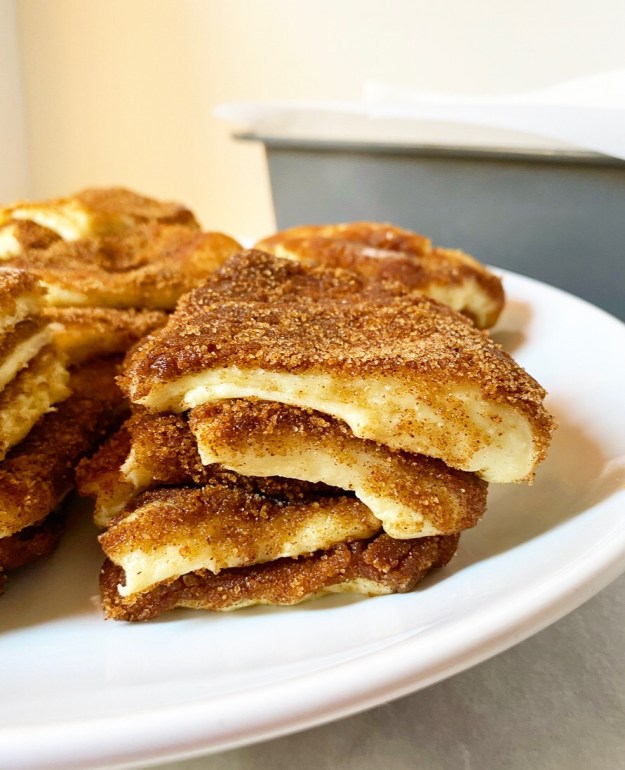
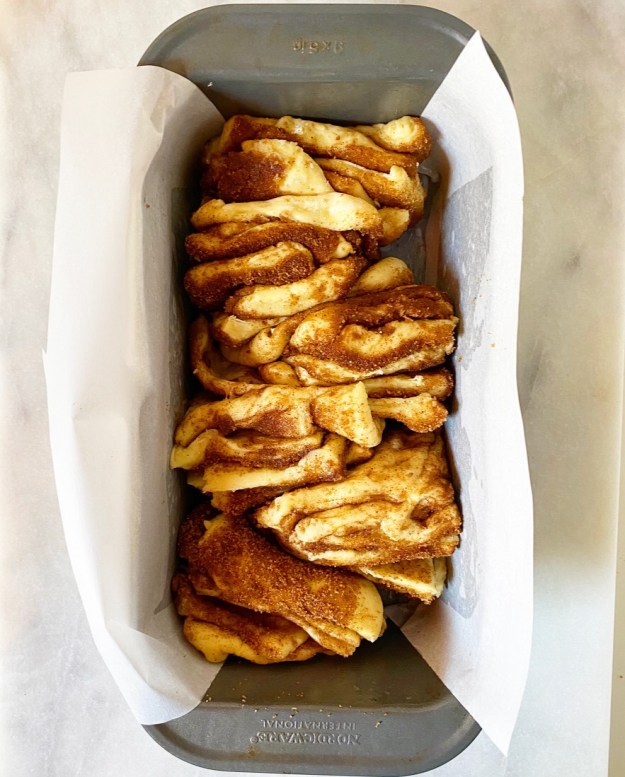
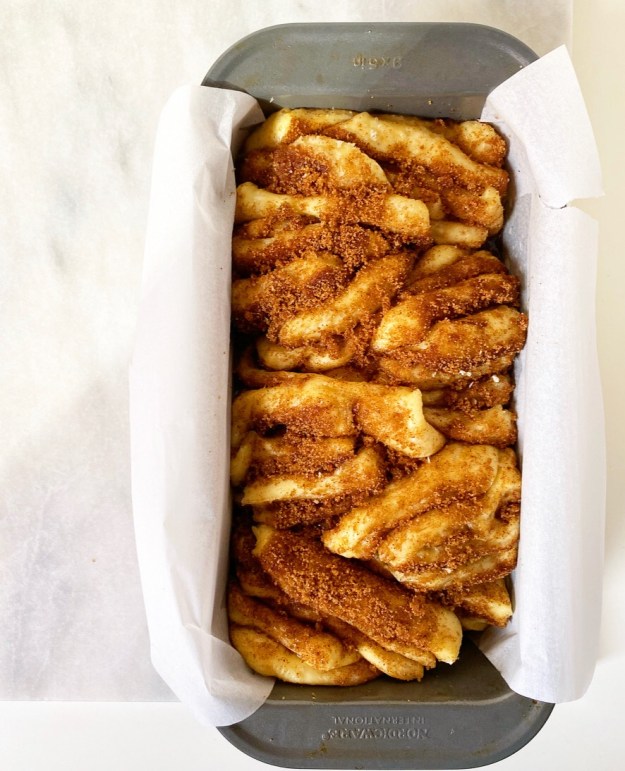
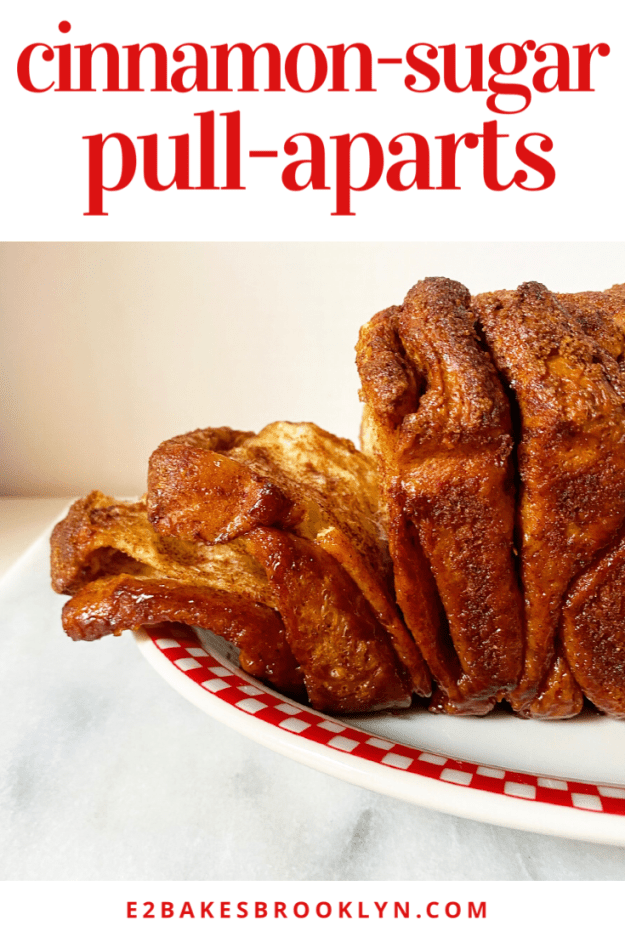
 Then, though, things get a little wacky. Instead of rolling the filled dough into a cylinder, it’s sliced into 36 squares, which are then piled into six stacks of six and arranged in a line(-ish thing) down the center of a loaf pan. The assembled loaf is allowed to rise for about an hour and then baked for 40 minutes, until deeply browned on top and cooked through in the center.
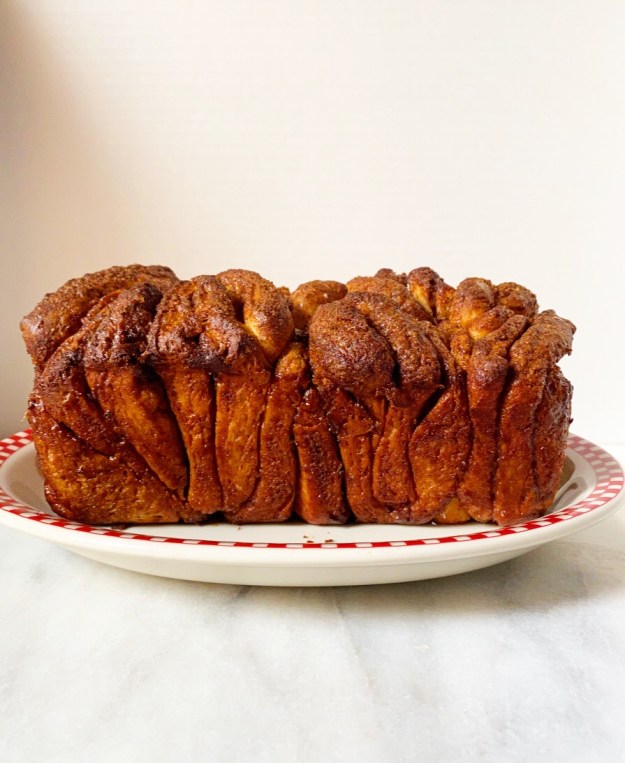
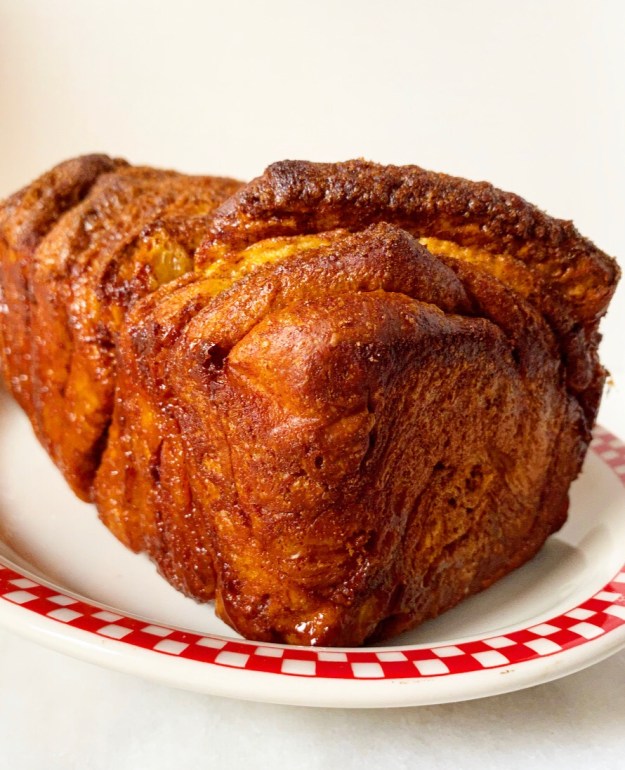
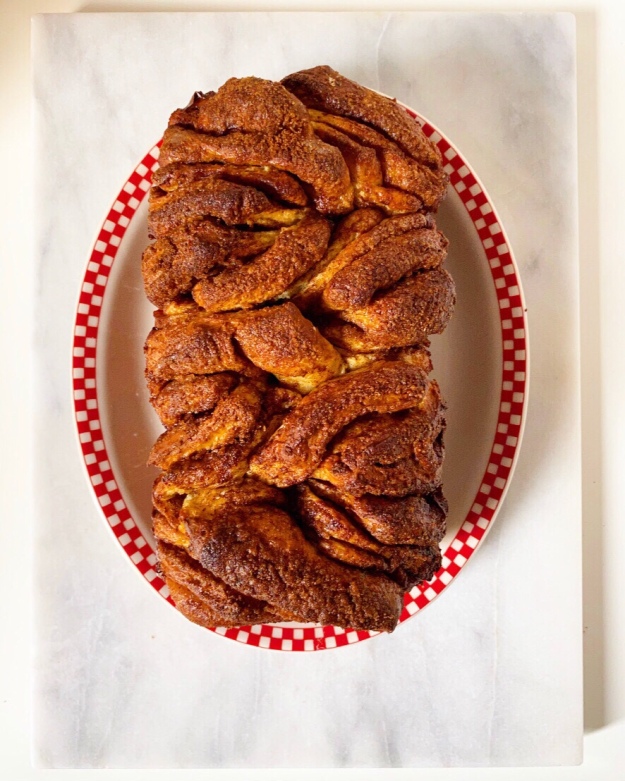
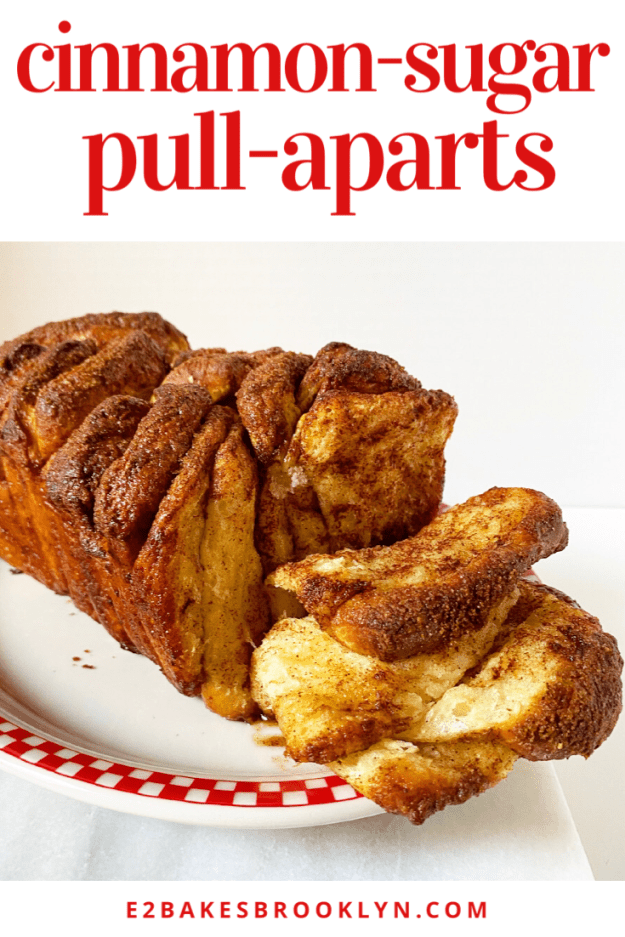
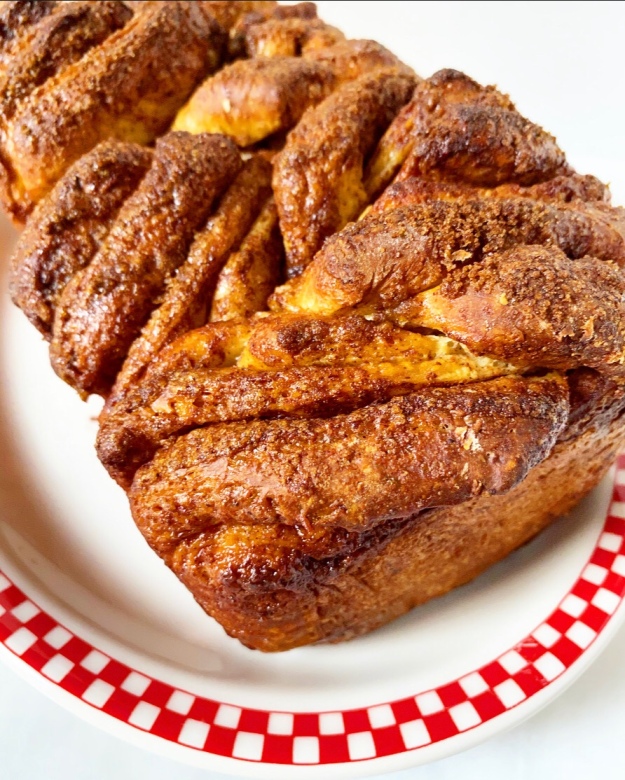 Let your pull-aparts cool for 20 minutes or so before removing them from the pan. Put the loaf on a serving platter and then blow it a kiss goodbye because it’s going to be quite literally pulled apart in front of your eyes. And it will be glooooorious.
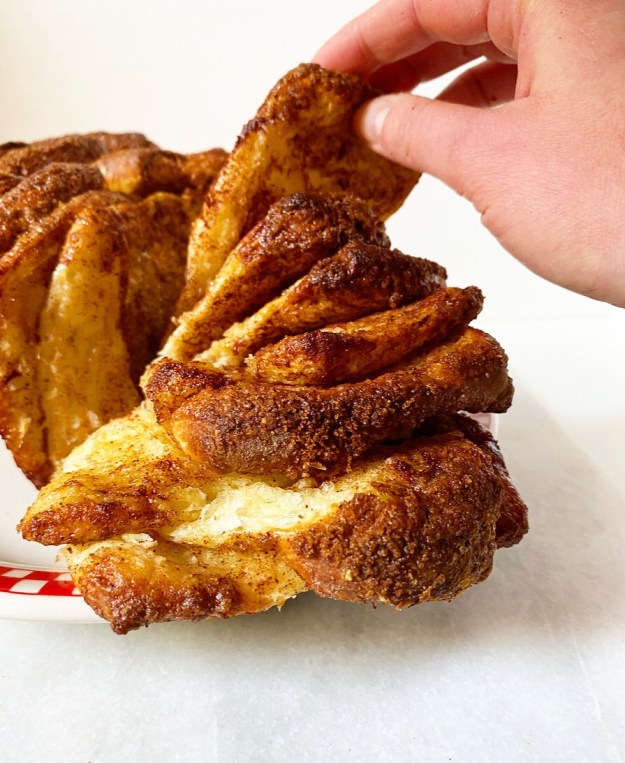 I mean, it’s basically the center of a cinnamon roll’s swirl cut into squares and baked into a loaf shape so that it’s soft and gooey on the inside and crisp and brown on the outside and how could that be anything but glooooorious?
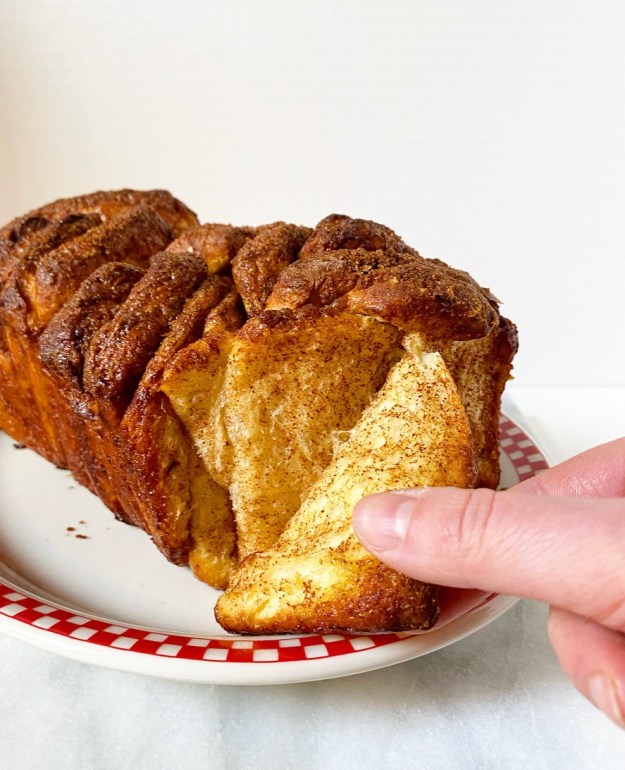
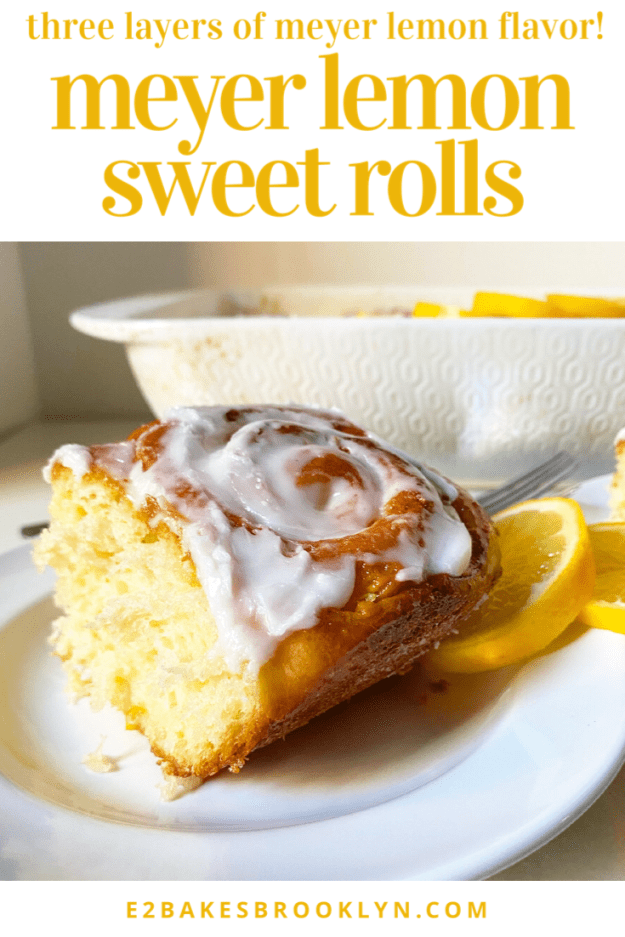
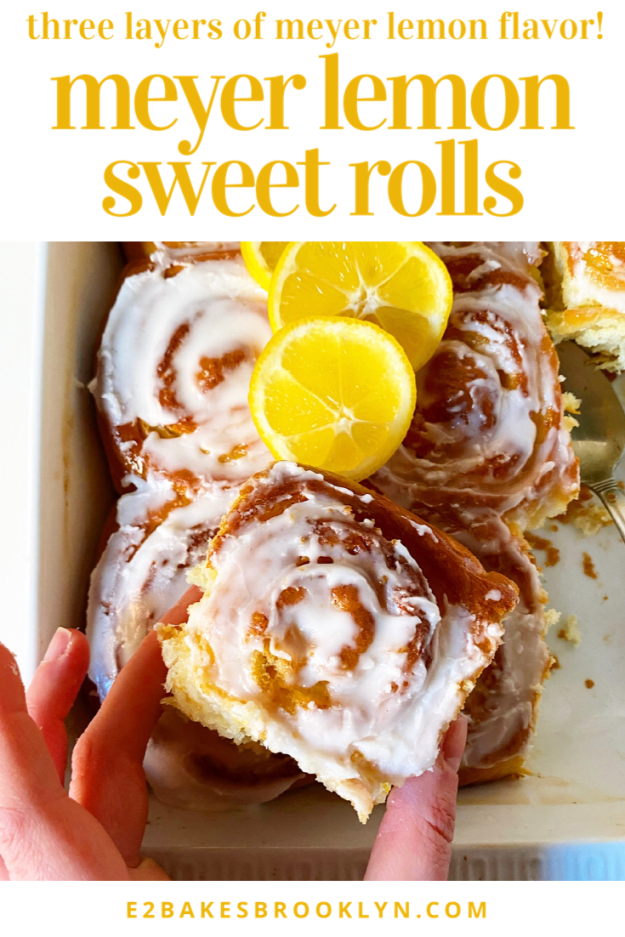
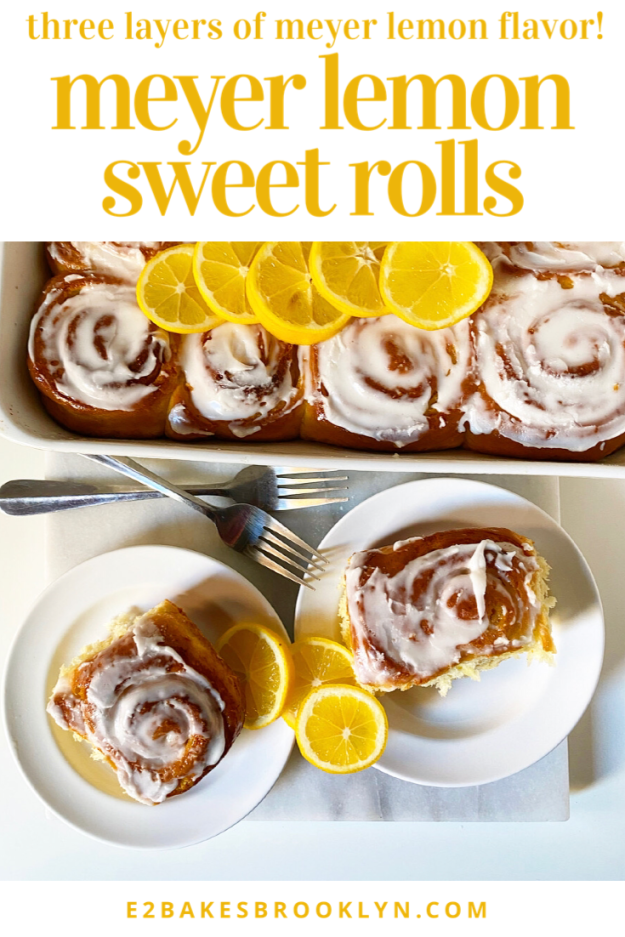
 Today is alllll about meyer lemons, y’all! As far as I’m concerned, they’re the queen of winter citrus. If you’ve never tried them, they’re what happens when you cross a mandarin orange with a lemon. This goes without saying, but they’re very, very good in
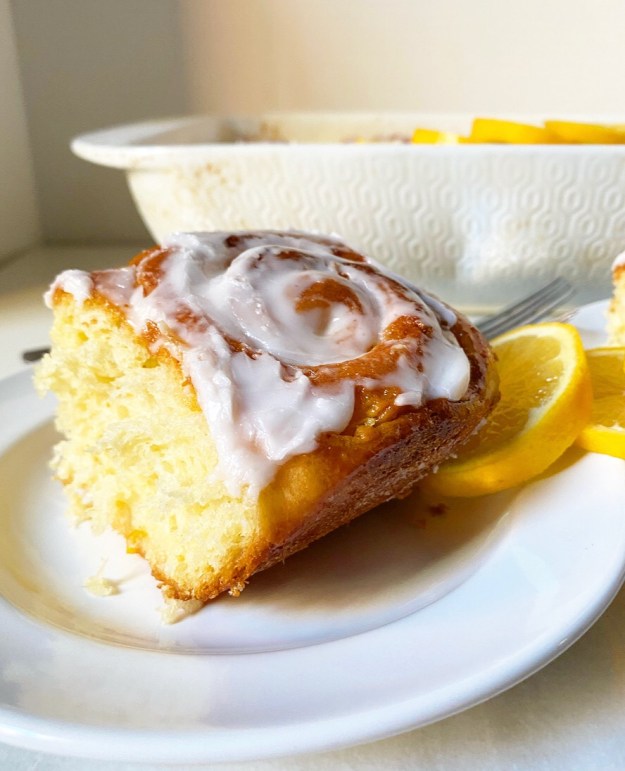
  These tall, fluffy rolls make excellent use of meyer lemon juice and zest. They’re bright and tangy and just a little bit sticky, but in the best sort of way.
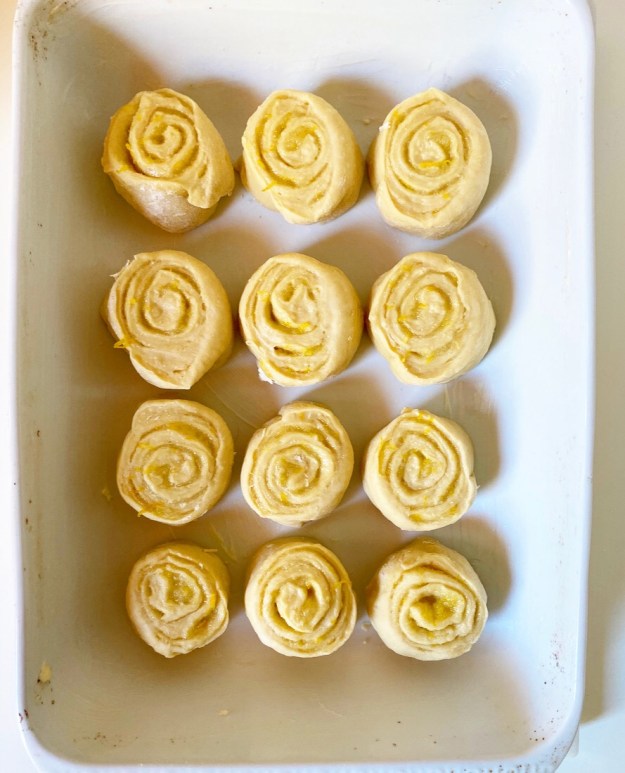
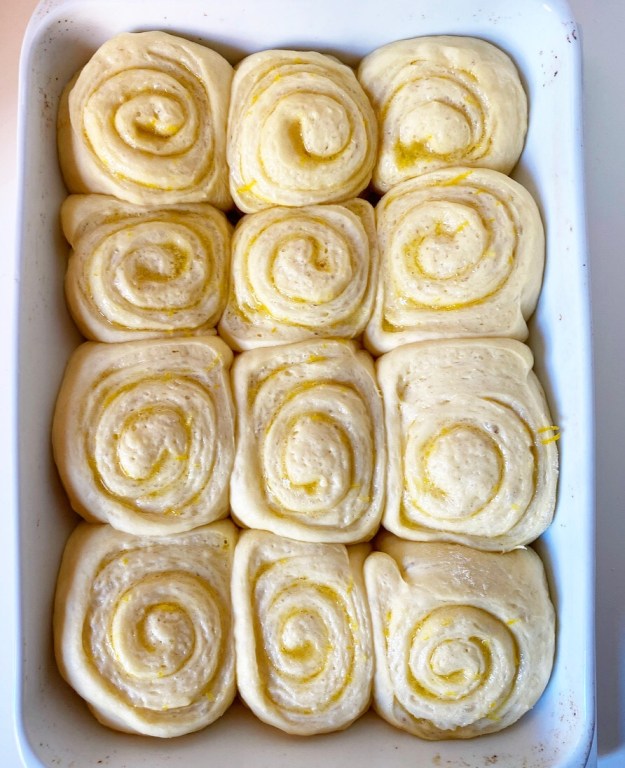
 These rolls get three doses of meyer lemon flavor. The first is in the filling, which is simply a paste made of meyer lemon zest, sugar, salt and melted butter. It’s spread onto the dough before it’s rolled up, sliced, risen and baked.
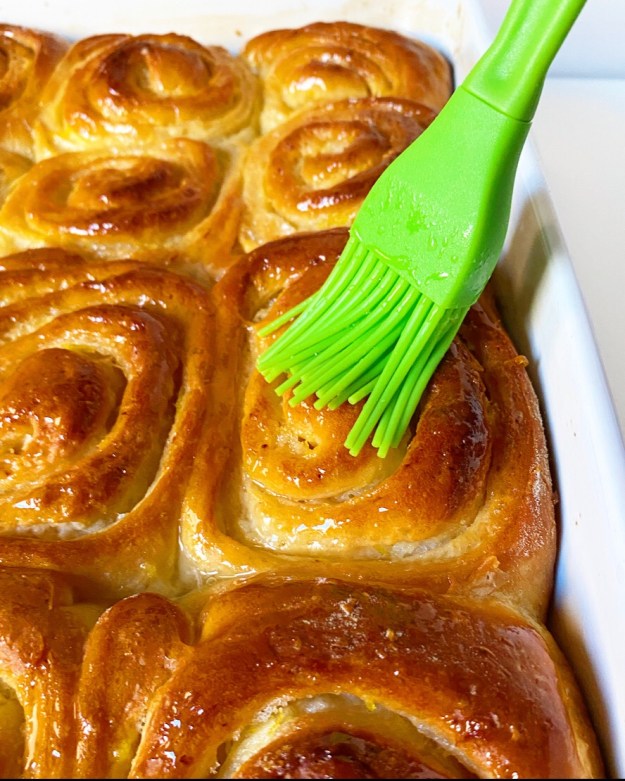 Next up: a glaze! I got the idea for painting on a glaze from last year’s
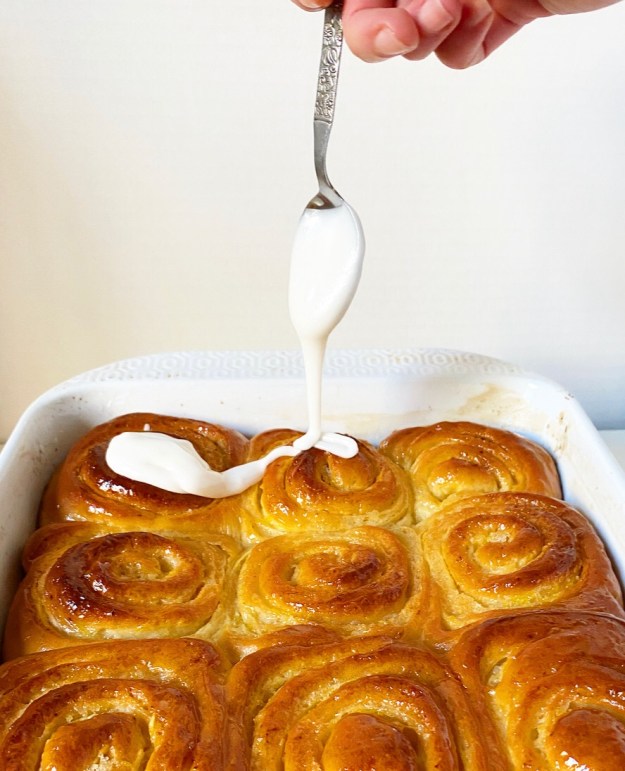
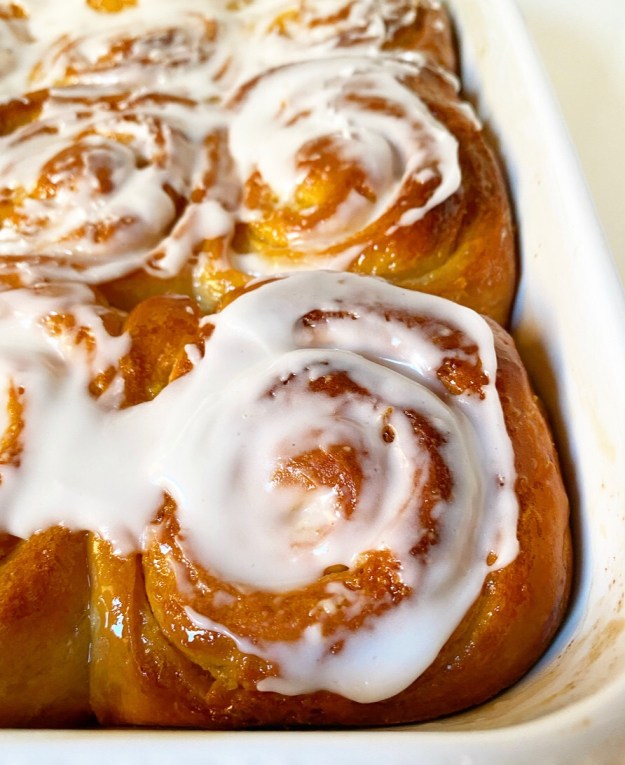 It’s all rounded out with a layer of meyer lemon icing. Ohhhh, the icing. It’s the crowning glory of this whole operation! To make it, just whisk a couple tablespoons of meyer lemon juice and a pinch of salt into a cup of confectioners sugar, and then spoon/pour/drizzle/spread it all over the tops of the rolls so that they’re absolutely impossible to resist.
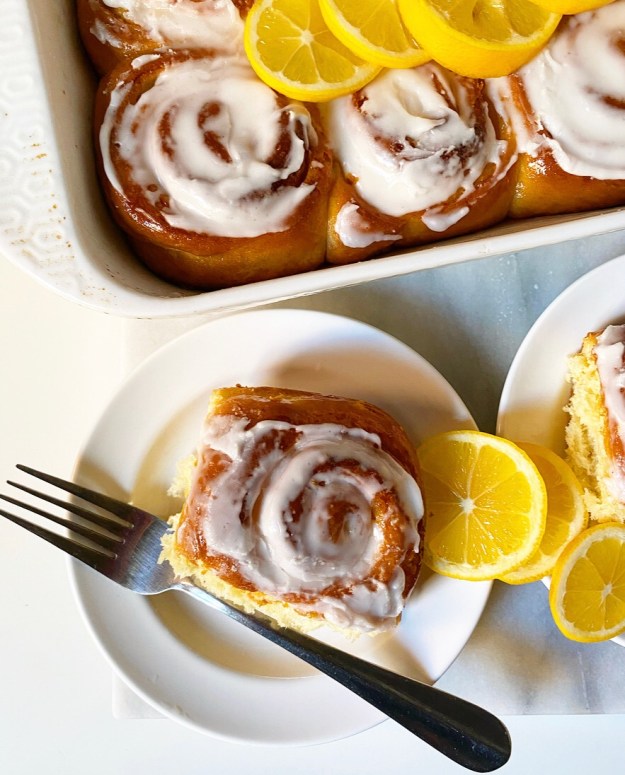 And then eat the dang rolls and bask in the sunshiny goodness that is the union of perfect winter citrus and fluffy pastry. Bask, I tell you.
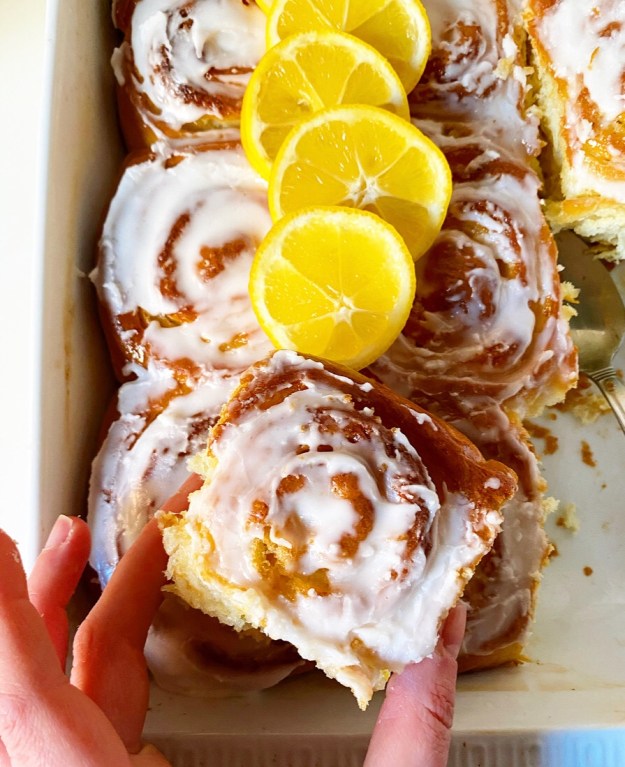
 It’s almost time for pie. Almost.
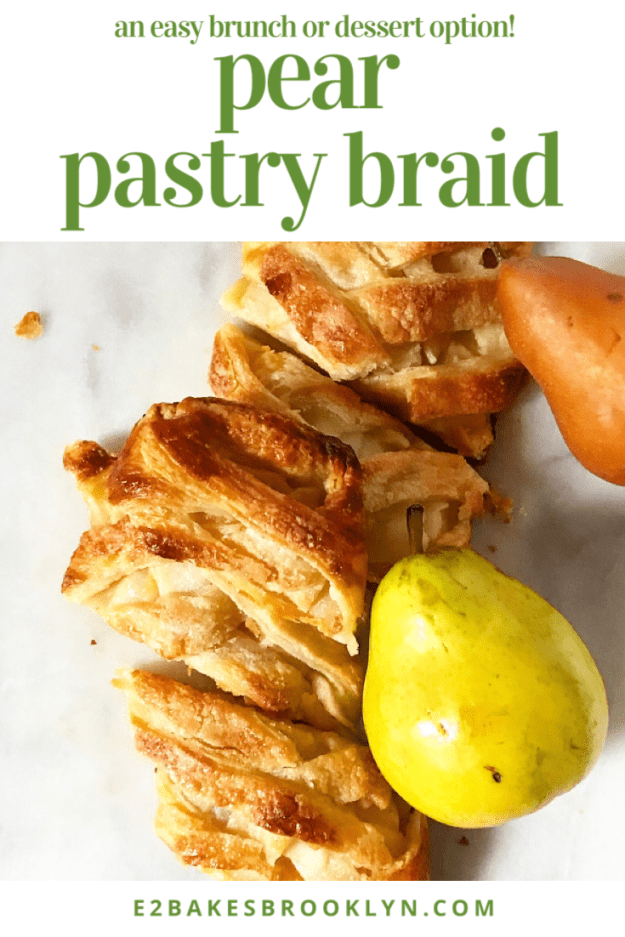
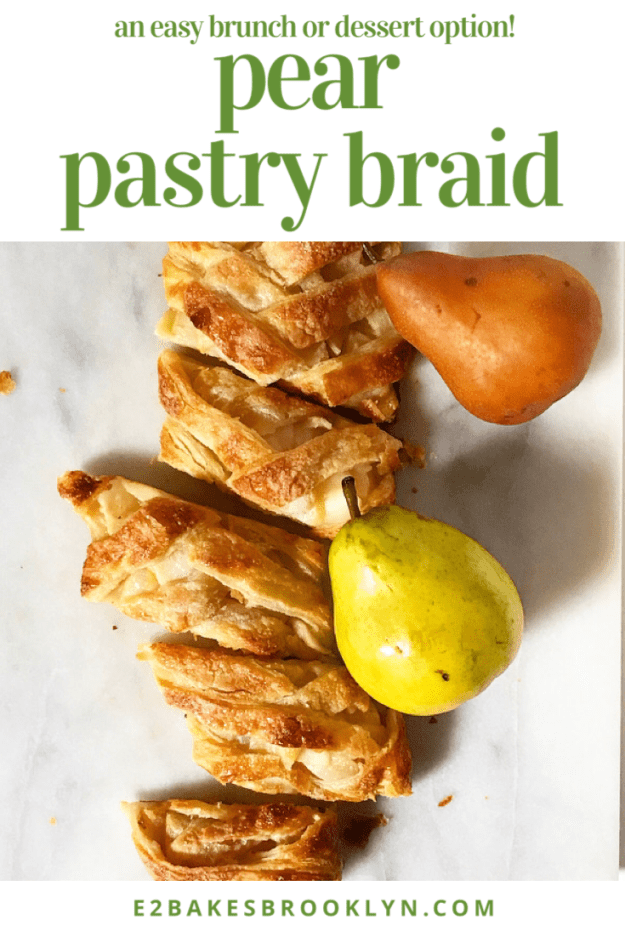
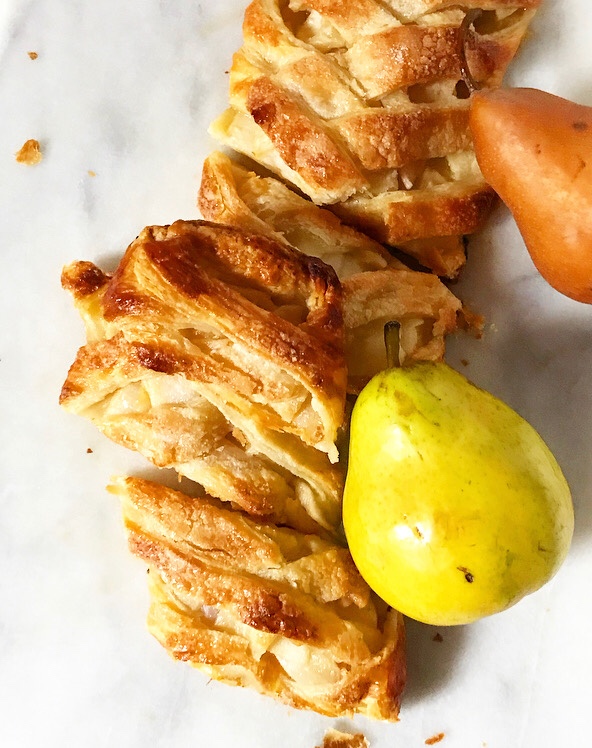
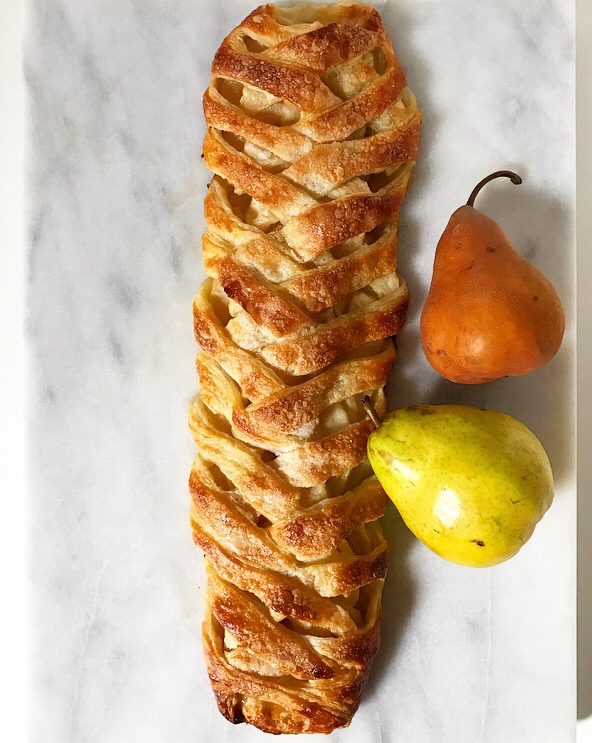 I mean, do you see this beautiful thing? Is it brunch food? Is it dessert? I don’t know. I don’t make the rules. I just make the pastry.
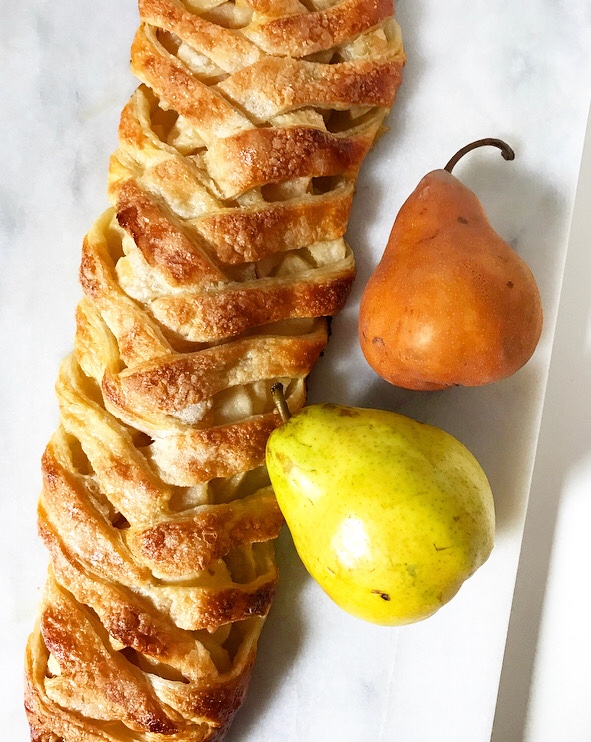 And oh, is this a good one. Pear Pastry Braid is super buttery and filled with tender pears that have been tossed with ginger, lemon, and a few tablespoons of sugar. Yum!
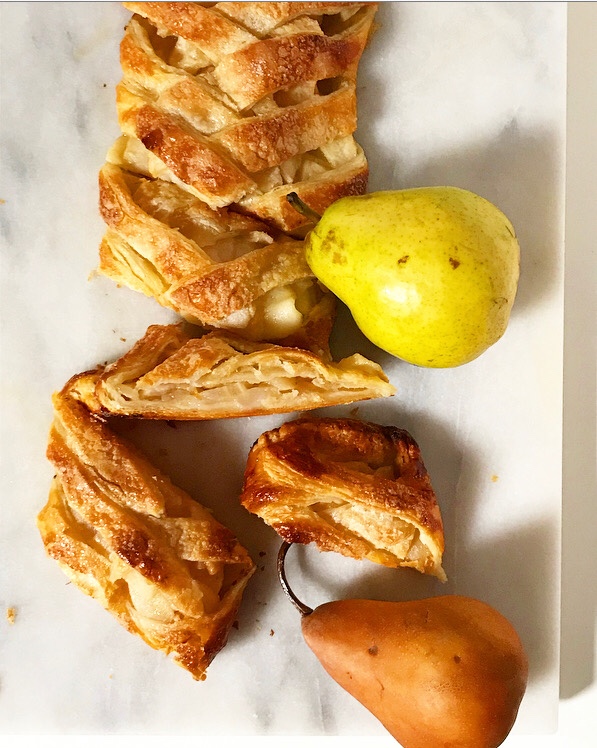 Don’t let these glamour shots deceive you–it’s surprisingly easy to make. Simply roll out a sheet of rough puff pastry (or the frozen thawed all-butter stuff), make a bunch of diagonal cuts down both long sides and fill the center with sliced pear filling.
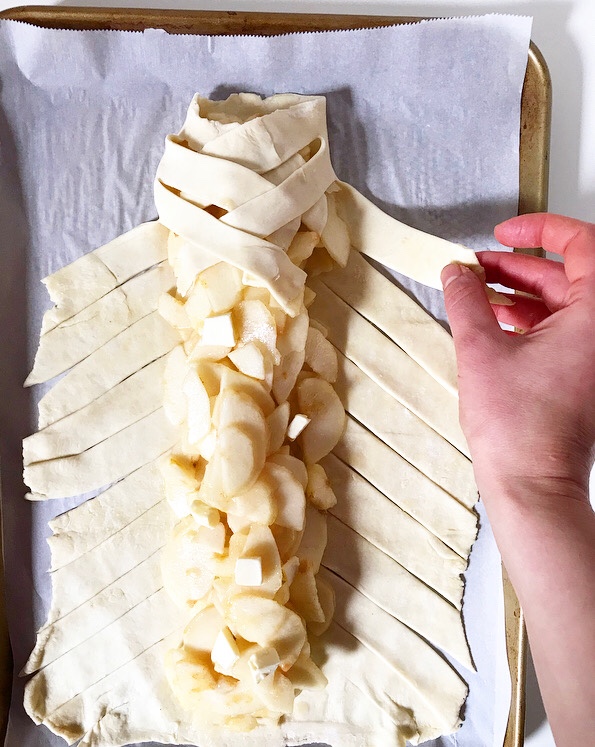
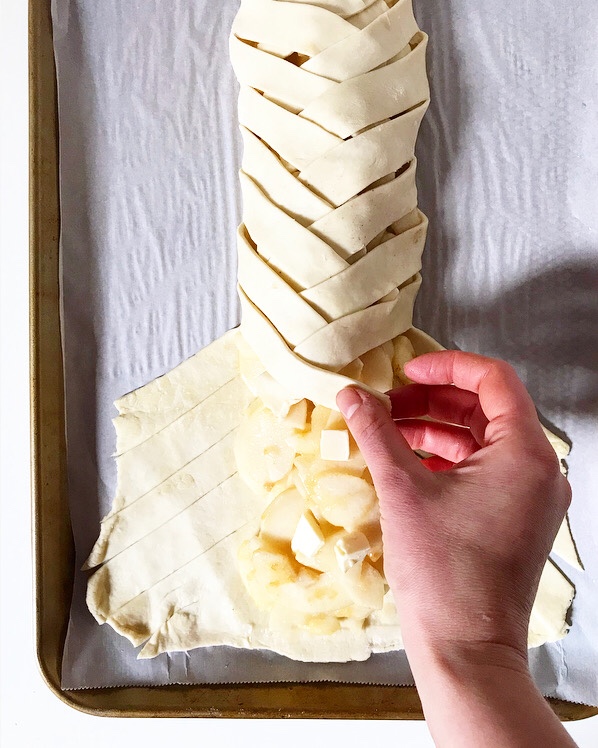 Alternating sides, carefully cover the filling with overlapping strips of dough, producing a braid-like appearance. Give it a brush of egg wash and a sprinkle of sugar, and then let it bake til golden.
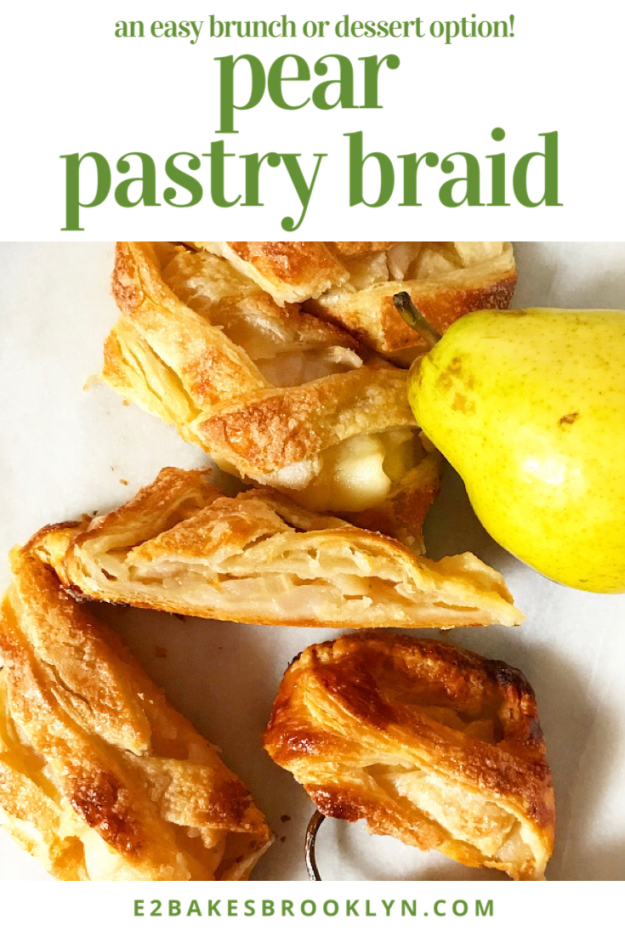
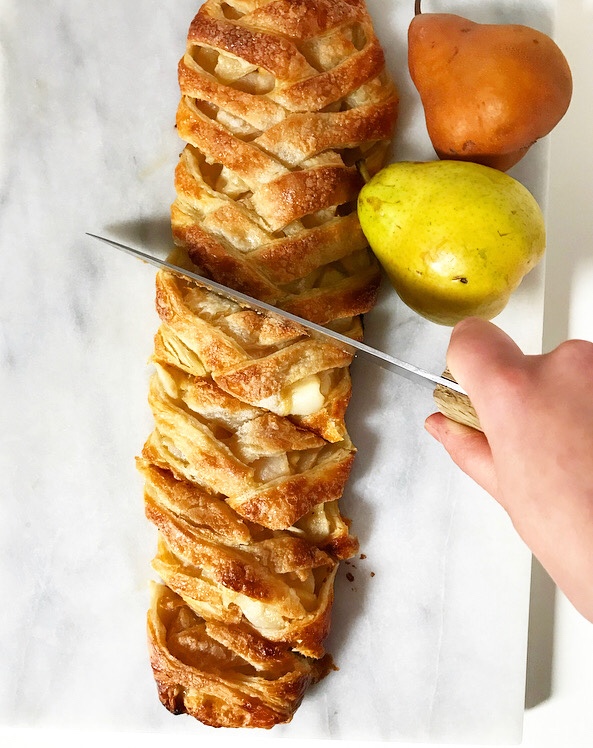 Sounds like a lot, but the time from when you start peeling pears to when you pull the finished pastry out of the oven is less than an hour. It can be sliced and served warm too, meaning that you don’t have to plan crazy far in advance (especially if you already have the pastry dough in the fridge). There’s so much planning around food this time of year that it’s kind of nice to have something you can make when the mood strikes or when someone says they’re going to pop by.
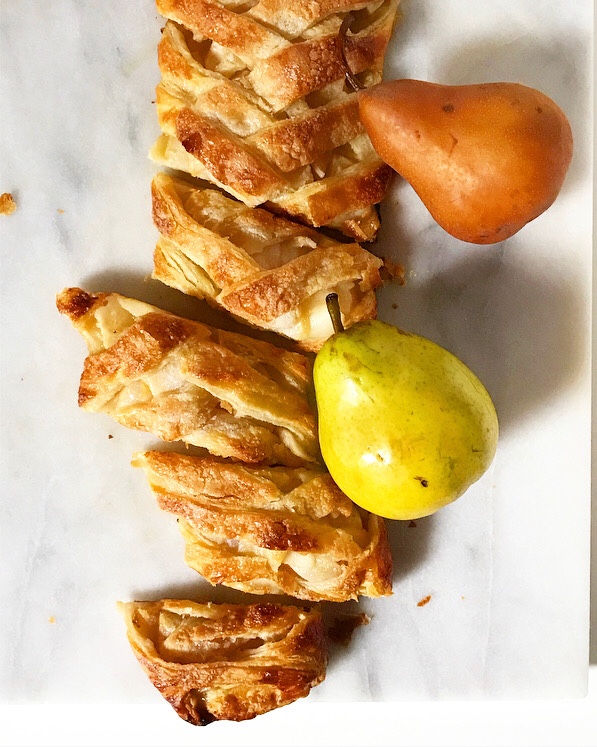 You know what else is nice? Eating a slice of sweet, flaky Pear Pastry Braid in your pajamas on a Saturday morning. Or a Saturday night. Or both.