 You may not be able to tell from the bevy of desserts I post every week, but I am a huge proponent of eating your greens. Almost every meal I make for myself involves a huge bed of arugula. Yes, for real.
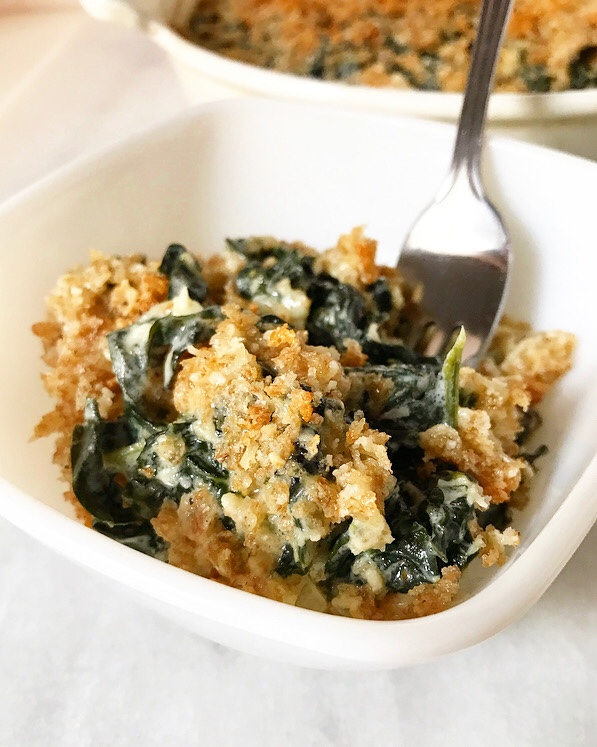 That said, on Thanksgiving, there are so many sides that leafy greens can get lost in the mix or left out entirely. To that, I counter this: Creamed Kale with Crispy Breadcrumbs. It’s the sort of “eat your greens” situation that is absolutely welcome sidled up to cornbread stuffing, cranberry sauce, and Fluffy Dinner Rolls.
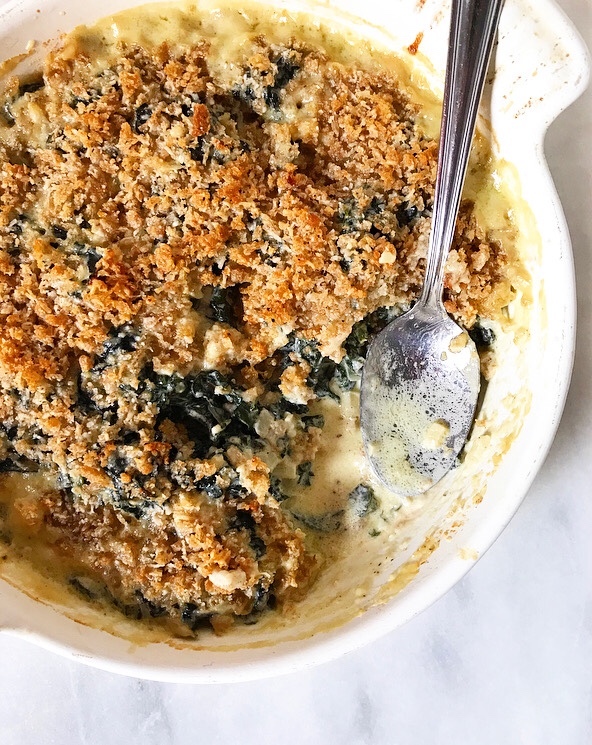
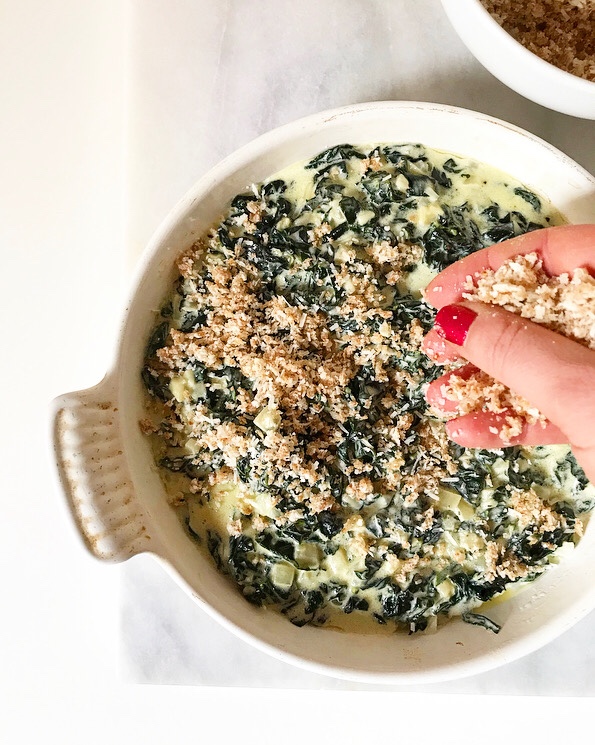
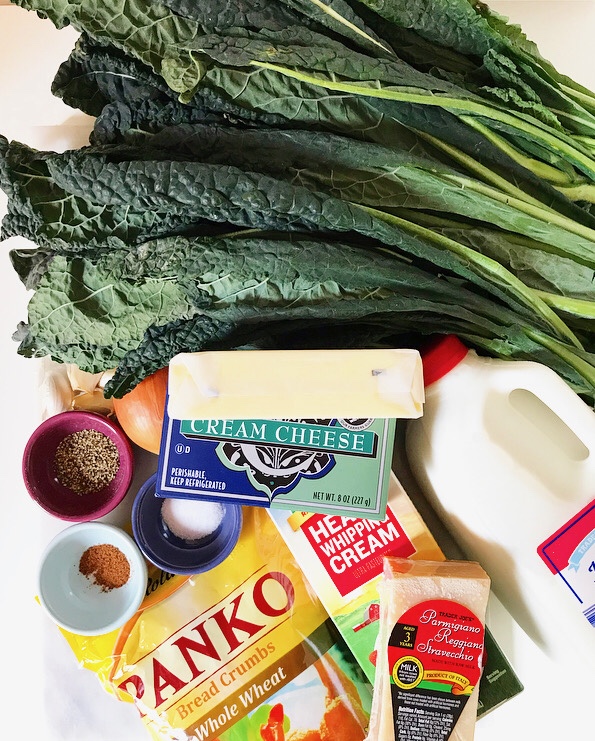
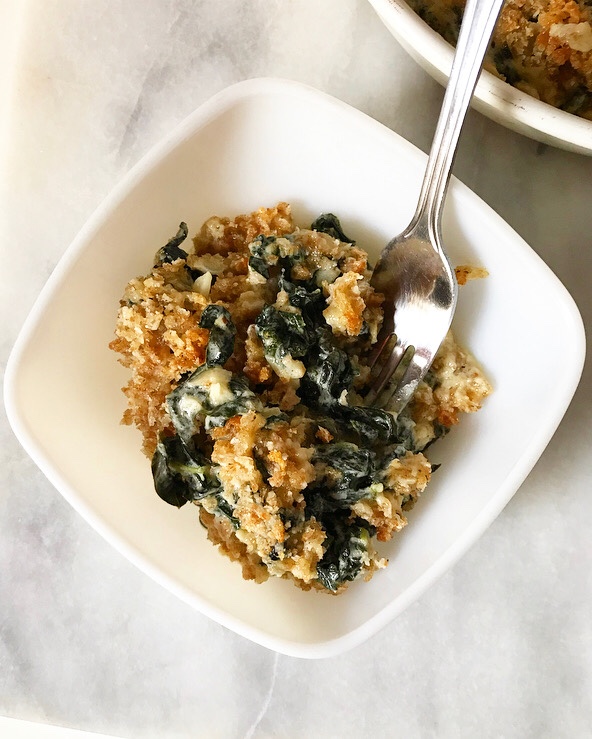
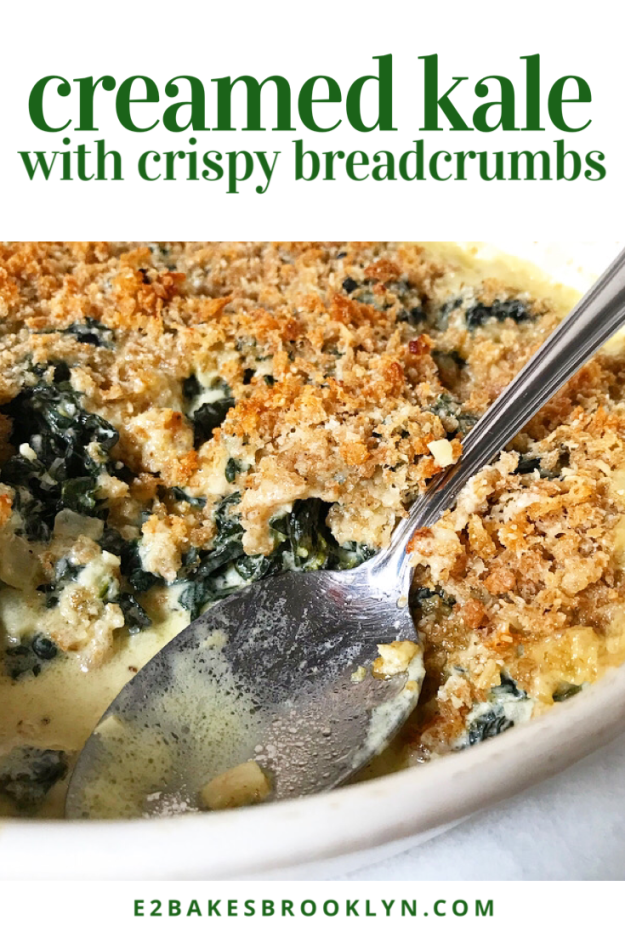
 This is a vegetable side dish that stretches the meaning of the word “vegetable.” Yes, there is kale in there—a lot of it—but it’s coated in a sauce of butter, heavy cream, milk, cream cheese and parmesan, and topped with buttery breadcrumbs. Dietetic, this is not. On Thanksgiving, though, who cares? If there were ever a day for eating a creamy, cheesy, crispy-topped side and calling it a serving of vegetables, this is the one.
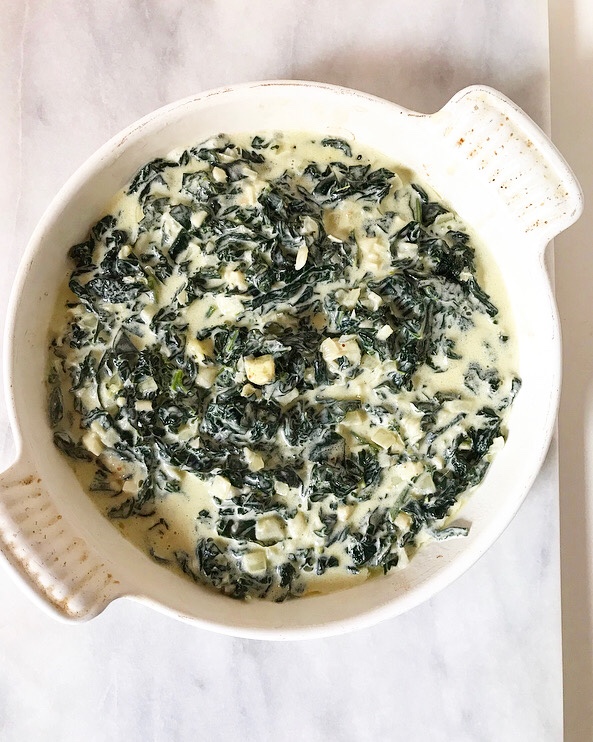
 If you’re wondering why I used kale here instead of going for classic creamed spinach, the answer is simple: kale’s texture holds up. Even after the blanching, shocking, sautéing, saucing, and baking, it still has texture. It contrasts perfectly with the crispy breadcrumbs instead of getting lost in the cheesy sauce. And it’s pretty. And I just *like* kale.
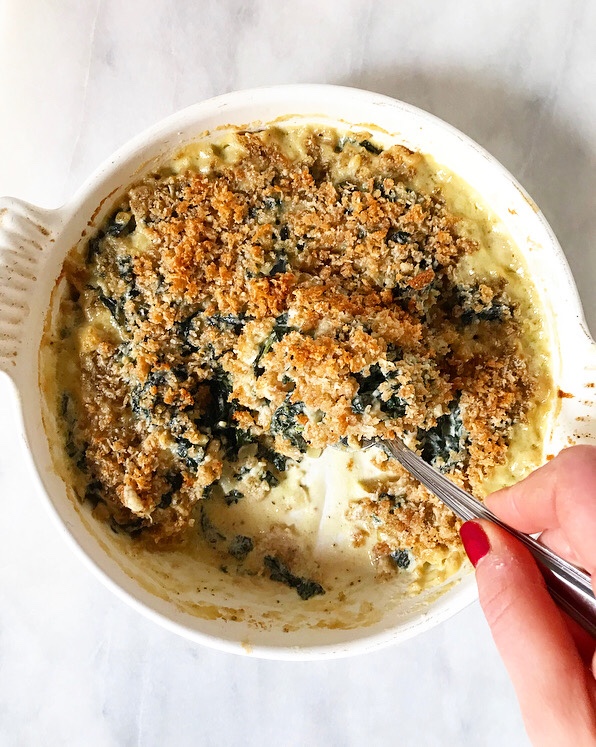
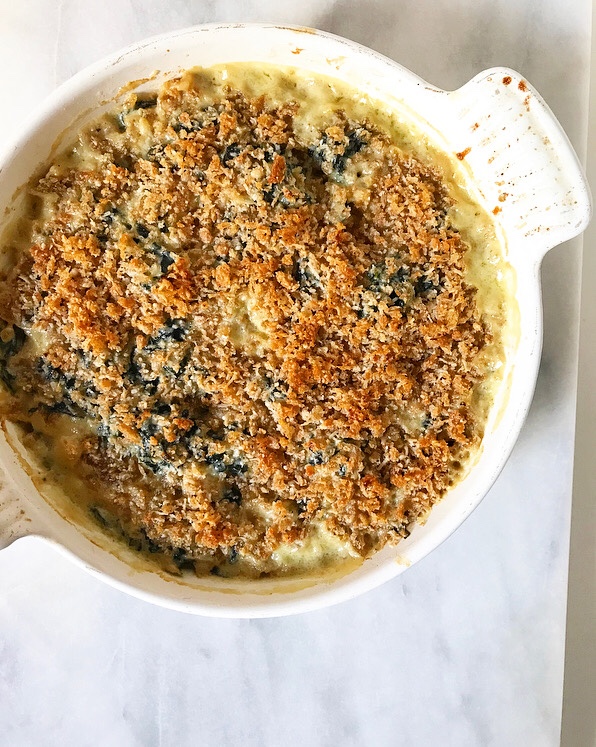
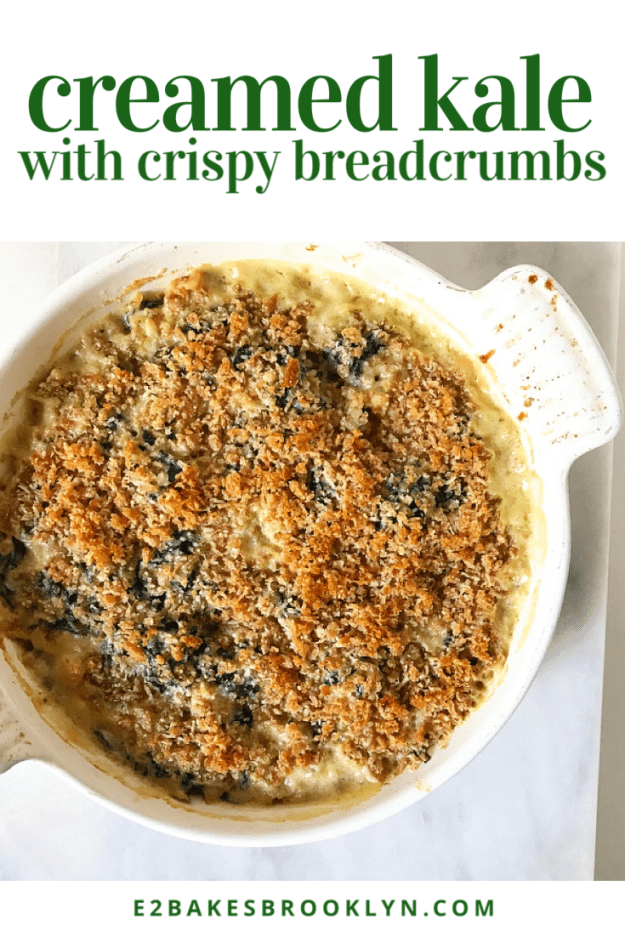
 Now, I know that adding one more thing to your Thanksgiving menu is never something to be taken lightly. Time and energy are at a premium at the holidays! Luckily, Creamed Kale with Crispy Breadcrumbs is perfect for making ahead. You can stir together the creamed kale part of the equation a day or two ahead of time and refrigerate it. When you’re ready to serve, top it off with the breadcrumb mixture and bake until brown, bubbly, and so creamy and wonderful that even I—a person who has written repeatedly about loathing cream sauce—can’t resist.
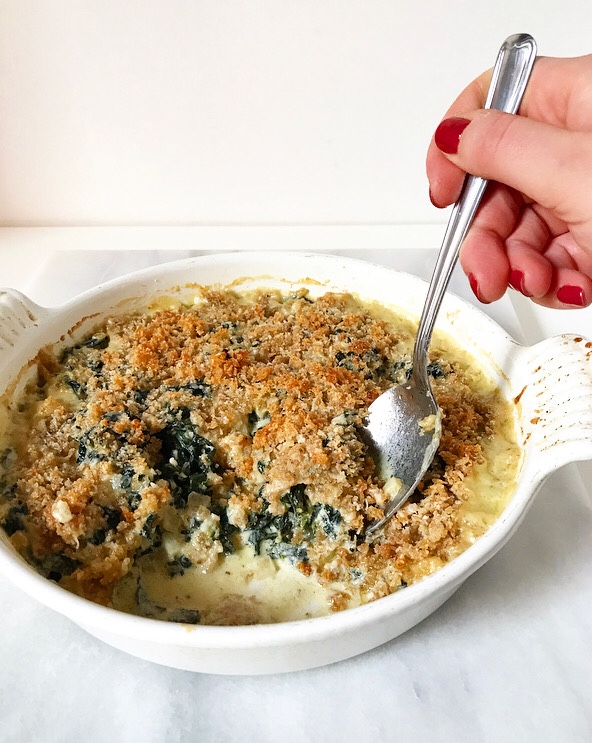 Looking for something a little lighter? Try my Caramelized Brussels Sprouts!
Creamed Kale with Crispy Breadcrumbs
makes 6-8 servings
Creamed Kale:
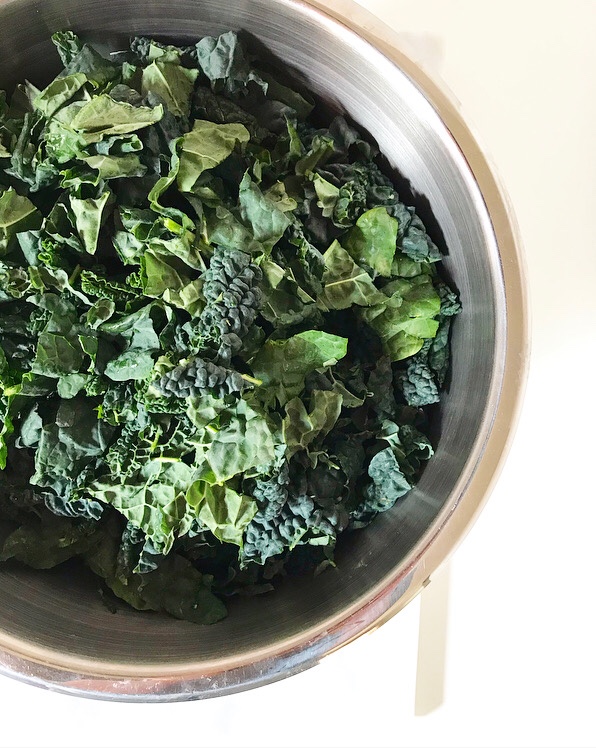
2 lbs lacinato kale (curly kale works too)
1/4 cup (1/2 stick) unsalted butter
4 cloves garlic, minced
1 small onion, finely diced
1/8 teaspoon ground nutmeg
1/2-3/4 teaspoon fine sea salt
1/2 teaspoon freshly-cracked black pepper
3/4 cup heavy cream
1/2 cup whole milk
2 ounces full-fat brick-style cream cheese
1 cup (4 ounces) grated Parmesan cheese
Breadcrumb Topping:
1/2 cup panko breadcrumbs (or other plain breadcrumbs)
1/4 teaspoon fine sea salt
1/4 teaspoon black pepper
2 tablespoon unsalted butter, melted
1/2 cup (~1 1/2 ounces) grated Parmesan cheese
Preheat oven to 400F. Bring a large (6 quart) pot of water to a boil over high heat.
Wash and dry kale. Remove and discard the ribs. Use a large, sharp chef’s knife to slice kale into 1/2-inch ribbons.
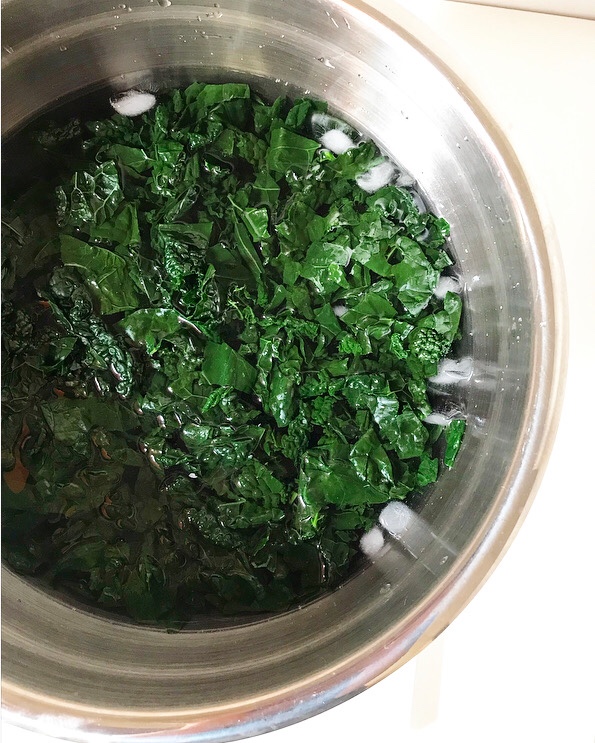
Fill a large bowl with ice water.
When the pot of water comes to a boil, salt it liberally. Add kale and let cook about 1 minute (until bright green). Remove kale and plunge it directly into the ice water. This method is called blanching & shocking.
Line a sheet pan (or a few plates) with paper towels. Once kale is cool (a few minutes), remove it from the water and place on paper towel-lined pan. Blot with more paper towels to remove excess water.
Heat a large, heavy-bottomed pot (I used the same one I used for the kale) over medium heat. Add butter and allow to melt. Sauté onion 5-7 minutes, or until translucent. Add garlic and cook until fragrant, about 1 minute. Stir in kale, followed by nutmeg, salt & pepper. Stir in heavy cream, milk, and cream cheese. Turn heat up to medium-high and let cook, stirring occasionally, for 5-7 minutes, or until cream cheese has melted and sauce has thickened slightly. Remove from heat and stir in Parmesan. Taste and adjust for seasoning.
Grease an 8-inch casserole dish. Fill with creamed kale.
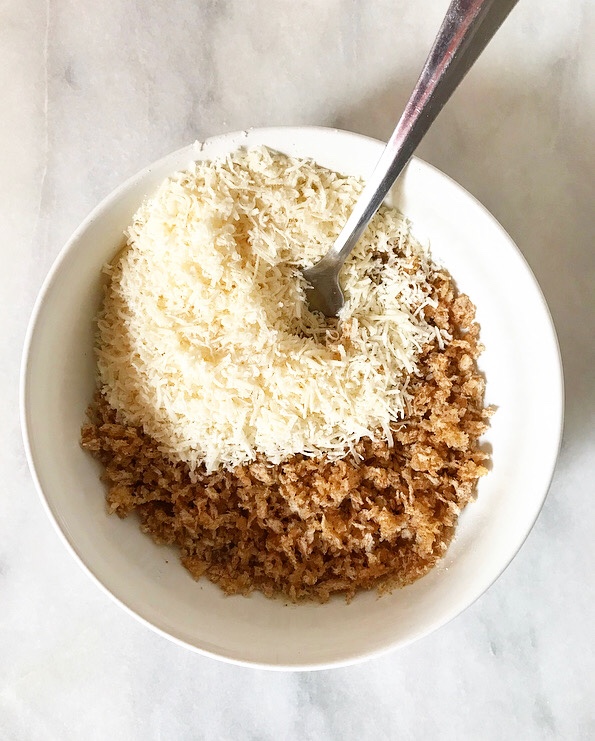
Make breadcrumbs. In a small bowl, use a fork to whisk together breadcrumbs, salt, pepper, and melted butter. Add Parmesan. Scatter mixture over the top of the kale. Bake for 12-15 minutes, or until brown and bubbly.
Serve warm. This is best the day it is made, but may be kept covered in the refrigerator for up to three days. Breadcrumbs will soften over time, but may be re-crisped in the oven.
To make ahead: after transferring creamed kale to a casserole dish, press plastic wrap to the surface and refrigerate for up to 2 days. When ready to bake, make breadcrumb mixture and scatter it over the top. Bake at 400F until bubbly and golden, about 30 minutes.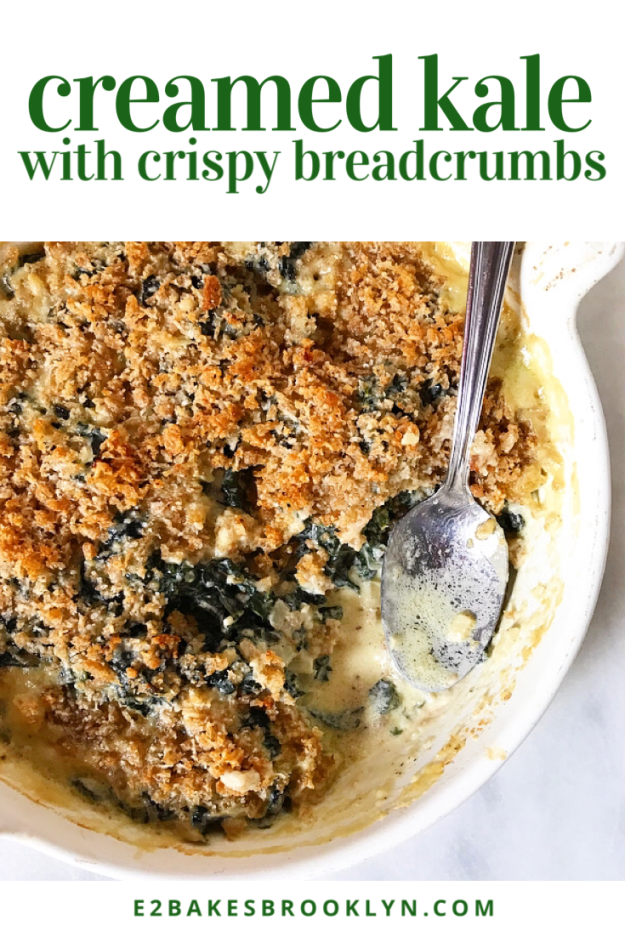
 Until recently, I’ve eaten (baked) frozen dinner rolls at every holiday dinner of my life and had exactly zero idea that I was missing anything. Warm bread is warm bread, right?
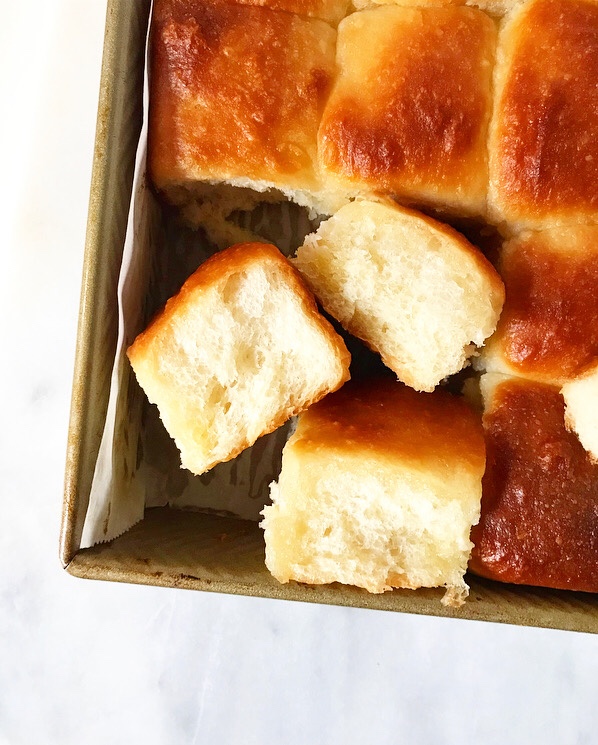 I mean, I’m sure I will eat a (baked) frozen dinner roll in the future because warm bread, but now I know the magic and ease of buttery, homemade Fluffy Dinner Rolls and I can never fully go back. In the story of my life, time will be defined as “Before Fluffy Dinner Rolls” and “After Fluffy Dinner Rolls.”
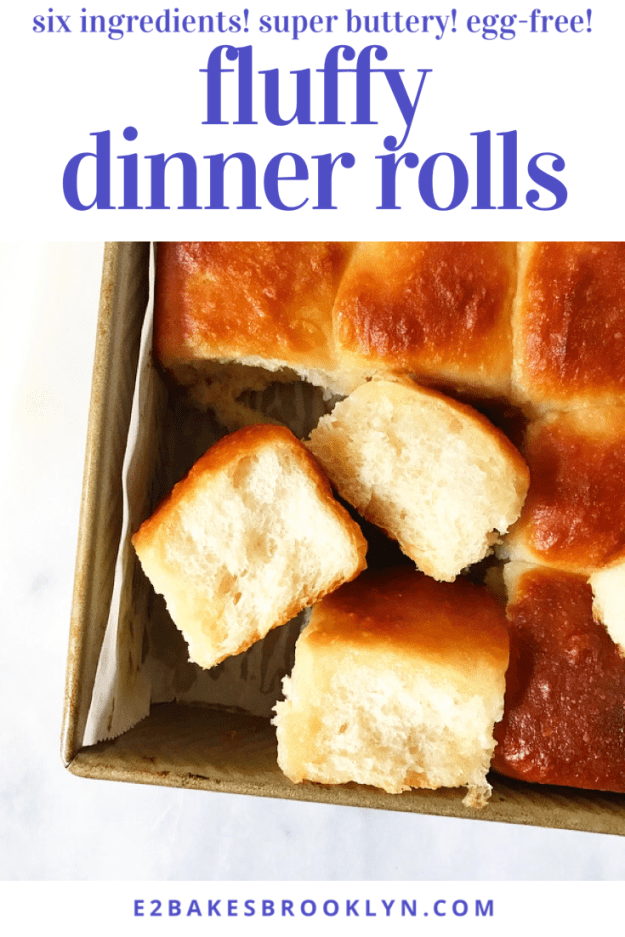
 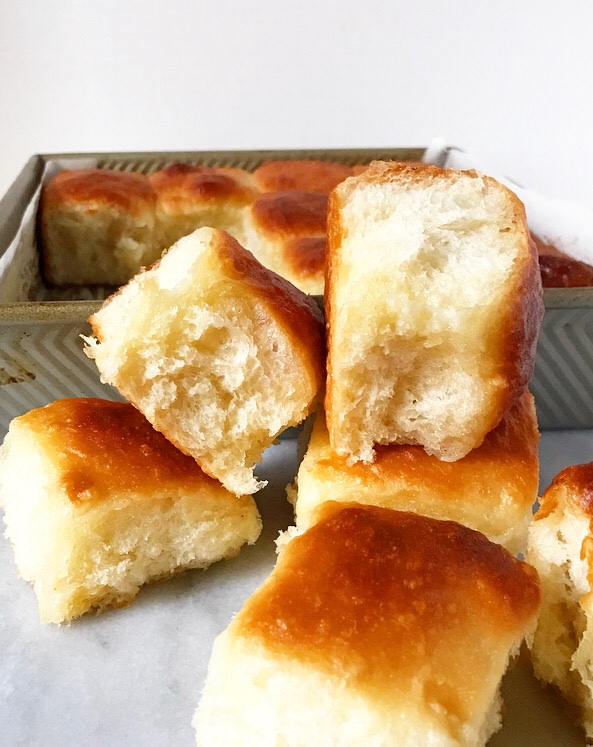 Okay, maybe not. But I am changed, and I have a sneaking suspicion that some of you are in the same boat I once was—out there living your lives, blissfully unconcerned that your holiday table is missing something or that you have been denied anything—and I am here to mess all that up by giving you an easy six-ingredient dinner roll recipe that will blow your freaking minds with its buttery, golden wonderfulness and ruin freezer aisle rolls for you forever. #sorrynotsorry
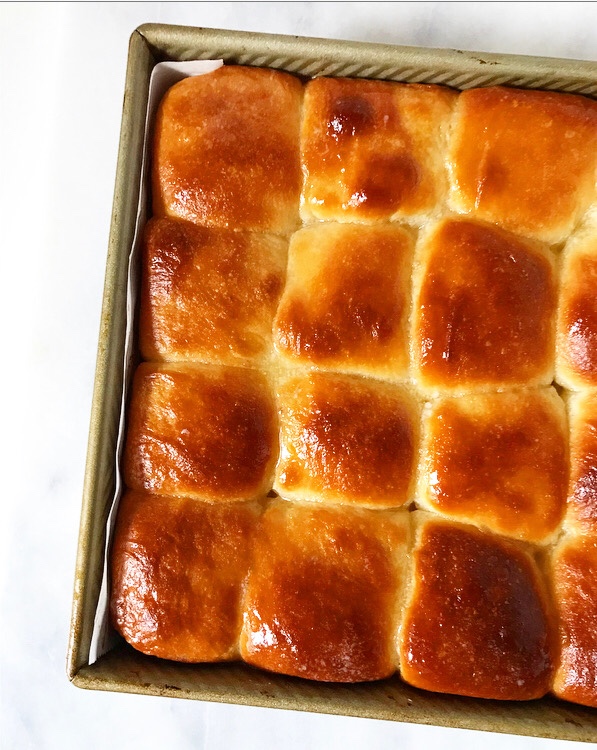
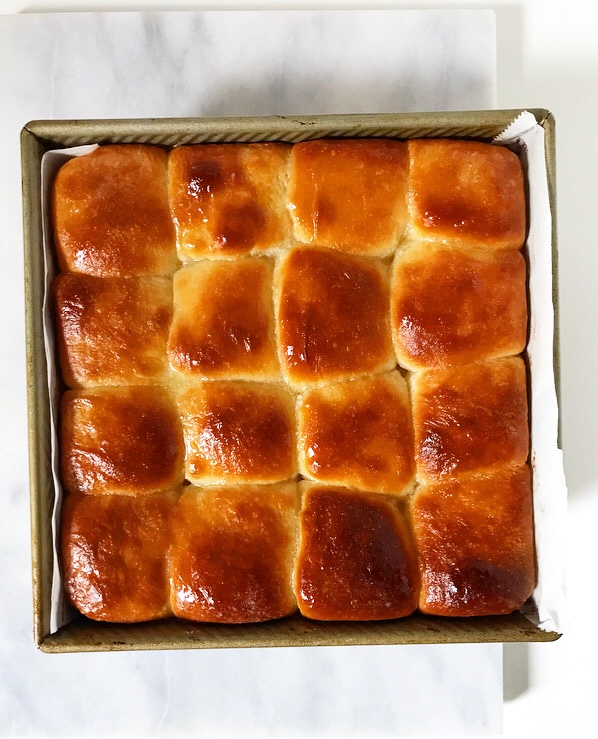
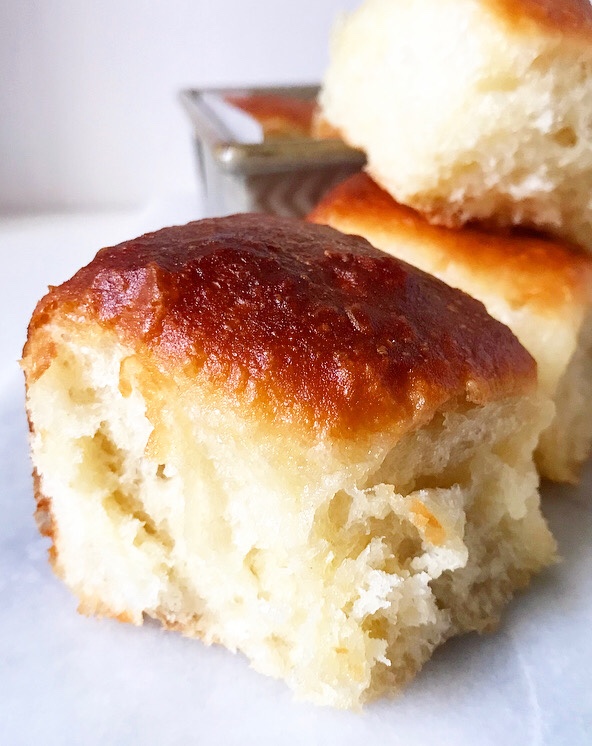 These Fluffy Dinner Rolls, y’all. They are fluffy. So fluffy. And they are slightly sweet and buttery as all get-out (whatever that means). There’s butter in the dough, and more is brushed on both before and after baking!
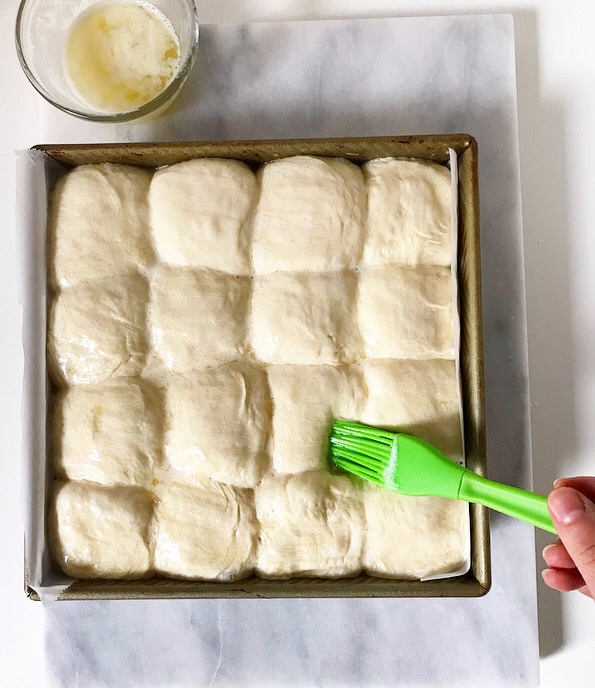
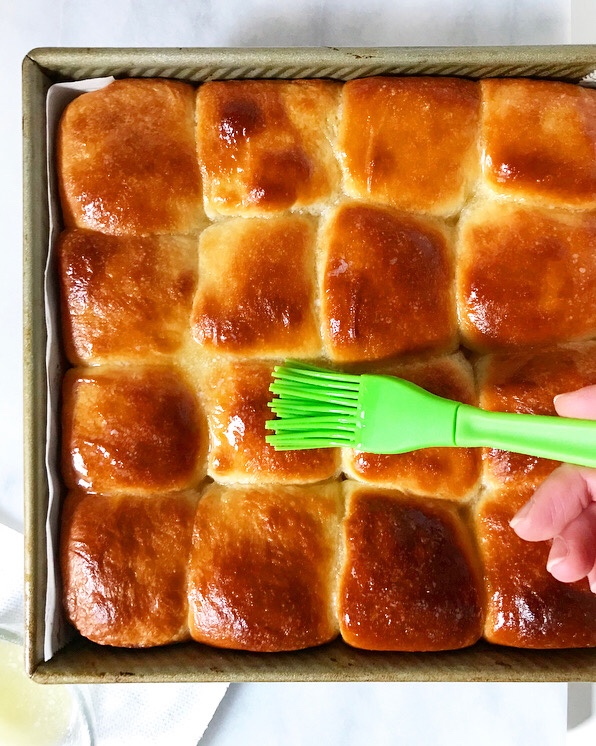 Did I mention their softness? When I was testing this recipe, I spent a lot of time poking the golden tops of these rolls and watching them bounce back, just because I could. So soft! So dang fluffy!
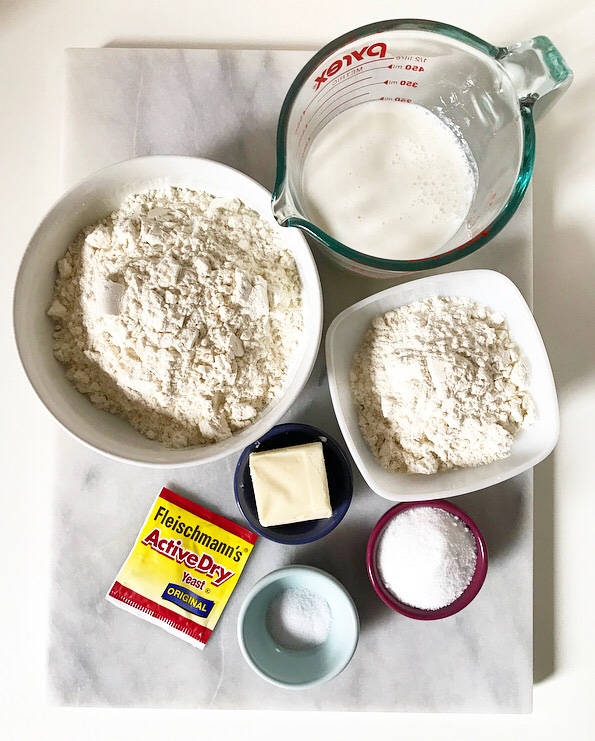
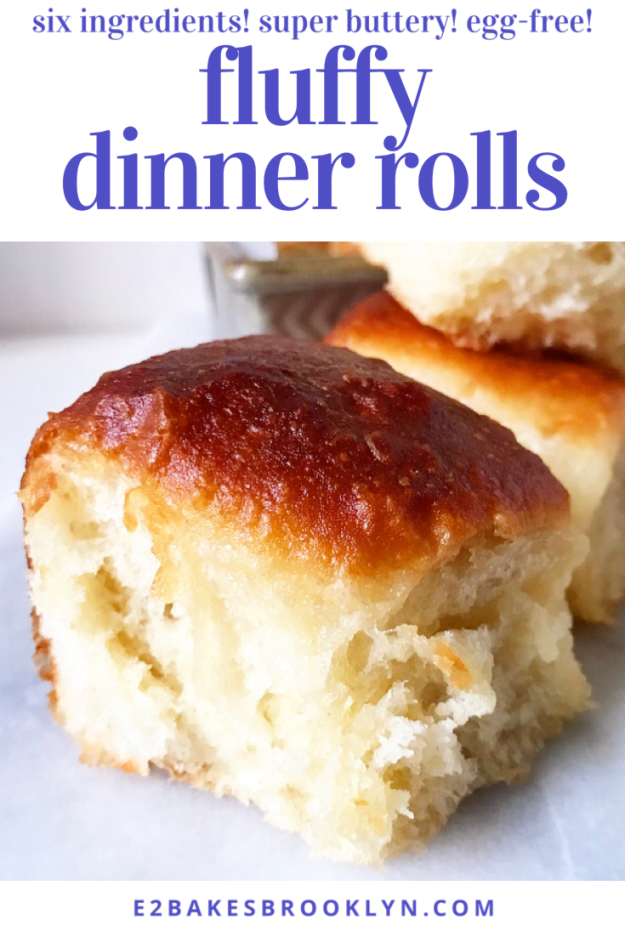
 As I said, these beautiful dinner rolls require just six ingredients: flour, yeast, sugar, salt, butter and buttermilk. These rolls are egg-free, but lack nothing in the flavor or texture departments.
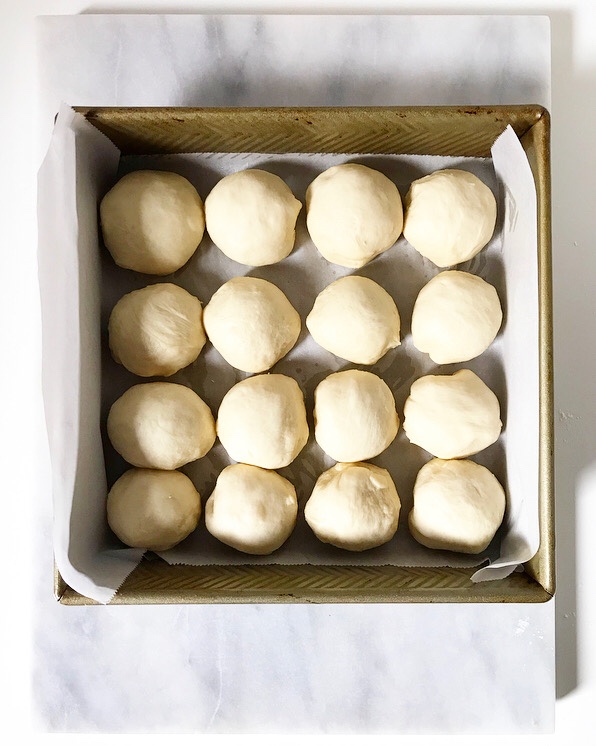
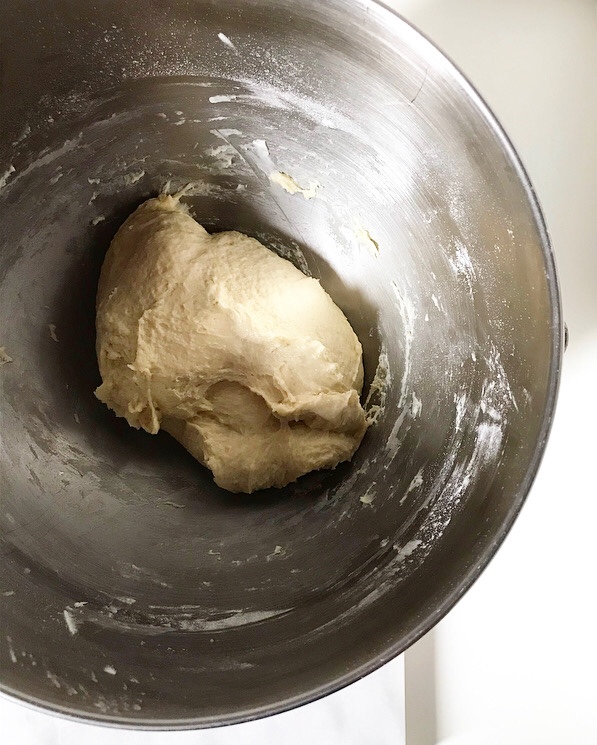
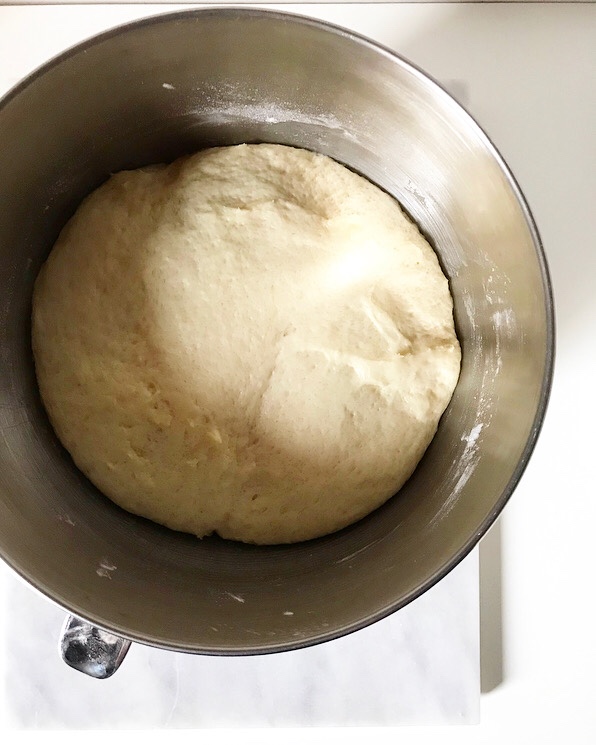
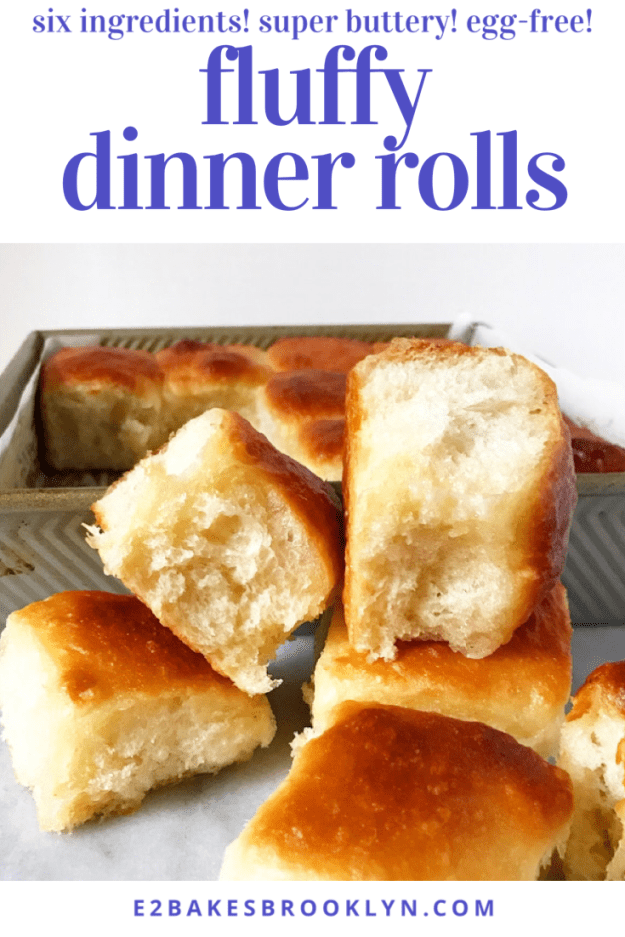
 They are super simple to make, too. Don’t let the length of the recipe fool you—I just wanted to ensure that you have all the information you need for Fluffy Dinner Roll success. I’ve included instructions for a stand mixer and mixing by hand, and for using both active dry and instant yeasts. I tried my best to describe how to shape them, but it’s surprisingly difficult to explain with words alone, so here are some pictures of what I did:
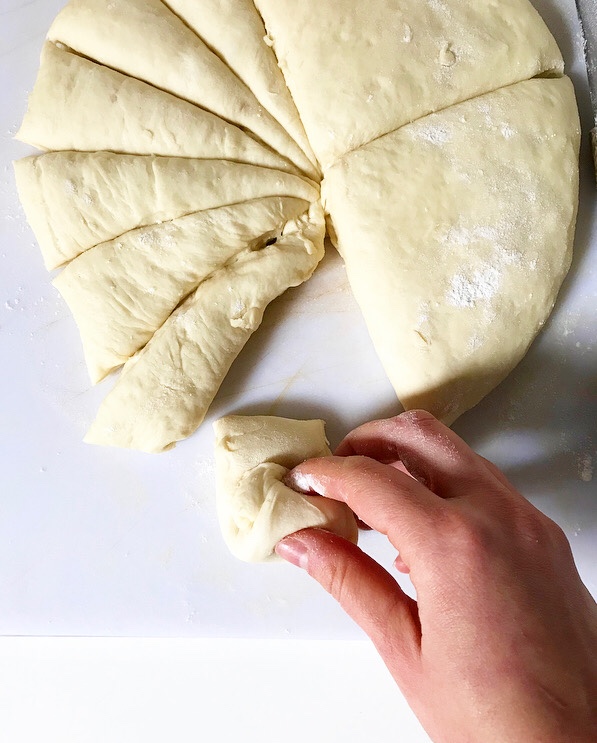
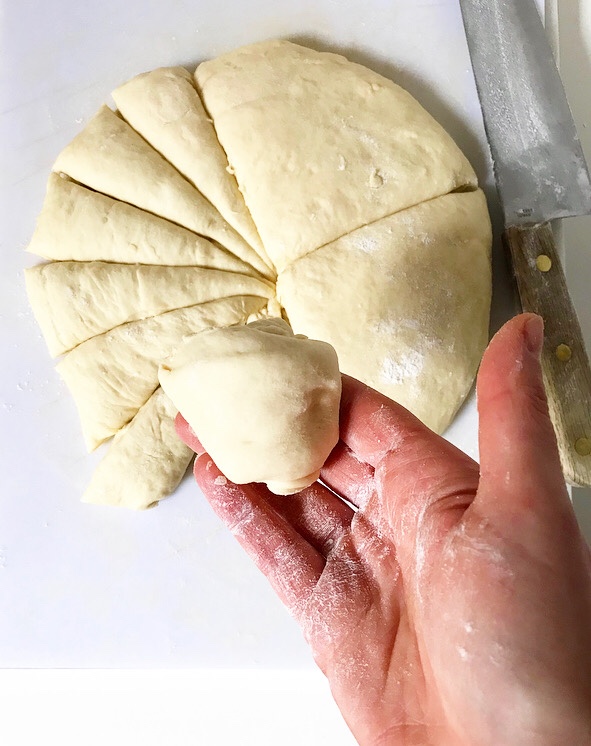
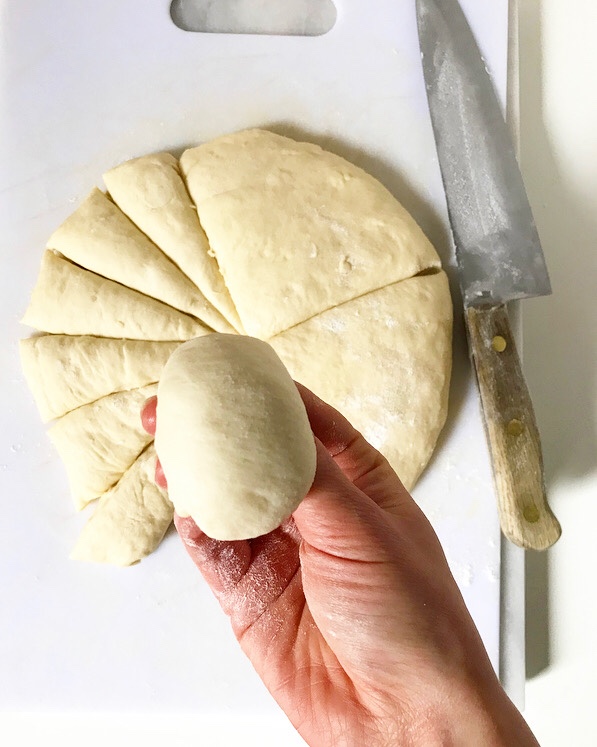
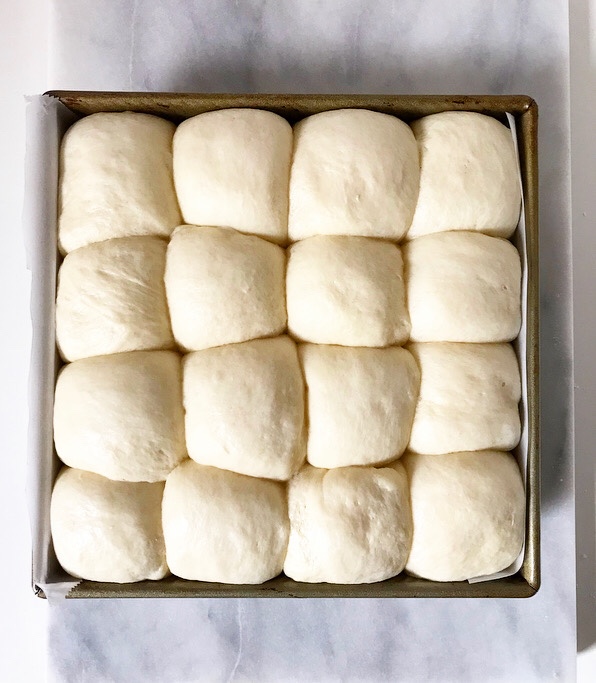
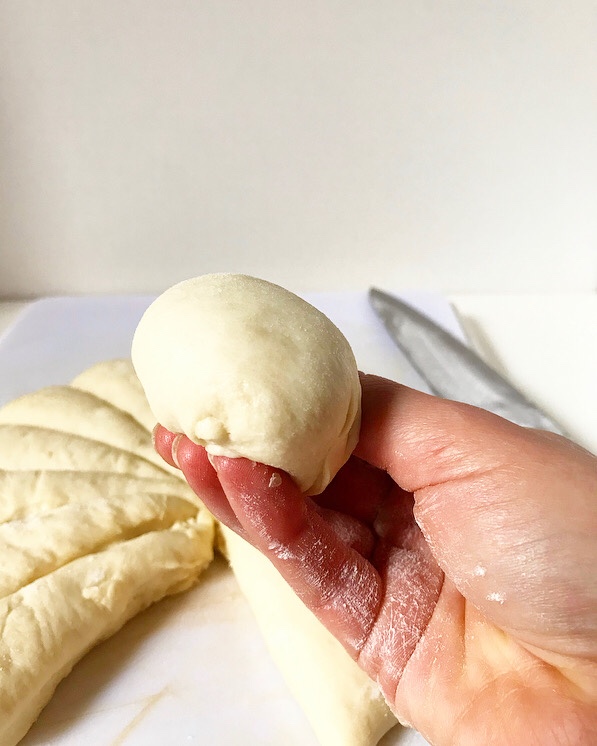 Don’t worry, they don’t have to be shaped perfectly to be delicious. It took me three batches to get a consistent shaping method. Those other four batches? They were for quality control. Or maybe just making up for lost time.
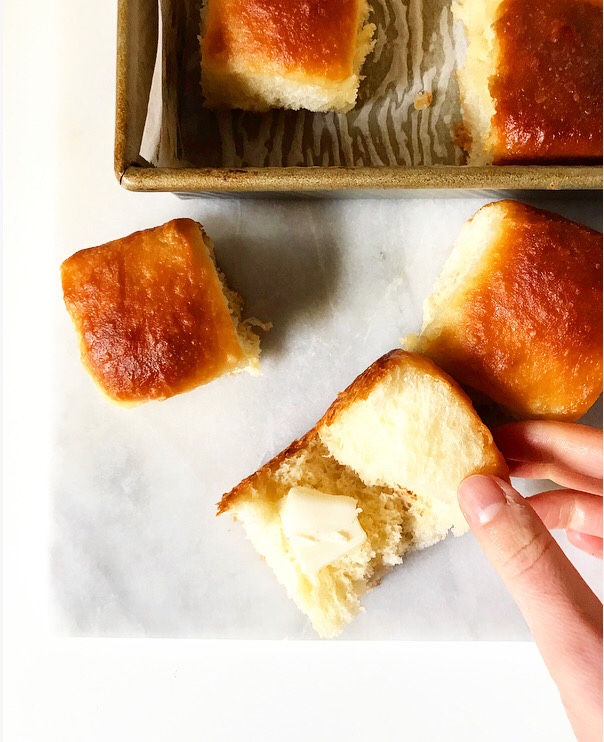
 Is anyone else having a hard time concentrating today? I feel like I’m free, but I keep having to remind myself that I still have to
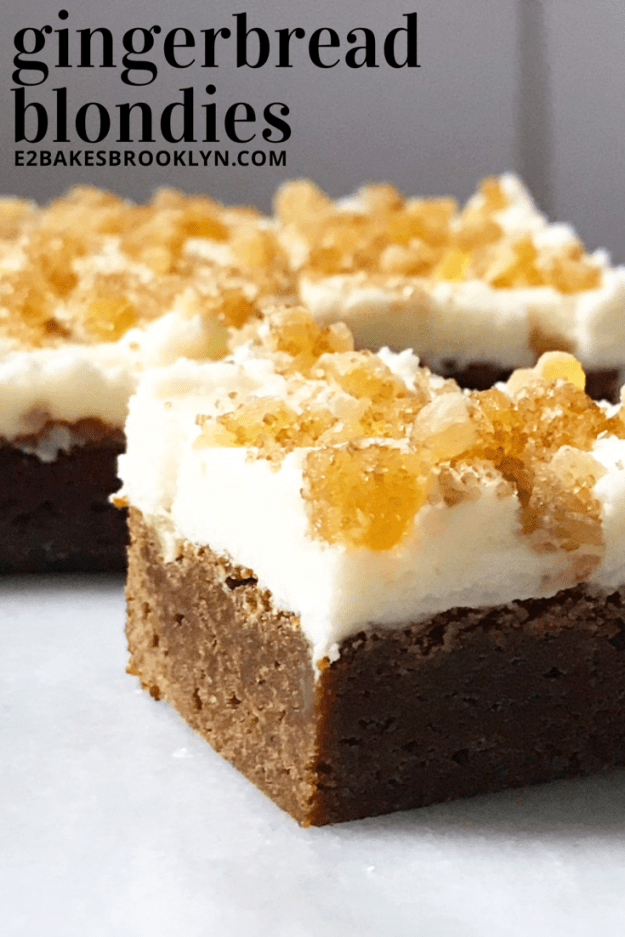
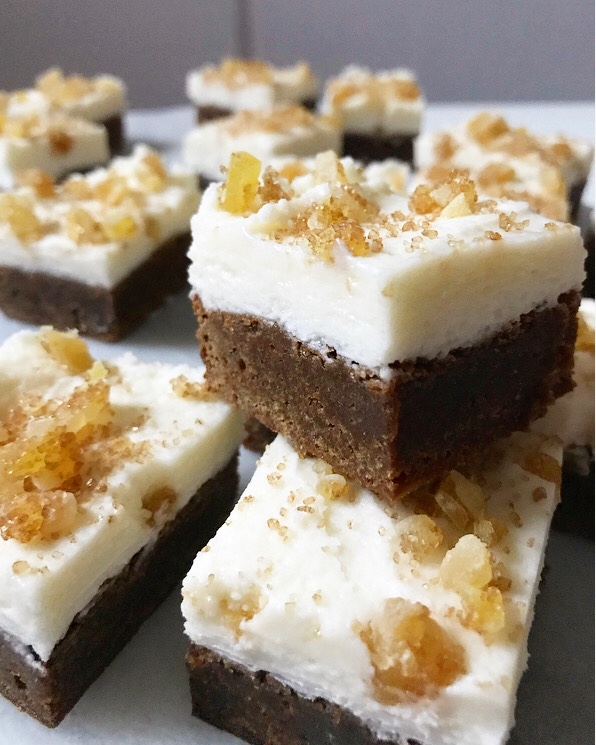 But first—Gingerbread Blondies. I promise they’re worth adding to your to-do list.
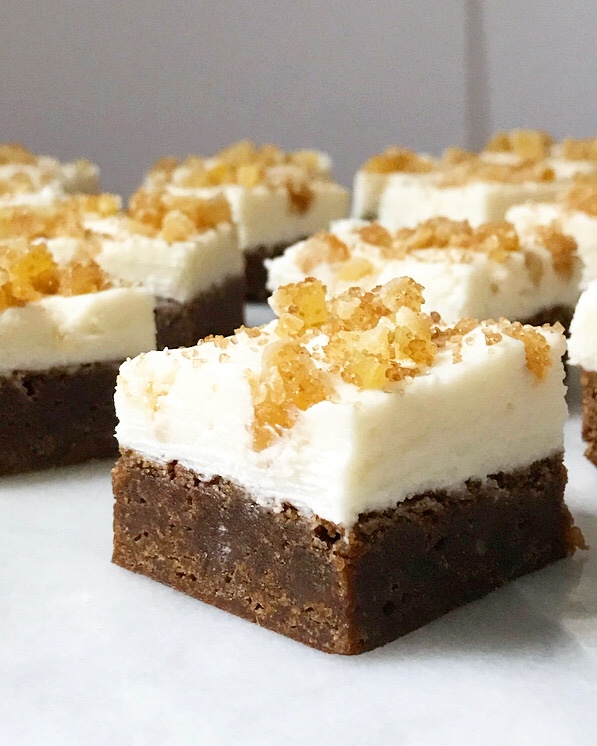
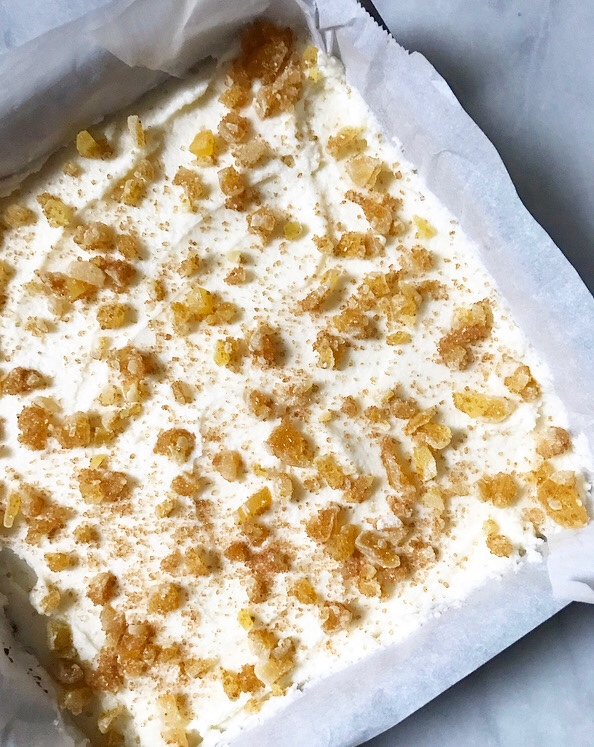
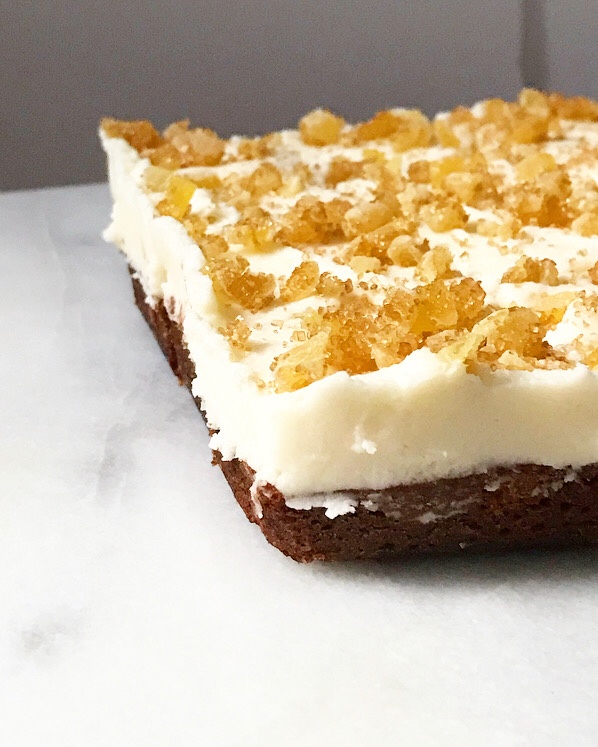
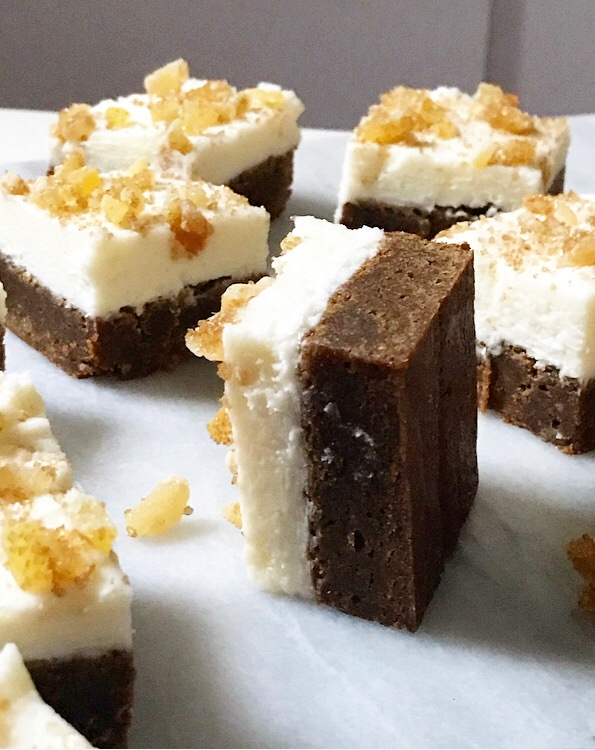 I mean, chewy, winter-spiced blondies with fluffy frosting and a jewel-like ginger garnish are basically always worth it.
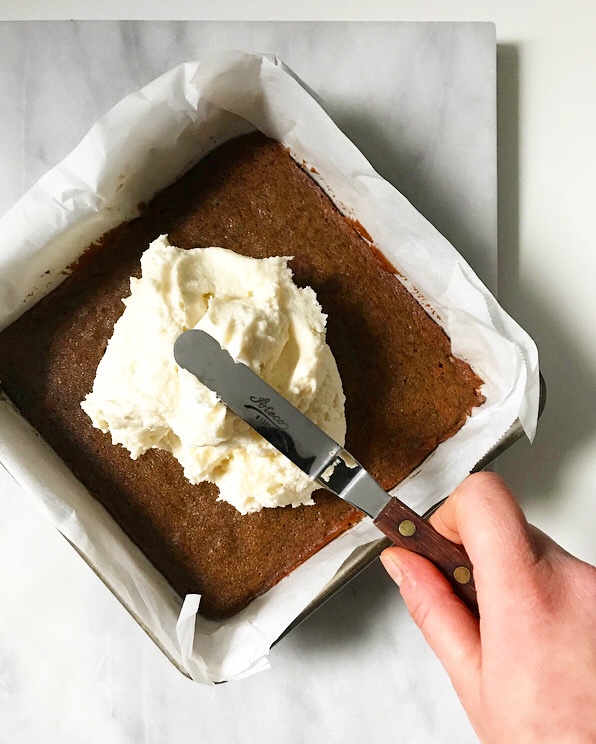
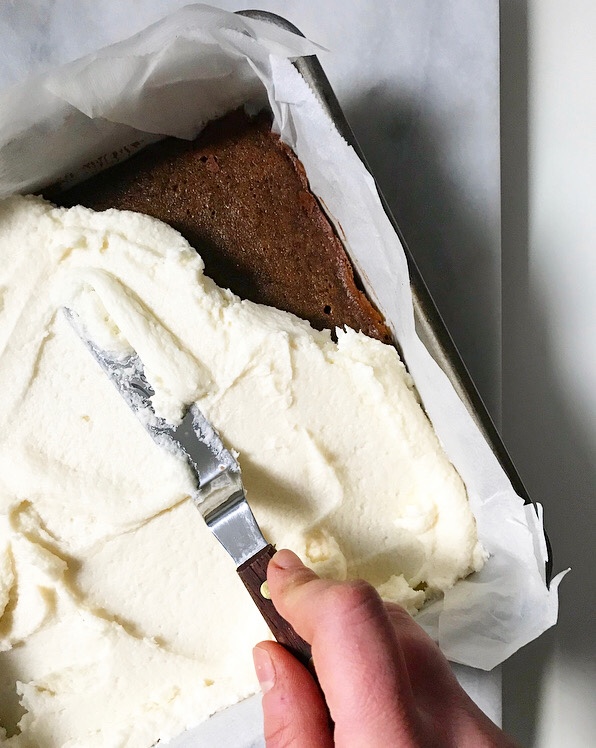
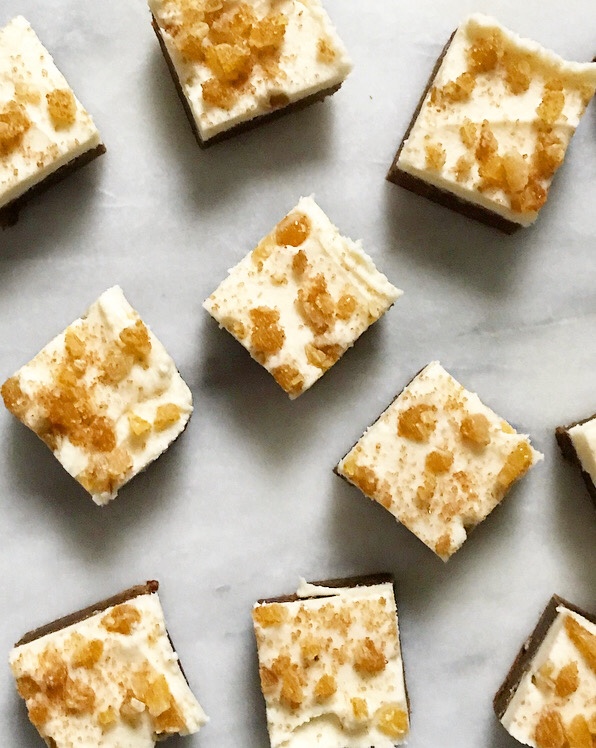 Like Wednesday’s Eggnog Cookies, these holiday-perfect blondies don’t require any skills you don’t already have. Just whisk together a quick batter, bake it, cool it, frost, garnish and slice it.
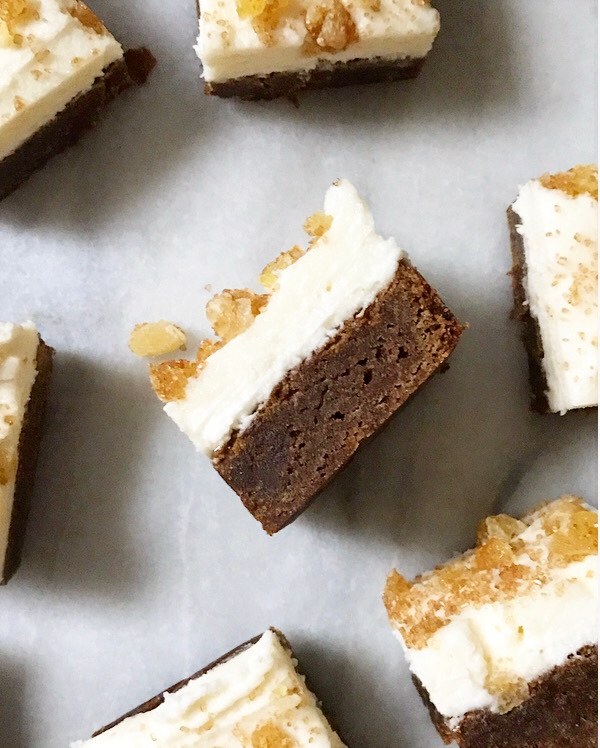 Boom—all the sweet Christmas cheer your heart desires, ready to go in just a couple of hours.
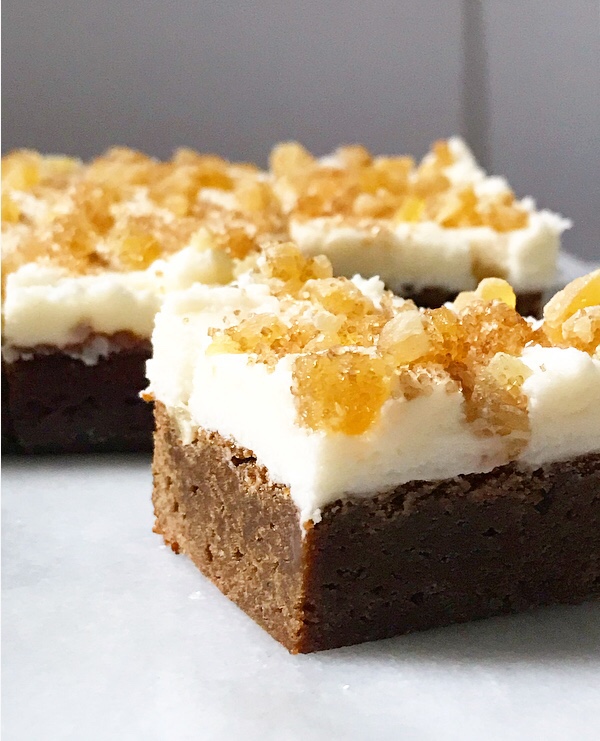 These Gingerbread Blondies are my last recipe post of 2018. I’ll be taking next Wednesday off to spend time with my family, but I’ll be back on Friday for my annual 10 Most Popular Recipes list.
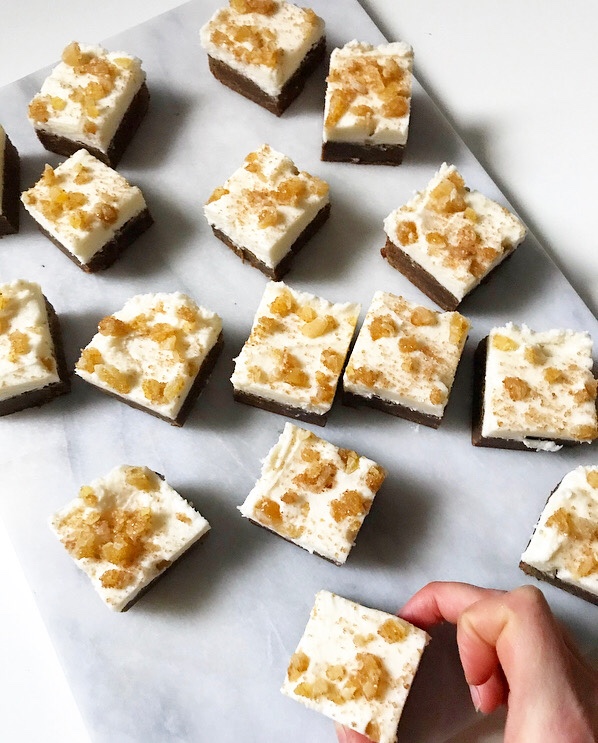 If you celebrate Christmas, I hope you have a merry one! And no matter which holiday you celebrate (or lack thereof), I wish you all a sweet end to 2018.
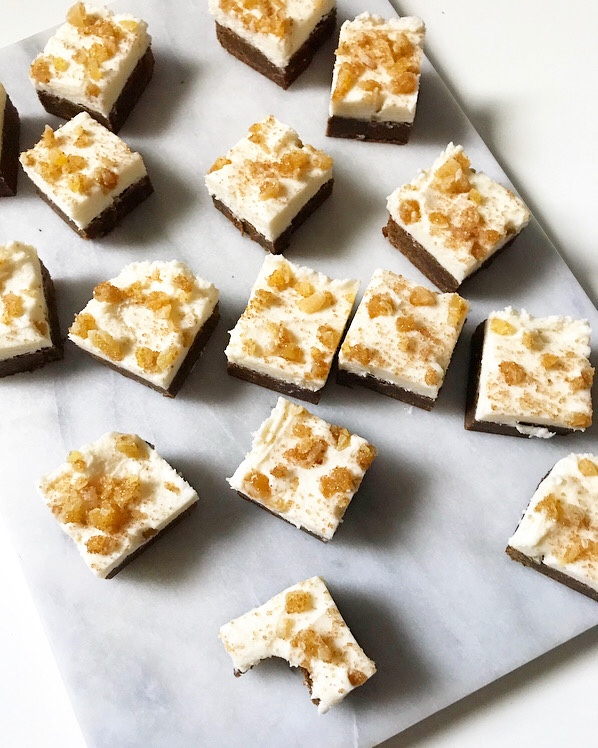

 We’re getting down to the wire, folks! Christmas is less than a week away. The time for complicated baking has come and gone…
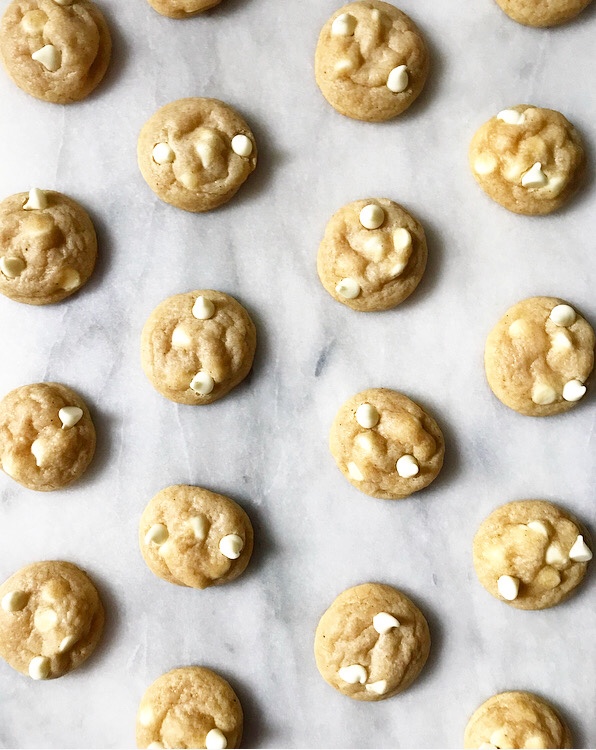 …so let’s make something uncomplicated, okay? Okay.
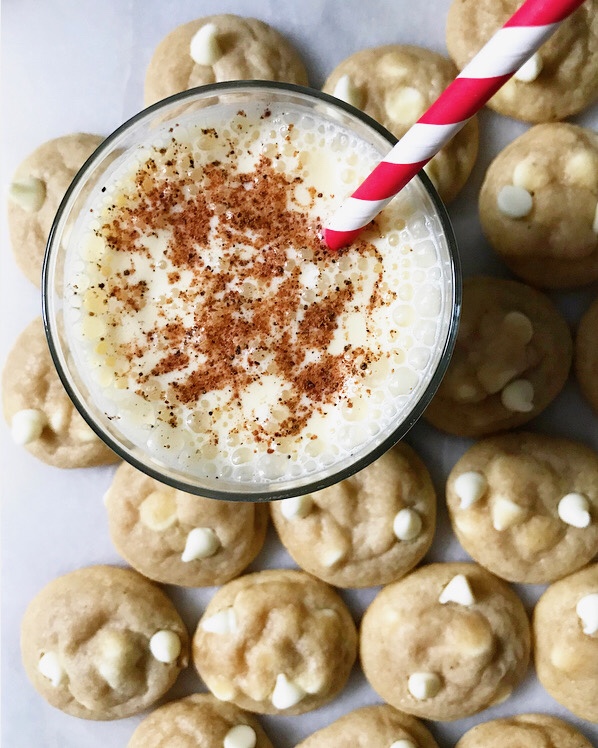
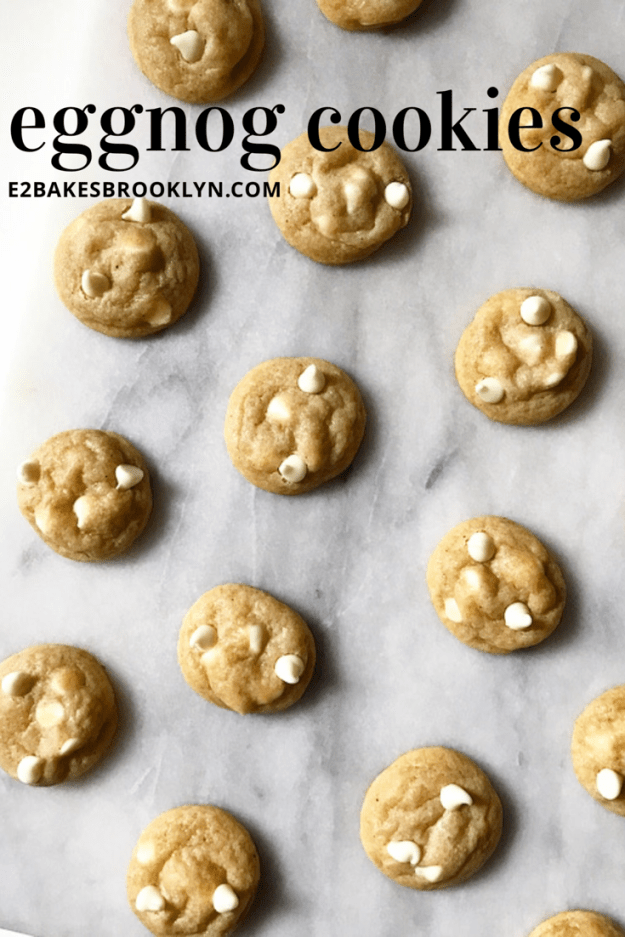
 These Soft & Chewy Eggnog Cookies are a simple drop cookie with big holiday flavor.
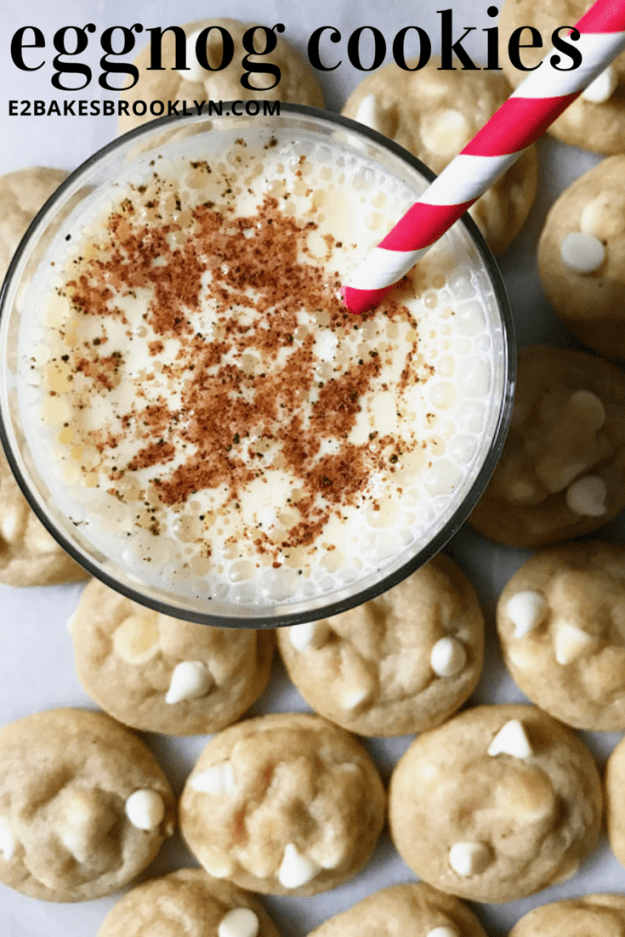
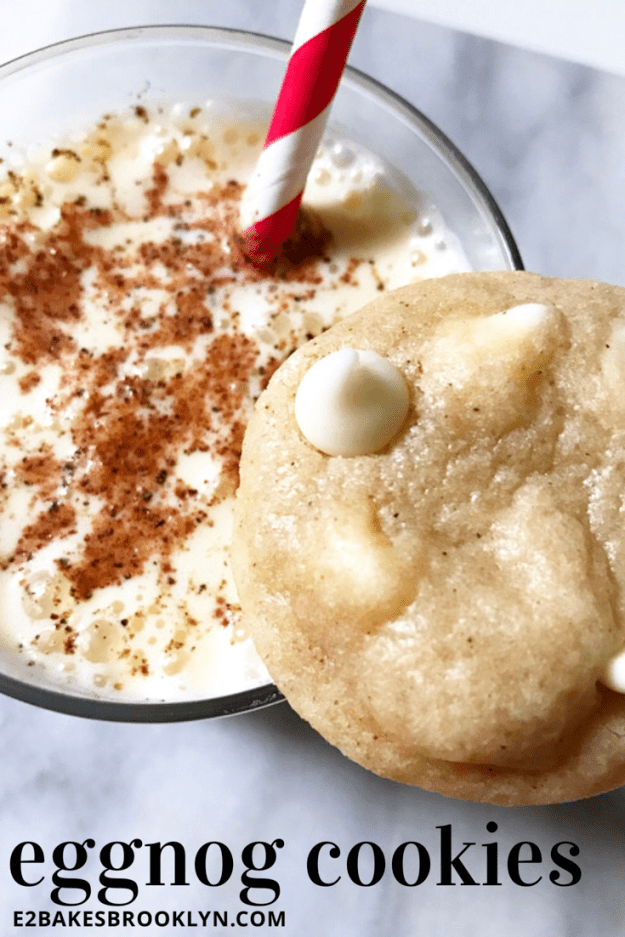
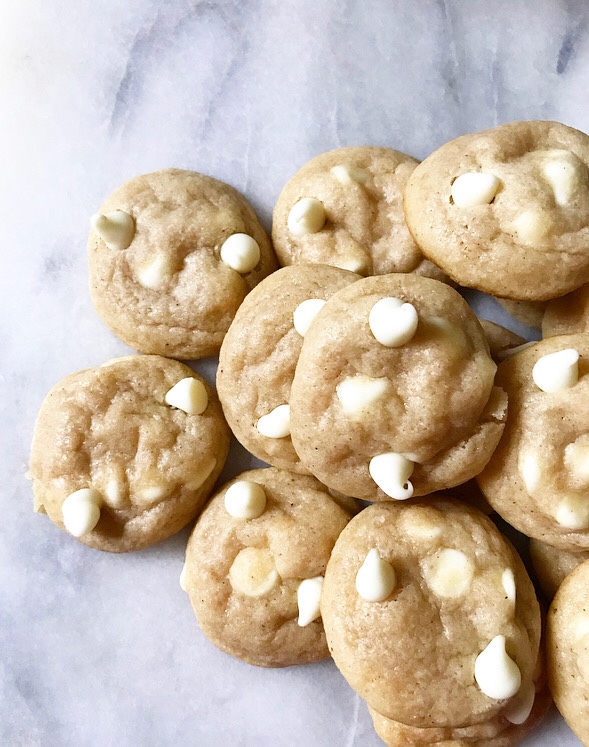 Creamy eggnog + a little spice + white chocolate chips = one festive cookie!
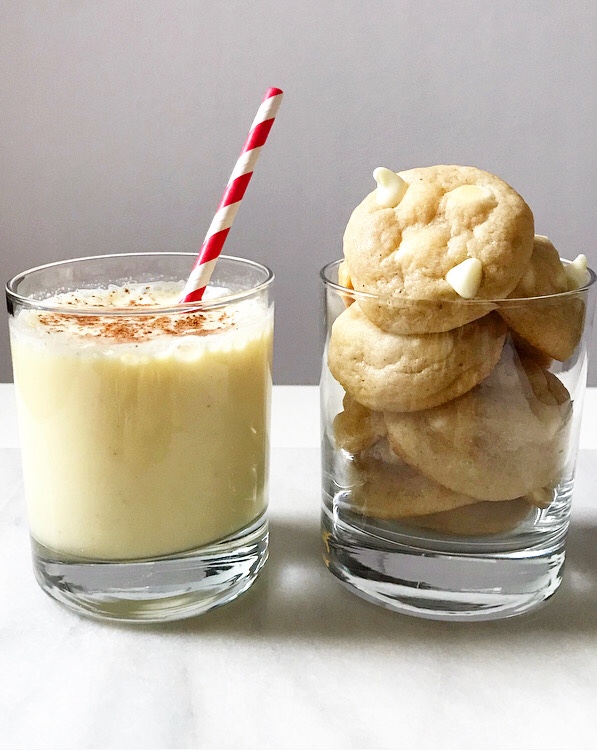 These guys don’t require any skills you don’t already have—if you have ever made
 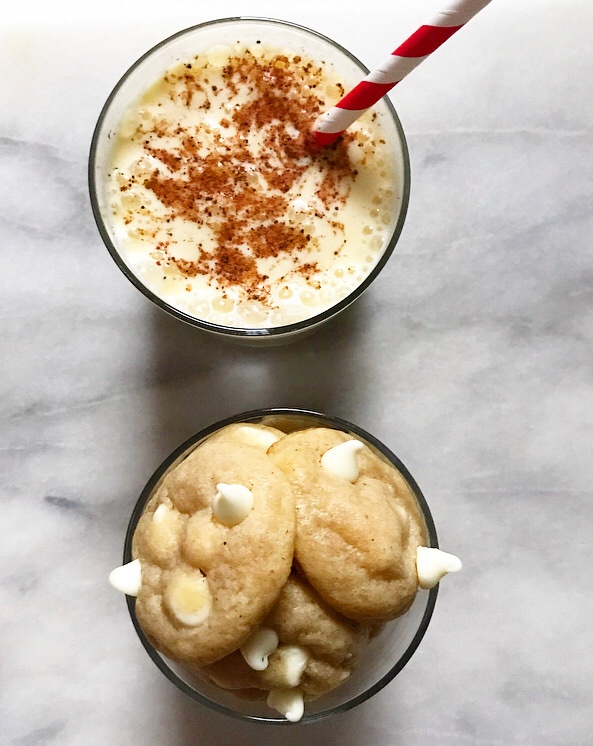 This recipe requires 1/4 cup of eggnog. Normally I’d advise against adding a liquid ingredient to a cookie recipe (liquid + cookie dough = cakey cookies), but by swapping the usual egg whites for an equal volume of ‘nog, you get all the flavor without sacrificing soft & chewy texture.
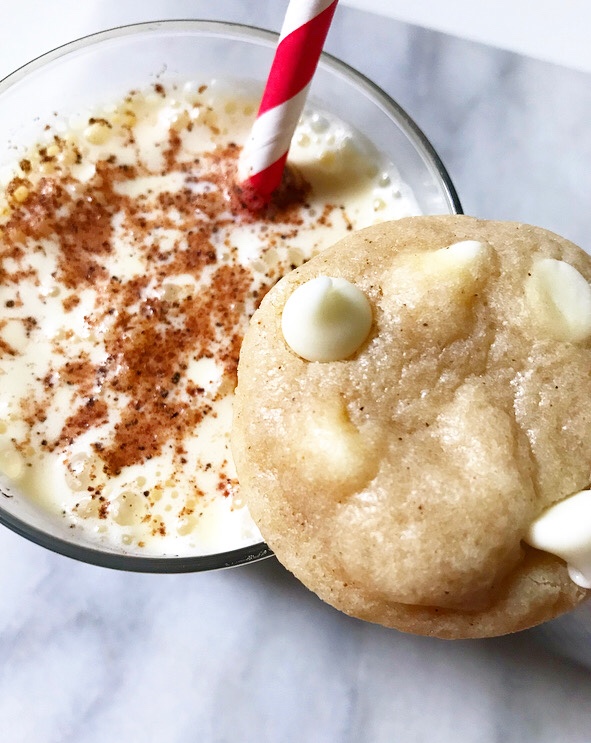 I decided to make these cookies on the smaller side, using just one tablespoon of dough per cookie. I tested them in a larger size (2 tablespoons) and while I liked the texture, flavor, and basically everything else, I wished they were smaller. I am the kind of Christmas cookie snacker who wants to be able to try lots of different things—smaller cookies mean I have more room for other holiday food. You know, like
 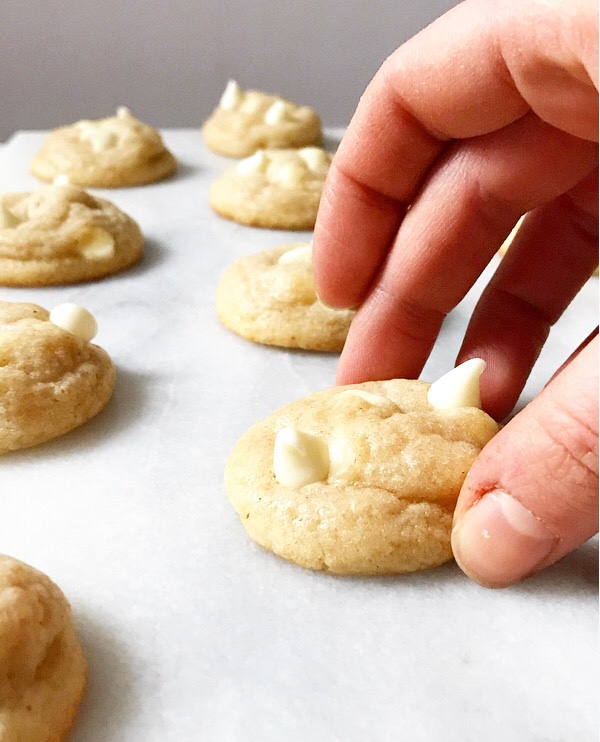 I clearly have my priorities in order.
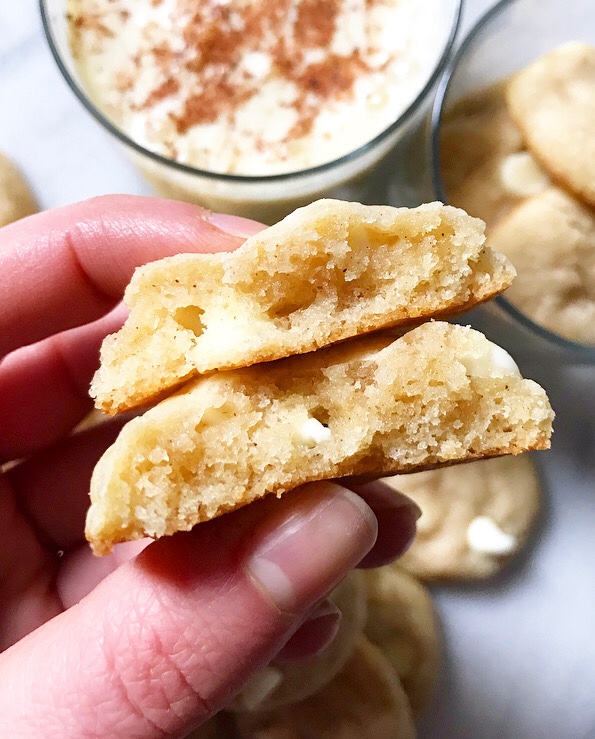
 We may not have done any holiday baking when I was a kid, but we still had plenty of Christmas food traditions. When I was growing up, my mom used to make a breakfast casserole every Christmas morning. While I was (and, honestly, continue to be) wary of any dish with “casserole” in the name, I made an exception for that one. Paired with Mom’s traditional all-citrus fruit salad,* it was impossible for even the pickiest of us to resist. It was so good that we didn’t complain when we were told we had to eat breakfast before opening our gifts. It was magic, I tell you.
 Now, you may have noticed that I am speaking about my mom’s breakfast casserole in the past tense. That’s because she stopped making it about ten years ago, right about the time that my sisters and I started wanting more input in our holiday menu.
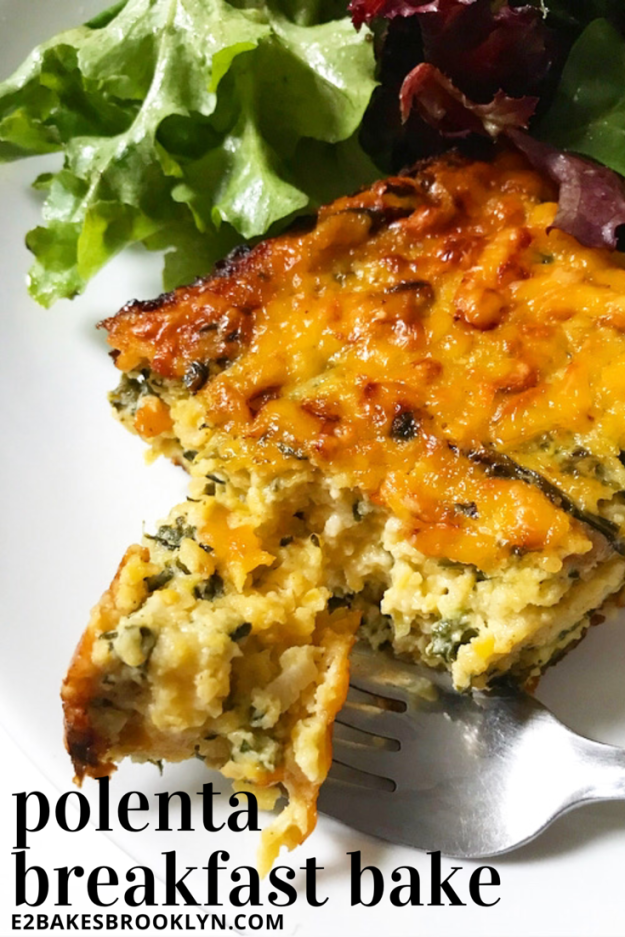
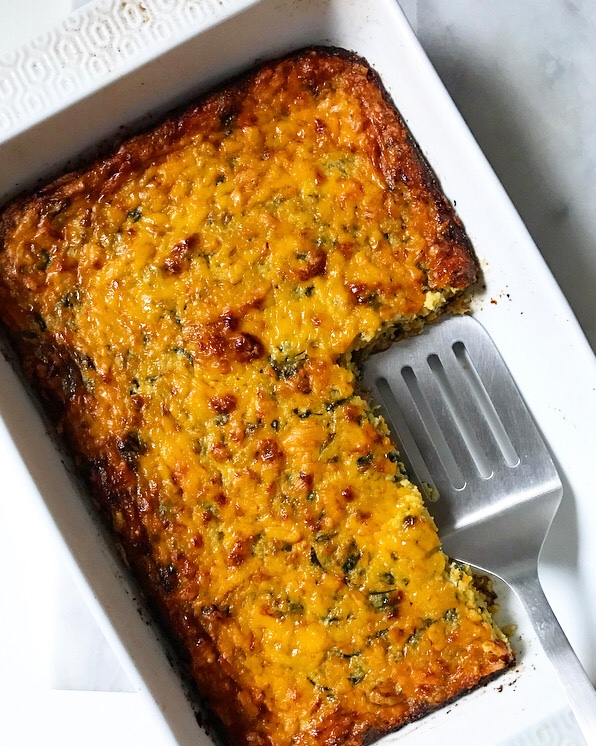 Long story short: today’s Polenta Breakfast Bake is an homage to the Christmas Morning Casserole of my childhood, minus the Bisquick, plus a creamy polenta base and some extra greens. It’s not my mom’s recipe, but it’s damn good.
 Also, it’s naturally gluten-free (thanks, coarse ground cornmeal!). And people think you’re fancy when you say you made polenta anything, so there’s that.
 My favorite thing about this recipe is that, like my mom’s, it doesn’t require any specific timetable. Flexibility is important when it comes to any holiday meal planning, but I am particularly opposed to any recipe that might require me to get up and start puttering around the kitchen when it’s still dark outside. I’ve said it before and I’ll say it again: sleep > baking (and, um, cooking too).
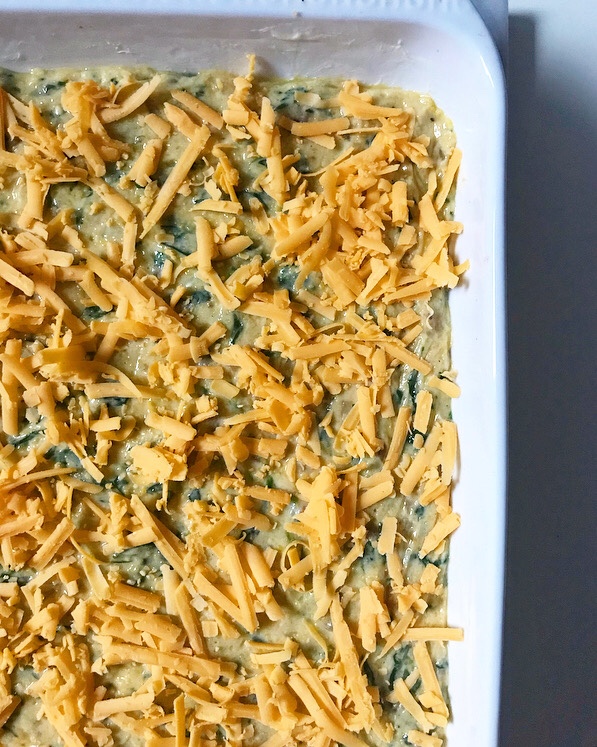
 This Polenta Breakfast Bake can be prepared morning-of, if you are an early bird, but I love that I can assemble it a day or two ahead and then just bake it for 25 minutes before serving. I have a hard time doing anything in the morning without the aid of coffee, but I can absolutely turn on the oven and bake a breakfast casserole for 25 minutes.
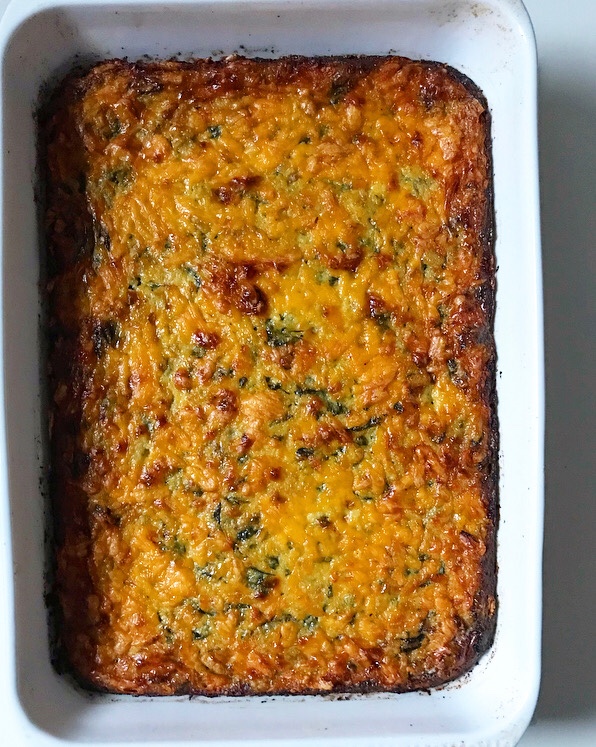
 Hot from the oven, this Polenta Breakfast Bake will be a little hard to slice cleanly, so feel free to scoop it instead. I was able to slice the casserole pictured after letting it cool for about half an hour, but I’d be happy to eat this stuff in any shape (or lack thereof). Leftovers keep very well in the refrigerator and will slice & reheat like a freaking dream.
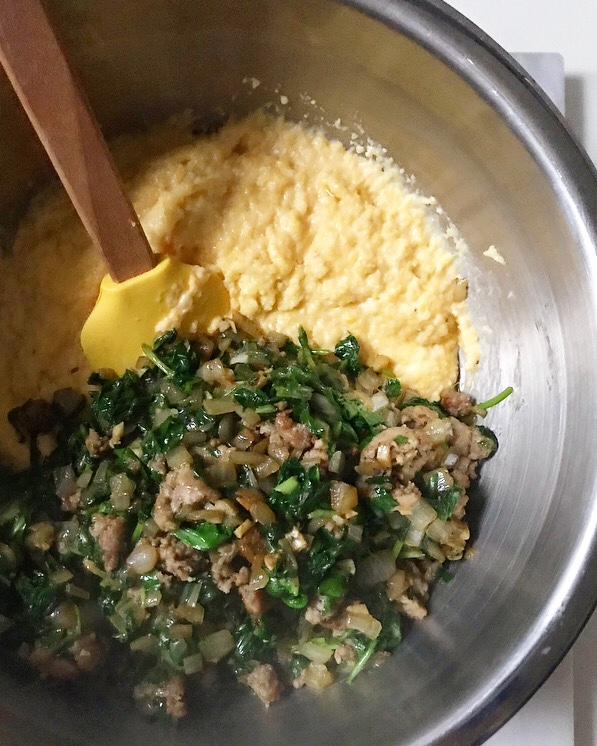
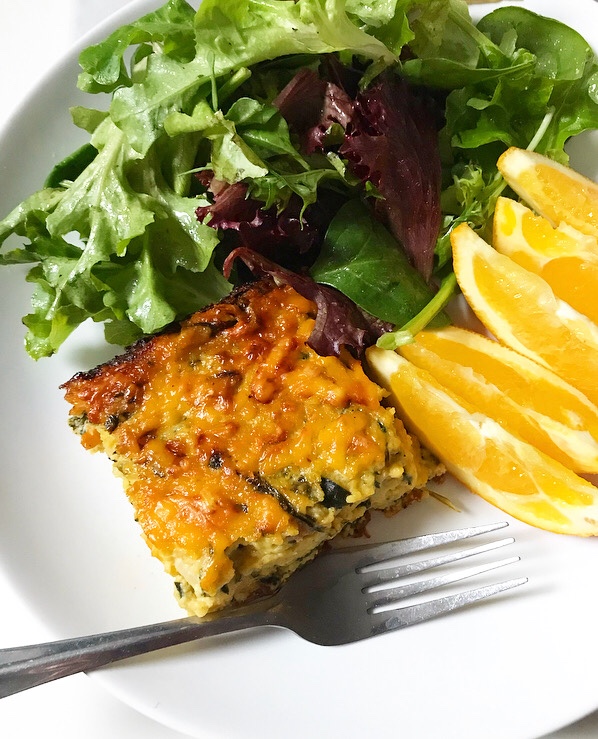 One last thing before I get to the recipe. Like all recipes on this site, I’ve made this Polenta Breakfast Bake to suit my own flavor preferences. I used breakfast sausage and cheddar cheese because those were prominent flavors in my mom’s recipe, but you can swap them for any meat and/or cheese you like in weights equal to those in the recipe. My only word of advice here is that if you choose to use bacon, remove it from the pan while you sauté the onion, garlic, and greens so that it doesn’t burn. Oh, and speaking of greens, feel free to leave ‘em out if you have picky eaters (or if breakfast vegetables just aren’t your thing).