Carbs and cheese are the name of the game this week. Wednesday was all about French Onion Grilled Cheese, and today has Pimento Cheese Twice-Baked Potatoes written all over it.
This recipe is a comfort food mash-up for the ages. Tender, salt-rubbed baked potatoes overstuffed with a rich pimento cheese filling? Sign me up!
If you’re unfamiliar with pimento cheese, it’s a popular southern dip/condiment made of cheddar cheese, sweet pimento peppers, black pepper and mayonnaise. It doesn’t sound great when I lay it out like that, but when combined it’s salty, spicy, creamy, tangy, a little sweet—in short, it’s delightful. And that’s coming from someone who despises mayonnaise and is weird about creamy things, so do with that what you will.

Here, we’re ditching the controversial mayo in favor of potato-friendly cream cheese and butter, combining them with pimento cheese staples like extra sharp cheddar, jarred pimentos and a lot of black pepper. Scoop out the innards of some warm baked potatoes, mash in all those creamy, cheesy ingredients along with garlic and onion powders, load that glorious filling back into the empty potato skins and bake again. Top ‘em off with a little more cheese and maybe some more pimentos, if you’re feeling kicky, then serve them up with the sides of your choice and dig in!
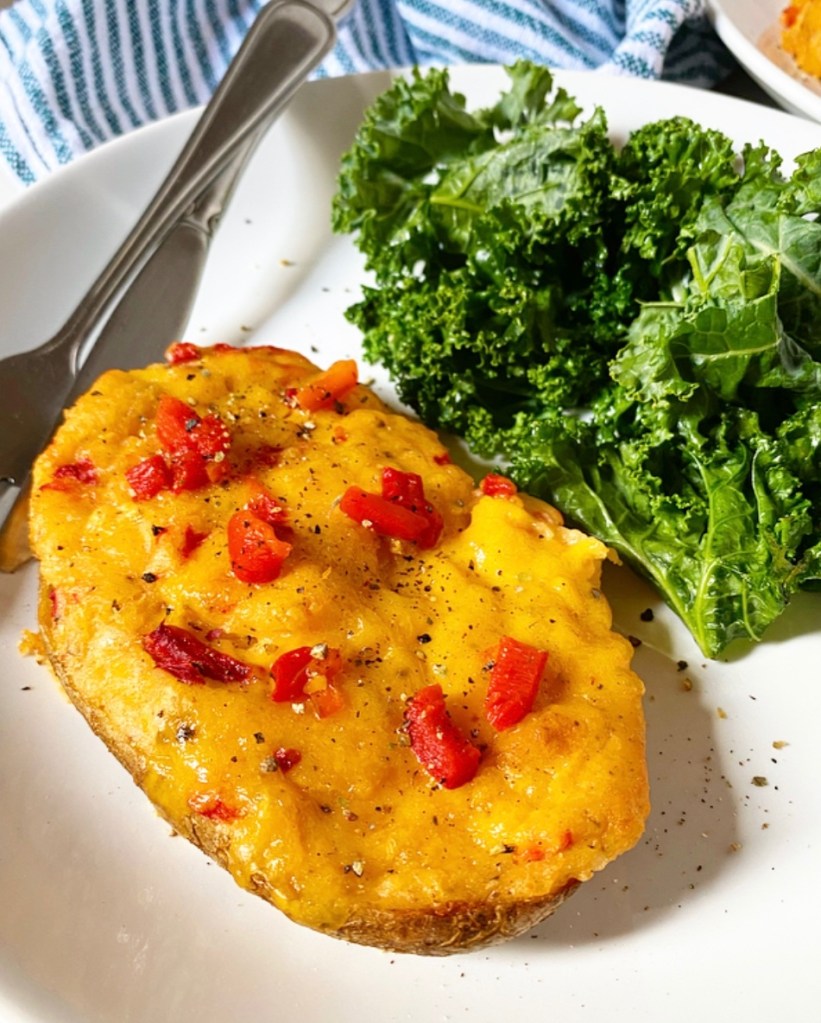
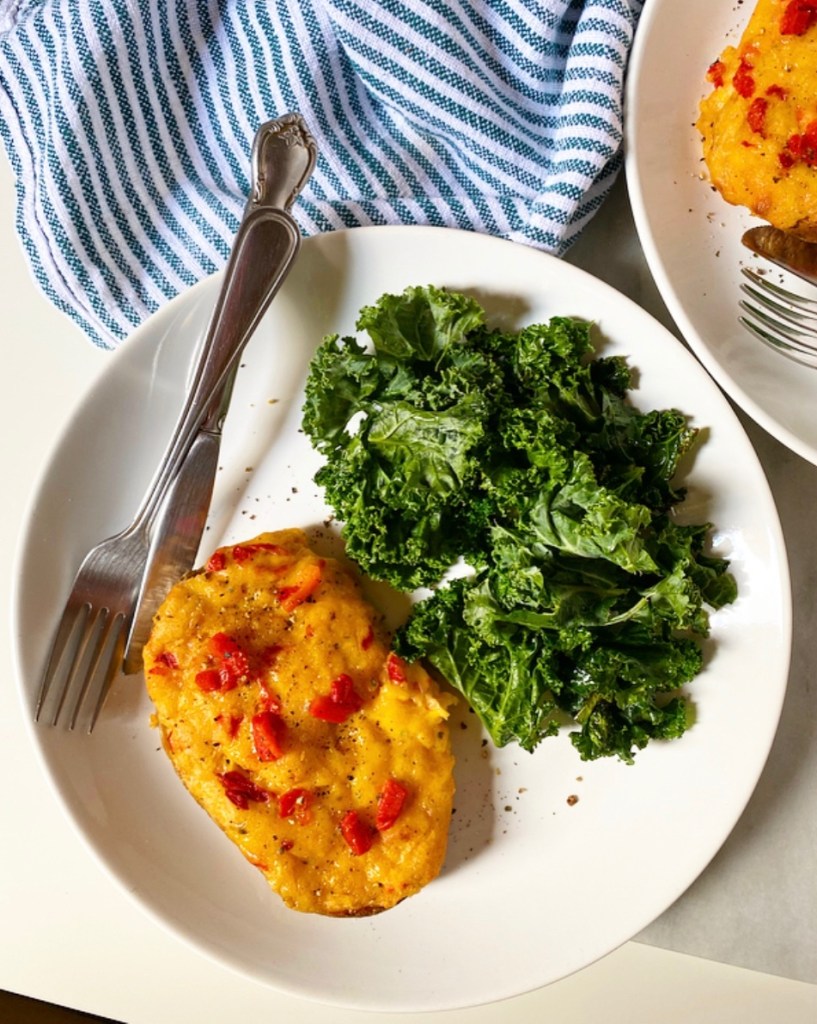
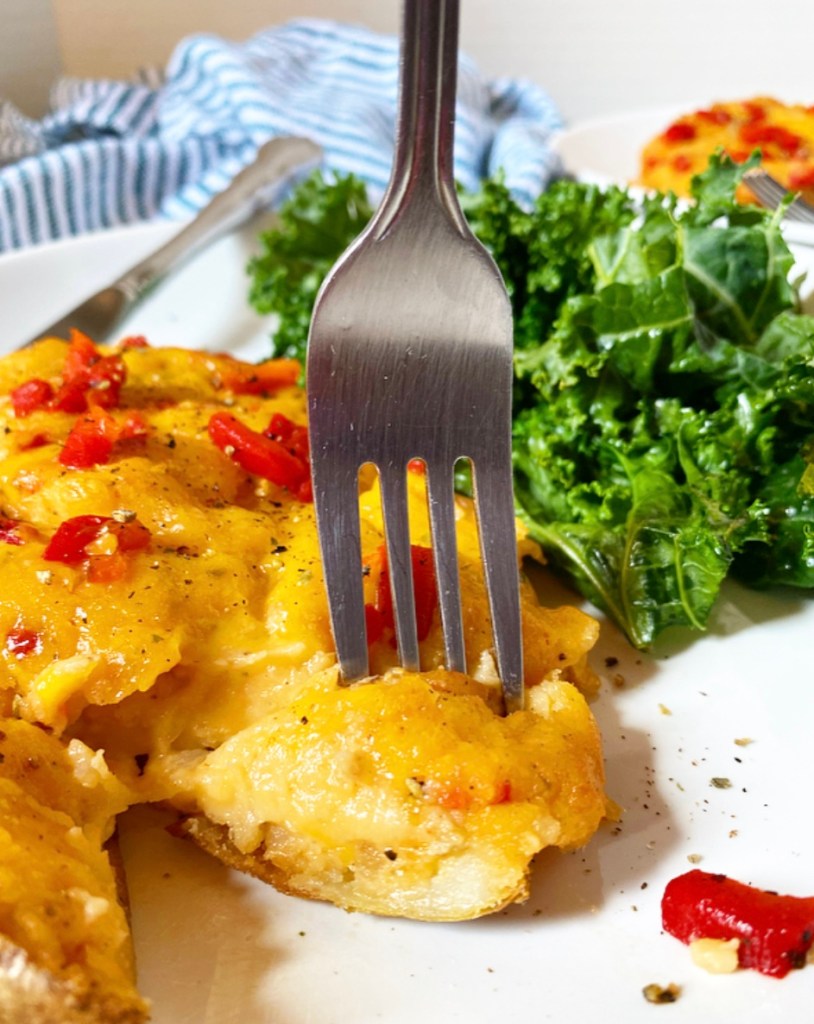
Spicy, cheesy, and filling, Pimento Cheese Twice-Baked Potatoes make a great vegetarian main (or even a side, depending how hungry you are). They’re extra cheesy with plenty of spice from the pepper and some optional cayenne, and that classic pimento cheese tang from the chopped pimentos. In short, they’re what I’m craving as we head into a snowy weekend here in NYC, and that’s a good thing because I have a lot of leftovers.
Pimento Cheese Twice-Baked Potatoes
makes 4 servings
2 medium-large russet potatoes
1 teaspoon olive oil
1 teaspoon Kosher salt (or to taste), divided
1 4-ounce jar pimentos
1 8 ounce brick extra sharp cheddar cheese, divided (I used Tillamook)
2 ounces (1/4 brick) full-fat cream cheese (or sour cream)
2 tablespoons unsalted butter
1/2 teaspoon garlic powder
1/2 teaspoon onion powder
1 teaspoon freshly-cracked black pepper (or to taste)
1/8 teaspoon cayenne pepper, optional
Preheat oven to 400F. Line a baking sheet with parchment paper.
Scrub and dry potatoes. Prick each several times with a fork. Massage 1/2 teaspoon olive oil and 1/4 teaspoon salt onto each whole potato. Place on prepared pan and bake about 1 hour, or until I small knife meets no resistance when inserted. Let potatoes cool 7-10 minutes, or until they can be handled.
While potatoes are baking, prepare the filling ingredients. Drain pimentos and blot as dry as possible on paper towels. Remove to a cutting board and dice into 1/4-inch pieces. Set aside.
Use the large hole side of a box grater to shred cheese. Set aside.
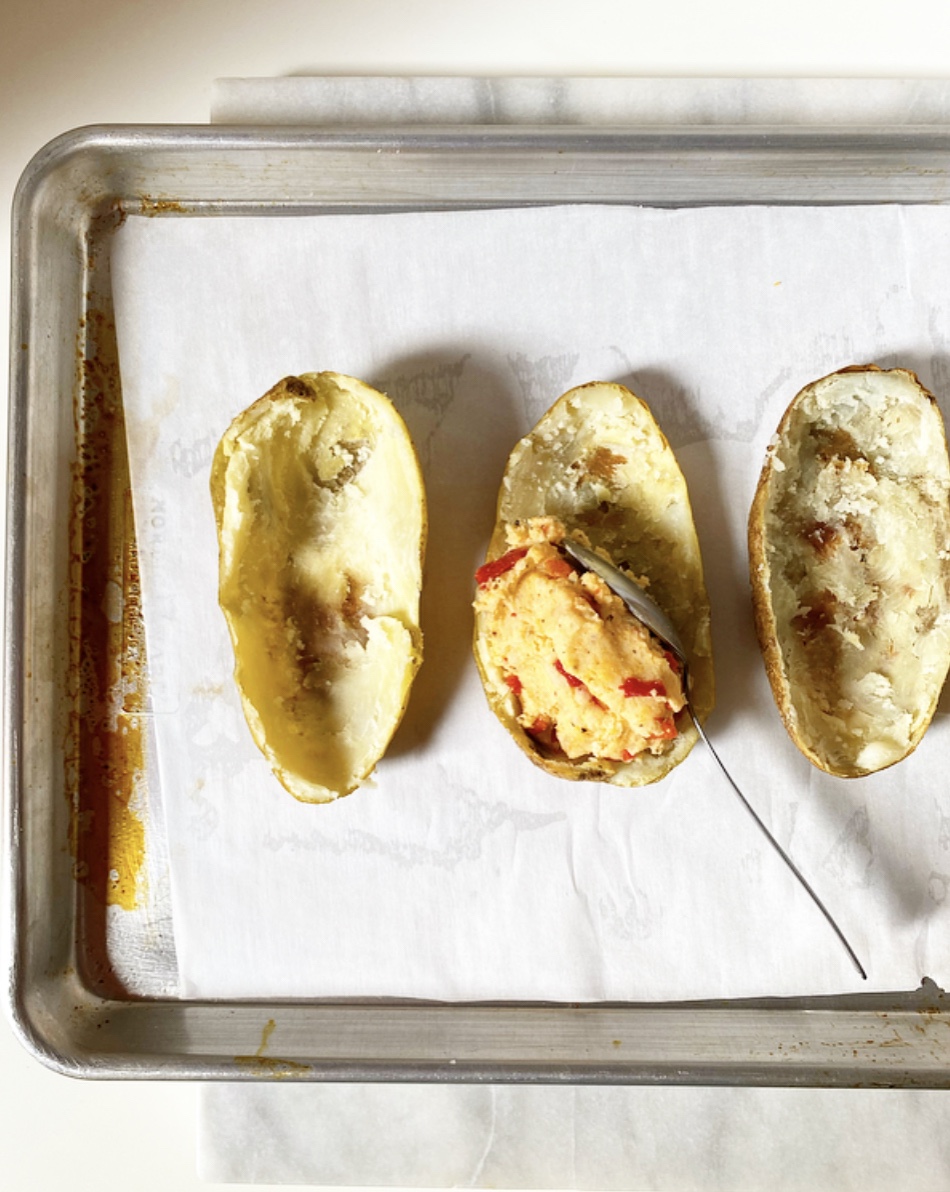
When you can handle the potatoes (they should still be very warm), remove them to a cutting board. Slice them in half lengthwise and use a spoon to scoop out the flesh, leaving behind the potato skin “boats.” Set the skins aside.
Make the filling. Place potato flesh in a medium mixing bowl. Use a potato masher (or two forks) to break up the large pieces. Add cream cheese, butter, 1/2 teaspoon salt, garlic powder, onion powder, black pepper, and optional cayenne and continue to mash just until combined. Do not over-mash. Use a silicone spatula or wooden spoon to fold in pimentos and 3/4 (6 ounces) of the shredded cheddar. Taste a small bite of filling and adjust seasoning as needed.
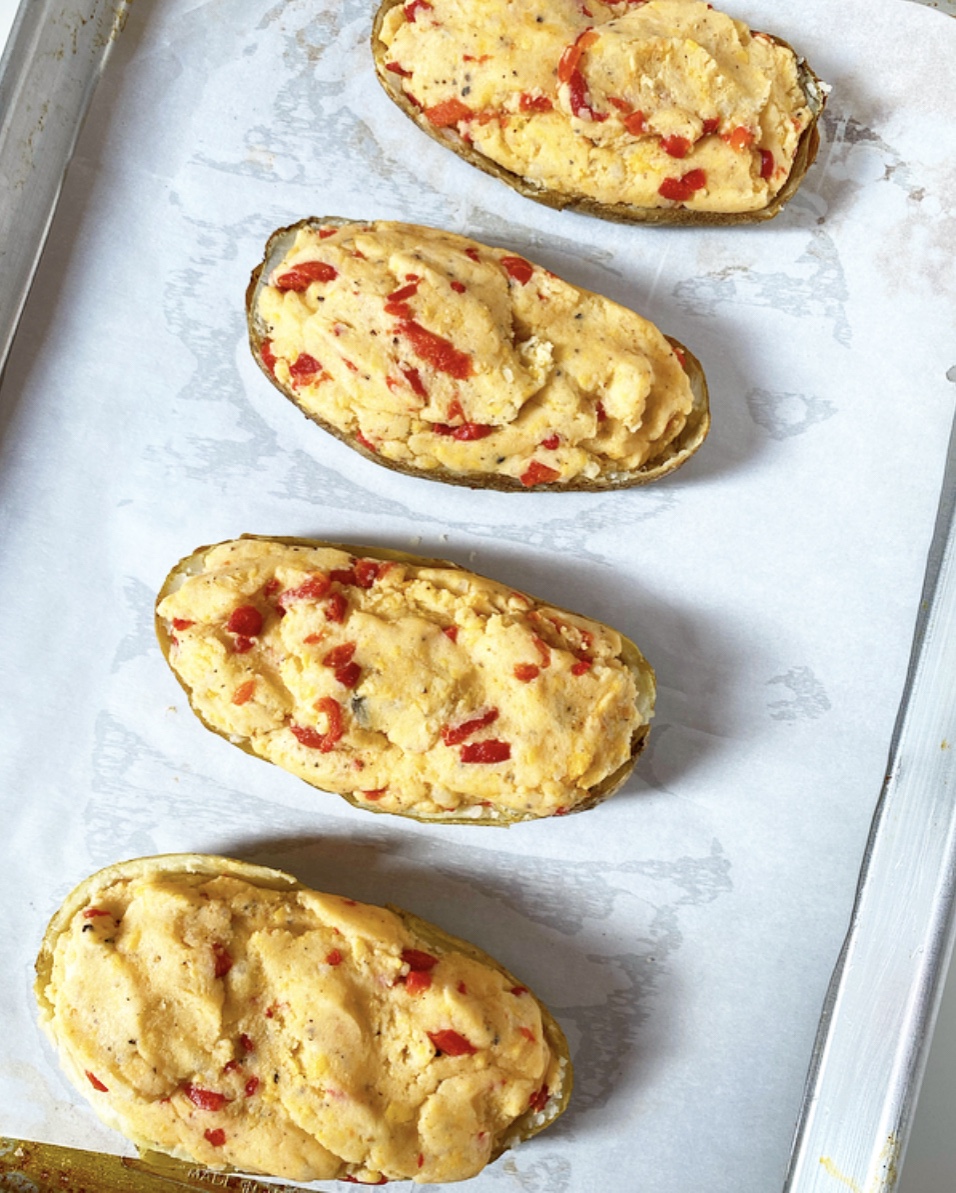
Place potato skins on a parchment-lined baking sheet. Divide filling mixture among skins (1/2-2/3 cup each); they will likely be heaping a bit. Bake uncovered for another 20-25 minutes at 400F, or until the filling is puffed in places. Top with remaining cheese and return to the oven for 3-5 minutes, just to melt. Add more pimentos if desired. Let potatoes cool a few minutes before serving.
Twice-Baked Potatoes are best eaten the day they are made, but leftovers can be reheated in the microwave, if desired. I’m sure they can also be reheated in a toaster oven or oven, although I have not tried it myself. Leftovers will keep covered in the refrigerator for up to 3 days.


 Over the past couple of years, I’ve learned that a shocking number of people I know and love don’t know how to make one of the simplest recipes in the wide world: Grilled Cheese. It’s not because they’re incapable in the kitchen—it’s just that nobody ever taught them how to make it so that the bread cooks and the cheese melts at similar rates, and the butter doesn’t blacken and smoke up the house.
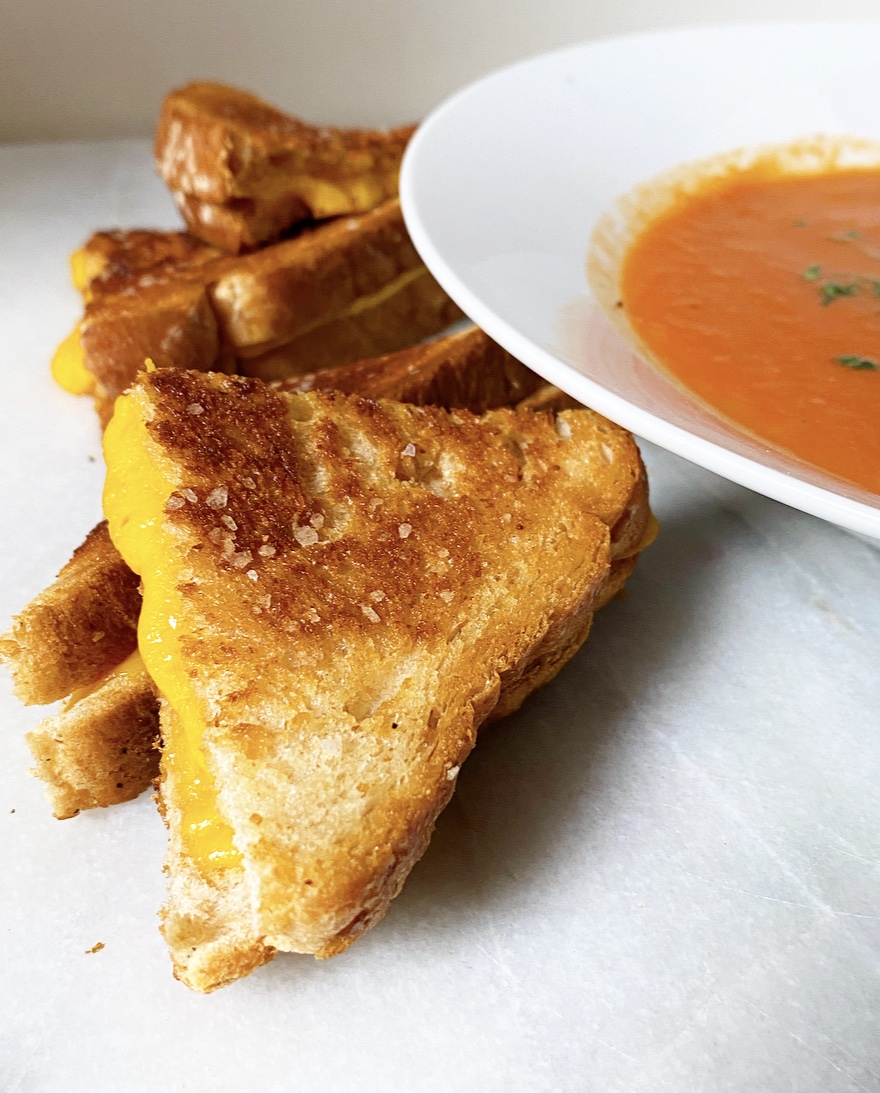 Luckily (maybe?), they’re friends with me, a person who will make them a grilled cheese in the moment and then spend four months dwelling on the (non-)event until the middle of January when she decides to write a blog post about the whole (inconsequential) thing. And that’s how we got here. Luckily. Maybe.
 I make Grilled Cheese for dinner at least once a week because a) it’s easy and I don’t have to think about it too hard, and b) I always have sandwich bread, butter and some sort of melting cheese (usually extra sharp cheddar). It only takes a couple of minutes to butter two pieces of bread and layer cheese in the middle. You’ll notice I don’t use sliced cheese here—that’s simply because I prefer to buy the brick and slice it myself. Do whatever works for you, with the exception of pre-shredded cheese because it’s coated in an anti-caking agent that prevents proper melting. You do not want to impede proper melting on a Grilled Cheese!
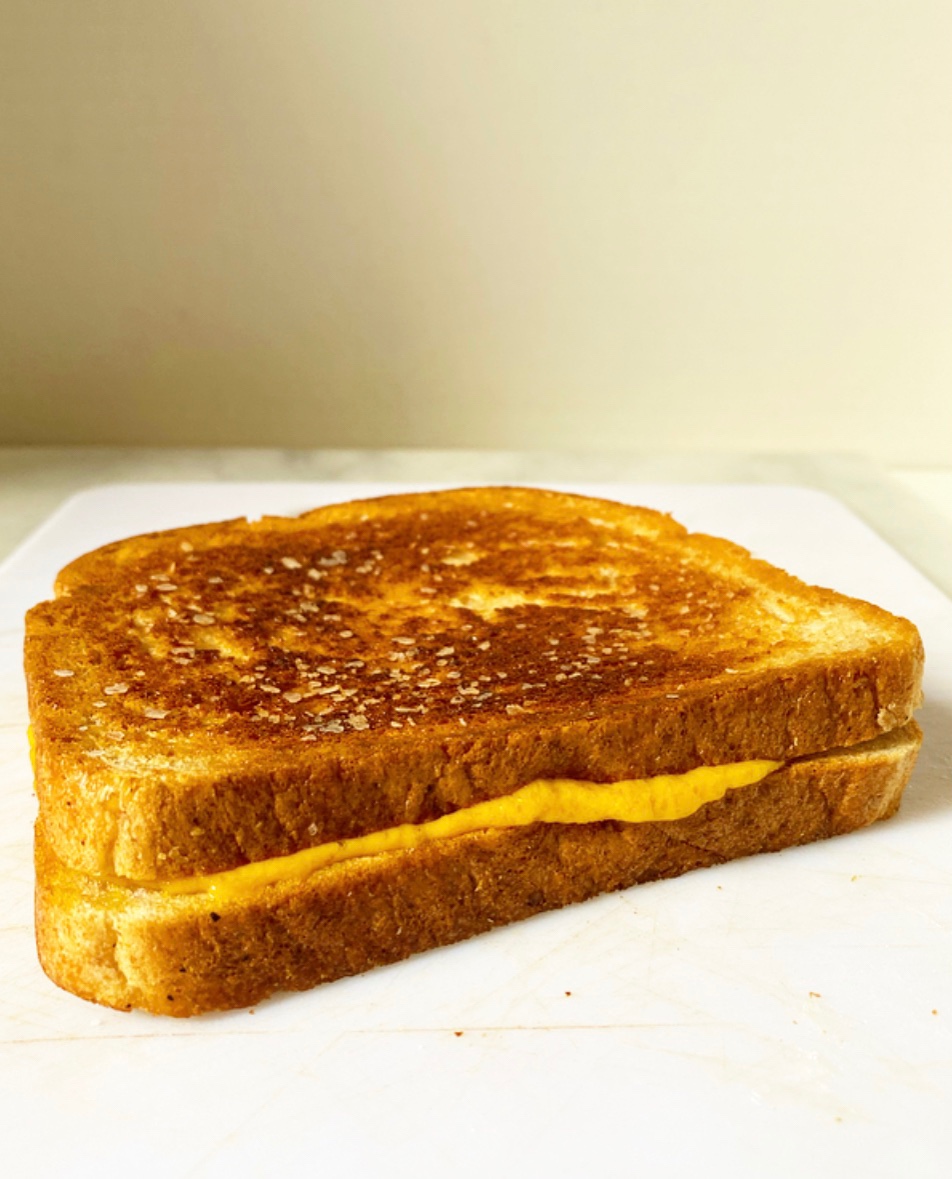 As far as cooking goes, I think it’s a pretty human thing to want to cook crispy foods over the highest heat for a couple of minutes, but when it comes to Grilled Cheese (and so many other things), it’s best to ignore that thought, turn down the flame and take your time. Whereas 3-4 minutes over high will yield cold cheese between burnt slices of bread, 7-8 over medium-low will give you perfect melted cheese and buttery, golden edges every time. Those extra four minutes make all the difference in the world.
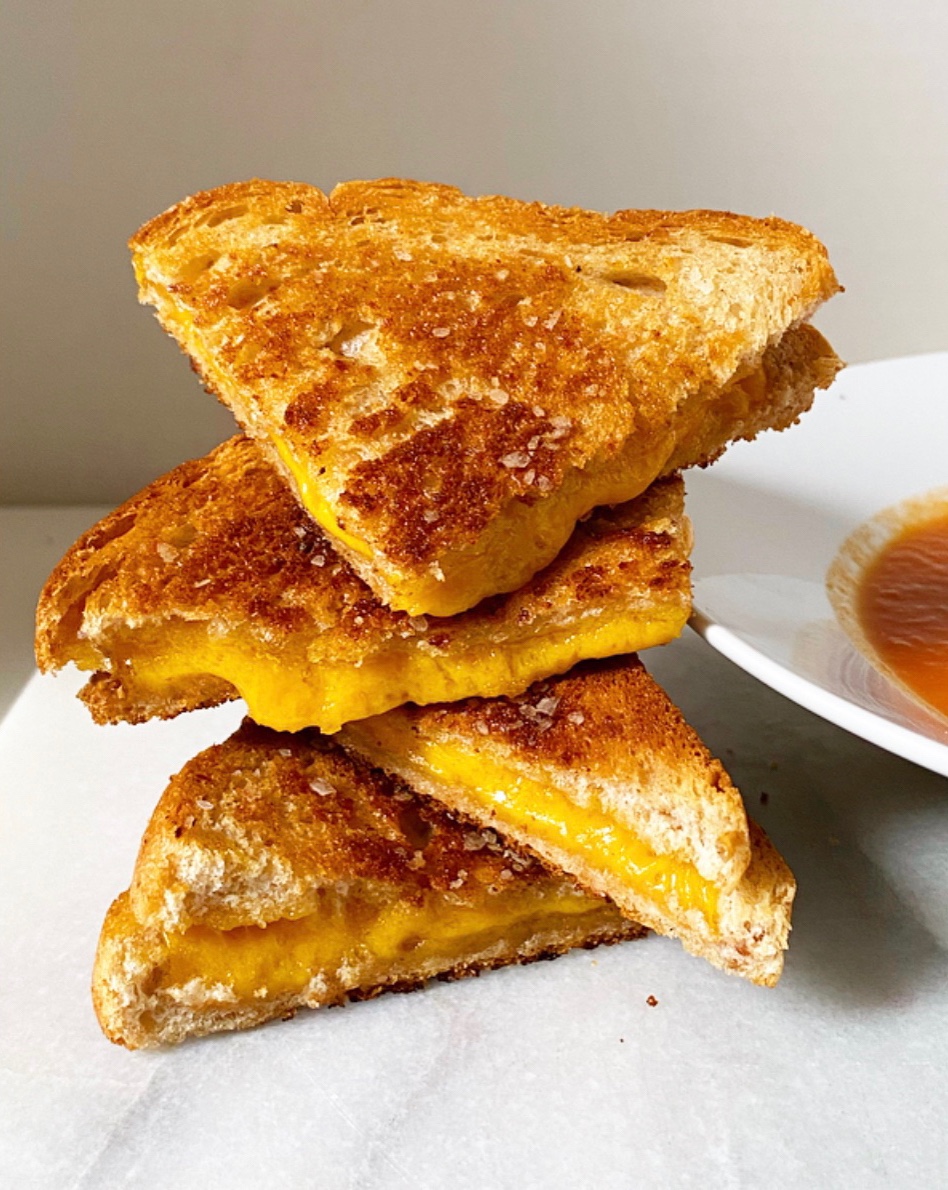 Boom! That’s all you need to know to make a basic Grilled Cheese. You can change up the cheese and bread depending on your mood, but as long as you butter the outsides of the bread instead of melting butter in the skillet and cook things low and slow, you will always have perfect Grilled Cheese.
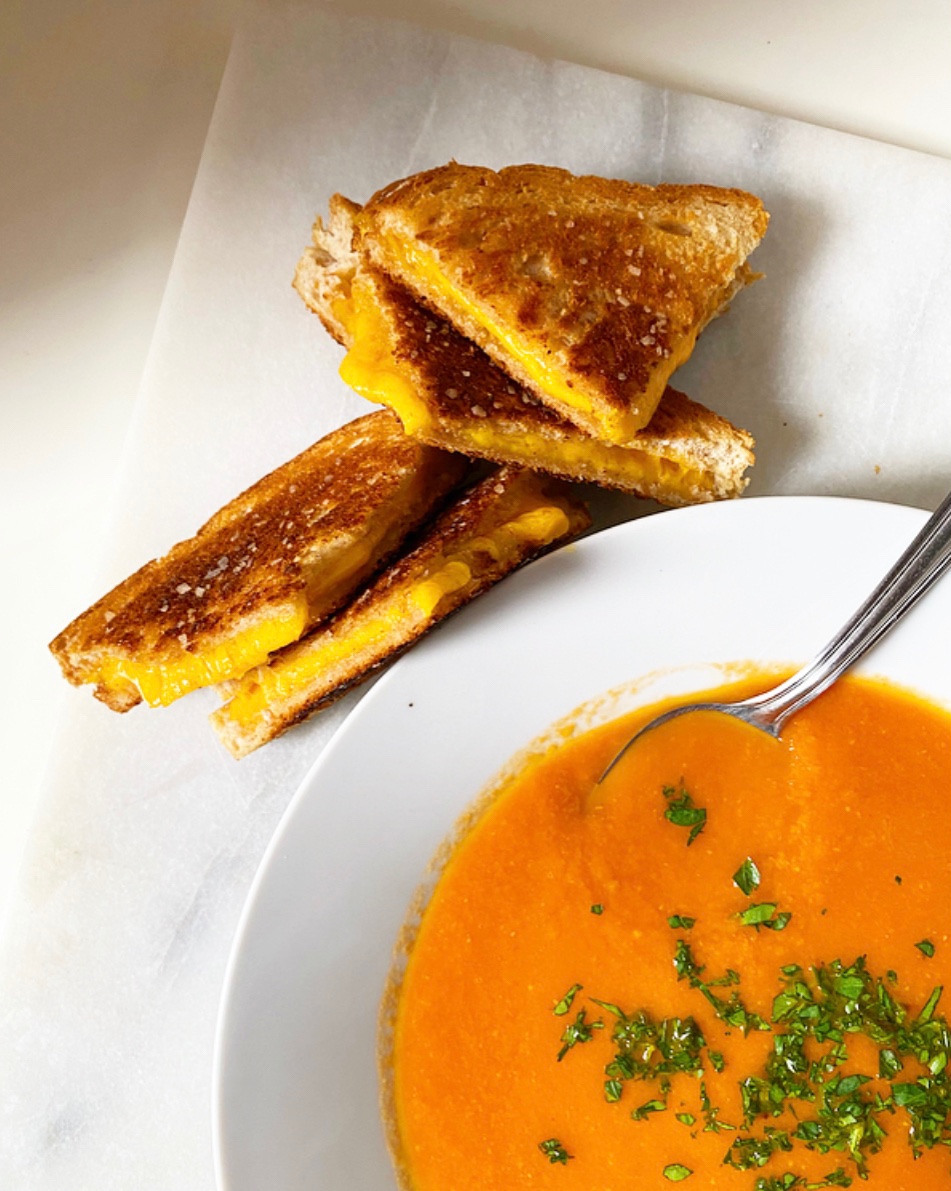
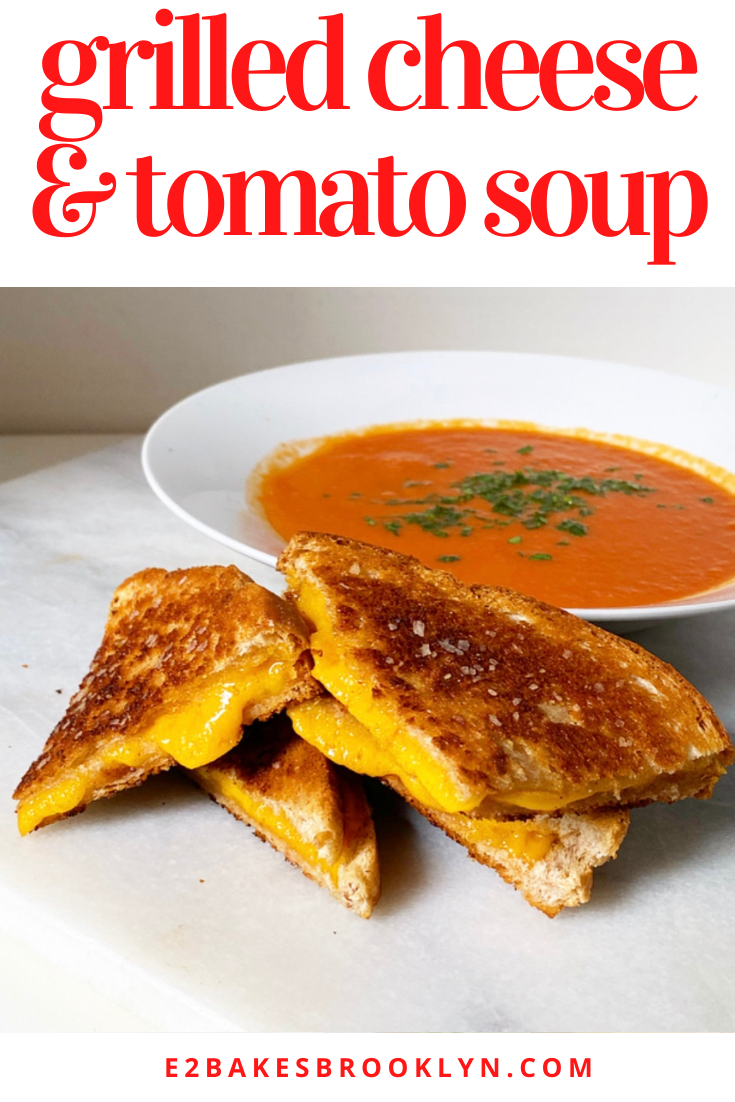
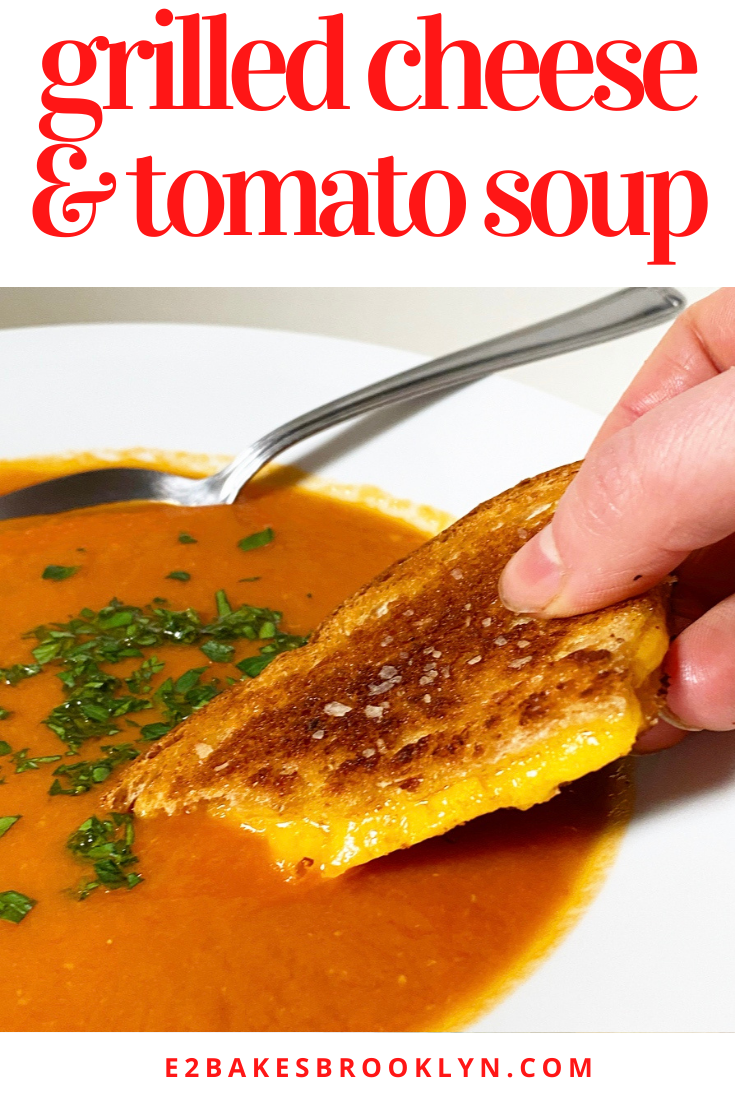
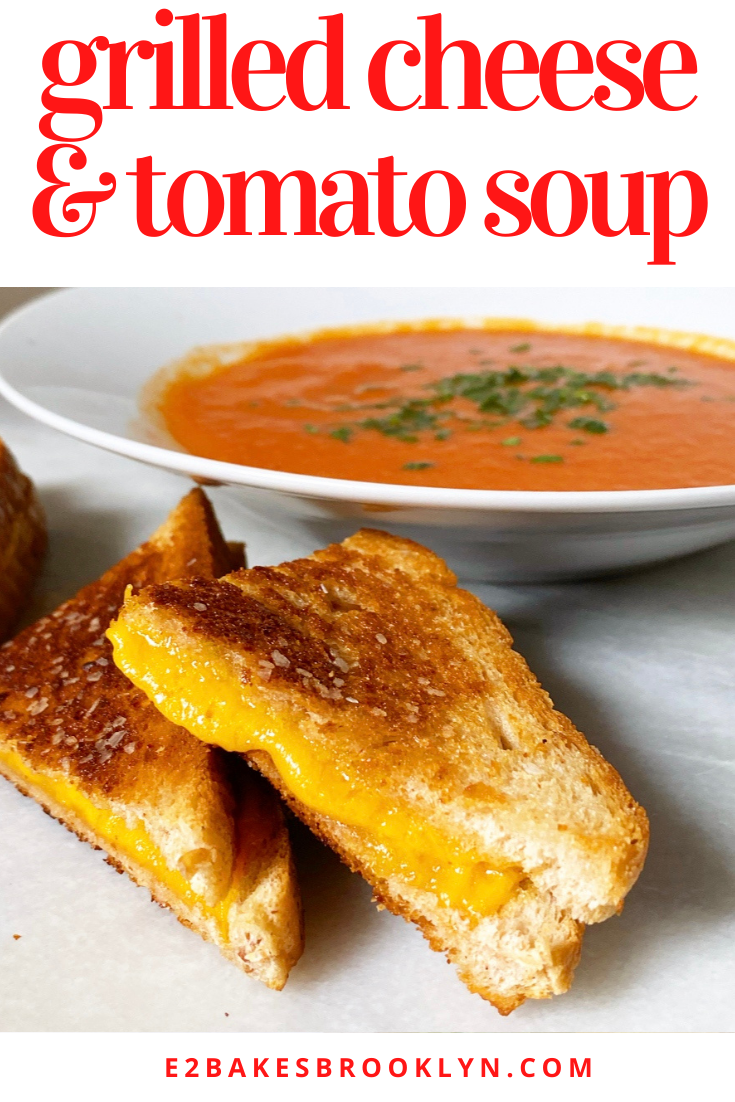
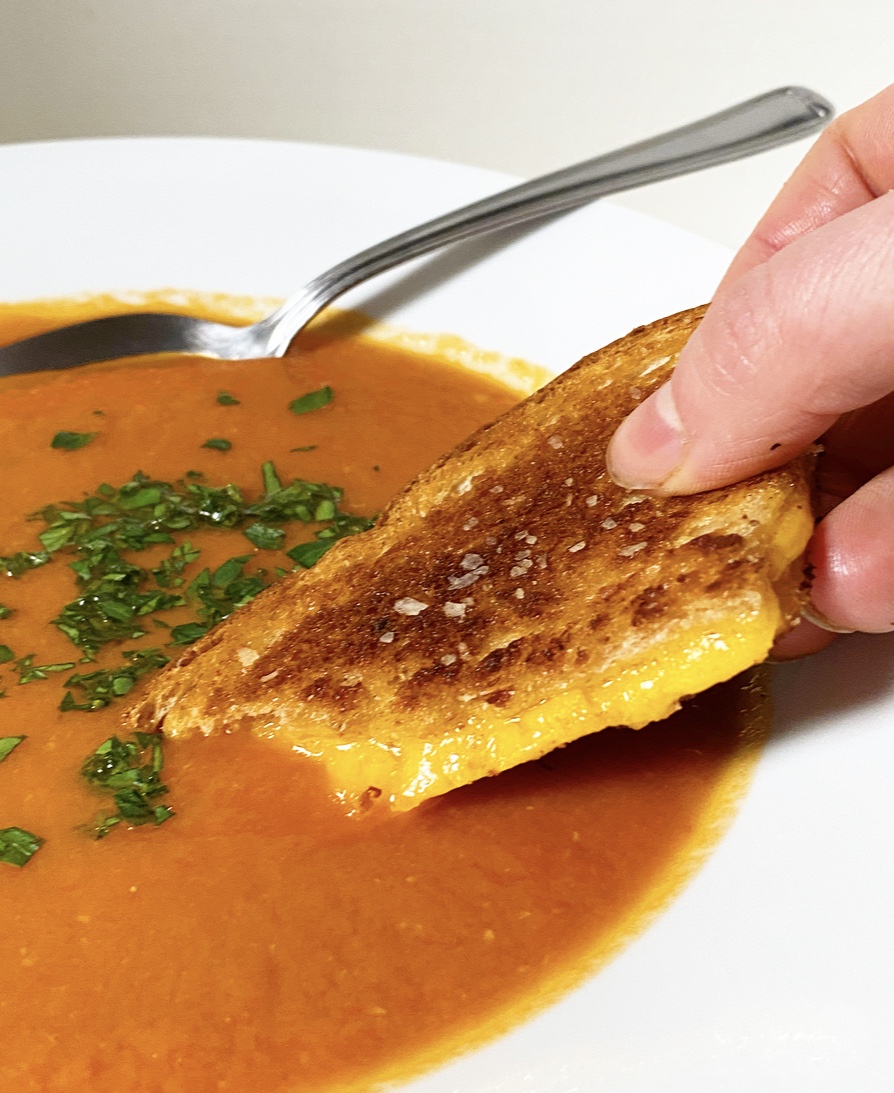 And what’s Grilled Cheese without Tomato Soup? This combination is a classic for a reason—the tang of tomato pairs perfectly with the rich, cheesy, crispy sandwich, making for a simple, satisfying meal.
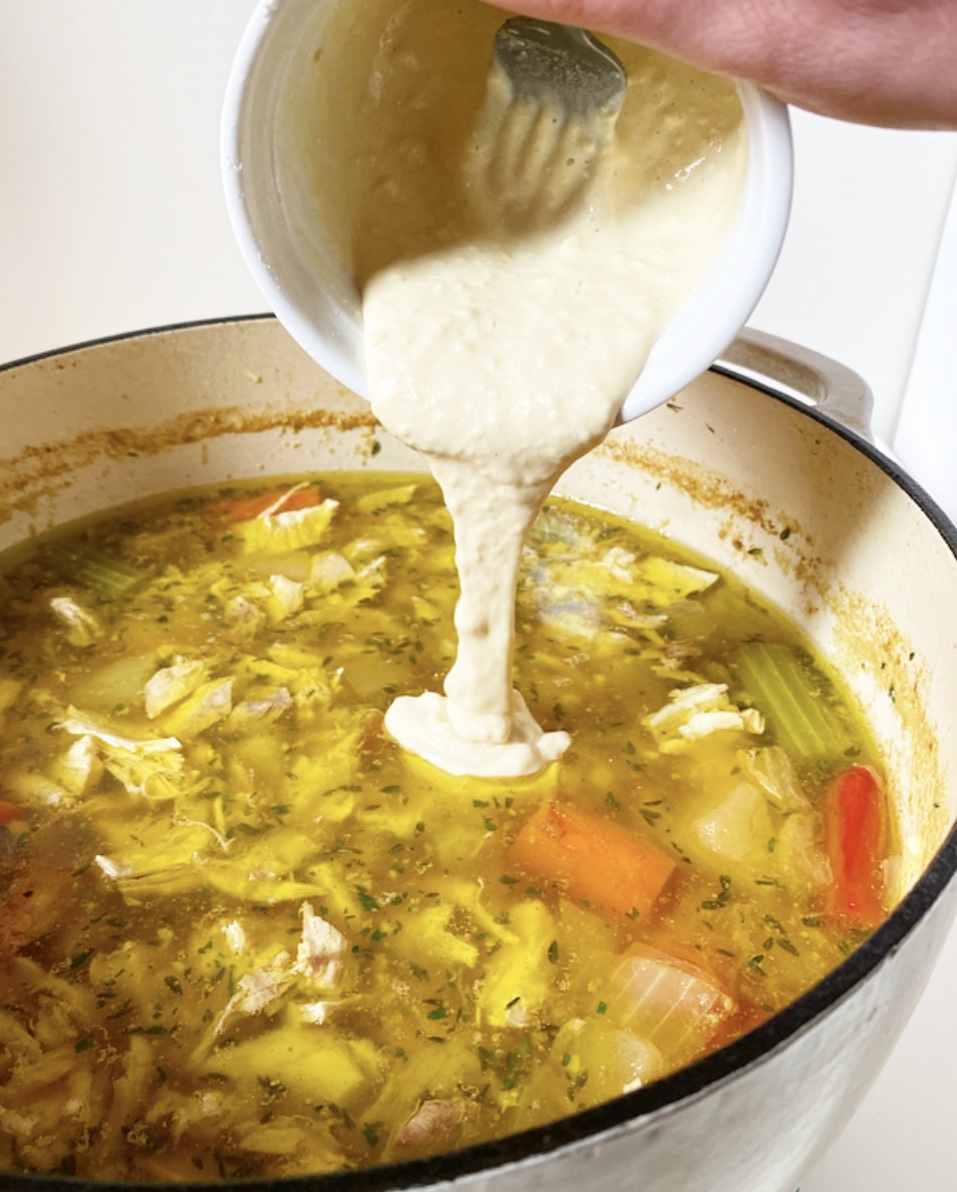
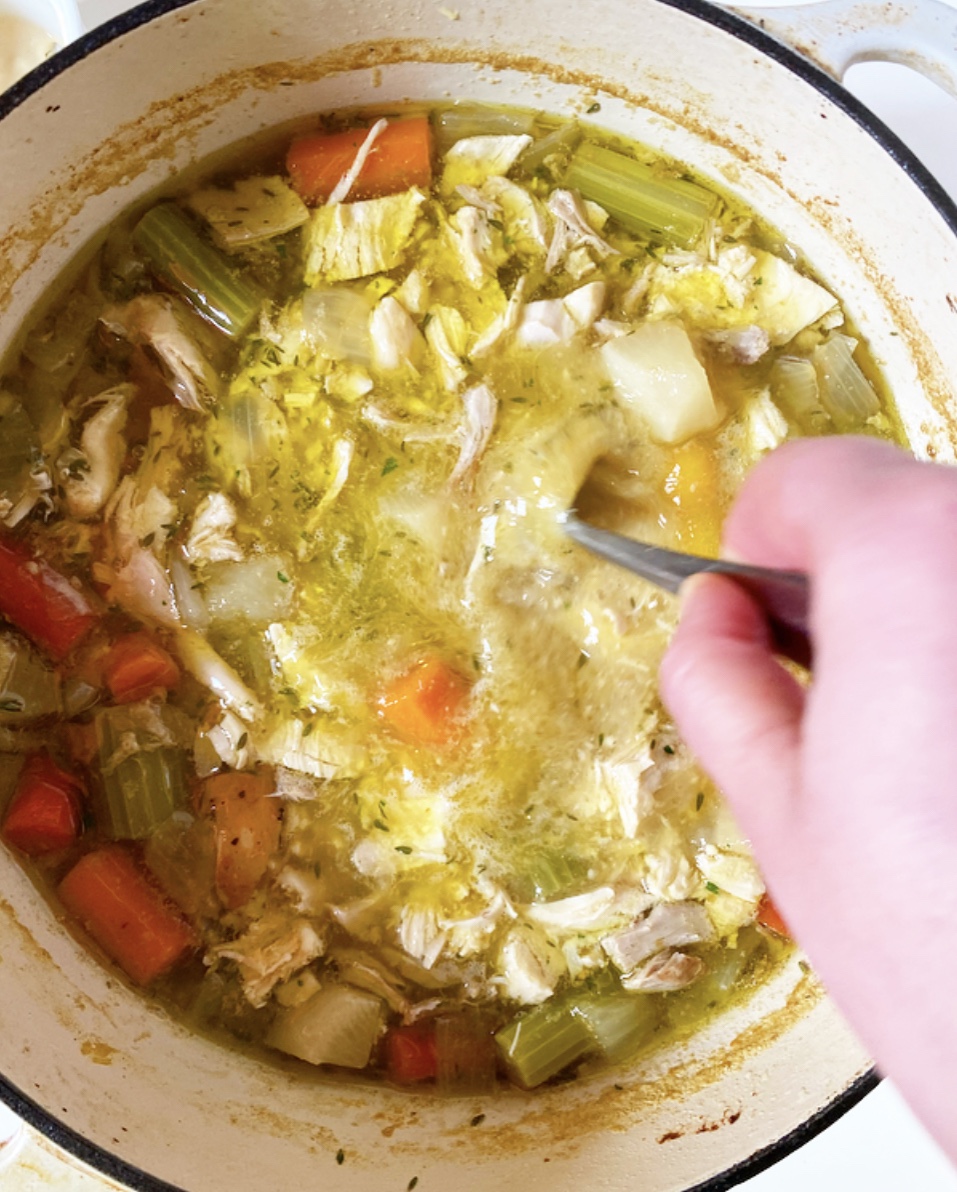
 As with Grilled Cheese, my go-to Tomato Soup recipe is easy as can be. Whole peeled tomatoes are crushed by hand, then simmered in vegetable stock with carrots, onion, garlic, tomato paste and spices before being puréed until velvety smooth. Easy peasy.
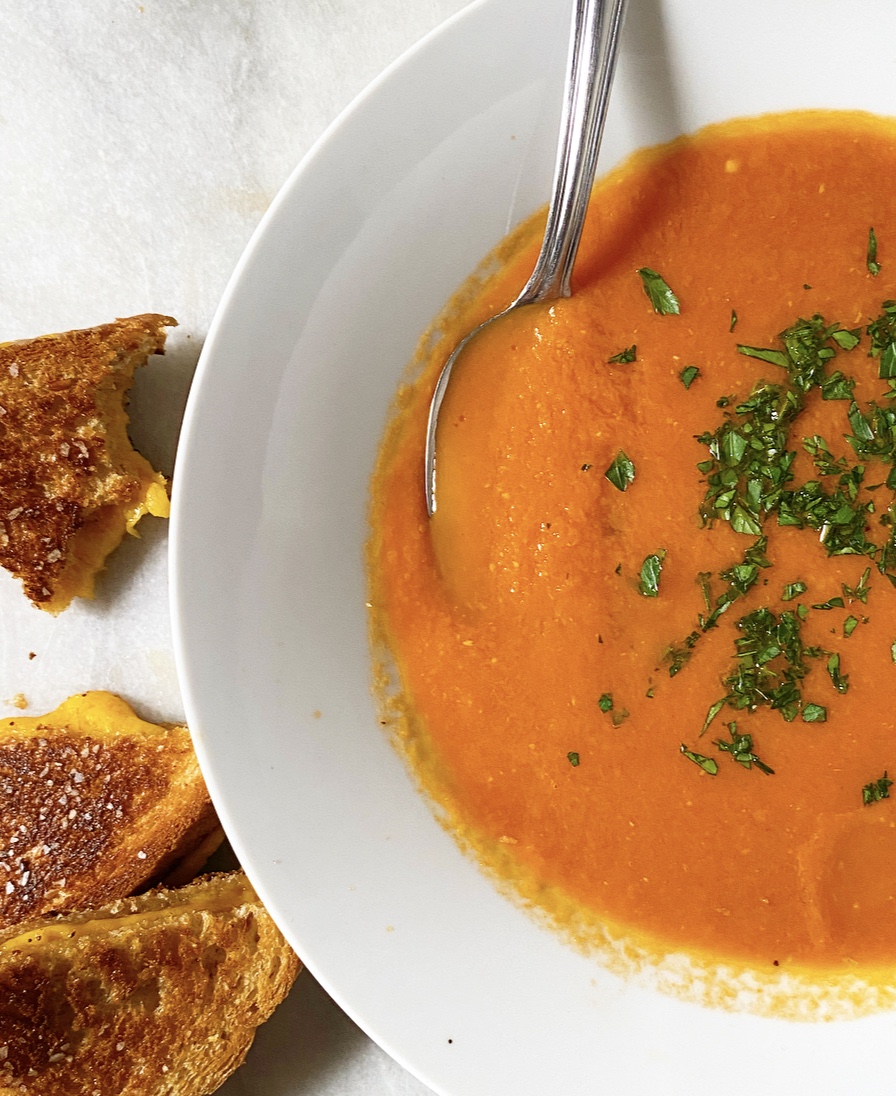 Two things to note:
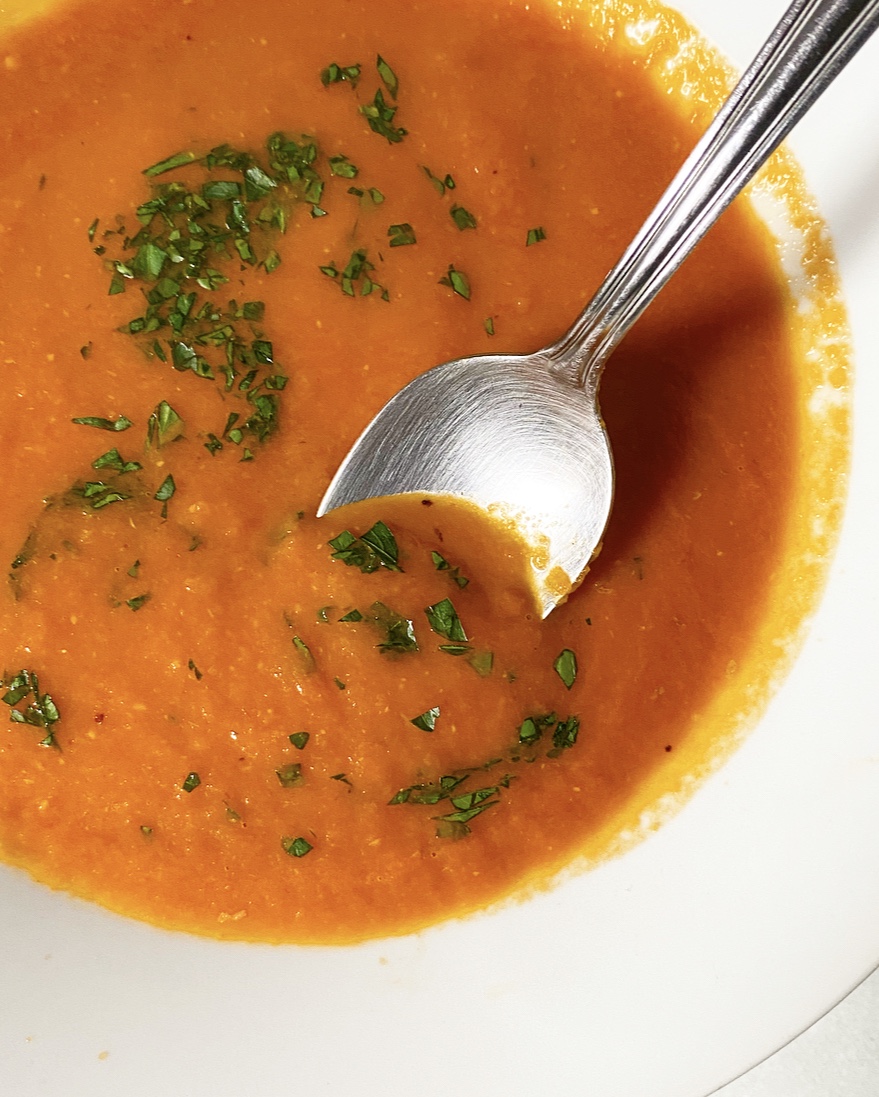 So there you have it—one of the simplest meals in the world, explained. Maybe you knew all this or maybe you didn’t. Either way, I hope you treat yourself this weekend. I know we could all use some comfort. No “maybe” about it.
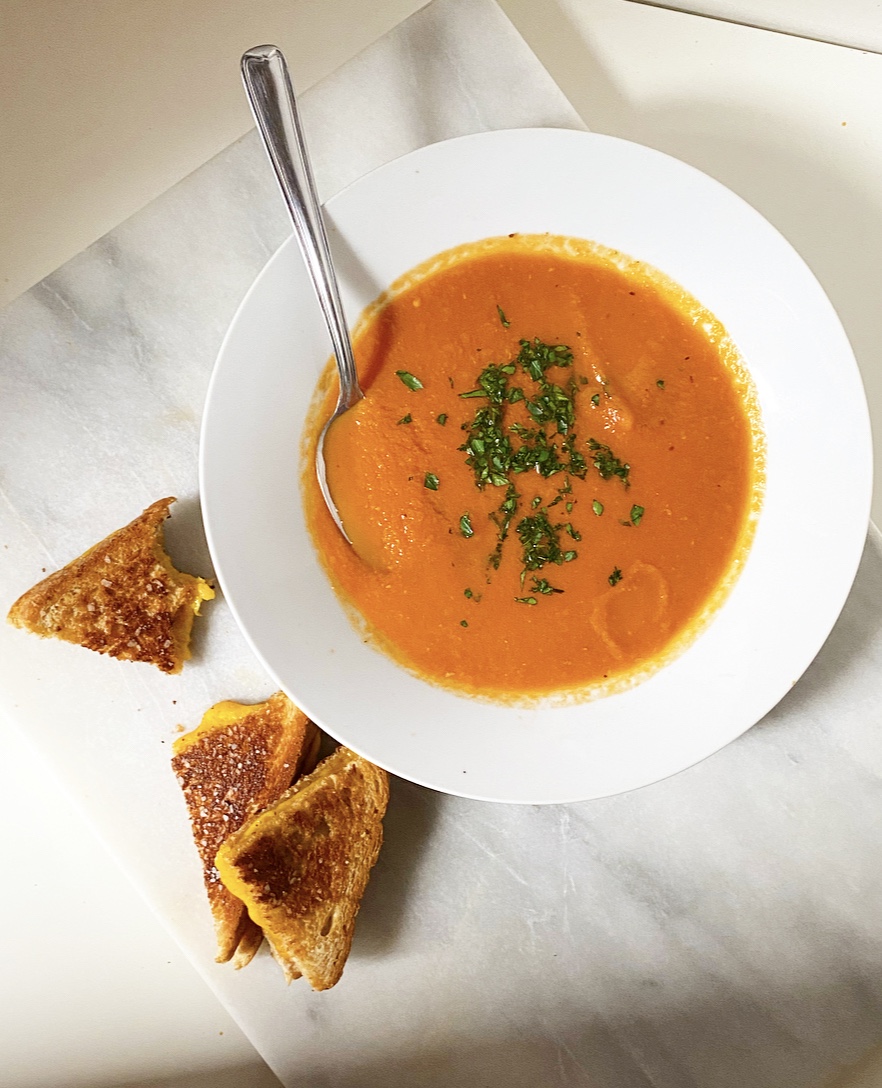
 Southern-style
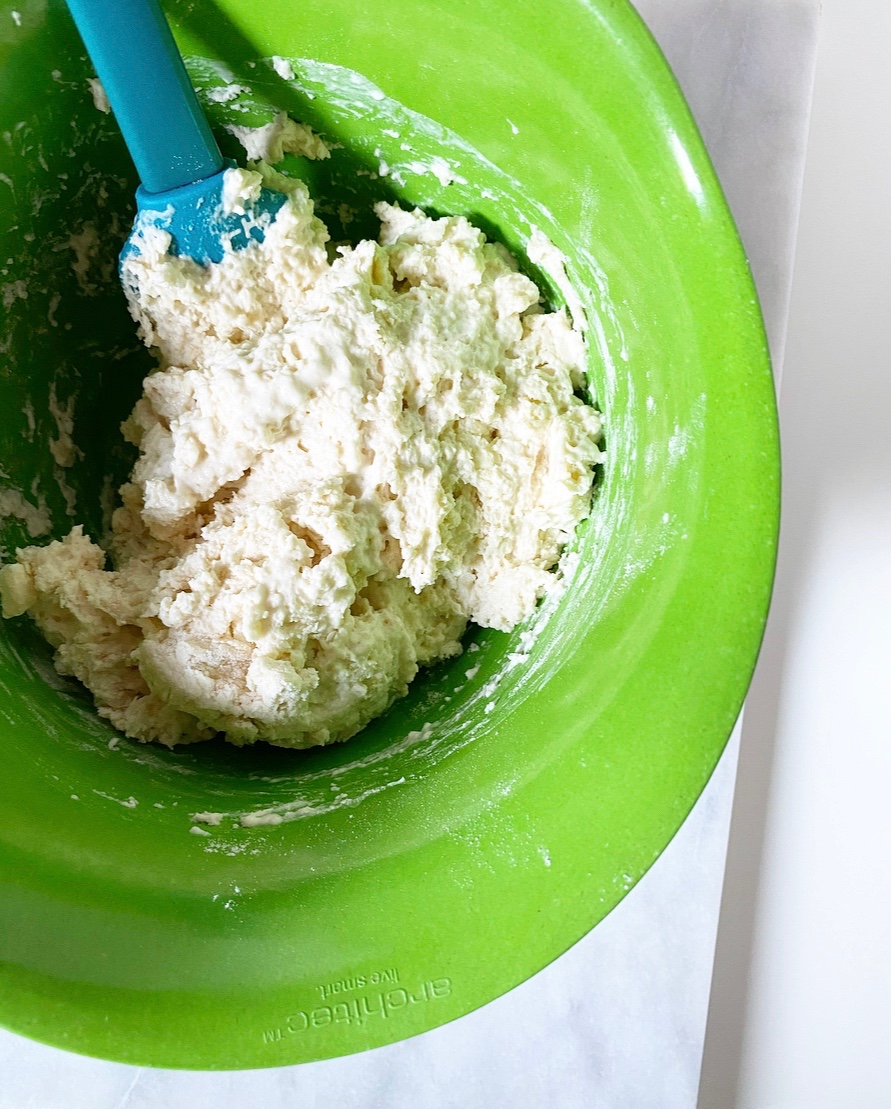

 All that said, I’ve never really gotten on the drop biscuit train. I guess I thought they were cheating or something—the ingredients and mixing methods are nearly identical, but you don’t have to pat and cut anything, instead scooping the sticky dough directly onto a pan before baking. I suppose that without dirtying a surface or doing extra work I assumed that they were a slightly-less-good version of the “real deal.” But I was wrong. So, so wrong.
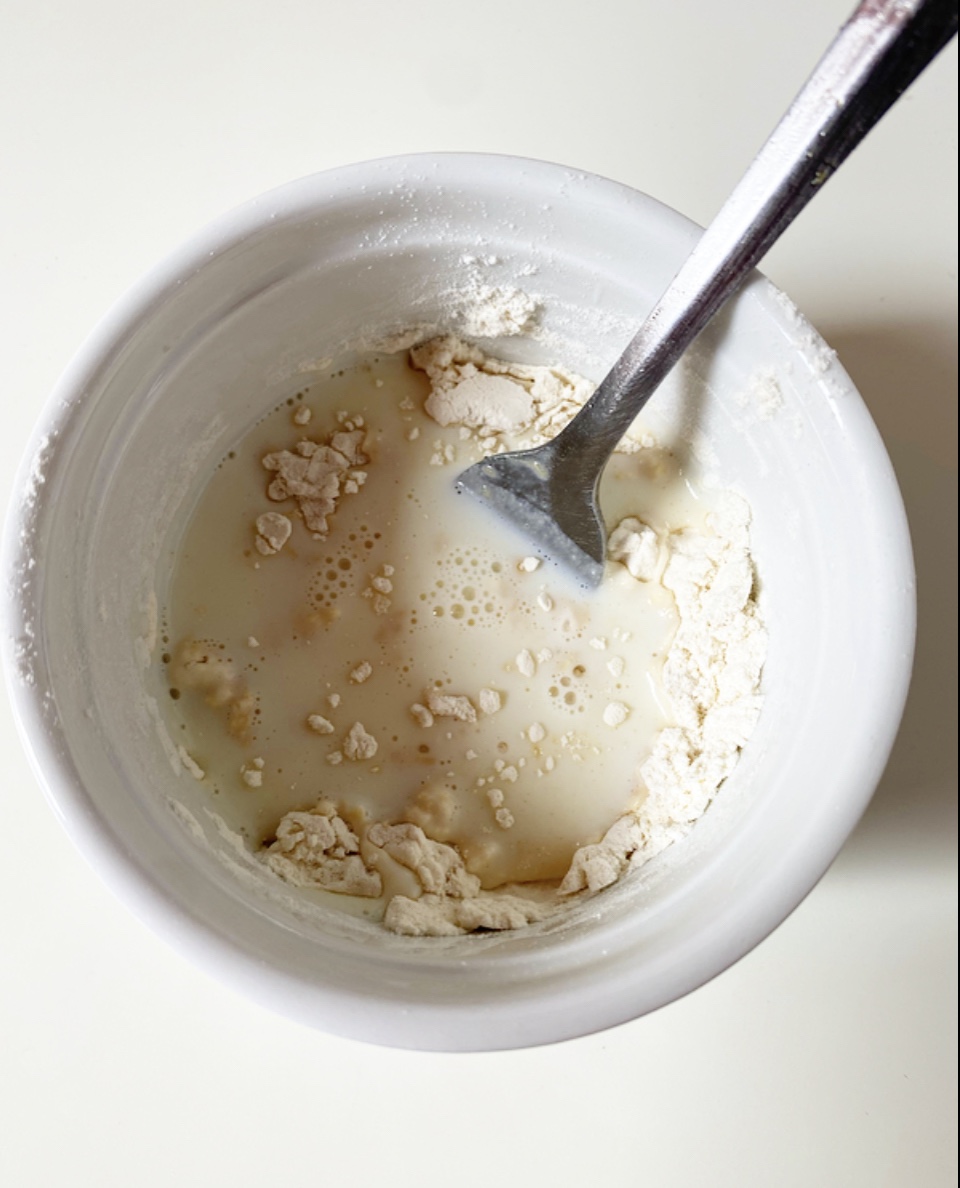
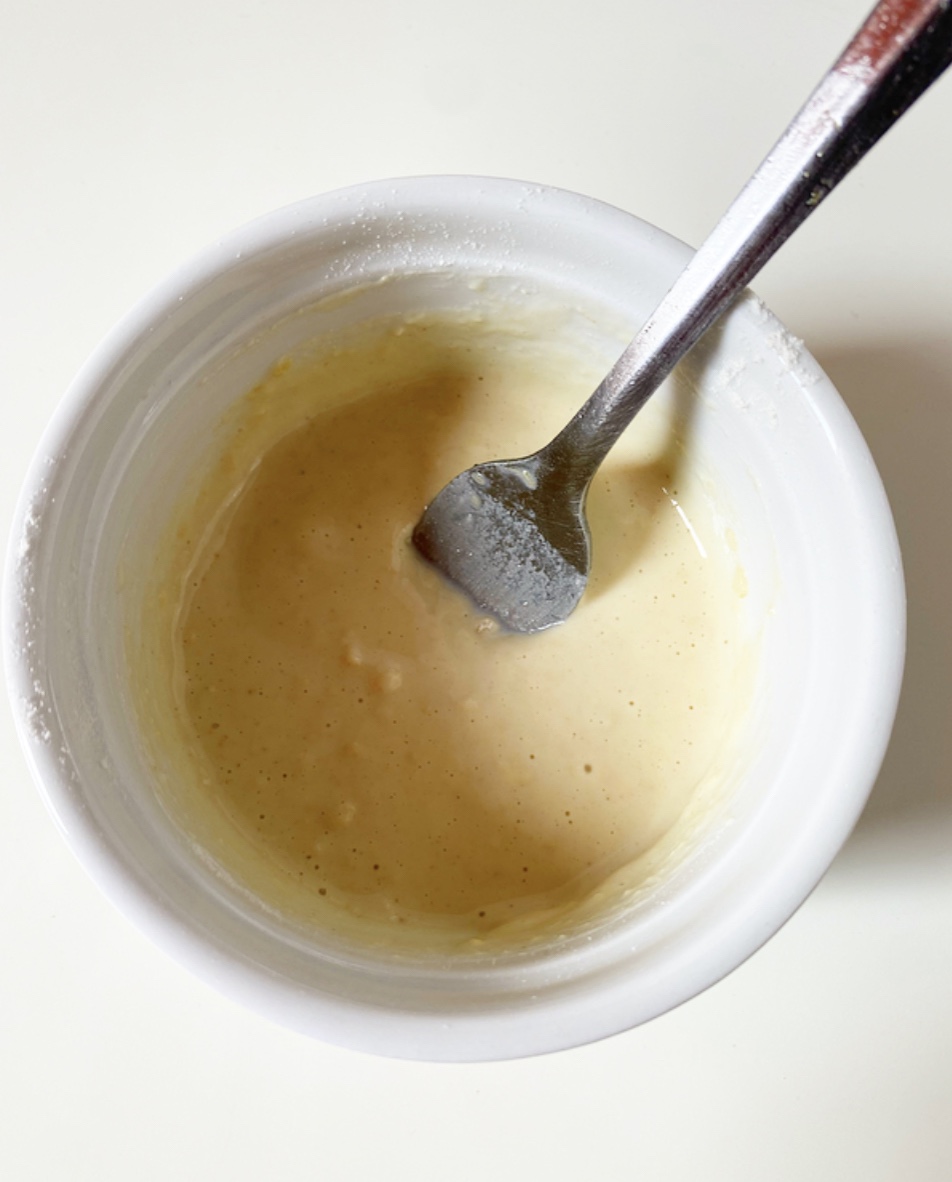
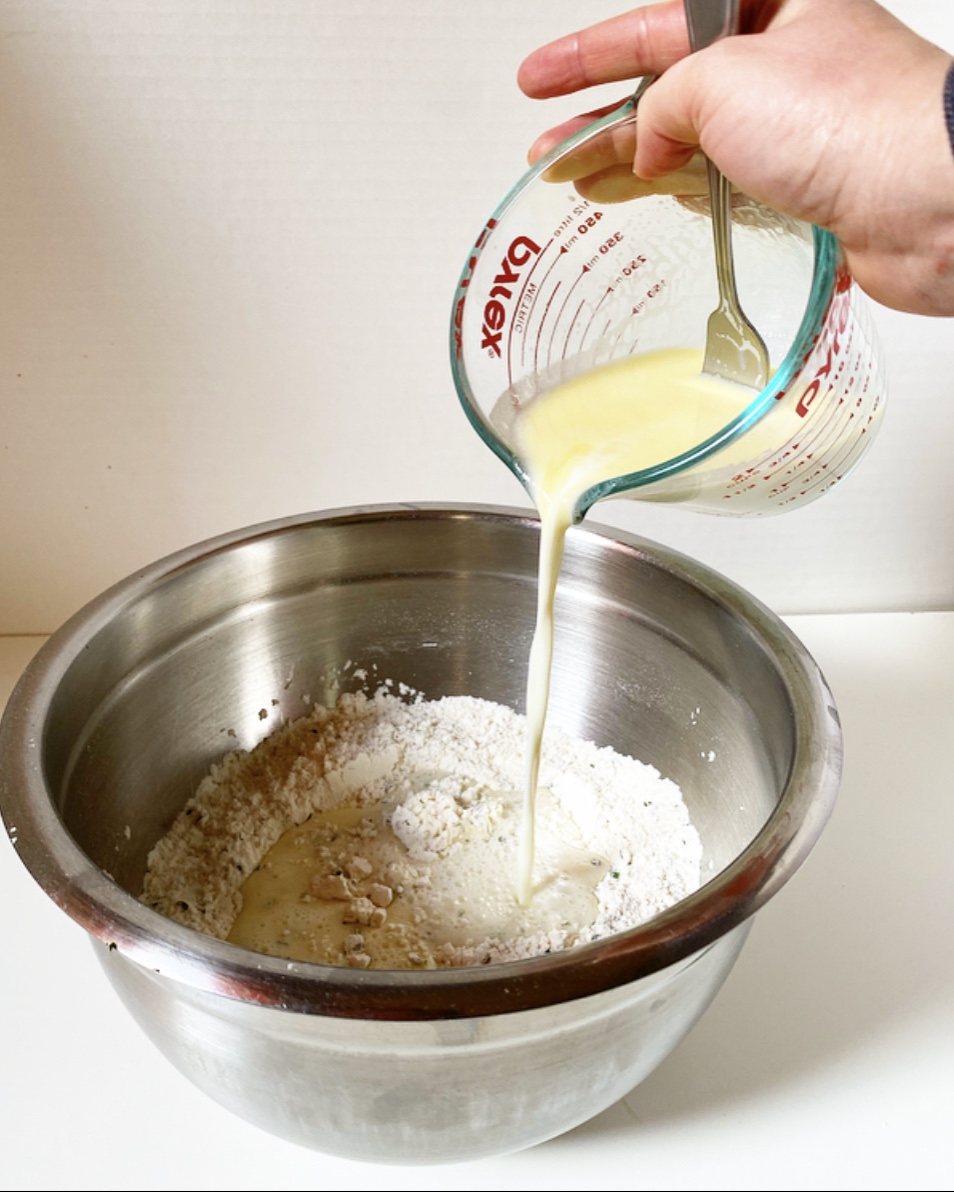
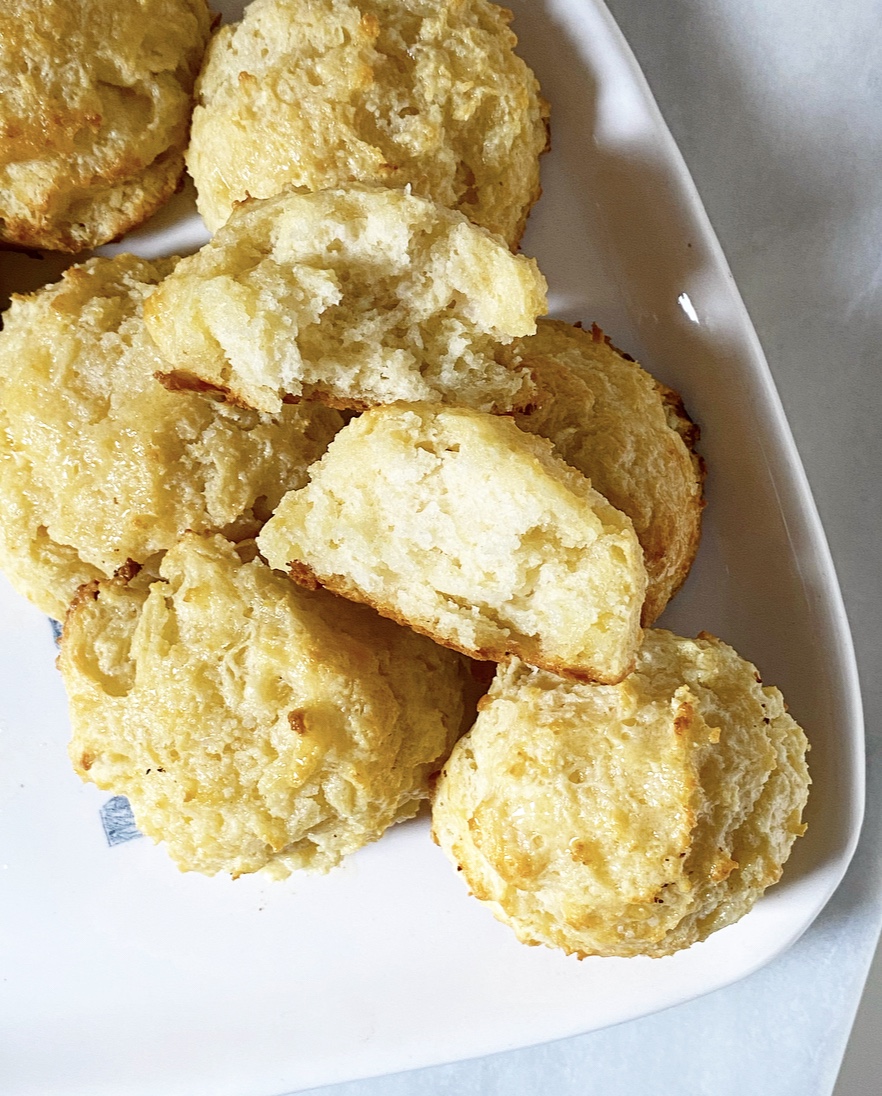 Turns out, drop biscuits are their own thing entirely. They’re fluffy and tender instead of flaky and layered, and they have these extra crispy-crunchy exteriors with which I am now fully obsessed. And the recipe works with both whole milk and buttermilk, and (!) I don’t have to scrape an invisible layer of butter and flour off of my countertop every time I make a batch. Drop biscuits, where have you been all my life???
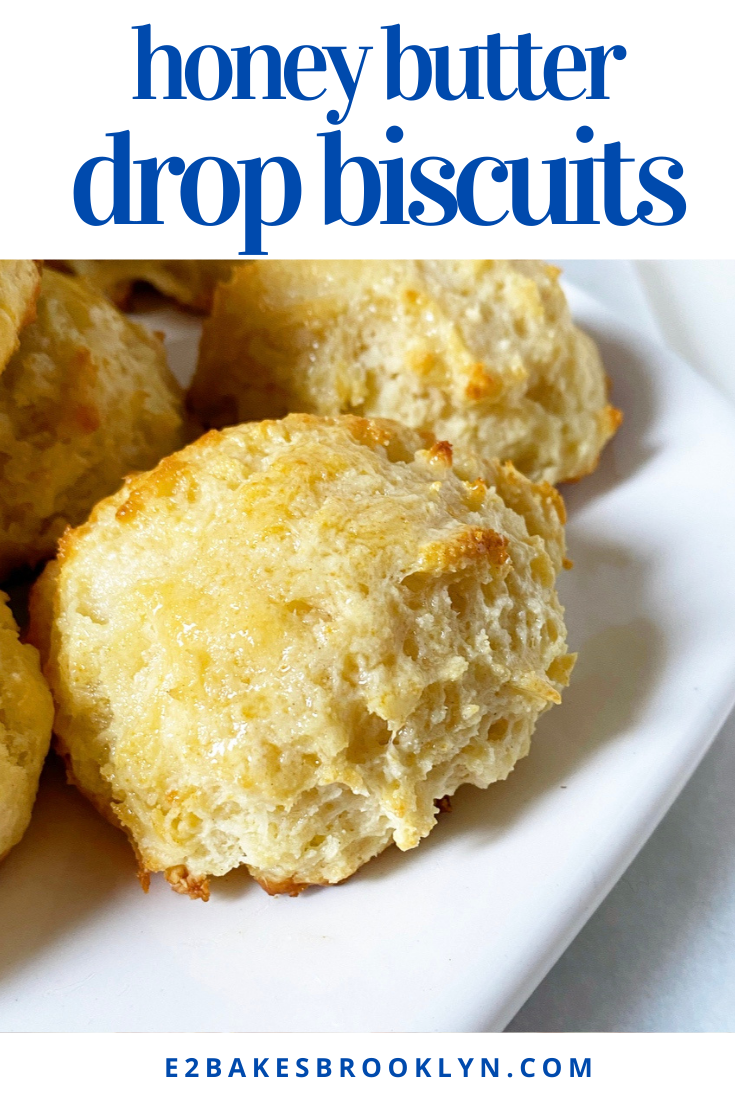
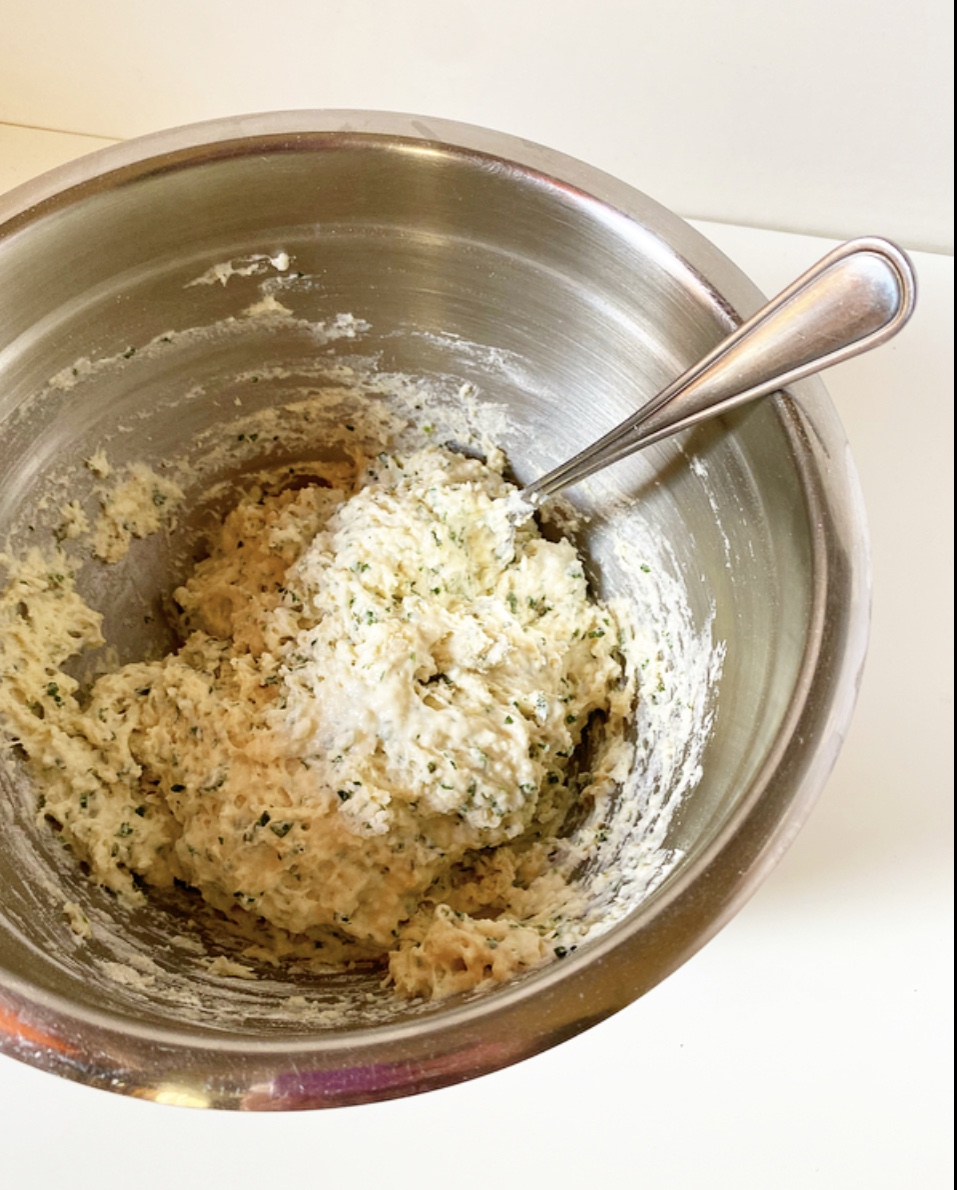
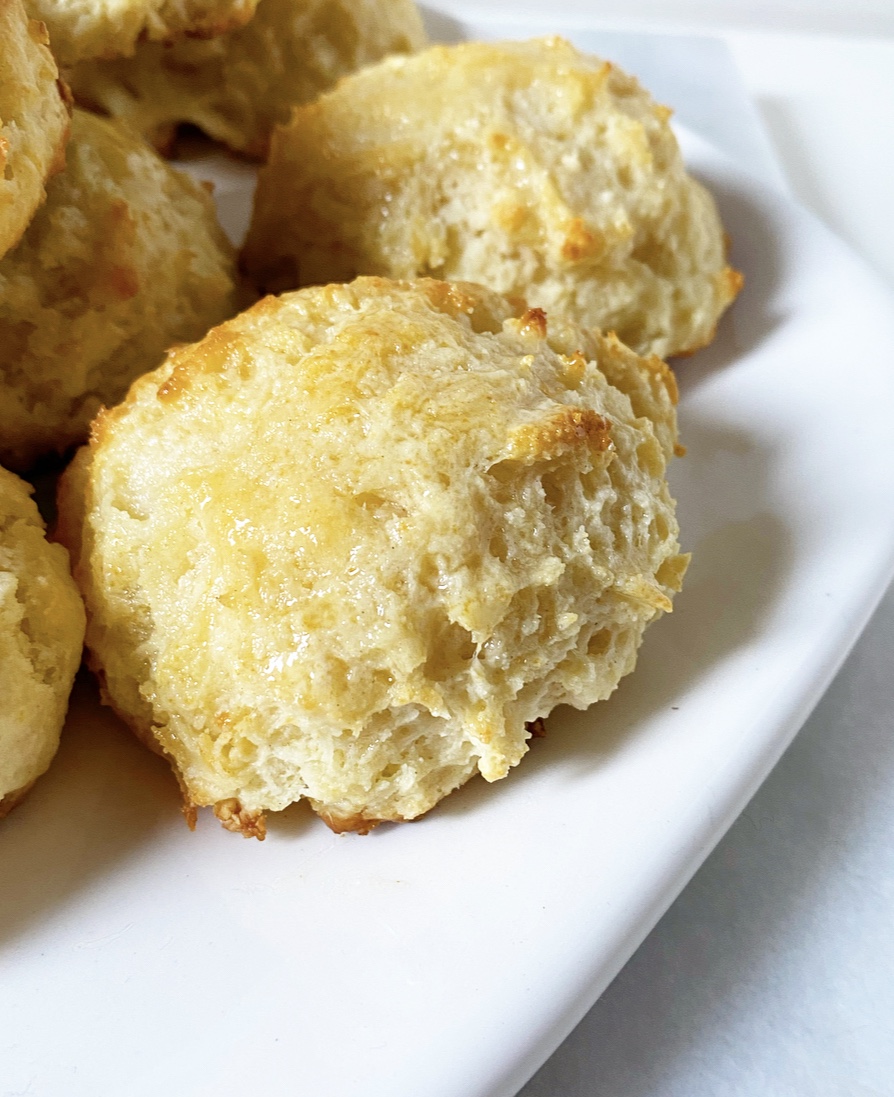 I won’t lie to you: drop biscuits are not a traditionally beautiful food. They’re scraggly, craggy and have slightly wonky shapes, regardless of whether you use a cookie scoop, a spoon or your hands to dole out dough. They’re super delicious, just a little ugly. Or at least they are until you give them a glossy coat of salty-sweet honey butter.
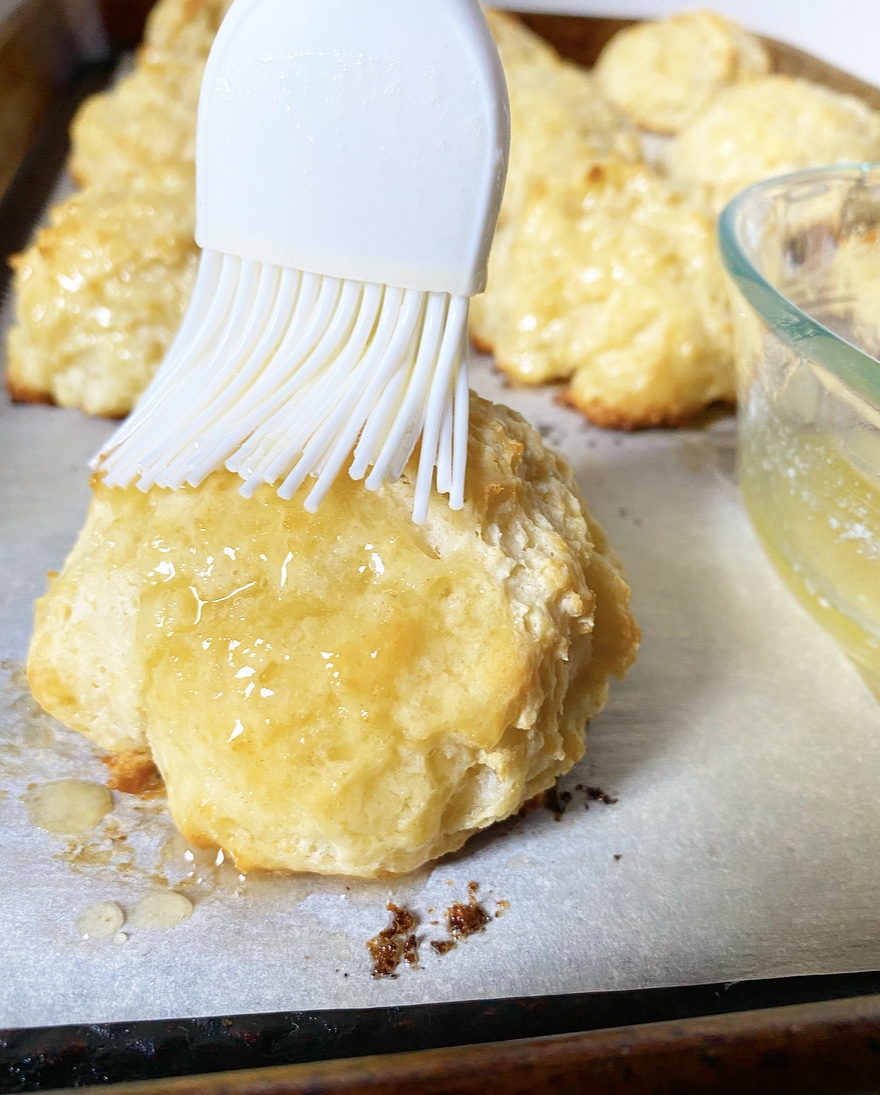
 Ohhh yes.