My favorite thing about having a baking blog during the summer is not baking at all: it’s making ice cream toppings. I’ve tackled all the major ones—hot fudge, caramel sauce, butterscotch—you name it, I’ve made it. Of all of them, Homemade Chocolate Shell is the one I go back to over and over. It’s a quick two-ingredient recipe and, when poured over ice cream, results in the thin & thwackable topping we all love. It’s impossible to improve upon, so I won’t try…but did you know you can make a peanut butter version?
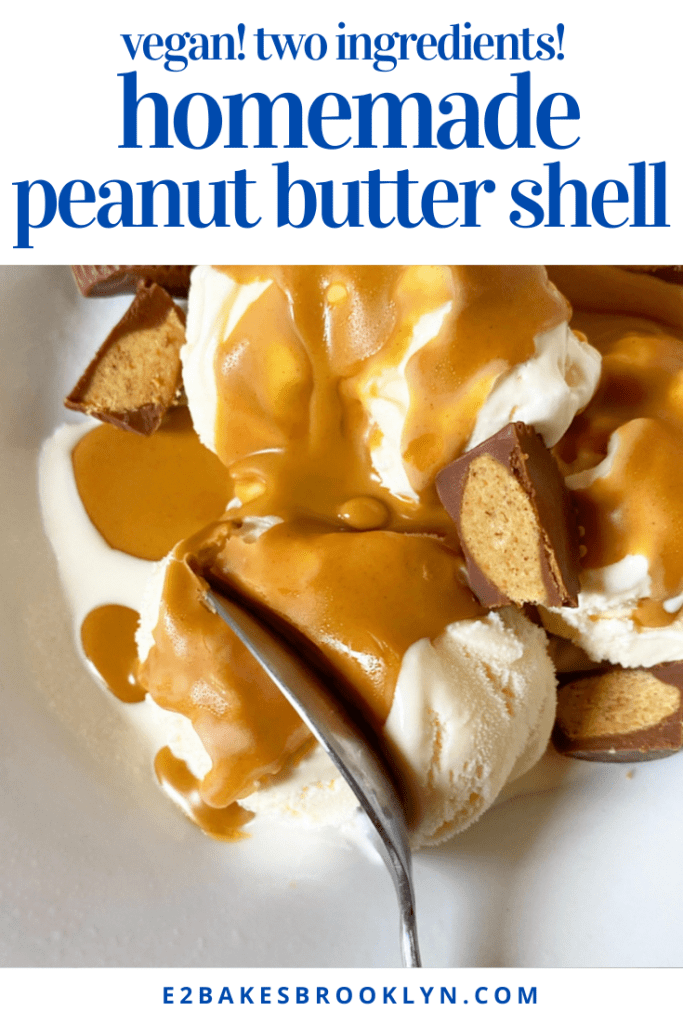
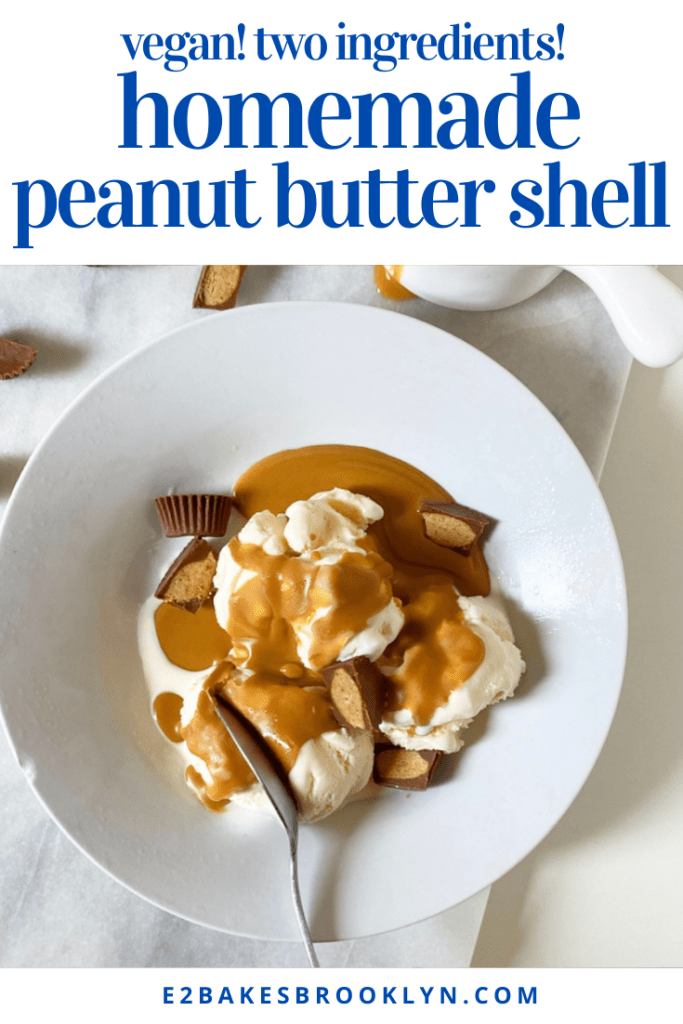
Oh yes, Homemade Peanut Butter Shell is a thing, and it is indeed magical. Made with just creamy peanut butter and coconut oil, it has all the salty, creamy flavor you love, but hardens within a minute of meeting a scoop (or three) of ice cream.

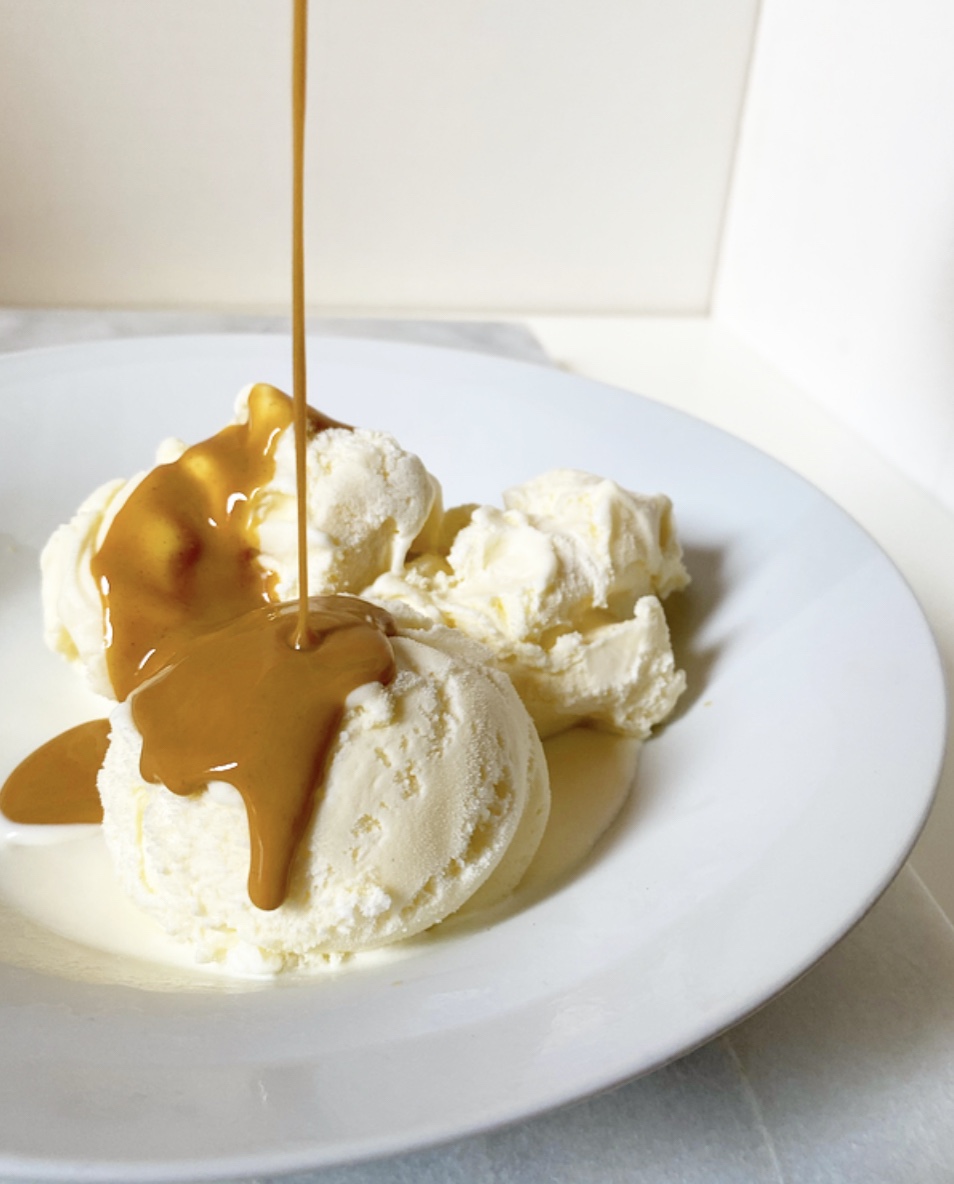
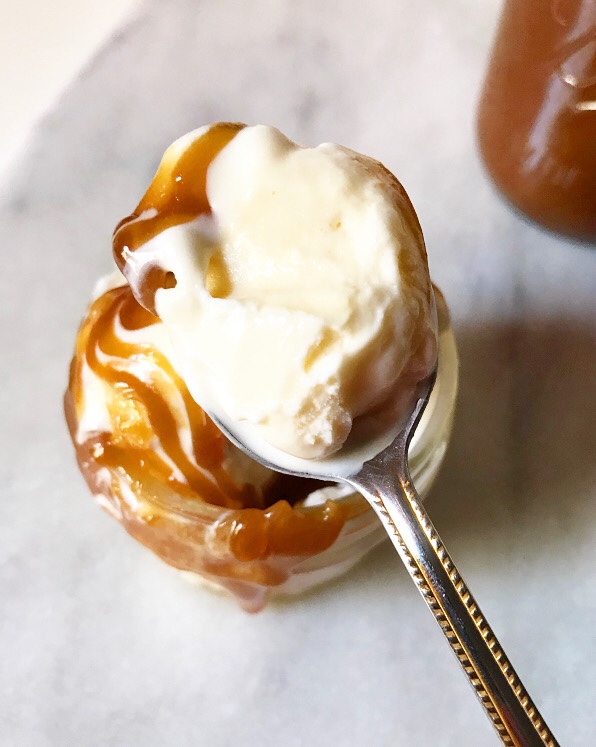
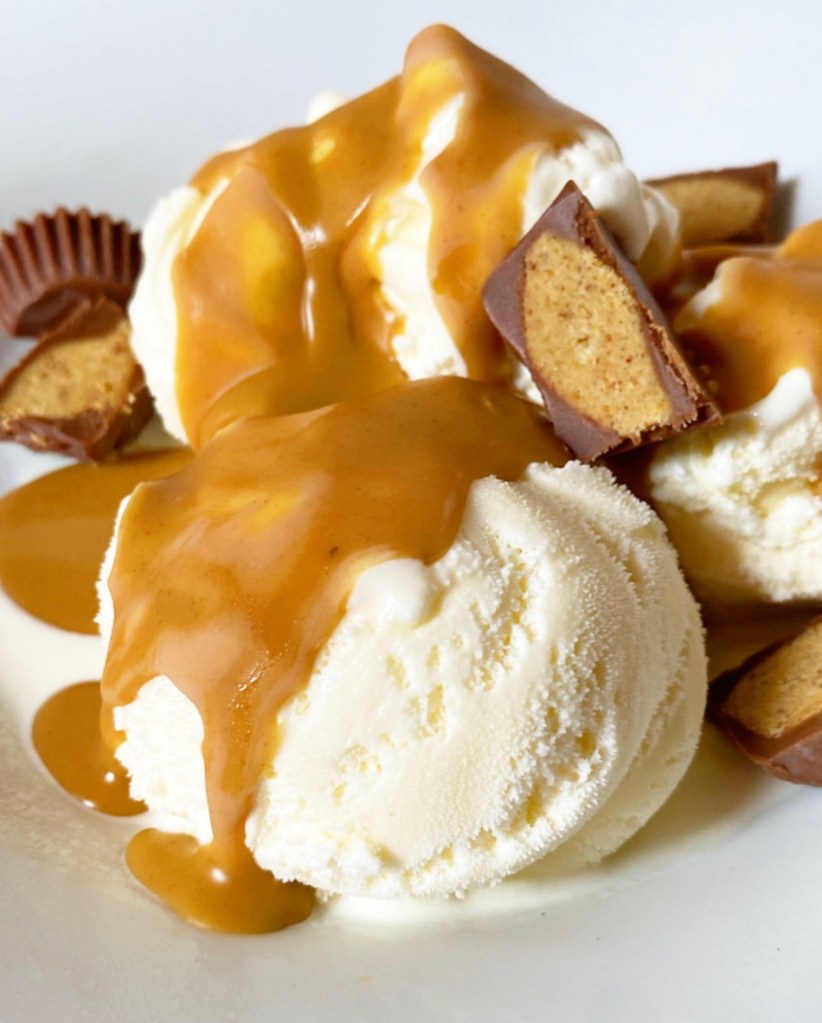
I’ll admit that I didn’t quite get the “thwack” photos I’d hoped for with this recipe, mostly because I shot them in the throes of a heatwave. Still, you can see the definition and how the shell is, in fact, a shell. Once hardened, it can easily be lifted off the ice cream (or other cold thing) it’s molded over. 97 degree weather, be damned.

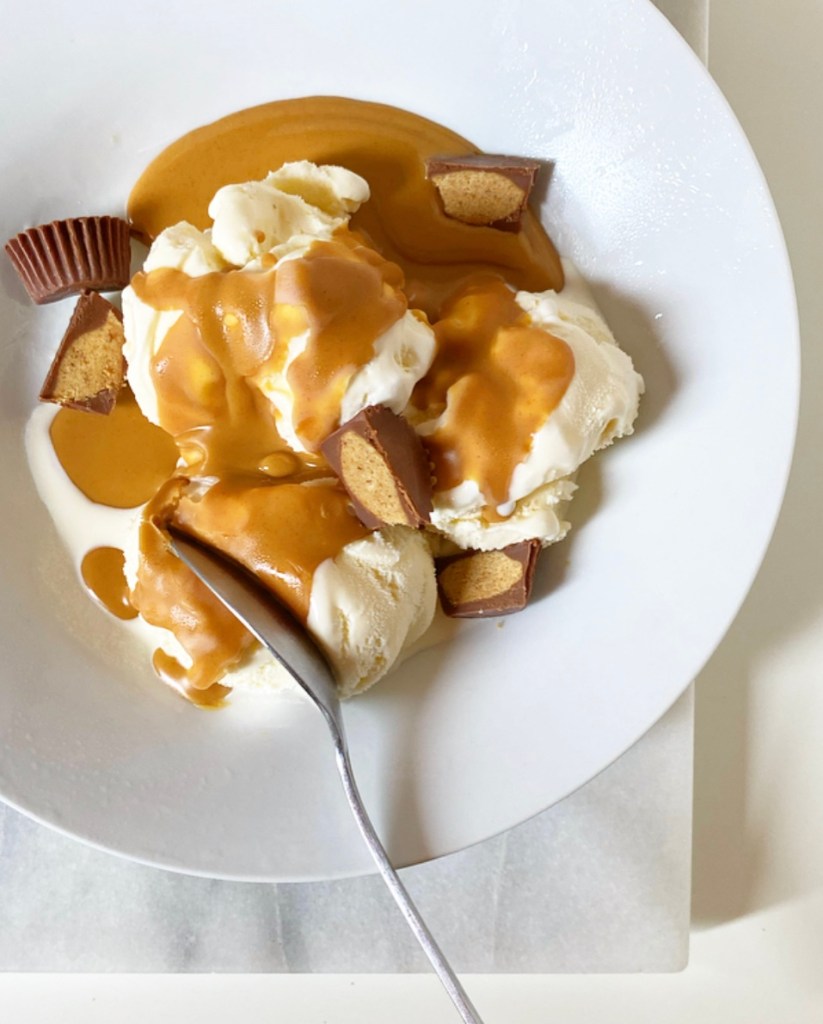
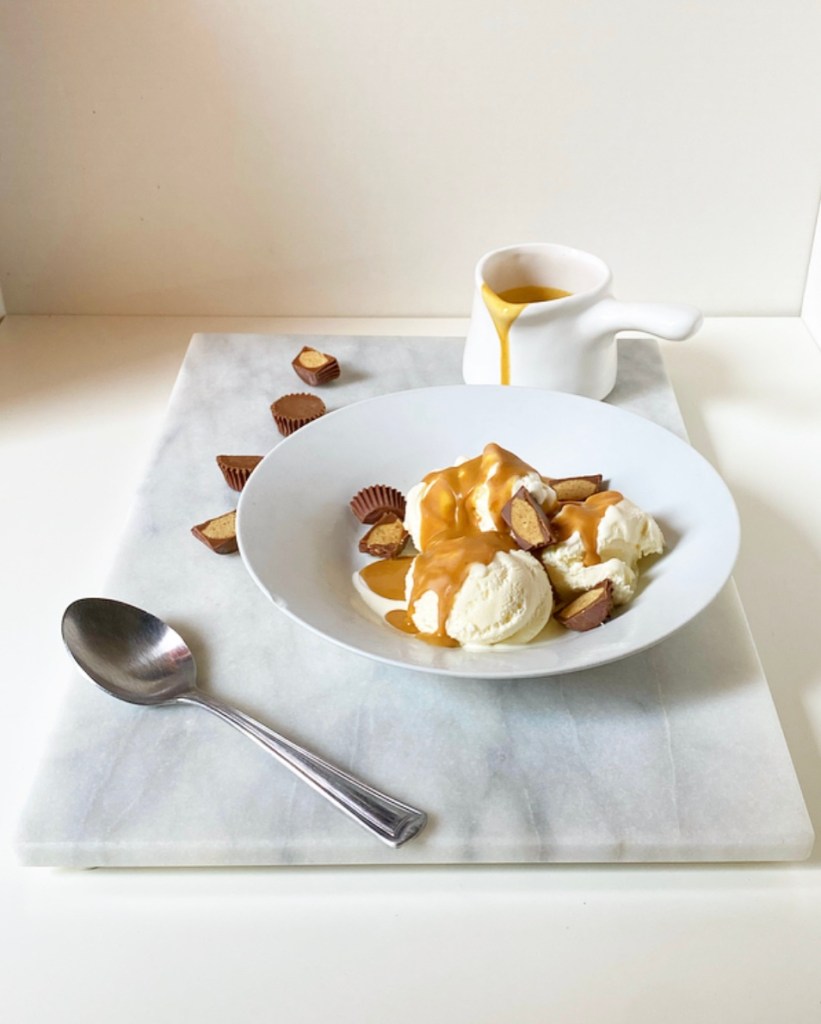
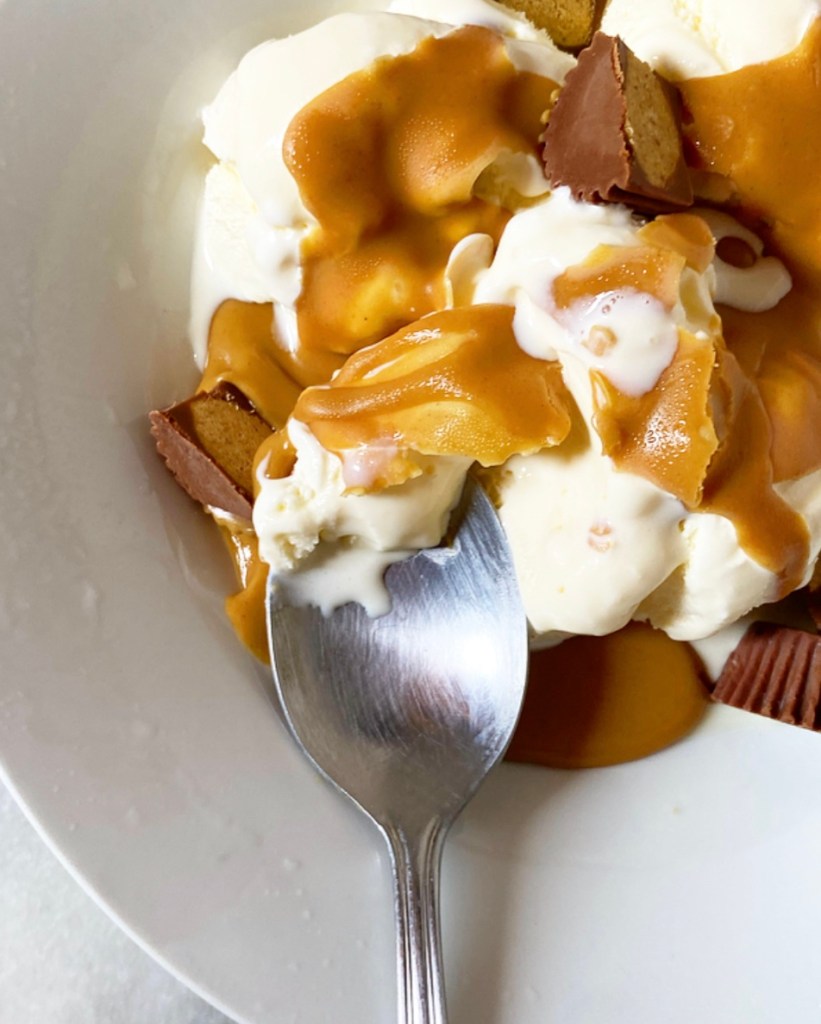
I enjoy Homemade Peanut Butter Shell over vanilla ice cream (and some peanut butter cups), but I know it would be perfect paired with chocolate, No-Churn Peanut Butter Cookies & Cream, or pretty much any flavor that goes well with peanut butter…which, I think we can agree, is basically all of them.
Do yourself a favor a make a little jar of Homemade Peanut Butter Shell this summer. While it absolutely can be too hot to bake, it’s never too hot for a salty-sweet bowl of ice cream.
Homemade Peanut Butter Shell
makes about 2/3 cup
1/3 cup creamy-style peanut butter
1/4 cup coconut oil (preferably refined)
While any coconut oil will work in this recipe, refined coconut oil will have the least noticeable flavor.
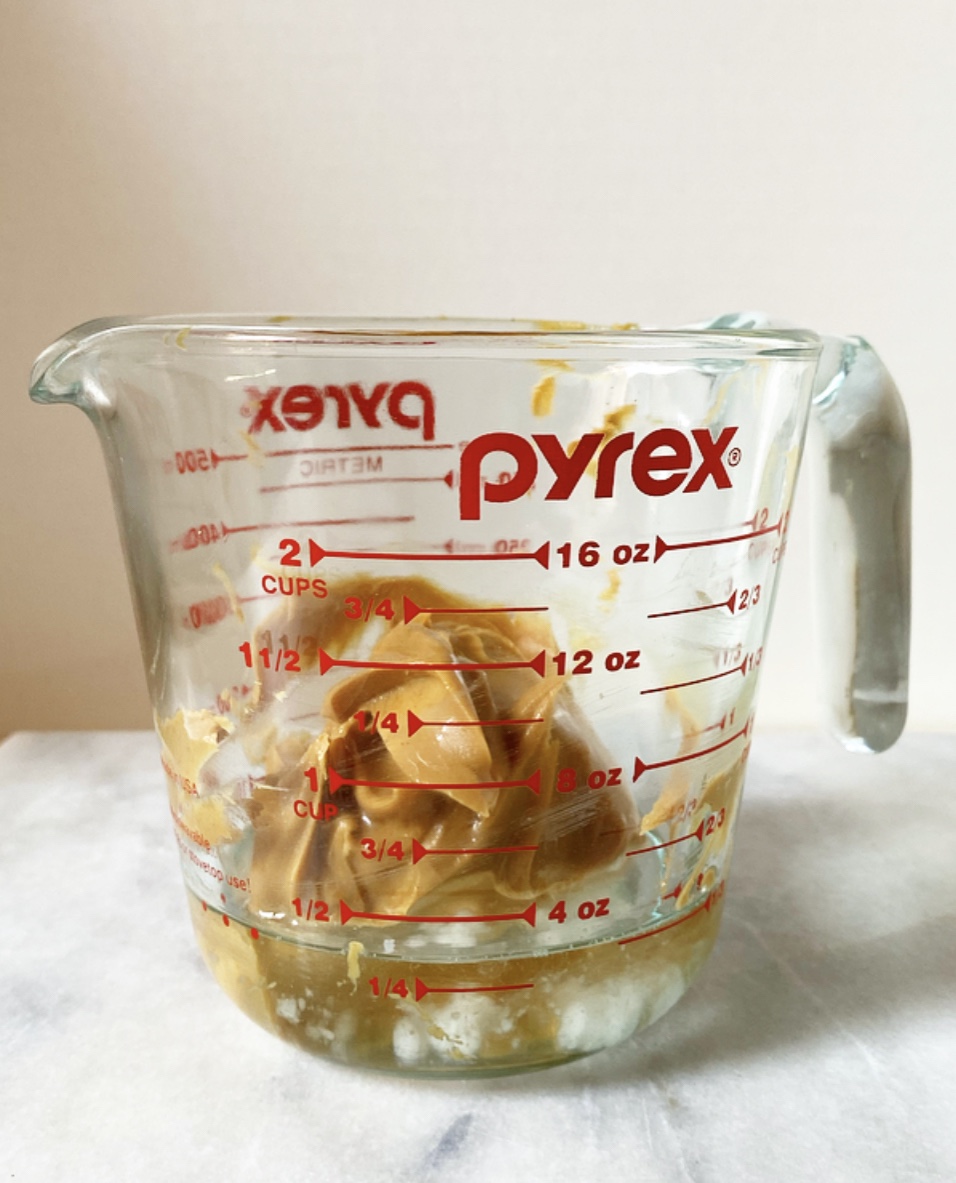
Combine peanut butter and coconut oil in a small bowl. Microwave in 15 second increments, stirring in between, until melted. Let cool a few minutes for optimal pouring consistency (so it doesn’t melt off whatever it’s coating). Pour or drizzle over ice cream or use as a dip for other frozen treats.
Leftover peanut butter shell will keep in an airtight container in the fridge for at least two weeks. Reheat by microwaving in 10 second increments, stirring in between, until pourable.

 I first came across a granita recipe in the summer of 2009 and thought “That looks easy and delicious. I’m going to make that.” And then ten years passed.
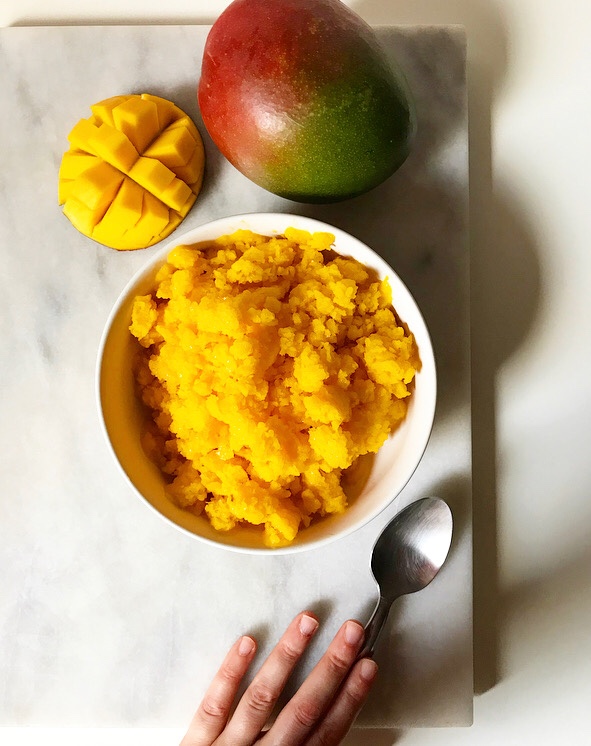
 If you are wondering what the heck I’m talking about, granita is a
 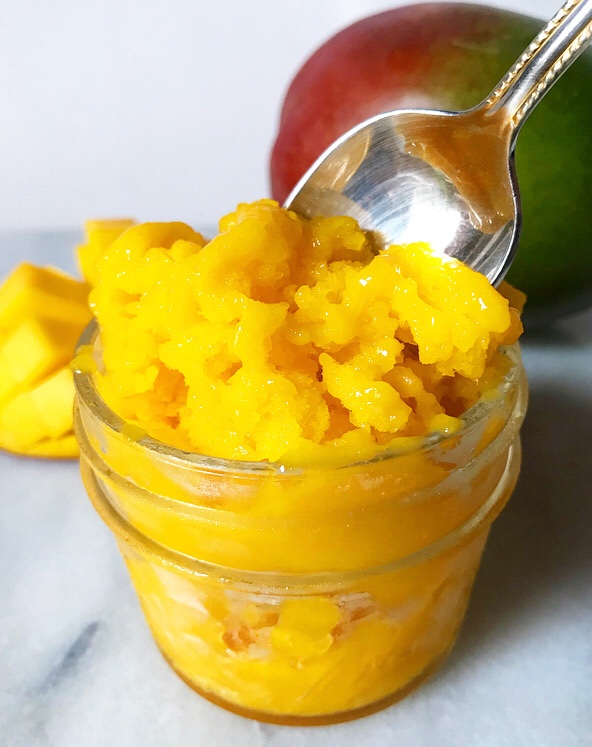 To make this Mango Granita, you’ll need:
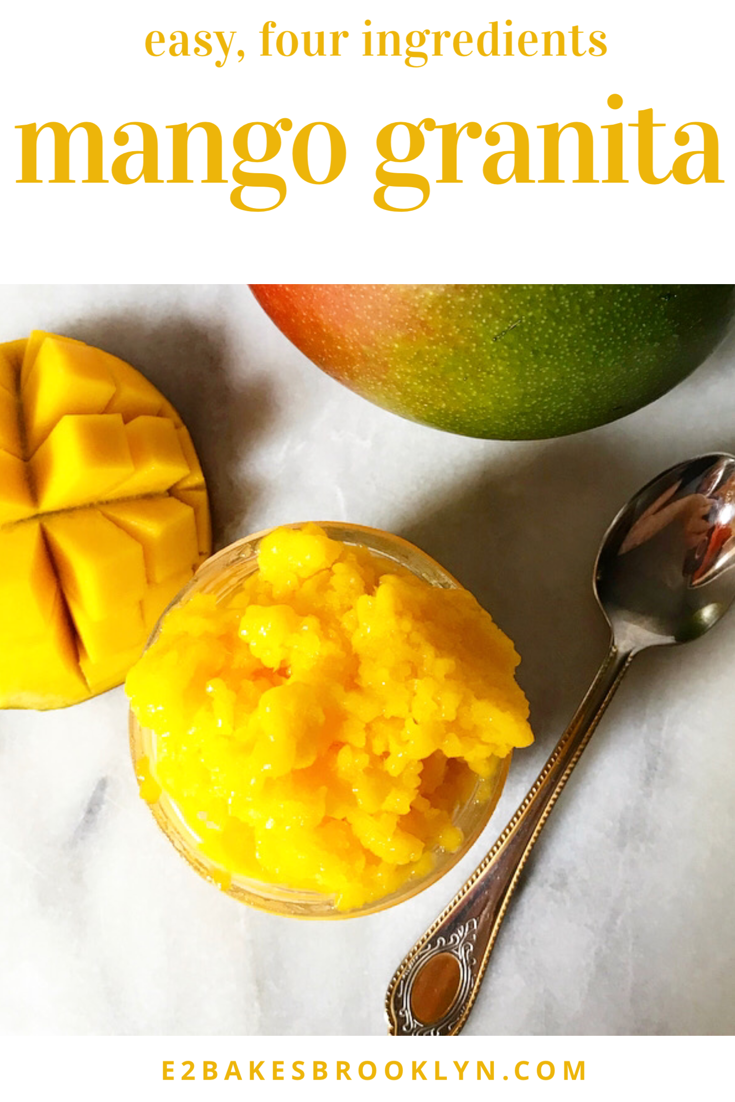
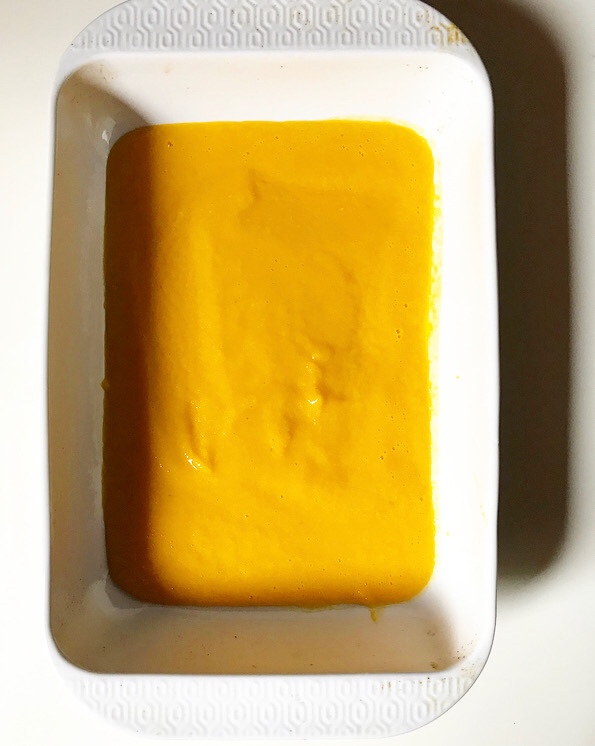 The process is simple. Blitz all the ingredients in a blender until smooth, then pour the purée into a large dish and put it in the freezer for an hour.
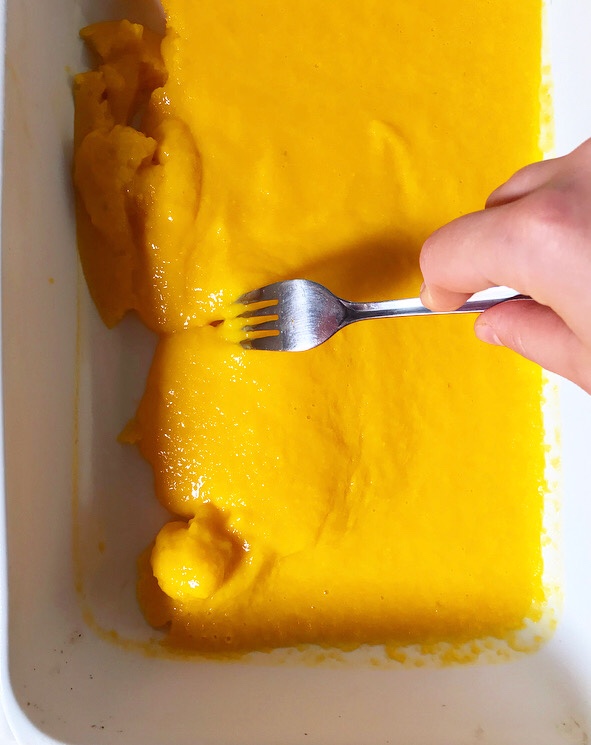 When that time is up, remove the dish from the freezer. Starting at the outer edge, use a fork to drag the frozen purée into the looser center. This will begin the process of making fluffy, snowy ice crystals. At first, you may feel like you’re dragging a fork through soup, but an hour later, it’ll be a different story.
 And then, thirty more minutes will go by and crystals will really begin to form! The grainy texture is the “gran-” in granita.
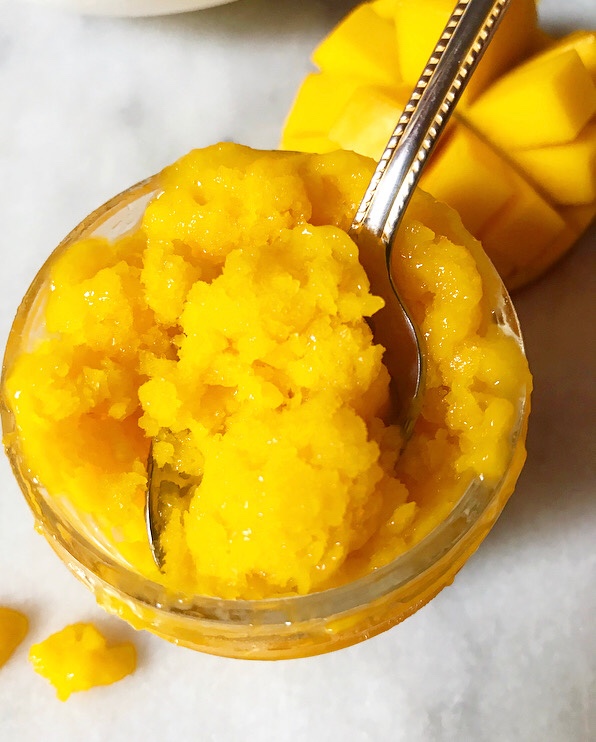
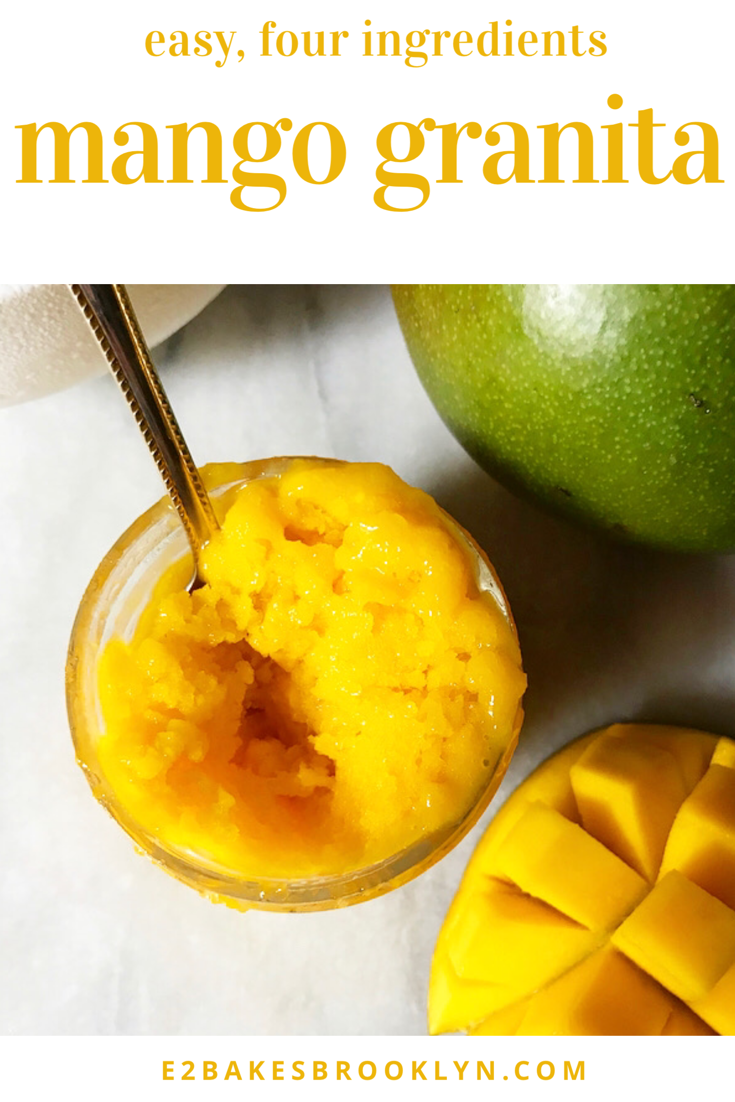
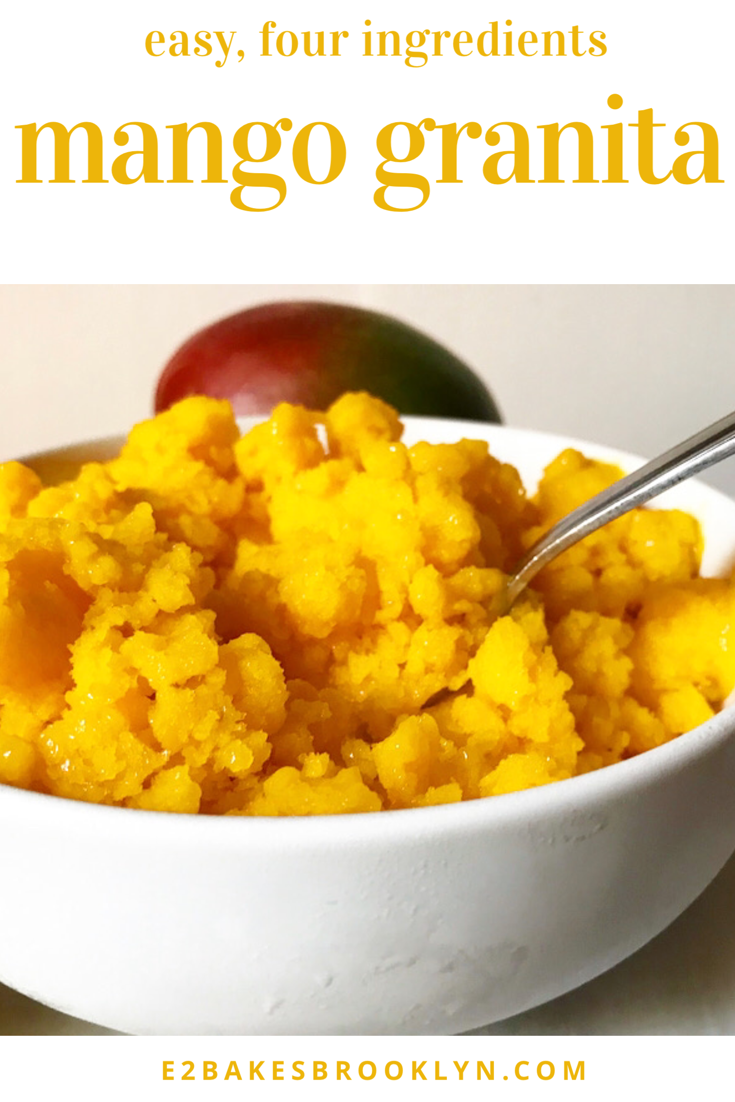
 You’ll know it’s ready when it looks like this:

 Mango Granita is as delicious as it is beautiful—light and refreshing and perfect for these sweltering last few weeks of summer! The texture is somewhere between a snow cone and a sorbet. Where you might think this would be icy, it’s super smooth and surprisingly creamy. This is the sort of dessert that is great for any occasion from watching Netflix in your PJs to a cookout to a dinner party. It’s vegan, nut-free, low calorie and low sugar–a wonderful option for a crowd!
 Before I get to the recipe, here are a few more tips for granita success:
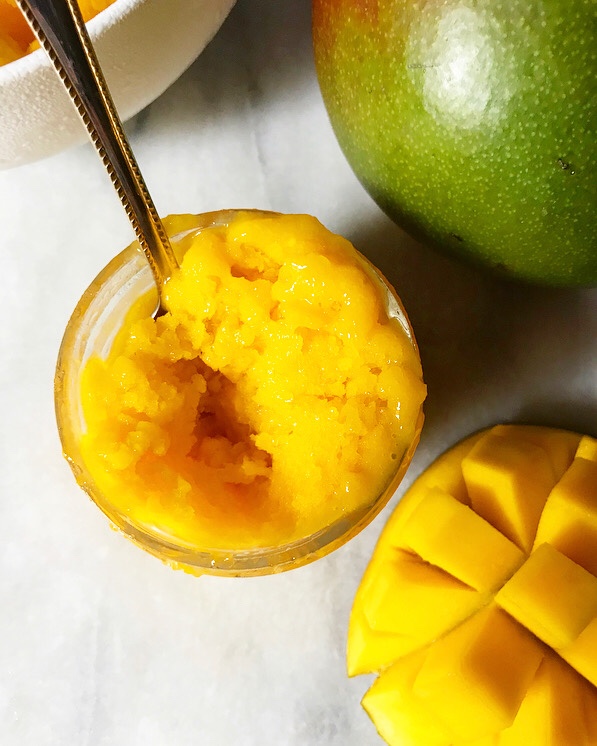
 It seems like every time I think a recipe is going to be a snap, it’s a total nightmare. Butterscotch Sauce is a classic example of this—I went into testing thinking this would be a one-and-done situation, but instead I made sauces that:
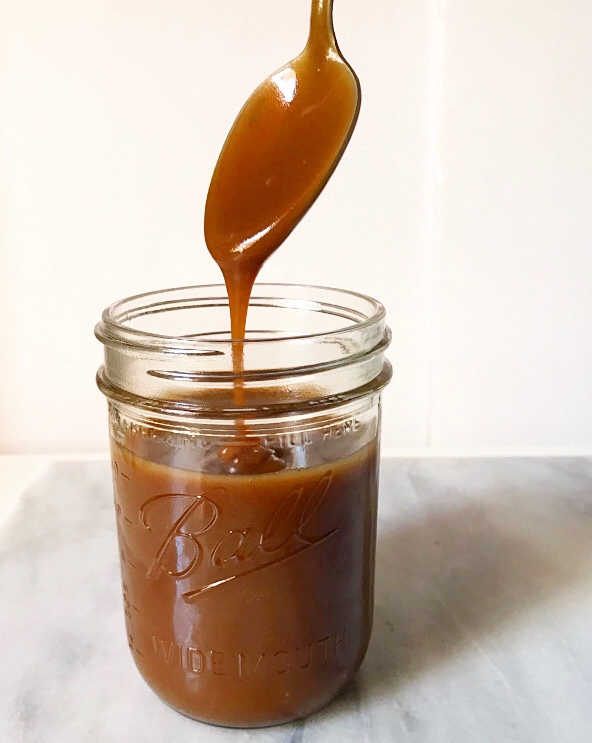
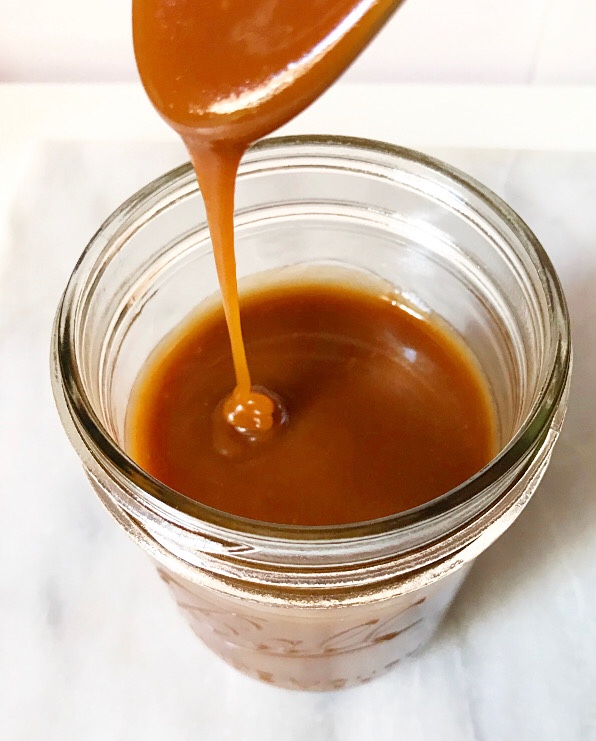
 Turns out it’s not. I “fixed” my first five test batches by slapping a metaphorical culinary bandaid on each one (less butter, less complication, less time, less movement, more liquid), and this all led me back to a method I knew worked: the way I make the caramel for my caramel corn, which is literally the easiest molten sugar recipe of all time. Just put it all in a pot and leave it alone.
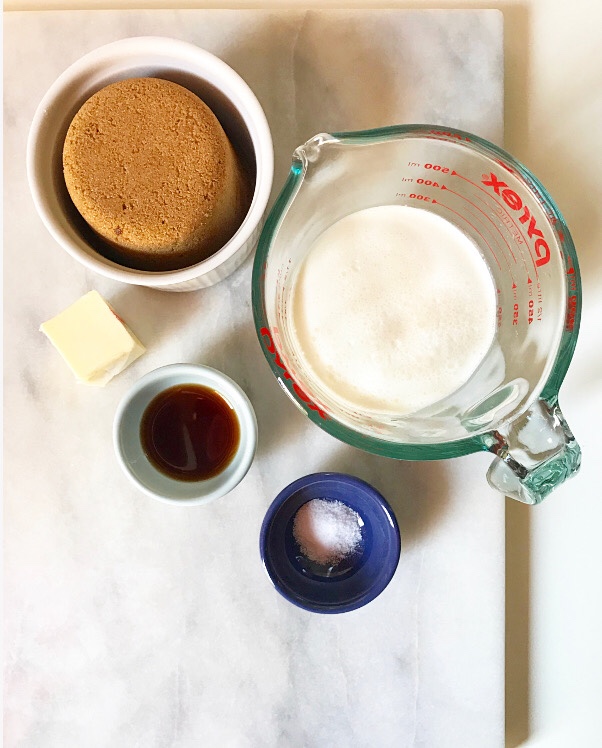
 Here’s the gist of my Butterscotch Sauce recipe:
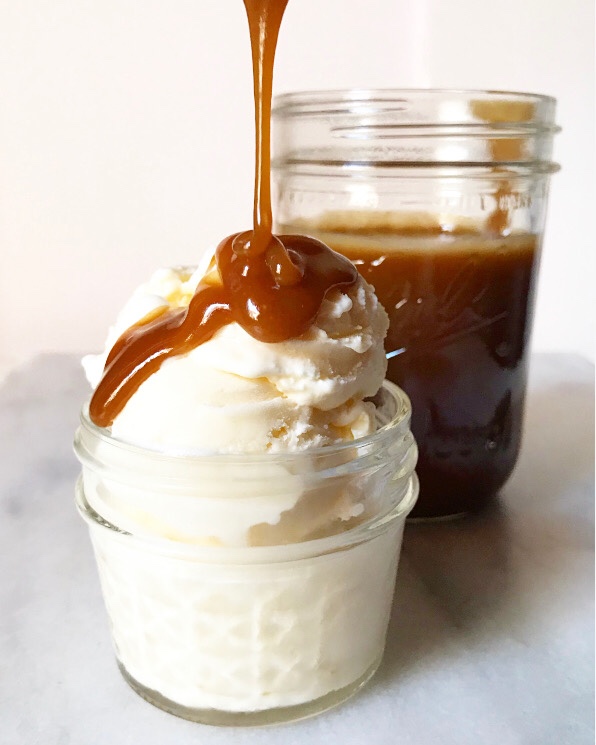
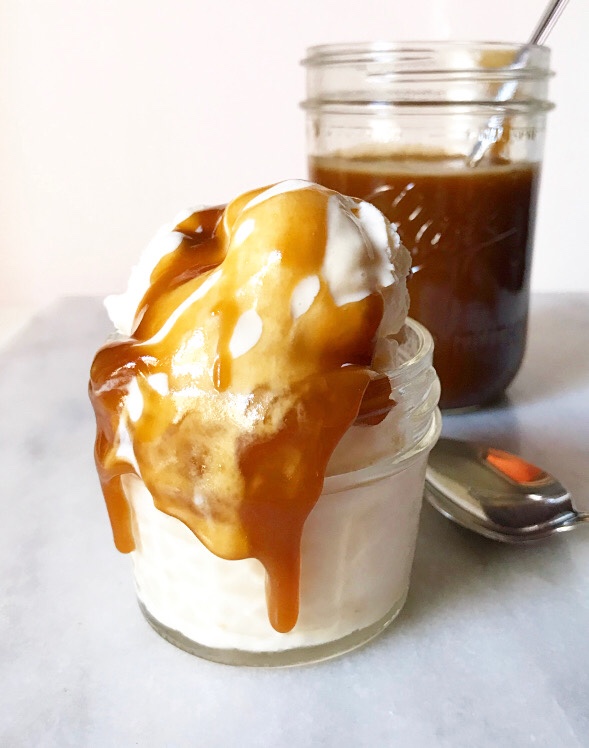
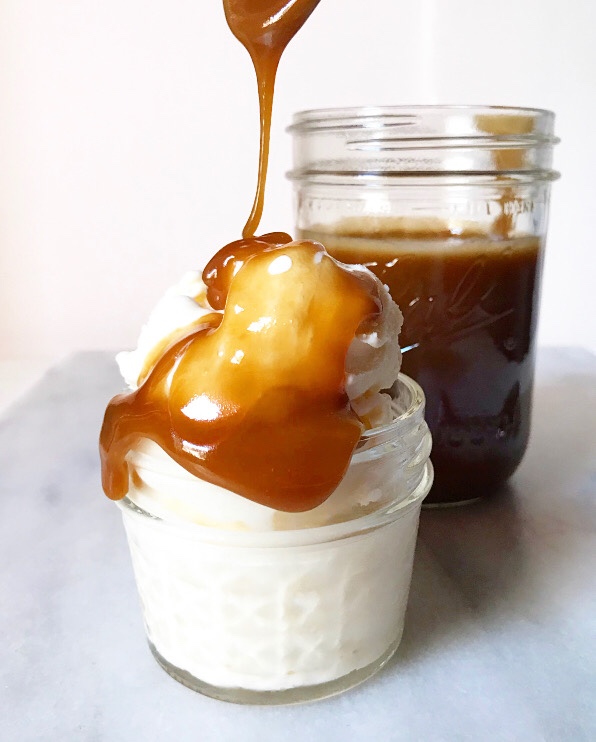 This sauce is thick and golden and best served piping hot, so that it will set softly on whatever delicious thing over which it’s been poured. It’s rich, buttery and has good hits of salt and vanilla to complement its brown sugar flavor. And it’s easy to make.
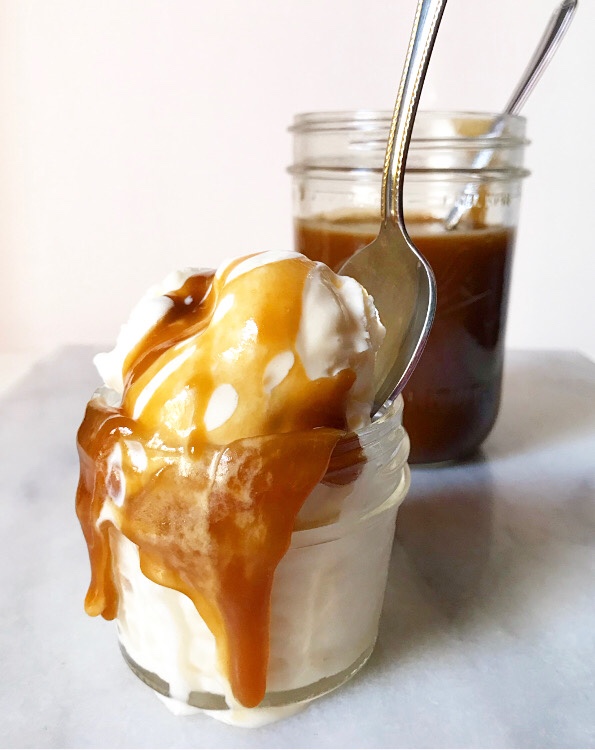 You might even say it’s a snap.