 People tell me all the time that they don’t bake because it doesn’t allow for improvising. I’m here to tell you that assumption about baking being all about precision is a big ol’ myth. At least half of the recipes in my archives started from a place of improvisation.
Now, could I have improvised so much when I first started baking? Probably not. The key is developing a few solid base recipes and paying attention to what different ingredients do—after that, it’s trying new things, like working with what you already have and fending off your crippling fear of failure. It’s the same with improvising during “regular” cooking, or in music or in theatre or in musical theatre. You’ve got to know the rules before you can bend them. But then, bend away, and if it doesn’t work, bend another way.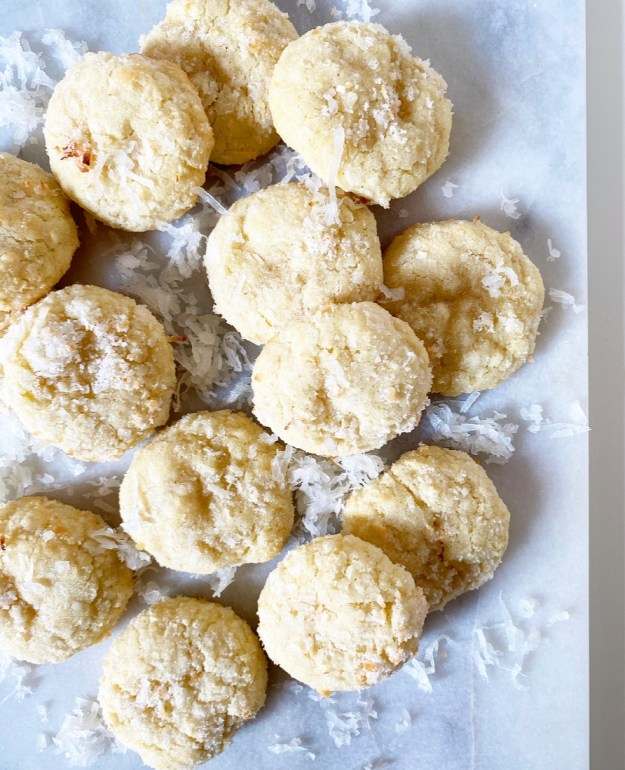 The base recipe for these Coconutdoodles has been on here once already this year. It looks different there, filled with pecans and white chocolate chips, but the recipe is almost *exactly* the same otherwise. Same with last year’s Funfetti Cookies—take out the white chocolate chips and rainbow sprinkles and you have a blank slate sugar cookie recipe.
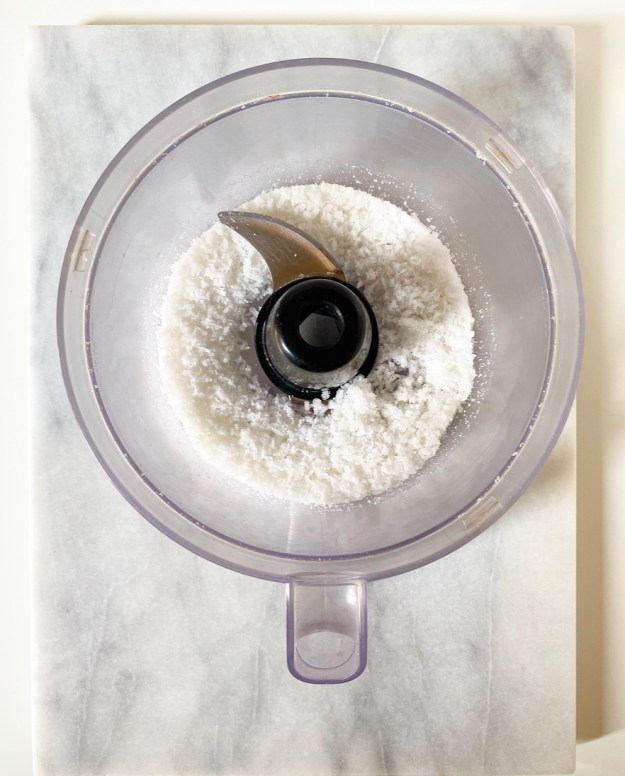


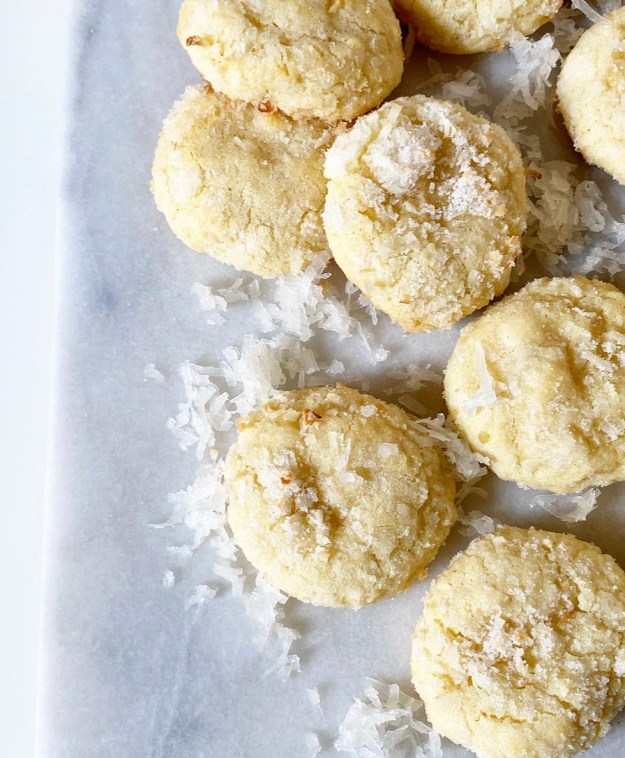
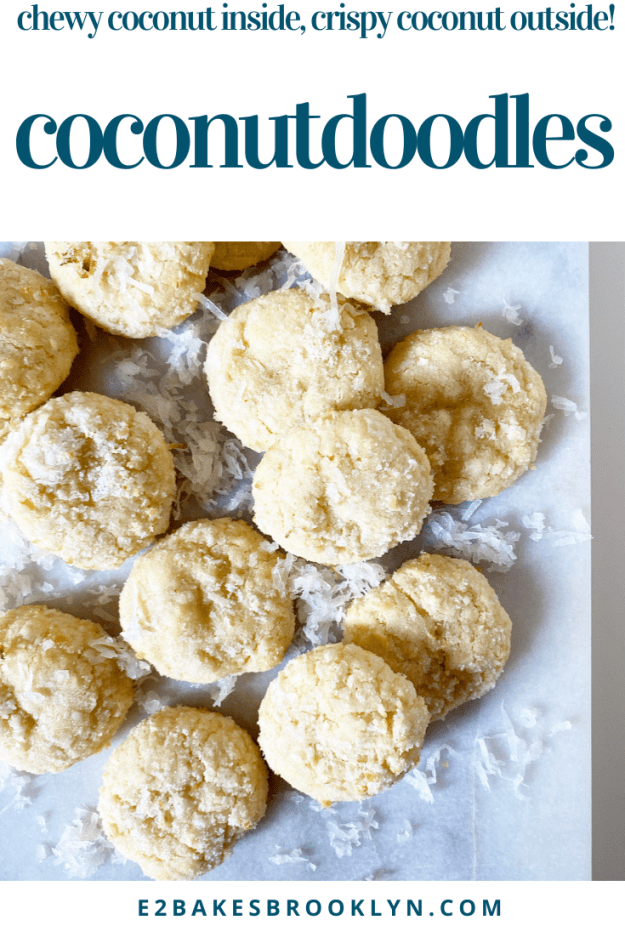
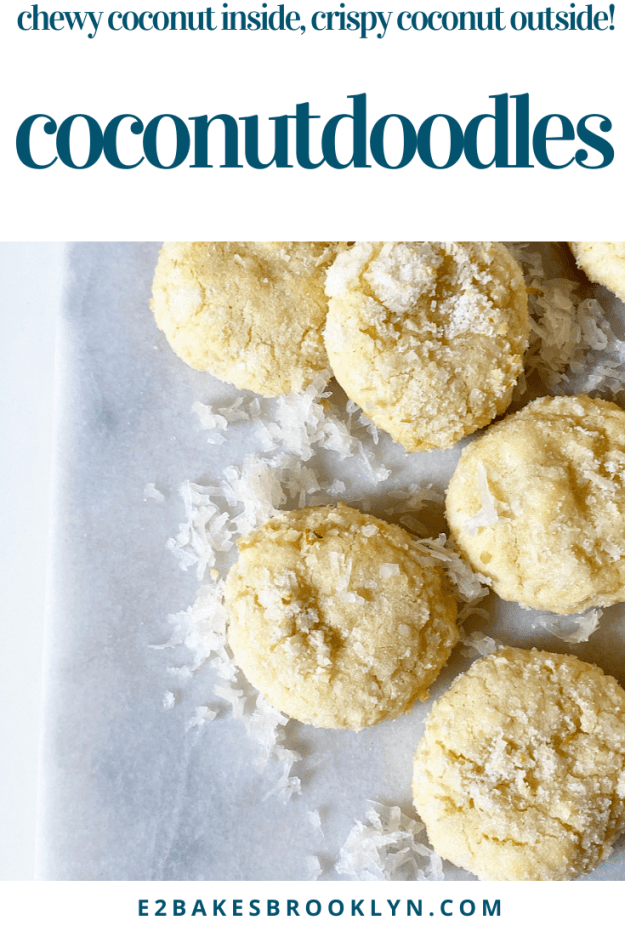
 That’s right, a blank slate. A new start. A place to improvise by adding that random half-bag of coconut you have leftover from…well, I don’t remember what, but that’s beside the point. The point (!) is to load up that dough with as much coconut as it can take, then blitz the rest into a powder with some sugar and roll your cookie dough balls in it, snickerdoodle-style. But it’s coconut, so…Coconutdoodles.
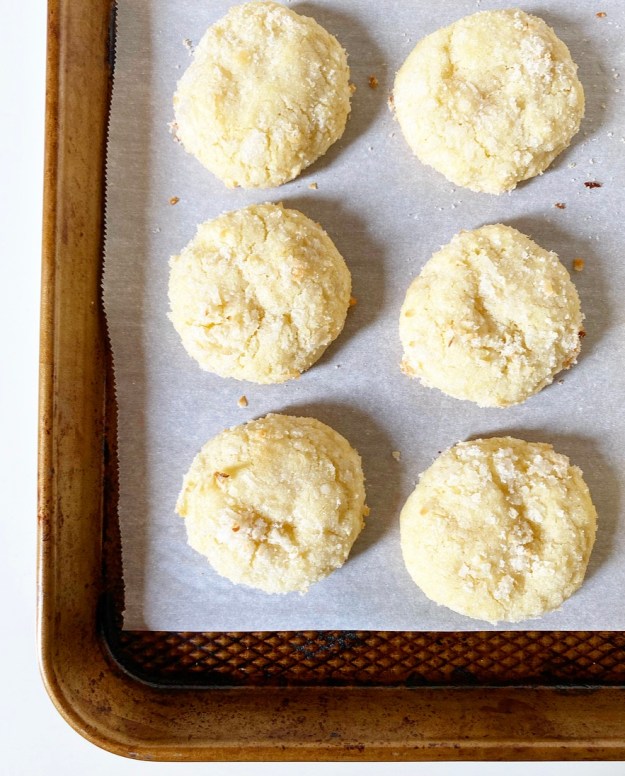 Coconutdoodles bake up super thick and puffy, and while the sugary coconut-crusted exteriors don’t really toast, they do get extra crispy. Oh, and the insides are super chewy and loaded with an obscene amount of coconut. Ob-scene. I really thought it might be too much, or that it might make the cookies crumbly, but it‘s the exact right amount and these cookies stay soft for days. I know because I ate this whole batch myself. That was weeks ago and I’m still sad that they’re gone.
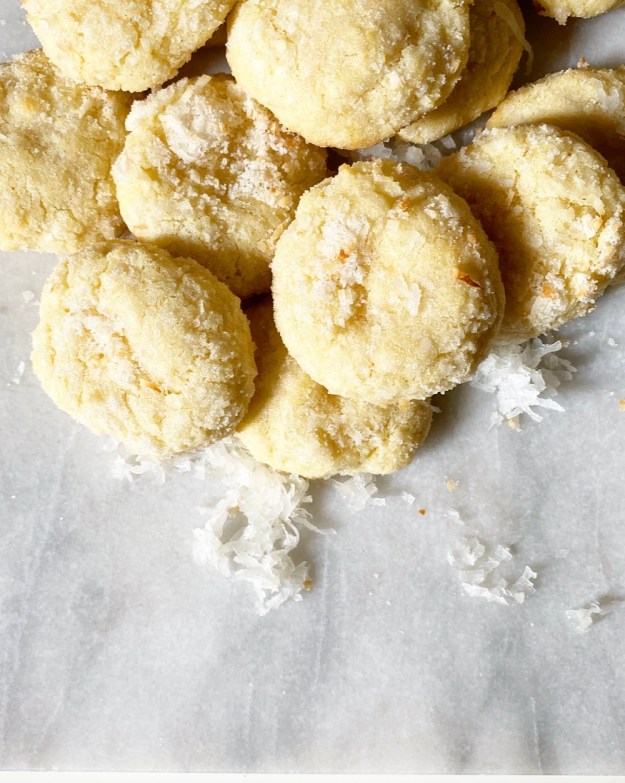 But you know what? I have this blank slate sugar cookie dough, and I’ve got another half-bag of coconut, and heaven knows I’ve got time to make cookies this weekend. I’ll save my crippling fear of failure for next weekend.
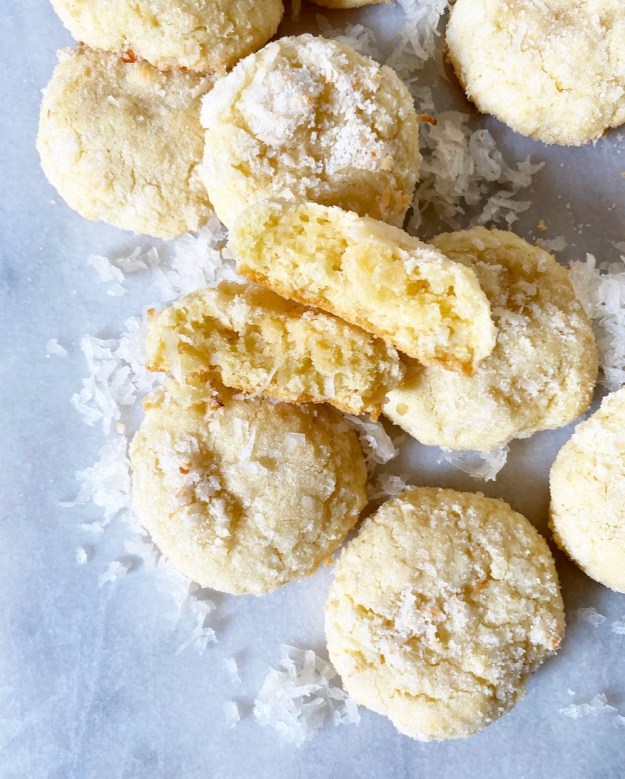
Coconutdoodles
makes about 2.5 dozen cookies
3 cups all-purpose flour
1 tablespoon cornstarch
1/2 teaspoon baking powder
1/2 teaspoon baking soda
1/2 teaspoon Kosher or sea salt
1 cup (2 sticks) unsalted butter, softened to room temperature
1 1/4 cups granulated sugar
2 large eggs, room temperature
2 teaspoons pure vanilla extract
1/4 teaspoon coconut extract (optional, but recommended)
2 cups sweetened flaked coconut
Coating:
1/3 cup granulated sugar
1/3 cup sweetened flaked coconut
In a medium mixing bowl, whisk together flour, cornstarch, baking powder, baking soda, and salt. Set aside.
In a large mixing bowl, use an electric mixer to cream butter until fluffy and lighter in color. Beat in granulated sugar. Mix in eggs one at a time, followed by vanilla. Add dry ingredients in two installments, beating until combined. Use a silicone spatula or wooden spoon to fold in coconut. Cover dough with plastic wrap and chill for at least 2 hours, or up to 3 days.
Preheat oven to 350F. Line two baking sheets with parchment. Set aside.
Make the coating. Combine granulated sugar and coconut in a food processor. Pulse 10-15 times or until mixture is snowy (no big pieces of coconut). Do not over-process, as mixture can become a paste. Place coating in a shallow bowl.
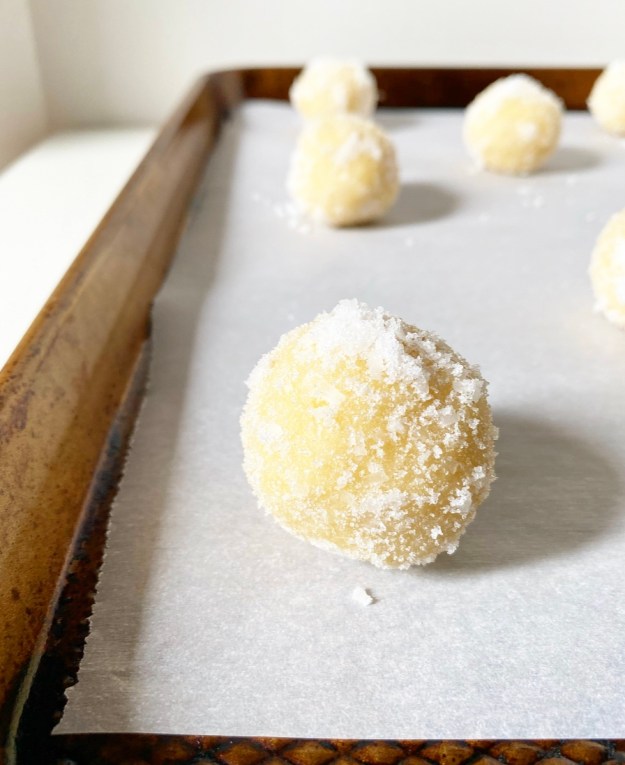
Scoop chilled dough in 2 tablespoon increments, and roll into balls. Roll each dough ball in the coating mixture. Place dough balls at least two inches apart on prepared baking sheets. Bake cookies 10-11 minutes, until puffy. Let cool on baking sheets for five minutes before removing to a rack to cool completely. Repeat process with any remaining dough, letting the baking sheets come back to room temperature between batches.
Cookies will keep extremely well in an airtight container at room temperature for up to a week.
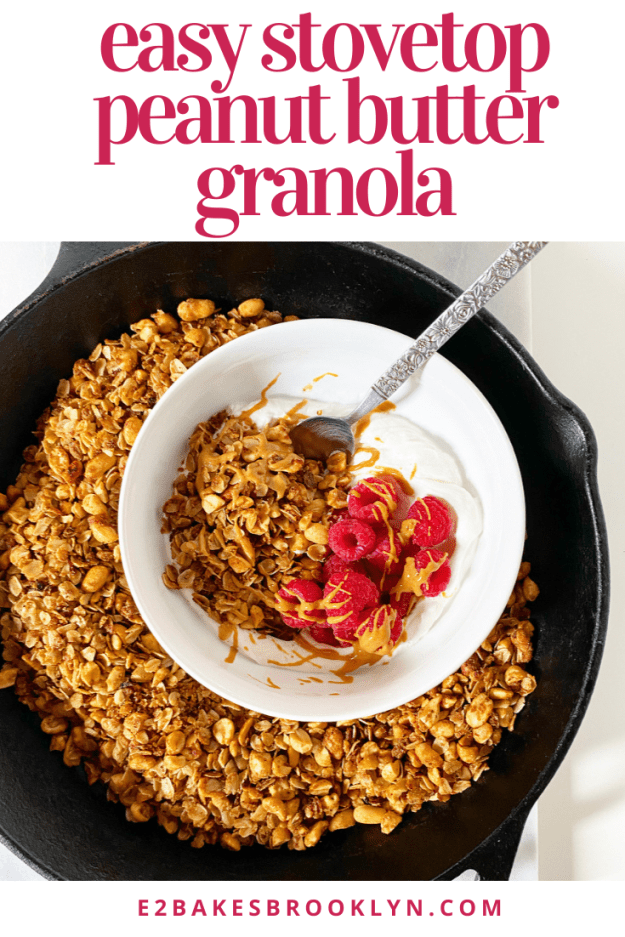
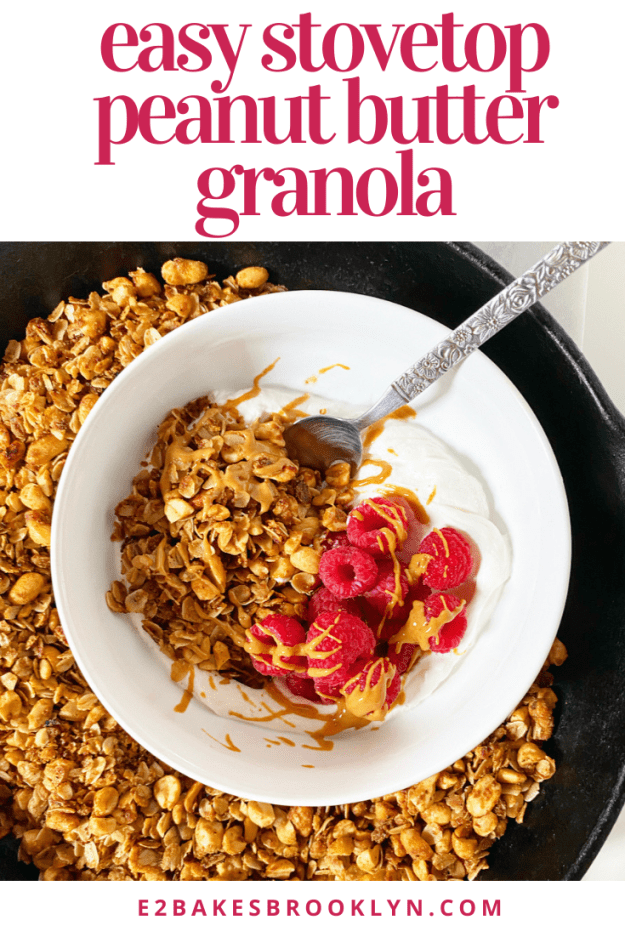
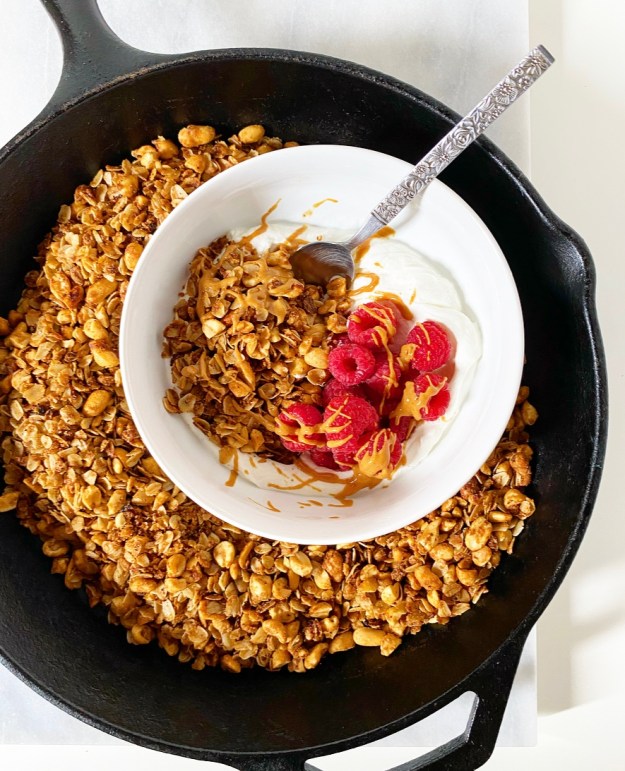 But you know what is happy—er, what is making me happy? This Easy Stovetop Peanut Butter Granola. It’s super crisp, crunchy and peanut buttery, and took fifteen whole minutes to make. That’s the magic of stovetop granola. When you skip the oven, it takes 1/3 of the time! Oh, and it only makes a quart. Add this to the list of
 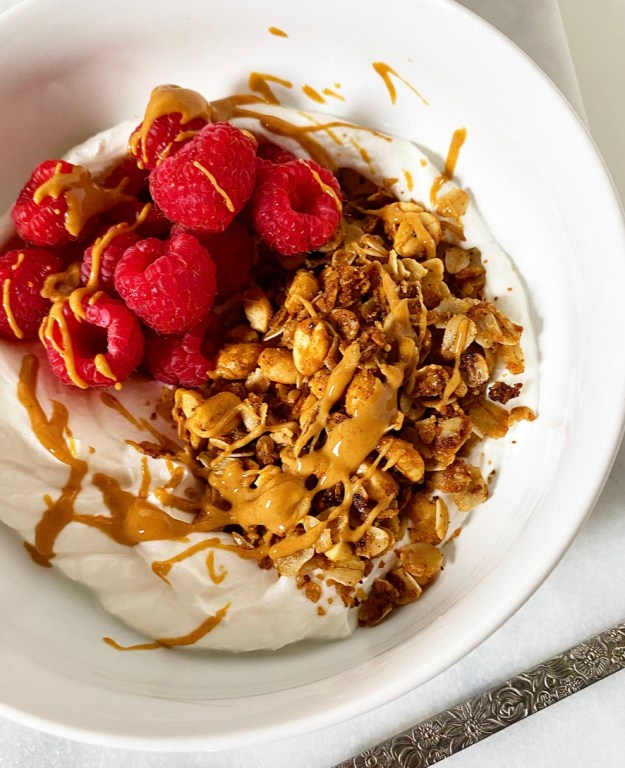 This isn’t my first go-round with
 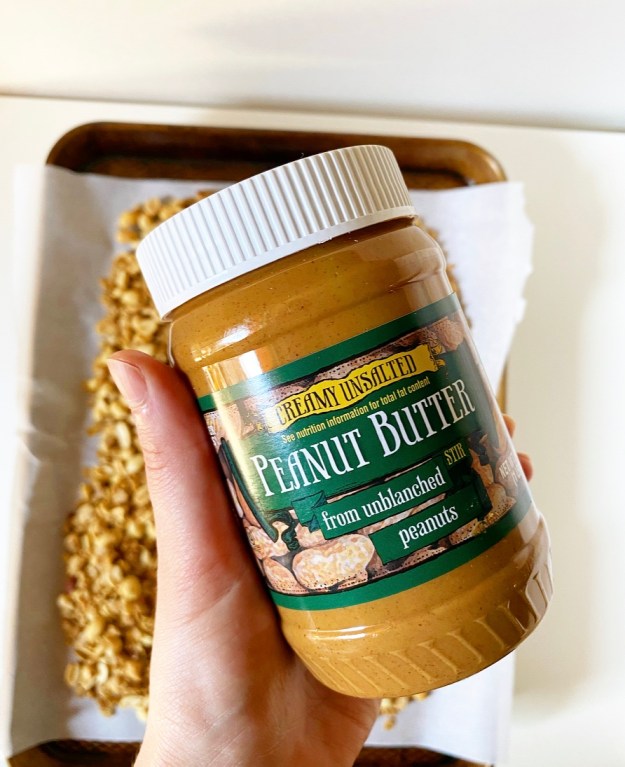 Combine the wet ingredients. Whisk your oil, brown sugar, maple syrup, natural peanut butter, vanilla, cinnamon and salt together in a measuring cup. This provides the majority of the flavor in your granola and help it get good and crispy.
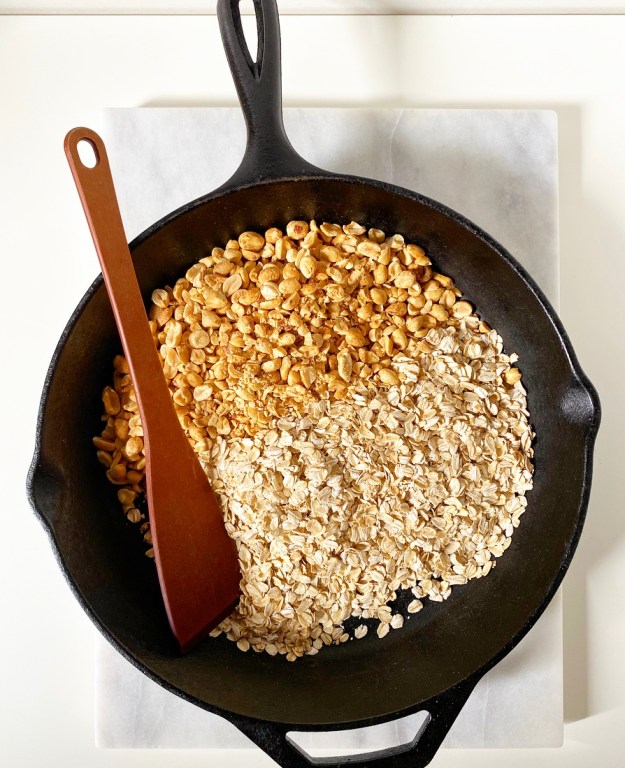 Toast the dry ingredients. Combine your oats and chopped peanuts in a heavy pan over medium heat. Stir them around for about 10 minutes, until fragrant and a little darker in color. Don’t burn ‘em.
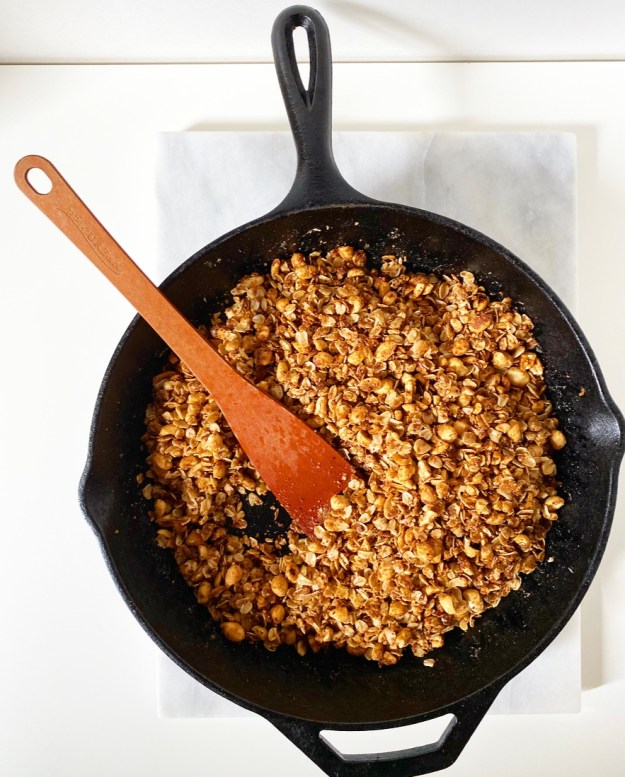 Add the wet ingredients to the dry. Pour your peanut butter/maple/brown sugar/oil mixture into the oats and peanuts.
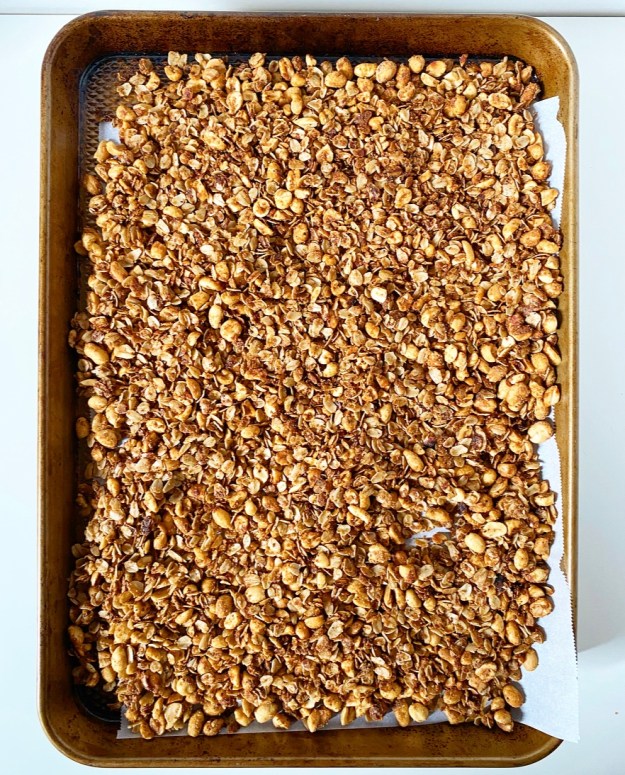 Cool. Scatter your granola on a rimmed baking sheet on a rack and let it come to room temperature. This is the part where your granola gets real good and crispy while you decide how you want to serve it. I highly recommend yogurt, raspberries and an artful drizzle of peanut butter.
 You may notice that Easy Stovetop Peanut Butter Granola isn’t particularly cluster-prone. This doesn’t bother me in the slightest, but if you are a cluster person, you can reduce the oats and peanuts down to three cups total volume and keep everything else the same. Alternatively, swap the maple syrup for a thicker sweetener like honey or brown rice syrup, and maybe bump it up to 5-6 tablespoons. Either of those should work some clustering magic.
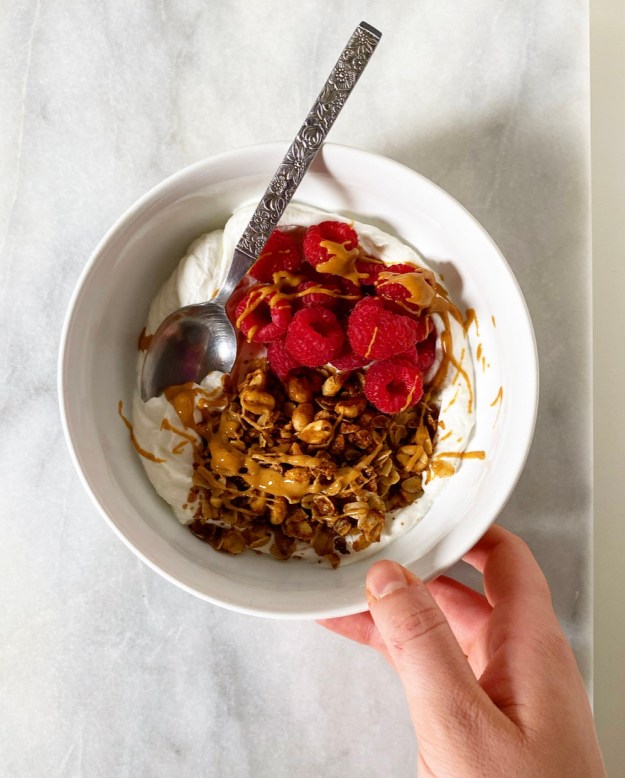
 For most of my 35 years, I’ve been under the impression that whipped cream is a perfect food. At it’s simplest, it’s just cream and air, and it goes on pretty much everything. Truly, it’s a one ingredient recipe (or two if you add sugar, or three with vanilla) to rule them all. I literally cannot think of a dessert that isn’t improved by the addition of whipped cream. It’s as perfect as a garnish gets…
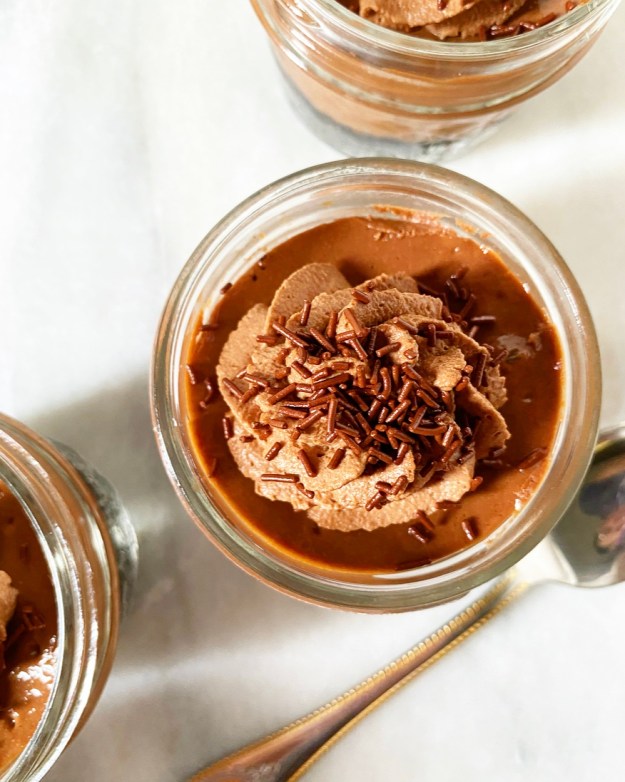 …or so I thought before I whipped cocoa powder into it. Chocolate Whipped Cream is a more perfect food. Beyond perfect, really. And I say this as an outspoken vanilla person. *clutches pearls*
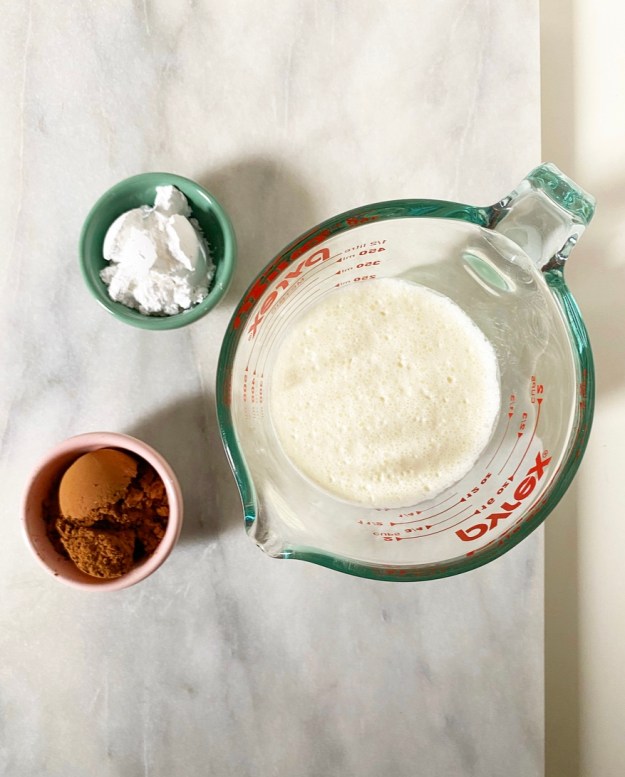
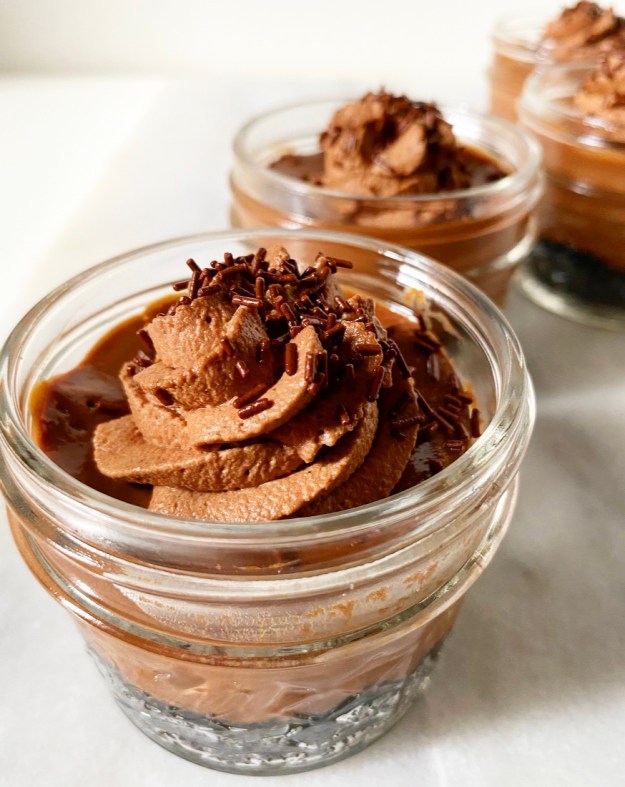
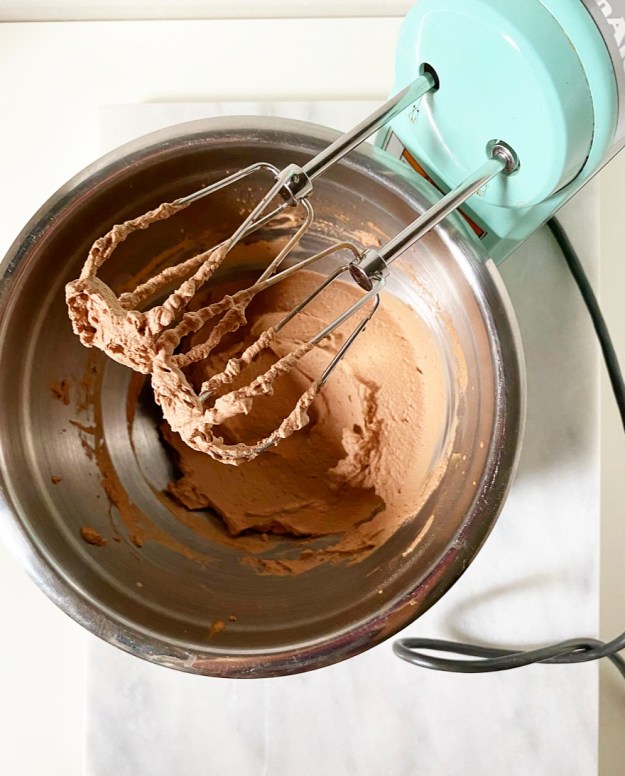 Like classic whipped cream, Chocolate Whipped Cream is a snap to make. Simply whip cold heavy cream, confectioner’s sugar and cocoa powder in a bowl until stiff peaks form. Alternatively, small batches take well to my beloved
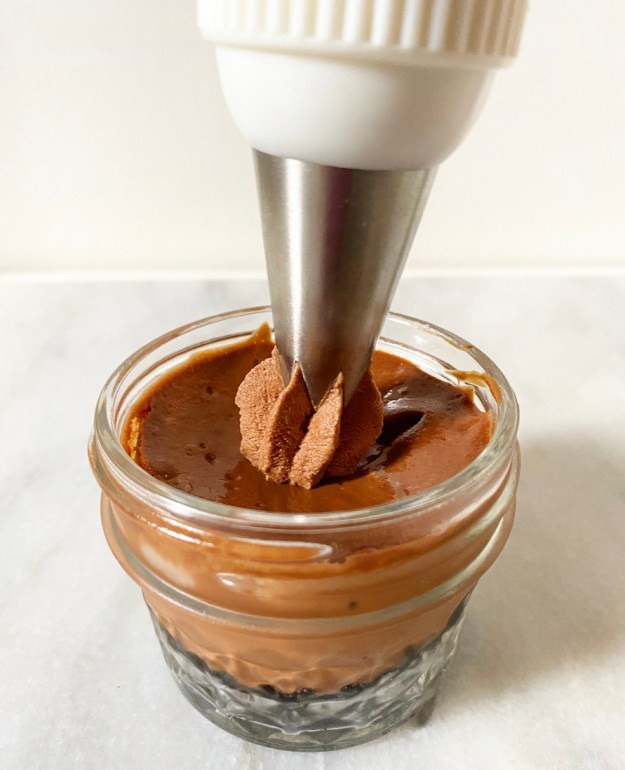
 Chocolate Whipped Cream is every bit as airy and smooth as it’s classic counterpart, and has a deep chocolate flavor to boot. I prefer mine on the bittersweet side, but feel free to bump up the confectioner’s sugar if you prefer yours sweeter. Oh, and if you don’t have confectioner’s sugar on hand, the granulated stuff will work just as well, although your final product may not be quite as stable.
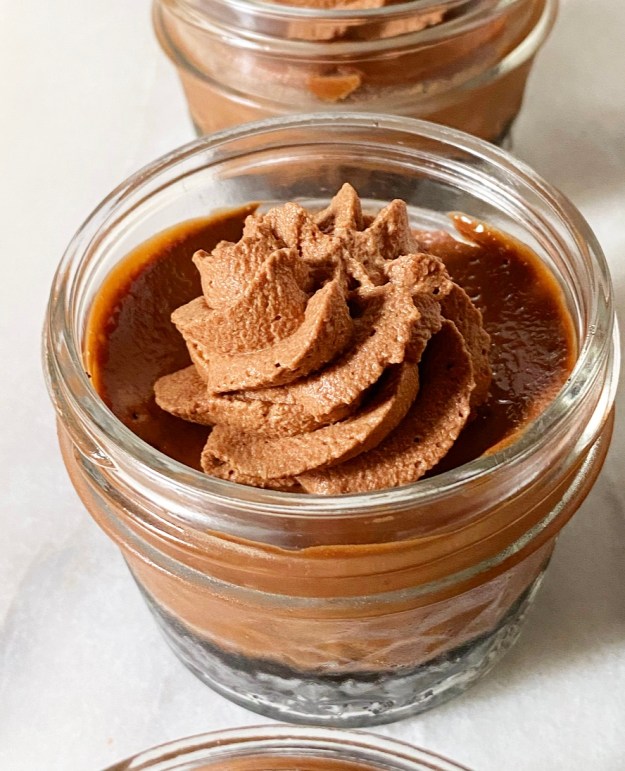
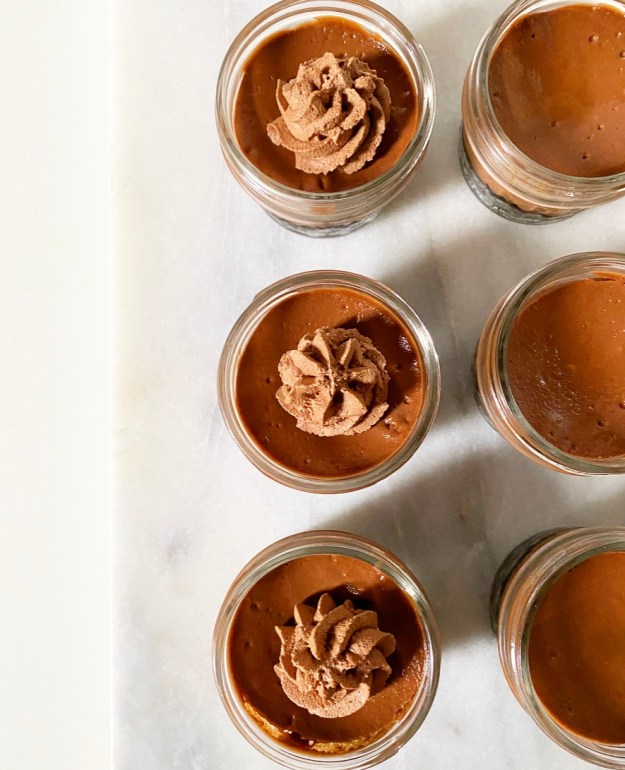 As for ways to use Chocolate Whipped Cream, follow your dessert-loving little heart. Use it as a fruit dip or as a topper on
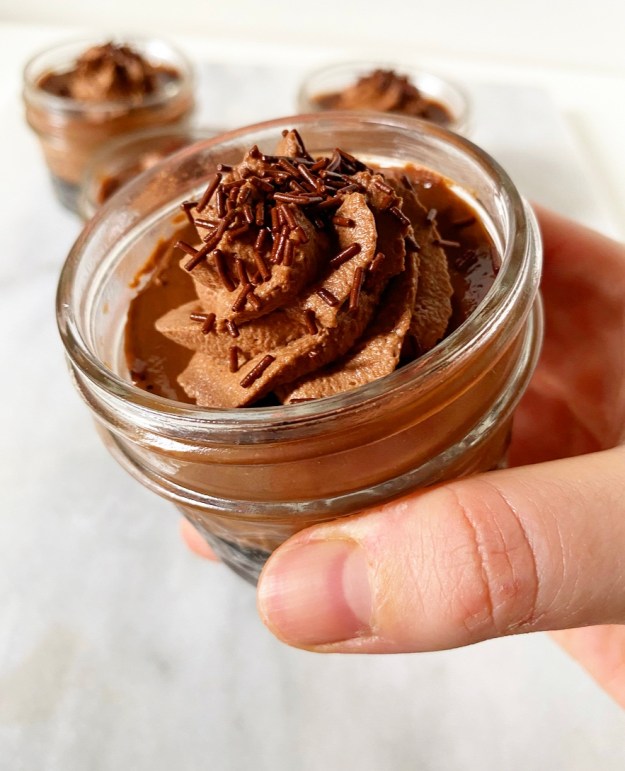
 Homemade Chocolate Shell has appeared on here a few times over the years, but always as a part of another recipe. I’ve used it to finish an
 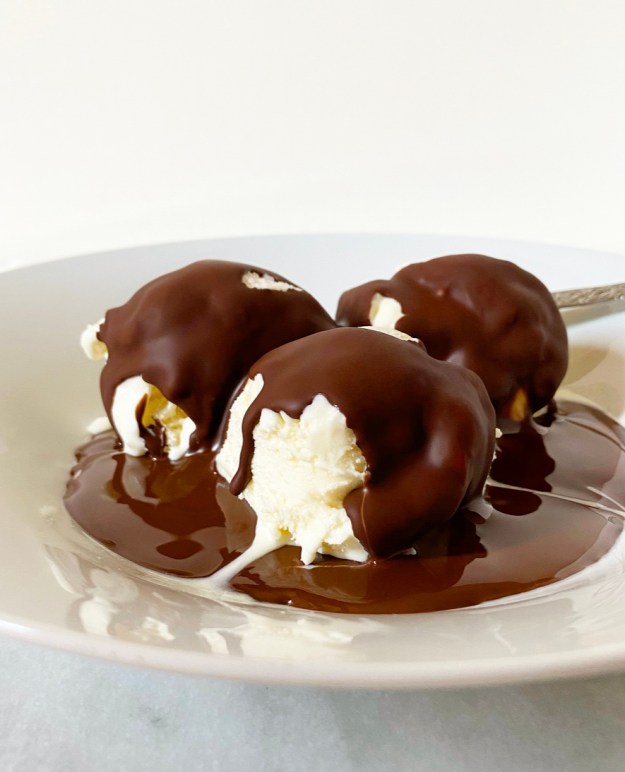 Chocolate shell is both entertainment and dessert. It goes on ice cream (or anything cold) like
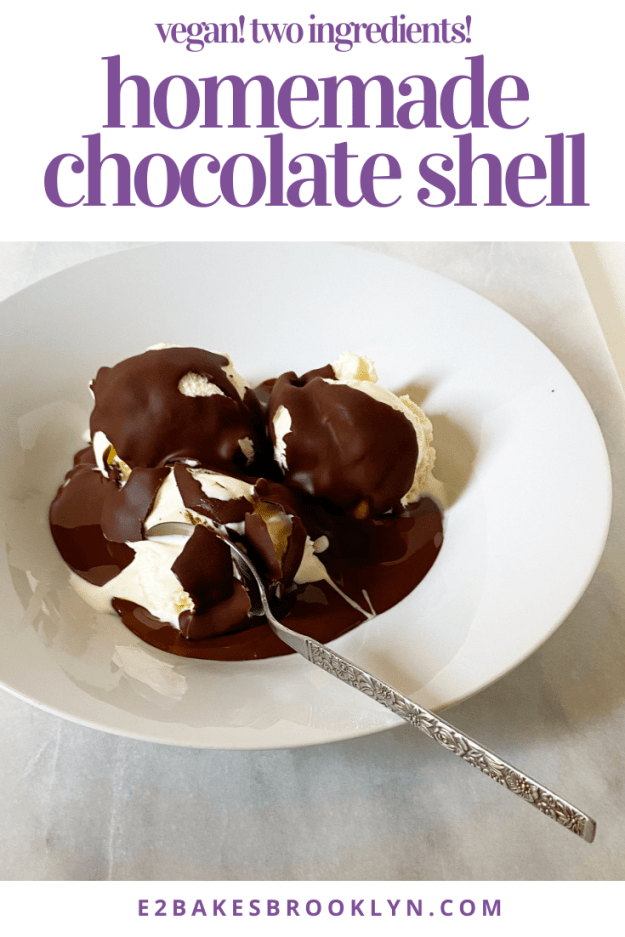
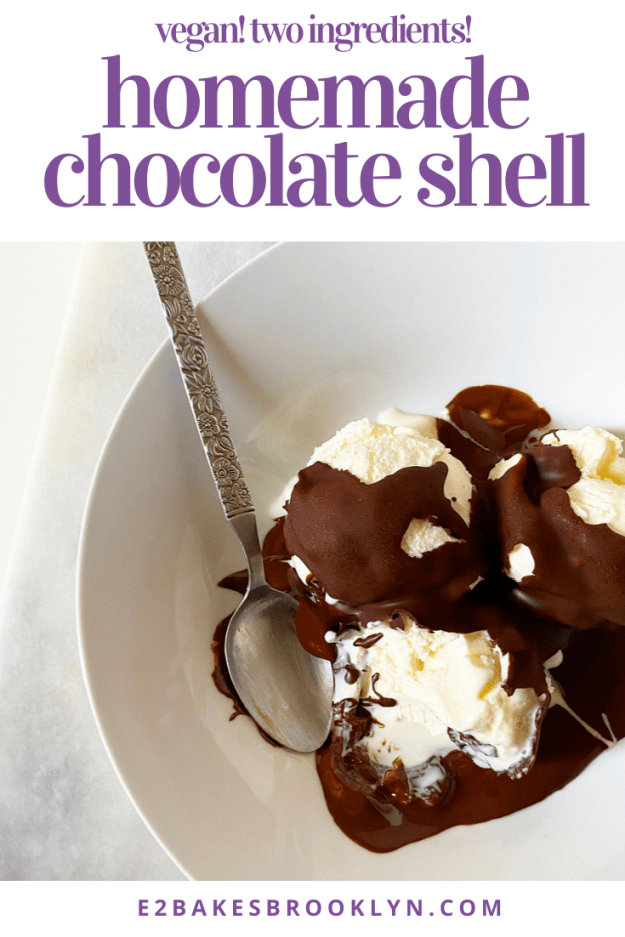
 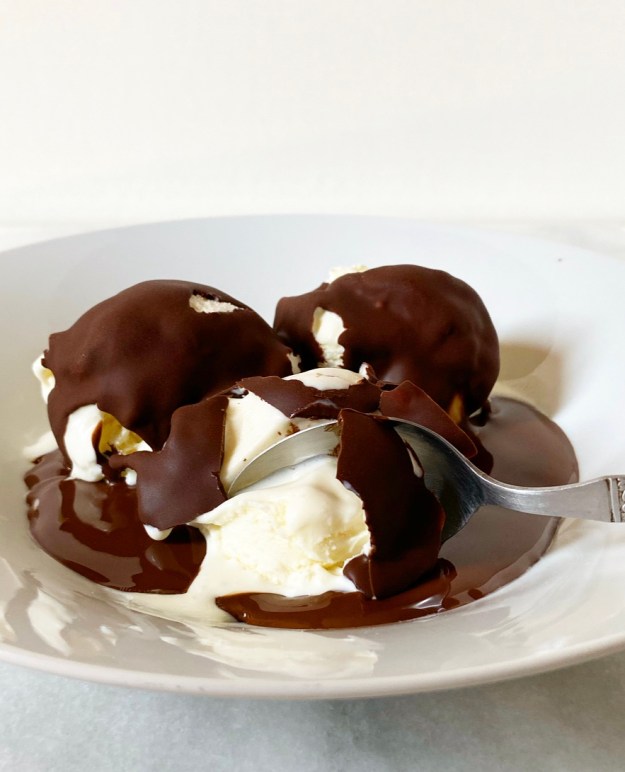 The “magic” of chocolate shell was a mystery to me for years—how did they do that?! Turns out, mostly with ingredients and preservatives that I’d rather not ingest whenever I get a hankering for a bowl of ice cream with a snappy chocolate topping. Imagine my utter delight when I discovered Homemade Chocolate Shell could be made with just two easy-to-find, vegan ingredients!
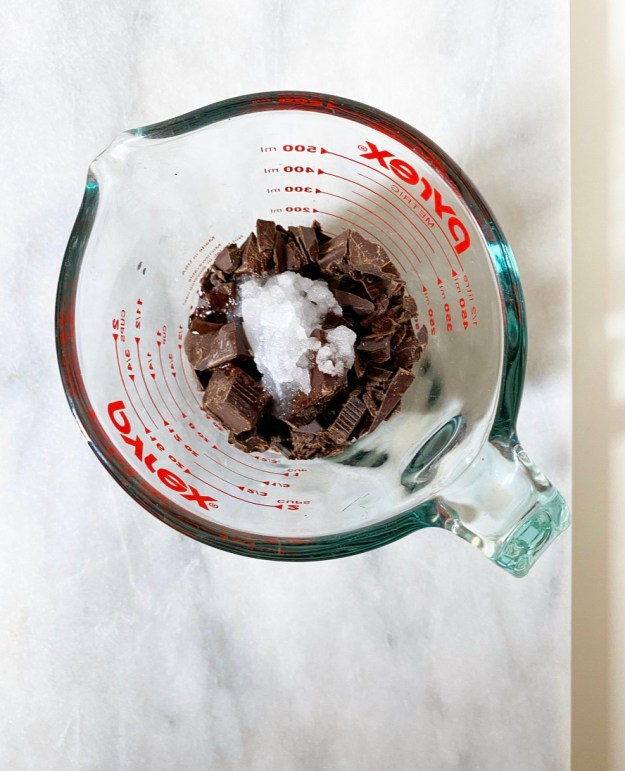
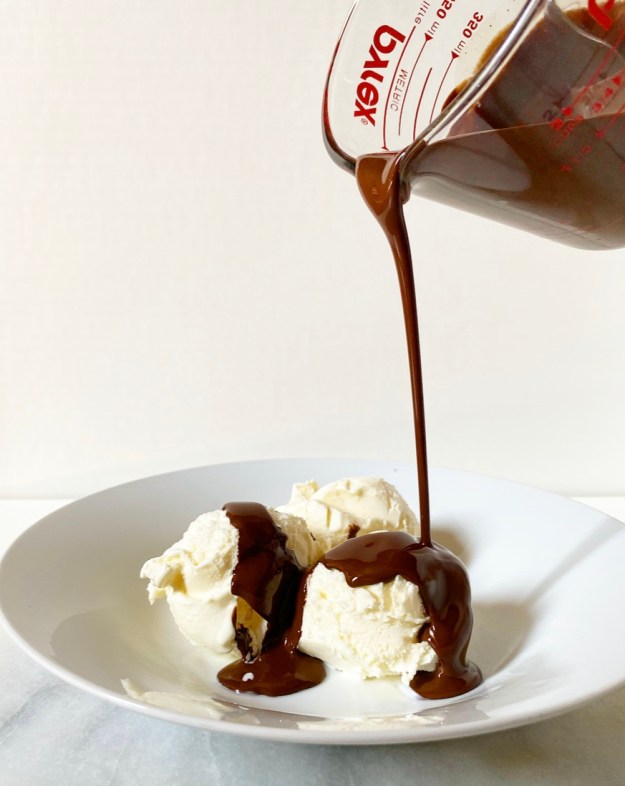 Yes, all you need to make Homemade Chocolate Shell are four ounces of bittersweet chocolate and two tablespoons of coconut oil. Melt them together, stir until smooth, and then drizzle—or let’s be real, pour—it over a scoop (or three) of ice cream. Then watch as the glossy sauce magically turns into a matte shell in a matter of seconds! It works because coconut oil solidifies at 76F, but that’s way less fun than calling it magic.
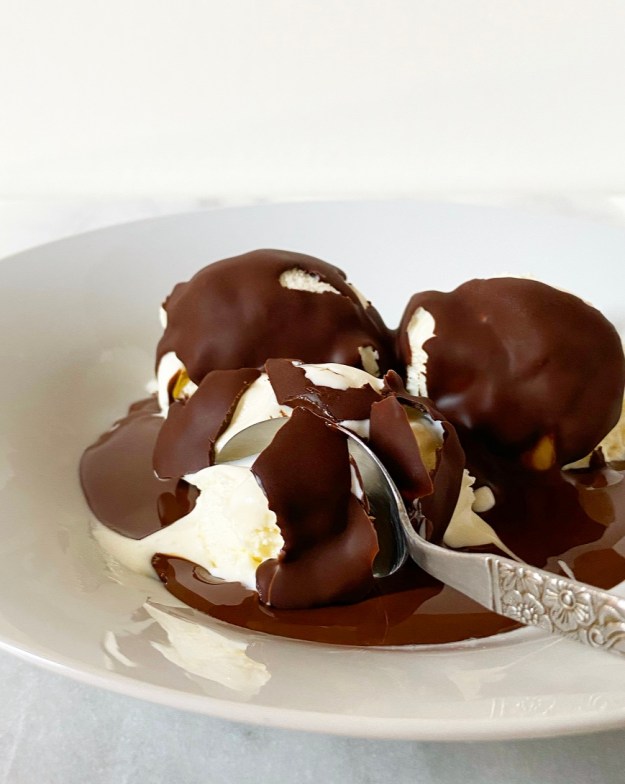 Not only is Homemade Chocolate Shell made of less-terrifying ingredients than the store bought stuff, it’s more delicious, too. You control the quality of ingredients here, and that goes double since there are only two of them. This batch was made with Trader Joe’s Pound Plus Dark Chocolate and refined coconut oil because those are things that I like and keep on hand.
 Hands down, my second favorite part of eating Homemade Chocolate Shell is thwacking through it with the side of a spoon. There’s nothing quite like that satisfying snap and the shards of cold chocolate that melt in your mouth.
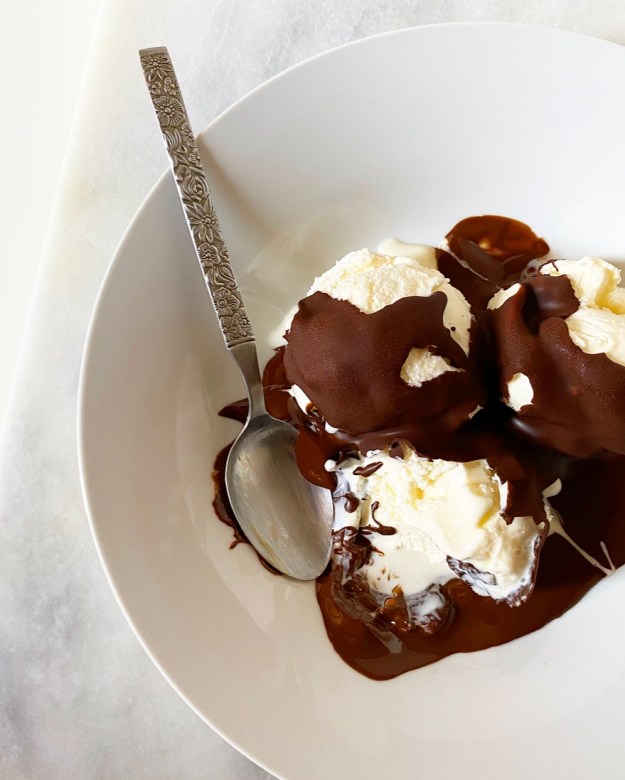

 As far back as I can remember, I’ve hated cooked peach desserts. For years, I turned my nose up at every single peachy thing under the sun. But then I started baking, and…you know how it’s sometimes easier to get kids to try new foods if you involve them in the cooking? Well, the same goes for adults who have an aversion to cooked peaches. For every
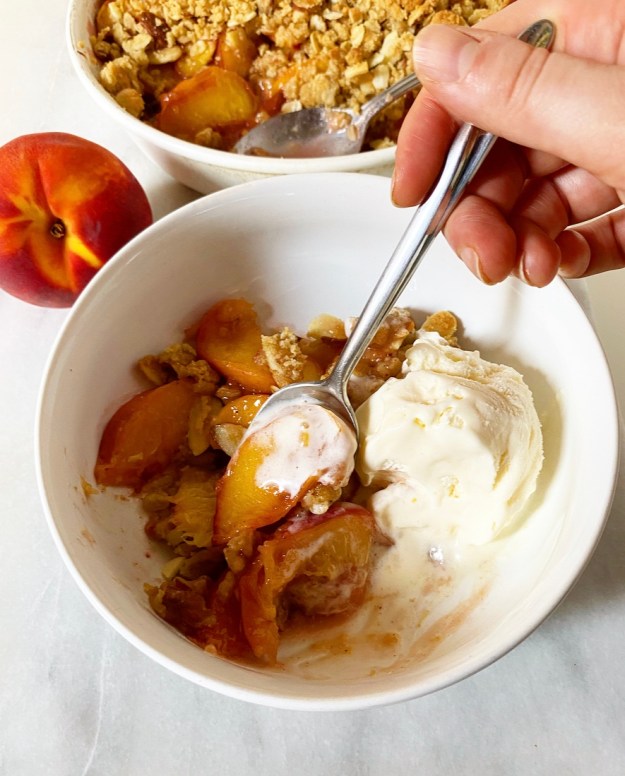
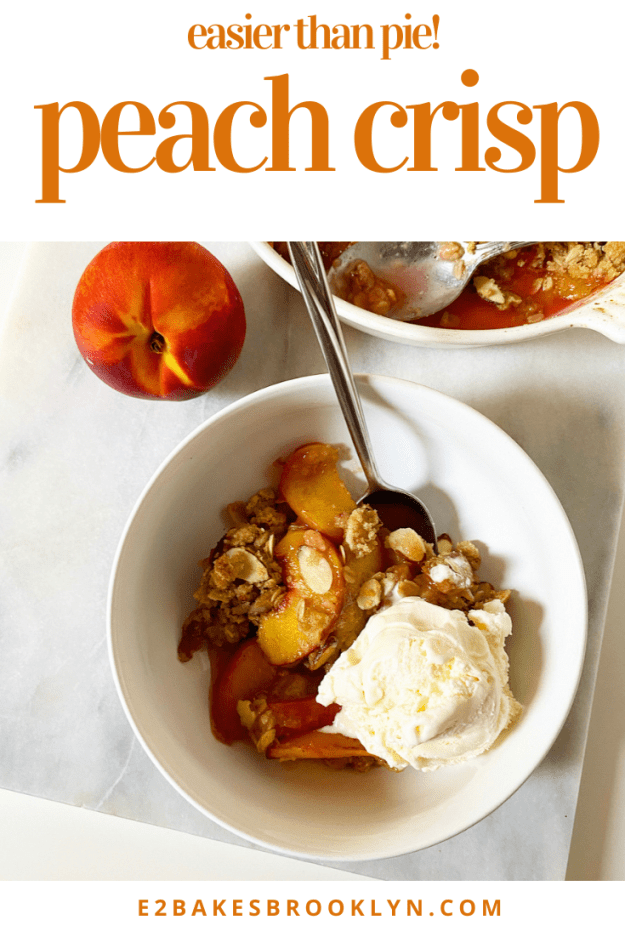
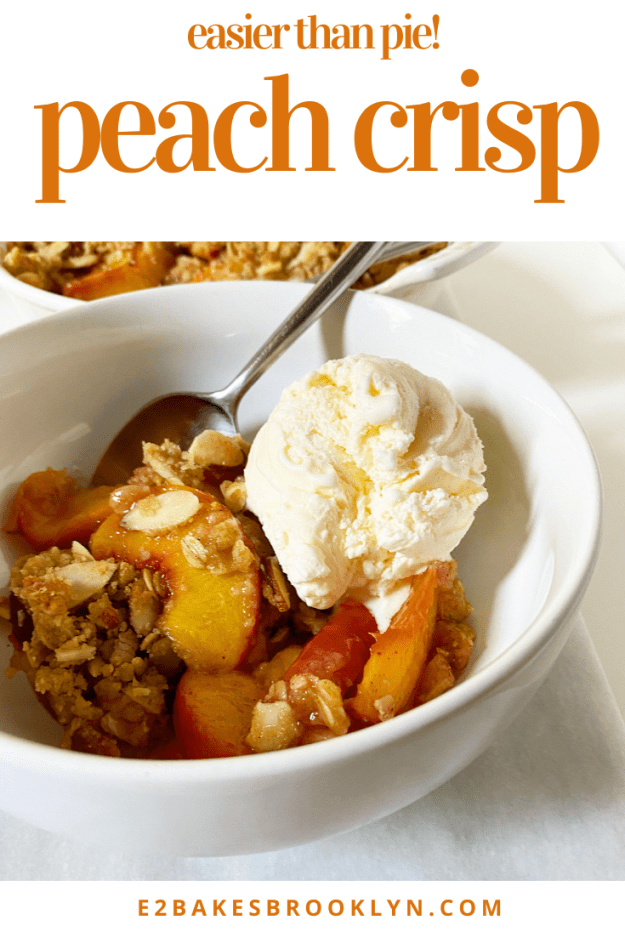
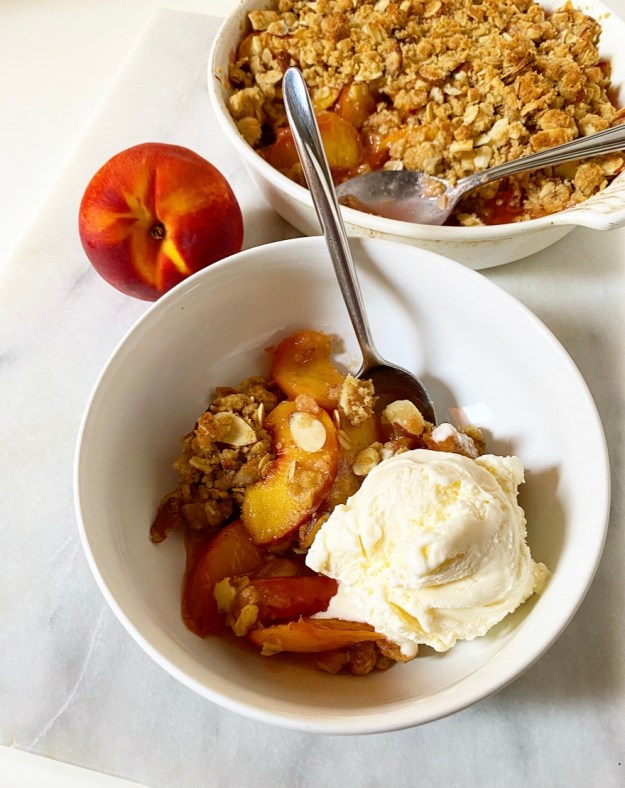
 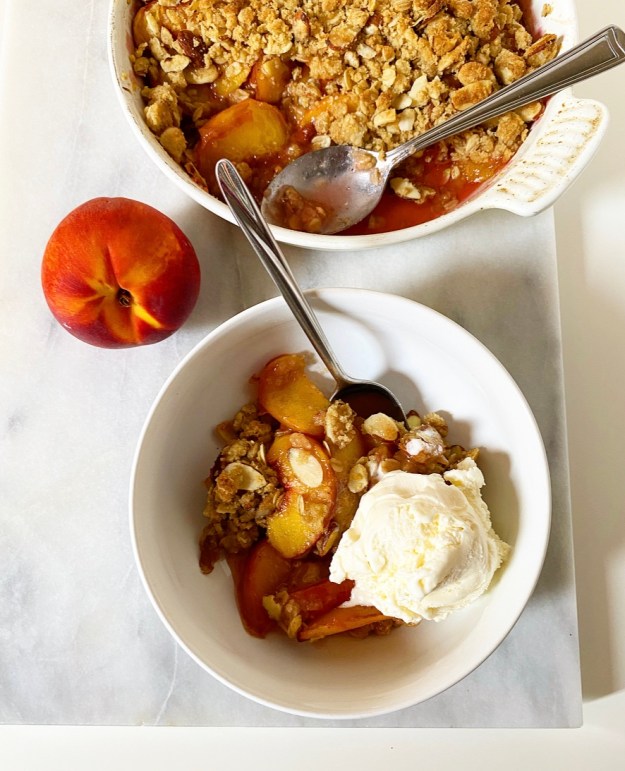 My take on Peach Crisp is pretty classic. Ripe peaches are tossed with sugar and just the tiniest hint of spice, then sprinkled with an oat and almond topping and baked until brown and bubbly and begging for a scoop of ice cream.
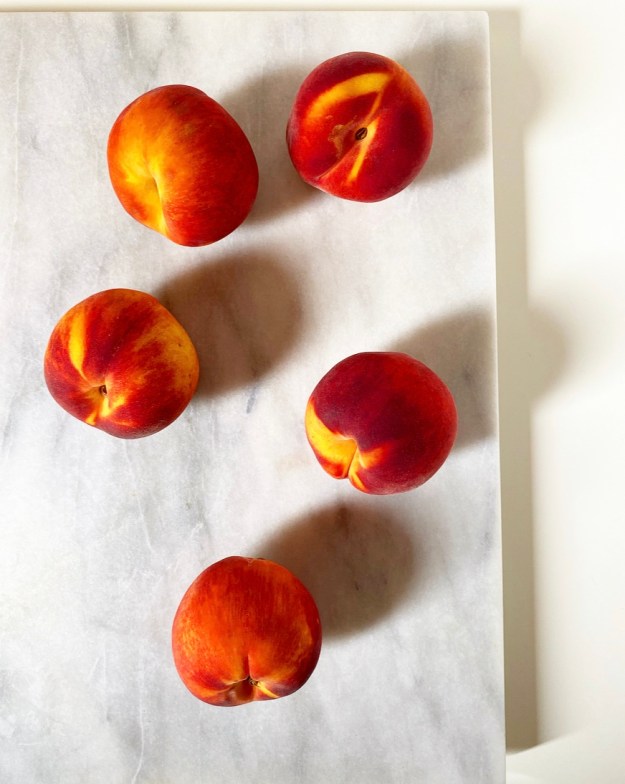
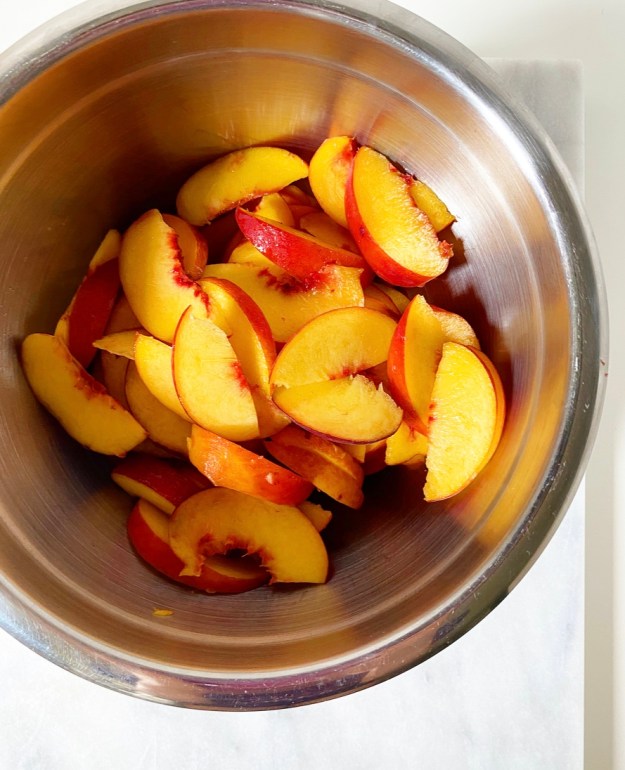
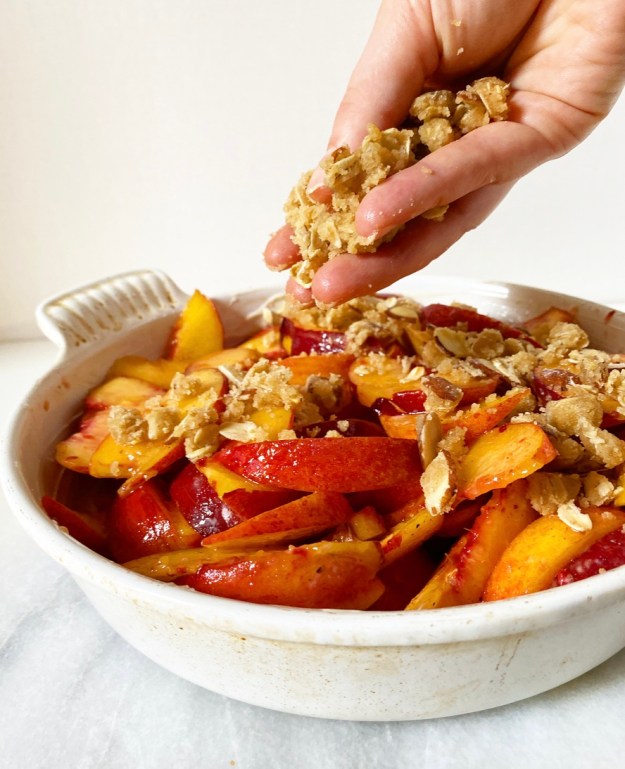
 This is probably the easiest of all the peach desserts I’ve made—no peeling of peaches, no pastry, nothing that has to stay cold or be ruined forever. Just lightly-sweetened and spiced ripe peaches and a crisp topping so simple I have it memorized.
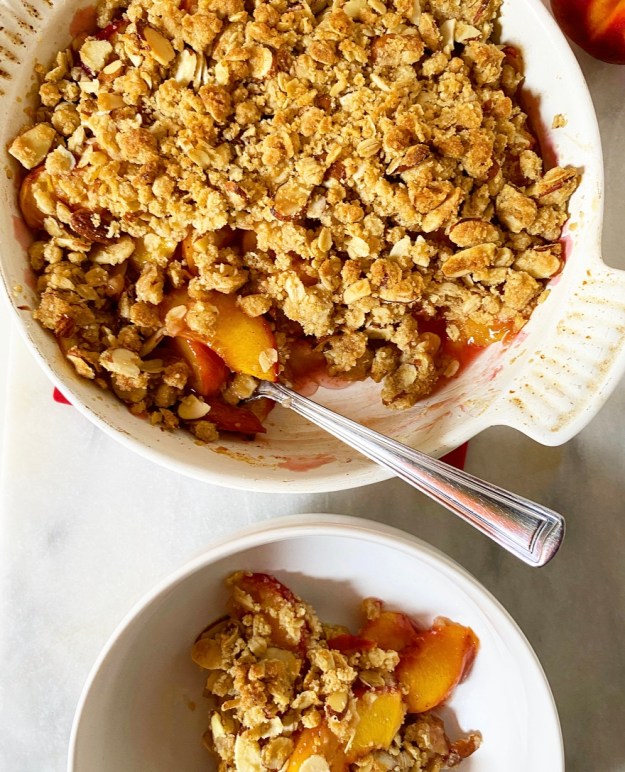 Peach Crisp is one of those desserts that can be made on the fly. Where pies and tarts require you to prep ahead, the assembly of this homestyle dessert takes all of twenty minutes and bakes in thirty. The most difficult part is waiting another ten or so before digging in. The only thing that could ruin this dessert is burning your mouth on piping hot filling!
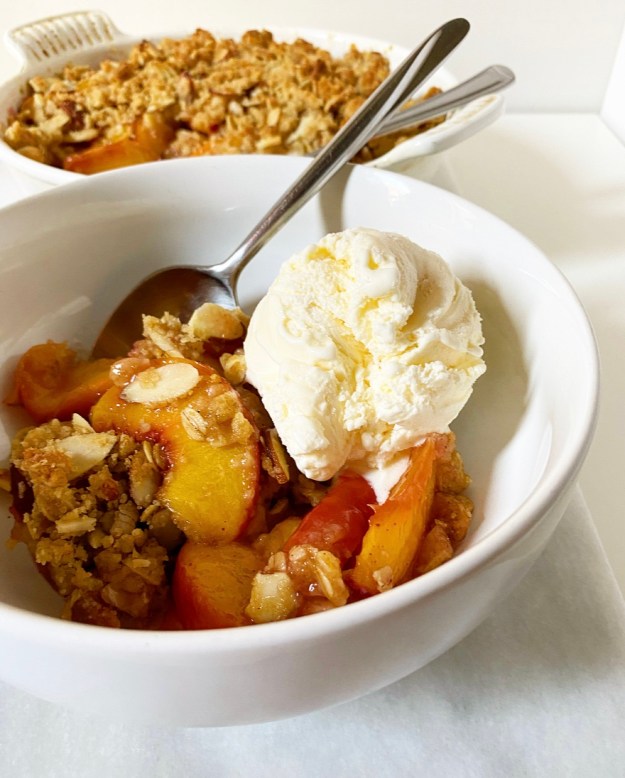 I really can’t get enough of this dessert, y’all. It’s sweet, tangy, crispy, crunchy and summery as all get-out! It keeps well for days, too. The crisp topping retains its texture remarkably well, even after your fourth day dipping into it in the fridge. It’s as good cold as it is hot, but either way, don’t skip the ice cream.