Over the course of the next twenty days, there will come a moment where you’re glad to have this Easy Peppermint Mocha Fudge recipe in your back pocket.
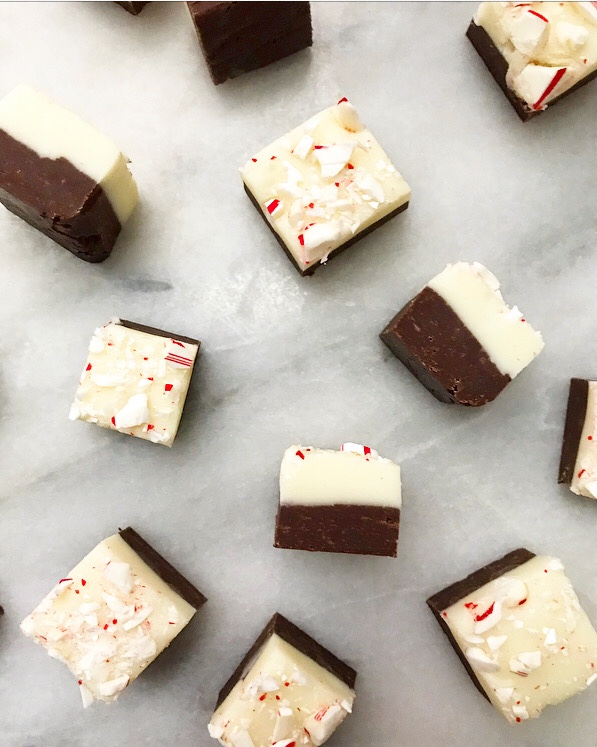 Because it really is easy. Like six ingredients easy.
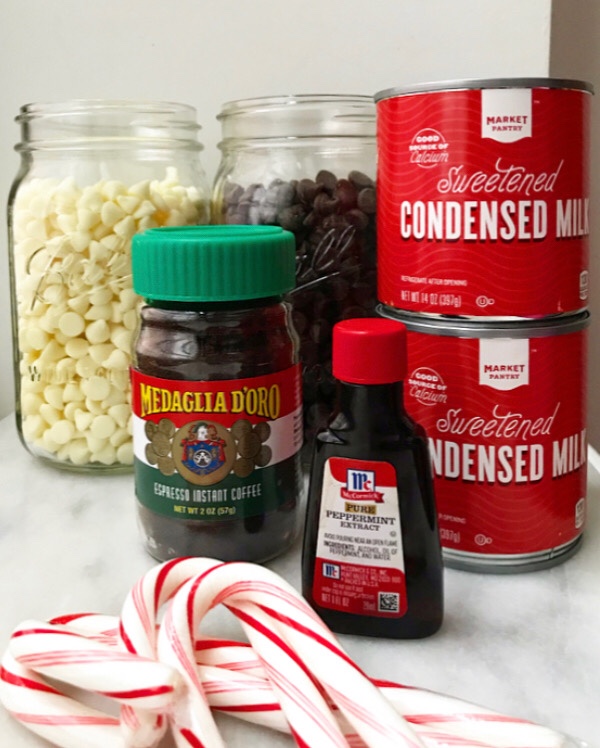 No boiling sugar, no candy thermometer easy.
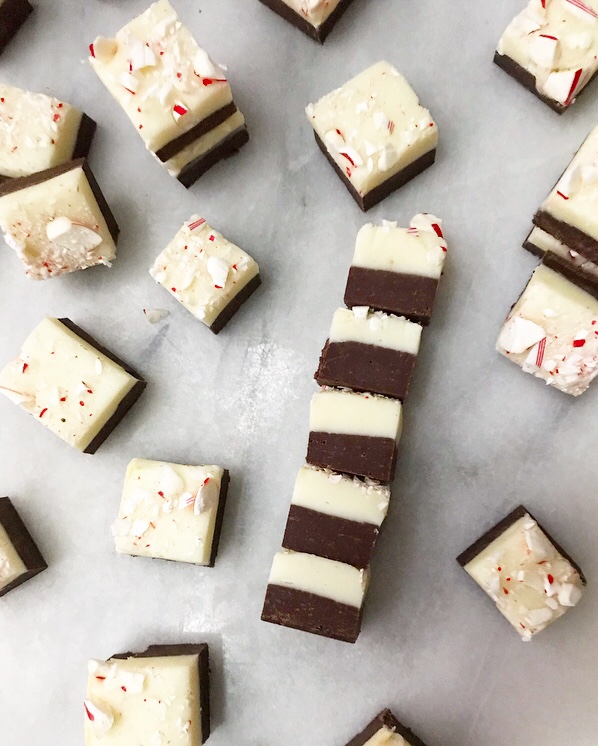 Make it in 20 minutes in a double boiler or—even easier—the microwave…easy.
 But nobody will know that you made these little morsels of holiday magic without having to think too hard, or that the batch makes enough for multiple holiday gifts (just add cute bags or tins), so you didn’t have to overextend yourself.
 And nobody is going to bite into this rich, dense, silky fudge and think “I bet he/she/they made this with sweetened condensed milk and chocolate chips instead of the ‘traditional’ way.” Nope.
 In fact, I guarantee you that all anybody will be thinking is how to get another piece of this double-layer minty coffee confection into their faces as soon as possible.
Looking for more peppermint mocha? Check out these cookies!
Looking for more easy holiday candy? See here and here.
Easy Peppermint Mocha Fudge
makes one 9×13-inch pan
Mocha Layer:
18 ounces (3 cups) semisweet chocolate chips
1 14-ounce can sweetened condensed milk
5 teaspoons espresso granules (I use Medaglia d’Oro)
1/2 teaspoon pure peppermint extract (not mint extract)
Peppermint Layer:
18 ounces (3 cups) white chocolate chips
1 14-ounce can sweetened condensed milk
1/2 teaspoon pure peppermint extract (not mint extract)
Garnish:
4 candy canes or 10 starlight mints, crushed (I prefer starlight mints)
Lightly grease a 9×13-inch pan. Line with parchment, leaving overhang on the two long sides, and grease again. Set aside.
To make on the stove:
Fill a small pot with 1-2 inches of water. Set a heatproof bowl over the top, ensuring that the water does not touch the bottom of the bowl. Remove bowl and bring water to a simmer.
Make the mocha layer. Combine chocolate chips, sweetened condensed milk, and espresso granules in the heatproof bowl. Set the bowl over the simmering water. Use a silicone spatula and/or whisk to stir mixture until chips are melted and fudge is even in color. It will be thick. Remove from heat and stir in peppermint extract. Transfer mixture to prepared pan and press into an even layer all the way to the corners. Freeze full pan while you make the peppermint layer.
Wash the heatproof bowl and dry well. Return pot to a simmer.
Combine white chocolate chips and sweetened condensed milk in heatproof bowl. Set the bowl over the simmering water. Use a silicone spatula and/or whisk to stir mixture until chips almost all are melted and fudge is even in color. It will be thinner than the mocha mixture. Remove from heat. Whisk in peppermint extract and continue until mixture is totally smooth.
Remove pan from the freezer. Spread peppermint mixture over the top of the mocha layer, smoothing it all the way to the edges. Garnish the top with crust candy canes or starlight mints.
To make in the microwave:
Make the mocha layer. Combine chocolate chips, sweetened condensed milk, and espresso granules in a medium microwave safe mixing bowl. Microwave in 30 second increments, stirring in between, until chips are melted and fudge is thick and even in color. Stir in peppermint extract. Transfer mixture to prepared pan and press into an even layer all the way to the corners. Freeze full pan while you make the peppermint layer.
Wash the microwave safe bowl and dry well.
Combine white chocolate chips and sweetened condensed milk in the bowl. Microwave in 30 second increments, stirring/whisking in between, until almost all chips are melted and fudge is even in color. Whisk in peppermint extract and continue until mixture is totally smooth. Mixture will be thinner than the mocha layer.
Remove pan from the freezer. Spread peppermint mixture over the top of the mocha layer, smoothing it all the way to the edges. Garnish the top with crust candy canes or starlight mints.
Both methods:
Refrigerate fudge for at least 1 hour. Run a thin, flexible knife around the edges of the pan. Use parchment overhang to lift fudge onto a cutting board.
Use a greased knife to slice fudge into 1-inch pieces. Wipe the knife clean between cuts.
Fudge is best kept in the refrigerator for up to two weeks, but may be kept at room temperature for up to 5 days. Candy cane/starlight mint garnish will melt over time.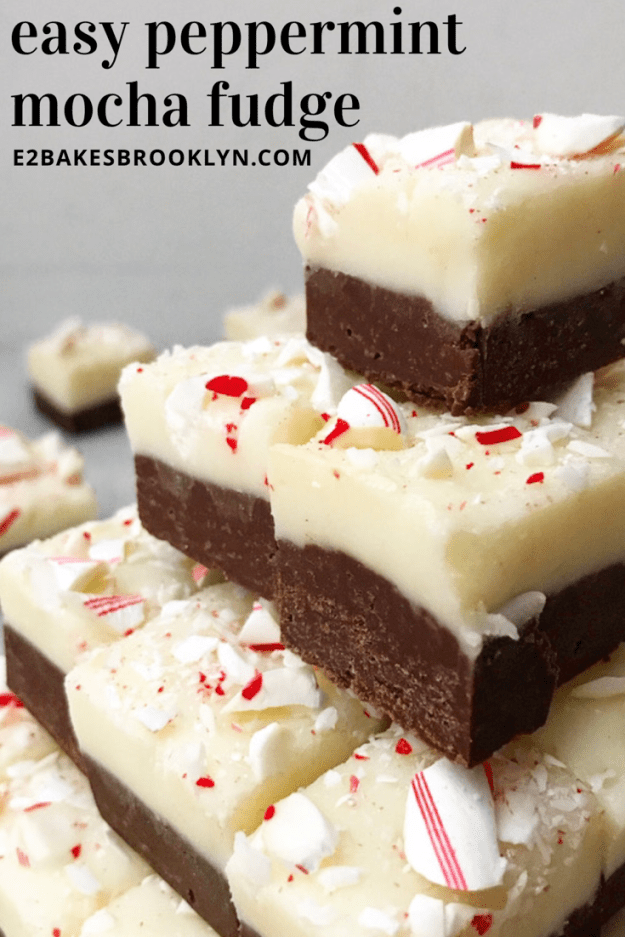


 If you are looking for an apple cake with brown sugar and warming spices, this isn’t the one. (
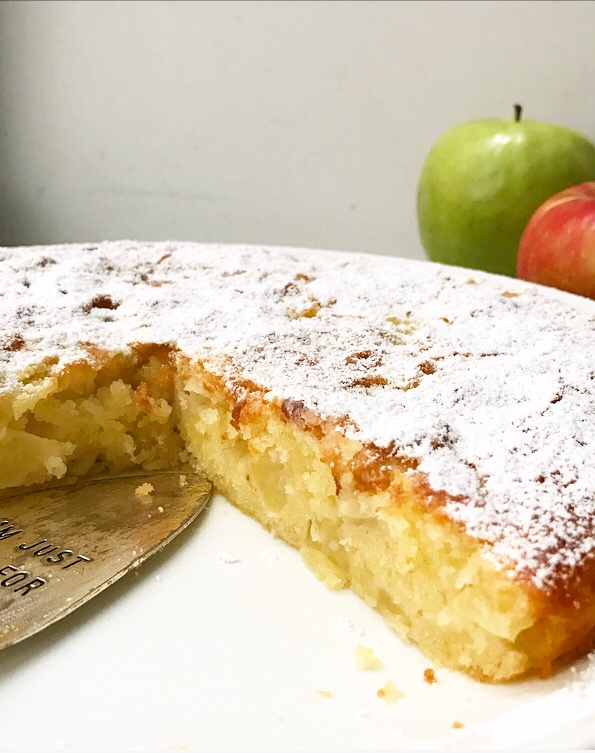 If, however, you’re looking for a buttery, almost custard-like cake with only a teaspoon of vanilla extract to distract from the flavor of tender fresh apples, you’ve come to the right blog.
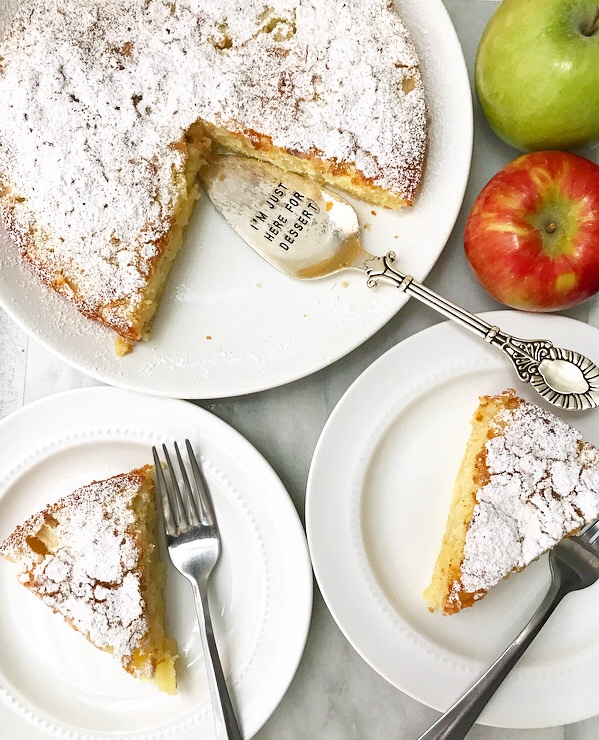
 Meet the French Apple Cake. It’s easy. It’s elegant. It’s French home-baking at its finest.
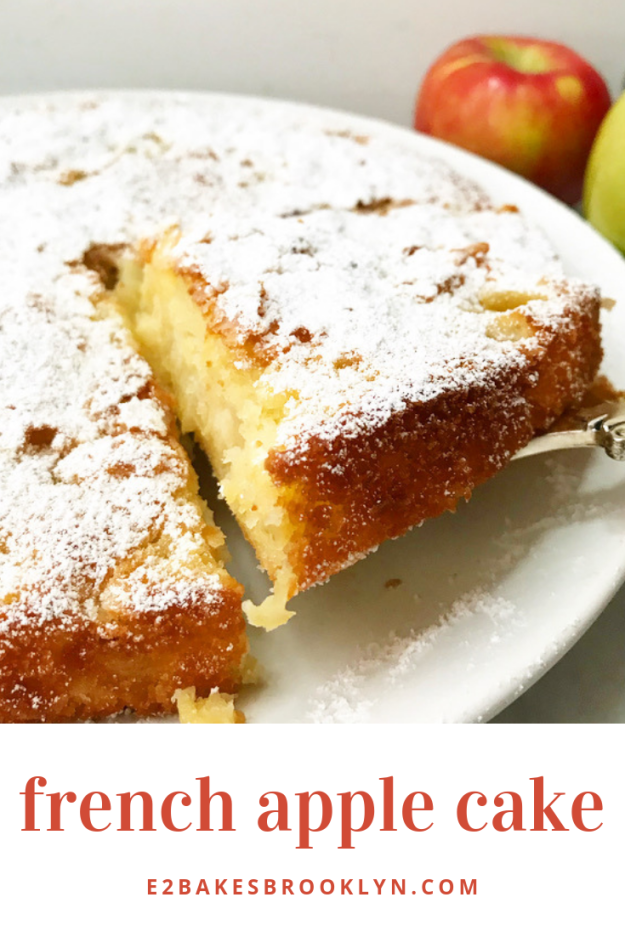
 This little cake is perfect for the upcoming holidays (or just any ol’ day) because it requires minimal effort and delivers big time. Also, it requires exactly nine ingredients (ten, if you include the confectioner’s sugar) and there’s an 80% chance you have all of them already.
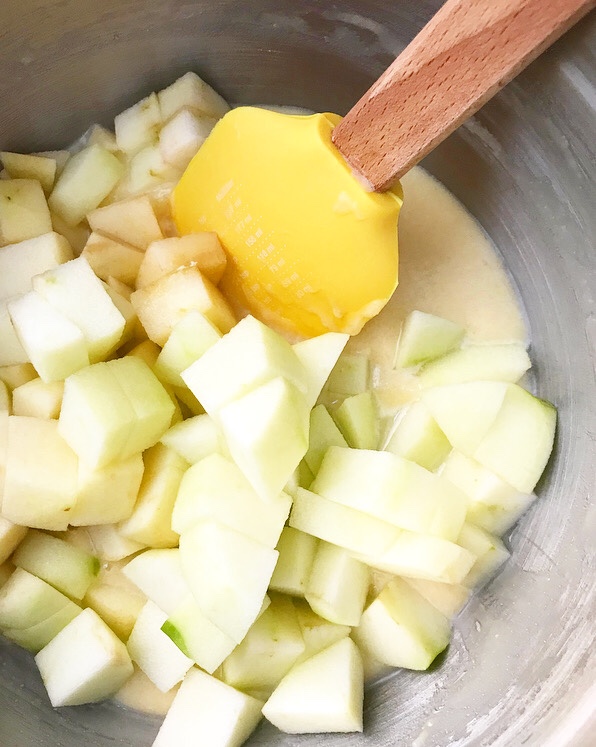
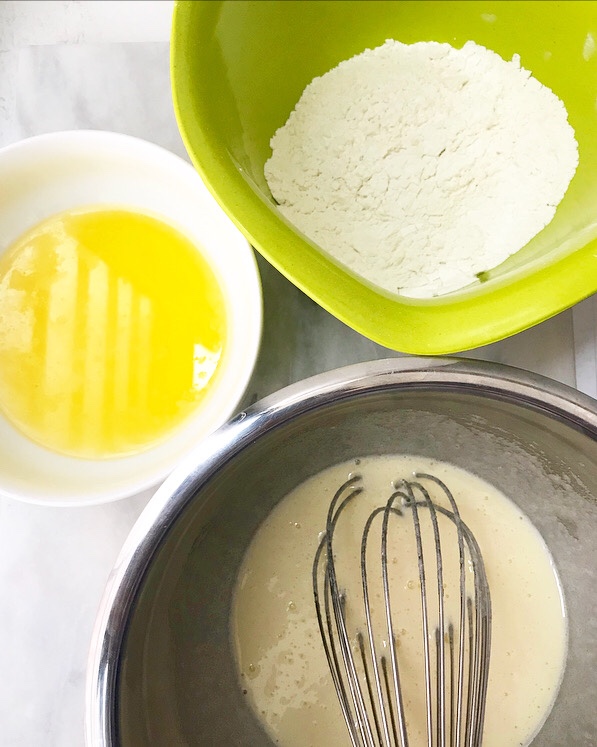
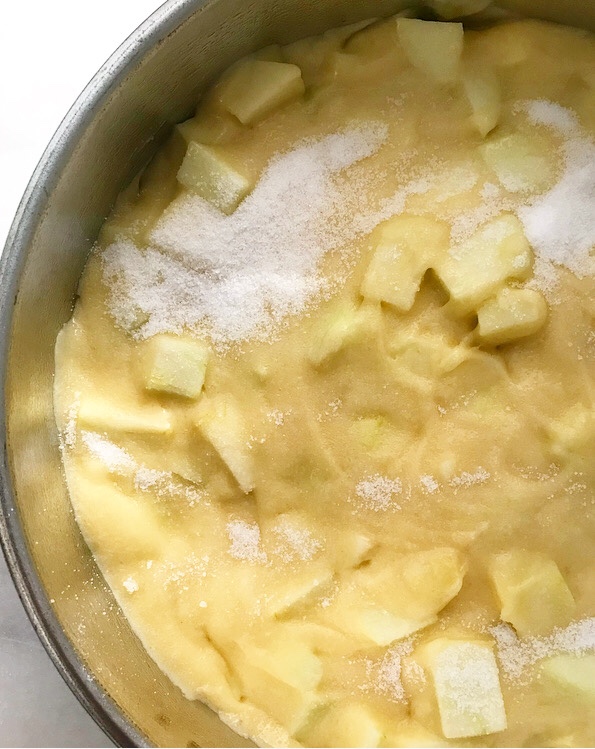 There’s no need to soften any butter either, so you can conceivably have this in the oven in under 20 minutes. You won’t even need to break out your mixer!
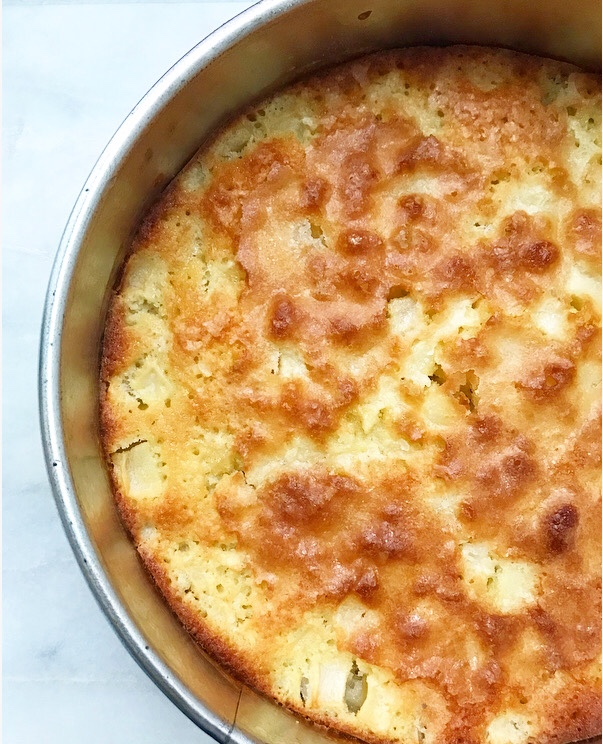
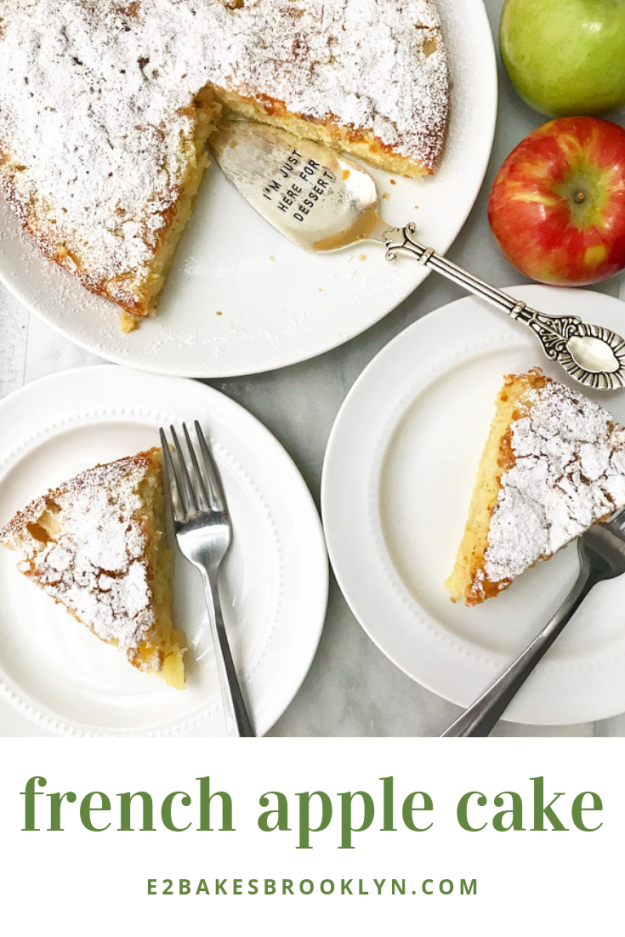
 This beauty bakes up in about 45 minutes, and since it doesn’t require frosting or filling or anything more than a dusting of confectioner’s sugar, it only needs a 15 minute rest before you can release it from its springform and slice it up.
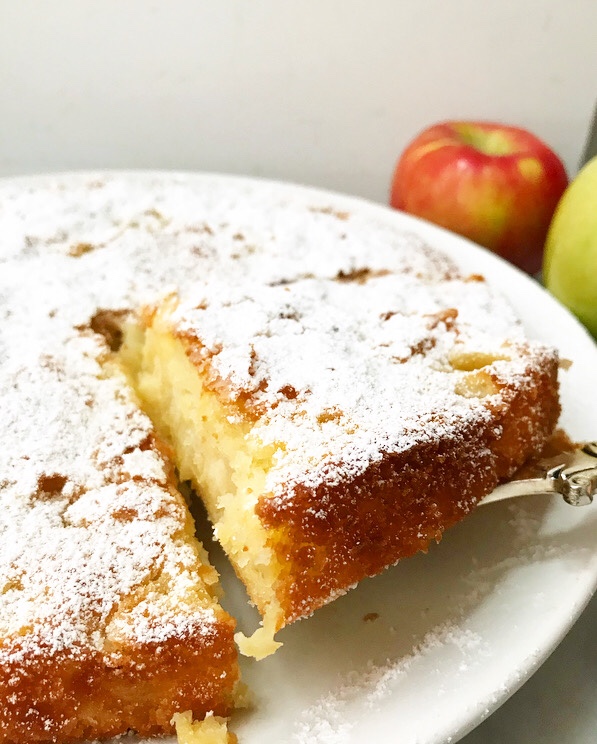 You read all that correctly. If you crank the oven right now, you can be eating French Apple Cake in 80 minutes.
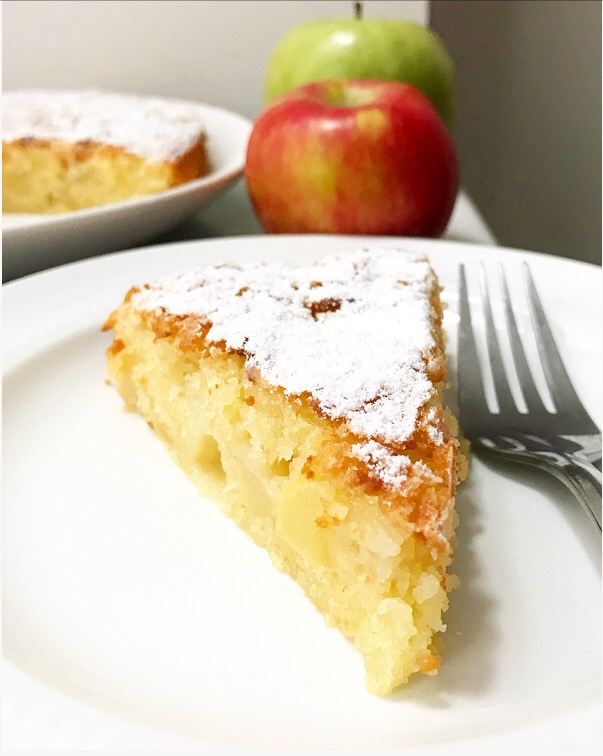 I’d start moving toward the kitchen, if I were you.
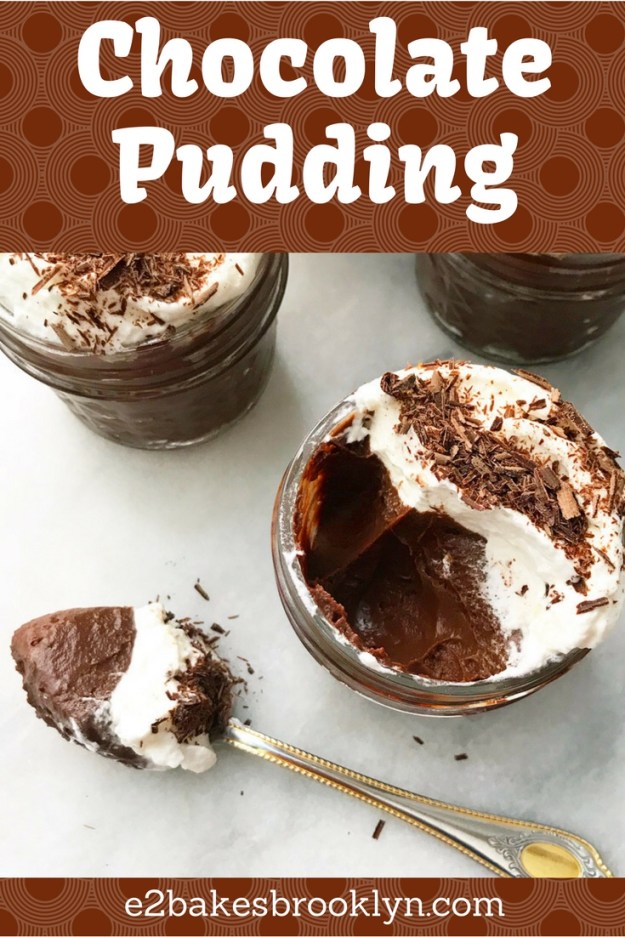
 I’m usually not the sort of blogger who labels her own recipes as “the best ever,” but y’all…this Chocolate Pudding might be the best ever. At the very least, it’s the best I’ve ever had.
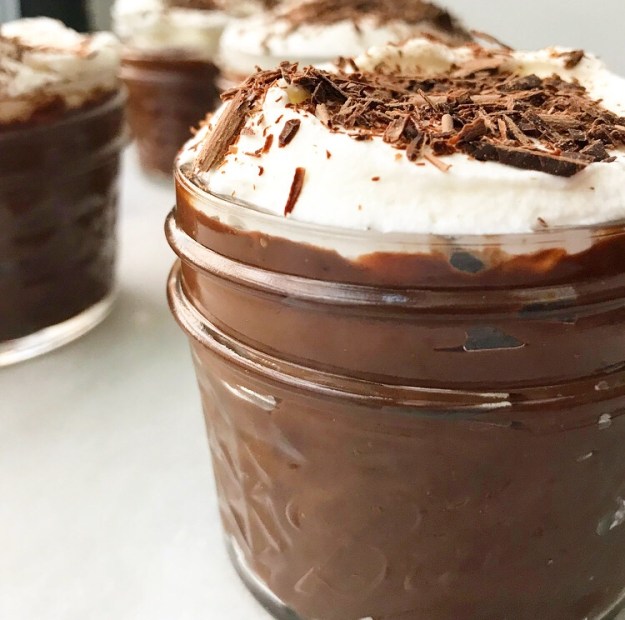 Of course, until a few years ago, I’m pretty sure that the closest I’d ever come to eating pudding made from scratch was my mom making Jell-o Cook & Serve vanilla pudding on an occasional weekend night. I’m not complaining though—she served it in a set of rarely-used champagne coupes, so it felt very fancy for something we ate on the couch in front of the TV.
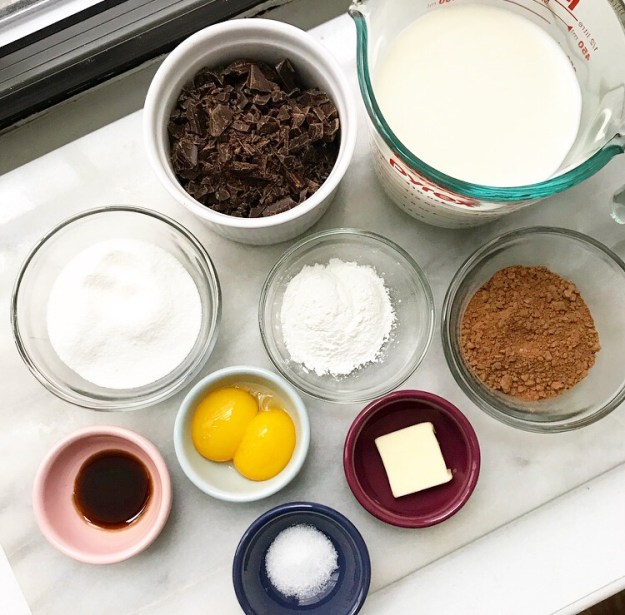
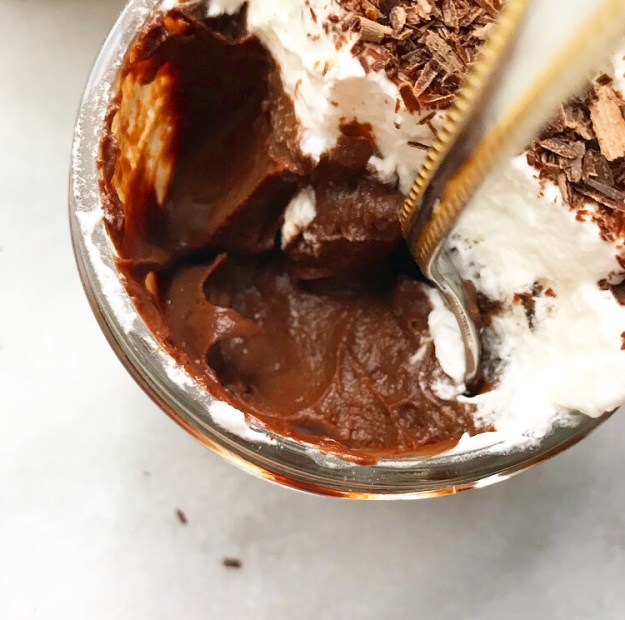
 This pudding though? It doesn’t need any elegant glassware to feel luxurious. It’s made with both cocoa and chopped bittersweet chocolate, giving the finished pudding a bold, in-your-face flavor. I cut the added sugar way down too, so there’s no cloying sweetness to distract from the intensity of the chocolate.
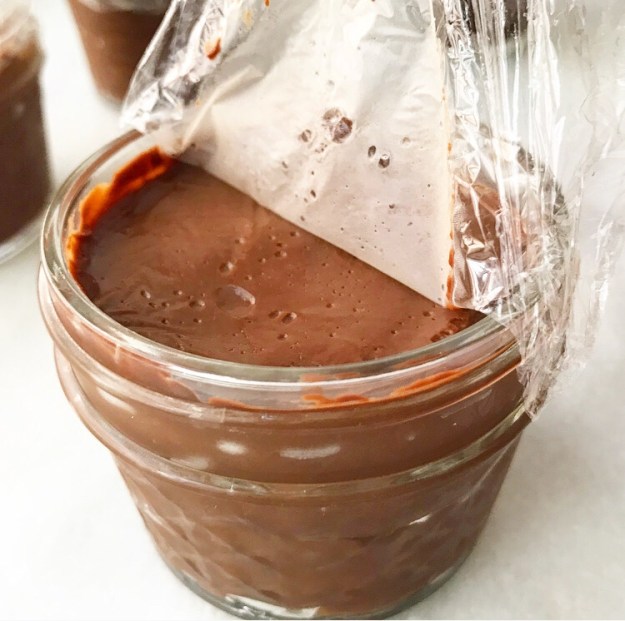
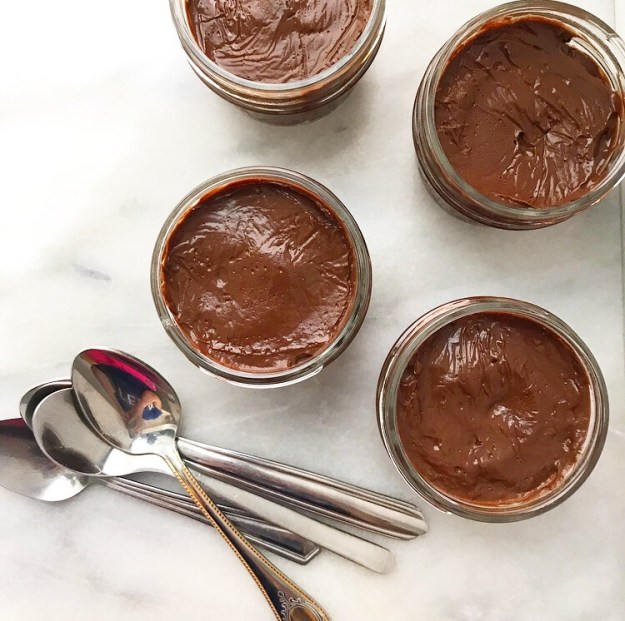
 I can guarantee you that there is no boxed mix on the market that makes a chocolate pudding that’s anywhere near this chocolaty.
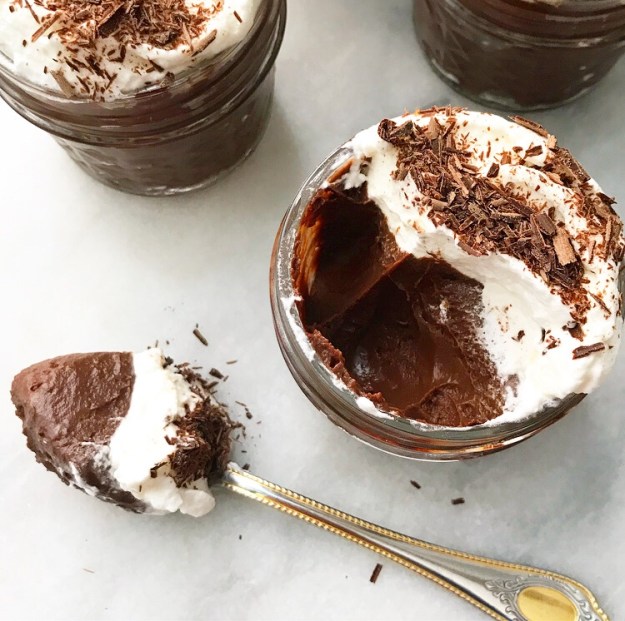
 This Chocolate Pudding is super thick, too. I mean, your average store bought pudding cup can’t hold a spoon straight up like that, now can it?!
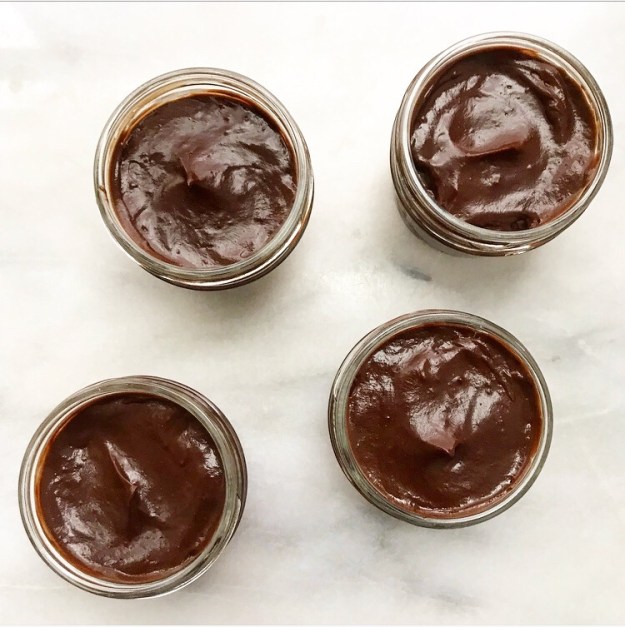
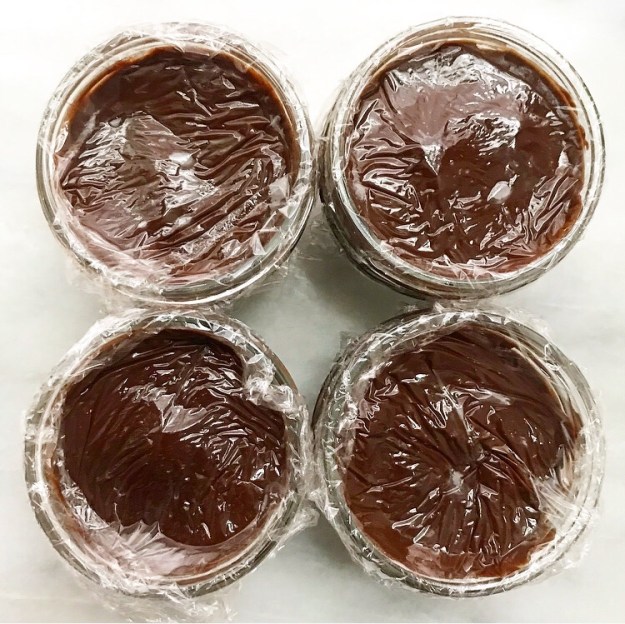
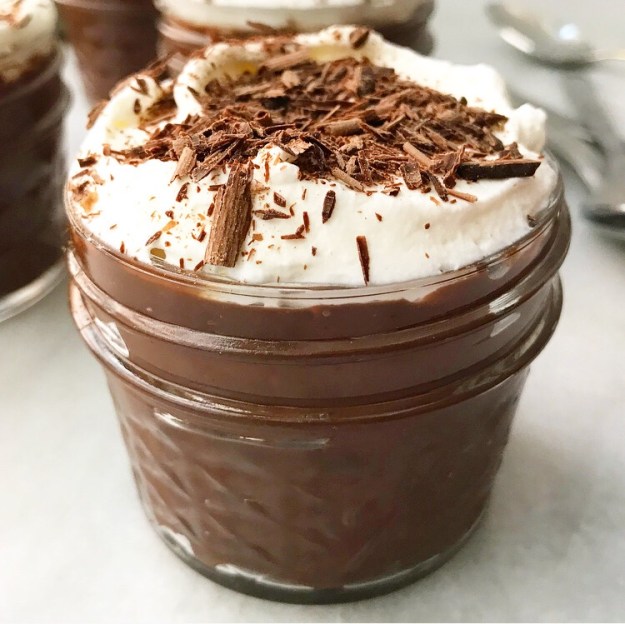
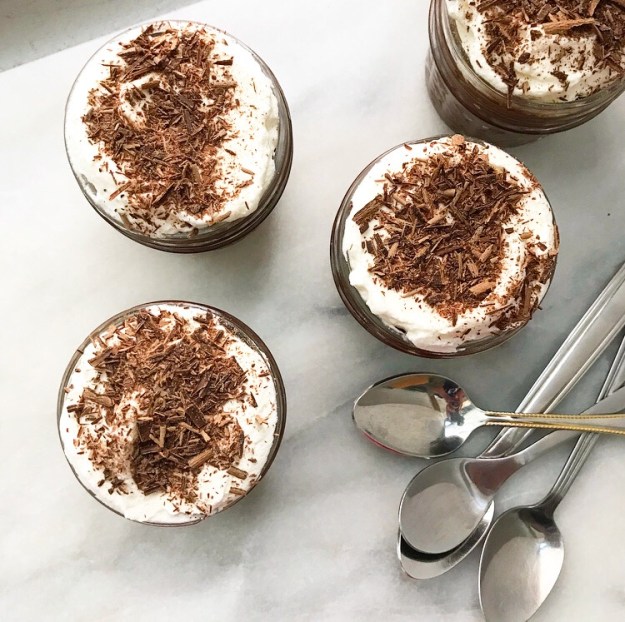 Another thing I love about this recipe is that it takes all of twenty minutes from the time I start measuring out ingredients to the time I put the pudding in the refrigerator to chill. This makes it perfect for a lazy night in or for a game night or cookout. I even think you could deck the individual servings out with whipped cream and shaved chocolate and serve them at a dinner party.
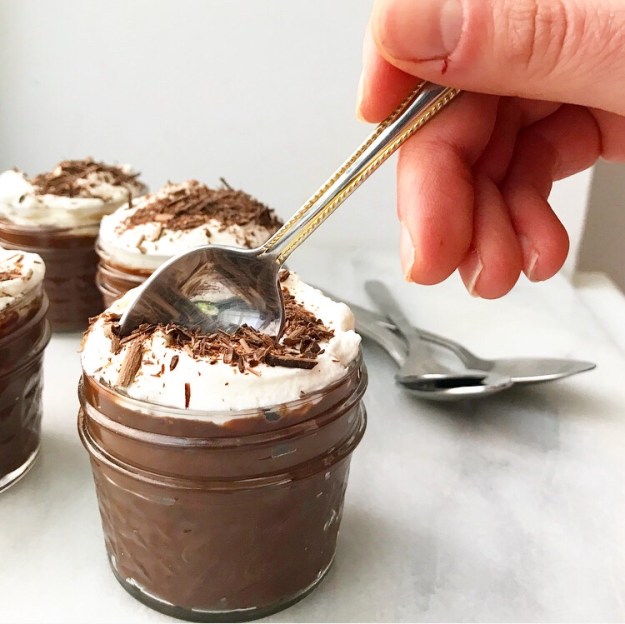
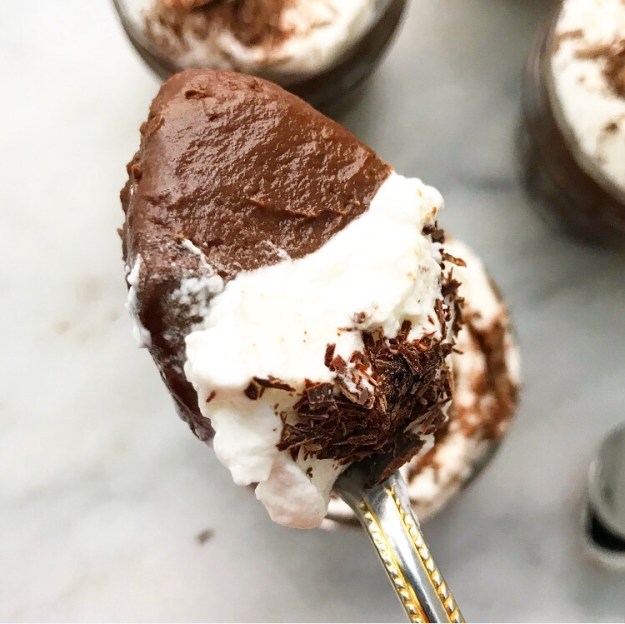
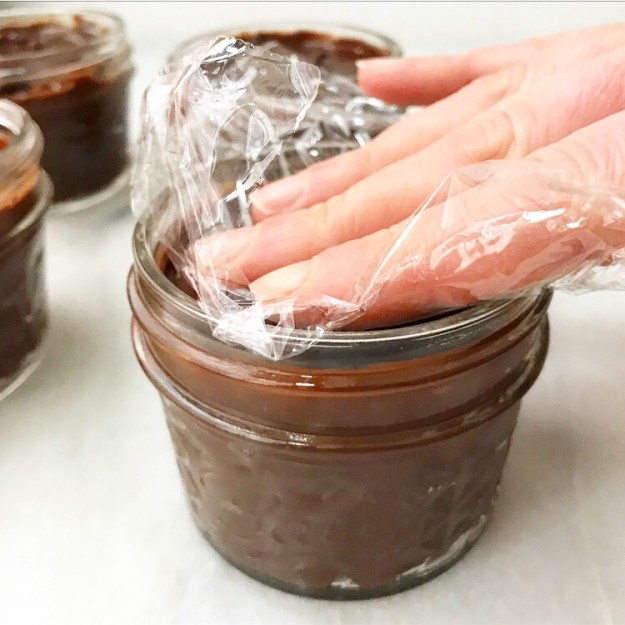
 My Chocolate Pudding stays good for a few days in the fridge, so it’s a great make ahead option too. If you can resist the temptation to take a cold, creamy bite, that is.
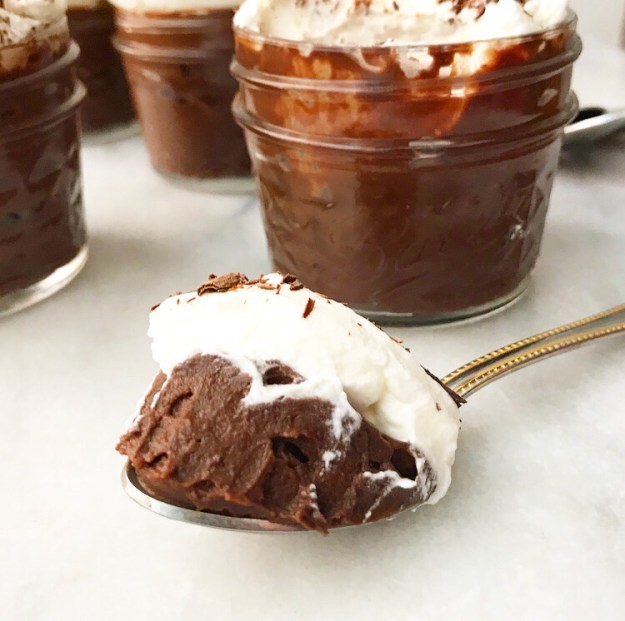
 Remember that huge, ridiculous
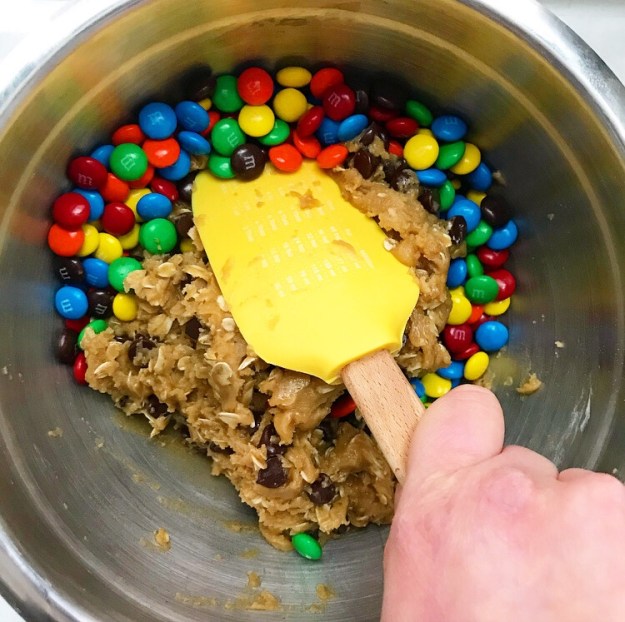
  You know what’s still taking up space in my kitchen? This comically large container of M&Ms. It’s made it through two of those cakes, a batch of cookies and lots of late night snacks, and it’s still kickin’.
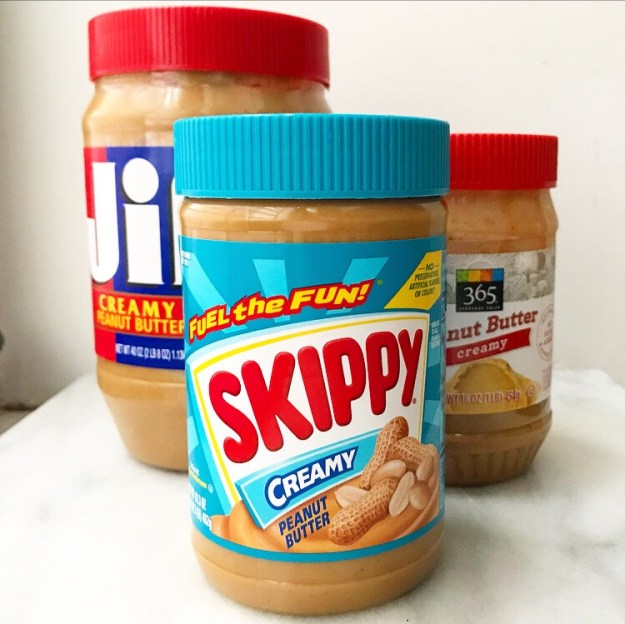 Also taking up space in my kitchen? Three different jars of peanut butter. THREE. And they’re all different brands. Just…what? I really need an Excel spreadsheet to keep track of all my baking supplies so I’m not compelled to pick up peanut butter every time I see it on sale.
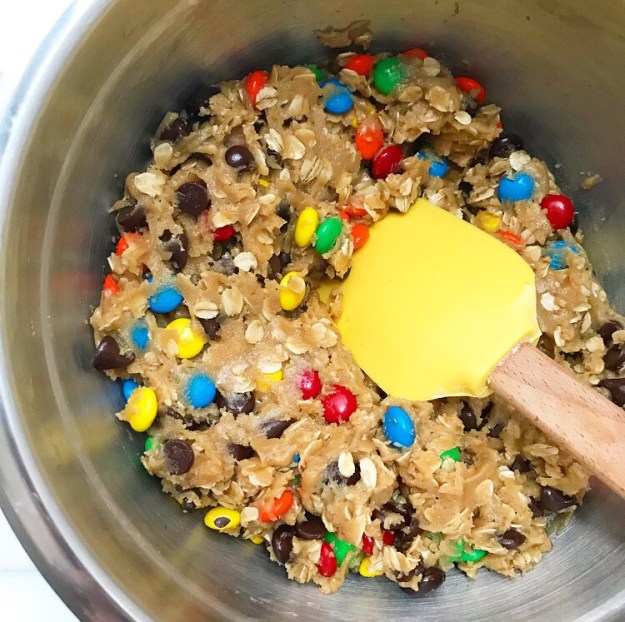
 So, what does one do with all that peanut butter and that huge container of M&Ms? Add some oats and make Monster Blondies, of course!
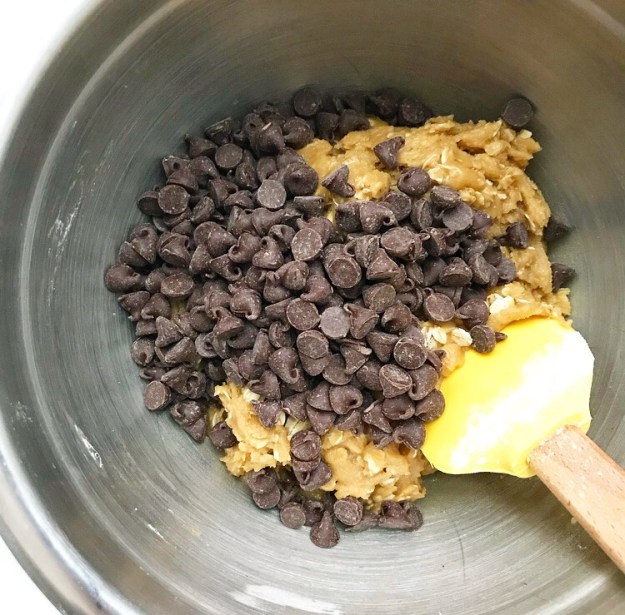
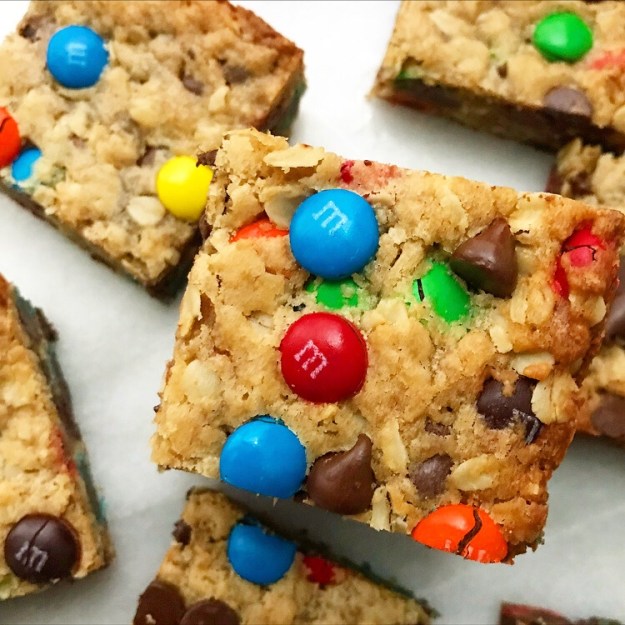
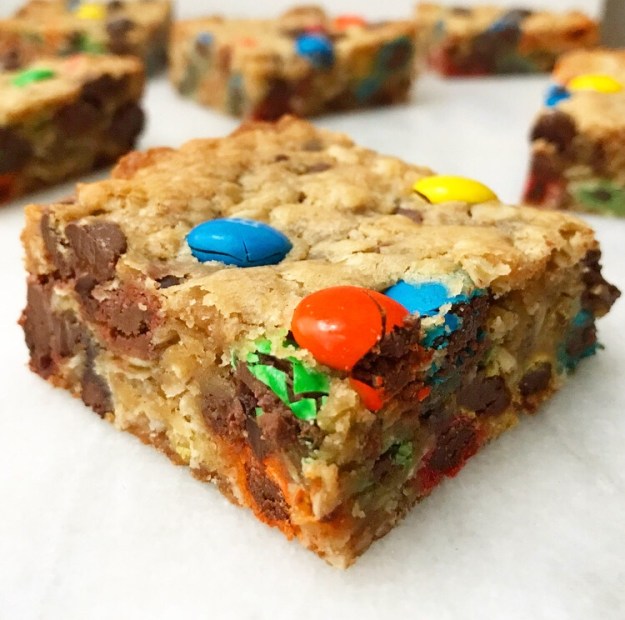 What makes these blondies so…monstrous? Well, they’re a riff on Monster Cookies, a sort of “everything but the kitchen sink” cookie that, at its most basic, contains peanut butter, oats, M&Ms and chocolate chips.
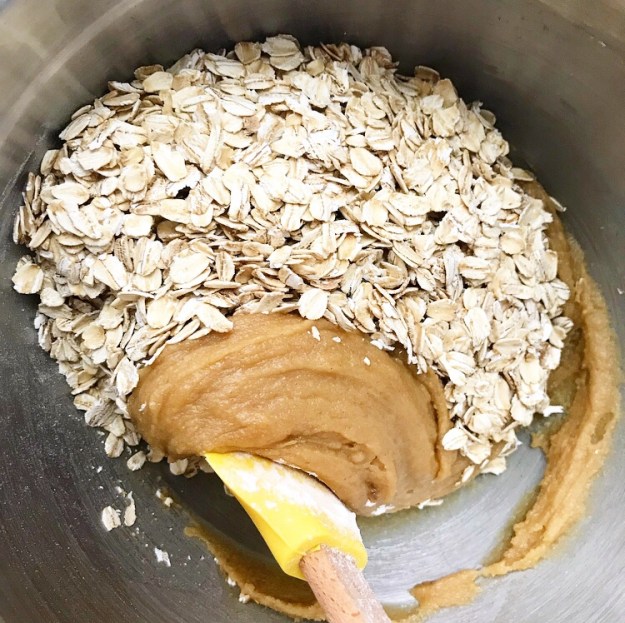
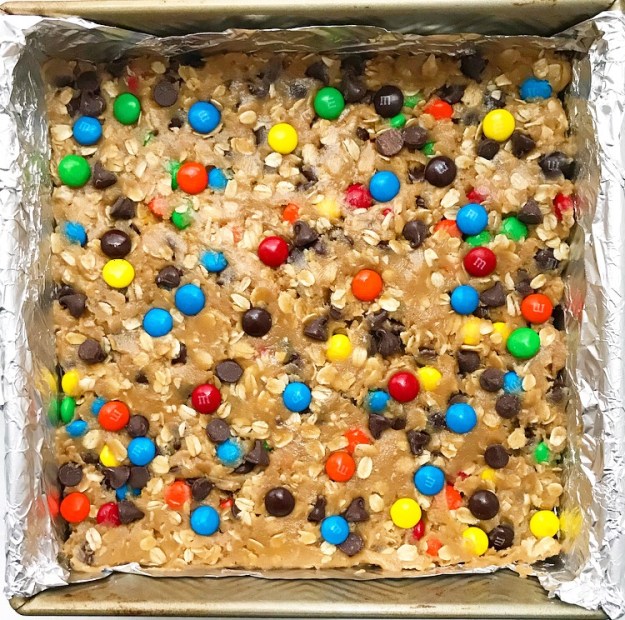 The original cookies are terrific, but skipping the cookie dough and tossing all those ingredients into blondie batter is absolutely the way to go! The resulting blondies have all the flavors and textures from their namesake recipe, but with an extra thick and chewy
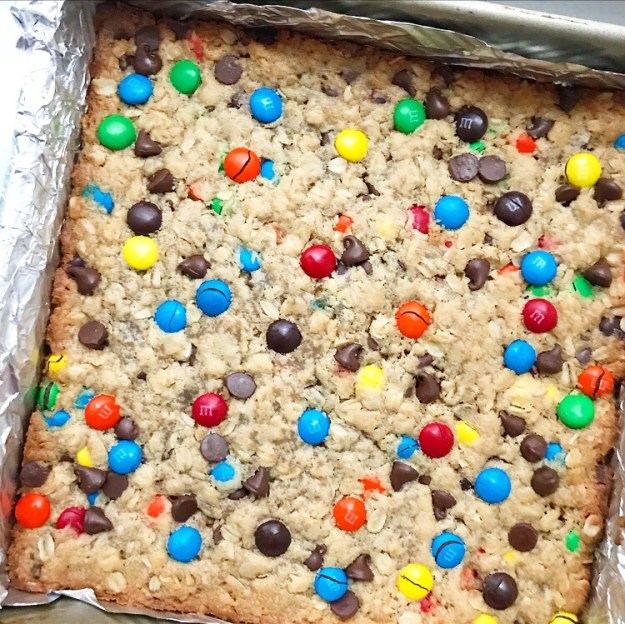
 Not only that, but blondies are way easier to make than cookies—this recipe comes together with just one bowl and a silicone spatula! And, of course, they don’t require baking in batches. Monster Blondies are ready to come out of the oven just 40 minutes after you start making the batter!
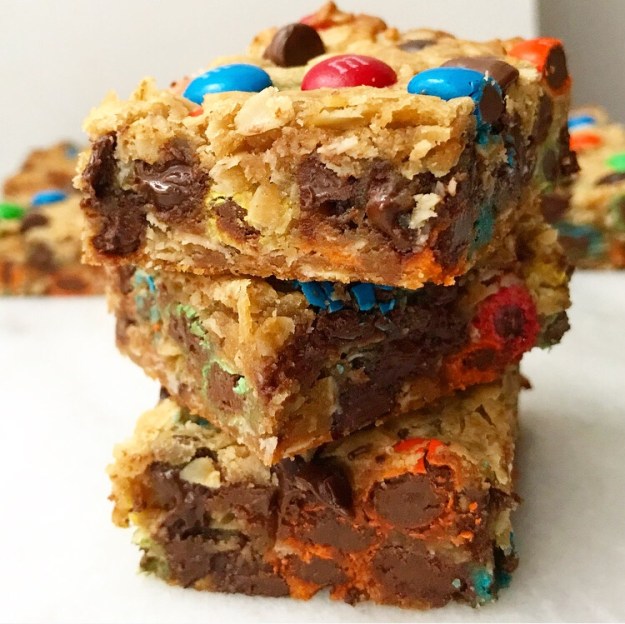
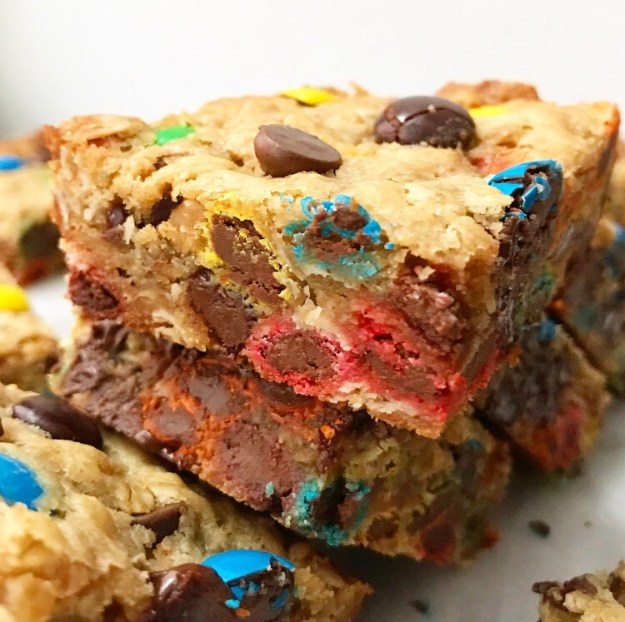 Once the blondies have cooled slice them up and dig in! You’ll love the soft & chewy blondie base, the slight saltiness from the peanut butter, the texture from the oats and crackly candy coating, and tons of chocolate. As far as I’m concerned, they’re the very best kind of mid-week pick-me-up ❤
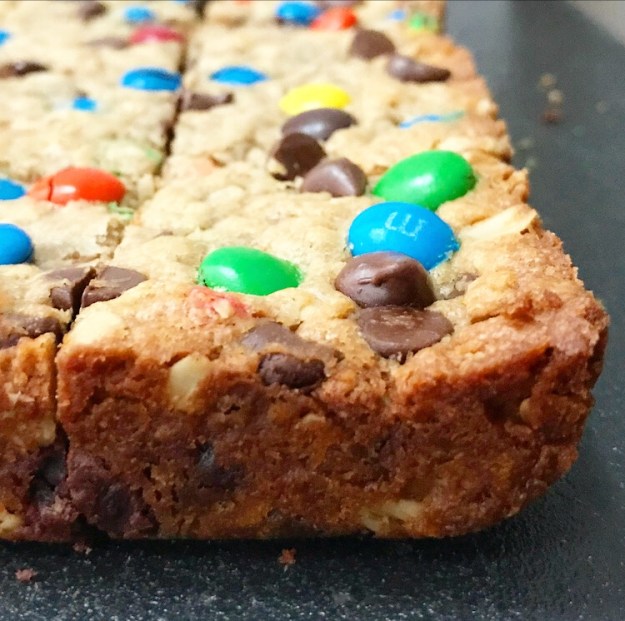
 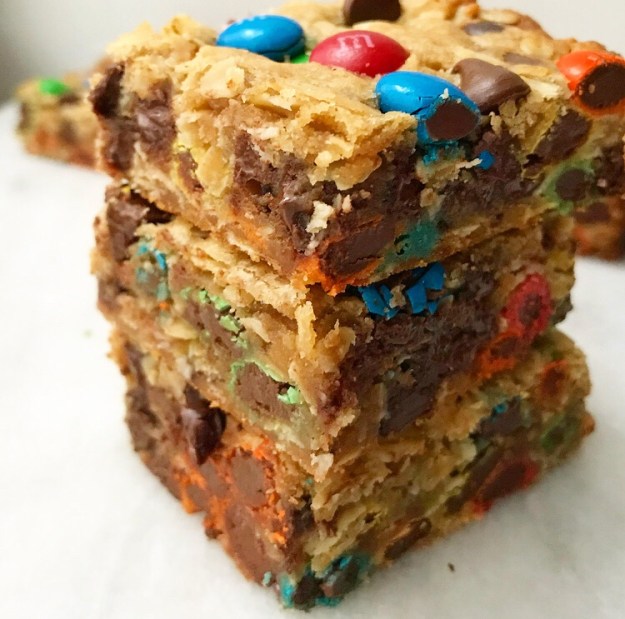 Monster Blondies
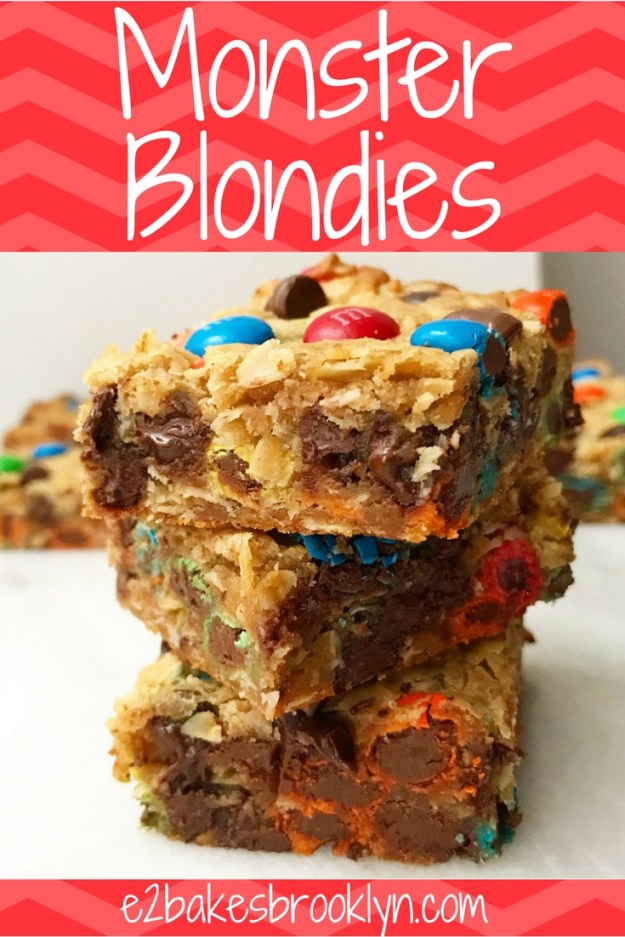
 I won’t lie to you—I was tempted to take today off of blogging. I made fifteen cakes between last Monday and this Monday. I like making cake, but fifteen is A LOT.
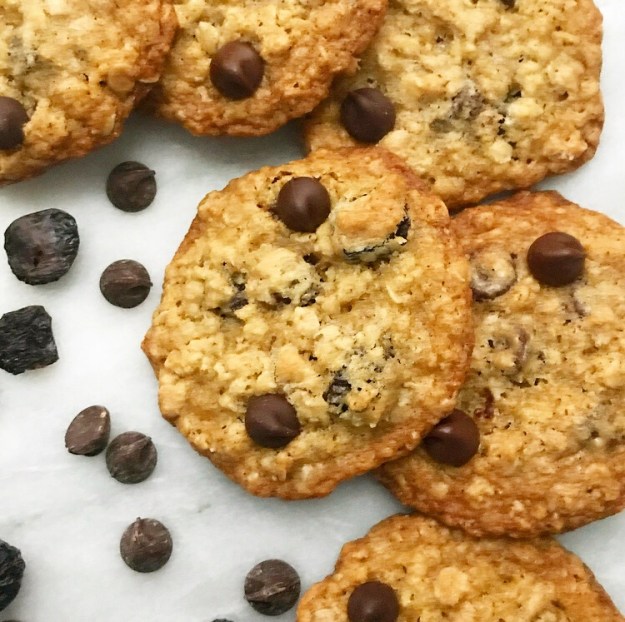 But I love this little corner of the internet, so I’m here anyway–just taking it easy this week. I’m saying a big “NO” to
 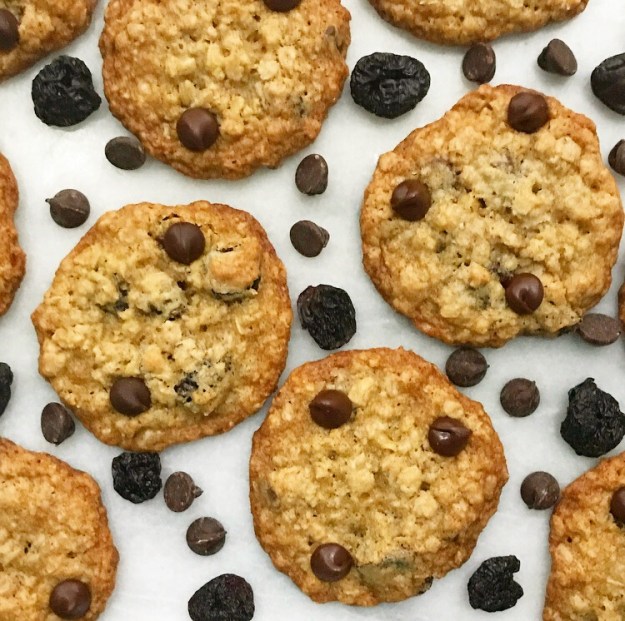 But I’m saying yes to
  Yes to oats. (And butter and brown sugar and the tiniest pinch of nutmeg.)
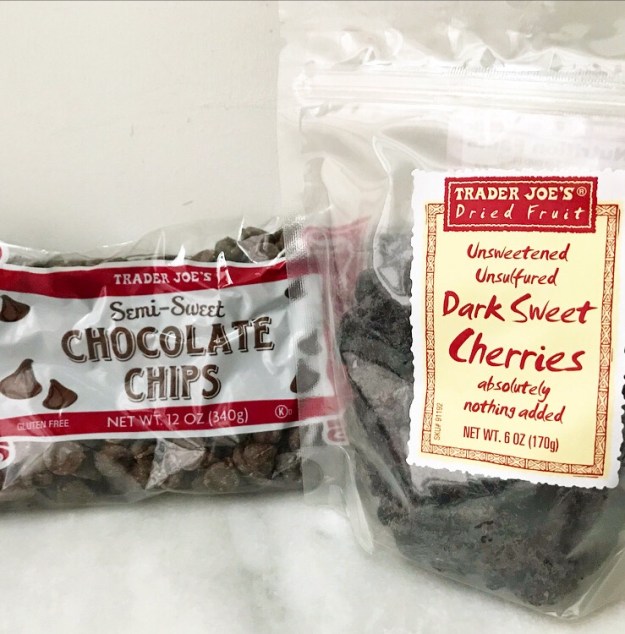
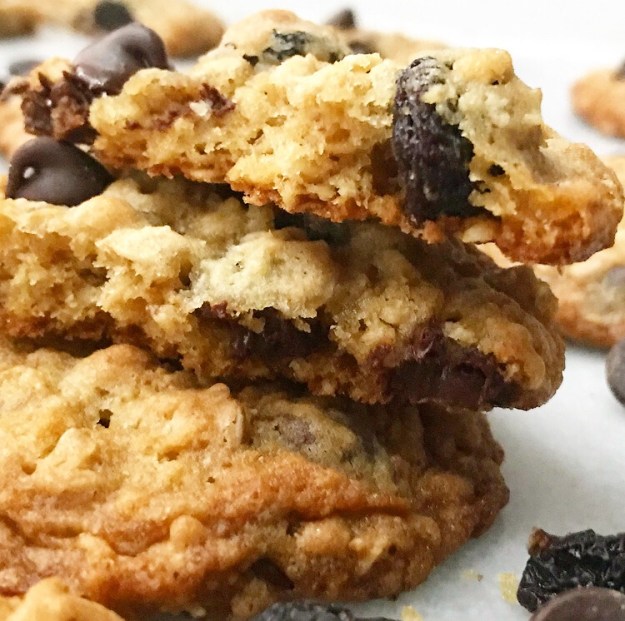
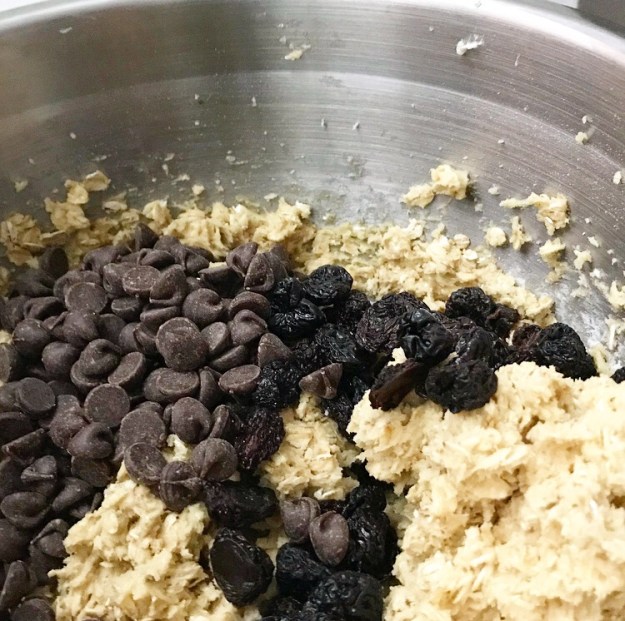 Yes to chocolate chips. Yes to dried cherries.
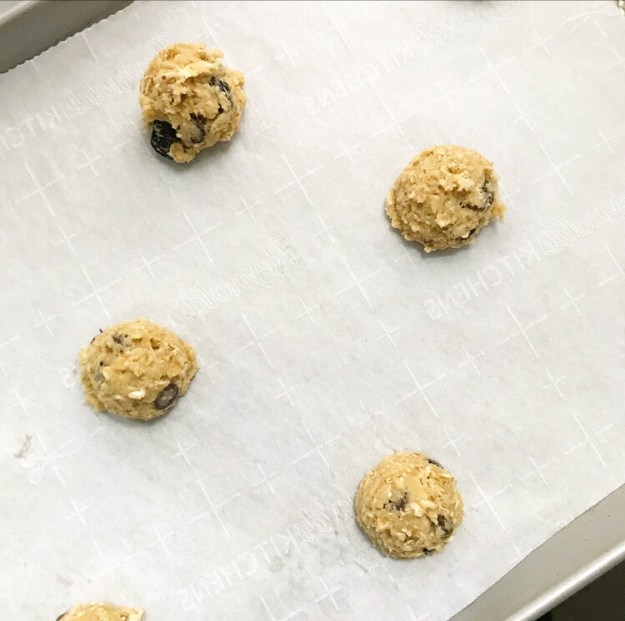 Yes to dough that doesn’t need a chill.
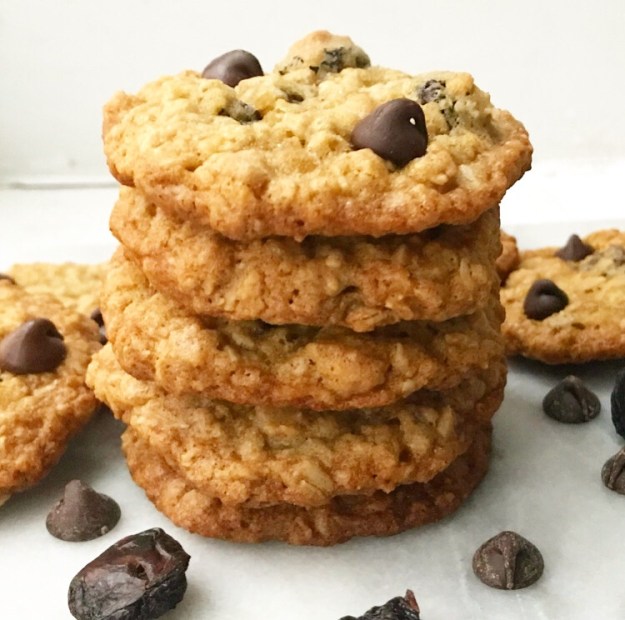
 Yes to Chewy Chocolate Cherry Oatmeal Cookies.
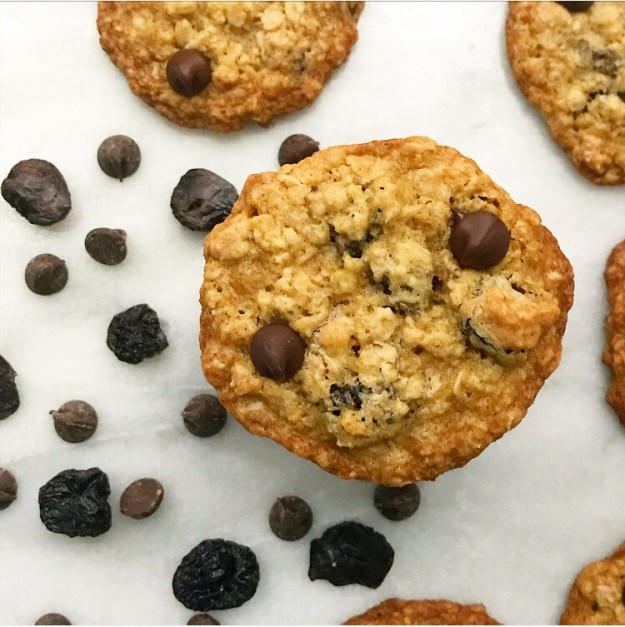 Yes.
Yes.