Have I made icing thumbprints on here before? Sure have! But I’ve never made them vegan and gluten-free, probably because I didn’t have a great vegan, gluten-free cookie base yet.
But, as you might have guessed, I do now. On my never-ending quest to feed all my various people, I spent a good chunk of the holiday season figuring out a dairy- and egg-free almond flour dough that works for a multitude of cookie applications. So far, I’ve made some stellar gingerbread and linzers that taste shockingly close to the real deal, and I’ve got all sorts of variations ready to be doled out as the need arises (as it has today).
While using this dough for a completely different cookie recipe last week, it occurred to me that I hadn’t checked to see if it would make good thumbprints. My traditional sugar cookie recipe thumbprints (using it as a verb) like a dream with a tiny adjustment, but would this one?
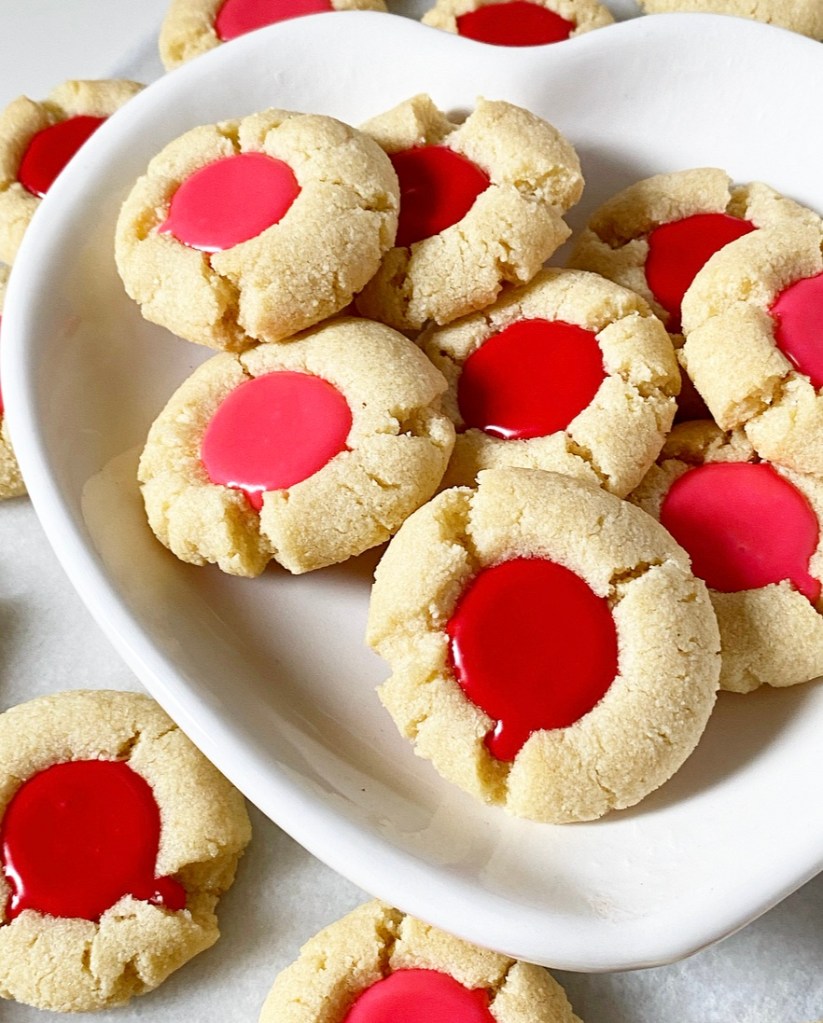
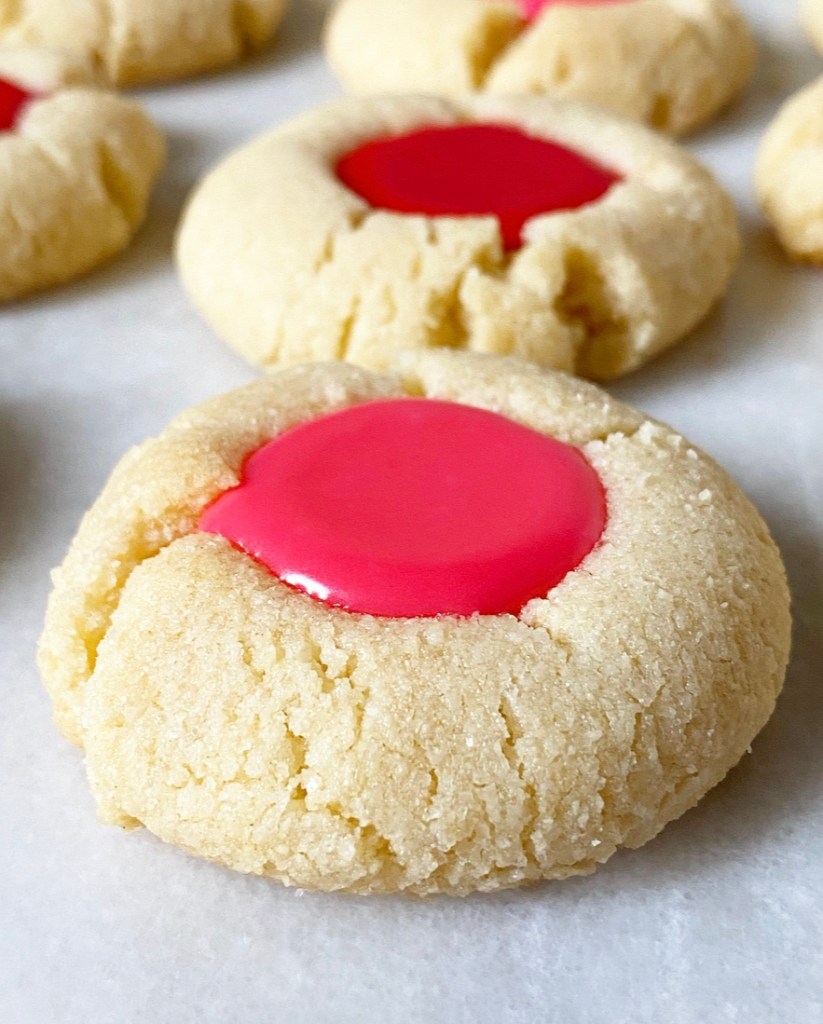
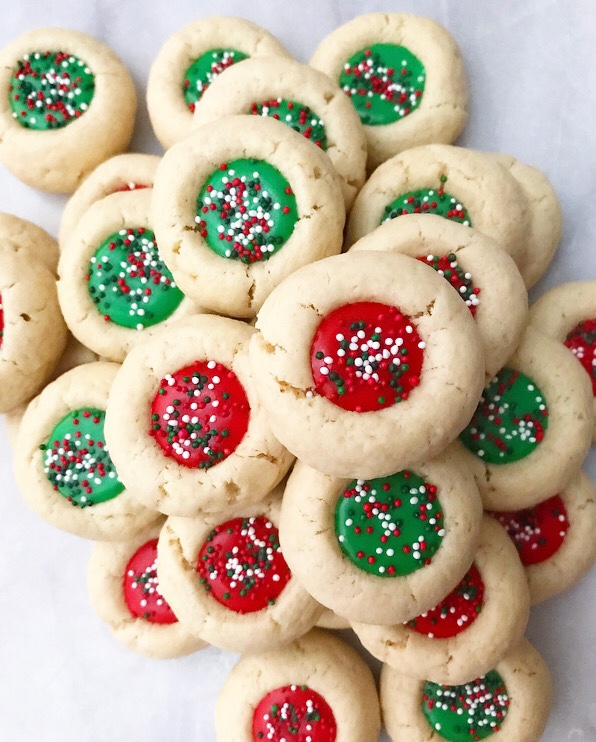
Well, yes. Yes, it would. It does! And with no adjustment at all, which is a dang delight. These cookies bake up somewhere between crisp and chewy and are sturdy enough to hold up against all that icing. What can I say? With a quality base recipe, I am unstoppable. Unstoppable and full of cookies.
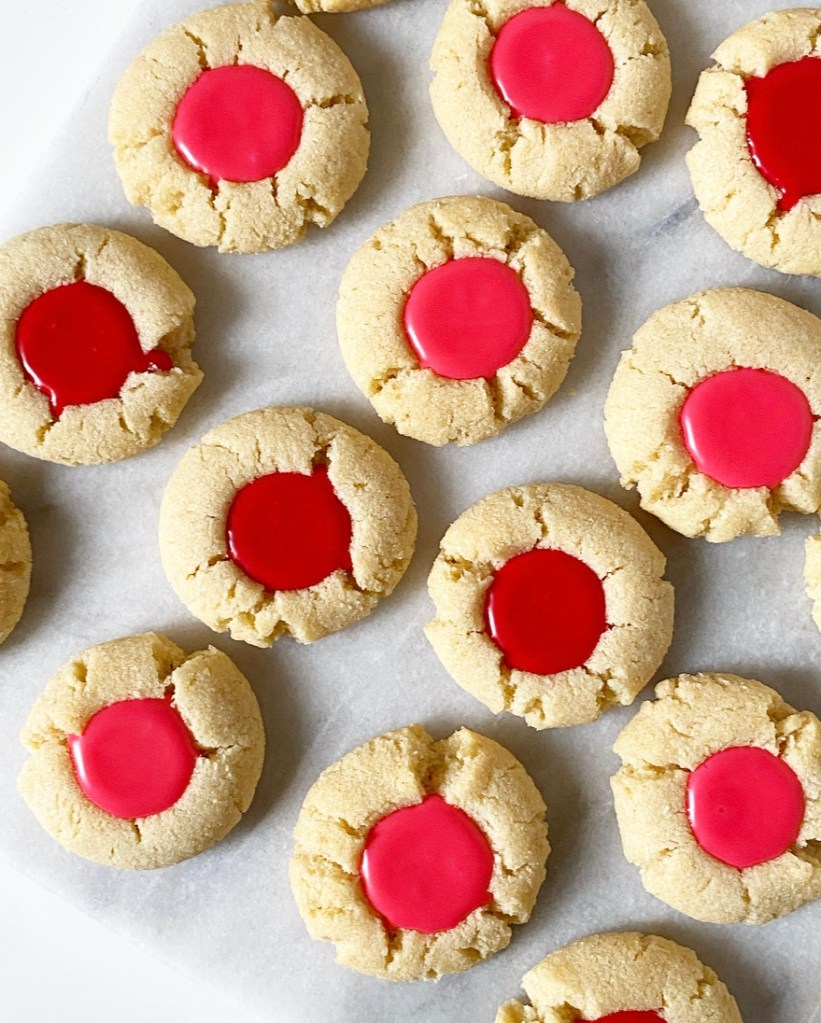
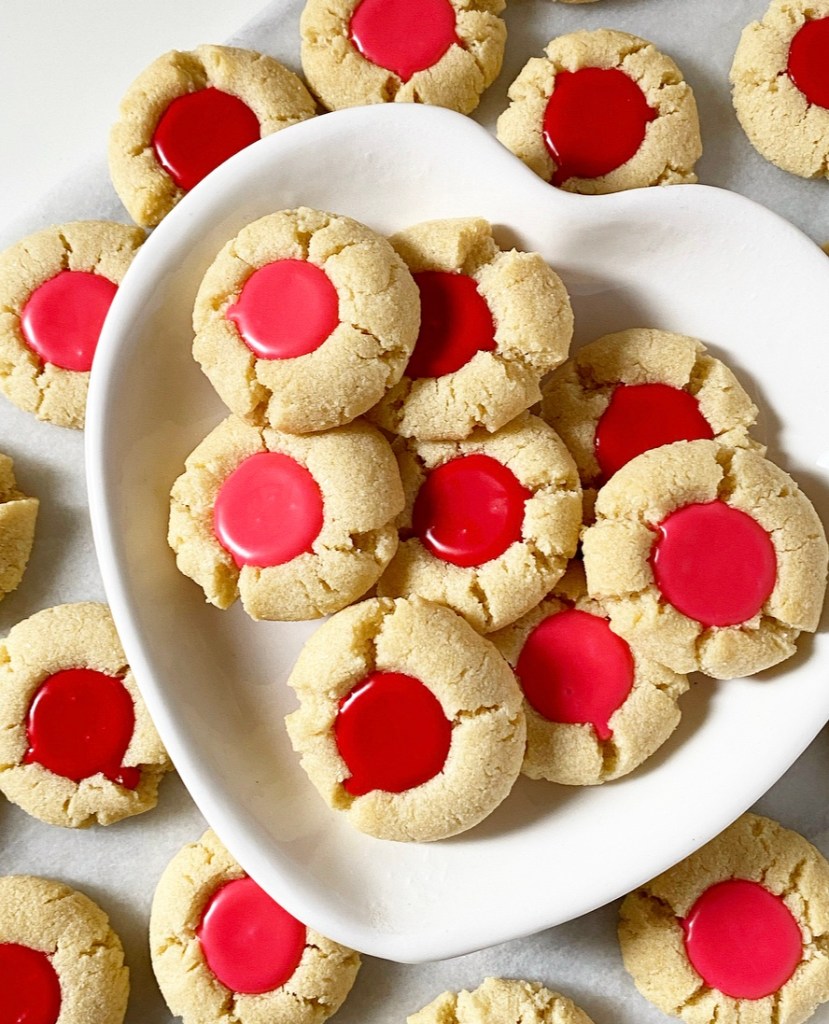
As for the filling, don’t you love these little wells of colorful icing? Say what you want about food coloring, but you can’t deny its cheer factor. With Valentine’s Day around the corner, I went with a vibrant pink and red motif for these, but do whatever makes you happy! I imagine that a display of these in team colors would make for a very festive Super Bowl dessert.
That said, if you’re making these for any occasion, please invite me.
Vegan, Gluten-Free Icing Thumbprints
makes about 2.5 dozen cookies
Cookie Dough:
3 cups blanched almond flour
1 teaspoon baking powder
1 teaspoon Kosher or sea salt
1/2 cup vegan butter, softened to room temperature
2/3 cup granulated sugar
1/3 cup confectioner’s sugar
2 tablespoons maple syrup or light corn syrup
2 teaspoons pure vanilla extract
Icing:
1 1/3 cups confectioner’s sugar, divided
pinch of salt
2 vegan gel or liquid food colorings of choice
2-3 tablespoons (6-9 teaspoons) unsweetened non-dairy milk, divided
In a medium mixing bowl, whisk together almond flour, baking powder, and salt. Set aside.
In a separate medium-large mixing bowl, use an electric mixer to beat vegan butter until fluffy (about 2 minutes). Add sugar and confectioner’s sugar and beat until fully combined (about 2 minutes). Beat in maple syrup and vanilla.
Add dry ingredients in two installments, mixing completely after each addition. Dough may look rubbly, but should hold together extremely well when pinched.
Divide dough in two. Form each half into a disk, then wrap with plastic wrap. Chill for 1 hour or up to 3 days.
Place oven racks in central positions. Preheat oven to 325F. Line two rimmed baking sheets with parchment.
Remove dough from the refrigerator. Scoop dough by the tablespoon and roll each int a ball. Place dough balls at least 2 inches apart on prepared pans. Use the back of a very small spoon (like a 1/2 teaspoon measuring spoon) to slowly press a well into each dough ball. They may crack a bit—just smooth them with your fingers. If dough gets too warm and sticky, freeze for 10 minutes.
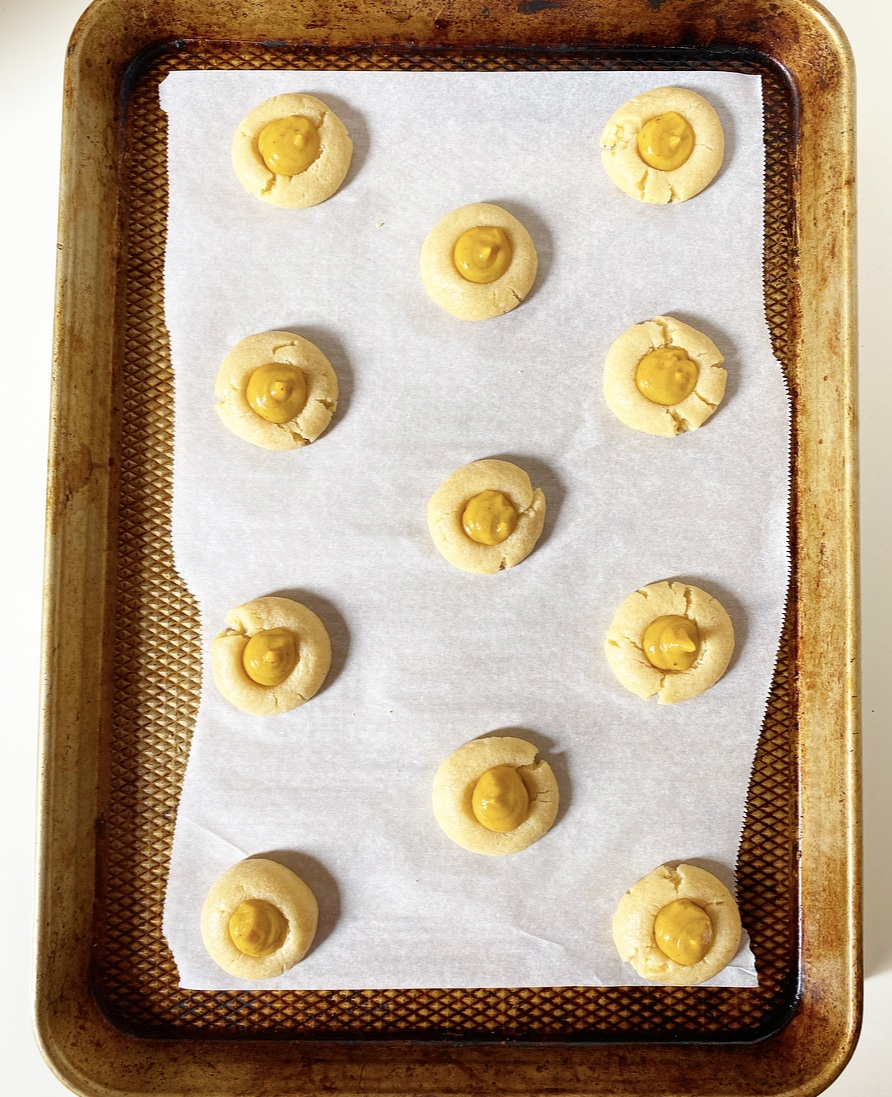
Bake cookies 13-14 minutes. Cookies are done when puffed and no longer wet-looking. When you remove the cookies from the oven, press the back of the small spoon (I use 1 teaspoon measuring spoon) into the centers again. Let cookies cool on the pans for 10 minutes before carefully removing to a rack to cool completely. Repeat rolling and baking process with all remaining dough, letting the cookie sheets come back to room temperature between batches.
Make the icing. Place 2/3 cup of confectioners sugar and tiny pinches of salt in each of two small bowls. Stir 1 tablespoon (3 teaspoons) of non-dairy milk into each bowl. Add desired food colorings to the separate bowls. Whisk each with a fork until combined. Add more milk by the 1/2 teaspoon until icings are very thick, but pourable.
Transfer icings to piping bags (or ziptop sandwich bags) twist them tight and snip off very small corners. Fill wells in cookies as desired.
You can serve the cookies almost immediately, but the icing won’t set to a non-drippy texture for a few hours. Cookies will keep in an airtight container at room temperature for a few days. Place parchment or wax paper between layers for easiest storage.


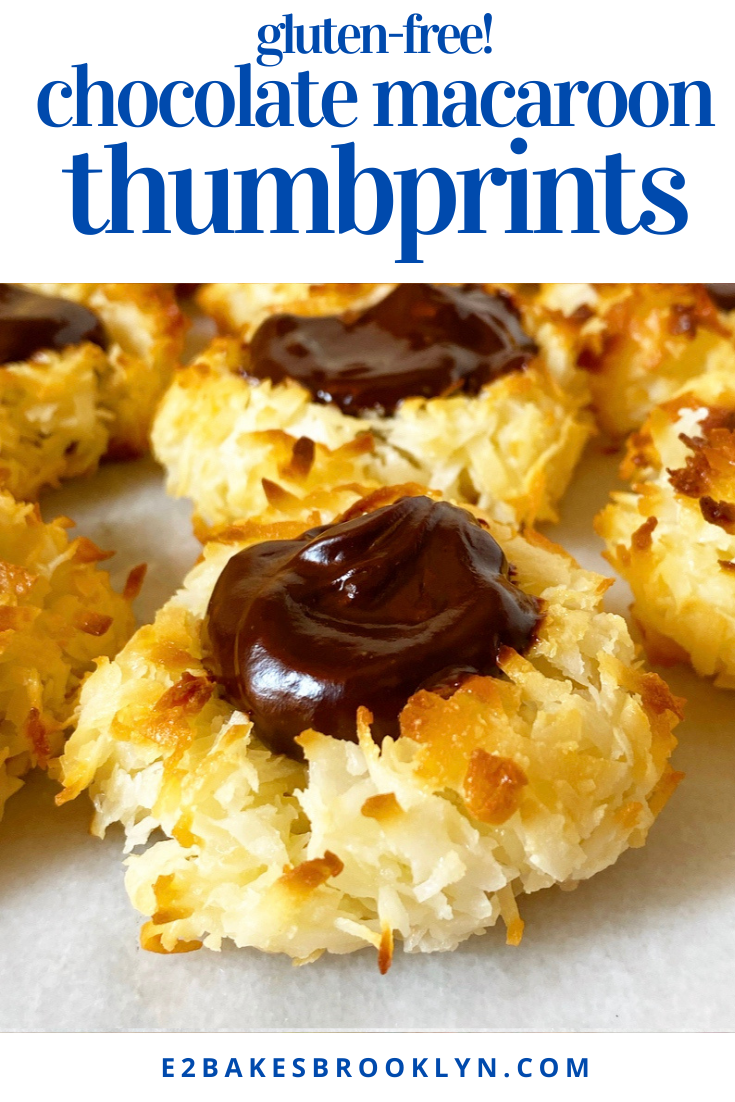
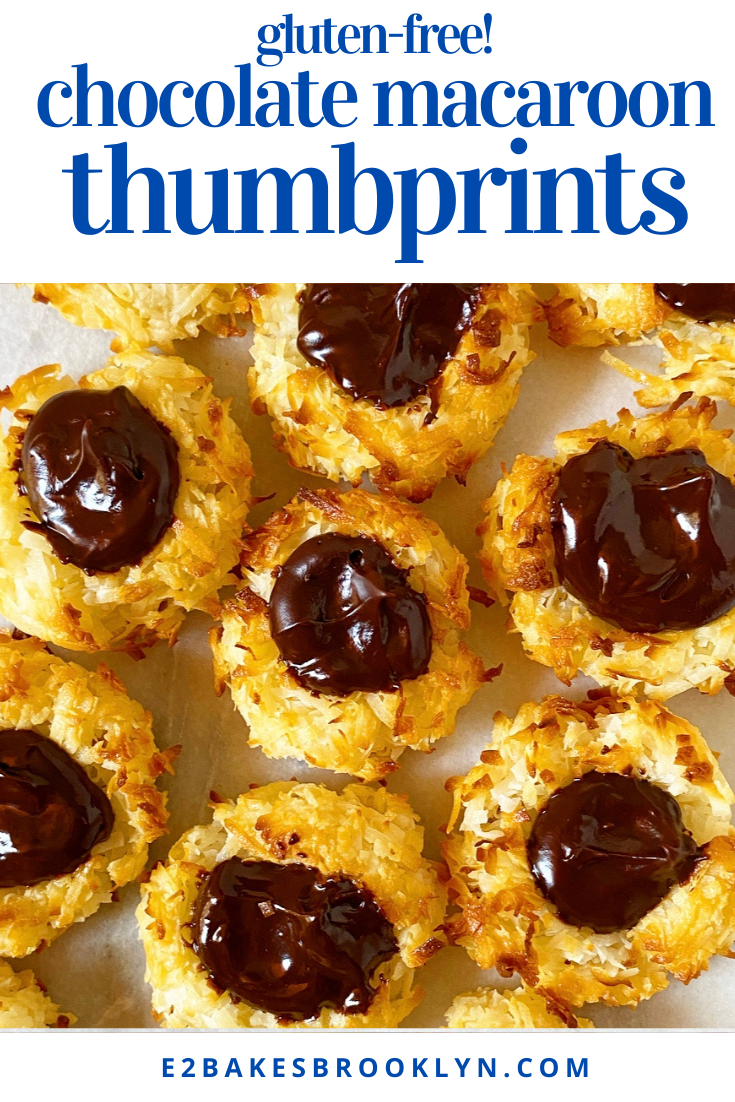
 If these Chocolate Macaroon Thumbprints look familiar, it’s because they are—these are basically just miniature versions of my
 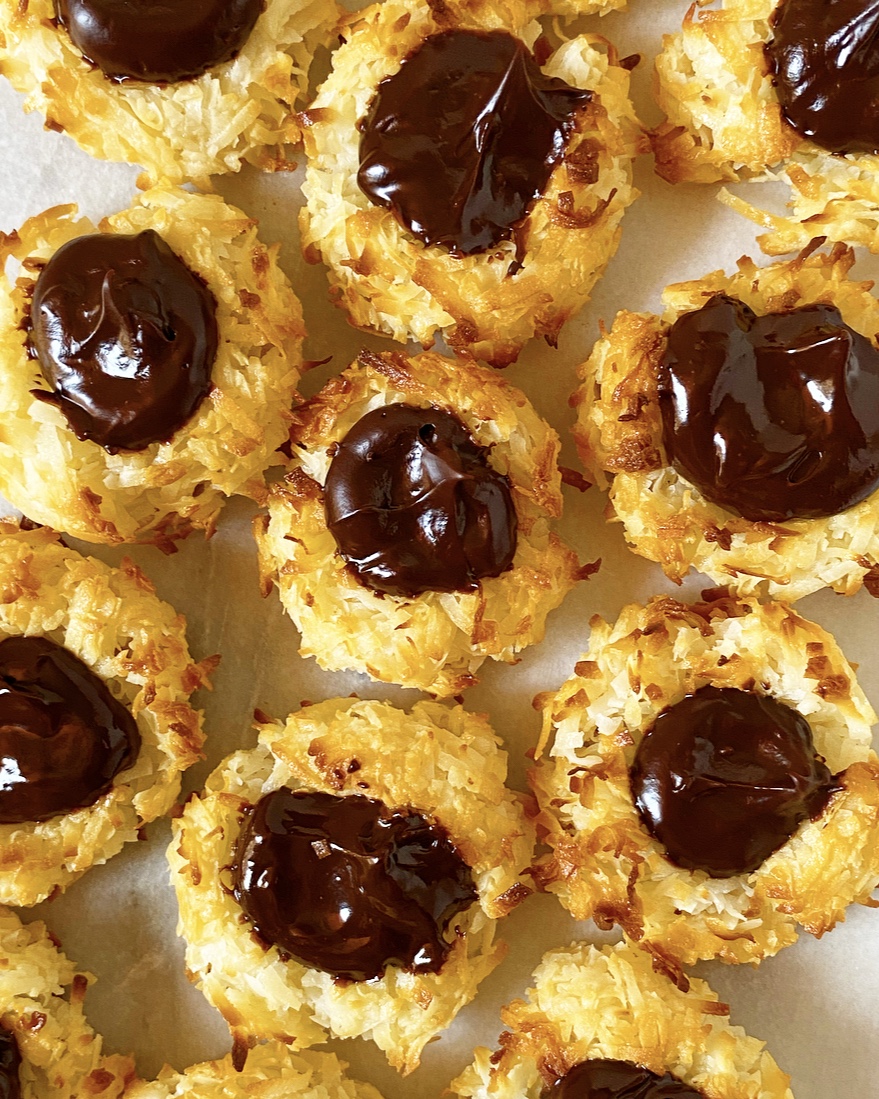 Chocolate Macaroon Thumbprints are made with my trusty gluten- and egg-free
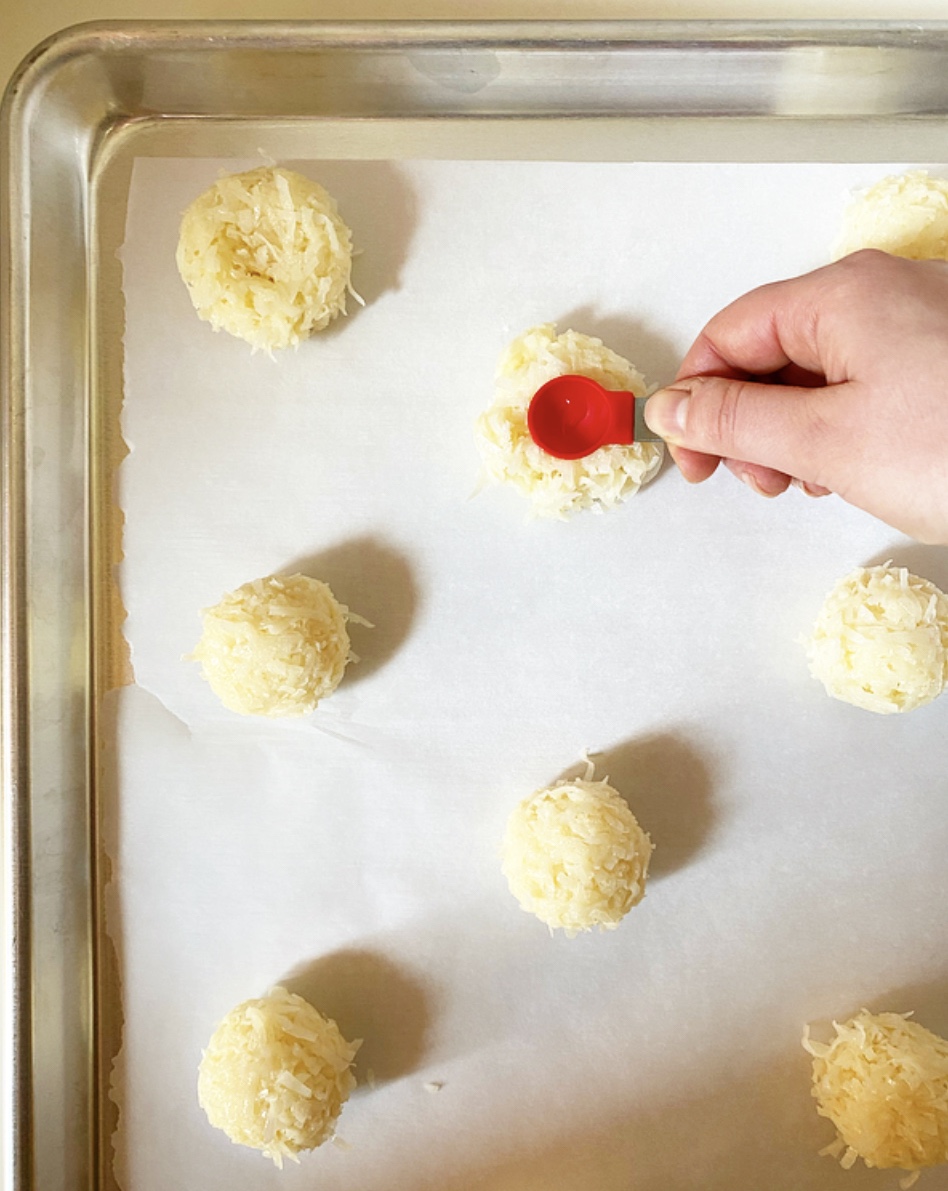
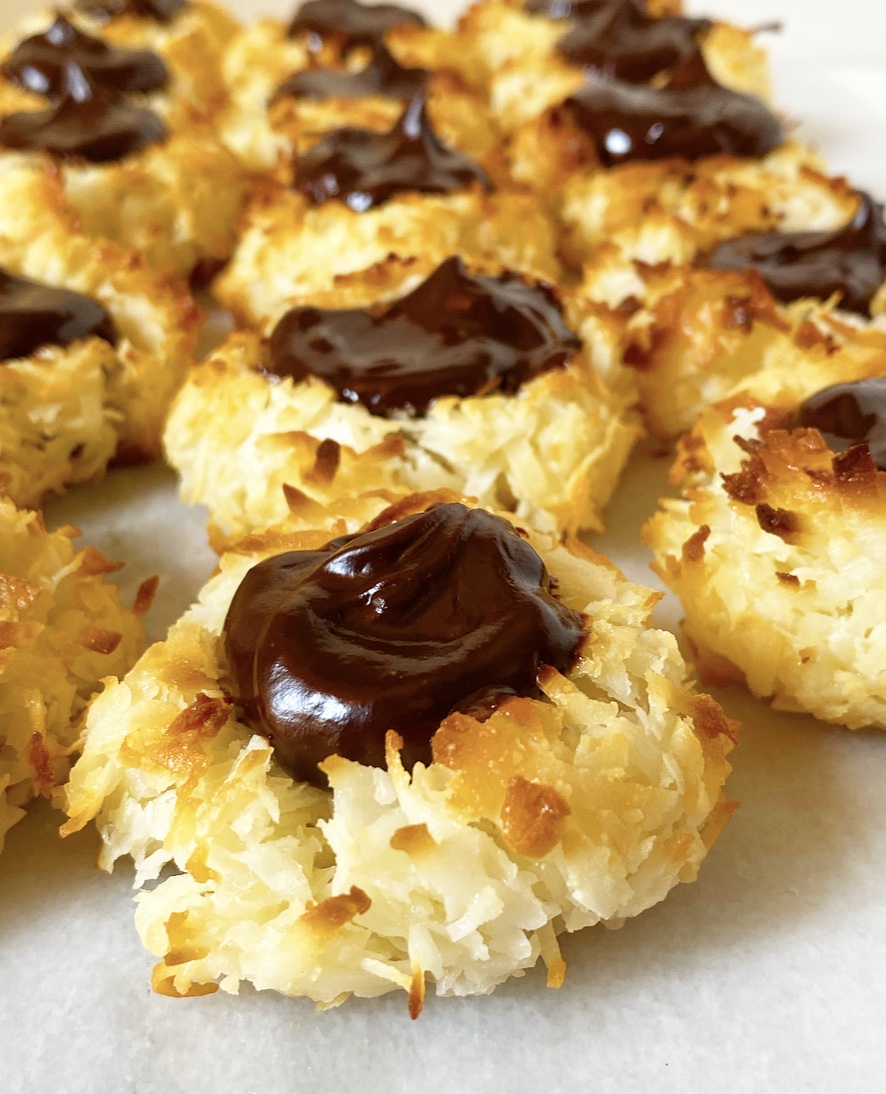
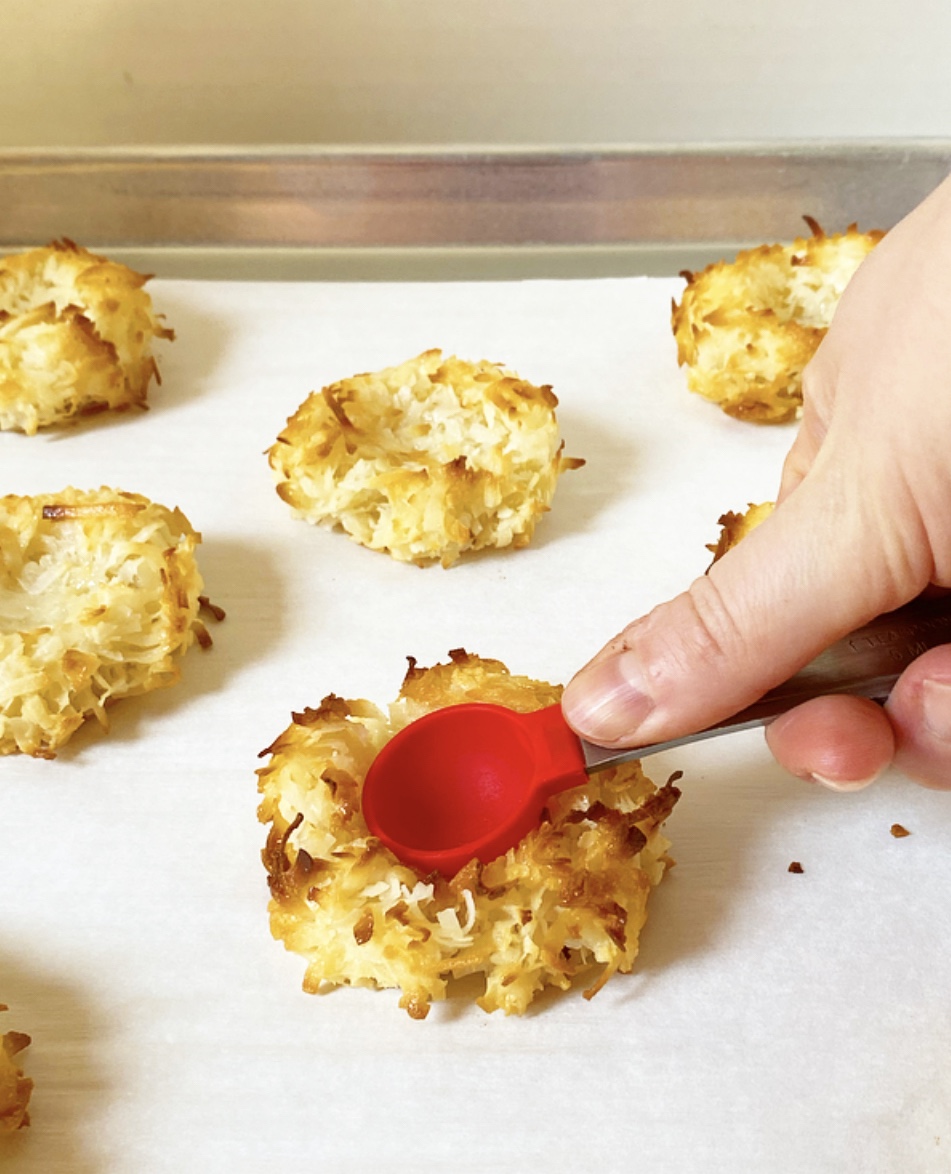 After the coconut base is rolled into balls, little indentations are pressed into each one to create the titular thumbprint. You could use your thumb, of course, but a spoon gives a more consistent shape and size and is way less messy. These initial thumbprints will become shallow during baking, so make sure to give them a second indentation when you pull them from the oven. Bigger thumbprint = more room for chocolate!
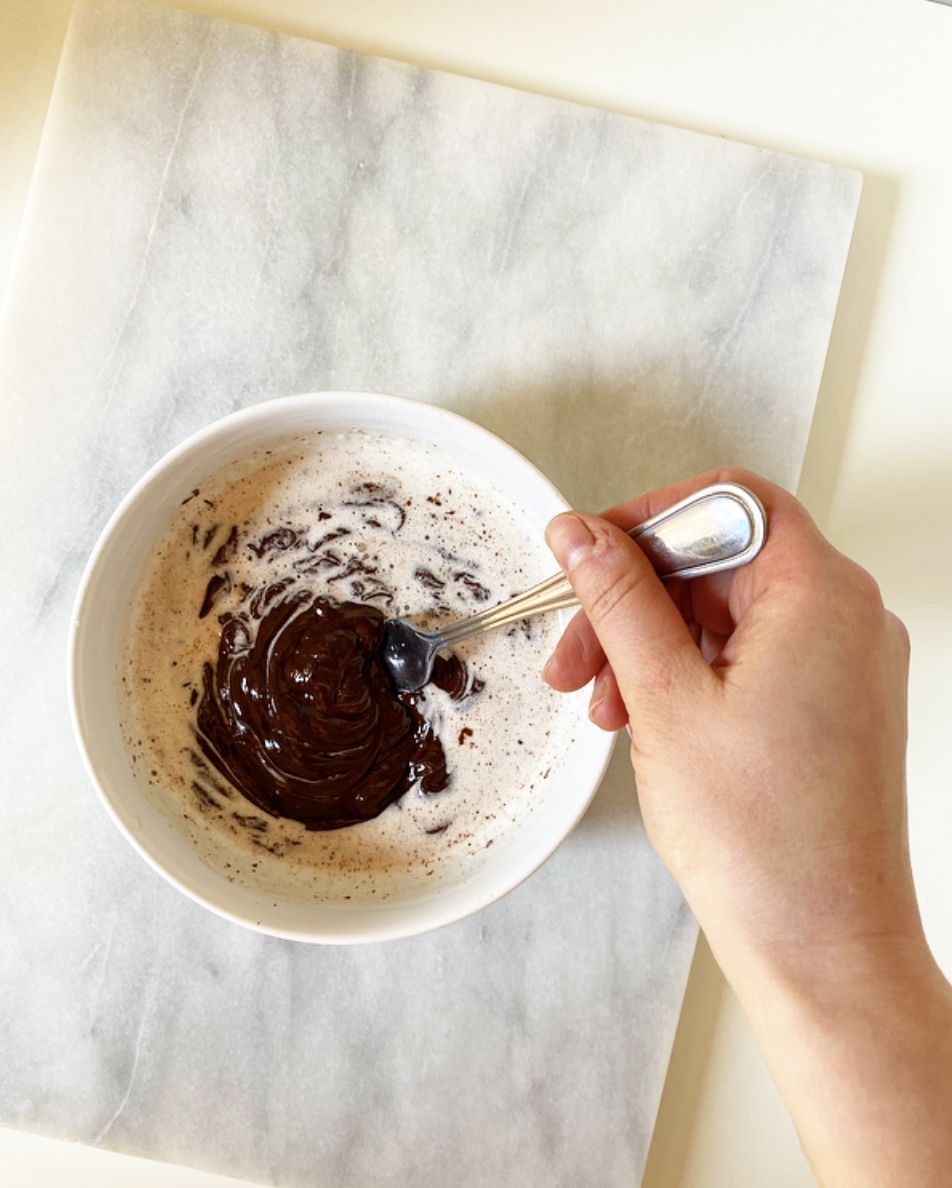
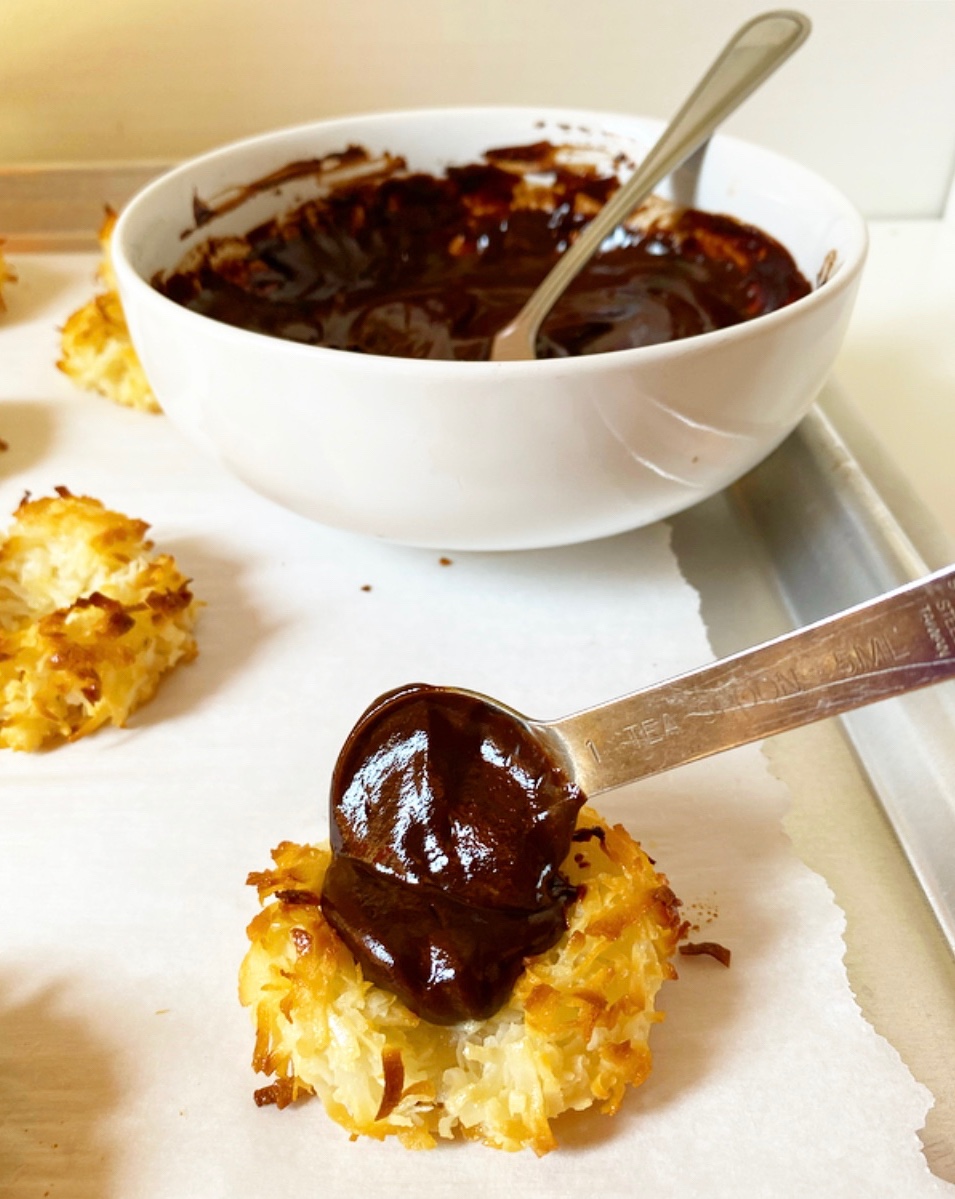 Ohhh yes, these thumbprints are filled to the brim with dark chocolate ganache! It’s no secret that coconut & dark chocolate are perfect together, but the creamy-chewy texture situation here is positively glorious. I can say this with confidence because…well, I’ve eaten a lot of these lately. A. Lot.
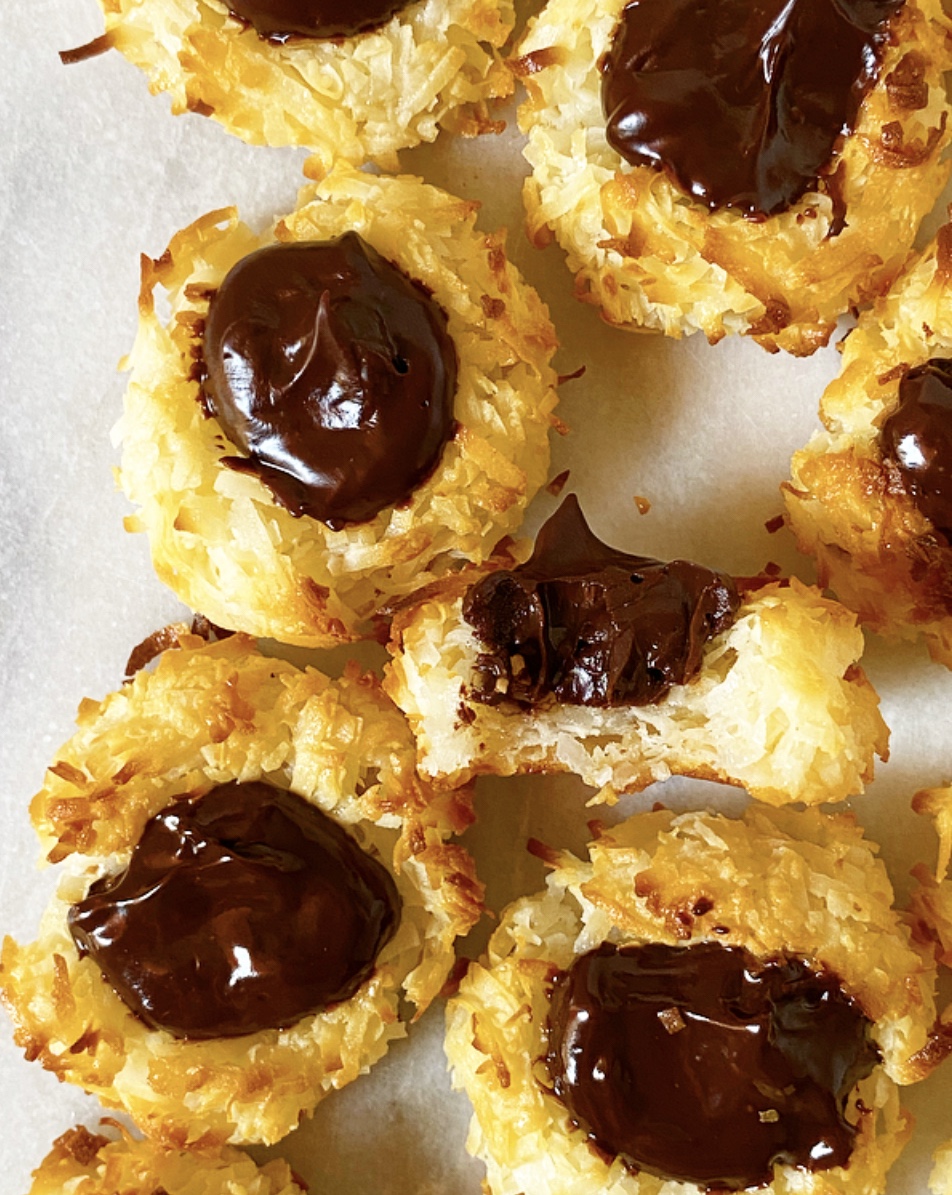 Chocolate Macaroon Thumbprints are a perfect addition to your Easter menu! Follow my lead and leave them plain for a simple & stunning finish, or top the pools of ganache with Easter egg candies for something a little more festive.
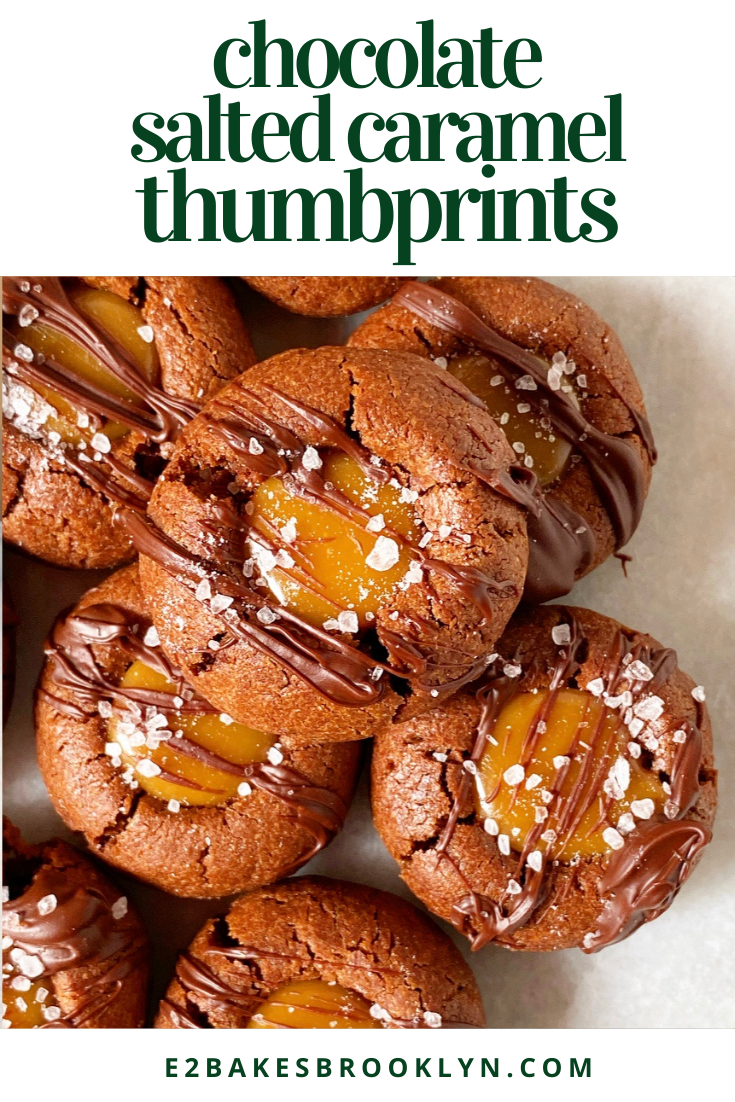
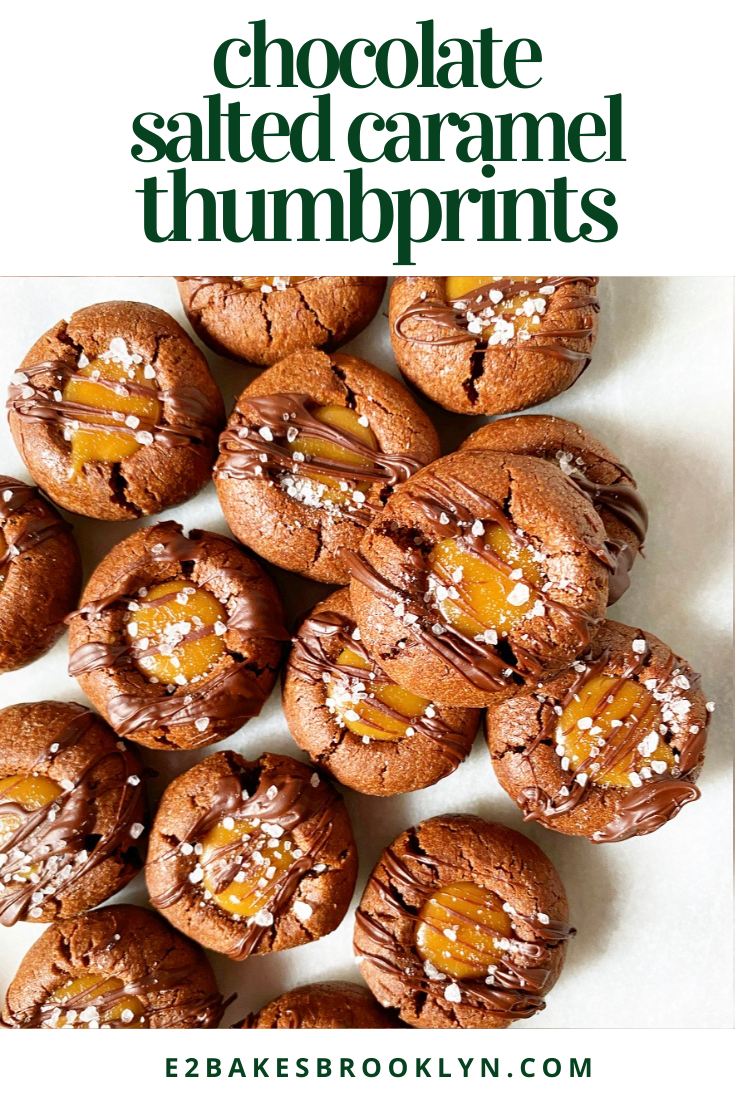
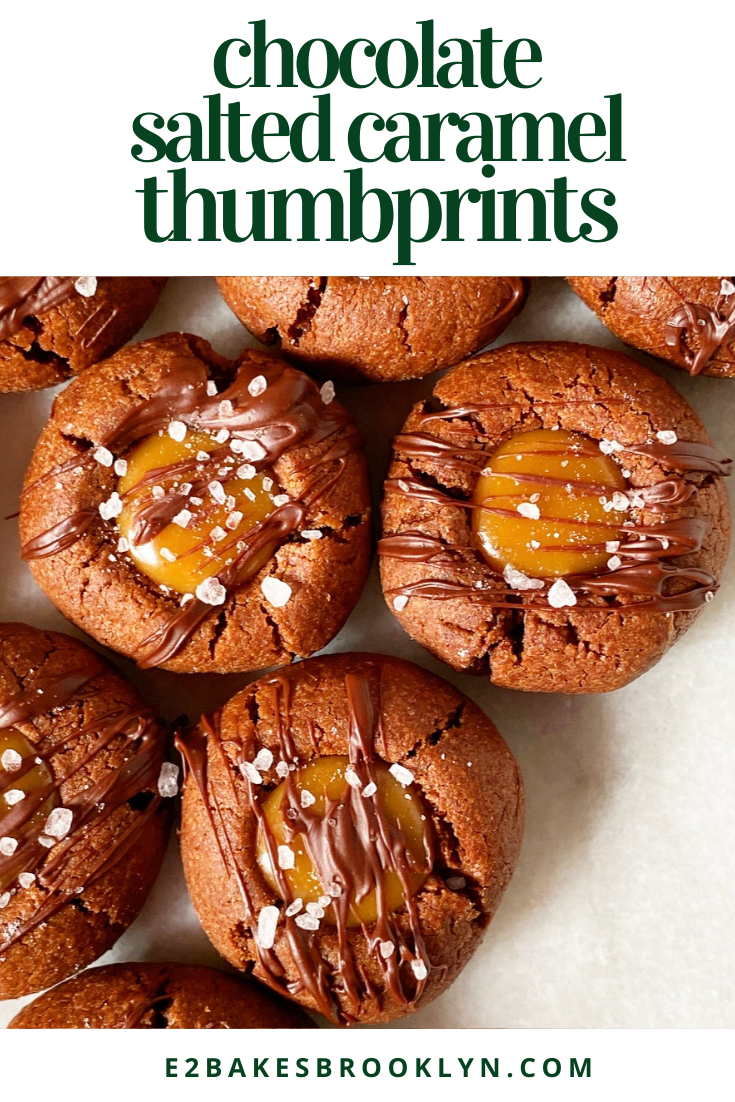
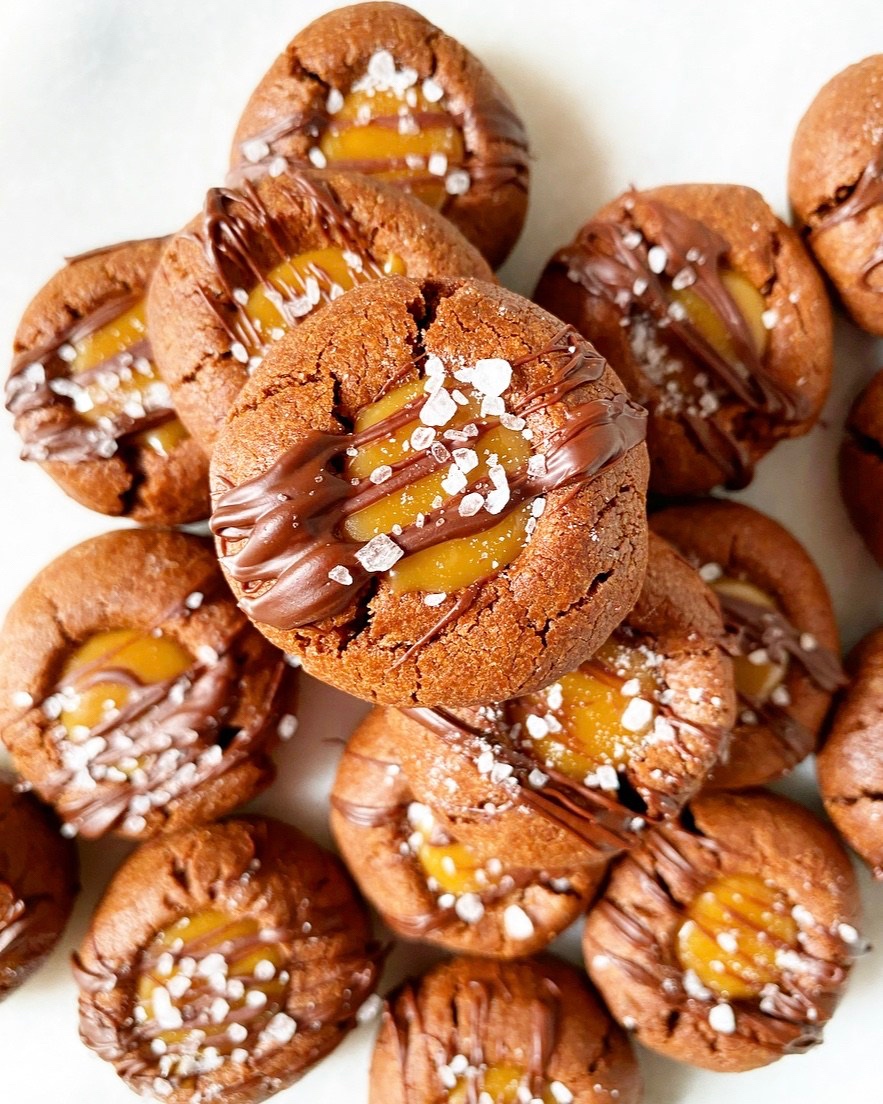 We’re getting close to the end of this year’s posts (two more recipes to go!), but I just couldn’t let 2020 end without making sure you knew about these Chocolate Salted Caramel Thumbprints.
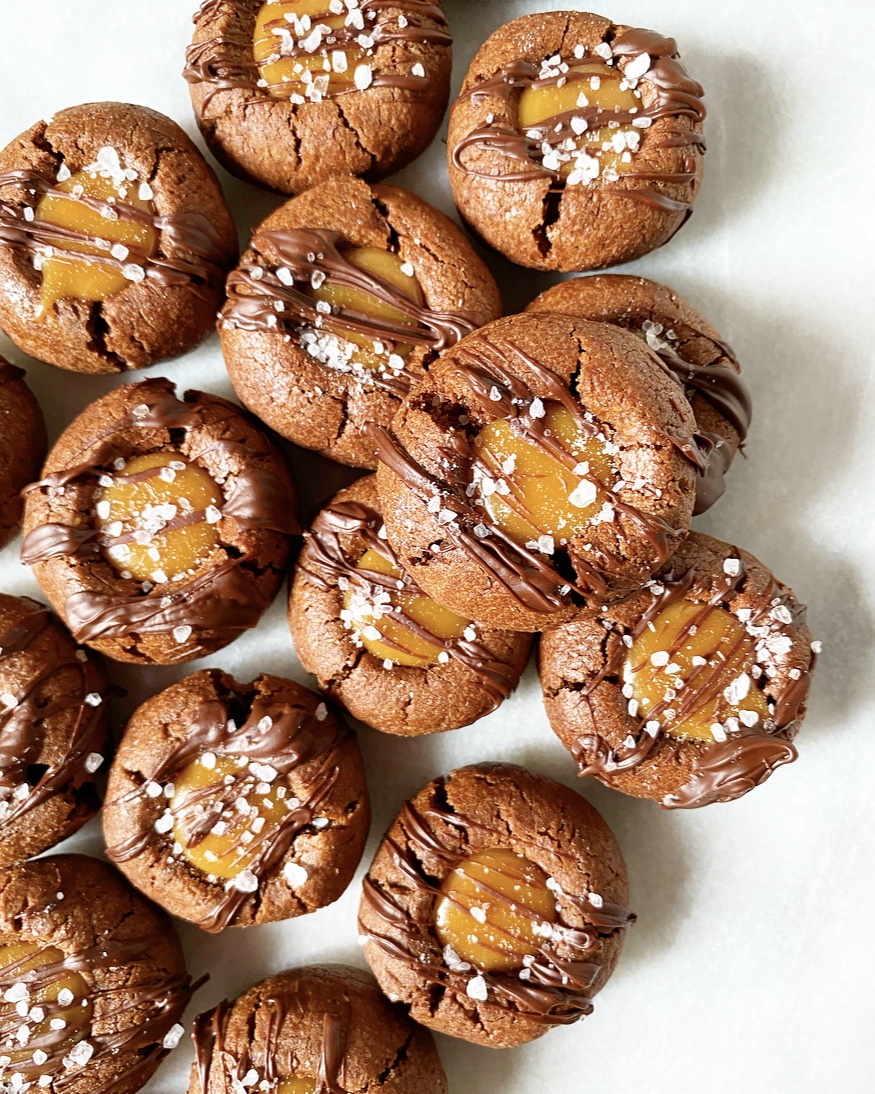 Let me say that again: Chocolate. Salted. Caramel. Thumbprints.
 While Christmas and New Year’s Eve (and literally everything else) are different this year, these cookies should be a part of your holiday, however it looks. Are you gathering with a tiny group to do a gift exchange? Share some cookies with people you love. Are you spending the holiday by your lonesome, like me? Have a cookie (or four) while you watch Home Alone while you’re home alone. Are you skipping it all and hoping next year is better? Well, Chocolate Salted Caramel Thumbprints are good for that too.
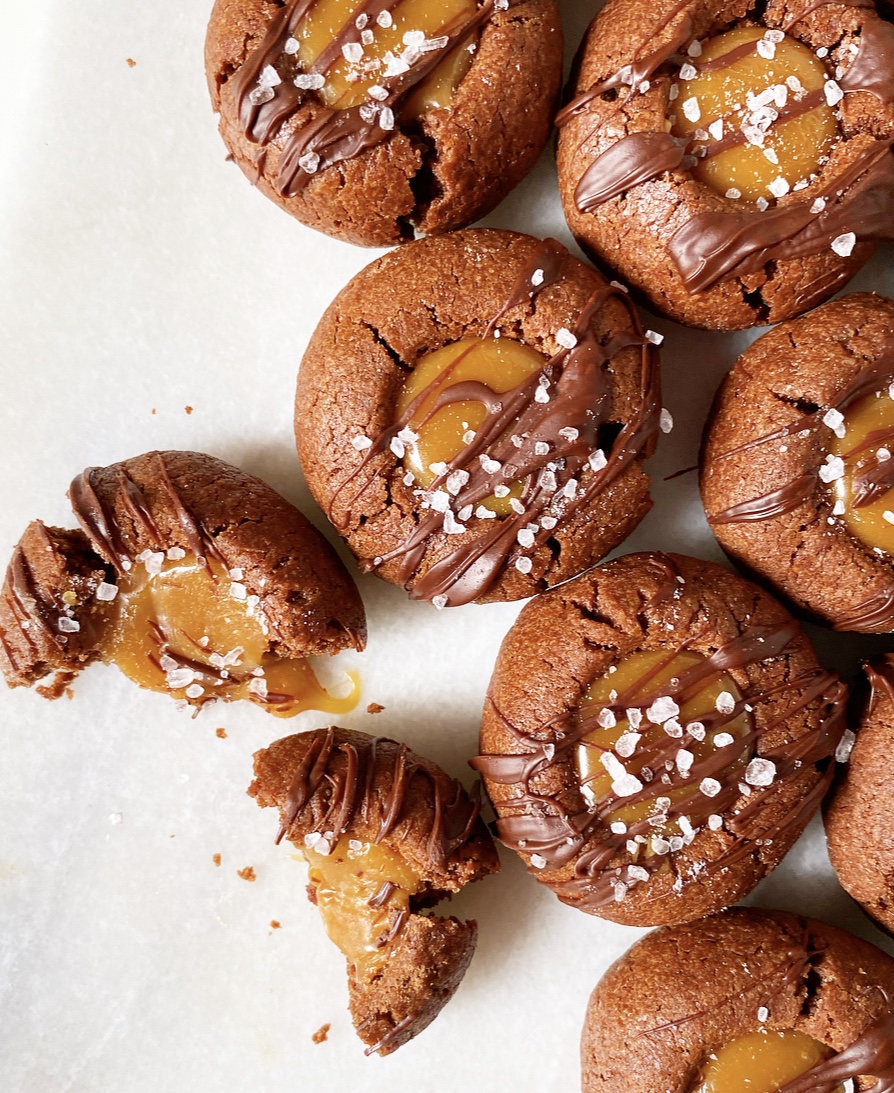 Christmas is only a week away! To accommodate the holiday, I’m changing up next week’s posting schedule from the usual Wednesday/Friday to Monday/Wednesday. Since we’re getting down to the wire, look out for two easy as can be, festive as everything recipes. Oh, and let me know what you’re baking! I love seeing all your holiday (E2) bakes over on
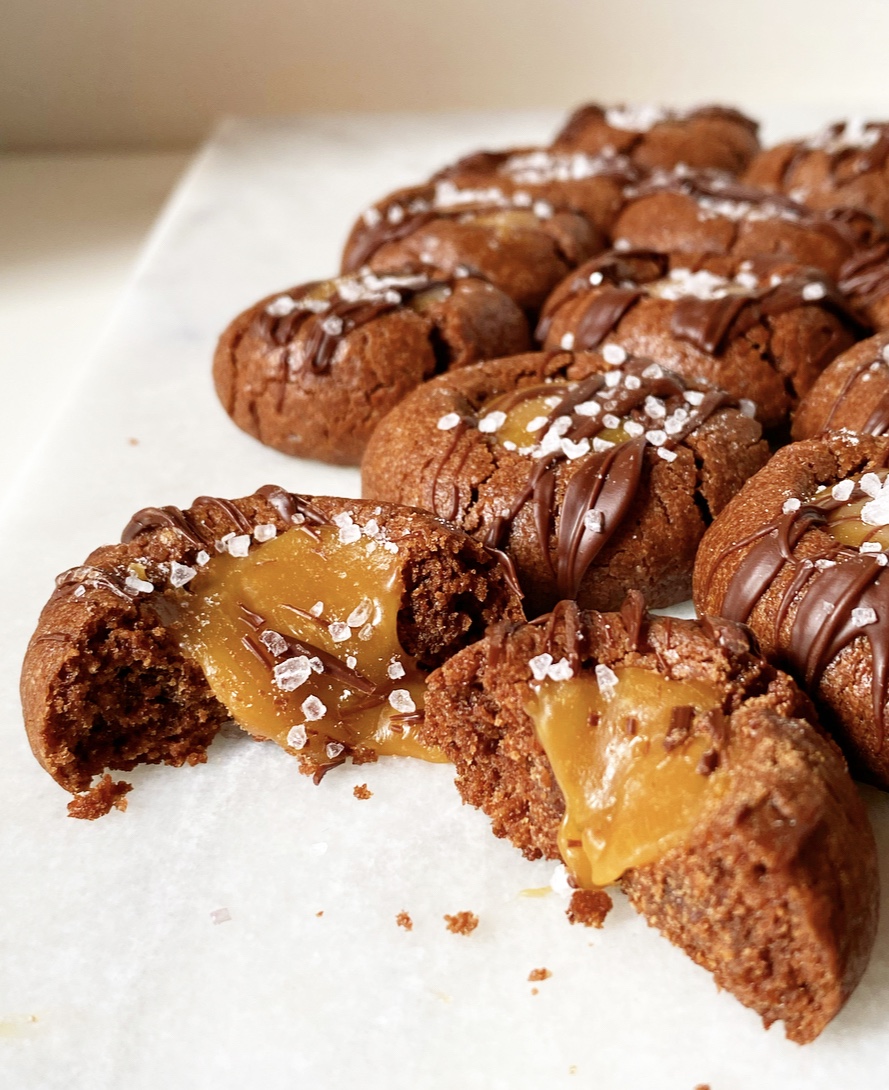
 If you follow me on
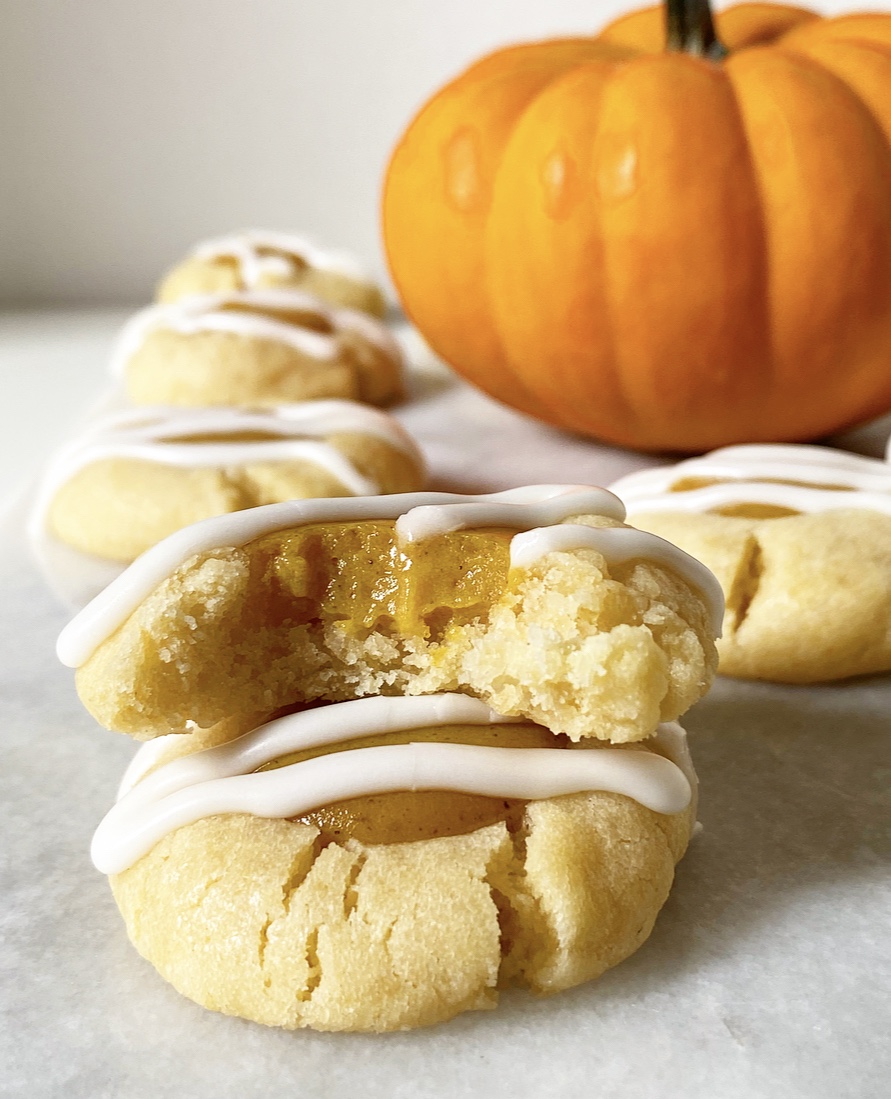
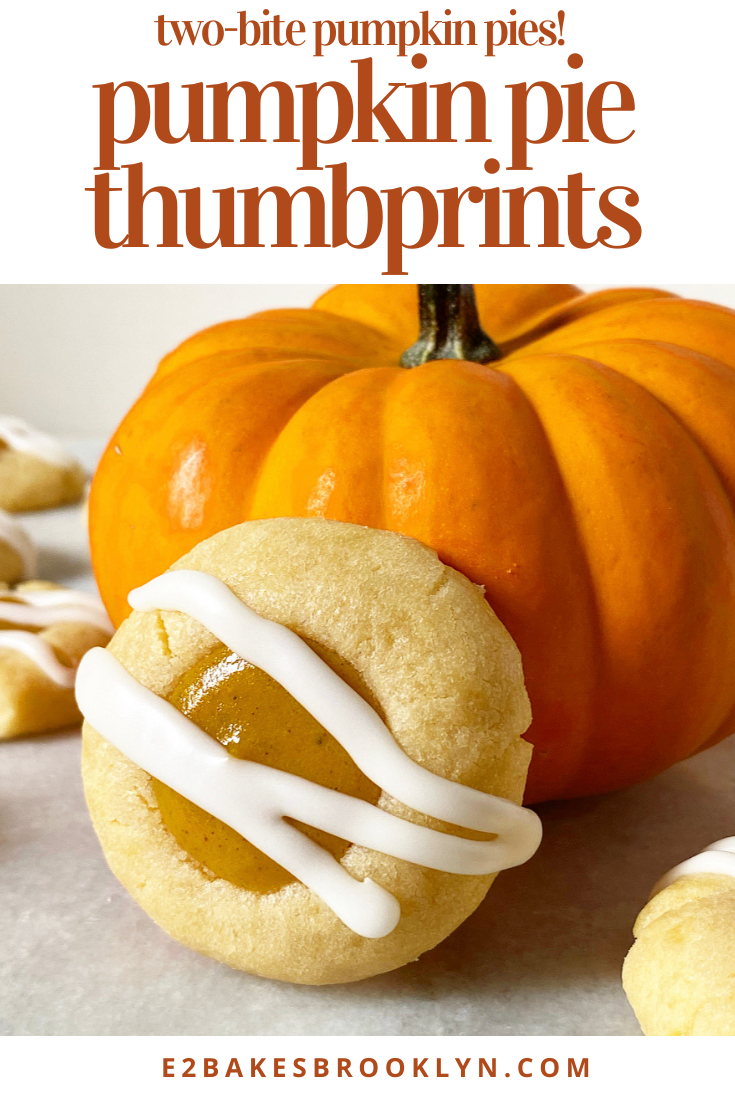
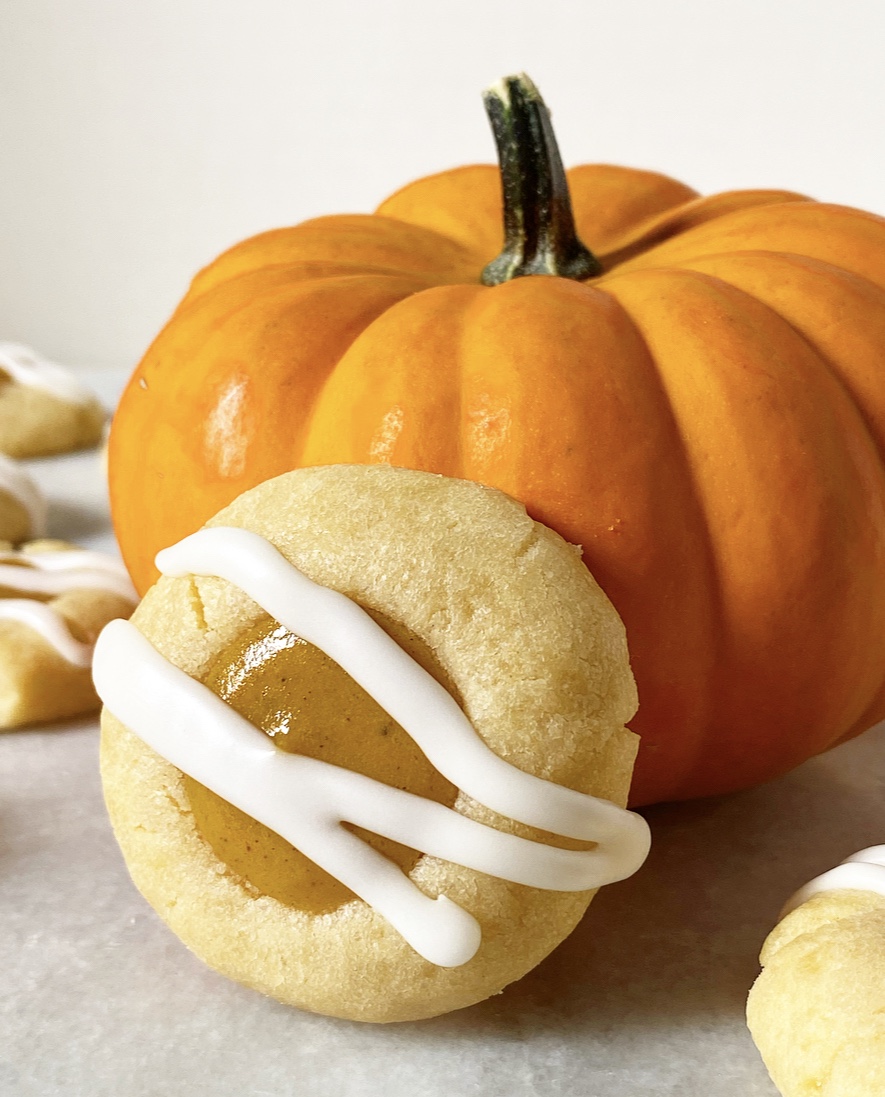
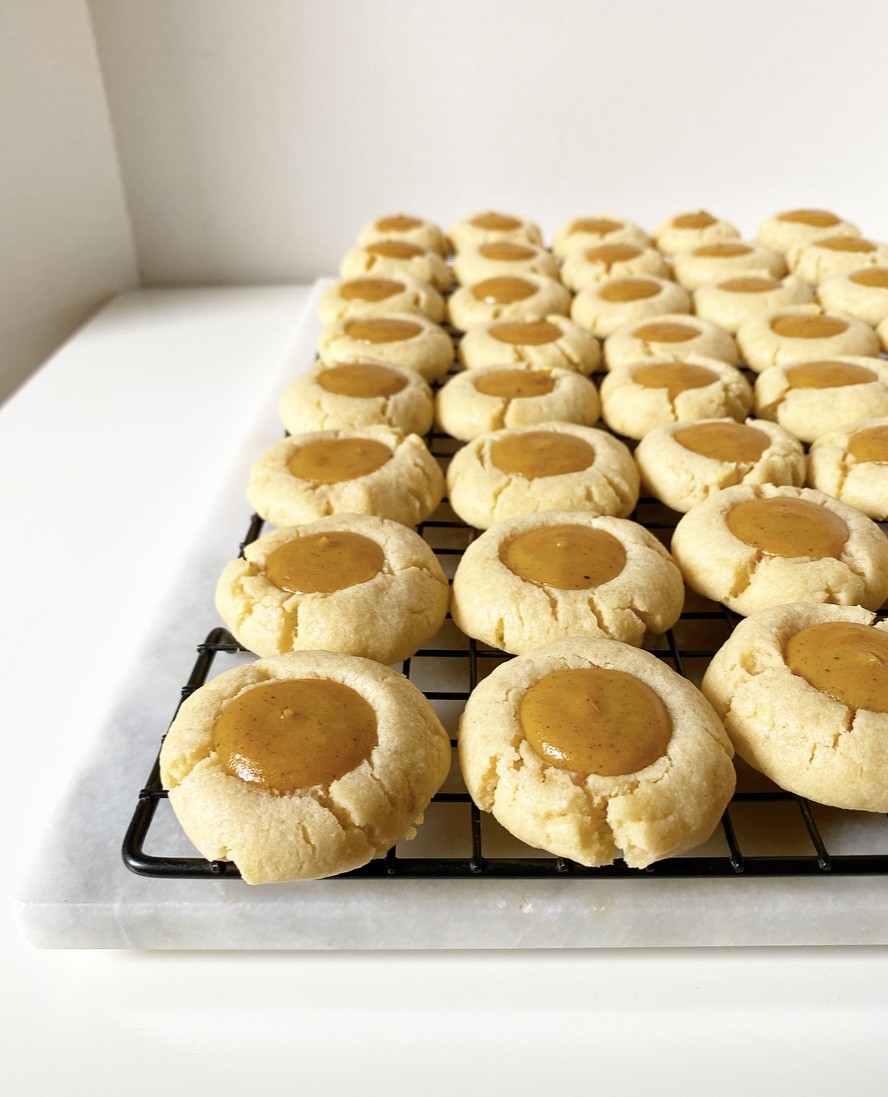
 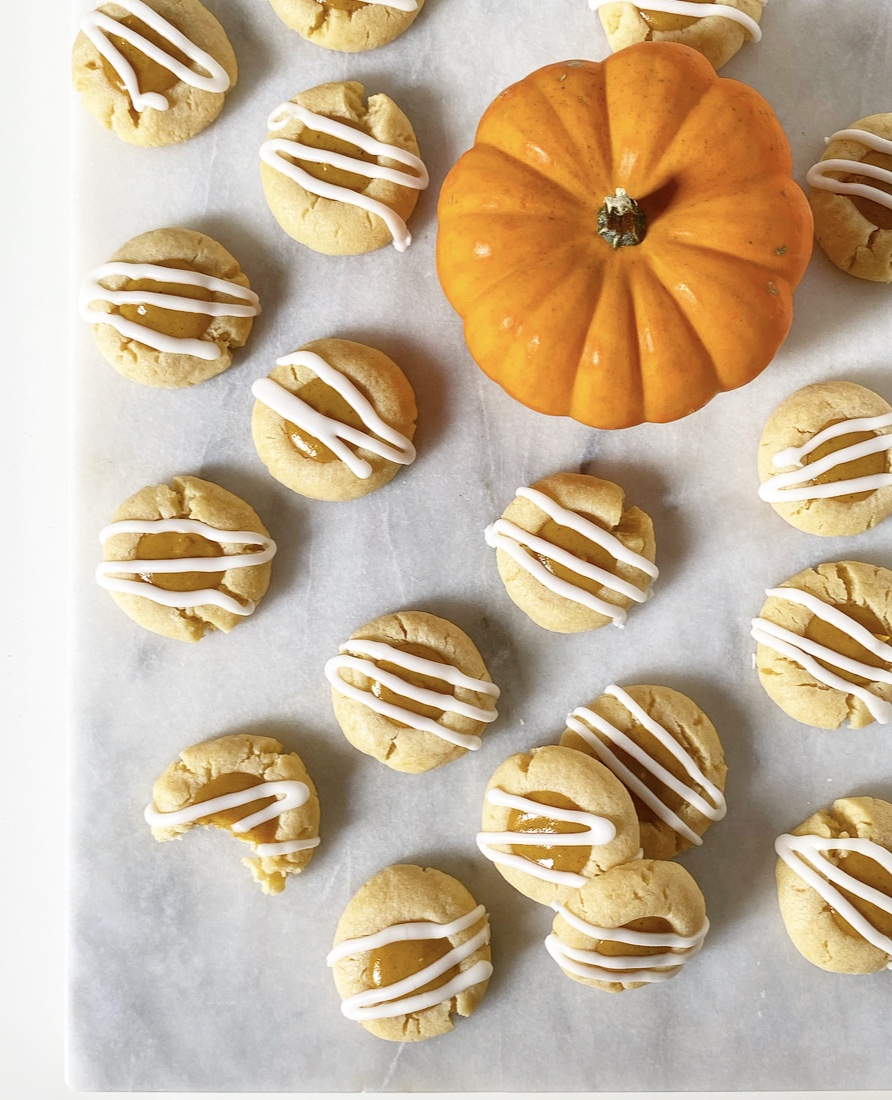 Yep, this is the last thing I have to do before I hit the road today! I mean, it would be super rude of me to leave without telling you about these Pumpkin Pie Thumbprints, now wouldn’t it? They’re teeny, tiny two-bite pumpkin pies nestled in sugar cookies—you *need* to know about these. You need to bake these.
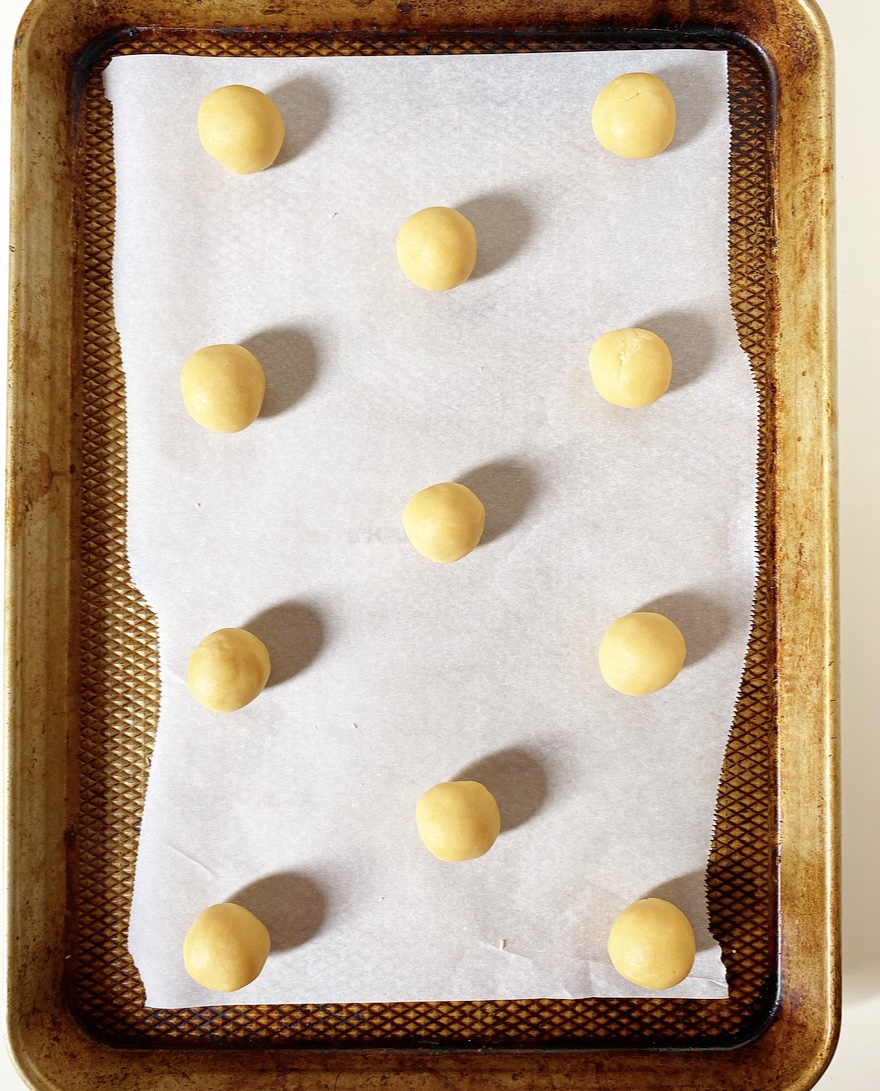
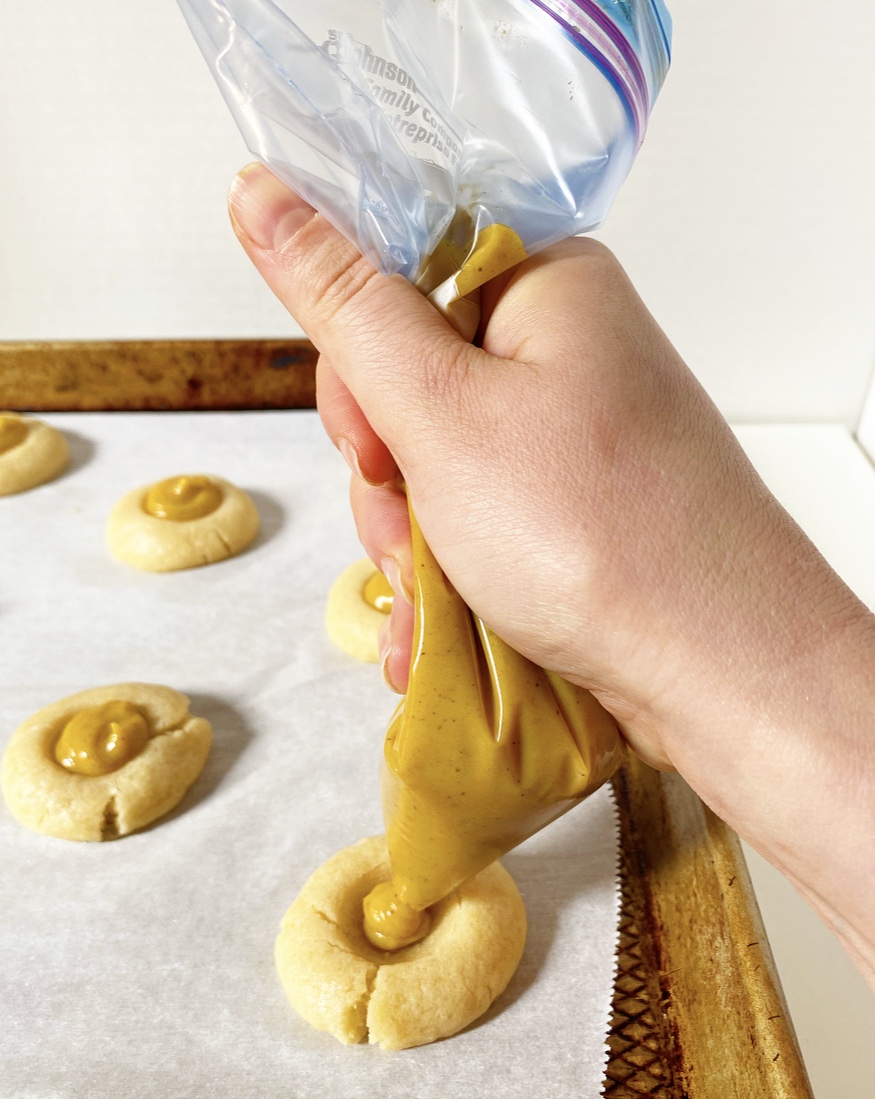
 The secret to these thumbprints?
 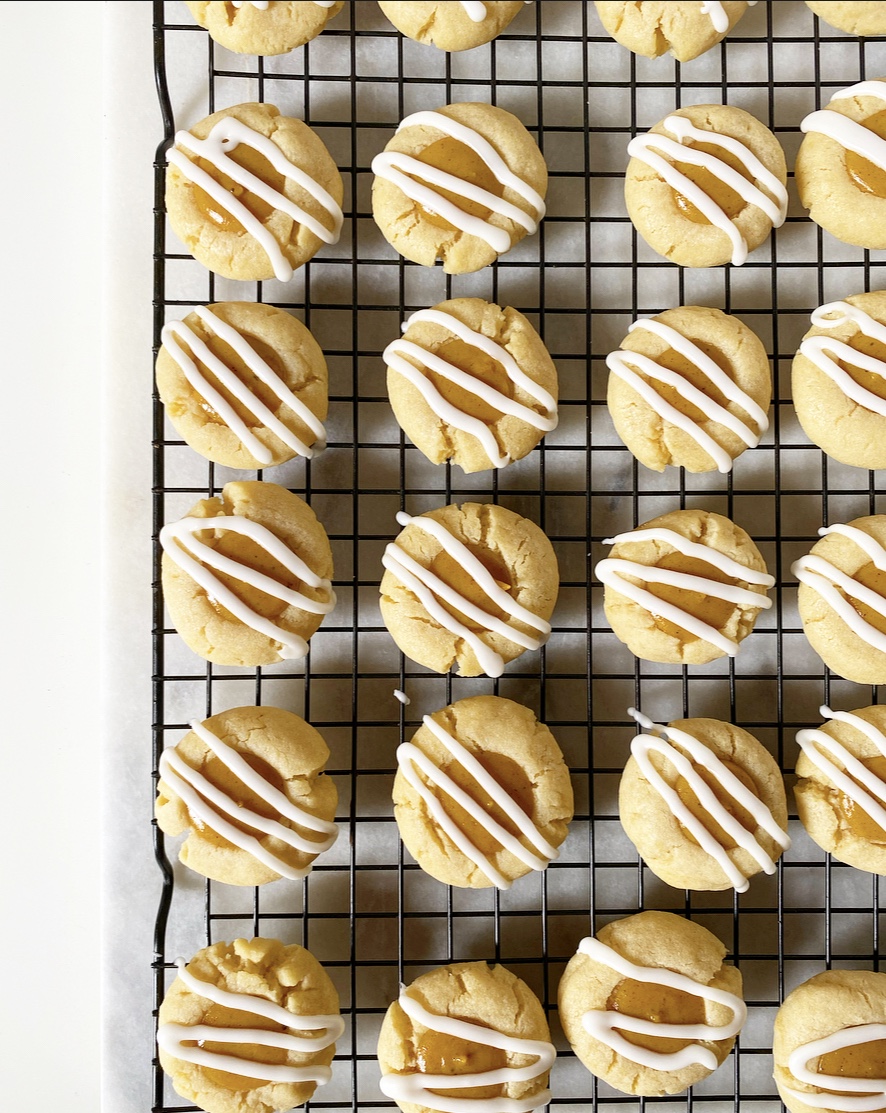 While pumpkin pie is traditionally finished off with whipped cream, that doesn’t make much sense in a cookie. I went with a simple icing drizzle as the final flourish, and I regret nothing. Aren’t they cute?! Almost as cute as they are delicious—what could be bad about buttery cookies with squidgy pumpkin centers?
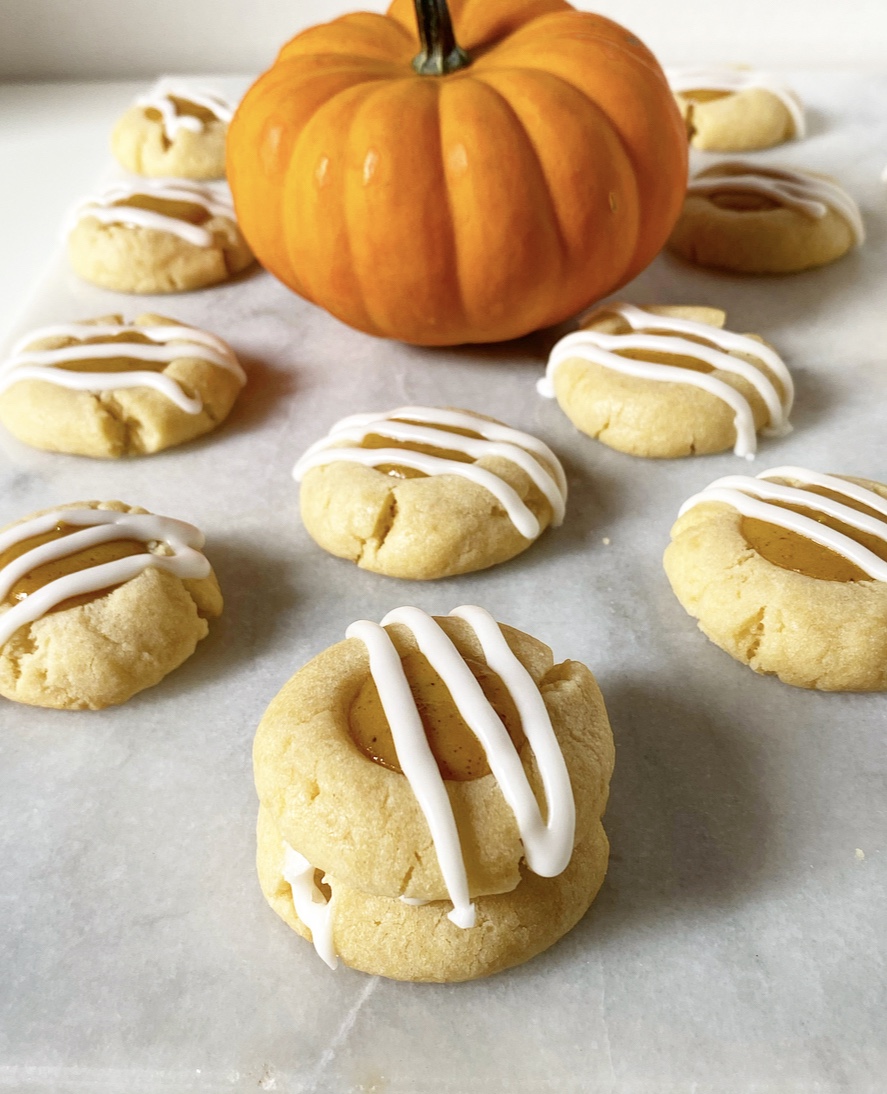 Okay, there it is—you know about Pumpkin Pie Thumbprints. That’s one more thing off the list. I guess all there is to do is road trip north. Can’t wait to get to Swan’s and show you what we’re cooking up six miles out to sea.