I first tried making Crispy Chickpeas when I moved to NYC back in 2007. They were weirdly trendy at the time, so I decided to brave the tiny kitchen I shared with five people and give them a shot. Following a recipe written by a former Food Network personality who I won’t name, I drained a can of chickpeas, patted off as much of the moisture as I could, and then roasted them at a high temperature for a short period of time. I was very excited to see what all the fuss was about, but my efforts were for nothing. The resulting chickpeas weren’t crispy at all, just vaguely dry and mushy on the outside and steamy on the inside. It may have been the recipe or user error—I don’t know. I ate them because I don’t like to waste food, but needless to say, I never attempted them again after that.
Or at least I didn’t until the last day of our trip to Maine in the fall of 2020, when I needed to do something with the large amount of chickpeas I had on my hands after using their aquafaba (cooking/canning liquid) in a multitude of vegan bakes. With limited time and groceries, I decided to try Crispy Chickpeas again. If they didn’t work, I’d just blame it on the faulty oven and call it a day.
But they did work. They worked *well.* By roasting them at a lower heat for a longer time and tossing them frequently, I ended up with a perfect crispy, crunchy snack. After that, there was no turning back. I’m a Crispy Chickpea machine, y’all.
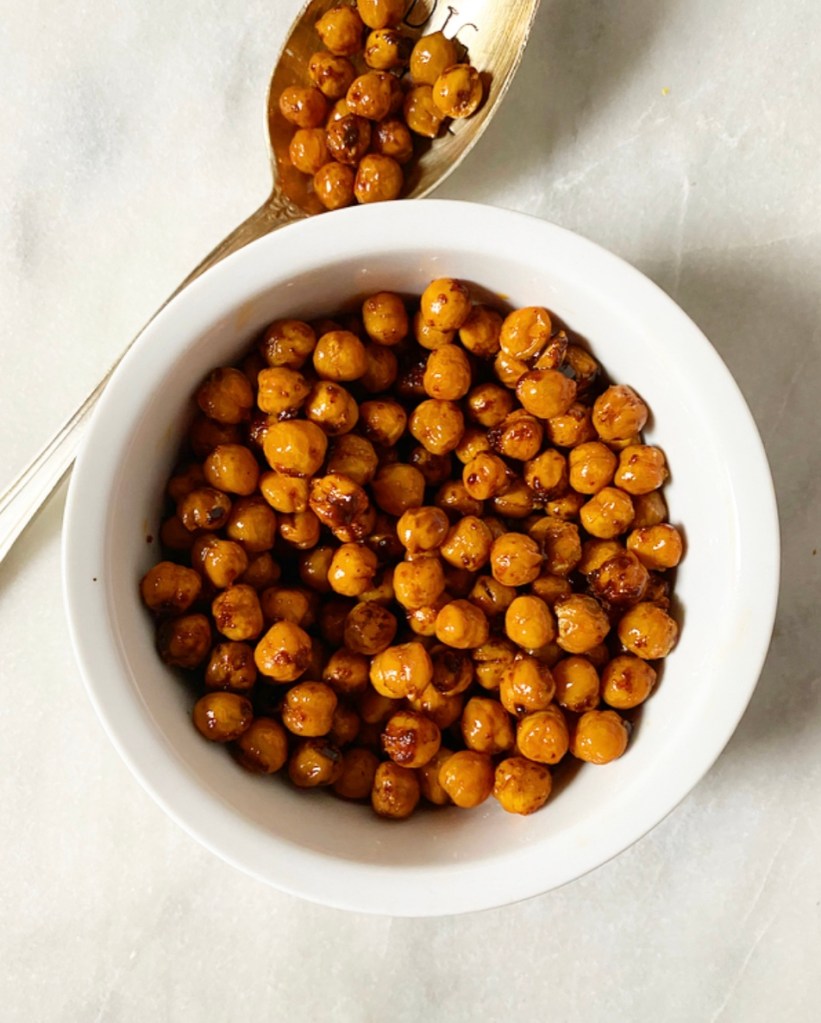
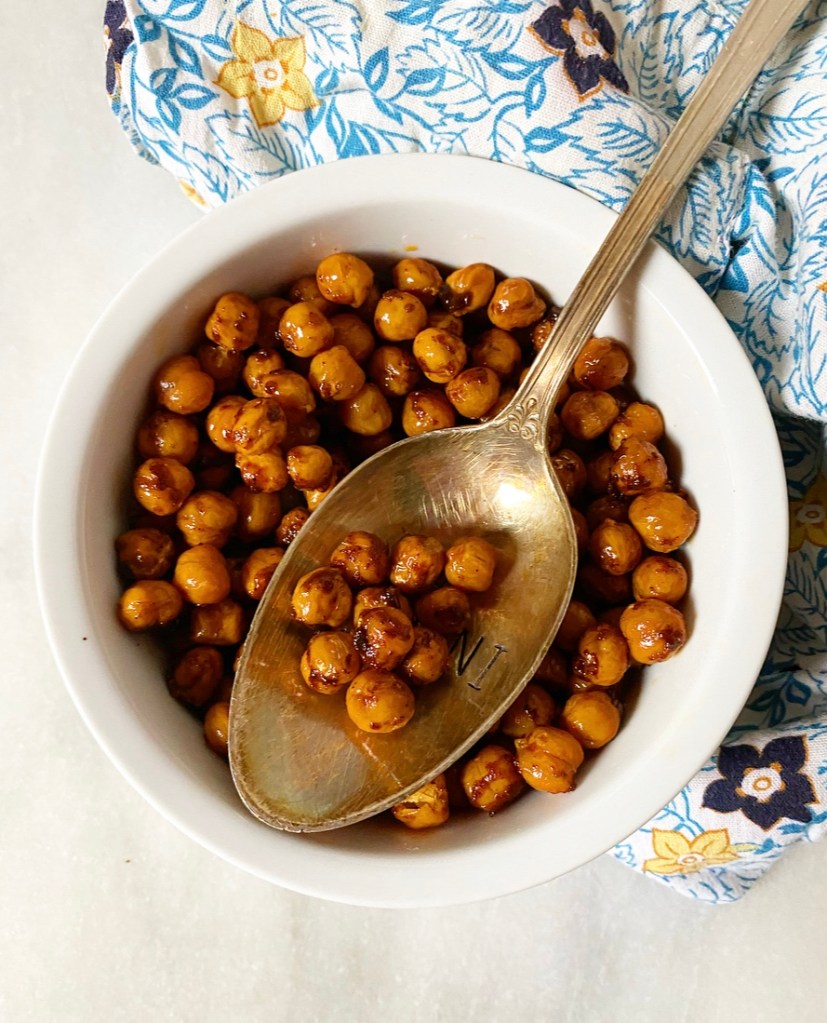
The big secret to homemade Crispy Chickpeas is no secret at all: you just need heat and time. In 35 minutes and a few shakes of a pan, the chickpeas go from damp and soft to crispy and light-textured, perfect for a snack or garnish for soup or salad.
You can make Crispy Chickpeas in any flavor you like. Get fancy by combining miso & maple or sriracha & lime zest, or use pre-mixed blends from your spice cabinet; garam masala, taco seasoning, za’atar, and everything bagel seasoning would all be great. Oh, and Spicy Chili Crisp is perfect on them, too. Of course, you can also just mix and match whatever is in your spice cabinet or your condiment collection—you’ll need 2-4 teaspoons of flavorings total per can of beans. The chickpeas pictured are flavored with chipotle and maple. Whatever you choose, taste as you go!
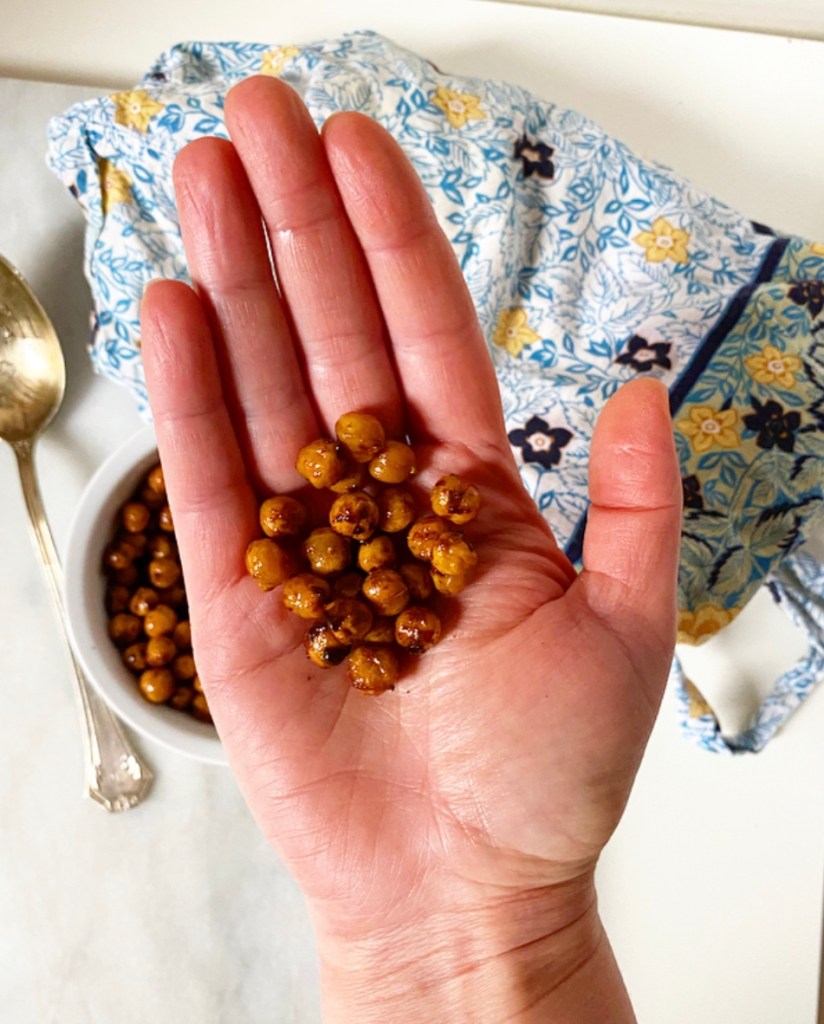
Crispy Chickpeas are incredibly cheap to make, clocking in at just a couple of dollars per batch. Though they shrink a bit as they roast, one can’s-worth still makes enough for at least a couple of people to nibble on. That said, if you’re quarantining or maybe just don’t like to share, I don’t think you’ll have any trouble putting these away on your own.
Crispy Chickpeas makes 1 1/2 cups
1 15-ounce can chickpeas 1 tablespoon olive oil 1/2-3/4 teaspoon Kosher or sea salt (to taste) 2-4 teaspoons spices or flavorings of choice
Preheat oven to 400F.
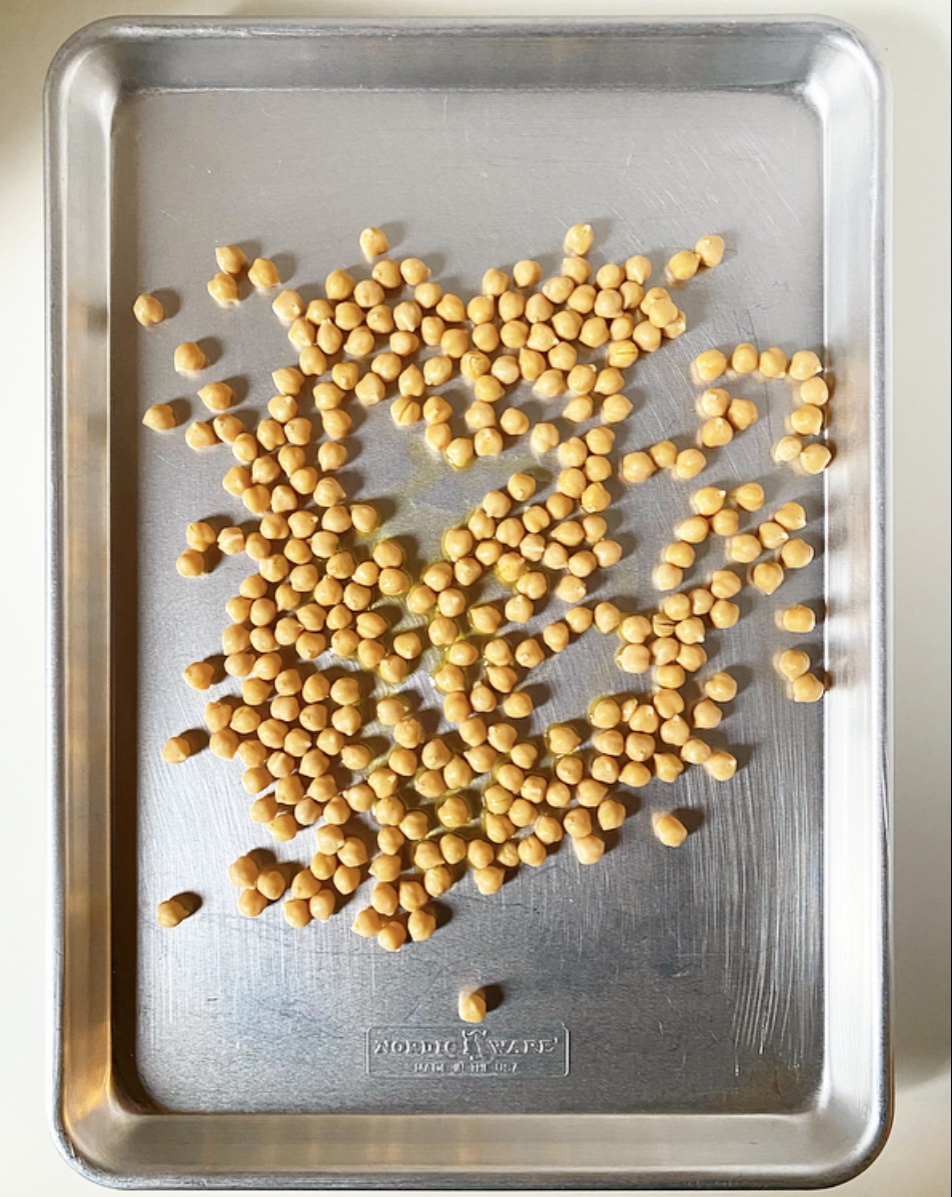
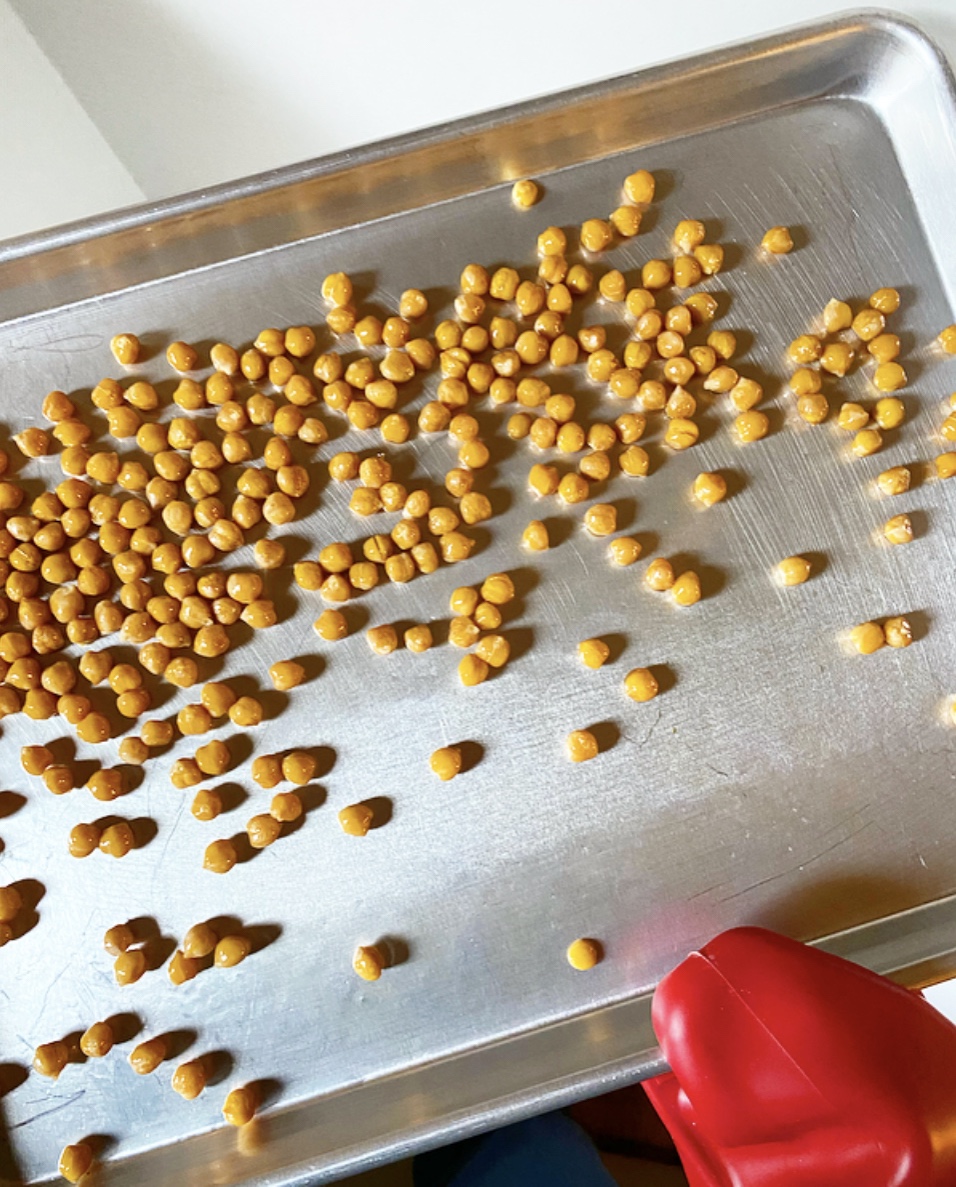
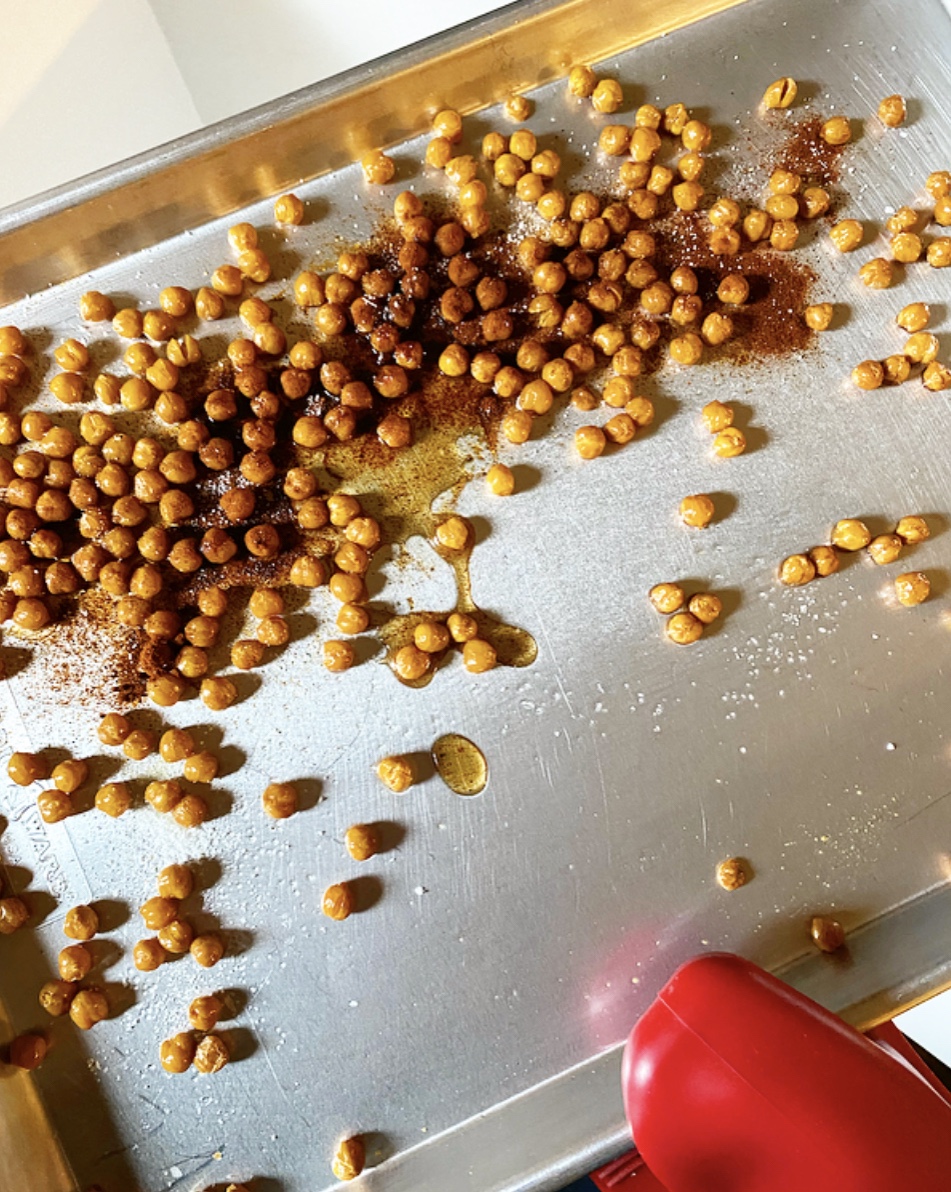
Drain and rinse chickpeas. Scatter them onto a paper towel or clean kitchen towel and blot well to remove excess moisture. Transfer to a rimmed baking sheet and toss with olive oil and salt. Roast for 25-30 minutes, shaking the pan every 10 minutes. Add spices of choice (taste and adjust as you go).
If using only ground spices/flavorings, you may eat the crispy chickpeas immediately. If using hot sauces or syrups, I recommend returning them to the oven for up to 5-10 minutes to set, if you prefer (I do!). Do not burn. Let chickpeas cool for at least a few minutes before serving.
Crispy Chickpeas will keep covered at room temperature for up to 2 days. They may soften very slightly over time.
After nailing the perfect snappy texture in last week’s Vegan, Gluten-Free Gingerbread Cookies, I couldn’t resist taking that formula and making it into linzer cookies.
Traditional linzer cookies are made from a dough that isn’t much more than a sugar cookie with a smattering of ground nuts tossed in for depth and tenderness. My vegan, gluten-free cookie formula already gets all its structure from almonds, but I still found a way to make the final product uniquely linzery. Linzerian? Linzeresque? Anyway…
The gist is that I removed the dark molasses and spices from the dough, lightening the flavor profile with maple syrup and a small, but effective amount of toasted ground hazelnuts. If you can’t get your hands on hazelnuts, pecans will work just as well (plus you won’t have to peel them).
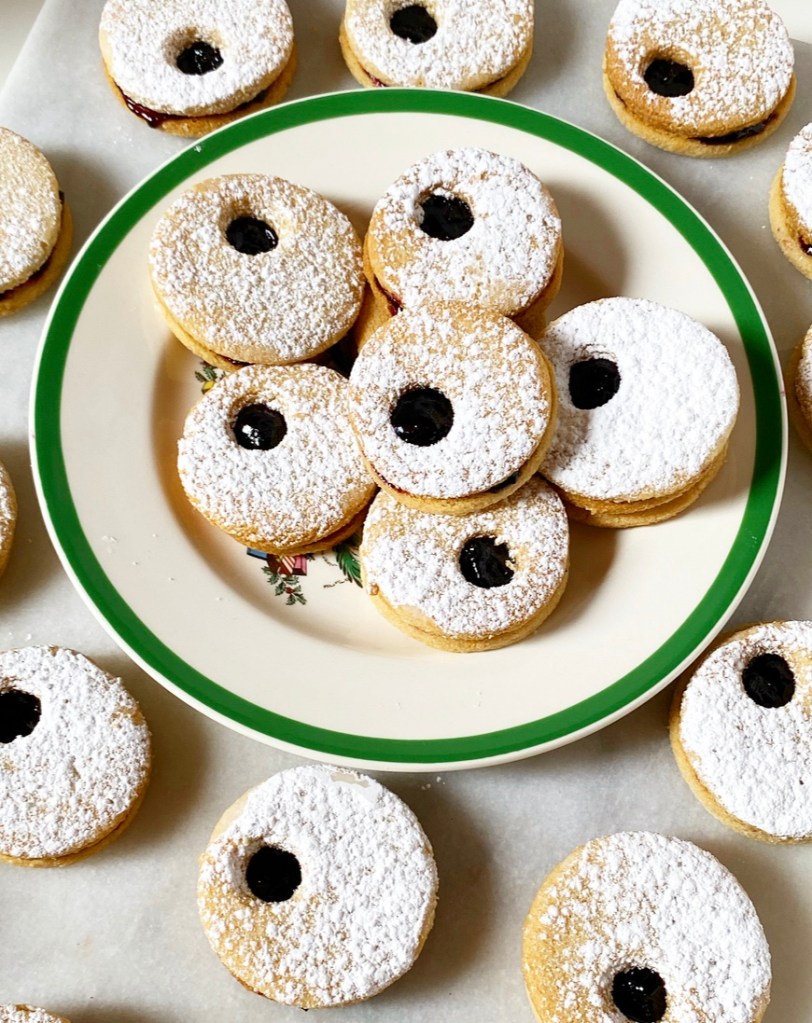
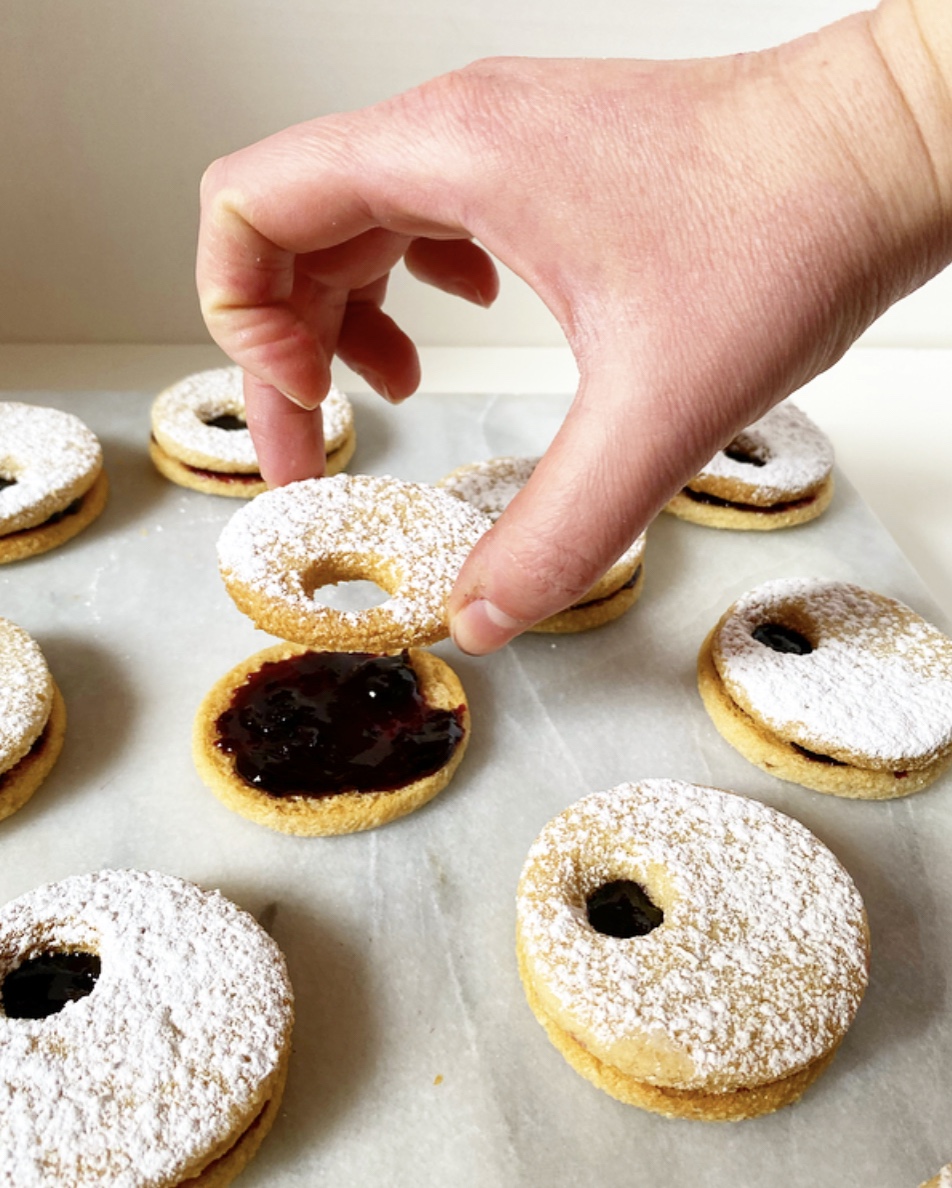
This dough requires a short chill before the usual rolling, cutting and baking. Don’t forget to stamp out a little window in half your cookies for that signature linzer cookie look!
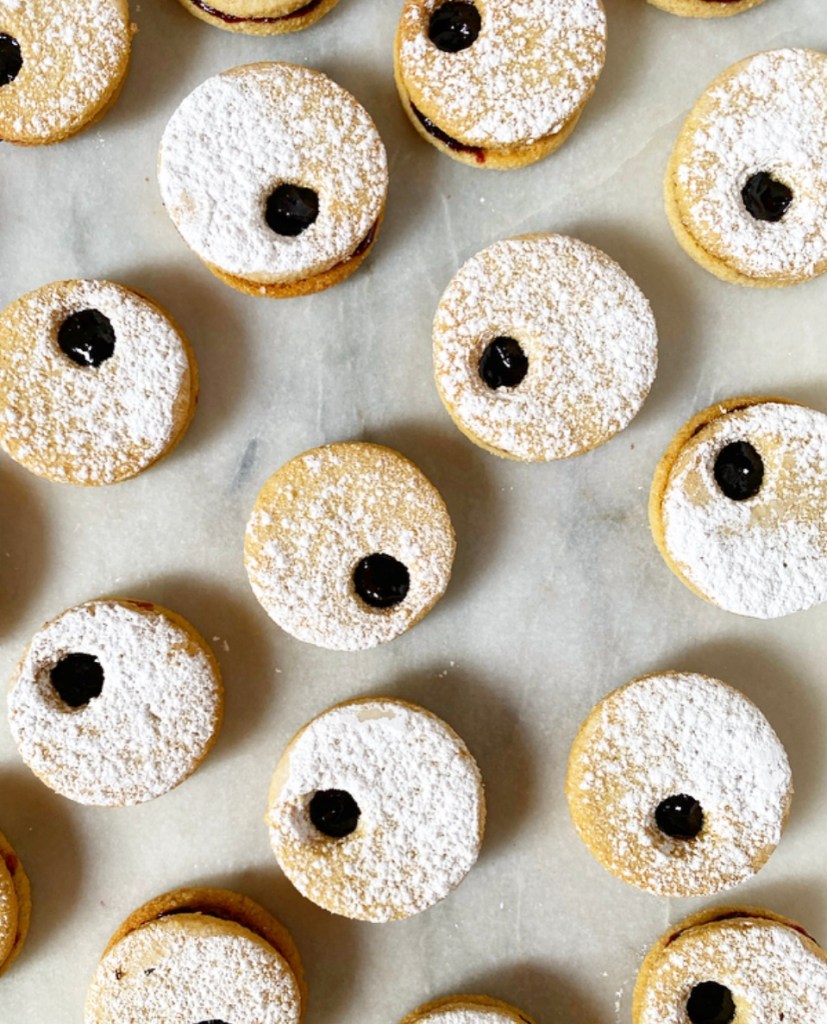
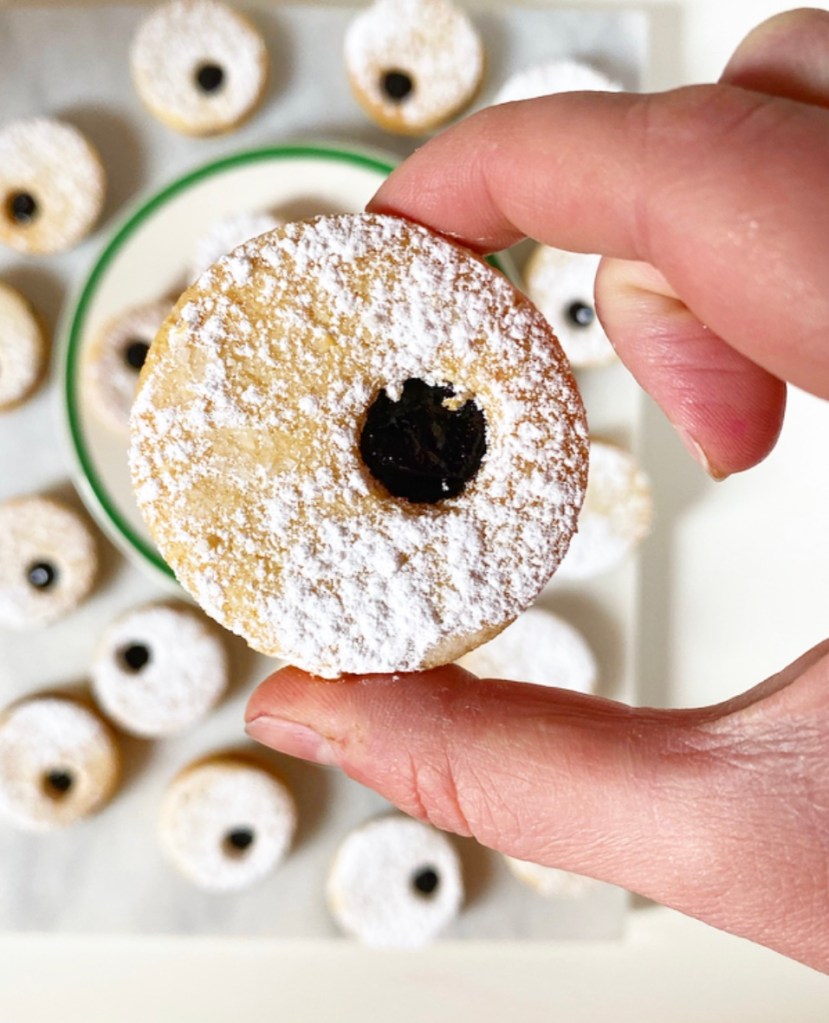
As far as filling goes, you can use any spread you like, but jam is traditional. I’m not much of a jam person, but I had a jar of homemade blueberry jam from my friend Suzette up in Maine, so I used that. Raspberry and strawberry would give festive Christmas red vibes, but I think orange marmalade might be absolute magic paired with the nutty cookies. I’ll have to try that another day though—for now, I’m extremely into these blue-black little picture windows and the signature flavor of my favorite place.
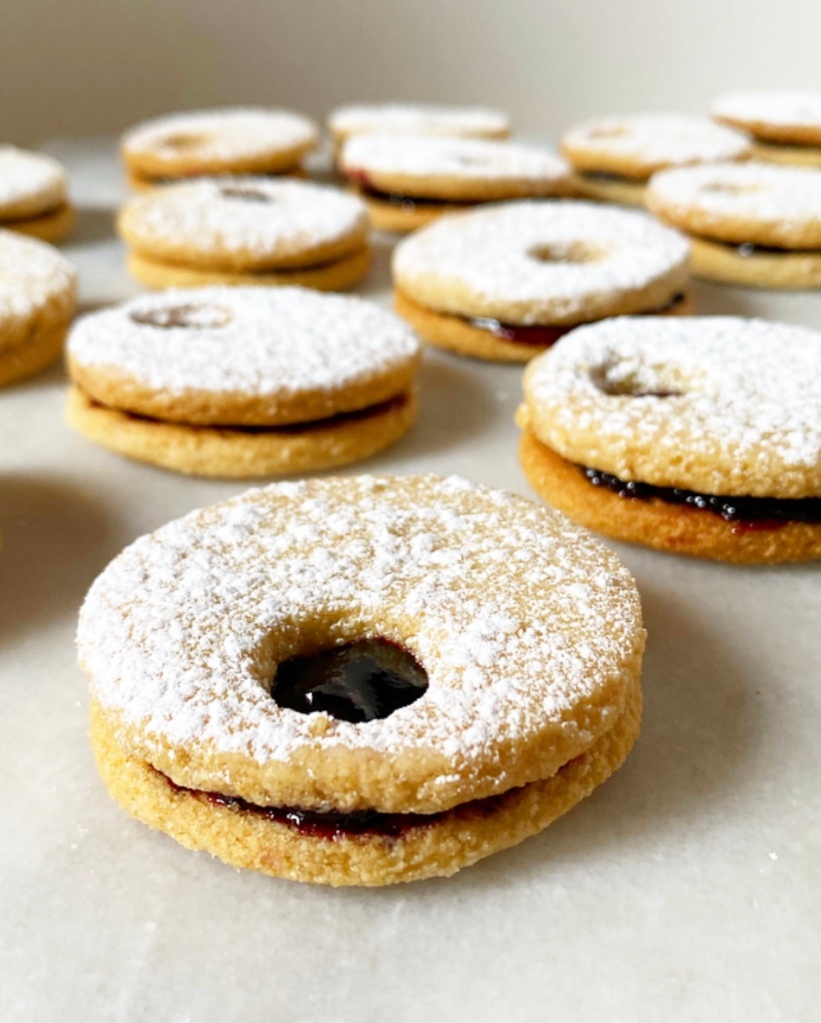
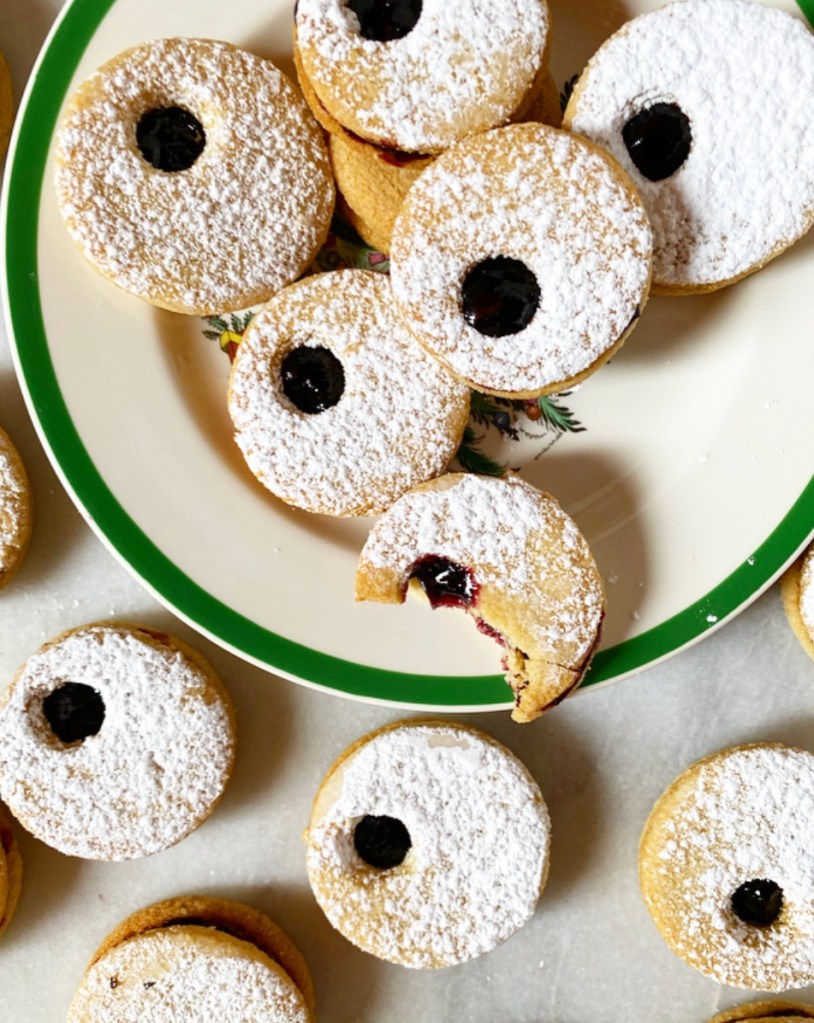
Vegan, Gluten-Free Linzer Cookies are initially very crunchy, but soften a bit as they soak up some moisture from the jam. This is not a bad thing at all, as it makes them easier to eat without getting crumbs on your shirt. That’s very important if, like me, you plan to casually snag a cookie every time you walk by the plate from now until 2022.
Vegan, Gluten-Free Linzer Cookies
makes about 2.5 dozen sandwich cookies

1/2 cup whole hazelnuts (or pecans)
2 1/2 cups blanched almond flour
1 teaspoon baking powder
1 teaspoon Kosher or sea salt
1/2 cup vegan butter, softened to room temperature
2/3 cup granulated sugar
1/3 cup confectioner’s sugar
2 tablespoons maple syrup or light corn syrup
2 teaspoons pure vanilla extract

For assembly:
2 tablespoons confectioner’s sugar
~3/4 cup jam or spread of choice

Special equipment:
rolling pin
2-inch cookie cutter
smaller cookie cutter (I used the large end of a piping tip)

toast and peel the hazelnuts. Place hazelnuts in a dry skillet over medium heat. Stir frequently until fragrant, 7-10 minutes. Immediately transfer hazelnuts to a clean, dry hand towel. Fold towel around the hazelnuts and then rub the towel with the palm of your hand. This will allow the hazelnut skins to loosen. This step does not have to be done perfectly. (If you are using pecans, you do not need to peel them.)

Let hazelnuts cool completely. Transfer to a food processor and pulse until they are a fine meal. Do not over-process or you’ll have hazelnut butter (delicious, but not helpful here).

In a medium mixing bowl, whisk together ground hazelnuts, almond flour, baking powder, and salt. Set aside.

In a separate medium-large mixing bowl, use an electric mixer to beat vegan butter until fluffy (about 2 minutes). Add sugar and confectioner’s sugar and beat until fully combined (about 2 minutes). Beat in maple syrup and vanilla.

Add dry ingredients in two installments, mixing completely after each addition. Dough may look rubbly, but should hold together extremely well when pinched.

Divide dough in two. Form each half into a disk, then wrap with plastic wrap. Chill for 1 hour or up to 3 days.

Place oven racks in central positions. Preheat oven to 325F. Line two rimmed baking sheets with parchment.

Use confectioner’s sugar to dust a surface and rolling pin. Unwrap one disk of dough and place it on the surface. Use the rolling pin to roll it out to 1/8-inch thickness. A thin offset icing spatula or bench scraper (or similar) will make moving the dough much easier, as will adding more confectioner’s sugar to the surface and rolling pin.

Use a 2-inch rom d cookie cutter to cut cookies, then use the icing spatula to move them to the prepared pans, keeping them 1.5 inches apart. Use a smaller cutter (I used the wide end of a piping tip) to cut windows in half your cookies—these are the tops of your linzers. Bake cookies 12-14 minutes, rotating the pans top-to-bottom and front-to-back at the 7 minute mark.

Let cookies cool 10 minutes on their pans. Use a spatula to remove them to a cooling rack to cool completely.

Repeat rolling, cutting, and baking as needed, re-rolling scraps as needed. Let cookie sheets come to room temperature between batches.

Set a cooling rack over a piece of parchment. Once all cookies are baked and cooled, set the cookies with the centers cut out on a prepared rack. Sift confectioners sugar over the tops.

Spread each whole cookie with  jam (amount is based on your preference). Carefully sandwich cookies together. Serve.

Cookies will keep in an airtight container at room temperature for up to 3 days, or in the refrigerator for up to a week. Place wax paper between layers for best storage. Cookies will soften a bit over time.
I am delighted to present this recipe as part of the Sweetest Season Cookie Exchange. This my fourth year participating in this event during which food bloggers post holiday cookies, raise awareness and donate money in support of Cookies for Kids’ Cancer, a 501(c)3 non-profit organization. We believe in their mission to raise funds for innovative pediatric cancer treatments and research through bake sales and cookie swaps. Many supporters (“Good Cookies”) do this throughout the year, and I am happy to contribute by participating in the Sweetest Season. If you’d like to learn more and/or make a charitable donation to Cookies for Kids’ Cancer, click here. For cookies, keep scrolling!
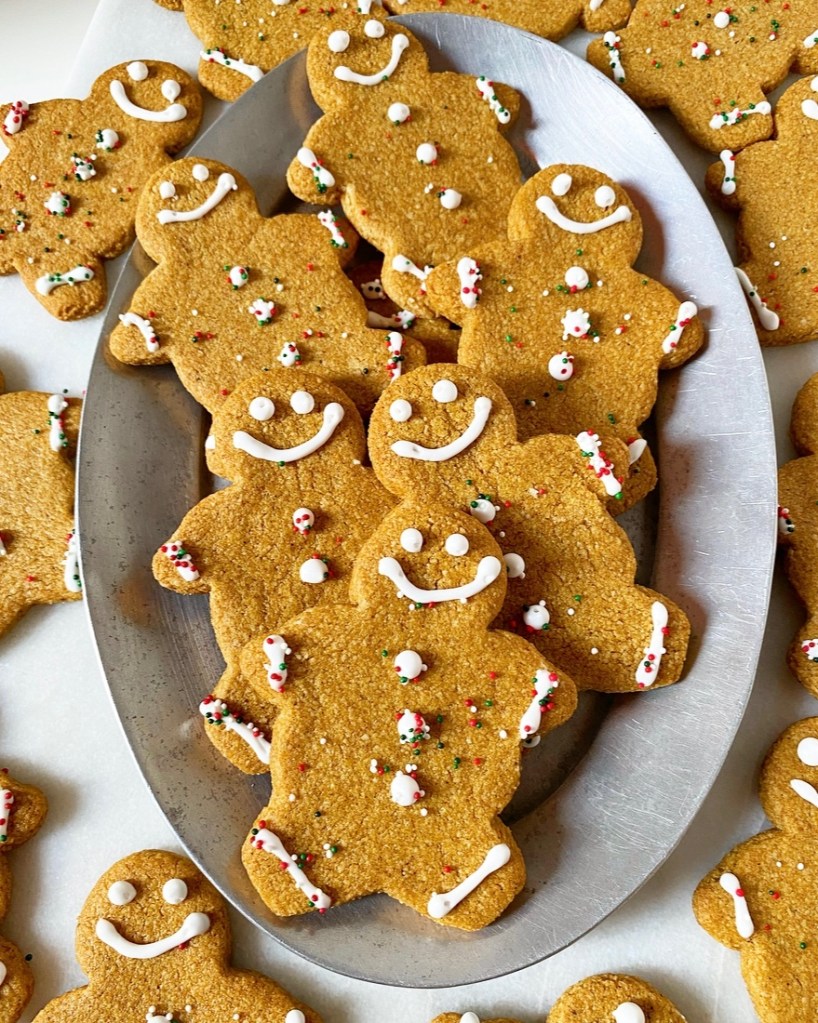
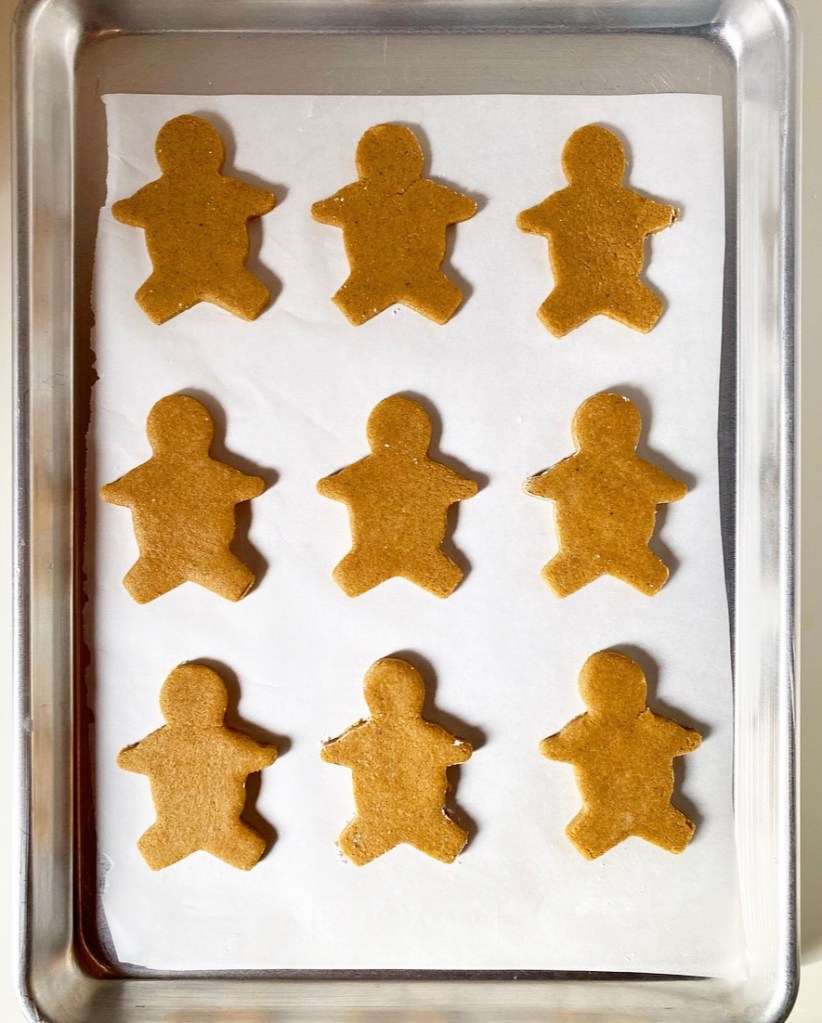
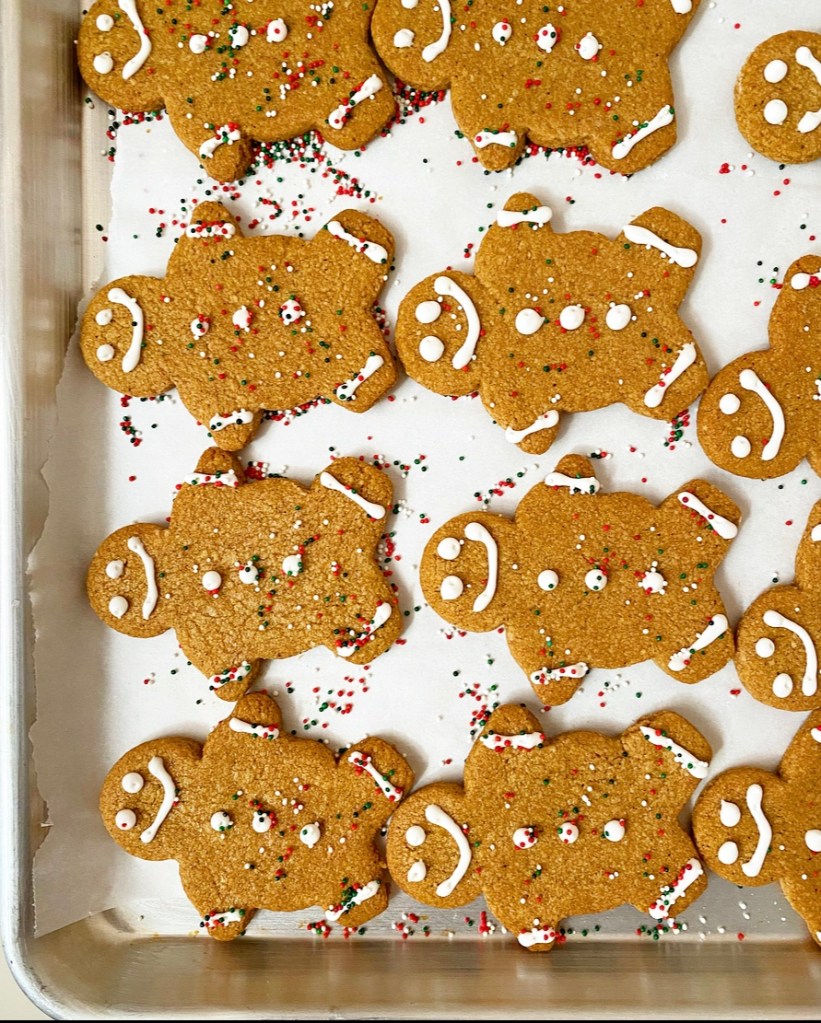
I’ve spent years making different variations on gingerbread cookies, and though I will go to the mattresses for my Maple Spice Stars, I think these Vegan, Gluten-Free Gingerbread Cookies are my best to date. They’re sweet and snappy, and if I didn’t outright tell you that they are egg, dairy, and flour-free, you’d never know it. They just taste like Christmas.
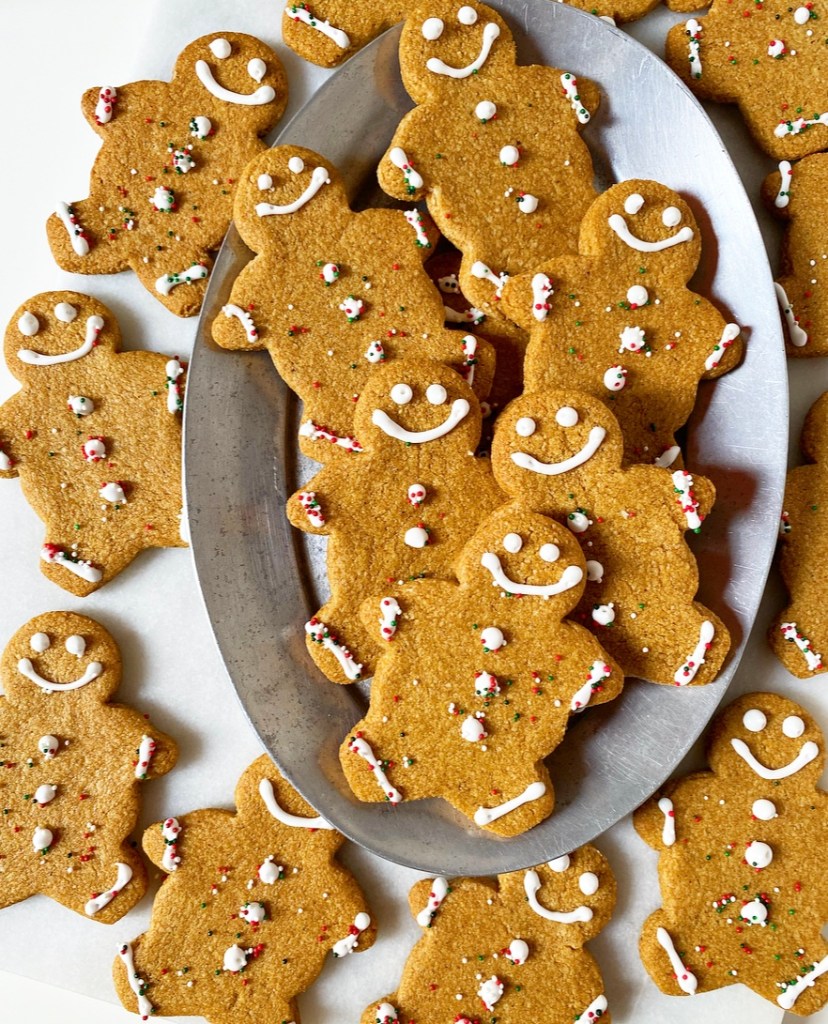
These sweet little cookie people are every bit the soul-warming ginger-spiced cookies we all know and love, just made more accessible. Baking is rarely something I do with only myself in mind and that goes double for the holiday season; it makes perfect sense to have recipes that can feed more of my community in my repertoire. My community happens to include a lot of people who are gluten-free or vegan or both, so these festive treats certainly fit the bill!
Let’s talk process. This dough is simple and straightforward, relying on easy-to-find ingredients like almond flour, vegan butter, and confectioner’s sugar in addition to classic gingerbread fare like molasses, brown sugar, and a bevy of spices. It takes just minutes to mix up and only needs an hourlong chill before it’s ready to roll and cut. You can use any cookie cutter you like, of course, but I am a sucker for classic gingerbread people. So cute!
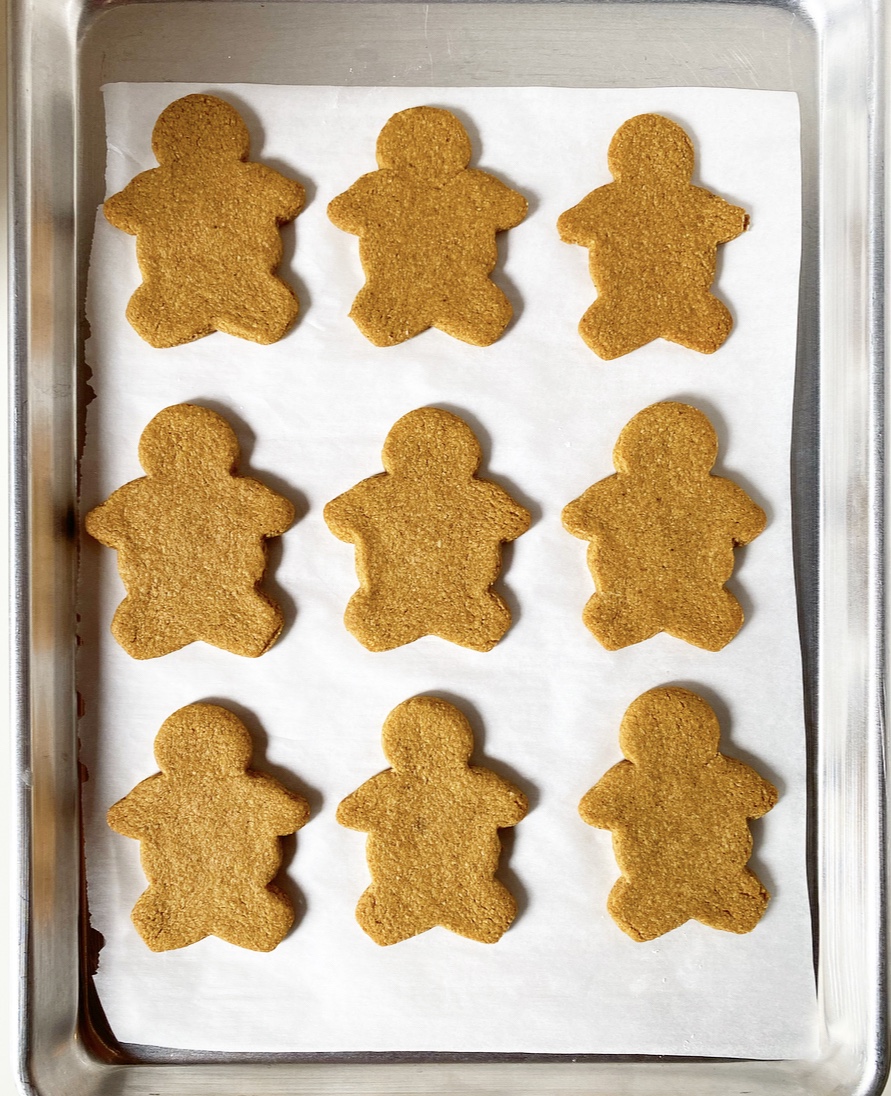
Baking is business as usual. These little buddies take 12-14 minutes at 325F, with crisper results coming more toward the 14 minute mark. Heads up: keep an eye on them in that last minute so they don’t over-brown. Even if they do get a little overdone though, you can fix them right up with icing. Vegan Royal Icing to be exact!
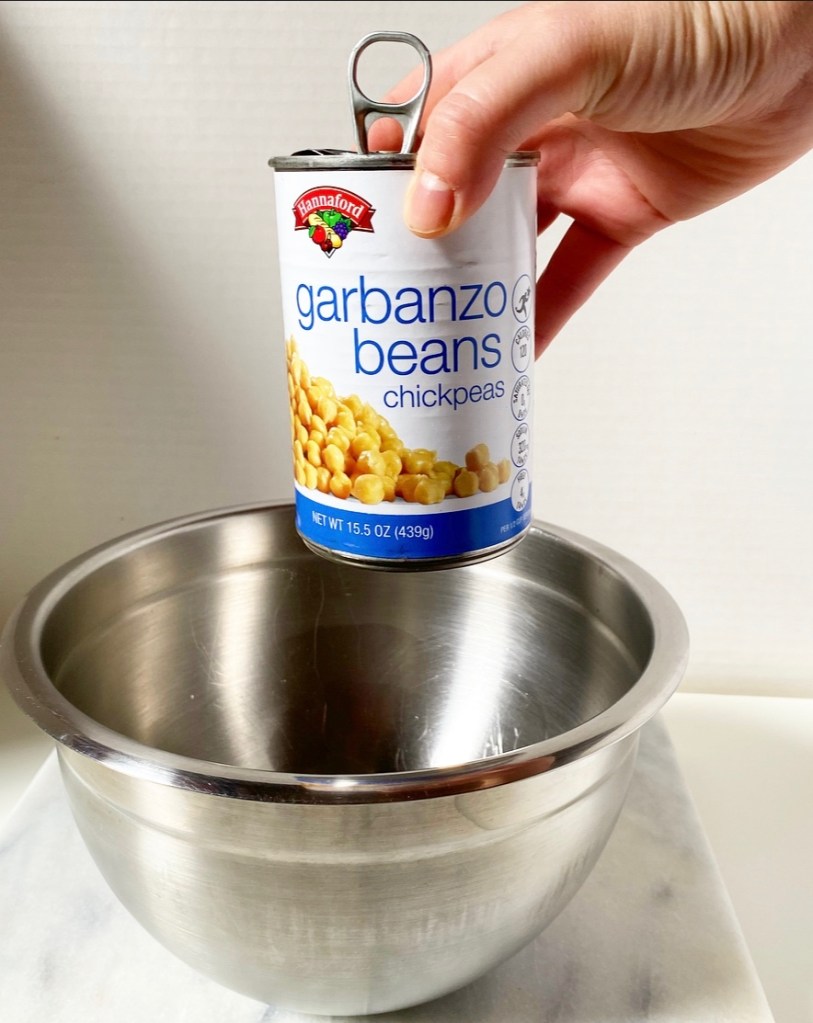
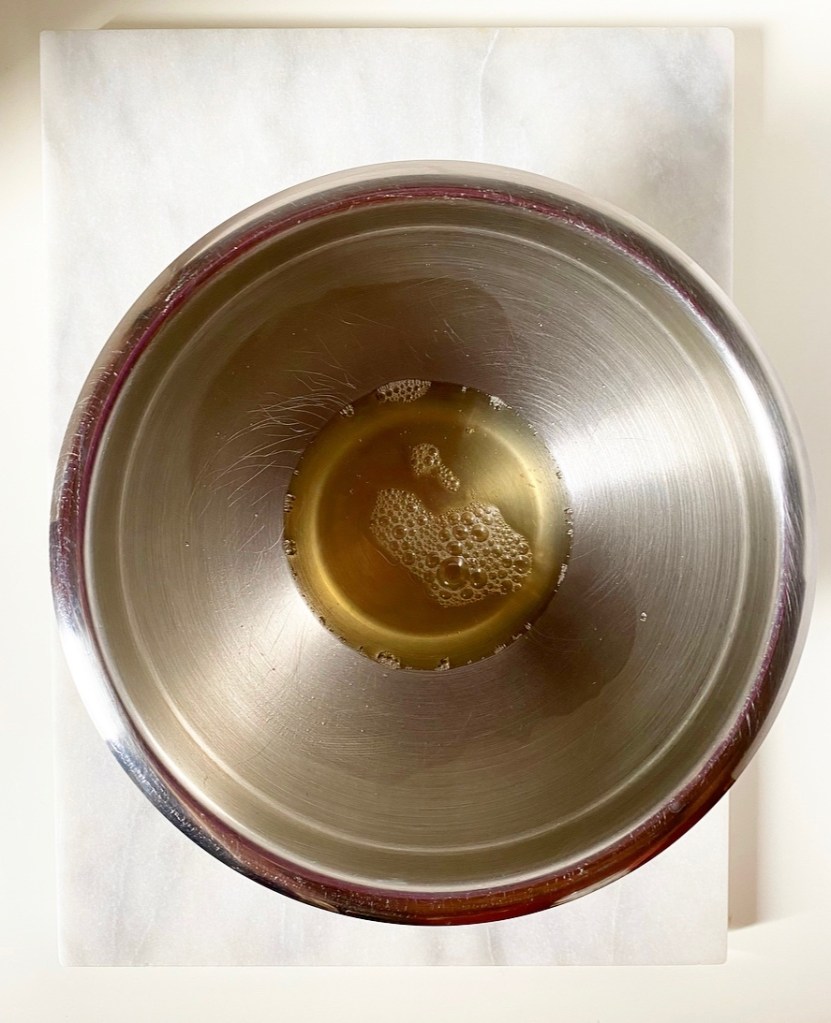
Where classic royal icing is made with egg whites, the vegan stuff uses my favorite egg replacer ever: aquafaba! Yep, the liquid from a can of chickpeas is the secret to pipeable, reliable egg-free royal icing! Its protein structure allows it to whip up just like egg whites do, making it a perfect 1:1 replacement here.
With the exception of swapping aquafaba for my usual mix of water and meringue powder, this Vegan Royal Icing comes together exactly the same way as my traditional recipe, and is just as delicious! I used the icing as-is for decoration, but feel free to dye it any color you like or to thin it for making flood icing if you’re interested in more intricate designs.
Oh, and for those concerned, this icing doesn’t taste like beans at all—it just tastes like icing.
And these vegan, gluten-free gingerbread cookies? They just taste like Christmas.
The Best Vegan, Gluten-Free Gingerbread Cookies makes about 2 dozen 4-inch cookies
3 cups blanched almond flour 1 teaspoon baking powder 1 teaspoon Kosher or sea salt 3 1/2 teaspoons ground ginger 2 teaspoons ground cinnamon 1/2 teaspoon ground nutmeg 1/4 teaspoon ground allspice 1/4 teaspoon ground cloves 1/2 cup vegan butter, softened to room temperature 2/3 cup dark brown sugar, packed 1/3 cup confectioner’s sugar 2 tablespoons molasses 2 teaspoons pure vanilla extract
For decoration: Vegan Royal Icing (recipe below) sprinkles of choice
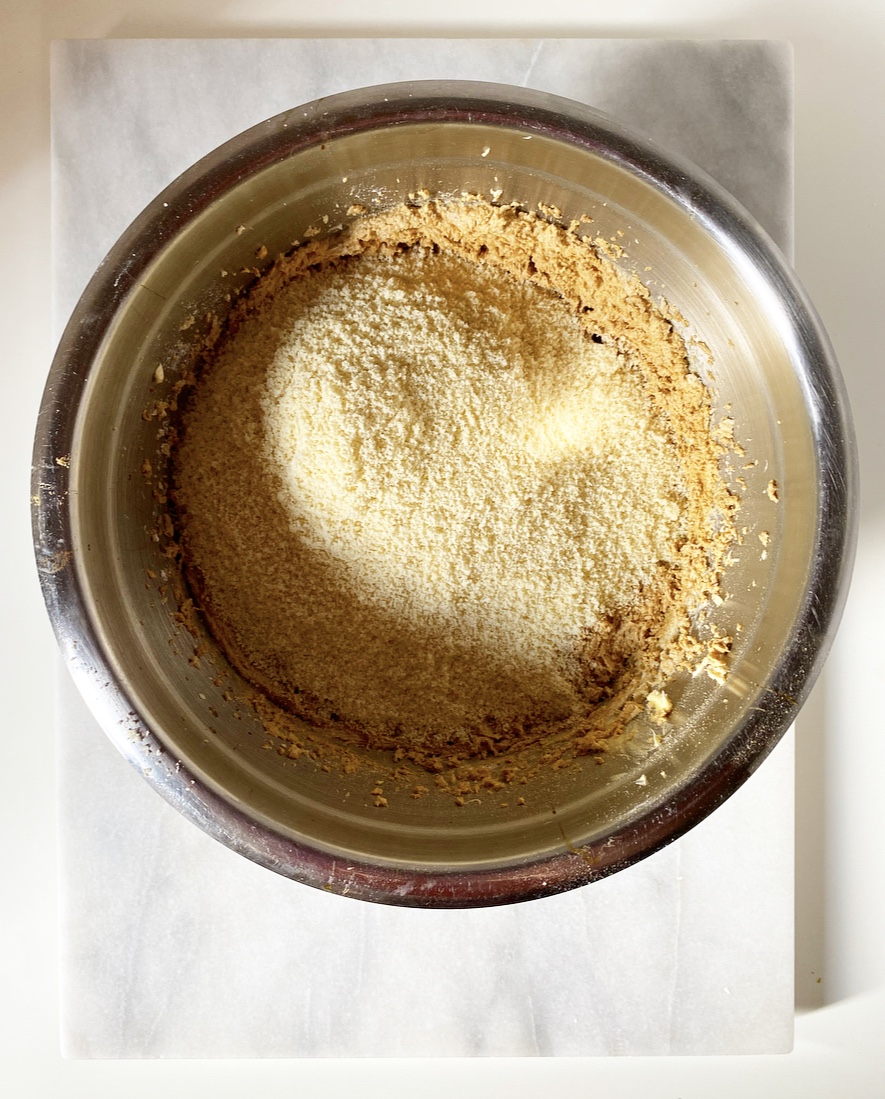
In a medium mixing bowl, whisk together almond flour, baking powder, salt, ginger, cinnamon, nutmeg, allspice and cloves. Set aside.
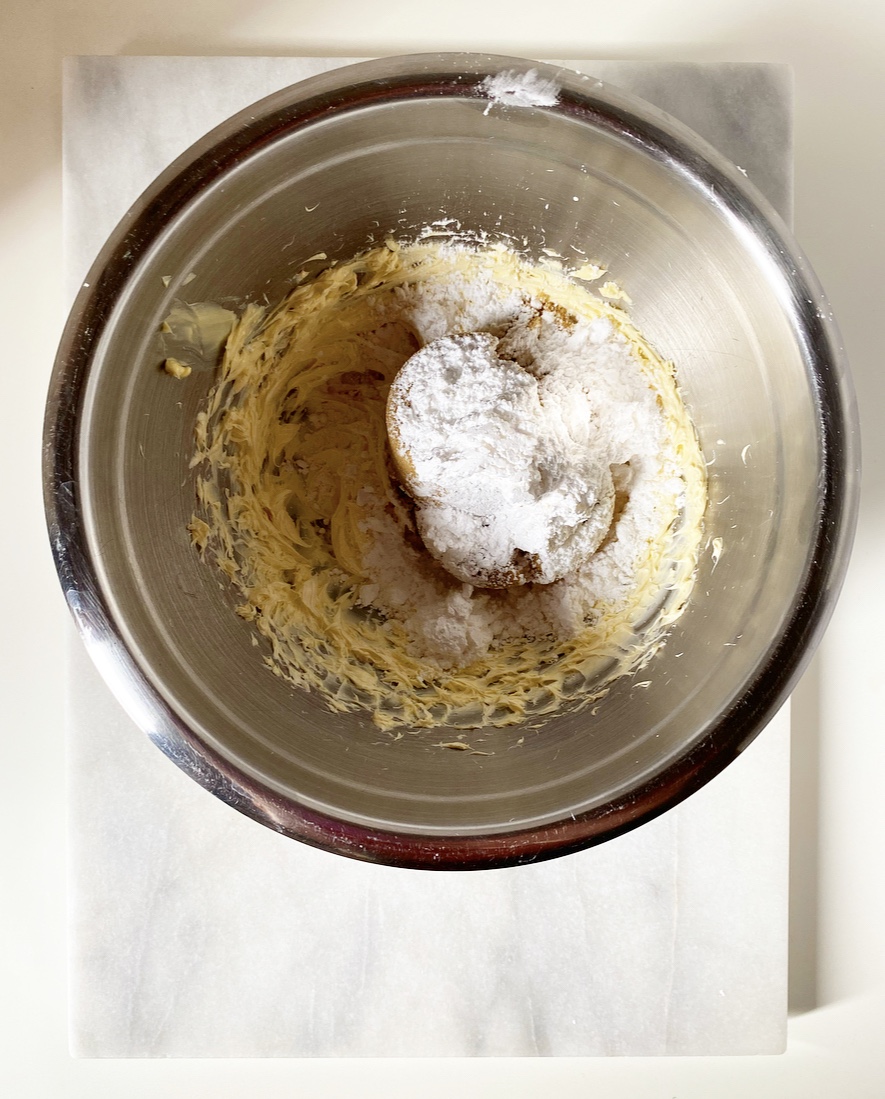
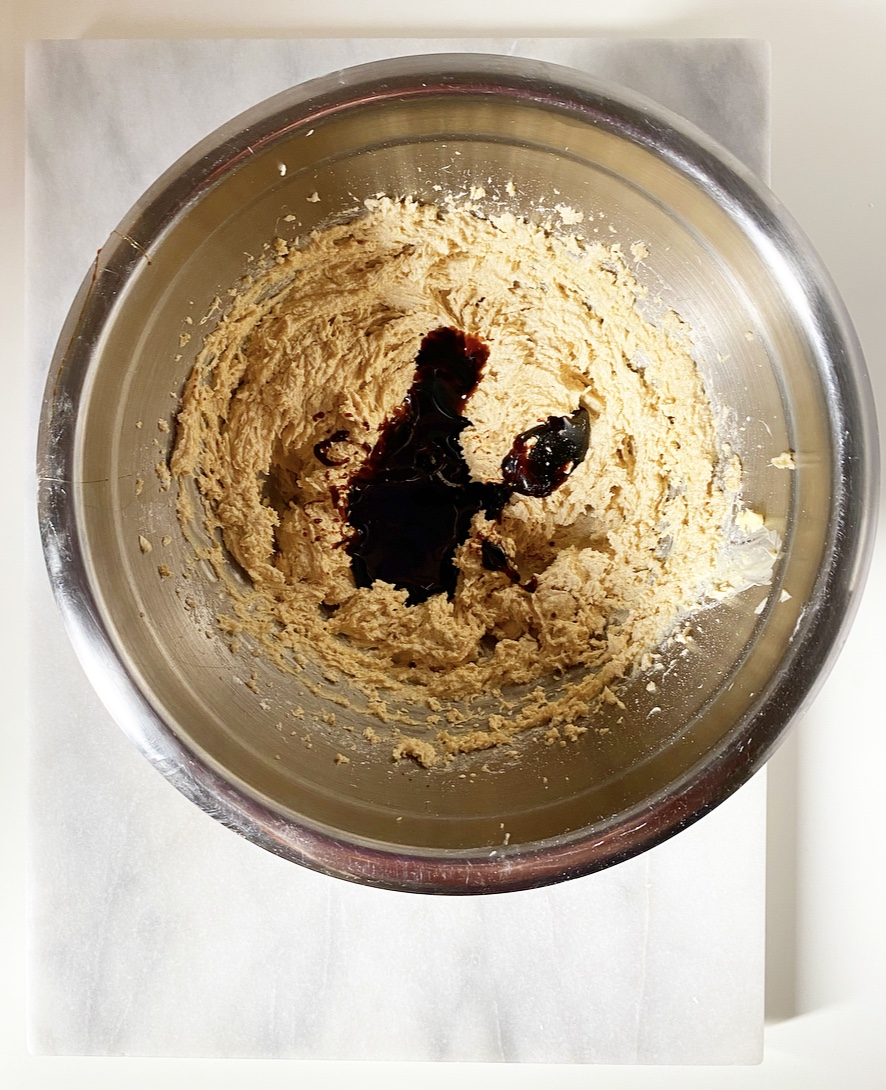
In a separate medium-large mixing bowl, use an electric mixer to beat vegan butter until fluffy (about 2 minutes). Add dark brown sugar and confectioner’s sugar and beat until fully combined (about 2 minutes). Beat in molasses and vanilla.
Add dry ingredients in two installments, mixing completely after each addition. Dough may look rubbly, but should hold together extremely well when pinched.
Divide dough in two. Form each half into a disk, then wrap with plastic wrap. Chill for 1 hour or up to 3 days.
Place oven racks in central positions. Preheat oven to 325F. Line two rimmed baking sheets with parchment.
Use confectioner’s sugar to dust a surface and rolling pin. Unwrap one disk of dough and place it on the surface. Use the rolling pin to roll it out to 1/4-inch thickness. A thin offset icing spatula or bench scraper (or similar) will make moving the dough much easier, as will adding more confectioner’s sugar to the surface and rolling pin.
Use a cookie cutter to cut shapes, then use the icing spatula to move them to the prepared pans, keeping them 1.5-2 inches apart. Bake cookies 12-14 minutes, rotating the pans top-to-bottom and front-to-back at the 7 minute mark.
Let cookies cool 10 minutes on their pans. Use a spatula to remove them to a cooling rack to cool completely.
Repeat rolling, cutting, and baking as needed, re-rolling scraps as needed. Let cookie sheets come to room temperature between batches.
Once cookies are all baked and cooled, decorate with Vegan Royal Icing (recipe below) and sprinkles. Let cookies dry at least 8 hours before layering with parchment paper and stacking.
Cookies will keep covered at room temperature for at least a week.
Vegan Royal Icing makes more than enough for 1 batch of gingerbread cookies
1/3 cup aquafaba (liquid from a can of chickpeas) 1/2 teaspoon cream of tartar 2 teaspoons pure vanilla extract 1 pound (3 3/4 cups) confectioner's sugar, divided 1 tablespoon corn syrup
Special Equipment: gel food coloring piping bags (or plastic sandwich bags) small round piping tips and couplers sprinkles
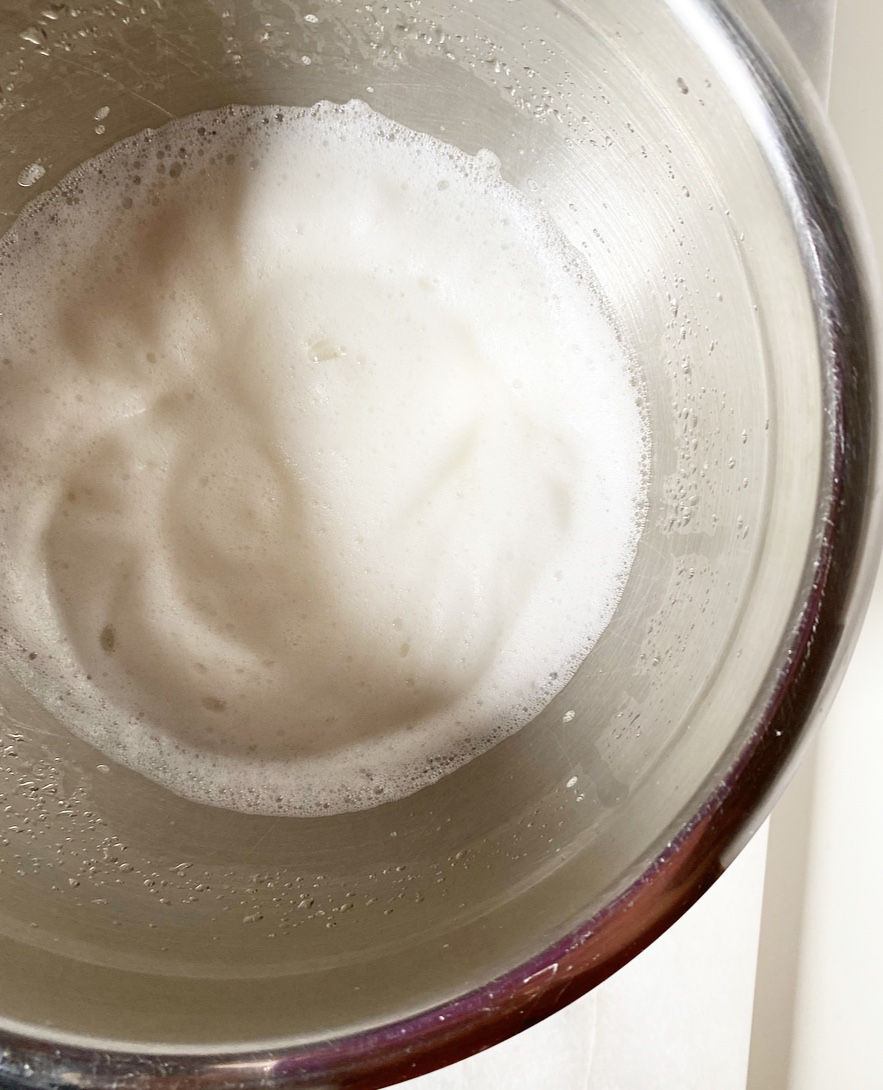
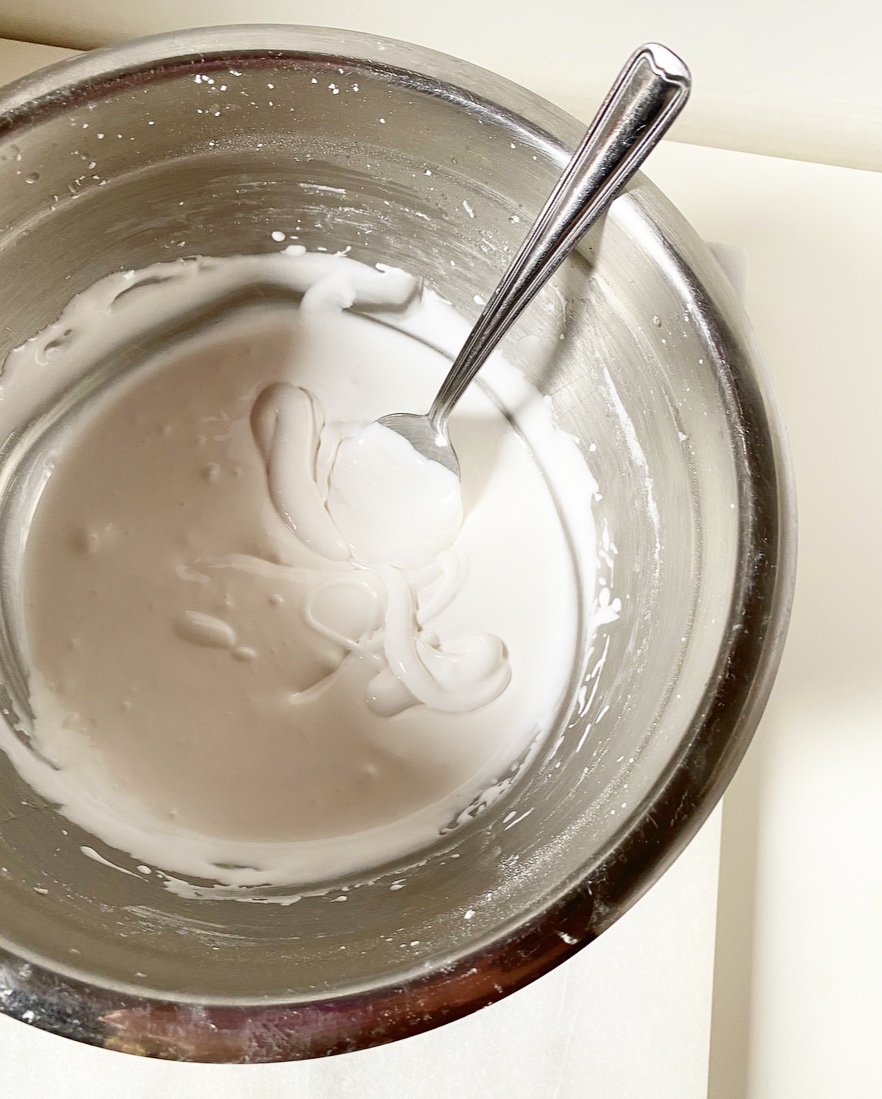
Beat aquafaba and cream of tartar with an electric mixer on medium-high speed until doubled in size, about 1 minute. Mix in vanilla. With the mixer running on low, add half of the confectioner's sugar. Mix in corn syrup. Add the remaining half of confectioner's sugar. Scrape down the bowl before beating on medium-low for an additional 30 seconds.
To ice as pictured here, transfer 1/4 of the icing to a piping bag fitted with a coupler and tip. Ice as desired, sprinkling with any sprinkles immediately after piping (the icing hardens very quickly). Let cookies dry in a single layer uncovered for at least 8 hours, or until fully dry, before stacking.
For storage, press plastic wrap to the surface of your container of Vegan Royal Icing, it may be kept covered at room temperature for up to four days or in the refrigerator for a couple of weeks. Beat with a mixer before using, as it may slowly separate over time. If if needs to be thinned, add 1/2 teaspoon water at a time until icing dribbled into the bowl forms a ribbon that fades within a few seconds.
For information on more intricate decorating like outline/fill icing, using multiple colors, etc., click here.
Hey there! I put all my Thanksgiving recipes on their own page for maximum convenience. Just click the menu at the top of the page and then go to “Thanksgiving Recipes.”
It’s funny how recipes sometimes just hit me out of nowhere. Like this past September I was in Maine making Vegan Chocolate Pudding for dessert, and I accidentally made it just a little too stiff. While it worked for a no-frills vacation treat, I knew that I needed to make adjustments for a better pudding consistency, but I also knew I had just made a perfect Vegan Chocolate Cream Pie filling.
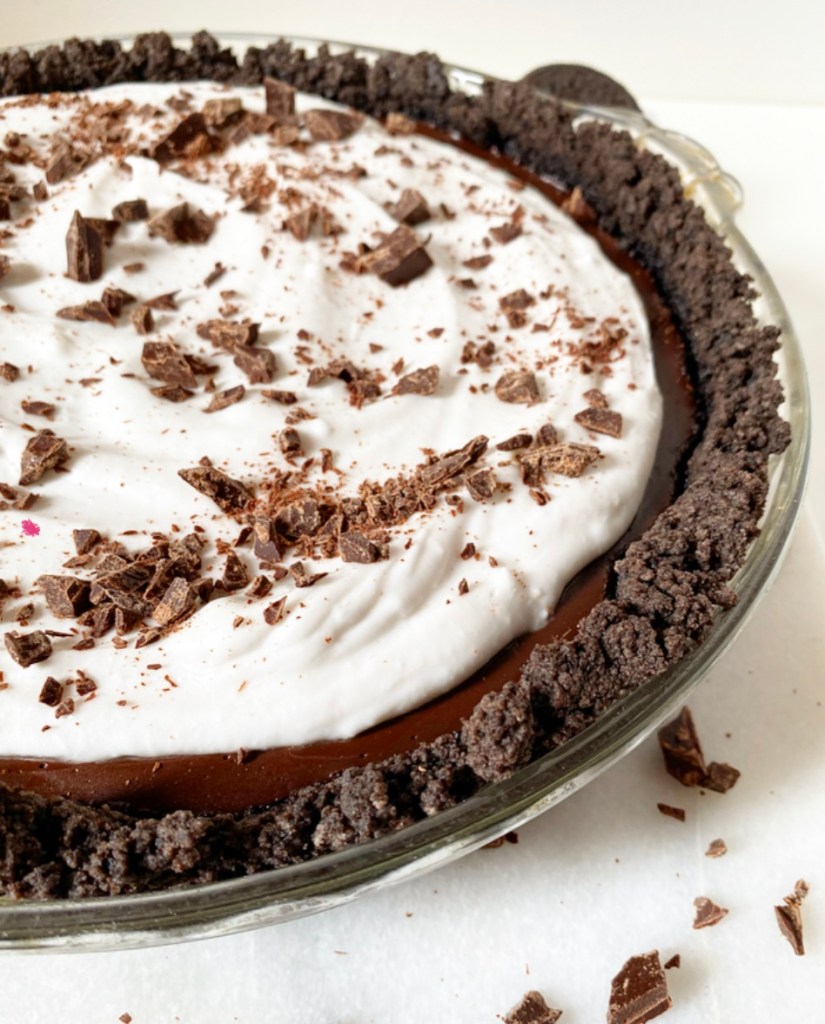
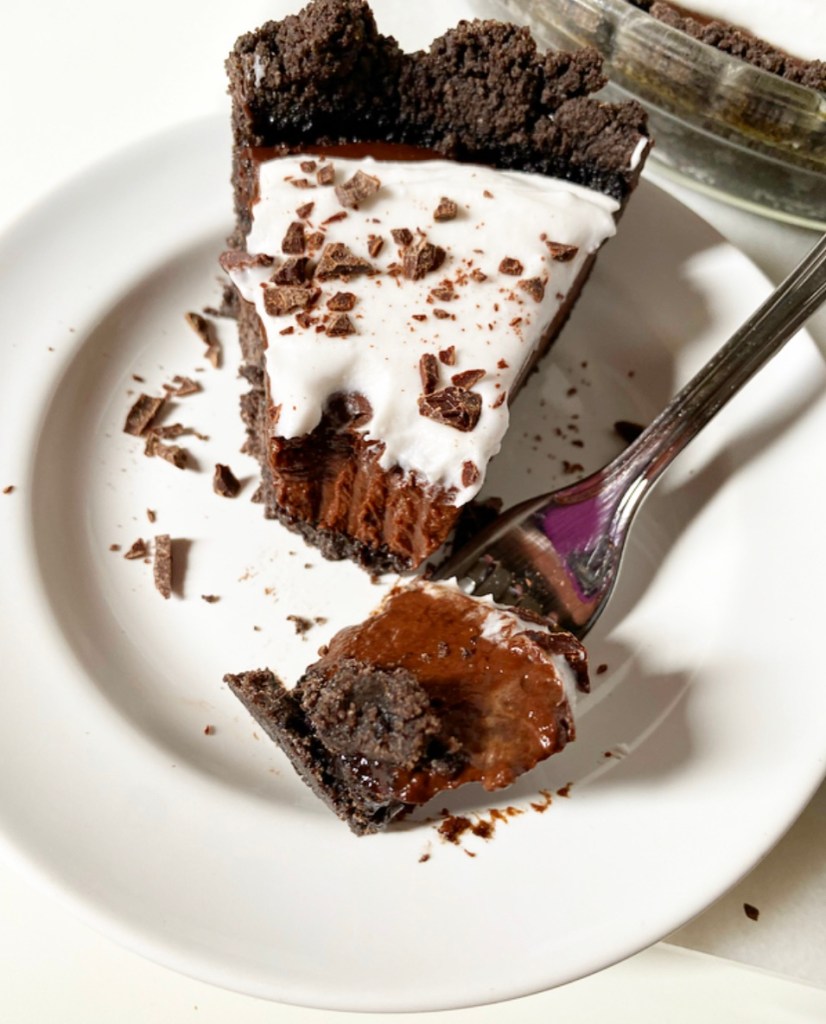
And I do mean perfect. Sliceable, but not bouncy. Rich and chocolaty, but completely devoid of dairy and eggs. I had a vision of it sitting in a chocolate cookie crust with a whisper of vegan whipped cream on top, and two months later, here we are.
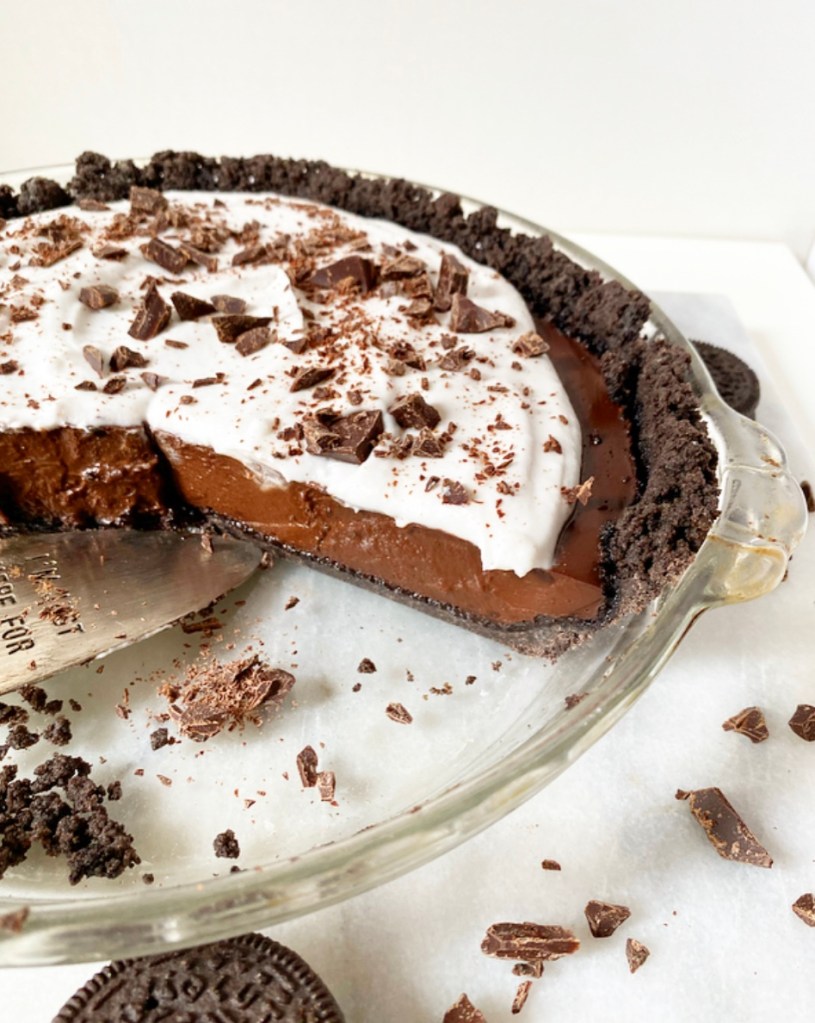
As with my traditional Chocolate Cream Pie, this vegan version is nearly no-bake and very simple to make. The crust is just crushed Oreos (I used gluten-free) and vegan butter that are mixed together and baked just to set. The filling is made by whisking things together in a certain order, as all pudding is. No need to sieve this one though—no eggs means no worrying about solids! To assemble, just pour the filling into the crust and refrigerate until very, very cold.
Oh yes, this cold, creamy crowd pleaser of a pie is an all-out winner. I mean, who doesn’t love delicious Chocolate Cream Pie and food everyone can eat and enjoy? Dessert and inclusivity are two of my favorite things!
Before serving, top the pie with some vegan whipped cream! I went with an easy coconut cream-based recipe by Minimalist Baker, and it’s outrageously good. If you’re not up to making your own vegan whipped cream, Reddi Wip makes a good coconut whipped cream in a can that you can find in most grocery stores. Just put a little on each slice immediately before serving (and then spray the rest in your mouth because you’re a grown-up and you can).
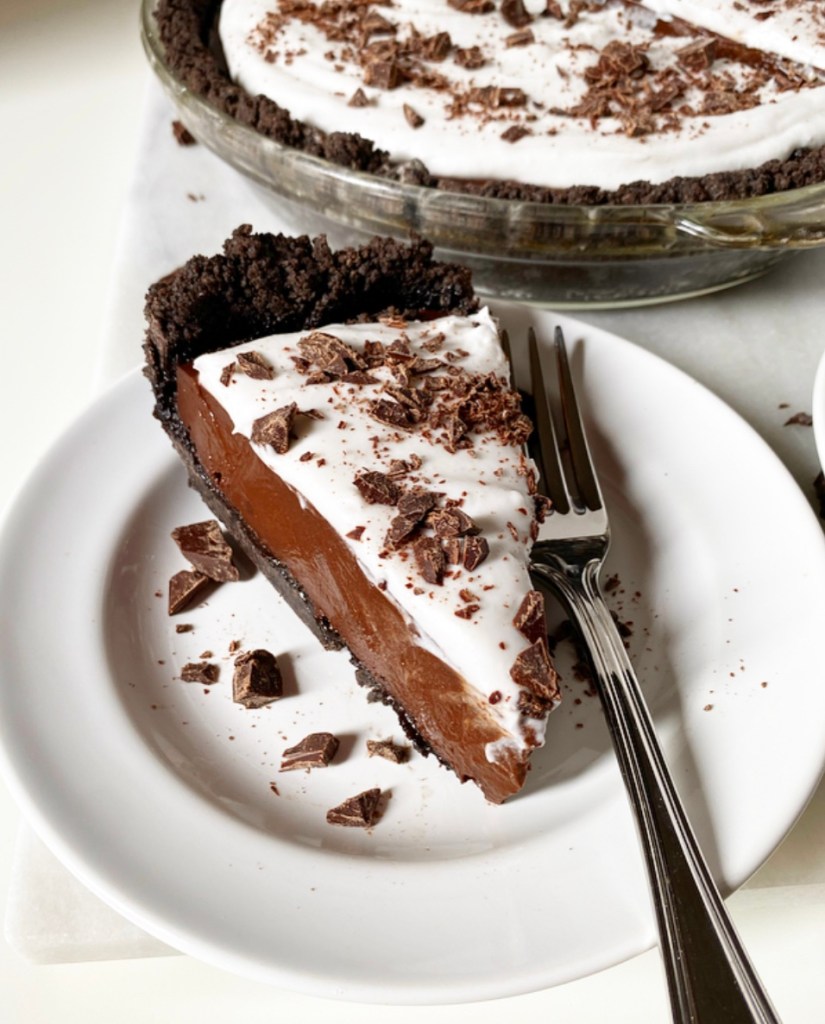
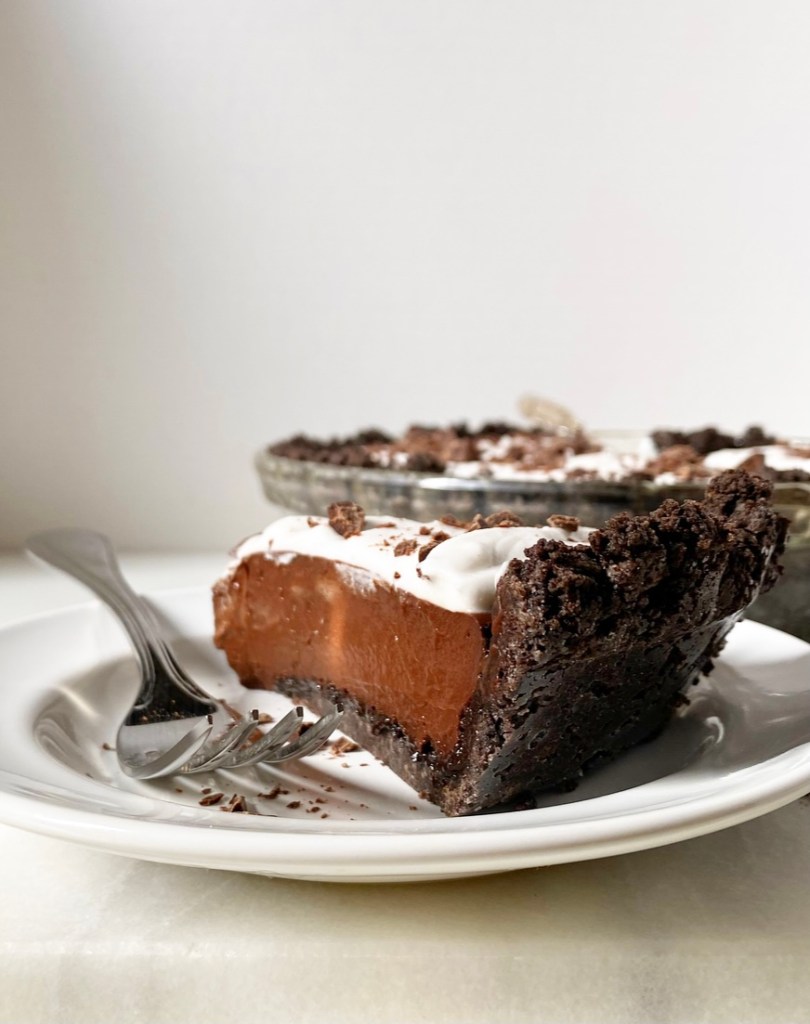
Speaking of slices, can we discuss how beautiful this is? Defined layers! Gorgeous chocolaty filling! And it’s gluten-free and vegan? I think it’s safe to say we have a Thanksgiving showstopper on our hands.
Vegan Chocolate Cream Pie
makes 1 pie

Crust:
24 regular or gluten-free Oreos (original or Double Stuf)
5 tablespoons vegan butter, melted

Filling:
5 tablespoons cornstarch
2/3 cup granulated sugar
1/2 cup natural unsweetened cocoa powder
pinch of Kosher or sea salt
3 cups unsweetened non-dairy milk (I used almond milk)
1 teaspoon pure vanilla extract
5 ounces dark chocolate, chopped
1 tablespoon vegan butter

Topping:
Vegan Whipped Cream (I made it with Thai Kitchen Coconut Cream)
finely chopped dark chocolate

Make the crust. Place Oreos in the bowl of a food processor and blitz until they are crumbs. Add melted butter and pulse until the mixture can be pinched together. Press it into the bottom and up the sides of the pie plate (I find that a 1/4 cup measuring cup works for this). Bake the crust for 10 minutes and then let it cool for 20 (or until you can handle the pie plate).

Make the filling. In a medium pot, whisk together cornstarch, sugar, cocoa powder and salt. Whisk in half the non-dairy milk, followed by the remainder.

Place pot over medium heat. Whisking continuously throughout cooking, cook pudding until it has boiled for 1 minute. This process should take 8-10 minutes from start to finish.

Pour filling into the crust. Tap the full pan on the counter a few times to release large bubbles. Press plastic wrap to the surface. Refrigerate for 6 hours or overnight, until cold.

When ready to serve pudding, peel off and discard plastic wrap. Top with vegan whipped cream of choice and finish with chopped dark chocolate. Refrigerate until ready to slice and serve.

Leftover pie will keep covered in the fridge for 3-4 days.
The internet will try to tell you otherwise, but I feel you should know that the absolute best garlicky mashed potatoes are completely free of butter and cream.
Yeah, I’m here to sell you on vegan mashed potatoes. Please don’t leave!
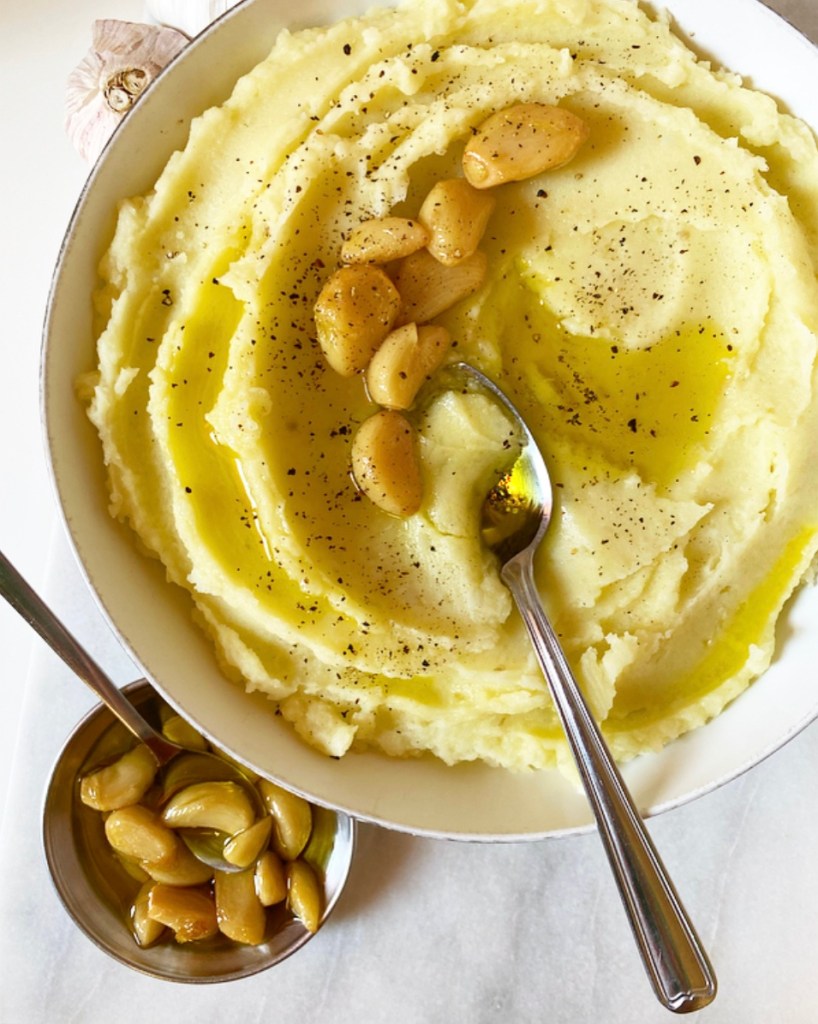
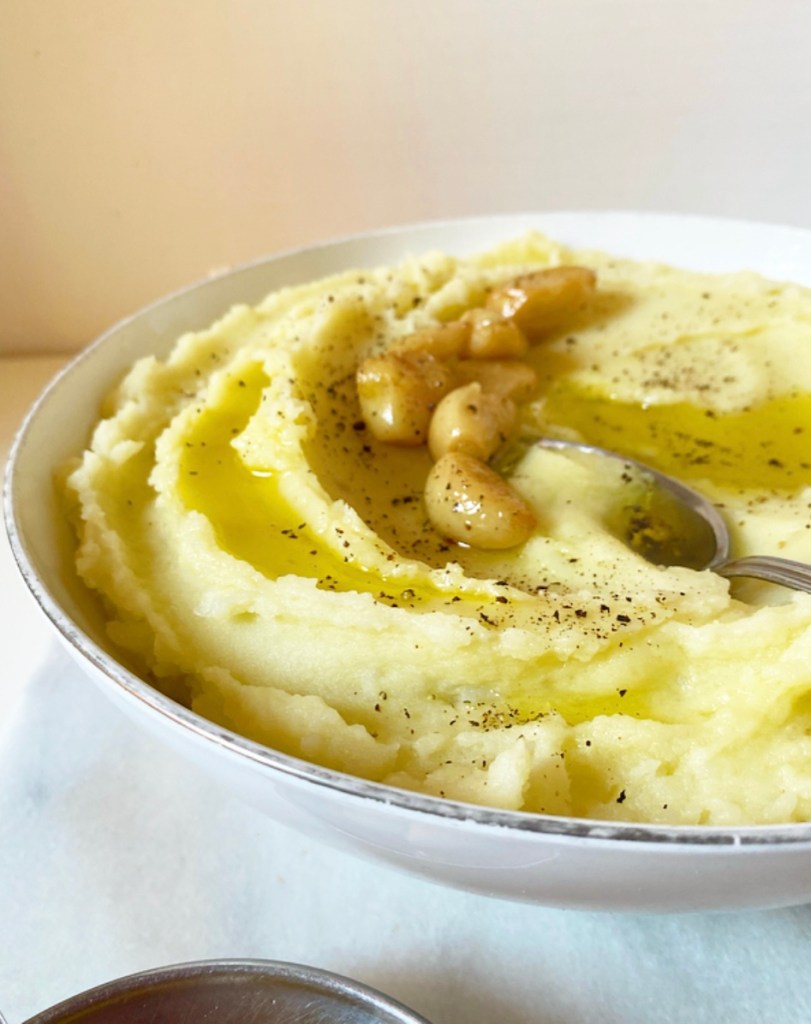
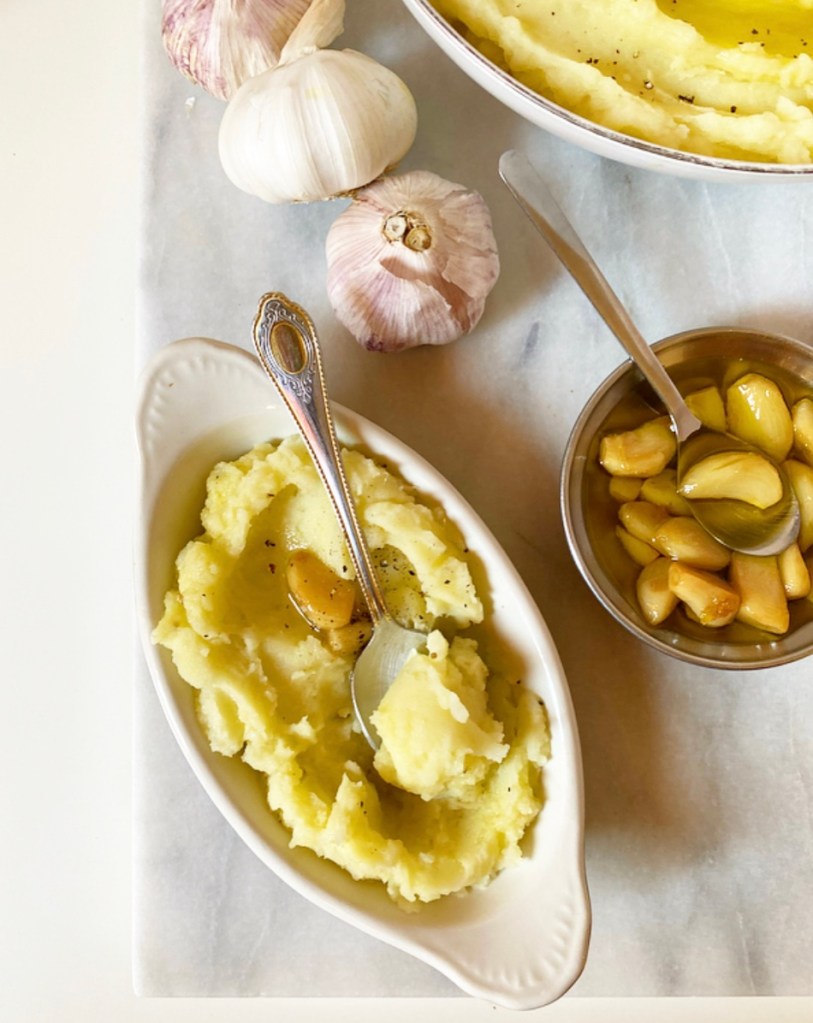
You’ll be missing out on luxurious homemade garlic confit that’s been slow-simmered to rich, fragrant perfection and then mashed into soft russet potatoes. Uh huh. Garlic Confit Mashed Potatoes are where it’s at, y’all. Only the best garlicky potato bliss for our Thanksgiving tables, am I right???
You can get a jump start on making your own holiday Garlic Confit Mashed Potatoes right now! The confit can be made up to two weeks ahead (yeah, Thanksgiving is only two weeks away). Just simmer it while you’re doing something else and then stick it in the fridge until you need it. Let it come to room temperature and then mash it into these rich, smooth, oh so good potatoes.
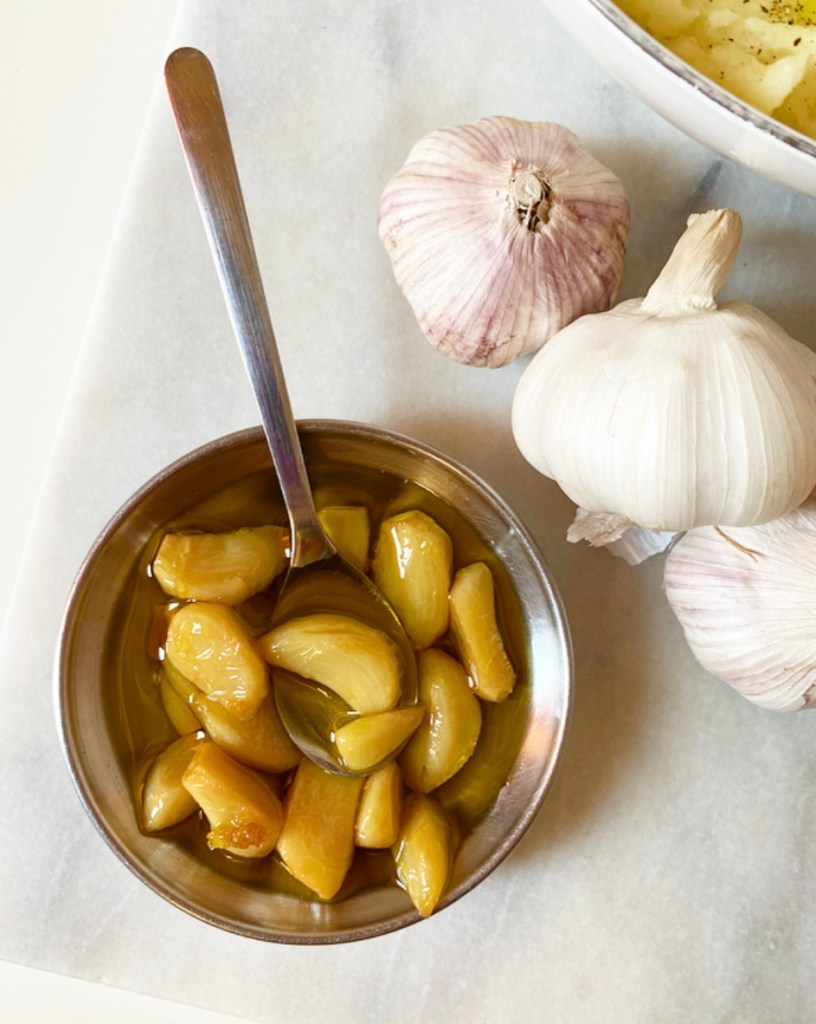
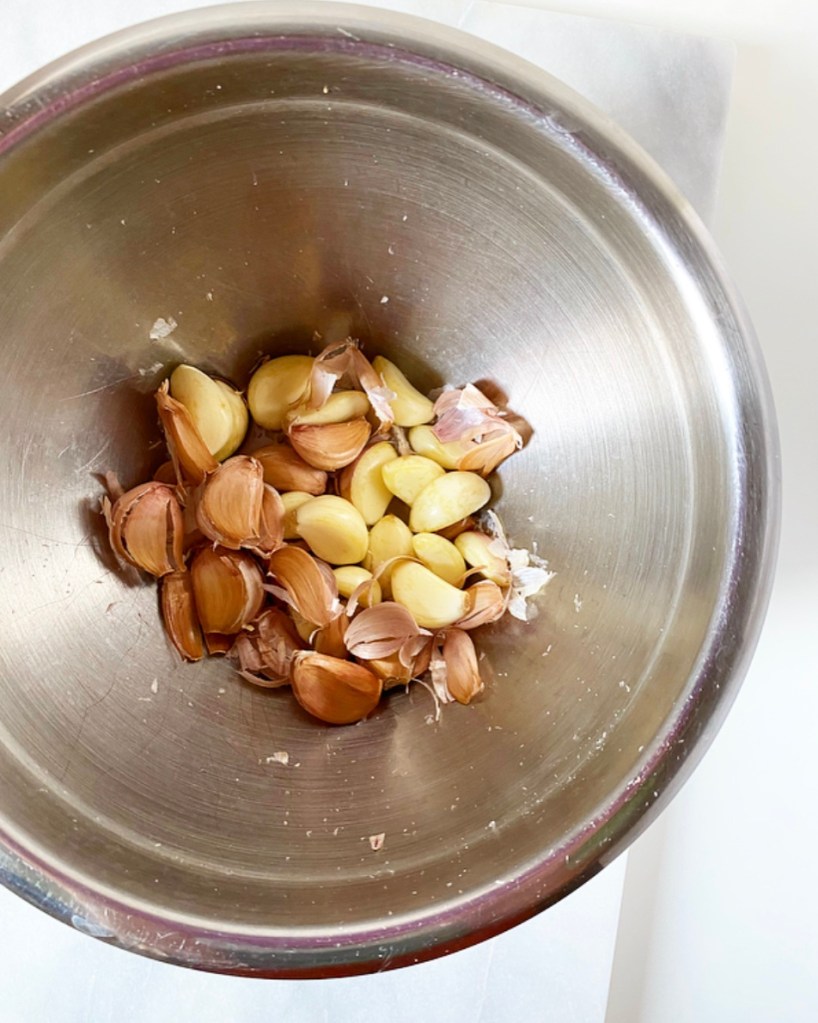
You’ll notice that the garlic confit recipe asks for you to peel three heads of garlic, which probably seems insane, but fear not! You can either purchase your garlic already peeled *or* take the DIY easy way out, following one of those hacks you sometimes come across on social media, which is what I did.
I simply separated all the garlic cloves, put them in a covered bowl (I used a thin cutting board as a lid) and shook the living daylights out of the whole contraption for about two minutes, until all the papery skins had at least begun to slip off. Boom, done. After that, it’s just a matter of slicing off the ends before confit-ing, which again, is just simmering at a very low heat. So easy!
One more tip for perfect confit and mashed potatoes: buy fresh olive oil. Besides garlic, olive oil is the primary flavoring agent here, so you want it fresh fresh fresh. If you want to use a less expensive oil here, I’d go with grapeseed, but again, make sure it’s fresh. You don’t want some slightly “off” oil to ruin your potatoes.
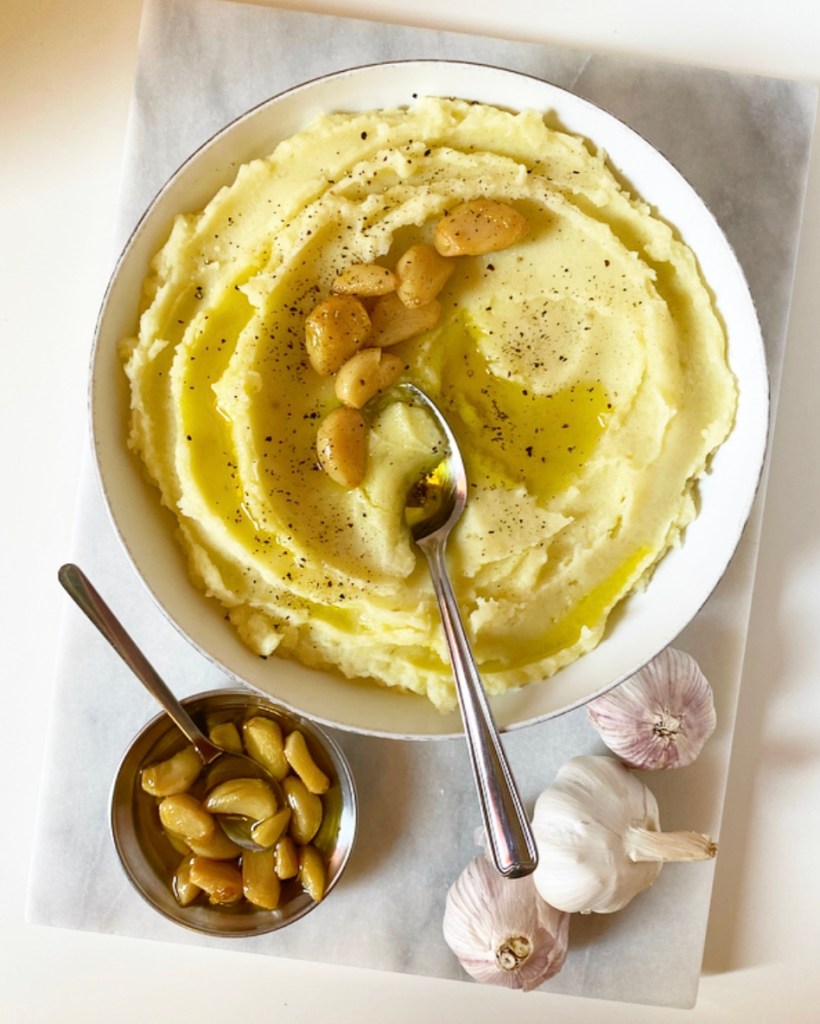
I mean, how could you not want these?! They’re the smooth side dish you know, but absolutely bursting with garlic flavor (and not much else)! Beyond their flavor, I love that they are vegan —at such a meat- and dairy-forward meal, I always worry about the vegans at the table having things to eat. And while you can’t subsist on Garlic Confit Mashed Potatoes alone, I wouldn’t mind giving it a try, you know?
Garlic Confit Mashed Potatoes makes about 6-8 servings
Garlic Confit: 3 heads garlic 1 cup olive oil
Mashed Potatoes: 3 lbs russet potatoes cold tap water 1/2-3/4 batch garlic confit Kosher or sea salt freshly cracked black pepper
Make the confit. Peel the garlic by separating each head into cloves and putting them in a small mixing bowl. Top it with a lid or another object that will create a seal and shaking it until the papery peels start to remove themselves, about 2 minutes. Remove and discard the peels, then trim off the ends and any imperfections on the garlic cloves.
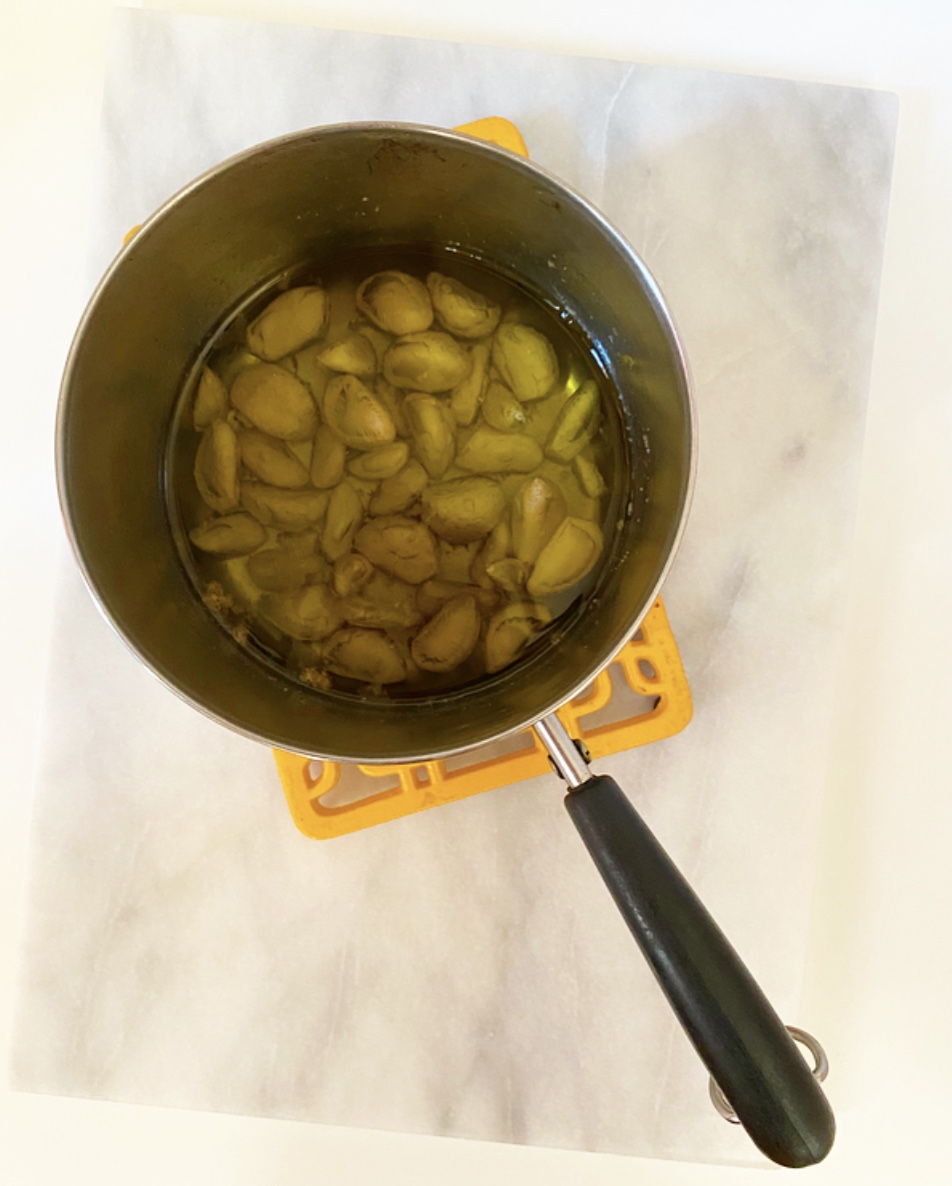
In a small saucepan, combine peeled garlic and olive oil, ensuring all garlic is submerged. Bring the mixture to a simmer over the lowest heat setting on your stove. Let simmer 30 minutes, until cloves are soft, but not browned. Set aside to cool for at least 15 minutes. You may also make the confit up to two weeks ahead and keep it covered in the refrigerator. Just make sure that the oil is covering all the garlic. Bring confit back to room temperature before using in potatoes.
To make the mashed potatoes, start by scrubbing, drying and peeling the russet potatoes. Cut into 1-inch cubes and place in a large heavy-bottomed pot. Cover with cold water by about 1-inch and season well with salt. Bring to a boil and let cook for about 15 minutes, until fork-tender.
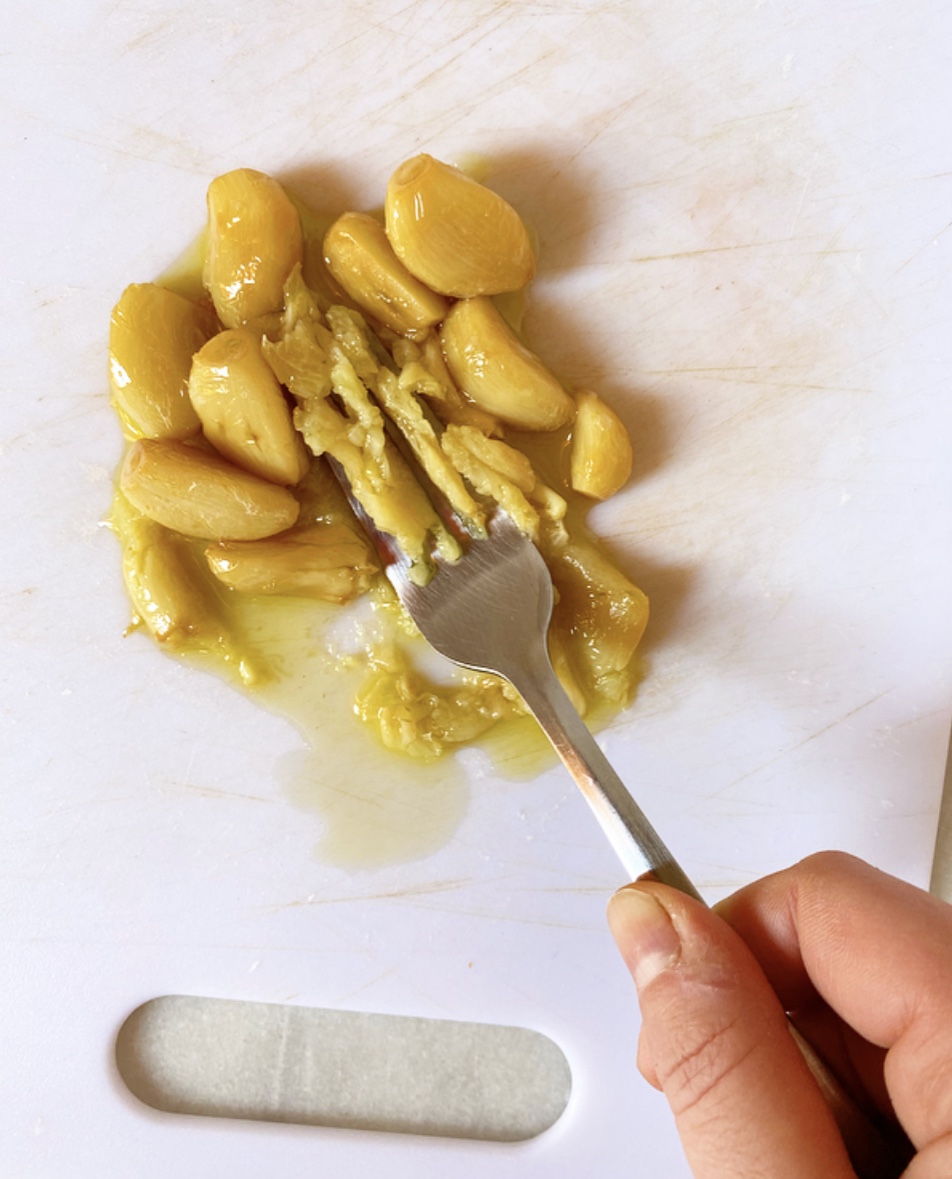
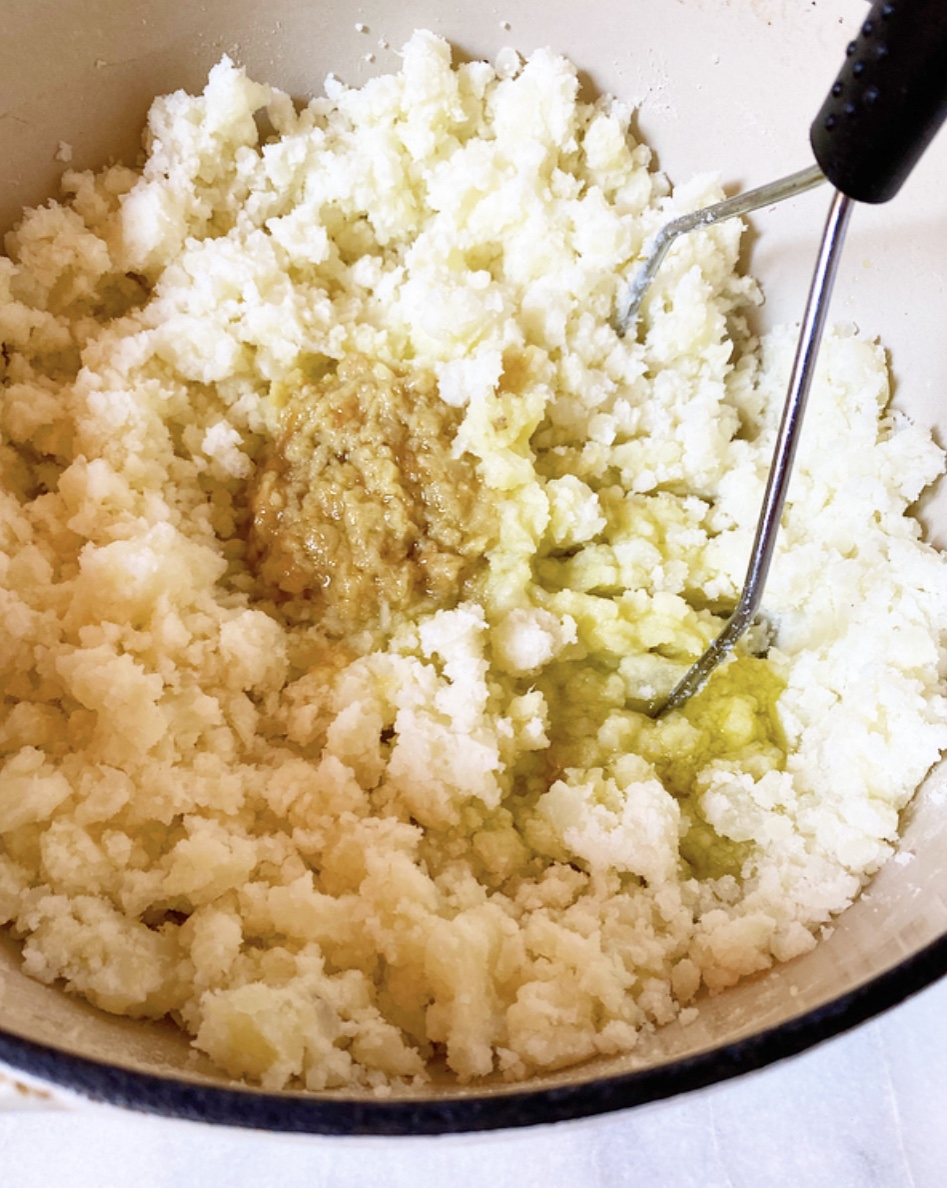
While the potatoes are cooking use a fork to mash about half (1/2 cup) of the garlic in the confit.
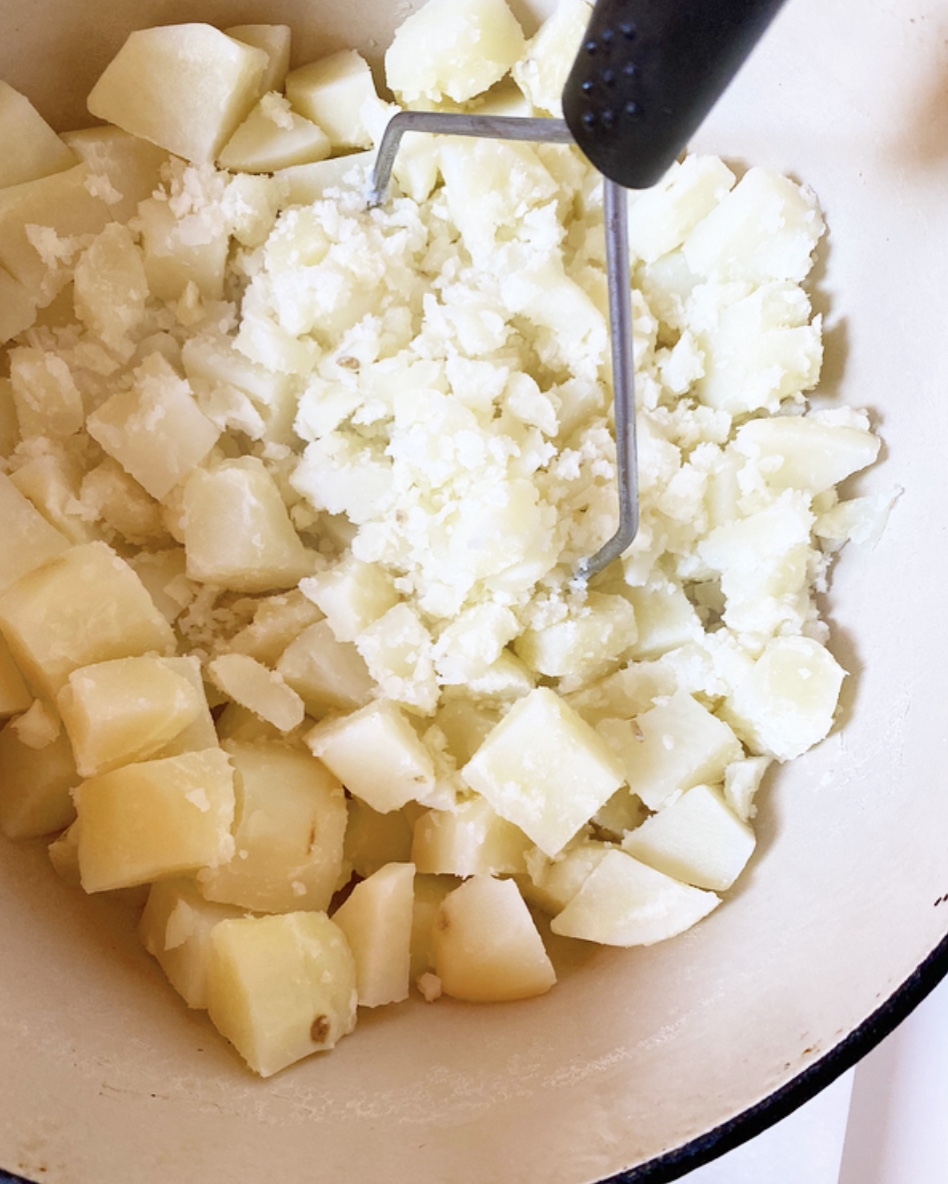
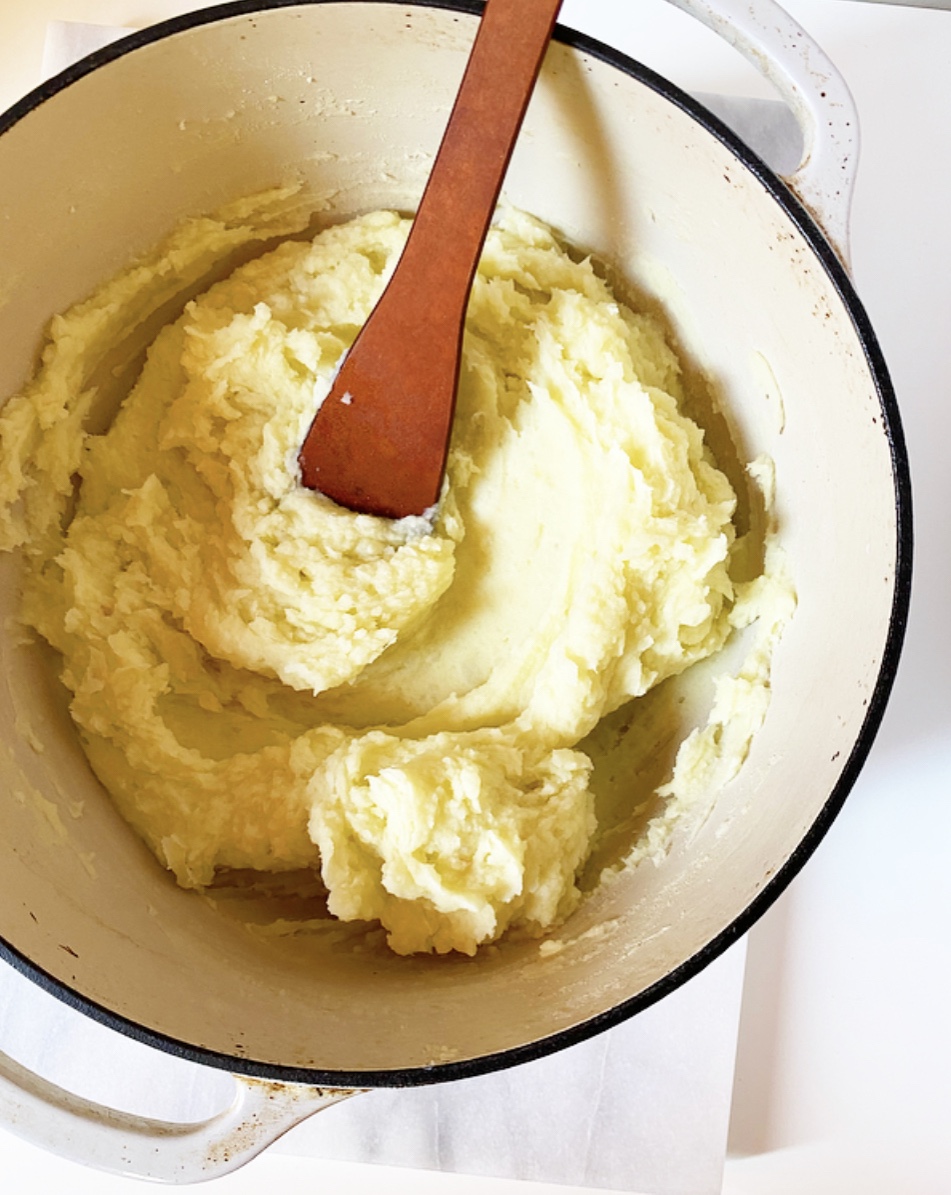
Reserve about 1 cup of the starchy potato cooking water. Drain potatoes and return them to the pot. Mash with a potato masher (or a ricer if you have one). Add mashed garlic, along with about 3/4 cup of the garlicky oil and 1/4 cup of the starchy cooking water. Mash well, adding more cooking water (and/or oil from the confit) as needed to achieve the desired texture. Season to taste with salt.
Serve potatoes with more garlic confit on top, along with a sprinkle of freshly-ground black pepper.
Leftovers will keep in an airtight container in the refrigerator for up to 4 days.