 In five days, I will post a pumpkin recipe. I promise.
For some reason, this year I’m insisting on holding out on all the pumpkin until it’s “officially” fall. It’s getting silly. I have had absolutely zero recipe ideas this week that don’t involve cracking open a can of the orange stuff. Not a one. But I’m stubborn, and so I am holding out for exactly five more days. If, however, you are not as ridiculous as I am, you can get your pumpkin fix here and here.
 Thank goodness I have an ever-growing list of recipe ideas on my phone. When I feel stuck on an ingredient, or if I have had too many fails in a row and don’t feel up to baking, that list always helps me to get excited about being in the kitchen again. Without it, I may have put off sharing these Caramel-Stuffed Potato Chip Cookies until after Christmas, and that’d be a real shame because they are fabulous.
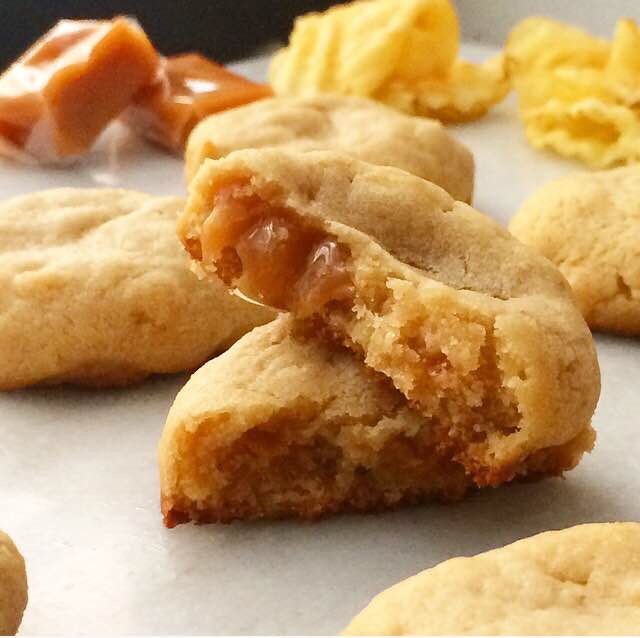
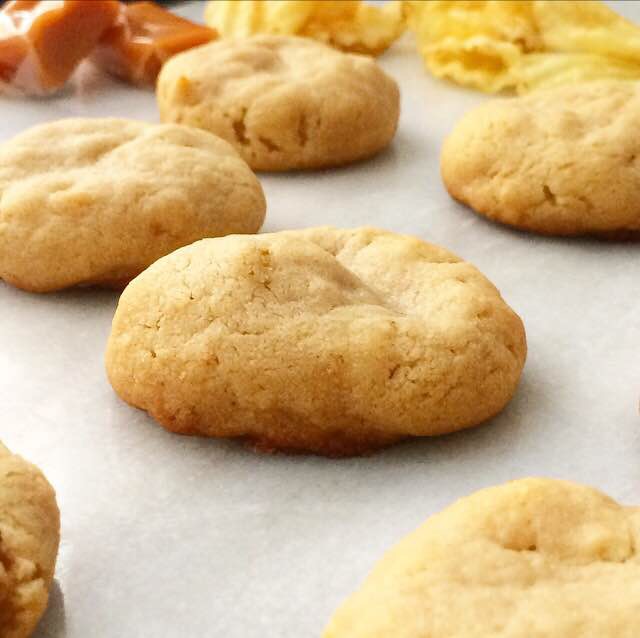
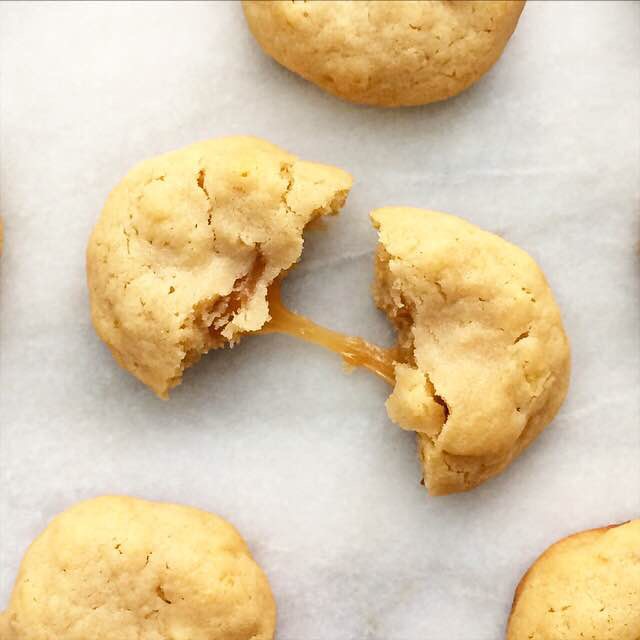 These cookies, y’all. They’re super chewy, studded with crispy crushed potato chips, and stuffed with gooey caramel. Top that fantastic mix of textures with an addictive sweet and salty flavor combination, and they’re absolutely irresistible! Trust me, these cookies make holding out for pumpkin season just a little bit easier.
Have a great weekend!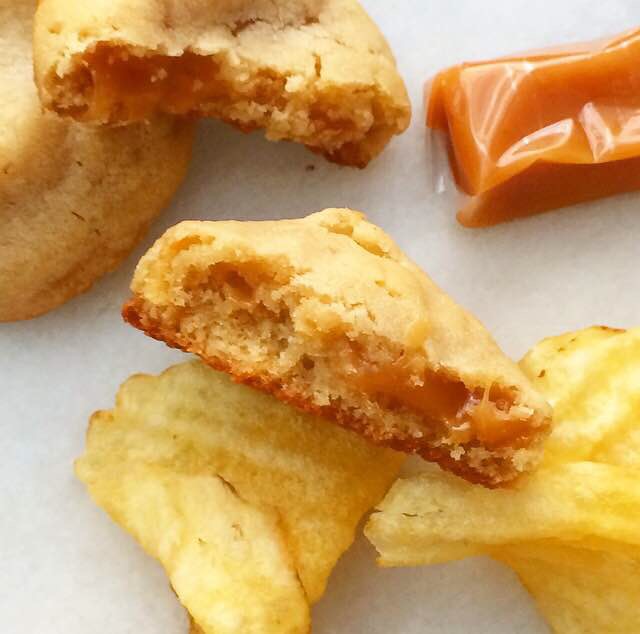
Caramel-Stuffed Potato Chip Cookies
makes about 3.5 dozen cookies
2 3/4 cups all-purpose flour
1 Tablespoon cornstarch
1 teaspoon baking powder
1/4 teaspoon baking soda
1 teaspoon Kosher or sea salt
1 cup (2 sticks) unsalted butter, softened to room temperature
1 1/4 cup light brown sugar, packed
1 large egg + 1 large egg yolk, room temperature
2 teaspoons pure vanilla extract
2 cups crushed ruffled potato chips*
20 caramel candies,* sliced in quarters
In a medium mixing bowl, whisk together flour, cornstarch, baking powder, baking soda, and salt. Set aside.
In a large mixing bowl, use an electric mixer to beat butter until fluffy. Mix in light brown and granulated sugars, followed by egg and yolk and vanilla. Add dry ingredients in two installments, mixing completely after each addition. Add in crushed potato chips, mixing just until dispersed. Cover dough with plastic wrap and chill for 90 minutes or up to three days.
Preheat oven to 350F. Line two baking sheets with parchment.
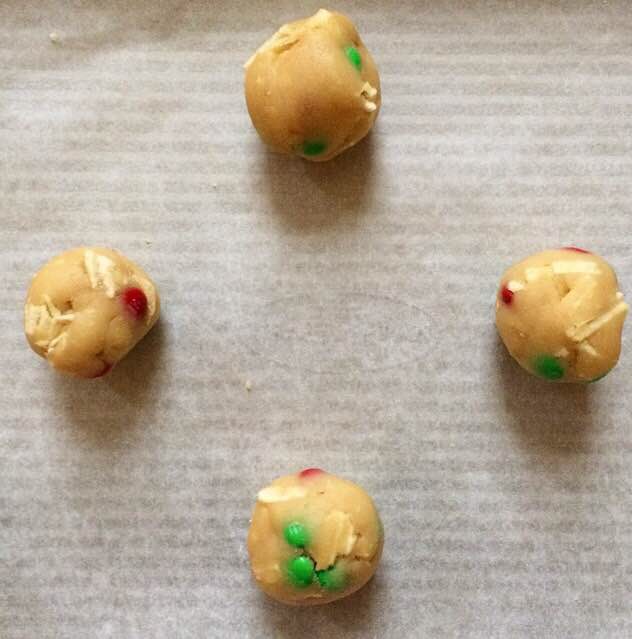
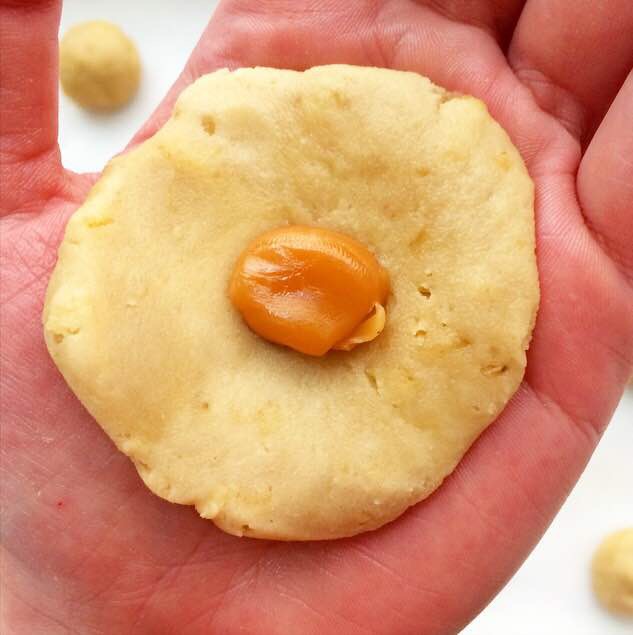
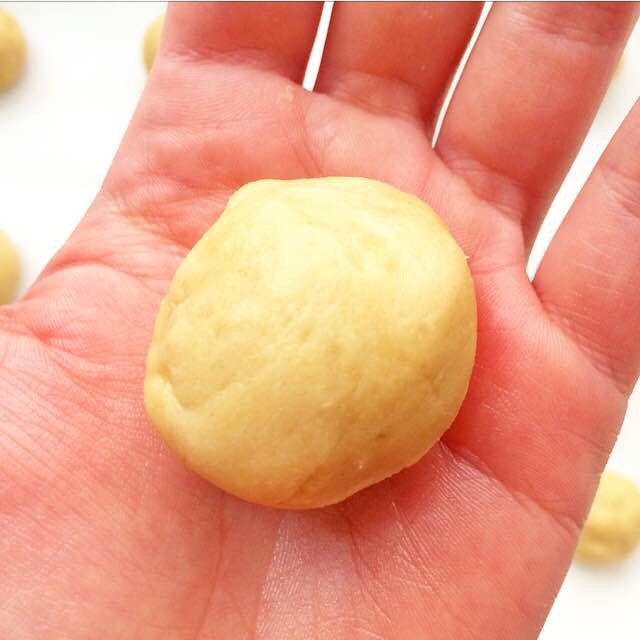
Scoop dough by the tablespoon and roll into balls. Flatten the balls. Place a quarter-caramel in the middle of each dough ball and wrap the dough around it, using your fingers to smooth any seams. Place dough balls at least two inches apart on prepared pans. Bake 8-10 minutes, until they look just slightly underbaked.
Let cookies cool on the baking sheets for ten minutes before transferring to a rack to cool completely. Serve cookies warm or at room temperature.
Cookies will keep in an airtight container at room temperature for up to a week.
Notes:
1. Use sturdy chips–if they can’t scoop up dip without breaking, don’t use them here. Thin, flimsy chips will basically “melt” into the dough. Use ruffled or kettle-cooked potato chips.
2. I use Kraft caramels.