 Did you know that the world is still turning and Easter is happening next weekend? How is that even possible?
Ash Wednesday seems like it was five years ago, but it was at the end of February, back when when eggs were not a hyper-precious commodity. It was a time I would have gladly posted a recipe requiring two egg whites and maybe—big maybe—given you an idea of something to do with the yolks. But that was then. Now, the idea of asking you to separate eggs for a non-essential recipe and then leaving you to find something to do with egg yolks is just…well, I’m not going to do it. Not today.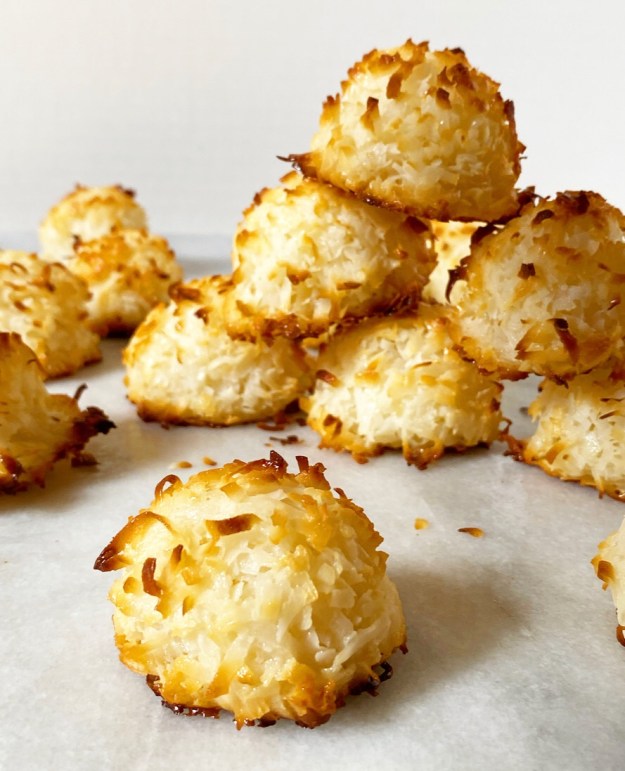 In keeping with my stay-at-home, work with what you have, waste not/want not approach to baking (and literally everything) right now, I’m taking a note from a recipe I posted last Easter: Chocolate Macaroon Tart. In case you missed it, it’s basically a giant coconut macaroon filled with chocolate ganache…except that it’s not a macaroon at all! Or not the way most people think of a macaroon, anyway. I mean, it’s coconutty and all, but where macaroons are traditionally made with egg whites and sugar, this tart crust is made with sweetened condensed milk. And, since that mixture worked so unbelievably well pressed into a pan, why not mound it like regular macaroons and bake until golden?
Wow, I just said “macaroon” like 478 times.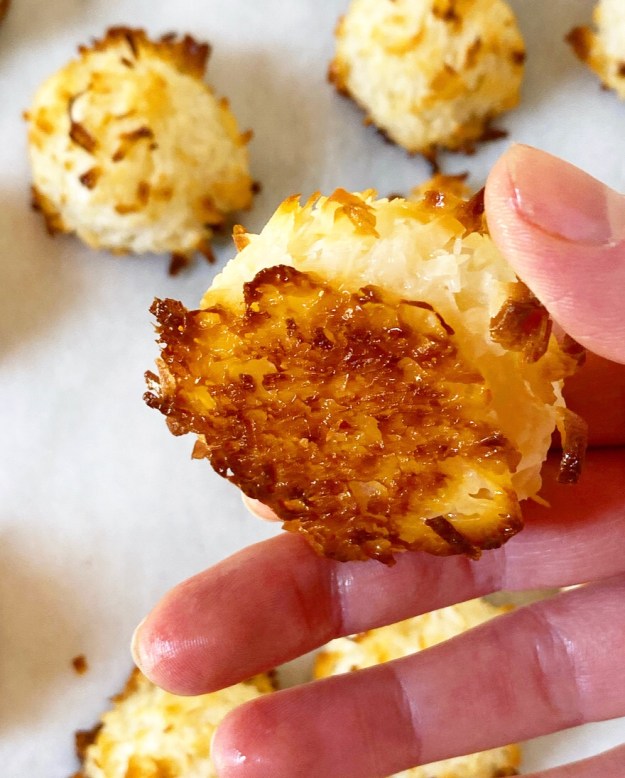
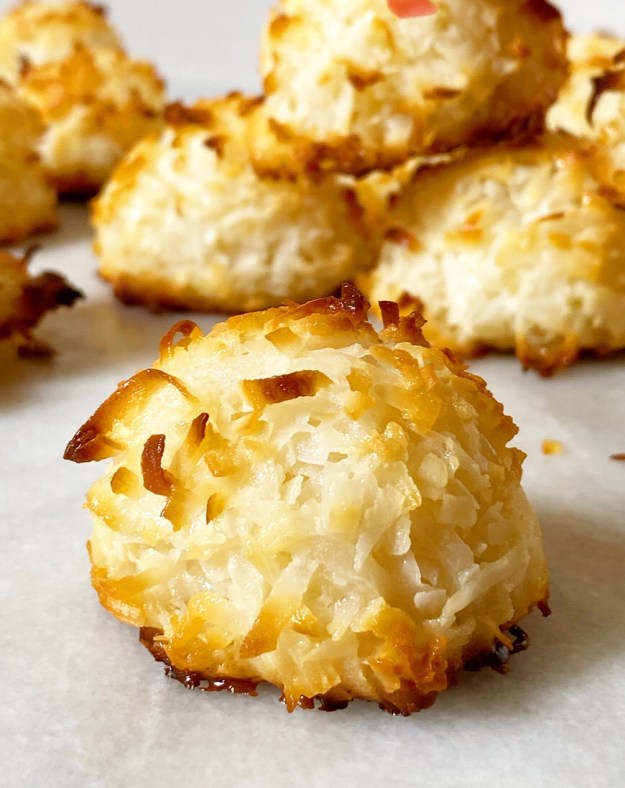
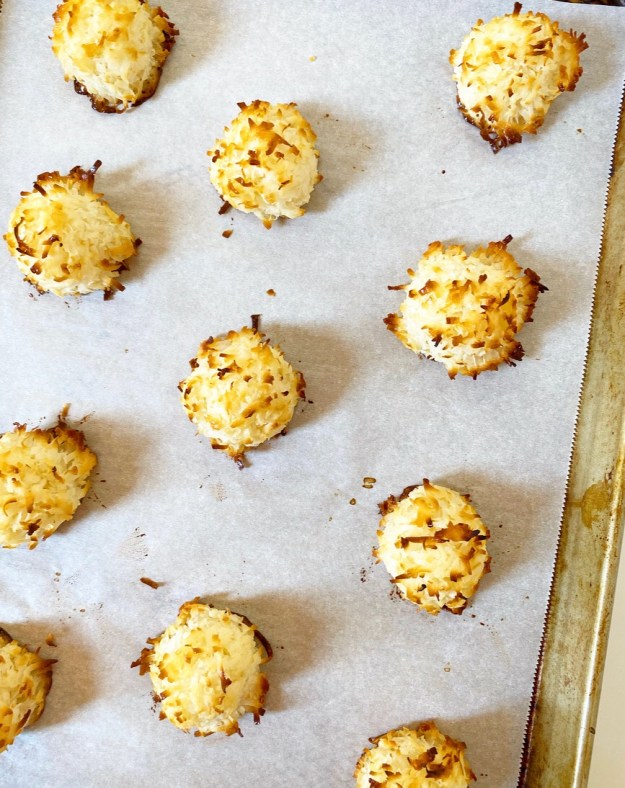
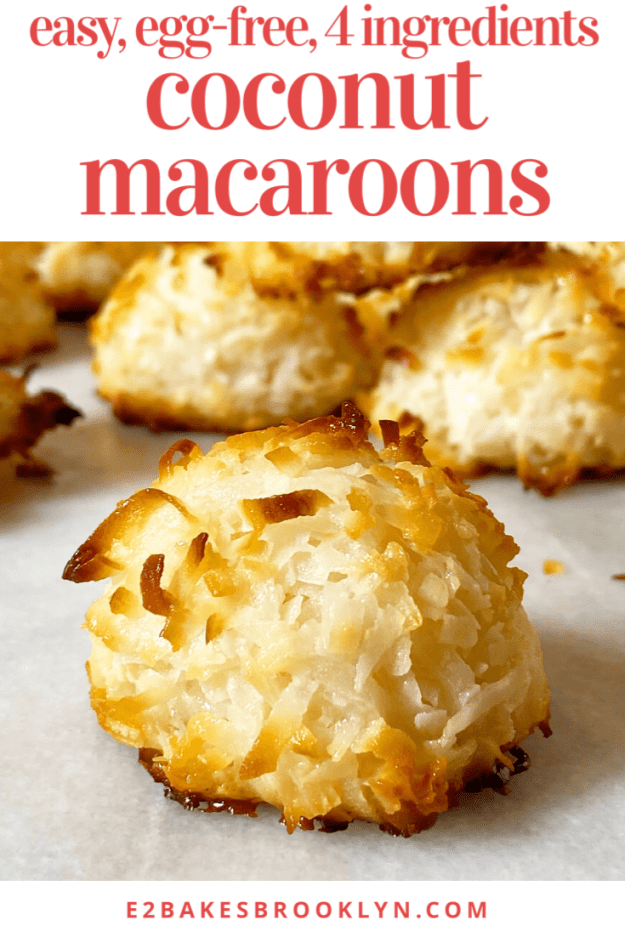
 Anyway, here is a pantry-friendly version of Coconut Macaroons, a springtime classic. You’d never know these aren’t made with the usual egg whites and sugar—they’re just as toasty-edged, soft-centered and delightfully chewy as their traditional counterparts.
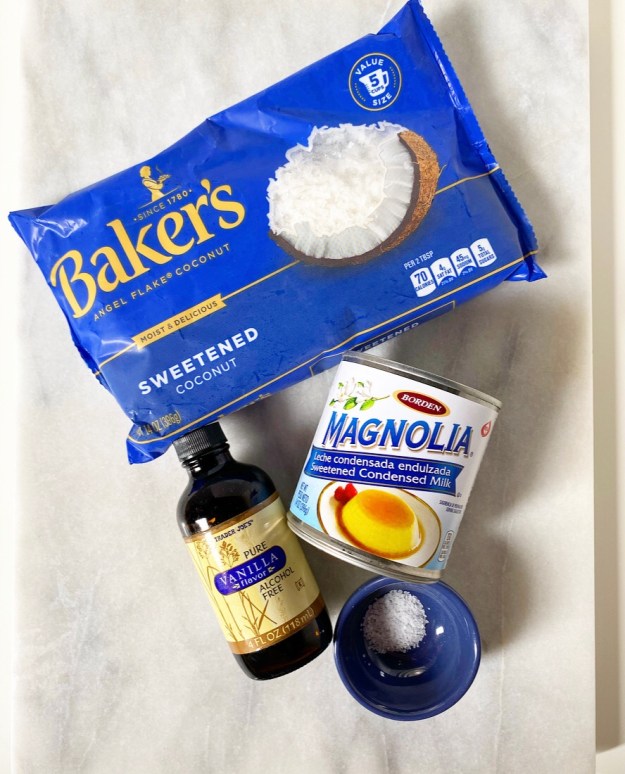
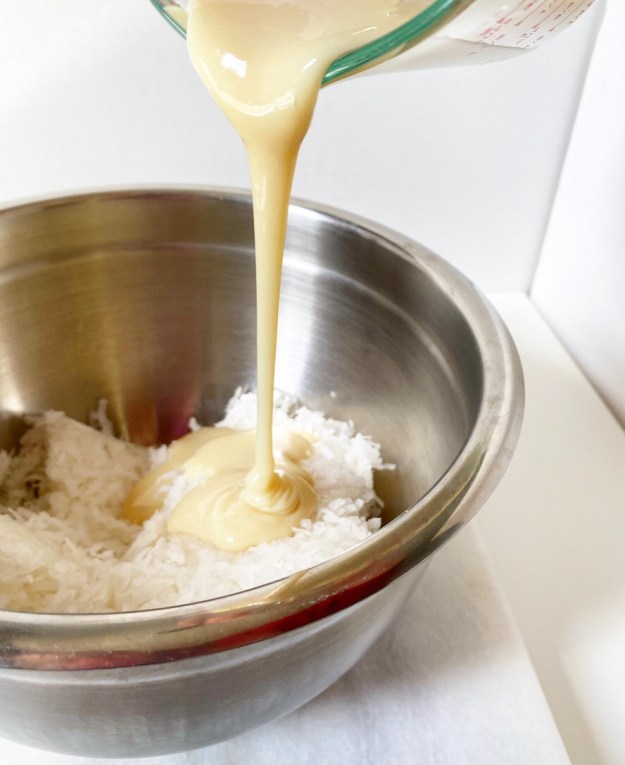
 The ingredient list is short: a bag of sweetened shredded coconut, about half a can of sweetened condensed milk, some vanilla and salt. No vanilla? Leave it out. Wish they had a little lime or orange to offset the sweetness? Zest some into the sweetened condensed milk before mixing. Like your macaroons dipped in chocolate? Cool them and then dip away!
 And if you, perhaps, have egg whites leftover from—I don’t know—making Lazy Lemon Curd, and are looking for traditional macaroons, you can double this recipe and swap the potato chips for 3 cups of coconut.
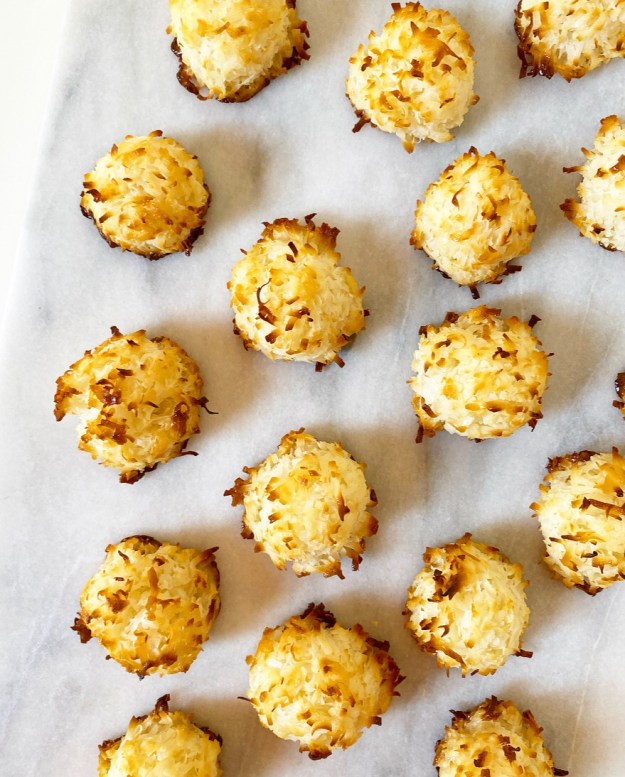 As for this recipe, all you’ll have leftover is a half a can of sweetened condensed milk, and if you’re not already drizzling that into your weekend coffee…well, you’re in a pandemic and this is the time to start.
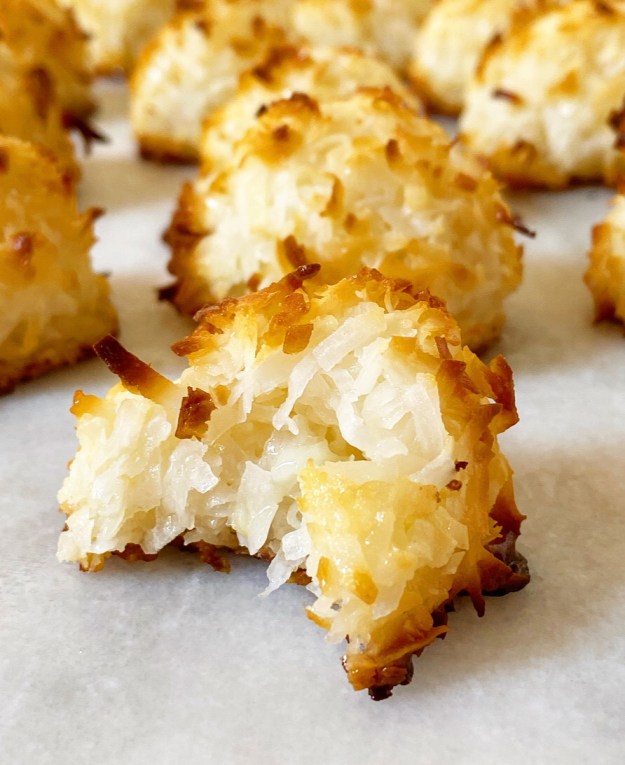
Coconut Macaroons
makes about 1.5 dozen
3/4 cup sweetened condensed milk
1 teaspoon pure vanilla extract
pinch of Kosher or sea salt
1 14-ounce bag (5 cups) sweetened flaked coconut
Preheat oven to 350F. Line 2 baking sheets with parchment. Set aside.
In a small bowl or liquid measuring cup, use a fork to whisk together sweetened condensed milk, vanilla and salt.
Place coconut in a medium mixing bowl. Pour in sweetened condensed milk mixture and stir together with a silicone spatula or wooden spoon. Wet one hand and knead a few times to make sure everything is well-combined.
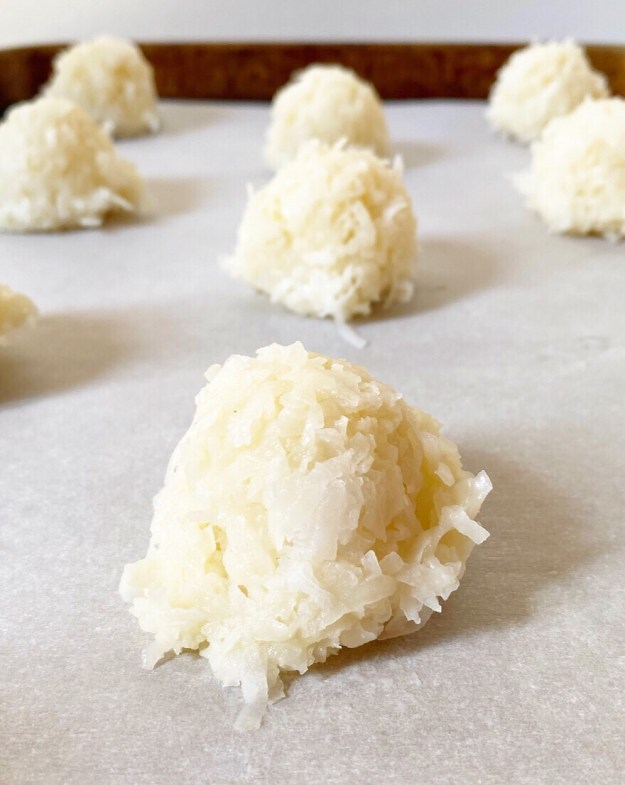
Wet your hands. Scoop coconut mixture in 1 1/2 tablespoon increments (I used a medium cookie scoop) and form into balls. Place 2 inches apart on prepared pans. Bake 16-17 minutes, or until light golden and slightly puffed. Let cool on pans for 10 minutes before removing to a rack to cool completely.
Coconut Macaroons will keep covered at room temperature for a few days.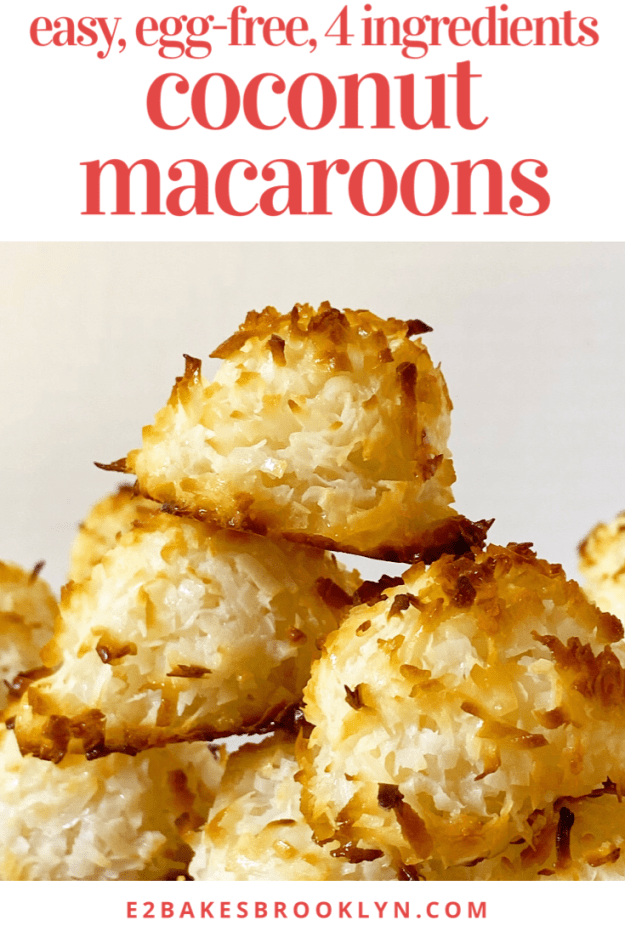
 Just in case you were wondering, if you decide to take my
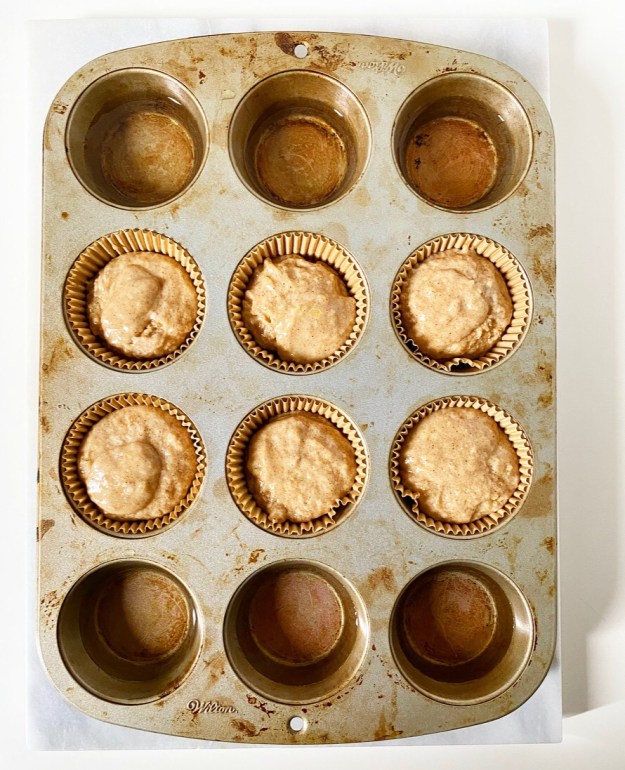
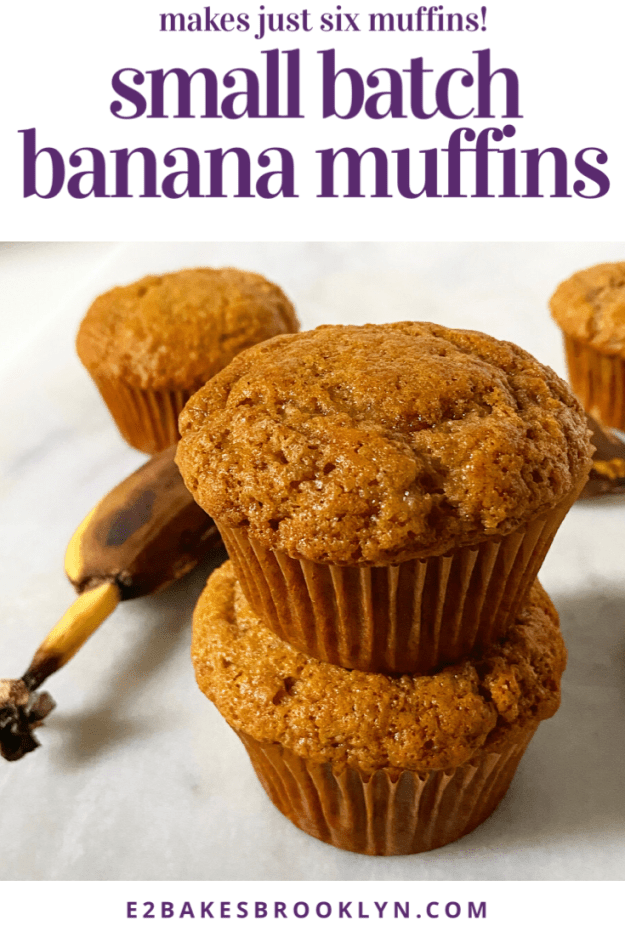
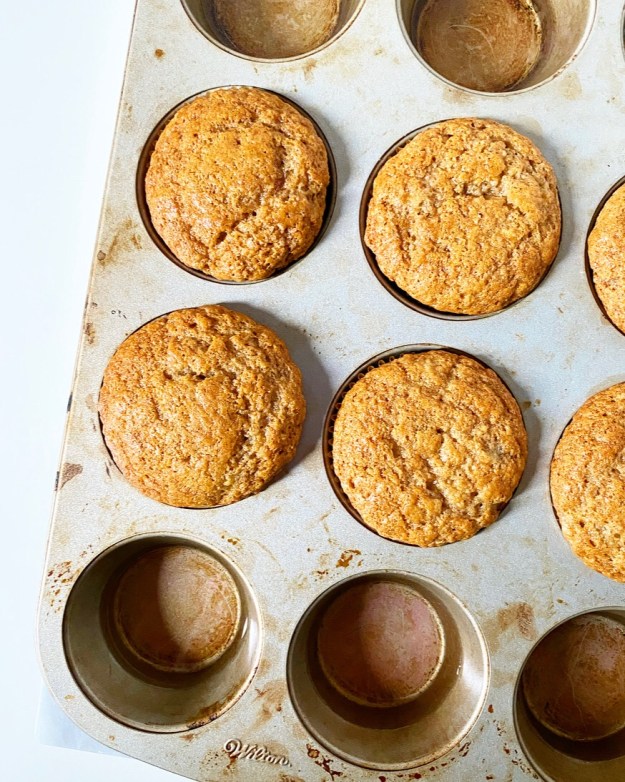 It will work if you use non-dairy milk or whole milk. It will work if you use lemon juice or white vinegar instead of apple cider vinegar.
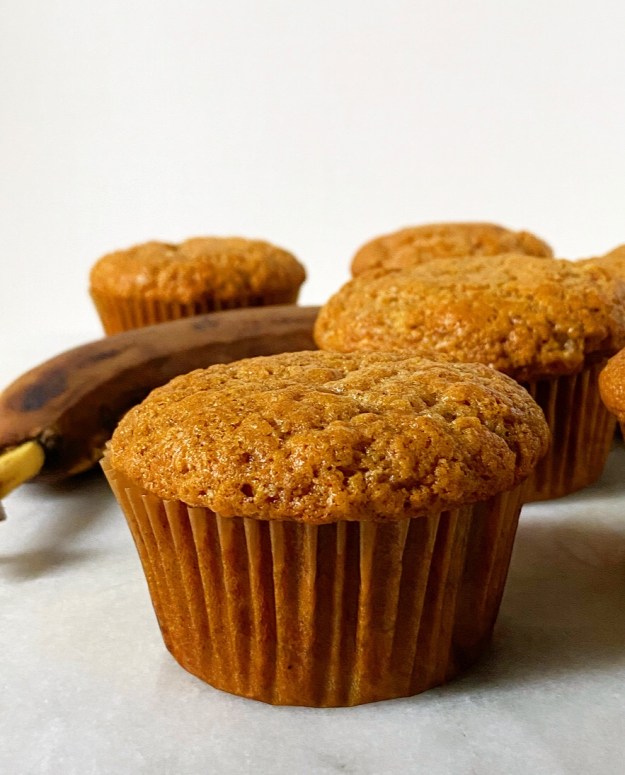 It will work if you use dark brown sugar instead of light brown. It will work if all you have is granulated sugar.
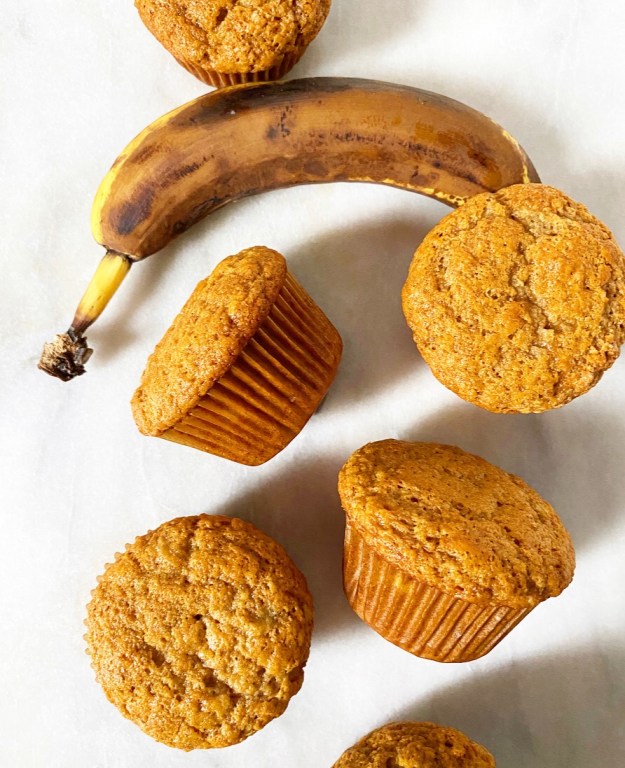 It will work if you use canola oil or coconut oil or melted butter.
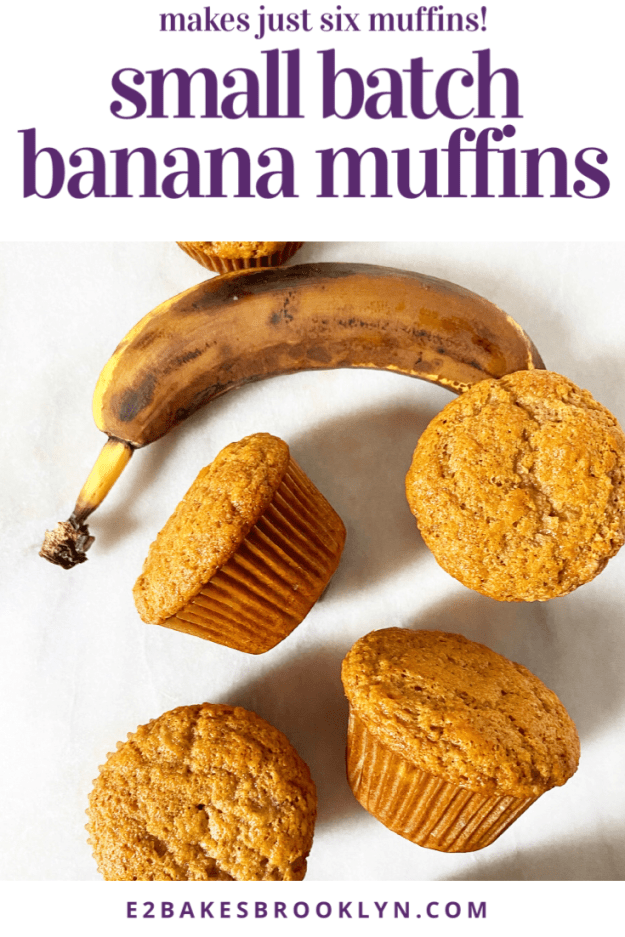
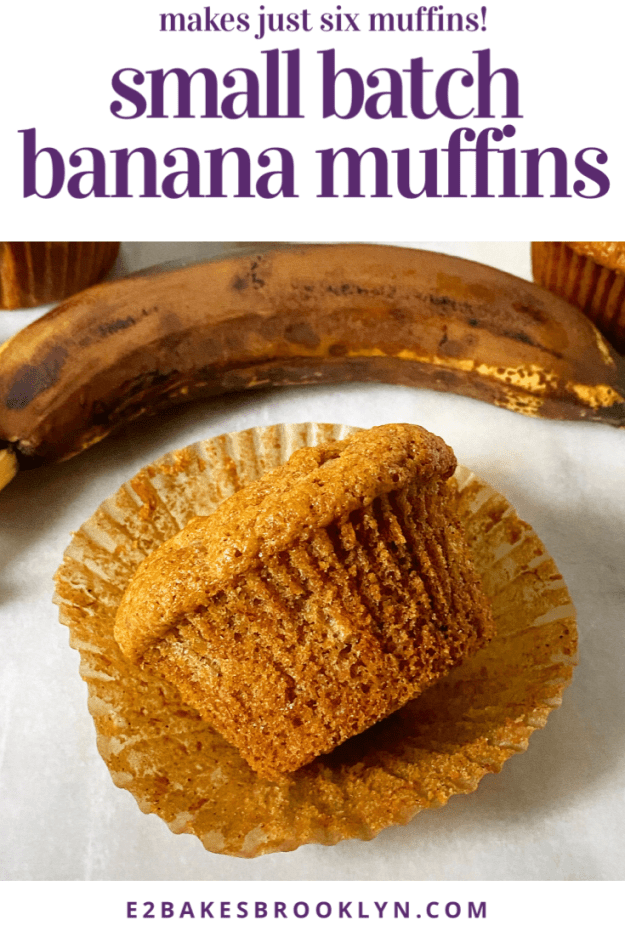
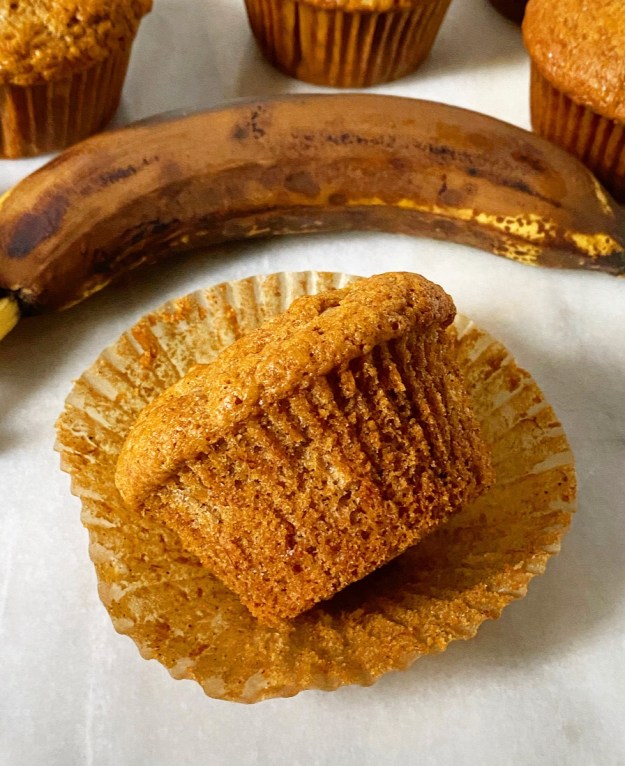 It will work even when you get distracted by a Zoom call with friends and forget the (flax or regular) egg. In fact, your muffins will actually be better *because* you skipped the egg. I swear.
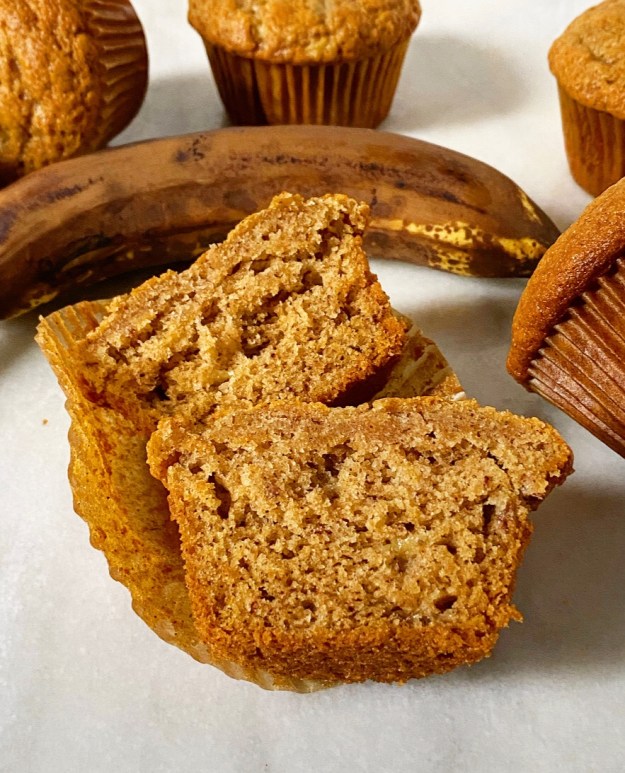 Er, *six* quarantine miracles.
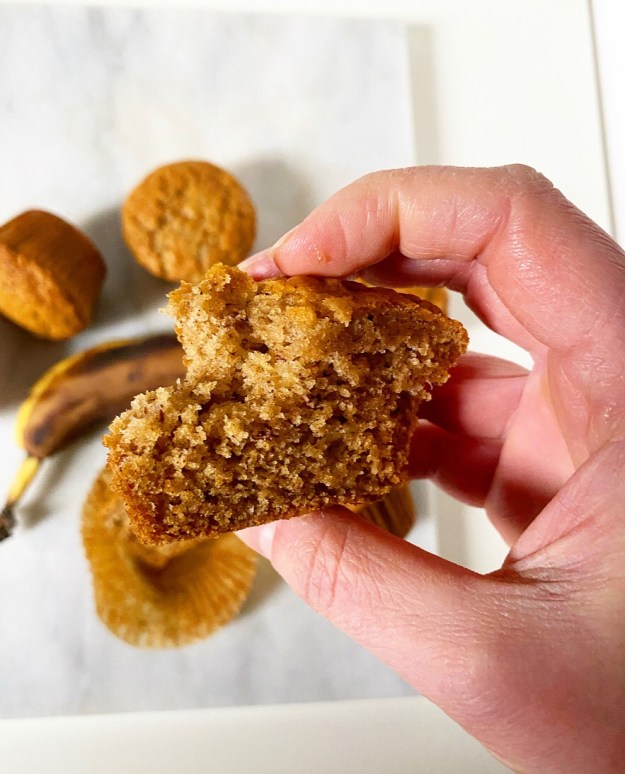
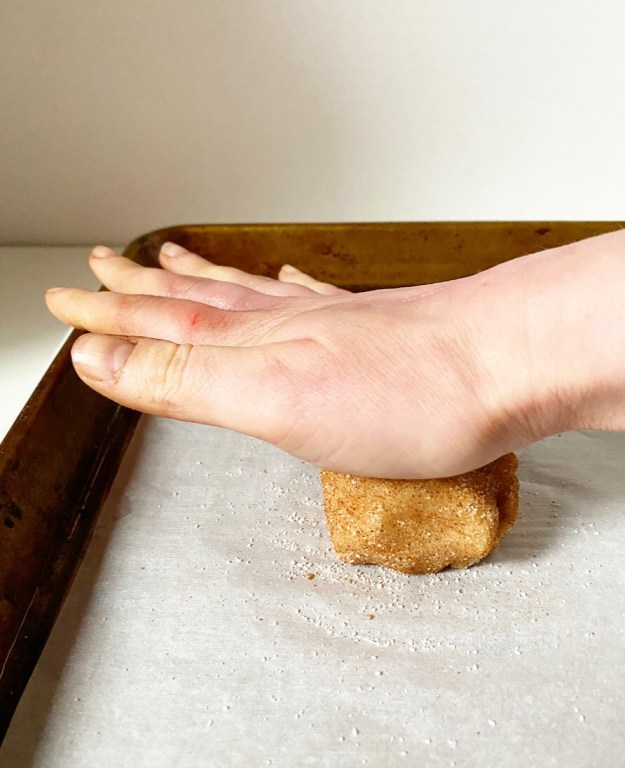
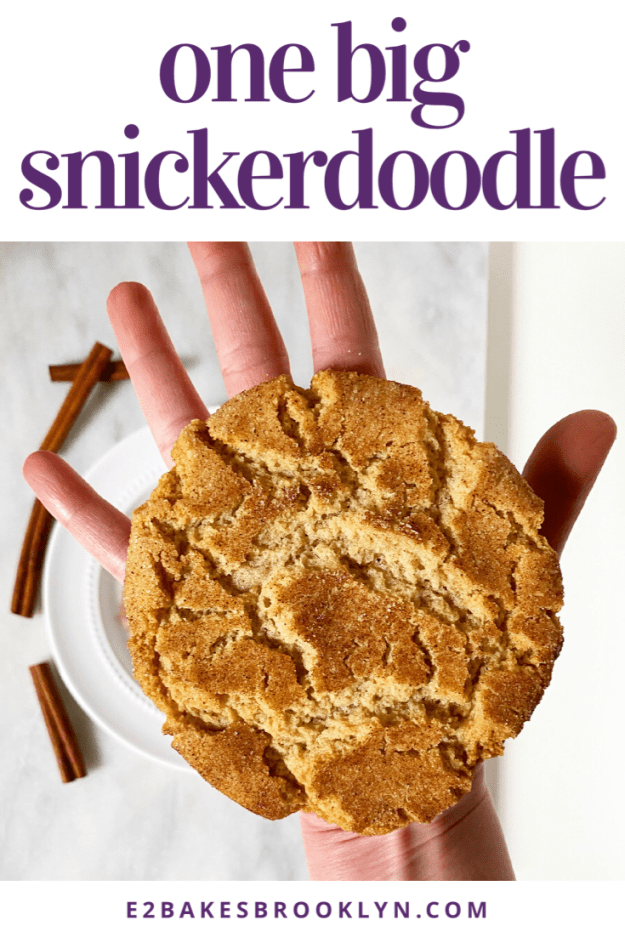
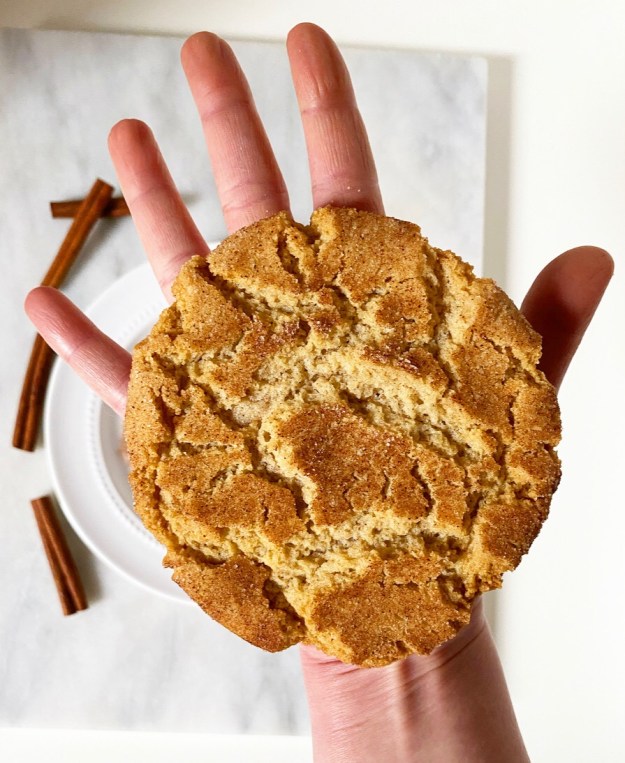 There is a time for large-batch, super-shareable baking, and then there is the time for a cookie for one (or two, if you’re feeling generous) that can be measured in tablespoons instead of cups, mixed with a fork, and baked to crisp-chewy perfection all in the span of 25 minutes.
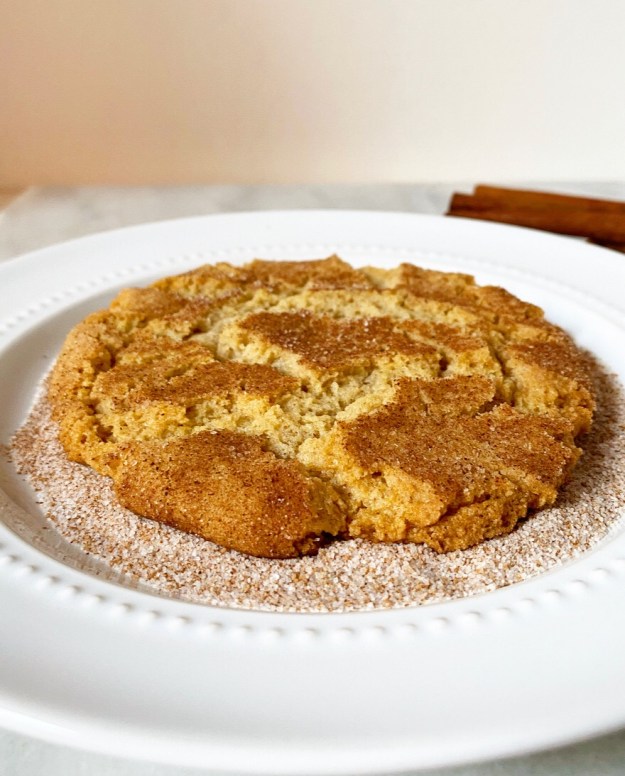 I started making these One Big Cookies about a year ago; you can find the
 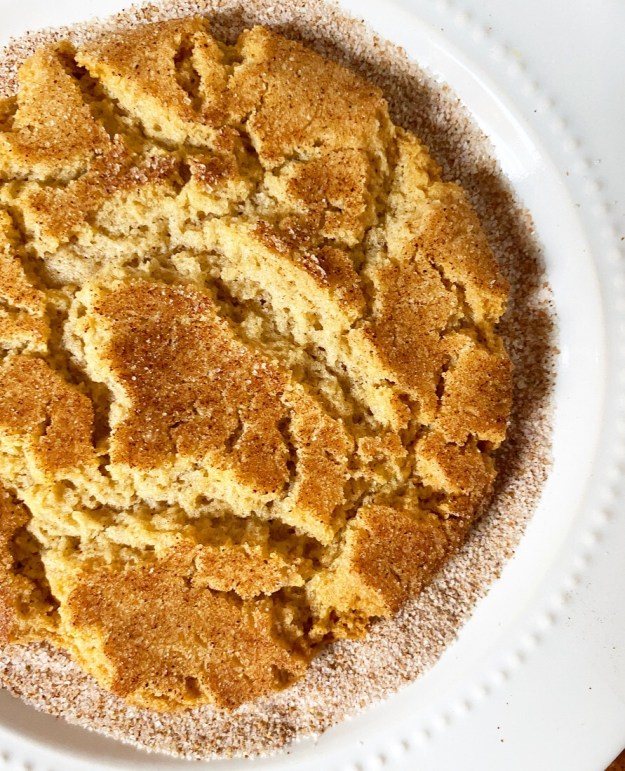 This is a cookie designed to be made on the fly. Yes, you’ll need baking basics (sugar, butter, flour), but you likely have all of them and even if you don’t, swaps can be made in the moment. Trust me. I did nine test rounds of this recipe, so I know all the ins and outs.
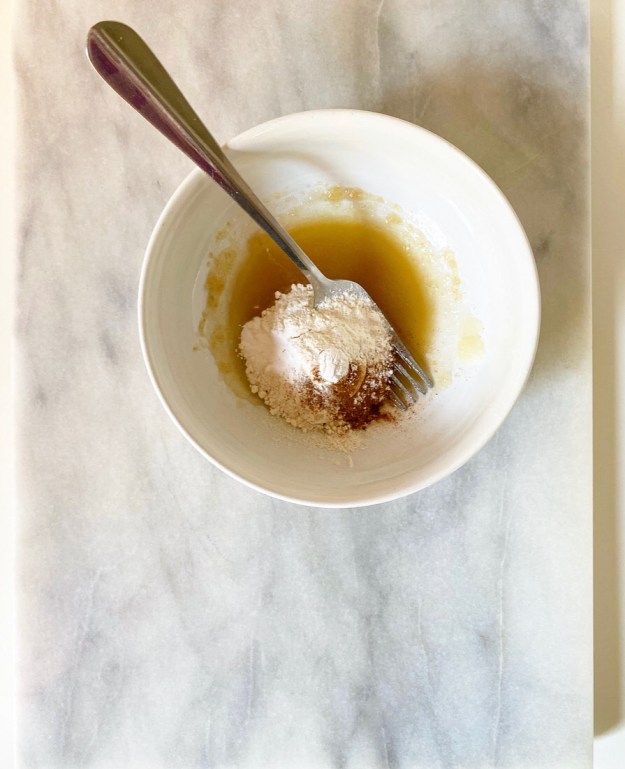
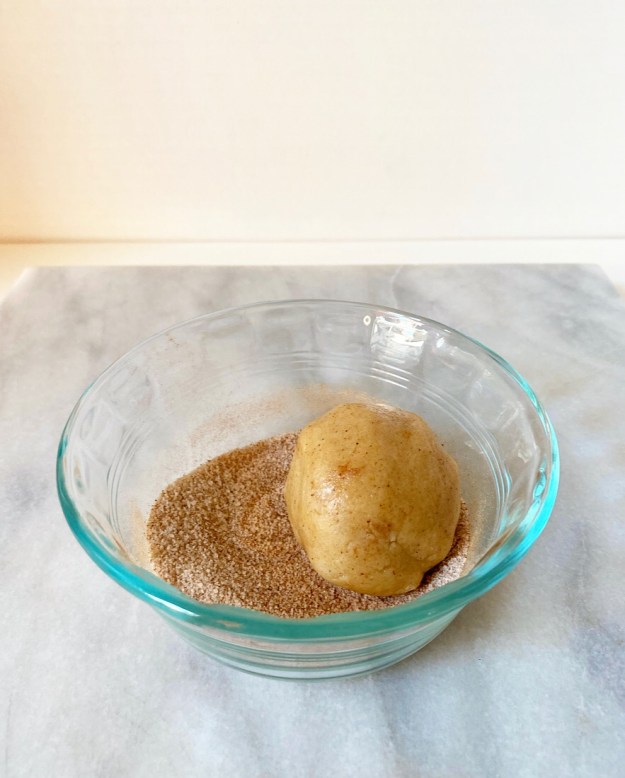
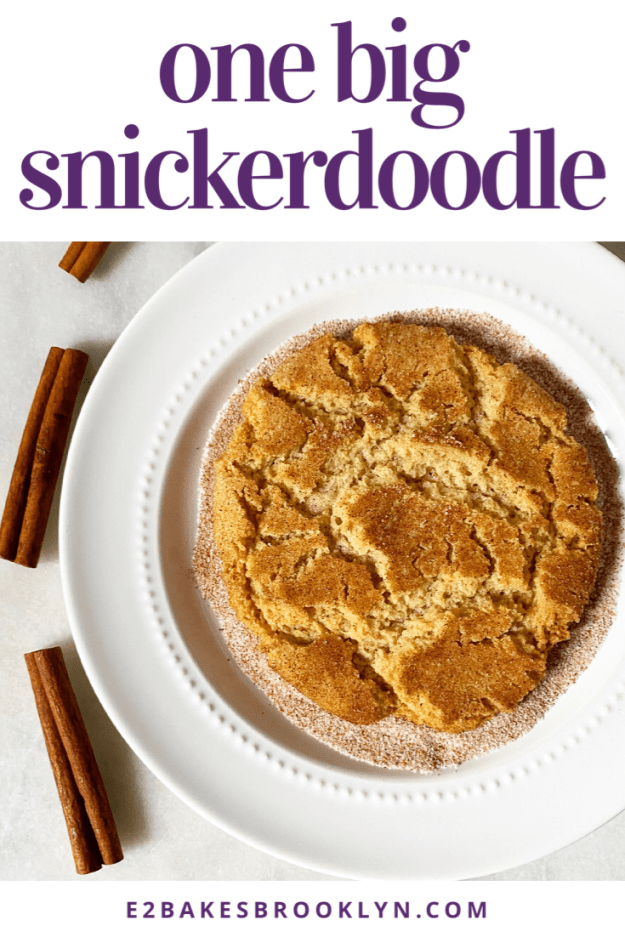
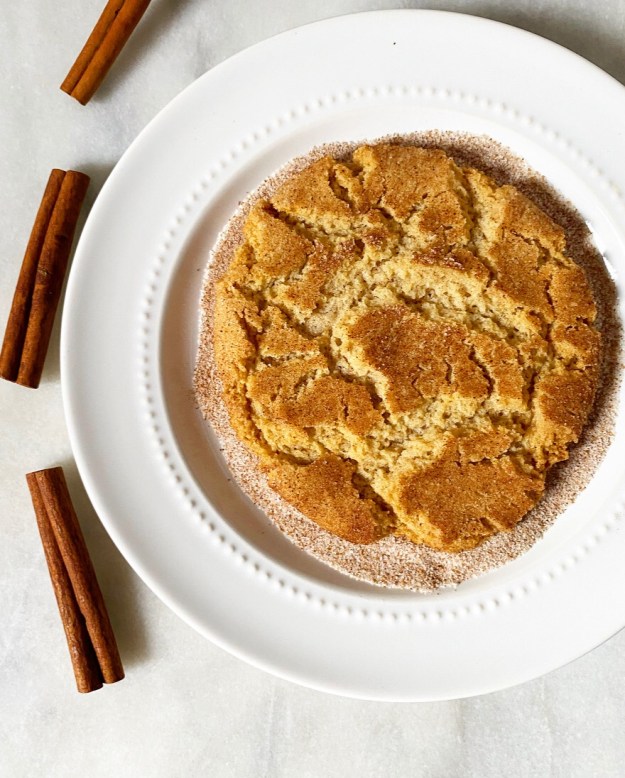 As you can see, adaptability is the name of the game! It’s such a rarity in baking, but this Snickerdoodle allows for it in spades. Who doesn’t need that sort of cinnamon-sugar-coated positivity in their life?
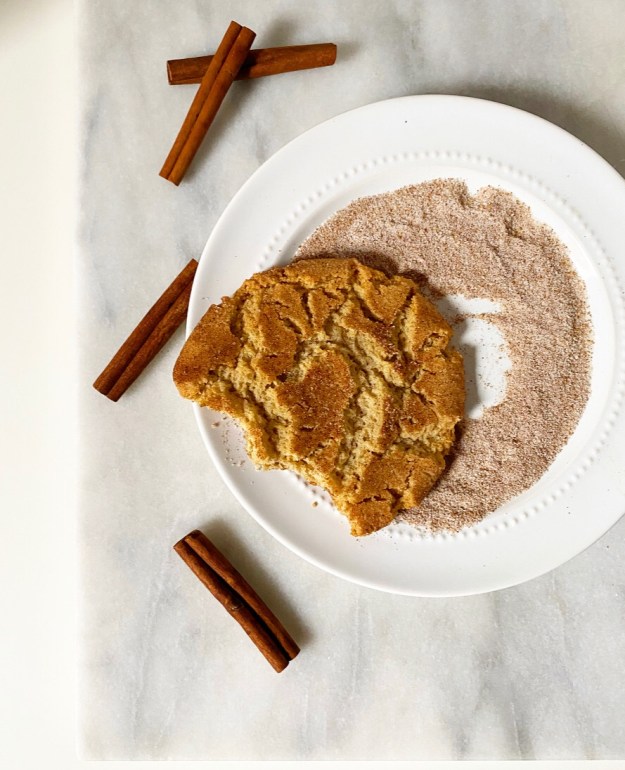
 Until recently, I’ve eaten (baked) frozen dinner rolls at every holiday dinner of my life and had exactly zero idea that I was missing anything. Warm bread is warm bread, right?
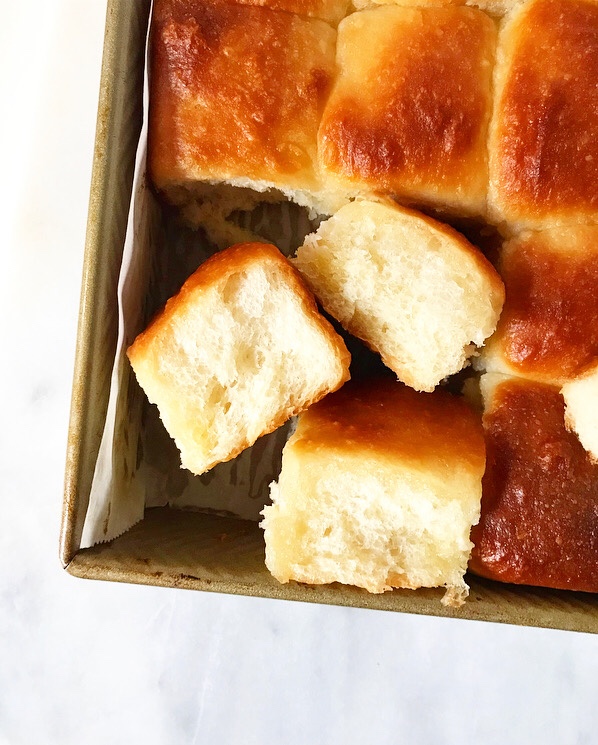 I mean, I’m sure I will eat a (baked) frozen dinner roll in the future because warm bread, but now I know the magic and ease of buttery, homemade Fluffy Dinner Rolls and I can never fully go back. In the story of my life, time will be defined as “Before Fluffy Dinner Rolls” and “After Fluffy Dinner Rolls.”
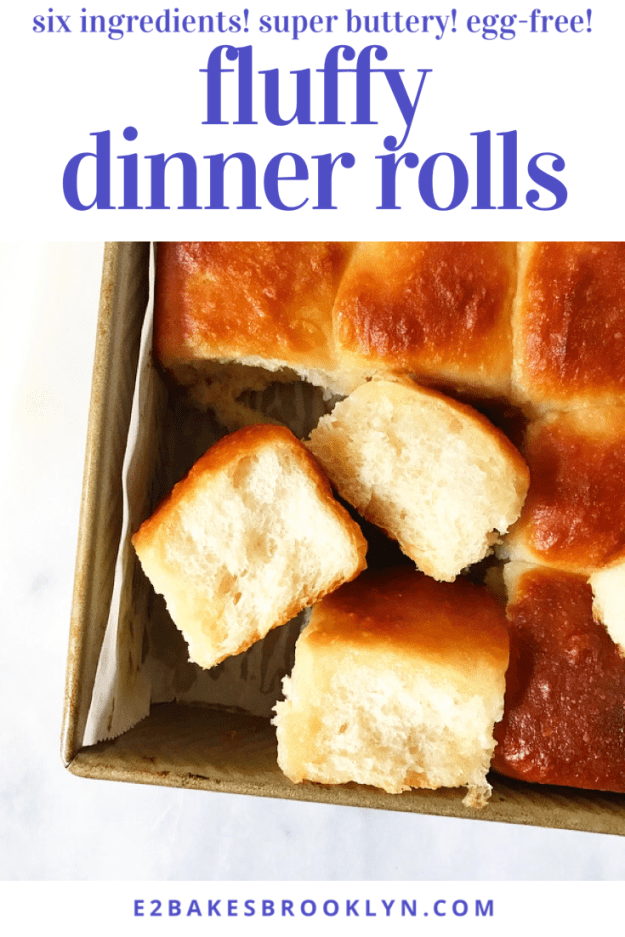
 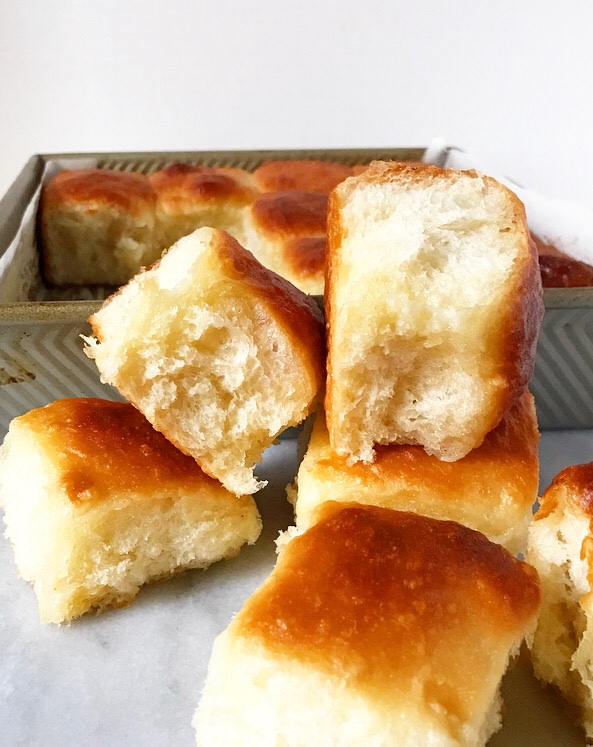 Okay, maybe not. But I am changed, and I have a sneaking suspicion that some of you are in the same boat I once was—out there living your lives, blissfully unconcerned that your holiday table is missing something or that you have been denied anything—and I am here to mess all that up by giving you an easy six-ingredient dinner roll recipe that will blow your freaking minds with its buttery, golden wonderfulness and ruin freezer aisle rolls for you forever. #sorrynotsorry
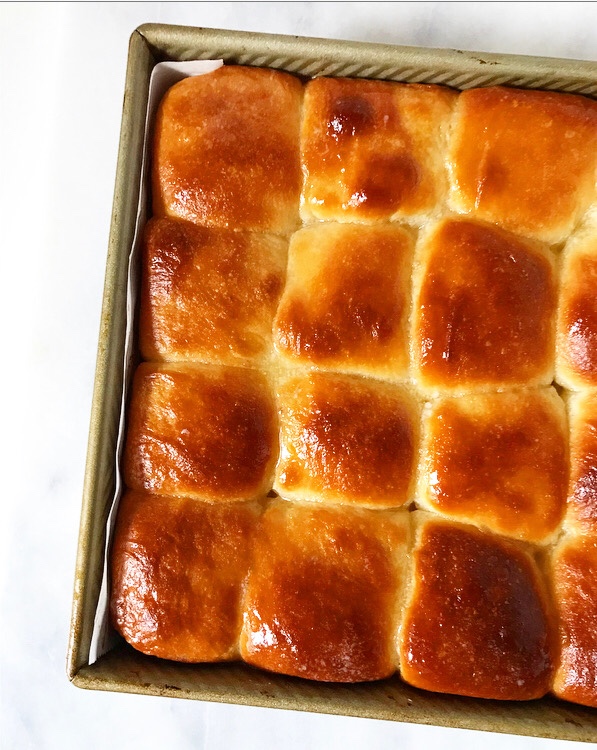
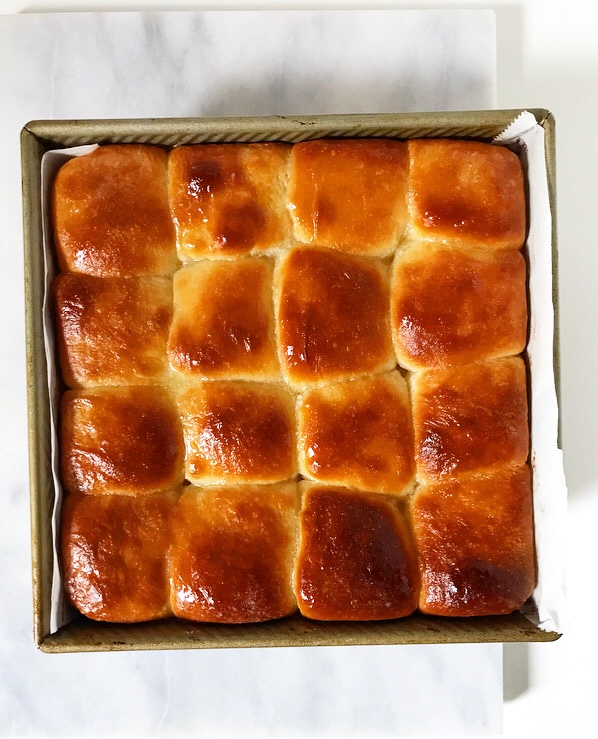
 These Fluffy Dinner Rolls, y’all. They are fluffy. So fluffy. And they are slightly sweet and buttery as all get-out (whatever that means). There’s butter in the dough, and more is brushed on both before and after baking!
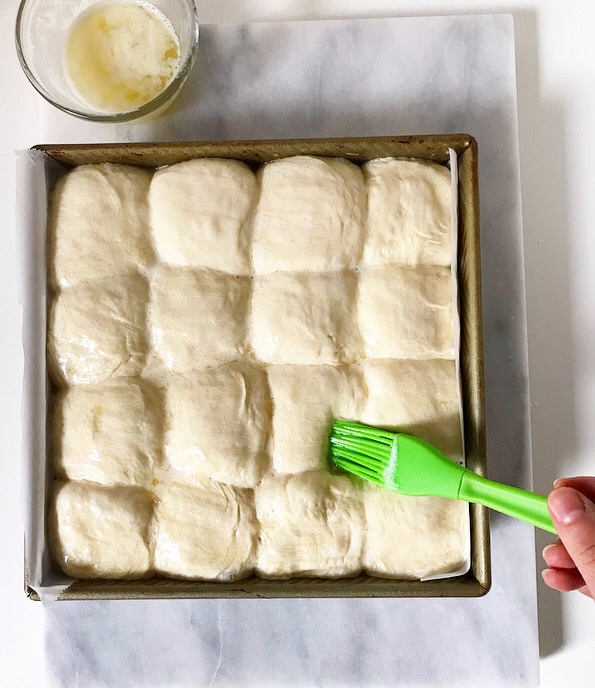
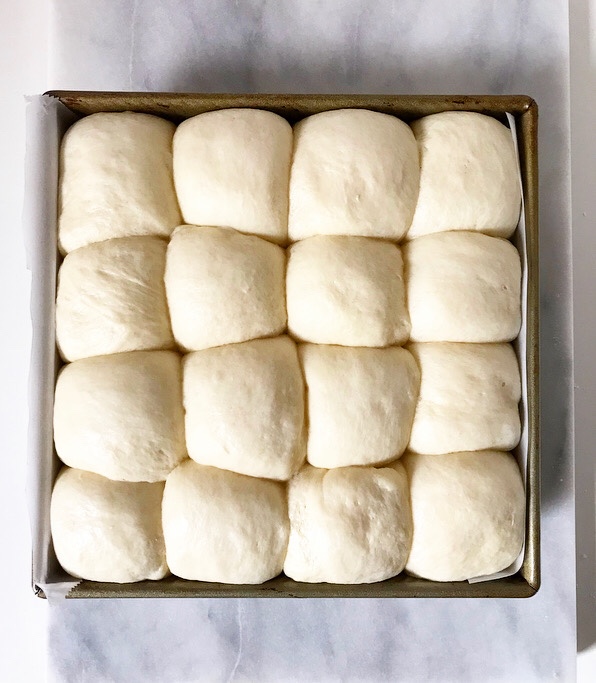
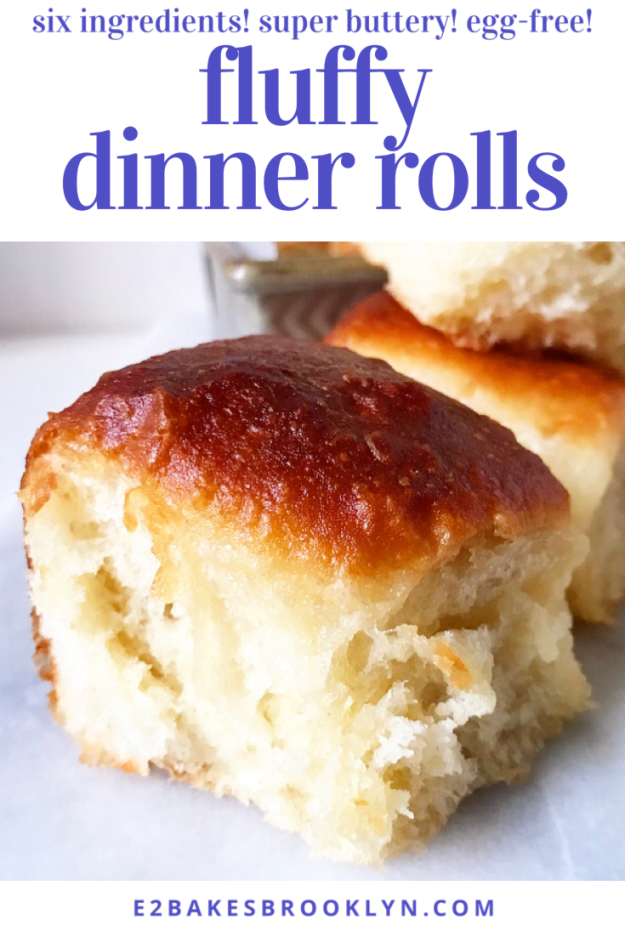
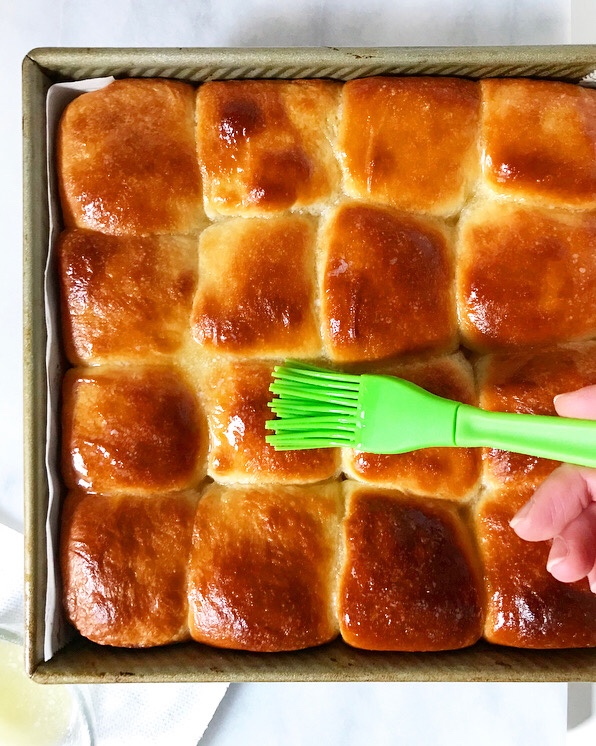 Did I mention their softness? When I was testing this recipe, I spent a lot of time poking the golden tops of these rolls and watching them bounce back, just because I could. So soft! So dang fluffy!
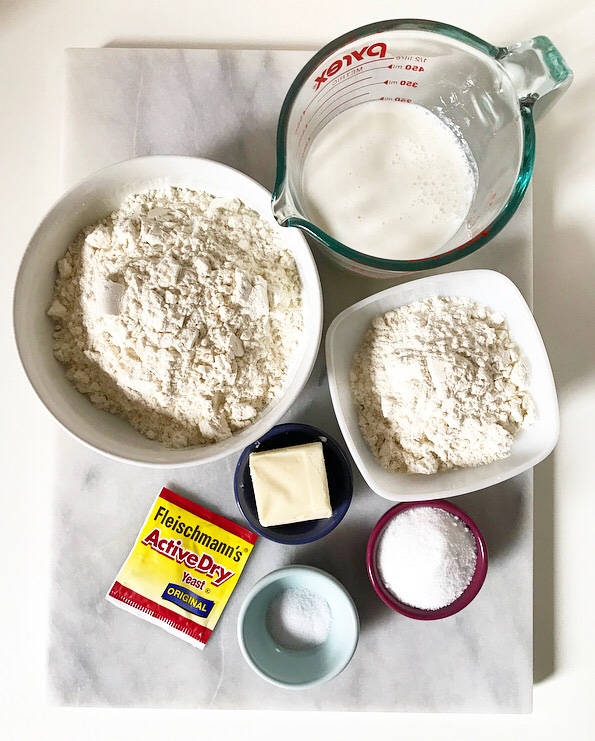
 As I said, these beautiful dinner rolls require just six ingredients: flour, yeast, sugar, salt, butter and buttermilk. These rolls are egg-free, but lack nothing in the flavor or texture departments.
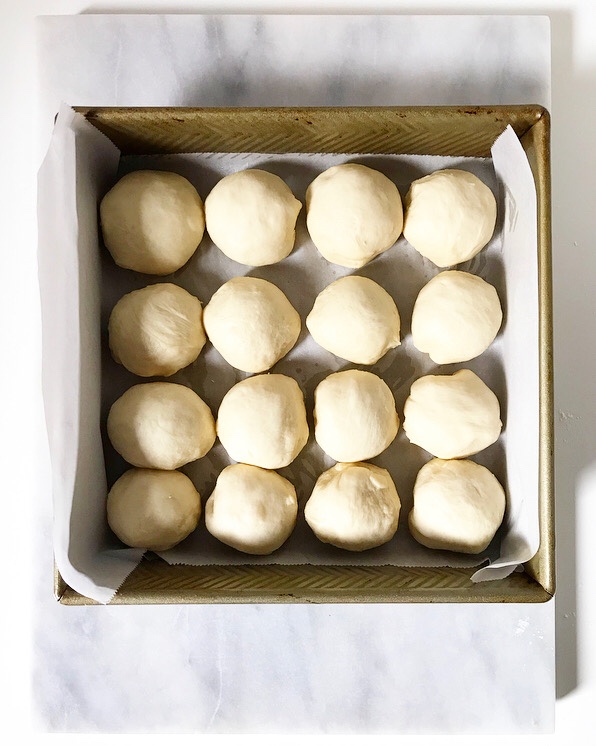
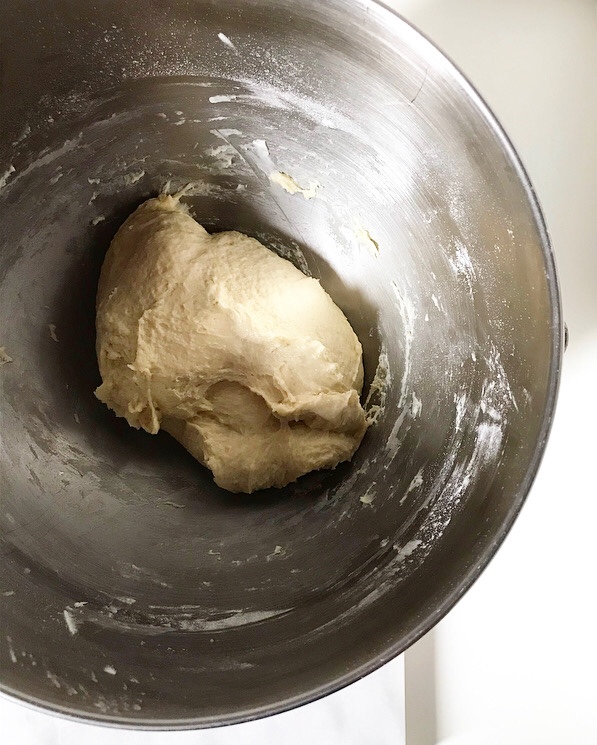
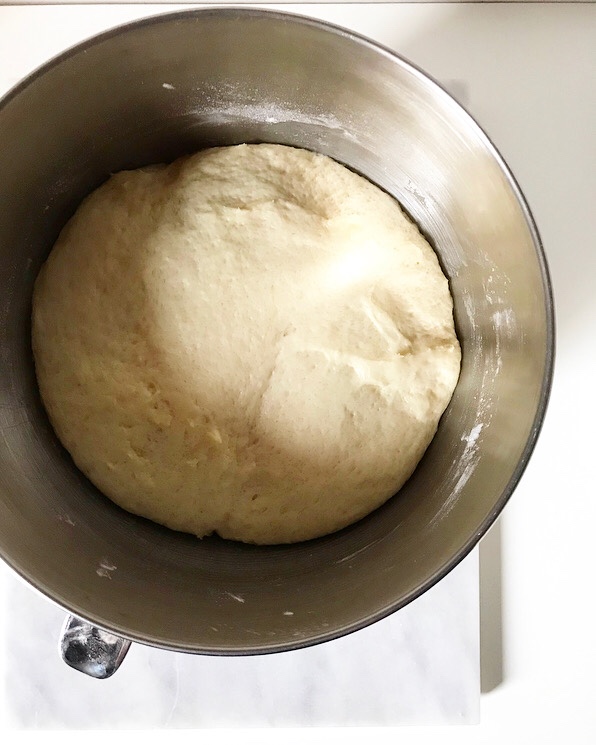
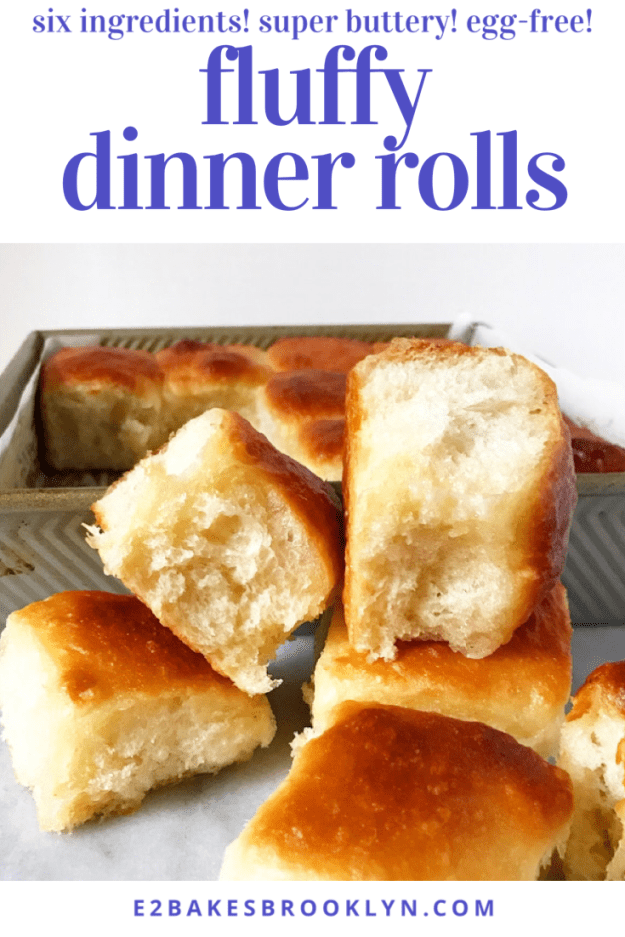
 They are super simple to make, too. Don’t let the length of the recipe fool you—I just wanted to ensure that you have all the information you need for Fluffy Dinner Roll success. I’ve included instructions for a stand mixer and mixing by hand, and for using both active dry and instant yeasts. I tried my best to describe how to shape them, but it’s surprisingly difficult to explain with words alone, so here are some pictures of what I did:
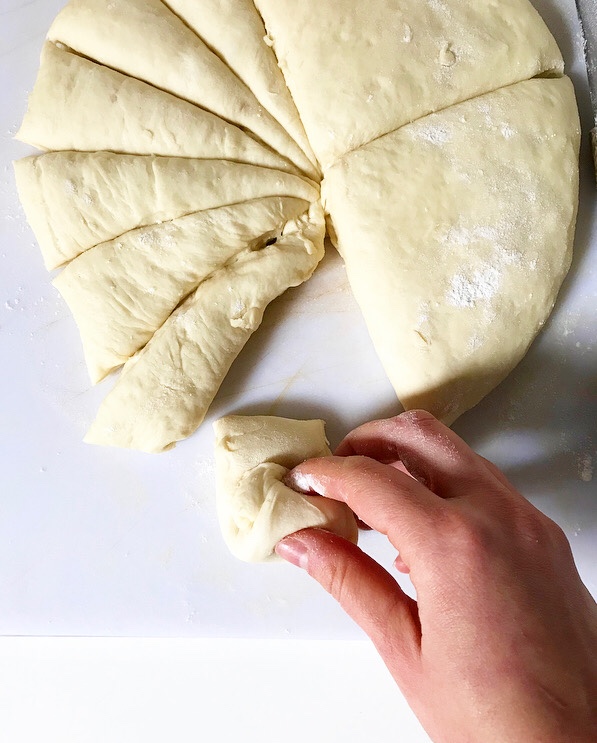
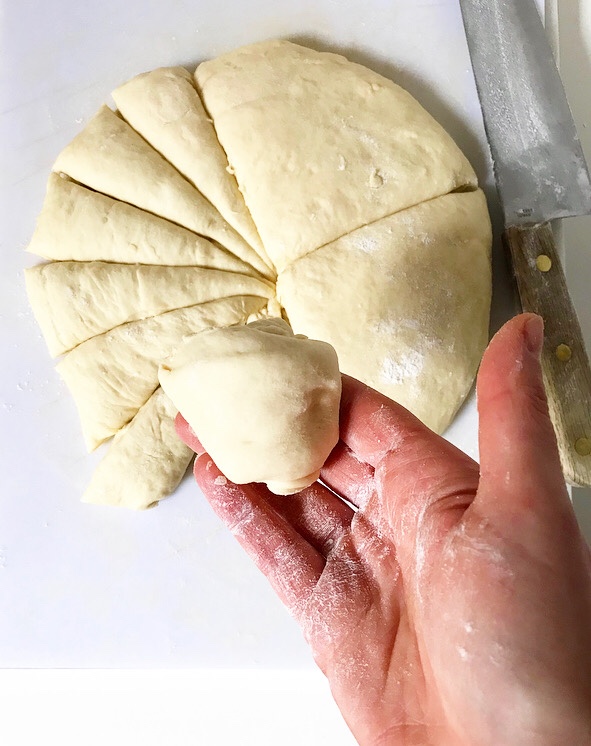
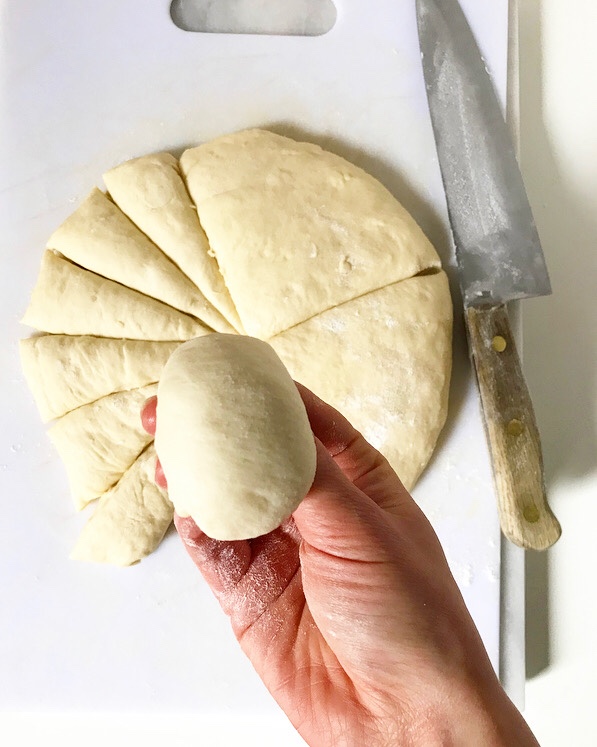
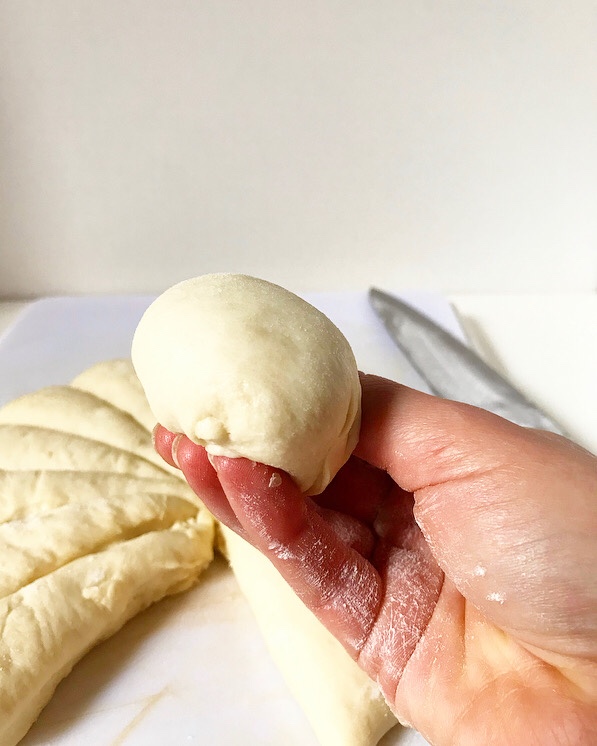 Don’t worry, they don’t have to be shaped perfectly to be delicious. It took me three batches to get a consistent shaping method. Those other four batches? They were for quality control. Or maybe just making up for lost time.
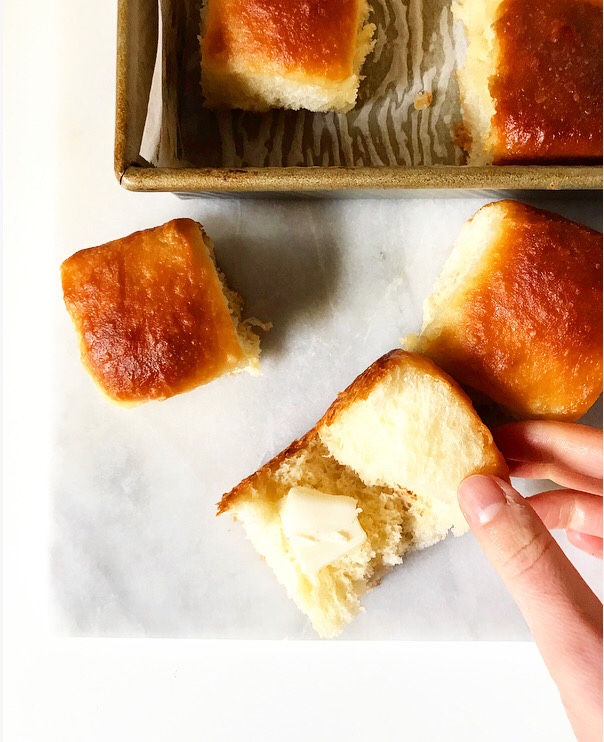
 For a short week, this one has seemed endless. There has been change and growth and letting go and construction and a migraine that began on Tuesday night and continued well into Wednesday afternoon.
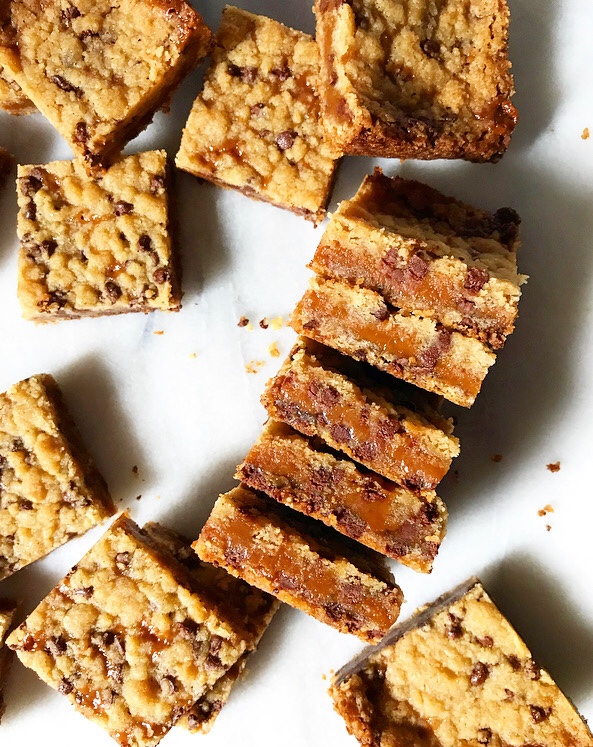
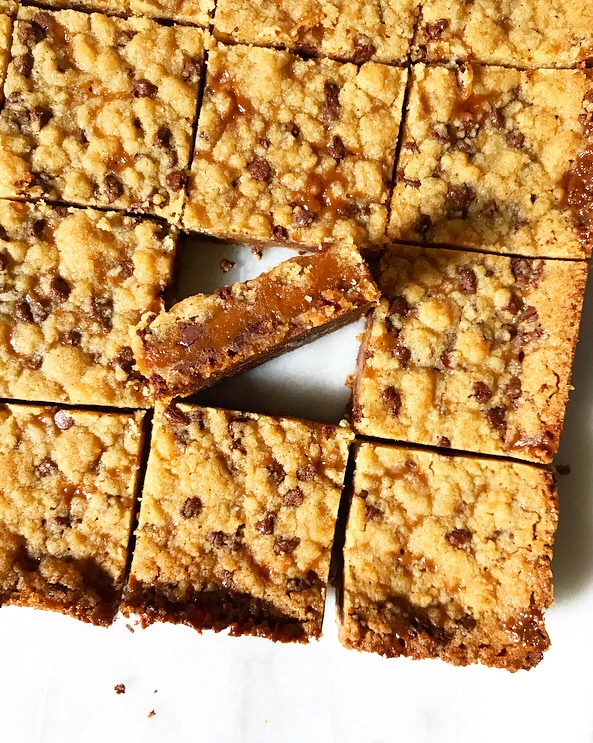
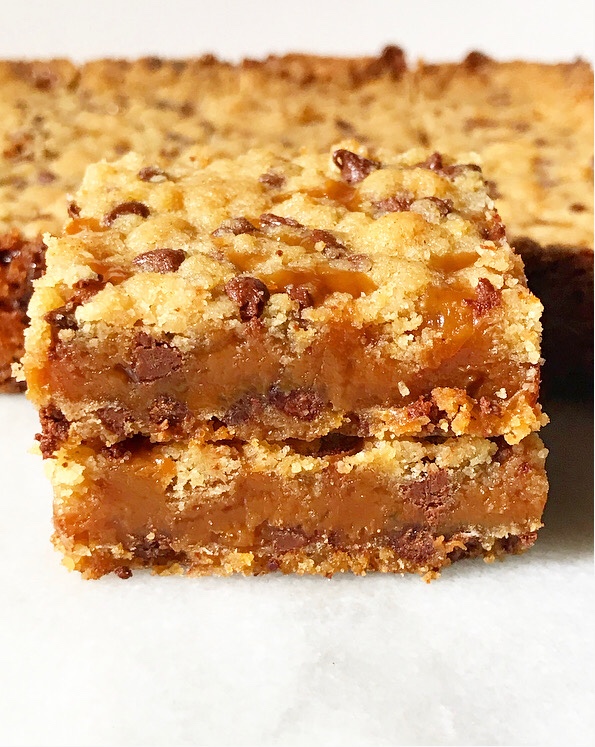 What I’m saying is that I could use a treat. Luckily, I have a refrigerator full of these Salted Caramel Chocolate Chip Bars, which are the perfect chewy, gooey, crispy-edged, chocolate-studded sweet to counteract all the negative energy in my immediate vicinity.
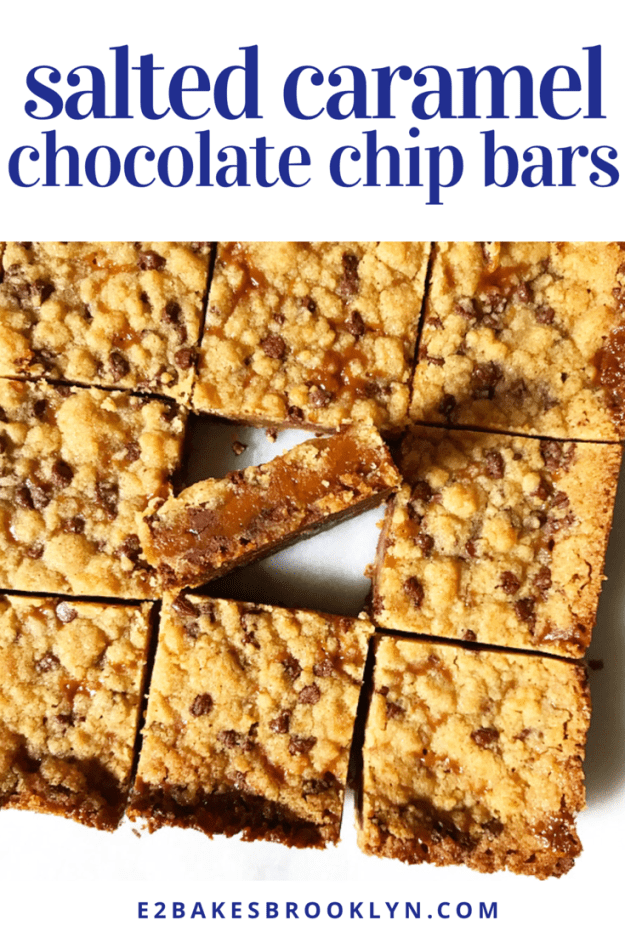
 In addition to being a perfect flavor and textural combination, these bars are super easy to make. The cookie layers are simply a chocolate chip cookie play on the crumb I used in my
 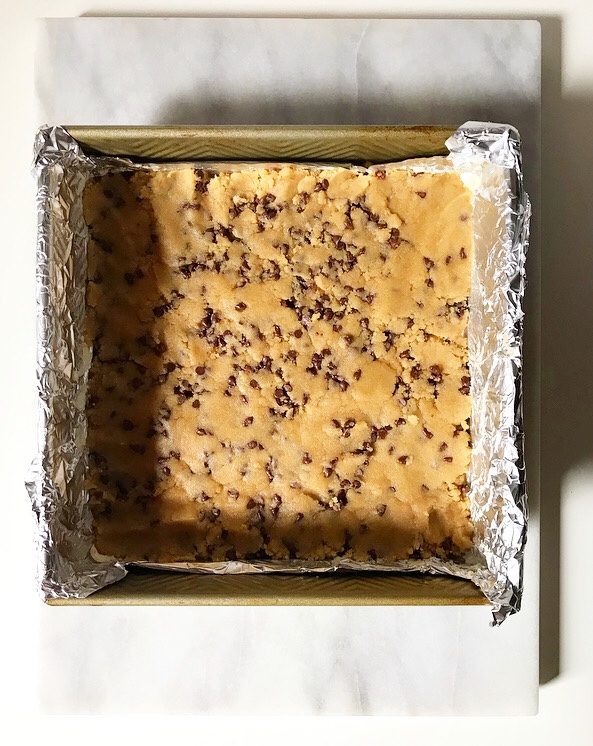 A little more than half of the cookie mix gets pressed into the bottom of a 9-inch square pan. Then comes the salted caramel, which is simply a bag of soft caramel candies that are melted with salt and heavy cream.
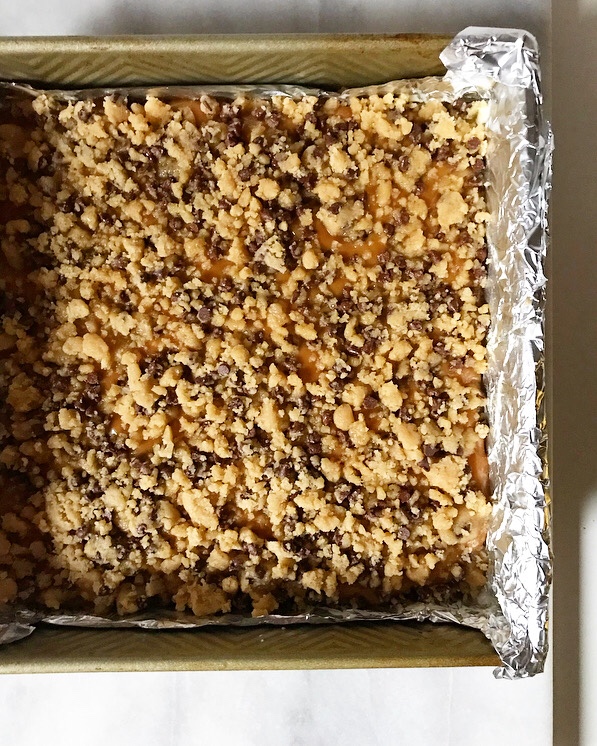 The remaining cookie mix is scattered over the top of the caramel and then everything is baked until the edges are crisp and the caramel is starting to bubble up through the cookie crumble.
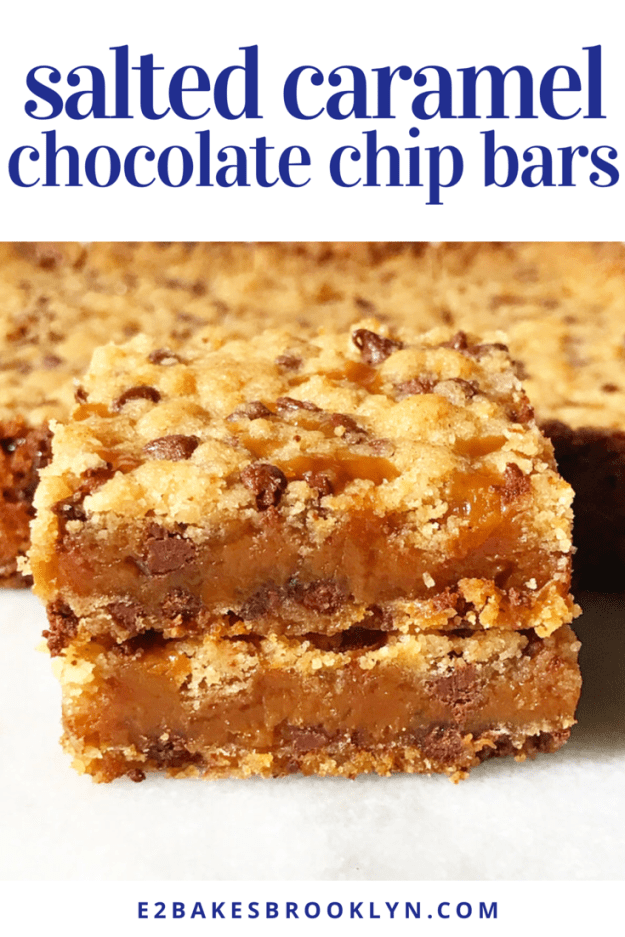
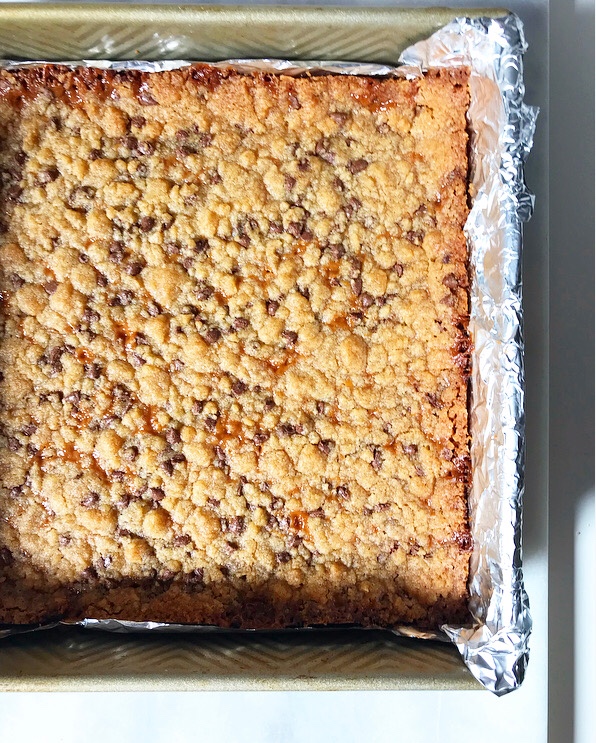 Let your bars cool completely before slicing. If you try to cut them before they’re cool, you won’t get the satisfaction that comes with clean edges and beautiful layers (if not perfect evenness).
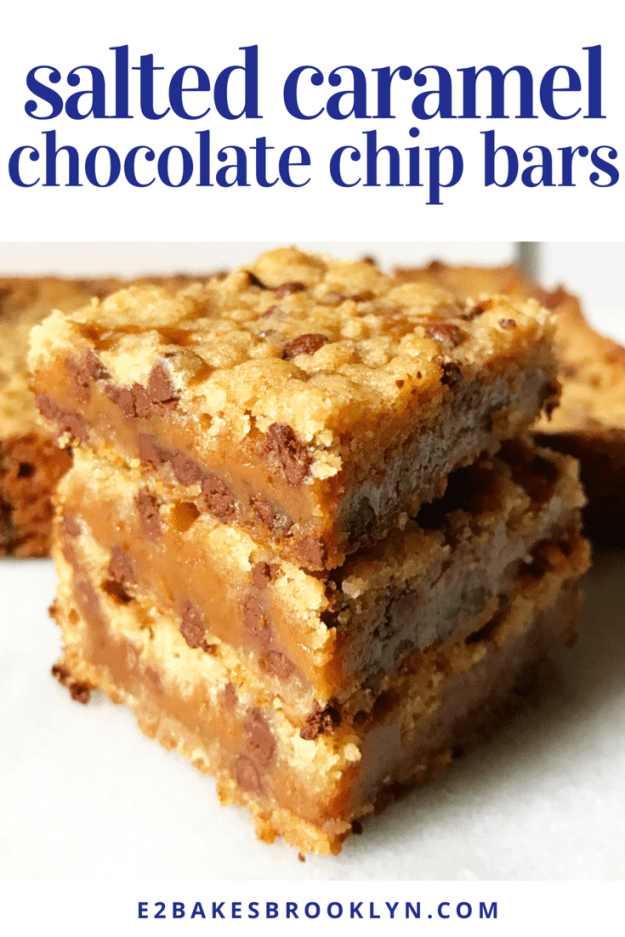
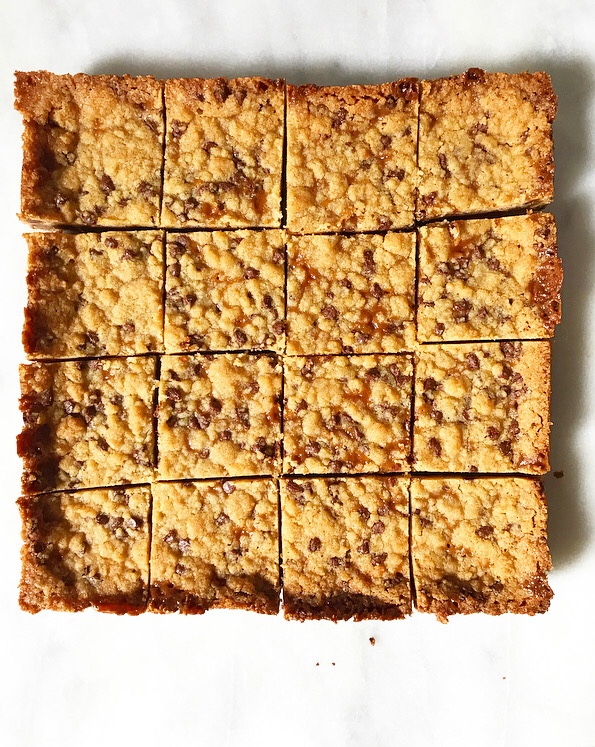 And that’s to say nothing of the buttery chocolate chip cookie layers and the gooey, salty caramel filling, which are a match made in dessert heaven. So, so delicious.
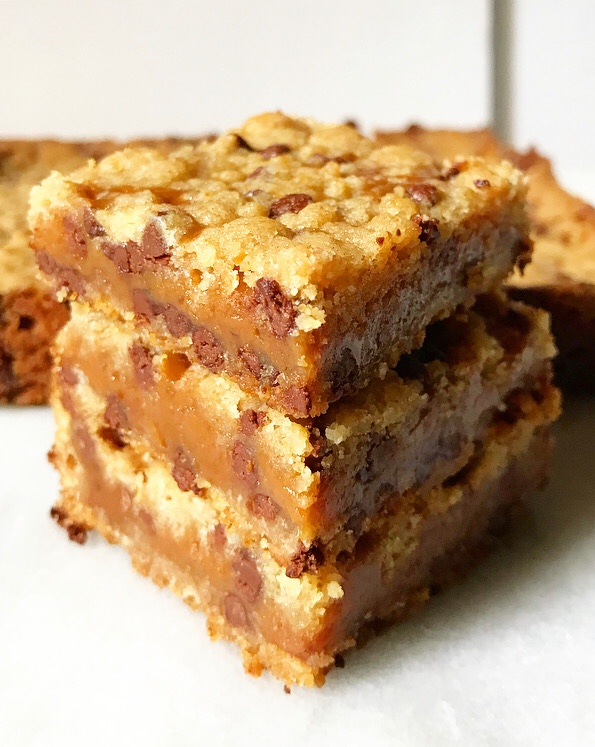 I logically know that dessert is not going to change the world, but I can’t seem to look at these and see anything but goodness. Salted Caramel Chocolate Chip Bars can’t solve my problems, but four bites of salty-sweet caramel sandwiched between layers of crisp cookie can certainly help soften the blow, am I right?!