Updated 11/06/2019 to add better photos and halve the crumb. What a week. I had planned to post this recipe on Wednesday, but when I got home from catering an election party on Tuesday night, I knew I wasn’t going to get any work done until I knew who would become President-Elect. Since then, our country’s citizens have been more deeply divided than ever before (and we were already pretty divided). It’s tough to be an American this week. Regardless, we need to come together for change and for the future. I suggest we start with pie.
 When I first came to New York nine years ago, I had a friend who loved pie. I mean LOVED it. At the time, I had never eaten a slice of pie that I considered revolutionary, so I asked him: why is pie so great? What he said has stuck with me since. Every time I make pie, I think of his words. He said that pie is a communal food; it brings people together. Pie is designed to be shared. While one certainly can eat a whole pie by their lonesome, it’s much more enjoyable to share it. I think the same goes for our nation.
 In a couple of weeks, Americans will celebrate Thanksgiving with their families and friends. Of course, just because you share DNA or a last name with someone doesn’t mean you have the same beliefs. There are some of us who dread these family holidays for fear of awkward political talk over turkey. I love my family, but I’d be lying if I said I didn’t have some of these fears, too. And while there’s little anyone can do to change someone else’s beliefs over the course of one holiday, there is one thing we can all enjoy together: Cranberry Crumb Pie.
 This pie has it all. Orange-scented cranberries with sweet, buttery cinnamon crumbs in my favorite Cream Cheese Pie Crust. If you love cranberries and the crumb on top of coffee cakes, this is the pie for you! Some don’t particularly care for the tartness of fresh cranberries, but here they are sweetened with sugar and spiced with cinnamon and nutmeg before being tossed with the zest and juice of an orange. They are still tart, to be sure, but the combination of sugar, spices, and citrus mellows them enough to be enjoyed on their own.
 The crumb is an old stand-by for American bakers. Melted butter is stirred into a combination of flour, brown sugar, cinnamon, salt, and vanilla until evenly combined. The cranberry filling is baked for 15 minutes before being topped with the crumb and going back into the oven. As the pie bakes, the cranberries burst and bubble around the crumb, spreading the buttery cinnamon flavor a bit, but also allowing those crumbs the get crisp-crunchy and super delicious. Soft, juicy cranberries and sweet, crispy crumbs? Yes, please!
 Now, go forth and start to heal your community. Make a pie and have friends over (make one of them bring the vanilla ice cream). Be good to each other.
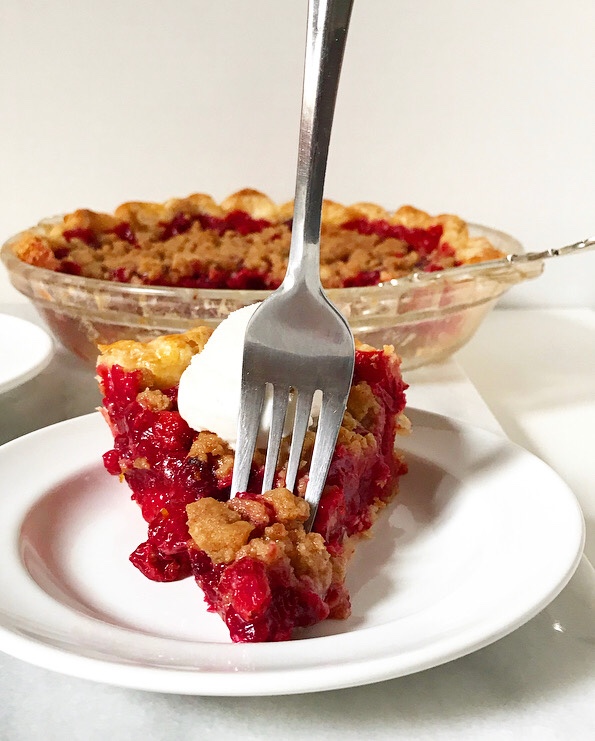 Looking for more pie? You’ve come to the right blog! Check out this Black Bottom Pear & Almond Pie, this light & fluffy Pumpkin Pie, this Cranberry Apple Pie, this Salted Butterscotch Pie, and this Maple Pecan Pie. One more pie recipe is coming your way next week!
Cranberry Crumb Pie
makes one 9-inch pie
Pie:
1/2 recipe Cream Cheese Pie Dough or other good crust
4 cups (about 15-16 ounces) fresh whole cranberries, rinsed and picked over
3/4 cup granulated sugar
1/4 teaspoon ground cinnamon
1/4 teaspoon ground nutmeg
3 tablespoons cornstarch (or arrowroot powder)
1/4 teaspoon Kosher or sea salt
zest of one medium orange
milk or cream, for brushing
vanilla ice cream, for serving
Crumb:
1/2 cup + 1 tablespoon all-purpose flour
7 tablespoons light brown sugar, packed
1/2 teaspoon ground cinnamon
pinch of Kosher or sea salt
1/4 cup unsalted butter, melted
Roll out the pie crust to 14-inch diameter. Fit it in a pie pan, trim the excess to 1/2-inch, and crimp as desired. Freeze 30 minutes.
Preheat the oven to 400F. Place racks in the top and bottom positions.
Place cranberries in a large mixing bowl. Use a silicone spatula or wooden spoon to fold in sugar, cinnamon, nutmeg, cornstarch, salt, and orange zest.
Place chilled pie crust on a baking sheet. Pour the cranberries into the pie crust. Brush exposed crust with milk. Place pie (on baking sheet) on the bottom rack of the oven. Bake 15 minutes.
Make crumb. Combine flour, brown sugar, cinnamon and salt in a small bowl, and whisk with a fork. Add melted butter and stir until large clumps form.
When the 15 minute bake time is up, remove pie from oven and top with crumb.
Return pie to oven and reduce temperature to 350F. Bake 30-40 minutes, tenting with foil (or using a pie protector) if anything gets too dark.
Let pie cool on a rack at least 4 hours, until room temperature. Slice and serve with vanilla ice cream, if desired.
Pie will keep covered at room temperature for up to three days, or in the refrigerator for up to five.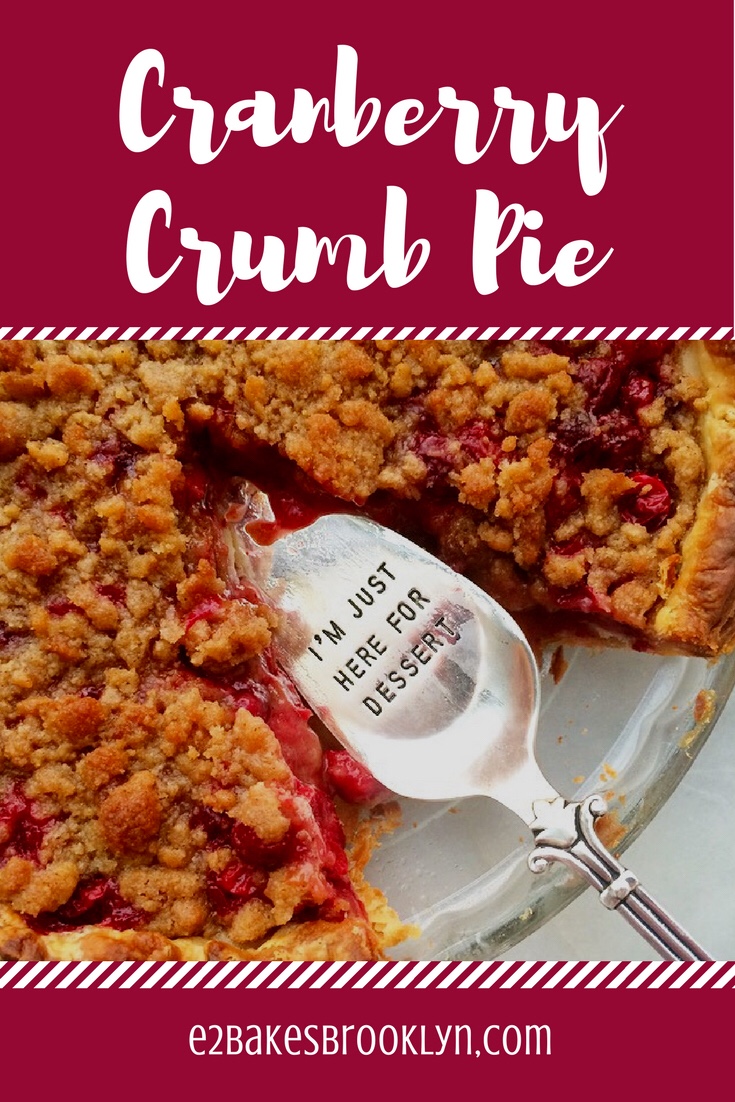


 Cake week, y’all. It gets me every time. The last week of every month is full of cake orders, and between those and my day job, this blog always seems to get shoved to the side. Perhaps one day I’ll be more organized. Or be able to afford an assistant.
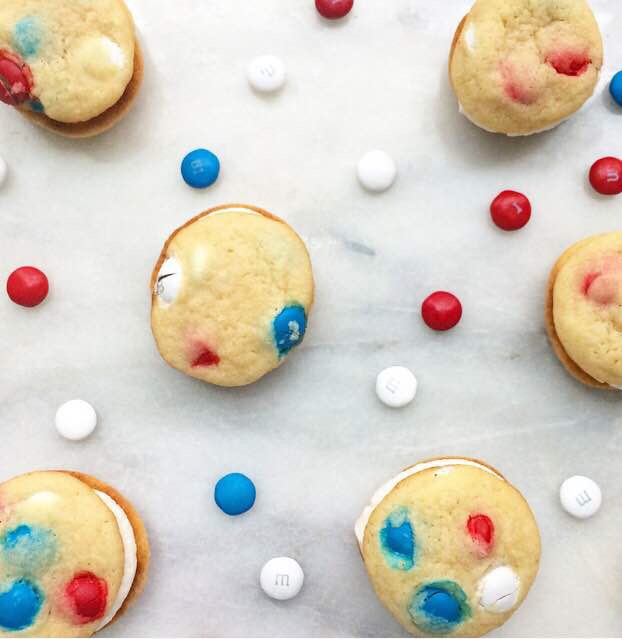
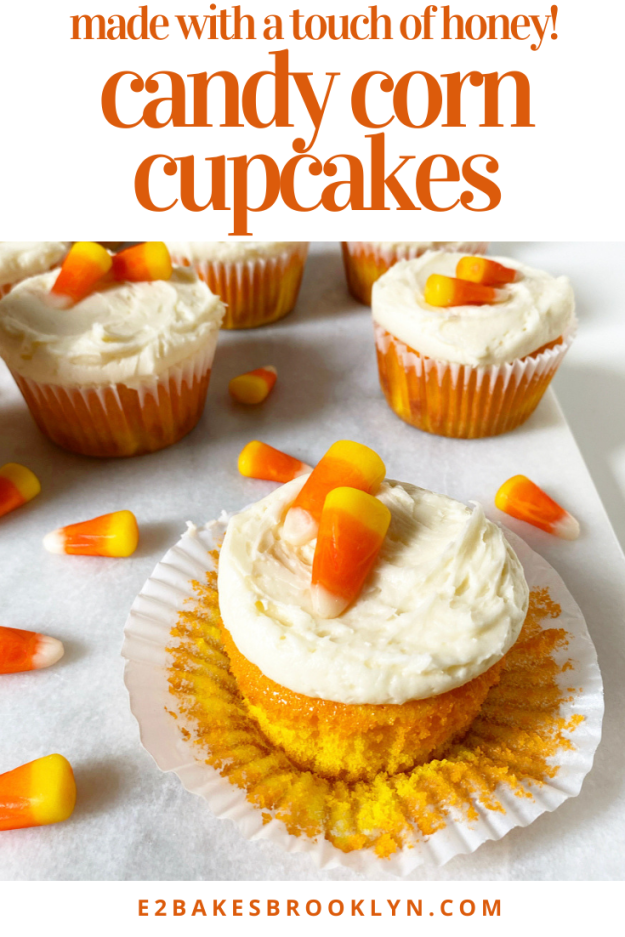
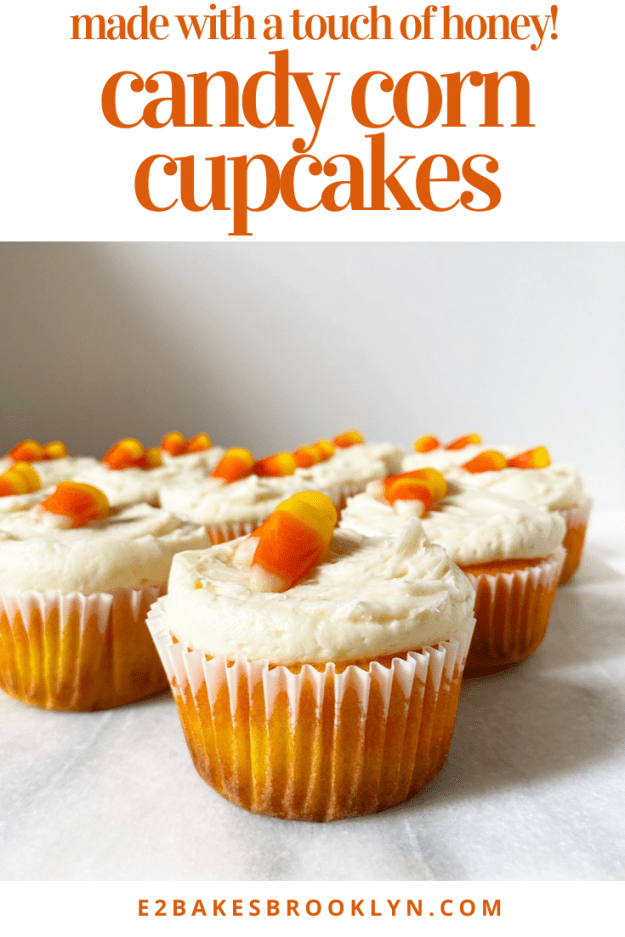
 Surely by now you’ve seen candy corn cupcakes on Pinterest and other social media. The gist is that vanilla cake batter is dyed orange and yellow, baked into cupcakes, and topped with white vanilla buttercream. Sure, the cupcakes are cute and festive, but for a candy corn aficionado like myself, they leave something to be desired. Namely, the very distinct flavor of candy corn.
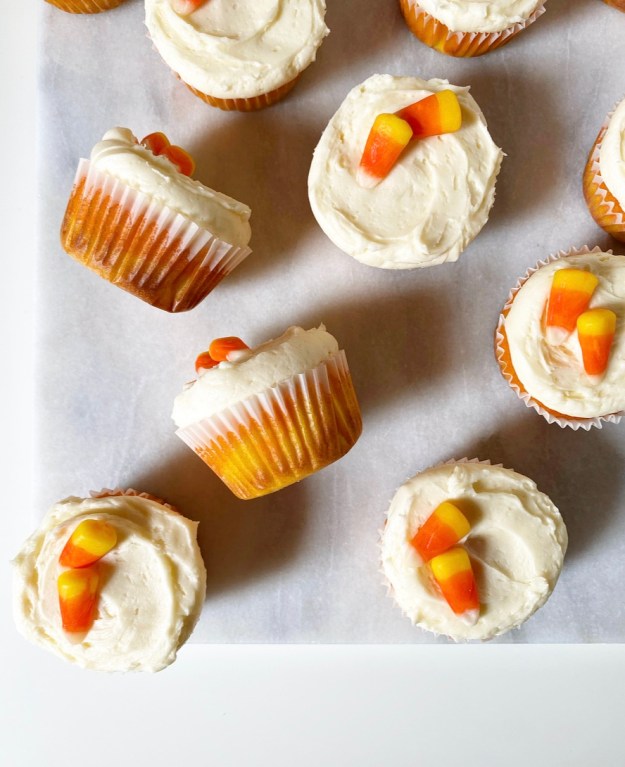 What does candy corn taste like? Well, mostly it’s just sweet–so sweet, in fact, that it’s hard to detect any real flavor. Many brands of the stuff boast that they are made with “real honey” (as opposed to all that fake honey). Armed with this information, I figured a honey-vanilla cake batter was a good place to start. However, when I tasted the batter before baking, I found the flavor to be lacking a little. My
 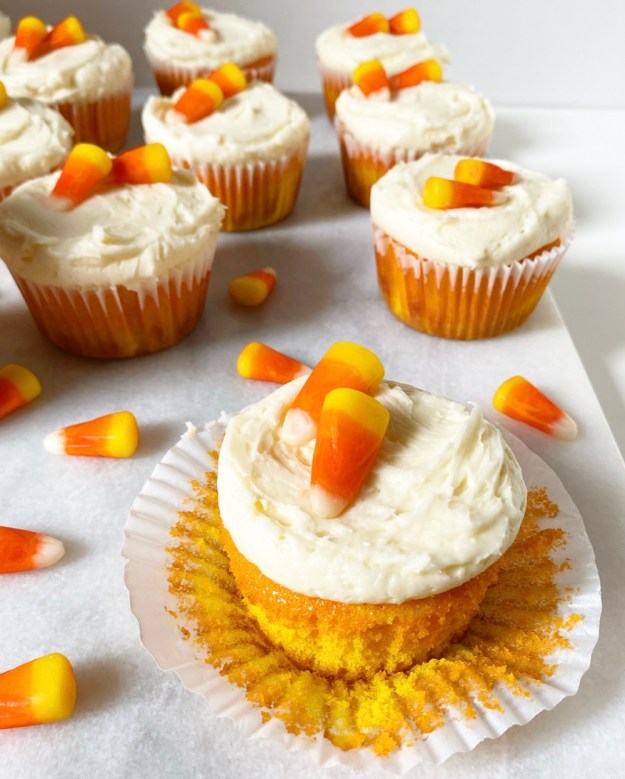 The frosting is just my vanilla buttercream doctored up with a little honey (and the extract). It’s luxuriously light and fluffy, and oh, how I wish my cake decorating skills could make it look as delicious as it is. You’ll just have to take my word for it (or better–make it!). Although it does look pretty good sort of drooping over the tops of these cupcakes.

 Tomorrow’s a big day–this little blog is turning one year old! That’s 140 posts, 136 recipes, and more flour and sugar than I care to think about. It’s also late nights, hours of recipe testing, and a lot of joy. I have a job and a side business, but this blog is what matters most to me. It’s probably the biggest project I’ve ever undertaken, and I can’t wait to see how it grows in year two.
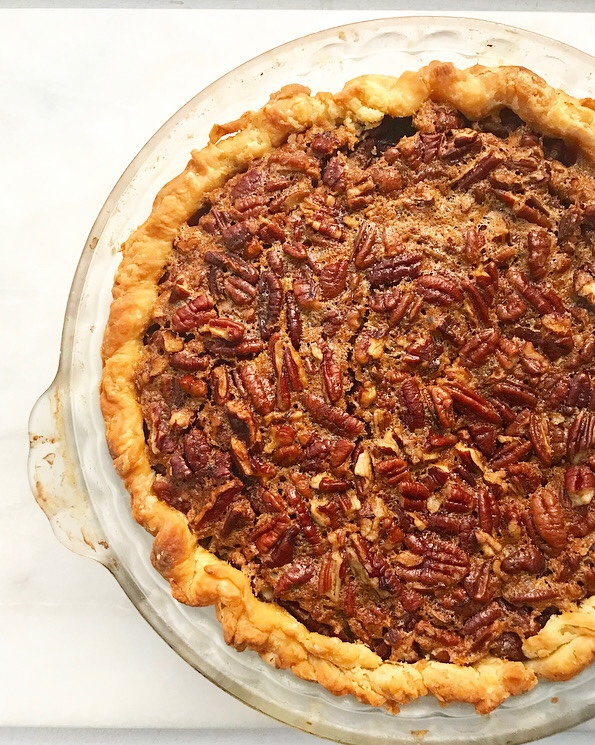 So, how does one celebrate their blog’s anniversary? Well, they furiously text their little sister and two close friends saying “What should I make for the blog’s one year anniversary?” One recommended a throwback to my
 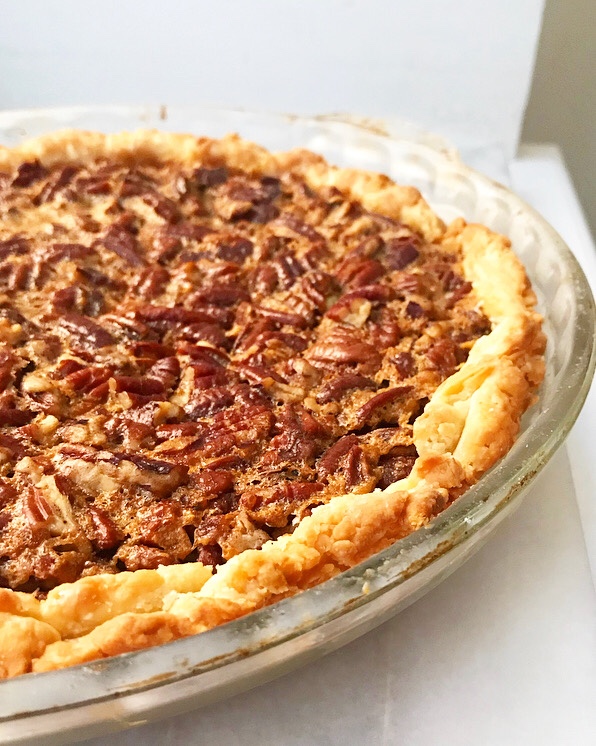 With their suggestions in mind, I started thinking about pecans and about my grandmother,
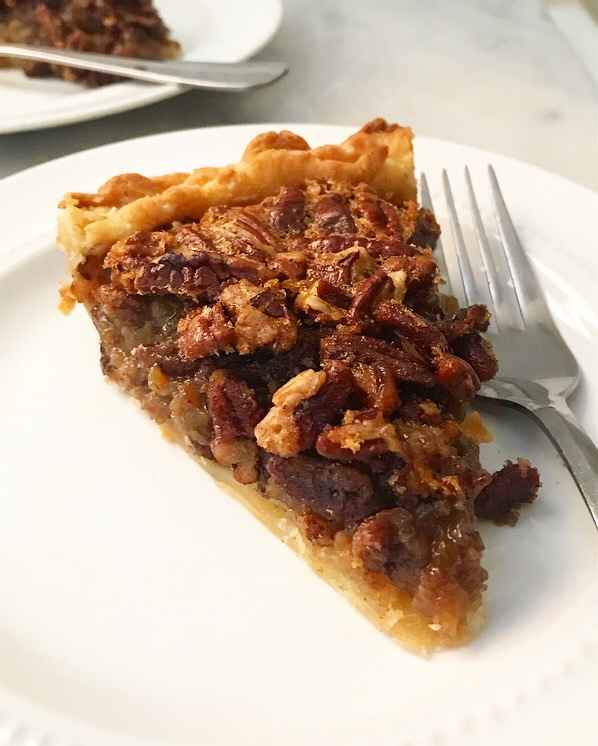
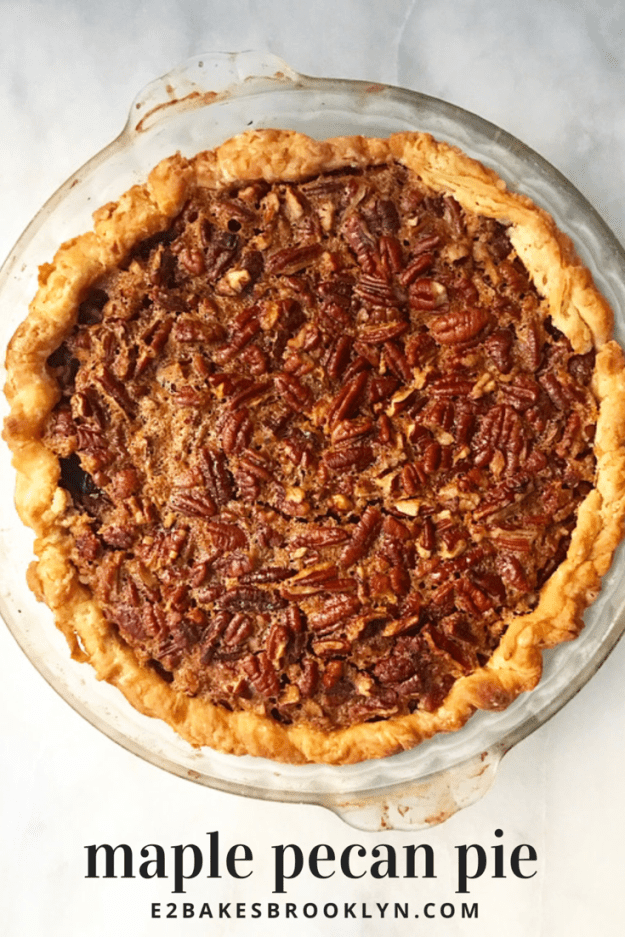
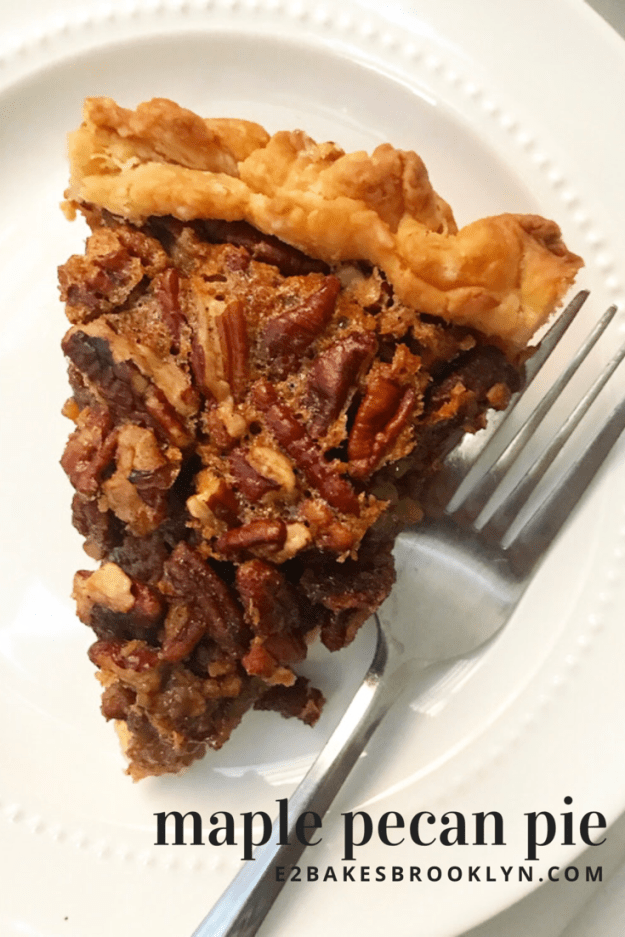
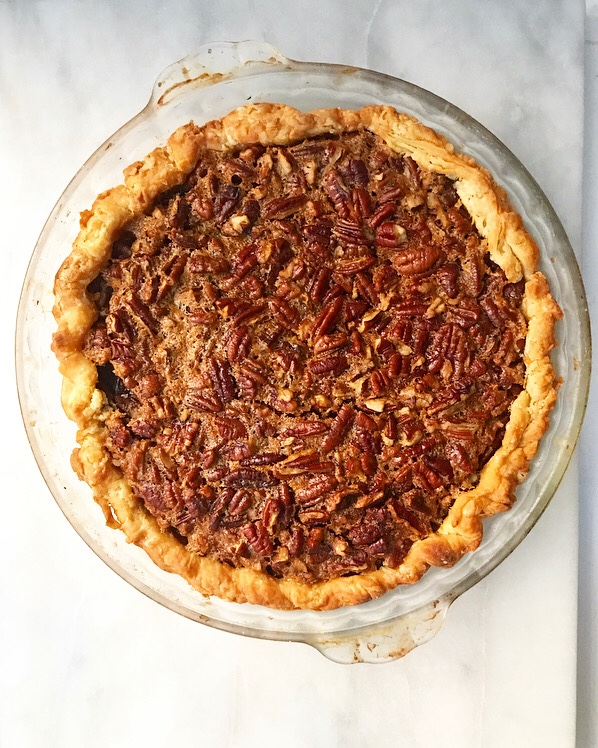
 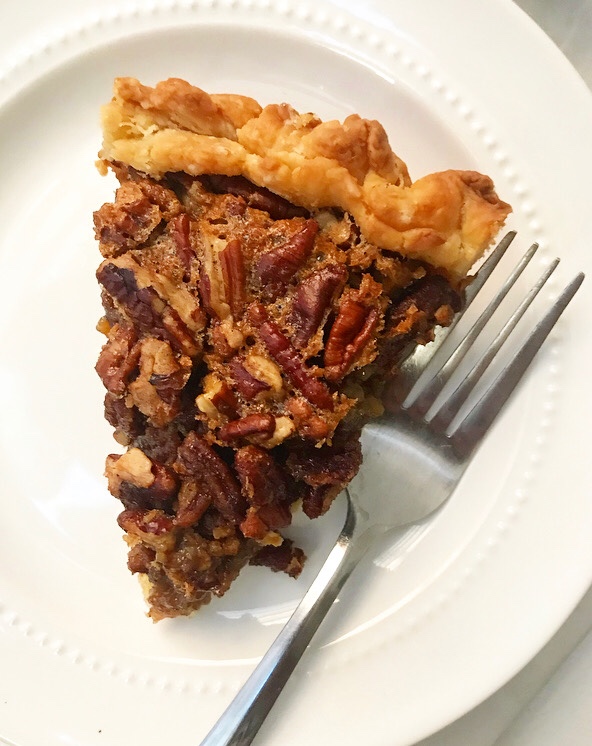 So, today, let’s celebrate one year of blogging with Maple Pecan Pie, the perfect tribute to my family, my Texan childhood, and my northeastern adulthood. This pie has everything you love about traditional pecan pie, but with a hefty dose of maple syrup and my go-to Cream Cheese Pie Crust. The filling is sweet, but not cloying, thanks to a little apple cider vinegar, and it has a little depth from the addition of nutmeg. If you’re going to mess with something as iconic as pecan pie, this is the way to do it.