 I’ve wanted to make Thanksgiving for years and years, but my family usually travels for this holiday. That said, I guess next Thursday is my lucky day…or something. Yes, since traveling is inadvisable at the moment, I am staying put and taking this excuse to make the whole turkey dinner in my apartment. This is obviously not how I imagined my first time making Thanksgiving dinner, but it’s what’s happening. And it might be a little messed up to say this, but I’m kind of excited about it. I mean, I’ll be bummed not to be with my parents, older sister and sister-in-law (and the dogs), and I would definitely like for this period of world history to get over and done, but I am really excited to make Thanksgiving.
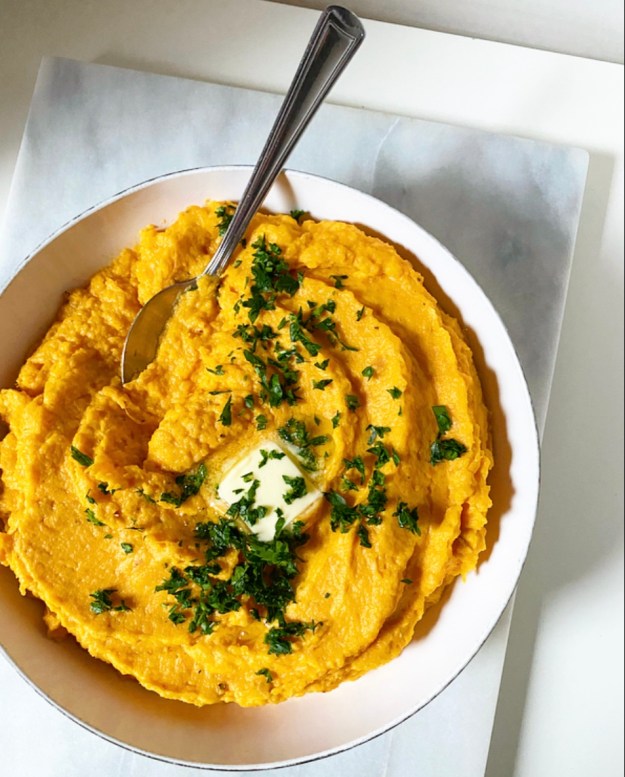
The menu is still in the tentative planning phase, but I know for sure that I am making J. Kenji Lopez-Alt’s Turchetta and smaller batches of the cornbread stuffing, cranberry sauce and caramelized Brussels sprouts from my archives. Oh, and the best dang Mashed Sweet Potatoes you can get anywhere.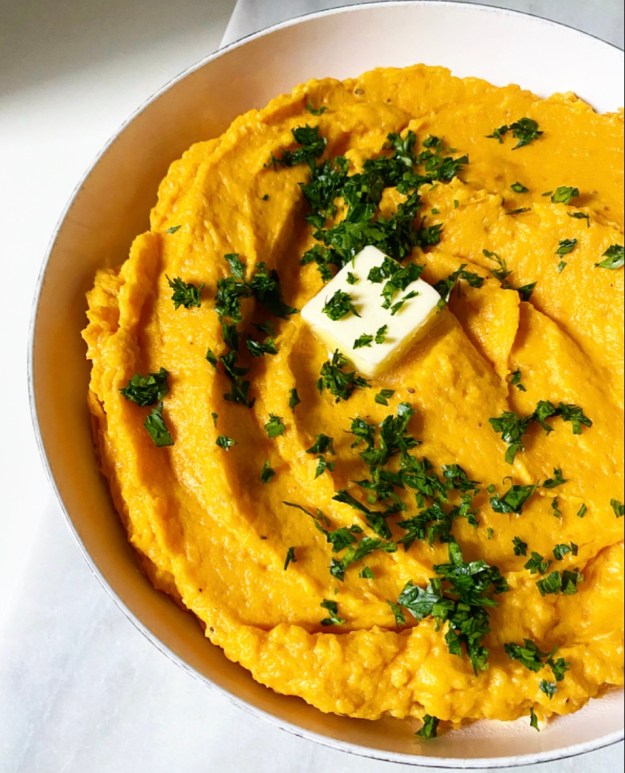 I can’t believe I’ve made it this many years without posting this recipe.
Creamed Kale? ✅
Dinner rolls? ✅
Two kinds of stuffing? ✅✅
Every cheesy appetizer under the sun? ✅✅✅✅✅
Mashed Sweet Potatoes? ❌
Truly, it’s bonkers. When I first moved to New York a thousand thirteen years ago, these were my go-to contribution to various Thanksgivings and holiday dinners, and they were a hit on every table they graced. These are seriously the *best* holiday sweet potatoes ever. Marshmallows be damned. (But not really.)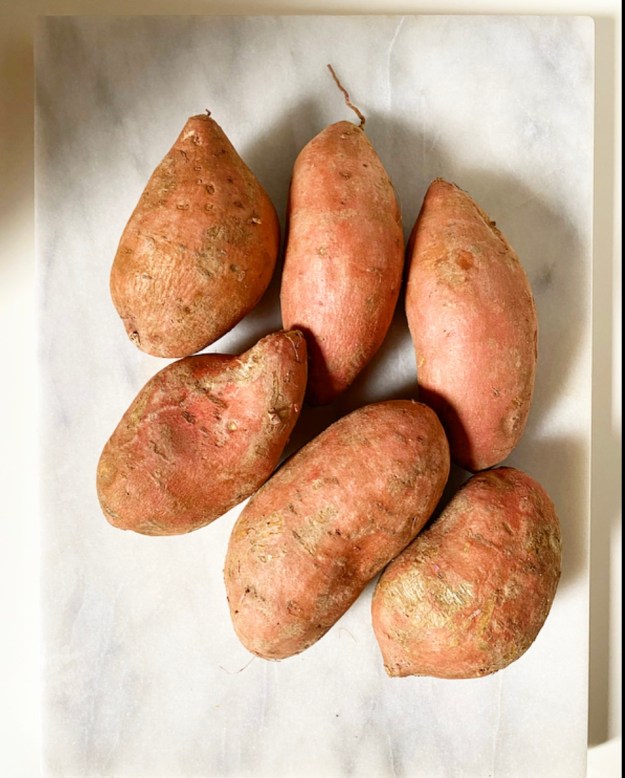
 My mom got the original recipe from her friend, Amy, and then passed it on to me. I’ve twisted the it a little since then, but only a little, because they were already pretty dang perfect. The secret? An entire brick of cream cheese and an entire stick of butter. Yes, I know that’s a lot of dairy and a lot of dense calories, but this recipe also makes a lot of sweet potatoes. Please resist the urge to cut back or use low-fat ingredients—it’s just not worth the effort without the real deals. This is holiday food, not everyday food (although I would never judge you for eating them with every meal for four days straight…ahem).
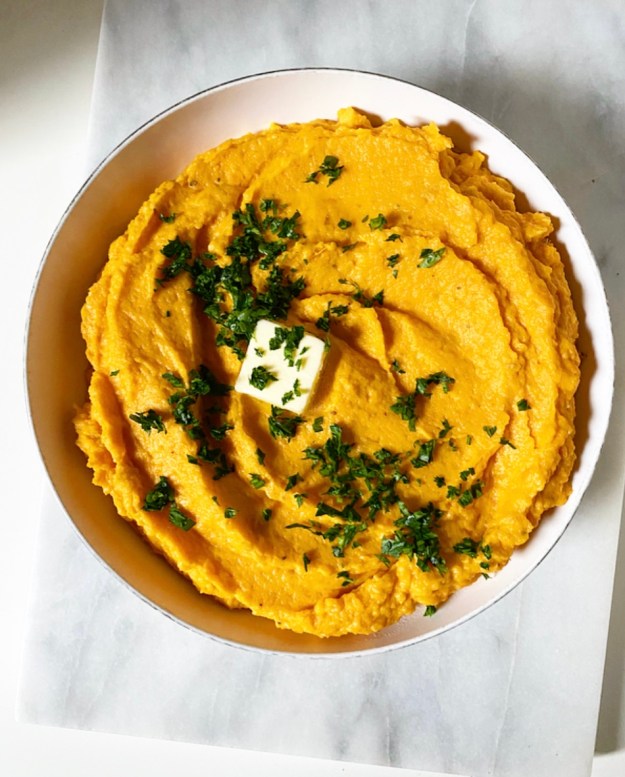 As you might imagine, these Mashed Sweet Potatoes are…beyond. Beyond creamy. Beyond delicious. So beyond that it’s simply beyond me why anyone wouldn’t throw these on next week’s menu right now.
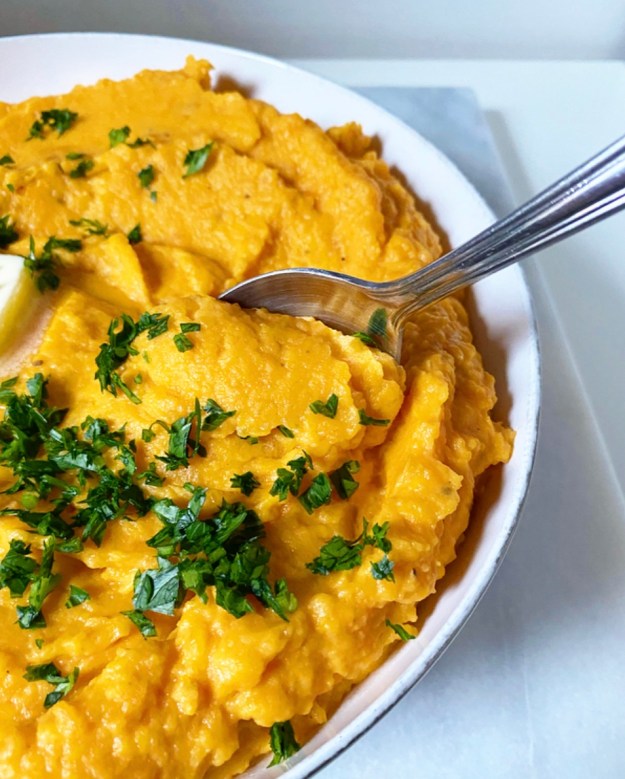
Mashed Sweet Potatoes
barely adapted from my mom’s friend, Amy
makes 10-12 servings
4 pounds sweet potatoes, scrubbed & peeled, diced into 1-inch pieces
cold water, to cover sweet potatoes
2 1/2–3 teaspoons teaspoons Kosher or sea salt, divided
1 8-ounce brick full-fat brick-style cream cheese, cut into pieces
1/2 cup (1 stick) butter, cut into pieces
freshly ground black pepper, to taste
chopped parsley, for garnish
Place diced sweet potatoes in a large, heavy-bottomed pot. Add salt and cover with cold water by 1 inch. Bring to a boil over high heat, then reduce to medium-high and let simmer until sweet potatoes are fork tender. Remove from heat.
Carefully drain water by pouring sweet potatoes through a colander. Return sweet potatoes to the hot pot. Use a potato masher to begin to break up sweet potatoes. Add all pieces of cream cheese and butter, along with 1 teaspoon salt and a few grinds of black pepper. Mash to combine, using a silicone spatula or wooden spoon to scrape down the sides of the pot as necessary. Do not over-mash. Taste for seasoning, then stir in more salt by the 1/2 teaspoon and pepper as desired.
Remove to a serving dish and serve immediately with chopped parsley, if desired. Leftovers will keep covered in the refrigerator for up to 3 days.
If you’d like to make Mashed Sweet Potatoes ahead, spread them into a medium-sized casserole dish. Let cool completely, cover with foil and refrigerate overnight. The next day, remove them from the refrigerator and let sit at room temperature for at least 30 minutes. Then place covered dish in a 350F oven for 30-40 minutes, until hot. Serve.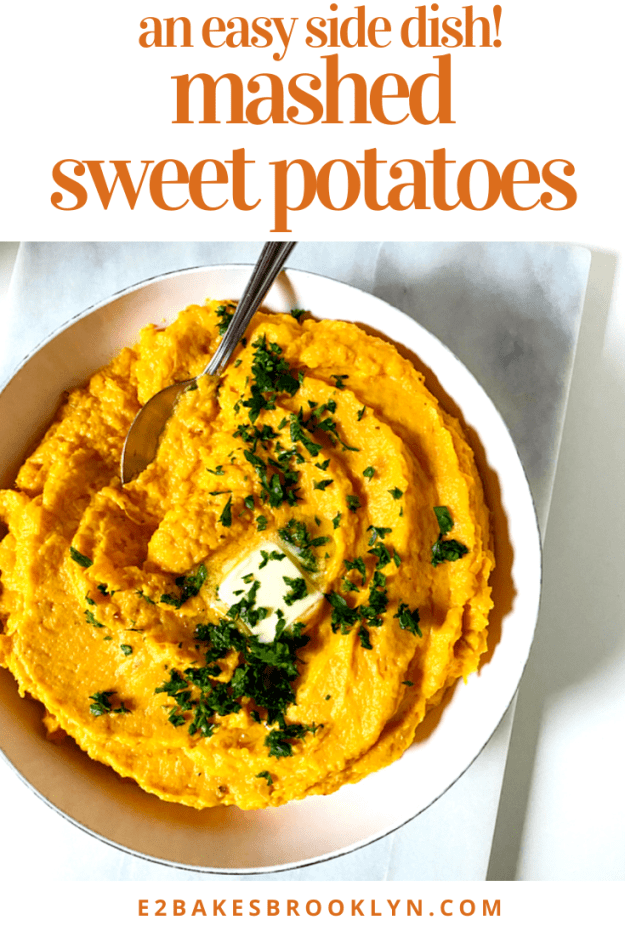

 You may not be able to tell from the bevy of desserts I post every week, but I am a huge proponent of eating your greens. Almost every meal I make for myself involves a huge bed of arugula. Yes, for real.
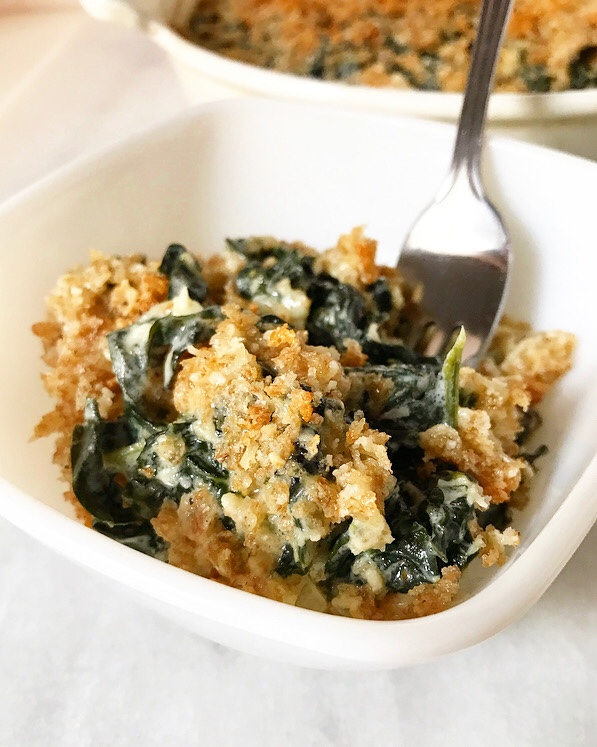 That said, on Thanksgiving, there are so many sides that leafy greens can get lost in the mix or left out entirely. To that, I counter this: Creamed Kale with Crispy Breadcrumbs. It’s the sort of “eat your greens” situation that is absolutely welcome sidled up to
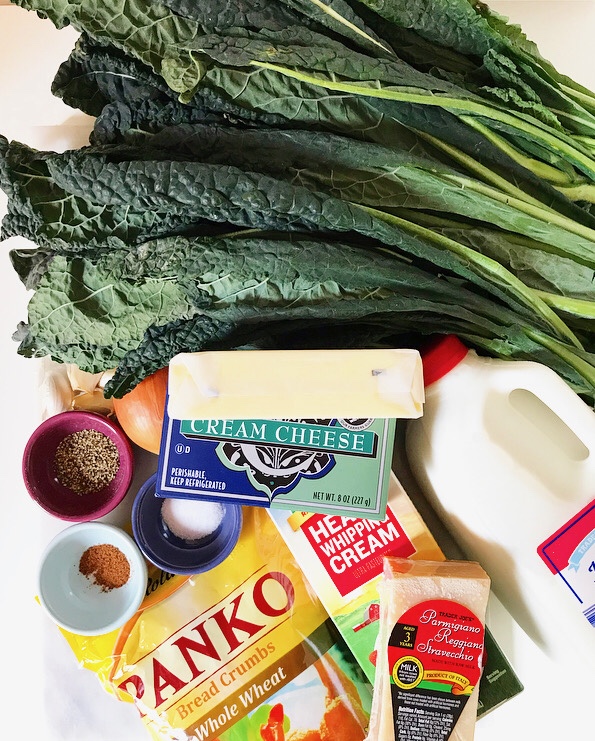
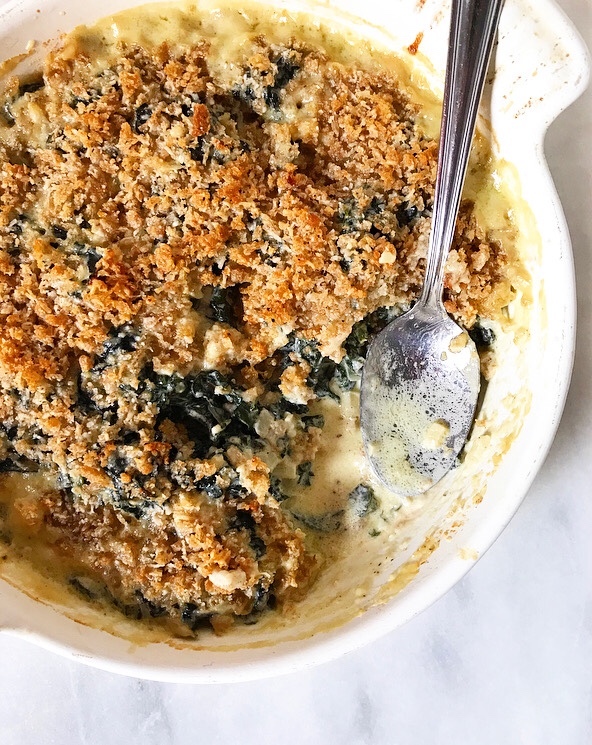
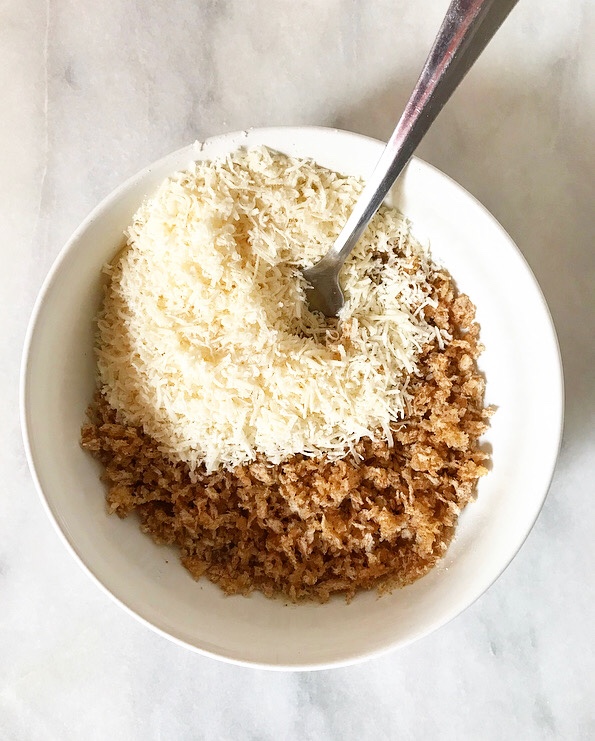
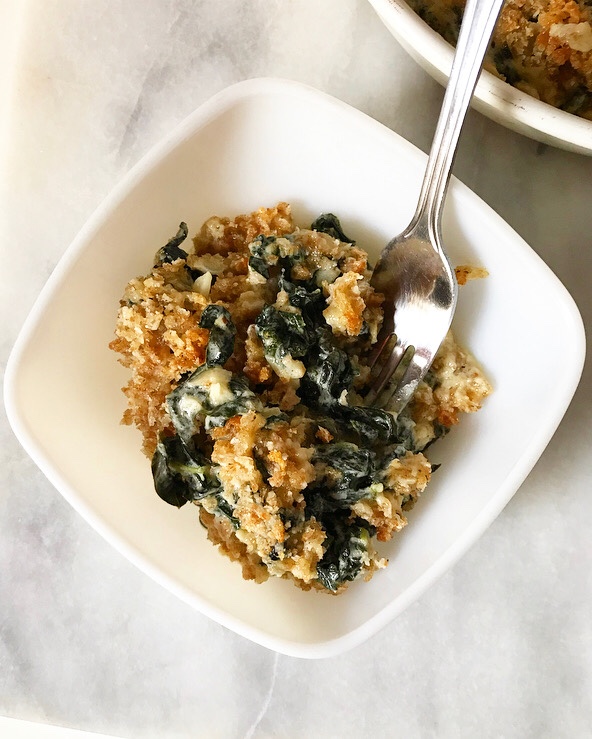
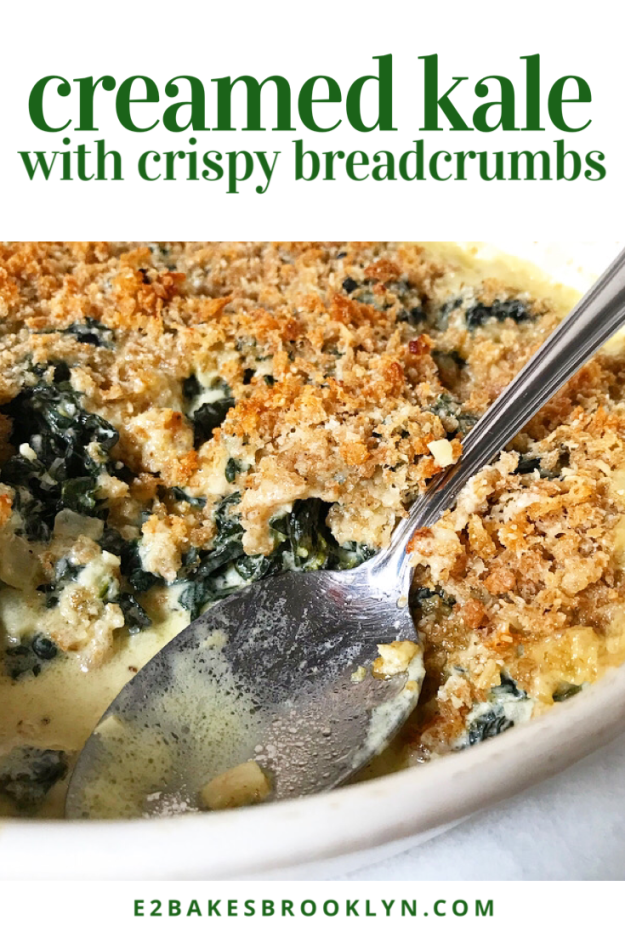
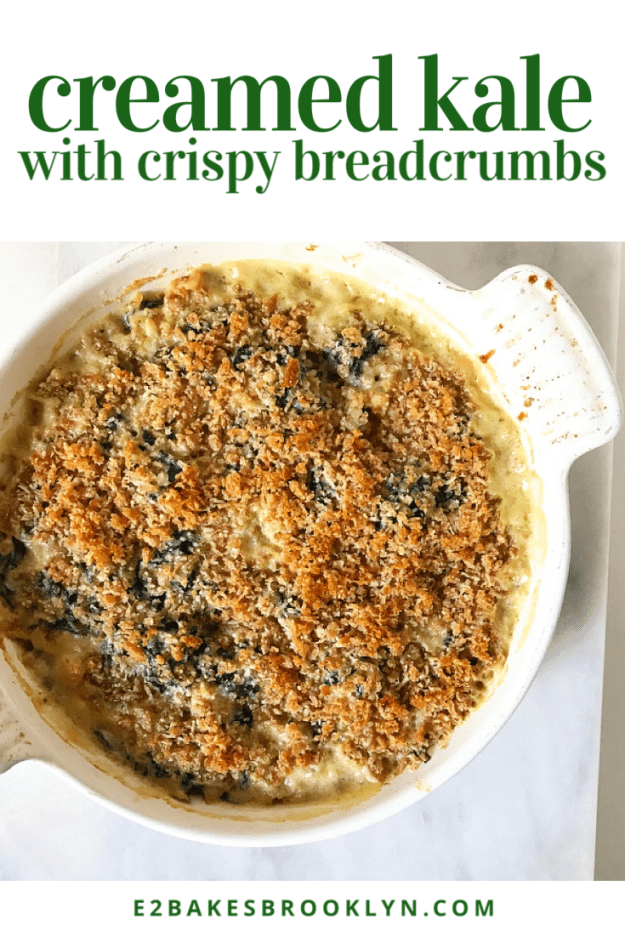
 This is a vegetable side dish that stretches the meaning of the word “vegetable.” Yes, there is kale in there—a lot of it—but it’s coated in a sauce of butter, heavy cream, milk, cream cheese and parmesan, and topped with buttery breadcrumbs. Dietetic, this is not. On Thanksgiving, though, who cares? If there were ever a day for eating a creamy, cheesy, crispy-topped side and calling it a serving of vegetables, this is the one.
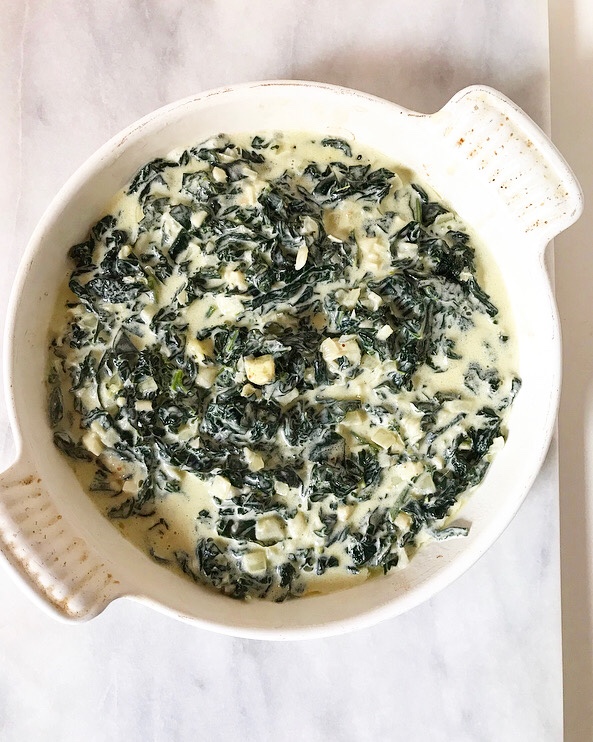
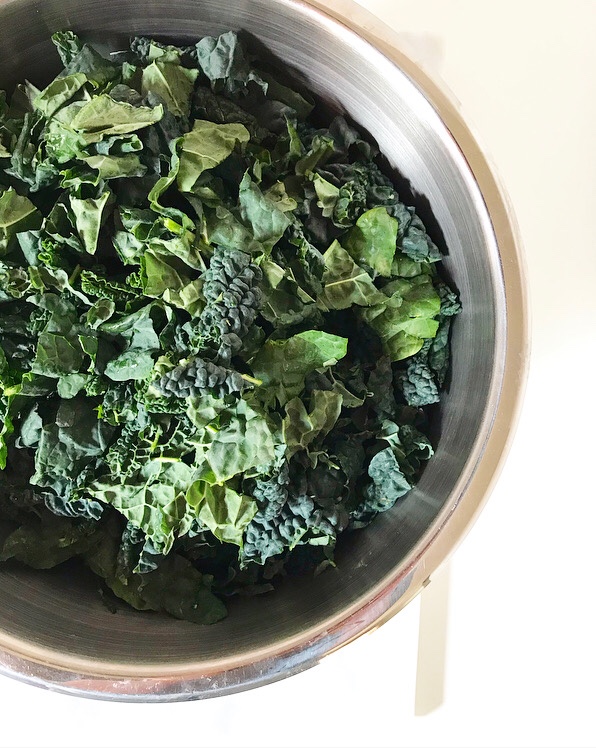
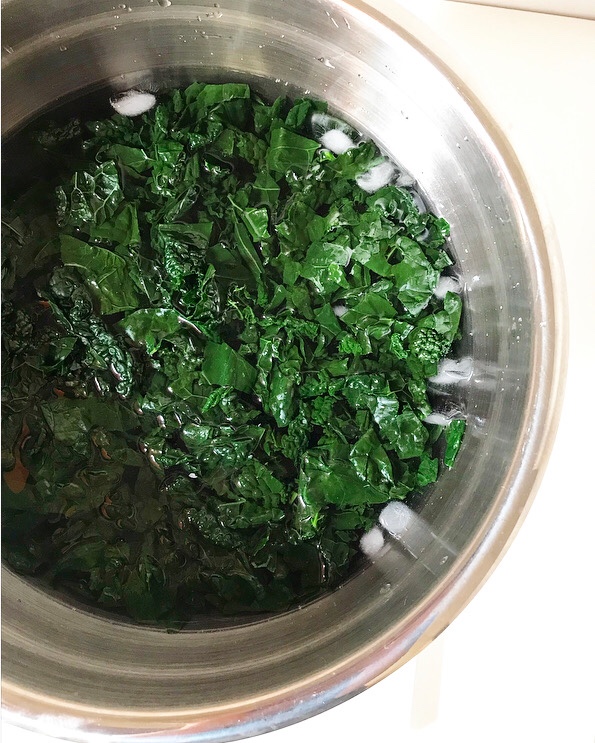
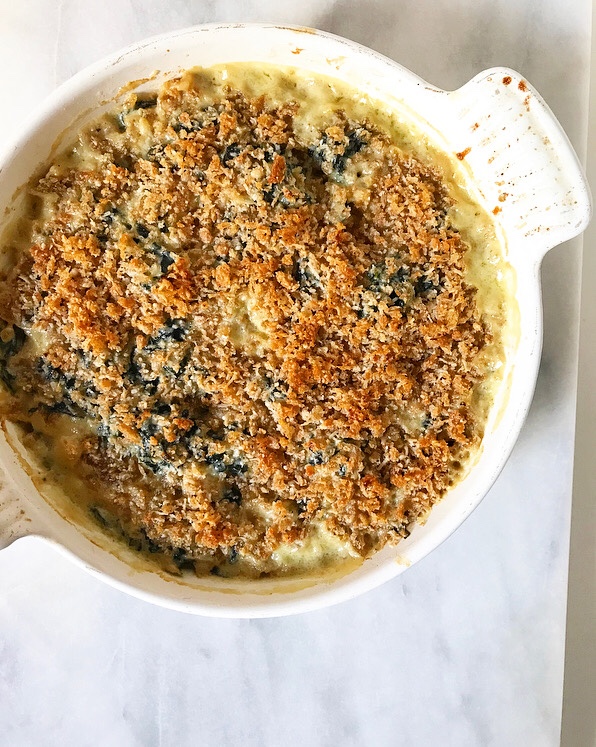 If you’re wondering why I used kale here instead of going for classic creamed spinach, the answer is simple: kale’s texture holds up. Even after the blanching, shocking, sautéing, saucing, and baking, it still has texture. It contrasts perfectly with the crispy breadcrumbs instead of getting lost in the cheesy sauce. And it’s pretty. And I just *like* kale.
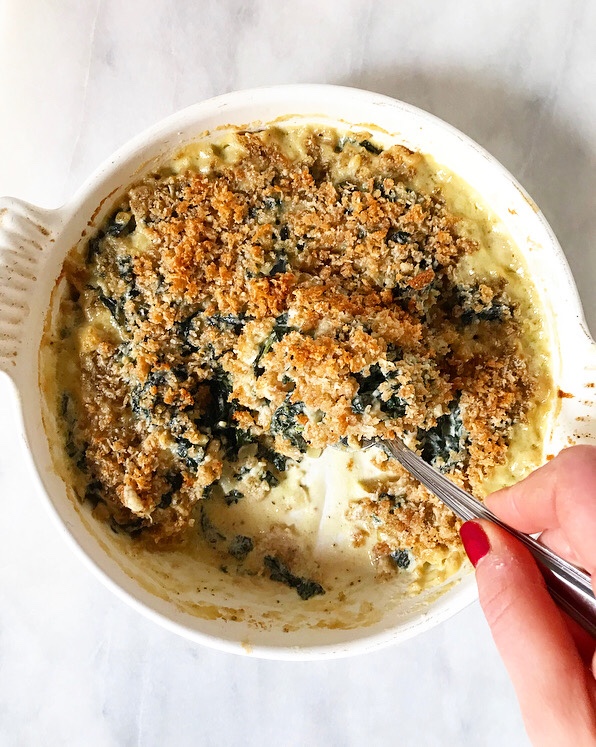
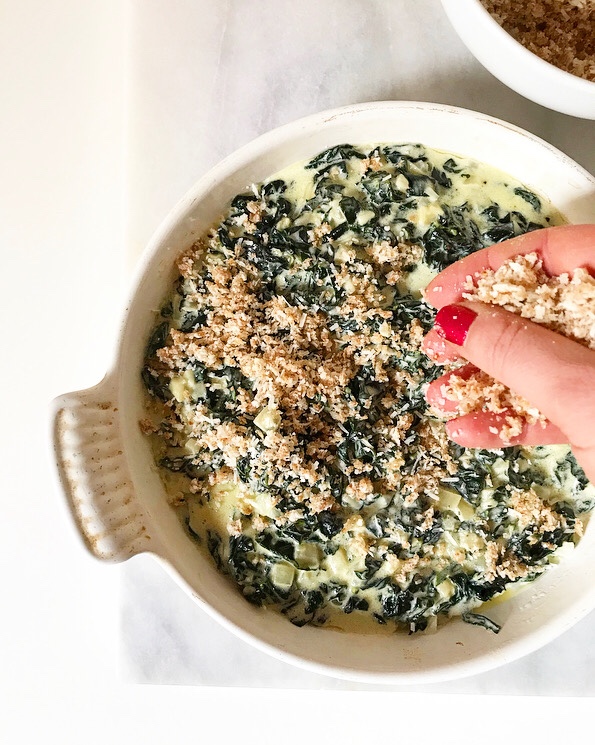
 Now, I know that adding one more thing to your Thanksgiving menu is never something to be taken lightly. Time and energy are at a premium at the holidays! Luckily, Creamed Kale with Crispy Breadcrumbs is perfect for making ahead. You can stir together the creamed kale part of the equation a day or two ahead of time and refrigerate it. When you’re ready to serve, top it off with the breadcrumb mixture and bake until brown, bubbly, and so creamy and wonderful that even I—a person who has written repeatedly about
 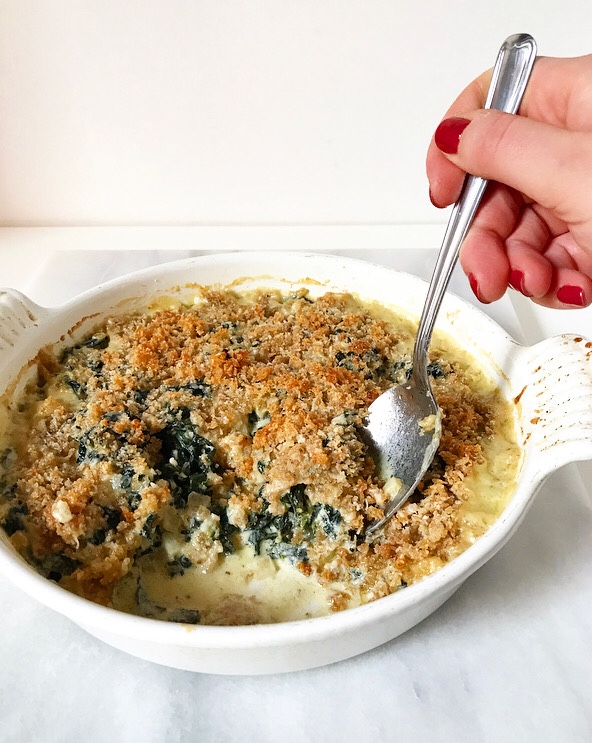 Looking for something a little lighter? Try my
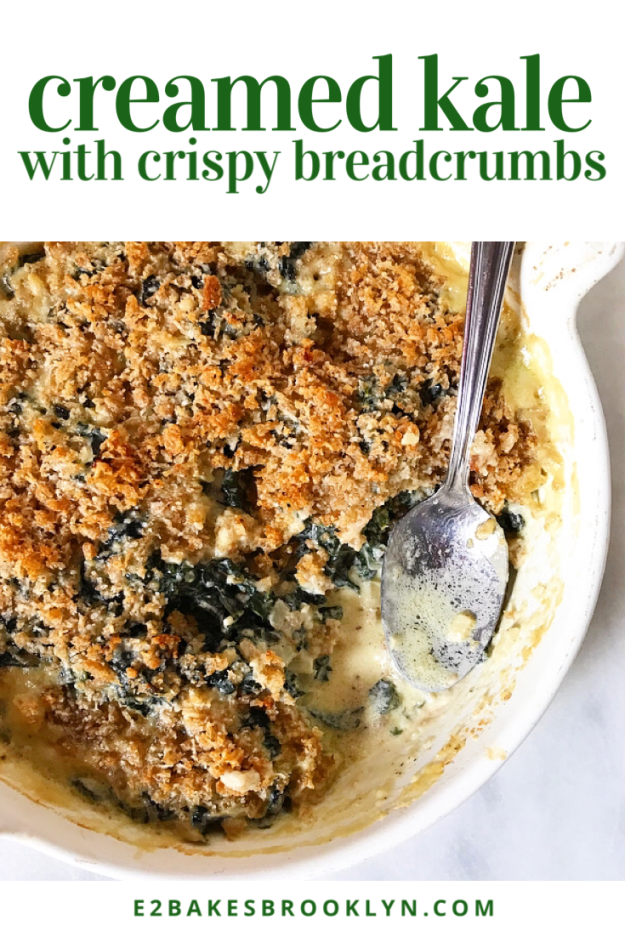
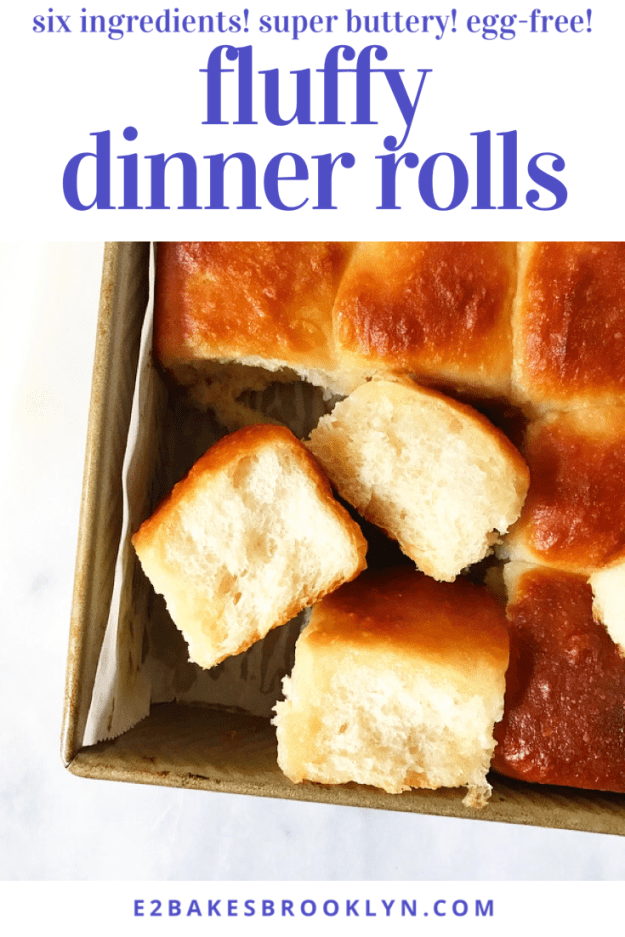
 Until recently, I’ve eaten (baked) frozen dinner rolls at every holiday dinner of my life and had exactly zero idea that I was missing anything. Warm bread is warm bread, right?
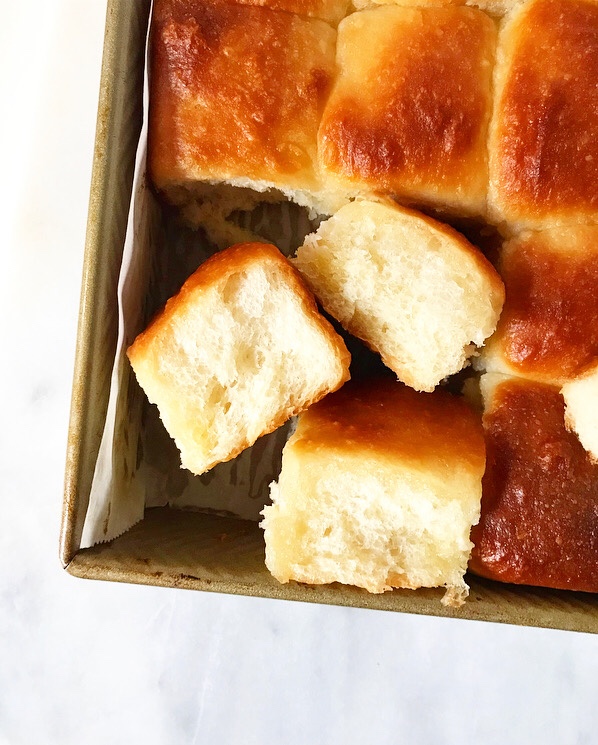 I mean, I’m sure I will eat a (baked) frozen dinner roll in the future because warm bread, but now I know the magic and ease of buttery, homemade Fluffy Dinner Rolls and I can never fully go back. In the story of my life, time will be defined as “Before Fluffy Dinner Rolls” and “After Fluffy Dinner Rolls.”
 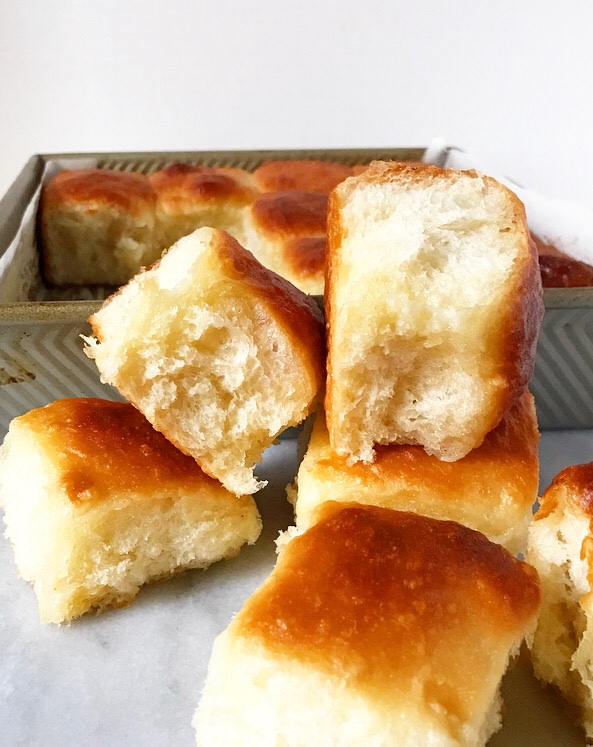 Okay, maybe not. But I am changed, and I have a sneaking suspicion that some of you are in the same boat I once was—out there living your lives, blissfully unconcerned that your holiday table is missing something or that you have been denied anything—and I am here to mess all that up by giving you an easy six-ingredient dinner roll recipe that will blow your freaking minds with its buttery, golden wonderfulness and ruin freezer aisle rolls for you forever. #sorrynotsorry
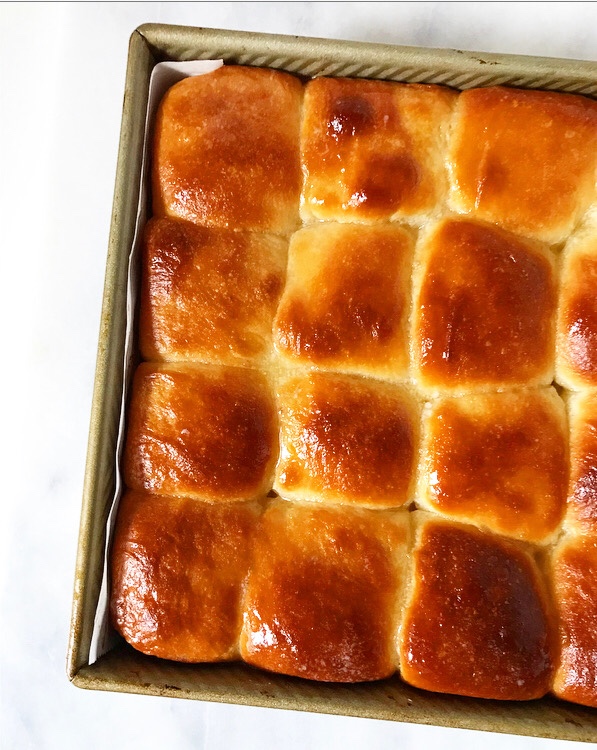
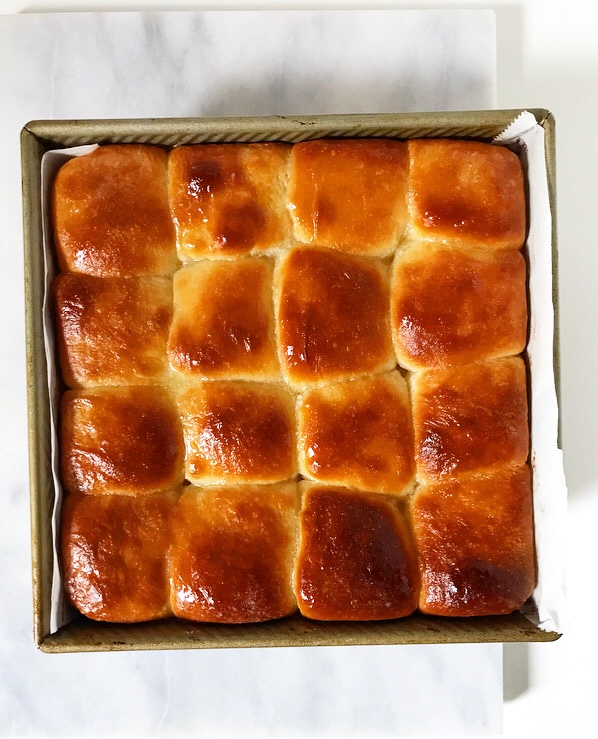
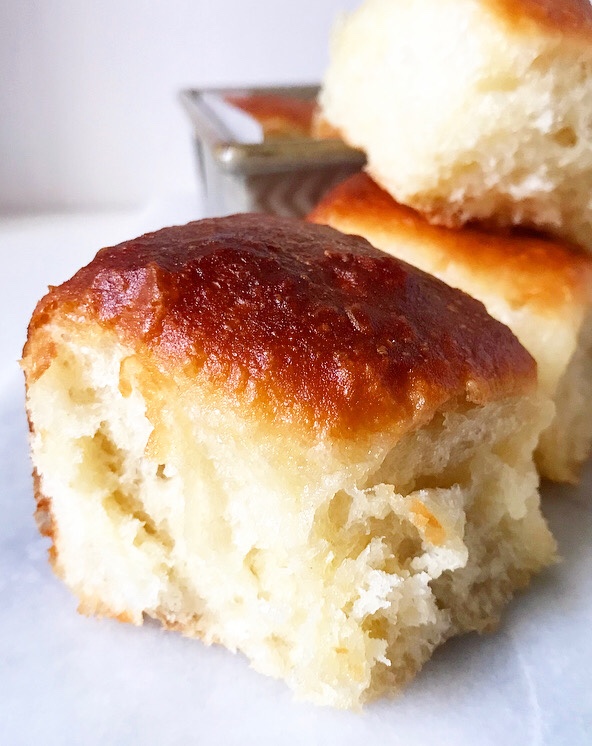 These Fluffy Dinner Rolls, y’all. They are fluffy. So fluffy. And they are slightly sweet and buttery as all get-out (whatever that means). There’s butter in the dough, and more is brushed on both before and after baking!
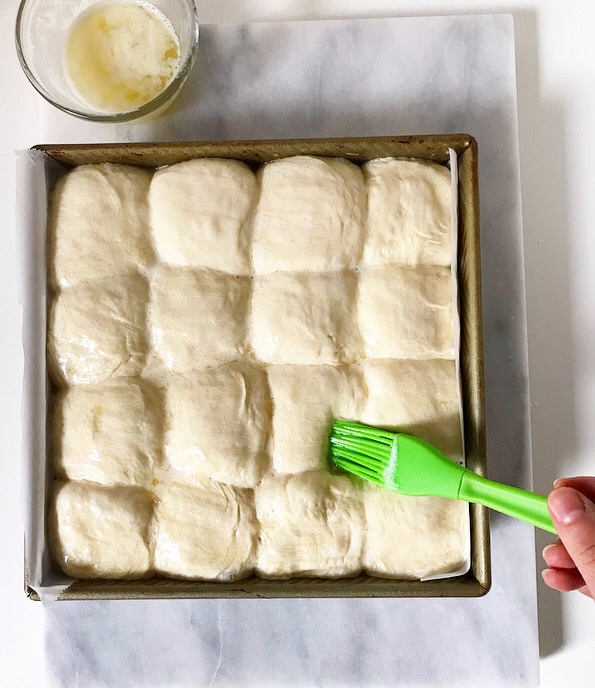
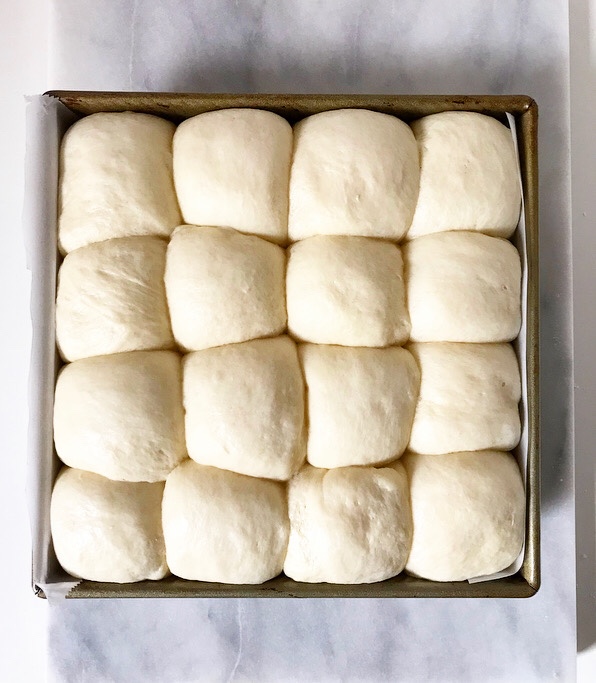
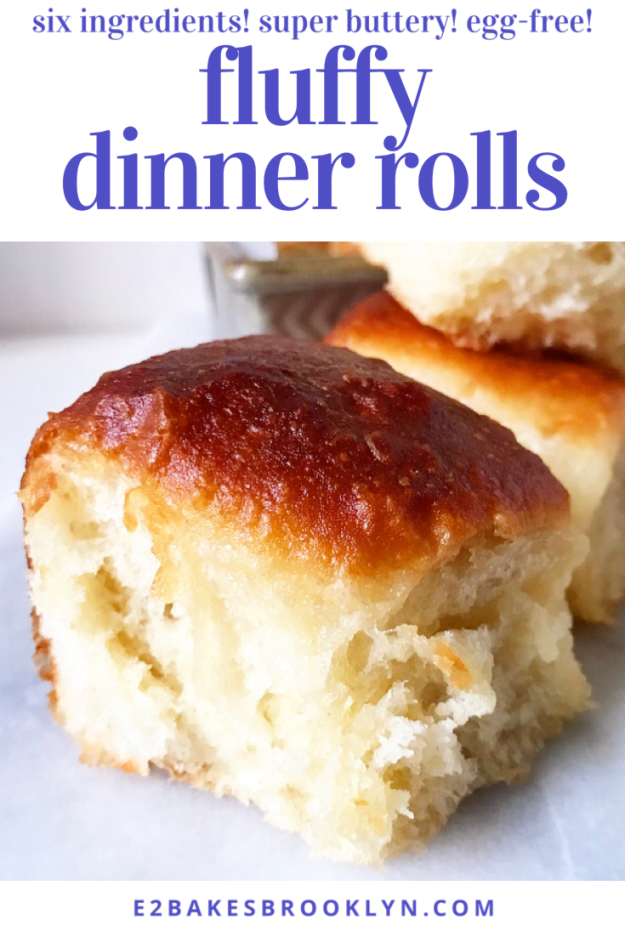
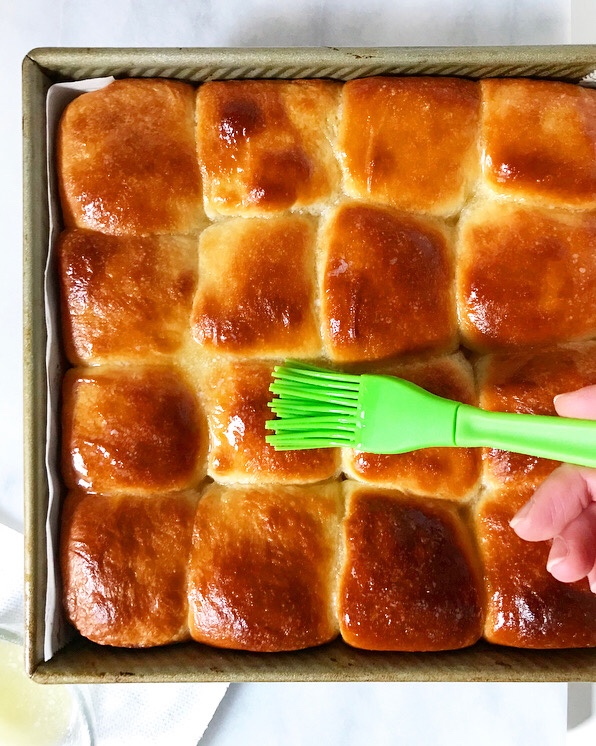 Did I mention their softness? When I was testing this recipe, I spent a lot of time poking the golden tops of these rolls and watching them bounce back, just because I could. So soft! So dang fluffy!
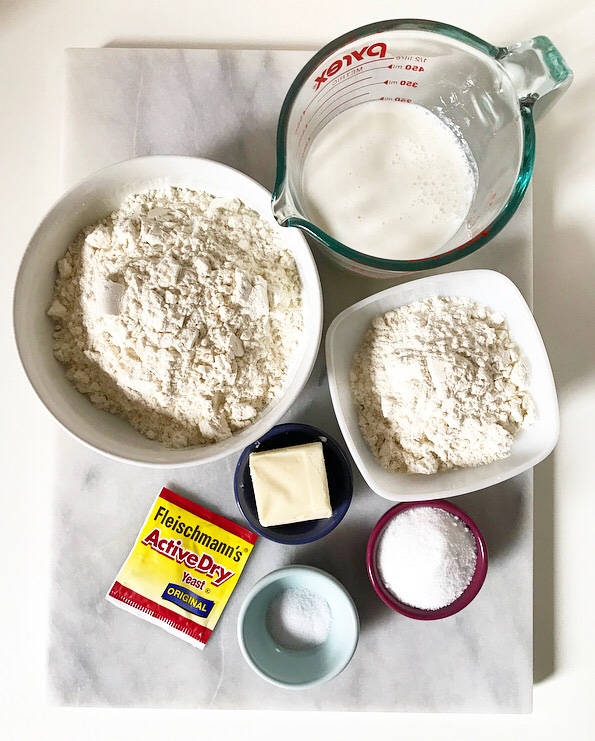
 As I said, these beautiful dinner rolls require just six ingredients: flour, yeast, sugar, salt, butter and buttermilk. These rolls are egg-free, but lack nothing in the flavor or texture departments.
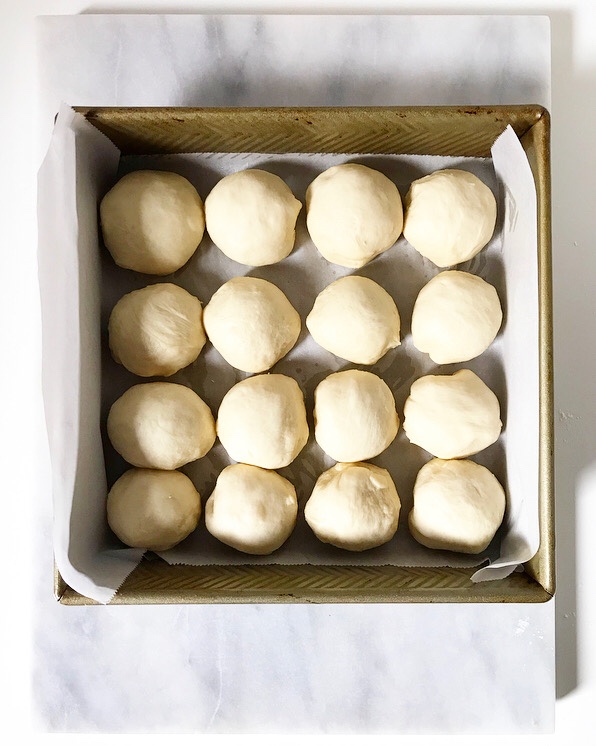
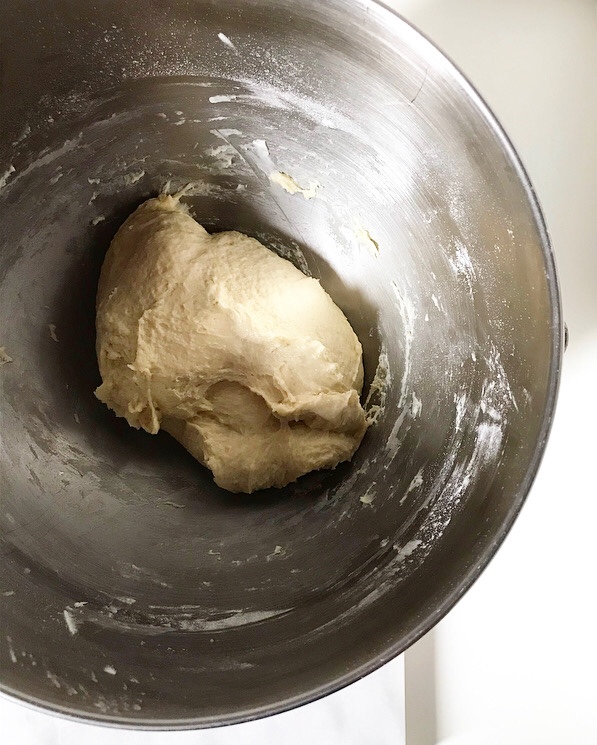
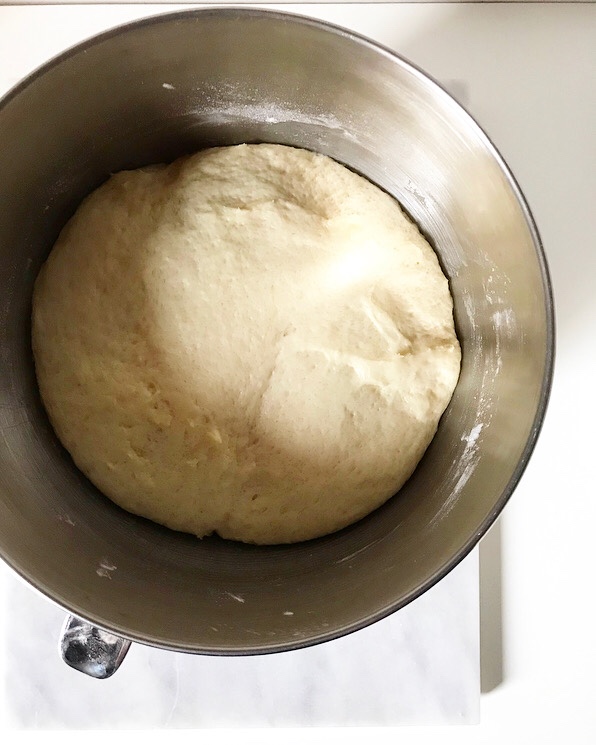
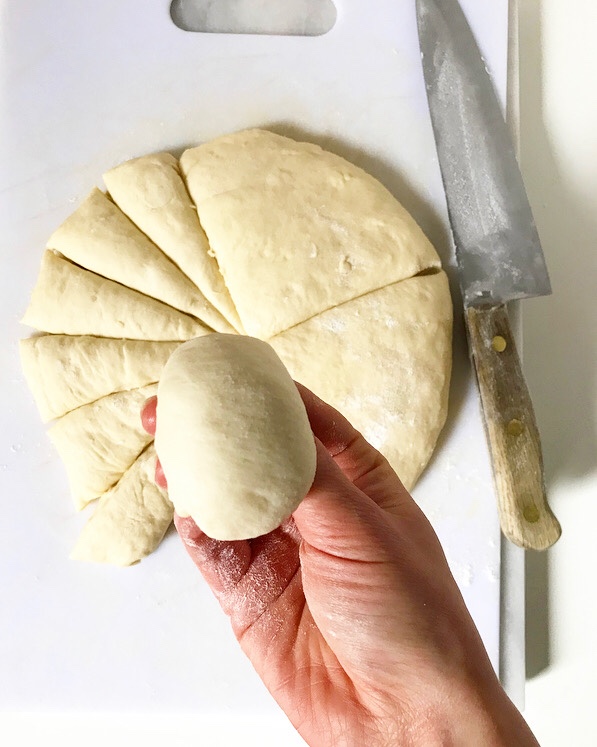
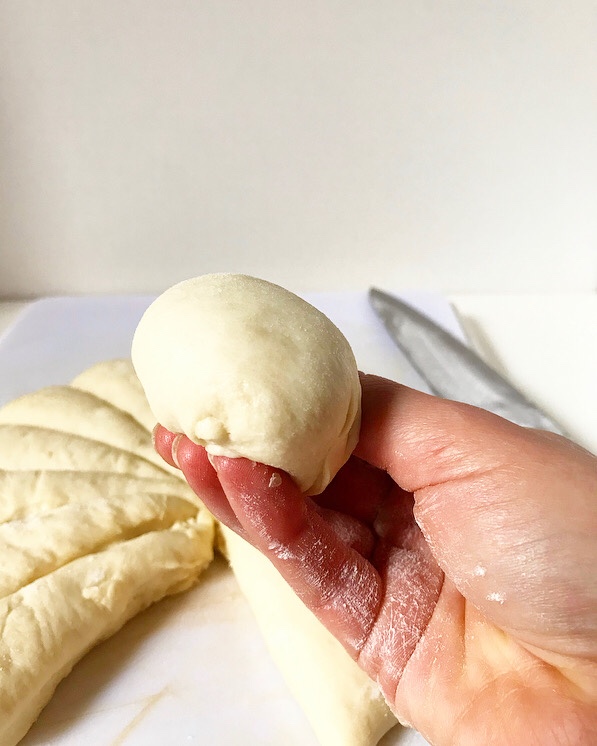
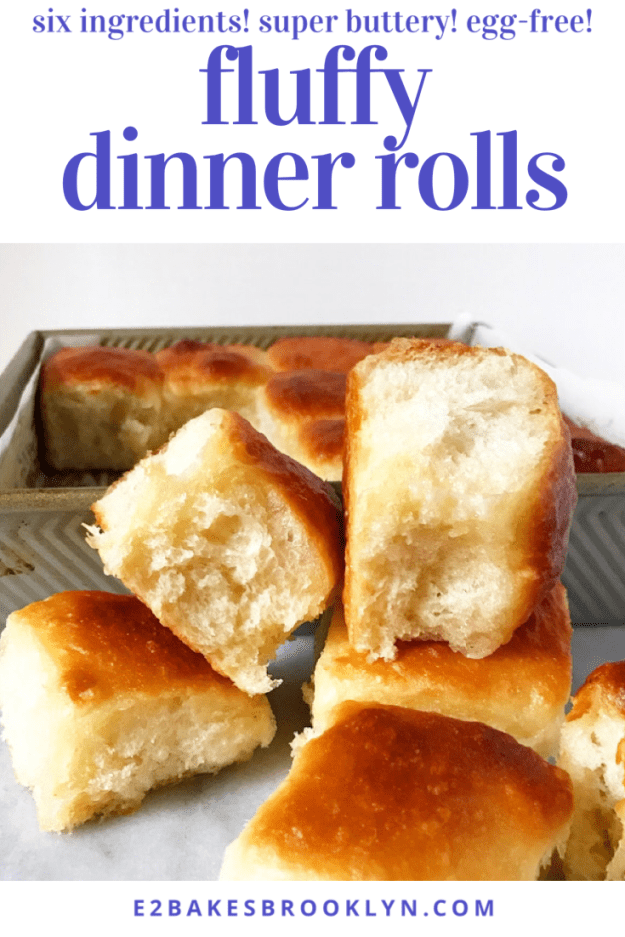
 They are super simple to make, too. Don’t let the length of the recipe fool you—I just wanted to ensure that you have all the information you need for Fluffy Dinner Roll success. I’ve included instructions for a stand mixer and mixing by hand, and for using both active dry and instant yeasts. I tried my best to describe how to shape them, but it’s surprisingly difficult to explain with words alone, so here are some pictures of what I did:
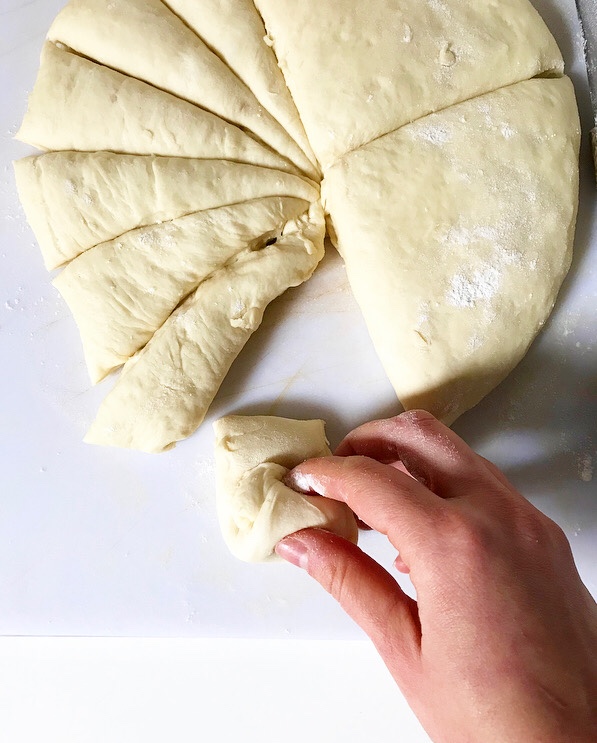
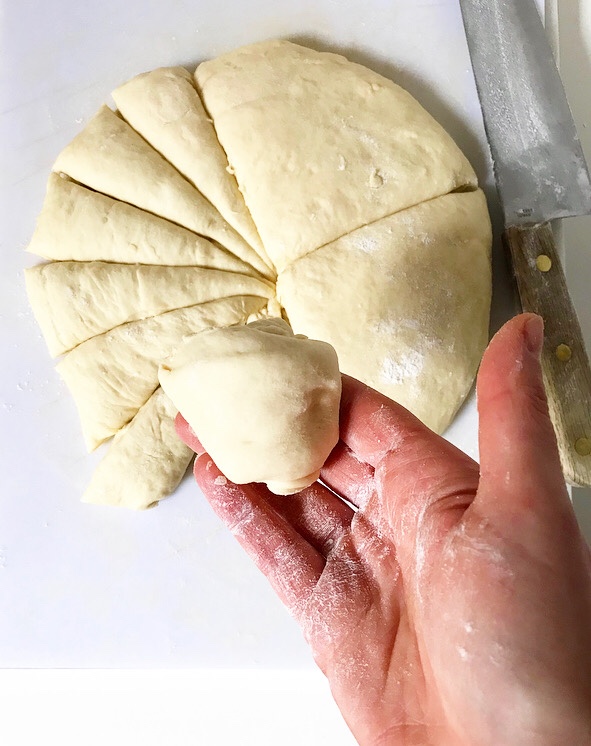
 Don’t worry, they don’t have to be shaped perfectly to be delicious. It took me three batches to get a consistent shaping method. Those other four batches? They were for quality control. Or maybe just making up for lost time.
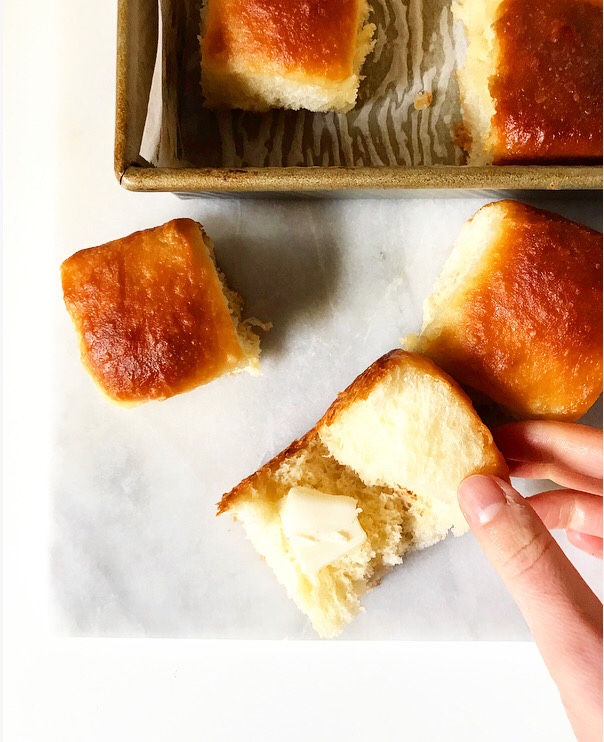
 This is the last
 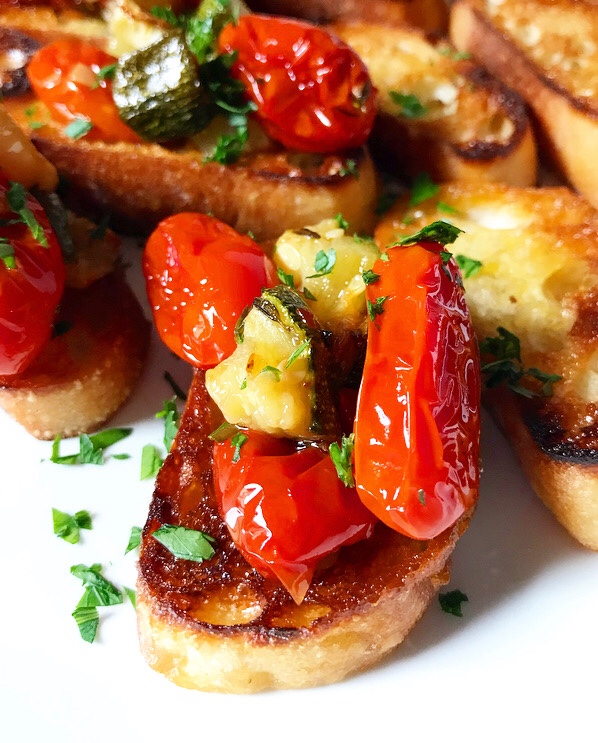 Unlike the
 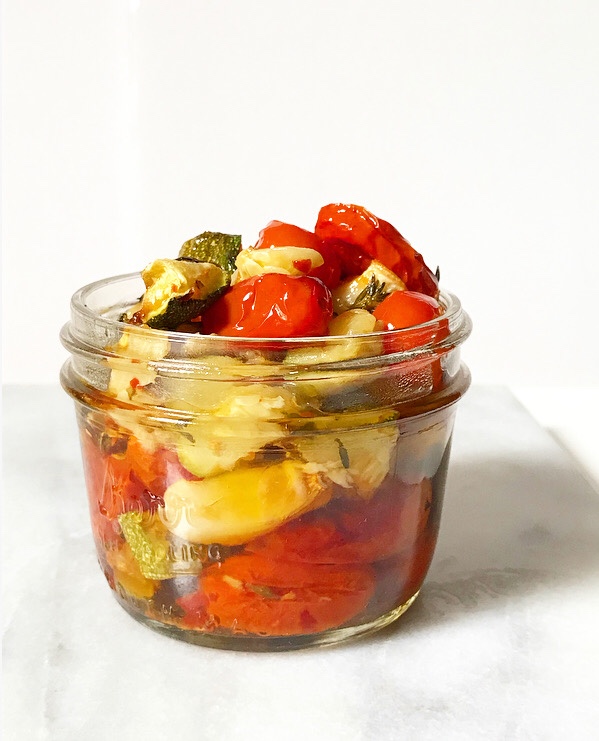 Now, you’ve almost certainly heard of confit, most likely in association with duck. The word itself comes from the
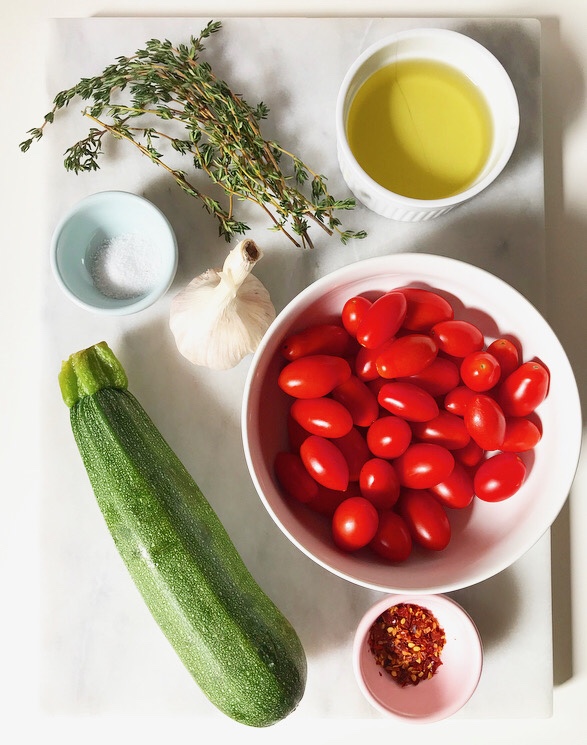
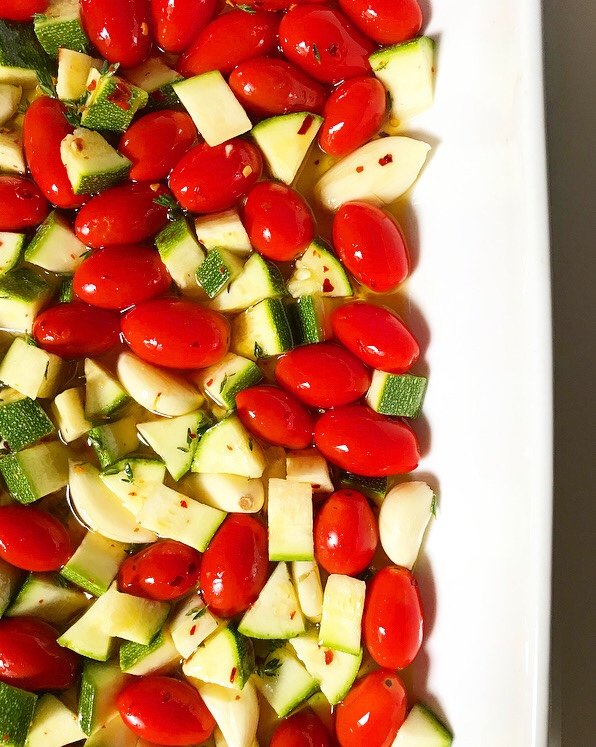
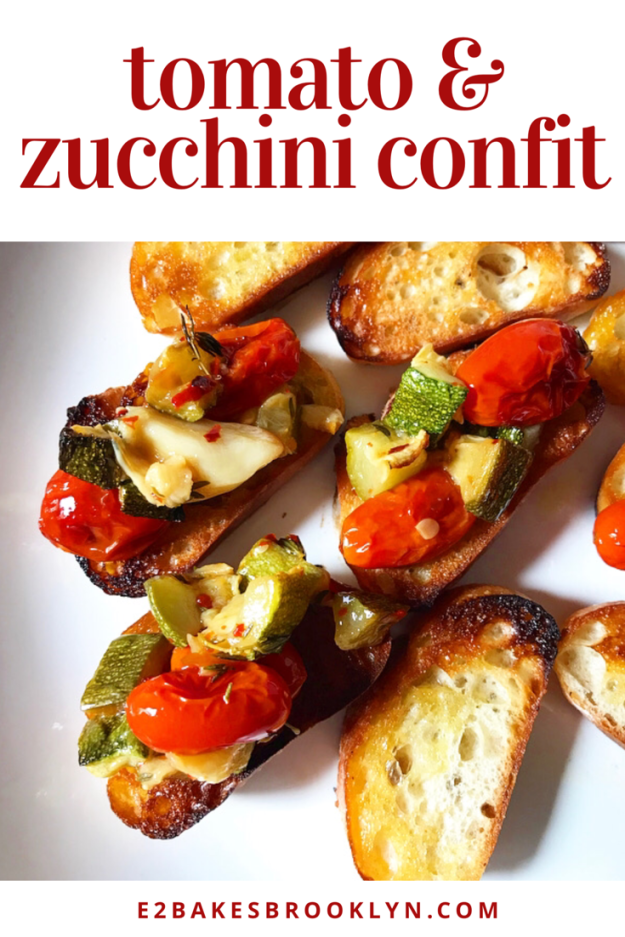
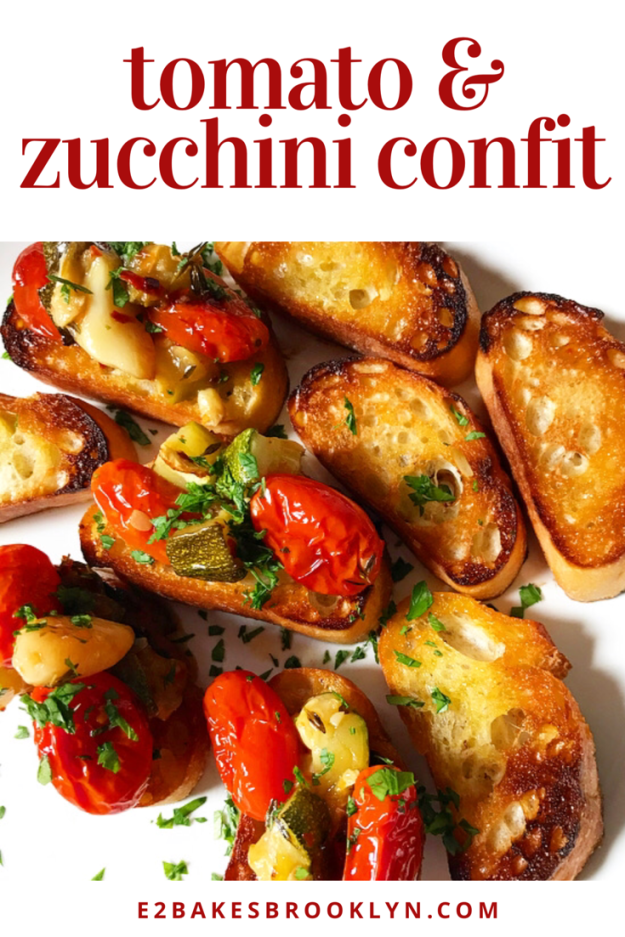
 Making this confit couldn’t be simpler. Start by tipping a pint of grape tomatoes, some diced zucchini and an entire head’s-worth of garlic cloves into a casserole dish. Season them with thyme, red pepper flakes and salt. Stir in 3/4 cup of olive oil and slow-roast until it’s all soft, caramelized, and fragrant. That’s it.
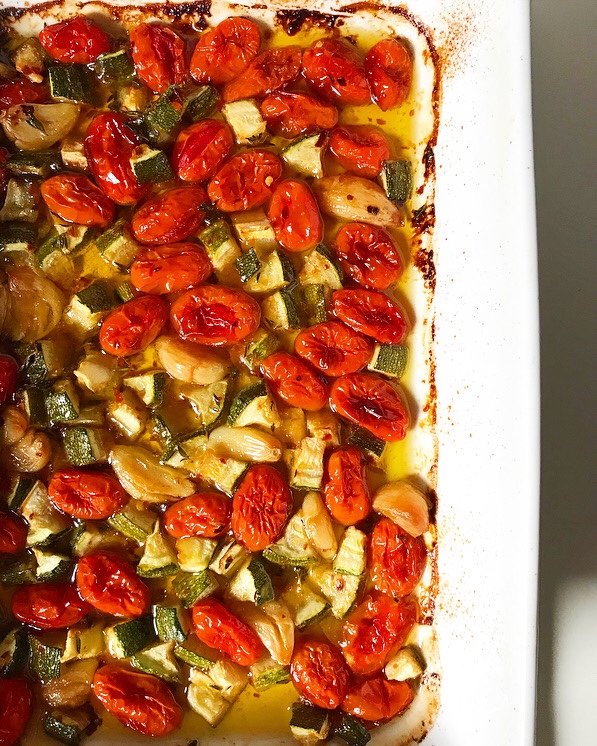
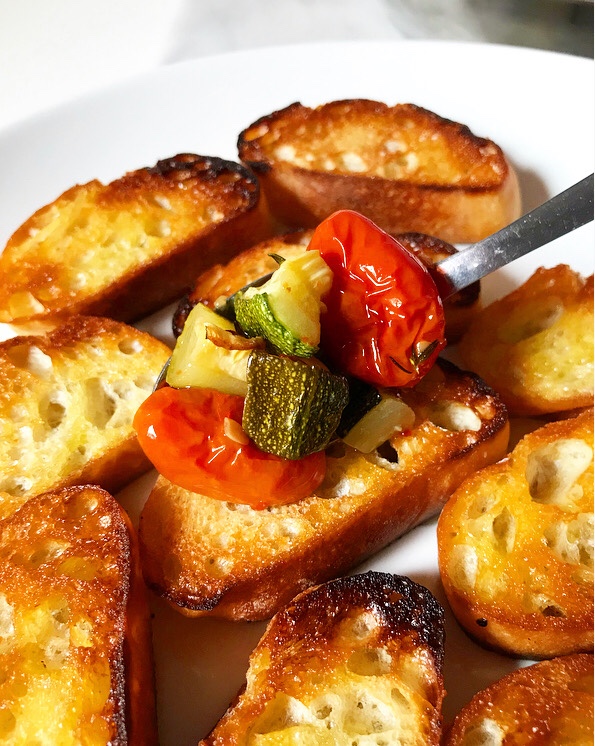 The sky’s the limit on applications. Tomato & Zucchini Confit can be stirred into pasta , grains or beans for a quick meal, or used to garnish chicken or fish. For this post, I just spooned it onto some baguette slices that were toasted in olive oil and called it crostini. Really, put this on anything that could use a touch of herby, savory, garlicky tomato & zucchini. (I think you’ll find that that’s most things.)
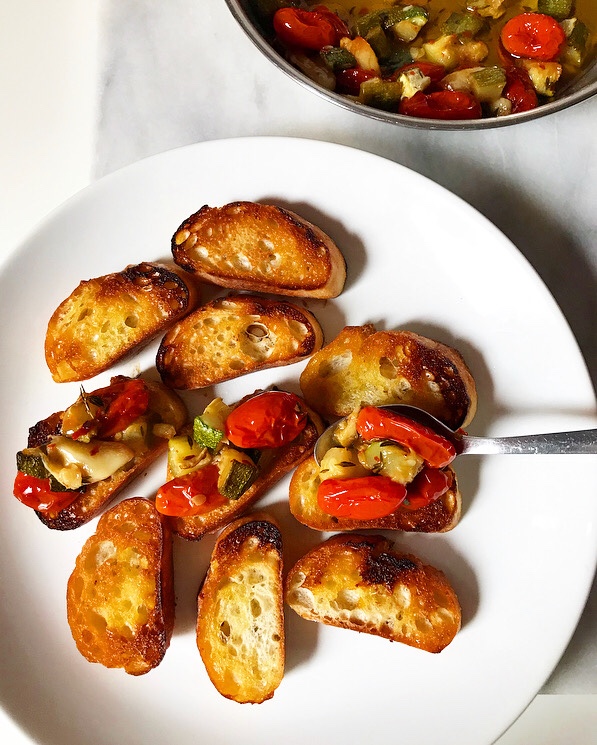 I’ve written this recipe so that the oven is at 300F and the confit cooks for about an hour, but you can go even lower and slower (think 250F for 2 or even 3 hours) for greater depth of flavor. I think it’s pretty wonderful as is though.
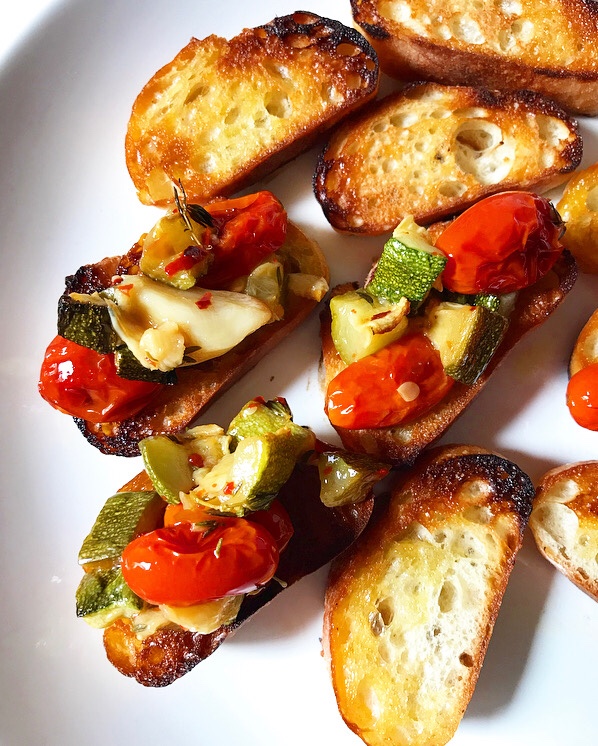 Tomato & Zucchini Confit is great the day it’s made, but since it’s a preserve, one batch can last a while. Once it has cooled, just pile it into a jar, top it off with olive oil so that none of the tomato, zucchini or garlic is exposed, and store it in the fridge. When you’re ready to serve it, bring the confit back to room temperature. When you’ve had your fill, top the leftovers with more oil and refrigerate the jar again for up to two weeks. If you’re anything like me though, it won’t be around longer than a few days.
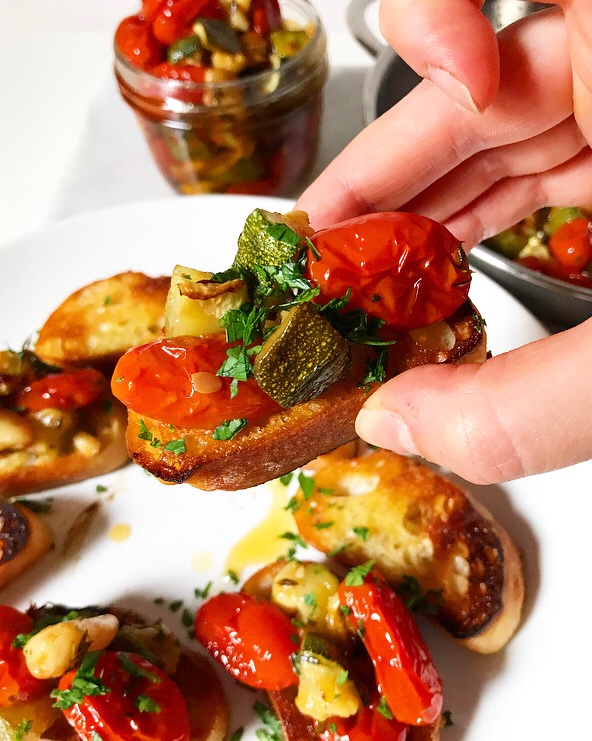

 On the last night before I went on holiday break, I cooked for a dinner party in Brooklyn Heights. The hostess wanted to keep it all very casual, so we quickly settled on a menu of
 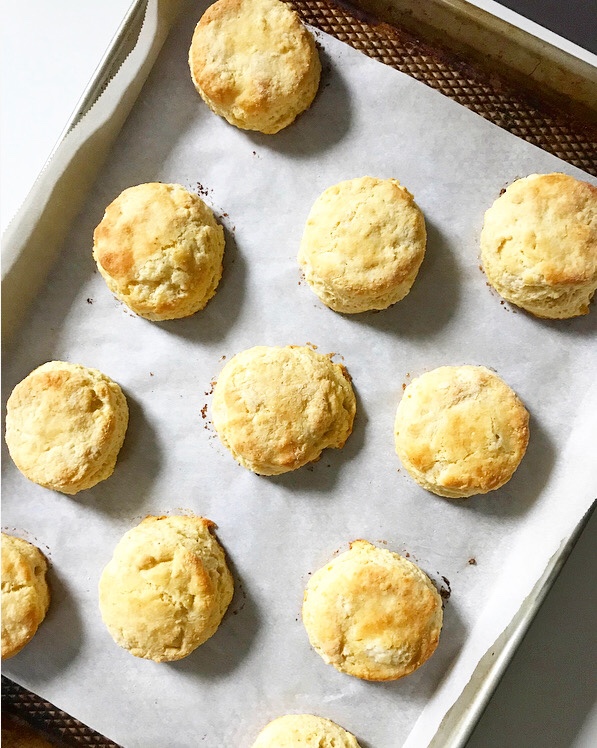 I mean, I get it. When you’ve got a warm bowl of chili on a cold winter’s night, deciding between a wedge of
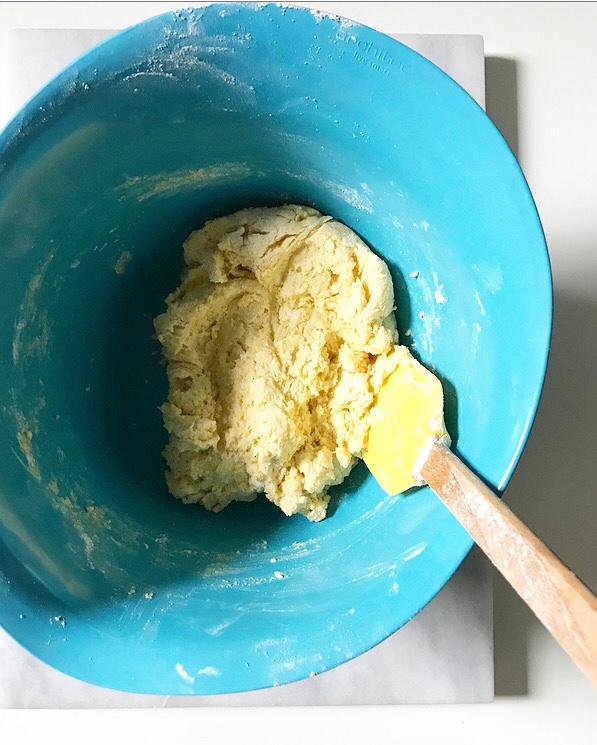
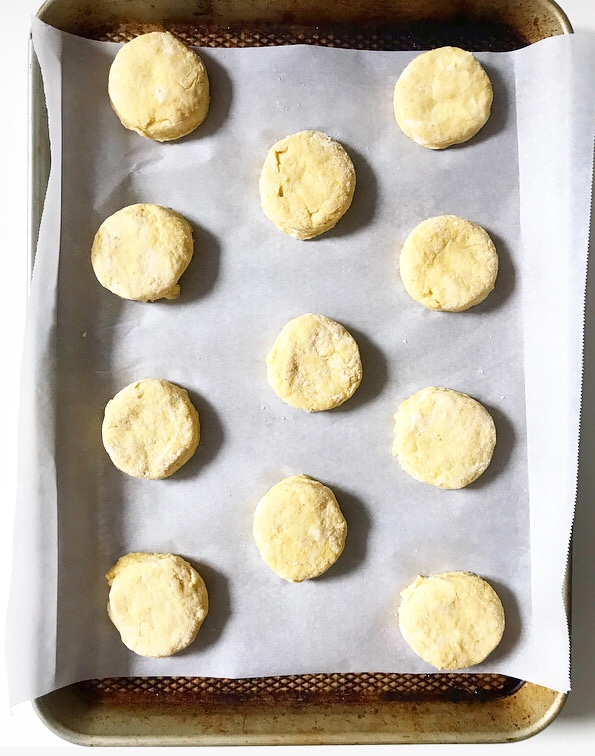
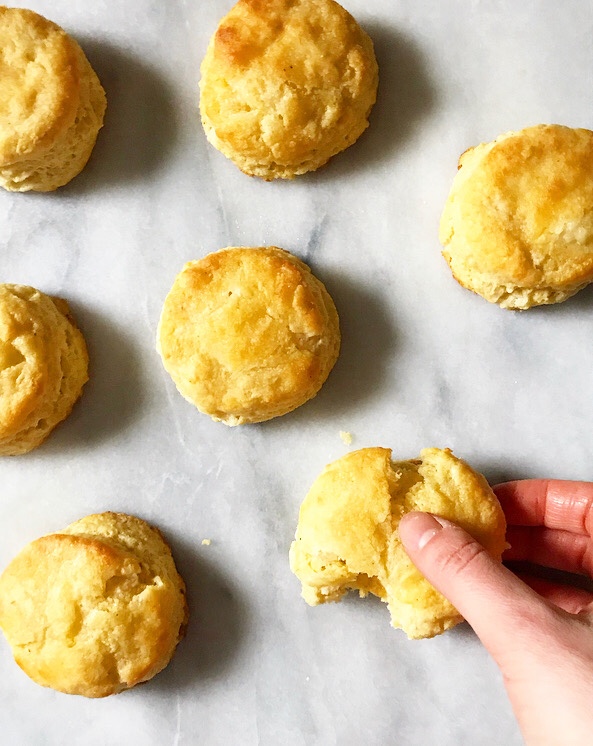
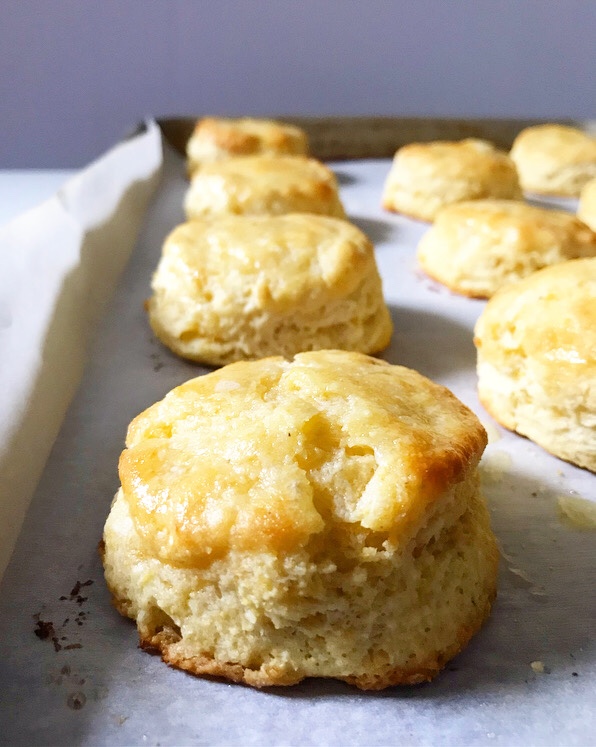
 If you’ve ever found yourself in a cornbread vs. buttermilk biscuits quandary, this is a recipe for you! There’s no more need for minor bread-related anxiety—these Cornmeal Biscuits are the best of both worlds 🙂
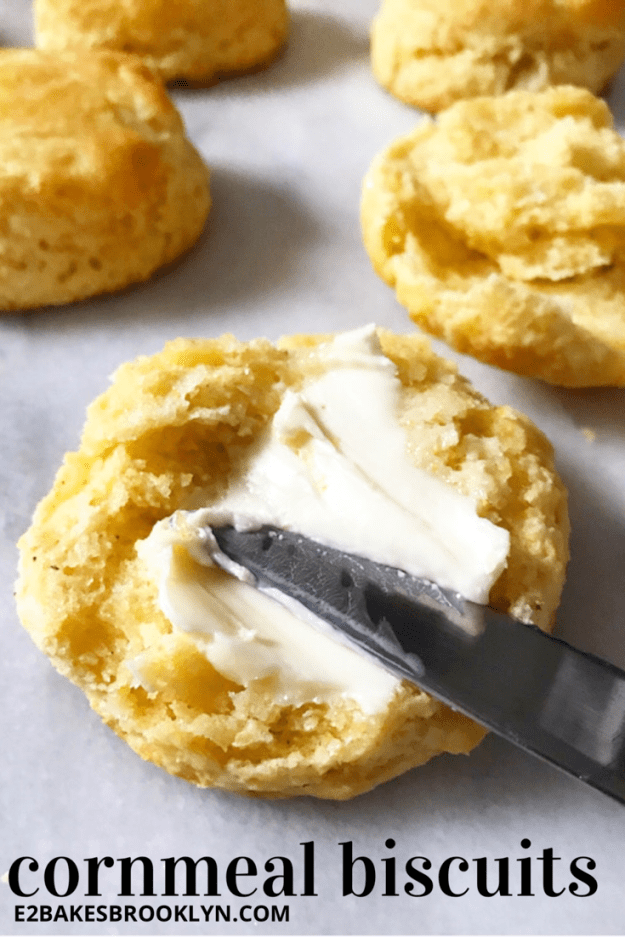
 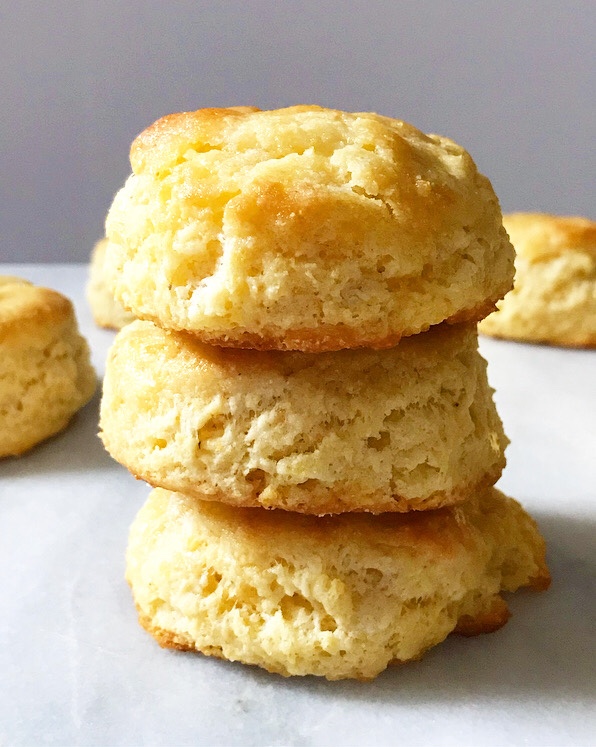 They’re essentially buttermilk biscuits with yellow cornmeal swapped for some of the flour. The resulting biscuits are buttery and tender in the centers, but have crispy, nubbly edges from the coarse texture of the cornmeal.
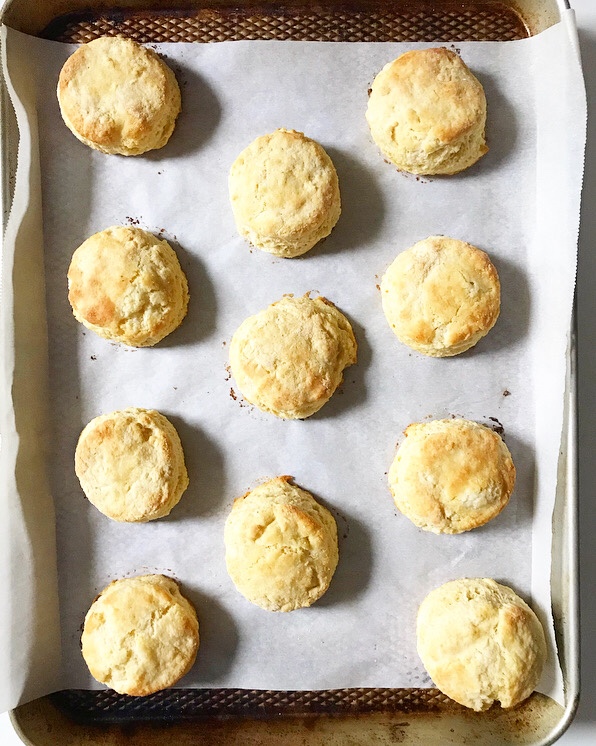
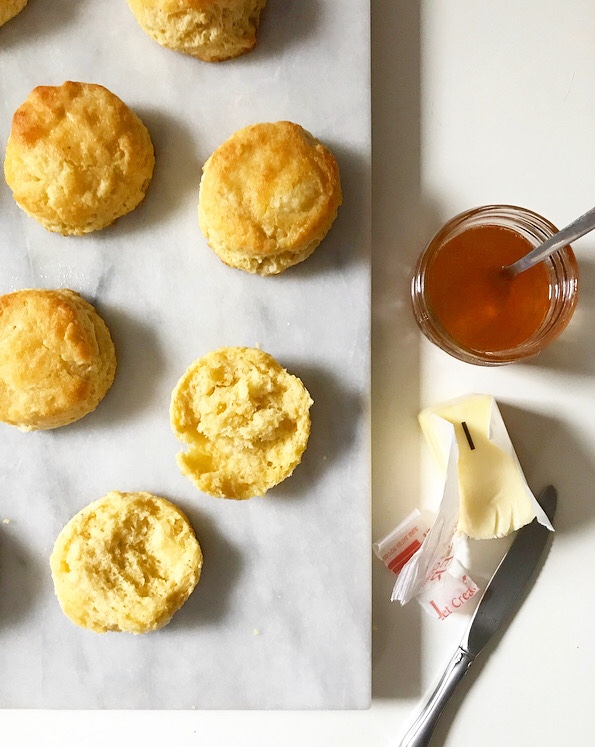
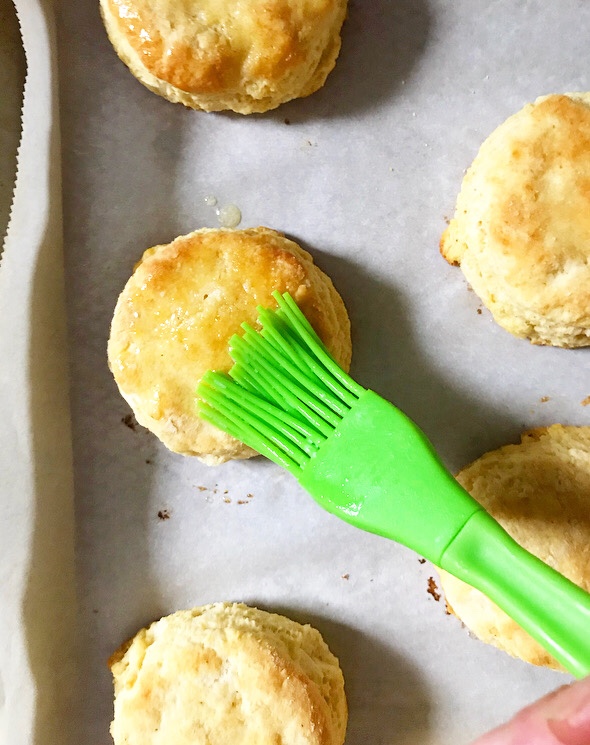
 They’re perfect by themselves or with a pat of butter…
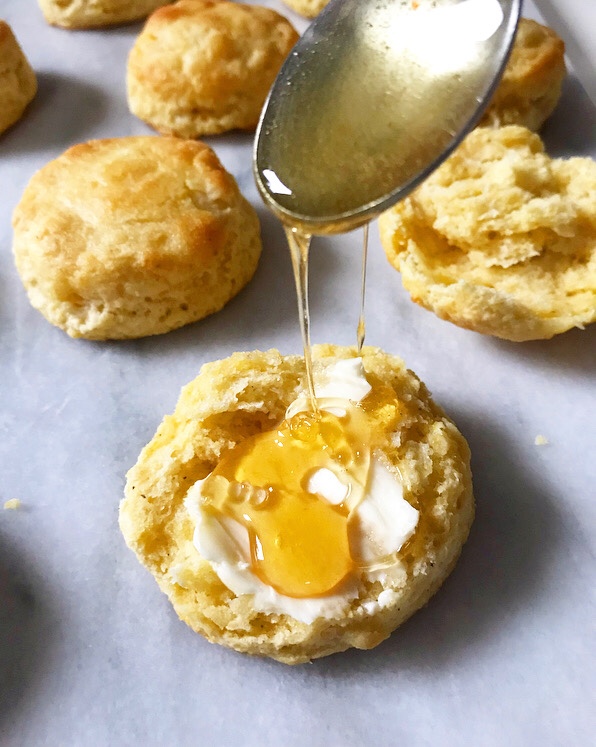
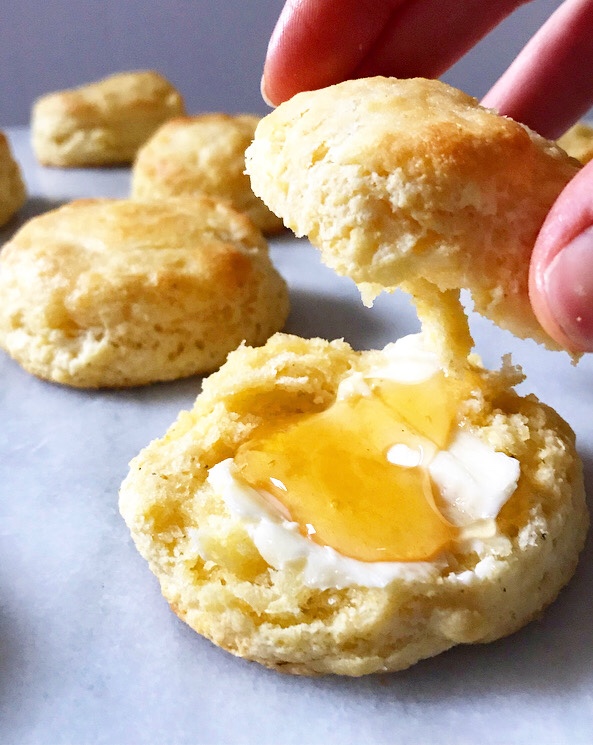
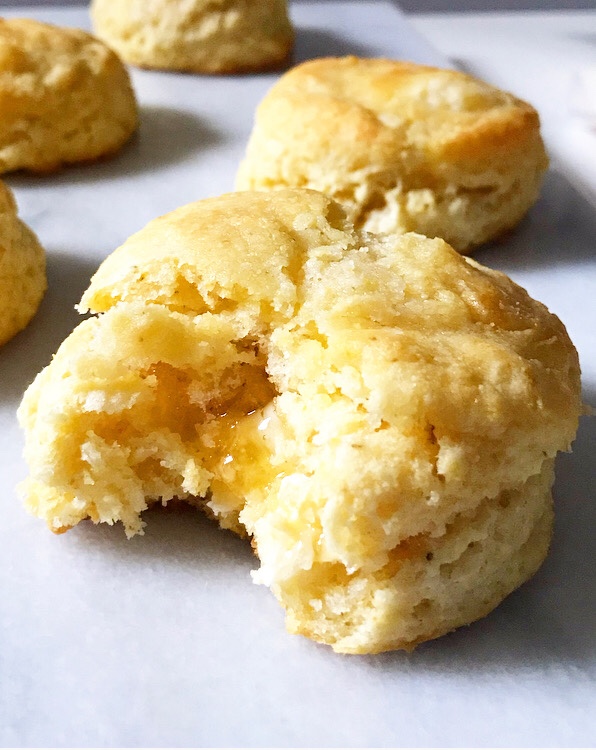 …but I think they’re especially good with a drizzle of