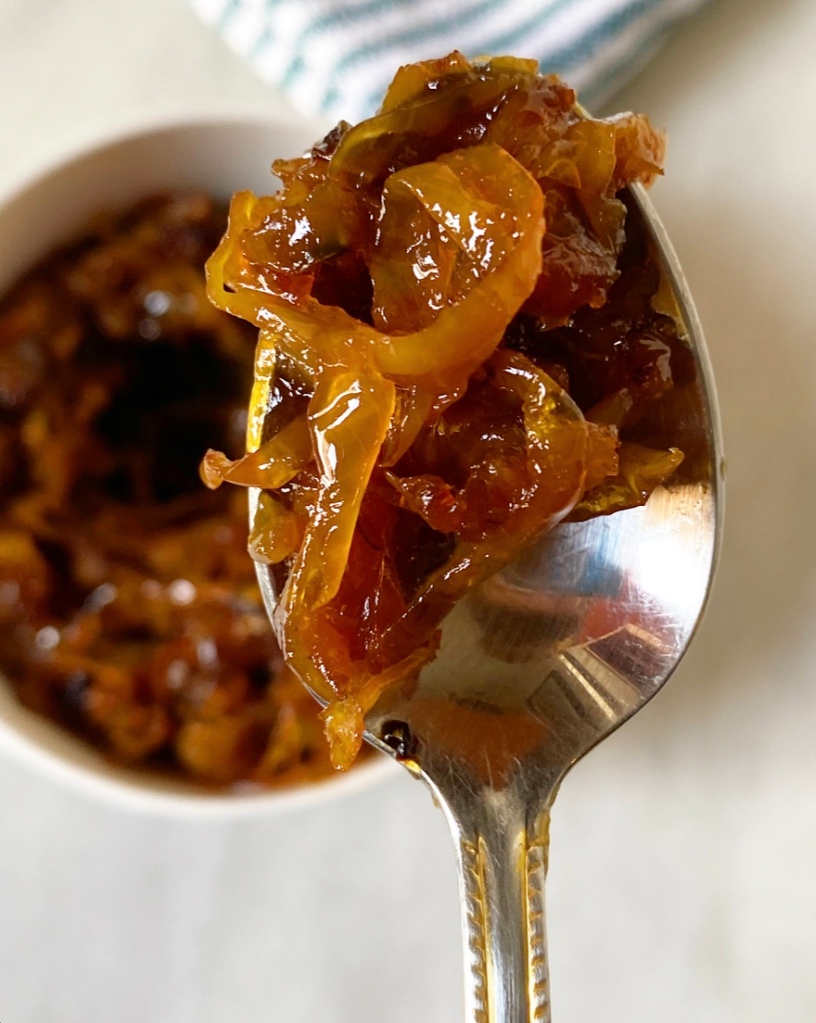
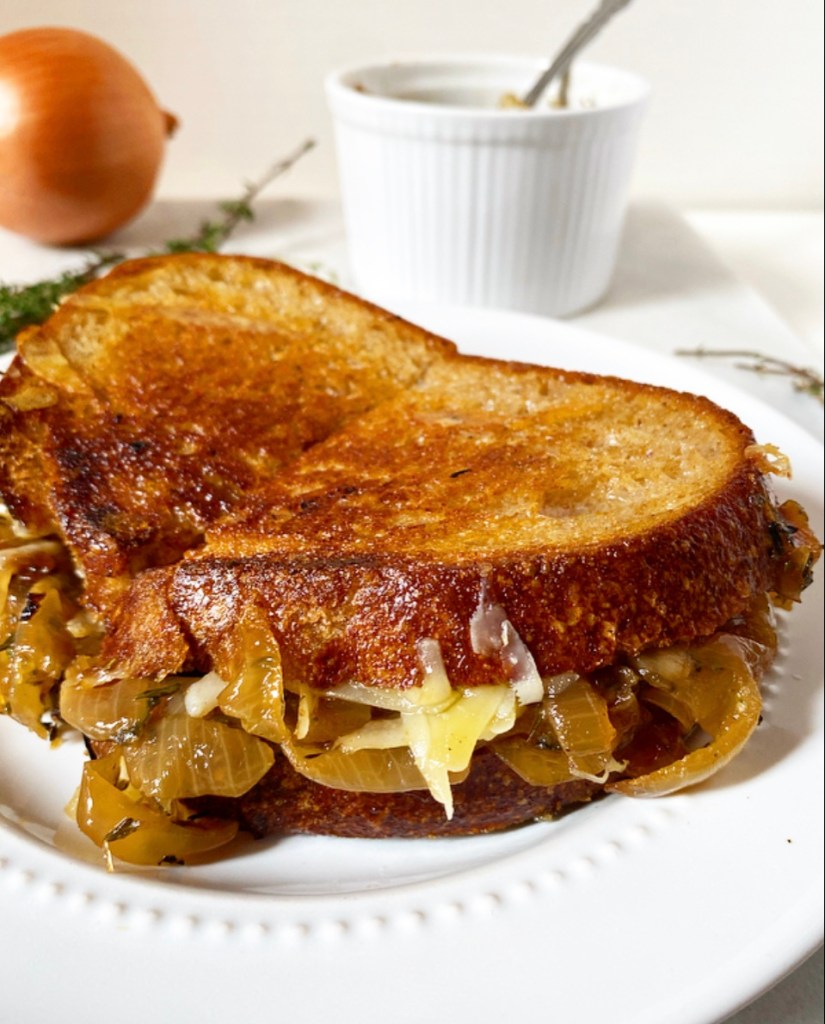
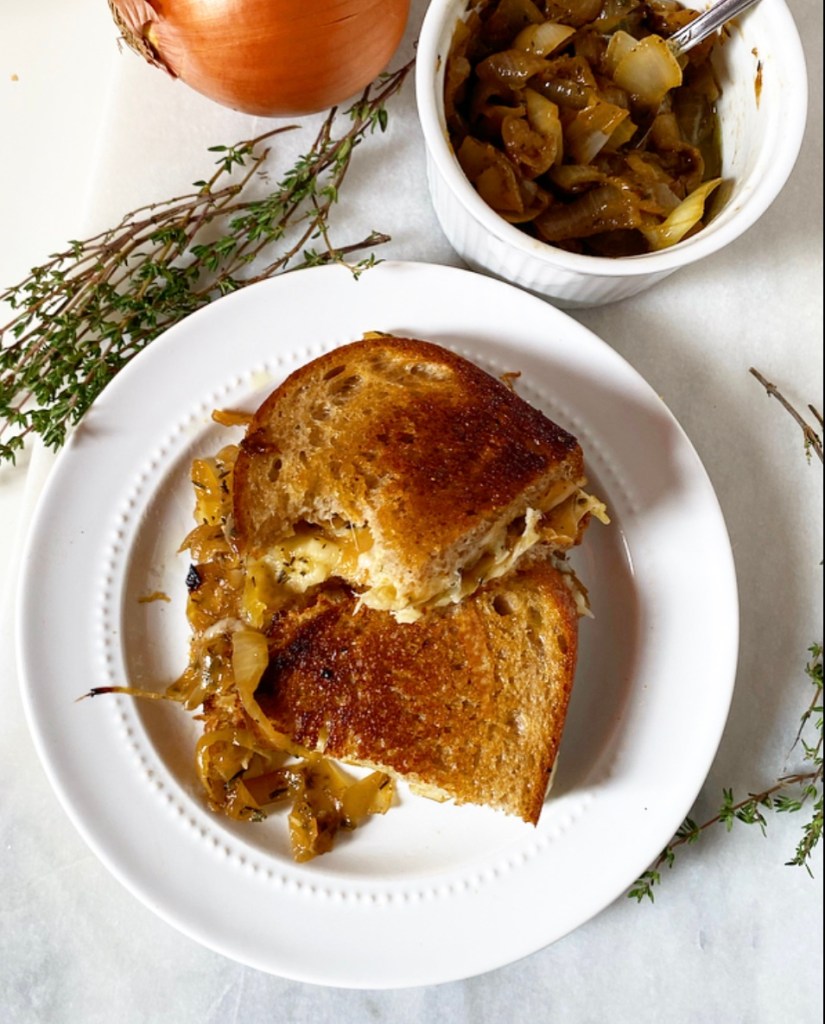
Caramelized Onions may have hit peak popularity in the 80s, but they’re always in style in my kitchen. They add depth and sweetness to any savory dish—an ideal quality when you’re planning a holiday meal.
Need to jazz up your mashed potatoes? Add caramelized onions. Looking for a quick compound butter? Caramelized onions to the rescue. Want to change up your cheese plate? Four words: Caramelized Onion Baked Brie.
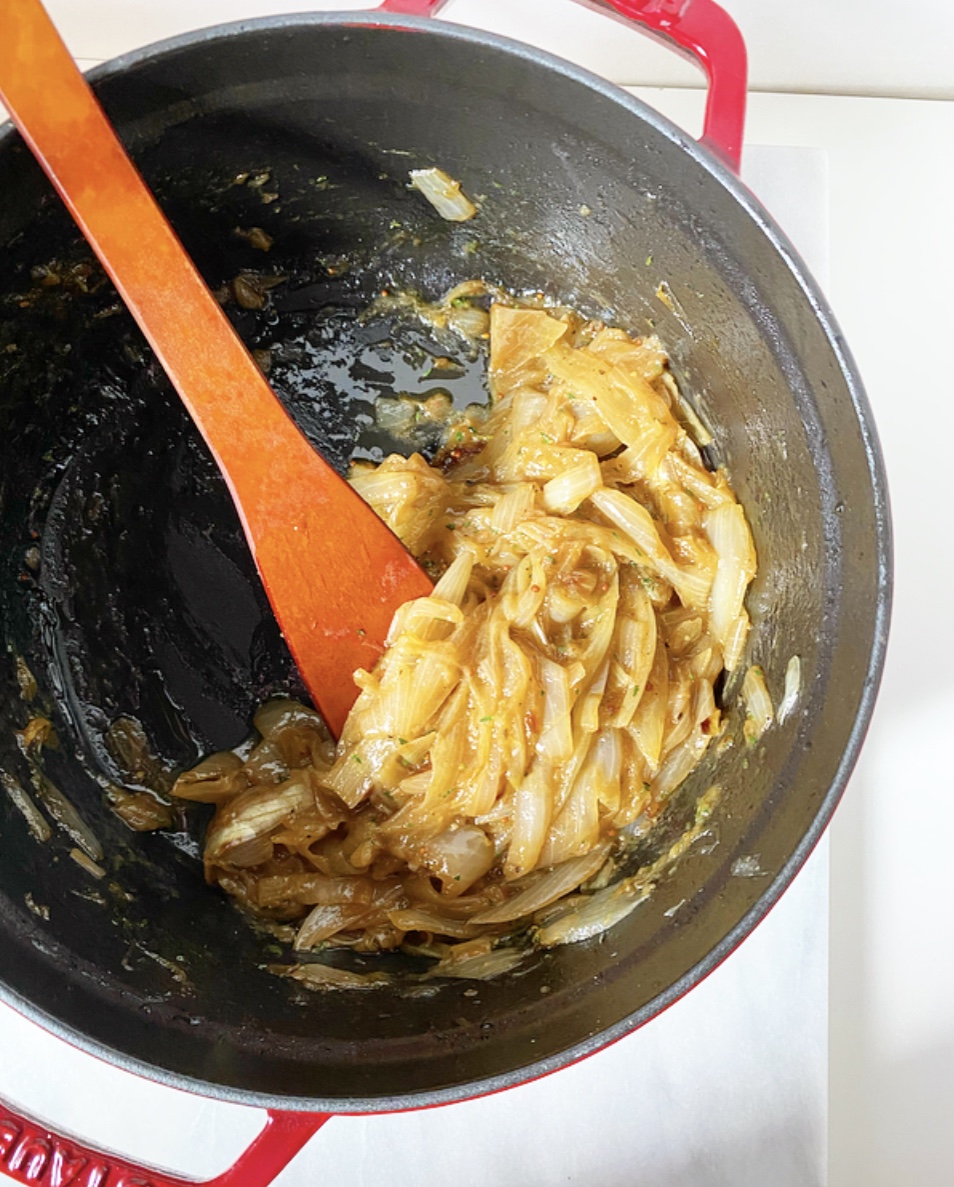
Truly, there’s no wrong way to use them. The problem is that caramelizing onions takes time and attention. If someone tells you that they can caramelize onions in fifteen minutes, they are lying—this is more of an hour spent over the stove kind of project. Or at least, it was.
Nowadays, I’ve taken to caramelizing onions in the oven. It takes a while—a couple of hours at least—but it’s mostly inactive work time. If I’ve got the oven on for something, there’s a decent chance that I have a foil-wrapped casserole dish full of onions somewhere in there too, using up that heat. It’s a hack I use often, and it’s particularly perfect for a time of year when the oven is almost always on. Two birds and all.
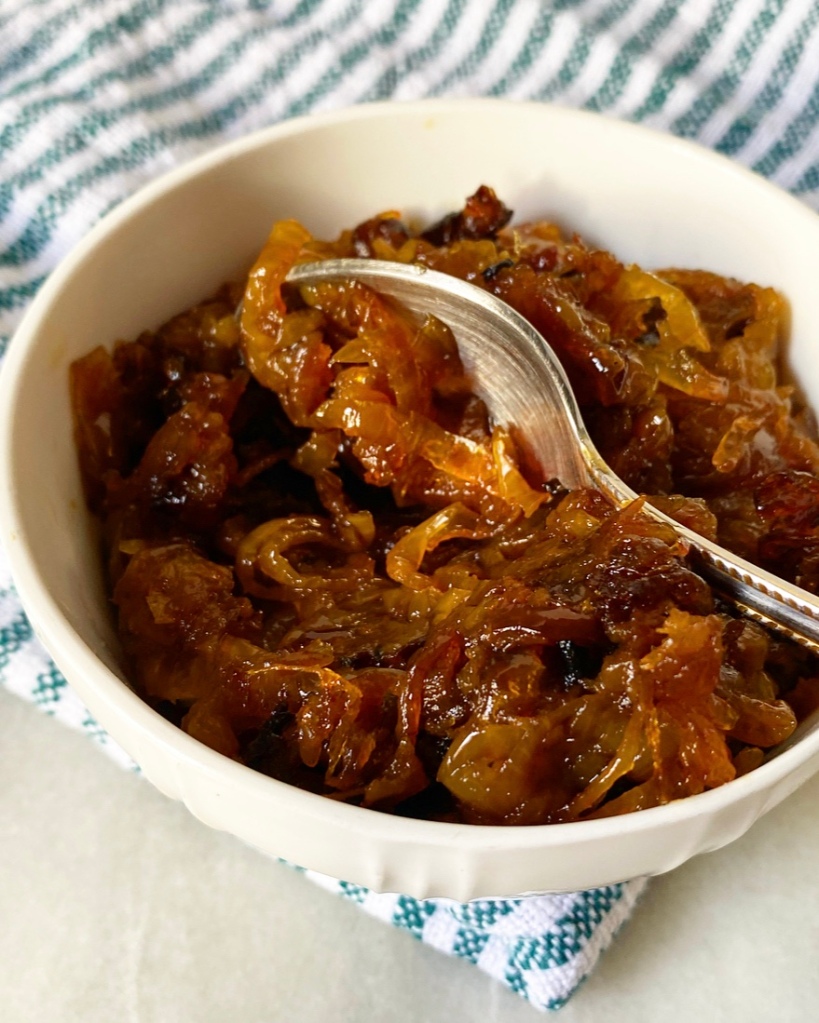
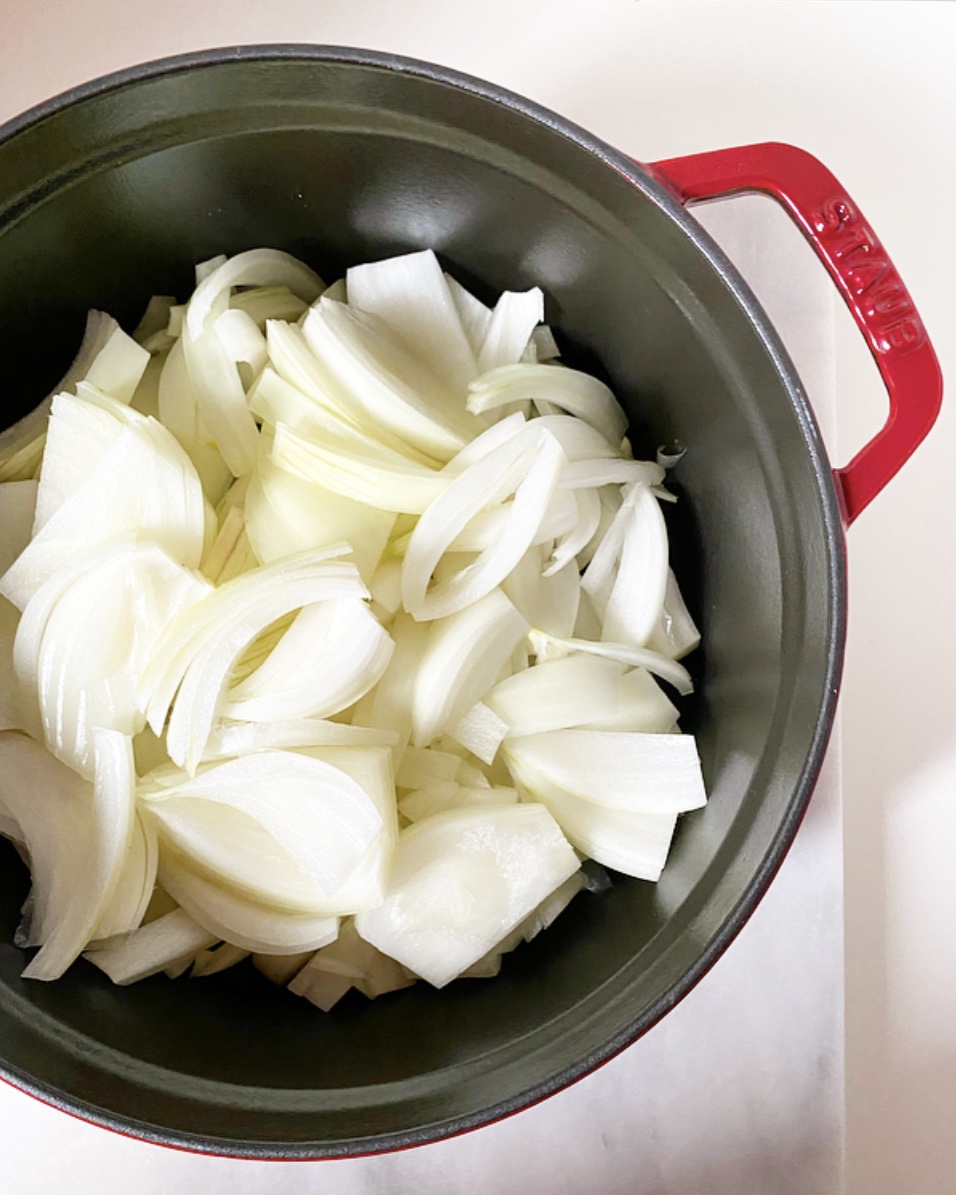
An added benefit to caramelizing onions in the oven is that you can make a ton at once. The onions pictured started as two full pounds, but cooked down to less than a cup all told. If you’ve got the oven space, there’s no reason not to start with four or even six pounds of onions. If you make too many for your intended project, you can easily freeze them for another day.
You know, like tomorrow…hint, hint.
How to Caramelize Onions in the Oven
makes about 3/4 cup
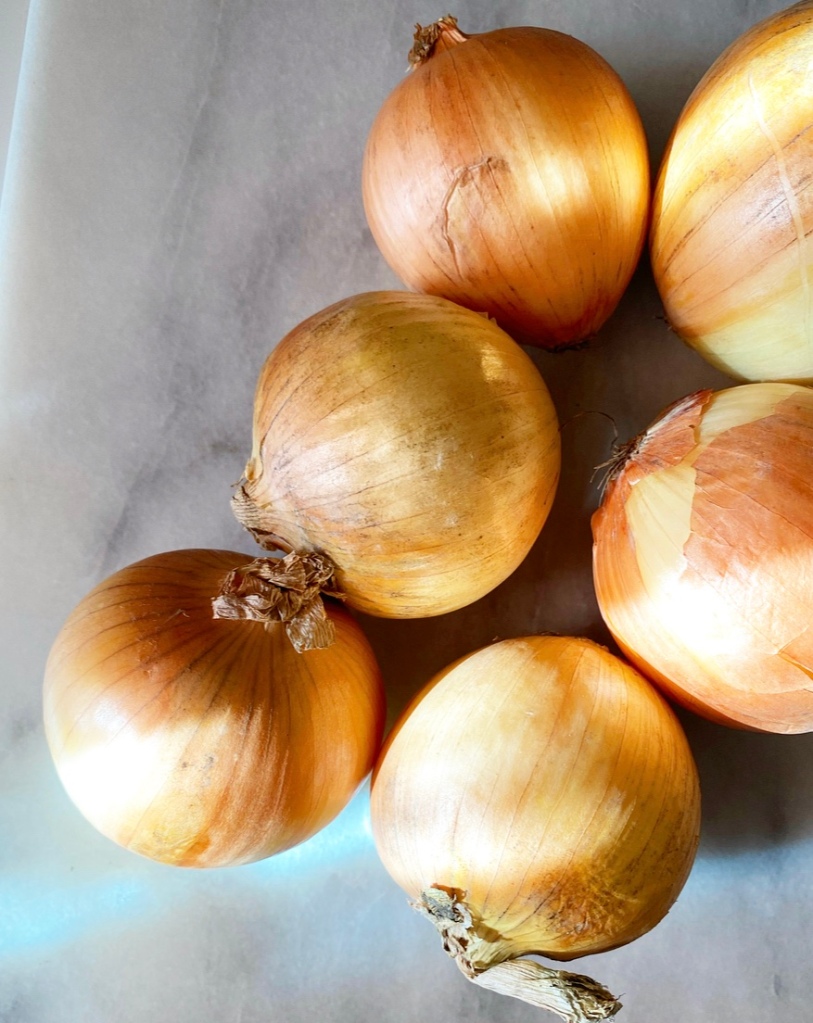
2 pounds Spanish, white or red onions, sliced 1/4-1/8-inch thick
2 tablespoons olive oil
Kosher or sea salt, to taste (I like a heaping 1/4 teaspoon)
few grinds black pepper
Equipment:
9x13” casserole dish
aluminum foil
a stirring implement
Preheat the oven to 350F.
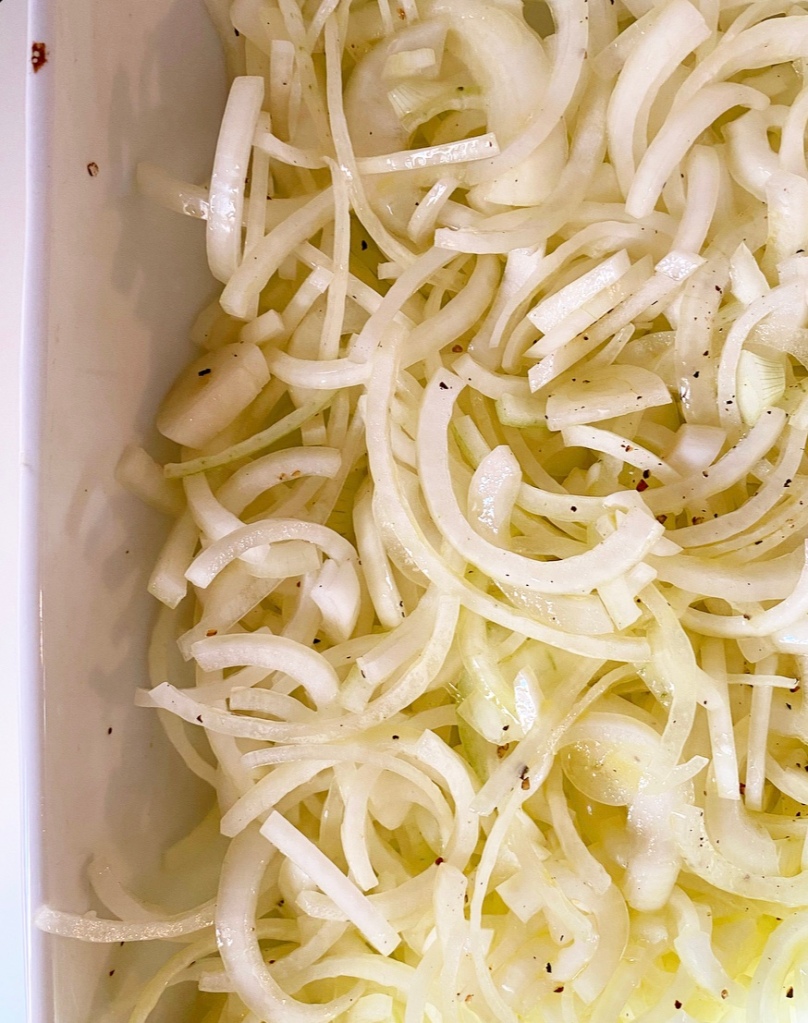
Place sliced onions in a 9x13-inch casserole dish. Add olive oil, salt and pepper, and toss to combine. Cover the pan with foil and bake for 1 hour.
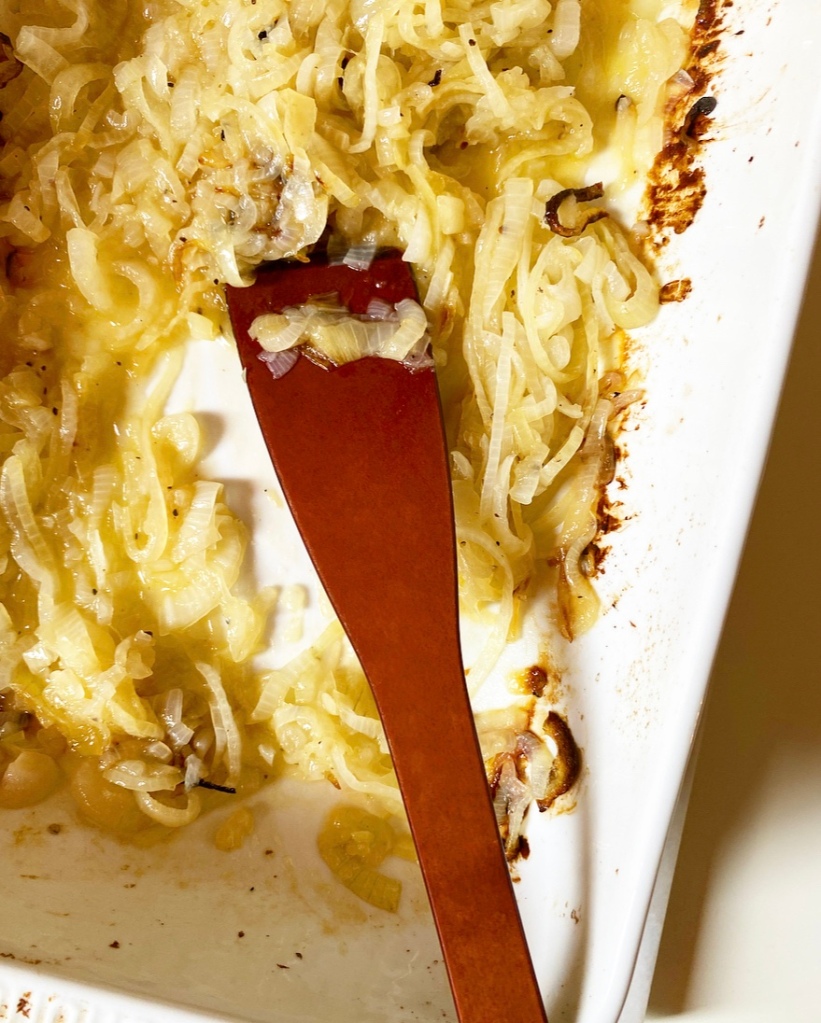
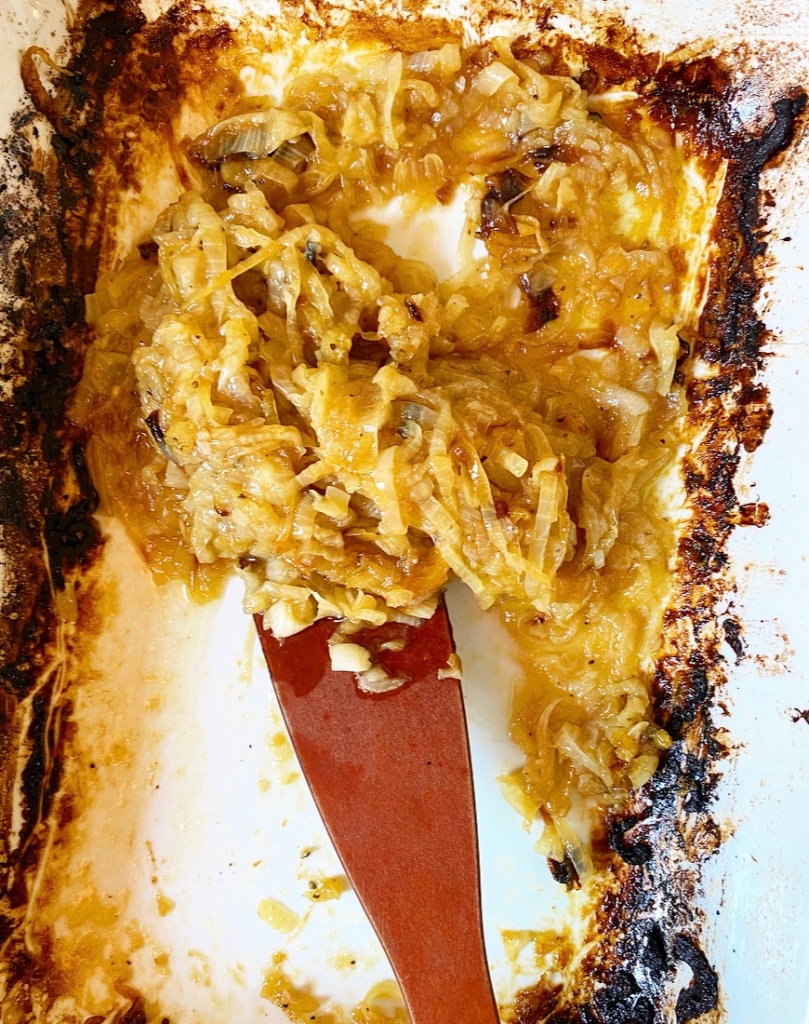
Remove the pan from the oven, lift the foil, and stir the onions. They should be fully soft and translucent at this point, and starting to turn a very pale brown.
Cover the pan with foil again, then bake for another 30 minutes before stirring again. The onions should be turning darker at this point. If any of the edge pieces have burned, lift them out and discard. Some of the sugars in the onions may char at the edges of the pan—this is normal.
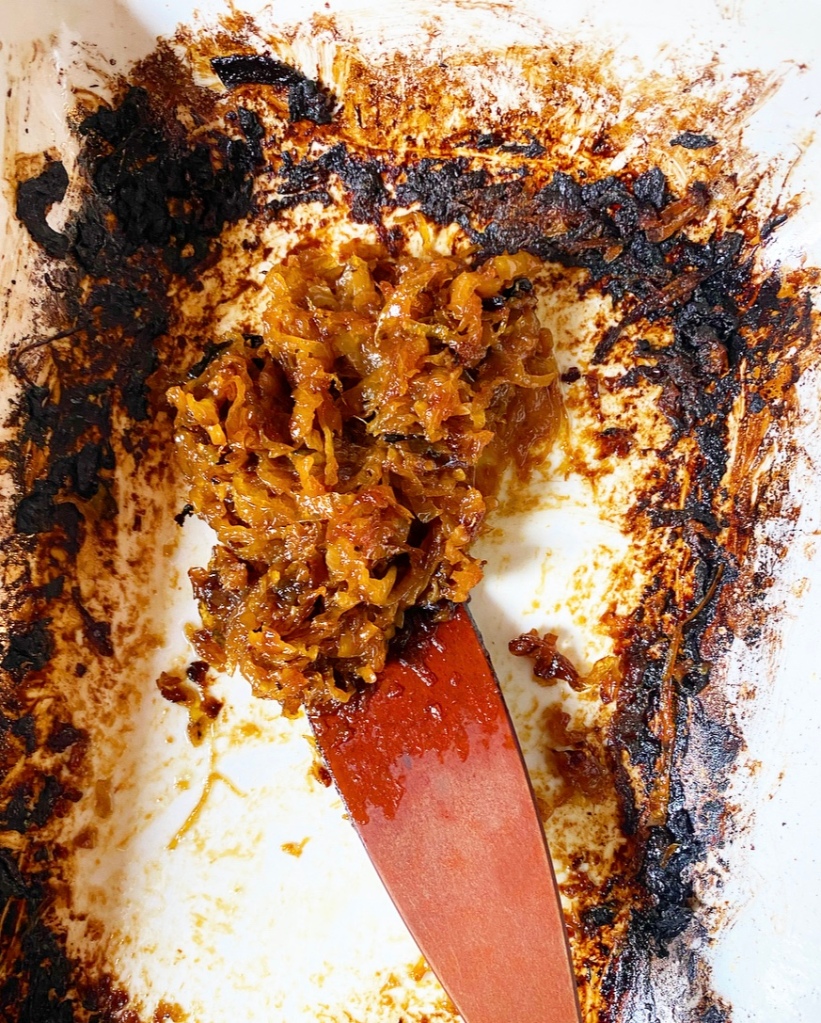
Cover the pan again and bake in 15-20 minute increments, stirring between, until your desired color and consistency has been reached. The onions pictured went about 2.5 hours.
Once your onions are to your liking, remove them from the oven and let cool. Use as desired. Leftovers may be refrigerated for a few days or frozen.


 I have never been a particularly picky eater, but I have spent the majority of my 35+ years hating beets. Hating them. My mom used to serve pickled beets at least once a week, which meant I had to choke down (and I do mean “choke”) one or two with some regularity until I grew up, moved out, and lived a blissfully beetless existence until three years ago. I’d still be beet-free today if it weren’t for a request for them for a birthday dinner.
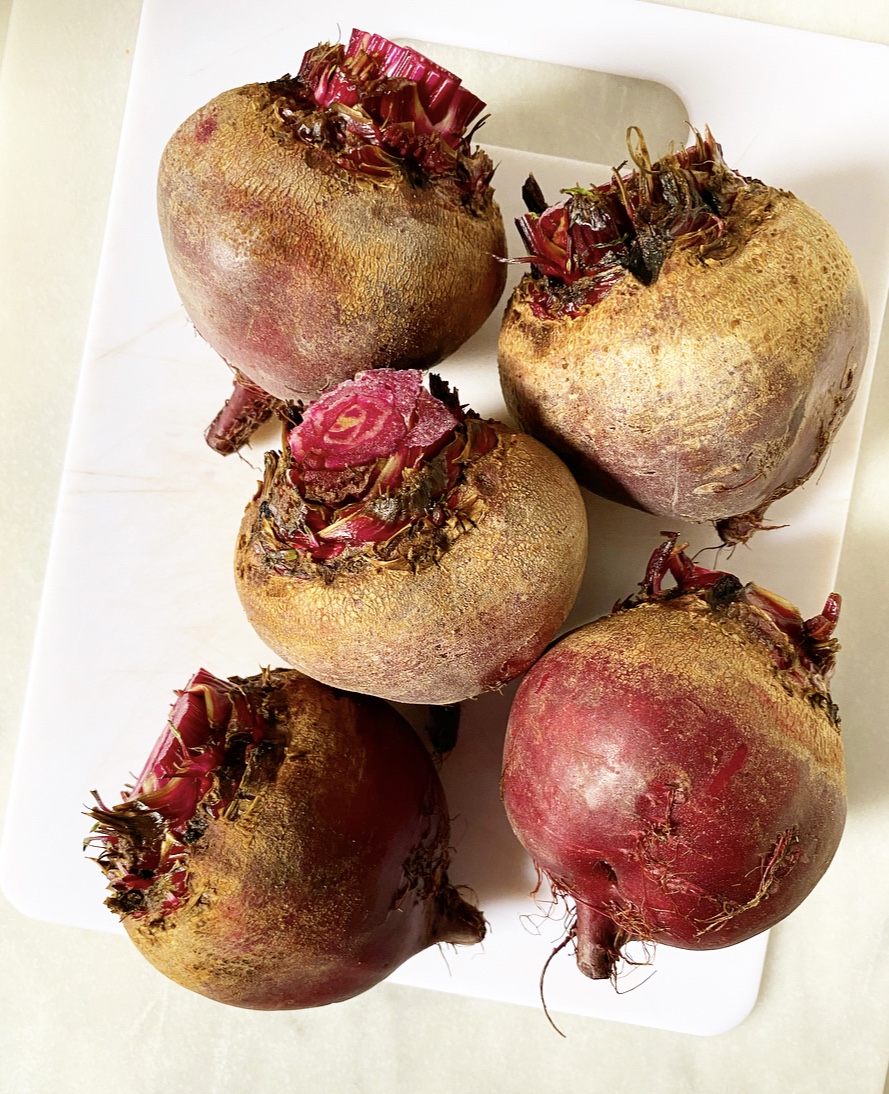
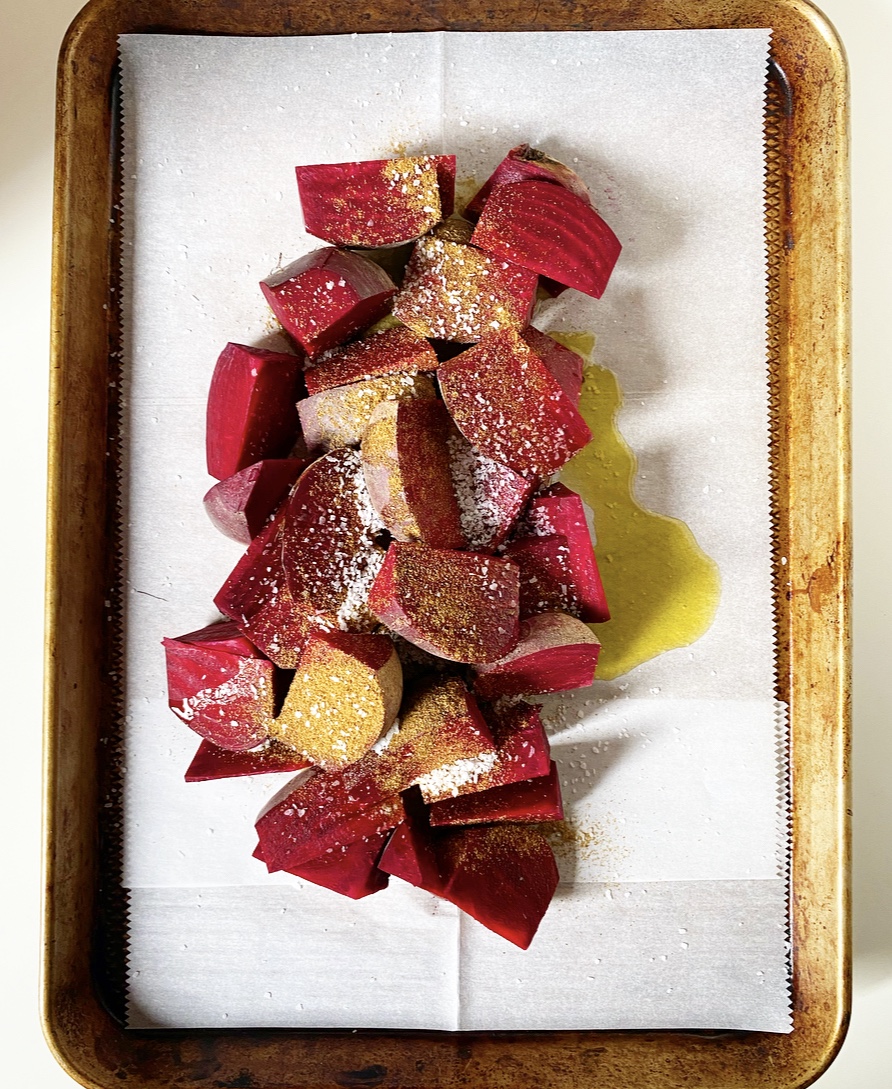
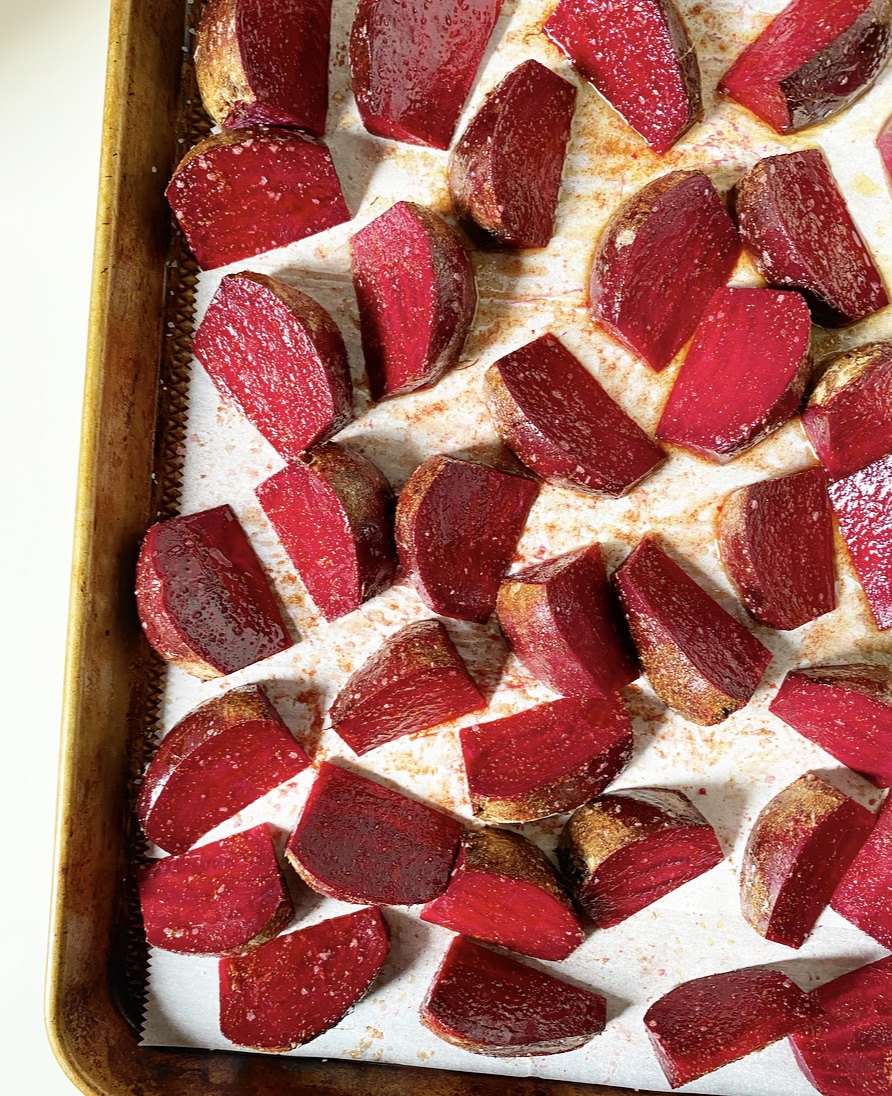
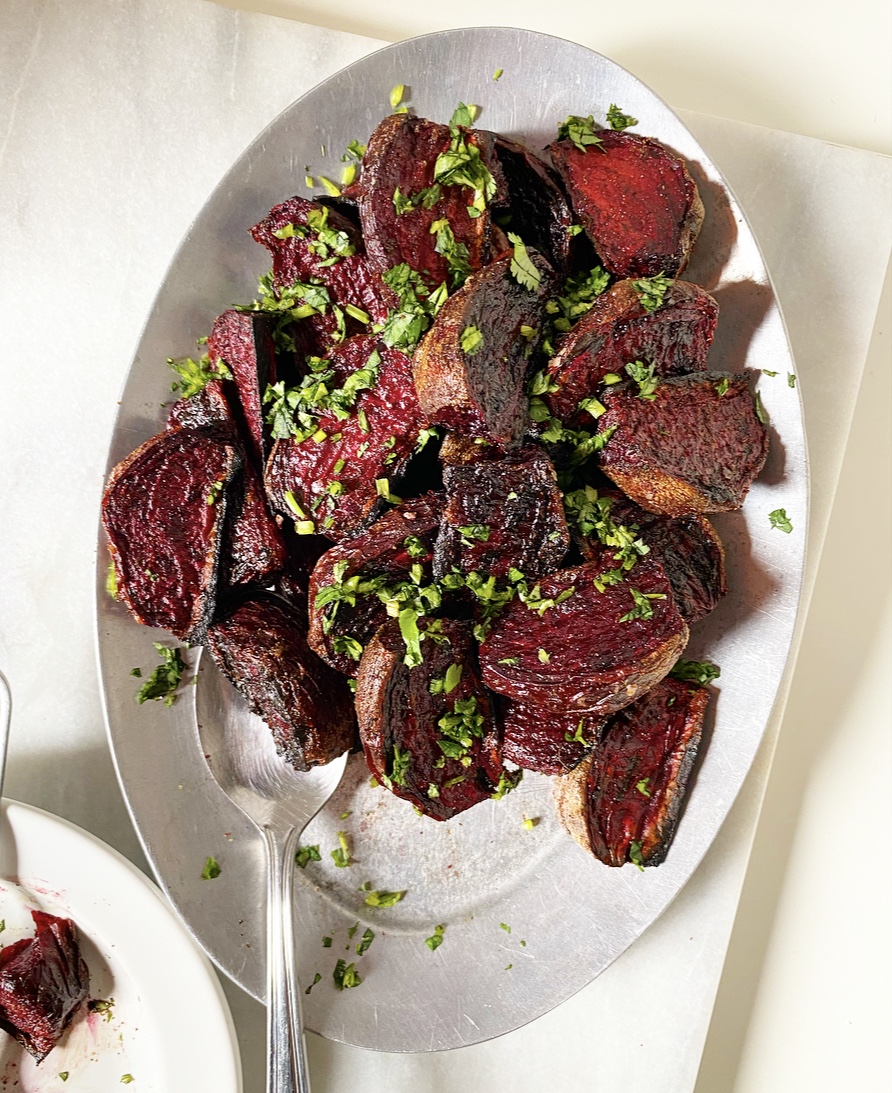
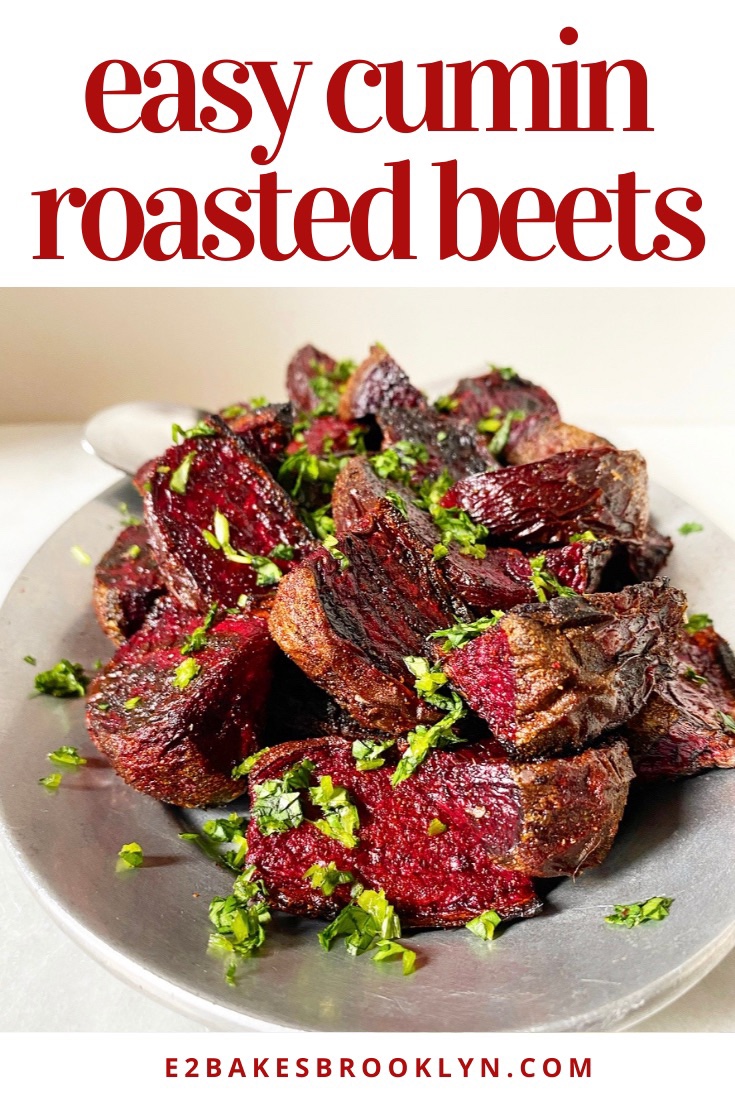
 As I prepared for this party (remember parties?), I looked online for beet roasting methods and mostly saw the same one: wrap beets in foil, roast them whole, let them cool, rub off the skins with your hands, and slice. It seemed like a lot of time and work for something I couldn’t stand. Instead, I took a gamble and did things the easy way: giving my beets a really good scrub, lopping off the root and tip, slicing them into thick wedges, and roasting them with olive oil, cumin and salt until caramelized.
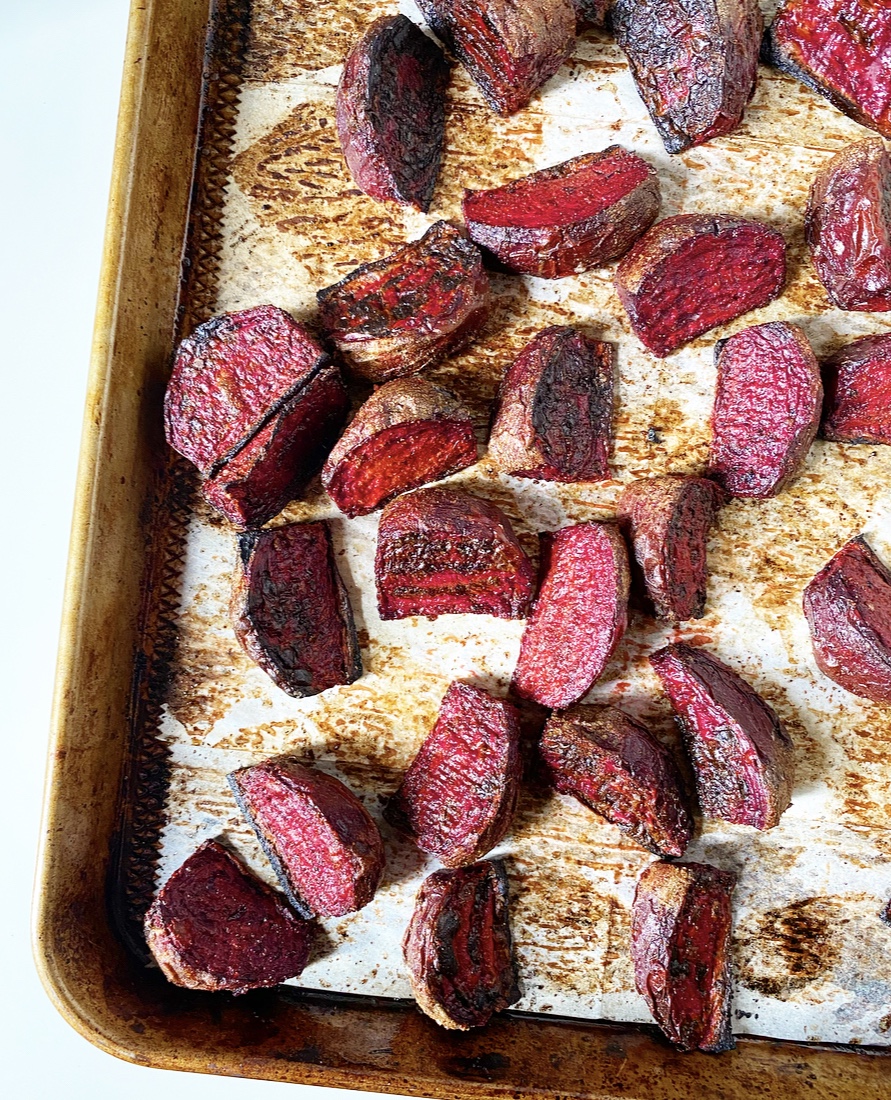
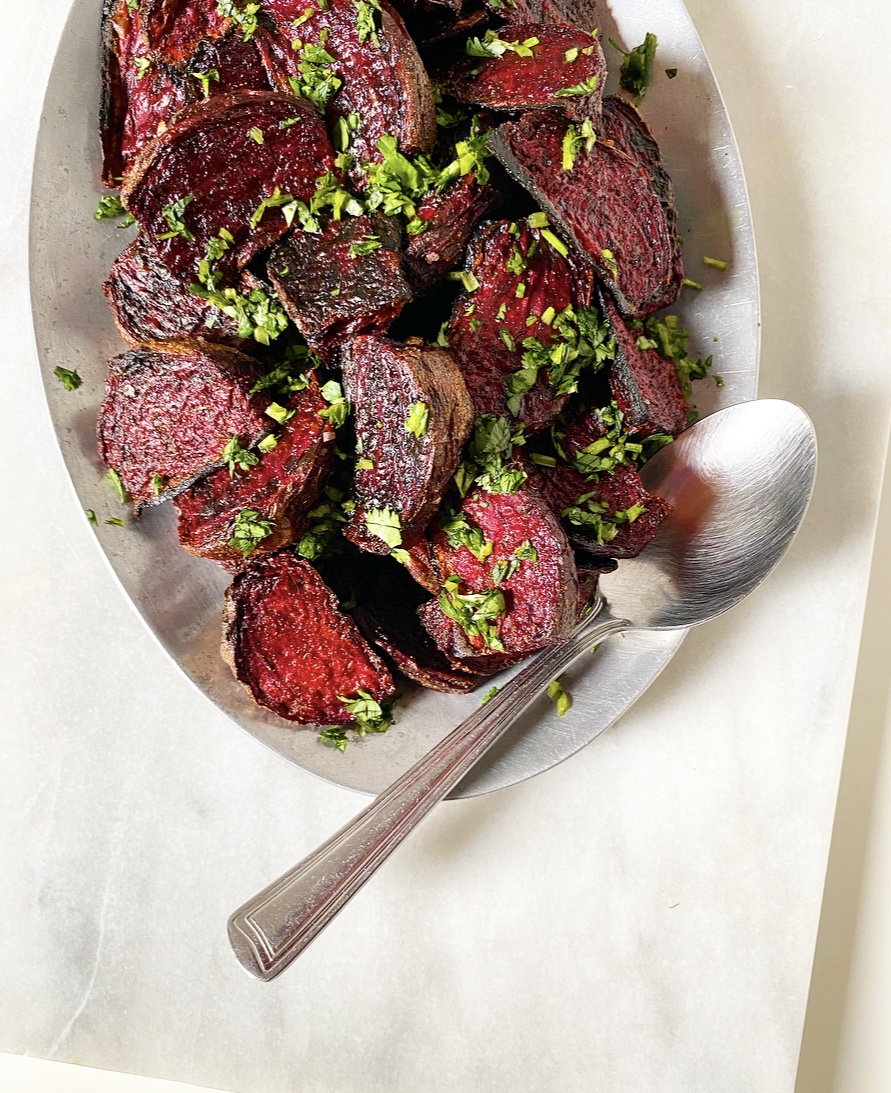 Being a careful cook, I had to taste the finished beets for seasoning regardless of personal preference, so I scrunched my nose, closed my eyes (?), took a tiny bite and…they were delicious. Earthy and sweet, yes, but also salty, smoky and crisp-edged. I couldn’t believe it—one of my top five all-time least favorite foods! Delicious! Sometimes it just takes the right preparation to change someone’s life (er, palate).
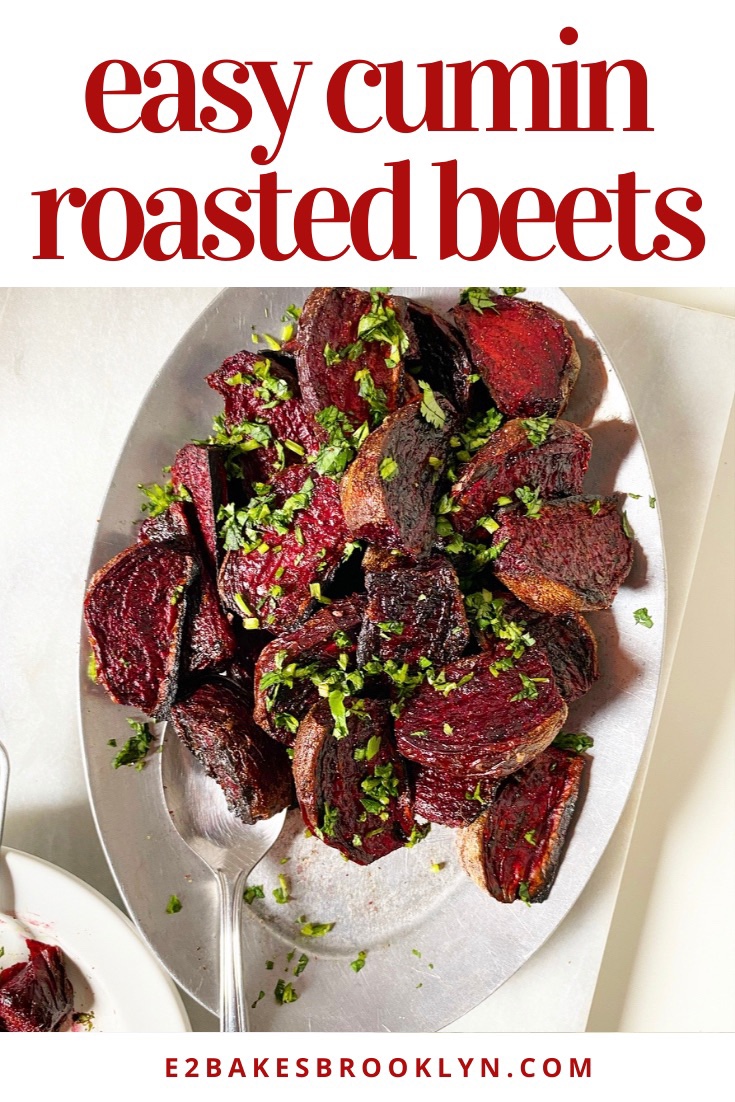
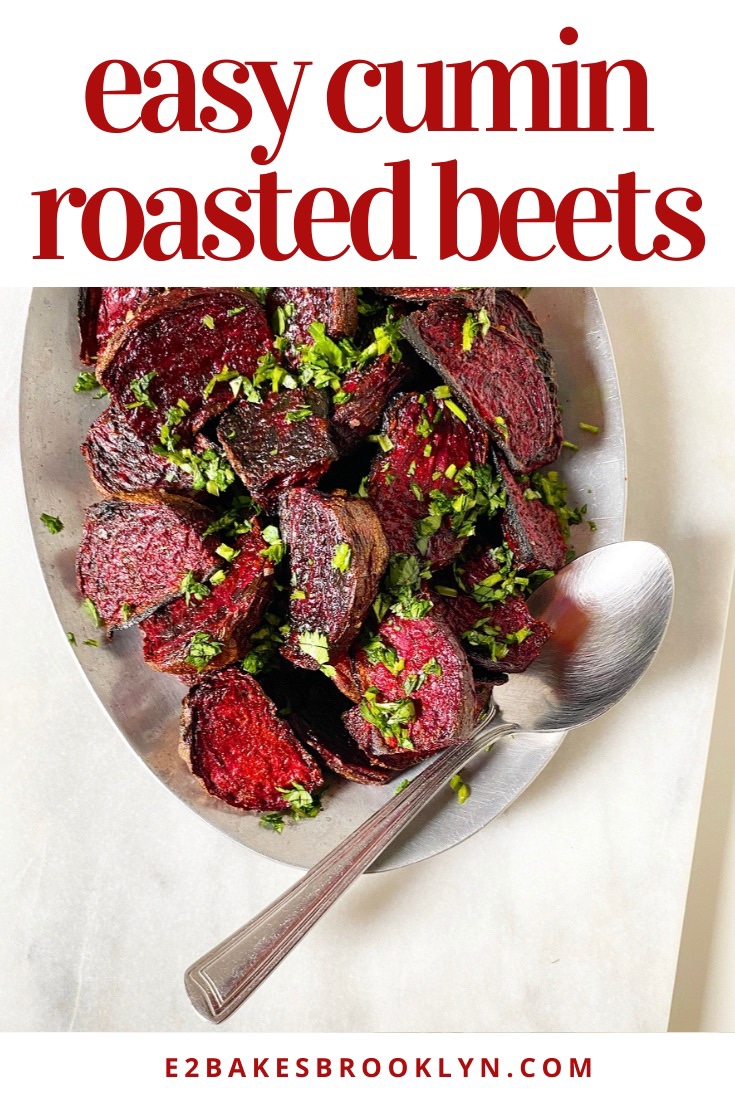
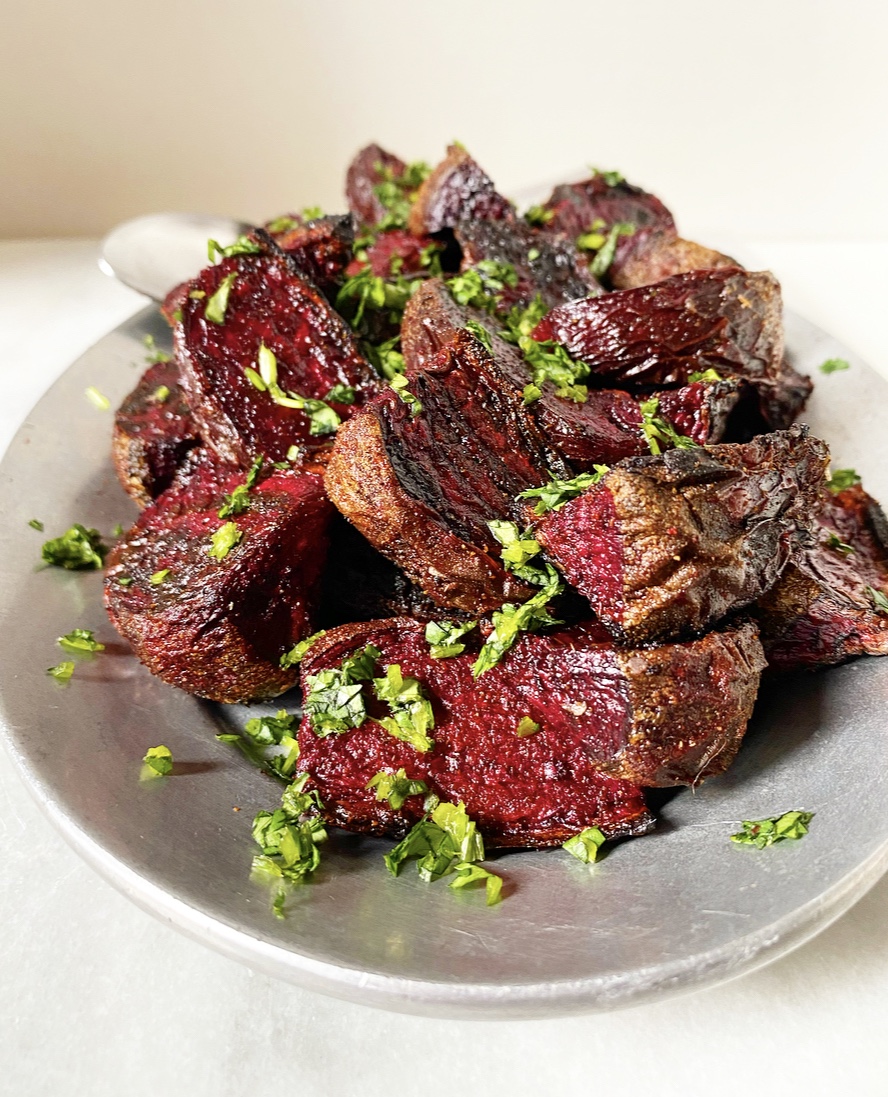 Now, I don’t know if I’ve actually changed—you won’t find me eating pickled beets out of the jar anytime soon. But these? I’ve made them at least once a week for the last three years and I freaking love them. They’re so easy and so good, the perfect low-maintenance side dish. I’ll throw a pan of Easy Cumin Roasted Beets in the oven alongside a chicken, serve them with fresh hummus on a casual night in, or pair them with feta and greens for a killer beet salad.
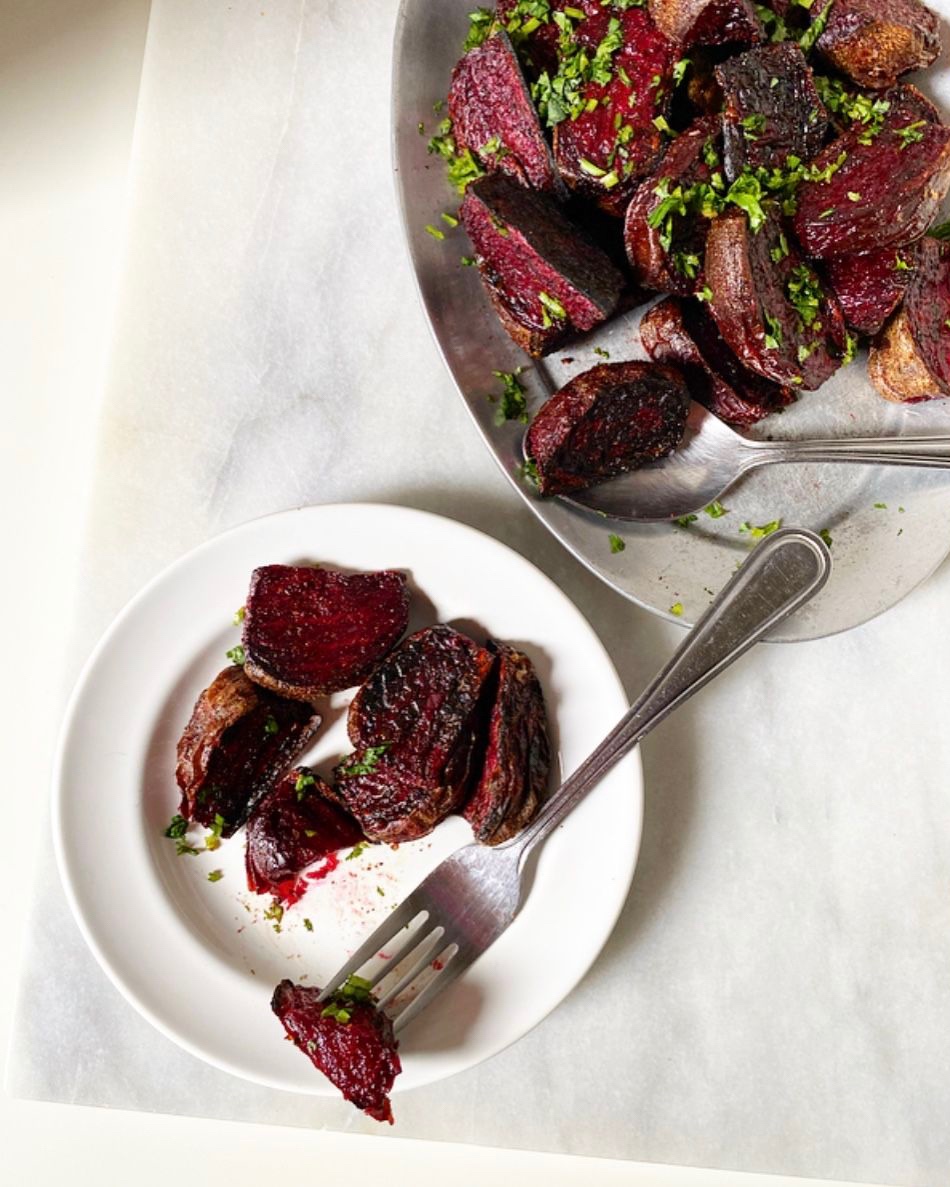 Did I just say “killer beet salad”? Maybe I’ve changed after all.
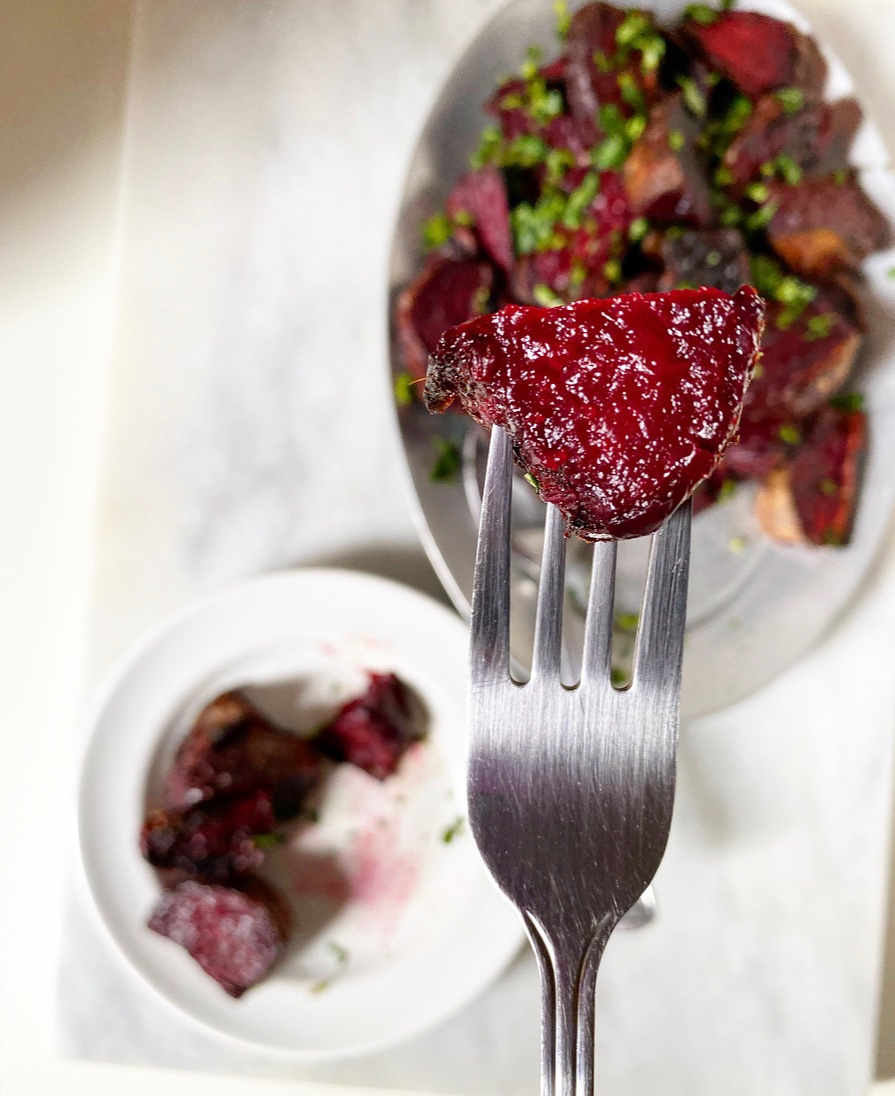
 Although I have never publicized it this way, I have privately referred to this time of my blogging year as “Savory January” for some time now. You see, every January since starting this site, I (mostly) switch focus from sweets to weeknight meals, sides and other savory pursuits. It’s not for weight loss, “cleansing” or any reason beyond keeping things interesting—I cook as much as I bake, and those recipes deserve their moment in the blogging sun, too. Is switching up my blog POV for one month a year weird? Sure. But I like variety, and also this is my website and I can do what I want.
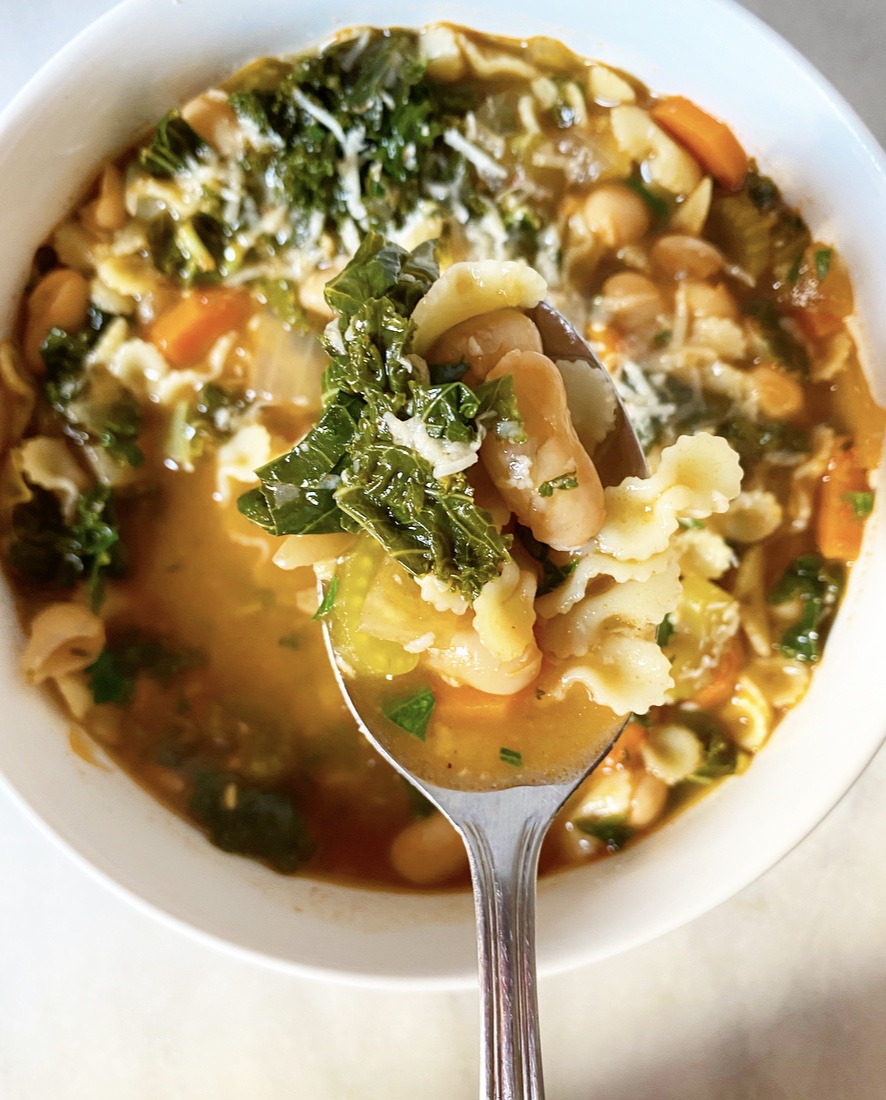
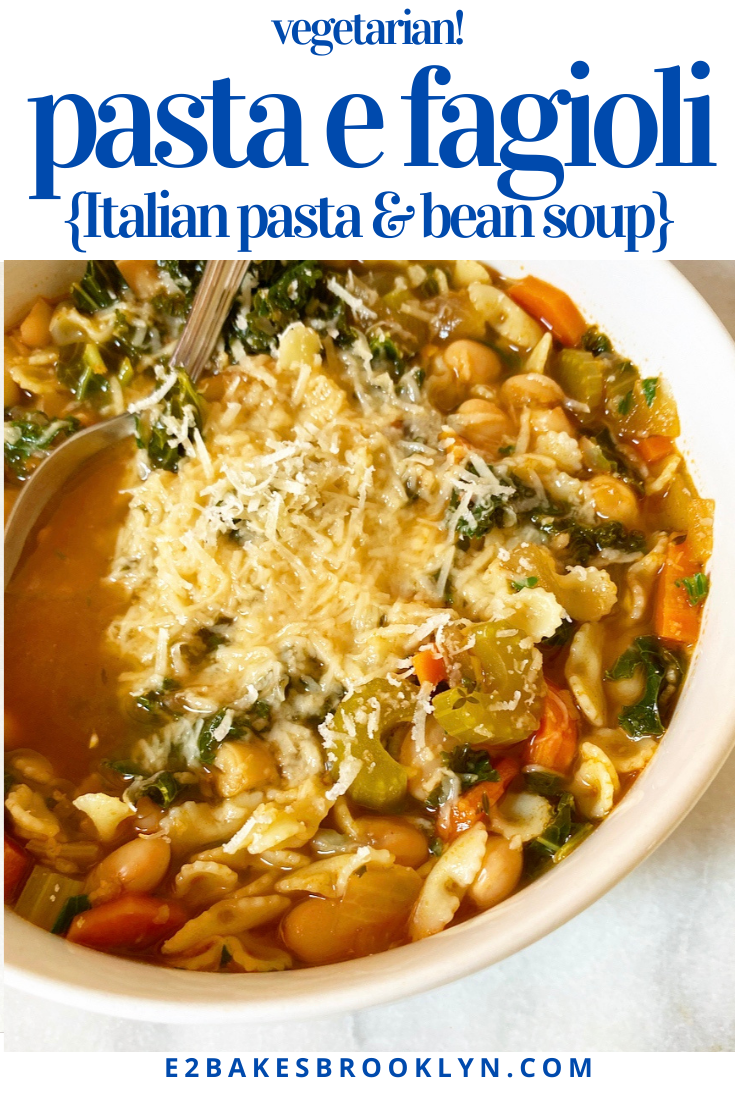
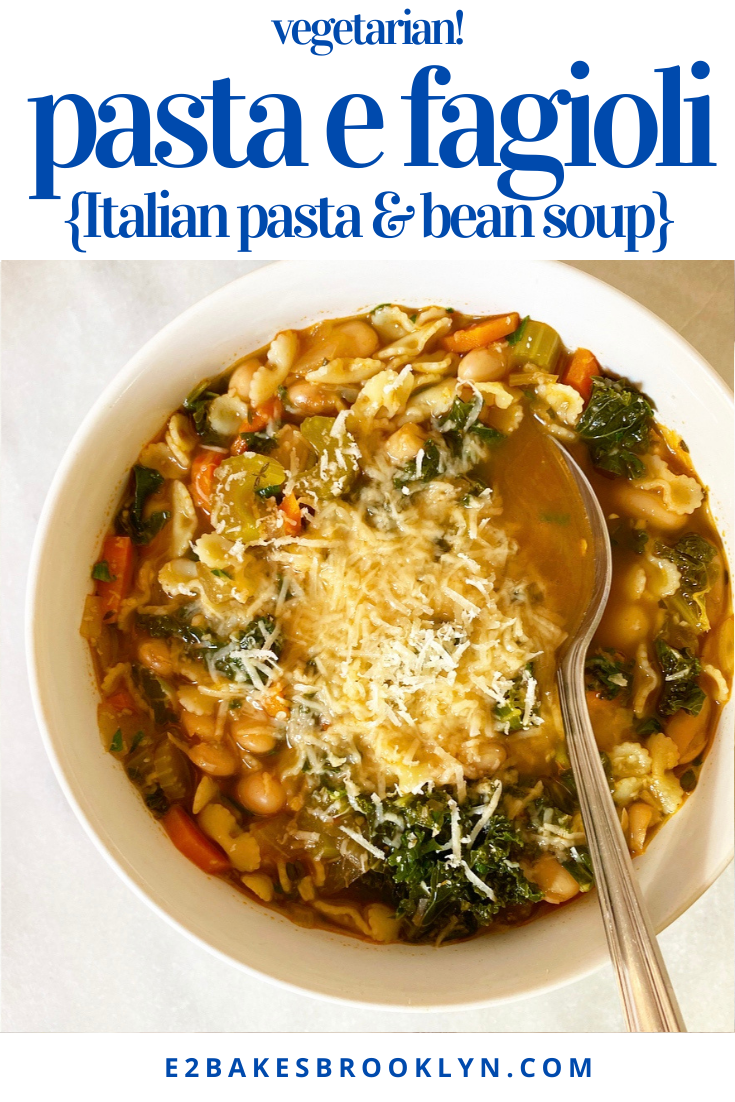
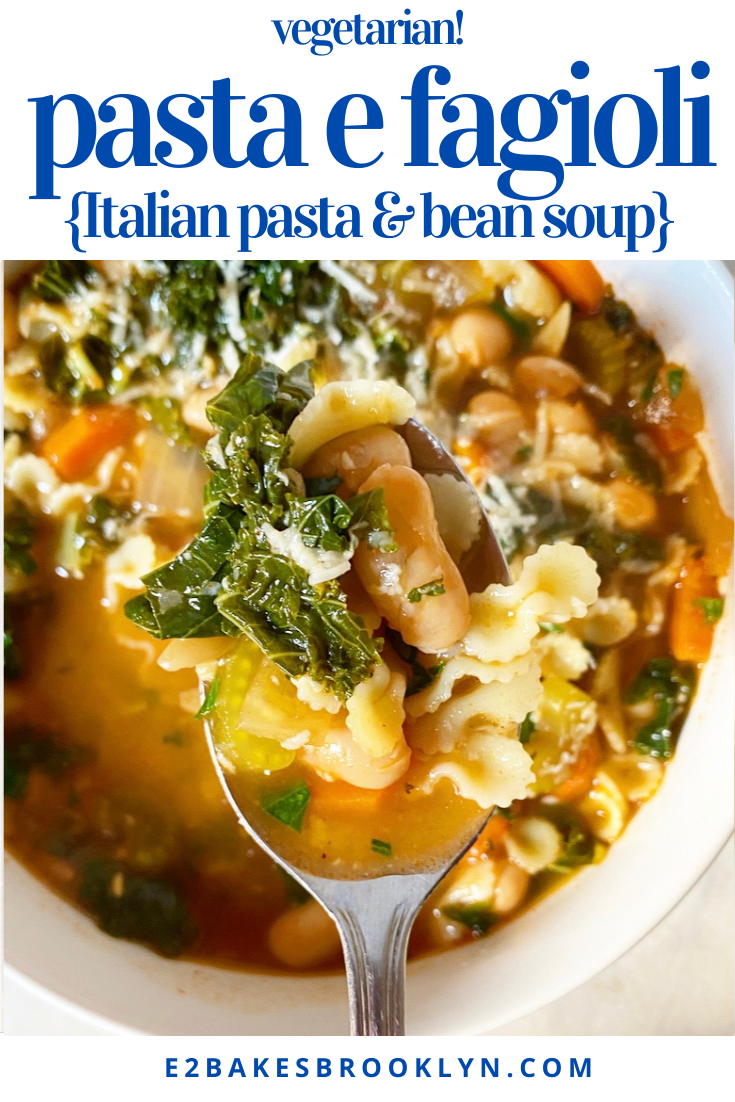
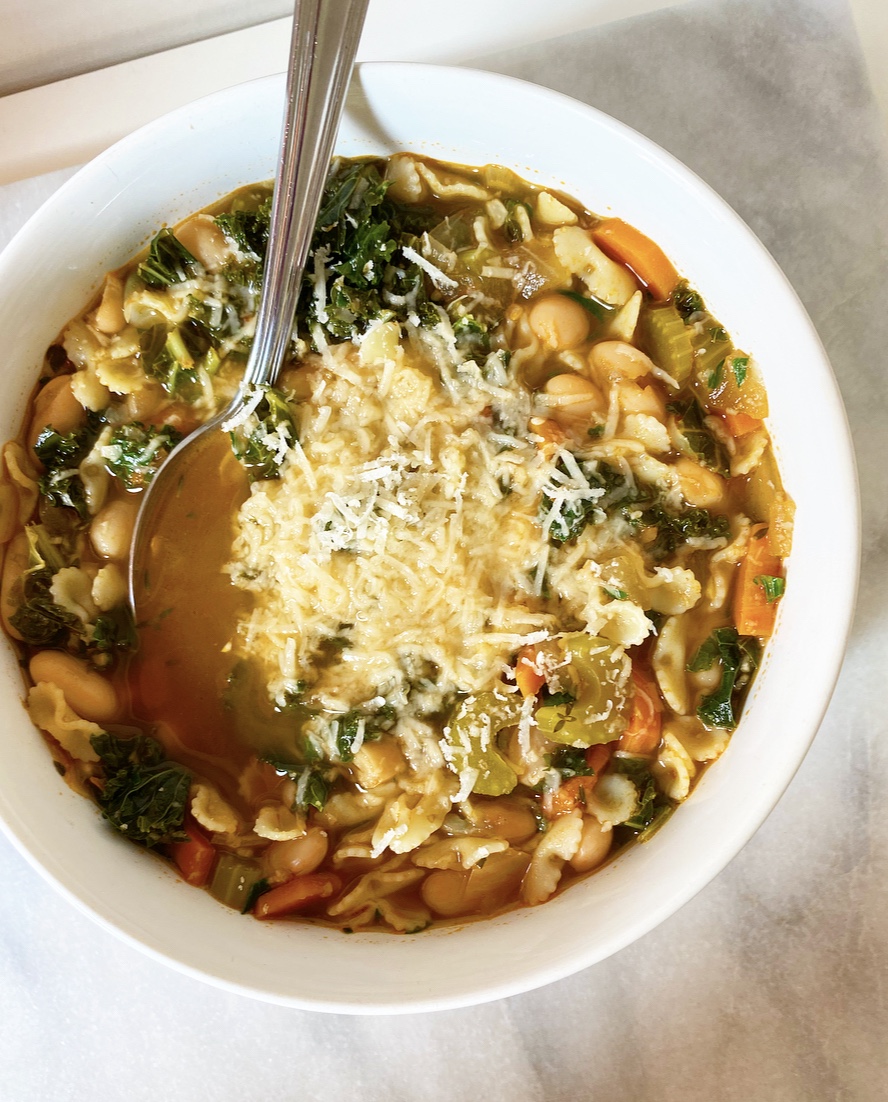
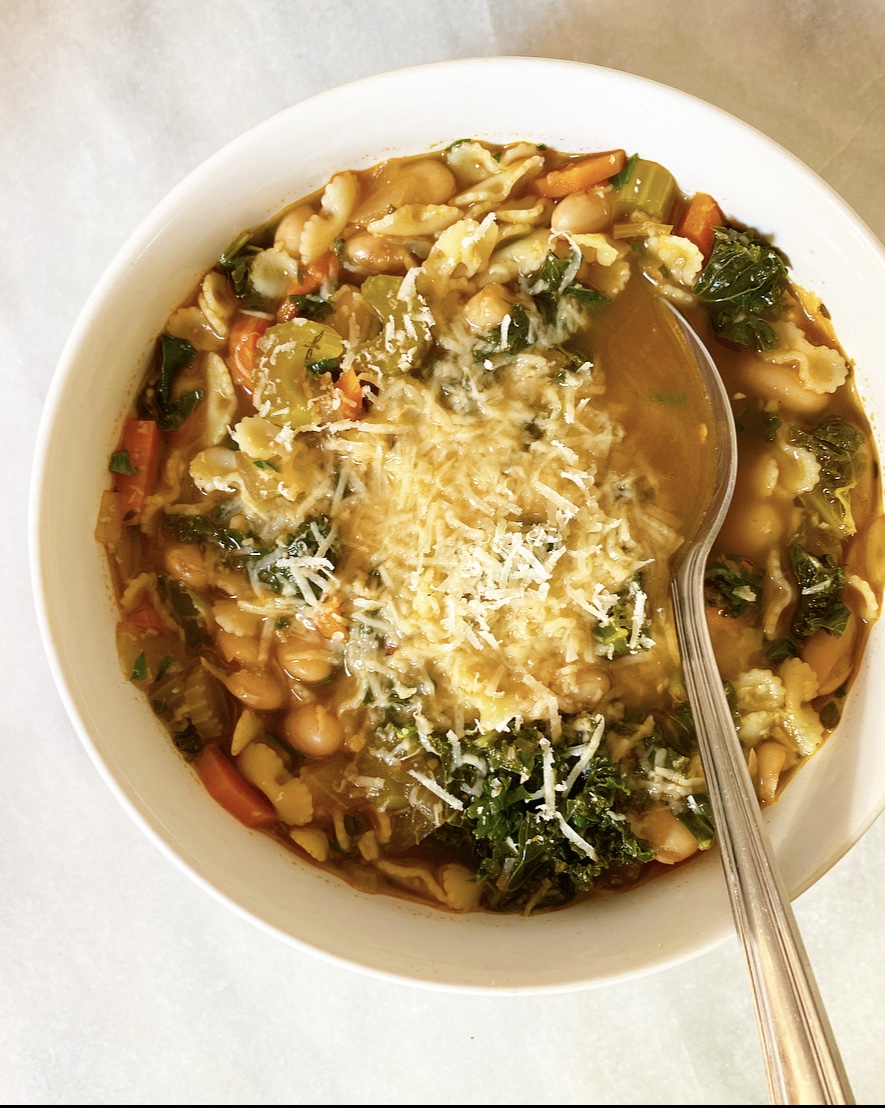 Pasta e Fagioli has been one of my favorite recipes for years and years. At its most basic, it’s a vegetable soup with pasta and beans, but it’s so much more! It’s easy, it’s cheap, it’s hearty, and it’s dang delicious. Oh, and it’s vegetarian—vegan without the cheese, gluten-free depending what kind of pasta you use. Yesssss.
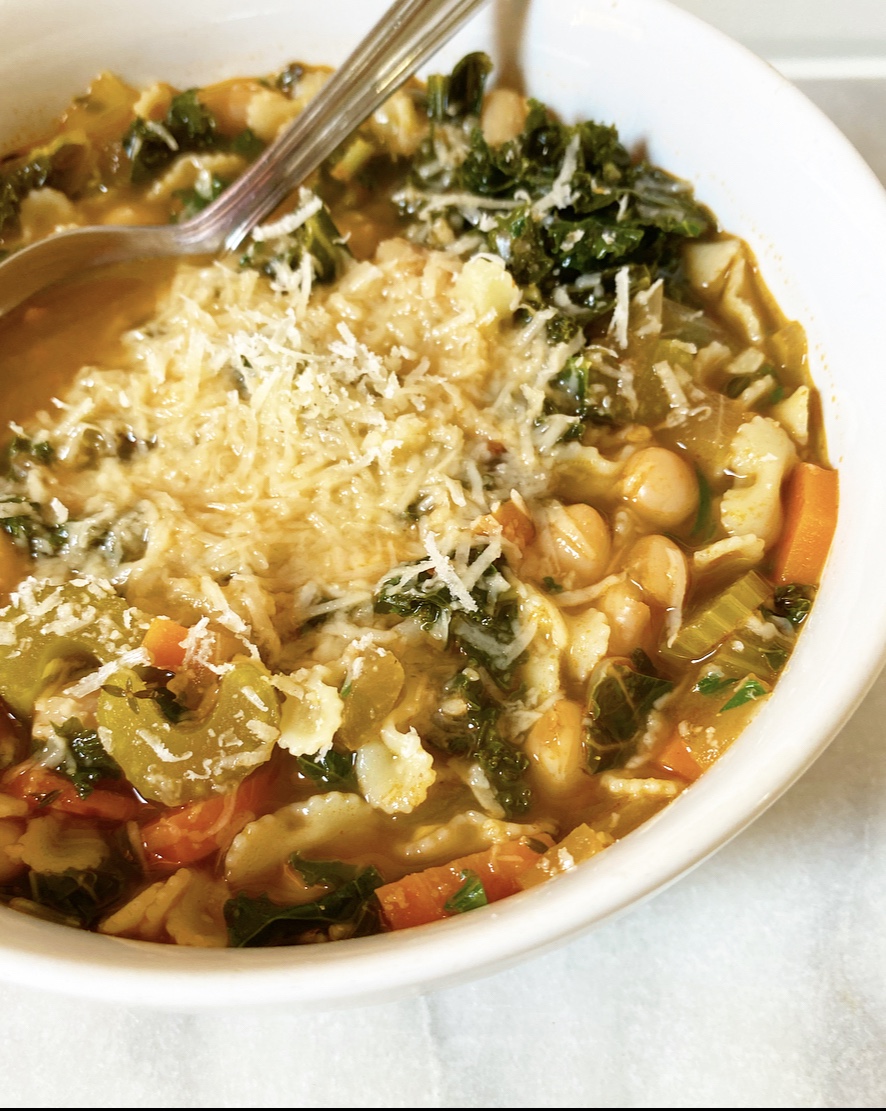 I made this Italian staple all the time when I first moved to NYC, but moved on to other things because that’s just how cooking goes for me. I make something regularly for a few weeks/months/years and then I completely forget about it for a few more weeks/months/years. In this case, I remembered Pasta e Fagioli on the last night of our Maine trip this past October. We had some produce to use up, and we had some tomato paste, beans (aka fagioli), pasta and cheese ends lingering…and well, when life gives you lemons, you know.
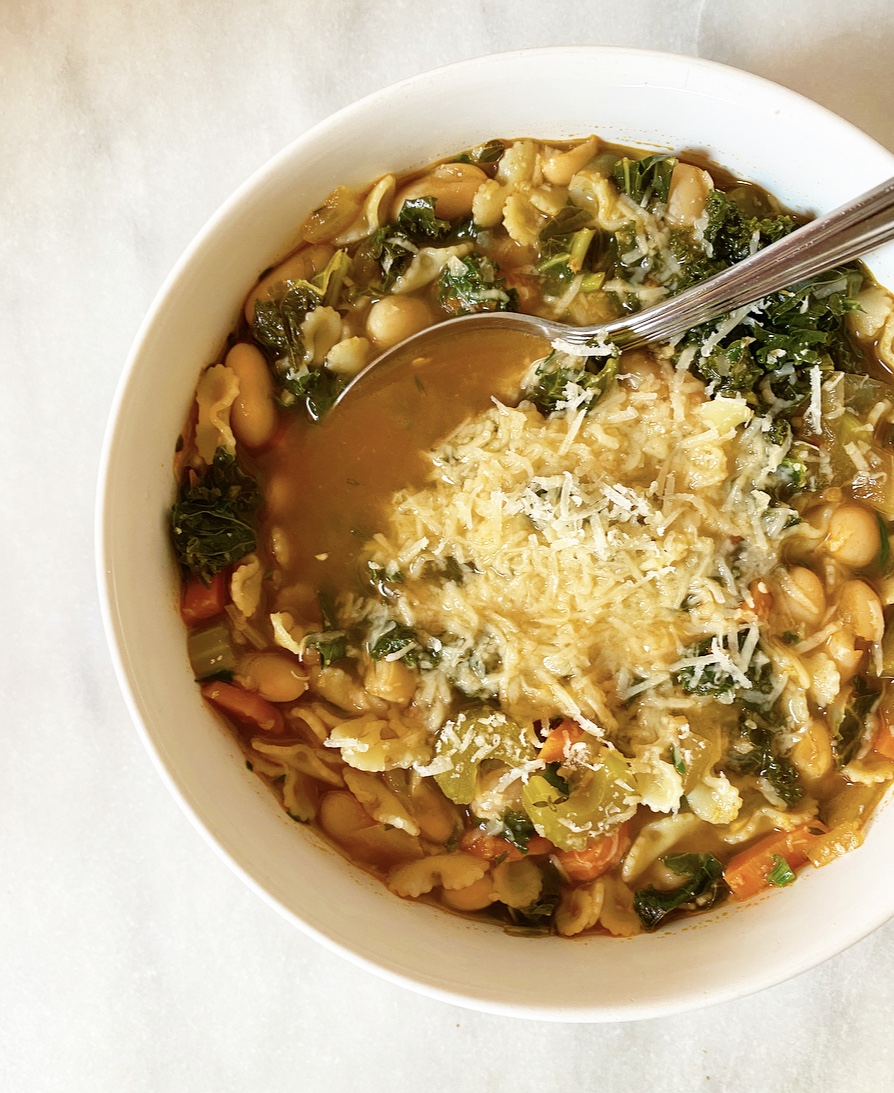 Making Pasta e Fagioli is super simple and you probably have most of the ingredients already. The method is nearly identical fo the way I make
 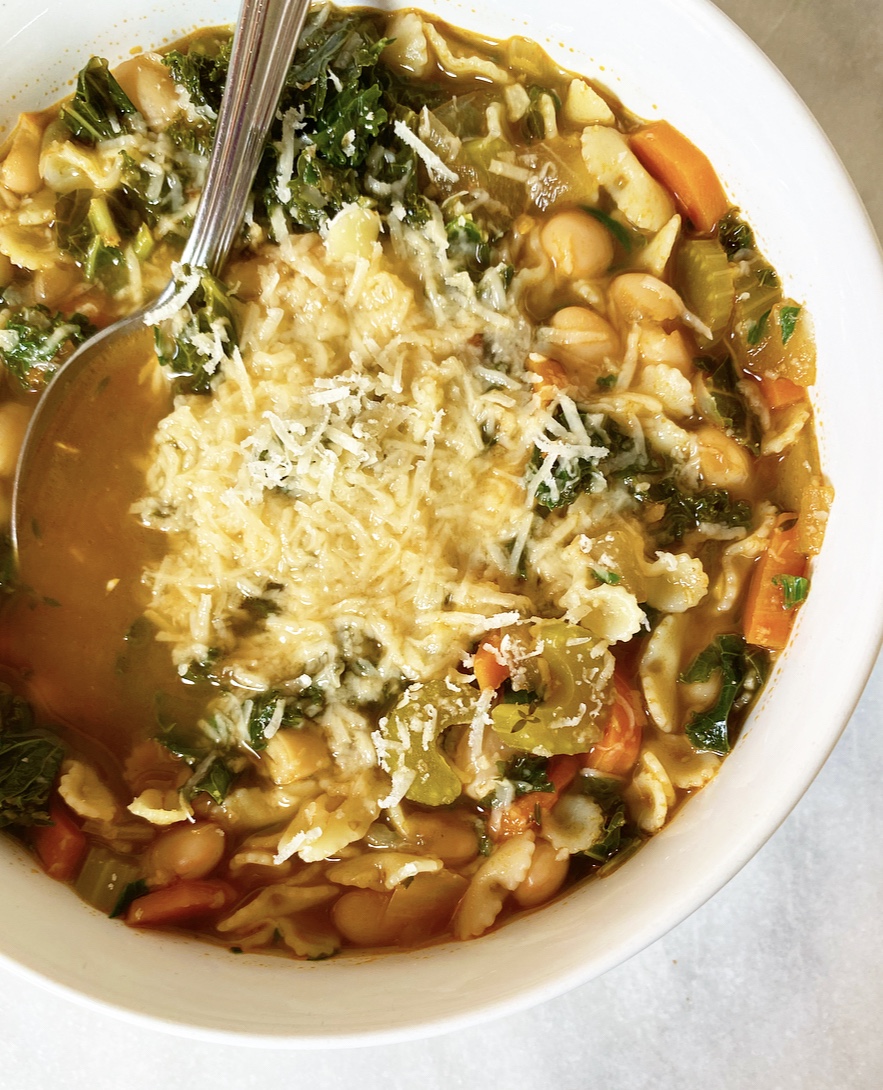 If you’re wondering why I cook the pasta separately from the rest of the soup, it’s because I’m a single lady who eats a lot of leftovers and hates mushy pasta. I do this with chicken noodle soup as well—by keeping the two components separate, the pasta doesn’t overcook or get waterlogged and sad. If you have a group to feed or will otherwise not have leftovers (or maybe like your pasta really soft?), feel free to toss it in the pot with the beans and kale.