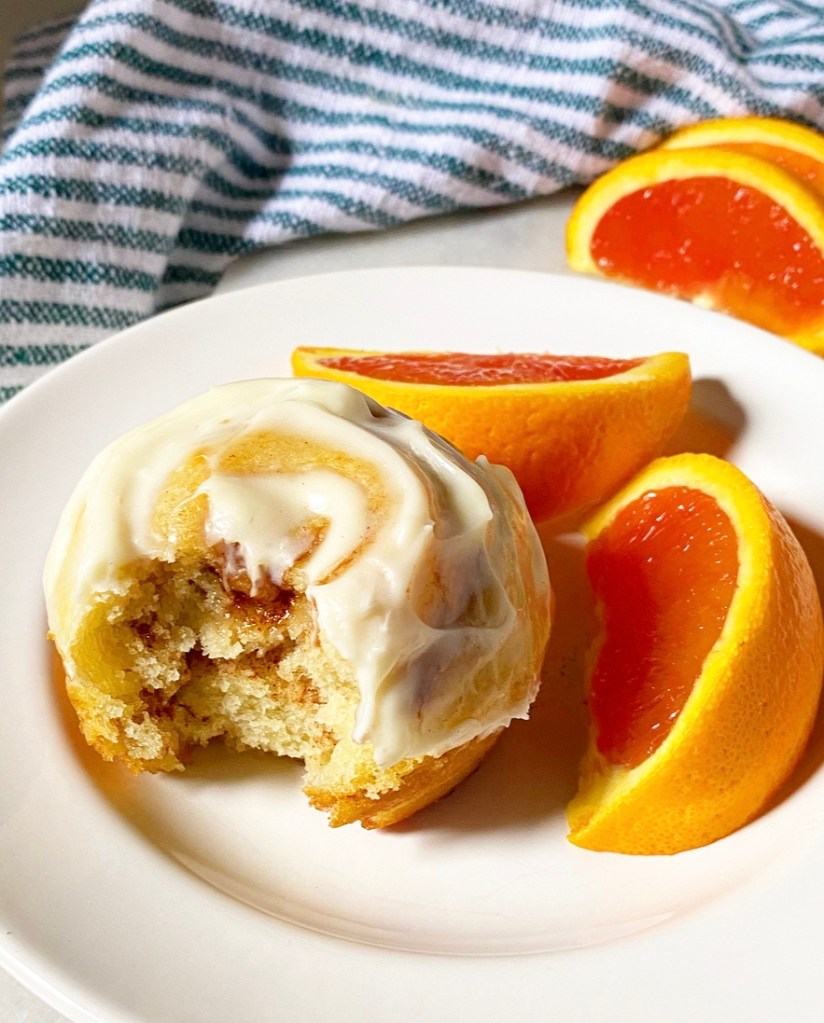
Sometimes you need a little treat. And if you’re me, sometimes is most times, and the treat can be anything from a mid-afternoon iced coffee to a theatre ticket to a puff pancake for dinner.
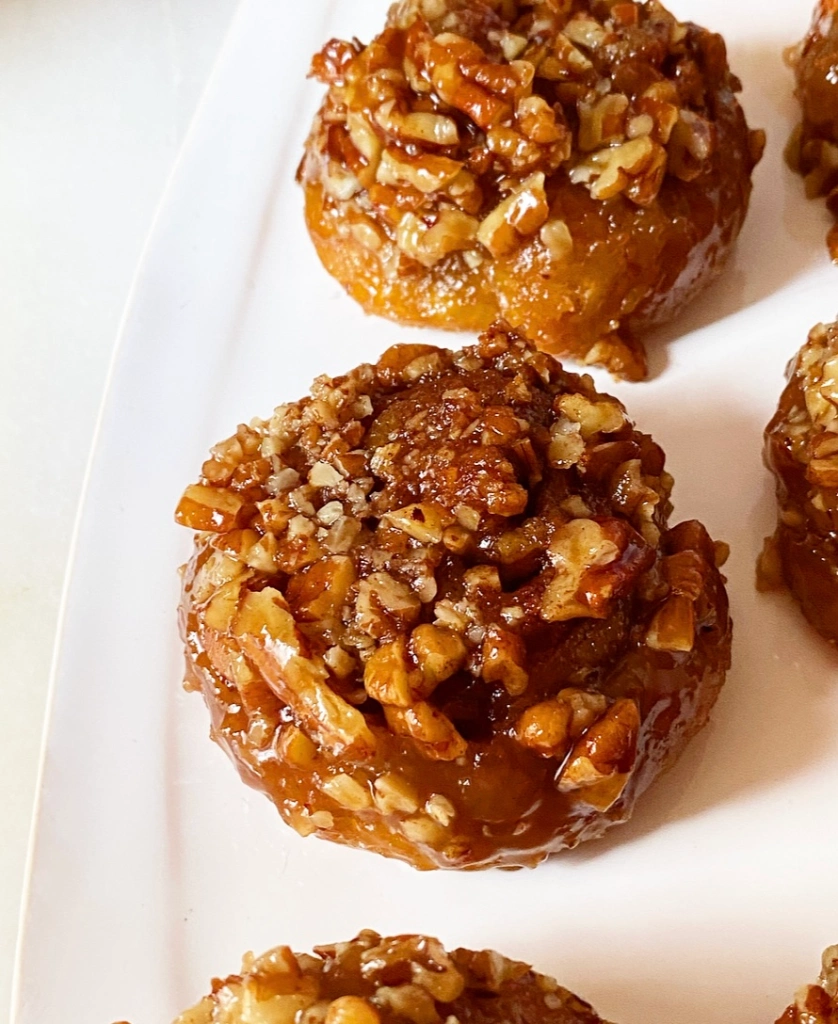
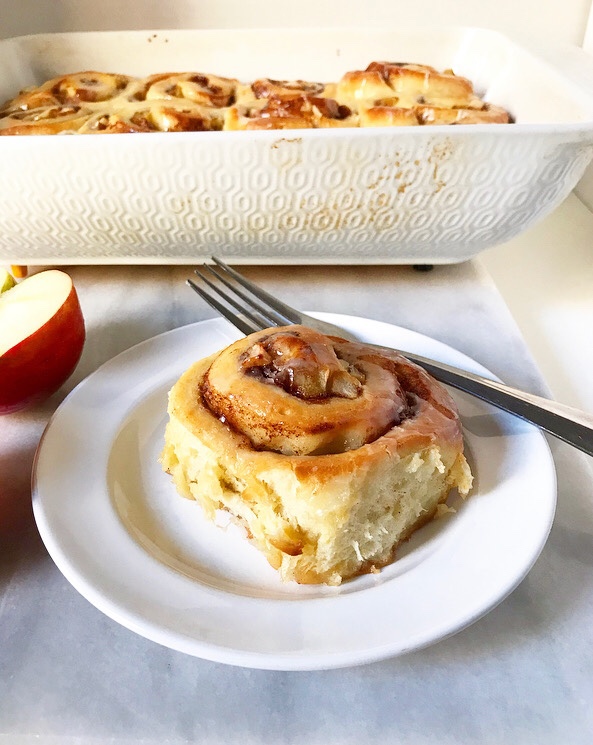
But lately it’s been these Small Batch No-Yeast Sticky Buns. They come together at the speed of light—as far as stick buns go, anyway. The whole process from breaking out the flour to flipping six buns out of a muffin pan takes all of 40 minutes.

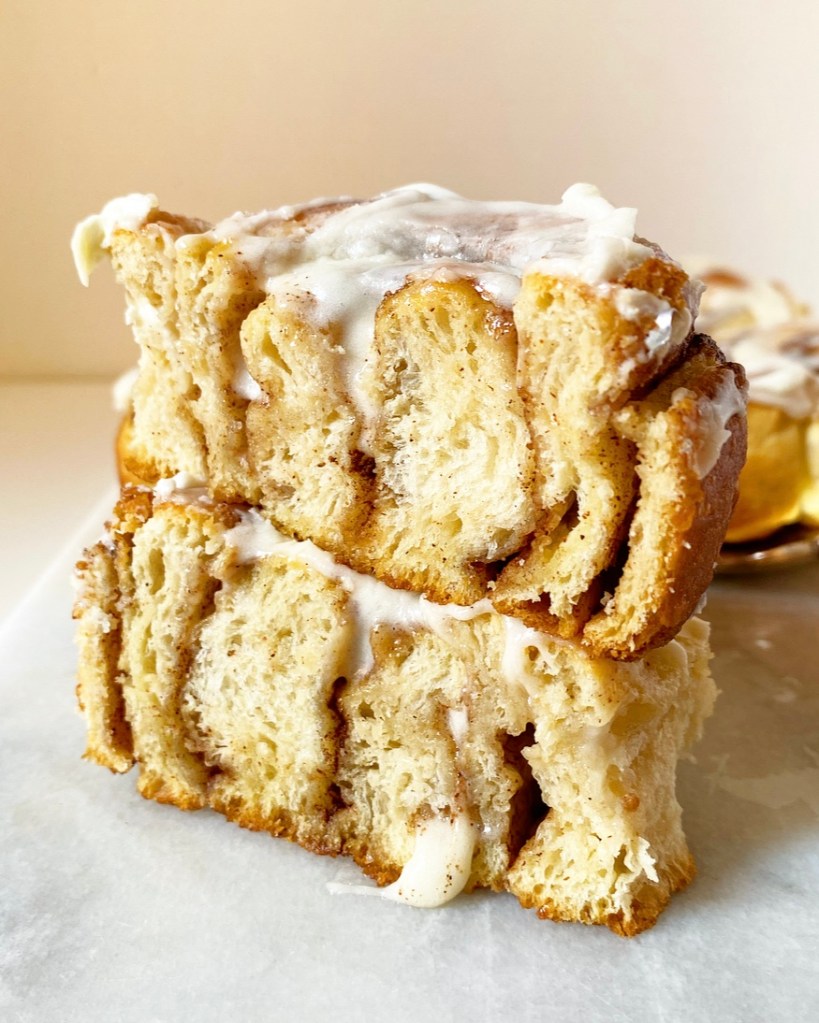
The quick turnaround time is, of course, a result of leavening these little pastries with baking powder and baking soda instead of yeast. Rest assured that all the fluffy texture and cinnamon flavor you want are rolled up into these buns.
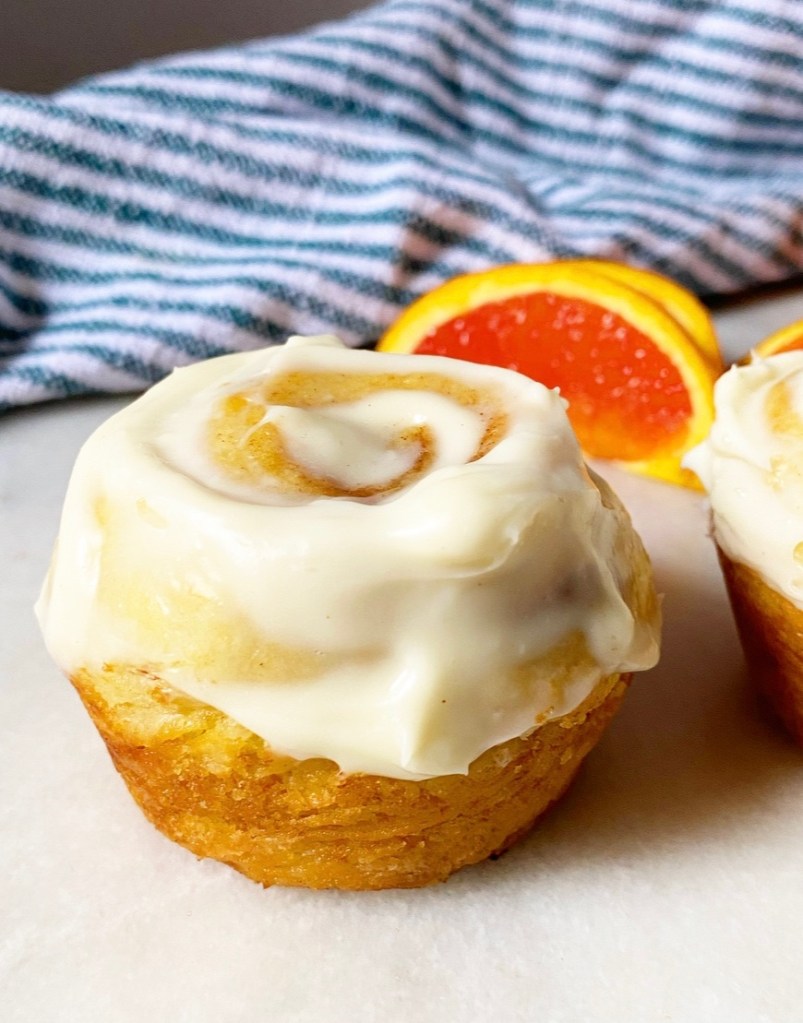
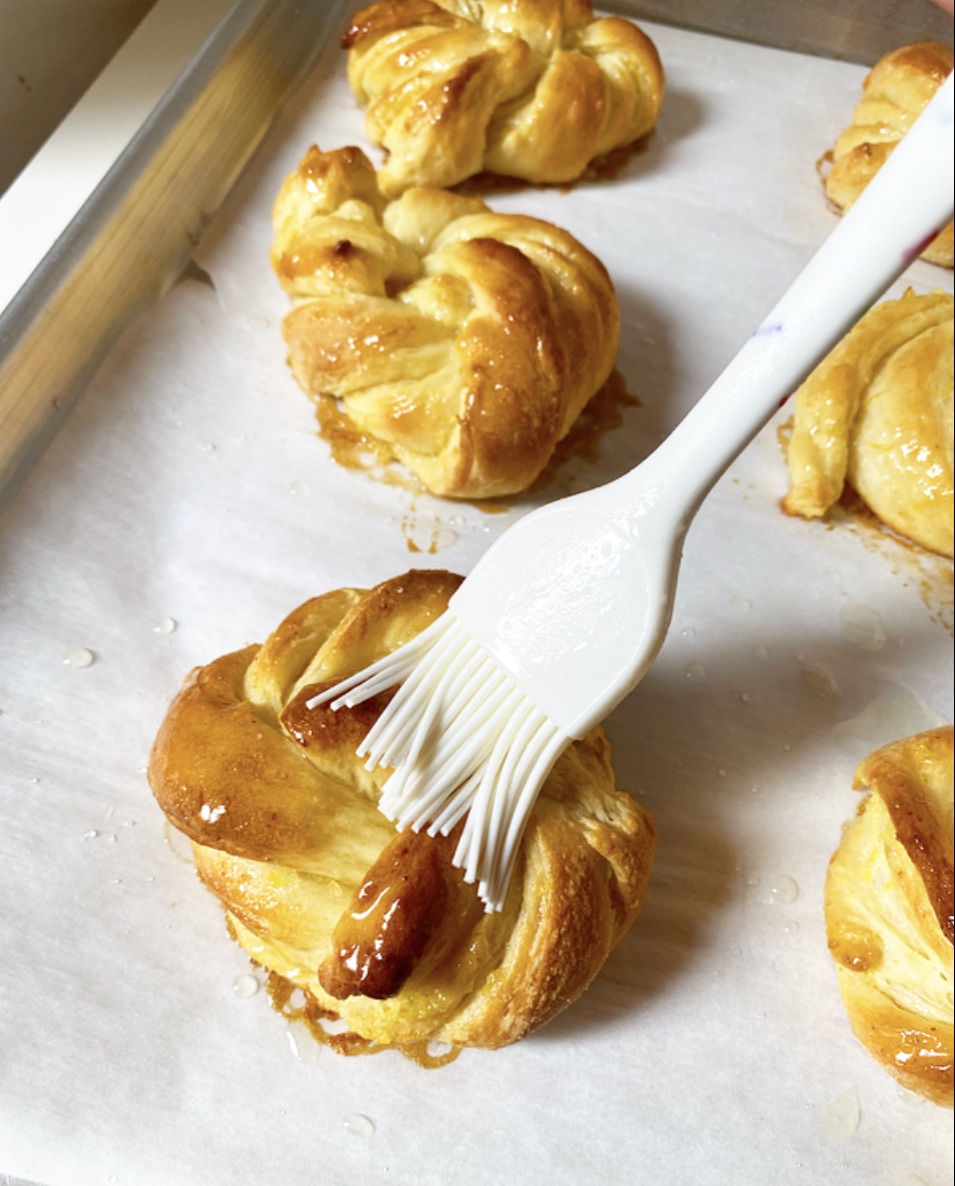
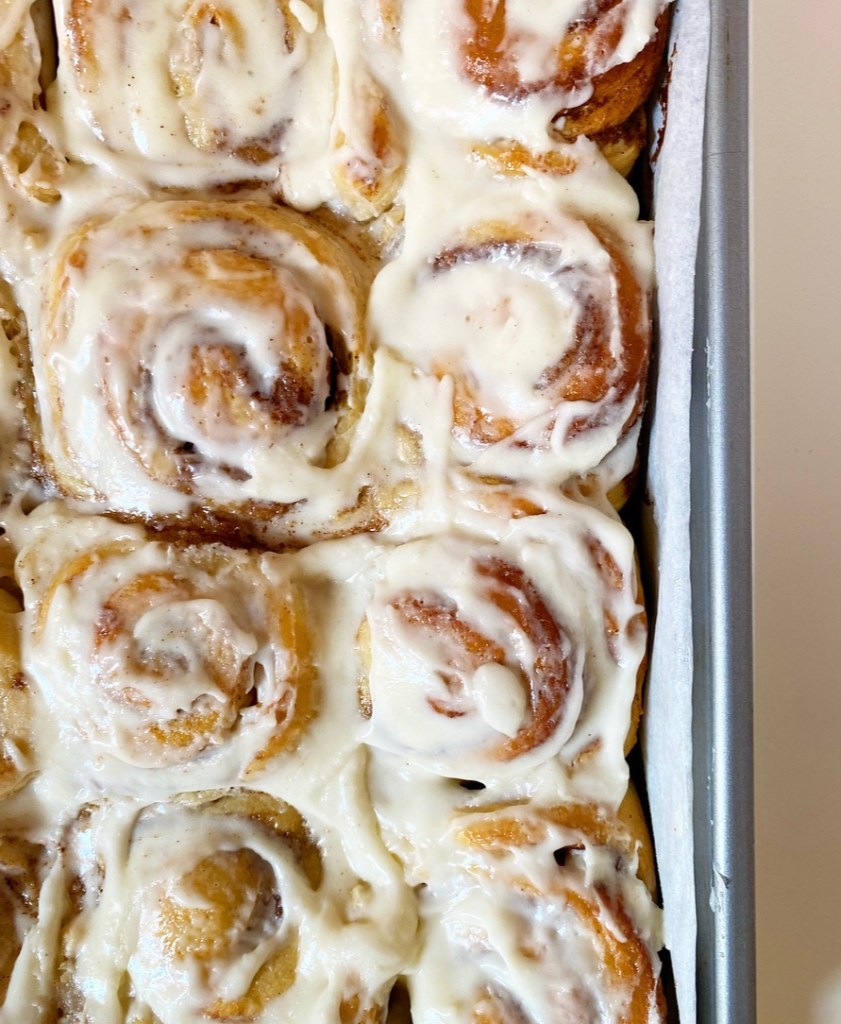
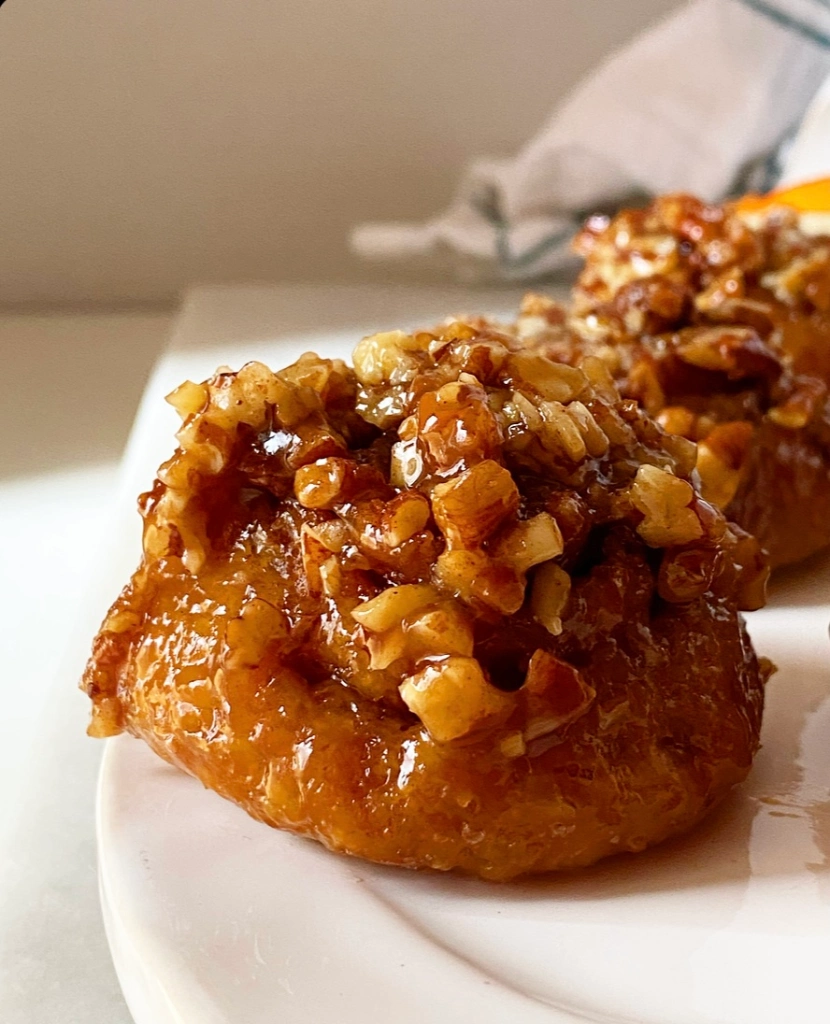
And they are, of course, topped with pecans suspended in a sticky butterscotch sauce. This concoction covers the entire surface and sinks down into the spirals. It’s beyond great.
So great, in fact, that I may need another batch around stat. Good thing that dream is only 40 minutes away from becoming reality.

Small Batch No-Yeast Sticky Buns
makes just 2 cinnamon rolls
Topping:
3 tablespoons chopped pecans, divided
1 1/2 tablespoons unsalted butter, cut into pieces
2 tablespoons light or dark brown sugar, packed
1 tablespoon milk of choice
2 teaspoons honey
pinch of Kosher or sea salt
Dough:
1/2 teaspoon apple cider vinegar
4 tablespoons milk of choice
1 1/2 tablespoon unsalted butter, cut into cubes
3/4 cup all-purpose flour
1 1/2 tablespoons light brown sugar, packed
3/8 teaspoons baking powder
1/4 teaspoon baking soda
1/2 teaspoon Kosher or sea salt
Filling:
1 1/2 tablespoon unsalted butter, melted
3 tablespoons light or dark brown sugar, packed
1 teaspoon ground cinnamon
small pinch of Kosher or sea salt
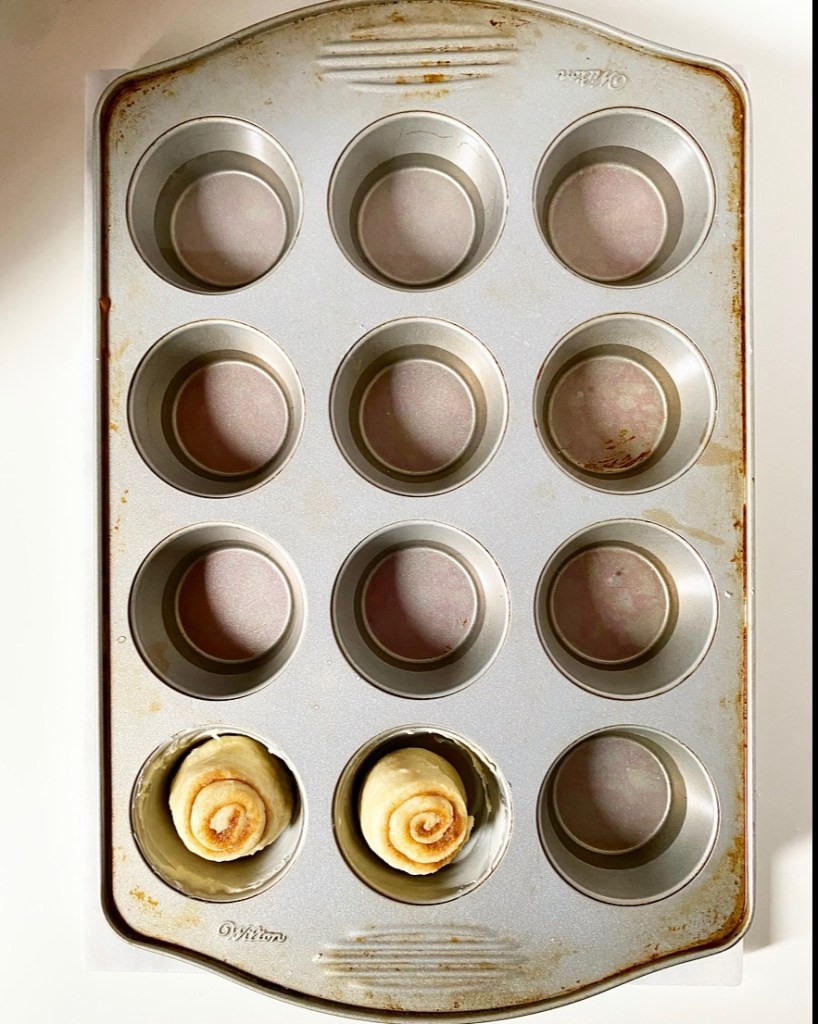
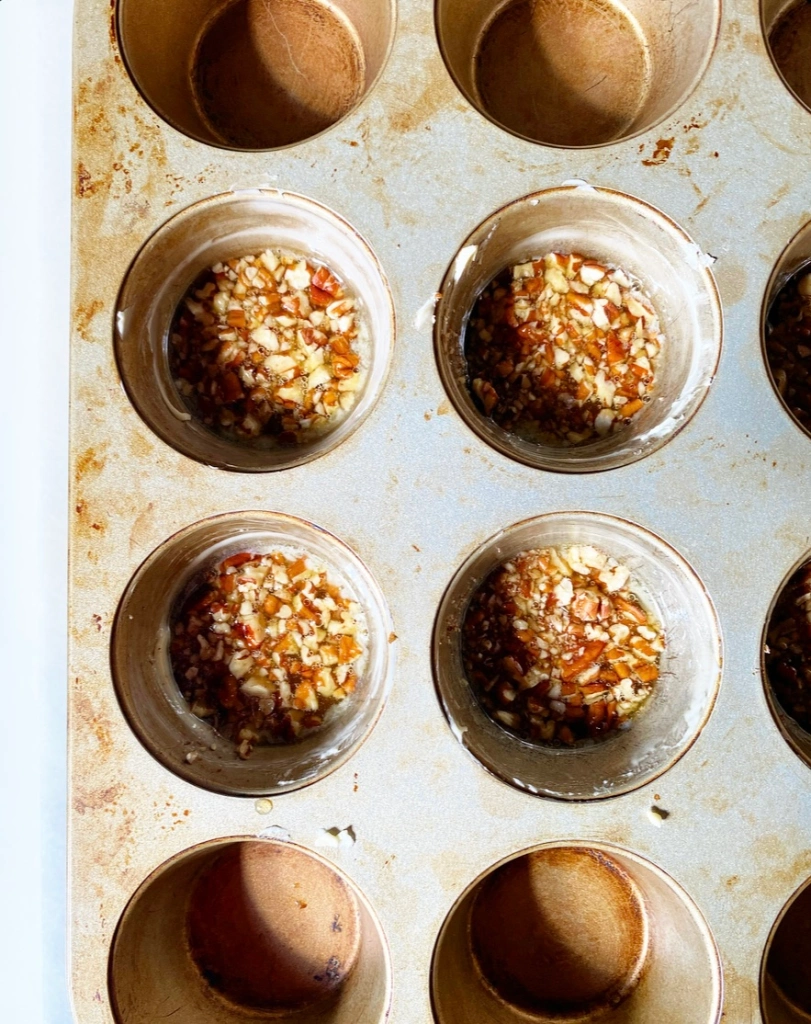
Preheat oven to 375F. Use butter to heavily grease 6 cups in a standard muffin tin.
Prepare the topping. Put 1 1/2 teaspoons (1/2 tablespoon) chopped pecans in the bottom of each prepared muffin cup.
In a separate small bowl, combine remaining topping ingredients: butter, brown sugar, milk, honey (or maple syrup or light corn syrup), and salt. No need to stir. Set aside.
Make the dough. Combine vinegar, milk and butter a small microwave-safe bowl or liquid measuring cup. Microwave for 30 seconds, or until butter has melted. Stir and set aside.
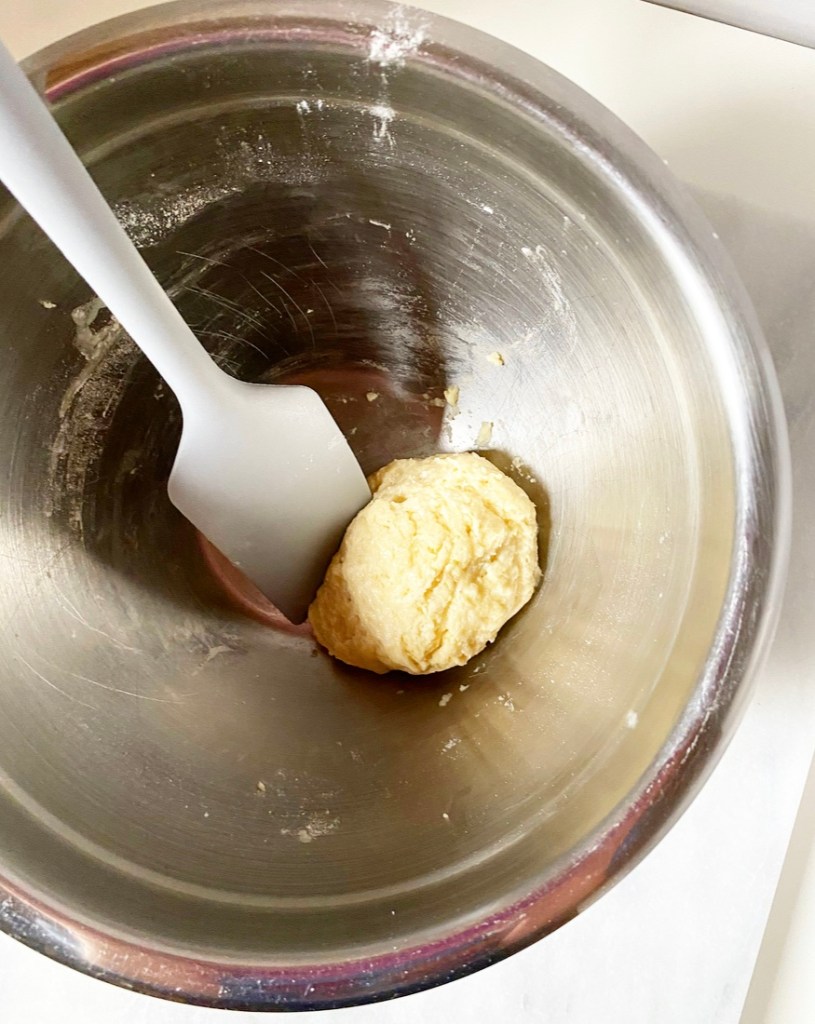
In a small mixing bowl, use a fork to whisk together flour, brown sugar, baking powder, baking soda, and salt. Add milk mixture and stir until a dough forms. Let rest 5 minutes.
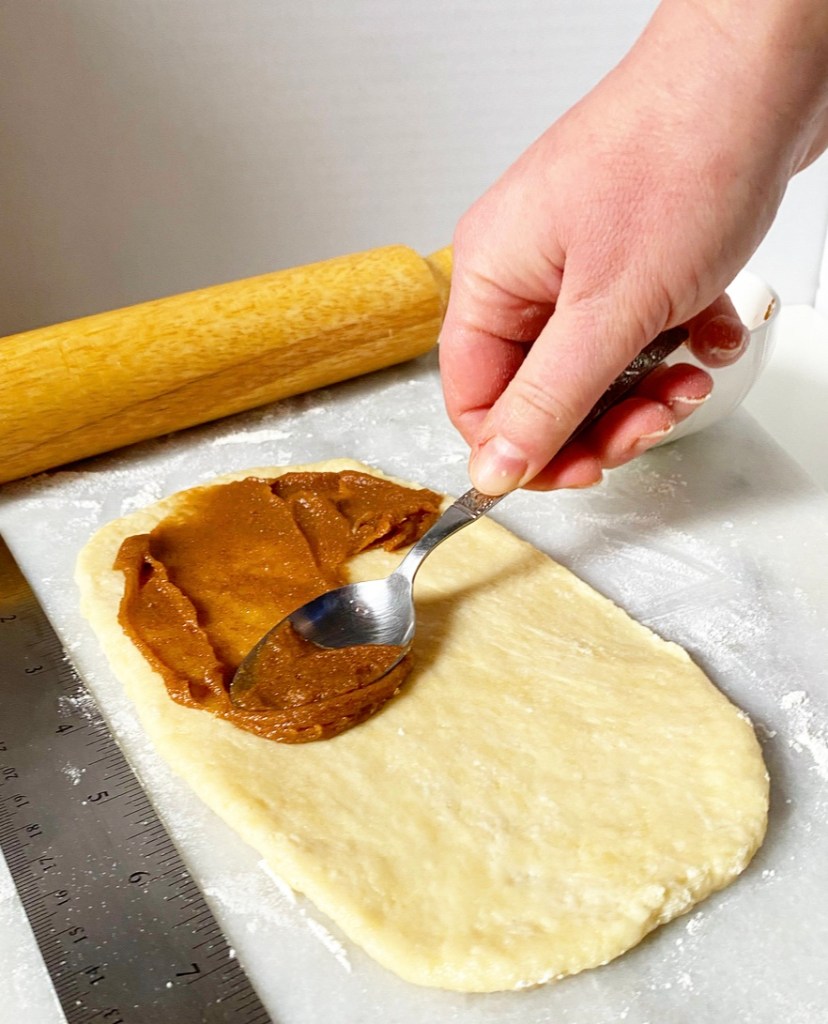
Meanwhile, make the filling. In a small bowl, use a fork to mix together melted butter, sugar, cinnamon, and salt. Set aside.
Grab the bowl with the remaining topping ingredients. Microwave it for 30 seconds and give it a stir. Microwave for an additional 30 seconds until it’s bubbling hot. Spoon the topping mixture over the pecans in the prepared muffin cups (about 1 tablespoon each).
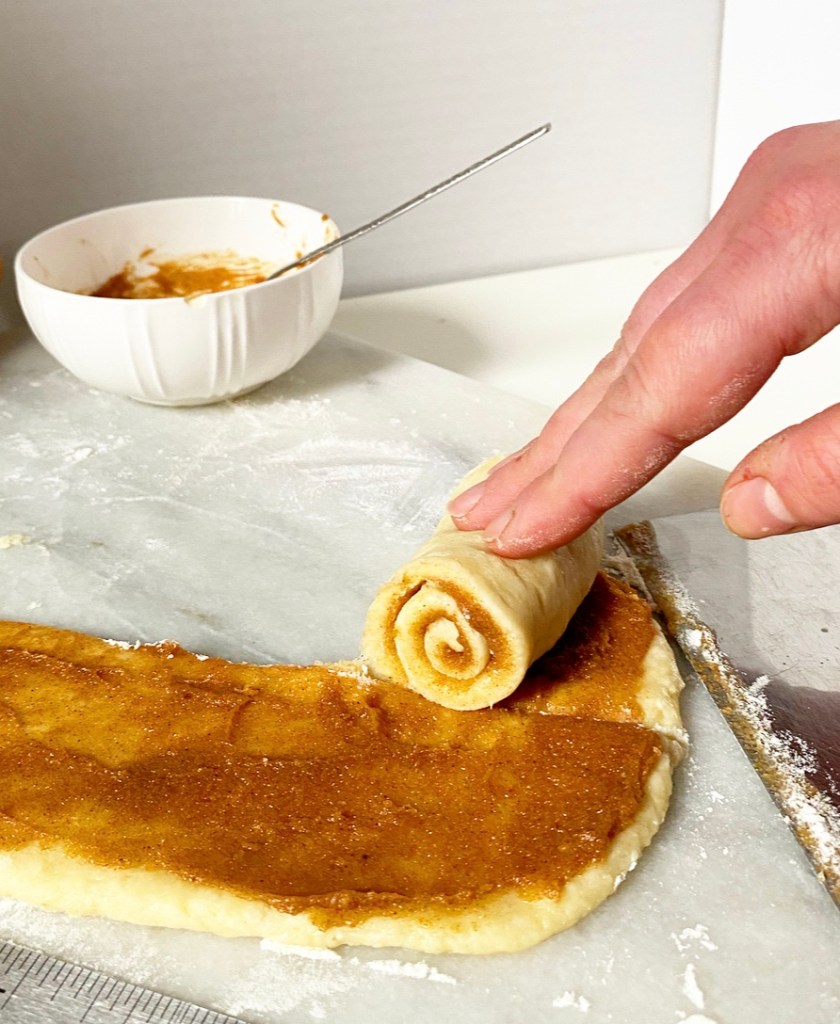
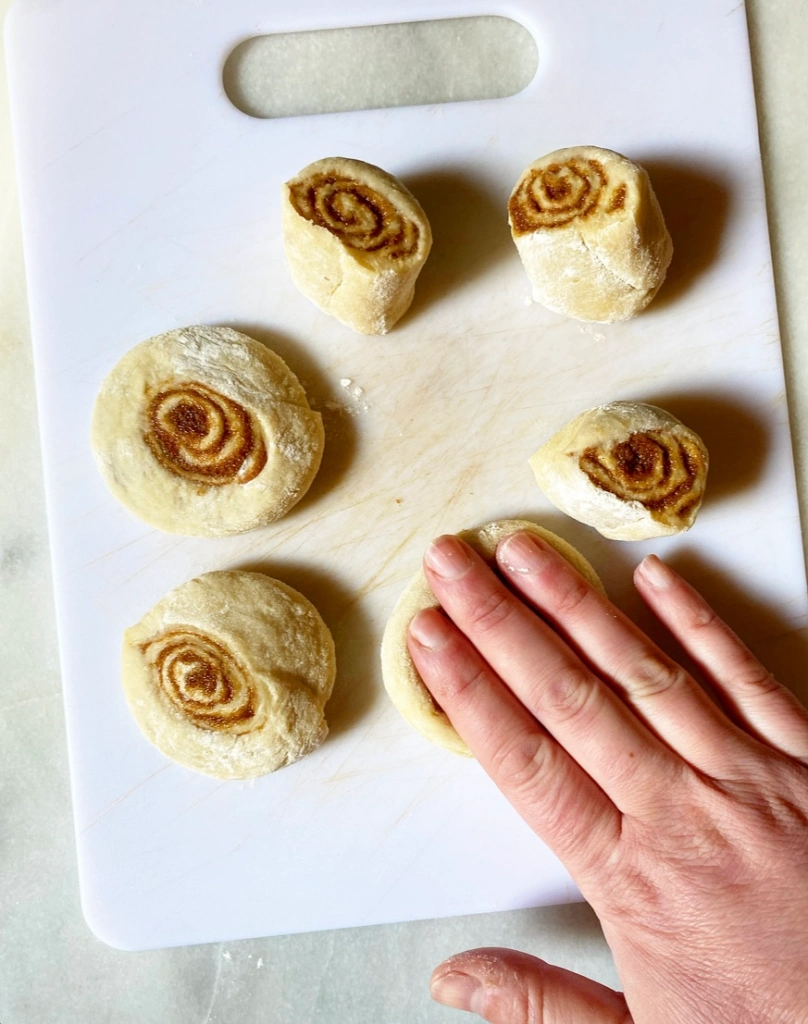
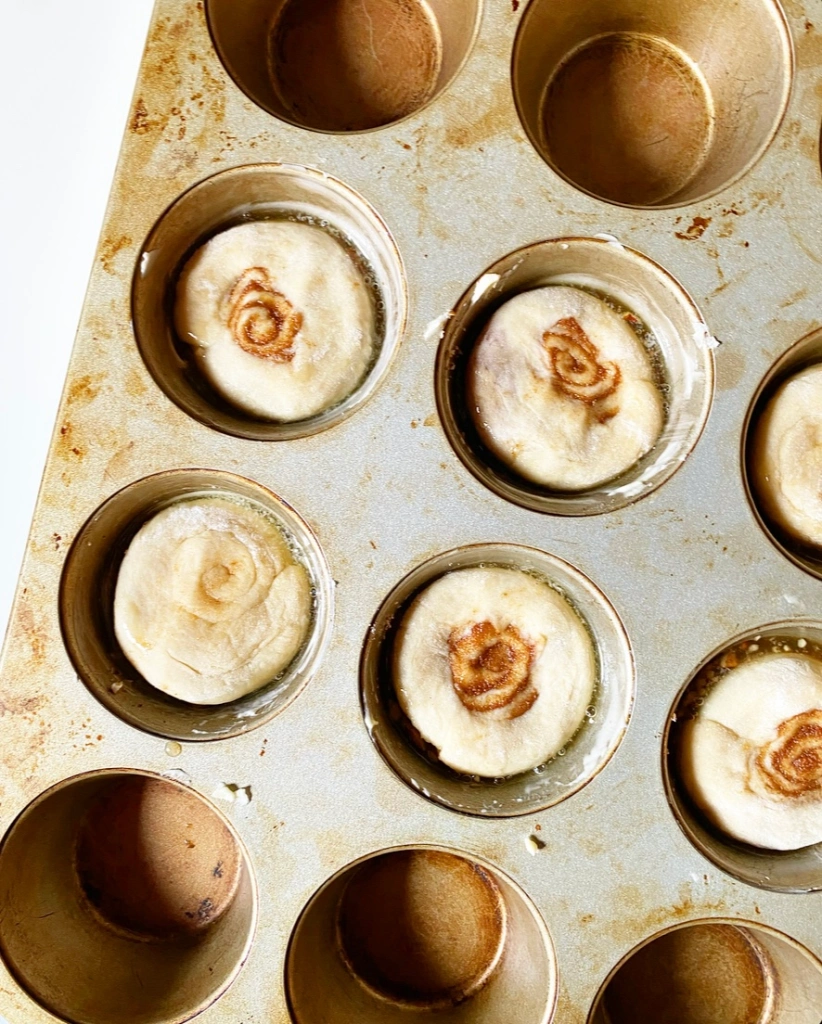
Flour a surface and a rolling pin. Turn dough onto the surface and roll into an 8x10 rectangle. Use the back of a spoon to spread filling over the top. Starting at a narrow end, roll each up tightly into a cylinder.
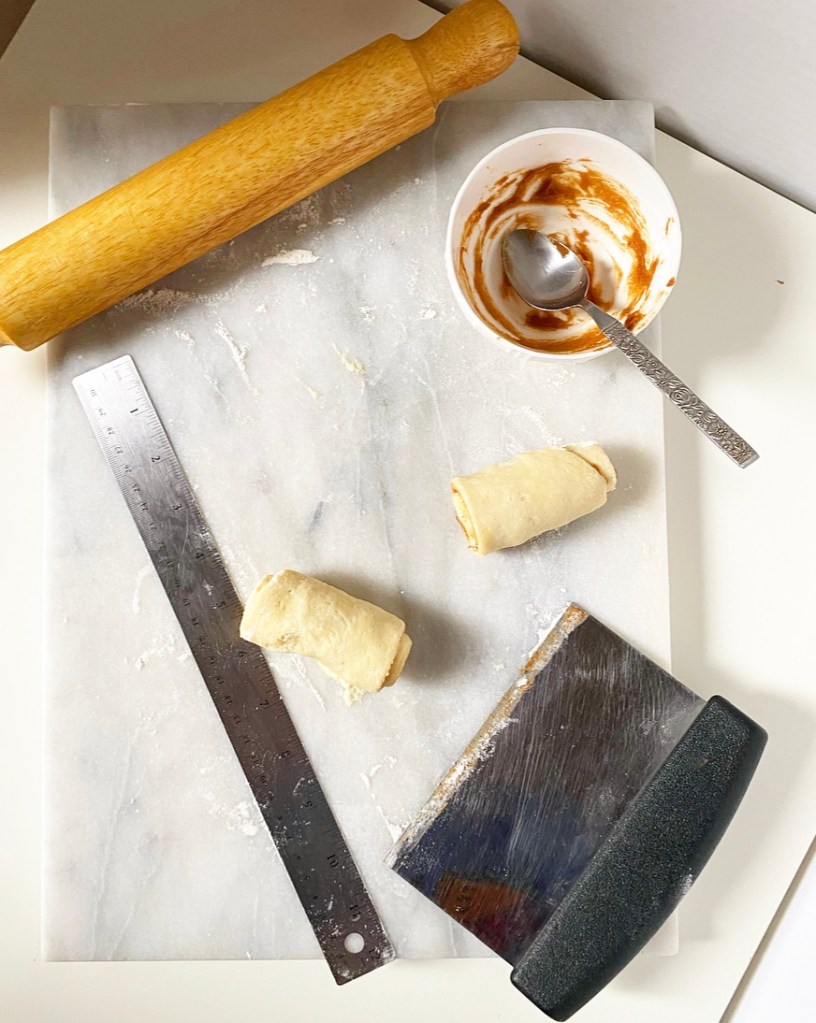
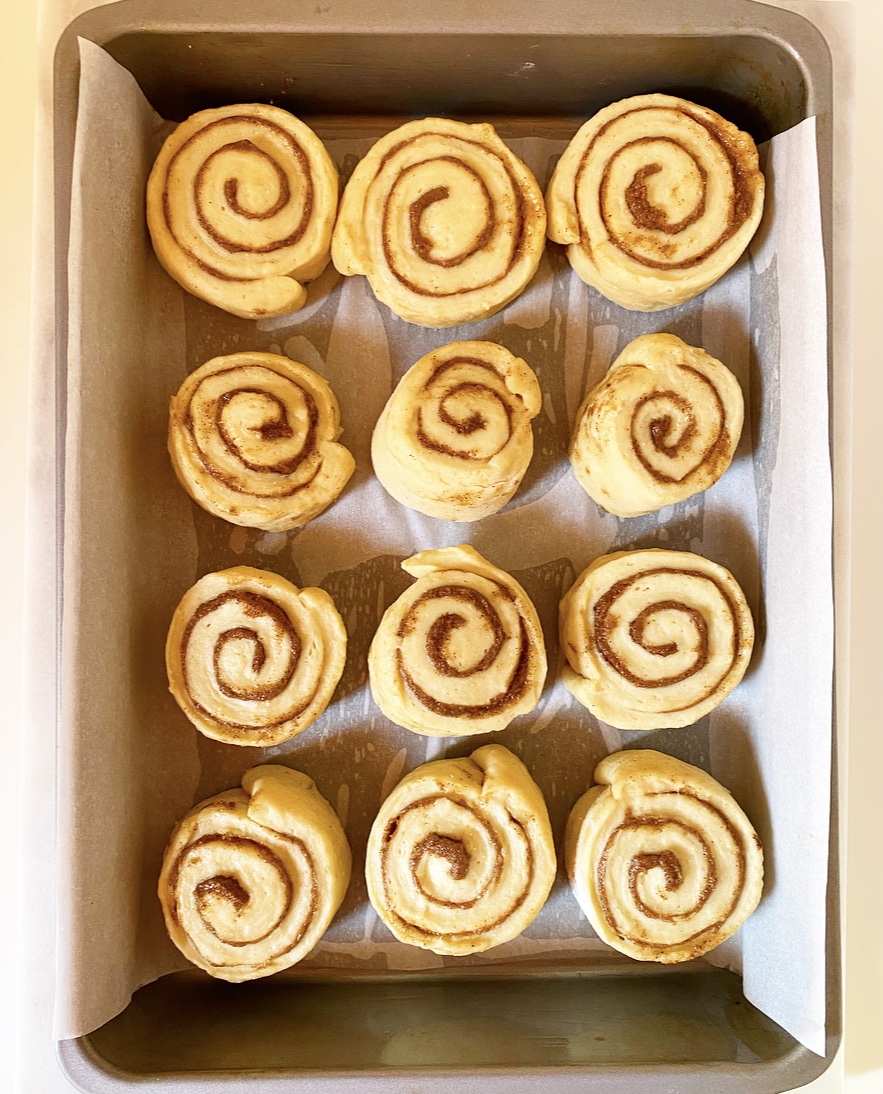
Use a large, sharp chef’s knife or bench scraper to slice the cylinder into 6 slices. Turn all rolls so that they are spiral-side up on the floured surface. Use the heel of your hand to press them down so that they are about half as tall and twice as wide as they were.
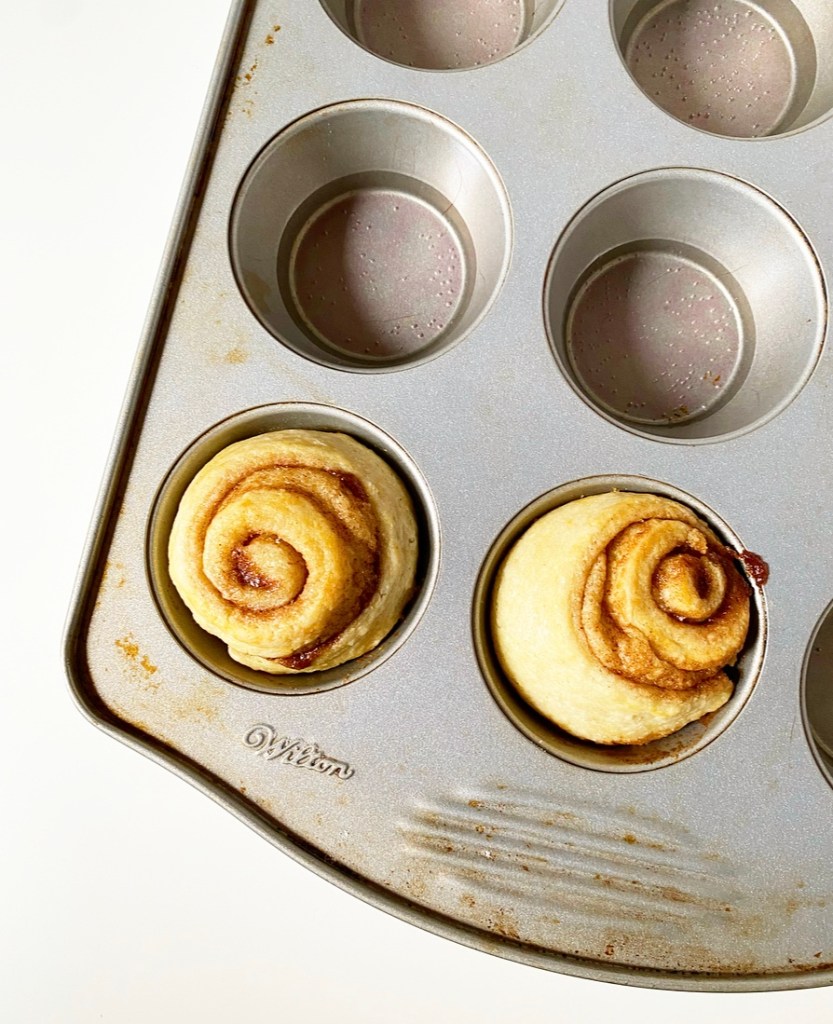
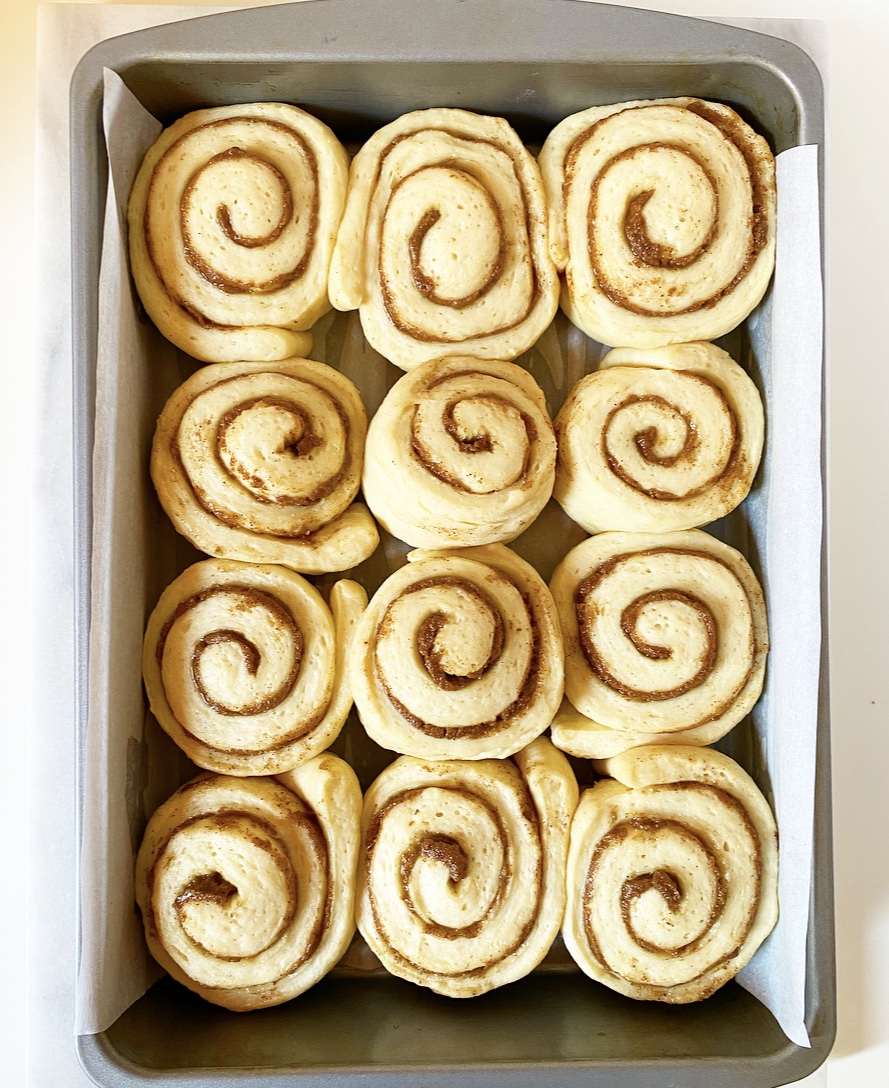
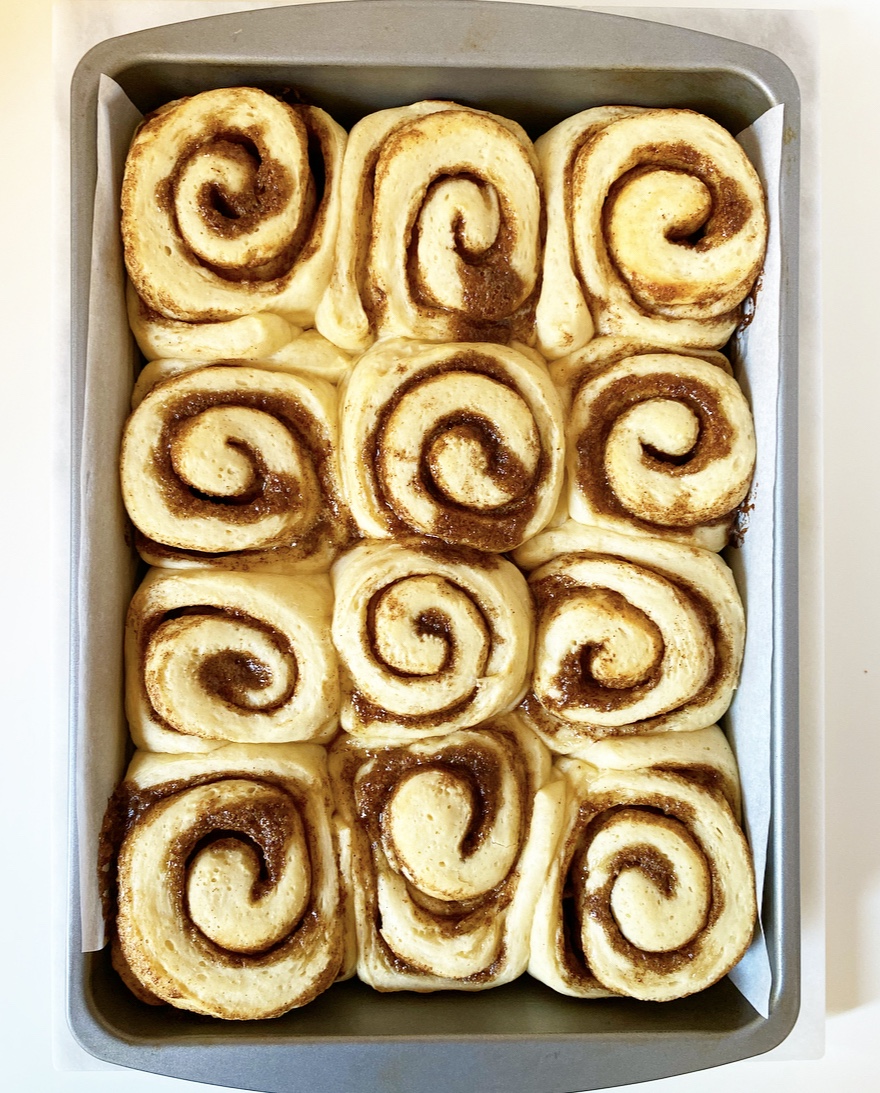
Place rolls in the prepared muffin cups. Press down on the tops to help the bottoms adhere to the sticky topping and pecans. Don’t worry that they look a little smushed, as they will rise up while baking. Bake rolls 15-16 minutes.
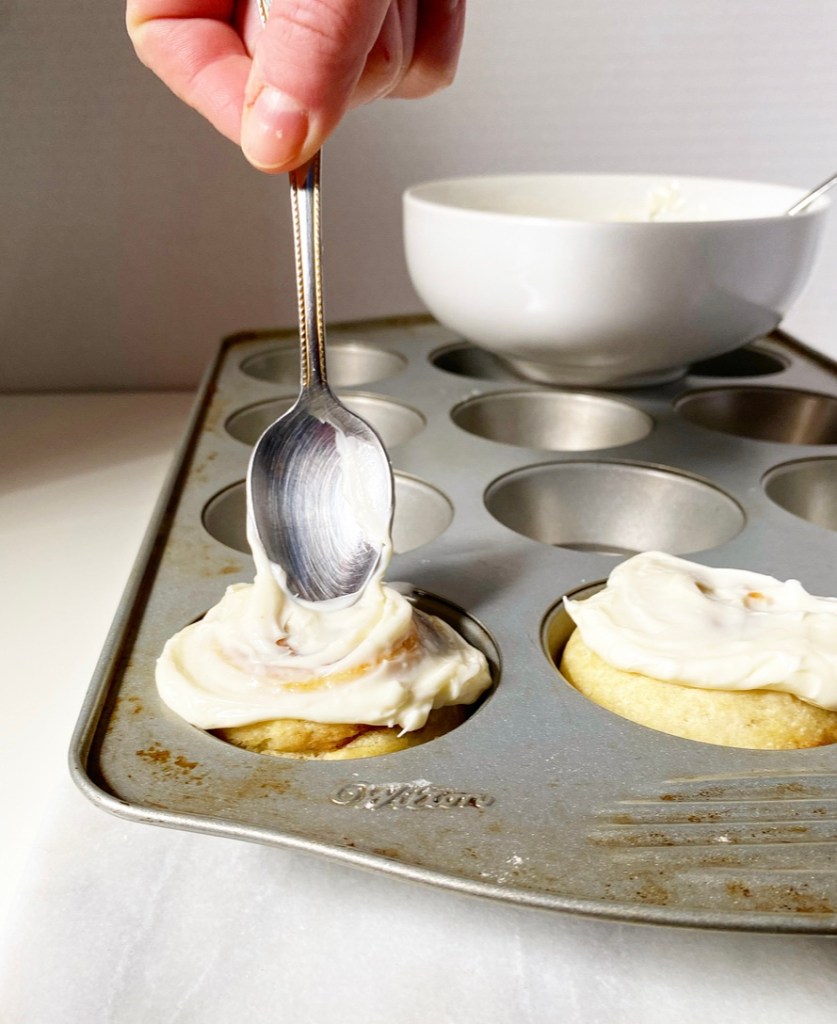
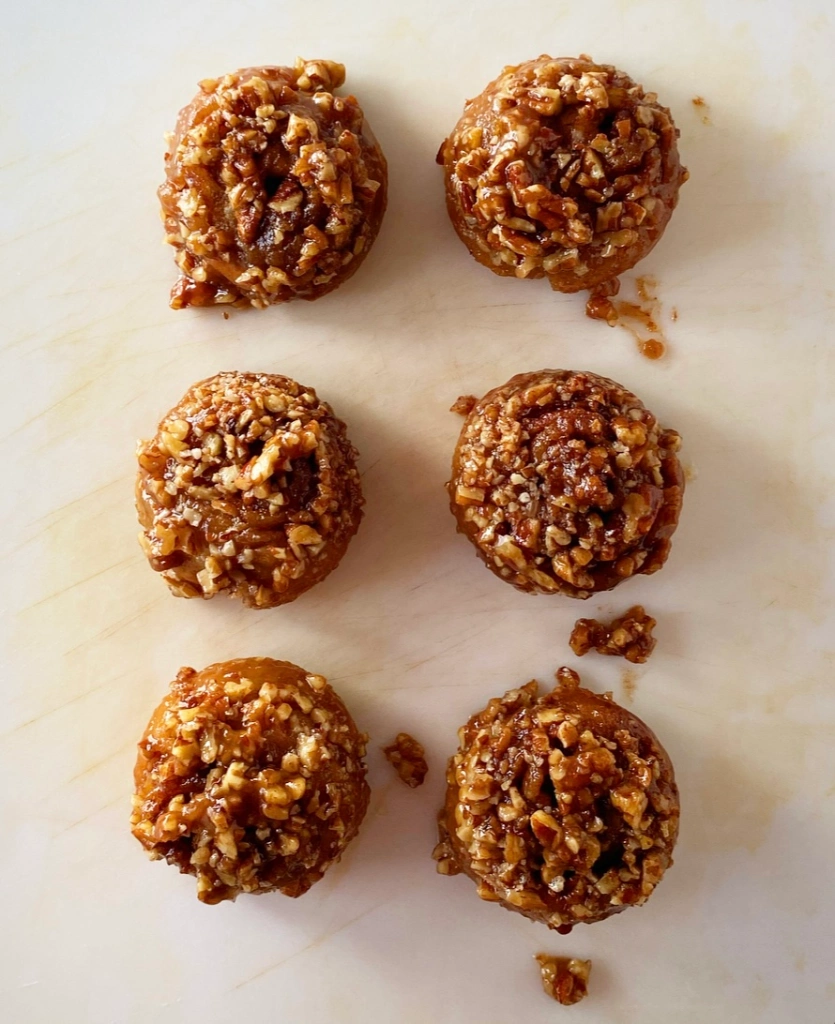
Once baked, let rolls cool in the pan for 1-2 minutes. Place a platter, cutting board or other plate upside down over the top of the rolls. Hold the pan and platter together tightly, then quickly invert so that the bottom of the pan is on top.
Lift the pan, revealing the sticky buns. Use a small spoon to add any remaining topping from the pan.
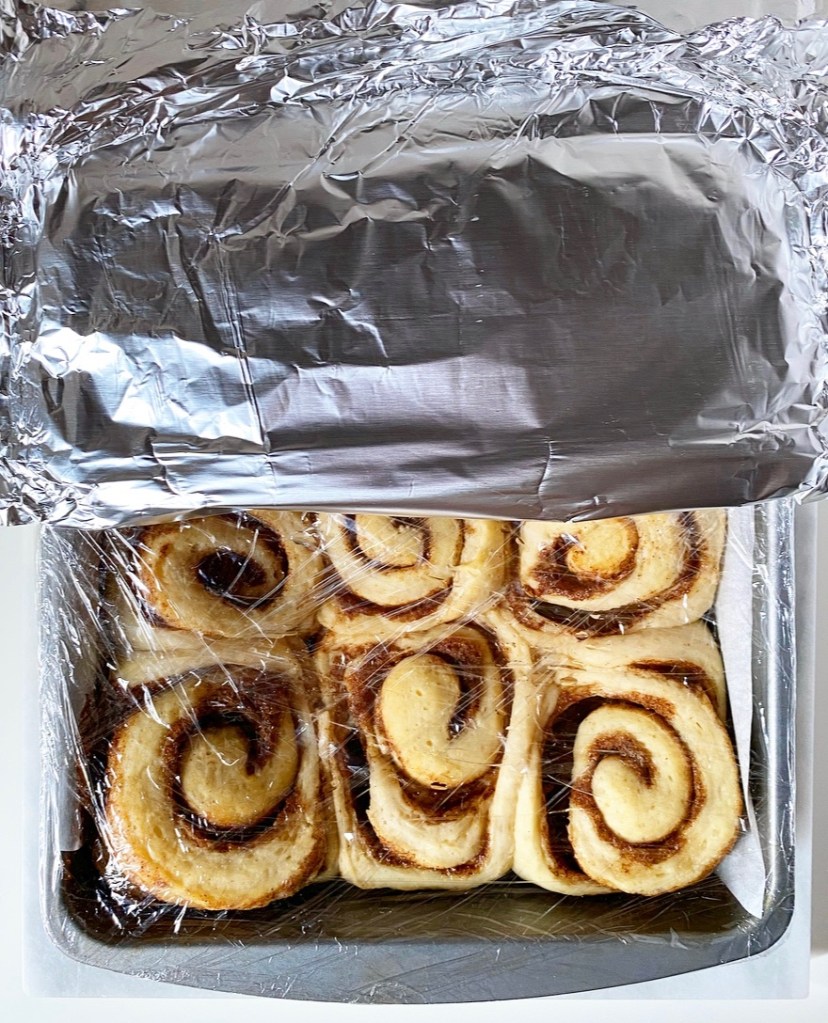
Serve rolls warm or at room temperature. Leftovers will keep covered for at room temperature for 1-2 days.