I am delighted to present this recipe as part of the Sweetest Season Cookie Exchange. This my fourth year participating in this event during which food bloggers post holiday cookies, raise awareness and donate money in support of Cookies for Kids’ Cancer, a 501(c)3 non-profit organization. We believe in their mission to raise funds for innovative pediatric cancer treatments and research through bake sales and cookie swaps. Many supporters (“Good Cookies”) do this throughout the year, and I am happy to contribute by participating in the Sweetest Season. If you’d like to learn more and/or make a charitable donation to Cookies for Kids’ Cancer, click here. For cookies, keep scrolling!
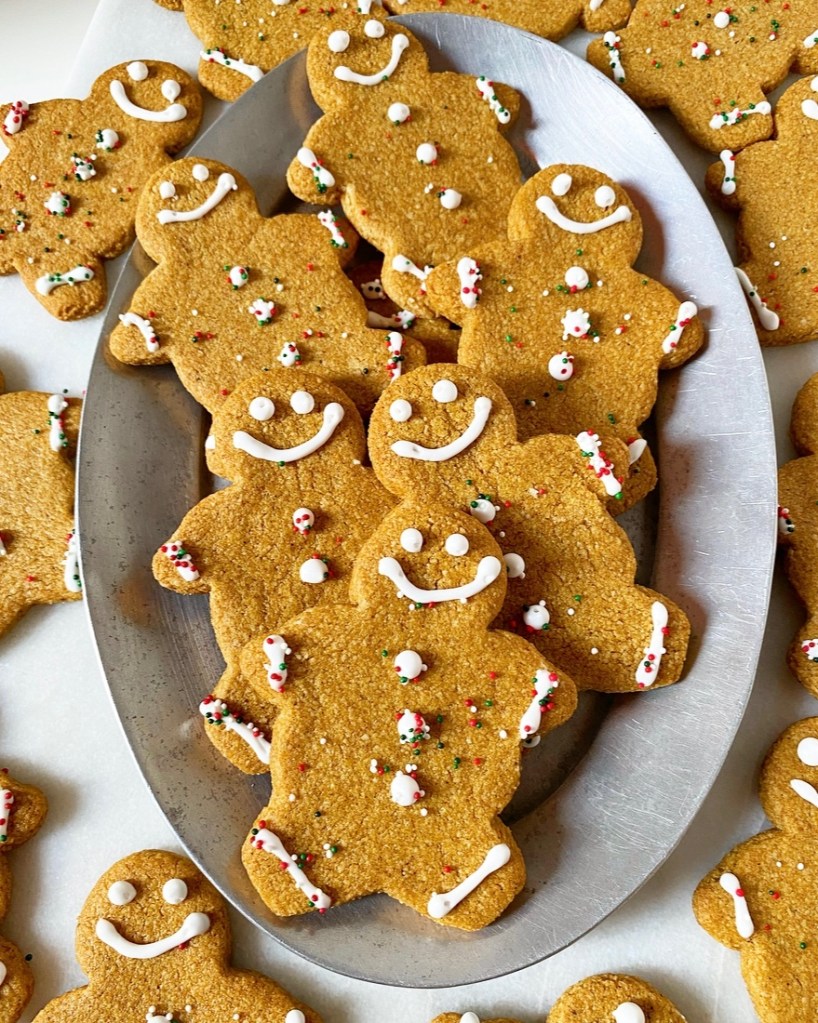
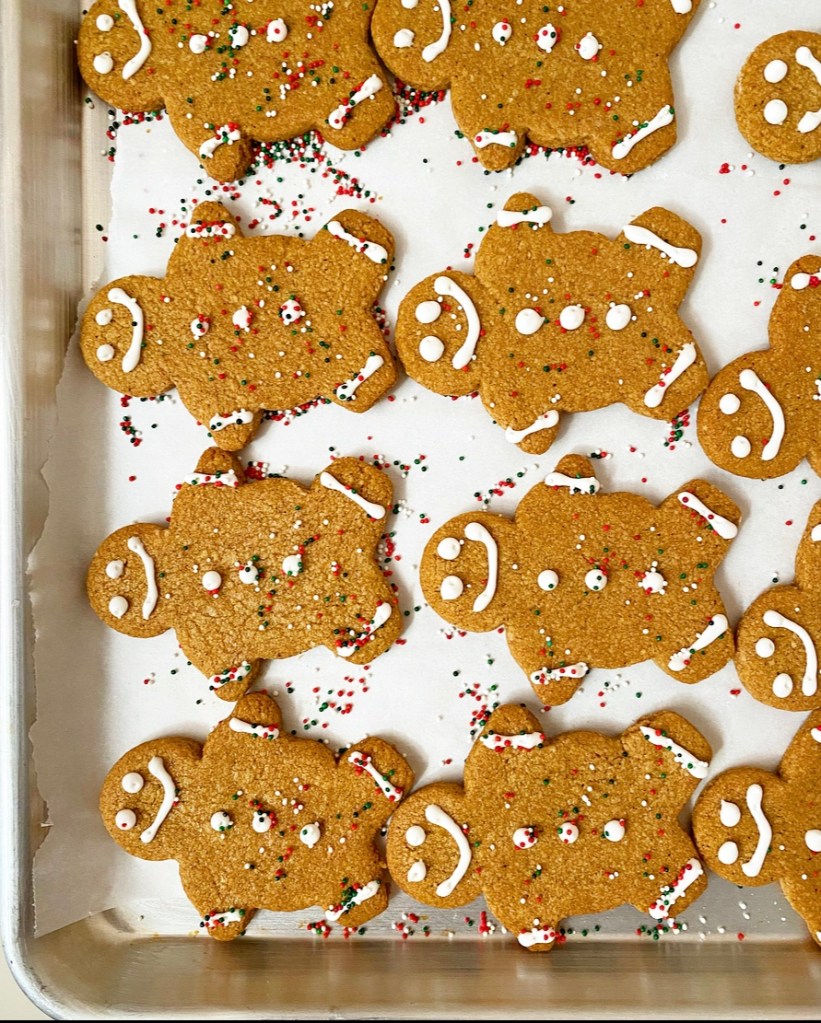
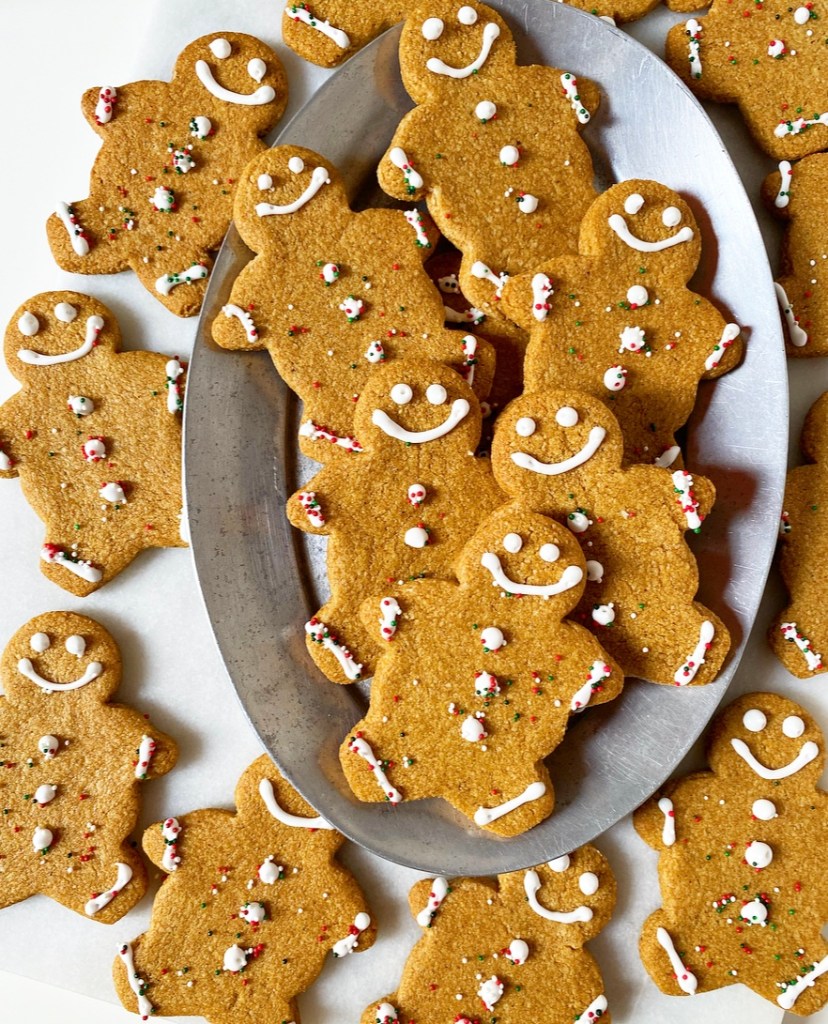
I’ve spent years making different variations on gingerbread cookies, and though I will go to the mattresses for my Maple Spice Stars, I think these Vegan, Gluten-Free Gingerbread Cookies are my best to date. They’re sweet and snappy, and if I didn’t outright tell you that they are egg, dairy, and flour-free, you’d never know it. They just taste like Christmas.

These sweet little cookie people are every bit the soul-warming ginger-spiced cookies we all know and love, just made more accessible. Baking is rarely something I do with only myself in mind and that goes double for the holiday season; it makes perfect sense to have recipes that can feed more of my community in my repertoire. My community happens to include a lot of people who are gluten-free or vegan or both, so these festive treats certainly fit the bill!

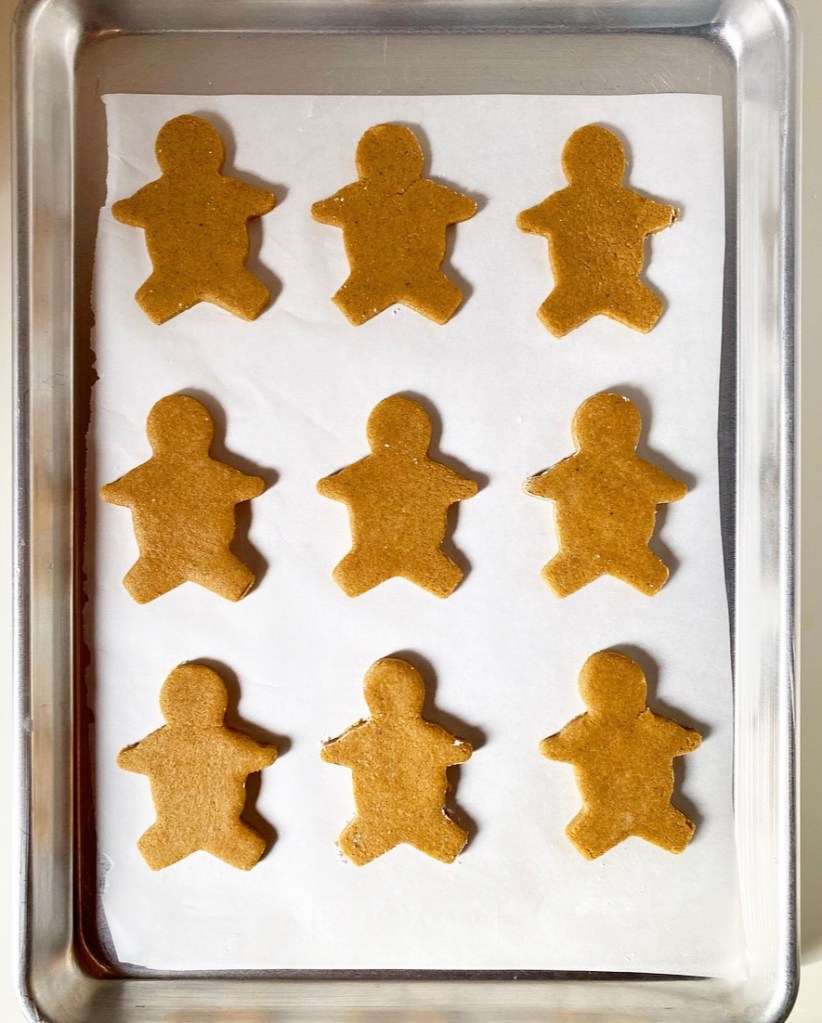
Let’s talk process. This dough is simple and straightforward, relying on easy-to-find ingredients like almond flour, vegan butter, and confectioner’s sugar in addition to classic gingerbread fare like molasses, brown sugar, and a bevy of spices. It takes just minutes to mix up and only needs an hourlong chill before it’s ready to roll and cut. You can use any cookie cutter you like, of course, but I am a sucker for classic gingerbread people. So cute!
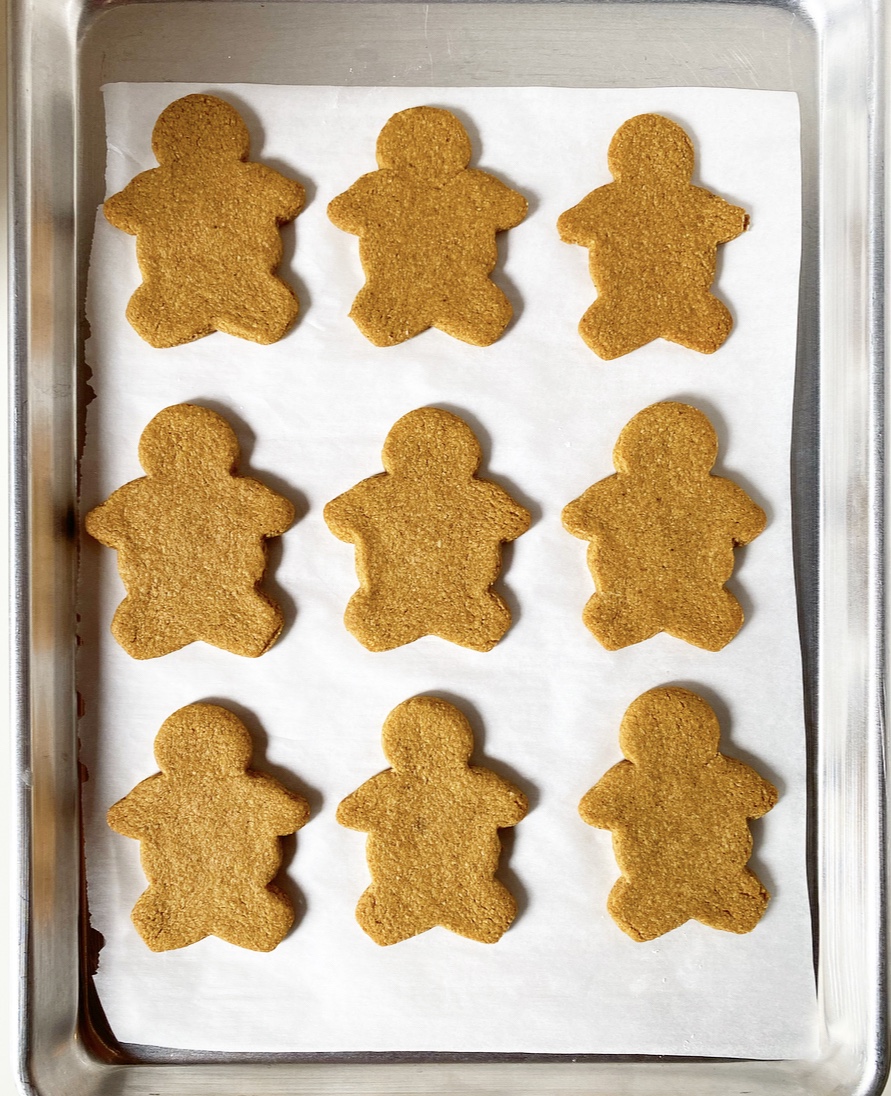
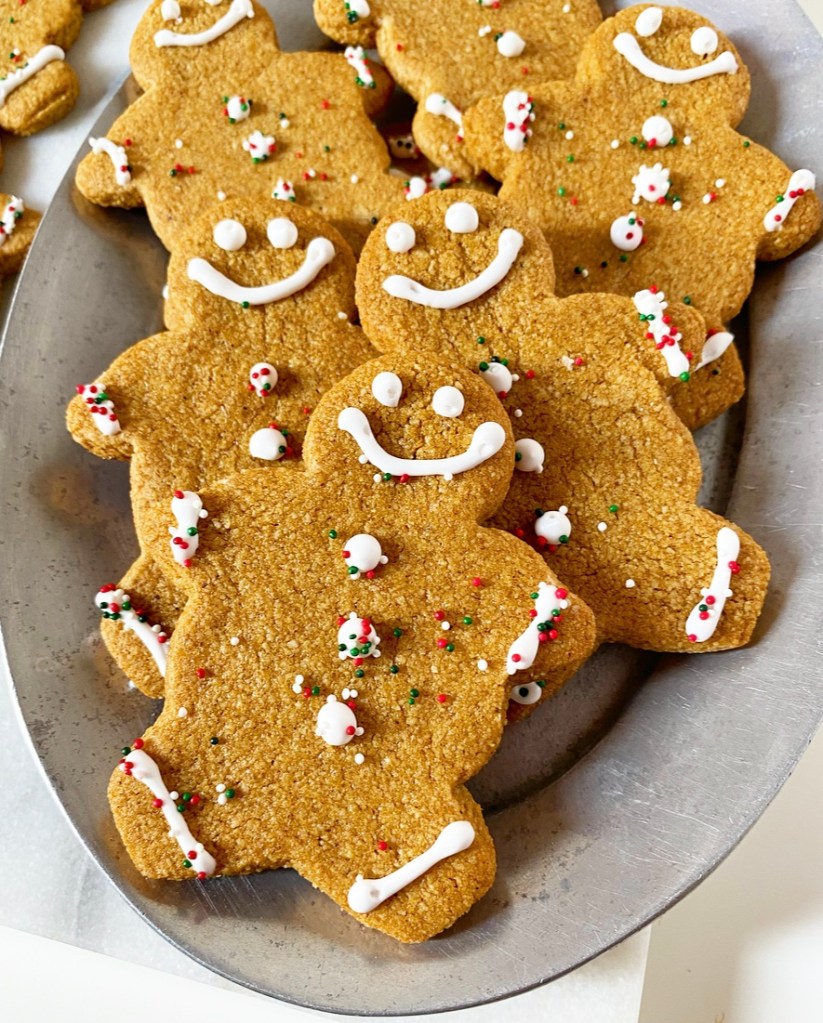
Baking is business as usual. These little buddies take 12-14 minutes at 325F, with crisper results coming more toward the 14 minute mark. Heads up: keep an eye on them in that last minute so they don’t over-brown. Even if they do get a little overdone though, you can fix them right up with icing. Vegan Royal Icing to be exact!
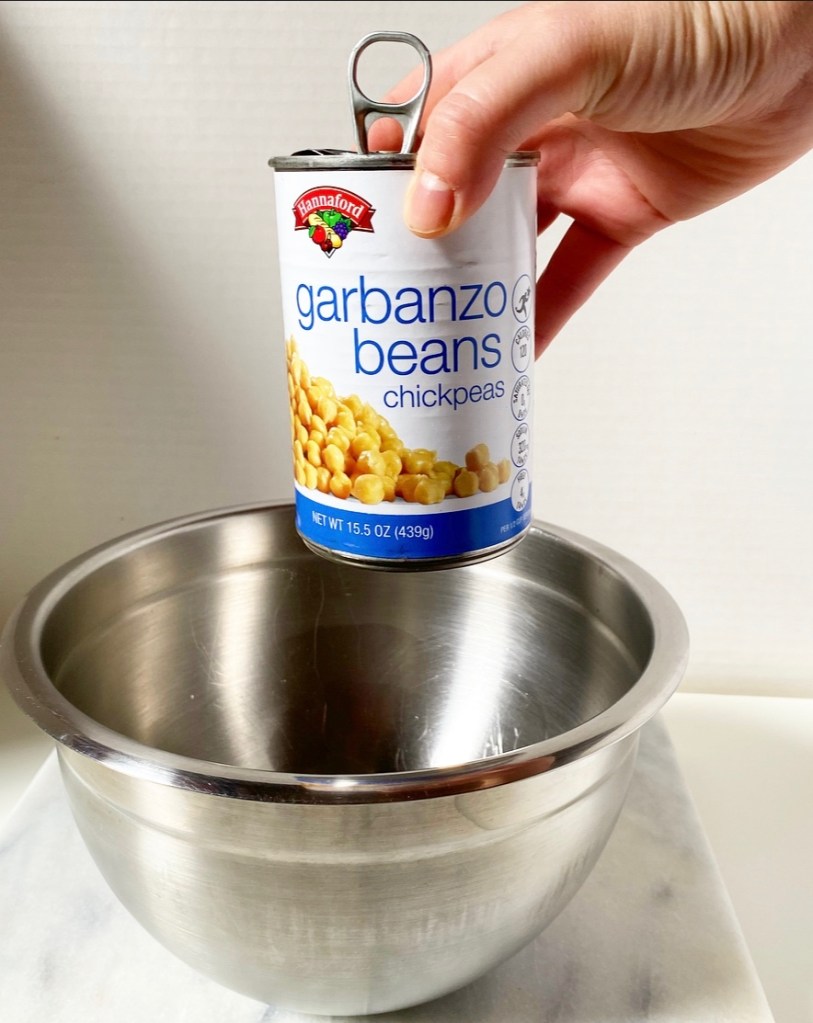
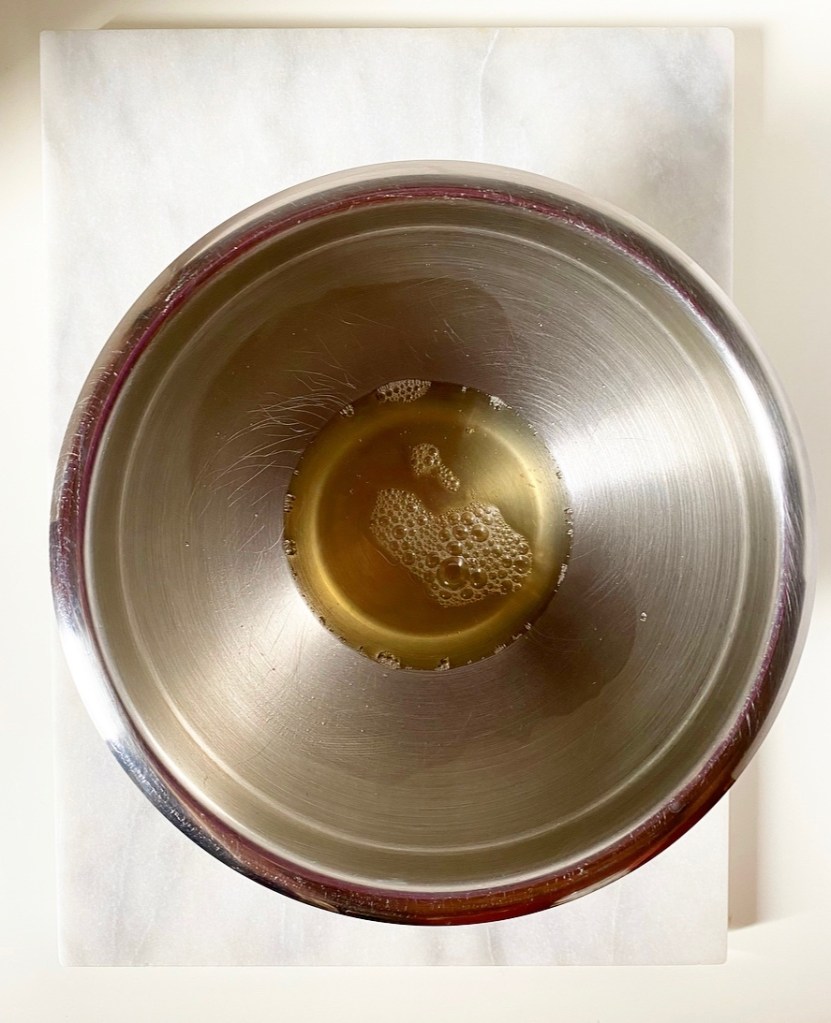
Where classic royal icing is made with egg whites, the vegan stuff uses my favorite egg replacer ever: aquafaba! Yep, the liquid from a can of chickpeas is the secret to pipeable, reliable egg-free royal icing! Its protein structure allows it to whip up just like egg whites do, making it a perfect 1:1 replacement here.
With the exception of swapping aquafaba for my usual mix of water and meringue powder, this Vegan Royal Icing comes together exactly the same way as my traditional recipe, and is just as delicious! I used the icing as-is for decoration, but feel free to dye it any color you like or to thin it for making flood icing if you’re interested in more intricate designs.
Oh, and for those concerned, this icing doesn’t taste like beans at all—it just tastes like icing.
And these vegan, gluten-free gingerbread cookies? They just taste like Christmas.
The Best Vegan, Gluten-Free Gingerbread Cookies
makes about 2 dozen 4-inch cookies
3 cups blanched almond flour
1 teaspoon baking powder
1 teaspoon Kosher or sea salt
3 1/2 teaspoons ground ginger
2 teaspoons ground cinnamon
1/2 teaspoon ground nutmeg
1/4 teaspoon ground allspice
1/4 teaspoon ground cloves
1/2 cup vegan butter, softened to room temperature
2/3 cup dark brown sugar, packed
1/3 cup confectioner’s sugar
2 tablespoons molasses
2 teaspoons pure vanilla extract
For decoration:
Vegan Royal Icing (recipe below)
sprinkles of choice
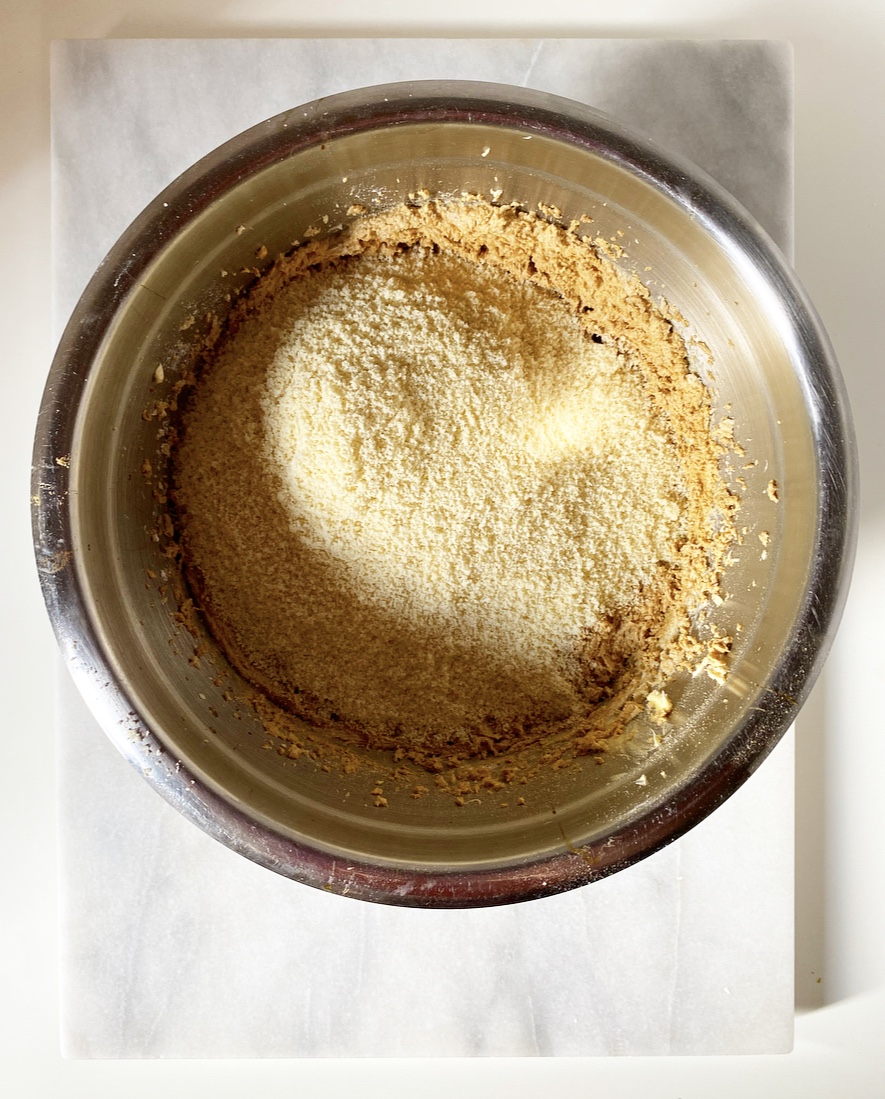
In a medium mixing bowl, whisk together almond flour, baking powder, salt, ginger, cinnamon, nutmeg, allspice and cloves. Set aside.
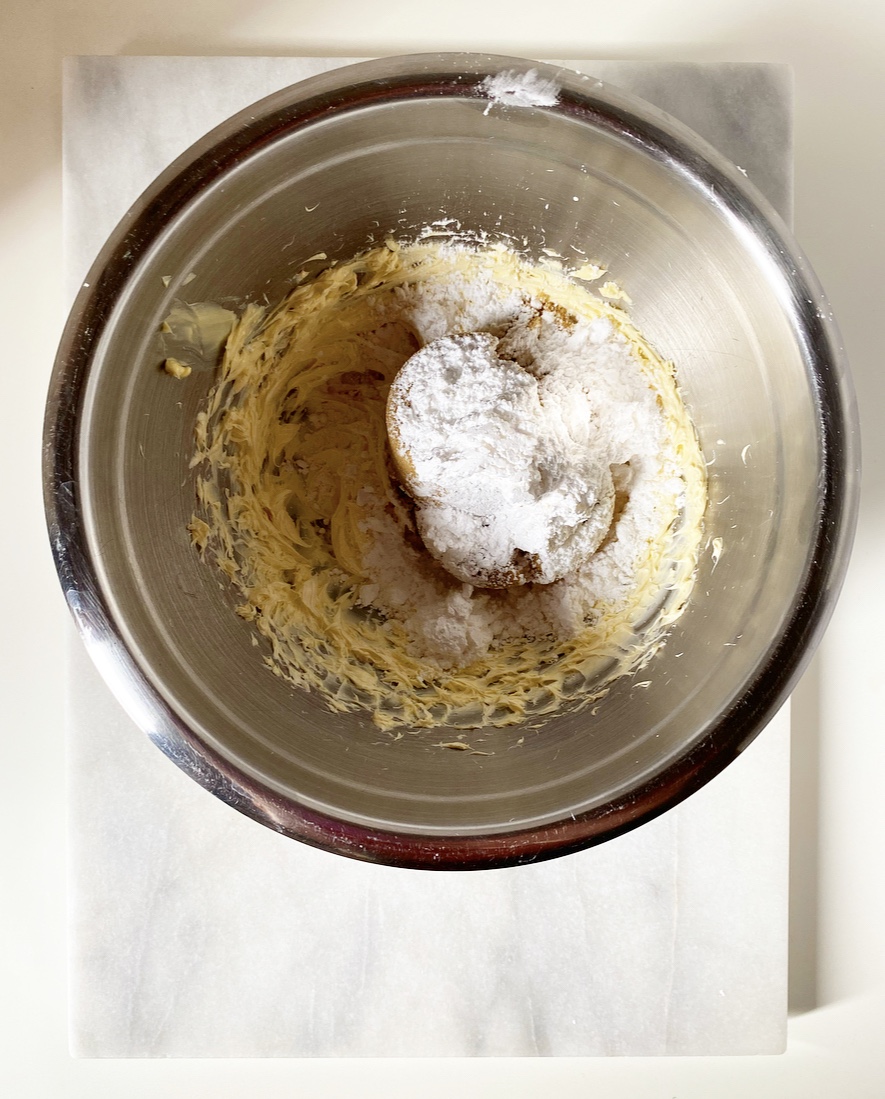
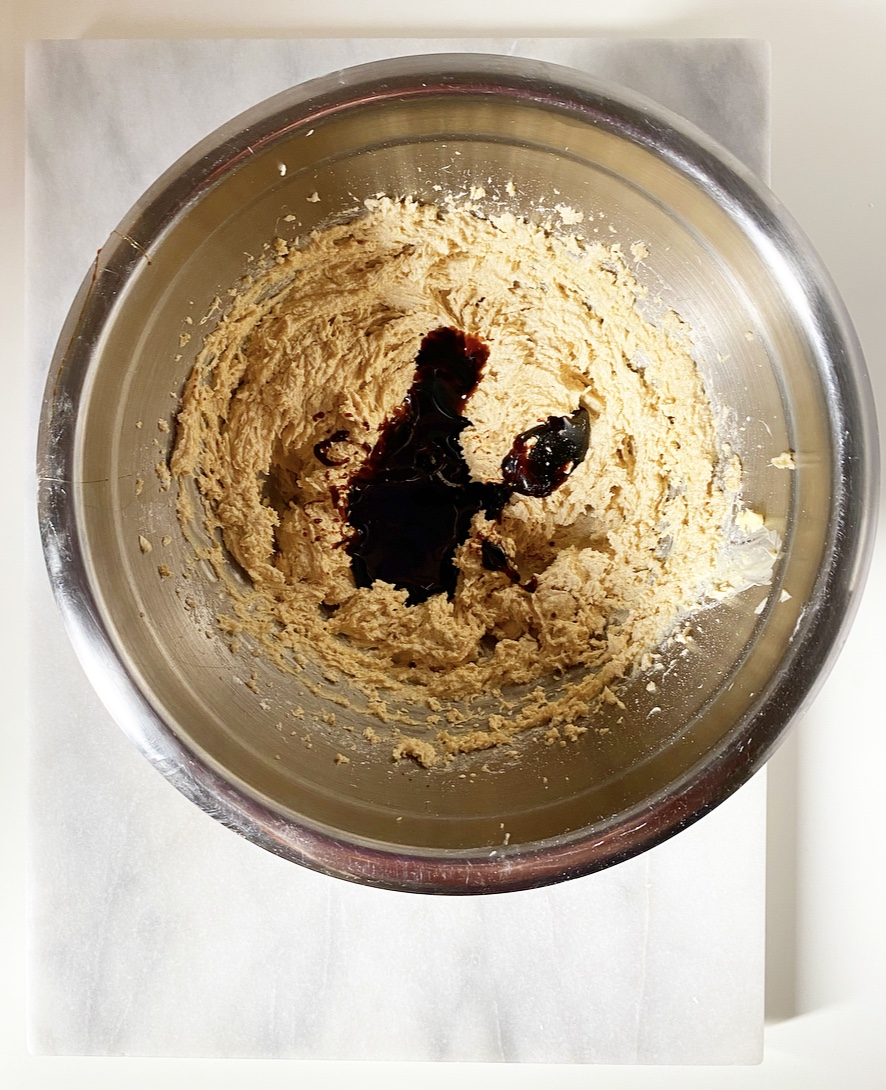
In a separate medium-large mixing bowl, use an electric mixer to beat vegan butter until fluffy (about 2 minutes). Add dark brown sugar and confectioner’s sugar and beat until fully combined (about 2 minutes). Beat in molasses and vanilla.
Add dry ingredients in two installments, mixing completely after each addition. Dough may look rubbly, but should hold together extremely well when pinched.
Divide dough in two. Form each half into a disk, then wrap with plastic wrap. Chill for 1 hour or up to 3 days.
Place oven racks in central positions. Preheat oven to 325F. Line two rimmed baking sheets with parchment.
Use confectioner’s sugar to dust a surface and rolling pin. Unwrap one disk of dough and place it on the surface. Use the rolling pin to roll it out to 1/4-inch thickness. A thin offset icing spatula or bench scraper (or similar) will make moving the dough much easier, as will adding more confectioner’s sugar to the surface and rolling pin.
Use a cookie cutter to cut shapes, then use the icing spatula to move them to the prepared pans, keeping them 1.5-2 inches apart. Bake cookies 12-14 minutes, rotating the pans top-to-bottom and front-to-back at the 7 minute mark.
Let cookies cool 10 minutes on their pans. Use a spatula to remove them to a cooling rack to cool completely.
Repeat rolling, cutting, and baking as needed, re-rolling scraps as needed. Let cookie sheets come to room temperature between batches.
Once cookies are all baked and cooled, decorate with Vegan Royal Icing (recipe below) and sprinkles. Let cookies dry at least 8 hours before layering with parchment paper and stacking.
Cookies will keep covered at room temperature for at least a week.
Vegan Royal Icing
makes more than enough for 1 batch of gingerbread cookies
1/3 cup aquafaba (liquid from a can of chickpeas)
1/2 teaspoon cream of tartar
2 teaspoons pure vanilla extract
1 pound (3 3/4 cups) confectioner's sugar, divided
1 tablespoon corn syrup
Special Equipment:
gel food coloring
piping bags (or plastic sandwich bags)
small round piping tips and couplers
sprinkles
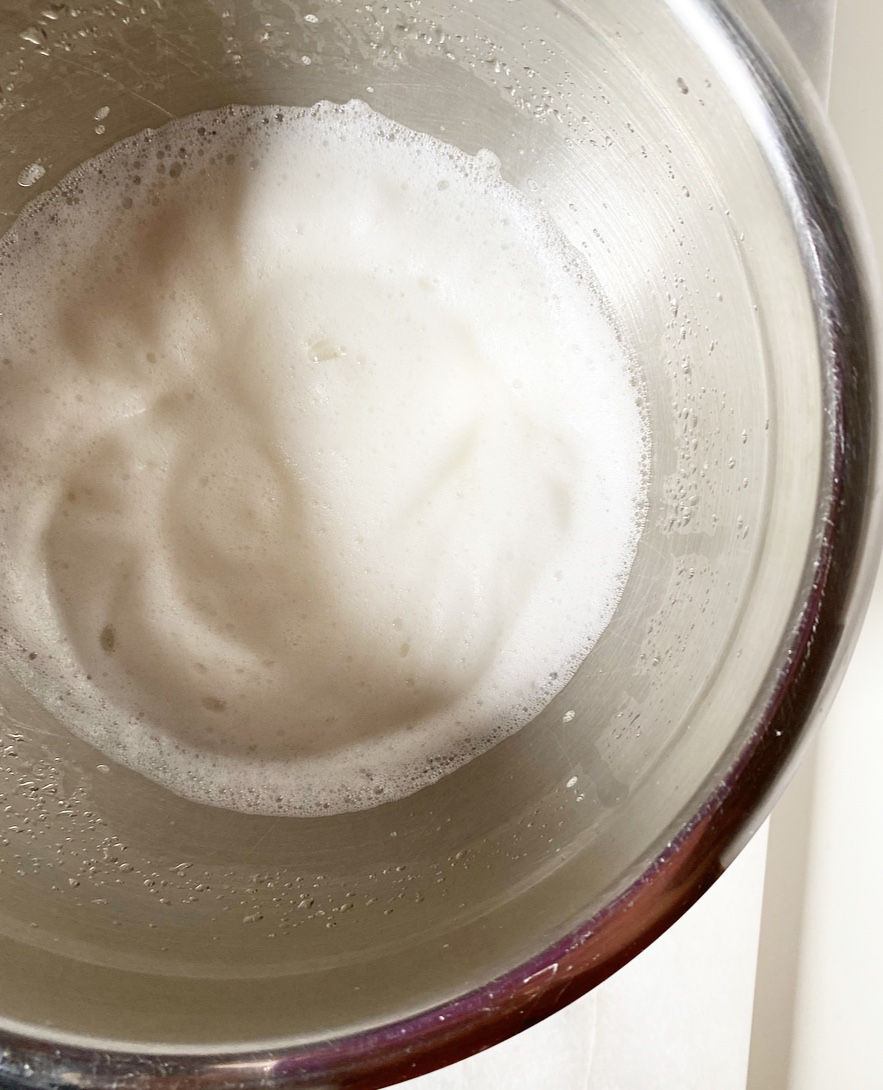
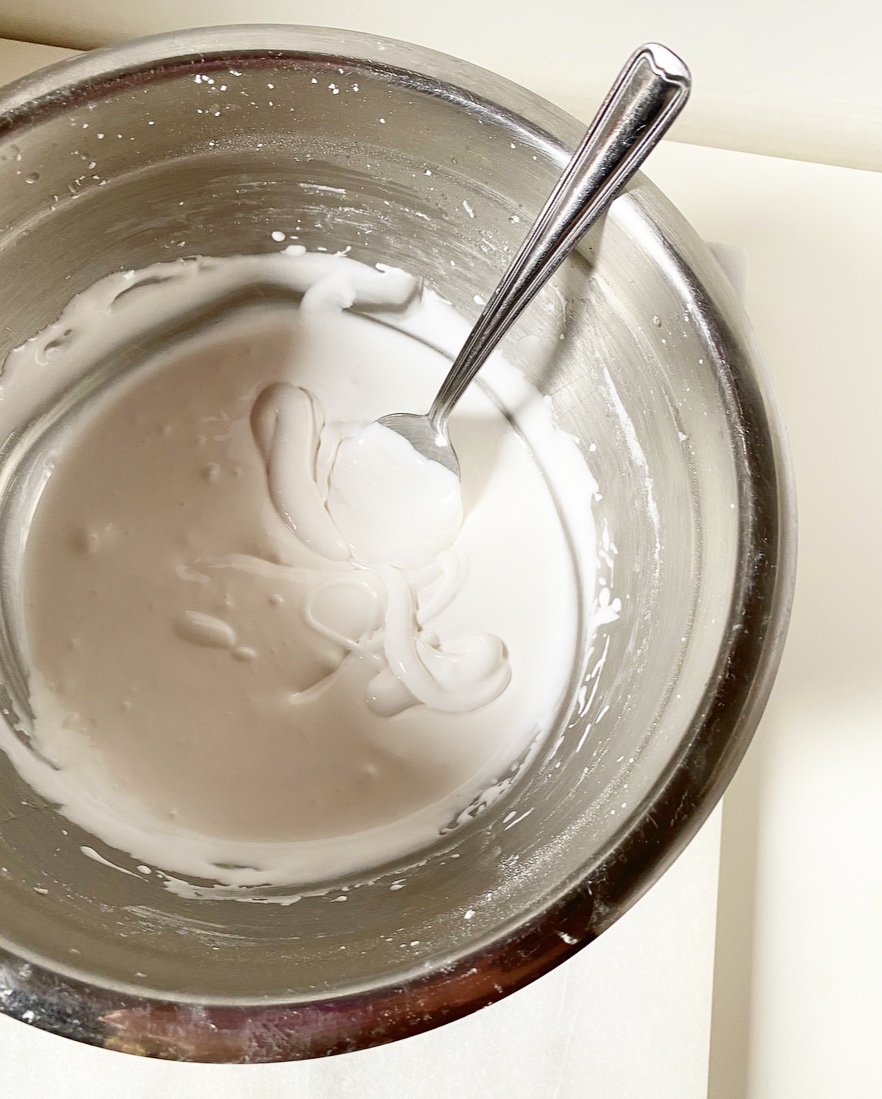
Beat aquafaba and cream of tartar with an electric mixer on medium-high speed until doubled in size, about 1 minute. Mix in vanilla. With the mixer running on low, add half of the confectioner's sugar. Mix in corn syrup. Add the remaining half of confectioner's sugar. Scrape down the bowl before beating on medium-low for an additional 30 seconds.
To ice as pictured here, transfer 1/4 of the icing to a piping bag fitted with a coupler and tip. Ice as desired, sprinkling with any sprinkles immediately after piping (the icing hardens very quickly). Let cookies dry in a single layer uncovered for at least 8 hours, or until fully dry, before stacking.
For storage, press plastic wrap to the surface of your container of Vegan Royal Icing, it may be kept covered at room temperature for up to four days or in the refrigerator for a couple of weeks. Beat with a mixer before using, as it may slowly separate over time. If if needs to be thinned, add 1/2 teaspoon water at a time until icing dribbled into the bowl forms a ribbon that fades within a few seconds.
For information on more intricate decorating like outline/fill icing, using multiple colors, etc., click here.
 This is just to let you know that if, on the second night of
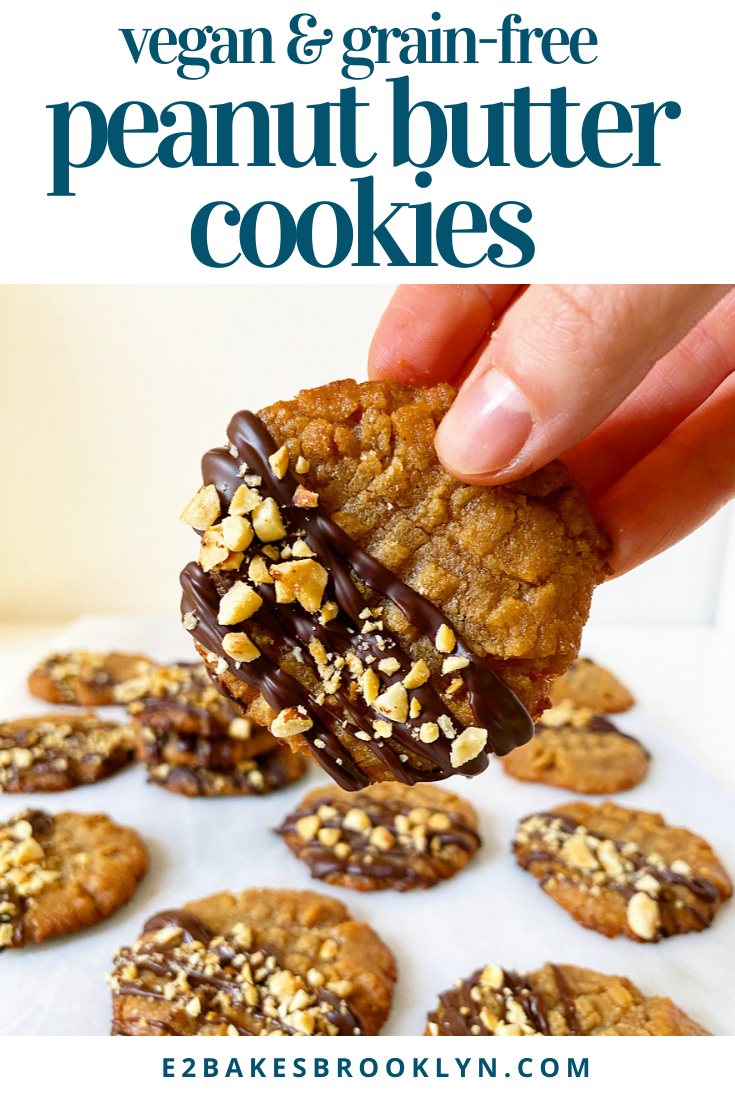
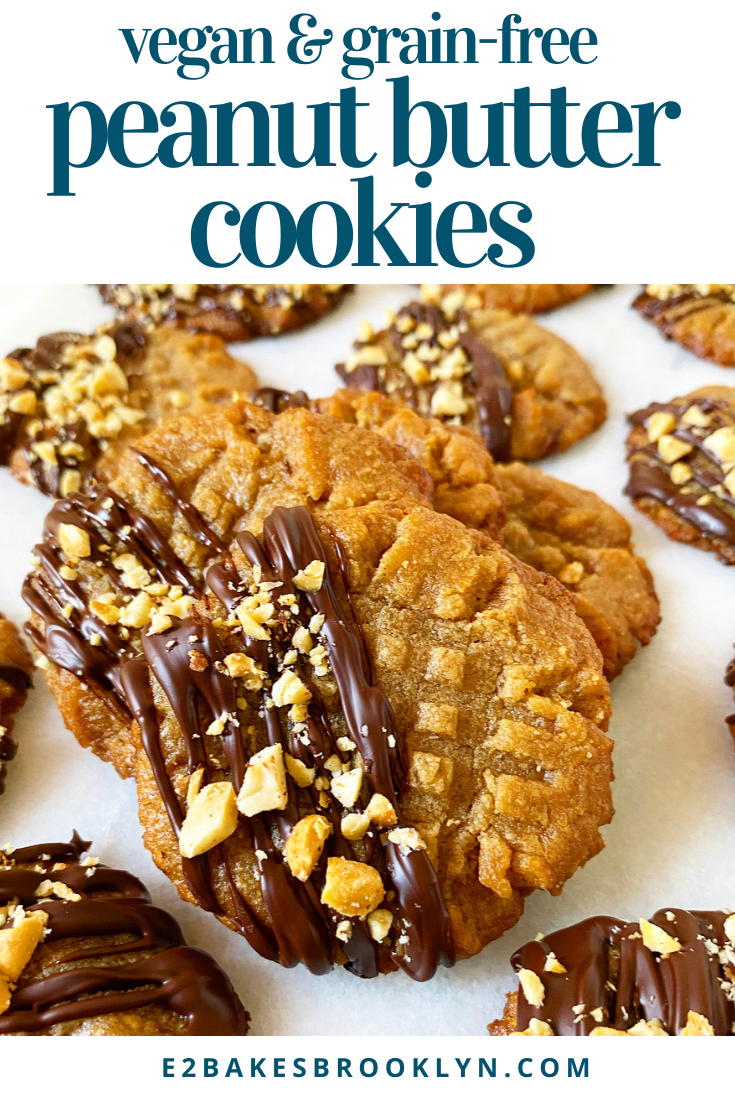
 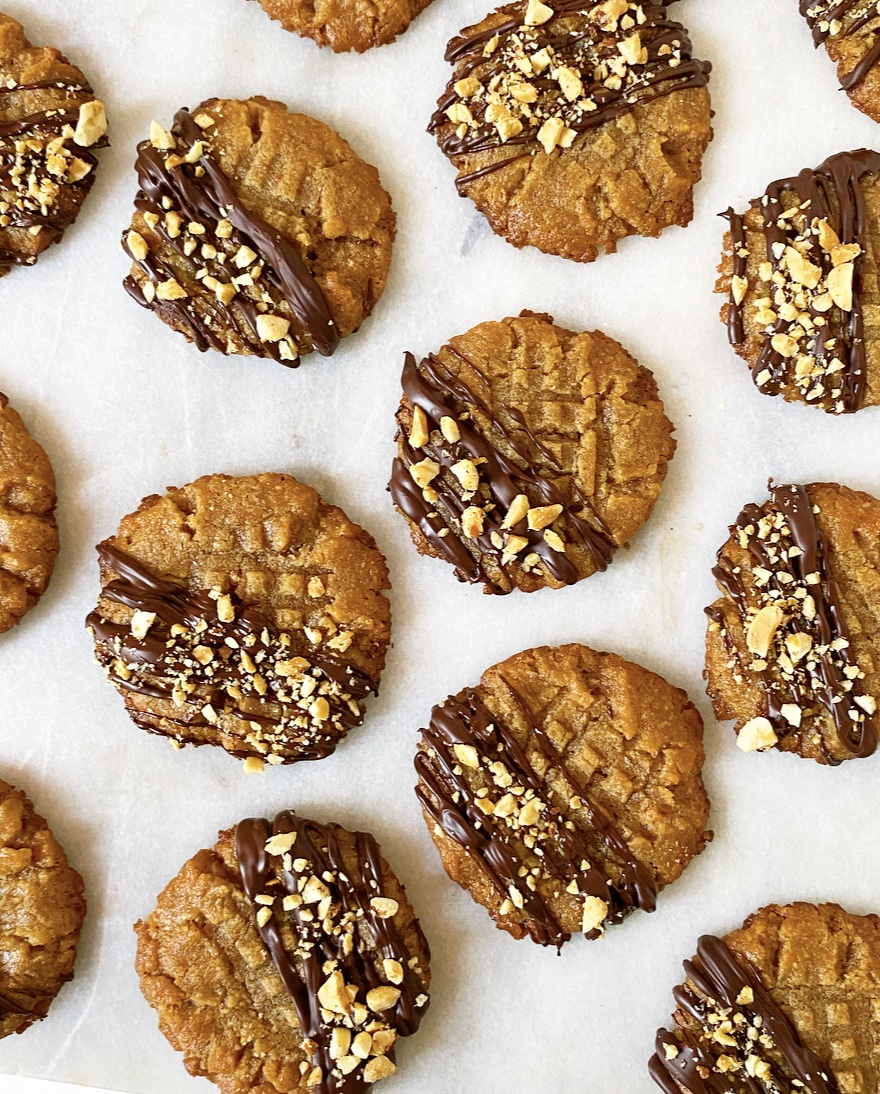 Did I mention that they’re vegan and grain-free? Because they are. This recipe is the lightest twist on the classic
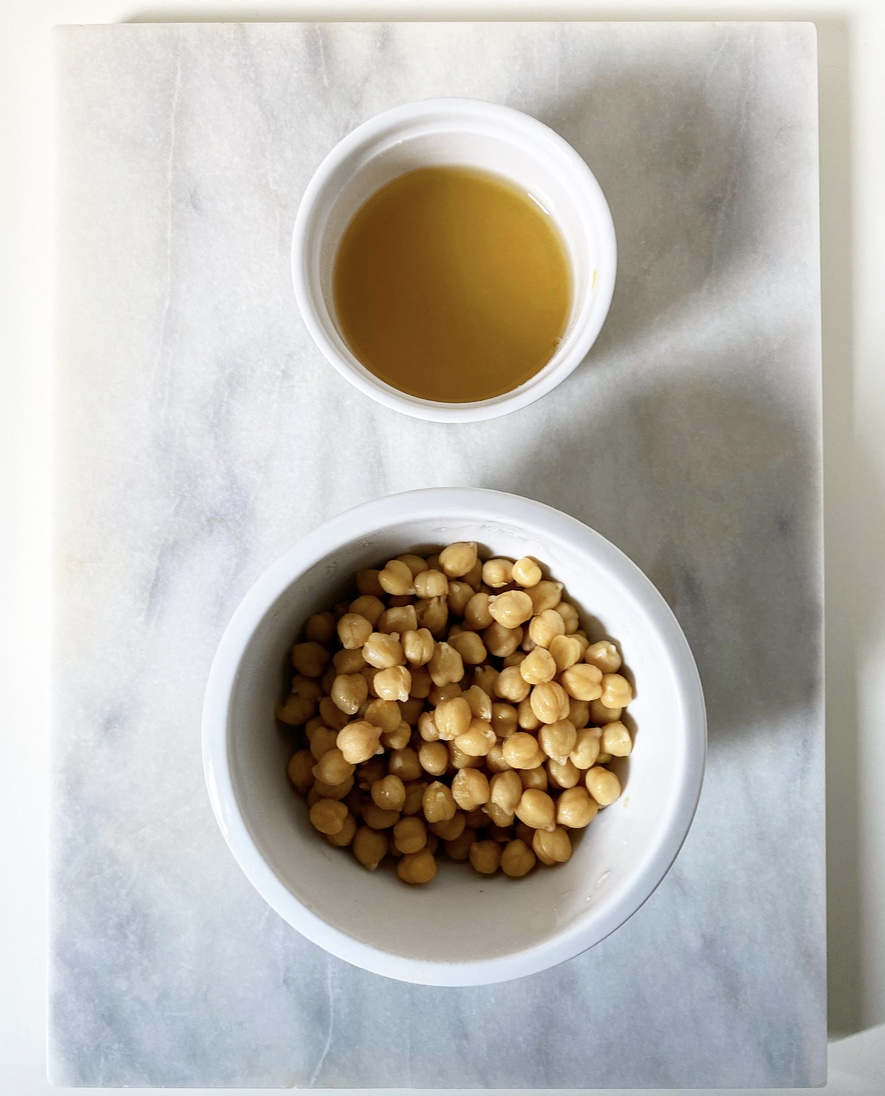
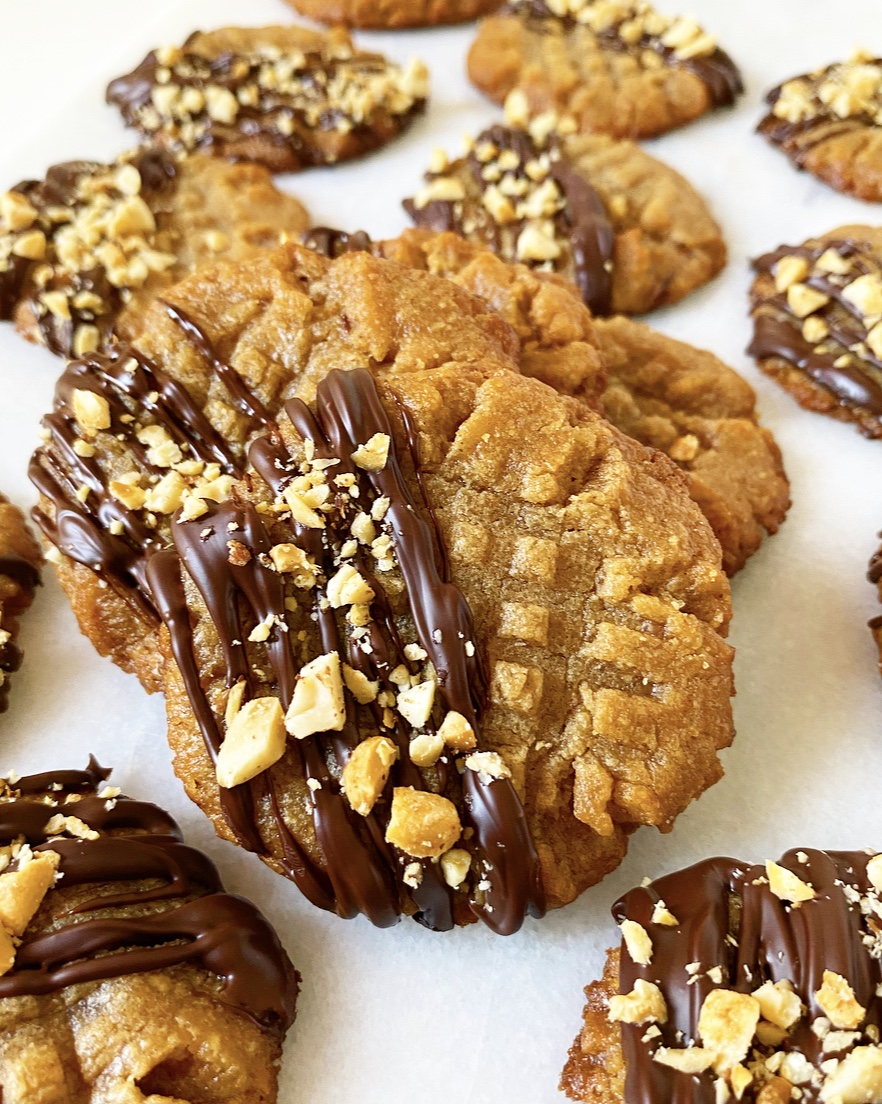
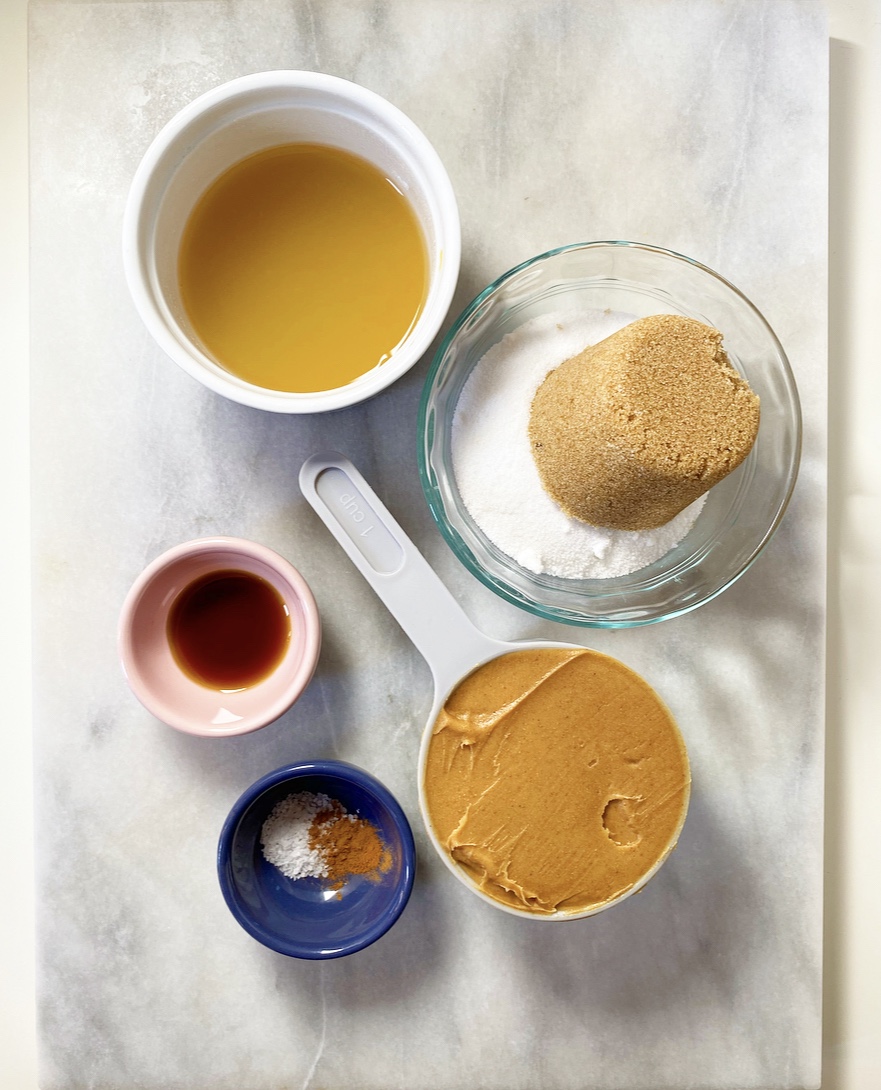 Here, I’ve kept it pretty traditional. I added a few extra ingredients like brown sugar, a dash of cinnamon, some salt and vanilla, but the dough still comes together in moments. In order to keep the cookies vegan, I swapped the egg for an equal volume of
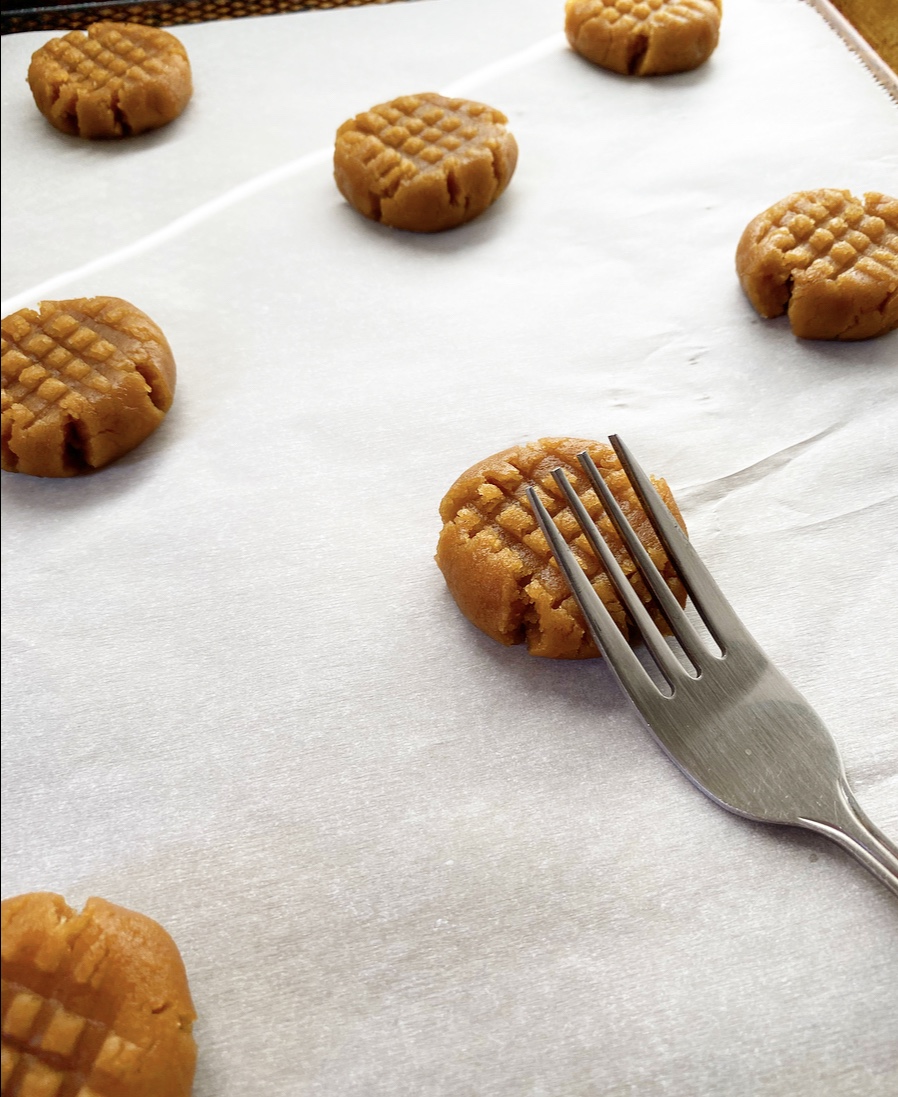
 I’ve also added a short twenty-minute chill to this recipe, but it’s not strictly necessary and your cookies will work without it. They’ll just be a little thinner than mine. Whatever you do, don’t skip crosshatching the tops of your cookies with a fork. I don’t know where this started or why we do this to peanut butter cookies, but I’m pretty sure it’s the law.
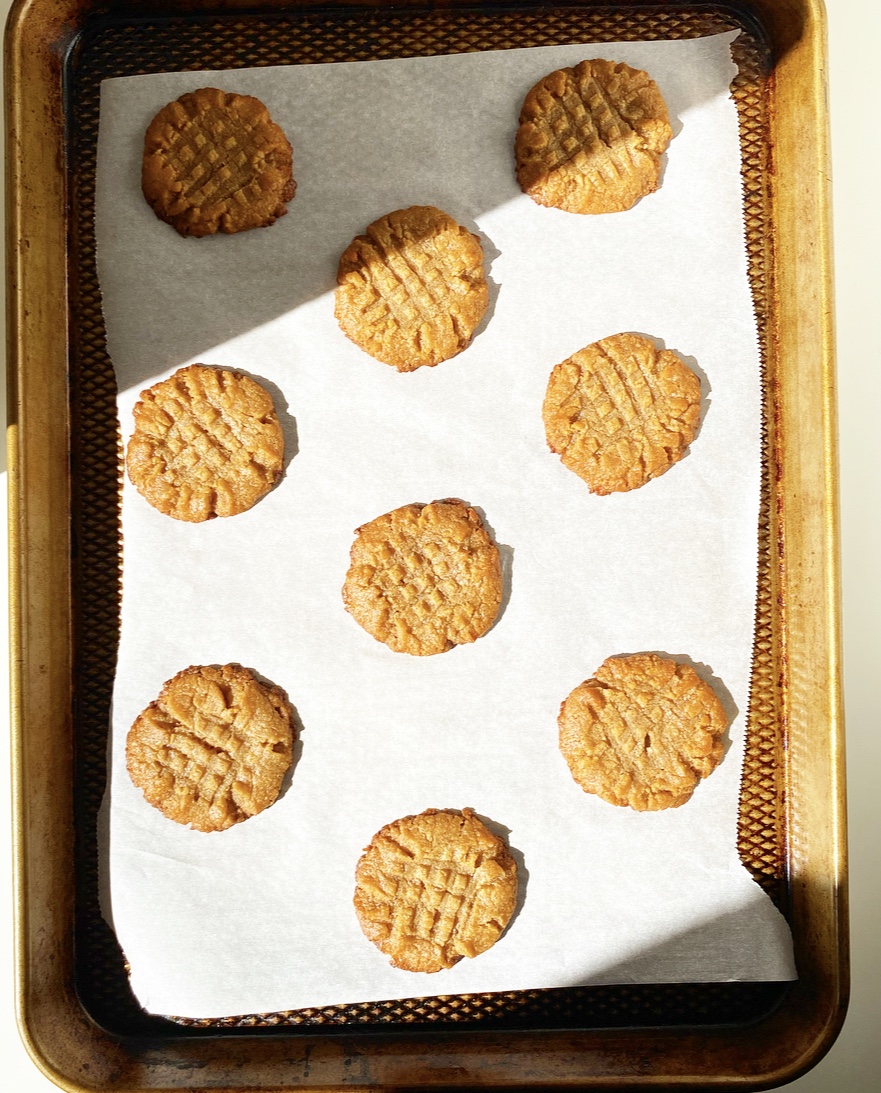
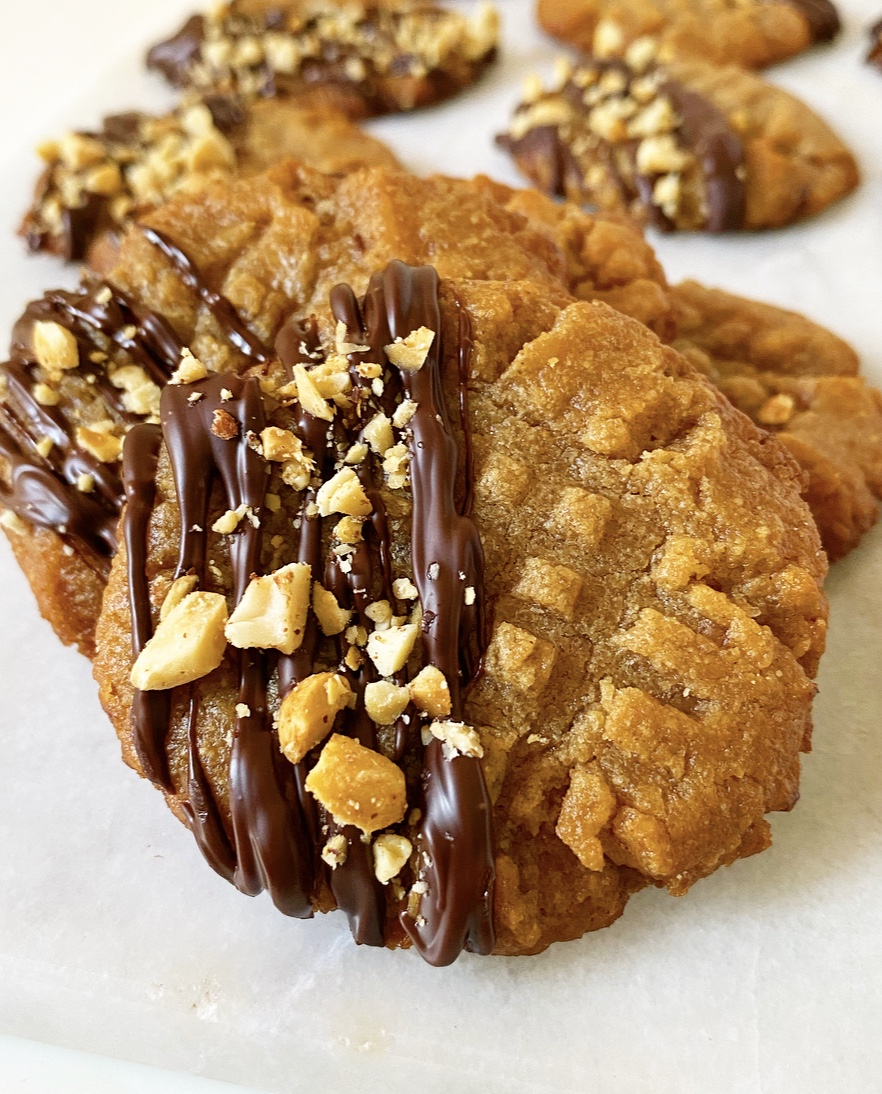 What? I don’t make the rules. I just break ‘em. Like finishing these Peanut Butter Cookies off with the easiest chocolate-peanut butter drizzle and some chopped peanuts. Is this necessary? No. But it’s pretty and freaking delicious. And really, when it comes to
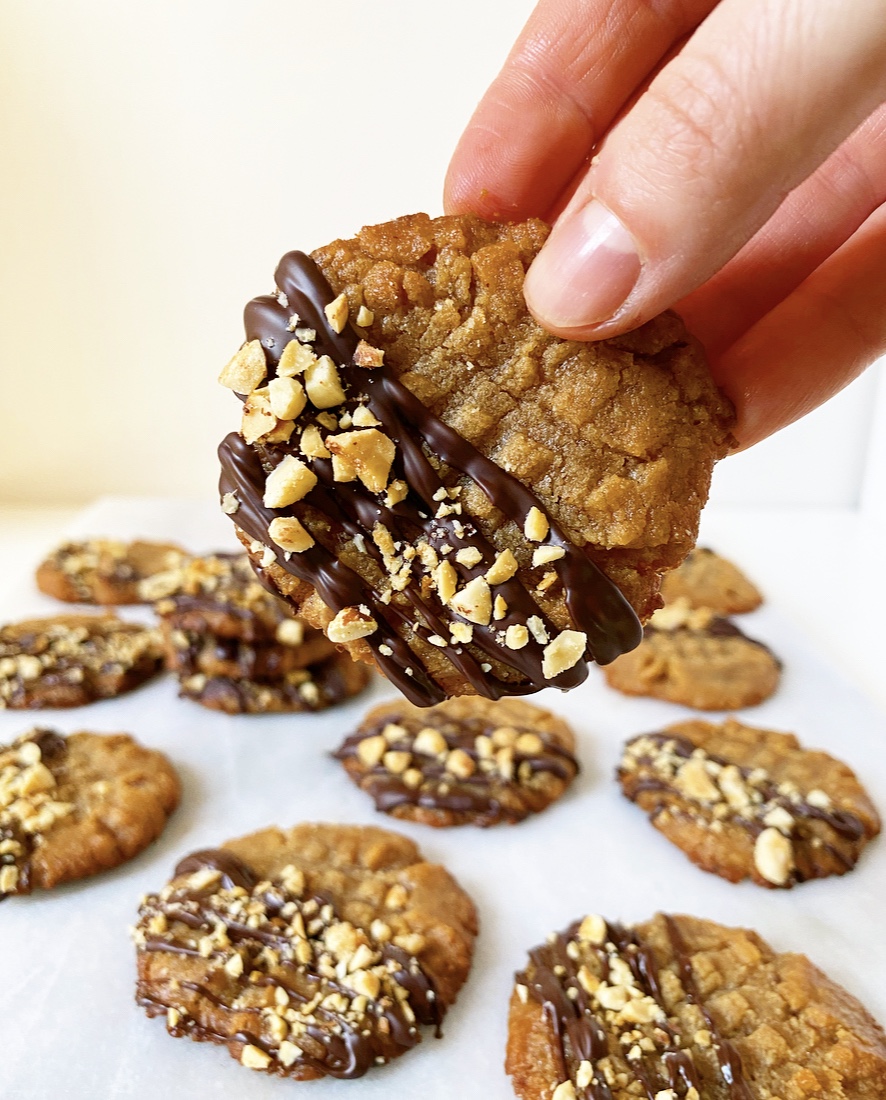


 The last morning on
 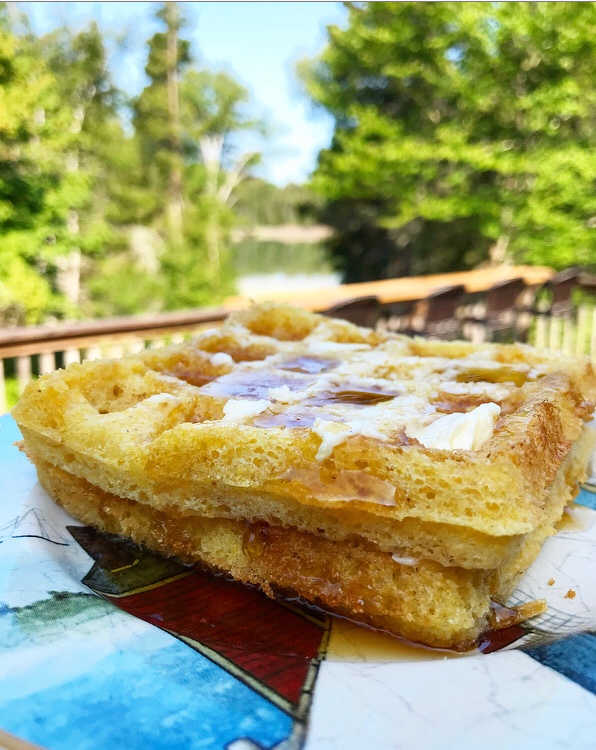 But it’s also time for one last good breakfast. Since
 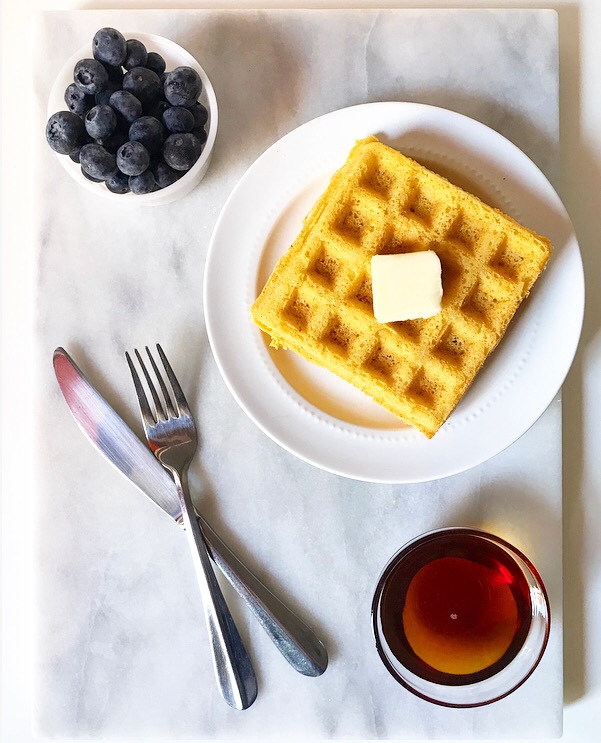 Initially, she may have regretted this. I had it in my head that my
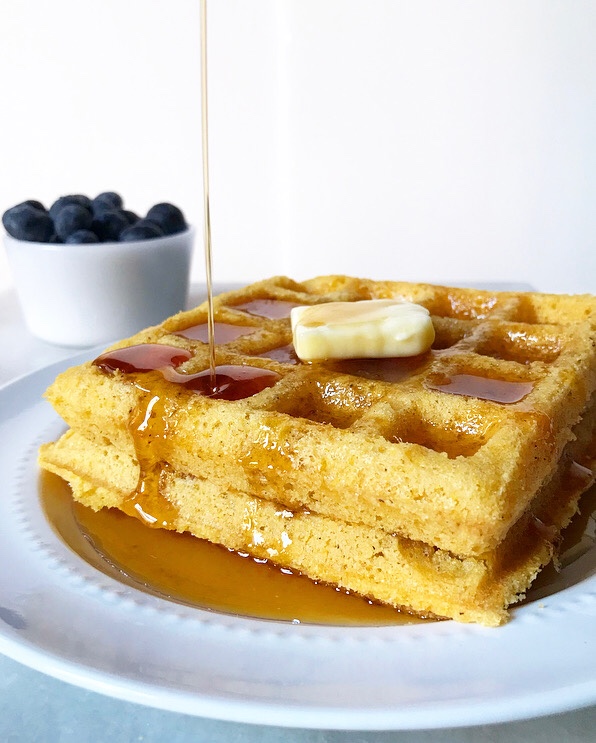
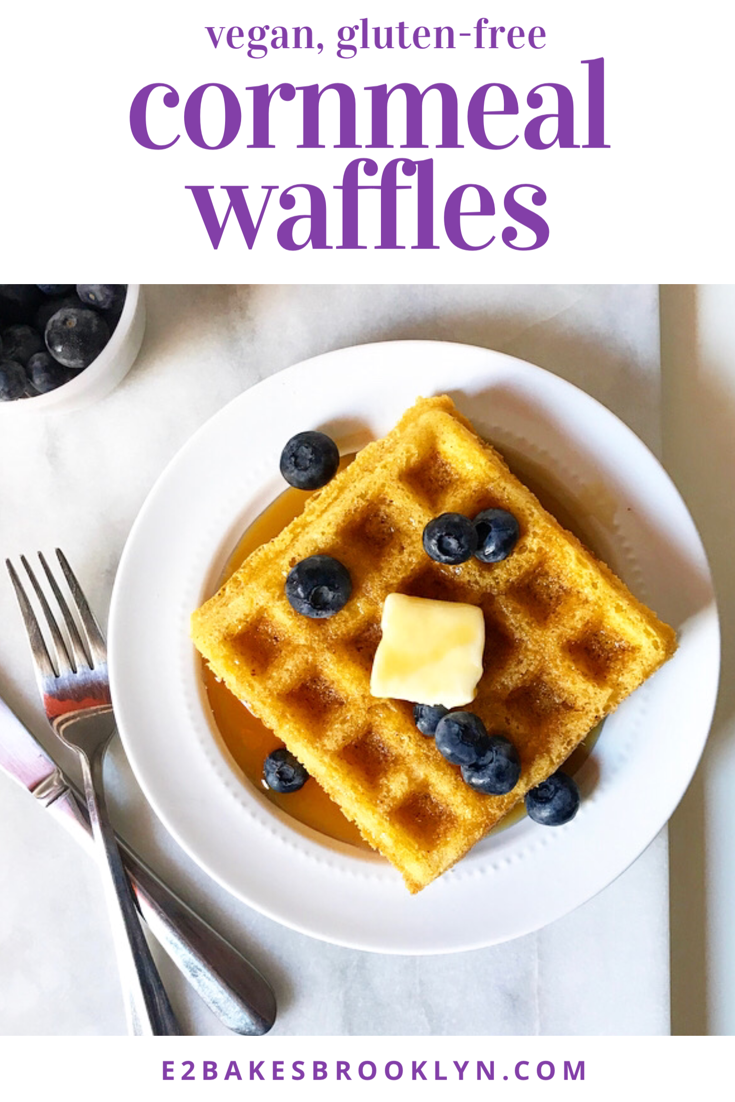
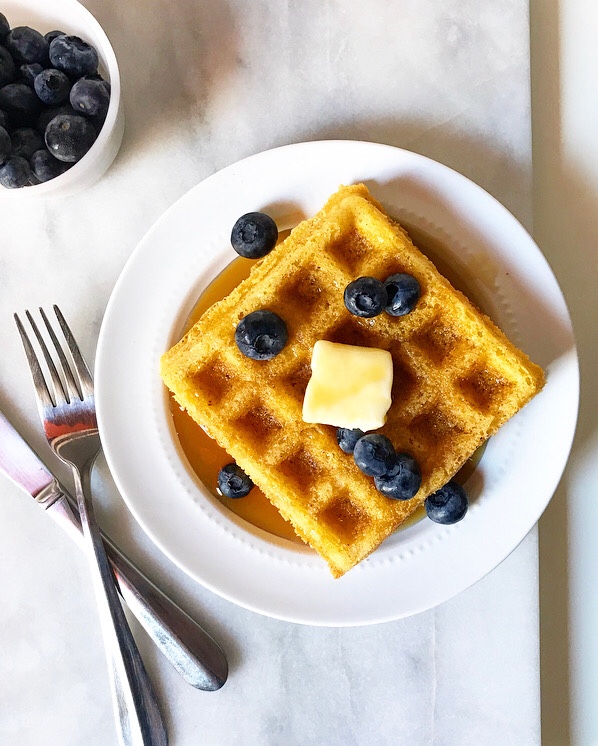 You can see where this is going—the first round was akin to cornmeal styrofoam. Turns out, waffle batter generally needs to be thinner than pancake batter, lest the final product be tough, dry and heavy. We ate the waffles anyway (bad waffles are still waffles), but it took two days and neither of us was particularly jazzed about it. Needless to say, I was a little disheartened, and spent a couple of days writing and rewriting the recipe until I was ready to try again on the final morning.
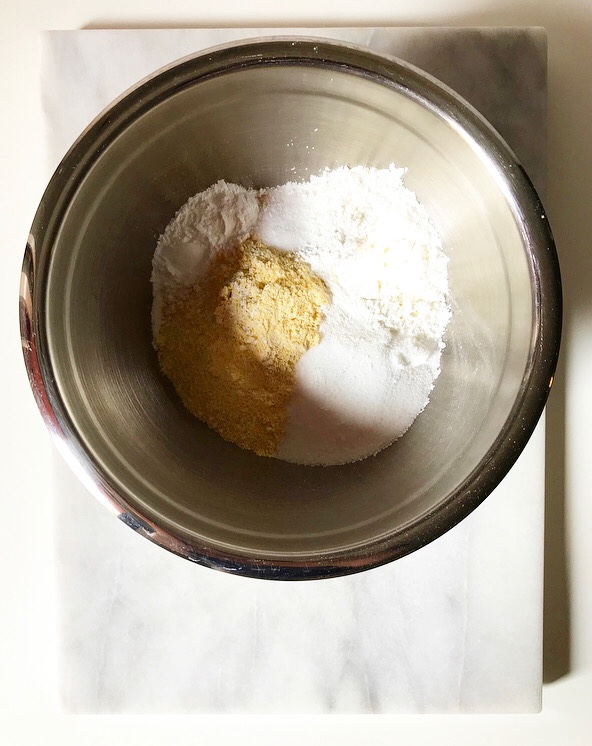

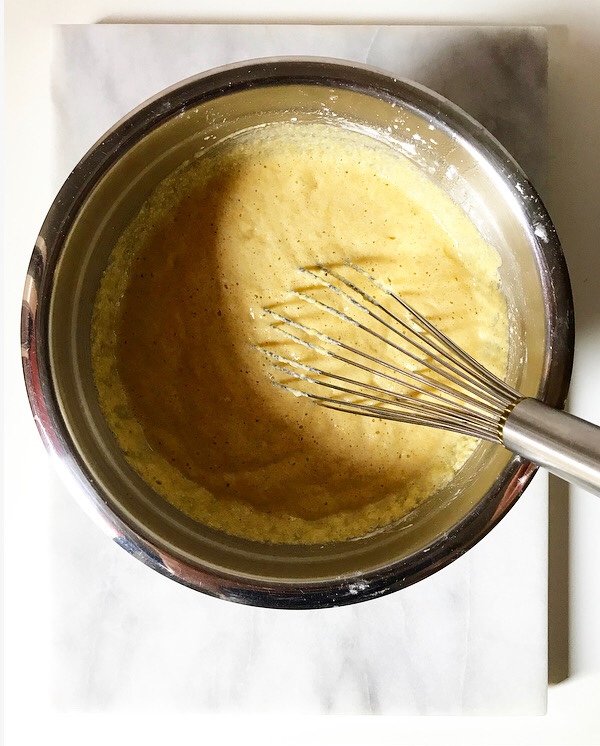 As I began mixing together dry ingredients and measuring out aquafaba and oil, I started to worry that round two would be disastrous too, but I ladled the batter into the iron anyway. VJ and I had an unspoken agreement that we would eat the results, no matter how awful.
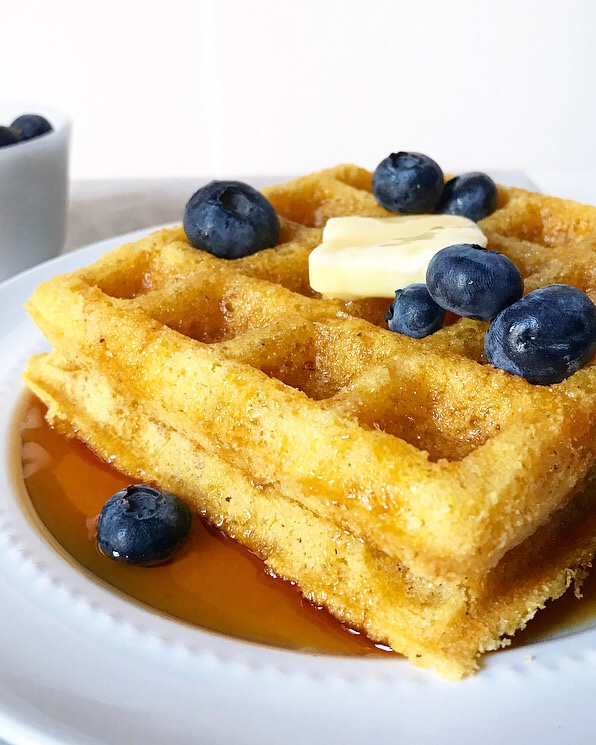
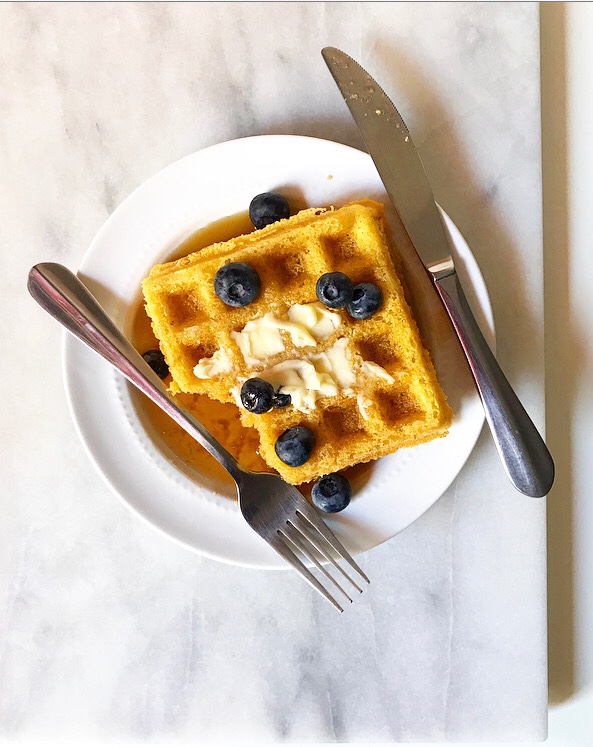
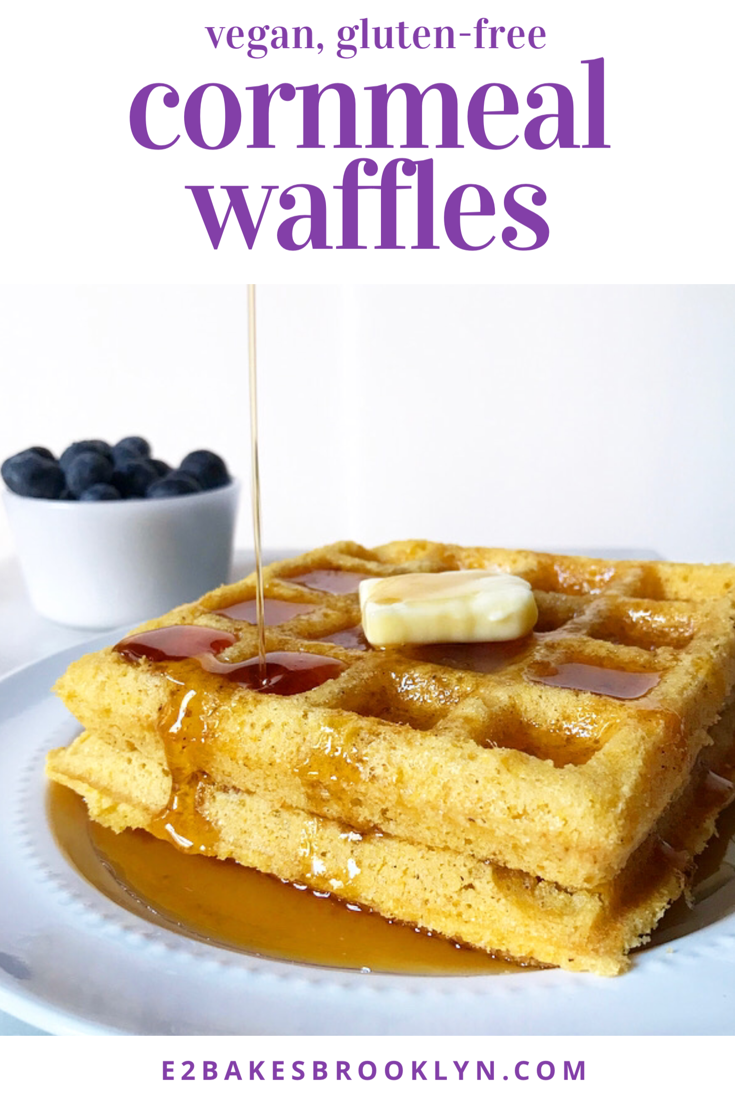
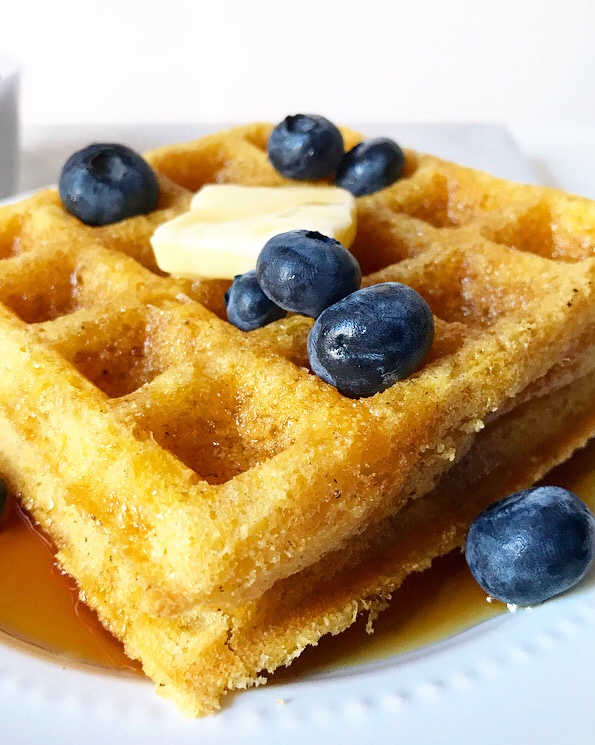 But we were pleasantly surprised. My adjustments—reducing the cornmeal and doubling the aquafaba (chickpea canning liquid/egg substitute)—had worked, producing lighter, softer waffles with crisp edges and a good corn flavor. We finished them in one sitting. No arduous styrofoam-esque breakfasts here!
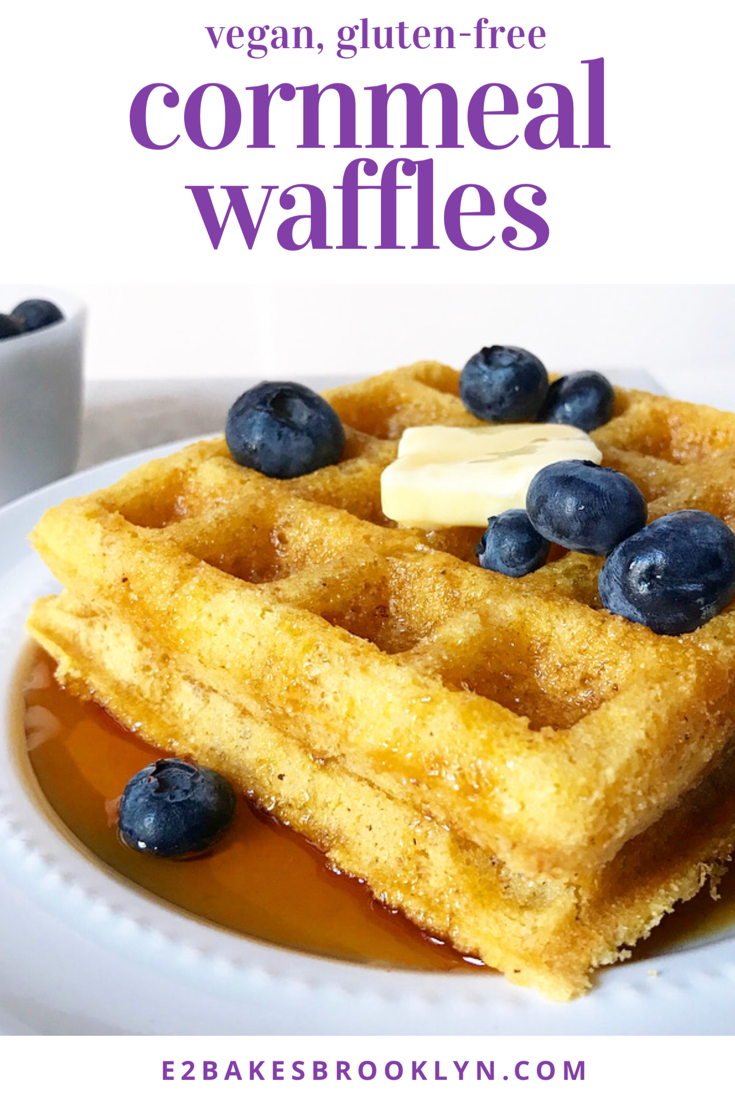
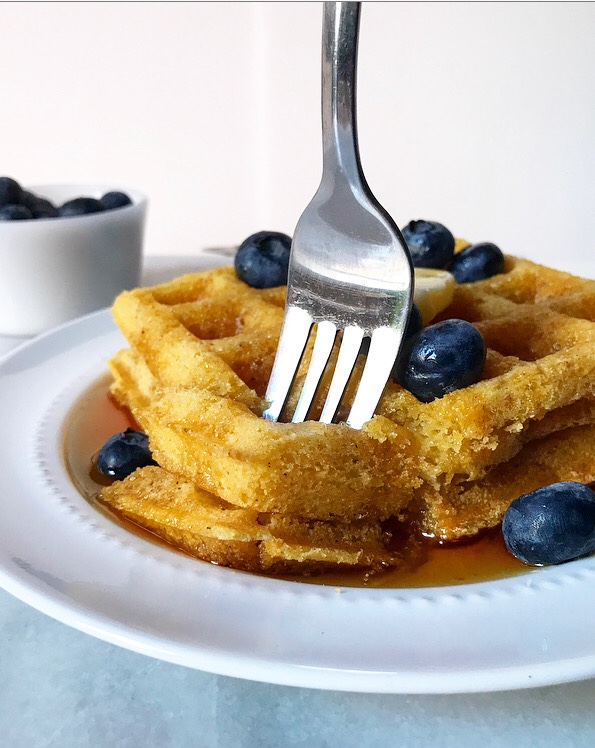
 Long story short, in addition to my haul from the vintage stores, this vacation also resulted in my purchase of a waffle maker. I’ve been home for about six days now and have already gotten a good return on my investment: I’ve made this recipe
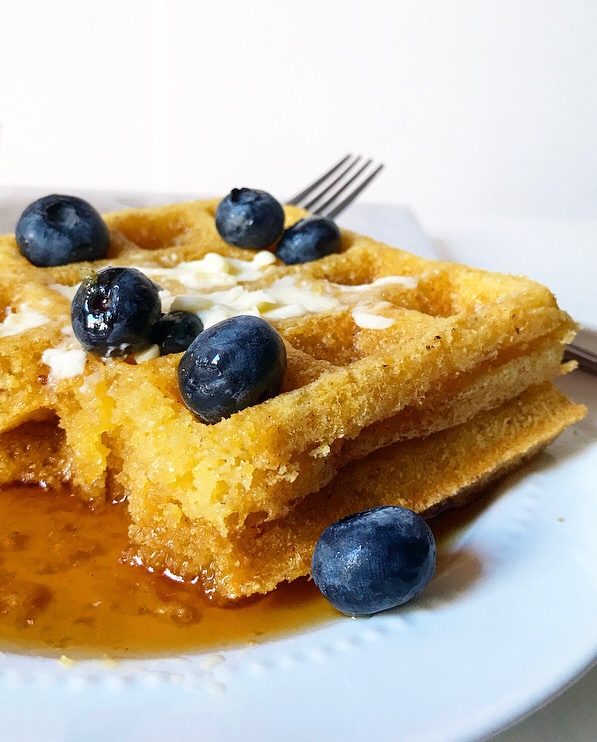

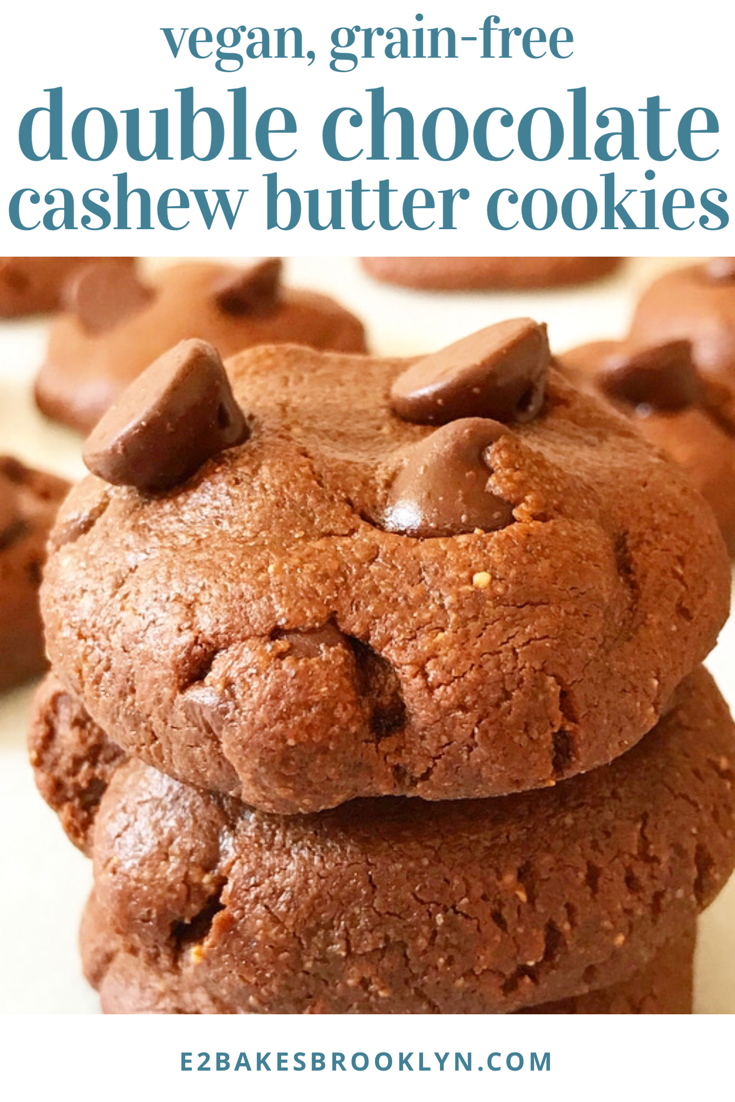
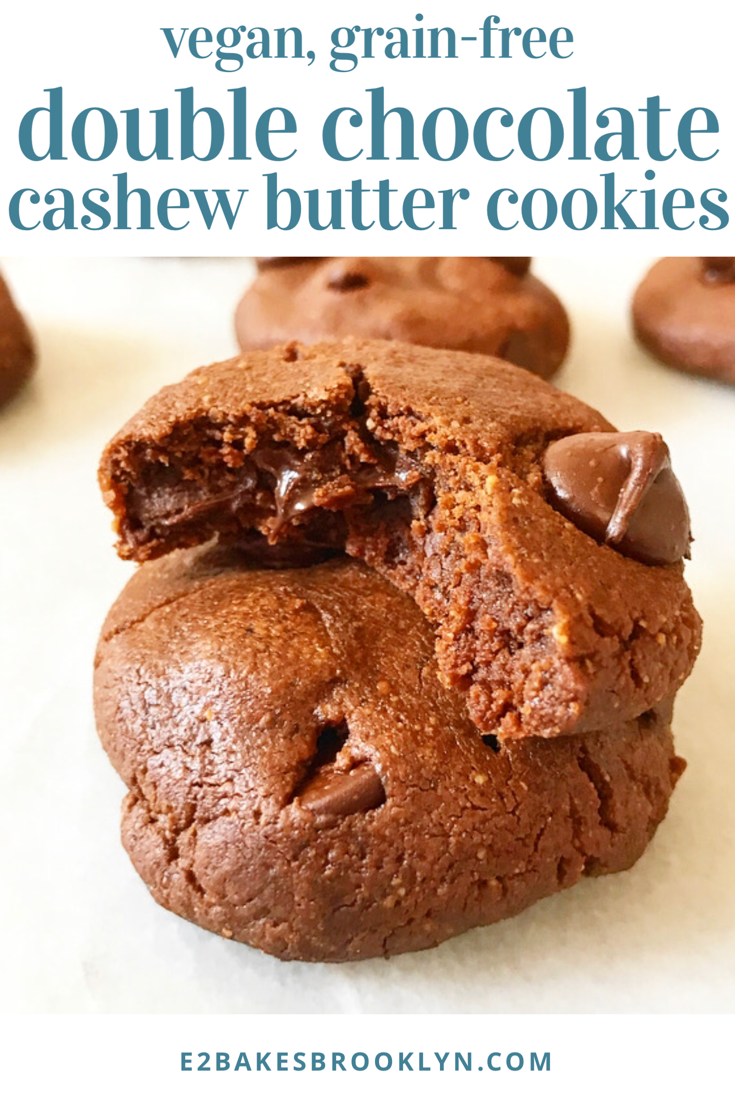
 I started dreaming of these Double Chocolate Cashew Butter Cookies when I posted their classic
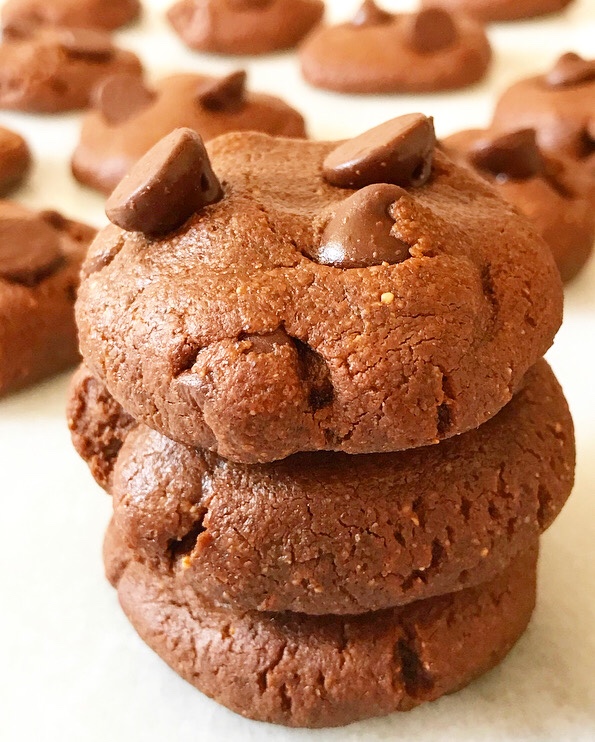
  These thick, puffy, chewy chocolate cookies are so, so good. And vegan. And grain-free. And dead-easy. Just…what?! Give me alllllll the
 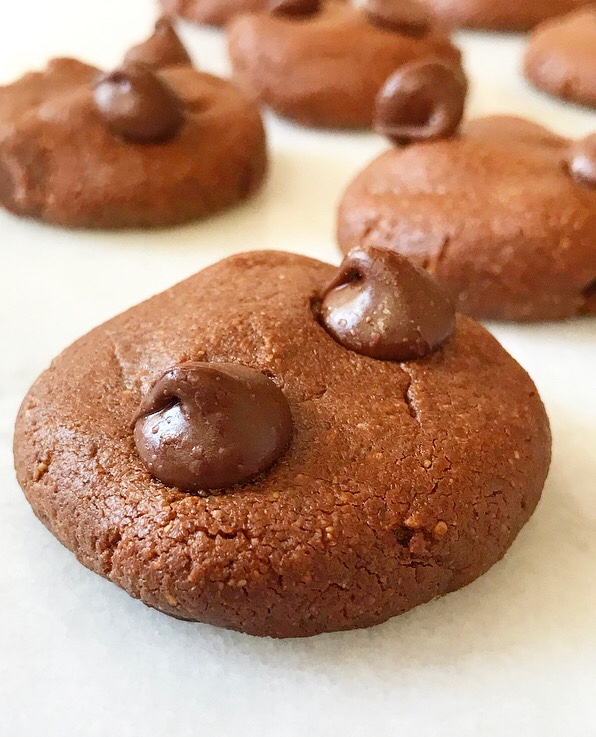 This is a one-bowl, no-mixer, no-chill, cookies-within-30-minutes-of-a-craving recipe. Oh, and should you have some modicum of self-control, these two-bite treats keep incredibly well at room temperature for upwards of a week. In fact, I think they get better as time goes on. The buttery cashew flavor mellows and melds with the cocoa and chocolate chips, and the results are brownie-like and wonderful ❤
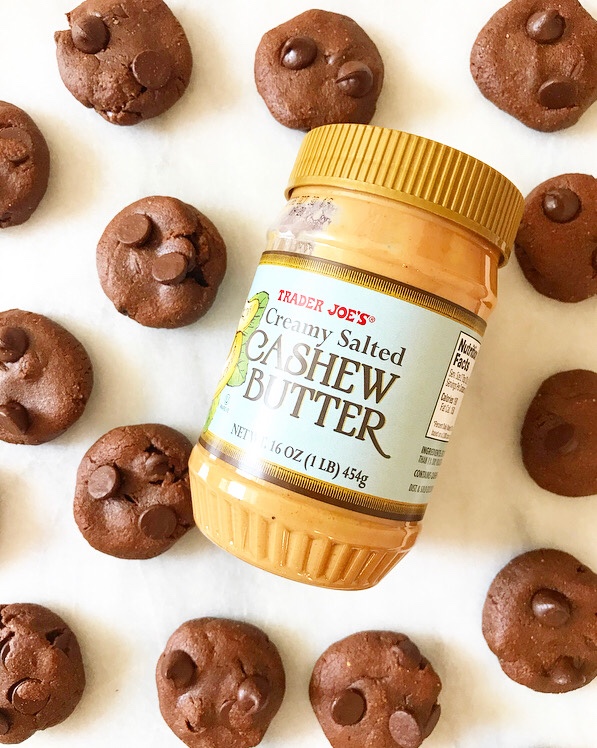
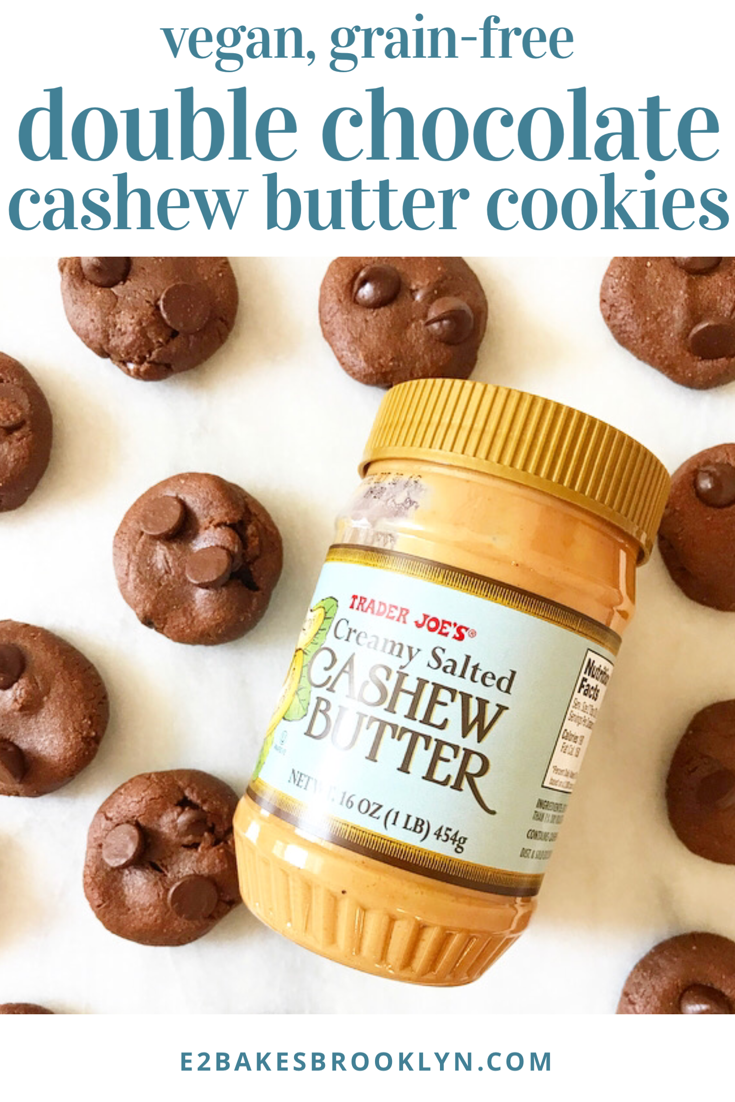
 I find good quality, reasonably-priced cashew butter at Trader Joe’s, but if you don’t happen to live in a spot smack in between two TJ’s, never fear. I haven’t tried it, but I am 96% sure you could make these with well-stirred natural peanut butter. And honestly, I think the only way to improve this recipe would be to add peanut butter.
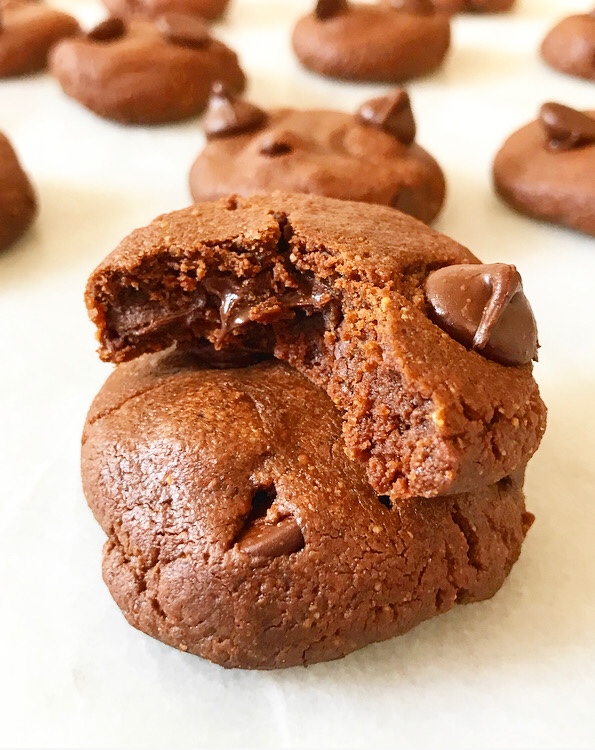
 Hello from
  VJ and I got here Saturday afternoon. It was supposed to be us and two more that day, but due to a work snafu, they didn’t join us until yesterday. Thank goodness for our other guest, my sister,
  Since it’s just been the two of us these last few days, meals have been simple. As I’ve mentioned
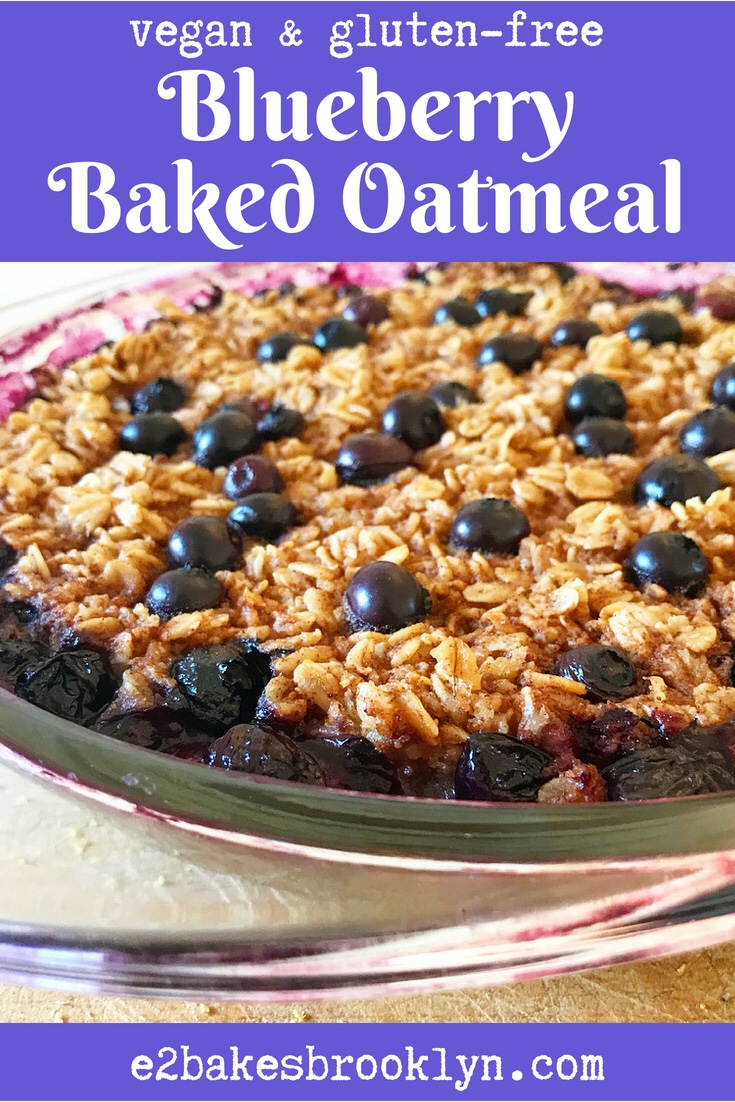
 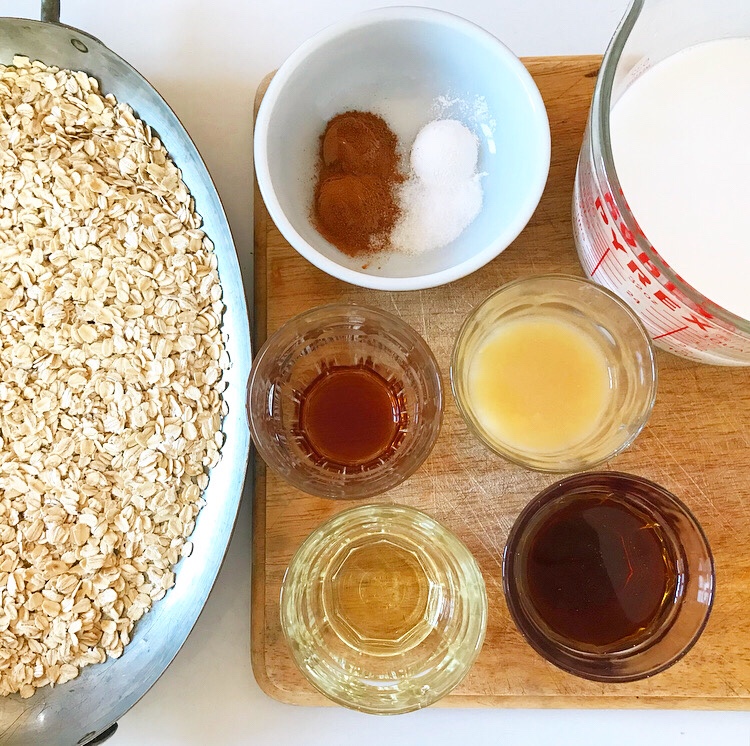 While everyone else I know was going to work Monday morning, I made this Blueberry Baked Oatmeal for us. Made with gluten-free old-fashioned oats, rice milk,* and
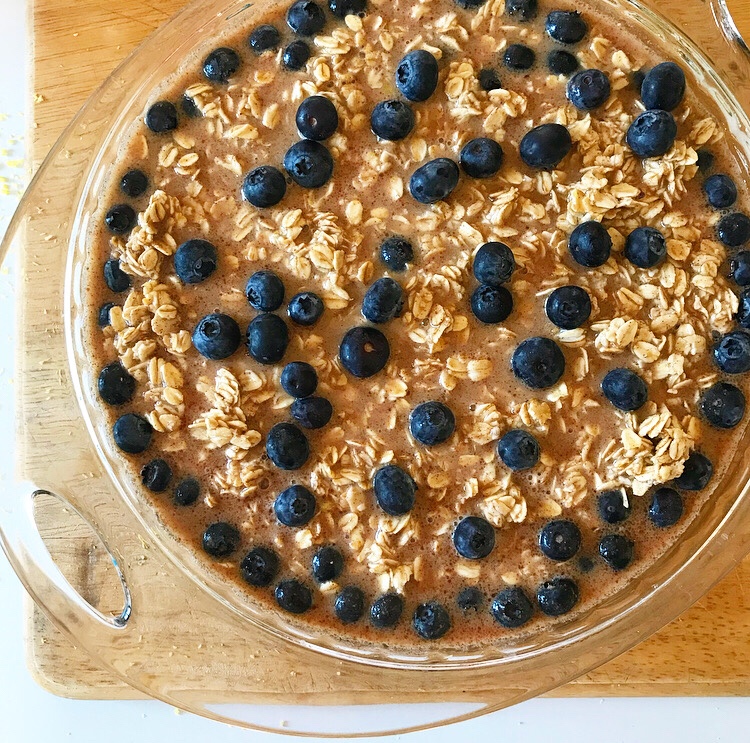
 This oatmeal is super simple to make. With just a few minutes of prep-work and 40 minutes of bake time, you’ll be rewarded with a rich, cinnamon-spiked oatmeal that is positively bursting with blueberries.
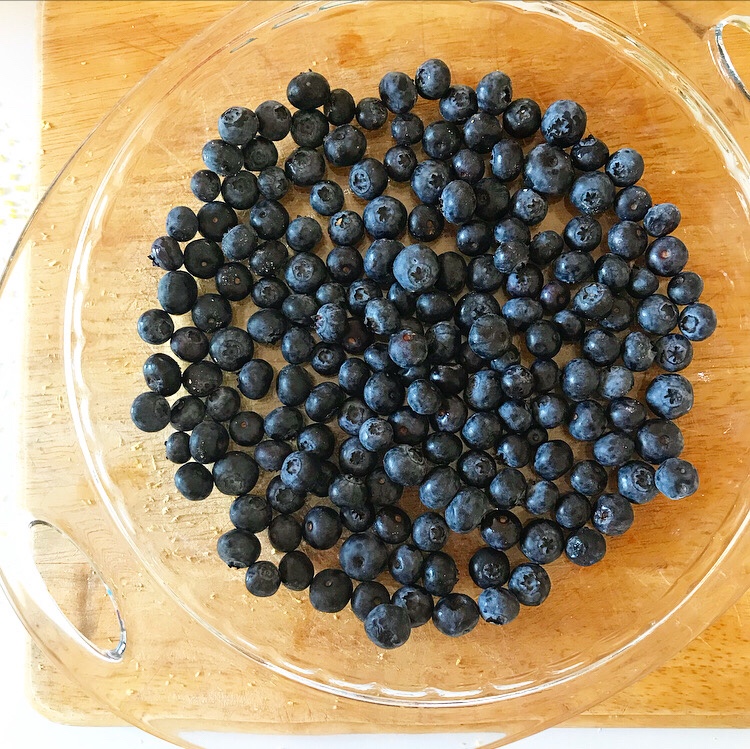
 You just need two bowls and a stirring implement to put it together, and you probably have all the ingredients already (with the possible exception of blueberries).
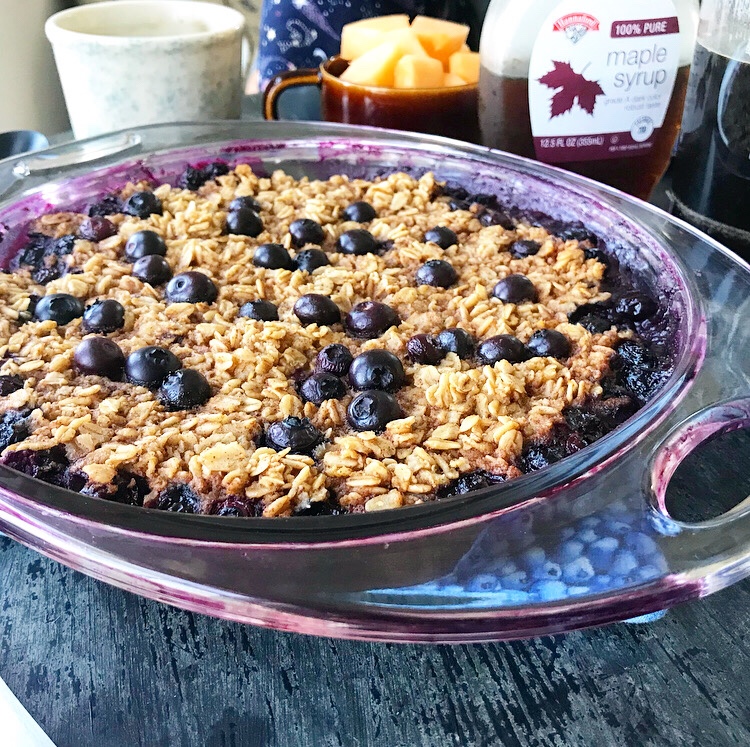

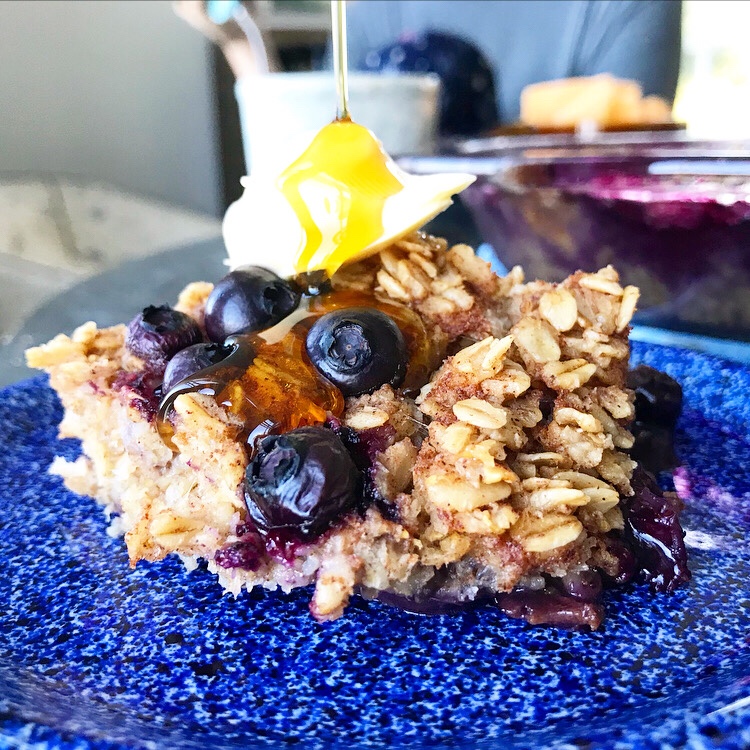 VJ and I prefer our oatmeal on the sweet side, so I used 1/2 cup maple syrup here. If you’d like a less-sweet breakfast, you can reduce it to 1/4 cup.
 Feel free to add nuts or seeds (toast them with the oats!), or stir in coconut flakes or mashed banana. Everything we eat on Swan’s Island comes from one pre-ferry grocery trip on the mainland, so meals are paired down and simple. I like this oatmeal as-is with an additional drizzle of maple and a pat of butter, but that’s just me.
 As with many of the recipes on this site, this recipe can be made with many variations. Feel free to take my favorite and make it yours.