 When you make as many layer cakes as I do, it’s inevitable that someone will ask you to make a gluten-free or vegan one, or one that is both of those things. I used to fear these requests and turn them down across the board, but as time has gone on, I’ve gained confidence, learned new skills, and befriended my NYC ride-or-die, VJ, who just so happens to be a gluten-free vegan. I’m not saying I’m fearless now, but I am saying that I make a hell of a Gluten-Free Vegan Chocolate Cake.
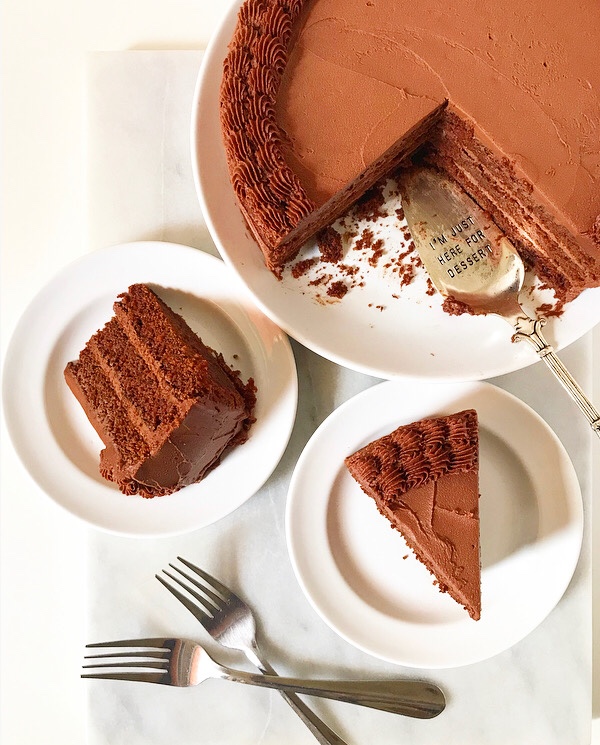
 It all started with The Minimalist Baker’s genius 1-Bowl Vegan Gluten-Free Vanilla Cake, which I made for VJ’s birthday last winter. That recipe’s major appeal is that it’s ridiculously easy—it doesn’t require making flax eggs or using a complicated gluten-free flour blend, instead relying on blanched almond flour, a mix of potato starch and cornstarch, unsweetened applesauce and leaveners. The results are soft, moist, and delicious. I would have been content to only make that cake for my gluten-free vegan friends forever…but then another friend requested a chocolate version for their birthday last May. And so, here we are.
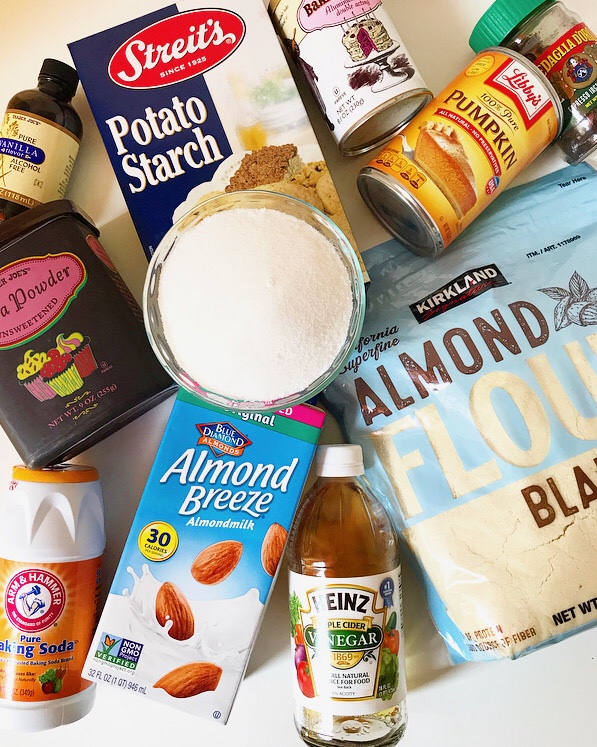
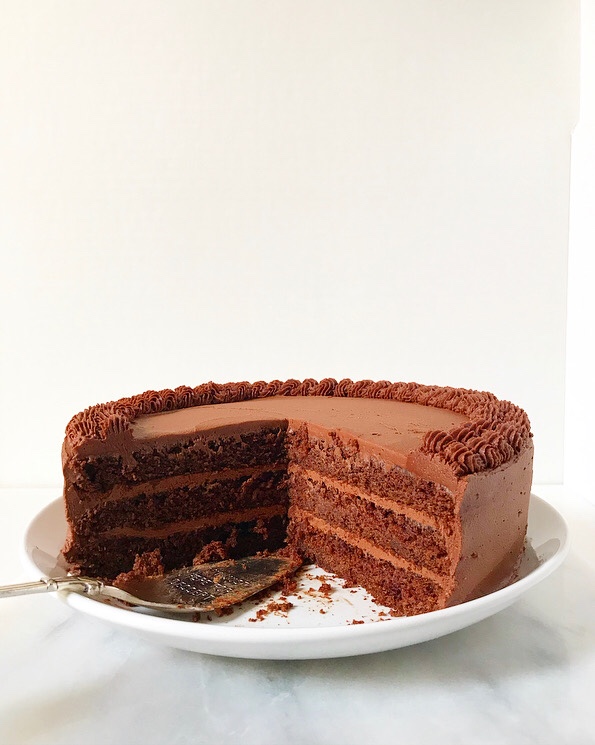
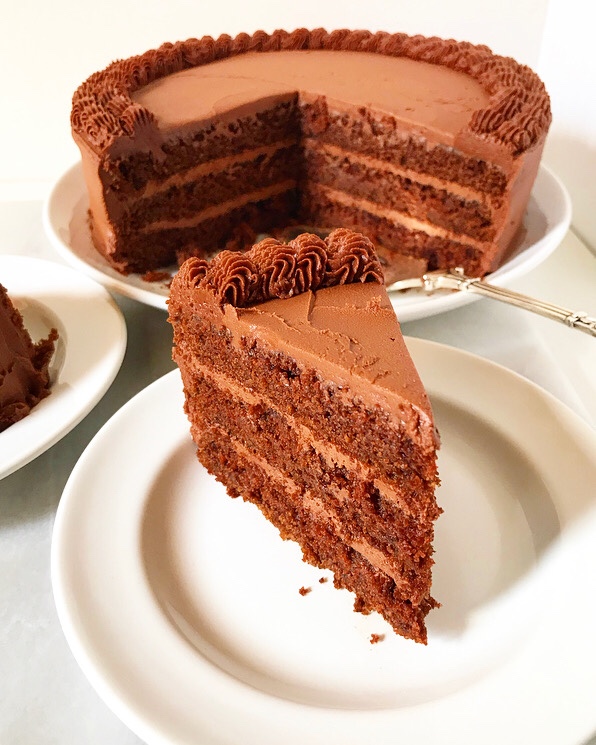
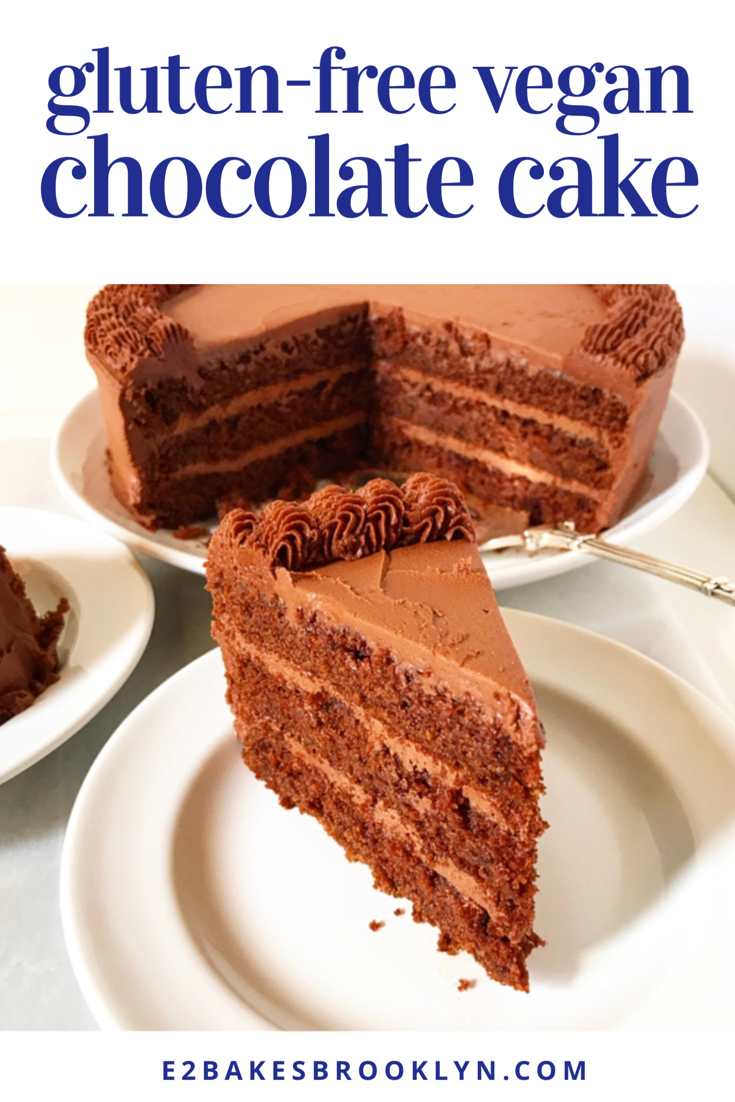
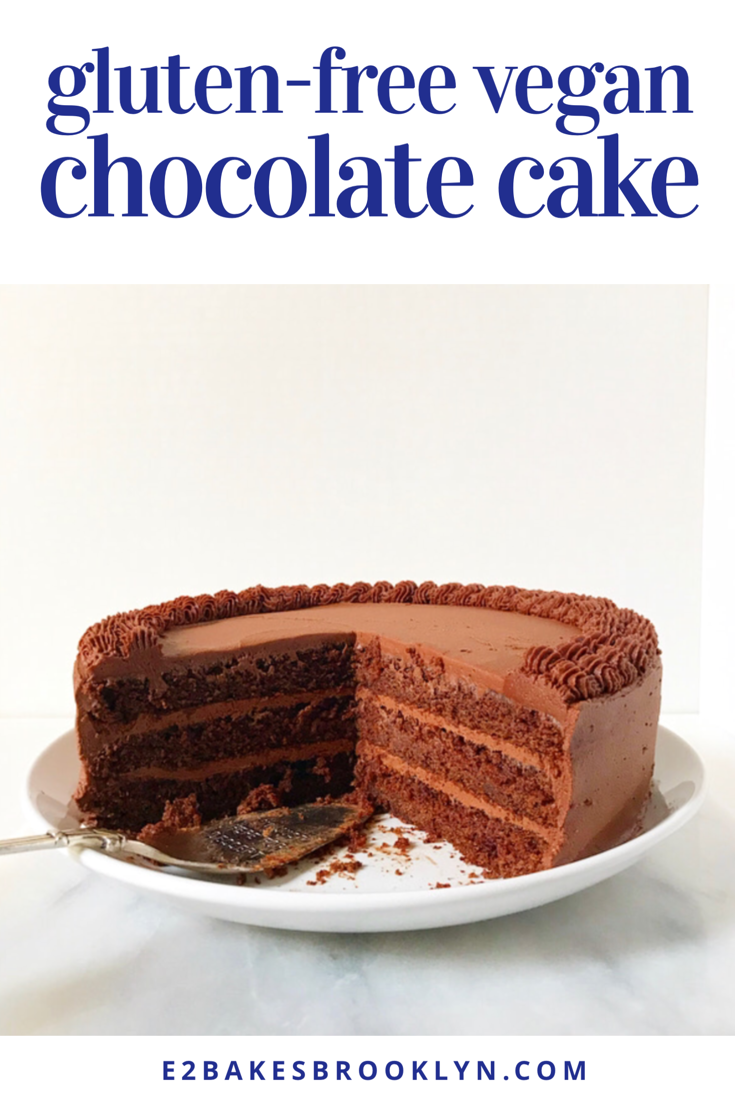
 This triple-layered chocolate masterpiece is gluten-free and vegan, yes, but also moist and tender and chocolaty AF—exactly what you want in a layer cake, gluten-free and vegan or not. I used Dana’s (The Minimalist Baker) Vanilla Cake formula as a starting place for the batter, relying on almond flour and potato starch for structure, and swapping in natural unsweetened cocoa powder instead of cornstarch. I’ve traded the applesauce for pure pumpkin purée, mostly because I almost always have a can of pumpkin and almost never have applesauce. The remaining ingredients are the usual baking powder and soda, granulated sugar, salt, and a mixture of almond milk and vinegar, which acts as a vegan buttermilk swap. I also add a little granulated espresso to accentuate the chocolate flavor.
You’ll notice that there is no added fat in the cake batter—this is because there is plenty in the blanched almond flour. In combination with the moisture from the pumpkin and soured almond milk, this cake always turns out soft and springy.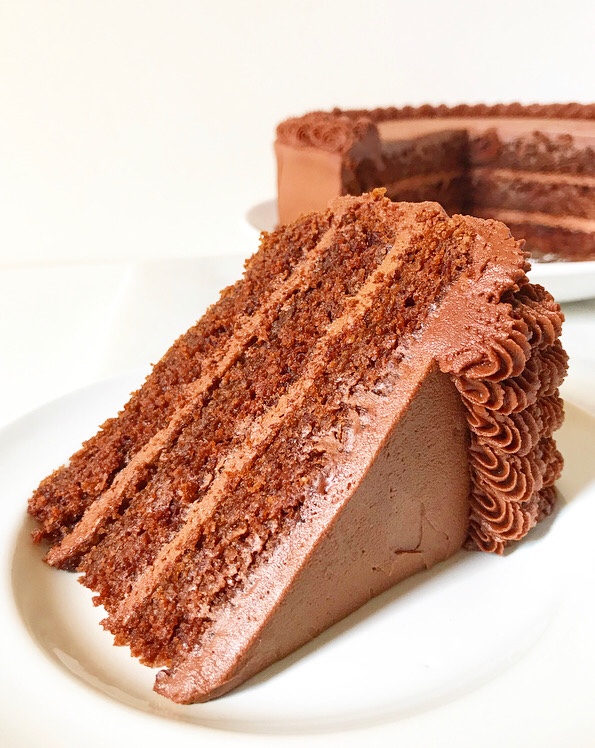 If you’re looking at this list of ingredients and wondering where to find them, the answer is almost any well-stocked grocery store. Blanched almond flour is available at Trader Joe’s and Costco, as well as my local supermarket. Potato starch is usually in the specialty flours section or the Kosher foods aisle.
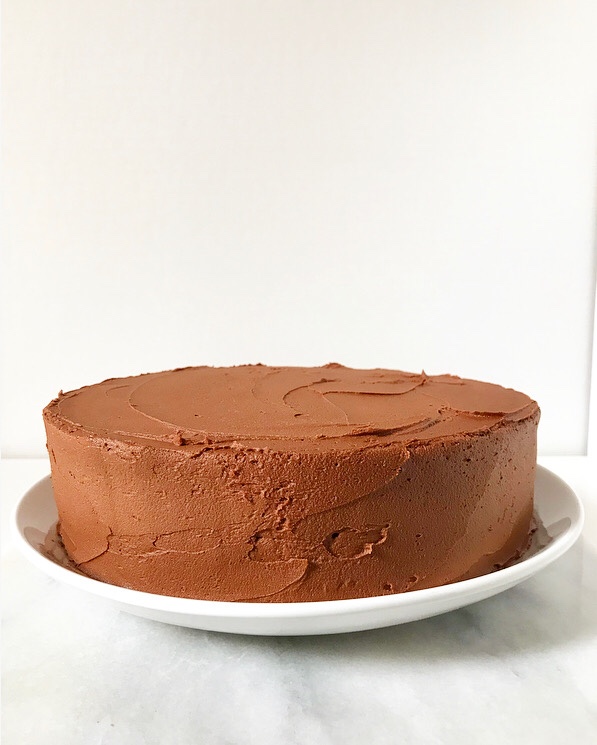
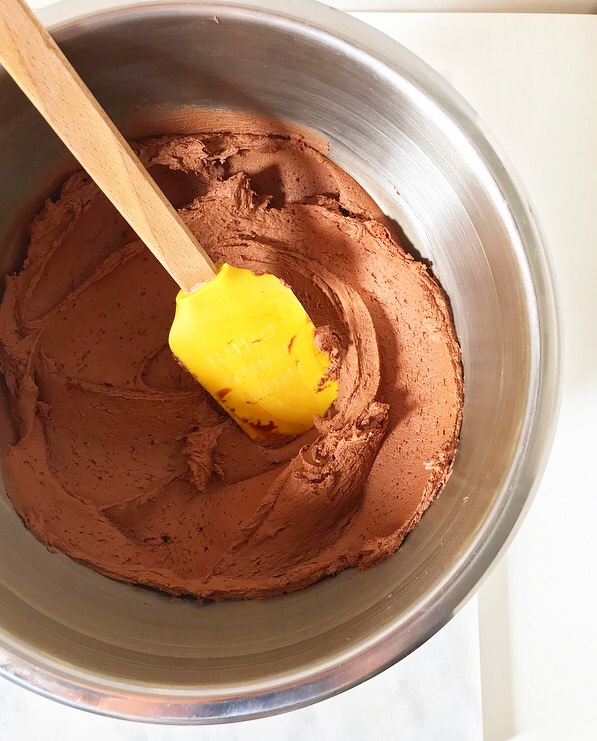 As for the swoopy, pipeable Vegan Chocolate Buttercream…well, first of all, good luck not just eating it straight from the bowl. It’s as flavorful and creamy as traditional chocolate buttercream, thanks to a base of equal parts vegan butter and coconut oil-based shortening, along cocoa powder and confectioner’s sugar.
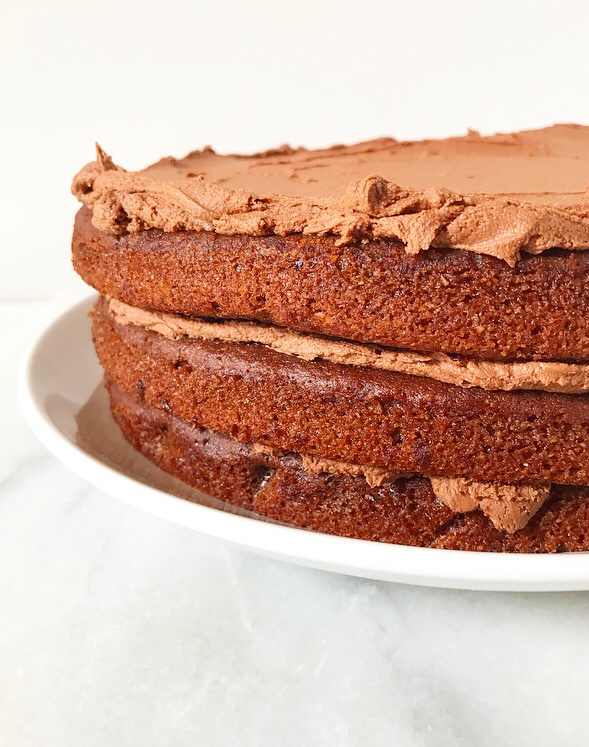
 I recommend using shortening in vegan buttercream for the textural magic it works in the absence of dairy butter. Shortening is a polarizing ingredient, to be sure, but it’s what makes this butterless buttercream so incredibly luxurious and pipeable. I am a fan of Nutiva’s coconut oil formula, but I’ve used regular Crisco in a pinch with good results. If you are anti-shortening, feel free to swap in an equal amount of vegan butter—I’ve been using Miyoko’s lately and totally love it. With an all-vegan-butter frosting, your results may be a little less fluffy than mine, but I promise they will still be delicious. We’re talking about chocolate frosting here—how could it be anything but wonderful?!
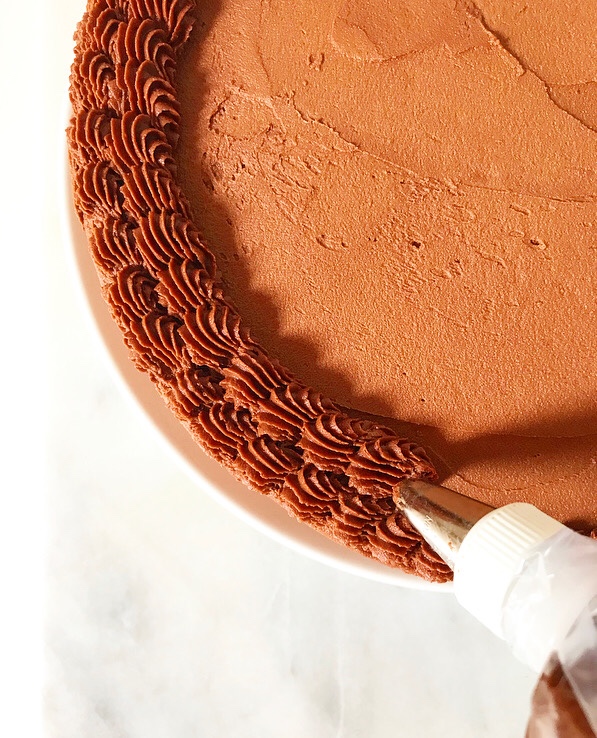
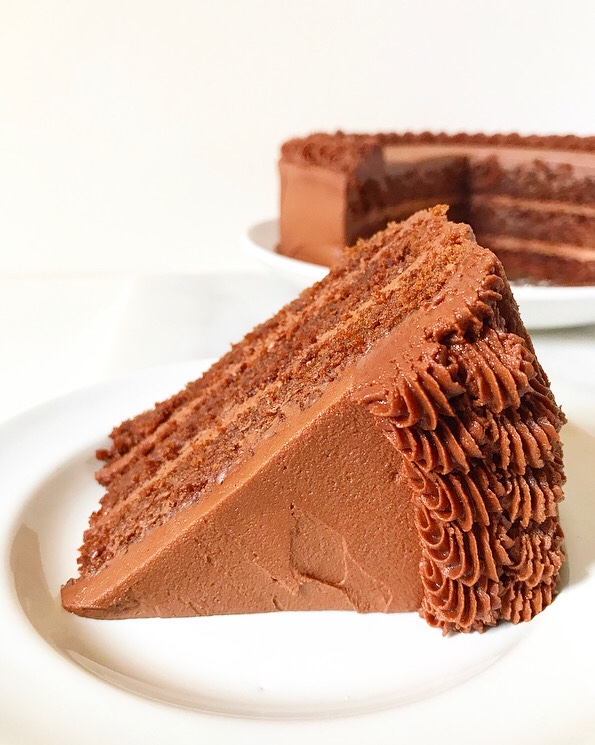 This buttercream recipe makes a lot—enough to fill and frost a cake and then pipe it to the gills! I have had no problem finding things to do with any leftovers (vegan buttercream candies, anyone?), but if you’d like to do a naked cake or have less frosting around, feel free to halve the ingredients.
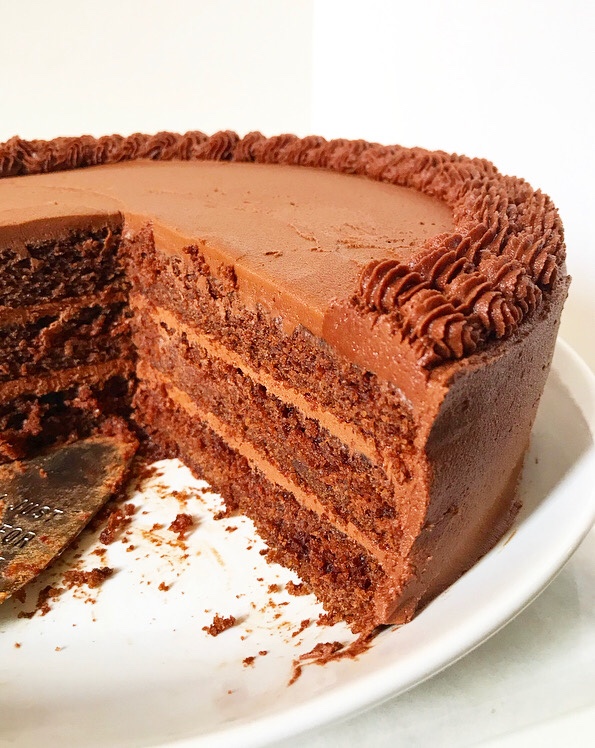 But really, is there such a thing as too much chocolate frosting on a chocolate cake? I don’t think so, especially on one like this that can feed nearly all my friends! This vegan, gluten-free dessert is as delicious and beautiful as it is inclusive. Heck, that in itself is almost enough reason to make one.
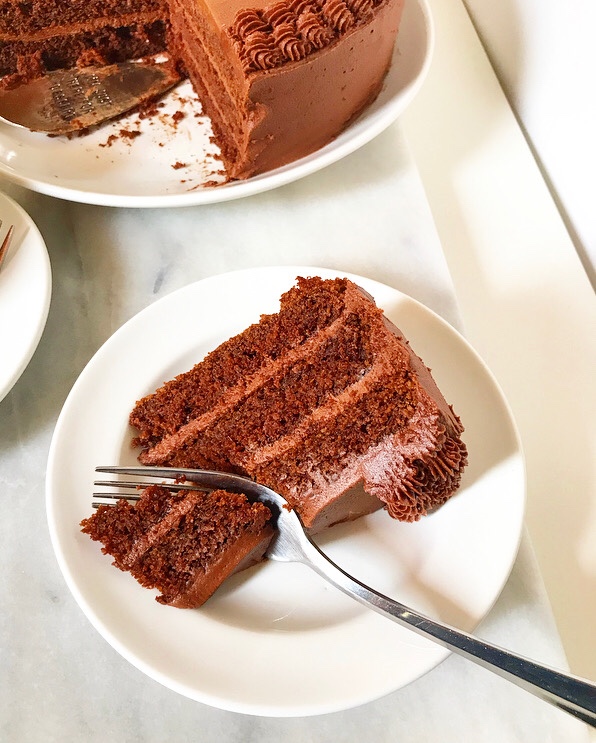
Gluten-Free Vegan Chocolate Cake
adapted from The Minimalist Baker
makes one 3-layer 9-inch round cake
2 teaspoons apple cider vinegar
~2 cups unsweetened almond milk
1/2 cup pure pumpkin purée
1 teaspoon pure vanilla extract
3 1/4 cups blanched almond flour
3/4 cup + 3 tablespoons potato starch
1/2 cup natural unsweetened cocoa powder
1 1/3 cup granulated sugar
1 tablespoon granulated espresso
1 1/2 teaspoons baking soda
1 1/2 teaspoons baking powder
1/2 teaspoon Kosher or sea salt
Preheat oven to 350F. Grease 3 9-inch round cake pans. Line with parchment and grease again. Set aside.
Pour apple cider vinegar into a liquid measuring cup. Add almond milk until liquid reaches the 2 cup mark. Stir and let sit for 5-10 minutes, until curdled. Stir in pumpkin purée and vanilla. Set aside.
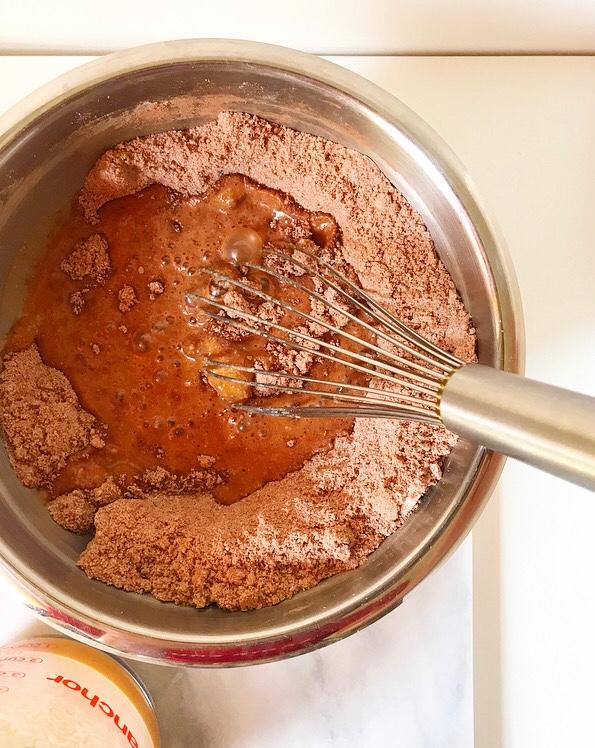
In a large mixing bowl, whisk together blanched almond flour, potato starch, cocoa powder, granulated sugar, granulated espresso, baking soda, baking powder, and salt. Add liquid ingredients in two installments, whisking until combined.
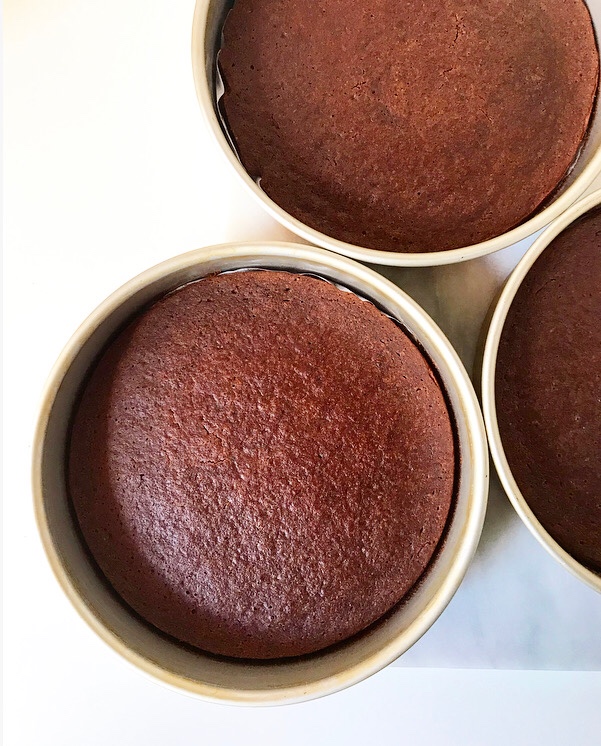
Divide batter among prepared pans and smooth with a silicone spatula or wooden spoon. Tap each pan on the counter 5 times to release any large air bubbles. Transfer to the oven and bake 32-35 minutes, or until a toothpick inserted in the center of each layer comes out with only a few crumbs.
Let layers cool completely in their pans on cooling racks. Run a thin, flexible knife around their edges before inverting to release. Fill and frost as desired with Vegan Chocolate Buttercream (recipe below).
Frosted cake will keep at room temperature for up to 3 days and refrigerated for up to 4. Unfrosted layers may be triple-wrapped in plastic wrap and frozen for up to 1 month. Thaw overnight in the refrigerator before frosting.
Vegan Chocolate Buttercream
makes enough for a 3-layer 9-inch round cake with piping
4 cups confectioners sugar
1 1/4 cups natural unsweetened cocoa powder
pinch of Kosher or sea salt
8 ounces (1 cup) vegan butter, room temperature (I like Miyoko’s)
8 ounces (1 cup) shortening, room temperature (I like Nutiva)
2 teaspoons pure vanilla extract
Combine confectioners sugar, cocoa powder and salt in a medium mixing bowl and whisk to combine.
In a large mixing bowl, use an electric mixer to beat vegan butter and shortening until light and fluffy. Mix in dry ingredients in three installments, mixing until combined and fluffy. Mix in vanilla.
Use to frost layer cakes, as a sandwich cookie filling, or to make vegan buttercream candies.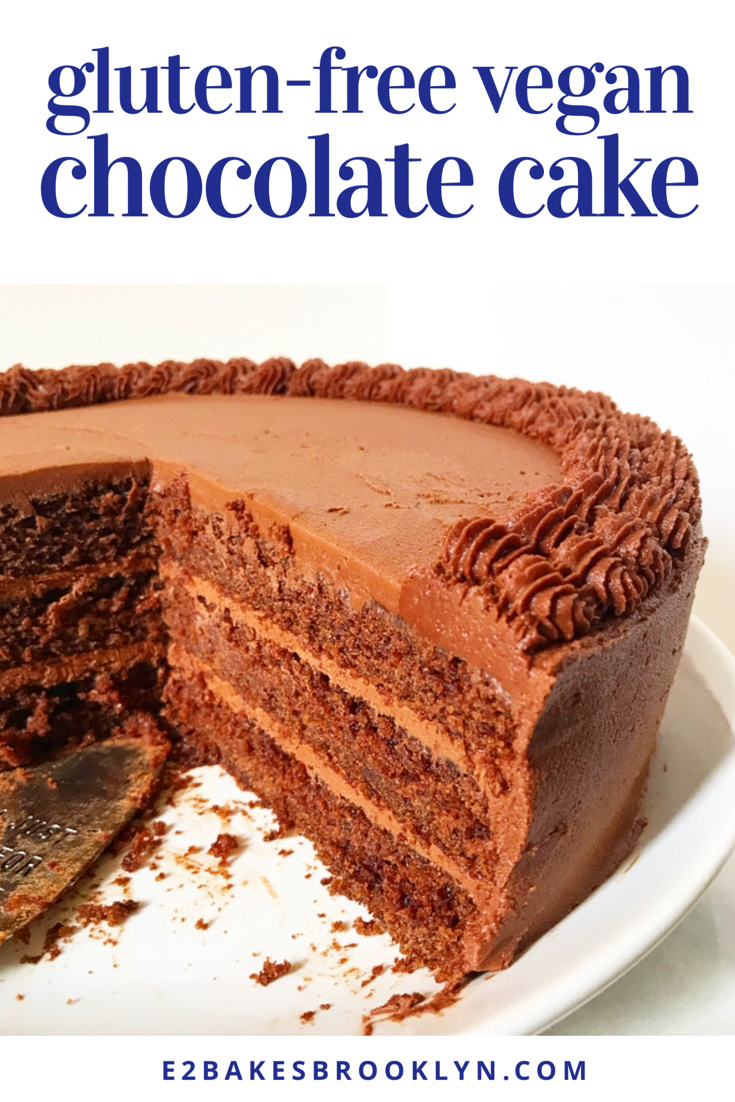

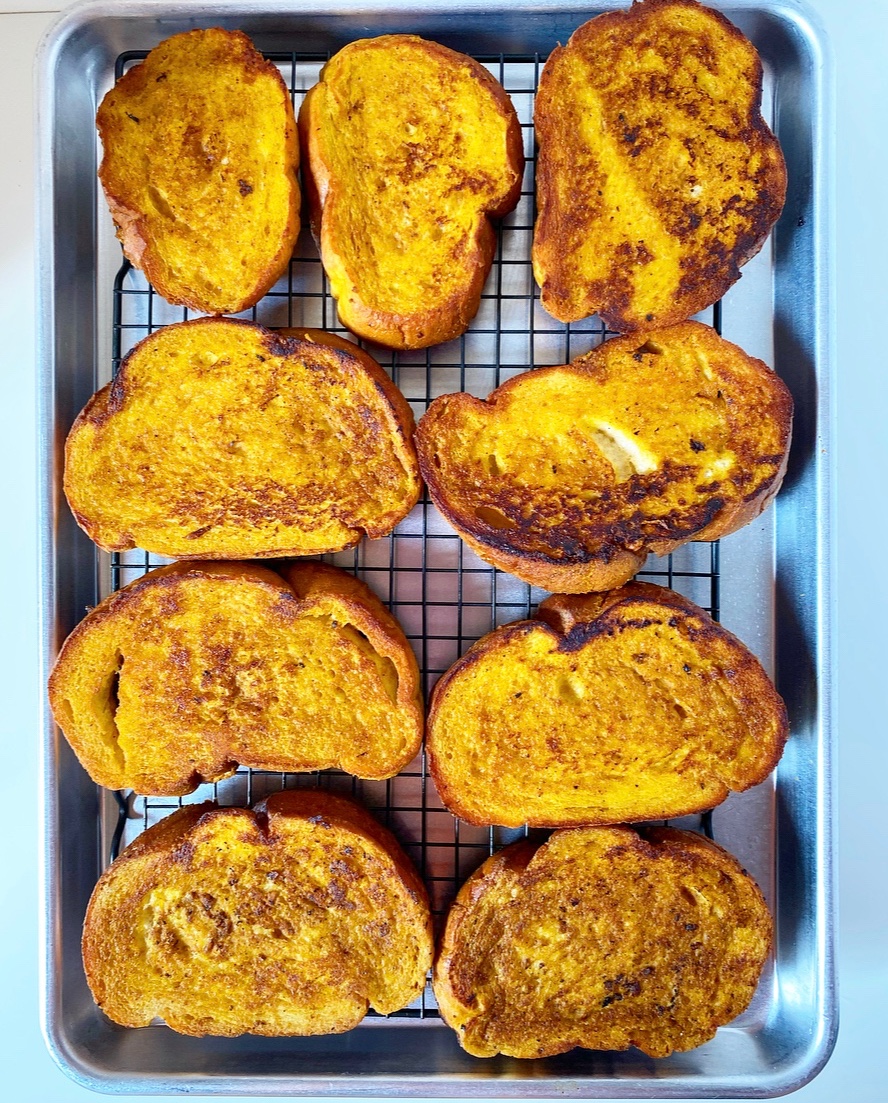
 The last morning on
 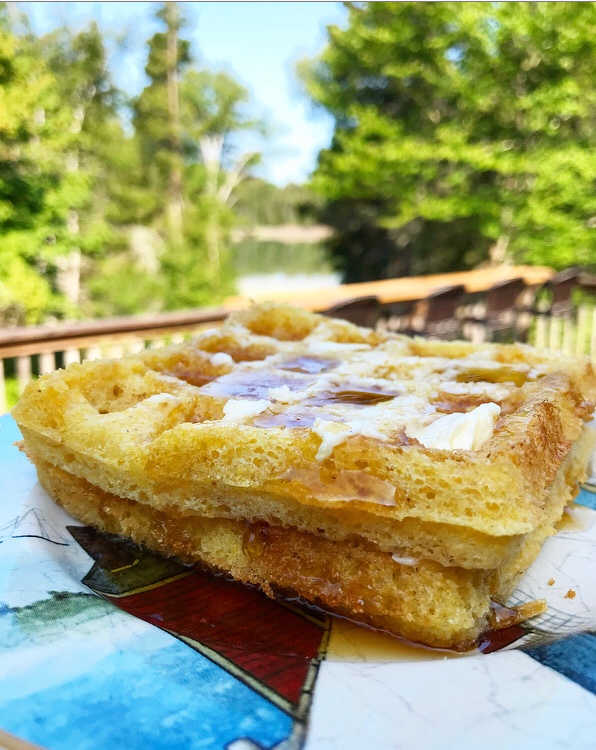 But it’s also time for one last good breakfast. Since
 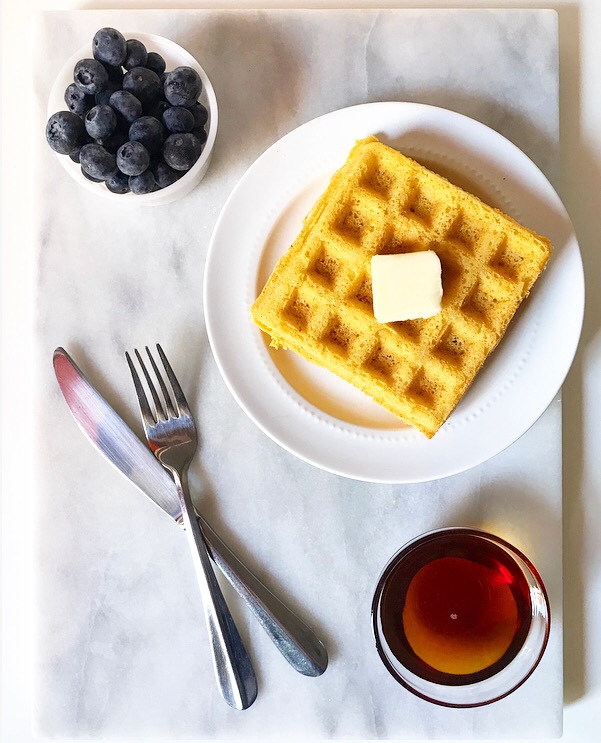 Initially, she may have regretted this. I had it in my head that my
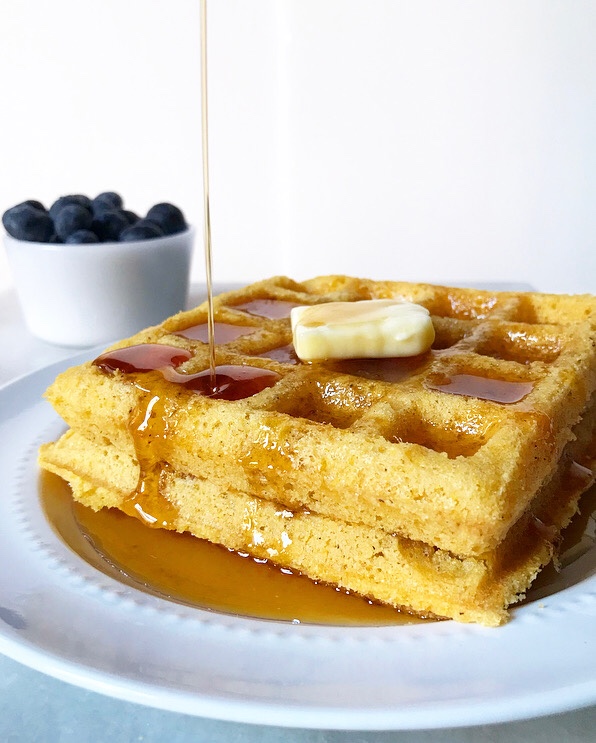
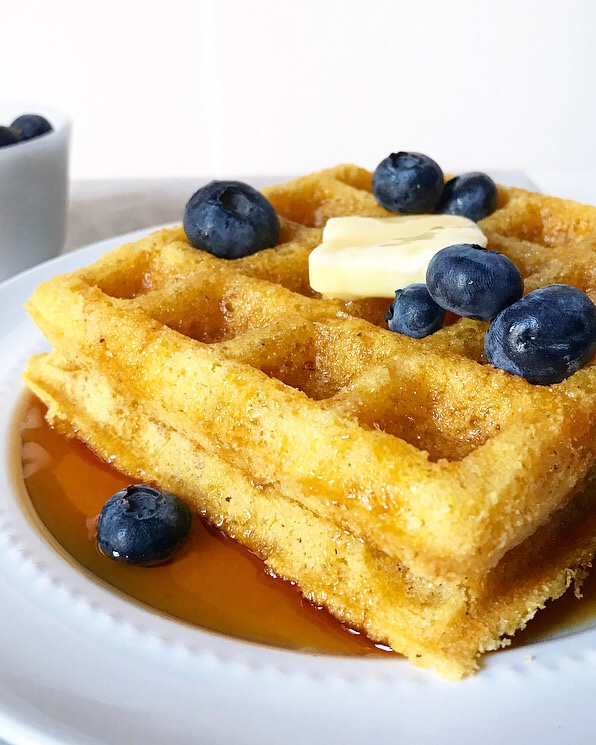
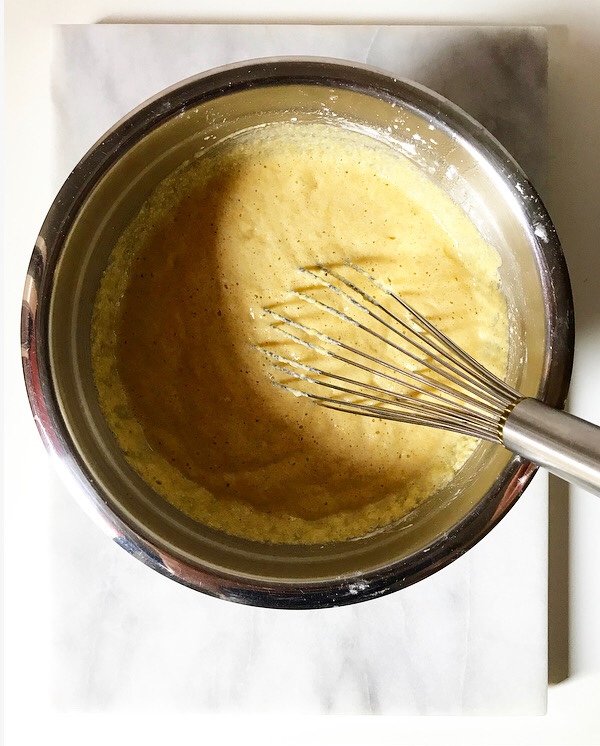
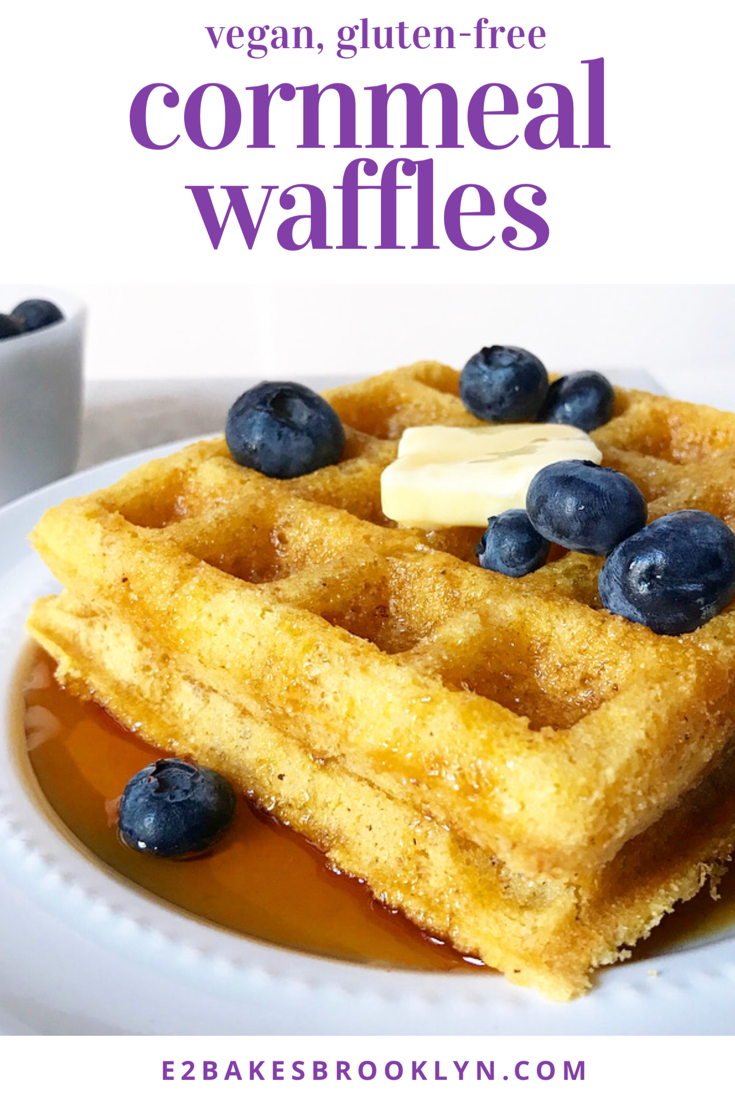
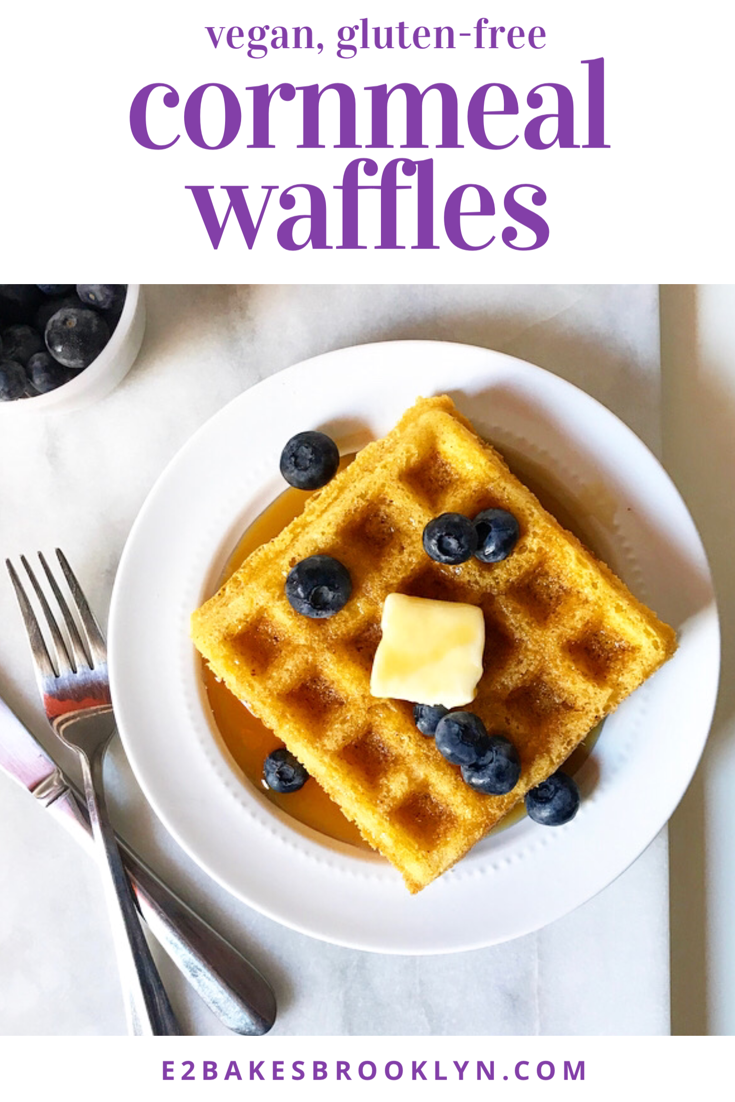
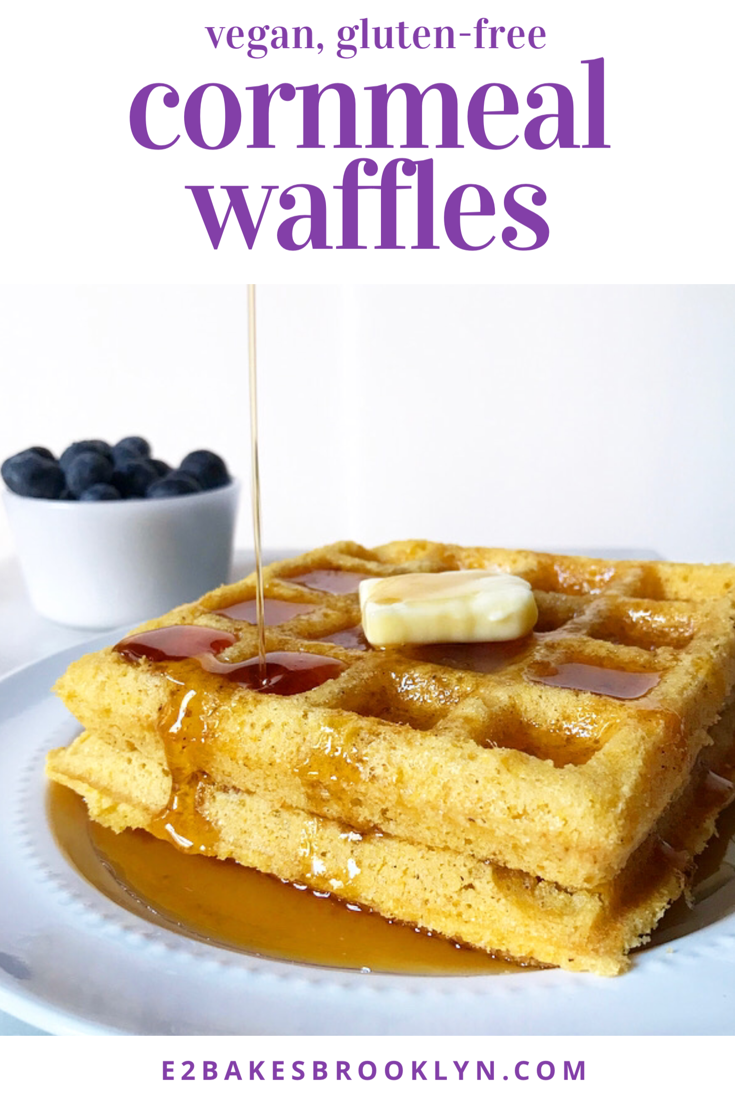
 You can see where this is going—the first round was akin to cornmeal styrofoam. Turns out, waffle batter generally needs to be thinner than pancake batter, lest the final product be tough, dry and heavy. We ate the waffles anyway (bad waffles are still waffles), but it took two days and neither of us was particularly jazzed about it. Needless to say, I was a little disheartened, and spent a couple of days writing and rewriting the recipe until I was ready to try again on the final morning.
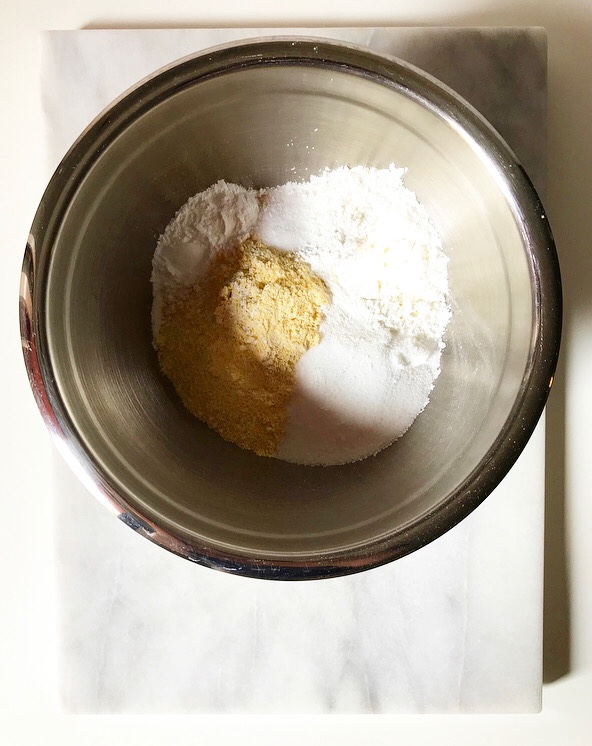

 As I began mixing together dry ingredients and measuring out aquafaba and oil, I started to worry that round two would be disastrous too, but I ladled the batter into the iron anyway. VJ and I had an unspoken agreement that we would eat the results, no matter how awful.
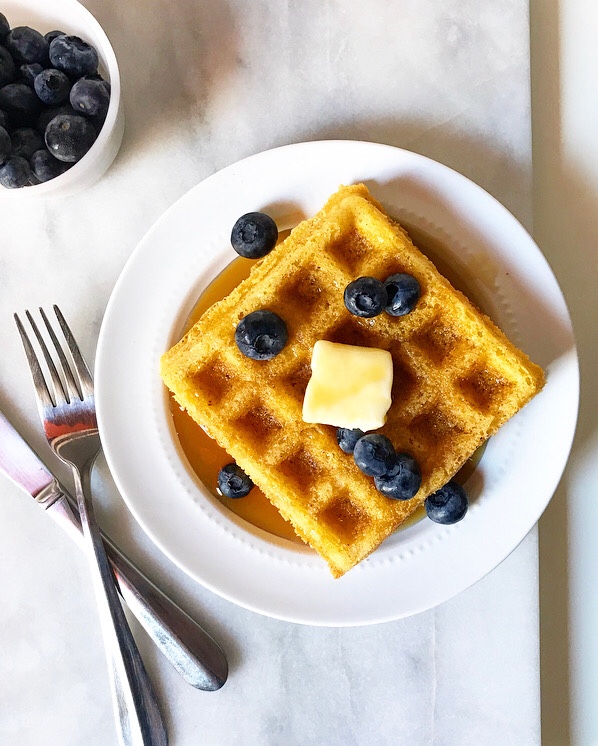
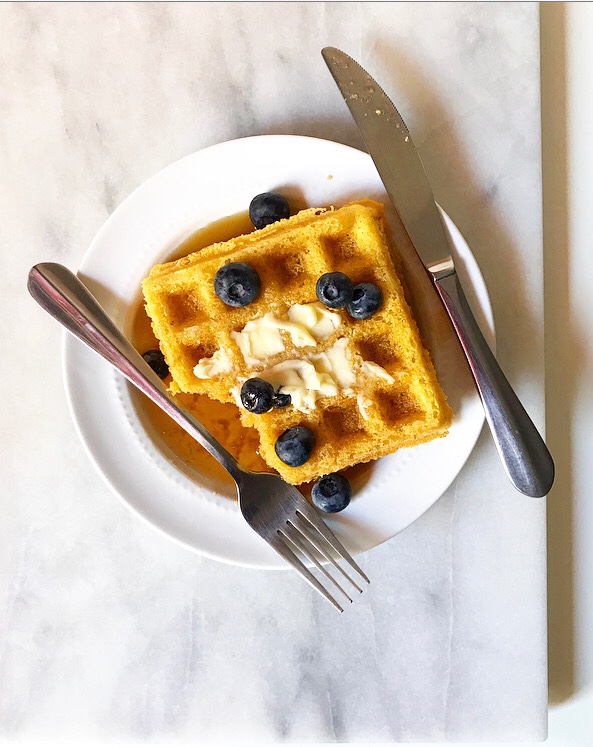
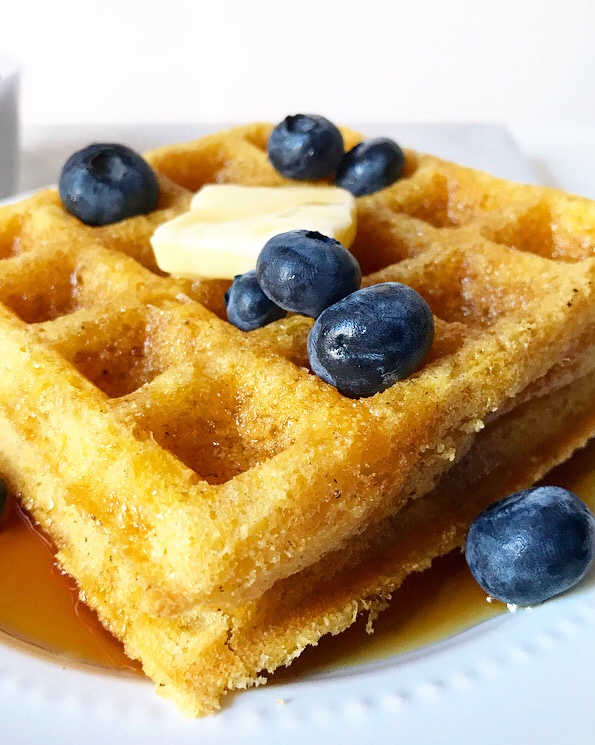 But we were pleasantly surprised. My adjustments—reducing the cornmeal and doubling the aquafaba (chickpea canning liquid/egg substitute)—had worked, producing lighter, softer waffles with crisp edges and a good corn flavor. We finished them in one sitting. No arduous styrofoam-esque breakfasts here!
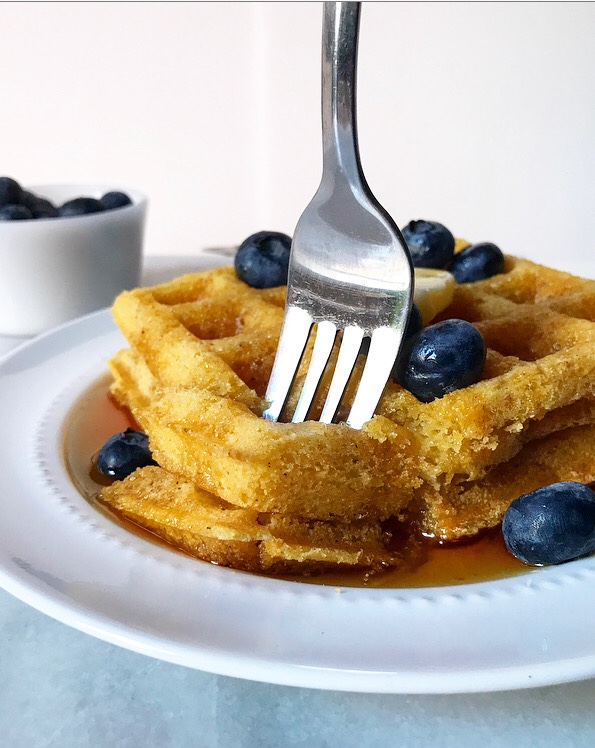
 Long story short, in addition to my haul from the vintage stores, this vacation also resulted in my purchase of a waffle maker. I’ve been home for about six days now and have already gotten a good return on my investment: I’ve made this recipe
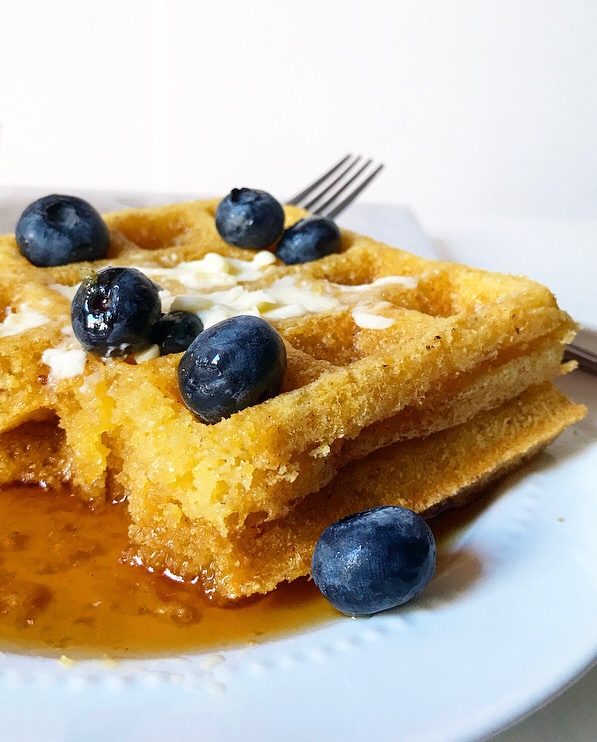

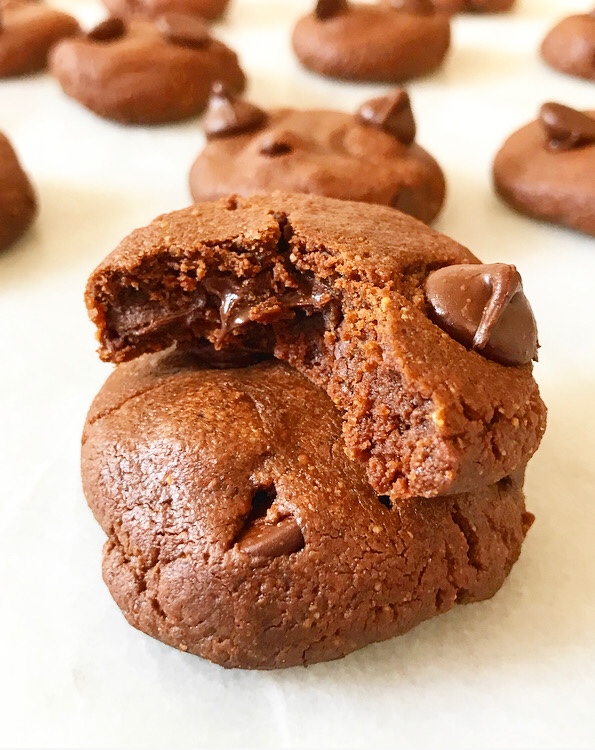
 I started dreaming of these Double Chocolate Cashew Butter Cookies when I posted their classic
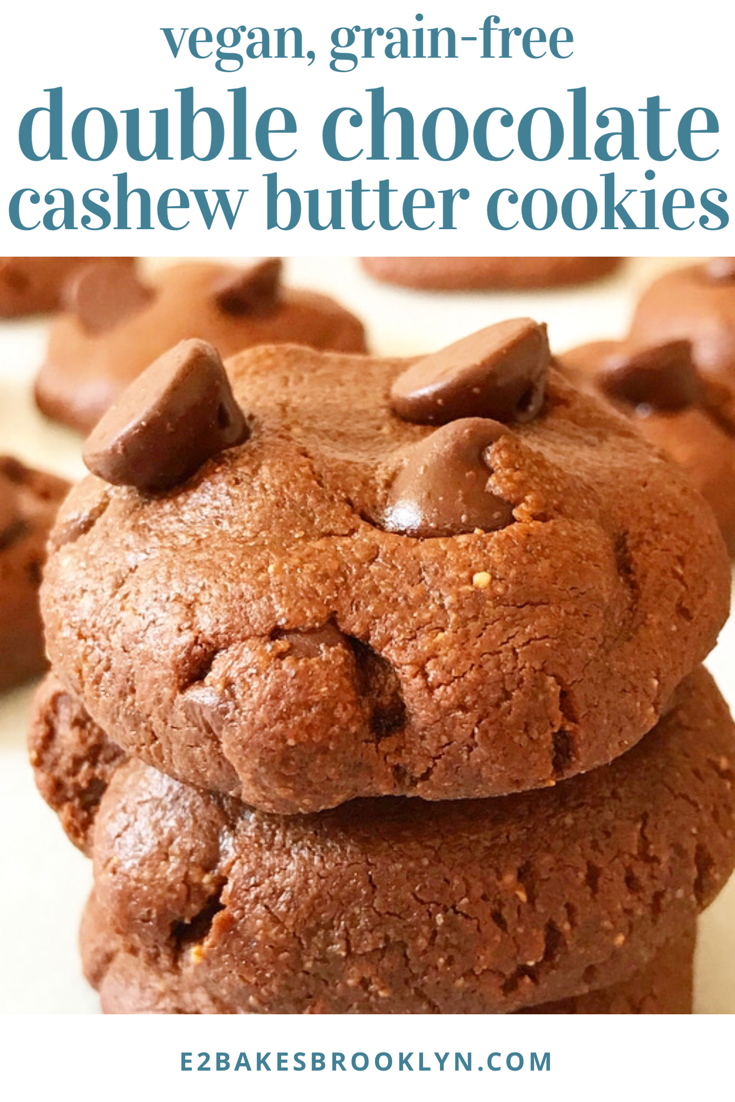
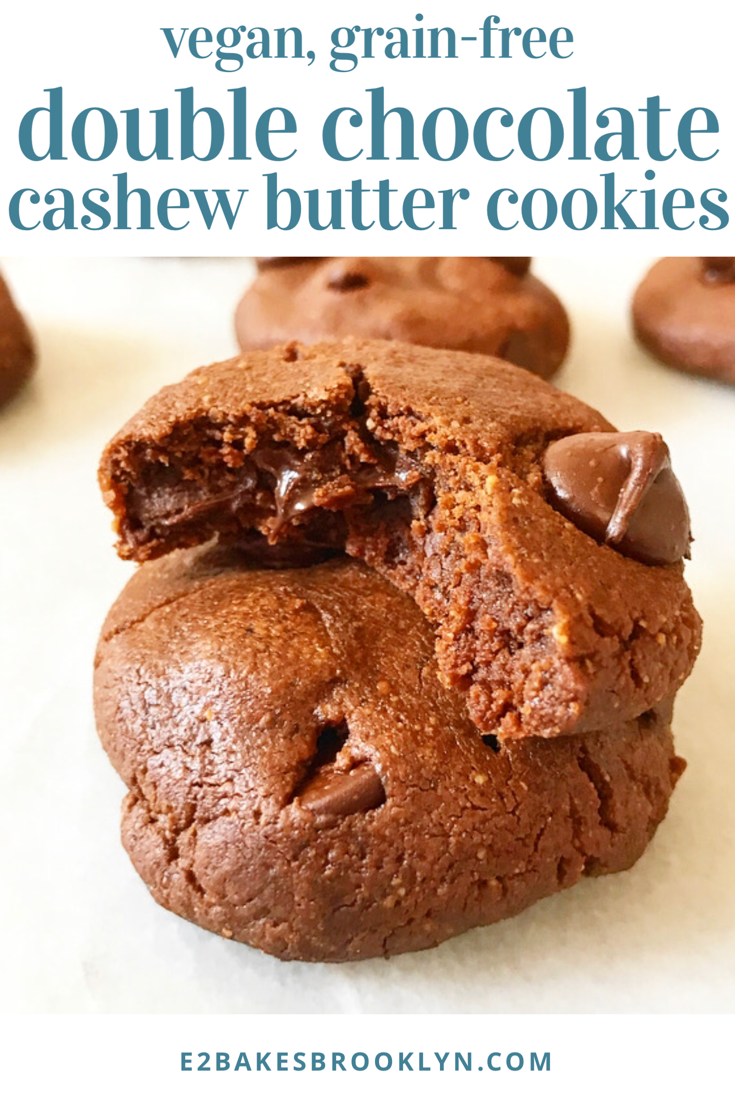
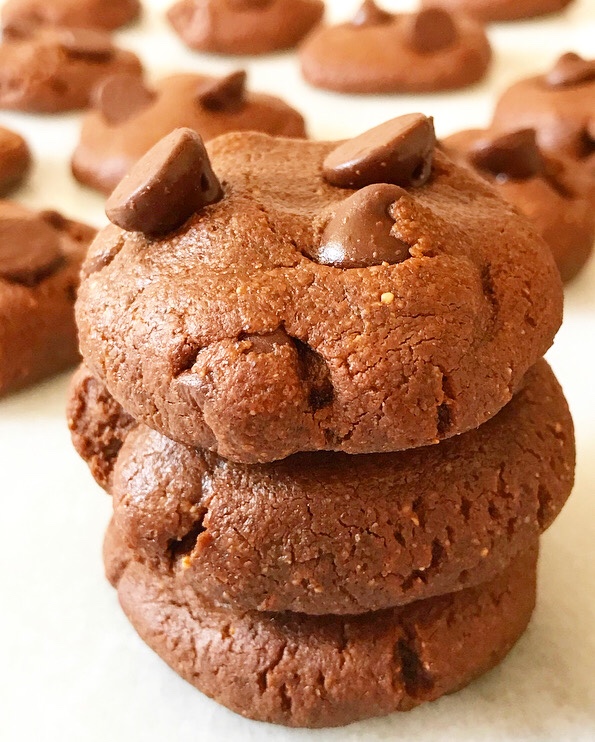
  These thick, puffy, chewy chocolate cookies are so, so good. And vegan. And grain-free. And dead-easy. Just…what?! Give me alllllll the
 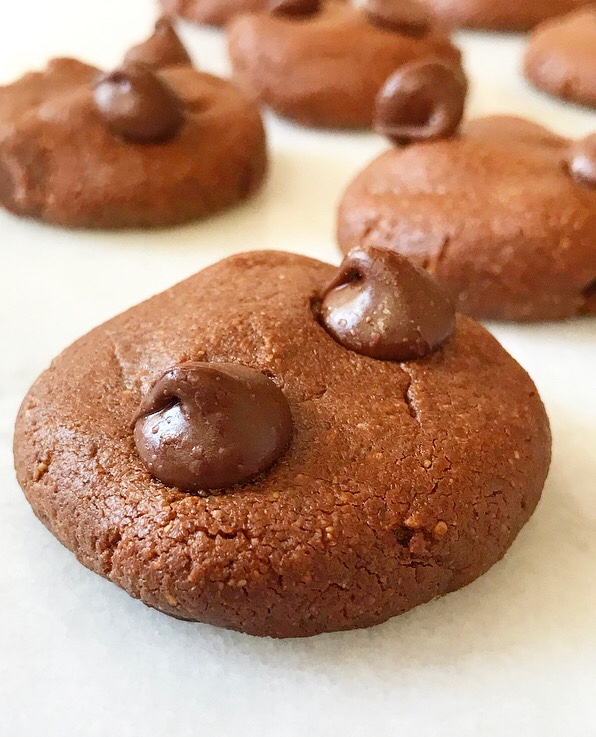 This is a one-bowl, no-mixer, no-chill, cookies-within-30-minutes-of-a-craving recipe. Oh, and should you have some modicum of self-control, these two-bite treats keep incredibly well at room temperature for upwards of a week. In fact, I think they get better as time goes on. The buttery cashew flavor mellows and melds with the cocoa and chocolate chips, and the results are brownie-like and wonderful ❤
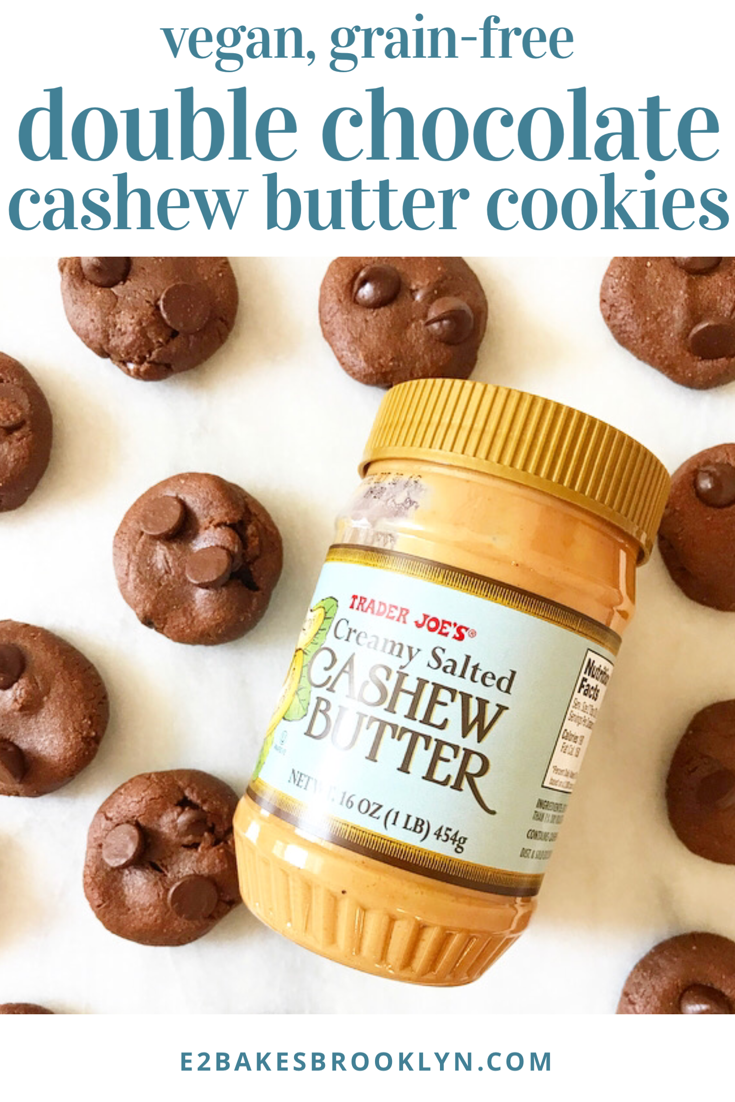
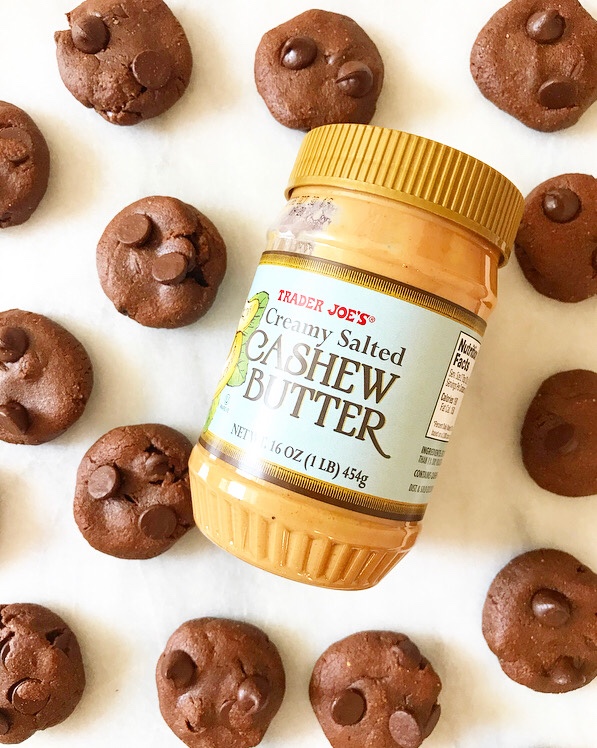
 I find good quality, reasonably-priced cashew butter at Trader Joe’s, but if you don’t happen to live in a spot smack in between two TJ’s, never fear. I haven’t tried it, but I am 96% sure you could make these with well-stirred natural peanut butter. And honestly, I think the only way to improve this recipe would be to add peanut butter.