 I have never been a particularly picky eater, but I have spent the majority of my 35+ years hating beets. Hating them. My mom used to serve pickled beets at least once a week, which meant I had to choke down (and I do mean “choke”) one or two with some regularity until I grew up, moved out, and lived a blissfully beetless existence until three years ago. I’d still be beet-free today if it weren’t for a request for them for a birthday dinner.
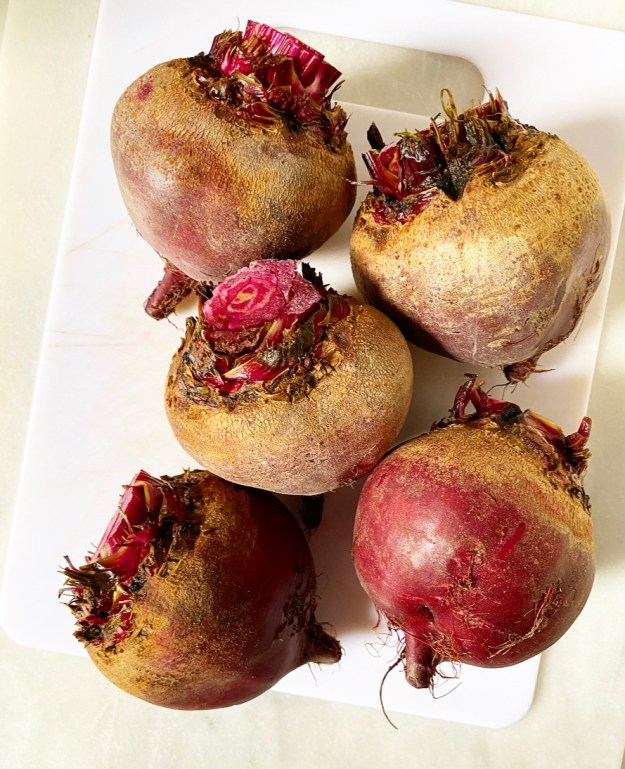
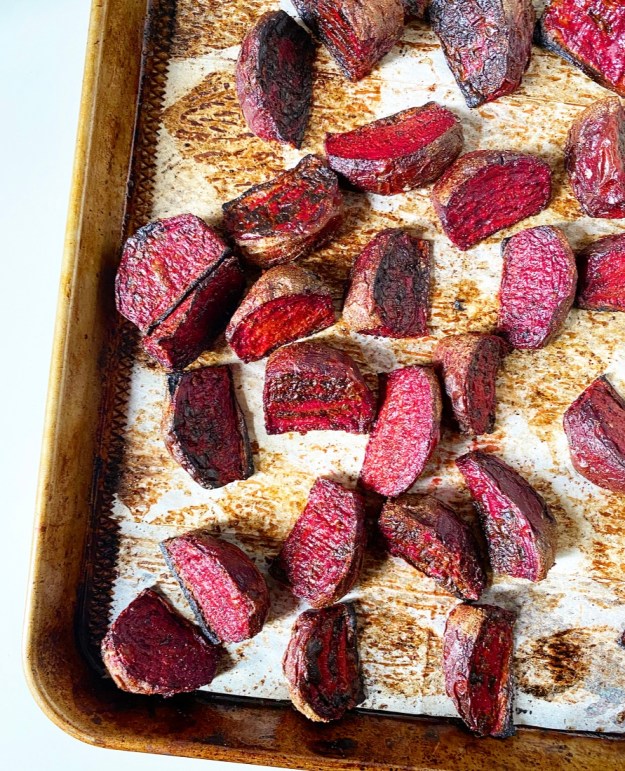 As I prepared for this party (remember parties?), I looked online for beet roasting methods and mostly saw the same one: wrap beets in foil, roast them whole, let them cool, rub off the skins with your hands, and slice. It seemed like a lot of time and work for something I couldn’t stand. Instead, I took a gamble and did things the easy way: giving my beets a really good scrub, lopping off the root and tip, slicing them into thick wedges, and roasting them with olive oil, cumin and salt until caramelized.
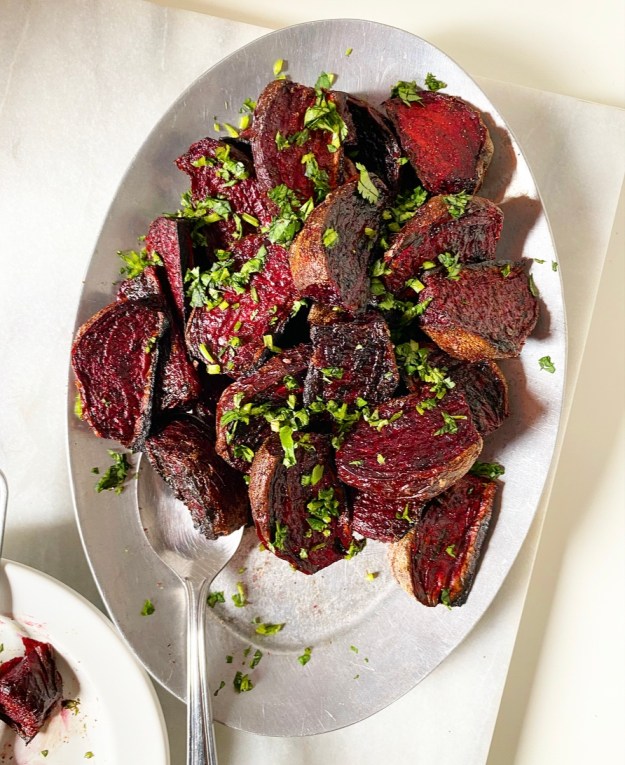
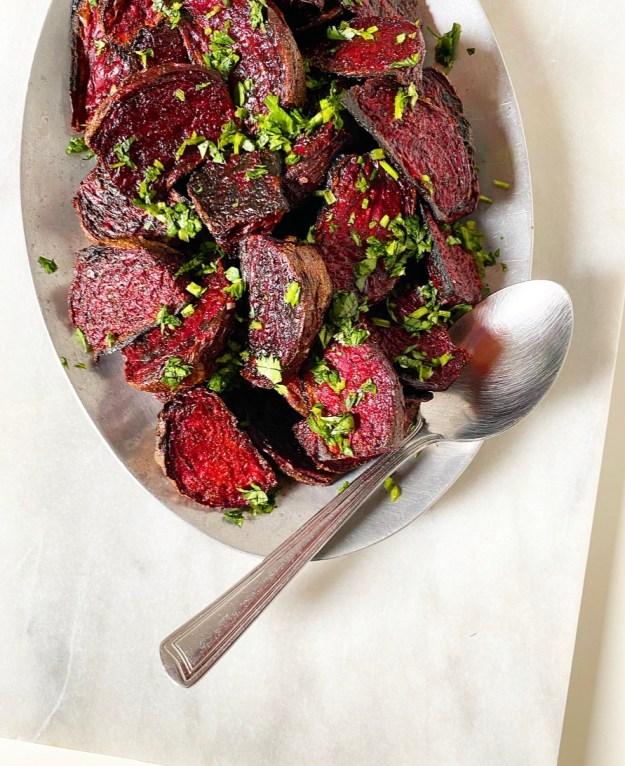 Being a careful cook, I had to taste the finished beets for seasoning regardless of personal preference, so I scrunched my nose, closed my eyes (?), took a tiny bite and…they were delicious. Earthy and sweet, yes, but also salty, smoky and crisp-edged. I couldn’t believe it—one of my top five all-time least favorite foods! Delicious! Sometimes it just takes the right preparation to change someone’s life (er, palate).
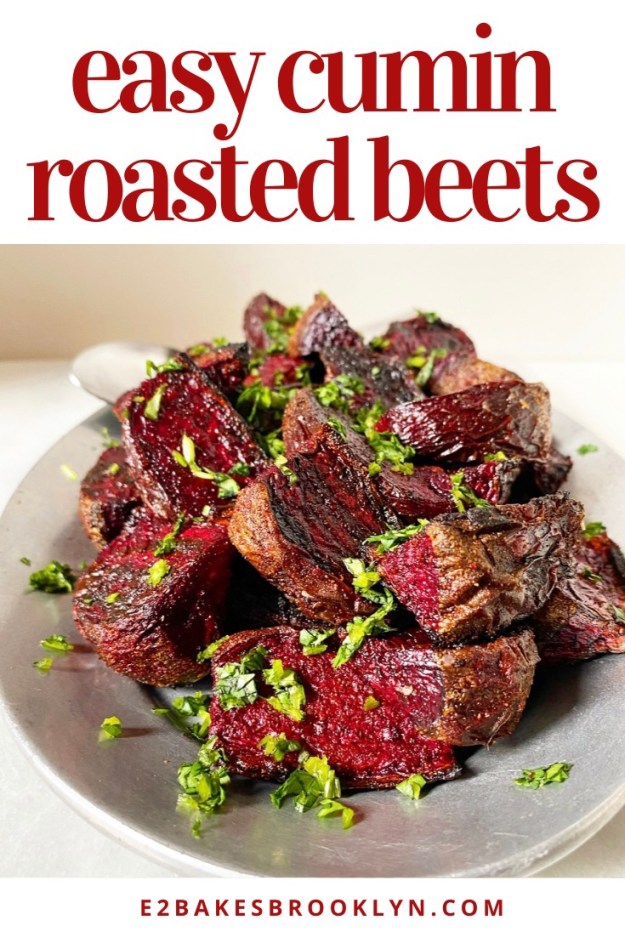
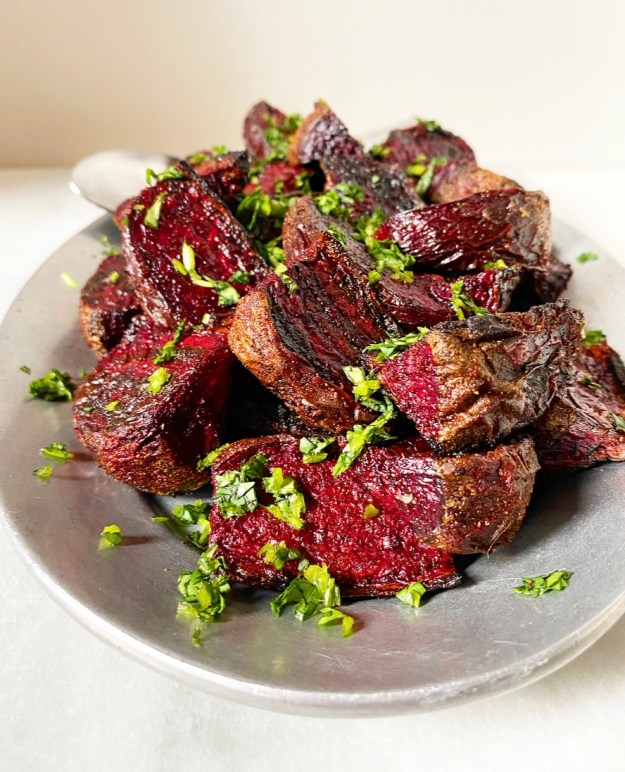 Now, I don’t know if I’ve actually changed—you won’t find me eating pickled beets out of the jar anytime soon. But these? I’ve made them at least once a week for the last three years and I freaking love them. They’re so easy and so good, the perfect low-maintenance side dish. I’ll throw a pan of Easy Cumin Roasted Beets in the oven alongside a chicken, serve them with fresh hummus on a casual night in, or pair them with feta and greens for a killer beet salad.
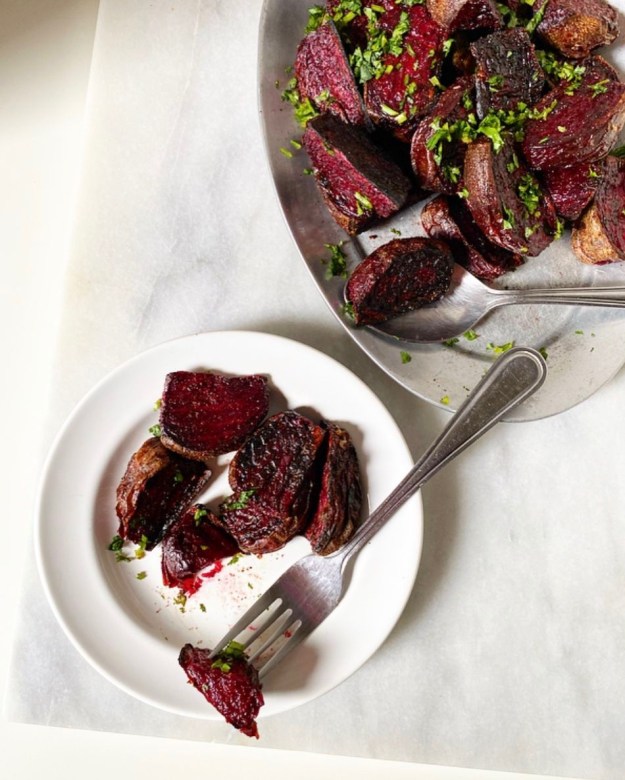 Did I just say “killer beet salad”? Maybe I’ve changed after all.
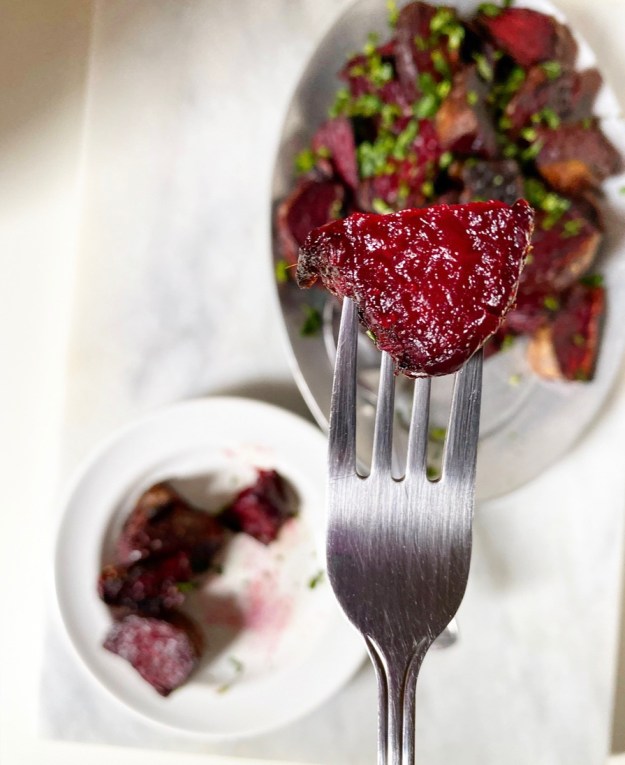
Easy Cumin Roasted Beets
makes 6 or so servings
4-5 large beets or 6-7 small-medium beets
2 tablespoons olive oil
1 1/2 teaspoons ground cumin
1/2-1 teaspoon Kosher or sea salt, or to taste
chopped cilantro or parsley, for garnish
Preheat oven to 425F. Line a rimmed baking sheet with parchment paper.
Scrub beets and dry. Some may have a matte brown portion of their skin–wiping them dry with paper towel or lighter-colored towel is best for differentiating between this and remaining dirt. Do not peel.
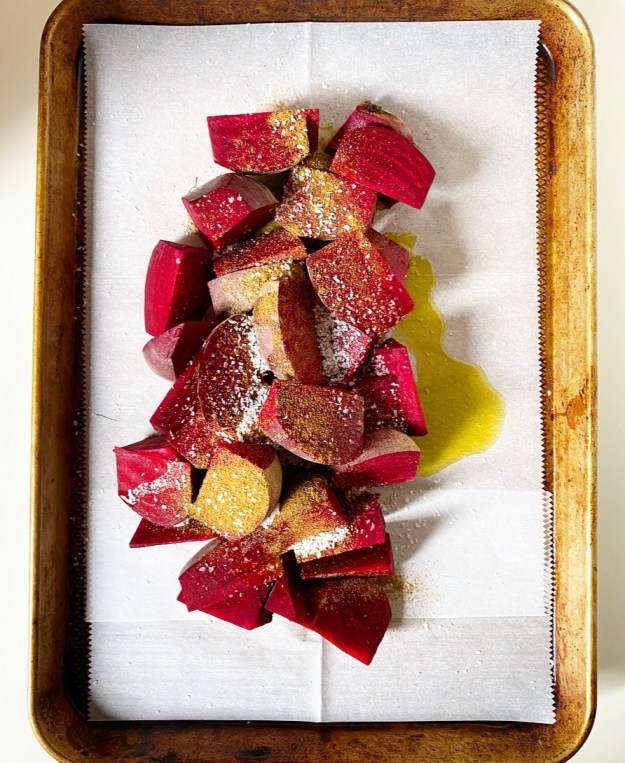
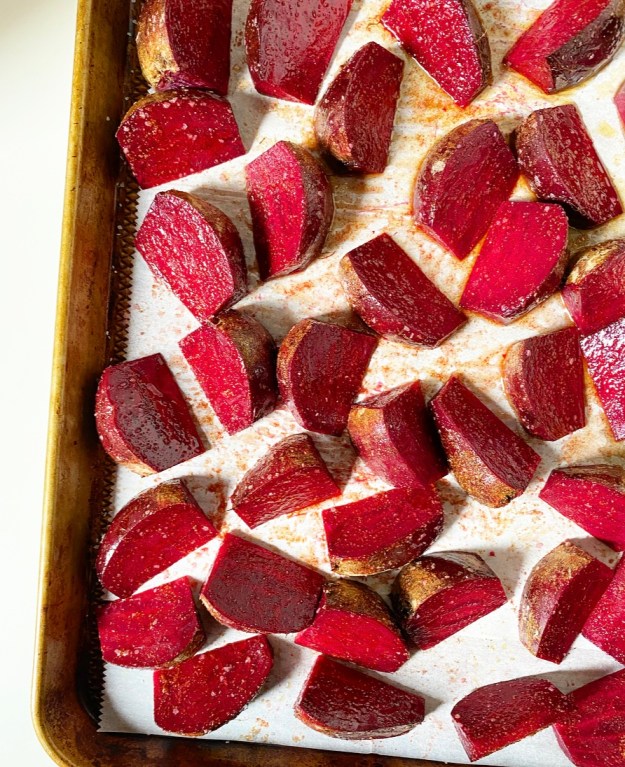
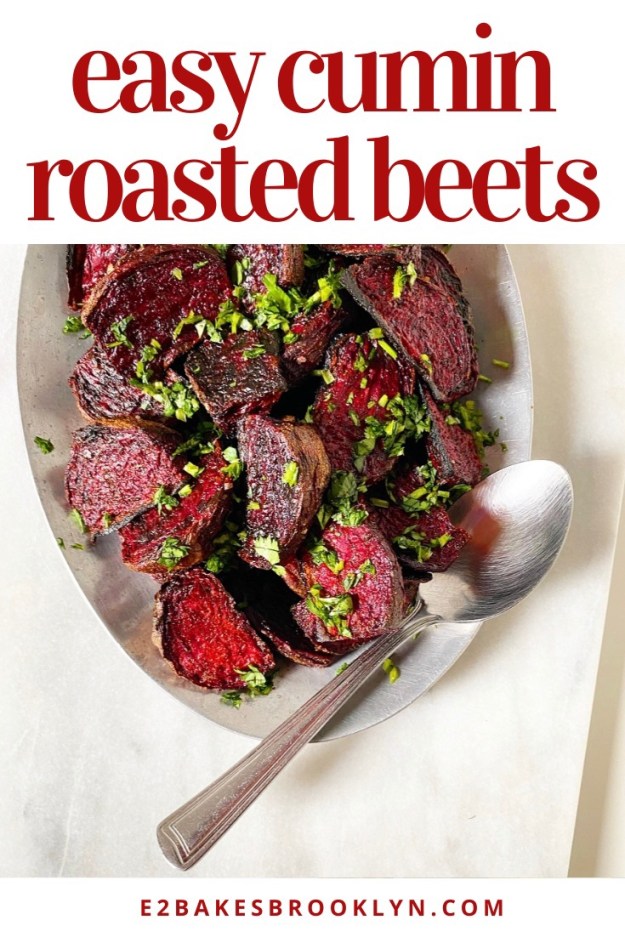
Use a large, sharp chef’s knife to trim off the roots and tips. Slice them into wedges (I did 8 each on large beets). Pile on a prepared pan and top with olive oil, cumin and salt. Toss with your hands until everything is evenly coated, then scatter them evenly across the pan, taking care to keep them apart. Wash your hands.
Roast 20 minutes. Use a thin spatula to flip the beets over before roasting for 20-25 minutes more. Remove them to a serving dish. Garnish with chopped cilantro or parsley, if desired. Serve.
Leftovers will keep in an airtight container in the refrigerator for a few days.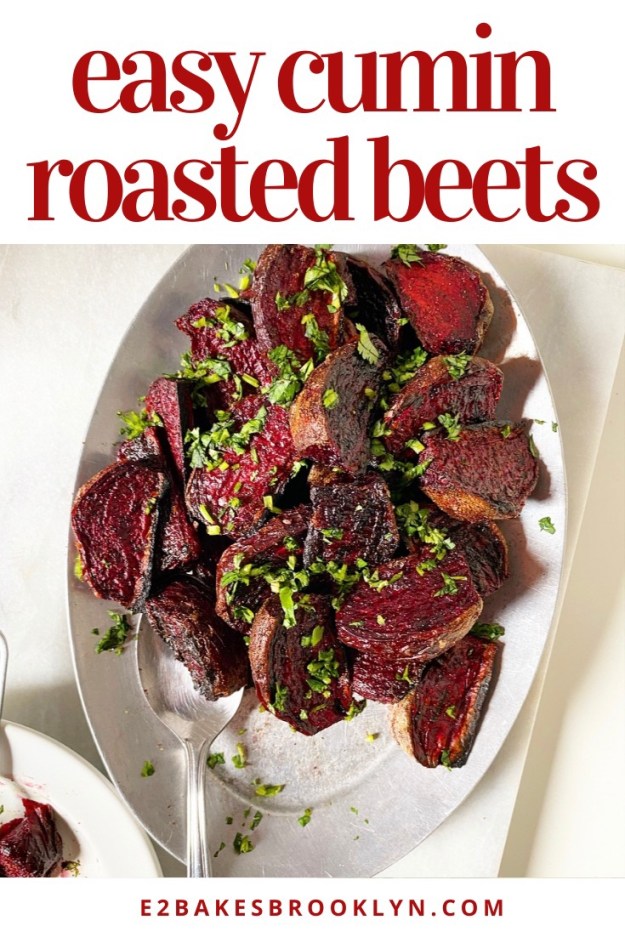
 Although I have never publicized it this way, I have privately referred to this time of my blogging year as “Savory January” for some time now. You see, every January since starting this site, I (mostly) switch focus from sweets to weeknight meals, sides and other savory pursuits. It’s not for weight loss, “cleansing” or any reason beyond keeping things interesting—I cook as much as I bake, and those recipes deserve their moment in the blogging sun, too. Is switching up my blog POV for one month a year weird? Sure. But I like variety, and also this is my website and I can do what I want.
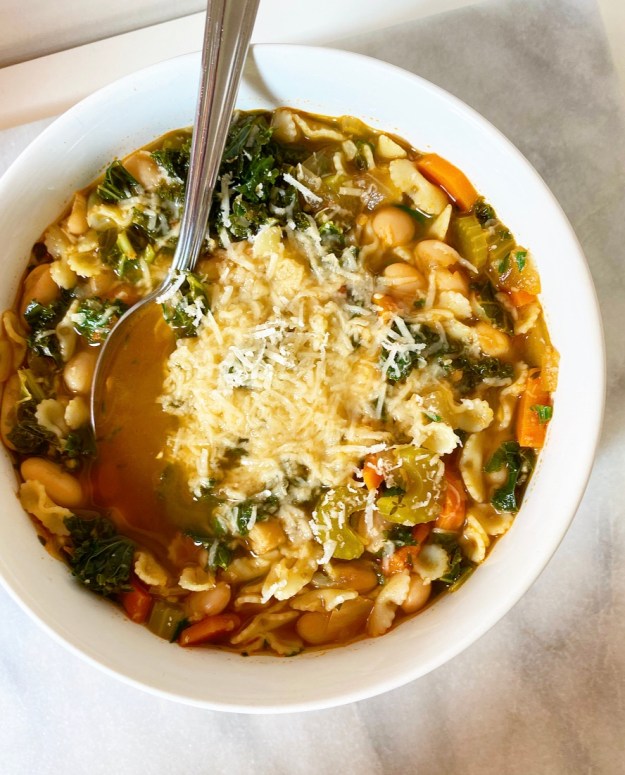
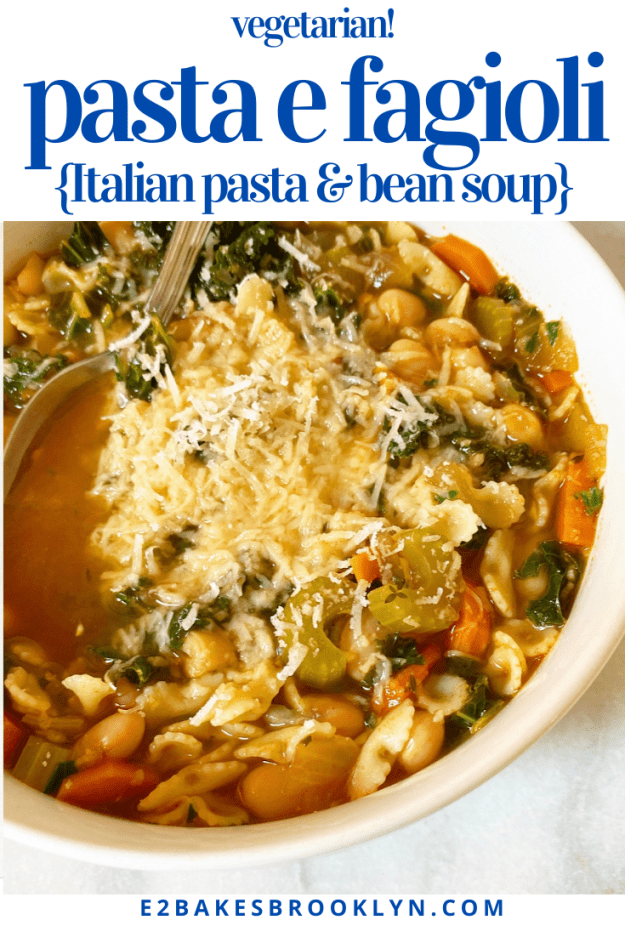
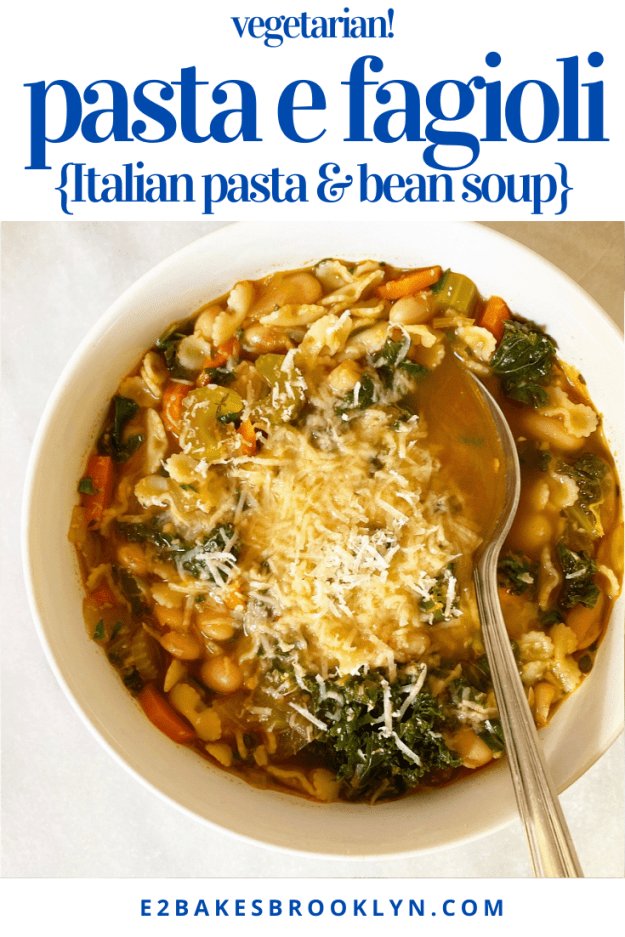
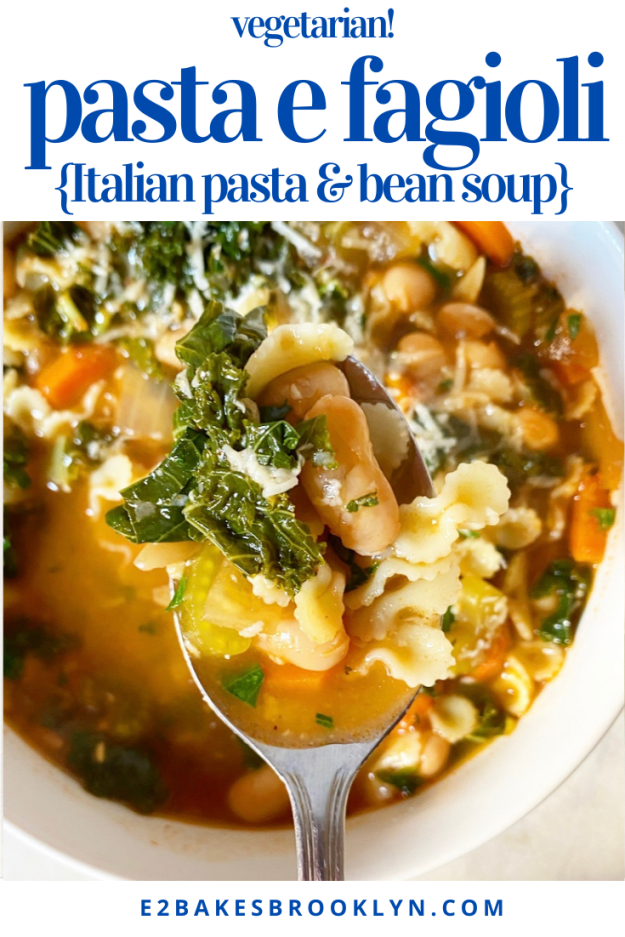
 Pasta e Fagioli has been one of my favorite recipes for years and years. At its most basic, it’s a vegetable soup with pasta and beans, but it’s so much more! It’s easy, it’s cheap, it’s hearty, and it’s dang delicious. Oh, and it’s vegetarian—vegan without the cheese, gluten-free depending what kind of pasta you use. Yesssss.
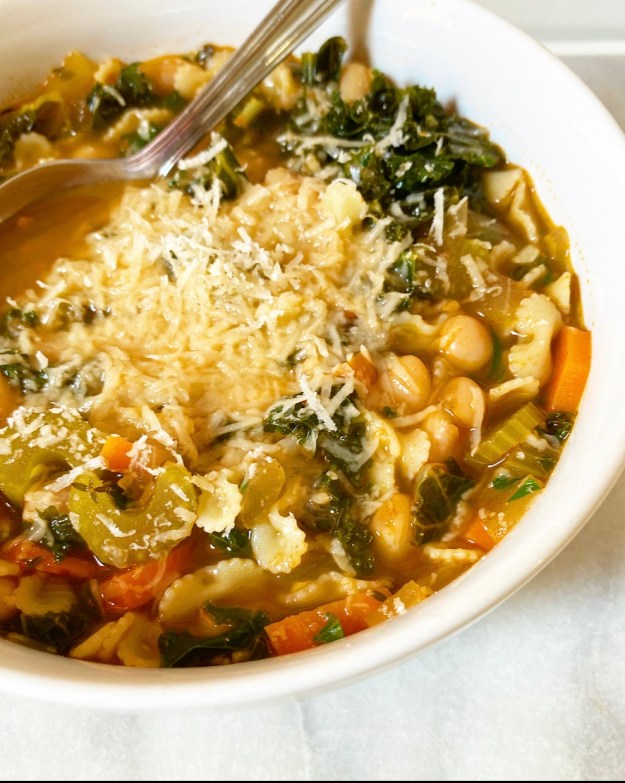 I made this Italian staple all the time when I first moved to NYC, but moved on to other things because that’s just how cooking goes for me. I make something regularly for a few weeks/months/years and then I completely forget about it for a few more weeks/months/years. In this case, I remembered Pasta e Fagioli on the last night of our Maine trip this past October. We had some produce to use up, and we had some tomato paste, beans (aka fagioli), pasta and cheese ends lingering…and well, when life gives you lemons, you know.
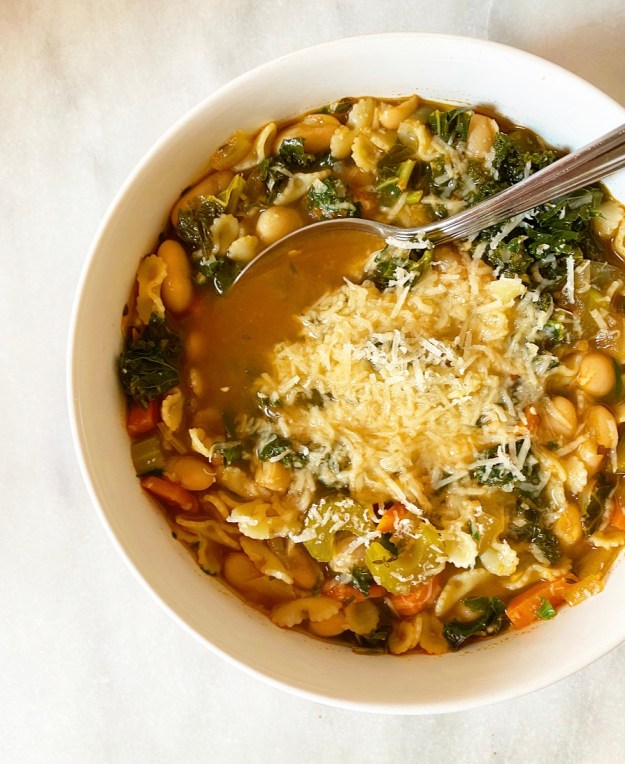 Making Pasta e Fagioli is super simple and you probably have most of the ingredients already. The method is nearly identical fo the way I make
 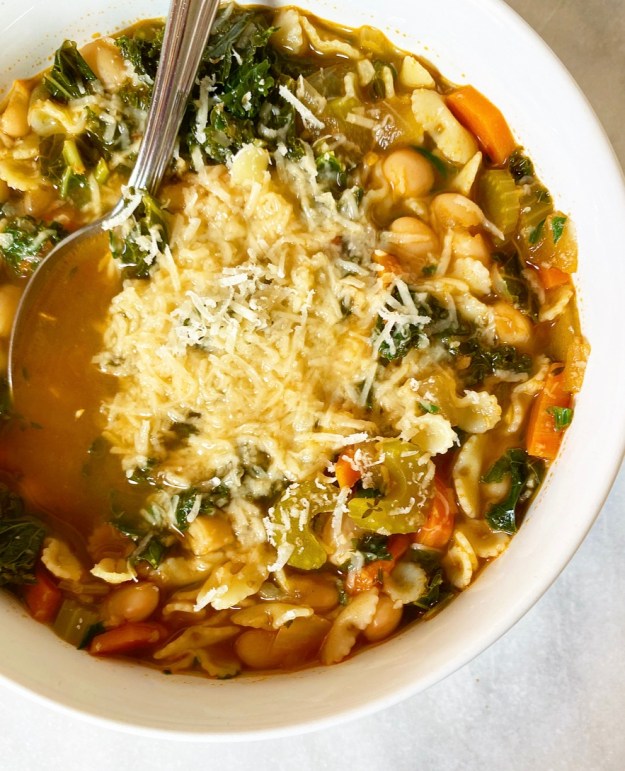 If you’re wondering why I cook the pasta separately from the rest of the soup, it’s because I’m a single lady who eats a lot of leftovers and hates mushy pasta. I do this with chicken noodle soup as well—by keeping the two components separate, the pasta doesn’t overcook or get waterlogged and sad. If you have a group to feed or will otherwise not have leftovers (or maybe like your pasta really soft?), feel free to toss it in the pot with the beans and kale.
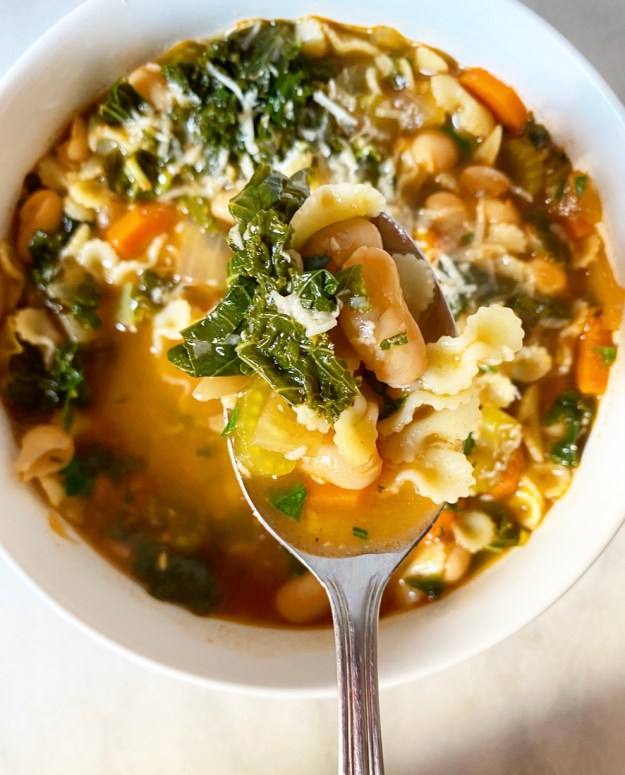
 You may not be able to tell from the bevy of desserts I post every week, but I am a huge proponent of eating your greens. Almost every meal I make for myself involves a huge bed of arugula. Yes, for real.
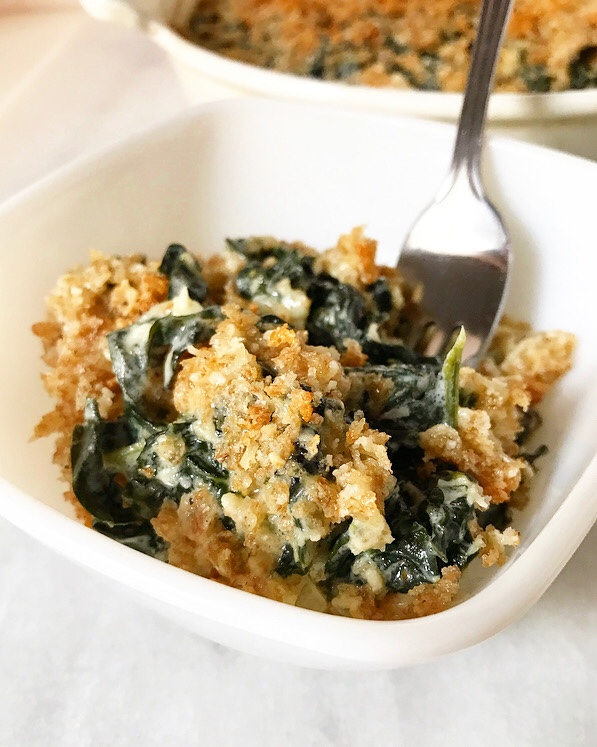 That said, on Thanksgiving, there are so many sides that leafy greens can get lost in the mix or left out entirely. To that, I counter this: Creamed Kale with Crispy Breadcrumbs. It’s the sort of “eat your greens” situation that is absolutely welcome sidled up to
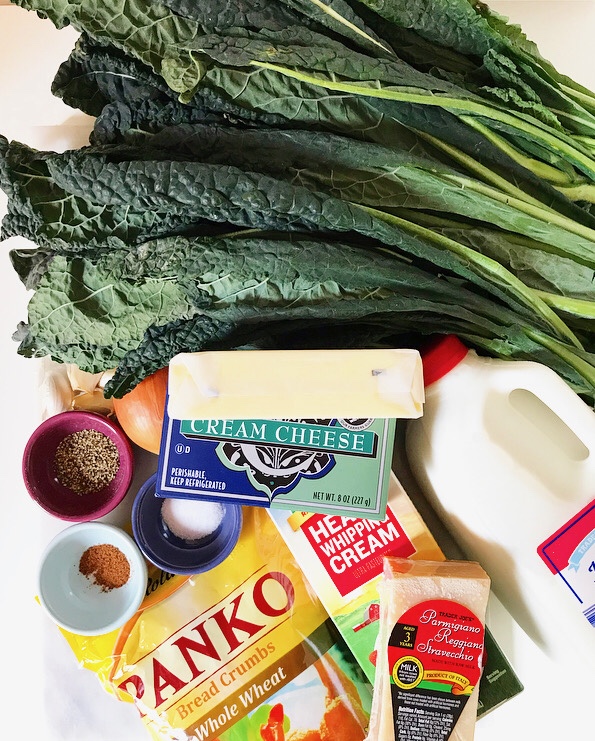
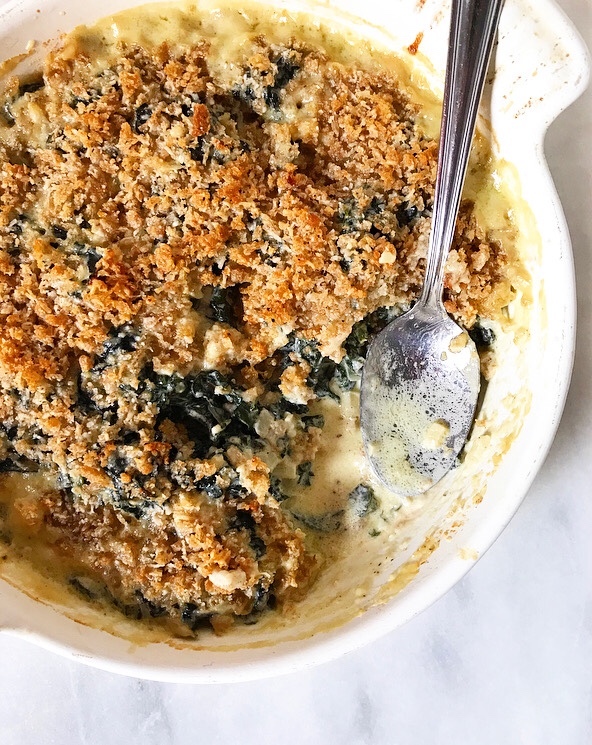
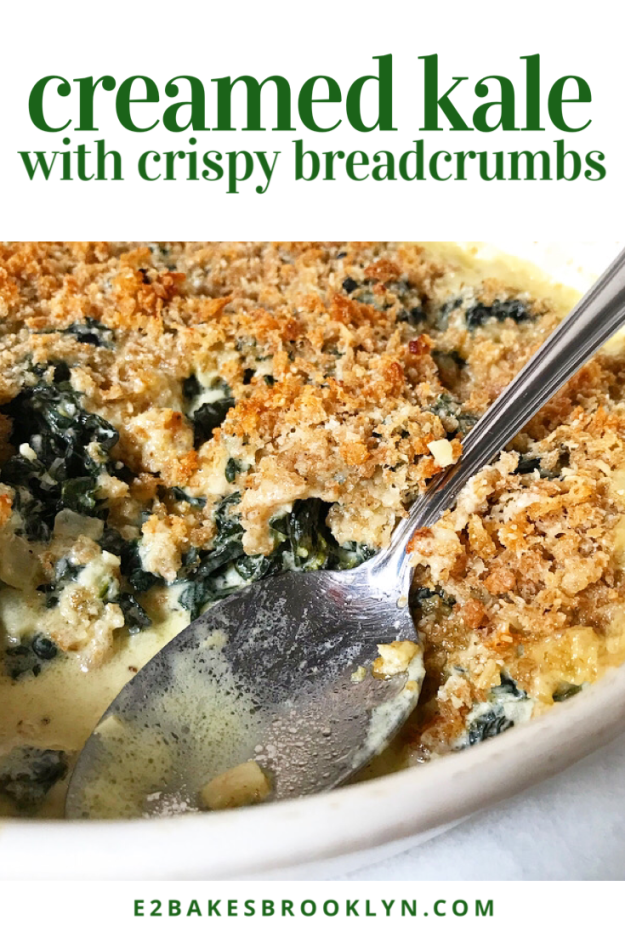
 This is a vegetable side dish that stretches the meaning of the word “vegetable.” Yes, there is kale in there—a lot of it—but it’s coated in a sauce of butter, heavy cream, milk, cream cheese and parmesan, and topped with buttery breadcrumbs. Dietetic, this is not. On Thanksgiving, though, who cares? If there were ever a day for eating a creamy, cheesy, crispy-topped side and calling it a serving of vegetables, this is the one.
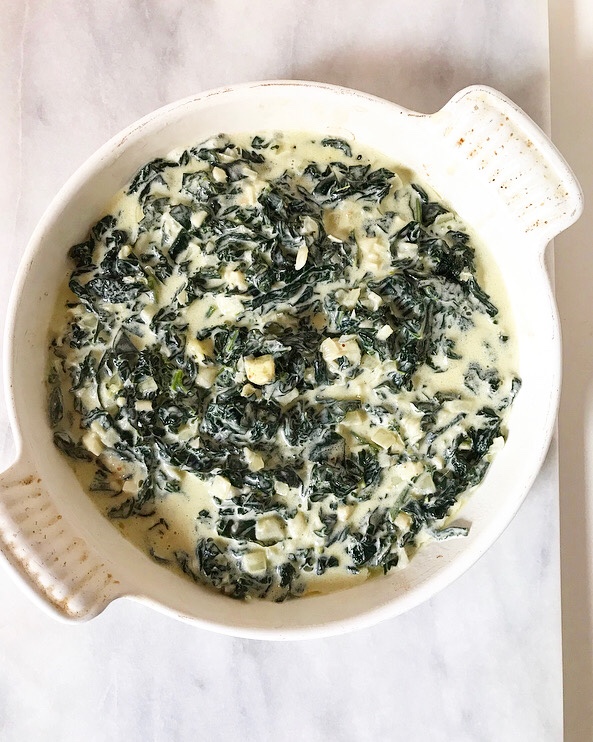
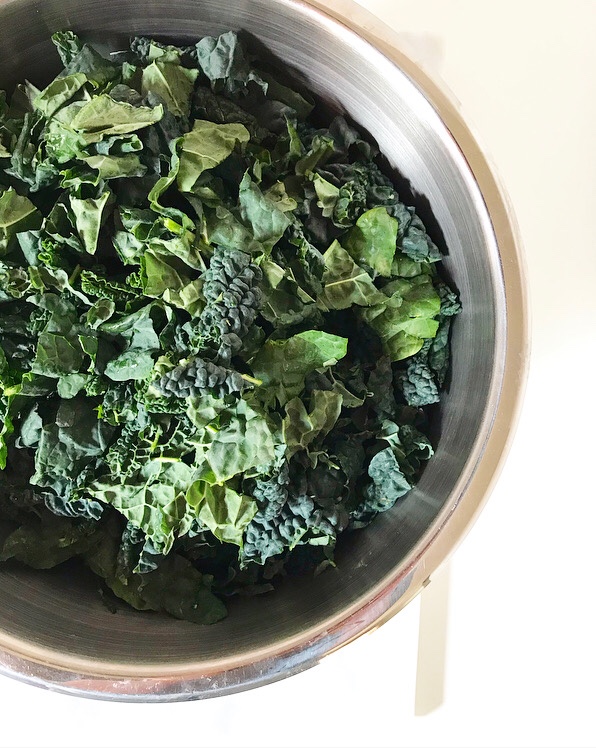
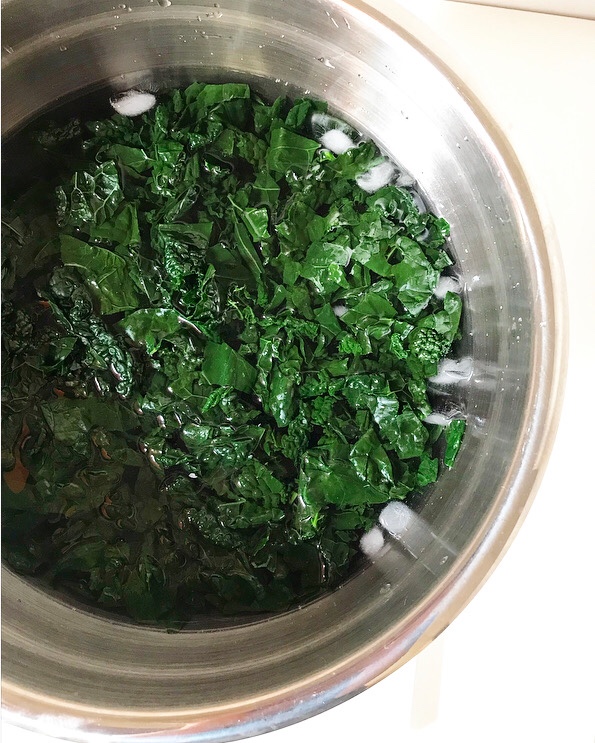
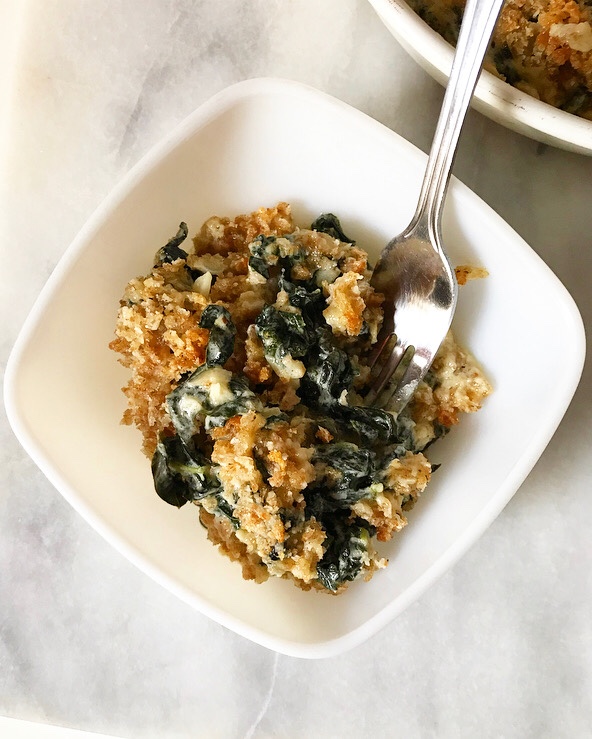
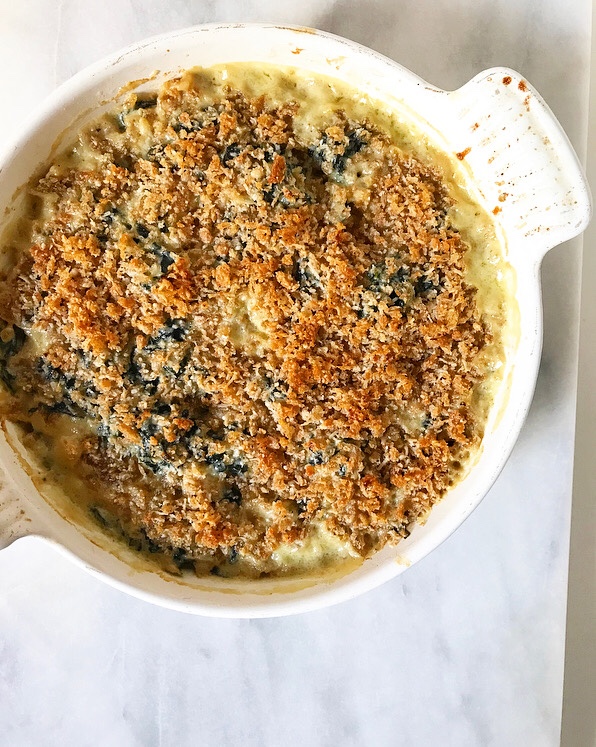 If you’re wondering why I used kale here instead of going for classic creamed spinach, the answer is simple: kale’s texture holds up. Even after the blanching, shocking, sautéing, saucing, and baking, it still has texture. It contrasts perfectly with the crispy breadcrumbs instead of getting lost in the cheesy sauce. And it’s pretty. And I just *like* kale.
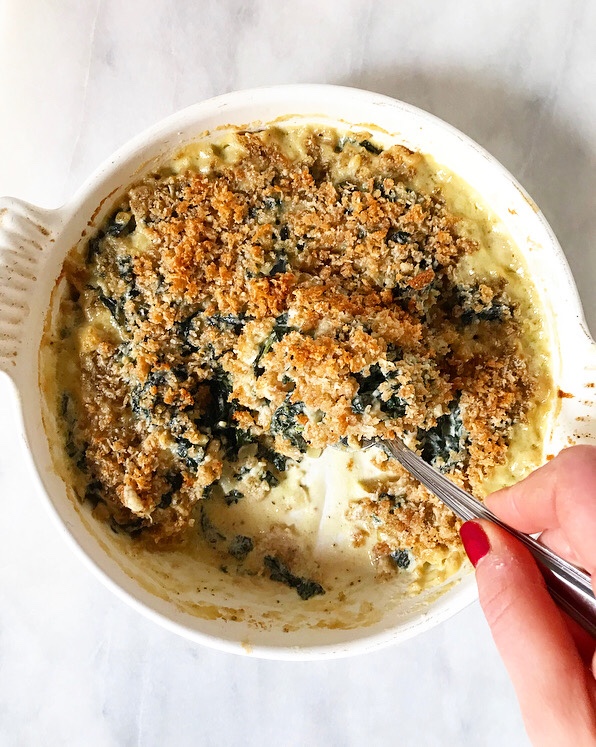
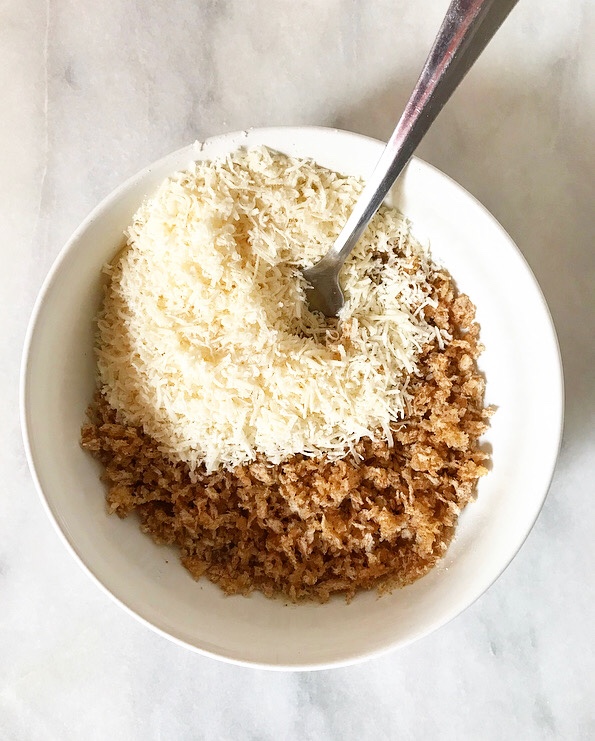
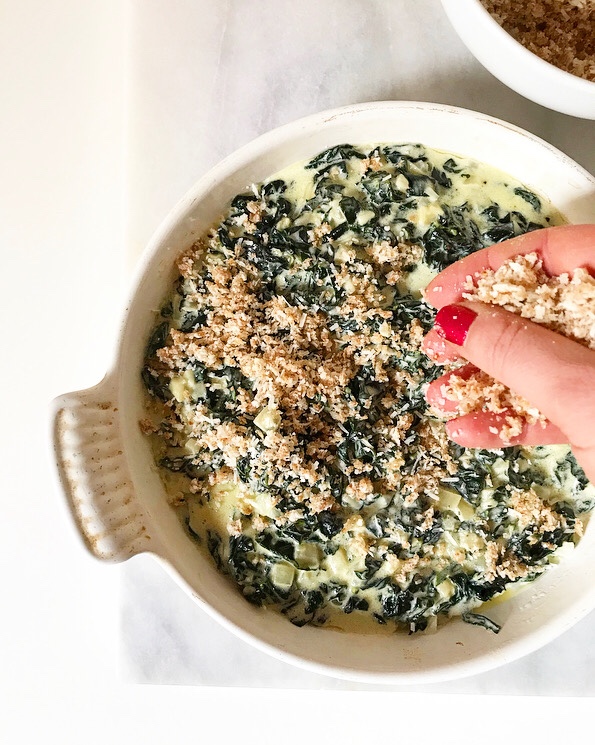
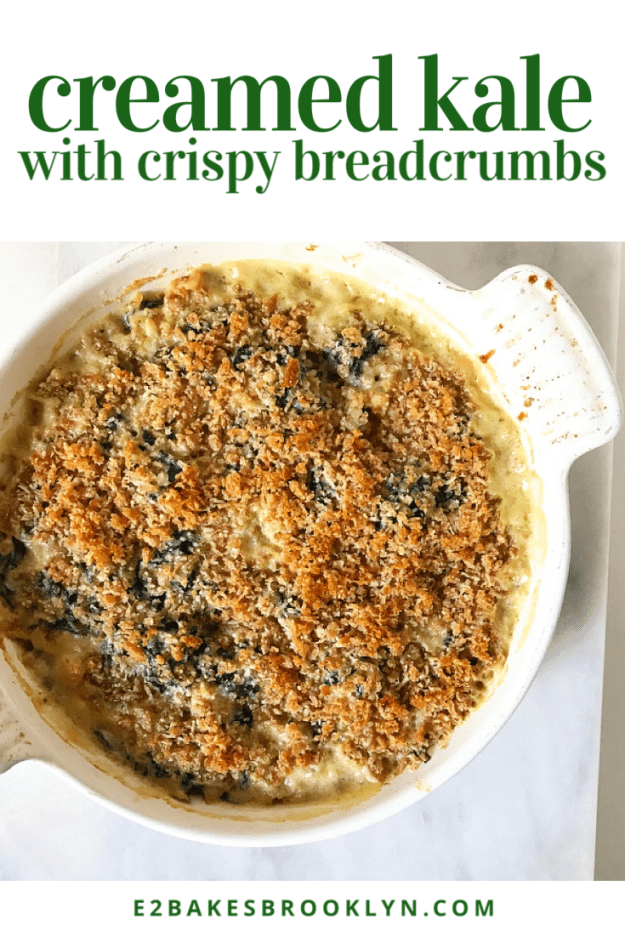
 Now, I know that adding one more thing to your Thanksgiving menu is never something to be taken lightly. Time and energy are at a premium at the holidays! Luckily, Creamed Kale with Crispy Breadcrumbs is perfect for making ahead. You can stir together the creamed kale part of the equation a day or two ahead of time and refrigerate it. When you’re ready to serve, top it off with the breadcrumb mixture and bake until brown, bubbly, and so creamy and wonderful that even I—a person who has written repeatedly about
 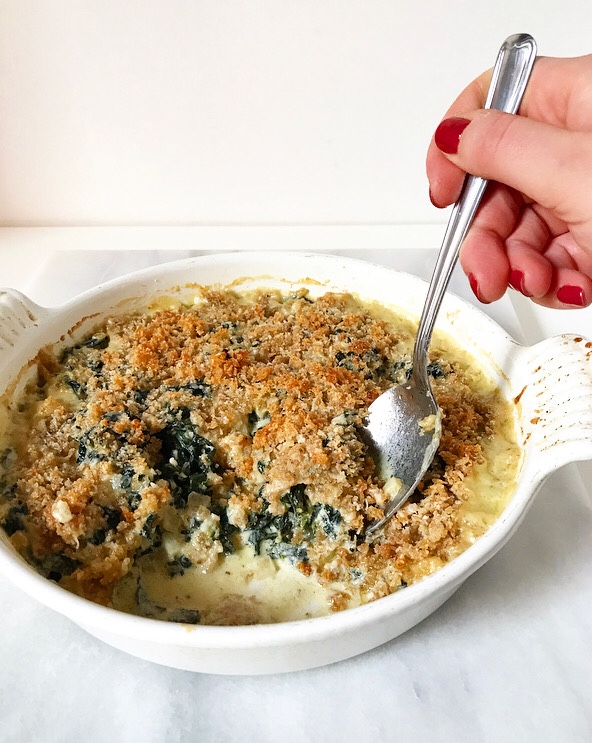 Looking for something a little lighter? Try my
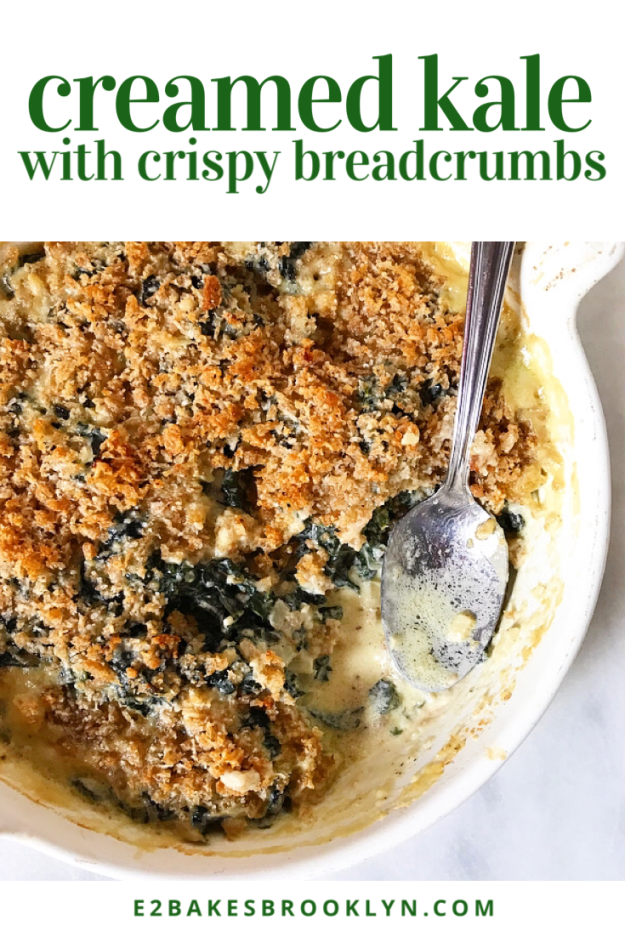
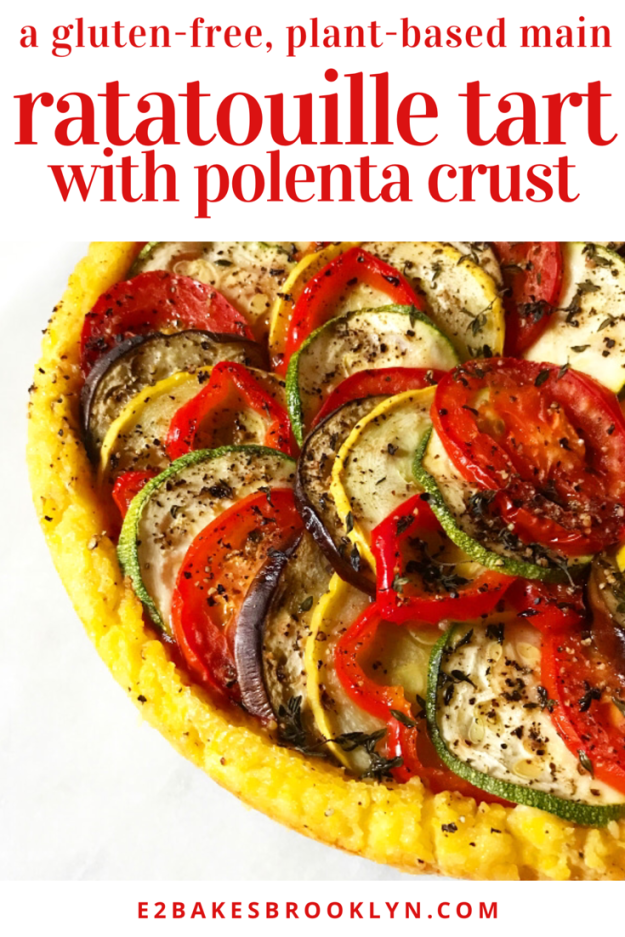
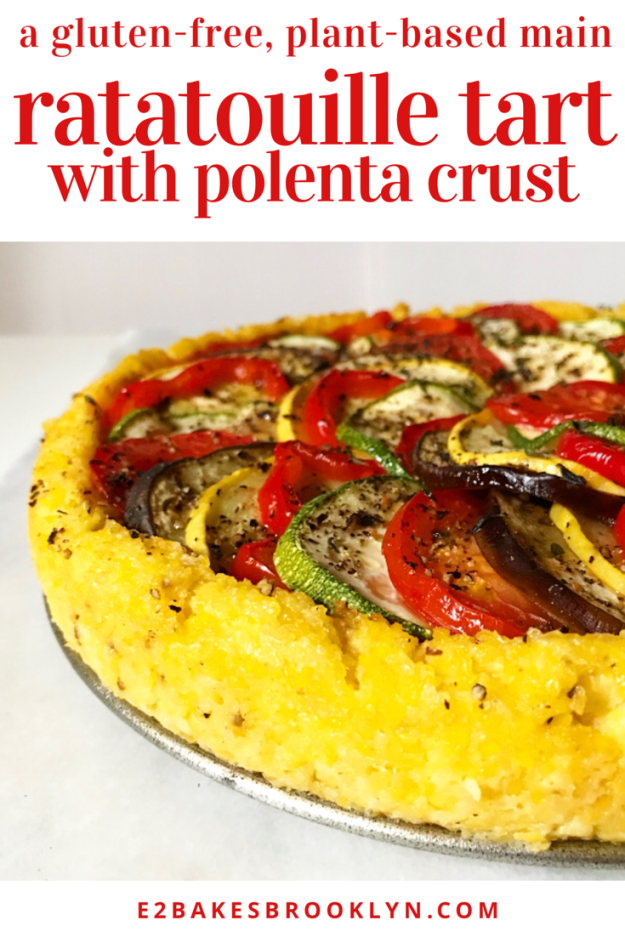
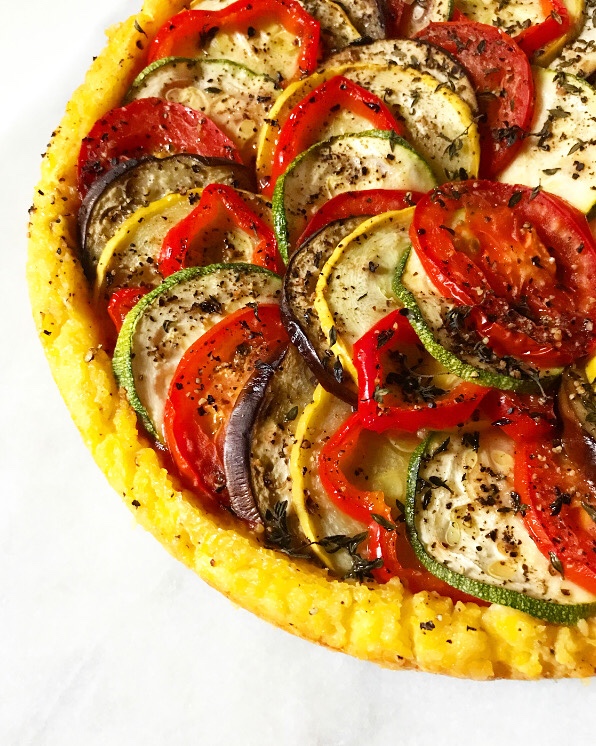 If you’re searching for a plant-based summer recipe that is as visually striking as it is delicious, look no further. This Ratatouille Tart with Polenta Crust combines two of my favorite things—simply-prepared vegetables and soft corn
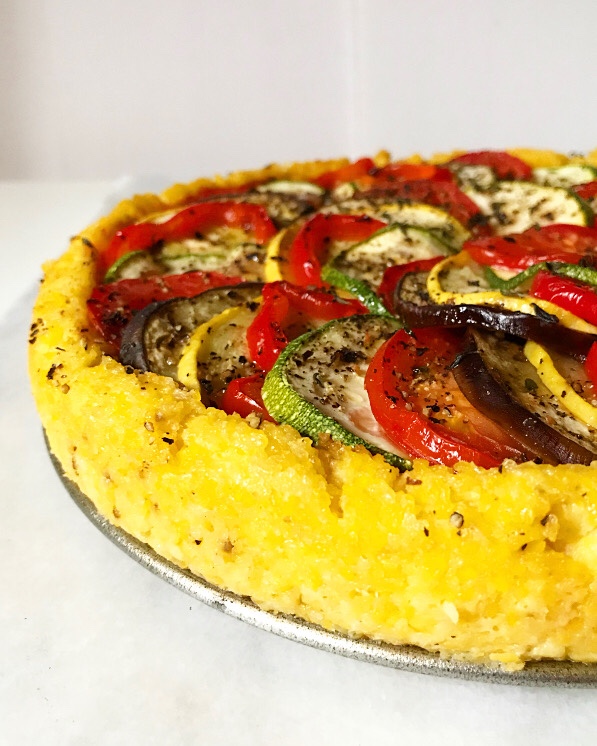
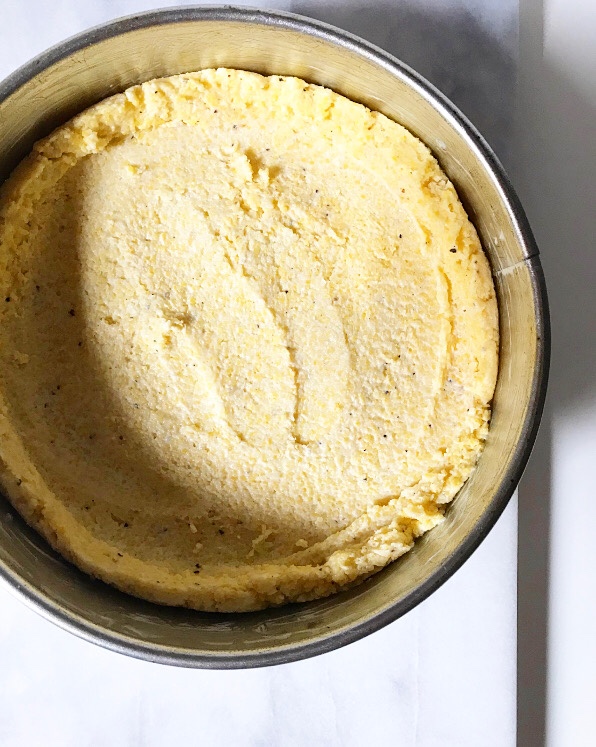 While this recipe takes some time to prepare, none of the steps are difficult and the results are more than worth the effort! You can make things easier for yourself by preparing the polenta and forming the crust a day ahead.
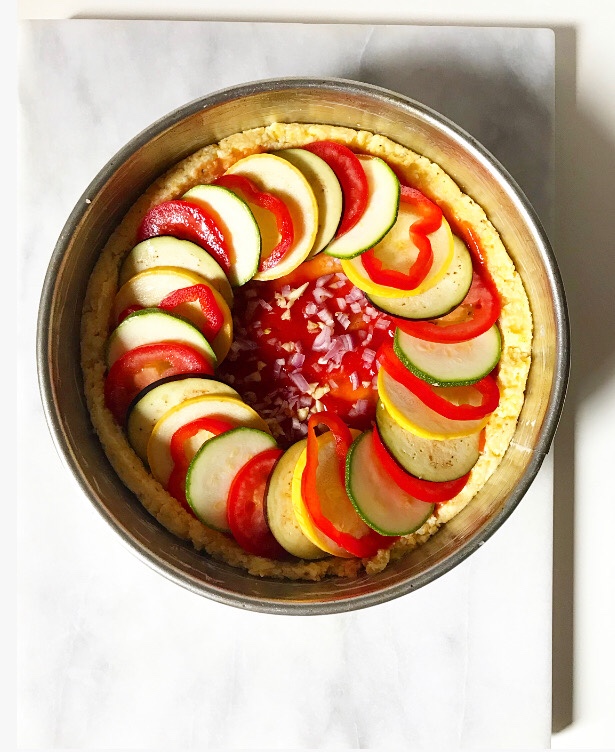
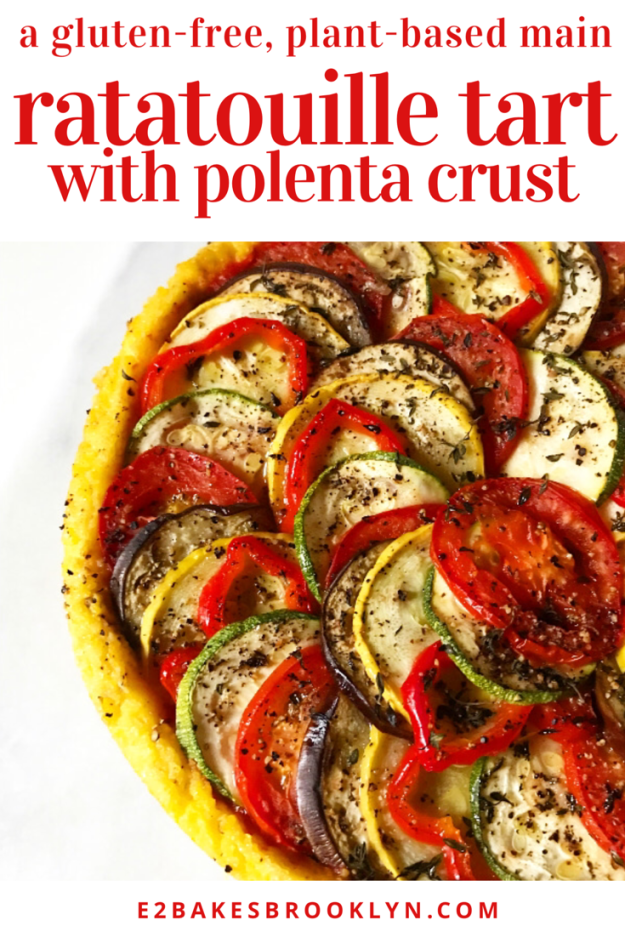
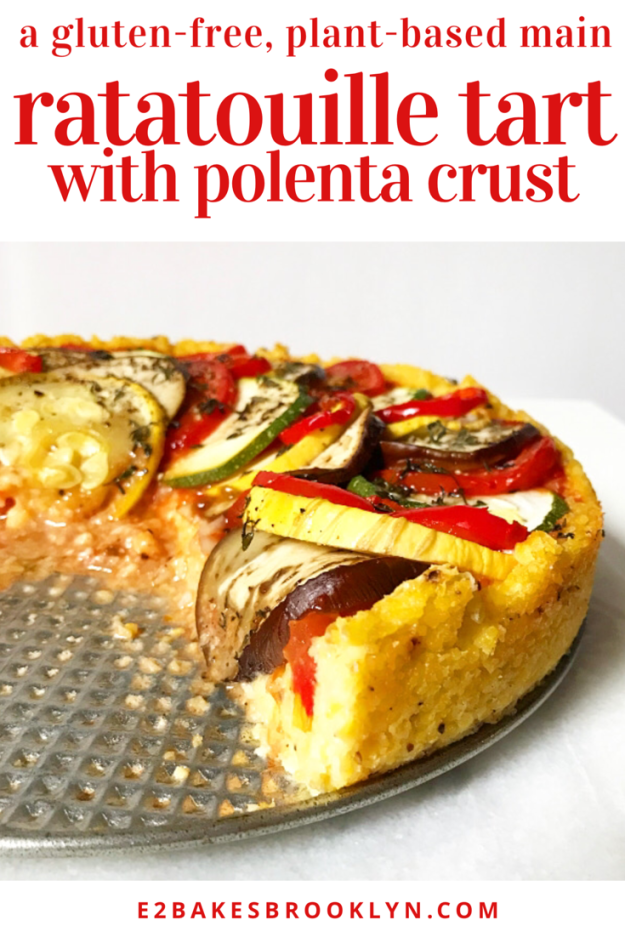
 When you’re ready to bake, spread on some tomato sauce and slice up a bunch of summer produce. If you’re a little fancier than I am and have a mandoline, this would be a great time to use it.
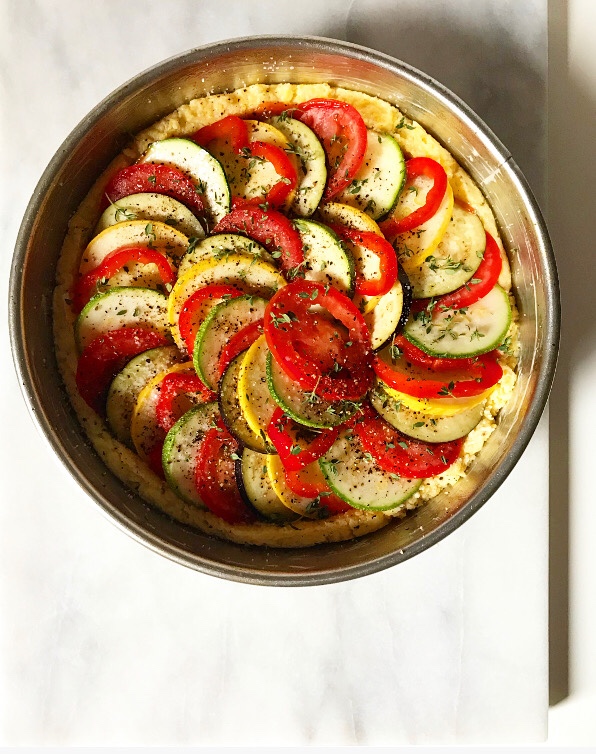
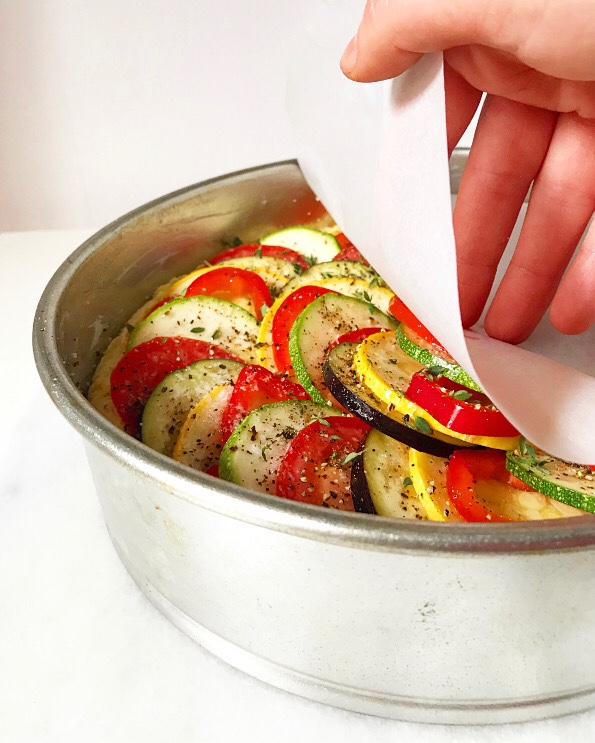 Assemble the tart by arranging the sliced vegetables in concentric circles and finishing them off with olive oil and fresh thyme. Cover the whole thing with a parchment round to ensure that everything cooks evenly. And then…
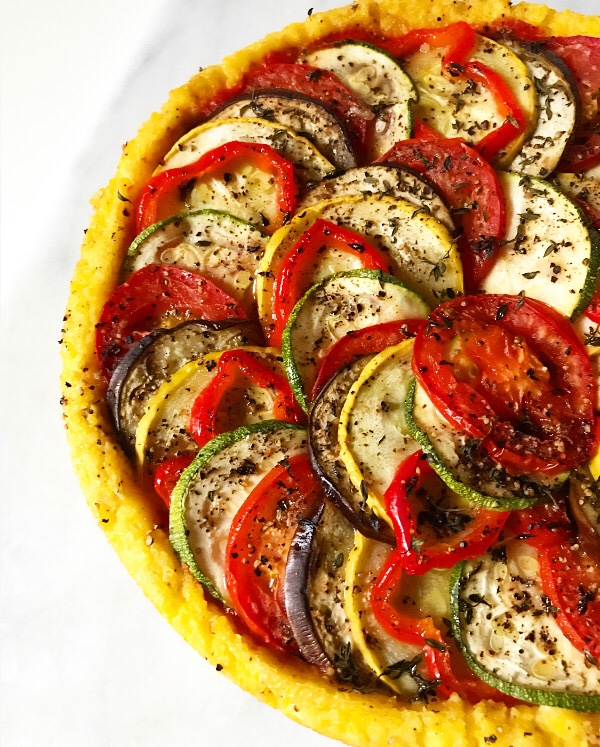
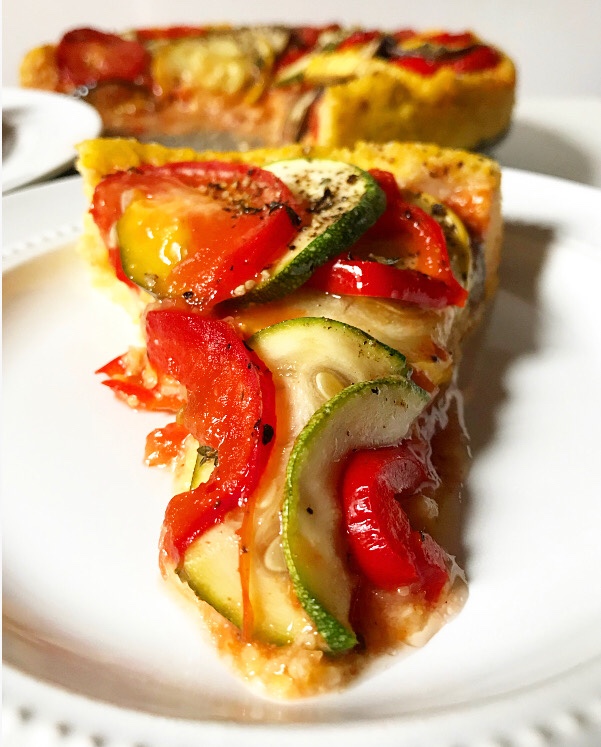
 …well, let’s just say I’ll pray for you during the thirty minutes between baking and slicing. I promise it’ll be worth the wait. I mean, when are polenta and ratatouille not worth the wait?!
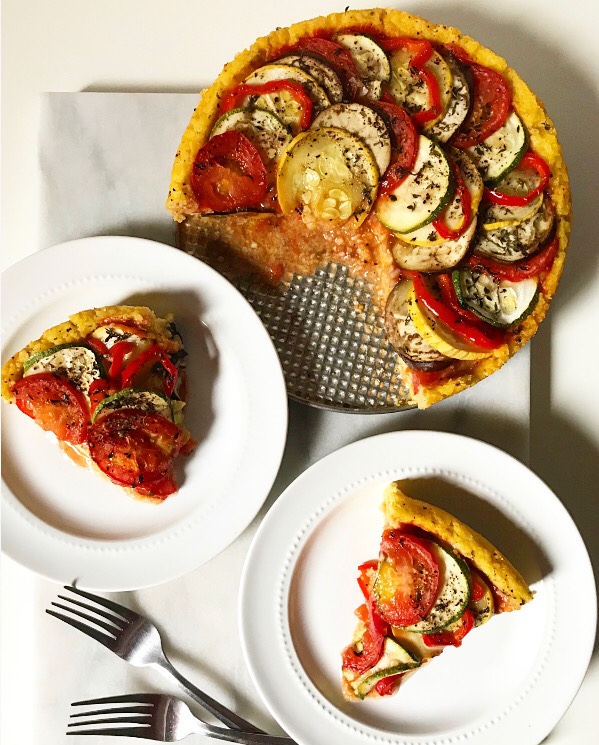
 I love this tart when it’s fresh, but you should know that it slices particularly well at room temperature and cold, meaning this is a great make-ahead option. The tart pictured here was made on a Monday and reheated by the slice for lunches all week long.
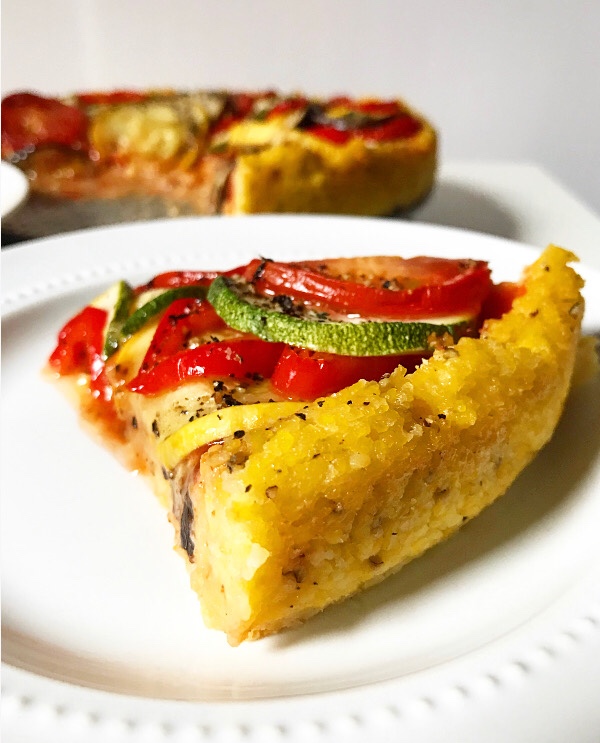 It was exactly as wonderful as it looks.
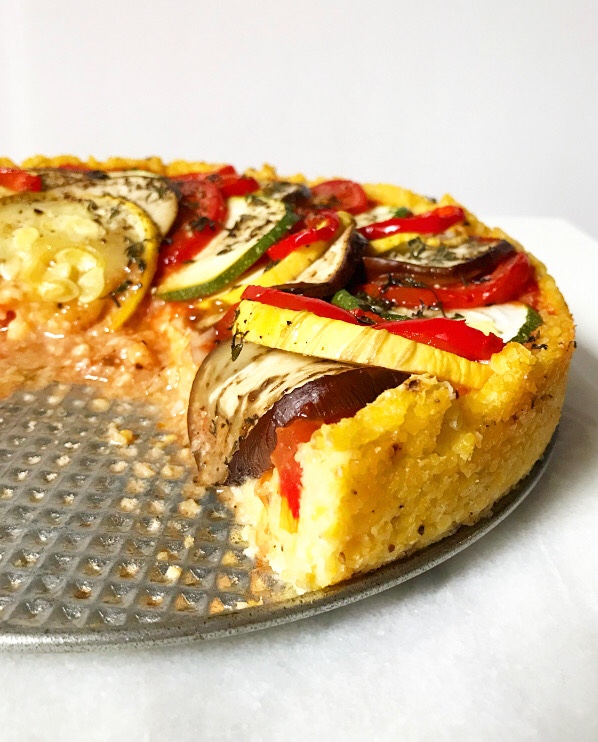
 For weeks, I have been eagerly waiting to share this recipe with you. I’d love to say that I feel this way with every single recipe in my
 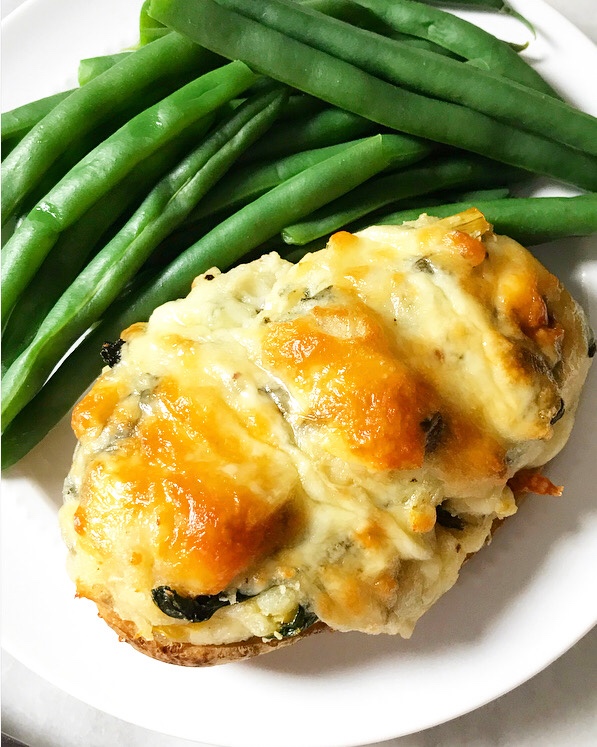 So, what’s so special about this recipe? Well, for one, it’s a
  These Spinach-Artichoke Twice-Baked Potatoes are so delicious, y’all. They’re soft and creamy on the inside and brown and crispy on the outside. Oh, and there’s melted cheese involved. And a serving of vegetables. Yesssss.
 If, by chance, you’ve never heard of or eaten a twice-baked potato…well, I’m sorry that you’ve been deprived for so long. Luckily, you can remedy that today! Let me give you a quick rundown.
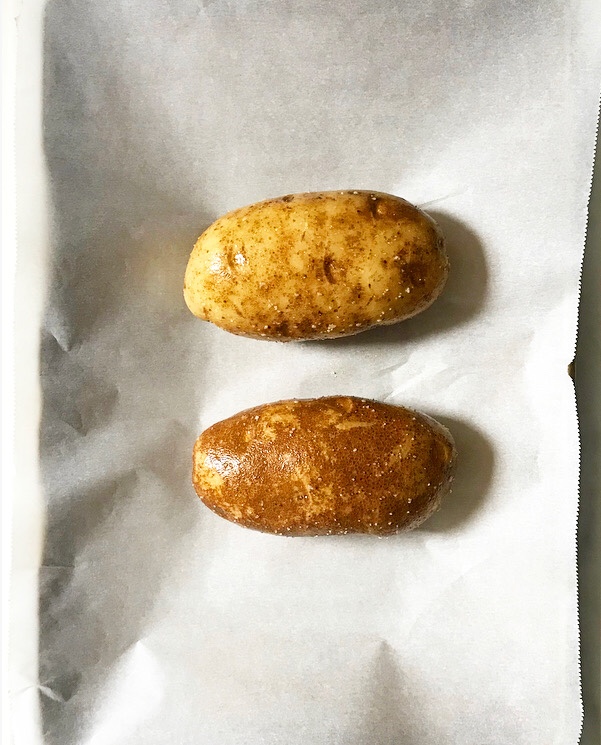

 As their name states, twice-baked potatoes are potatoes that have been baked two times. The first time, they are rubbed down with oil and salt and baked until tender.
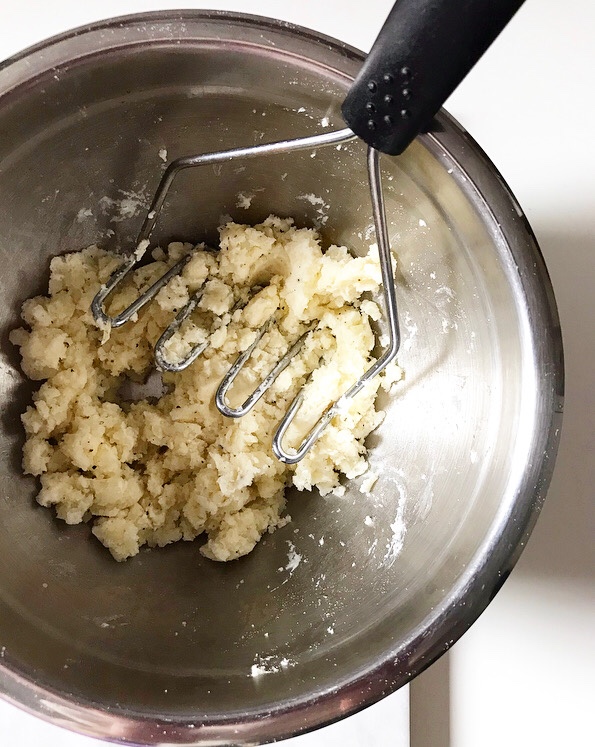 Next the potato innards are scooped out, leaving behind four potato skin “boats.” The potato flesh is mashed with other ingredients to create a filling.
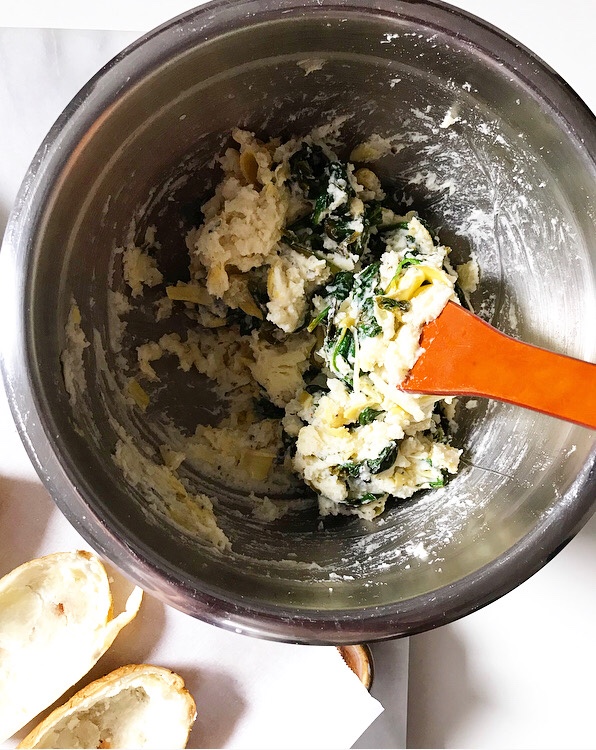 Traditionally, those include sour cream, bacon, cheddar, and scallions, but this recipe deviates from the norm in favor of lemony sautéed spinach, chopped artichoke hearts, butter, cream cheese, and monterey jack cheese. YUM.


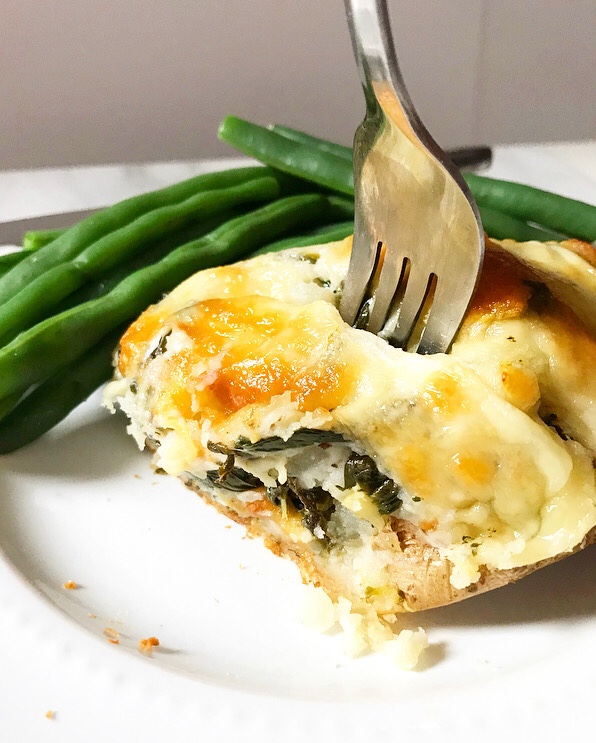
 The filling is then spooned back into those potato skins, topped with more cheese, and baked a second time, until golden and a bit crispy ❤
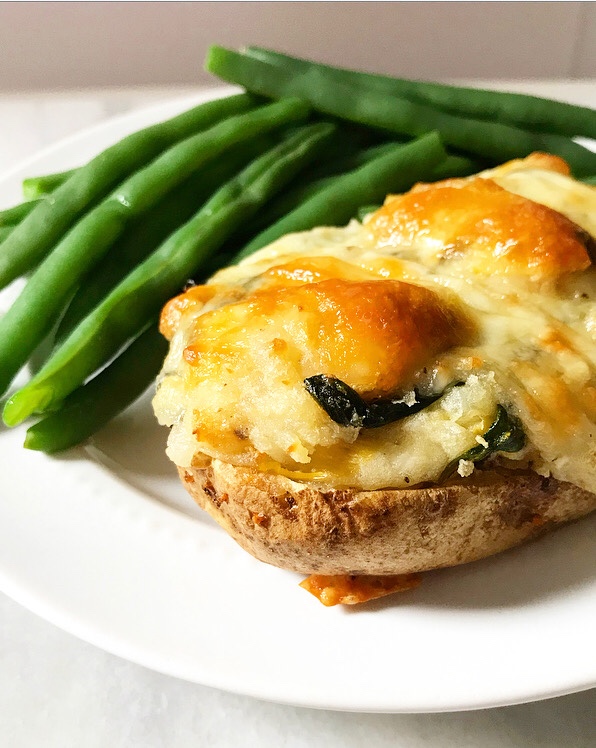
 I prefer to serve Spinach-Artichoke Twice-Baked Potatoes as a main, but they also work well alongside chicken or pork. However you serve these potatoes though, they’re guaranteed to leave you wishing you’d doubled the batch.


